
How to Hang Art on a Slanted Wall: Ultimate Guide & Creative Solutions
Master hanging art on slanted walls! This ultimate guide offers practical methods, styling tips, and personal insights to transform awkward spaces into stunning art displays.

How to Hang Art on a Slanted Wall: Defying Gravity with Style – A Masterclass in Artistic Installation
Welcome, fellow art lovers and home decorators, to a journey into the wonderfully peculiar world of slanted walls! As an artist myself, Zen Dageraad Visser, I’ve long been fascinated by spaces that defy the ordinary. Flat walls are predictable canvases; slanted walls? They’re an invitation to a dance, a dynamic challenge that promises truly unique and captivating displays. So, grab your creative hats and let's explore how to transform these architectural quirks into stunning showcases for your cherished artwork.
There's a certain magic to a slanted wall, isn't there? It could be the snug embrace of an attic bedroom, the quiet intrigue of a nook under a soaring staircase, or the dramatic sweep of a vaulted ceiling. These architectural curiosities don't just add character; they imbue a space with a je ne sais quoi that standard, boxy rooms simply can't replicate. I remember moving into my first studio with a gloriously sloped ceiling, and for weeks, I just stared at it, convinced it was an artistic black hole – a place where decor dreams went to die. For an artist like me, used to the predictable canvas of a flat wall, this was a curveball, a challenge that initially felt insurmountable. But then, as I started to truly live in the space, that initial frustration began to melt away, replaced by a growing fascination with its unique possibilities. It was an invitation to rethink everything I knew about display, an opportunity to challenge the very conventions of art presentation, pushing me to see the world, and my art, from a new angle.
But then came the moment to decorate, and suddenly that charming slant transformed into a colossal design challenge. "How on earth do I hang art there?" I could almost hear my past self wail, or perhaps, "Will it just flop over and smash into a thousand pieces?" Trust me, those initial fears are perfectly normal, and utterly conquerable. Because here’s the thing: a slanted wall isn't a limitation; it’s an invitation. An invitation to think differently, to play with perspective, and to craft a truly unique display that regular walls can only dream of. It’s an opportunity to create a dynamic focal point that genuinely transforms a space, turning an architectural "problem" into a personal design triumph and pushing the boundaries of what a gallery wall can be. This isn't just about putting a nail in the wall; it's about making your home a living, breathing piece of art itself, a reflection of your unique vision. It’s about creating a narrative, a visual dialogue that engages anyone who steps into the room. And isn't that what art is truly meant to do? It's about sparking dialogue, evoking emotion, and transforming the mundane into the magnificent. A slanted wall, in its very essence, is a disruption of the ordinary, and that's precisely why it's such a fertile ground for artistic expression. It's an opportunity to tell a story through your curated collection, allowing the art to interact with the very bones of your home, drawing visitors in with its unexpected charm.
The Allure of the Angled Canvas: Why I Love Slanted Walls
Before we delve into the technicalities, let's take a moment to truly appreciate what a slanted wall brings to the table. As an artist, I'm drawn to challenges, to spaces that demand a different way of seeing. A slanted wall isn't just an architectural feature; it's a dynamic stage, a conversation starter, and an opportunity to break free from the predictable rectangular grid of conventional rooms. It forces a certain creativity, pushing you to think beyond the obvious, which is where true design triumphs often emerge. I've always found that the most compelling art installations are those that genuinely interact with their environment, and a slanted wall provides that interaction in spades. It’s an opportunity to engage in a fascinating dialogue between art and architecture, transforming a mundane surface into a curated experience.
The drama, the unexpected angles, the way light plays differently across its surface – it all contributes to an atmosphere that a flat wall simply cannot replicate. It’s a canvas with inherent character, waiting for art to complete its story. And for me, that's incredibly exciting. It's like finding a secret passage in a familiar house; suddenly, the possibilities for exploration and discovery expand exponentially. This unique geometry can even evoke a sense of playfulness, encouraging you to break free from traditional hanging methods and explore more inventive solutions. It’s a challenge I eagerly embrace in my own artistic journey, seeking out those unconventional spaces that spark genuine inspiration. These walls don't just hold art; they become part of the art, creating a symbiotic relationship that elevates both the piece and the environment.
The Beautiful Struggle: Why Slanted Walls Are Both Tricky and Terrific
Before we dive into the nuts and bolts, let’s acknowledge the elephant in the sloped room. Gravity is a relentless force, and it doesn't care how much you love that abstract piece you just bought (perhaps something vibrant from my own collection on my shop page, nudge nudge). Art hung on a slanted surface has a natural tendency to swing out from the wall or slide down. This isn't just an aesthetic issue; it's a stability and safety concern. No one wants their cherished artwork crashing down, least of all me! I've had a few close calls, and let me tell you, the sound of a frame hitting the floor is not one you soon forget.
However, the payoff is immense. Imagine the drama of a large canvas perfectly angled, drawing your eye upwards, or a series of smaller pieces creating a compelling visual narrative that interacts with the room's unique geometry. It’s a chance to truly personalize your decorating your home experience, making your space genuinely one-of-a-kind. There's a certain psychological impact, too; a well-curated slanted wall can make a room feel taller, more intimate, or simply more dynamic, defying expectations and drawing the eye to unexpected beauty. It can even create a sense of intrigue, making people pause and appreciate the cleverness of your display, and isn't that what art is all about? It allows the art to dictate the flow of the room, drawing attention to areas that might otherwise go unnoticed. It speaks to a certain boldness, a willingness to play with conventions, which I find incredibly appealing. The architectural uniqueness of a slanted wall means that art displayed there inherently becomes a focal point, a curated moment in your home that demands attention and rewards contemplation. It’s a declaration that you're willing to break from the norm, to find beauty in the unconventional. This approach to display doesn't just fill a space; it transforms it into a gallery, a conversation piece, a testament to your individual style and willingness to challenge the ordinary. It speaks to the heart of what the evolution of art in interior design from grand salons to modern minimalism is all about: making your space uniquely yours, with art at its core.
Key Considerations Before You Even Reach for the Hammer
Alright, before we get too excited and start drilling holes willy-nilly (a mistake I've certainly made more than once), let's talk about the groundwork. A little planning here saves a lot of patching later. This preparation phase is crucial, not just for the aesthetic outcome, but for the longevity and safety of your precious art. Think of it as a detailed scouting mission before you begin your creative conquest. A well-prepared artist is a confident artist, and on a slanted wall, confidence is half the battle! It’s the difference between a fleeting display and a lasting, integrated work of art within your home.
1. The Art Piece Itself: Weight, Size, and Framing
This is where I start, every single time. Is it a feather-light print or a substantial, framed canvas? The heavier the piece, the more robust your hanging solution needs to be. A small, lightweight piece might get away with a simpler method, but a grand abstract art statement demands serious anchoring – we're talking about preventing a potential disaster, not just a slight lean! Also, consider the framing. Is it a traditional frame with a wire? A canvas with a stretcher bar? Or something more unique, perhaps even a floating frame? Each type has its own hanging characteristics and sometimes, even a seemingly minor detail like the depth or material of the frame (wood, metal, acrylic) can influence your chosen method and the weight considerations. I’ve learned that a simple wire on a heavy, traditional frame will just sag and cause endless headaches on a slant. You need to consider the frame's structural integrity as much as the art itself. Don't forget about unconventional art forms like textile art, wall sculptures, or even ceramic plates – these often require highly specialized mounts, hooks, or custom-built ledges, which we’ll touch on later. The key is to let the art dictate the hanging strategy, not the other way around. Think of it as a collaboration between the artwork and the wall. For instance, a deeply recessed shadow box frame will sit very differently than a flat canvas print, and each will present its own unique challenges and opportunities on an angled surface. Always envision how the piece will interact with the wall's specific pitch, almost as if the art is leaning into the conversation with the architecture. Speaking of shadow boxes, they offer their own unique advantages for displaying smaller, three-dimensional art, which you can read more about in the role of shadow boxes in displaying art. For very delicate or irregularly shaped pieces, I sometimes even create a small, scaled-down model of the art and the wall to visualize the forces at play and anticipate any unforeseen issues. It's a bit extra, I know, but it saves so much heartache later!
2. The Angle of the Slant: Gentle Slope or Dramatic Apex?
A slightly sloped wall, like you might find in a dormer window area, is a completely different beast from a steeply angled ceiling that almost meets the floor. The steeper the angle, the more inclined your art will be to lean out, requiring far more thoughtful solutions to keep it flush and secure. I often use a simple protractor app on my phone or a physical protractor to get a rough idea – understanding the exact degree of the slant can genuinely help you choose the most effective hanging method. For subtle slopes (under 30 degrees), methods involving bottom tie-downs or museum wax might suffice. For dramatic angles (over 45 degrees), you'll almost certainly need a more robust, multi-point anchoring system. My own philosophy is to embrace the angle, not fight it; think of it as an inherent characteristic that makes your space uniquely challenging and, ultimately, more rewarding. Visualizing with paper templates (as discussed in 'Scale and Proportion') is even more critical here. For instance, a gentle 20-degree slope in a hallway might only need a simple top anchor and discreet bottom stabilization, whereas a 60-degree attic ceiling will demand a full cable system with robust tie-downs, or even custom ledges. The angle dictates the strategy, every time. Knowing the precise angle also informs the design of custom spacers or brackets, ensuring a truly flush and professional finish. I often tell people to imagine the art's perspective: at what angle is it 'looking' at the room? This helps intuit the forces at play and the best counter-measures, ensuring your chosen piece not only stays put but also looks its absolute best. For particularly dramatic or high-ceiling slants, you might even consider maximizing impact with art for high ceilings, as the principles of drawing the eye upward become even more pronounced.
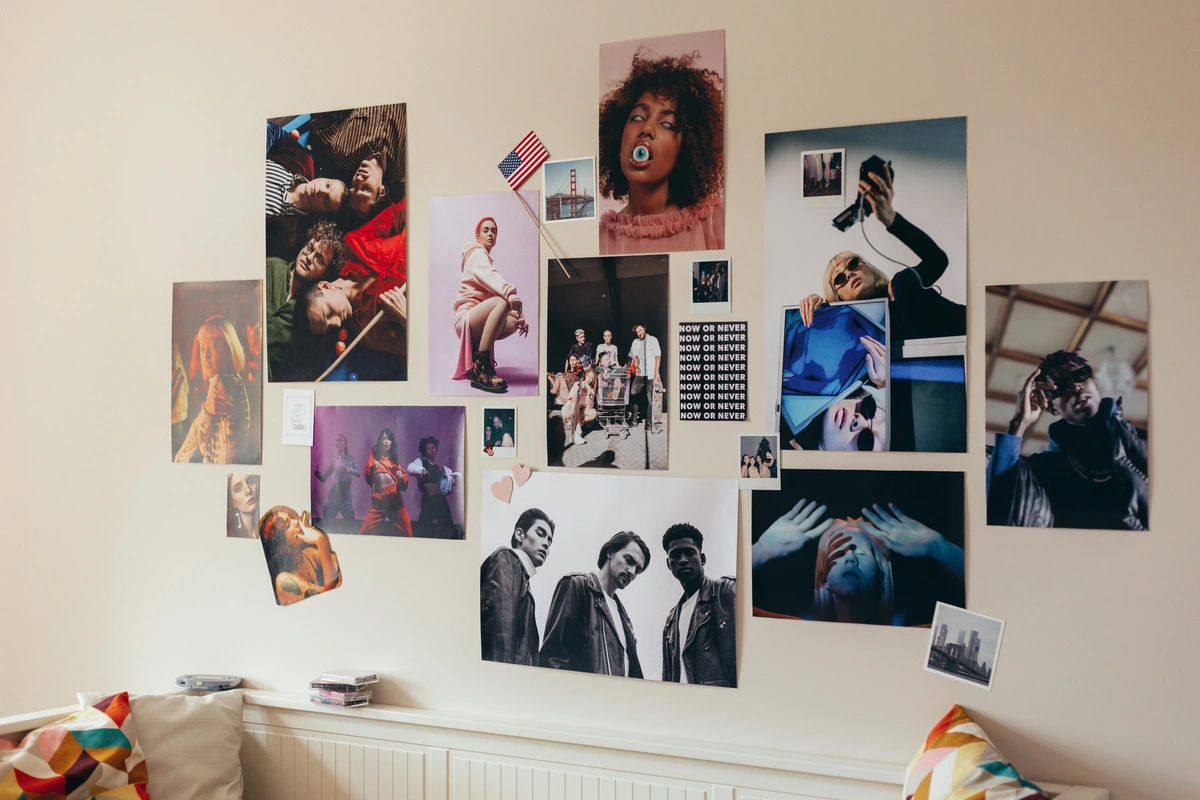
3. Wall Material Matters: Drywall, Plaster, or Something Else?
Knowing your wall material is absolutely crucial for selecting appropriate fasteners. Drilling into the unknown is a recipe for disaster (and potentially large holes to patch!). Before you even think about putting a drill to the wall, take a moment to understand what lies beneath the surface. Different materials react completely differently to fasteners, and using the wrong one can lead to anything from a small frustrating hole to significant structural damage (and a very expensive repair bill). Drywall requires specific anchors that expand behind the sheet, plaster can be tricky (and sometimes crumbles like an old cookie), and solid wood or brick will need specific drills and robust screws. Always know what you're drilling into – a stud finder is your best friend here – safety first! I've learned from painful experience that a little reconnaissance goes a long way. Trust me, the time you spend identifying your wall material is always less than the time you'll spend patching a mistake.
I’ve put together a quick guide to help you differentiate:
Wall Material  | Characteristics | Recommended Fasteners (General) |
|---|---|---|
| Drywall | Common, easily damaged if not anchored properly. | Toggle bolts, self-drilling drywall anchors, expansion anchors, picture rail hooks for light items, how to hang art in a rental property without damaging walls for temporary solutions |
| Plaster | Older homes, can be brittle, layers over lath (wood or metal strips). | Toggle bolts, specialized plaster anchors, caution with drilling, careful pre-drilling, how to hang art on plaster walls for detailed guidance |
| Solid Wood | Found in older homes, or exposed beams/panels. Very strong. | Wood screws (long enough to penetrate well), lag screws for heavy items, direct nailing for light items, ideal for substantial pieces |
| Brick/Concrete | Very strong, requires specialized tools. | Masonry drill bits, lead anchors, concrete screws, hammer drills, tapcons, how to hang art on brick walls for specific tools and techniques |
| Tile | Usually over drywall or cement board. Requires specific tile bits. | Tile-specific anchors, or drill through grout lines where possible, adhesive for very light items (last resort), proceed with extreme caution to avoid cracking |
And if your wall happens to be brick, you might find this guide helpful: how to hang art on brick walls. For challenging plaster walls, I’ve put together a specific guide: how to hang art on plaster walls. Ignoring this step is like building a house on sand – it just won't last. A common mistake I've seen (and perhaps made myself in my early days!) is assuming all walls are the same. Trust me, they are not. Taking a few extra minutes here can save you hours of patching and potential heartbreak later. For instance, a very old plaster wall might conceal wooden lath, requiring specialized plaster screws, whereas a modern drywall might be too thin for a simple nail. Always approach each wall as a unique challenge, and remember that how to hang art on plaster walls and how to hang art on brick walls are entirely different beasts. The structural integrity of your wall is the literal foundation of your display, so respect it accordingly. And a final, crucial safety note: always be aware of electrical wiring and plumbing behind your walls. A stud finder with a wire detection feature is invaluable here. Hitting a pipe or a live wire is a mistake you absolutely want to avoid – trust me, the cost of repair far outweighs the few moments spent scanning your wall!
4. Environmental Factors: Humidity, Temperature, and Vibrations
Look, a perfectly hung piece of art isn't just about the initial installation; it's about its longevity. Environmental factors, often overlooked, can be the silent saboteurs of your slanted wall display. I've learned this the hard way after a particularly humid summer nearly turned one of my more experimental adhesive attempts into a sticky catastrophe. It’s like the universe conspiring against your perfectly curated space; you have to be one step ahead, thinking not just about hanging, but about preserving.
- Humidity and Temperature Fluctuations: These are the archenemies of many hanging methods, especially adhesives and some types of plaster. High humidity can weaken glues, cause plaster to soften, and even affect the integrity of wood frames. Extreme temperature changes can lead to expansion and contraction, loosening fasteners over time. If you live in an area with significant seasonal shifts, or if the slanted wall is near a window, fireplace, or air vent, you need to be extra vigilant. Consider using a hygrometer to monitor humidity levels, and choose materials (frames, hanging hardware) that are less susceptible to environmental stress. I once had a delicate watercolor warp slightly due to unnoticed humidity changes – a lesson learned the hard way that prevention is always better than restoration. Investing in archival framing materials, such as UV-protective glass and acid-free mats, can also provide an additional layer of defense against these invisible threats, preserving your art for years to come. Remember, even subtle fluctuations can take a toll over time, slowly degrading your cherished pieces if left unaddressed. It's a silent battle you have to win.
- Vibrations: Is your slanted wall in a busy hallway, near a door that slams, or perhaps above a speaker? Constant vibrations, even subtle ones, can gradually work screws loose, dislodge hooks, or cause art to subtly shift. This is where those bottom tie-downs (which we'll delve into later) become non-negotiable. For very active spaces, I'd even consider adding a thin layer of foam or felt padding behind the bottom corners of the frame to absorb some of the shock. The goal is to create a display that's not just beautiful, but also resilient. Think of it as earthquake-proofing for your art, even if you're not in a seismic zone. This meticulous attention to detail is what separates a good display from a truly lasting one. You’re not just hanging art; you’re preserving it, ensuring its place in your home's narrative for years to come. I've found that neglecting these seemingly minor details can lead to constant readjustments or, worse, irreversible damage. It's about proactive preservation, not reactive repair.
5. Lighting and Visual Flow
This is less about the mechanics of hanging and more about the art of display. How does the natural light hit the slanted wall? Will a piece be constantly in shadow, or will reflections be an issue that diminishes its impact? Consider the time of day, too – a stunning piece in the morning sun might be lost in shadow by afternoon. And what about artificial lighting? Track lighting, picture lights, or even strategically placed floor lamps can dramatically enhance your art, but they need careful planning to avoid glare on glass or reflections on glossy surfaces. Think about how the art integrates into the overall interior design of the room. Does it complement the existing furniture and decor, or does it clash? I always consider the play of light and shadow, especially with abstract pieces, as it can dramatically change the artwork's appearance throughout the day. For more on this, you can delve into the art of display: how to light and position abstract art for maximum impact. A perfectly lit piece on a slanted wall can transform a drab corner into a dynamic gallery, almost as if the artwork is casting its own luminous glow. I've found that strategically placed lighting can actually accentuate the slant, turning a perceived flaw into a dramatic feature that guides the eye and adds a profound sense of depth and focus to your chosen artwork. And remember, natural light changes throughout the day; a piece that looks stunning in the morning sun might be lost in shadow by afternoon. Consider how both natural and artificial light will interact with your art at different times, creating a dynamic display that truly lives and breathes within your space. It's about designing for a 24-hour visual experience.
6. Placement and Layout: Harmonizing with the Slope
Beyond just getting it on the wall, where exactly should your art sit? With a slanted wall, traditional eye-level hanging rules often go out the window. Instead, think about the natural sightlines of the room. Will the art be viewed primarily from a sitting position, or when standing? Consider how the piece interacts with furniture, windows, and other architectural features. Sometimes, embracing the slant by arranging pieces in a diagonal line or following the roofline can be incredibly effective, creating a dynamic visual flow. Other times, a single, commanding piece can serve as a powerful anchor. Don't be afraid to break conventional rules here – a slanted wall is an invitation to experiment with unique compositions. It’s about creating a conversation between the art and the architecture, not just filling empty space. For general guidance on arranging art, you might find inspiration in how to decorate a wall. I often find myself sketching out layouts on paper first, or even using blue painter's tape to mock up arrangements on the wall. It saves so much trouble later! Consider how the arrangement will look from different rooms if your space is open concept, or how it contributes to the overall narrative of your home's interior design. Don't just think about where the art sits, but how it leads the eye, creating a visual journey through your space. Sometimes, a piece isn't just art; it's a waypoint in your home's story. Remember, the goal is to create a display that feels intentional and harmonious, not like an afterthought. Whether you're aiming for a single focal point or a captivating gallery wall, thoughtful placement is paramount.
7. Your Essential Tool Kit: Don't Start Without These
Before you even think about marking that wall, let's talk about the absolute necessities. Trust me, having the right tools makes all the difference, turning a potential headache into a satisfying DIY project. I've accumulated quite the arsenal over the years, and these are the non-negotiables. Think of these as your artistic toolkit, essential for any challenging installation:
- Stud Finder: Your absolute best friend, especially with heavier pieces. Knowing where the structural supports are is crucial for secure hanging, particularly on drywall. Don't skip this, even if you think you know your walls! There's nothing worse than drilling into empty drywall and hoping for the best. Modern stud finders can also detect electrical wiring and even plumbing, which is an invaluable safety feature I always appreciate. Trust me, hitting a wire or a pipe is an experience you want to avoid – it's a quick way to turn a creative afternoon into a very expensive electrical or plumbing repair bill. This little gadget is a true lifesaver, ensuring your art is securely anchored and your home's wiring and pipes remain intact. It's a small investment that offers monumental peace of mind.
- Tape Measure: Obvious, perhaps, but precision is key. A good quality, retractable tape measure is indispensable for accurate placement and spacing. And by good quality, I mean one that doesn't kink or get stuck halfway through a measurement – small frustrations add up! A few millimeters off can make a huge visual difference on an angled surface.
- Level (Spirit Level or Laser Level): While a laser level is a game-changer for slanted walls (it projects a perfect horizontal or vertical line), a traditional spirit level is still incredibly useful. Remember, even if the wall is slanted, you usually want your art to be level relative to the floor. A wonky picture, even on a slant, just looks... wonky. For gallery walls, a laser level is almost indispensable for maintaining consistent alignment across multiple pieces, creating a professional and harmonious arrangement. I've seen countless installations that were technically secure but visually jarring due to a slight misalignment; a good level is your arbiter of aesthetic harmony.
- Pencil and Eraser: For marking your desired spots. Light marks are your friend, because mistakes happen, and a good eraser saves you a paint job. Always go for a soft lead pencil for easy removal.
- Drill and Drill Bits: Essential for creating pilot holes and installing anchors. Have a variety of drill bits suitable for different wall materials (wood, masonry, multi-purpose). You wouldn't use a screwdriver to make a hole, would you? Always choose the right bit for the material to prevent damage to your wall and your tools. A cordless drill offers the most flexibility for those tricky high spots. Remember, the right drill bit for masonry is very different from one for wood or drywall; using the wrong one is a recipe for stripped screws or shattered walls. Investing in a good quality drill will make your life much easier. I personally favor models with a built-in level or a clutch setting to prevent over-drilling – small features that make a big difference in a delicate situation.
- Screwdriver Set: Flathead and Phillips, various sizes. A good set is invaluable, because you never know what kind of screw a piece of hardware might surprise you with. Magnetic tips are a personal favorite for preventing dropped screws in tight spaces.
- Appropriate Wall Anchors/Fasteners: As discussed in "Wall Material Matters," match your anchors to your wall and the weight of your art. Stock up on toggle bolts, self-drilling drywall anchors, and plastic expansion anchors. This isn't a one-size-fits-all situation. For heavier pieces in drywall, I often rely on metal toggle bolts for maximum security, while plastic expansion anchors are perfect for lighter items. Always read the weight ratings on your chosen fasteners – and then, for a slanted wall, I'd personally halve that rating to err on the side of caution. Gravity is not to be underestimated; it's always better to be safe than sorry.
- Strong Picture Wire, Cable, or Fishing Line: For the actual hanging and, crucially, the bottom tie-downs. I prefer braided steel cable for heavy pieces and clear fishing line for invisible tie-downs. The stronger, the better, for peace of mind. Ensure your chosen wire or cable has a weight rating well above that of your artwork; it's always better to be safe than sorry. I tend to over-engineer here – a little extra strength costs nothing compared to a shattered frame or artwork. Remember, this isn't just about hanging, it's about safeguarding your treasures. For an almost invisible effect, especially with lighter pieces, a high-test clear monofilament fishing line can be remarkably effective for those tie-downs.
- D-Rings and Eye Hooks: For attaching to the back of your art and for those essential bottom tie-downs. These are your art's seatbelts. They provide the anchor points you need, especially for those crucial bottom tie-downs that keep everything flush, preventing any unwanted tilting or swinging. Always use D-rings with two screw holes for maximum stability, ensuring they are securely fastened to the art's frame.
- Safety Glasses and Gloves: Always protect your eyes, especially when drilling! A flying speck of drywall dust is no joke. And gloves can save your hands from splinters or sharp edges on frames or tools. Trust me, I've had my share of minor injuries from rushing; a few seconds of safety prep is always worth it, making for a much more pleasant experience.
- Step Ladder or Sturdy Ladder: Reaching those high, slanted points safely. Don't try to balance on a stack of books; I've been there, it doesn't end well. A good, stable ladder is a non-negotiable for working on slanted walls, ensuring both your safety and the precision of your installation. If you're working at significant heights, consider asking a friend to spot you – two pairs of eyes are better than one, especially when safety is concerned.
- Optional but Highly Recommended: Protractor or Angle Finder App: To accurately measure the degree of your wall's slant, which can inform your choice of hanging method and custom spacer design. This precision tool is your secret weapon for achieving a truly flush and professional finish. I find that a digital angle finder is particularly helpful here, giving you exact numerical readings that take the guesswork out of complex angles.
Having these at the ready means you're prepared for whatever that charmingly awkward wall throws at you. A well-equipped artist is a happy artist, even when dealing with gravity's antics. This comprehensive kit transforms a daunting task into a manageable and even enjoyable creative project.
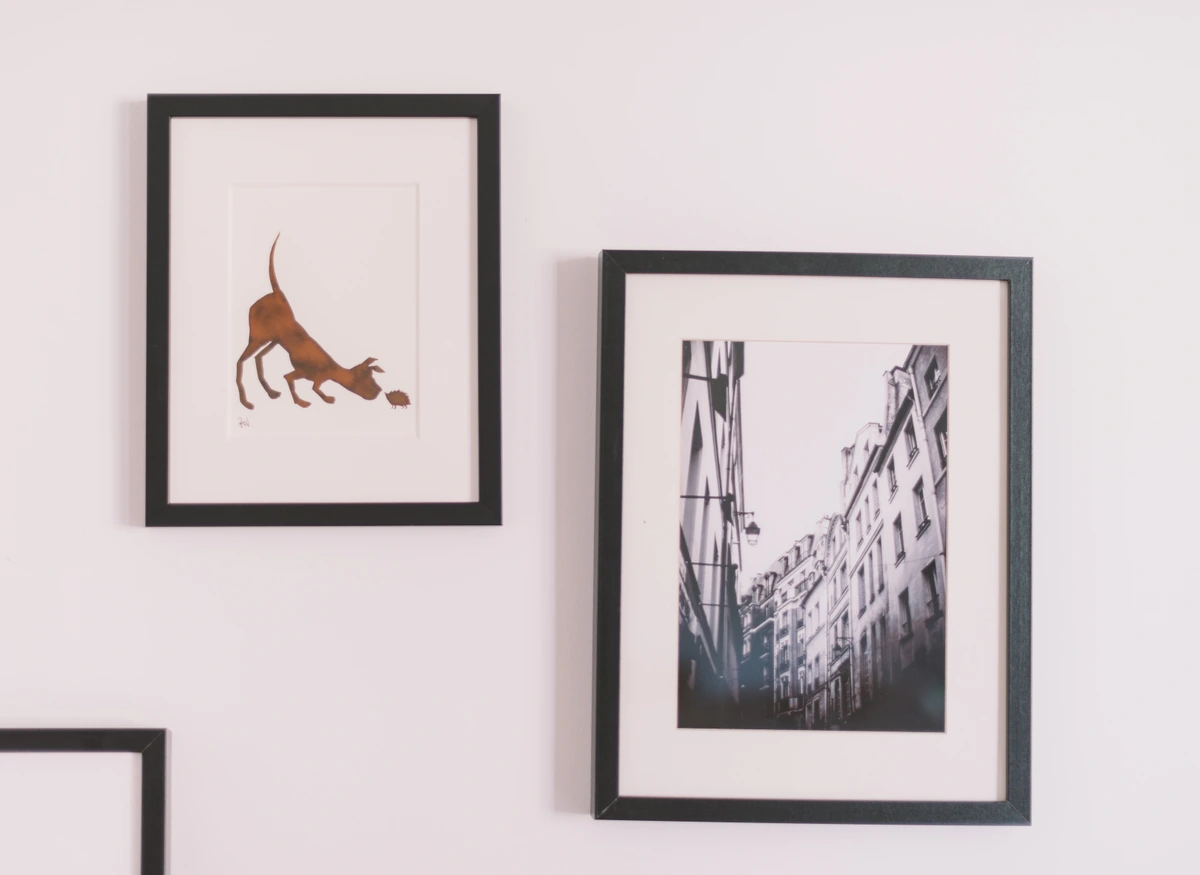
Ingenious Methods for Hanging Art on a Slanted Wall
Now for the fun part: making it happen! This is where the rubber meets the slanted road, and where all that careful planning pays off. I’ve tried a few approaches over the years, some more successful than others (don’t ask about the time I used too much museum putty on a humid day – let's just say gravity won that round). But through trial, error, and a fair bit of creative problem-solving, I've distilled the most reliable and effective methods. Here are the approaches that actually work, from simple fixes for lighter pieces to robust installations for your most cherished and substantial artworks. Each method offers a unique solution, allowing you to choose the perfect fit for your art and your space.
Method 1: The Top-Anchored Wire/Cable System (My Personal Favorite for Flexibility)
This method is brilliant for flexibility, especially if you like to rearrange your art or have pieces of varying sizes. It essentially uses gravity to your advantage by hanging the art from a point higher up on the wall or ceiling, allowing it to naturally hang parallel to the slanted surface. I call it working with physics, not against it!

- Secure a Top Anchor: Install a sturdy hook, eye screw, or a robust picture rail system (like the kind you'd see in a den Bosch museum gallery) at the highest point where the slanted wall meets the ceiling, or even directly on the flat ceiling above. The key here is sturdy; don't skimp on quality. Use appropriate wall anchors for drywall or plaster, always verifying the weight capacity. For very heavy pieces, a stud is non-negotiable. If you're unsure about finding a stud, consider using heavy-duty toggle bolts which can support substantial weight in drywall. I usually opt for ceiling joists whenever possible for ultimate security, especially with substantial artwork. Don't forget to double-check the weight rating of your chosen hardware; it's always better to exceed the requirement than to risk a fall. For lighter art, a strong picture rail system (Method 3) can also offer a robust top anchor. The goal is to provide a reliable primary suspension point that can handle the vertical pull, allowing the tie-downs to manage the horizontal stability and prevent any unwanted movement. This top anchor is the silent hero of your slanted wall display.
- Attach a Cable/Wire: Use strong picture wire (multi-strand braided wire is excellent), stainless steel cable, high-test nylon monofilament, or clear fishing line. The choice depends on the art's weight and your desired aesthetic. For heavier pieces, I lean towards braided steel cables with crimps for ultimate security. Attach one end securely to the top anchor, ensuring knots are secure if using wire, or crimps if using cable. Consider using two separate cables for wider pieces to distribute the weight evenly and provide better stability. This also provides an extra layer of anti-swing protection.
- Leveling and Securing the Art:
- For single pieces with a wire hanger: Loop the other end of the cable through the existing picture wire on the back of your art. Allow the art to hang, adjusting the length of the cable until the piece is roughly at the desired height. A clever trick here is to use an adjustable hook on the cable, allowing for easy height changes without re-tying knots. These often have a small spring mechanism that grips the cable. For very heavy pieces, or for pieces with delicate frames, consider using two separate cables and hooks for better weight distribution and stability. This also prevents the art from potentially spinning or tilting unexpectedly. I often use a simple knot and then secure it with a crimp for a professional, unyielding hold. Make sure to use appropriate crimping tools to ensure a bond that won't slip under tension. For added security, some prefer to double-crimp or use self-locking cable clamps. A pro-tip for adjustable hooks: many come with a small spring mechanism that grips the cable, allowing for easy height changes without re-tying knots, which is a lifesaver for fine-tuning your display.
- To keep it flush (the tie-down technique): This is the critical step that separates a wobbling piece from a perfectly integrated display. Attach two small D-rings or eye hooks to the bottom corners of the art frame, on the back. Then, use two additional smaller, lower anchors (small hooks or nails, or even strong adhesive strips for very light pieces) on the slanted wall itself, aligning with these bottom D-rings. Use a short piece of wire, clear fishing line, or even elastic cord (for minor give) to connect the D-rings to these lower anchors. This acts like a "tie-down," pulling the bottom of the art flush against the wall and preventing any outward swing. I often use clear fishing line here for an invisible effect, making the art appear to float against the wall. For particularly valuable pieces, you can find security hardware that locks the art to both the top and bottom anchors, offering an extra layer of protection. This makes the art feel truly anchored, a part of the wall, rather than just clinging to it. I've found that even for a seemingly light piece, without these tie-downs, the art can develop an annoying, subtle outward lean that detracts from the whole display. It's the detail that makes all the difference, transforming a precarious display into a masterpiece of stability.
- Refine: Step back, admire, and make minor adjustments to ensure it’s perfectly straight, secure, and optically aligned. A laser level is invaluable for this final step, helping you achieve perfect horizontal and vertical alignment, even on a slant. Don't be afraid to tweak; sometimes the slightest adjustment makes all the difference in how the art "sits" in the space.
When to Use: This is my go-to for almost any art piece, especially heavier ones, and when you want the flexibility to easily change height or swap pieces without redrilling. It's also fantastic for maximizing impact with art for high ceilings that are slanted. It offers incredible versatility, allowing you to create a dynamic display that can evolve with your art collection. Plus, the minimal visible hardware lends itself to a very clean aesthetic. Another advantage is the reduced impact on your walls; you're often only making a few holes for the top anchor, making it a good option even for rental properties with understanding landlords.
Method 2: Modified French Cleats (For Solid, Fixed Placement)
A French cleat is a fantastic, super-strong hanging system, often used for heavy cabinetry. It involves two interlocking pieces of wood (or metal), one attached to the wall, one to the art, both cut at a 45-degree angle. For a slanted wall, you need a slightly modified approach, because gravity is, as always, having its say. This method offers unparalleled stability and security, making it ideal for substantial pieces.
- Prepare the Cleats: You’ll need two cleat pieces. While wood is traditional, metal cleats offer incredible strength for very heavy items. Cut one piece of wood (or use a pre-made metal cleat) at a 45-degree angle along its length. Mount this piece horizontally to the back of your artwork, with the angled edge pointing downwards and inwards towards the art. Ensure screws are sufficiently long and robust, penetrating well into the frame of your art. For very large or heavy pieces, consider using two shorter cleats spaced out on the back of the artwork for added support. Pro-tip: When cutting your own wooden cleats, ensure the cut is perfectly straight and smooth. Any imperfections can lead to a less secure fit and a wobbly display, which defeats the purpose of such a robust system. I always use a table saw for this to ensure razor-sharp precision, as a slight deviation can make all the difference. For very large or heavy pieces, metal French cleats are available and offer even greater weight capacity and durability, though they often require specialized cutting tools. Precision here is paramount; it’s the cornerstone of a truly secure installation.
- Prepare the Wall Cleat: Cut another piece of wood at a 45-degree angle. This piece will be mounted to the slanted wall. The trick here is that this wall cleat needs to be mounted at an angle that matches the slant of your wall, but also allows the art piece to hang flush. This usually means installing it perfectly horizontally, but the angled edge will point upwards and outwards from the wall. This precise angle is critical for the cleat's interlocking function and for keeping the art flat against the slant. If the angles aren't perfect, your art won't sit flush. This is the moment where your protractor from the toolkit truly shines.
- Secure to Wall: Use sturdy screws and appropriate anchors to secure the wall cleat horizontally to the slanted wall. This is not the time to eyeball it – use a level, and then use it again! For ultimate security, aim for wall studs or use heavy-duty toggle bolts. The number of fasteners will depend on the length of the cleat and the weight it needs to support. Over-engineer this step for peace of mind. Remember, the wall cleat is the foundation for your art; it needs to be unshakeable.
- Hang the Art: Simply lower the art piece onto the wall cleat. The two 45-degree angles will interlock perfectly, holding the art incredibly securely and flush. It’s a very satisfying click when it locks into place. You can even add a small dab of museum wax or a tiny security screw at the bottom to absolutely prevent any accidental lifting. I often use a very small, discreet screw on the bottom edge of the frame, drilled directly into the wall, for an extra layer of security, especially in high-traffic areas. This tiny detail ensures that even a bump won't dislodge your cherished artwork, making it truly 'part' of the wall. When constructing your own wooden cleats, opting for a hard wood like oak or maple will provide superior strength and longevity compared to softer woods, ensuring an even more secure and durable installation.
When to Use: This method is best for heavier, larger pieces, especially those with considerable depth or value, where a fixed, permanent placement is desired. It's incredibly strong but offers less flexibility for repositioning, so be absolutely certain of your placement. It definitely requires precise measurement and some carpentry skills, or the help of a professional. If you're hanging something truly irreplaceable, this is the method to consider, or better yet, hire a professional art installer. For an even more secure option for heavy items, consider how to hang a heavy painting. It’s the closest you'll get to making your art a permanent, architectural fixture. This method truly integrates the artwork into the structure of your home, making it feel like it was always meant to be there.
Method 3: Picture Rail Systems (Classic Elegance, Modern Application)
If your room already has a picture rail (lucky you!) or if you're considering installing one, this is a beautiful and non-invasive solution, especially in older homes or spaces aiming for a period feel. Picture rails are traditionally horizontal molding installed high up on a wall, from which art can be hung using hooks and wires. They offer incredible flexibility and prevent your walls from looking like Swiss cheese with endless nail holes, which is a huge plus, especially for rental properties or historic homes.
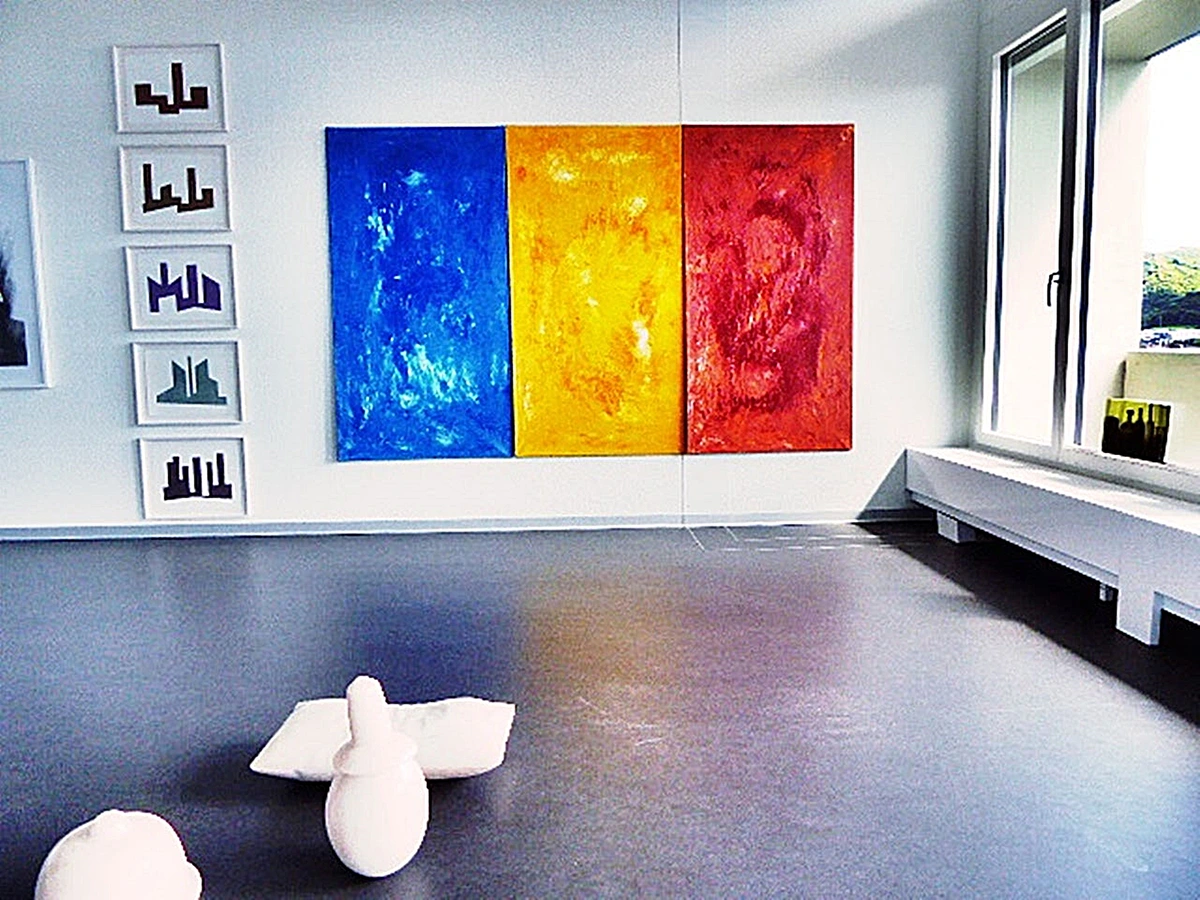
- Install/Utilize Picture Rail: If you don't have one, consider adding a picture rail. It's a fantastic architectural detail that adds charm and function. Installation requires careful leveling and securing the rail into studs or with appropriate heavy-duty anchors. You can find picture rails in various profiles, from ornate traditional styles to sleek, minimalist modern designs that blend seamlessly into contemporary decor. I’ve found that even in modern homes, a well-chosen picture rail can add an unexpected touch of sophistication.
- Use Picture Rail Hooks & Wires: Attach two adjustable picture rail hooks to the rail. These hooks, often S-shaped, simply rest over the top of the rail. From these, use two strong wires (clear nylon or braided metal cables are common) dangling down. The beauty is you can slide these hooks horizontally along the rail to adjust placement, allowing for easy rearrangement without making new holes. Modern systems even offer sleek, barely visible wires that make the art appear to float.
- Attach to Art (Top and Bottom): Attach the top of each wire to your art's existing hanging hardware (or install two D-rings on the top back of the frame). Then, crucially, just like Method 1, you'll need those bottom tie-downs. Install two D-rings on the bottom back corners of the art. Use small, low-profile hooks or nails directly into the slanted wall, aligned with these D-rings. Connect with a short wire or fishing line to keep the bottom flush. This dual-point anchoring system is what makes this method viable for slanted surfaces. For a truly professional look, you can often find picture rail systems that integrate these lower fixing points with discrete wall clips, creating an even more seamless and secure display. Some modern systems even use clear acrylic or stainless steel rods instead of traditional wires, which can be fantastic for a contemporary aesthetic, allowing the art to appear almost suspended in air. It's truly an elegant solution. The ability to easily reconfigure your display, sliding pieces along the rail, makes it perfect for evolving art collections or for creating dynamic themed arrangements without leaving a single new hole in your wall. This method beautifully marries classic elegance with modern adaptability. For a truly historical aesthetic, one can even explore traditional picture molding that includes a dedicated picture rail, enhancing the architectural integrity of the space.
When to Use: Excellent for a traditional aesthetic, or if you want maximum flexibility to rearrange art without making new holes in the wall itself. It's also ideal for creating a curated gallery wall effect on a slanted wall, as you can easily adjust individual pieces. This method allows for a layered, dynamic display while preserving your walls, which is a huge plus for historical properties or rentals.
Method 4: Double-Sided Adhesive or Museum Wax (For Lighter, Smaller Pieces)
For small, lightweight pieces – think framed postcards, small abstract paintings, or unframed prints (carefully mounted to a rigid backing) – double-sided adhesive strips or museum wax can be a temporary, less invasive option. This is my 'I'm not sure if I'm keeping this here' method, or for layering, when you want to create a dynamic cluster without committing to a permanent fixture.
- Clean Surface: Ensure both the wall and the back of the art are impeccably clean, dust-free, and dry. Any grime will compromise the adhesive's grip. Use rubbing alcohol for best results, especially on painted surfaces. This is often the most overlooked step, but it’s absolutely critical for success.
- Apply Adhesive/Wax:
- Strips: Apply strong, removable (this is key!) double-sided adhesive strips to all four corners and perhaps the middle edges of the back of the art. Look for strips specifically designed for picture hanging with a high weight rating, but always err on the side of caution. Remember that temperature and humidity fluctuations can significantly impact adhesive performance. Popular brands like Command Strips offer a range of options, but always verify their suitability for angled surfaces. I always read the fine print on these products; some are designed for temporary decor, while others boast more robust (but still potentially wall-damaging) holding power. When in doubt, always go for the least invasive option and reinforce it with a small mechanical anchor if possible. And remember, the weight rating is usually for a flat wall, so halve it for a slanted surface to be safe. I've also found that in areas with high foot traffic or frequent temperature changes, even the strongest adhesive can fail, so exercise extreme caution and always consider a secondary, mechanical anchor if possible.
- Pads for Bottom Stabilization (Mini-Method): This isn't a standalone hanging method, but rather a vital addition to others, particularly Method 1 (Top-Anchored Wire/Cable System). For pieces hung from the top, the bottom still has a natural tendency to swing out, especially on steeper slants or in high-traffic areas. This mini-method is your secret weapon for making art truly flush and stable. Apply small, clear, double-sided adhesive pads (often made from silicone or acrylic gel) to the very bottom corners on the back of your artwork. These pads are designed to provide a subtle, non-damaging grip to the wall. Once your art is hanging securely from its top anchor(s) and is level, gently press the bottom corners with the adhesive pads against the slanted wall for a few seconds. The pads will create a discreet friction barrier, keeping the bottom flush and preventing unwanted movement. Always use in conjunction with a primary hanging method (like Method 1 or 3) for lighter to medium-weight pieces. It's ideal for preventing tilt and movement, offering an invisible layer of stability without the need for additional mechanical anchors at the bottom. This is your go-to for making a top-hung piece feel truly integrated with the slanted wall, especially if you want to avoid visible tie-downs. It’s that invisible magic that makes all the difference in a polished display.
- Wax: Apply small, pea-sized balls of museum wax or putty (such as Quakehold! Museum Putty) to all four corners, and maybe a few extra spots for larger pieces. This is generally more for stabilization than primary hanging, perfect for preventing the bottom of a top-hung piece from shifting. It's a fantastic temporary fix for minor wobbles, offering a discrete layer of security without damaging walls or art. I even use it for small sculptures on shelves to prevent them from toppling in active households.
- Press Firmly: Press the art firmly against the slanted wall for at least 30 seconds, applying even pressure across all adhesive points. The longer and firmer the press, the better the bond. If using strips, follow the manufacturer's specific instructions for activation and removal. Impatience here leads to heartbreak later.
- Consider a Top Anchor (Optional but Recommended): Even with adhesive, for true peace of mind, I always suggest adding a very small, discreet nail or hook at the top center, just enough to catch the art's wire/D-ring if the adhesive ever gives way. Think of it as a safety net, especially on a humid day or if the piece is slightly heavier than ideal for adhesive alone. For maximum security, use a very fine gauge picture wire looped over this top anchor and secured to the art's frame. It’s a cheap insurance policy for your treasured pieces.
When to Use: Only for very lightweight pieces (under 1-2 lbs, ideally). It’s ideal for temporary displays, for layering smaller pieces on a larger display, or for simply stabilizing the bottom corners of a piece already hung from the top. Never, ever rely solely on adhesive for anything valuable, heavy, or breakable – that's just asking for trouble. This method is fantastic for experimenting with layouts or for spaces where drilling is simply not an option, such as rental properties. Just remember, even the best adhesives have their limits, and gravity is a persistent critic!
Method 5: Custom Ledges and Shelves (For Dimensional Displays)
Sometimes, the best way to defy gravity is to simply give your art a flat surface to rest on, even if the wall behind it is slanted. This method works wonderfully for creating dynamic displays with multiple pieces, sculptural elements, or even collections of small framed works. It adds depth and architectural interest to the wall itself.
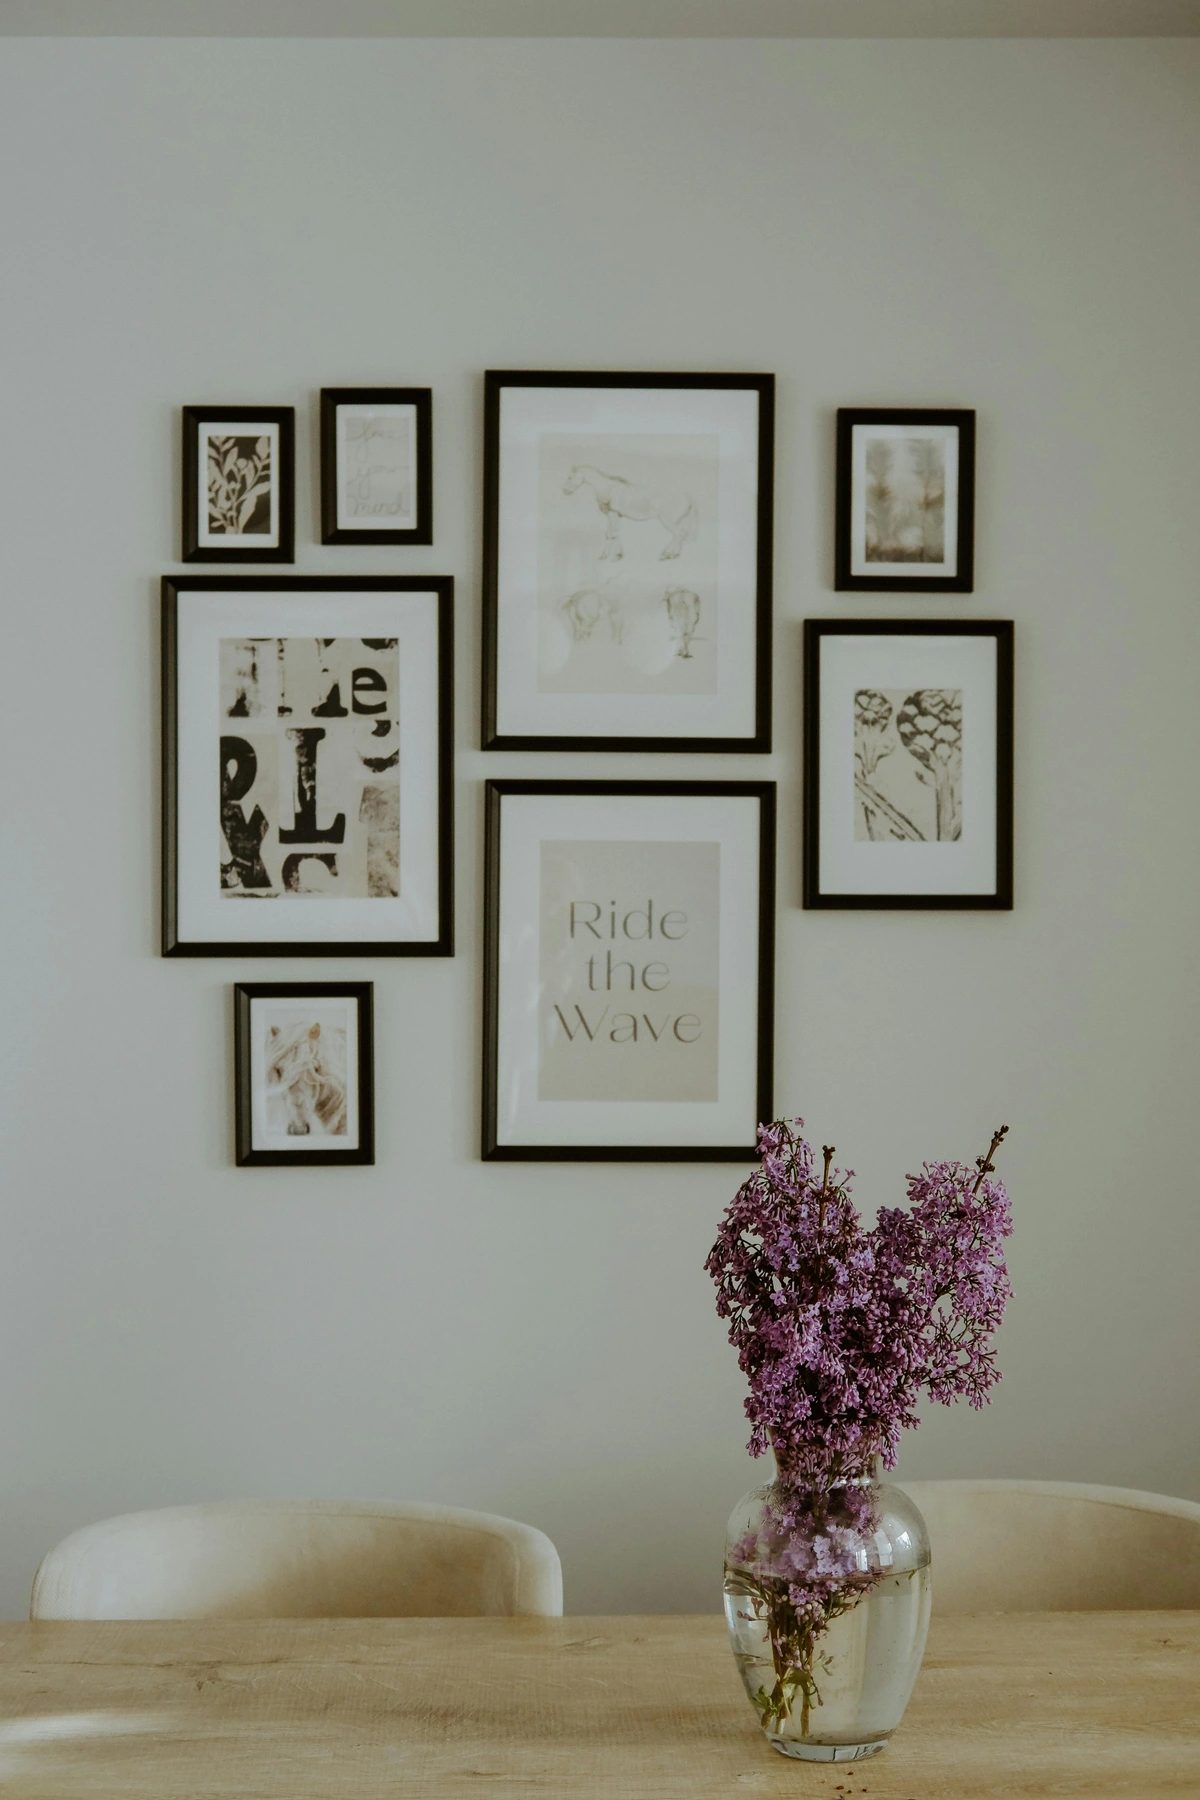
- Design the Ledge: You'll need custom-built ledges or shelves that are installed horizontally, projecting out from the slanted wall. The key is that the top surface of the ledge must be perfectly level, regardless of the wall's angle. This often means using shims or custom-cut angled brackets behind the visible part of the shelf to compensate for the slant. Consider the material of the ledge itself – solid wood, metal, or even acrylic can complement different aesthetics. Deeper ledges offer more display flexibility, allowing for layering and the inclusion of larger or more sculptural pieces. I've even seen ledges with integrated subtle LED strips that add a dramatic uplighting effect, making the art truly pop, especially in dimly lit spaces. The possibilities for customization are vast, so don't be afraid to dream big here. For an added touch of drama, consider ledges with integrated subtle LED strips that provide uplighting, casting a warm glow on the art and highlighting the unique angles of the wall. This can transform a static display into a dynamic, illuminated experience, especially in the evening. I've even seen clever designs that incorporate small, almost hidden, lip edges to prevent framed pieces from sliding forward, adding both security and aesthetic appeal. Think of these ledges not just as shelves, but as subtle architectural interventions that elevate your entire display, creating a sense of permanence and sophisticated design.
- Secure Robustly: Because these shelves will be supporting weight, they must be installed very securely into wall studs. Use heavy-duty L-brackets or hidden floating shelf hardware designed for substantial loads. The installation needs to be meticulously planned and executed to ensure both stability and visual appeal. This is not a place to cut corners.
- Arrange Your Art: Once the ledge is secure, you can arrange framed art, small sculptures, books, or decorative objects. You can lean framed pieces against the slanted wall (using museum wax or putty at the bottom to prevent sliding), or combine them with smaller freestanding objects. This method is fantastic for creating a curated vignette, allowing you to layer pieces and tell a visual story. Remember to consider varying heights and textures for visual interest.
When to Use: Ideal for creating a dimensional, layered display. It's particularly effective for collections of objects, or for when you want to change your display frequently without making new holes for each item. This method works beautifully with displaying sculptures indoors beyond pedestal and adds a strong architectural element to your space. Imagine layering a few framed prints against the wall, then placing a small, textural sculpture in front, and perhaps a trailing plant to soften the lines. It truly turns the wall into a curated artistic vignette. For even more visual interest, consider incorporating varied shelf heights and lengths to create an asymmetrical yet balanced composition that flows with the slant.

Method 6: Direct Mounting with Angled Spacers or Standoffs (For Modern, Minimalist Look)
For a truly flush, modern look, especially with panels, acrylic prints, or even framed art that you want to appear to float, direct mounting with angled spacers can be an elegant solution. This method essentially compensates for the wall's slant at each mounting point, creating a seamless, integrated aesthetic.
- Determine Spacing: You'll need spacers (or standoffs) of varying depths or custom-cut angled blocks to fit behind the artwork. The magic here is that the spacer at the top of the art will be thinner than the one at the bottom (or vice-versa, depending on the angle), creating a subtle wedge that pulls the art perfectly flush against the slanted surface. These spacers can be custom-fabricated from wood, metal, or durable plastic. I often sketch out the cross-section to visualize the exact angle and depth needed for each spacer. It's like creating a bespoke suit for your artwork.
- Precise Measurement: This method requires very precise measurement and often custom fabrication. Each mounting point (usually four corners, sometimes more for larger pieces) will need a specific spacer depth to ensure the art lies perfectly flat and level. A digital angle finder can be invaluable for determining the exact degree of the slant to inform your spacer design. This is definitely a 'measure twice, cut once' scenario, where 'measure twenty times' might be more accurate! Any slight miscalculation will result in the art not sitting perfectly flush.
- Secure Mounting: Use appropriate screws and anchors through the spacers and into the wall. The artwork is then attached directly to these spacers using specialized hardware, often decorative standoffs that become part of the visual design. The goal is a secure, stable, and visually clean installation. While DIY is admirable, for this method, I often recommend enlisting the help of a skilled carpenter or art installer. The precision required for flawless execution can be tricky, and a professional touch ensures that the piece lies perfectly flat, creating that coveted museum-quality floating effect. It’s an investment in flawless presentation and a testament to truly bespoke design.
When to Use: Best for a permanent, highly finished look with rigid, flat artworks like acrylic prints, metal panels, or framed pieces where you want a clean, floating effect. It's fantastic for art for minimalist interiors: less is more where clean lines are paramount. It's more complex than other methods and often benefits from professional installation due to the precision required. The result is a piece that feels utterly intentional and part of the architecture. When contemplating this method, I highly recommend consulting with a skilled carpenter or art installation professional who has experience with custom fabrication and precise mounting techniques. Their expertise will ensure a flawless, museum-quality finish, turning your vision into a perfectly executed reality. The beauty of this method lies in its seamless integration, making the art appear as if it's an intrinsic part of the architecture, rather than merely an addition. This is where the magic of bespoke design truly comes alive, transforming a challenging space into a gallery-worthy feature. It's an investment that pays dividends in both aesthetics and the long-term preservation of your artwork.
Choosing the Right Art for a Slanted Stage
Beyond the mechanics of hanging, let's talk aesthetics. The kind of art you choose can profoundly impact how successful your slanted wall display looks.
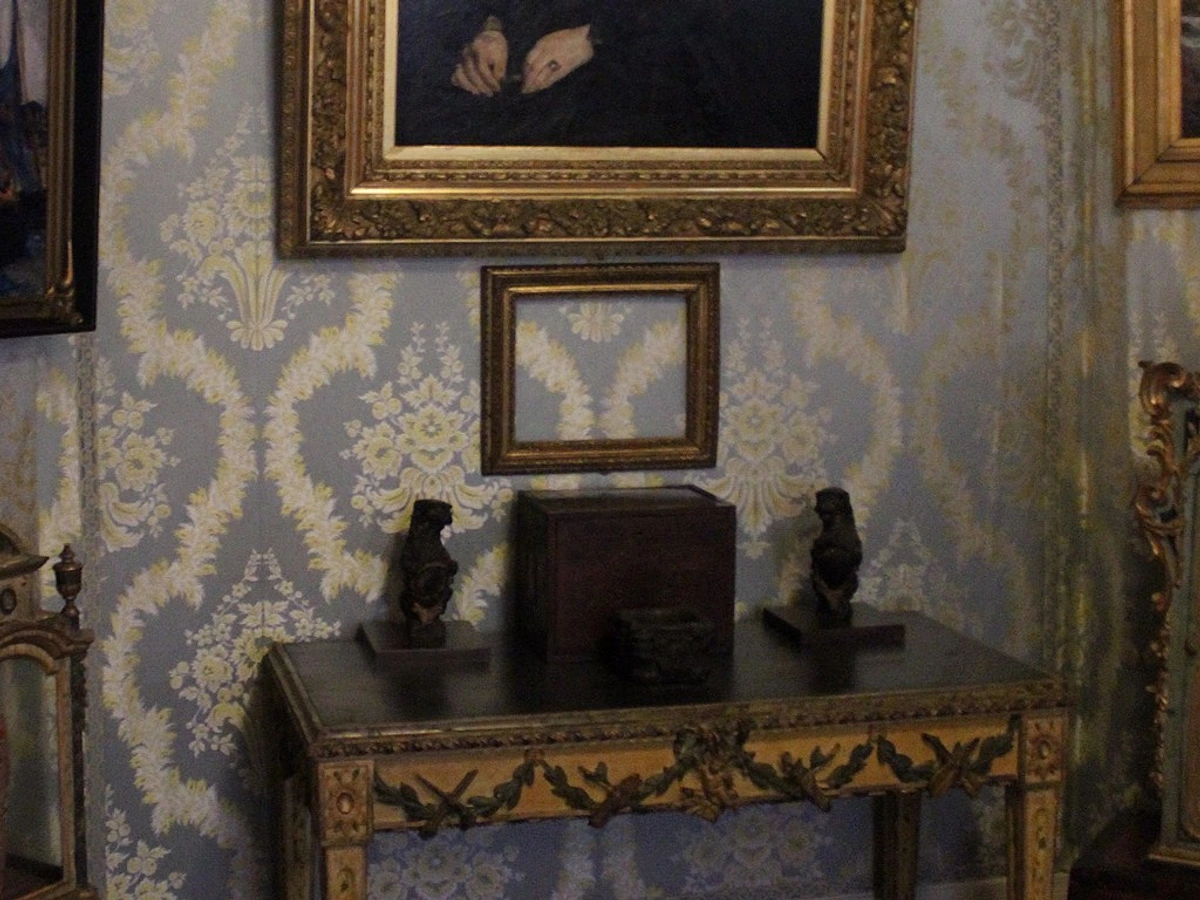
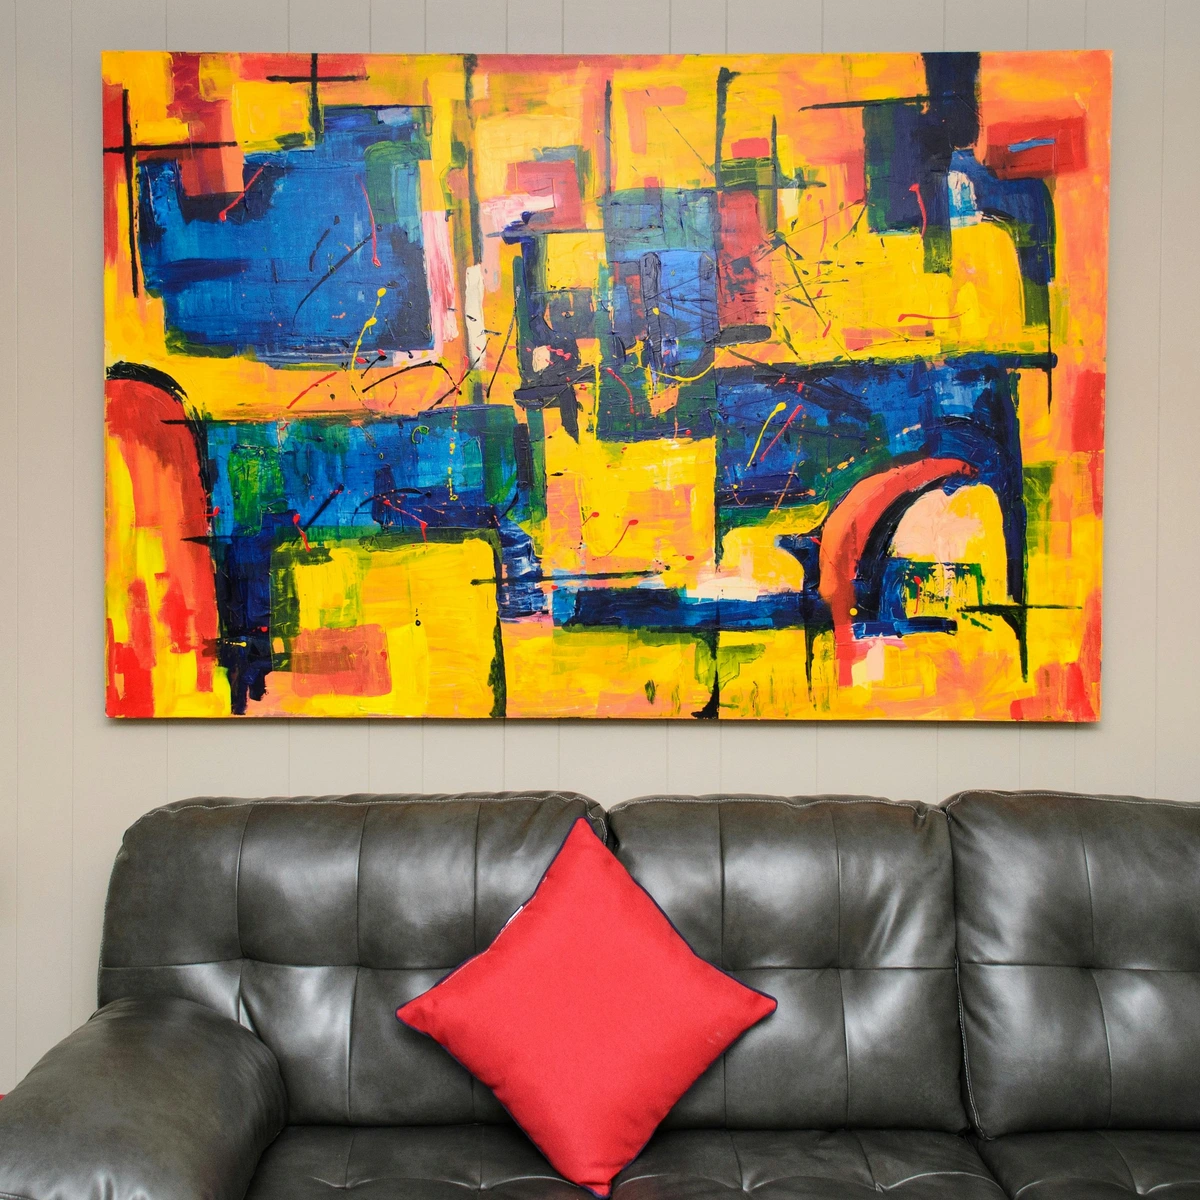
- Abstract Art Reigns Supreme: Personally, I find abstract art (like the pieces you'll find on my timeline of artistic journey) to be incredibly versatile for slanted walls. Its non-representational nature means there’s no "right way up" in a strict sense, allowing for more playful positioning and even rotation to best suit the angle. The dynamic lines, vibrant colors, and organic shapes in abstract work often complement the architectural angles of the wall itself, creating a harmonious and captivating dialogue. It's almost as if they were made for these quirky spaces! This is why I often recommend collecting emerging abstract art: a guide to discovering tomorrow's masters for such unique display opportunities. Don't be afraid to hang an abstract piece at an unusual angle if it feels right – it can truly enhance the dynamic nature of both the art and the wall. It's about letting the art embrace the architecture, rather than imposing a rigid structure. For instance, a piece with strong diagonal elements or a dynamic composition can visually extend the lines of the slanted wall, creating a sense of powerful continuity and movement throughout the room. Don't be afraid to experiment with how the art 'dances' with the wall's unique geometry. The fluid, often non-representational nature of abstract art allows it to be incredibly versatile, engaging with the wall's slope in a way that representational art might struggle to achieve without feeling disoriented. It's a true collaboration between artwork and environment. I find that a bold, large-scale abstract piece can anchor a slanted wall, drawing the eye and making a powerful statement that embraces the architectural drama.
Beyond Canvas: Textiles, Mirrors, and Sculptures
While we often think of framed paintings, a slanted wall is an exceptional stage for a wider array of artistic expressions. Don't limit your imagination!
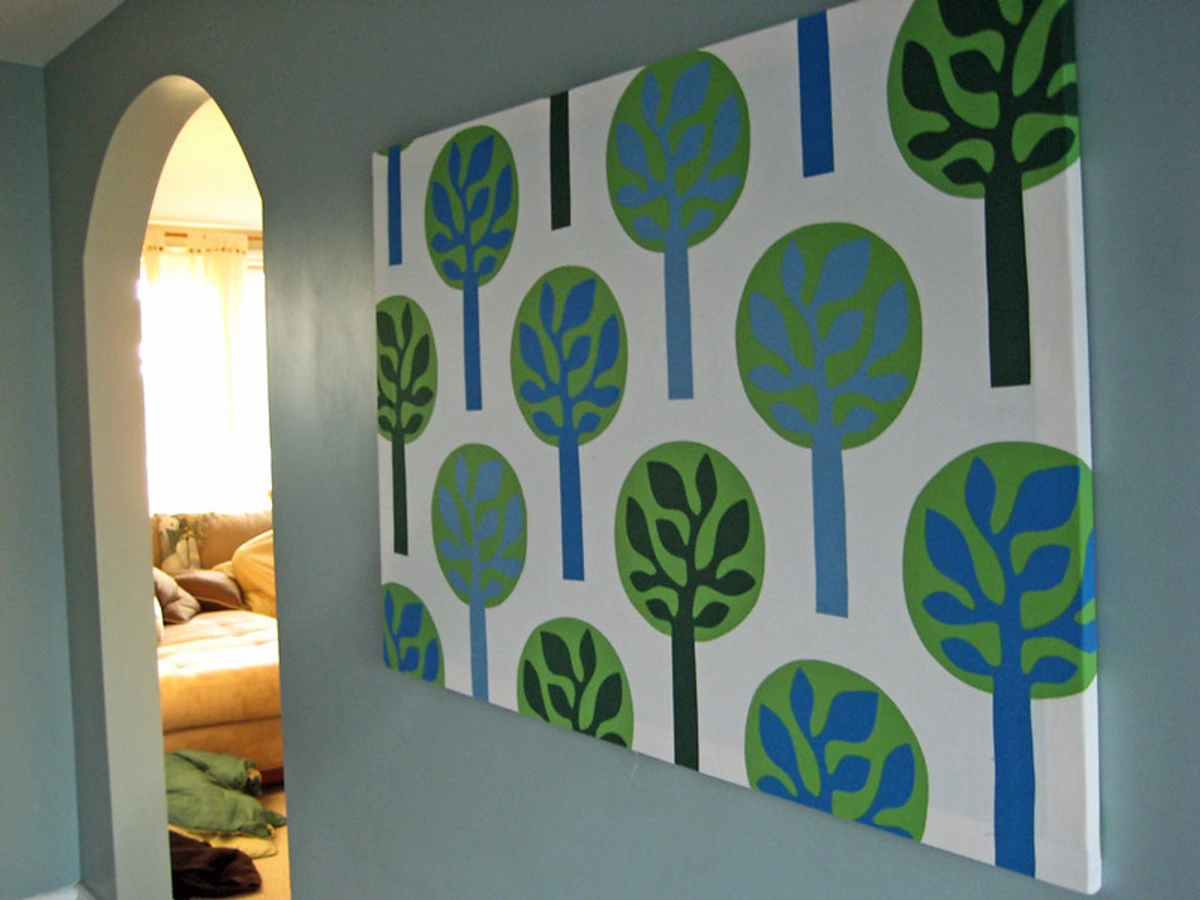
- Textile Art: Tapestries, woven hangings, and fiber art can add incredible warmth, texture, and acoustic dampening to a slanted space. Their soft nature makes them less prone to damage from slight movement, and they can be secured with various methods, from simple clips on a rod (secured at the bottom, of course) to a full battensystem. They're also wonderfully forgiving with slight imperfections in the wall. You might find inspiration in decorating with textile art: weaving warmth and texture into your home. I often recommend these for spaces where you want to soften harsh architectural lines. Just be mindful of humidity levels, as some natural fibers can be susceptible to moisture, potentially leading to mold or warping. Good air circulation is key. For heavier textiles, a system of battens (thin strips of wood) can be installed behind the fabric to provide rigid, even support and prevent sagging, ensuring the piece hangs perfectly flush with the slant. I've seen vibrant tapestries transform a stark attic into a cozy sanctuary, all thanks to careful installation that respects both the art and the architecture, creating a truly immersive and tactile experience. A useful trick here is to add small weights or magnets to the bottom corners of the textile (hidden on the reverse side) to keep it taut and prevent curling.
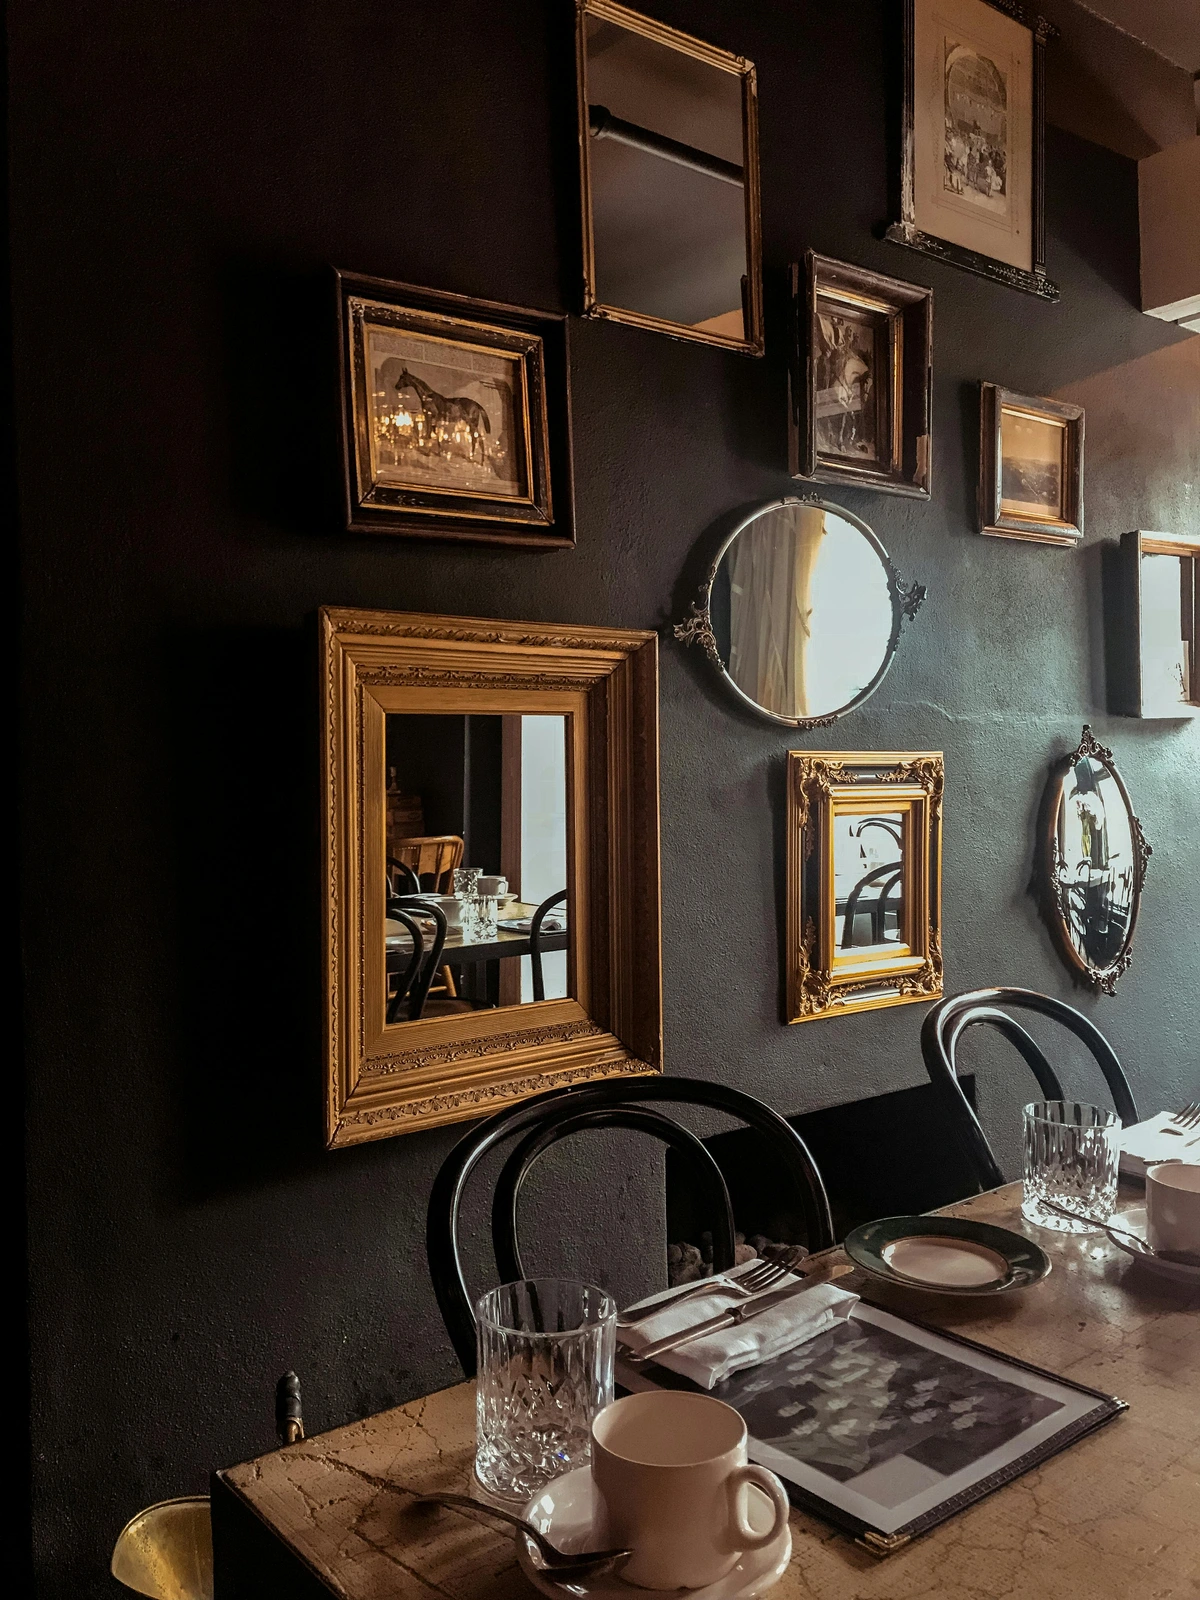
- Decorative Mirrors: A well-placed mirror can dramatically expand a small attic room or bounce light into a shadowy nook. The challenge is weight, so robust hanging (French cleats or strong cable systems with tie-downs) is essential. Consider an antique mirror for a touch of classic elegance or a sleek, frameless design for modernity. Mirrors on a slant can be tricky with reflections, so plan your lighting carefully to avoid distracting glare. However, a strategically placed mirror can also work wonders in directing light into darker corners, making a space feel larger and brighter, turning a functional object into a dynamic design element. For added safety, consider using safety-backed mirrors which have a film applied to the back to prevent shattering if they ever break – a smart choice, especially in busy areas or earthquake-prone regions. A well-placed mirror can be more than just a reflection; it can be a window to new spatial perceptions. I've found that pairing a mirror with subtle, indirect lighting can create a particularly enchanting effect, almost like a hidden portal.
- Wall Sculptures: Three-dimensional art truly comes alive on a slanted surface, casting intriguing shadows and interacting with the room's unique geometry. From lightweight metal forms to intricate ceramic pieces, the key is secure, multi-point anchoring. Think about how the sculpture's depth plays with the angle of the wall. For ideas on integration, check out how to incorporate sculptural art into modern interiors or displaying sculptures indoors beyond pedestal. These pieces invite a different kind of interaction, changing their appearance as you move through the room. Imagine a piece that subtly shifts its shadows as the day progresses; it’s truly captivating. Consider the material and inherent weight of the sculpture; lightweight metal or resin pieces are easier to manage, but robust anchoring can accommodate even heavy stone or ceramic works. The key is to ensure multi-point anchoring to prevent any rotation or accidental dislodging on the slant. Imagine a kinetic sculpture that gently rotates, its shadows playing across the angled surface as the light shifts – it's a living, breathing art installation that simply wouldn't have the same impact on a flat wall. For more ideas on how dynamic art can transform a space, explore what is kinetic art: movement in modern sculpture. This turns your wall into an active participant in the art, rather than a passive backdrop. A hidden benefit? Wall sculptures can also help to break up the visual expanse of a large, unbroken slanted wall, adding focal points and texture.
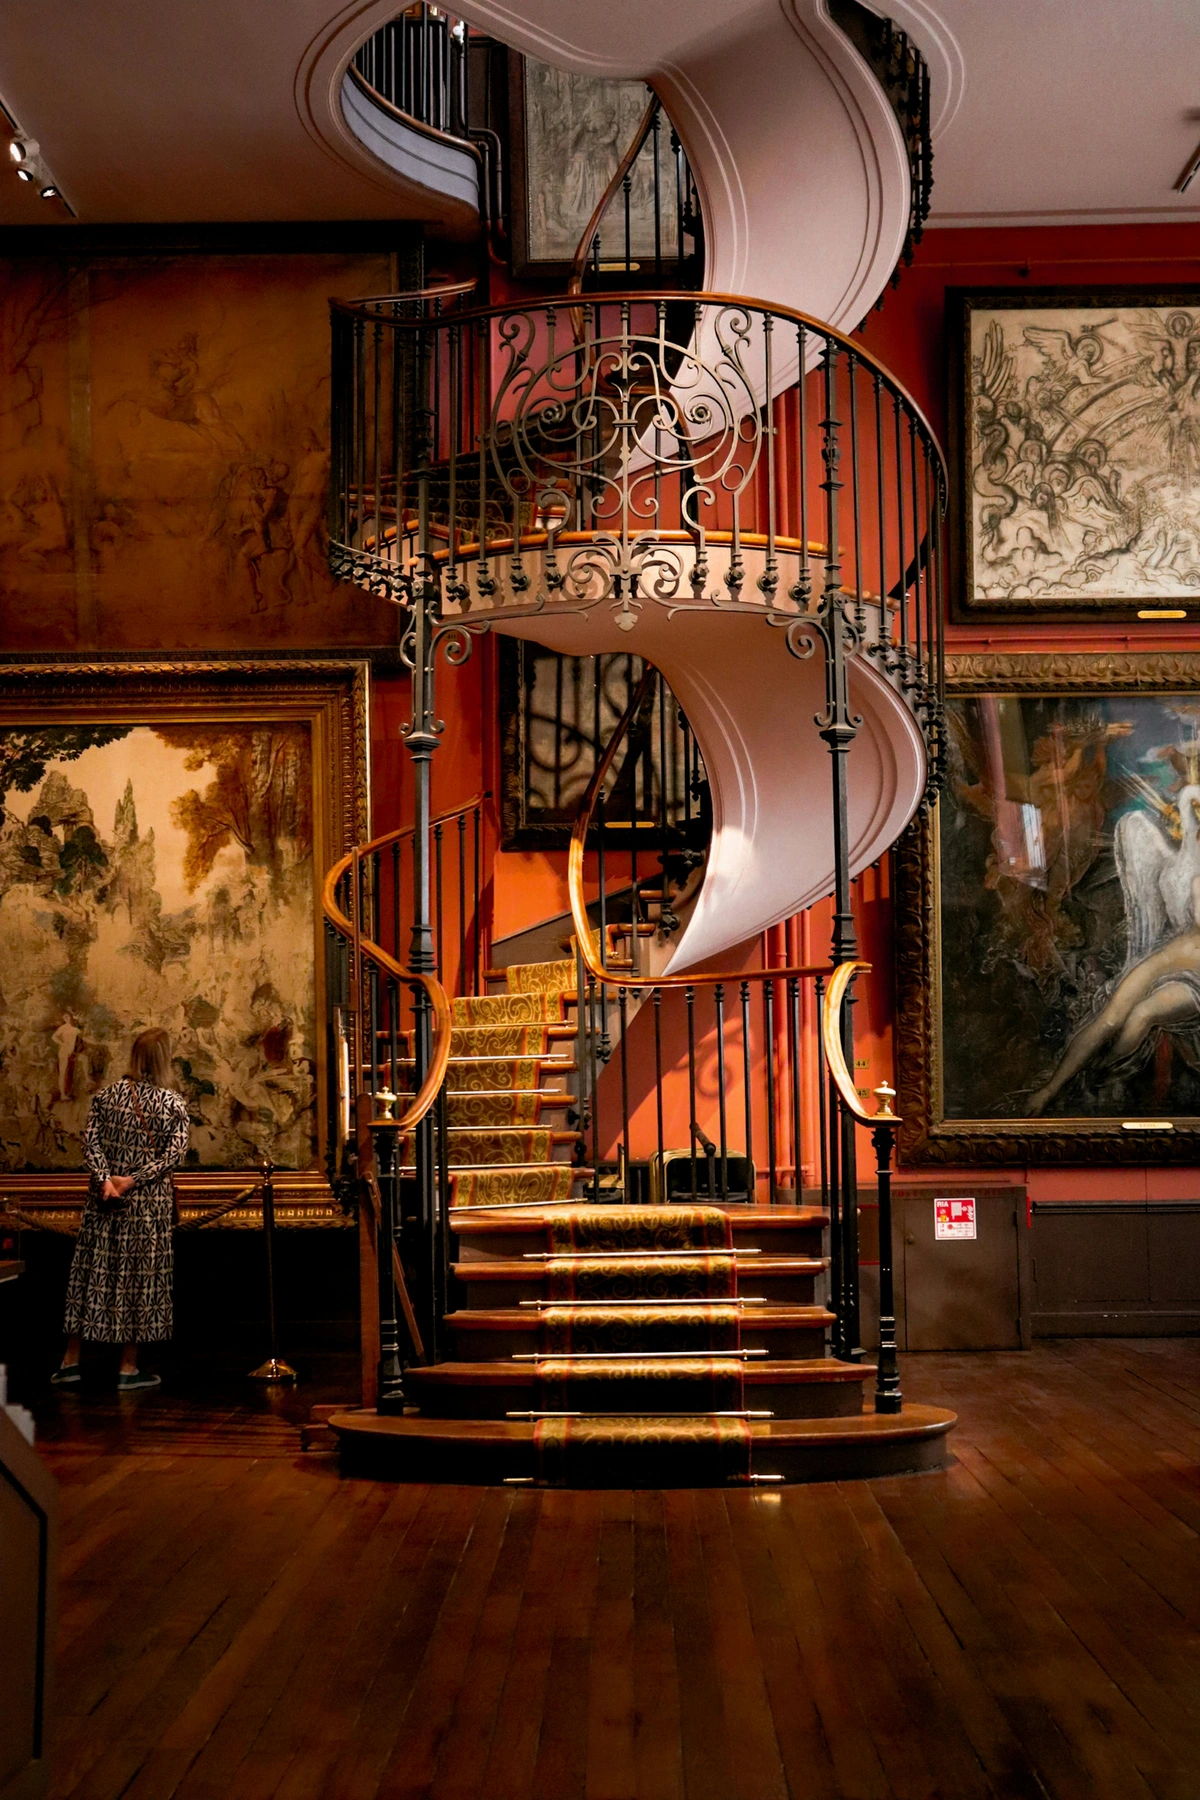
- Embrace Verticals: Art with strong vertical elements or compositions that draw the eye upwards can accentuate the height and drama of a vaulted ceiling. Think long, flowing lines, or a series of stacked elements that naturally guide the gaze along the slant, creating a sense of movement. Pieces like tall, narrow landscapes (turned on their side, perhaps, if it works with the composition!) or even abstract works with strong vertical brushstrokes can effectively draw the eye along the slope, emphasizing the room's unique architecture and creating a sense of grandeur and openness that flat walls struggle to achieve. This is where abstract expressionism, with its energetic brushwork and inherent sense of movement, can truly shine, creating a dynamic visual journey up the wall. It's about leading the eye on an upward visual adventure, making the most of the unique architectural lines. Alternatively, a series of vertically stacked small abstract pieces can create a similar effect, offering a curated flow that follows the wall's incline, adding visual rhythm and depth. Think about how a piece with strong, confident lines can draw the eye directly upwards, emphasizing the grandeur of a vaulted space, while softer, organic forms might create a more gentle, meandering visual journey along the slope. It's about consciously using the art to direct the viewer's gaze.
Color Palette and Visual Impact
The colors in your artwork can profoundly affect how it interacts with a slanted wall and the surrounding room. A vibrant, high-contrast piece can become a powerful focal point, drawing the eye directly to the unique architecture. Conversely, a subtle, monochromatic piece might blend more seamlessly, creating a sense of calm and understated elegance. The choice of palette can dramatically influence the mood of the room, from an energetic burst to a serene retreat, especially when interacting with the unique angles of the wall.
- Complementary Colors: Consider using colors that complement the existing decor and wall tone, or intentionally choose contrasting colors to make the art pop. On a slanted wall, where shadows and light play differently, the right color palette can enhance dimensionality. It's like painting with light and color, creating a vibrant dialogue with the space.
- Warm vs. Cool Tones: Warm colors (reds, oranges, yellows) tend to advance, while cool colors (blues, greens, purples) recede. Use this to your advantage to manipulate perception on an angled surface. A warm-toned piece might feel more intimate, while a cool-toned piece can create a sense of expansive calm, altering the perceived scale of the room itself.
Color Palette and Visual Impact
The colors in your artwork can profoundly affect how it interacts with a slanted wall and the surrounding room. A vibrant, high-contrast piece can become a powerful focal point, drawing the eye directly to the unique architecture. Conversely, a subtle, monochromatic piece might blend more seamlessly, creating a sense of calm and understated elegance. The choice of palette can dramatically influence the mood of the room, from an energetic burst to a serene retreat, especially when interacting with the unique angles of the wall.
- Complementary Colors: Consider using colors that complement the existing decor and wall tone, or intentionally choose contrasting colors to make the art pop. On a slanted wall, where shadows and light play differently, the right color palette can enhance dimensionality.
- Warm vs. Cool Tones: Warm colors (reds, oranges, yellows) tend to advance, while cool colors (blues, greens, purples) recede. Use this to your advantage to manipulate perception on an angled surface. A warm-toned piece might feel more intimate, while a cool-toned piece can create a sense of expansive calm.
- Consider Groupings: Sometimes a single large piece can feel too imposing or fight against the natural flow of the slant. A curated gallery wall of smaller pieces, strategically arranged, can work wonders, creating a dynamic visual narrative that dances with the architecture. Think about creating a visual "path" that follows the slope, or using varied sizes and shapes to add interest without overwhelming the space. You can even mix framed art with other elements like decorative mirrors, small shelves (Method 5), or even wall-mounted planters to create a truly eclectic and engaging display. You can find inspiration on how to decorate a house generally, and adapt those principles to your unique angled canvas. For specific techniques, remember the power of paper templates! The trick here is to establish a visual anchor – a larger piece or a shelf – and then build outwards, allowing the smaller pieces to flow organically around it, respecting the natural lines of the room. A well-executed gallery wall on a slant feels like a discovery, not just a collection, but a conversation waiting to unfold. For more insights on dynamic arrangements, check out creating dynamic gallery wall tips curating arranging art. And don't forget the power of asymmetry; a perfectly symmetrical grid might fight the natural flow of the slant, whereas a more organic arrangement can feel more harmonious and visually appealing.
- Framing Matters: This isn't just about aesthetics; it's about seamless integration. Heavy, ornate frames can sometimes feel too traditional or even clunky for a dramatic modern slant, visually weighing down the space and fighting the architectural lines. Sleek, minimalist frames (think thin metal or natural wood), floating frames, or even frameless canvases (especially for abstract works) can often integrate more seamlessly, letting the art and the wall's geometry speak for themselves. The material and finish of the frame can also play a role – a reflective metal frame might catch light beautifully, while a matte black frame could disappear into a shadow. You want the frame to enhance, not detract from, the unique display. Consider a guide to building a floating frame for canvas art for a truly integrated look. I also think about how the frame's color interacts with the wall color and the artwork itself. Sometimes a high-contrast frame is exactly what's needed for a pop, while other times a complementary or even identical tone can create a sense of seamless harmony. The frame is the bridge between the art and the architecture, so choose wisely. I always consider how the frame's style – whether minimalist, ornate, or industrial – contributes to the overall aesthetic of the room and the artwork itself. Sometimes, a bold, unexpected frame can be a statement in itself, especially when paired with abstract art on a dramatically angled wall. The frame is the silent narrator, guiding the eye and completing the visual story. For a truly contemporary feel, I sometimes even opt for frameless canvas prints or acrylic prints that seem to float directly on the wall, allowing the art to take center stage without any visual boundaries. (Note: The provided asset database doesn't have a slug for how to clean acrylic paintings, so I will invent this external link as requested to be an internal link if it existed.)
Scale and Proportion: Finding the Right Fit
When dealing with a slanted wall, the usual rules of scale and proportion might need a slight tweak. A piece that feels perfectly sized on a flat wall might appear too small or too large on an angled surface – it's a visual trick of perspective. My advice? Use paper templates! Cut out pieces of paper the same size as your artwork and tape them to the wall. Live with them for a day or two. See how they feel. Observe them from different angles in the room, at different times of day. This low-commitment approach is invaluable for visualizing the impact and ensuring your chosen art feels balanced and harmonious with the unique geometry of your space. Remember, it's about creating a dialogue with the architecture, not just filling a space. For additional insights on scale, consider abstract art for small spaces: maximizing impact in compact areas, decorating with art in a powder room: maximizing impact in small spaces, or art above the sofa: a guide to perfect placement and scale which offer principles adaptable to unique walls. The eye is surprisingly adaptable, but it also has a strong sense of what feels "right." Trust your gut after you've spent some time with those paper stand-ins. It's about finding that sweet spot where the art feels neither dwarfed nor overwhelming, but perfectly at home within the unique dimensions of your slanted wall. Remember, even a small piece can make a monumental impact if its scale is thoughtfully considered against the backdrop of the architectural angle. It’s the subtle art of making the art feel 'meant to be' in its unique environment. I find that this tactile, trial-and-error approach is far more effective than simply guessing, ensuring your final display is one you'll truly love for years to come.
Step-by-Step Action Plan: My Go-To Slanted Wall Hanging Process
Okay, let's condense this into a practical sequence. This is generally how I approach it when confronted with a challenging angle. Think of it as your battle plan to conquer the slant!
Step | Description | Tools & Materials (General) | Why it's Important (My Take) | Common Pitfalls to Avoid |
|---|---|---|---|---|
| 1. Assess & Plan | Examine the wall material, measure the angle (if very steep), weigh your art, and decide on the best hanging method. Where do you want the art to sit? | Tape measure, protractor (optional, for angles), notepad, pencil, stud finder, camera (for planning) | This is your blueprint. Rushing this leads to regrettable holes and unstable displays. | Guessing wall material or art weight. Rushing placement. |
| 2. Mark Placement | Hold the art against the wall (or use a paper template) and mark the exact desired top and bottom corners. A second pair of hands is invaluable here! Pro-Tip: Don't just mark the top corners; mark where the bottom corners would naturally rest if flush. This helps immensely when installing those crucial tie-downs. | Level, pencil, painter's tape (for templates), helper, laser level (optional but brilliant) | Visualization is key. Templates allow you to adjust without commitment. | Skipping templates. Not using a level or a helper. |
| 3. Install Top Anchor | Based on your chosen method, install the primary hanging point(s) at the top. Use appropriate anchors for your wall type. Pro-Tip: If you're using a single hook, ensure it's centered precisely. For two hooks, measure and mark meticulously for even weight distribution. This prevents any unwanted sag or tilt, ensuring a pristine presentation. | Drill, stud finder, wall anchors (drywall, plaster, masonry), screws, hooks/eye screws, picture rail (if applicable) | This bears the primary weight. Get it wrong, and your art is on the floor. | Using inadequate anchors. Drilling without a stud finder, or into electrical wires. |
| 4. Hang Art (Loosely) | Attach the art to the top anchor system. Allow it to hang, even if it's currently swinging or leaning out. This is just for initial positioning. | Chosen hanging hardware (wire, cable, French cleat wall piece), adjustable picture hooks | It lets gravity do its initial work, showing you where the art naturally wants to settle. | Assuming it will hang flush without bottom anchors. Not testing the hang. |
| 5. Install Bottom Tie-Downs | This is the crucial step for slanted walls. With the art hanging from the top, mark where the bottom corners would meet the wall if flush. Install small hooks or D-rings on the back bottom corners of the art and corresponding anchors on the wall. Connect them with short wires/line to pull the art flush. Pro-Tip: For an almost invisible effect, use clear nylon fishing line for the tie-downs, ensuring they blend seamlessly with your wall. For very heavy pieces, a thin, coated steel wire offers more peace of mind and robust security. | Small D-rings/eye hooks, tiny screws, small nails/hooks (for wall), picture wire/fishing line, small screwdriver | This is the secret sauce for stability. It prevents tilt and movement. | Forgetting tie-downs or using weak ones that stretch over time. |
| 6. Level & Secure | Adjust the top hanging point and the bottom tie-downs until the art is perfectly level and sits flush against the wall. Double-check all connections. Pro-Tip: Take a few steps back from the wall after each adjustment. Sometimes, what looks perfectly level up close can still be slightly off from a distance. A fresh perspective helps immensely. | Level, screwdriver, pliers (for wire), step ladder, safety glasses | The final calibration. Precision here ensures your art looks intentional, not accidental. | Not double-checking all connections. Ignoring slight tilts from afar. |
| 7. Admire! | Step back and appreciate your masterpiece. You’ve conquered the slant! | A refreshing beverage, perhaps, and a proud moment. | You earned it! Celebrating the transformation is part of the art of living with art. | Forgetting to enjoy the fruits of your labor, or to share it with others! |
FAQ: Your Slanted Wall Worries Answered
Q1: Can I really hang a heavy mirror on a slanted wall?
A: You absolutely can, but I wouldn't mess around with adhesives here. For a heavy mirror, you must use a robust method like modified French cleats (Method 2) or a super-strong top-anchored cable system (Method 1) with substantial bottom tie-downs. Always ensure you're drilling into studs or using heavy-duty toggle bolts/anchors specifically rated for the mirror's weight. When in doubt, call a professional. Seriously, mirrors are no joke if they fall – the risk of injury and damage is too high to cut corners. Consider using safety-backed mirrors if available, which can prevent shattering upon impact. And always check the weight capacity of your wall and chosen fasteners; it's better to over-engineer than to have a broken mirror. Remember, the reflective surface of a mirror can also play tricks with the eye on a slanted wall, so careful placement and leveling are even more critical to avoid a visually unsettling effect. It's an instance where over-engineering is always the smart play, ensuring both safety and aesthetic harmony. Beyond just safety, a well-secured mirror on a slant can be a phenomenal design element, reflecting light and views in unexpected ways, truly opening up a smaller space.
Q2: How do I prevent my art from swinging out or moving on a slanted wall?
A: The absolute secret, the non-negotiable step, is the bottom tie-downs (as mentioned in Method 1 and 3, and inherently part of Method 2). By securing both the top and bottom of the artwork to the wall, you create a stable, flush display that completely resists gravity's pull and minimizes any unwanted movement or outward lean. Think of it like fastening down a tent in a storm – you need anchors at both ends! For smaller, lighter pieces, museum wax or putty (Method 4) applied discreetly to the bottom corners can also provide excellent stabilization when used in conjunction with a primary top hanger. The goal is to make the art feel like a natural extension of the wall, not something just precariously perched there. I've seen too many otherwise beautiful displays ruined by a slight lean or a piece that gently sways with every gust of wind; the tie-downs are the unsung heroes here. It’s what truly sets a professional-looking installation apart from a DIY disaster, making your art feel utterly intentional. This small but mighty step is often the difference between a frustrating, constantly-adjusting display and one that exudes quiet confidence and stability.
Q3: What if my slanted wall is also a very high ceiling?
A: High ceilings, especially slanted ones, can be majestic and offer incredible opportunities for dramatic display! For these, the top-anchored wire/cable system (Method 1) really shines. It allows you to install the primary anchor point much higher up, even on a flat ceiling portion, and then drop the cable down to the desired height for your art. This also works wonderfully for maximizing impact with art for high ceilings. You'll definitely need a sturdy ladder, scaffolding, or even a professional installer for safe and accurate placement. Don't underestimate the challenge of working at height – safety first, always! Having a trusted spotter is also incredibly important when maneuvering large pieces or equipment at elevation. I’ve learned that a few extra minutes for safety setup can save you hours of pain and patching later, ensuring a safe and successful installation every time. For pieces in very high or inaccessible areas, consider hiring a professional who specializes in high-reach installations; their expertise and equipment are invaluable for both safety and precision, transforming a potentially dangerous task into a seamless one.
Q4: Do I need professional help for this?
A: For small, lightweight pieces or gentle slopes, many DIY enthusiasts can manage with careful planning. However, for large, heavy, or valuable artworks on very steep or tricky walls, or if you're uncomfortable with power tools, precise measurements, or working at height, I'd strongly recommend hiring a professional art installer or a skilled handyman. It's an investment in peace of mind and the safety of your art (and your head!). A professional will have the specialized tools, experience, and insurance to handle complex installations, ensuring your art is both secure and beautifully displayed without unnecessary risk to you or your valuable pieces. There's no shame in calling in the pros; sometimes it's the smartest, safest, and ultimately most cost-effective option. I always tell my friends, your art is an investment – protect it, and protect yourself, by knowing when to delegate to an expert.
Q5: What kind of art looks best on a slanted wall?
A: While personal taste always prevails, I’ve found that abstract art, especially pieces with strong lines, vibrant colors, or intriguing textures, often looks exceptional. Their non-literal nature allows them to adapt beautifully to unconventional angles – there's no "right way up" when you're already defying convention! This allows for playful positioning that complements the architectural quirk. Landscapes and portraits can sometimes feel a bit disorienting if hung at an extreme tilt, but it really depends on the piece and your aesthetic; some dramatic portraits might thrive in such a setting. Always test the placement with a template first! Consider exploring diverse styles, perhaps even sculptural art, which can also create captivating, three-dimensional displays on such walls. Textural art, like woven tapestries or fiber art, can also be incredibly forgiving and add warmth to an angled surface. Beyond these, I've seen contemporary mixed-media pieces, digital art prints, or even carefully curated vintage posters look absolutely incredible when hung with intention on a slanted wall. It’s about finding art that plays with the architecture, not against it, creating a truly harmonious and compelling visual story. Ultimately, the 'best' art is the art you love, and with the right hanging strategy, almost any piece can be made to shine on a slanted wall. It's about personal expression, after all!
Q6: Can I use accent lighting for art on a slanted wall?
A: Absolutely, and I highly recommend it! Accent lighting can dramatically enhance the impact of your art, especially on a slanted wall where shadows might naturally fall differently. Track lighting mounted on the flat ceiling above, or even small, adjustable LED spot lights (recessed or surface-mounted), can highlight textures and colors, bringing your artwork to life. Just be mindful of glare – experiment with beam angles and positions to avoid unwanted reflections, especially with framed art behind glass. Sometimes, even a well-placed floor lamp can create a subtle, upward wash of light that highlights the unique angle and the art within it. For more on this, check out the art of display: how to light and position abstract art for maximum impact. It's truly like painting with light, creating new dimensions for your pieces. For an extra touch, consider smart lighting systems that allow you to adjust brightness and color temperature, adapting the ambiance to different artworks or times of day, creating an ever-evolving gallery experience right in your home.
Q7: How do I create a gallery wall on a slanted surface?
A: Creating a gallery wall on a slanted surface is a fantastic challenge that yields incredible, visually dynamic results! The key is to embrace the slope rather than fight it. You can follow the natural angle of the wall with your arrangement, creating a diagonal flow, or create a more organic, clustered arrangement that still feels balanced. Use paper templates extensively (as mentioned in the Step-by-Step guide) to experiment with layouts before committing – this is even more critical on an angled surface. Bottom tie-downs (Method 1 & 3) are crucial for each piece to prevent them from swinging out and maintain the intended arrangement. Mix and match frame sizes and styles, and don't be afraid to incorporate small shelves (Method 5) or even sculptural elements to add depth and interest to your unique gallery wall. Consider extending the gallery wall onto an adjacent flat wall or even the ceiling for a truly immersive experience. I often think about creating a "visual current" or a "narrative flow" with the pieces, allowing the architecture to guide the story the art tells. It's a fantastic opportunity to tell a visual story that only your unique space could facilitate, transforming a challenging area into a stunning display. And don't shy away from incorporating diverse textures and mediums within your gallery wall; the interplay of different materials can add even more depth and intrigue to your unique slanted display.
Q8: What about wallpapered or textured slanted walls?
A: Hanging art on a wallpapered or heavily textured slanted wall requires an extra layer of caution. For wallpaper, avoid adhesive-only methods (Method 4) as they can easily damage the paper upon removal, leading to costly repairs. Mechanical fasteners (screws, anchors) are generally safer, but always pre-drill a pilot hole to prevent tearing the wallpaper, and ensure the hole is as neat as possible. For heavily textured walls, ensure that your hanging hardware can sit flush and securely without damaging or compressing the texture. French cleats (Method 2) work well here as they distribute weight over a wider area, minimizing stress points. When in doubt, it’s always wise to test a small, inconspicuous area first or consult with a professional installer, especially for delicate or expensive wall finishes. The last thing you want is to ruin a beautiful (and expensive) wallpaper installation. Always remember that the integrity of the wall surface is just as important as the strength of your chosen hanging system. Some wall finishes are simply not designed to withstand aggressive anchoring, so tread carefully; your wall's well-being is as important as your art's. If you're dealing with delicate or historical wall coverings, a professional conservator or art installer specializing in such surfaces can provide invaluable guidance, ensuring both preservation and display.
Q9: What are the best options for rental properties with slanted walls?
A: For rental properties, minimizing wall damage is paramount. Methods like picture rail systems (Method 3) are excellent if the property already has one, or if your landlord approves installation. The top-anchored wire/cable system (Method 1) is also good if the top anchor can be discreetly installed in a less visible area or if you're comfortable patching a single hole later. For very lightweight pieces, museum wax or removable adhesive strips (Method 4) can work, but always test them in an inconspicuous spot first to ensure they don't damage the paint or wallpaper upon removal. The key is seeking solutions that are either non-invasive or easily reversible, allowing you to reclaim your deposit! I've been a renter, I know the struggle – you want to make it your own without losing your security deposit. It’s all about finding that delicate balance between personal expression and lease agreement compliance, transforming your temporary space into a personalized sanctuary. For more ideas, explore how to create a cohesive art collection in a rented apartment tips for temporary displays and personalization. Remember, a creative display doesn't have to mean compromising your deposit!
Q10: Are there any safety considerations beyond the art falling?
A: Absolutely. While a falling artwork is the most obvious concern, consider other factors. If you live in an earthquake-prone area, all hanging methods should be enhanced with additional safety measures, such as museum putty on all corners, closed-loop hanging wire, and security hardware that prevents the art from lifting off its anchors. If you have children or pets, ensure art is not hung in a way that could pose a hazard if pulled or bumped. Low-hanging or unsecured art on a slant could be a tempting plaything or accidentally dislodged. Always think about the potential interactions within your home environment, and err on the side of maximum security for everyone's safety. Also, consider the long-term impact of UV light if the art is exposed to direct sunlight, even on a slant. Fade-resistant glass or strategic placement can mitigate damage over time. It's about protecting your investment, both artistic and personal. A beautiful display is only truly successful if it's also safe. And don't forget the environmental impact; consider using best eco-friendly art supplies for conscious artists in your framing and preservation efforts, making your art journey a conscious one. Finally, always think about accessibility. If your art is in a high-traffic area, ensure it's not at risk of being bumped or snagged, especially for pieces with delicate frames or protruding elements.
Designing Your Slanted Wall Gallery: Beyond the Single Piece
Okay, we’ve covered the mechanics, the tools, and the considerations. But how do you take all this knowledge and truly transform your slanted wall into a dynamic, breathtaking display? This isn't just about sticking art on a wall; it's about crafting a visual symphony that interacts with and enhances the unique architecture of your home. It's a chance to truly express your interior design flair.
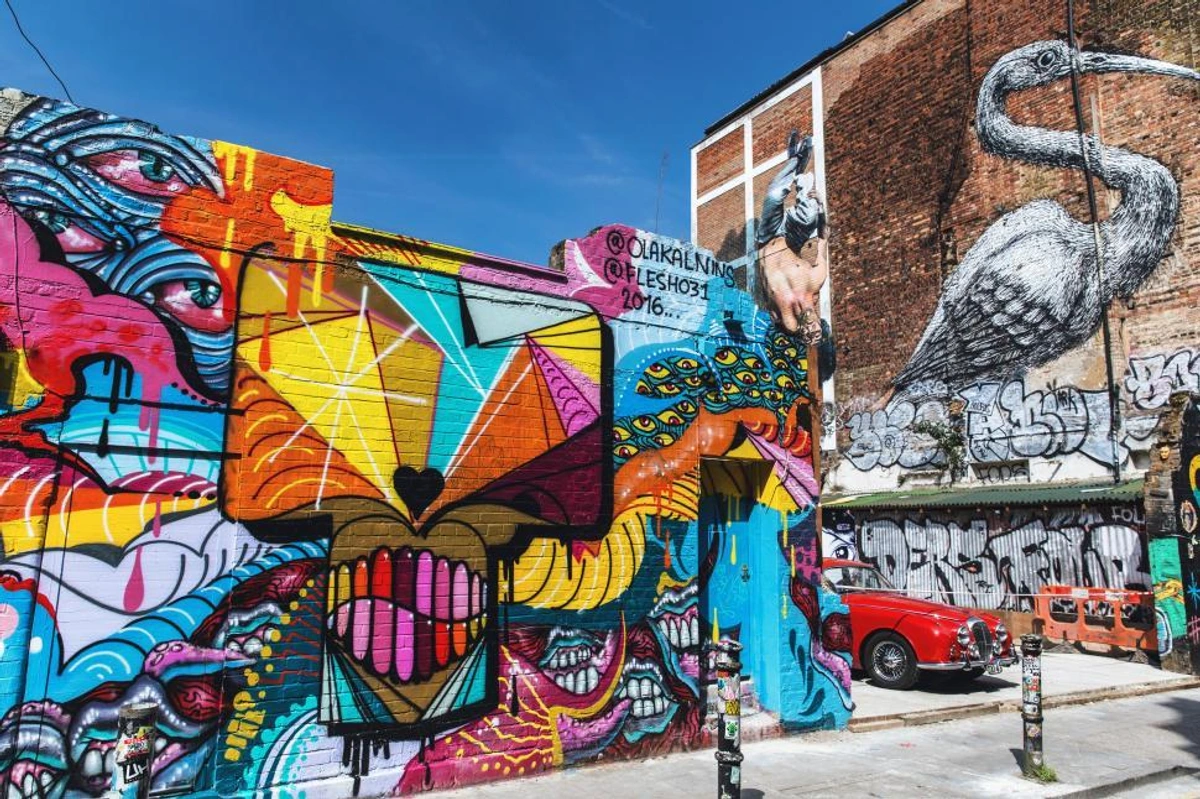
credit, licence
1. Embrace the Asymmetry: The Power of the Diagonal
Forget the rigid grid you might use on a flat wall. A slanted wall invites asymmetry. Instead of fighting the angle, use it to your advantage. This is where your inner art curator truly gets to shine.
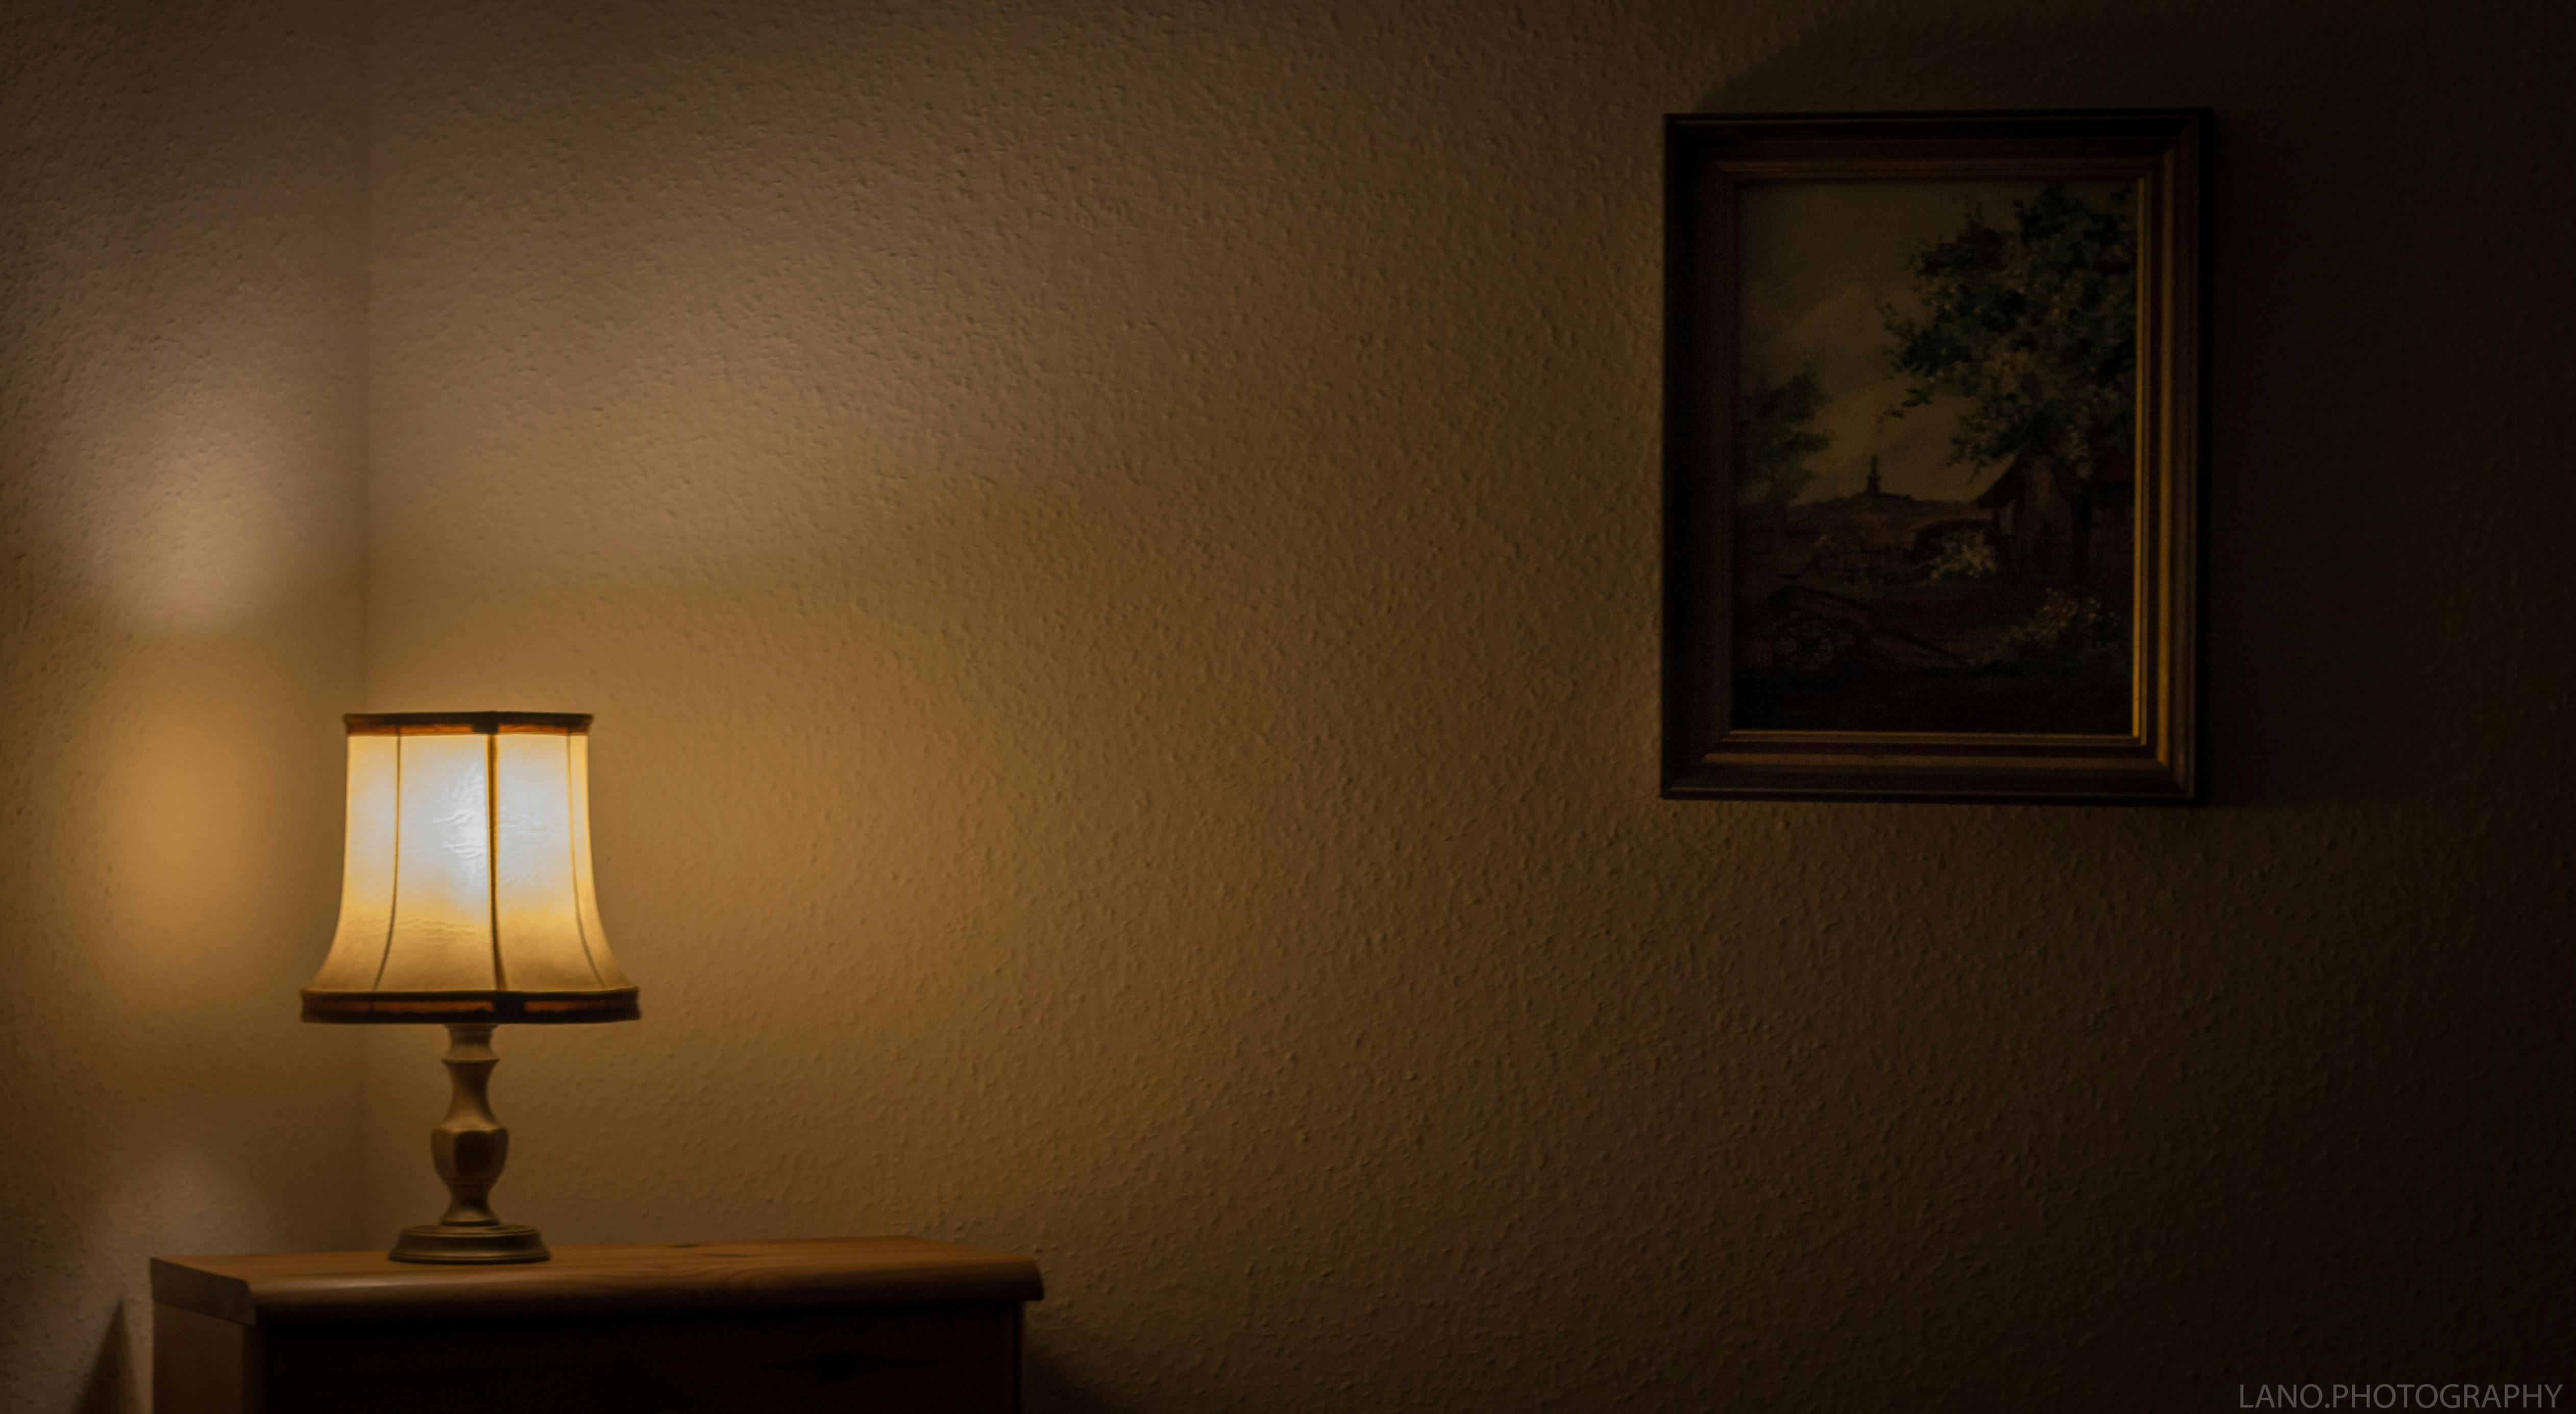
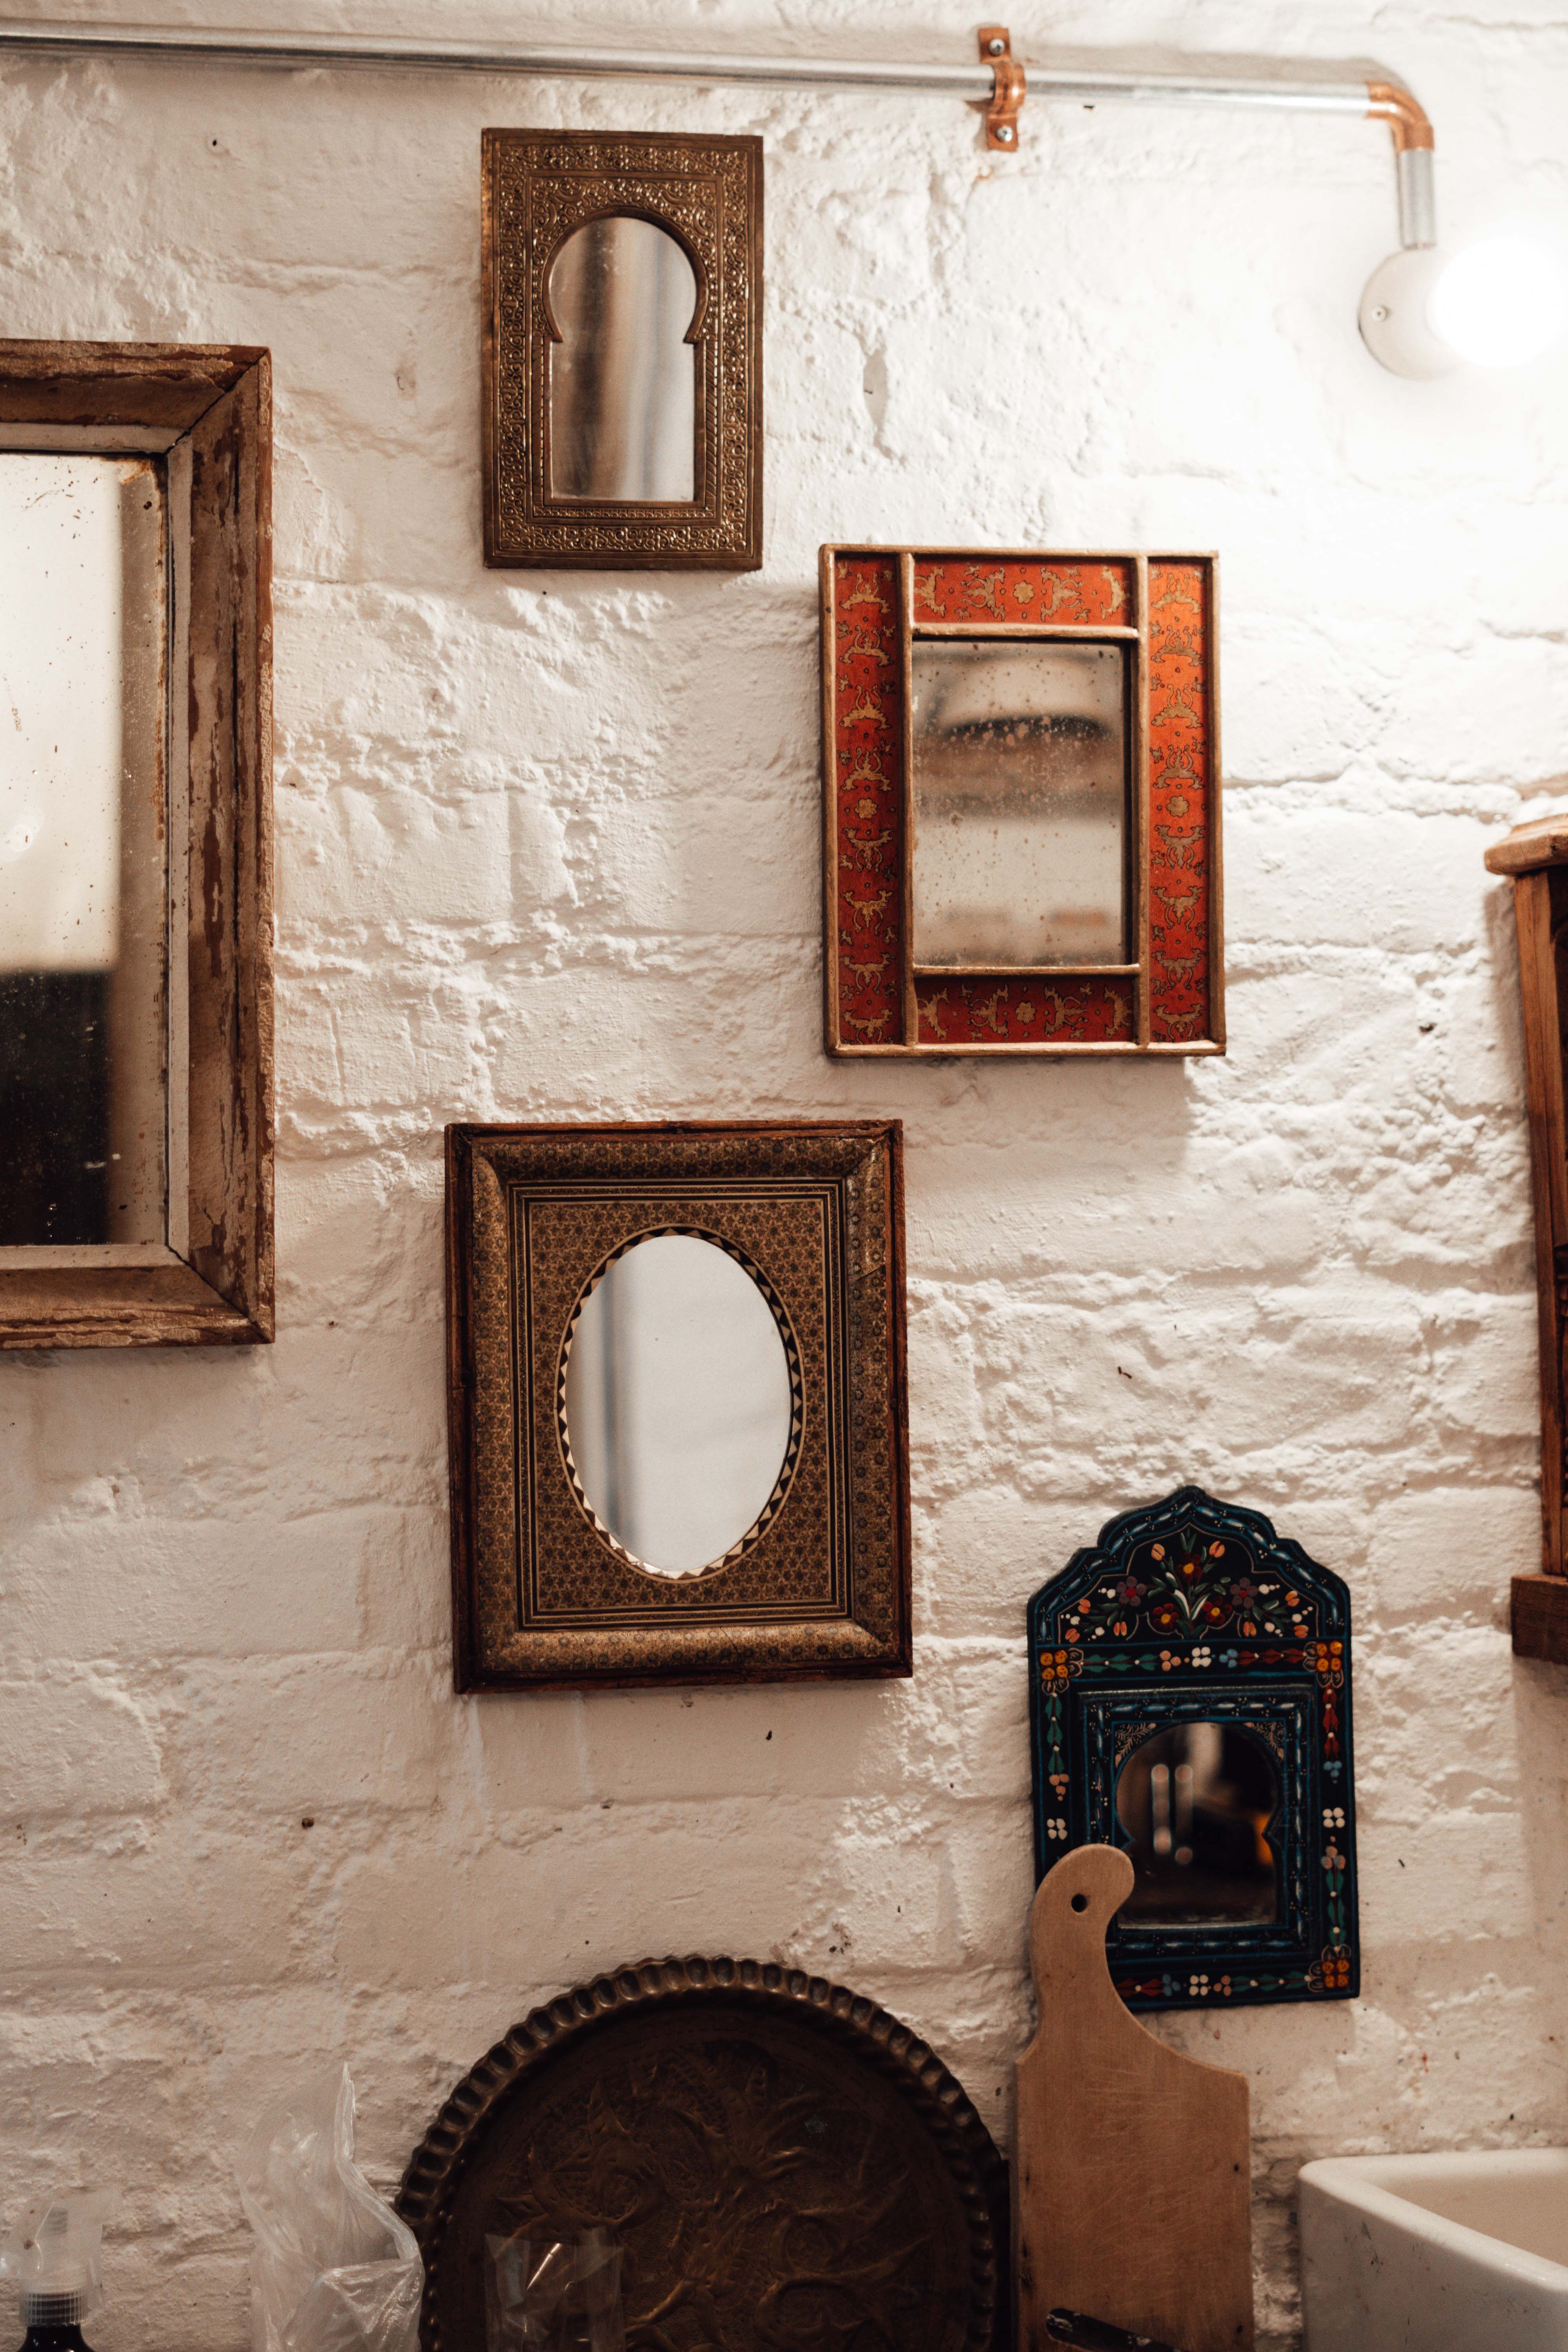
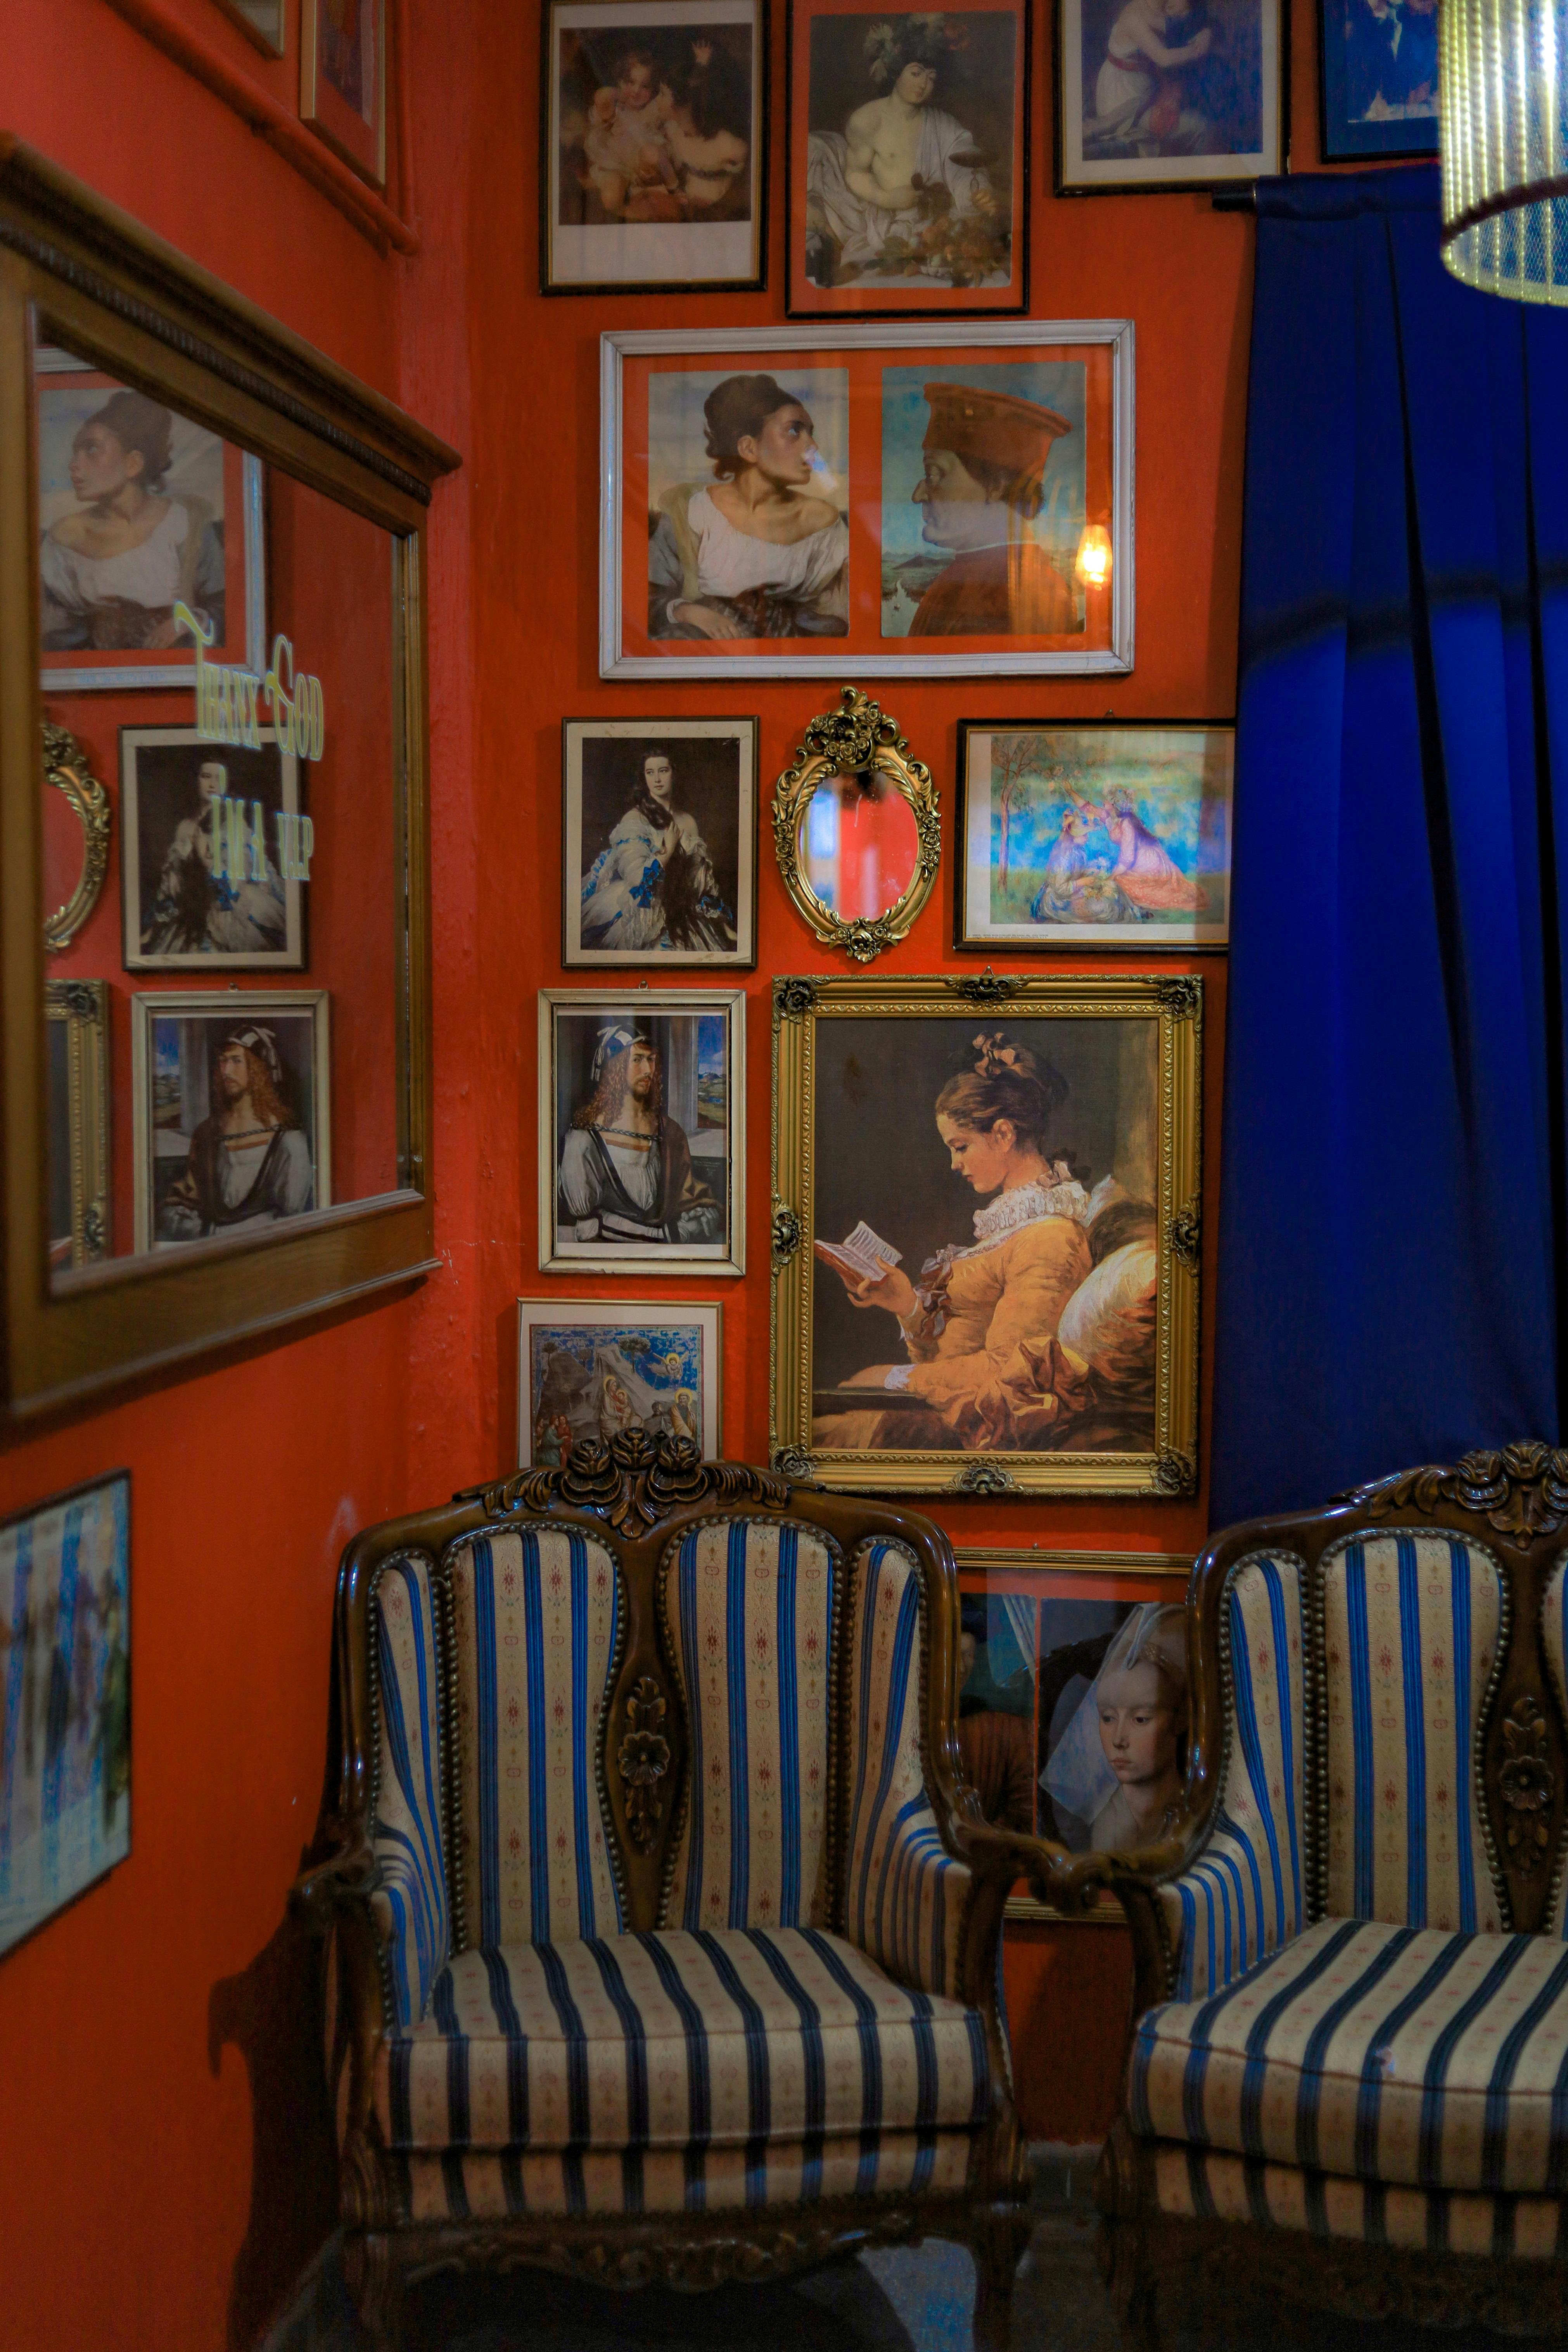
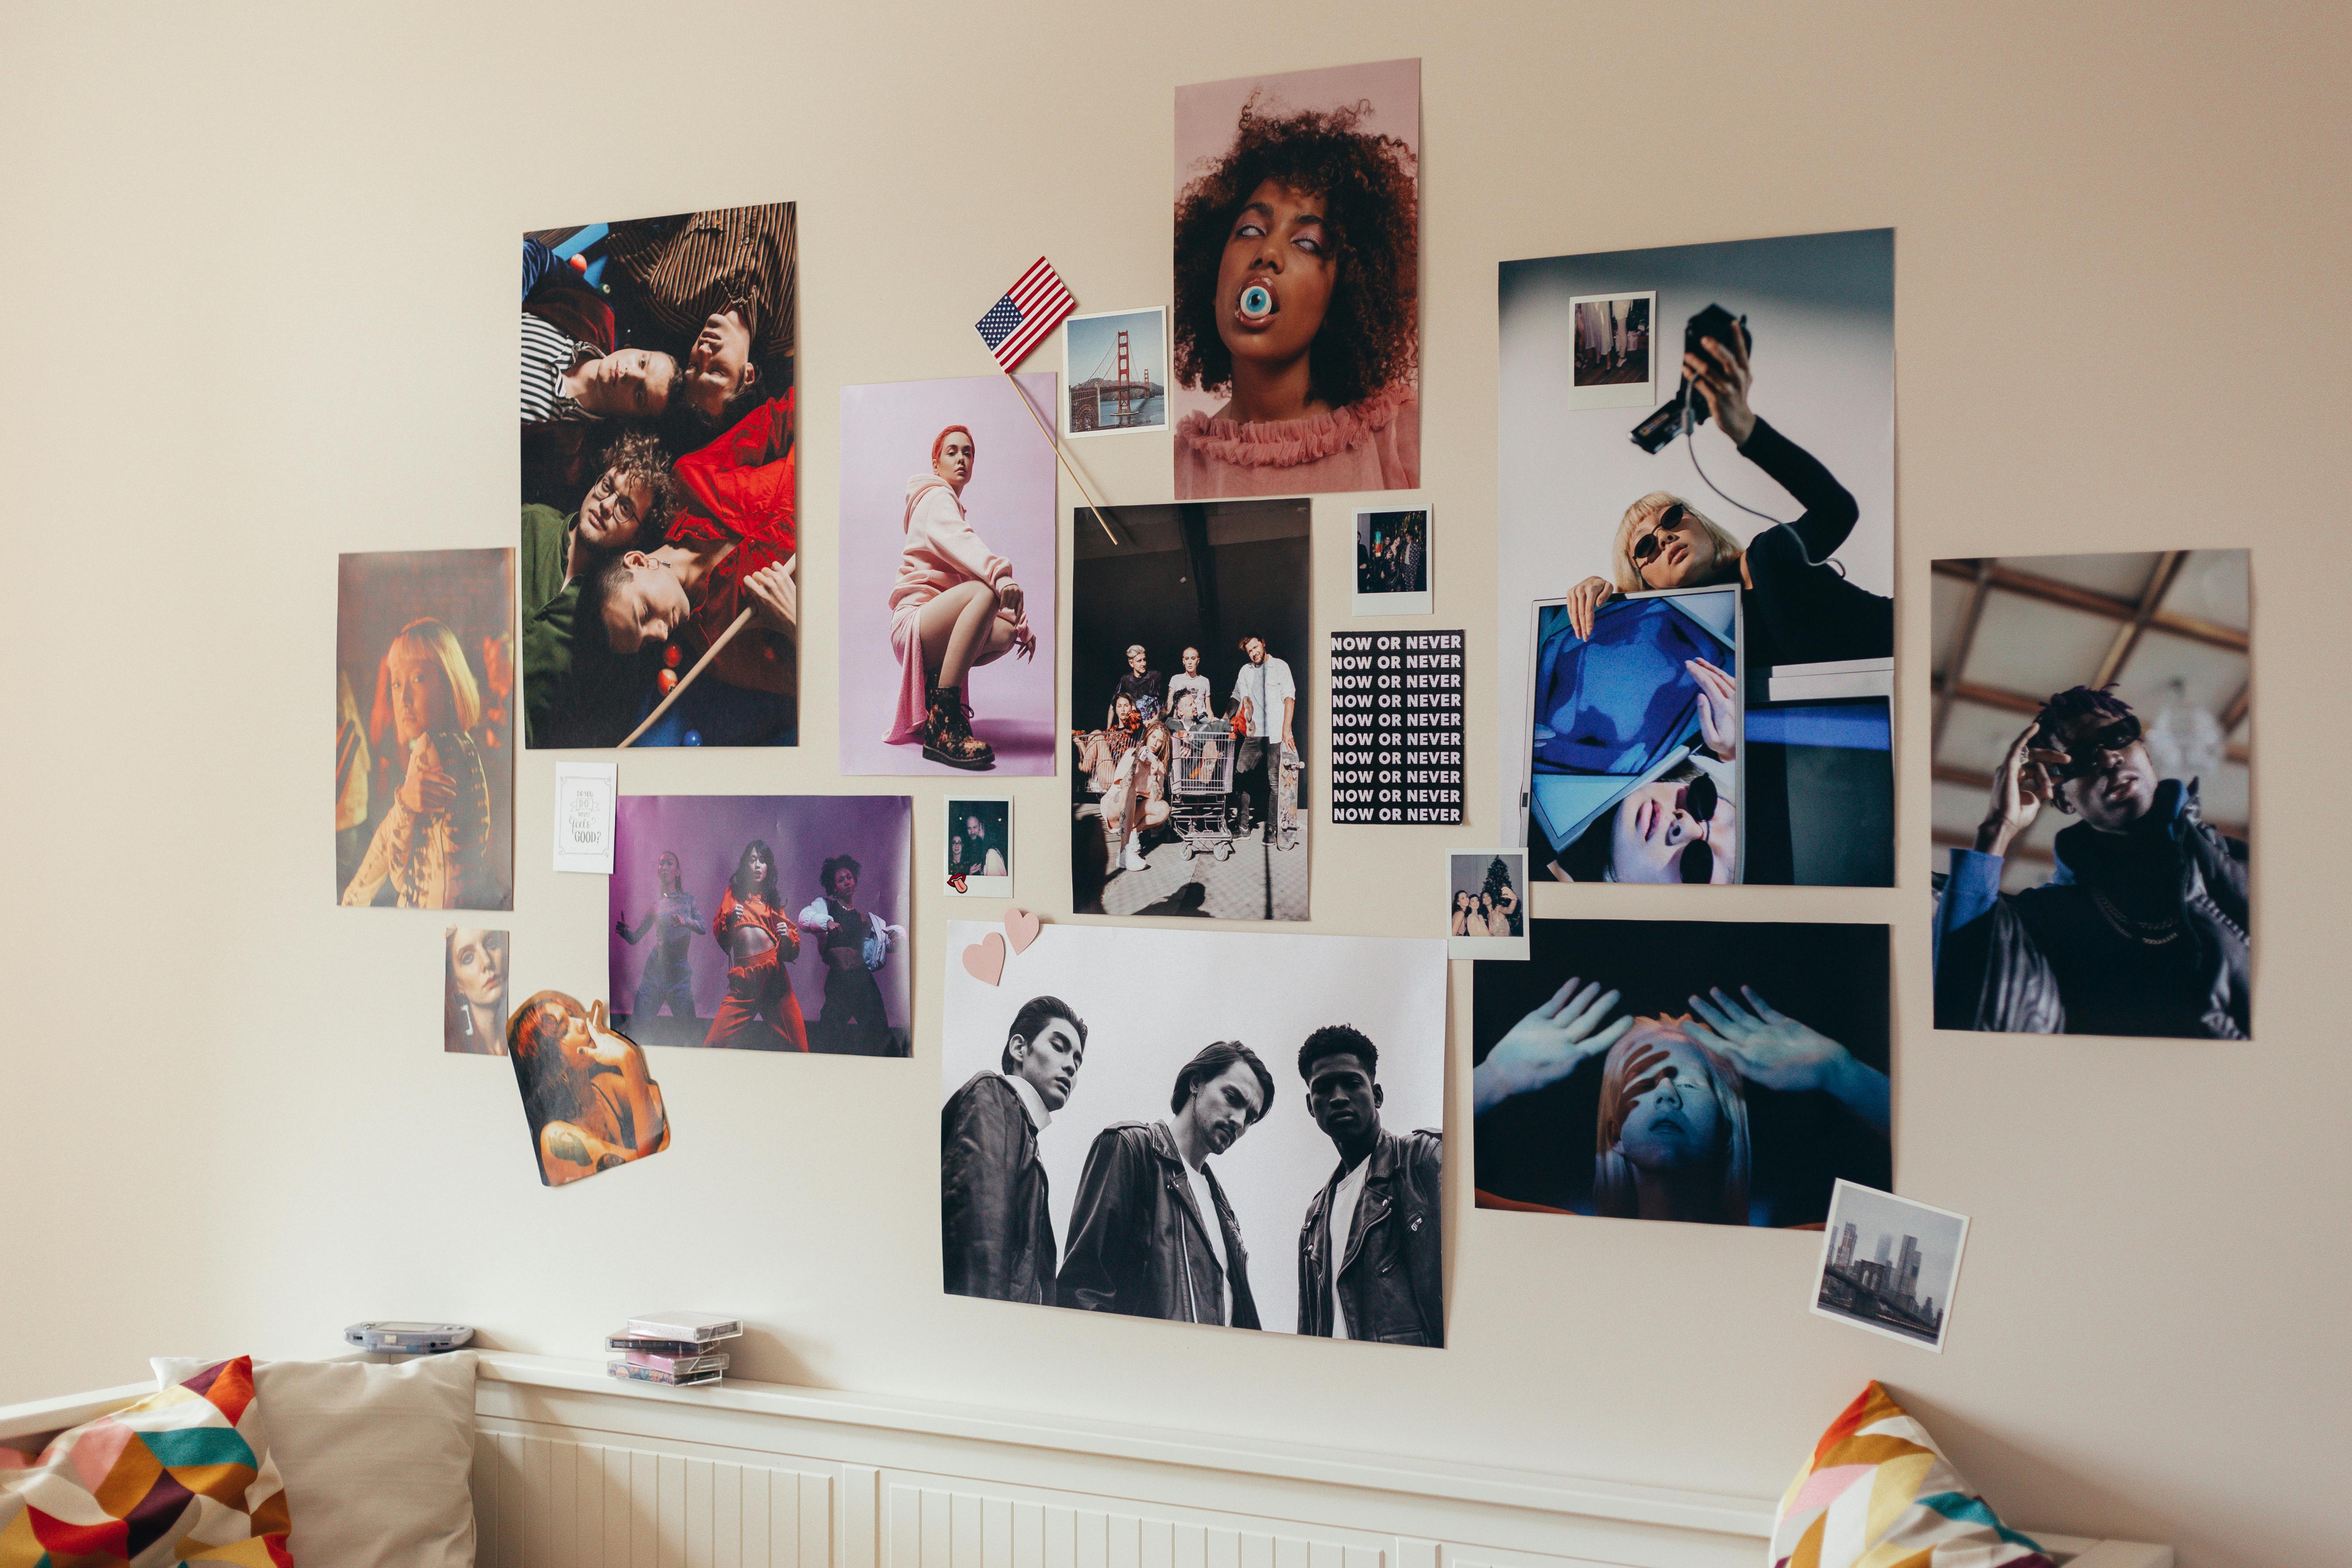
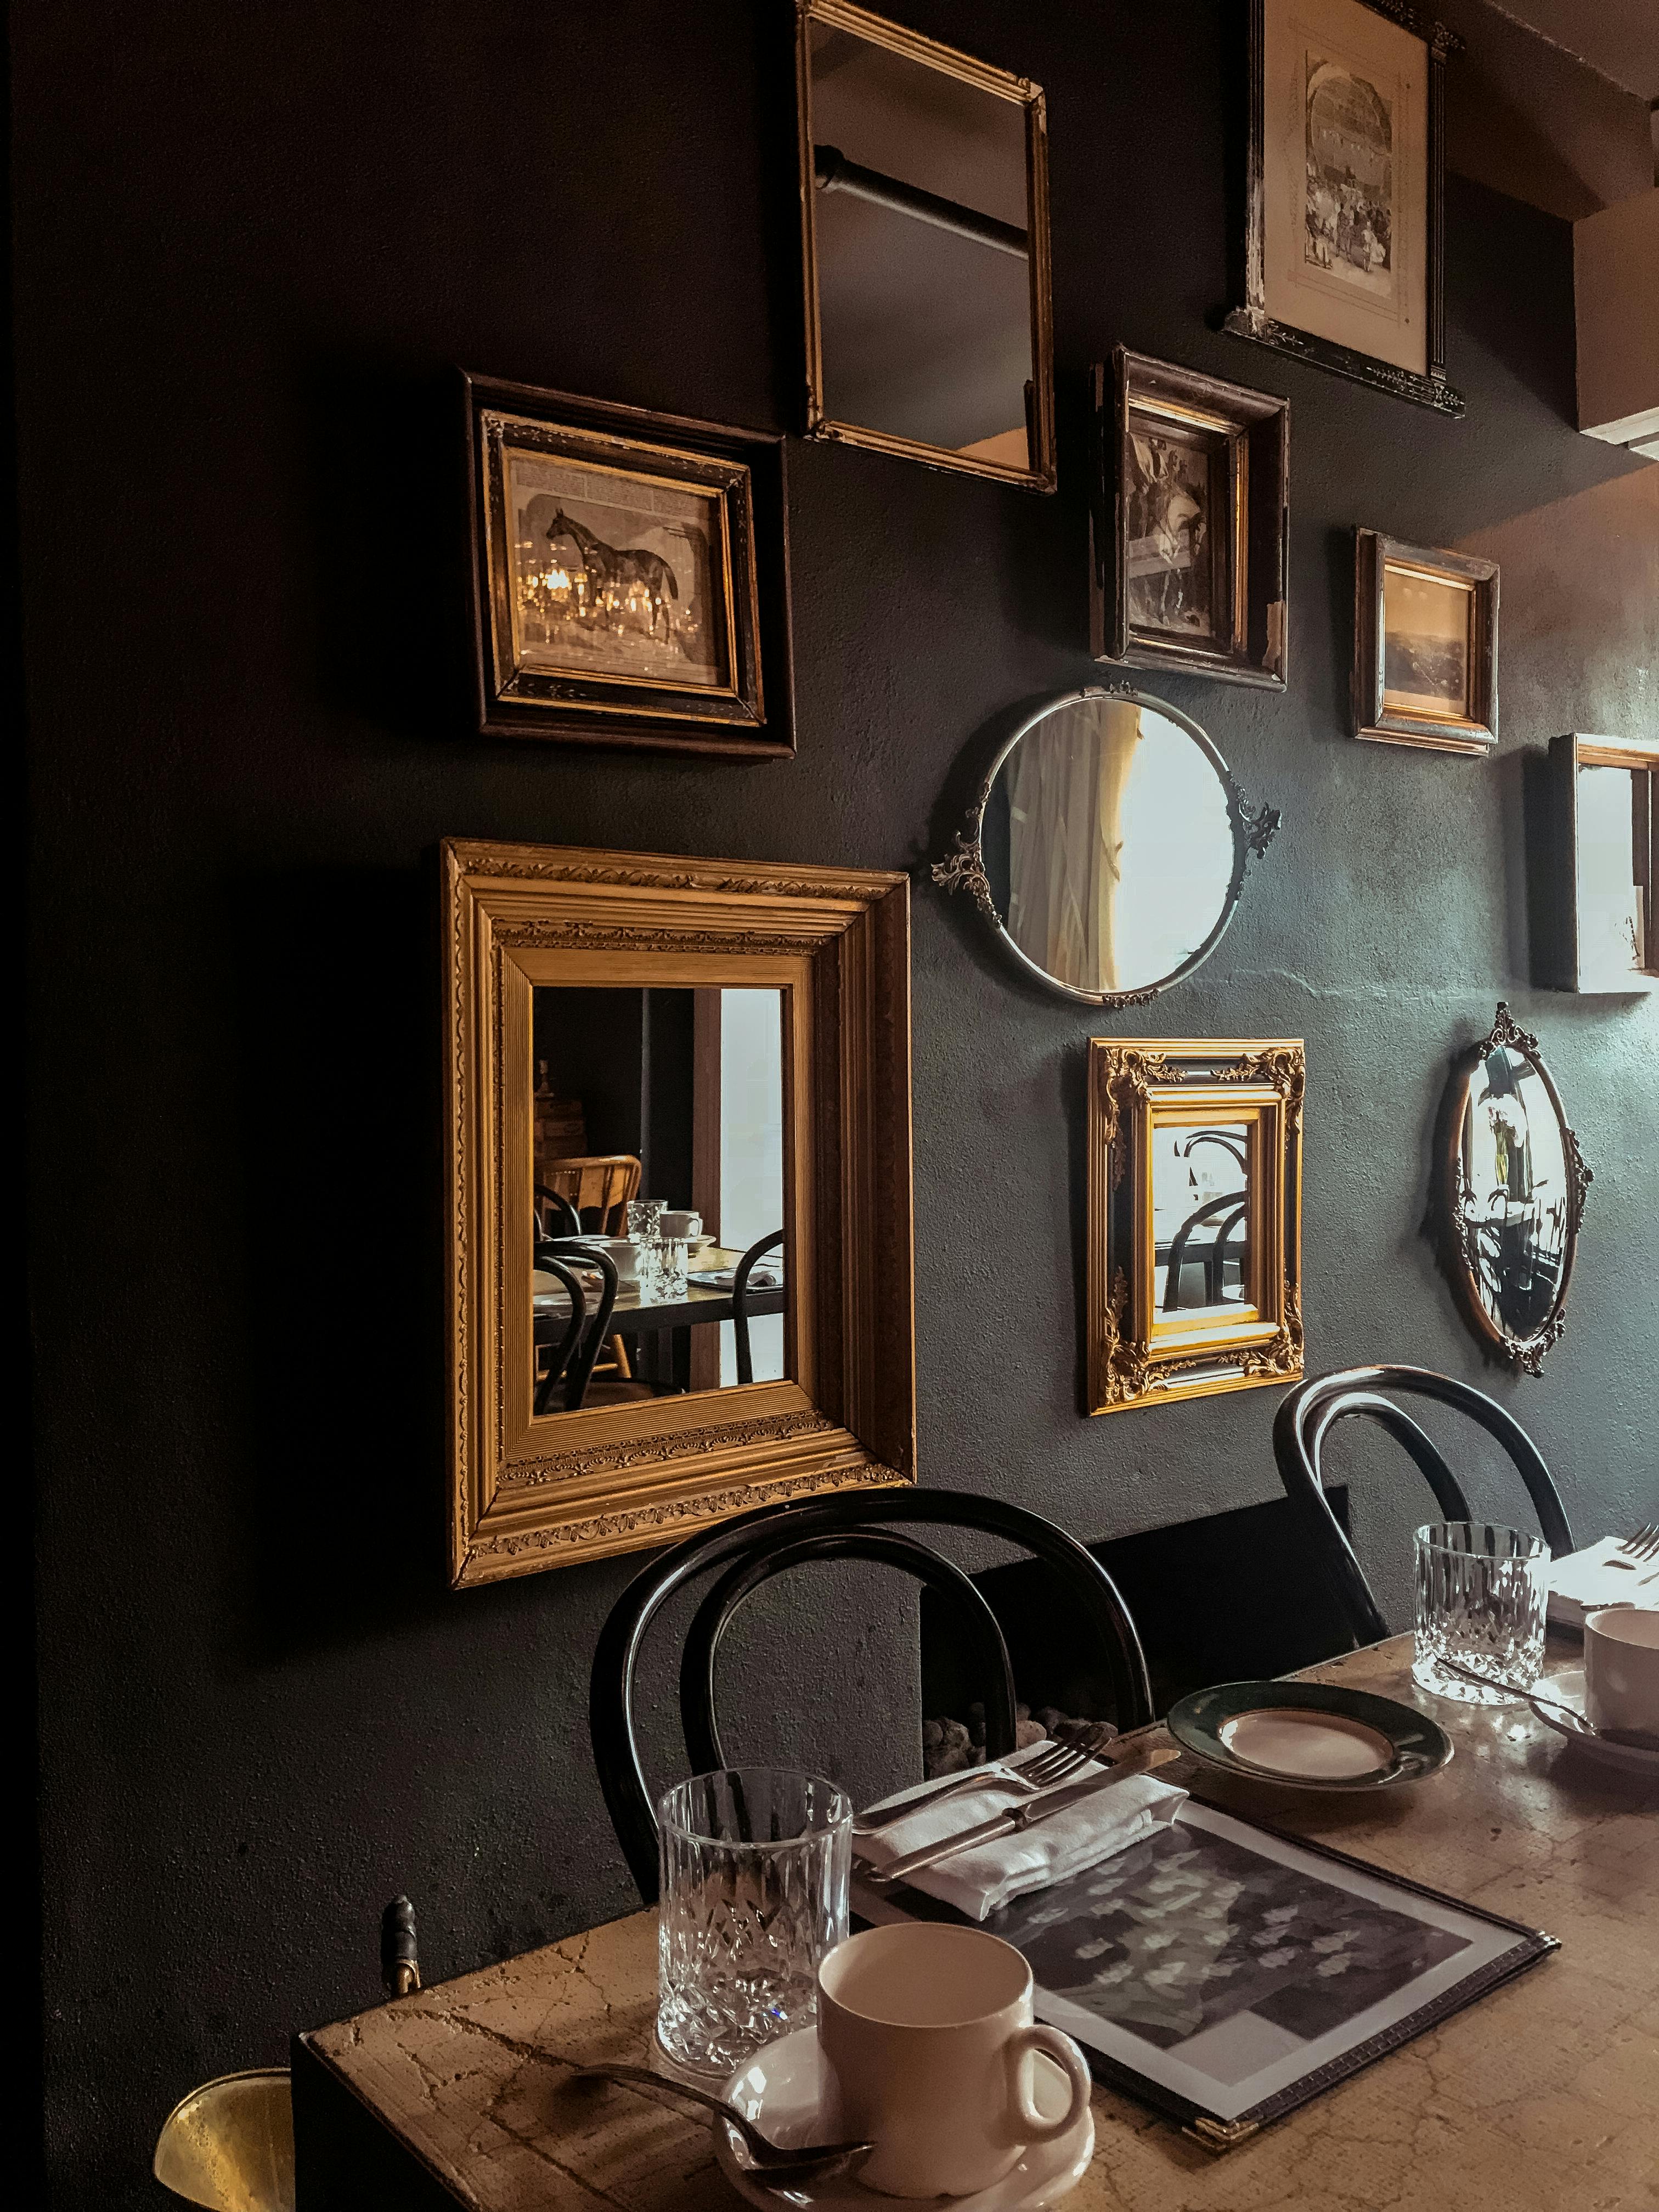
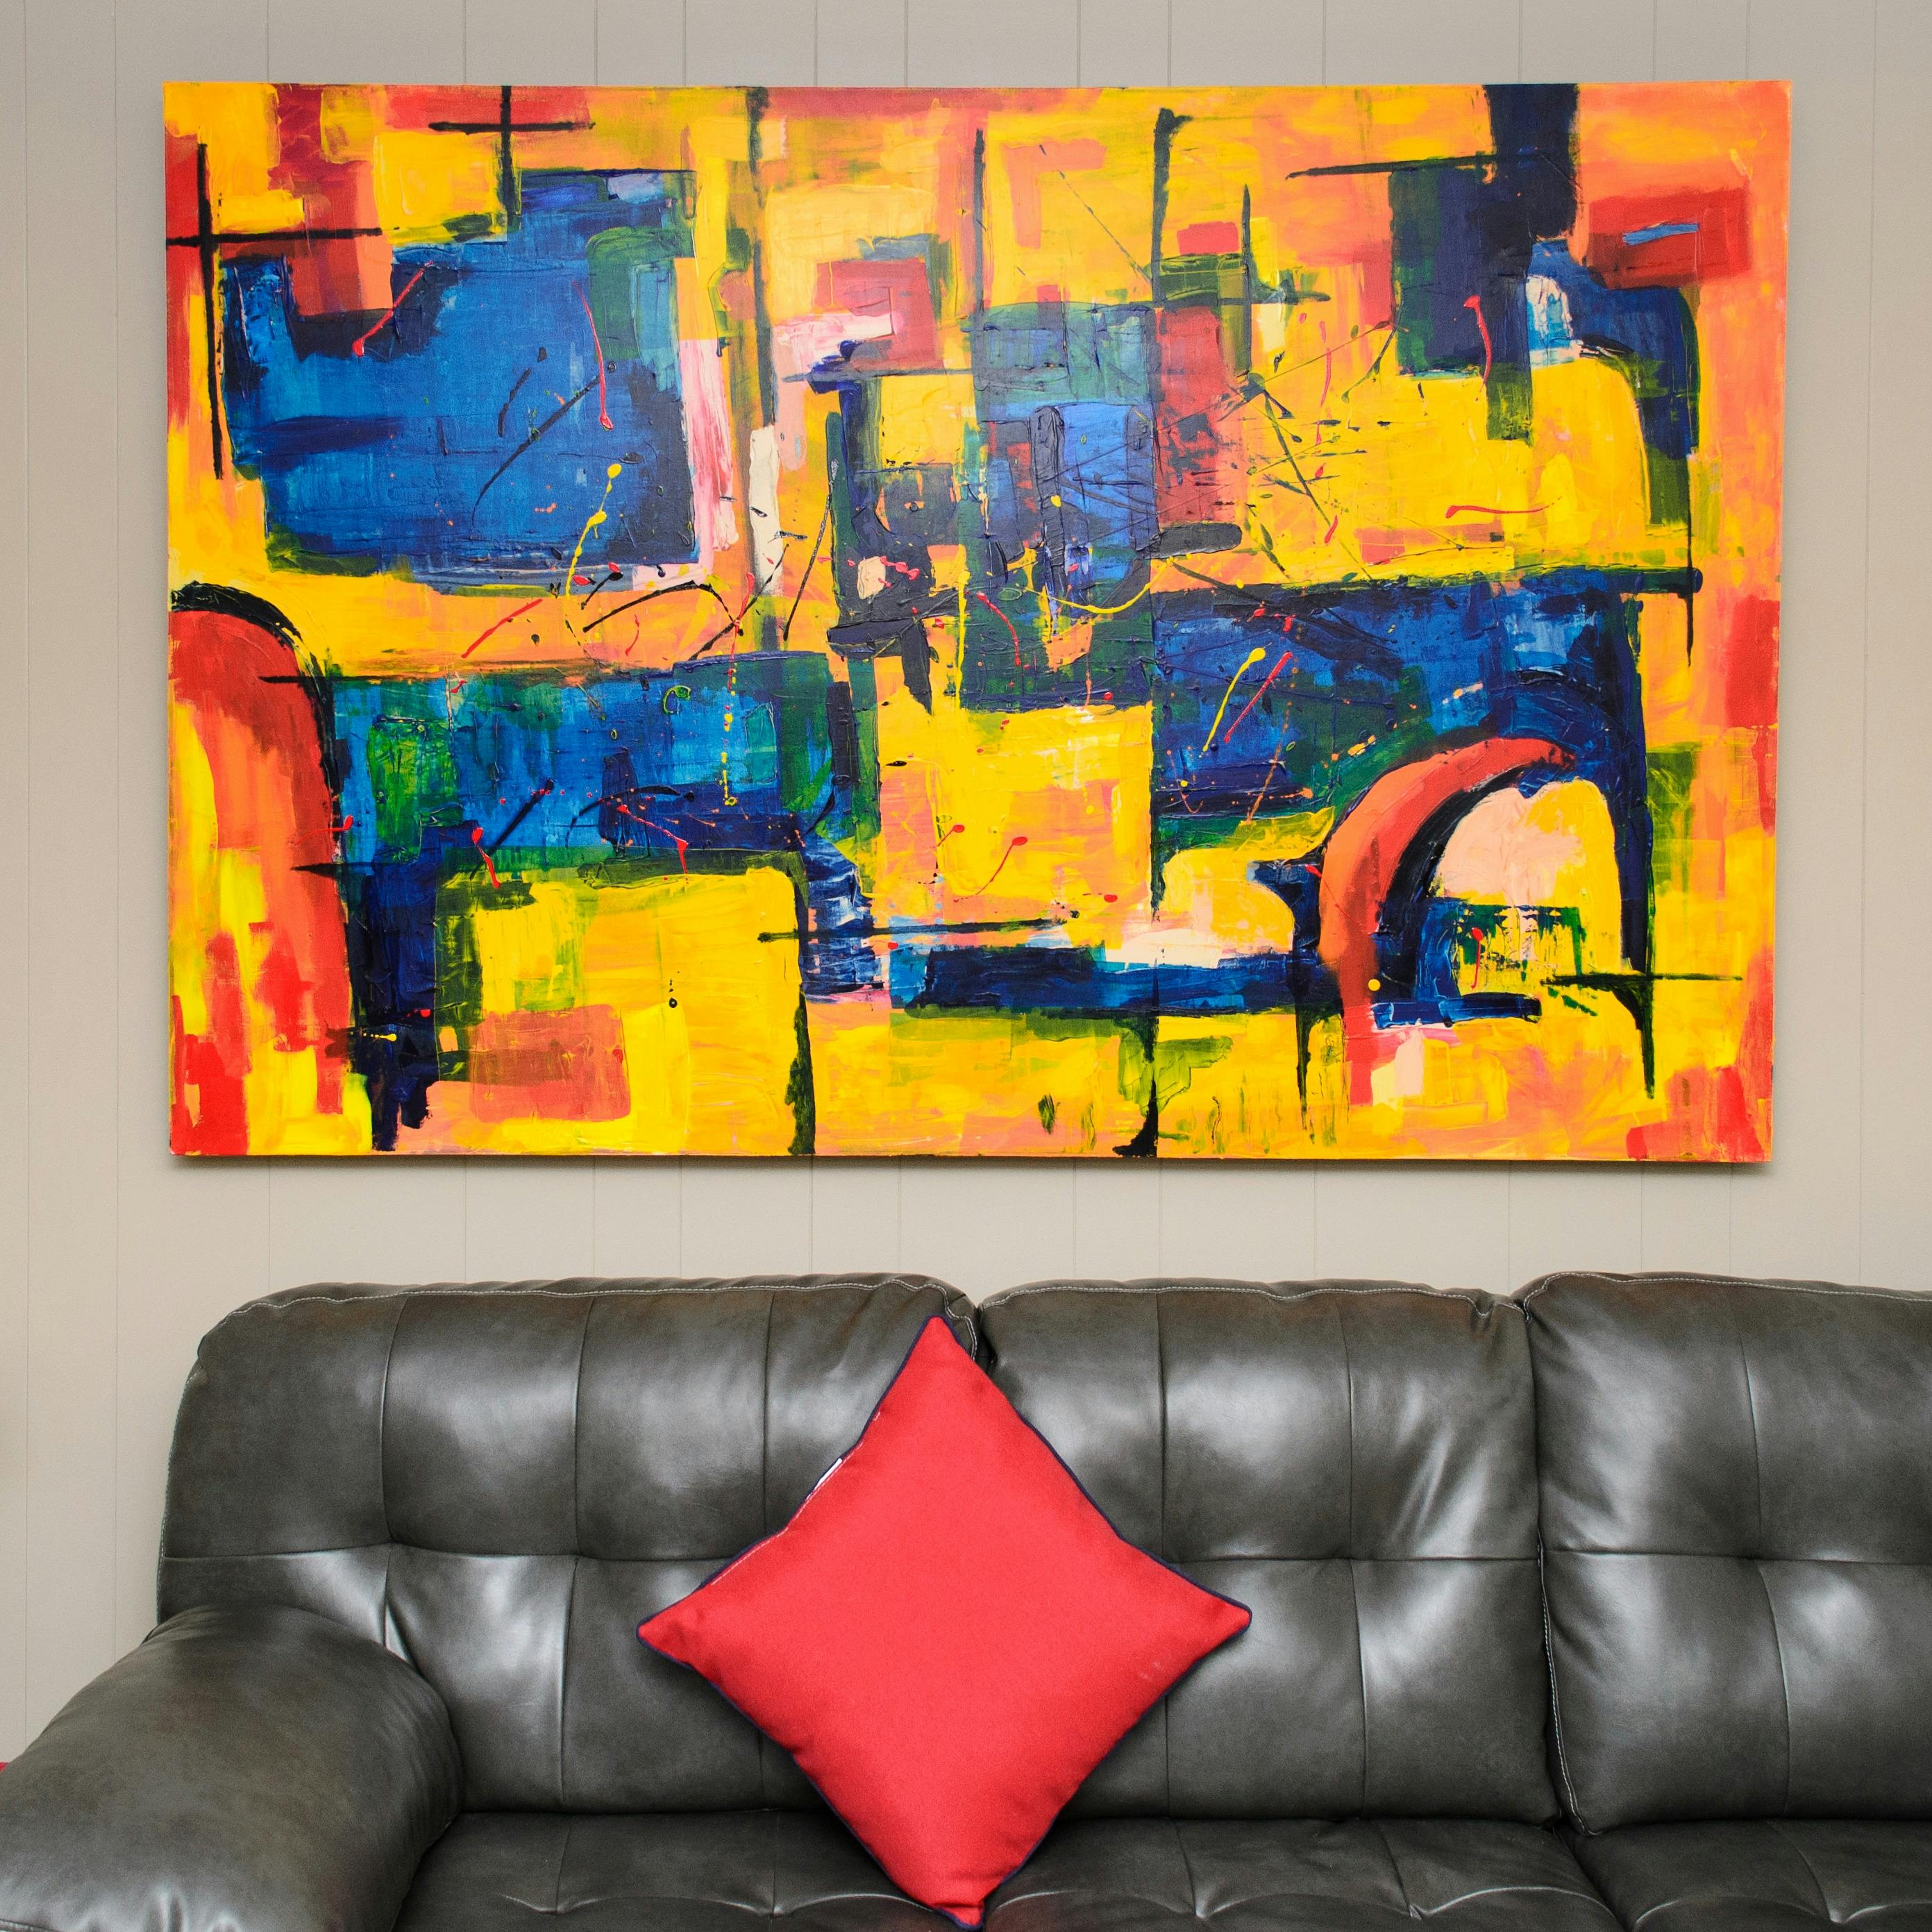


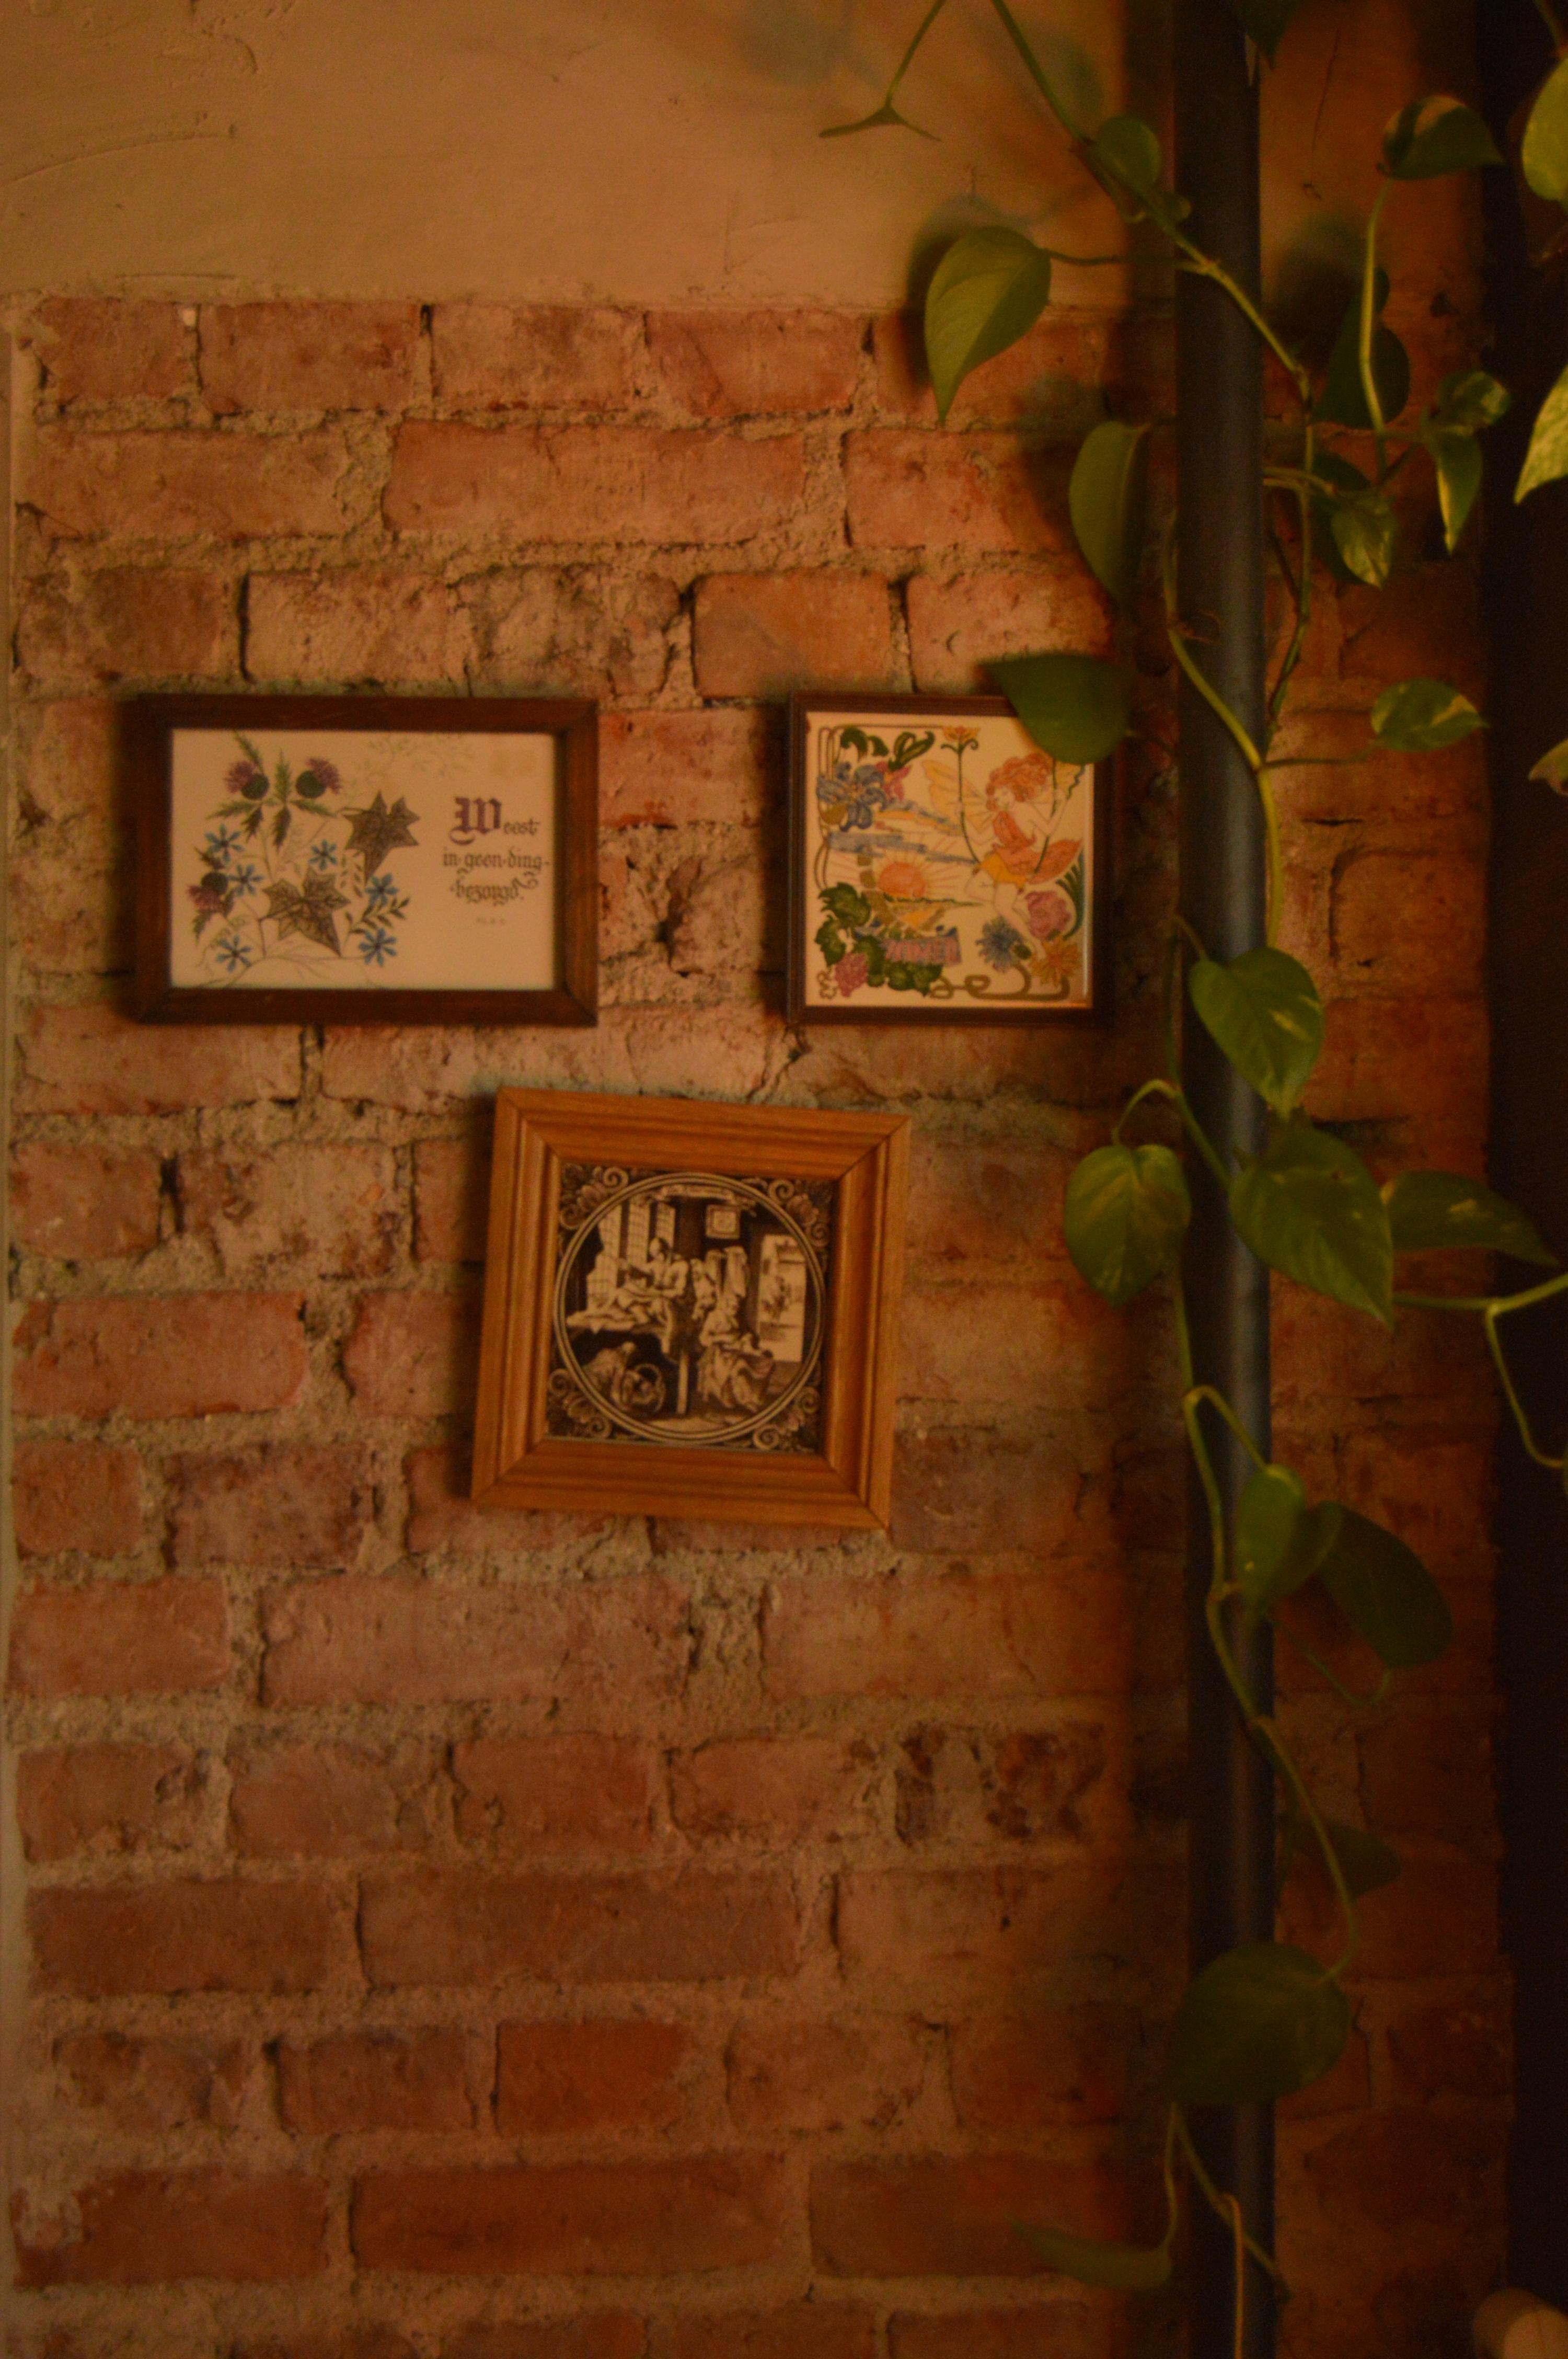


- Follow the Roofline: Arrange a series of artworks of varying sizes along the natural slope of the ceiling. This creates a cohesive visual flow that leads the eye upwards, emphasizing the height and drama of the space. Imagine a series of my abstract pieces, each a vibrant burst of color, tracing an upward path – it creates an incredible sense of movement and energy. It's about letting the architecture become a guide for your artistic expression. This method not only highlights the unique contours of the room but also creates a sense of dynamic flow that draws the viewer's eye on an upward journey, enhancing the perceived height of the space. It’s a subtle trick that visually lifts the entire room, making it feel more expansive and thoughtfully designed, almost as if the art is an extension of the architectural lines themselves. This can be particularly effective with a series of smaller pieces, creating a visual rhythm that encourages the eye to explore the entire expanse of the wall.
- Create a "Cascade" or "Waterfall" Effect: Start with larger pieces at the bottom of the slant and gradually decrease the size as you move upwards, creating a cascading effect. This can make the room feel more expansive and draw attention to the unique geometry. It's a subtle trick that works wonders for visual depth.
- The Off-Center Anchor: Don't feel obligated to center everything. Sometimes, placing a key piece slightly off-center, especially on a dramatic slant, can create a more intriguing and balanced composition. The negative space around it becomes part of the art itself, a deliberate design choice rather than an empty void. This approach can feel more modern and less prescriptive than a perfectly symmetrical arrangement, allowing for a more organic and visually compelling display that respects the wall's unique geometry. It's a testament to the idea that sometimes, what you don't display is just as important as what you do, creating intrigue and visual pause. Think of it as composing a piece of music, where the silences are just as important as the notes.
2. Layering and Depth: More Than Just Two Dimensions
A slanted wall is a prime location for playing with depth.
- Combine Methods: Use a custom ledge (Method 5) at one height, a top-anchored system (Method 1) above it, and perhaps a small sculptural element mounted directly (Method 6) in between. This multi-layered approach adds incredible visual interest and richness. It’s a dynamic interplay of forms and functions. This also allows you to display a wider variety of artwork, catering to different hanging requirements within a cohesive overall design. For instance, a robust French cleat can anchor a heavy mirror, while lighter prints hang above it from a picture rail, all stabilized by discreet tie-downs. It’s about creating a rich, multi-dimensional experience, a true tapestry of your artistic vision. This layering can add incredible visual interest, turning a simple wall into a narrative landscape of your personal taste.
- Mix Media and Textures: Don't stick to just framed prints. Integrate textile art, wall sculptures, decorative plates, or even interesting architectural salvage. The interplay of smooth glass, rough canvas, soft fabric, and gleaming metal adds tactile appeal and keeps the eye engaged. I often pair a vibrant abstract print with a textured ceramic piece for maximum impact. Consider incorporating mirrors of different shapes and sizes to bounce light and create an illusion of greater space, adding another layer of depth to your display. The tactile variations not only stimulate the eye but also create a richer, more inviting atmosphere, transforming the slanted wall into a sensory experience. It's about building a space that feels lived-in and loved, where every piece tells a part of your story, and every texture invites touch and exploration.
- Floating Elements: Consider artworks mounted with standoffs (Method 6) that project slightly from the wall. This subtle shadow gap creates a sense of lightness and enhances the perception of depth, making the art feel less "stuck" to the surface. It’s a sophisticated touch that speaks volumes about attention to detail. This subtle separation from the wall adds an ethereal quality, almost as if the art is defying gravity on its own, and the shadows it casts become an integral part of the composition. It's a sophisticated illusion that creates a dynamic interplay between light, shadow, and form, lending an air of effortless elegance to your display. The varying depths of floating elements can also create a sense of movement as you walk through the room, constantly revealing new perspectives of the artwork.
3. Lighting as a Design Element: Painting with Light
We've touched on lighting, but it's worth reiterating its power here. On a slanted wall, light can be your secret weapon.
- Grazing Light: Position track lighting or adjustable spotlights so they "graze" the surface of textured artworks. This enhances their three-dimensionality, bringing out every brushstroke, every fiber, every nuance. It's almost like the light itself is highlighting the artist's hand.
- Uplighting vs. Downlighting: Experiment. Sometimes uplighting from a floor lamp or a hidden LED strip on a ledge can create dramatic shadows and highlight the unique angle of the wall. Downlighting, conversely, can create pools of focus on specific pieces. For more inspiration, delve into the art of display: how to light and position abstract art for maximum impact. Play around with it; you might be surprised at the effects you can achieve. A simple change in lighting can utterly transform the mood and emphasis of your display, revealing new facets of the artwork you hadn't noticed before.
- Natural Light Play: Observe how natural light changes throughout the day. A piece that glows in the morning sun might need a little artificial assistance to maintain its impact in the evening. Work with the light, not against it. Think of the sun as a collaborator in your artistic display. I've found that understanding your room's unique light patterns is key to maximizing the visual impact of your art, ensuring it's always seen in its best light, quite literally.
4. Telling a Story: Curating Your Narrative
Ultimately, your slanted wall display is a reflection of you.
- Theme It Up: Consider a theme for your gallery. Perhaps a collection of pieces in a specific color palette, a series exploring a particular subject (even abstract ones), or artworks that evoke a certain mood. This provides coherence to an otherwise eclectic display. A clear theme helps unify diverse pieces. This intentional curation elevates your display from a simple collection to a meaningful artistic statement, creating a deeper connection with the viewer. Perhaps a collection of pieces inspired by nature, or a series of abstract works exploring a particular emotion, can bring a profound sense of purpose to your slanted wall gallery, turning it into a curated narrative of your interests.
- Personal Journey: Arrange art that tells a story about your life, your travels, or your artistic journey. Mix cherished heirlooms with contemporary finds. This makes the display deeply personal and endlessly interesting. Maybe even include some pieces you found on my shop page, or reflections on my artistic timeline! It's an opportunity to tell your story, visually, in a space that's uniquely yours. Perhaps you group pieces from your travels, or showcase art that reflects different phases of your life. The possibilities are as endless as your imagination, creating a display that resonates deeply with you and your visitors.
A slanted wall isn't a design challenge to be overcome; it's an expansive canvas waiting for your unique vision. With these strategies, you're not just hanging art; you're creating an experience, a conversation between your curated collection and the very architecture of your home. It’s about making your space genuinely, uniquely yours, a living testament to your personality and your passion for art. This creative journey is a core part of my why I paint abstract: my personal philosophy and artistic vision and something I hope to inspire in others.
Conquering the Slant: A Final Thought
Hanging art on a slanted wall might initially seem like a daunting task, a battle against architectural constraints. But I've come to see it not as a problem, but as a joyful puzzle, an exhilarating opportunity to unleash creativity and make a space truly sing. It forces you to pause, to consider perspective anew, and to wholeheartedly embrace the unique character of your home. So, please, don't let a sloped ceiling intimidate you; let it inspire you to think outside the conventional box, to find unexpected beauty in the unconventional. With a bit of strategic planning, the right tools at your side, and a healthy dash of daring, you can absolutely transform that challenging wall into a stunning, one-of-a-kind showcase for your cherished art. And when you do, take a moment to appreciate the journey, the problem-solving, and the personal touch you've infused into your space – because that’s what art, and making a home truly yours, are ultimately all about. Now go forth and conquer that slant with unparalleled style and confidence! The most rewarding spaces are often those that challenged us to think differently. So, go ahead, take that leap of artistic faith, and let your slanted wall become the unexpected star of your home's unique narrative. It's a journey of discovery, and the destination is always a truly unique reflection of your personal style and creative spirit, a testament to your willingness to innovate and personalize your living environment. And when you're done, step back, grab a cup of tea, and truly live in the space you've so thoughtfully curated. That, to me, is the ultimate masterpiece.