How to Hang Art on Brick Walls: My Journey to Master the Masonry
Don't let brick walls intimidate your art display dreams! I share my personal journey and practical tips for securely and beautifully hanging art on brick, from simple hooks to drilling techniques.

# How to Hang Art on Brick Walls: My Journey to Master the Masonry There's a moment, right after you sign the lease or get the keys, when you stand in that dream loft or renovated warehouse apartment and think, "This exposed brick is *everything*." That raw texture, that undeniable *presence*, the way it whispers of history in every jagged edge and mortar line—it's intoxicating. Your mind instantly floods with visions of a [stunning abstract piece](/buy) commanding attention, of [creating a gallery wall](/finder/page/how-to-create-a-harmonious-gallery-wall-with-mixed-media-abstract-art) that turns the wall into a living story. 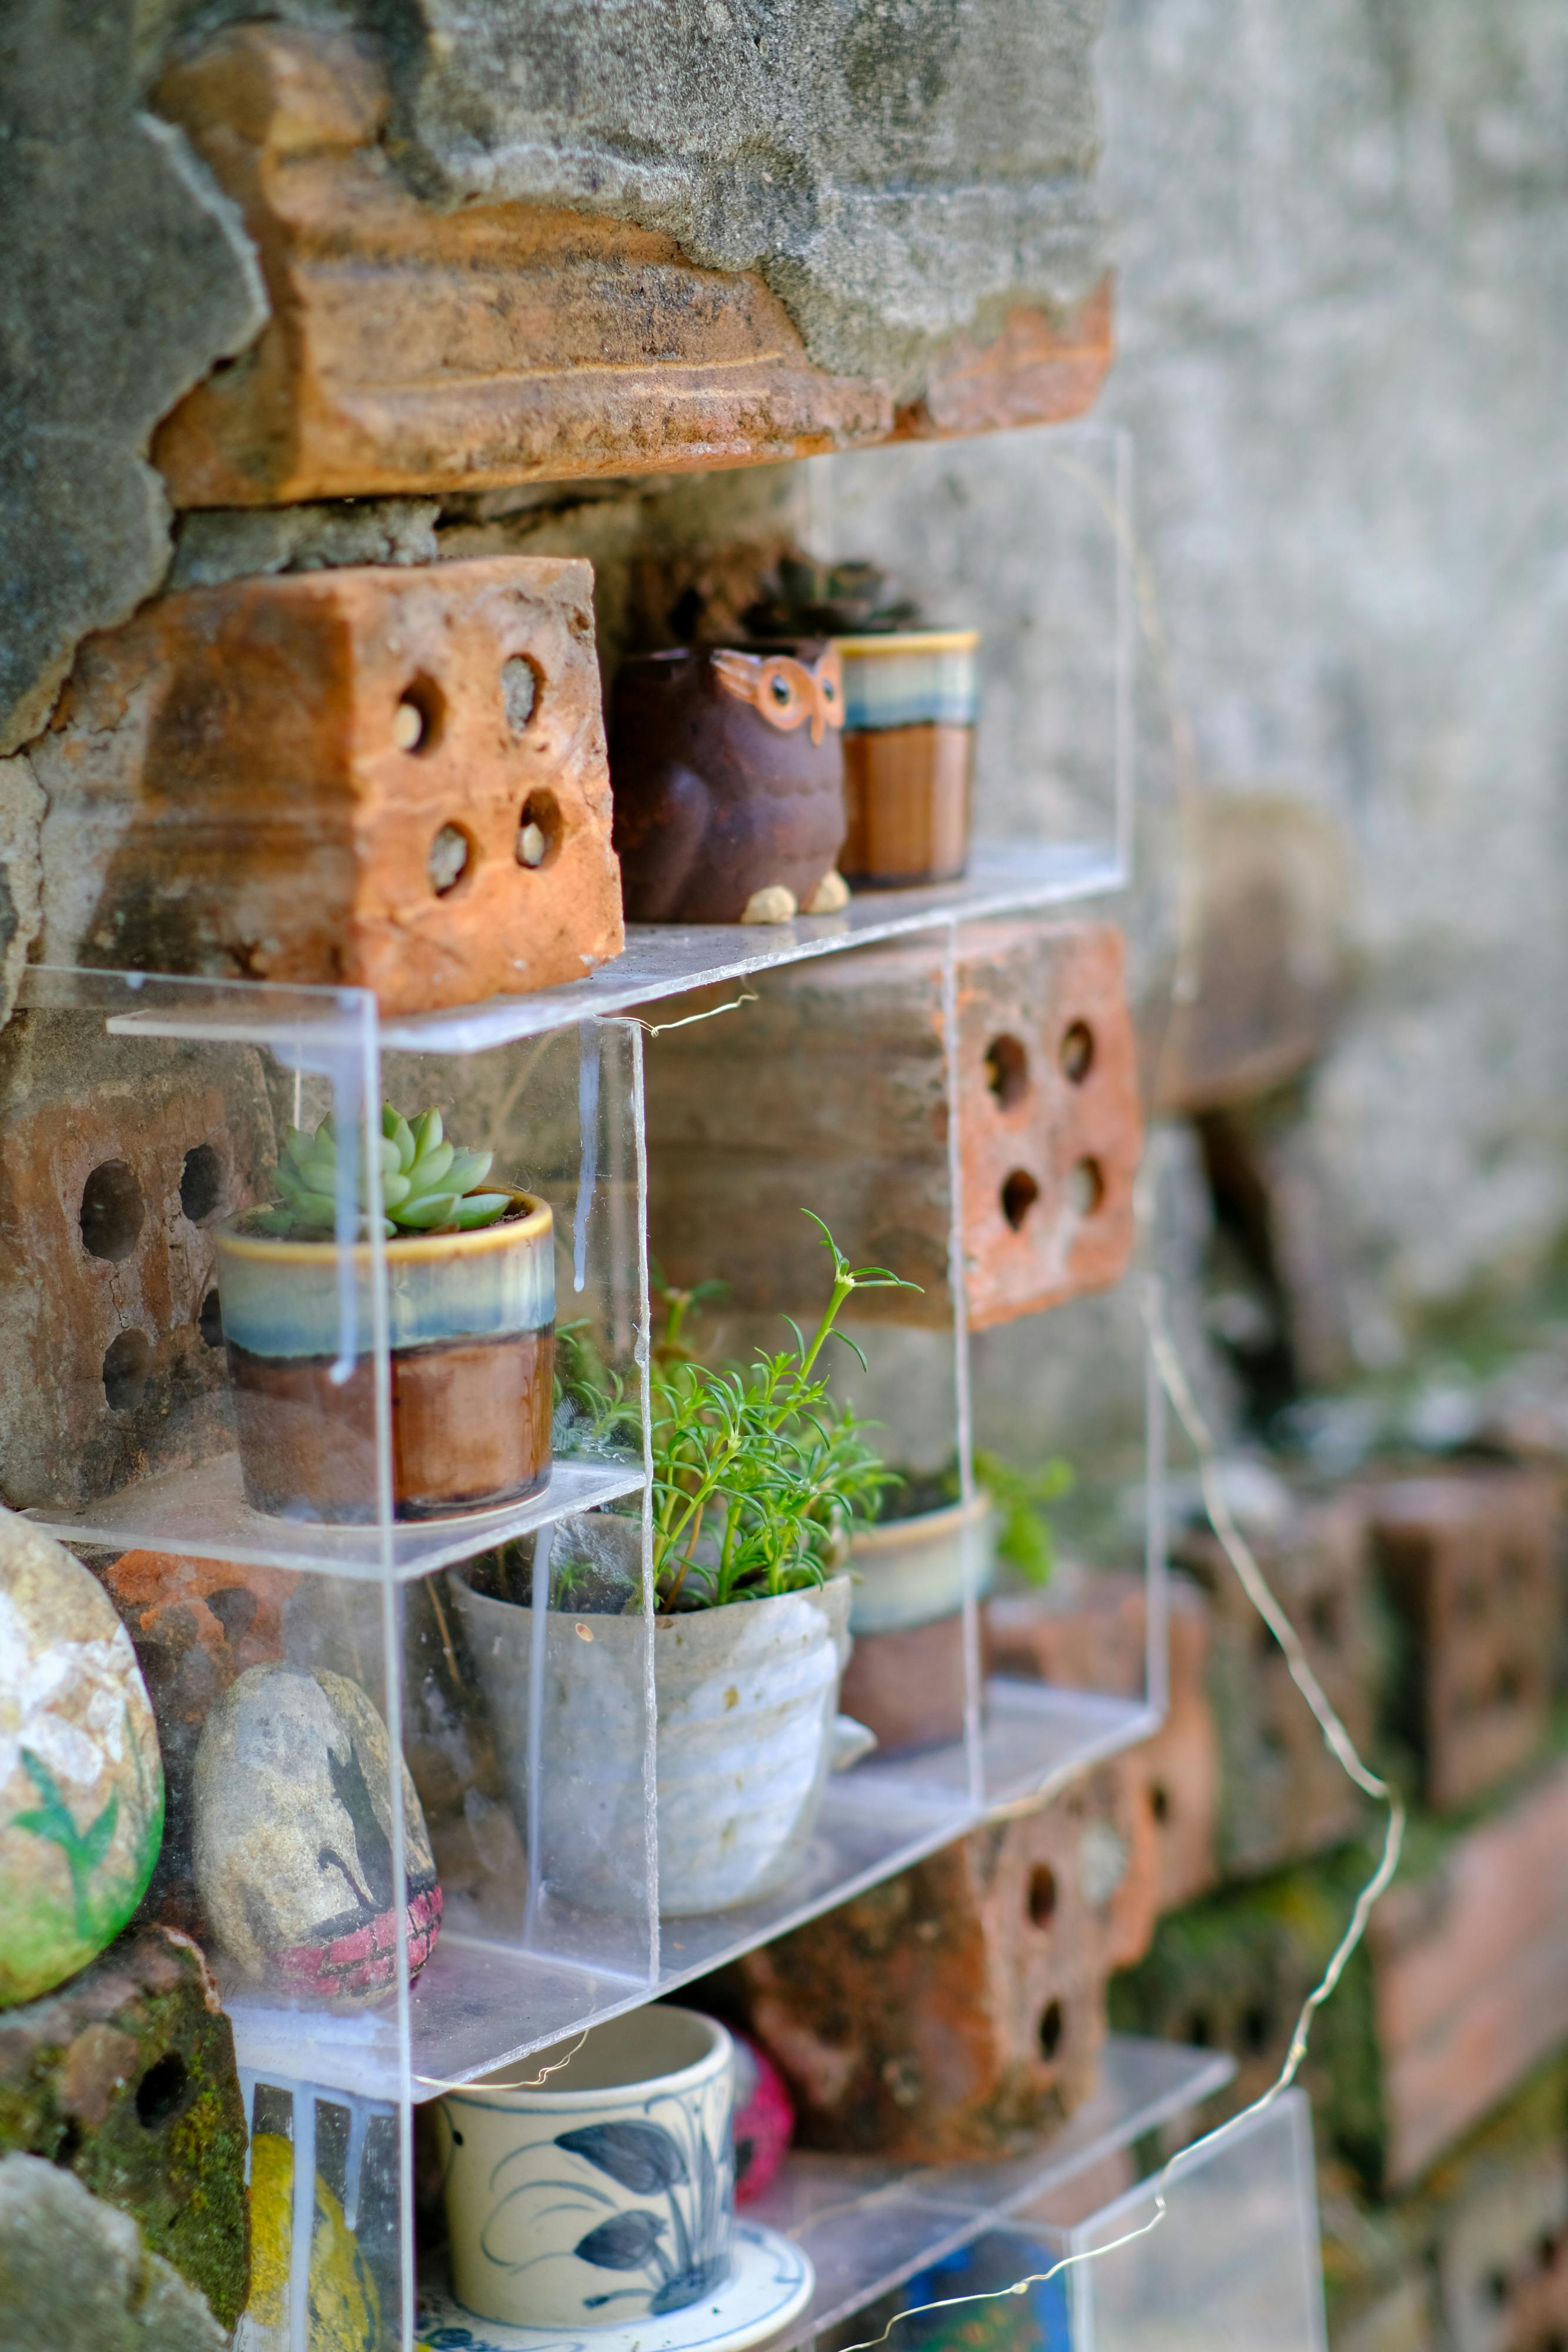 [credit](https://images.pexels.com/photos/34164796/pexels-photo-34164796.jpeg?cs=srgb&dl=pexels-nhavantuonglai-34164796.jpg&fm=jpg), [licence](https://creativecommons.org/public-domain/) And then, reality hits. How do you even *start*? A regular nail feels like bringing a butter knife to a gunfight. Your inner monologue loops from "This will be amazing!" to "If I drill here, will the whole wall crumble?" and "My landlord is going to *kill* me." If you've ever felt your interior-design brain freeze solid while staring down a glorious, stubbornly unyielding [brick wall](/finder/page/how-to-hang-art-on-a-brick-wall), welcome. You've found your people. This is my chronicle of scraped knuckles, cracked picture hooks, and the eventual, glorious triumph of turning that masonry from foe to friend. Let's hang some art. !"wall-art-mural-woman-interior-decor" A detailed mural of a woman's face integrated into a wall art design, showcasing creative interior decoration techniques and artistic wall panels. Ideal for modern wall decor inspiration. **Keywords**: wall art mural, interior decor, artistic wall panels, wall art ideas, home decoration. [credit](https://live.staticflickr.com/4809/44596612920_dbd13d7273_b.jpg), [licence](https://creativecommons.org/publicdomain/mark/1.0/) --- ## The Charm and the Conundrum: Why Brick is Different Your friendly neighborhood drywall is predictable. You push a pin in, it makes a neat little hole. You drive a nail, it holds. It's an obliging surface that makes you feel like you've got this whole "hanging stuff" thing figured out. Brick, on the other hand, is a whole other level of diva. It's a complex, composite material—a symphony of varying densities that demands respect. Think of it this way: a brick wall is a team of specialists. You've got the **bricks themselves**, which are incredibly hard, fired clay units designed to take a beating. Then you've got the **mortar**, the "glue" holding them together. This is where it gets tricky—mortar can be soft and sandy, meant to be the sacrificial, easier-to-repair element, or it can be mixed to be harder than the bricks it surrounds. The result is an unpredictable, non-uniform surface where your drill bit might meet soft resistance one inch and pure defiance the next. Then there's the porosity. Brick is thirsty. It's full of tiny pores that have spent decades—maybe centuries—absorbing moisture, salts, and the very soul of a building. An old brick might be surprisingly crumbly on the surface, while a new one can be deceptively solid. You absolutely cannot just "wing it" here. My first ill-fated attempt involved a regular household hammer and a picture hook that looked suspiciously like it belonged in a dollhouse. The result was less "curated gallery" and more "tragic monument to gravity's persistence." It's a lesson in [understanding your materials](/finder/page/lessons-learned), and it's a lesson best learned without an audience. --- ## My Go-To Methods (and When I Use Them) Over time, I've developed a few trusted strategies, each suited to different situations and different levels of commitment (and nerve!). 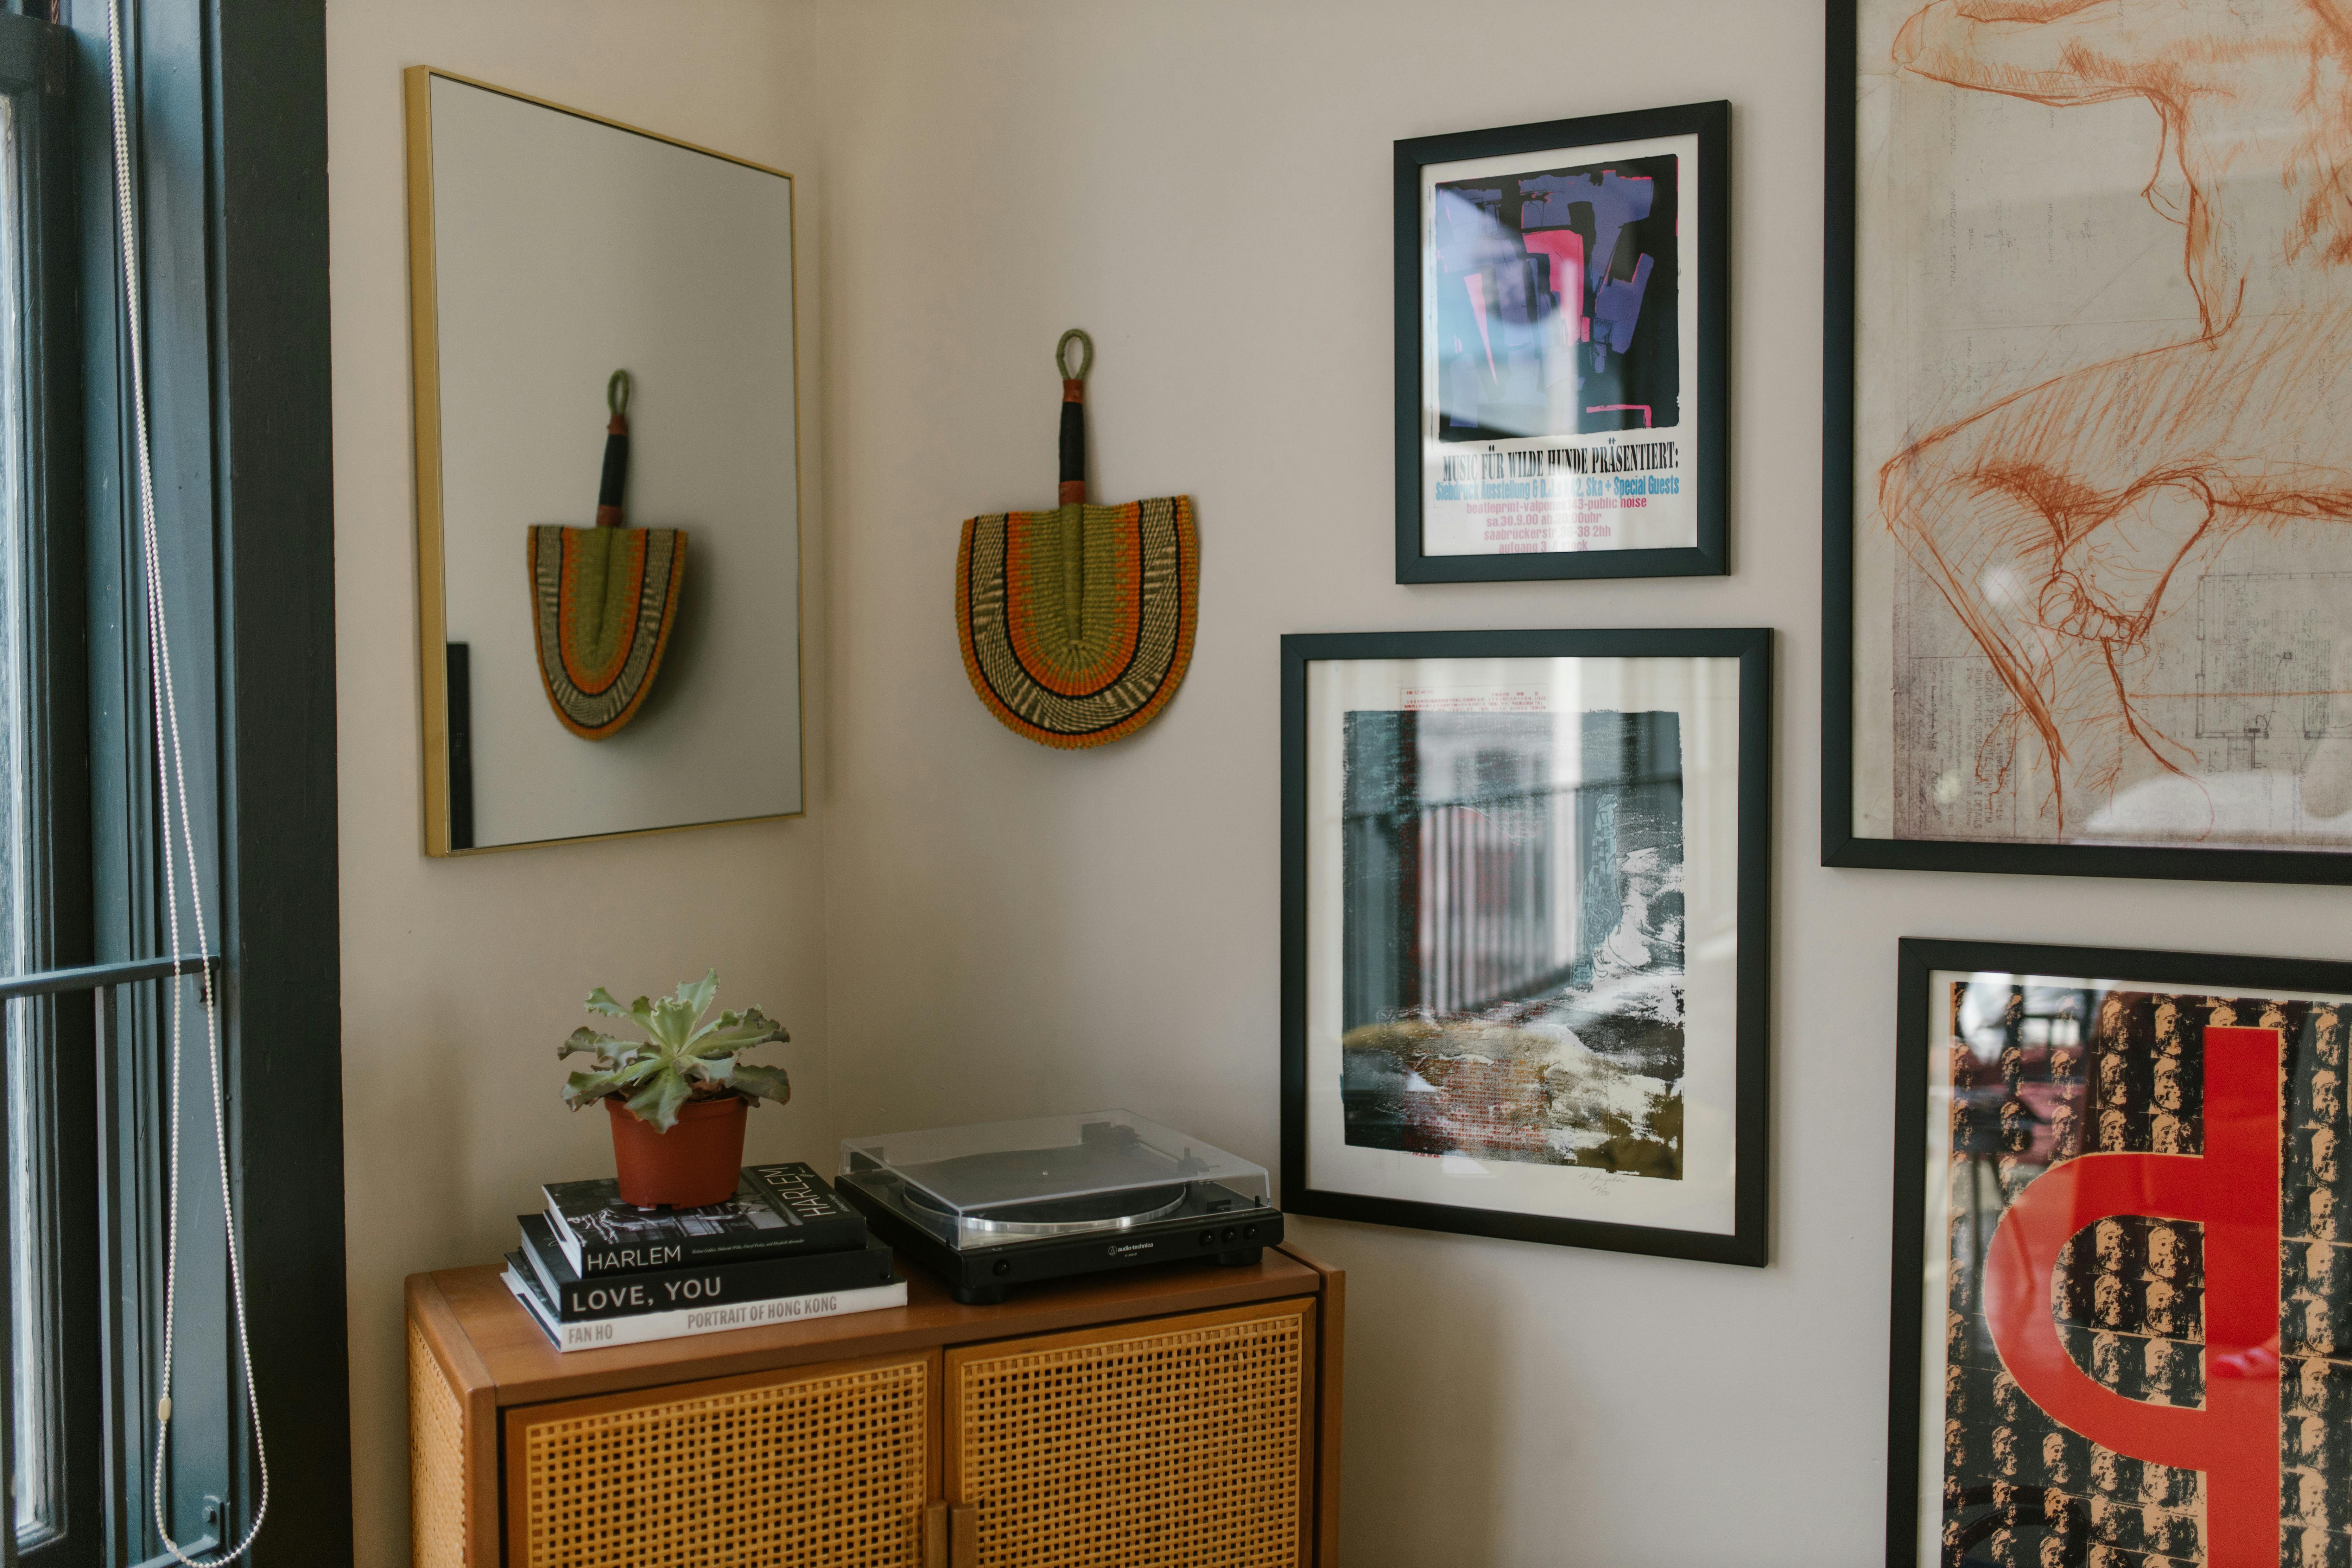 [credit](https://images.pexels.com/photos/8488978/pexels-photo-8488978.jpeg), [licence](https://creativecommons.org/public-domain/) ### 0. The Barely-There Option: Adhesive Strips and Command Hooks Okay, before we even *think* about touching a drill or a hammer, let's talk about the absolute lowest-commitment option out there: adhesive strips and command hooks. Now, I know what you're thinking: "On *brick*?" And you're right to be skeptical. These are definitely for the feather-light pieces – think small unframed prints, postcards, garlands, or even tiny canvas panels. They adhere best to smoother, less porous brick surfaces, and definitely need a clean, dry area. They're not for anything substantial, and I use them sparingly, mostly for temporary displays or when I want to see how a [small piece](/finder/page/using-art-make-small-room-feel-bigger) *feels* in a spot before committing. But for those moments when you just need a little something-something without any fuss, they can be a surprising little helper. Just be realistic about their weight limits, please, for the sake of your precious art! 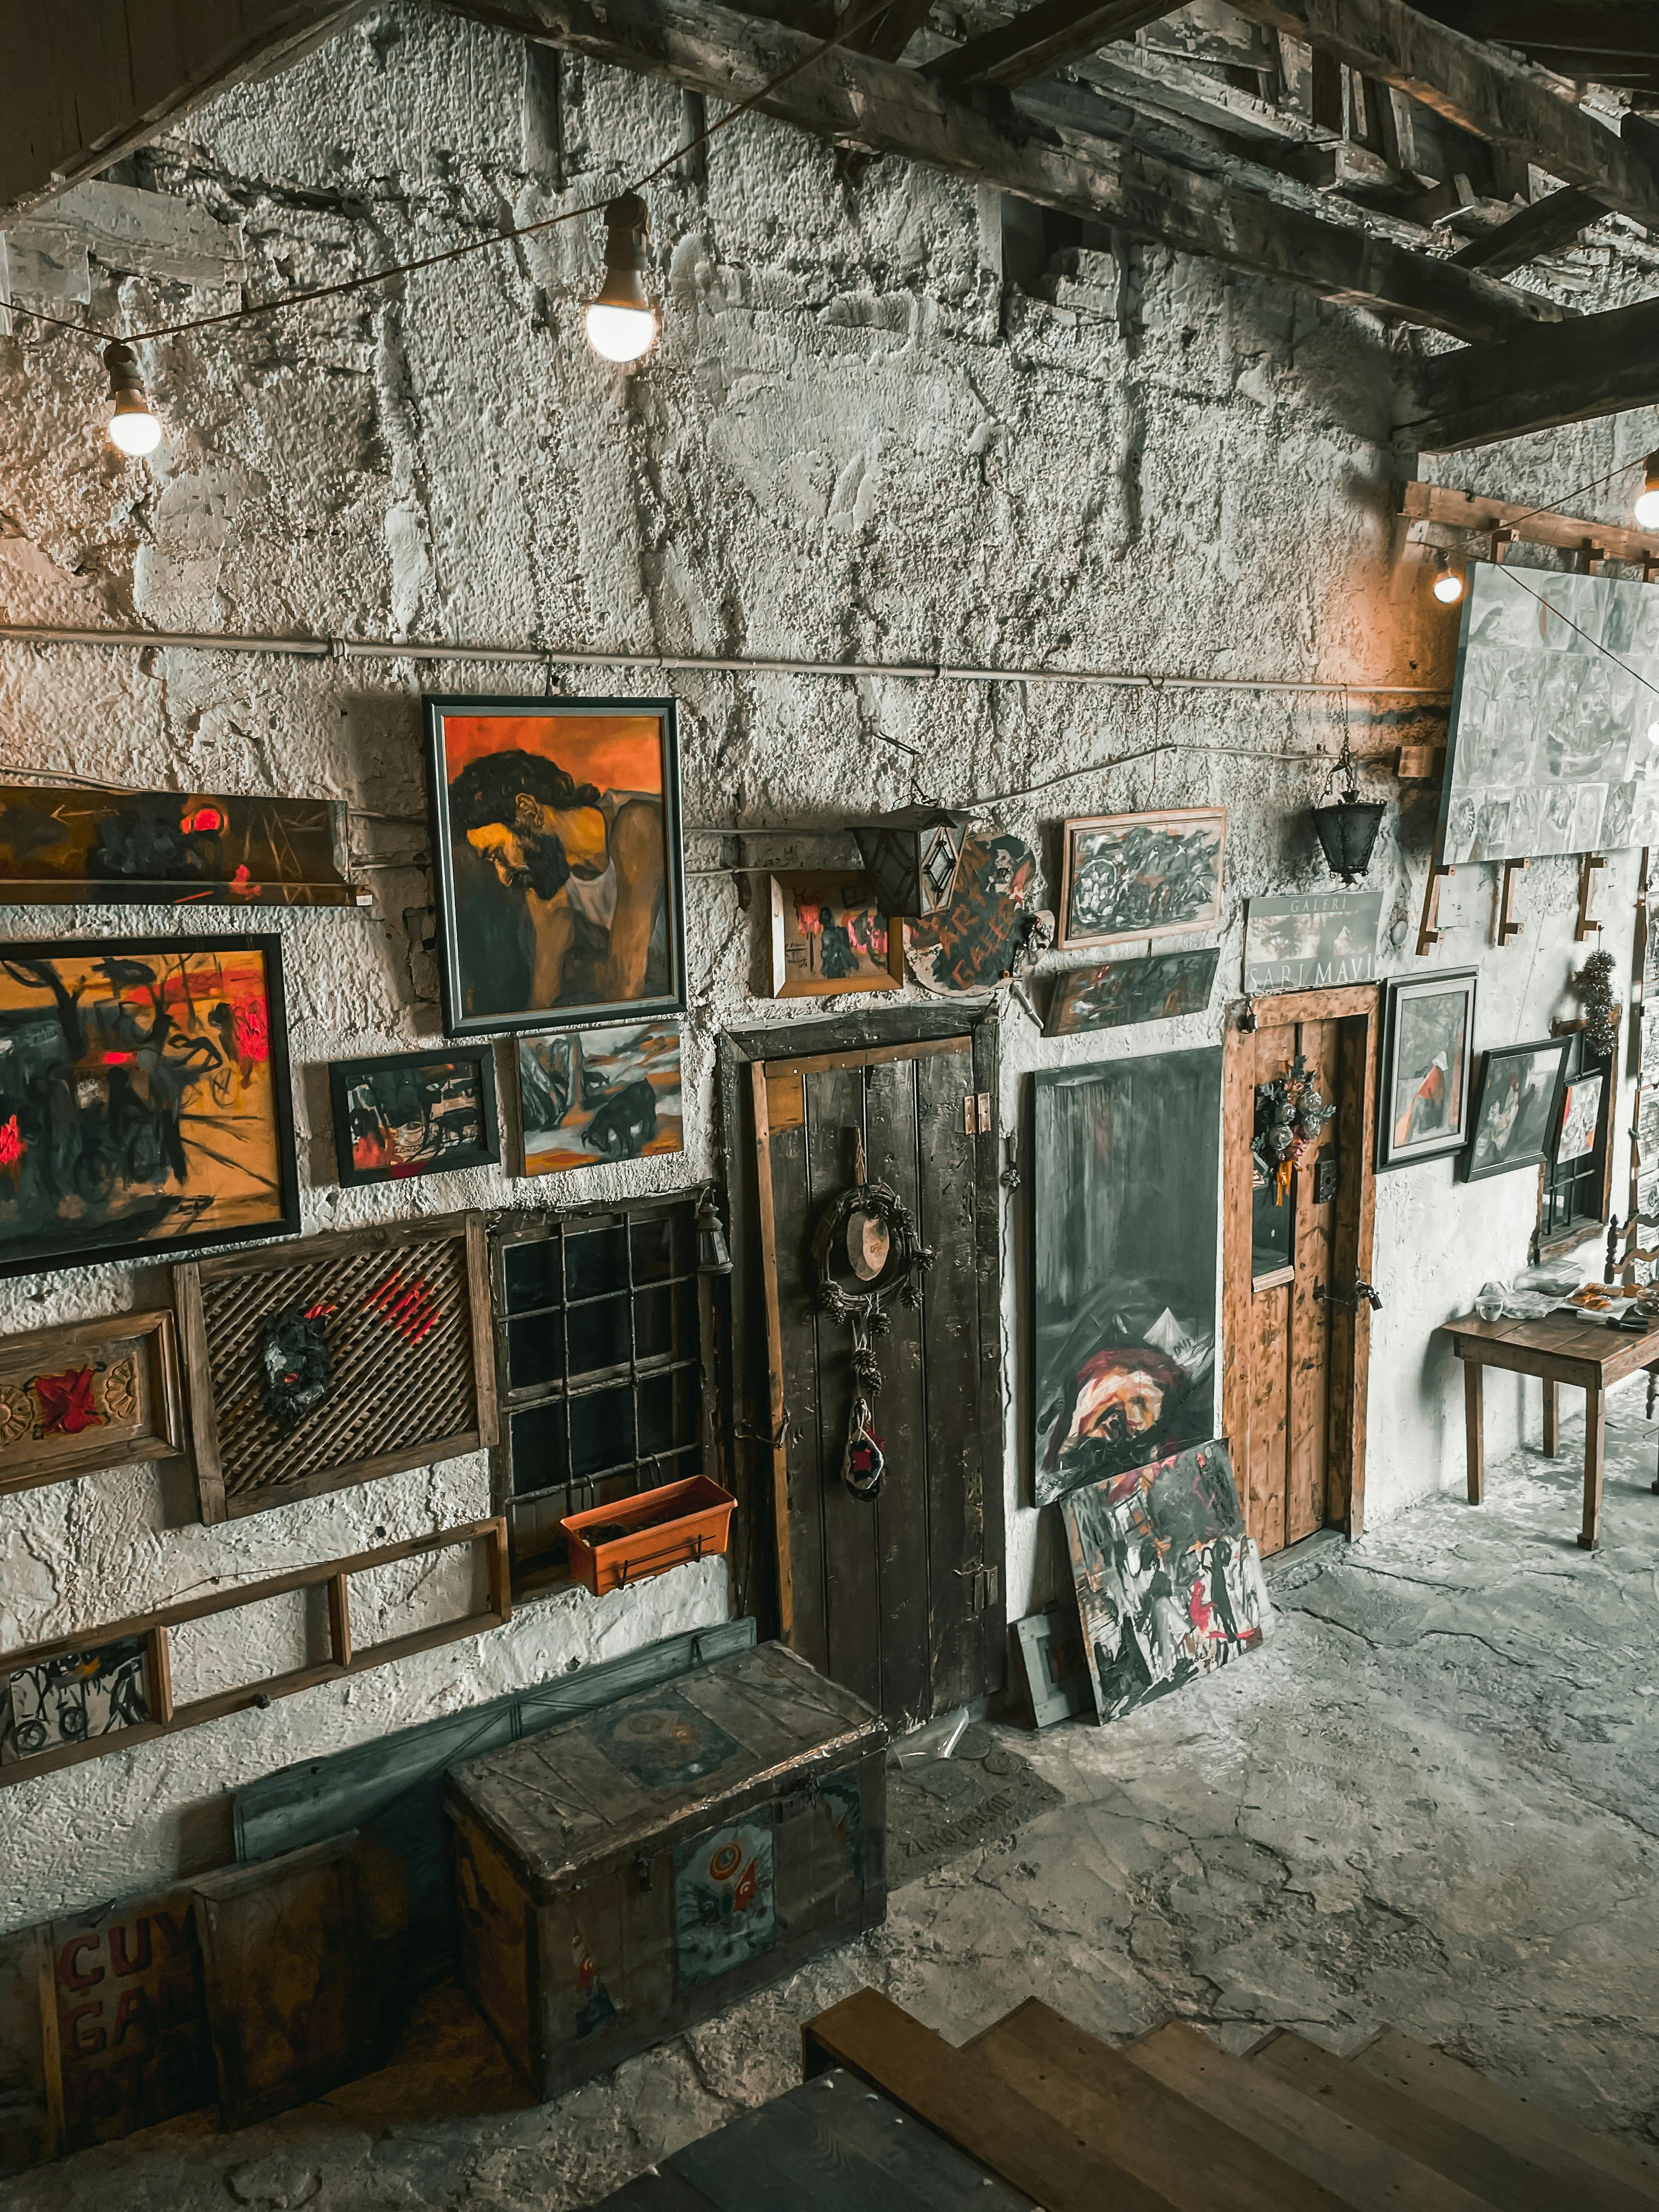 [credit](https://images.pexels.com/photos/11274638/pexels-photo-11274638.jpeg), [licence](https://creativecommons.org/public-domain/) A detailed mural of a woman's face integrated into a wall art design, showcasing creative interior decoration techniques and artistic wall panels. Ideal for modern wall decor inspiration. **Keywords**: wall art mural, interior decor, artistic wall panels, wall art ideas, home decoration. [credit](https://live.staticflickr.com/4809/44596612920_dbd13d7273_b.jpg), [licence](https://creativecommons.org/publicdomain/mark/1.0/) ### 1. The Low-Commitment Lifesaver: Mortar Hooks Let me introduce you to what might be the single most elegant "life hack" for brick walls: the mighty mortar hook. If the thought of a power tool still makes you break out in a cold sweat, this is your gateway drug to confident art hanging. These are slender, L-shaped spikes of hardened steel, angled to be gently tapped directly into the mortar joint between your bricks. The physics are simple and brilliant: instead of trying to penetrate the brick itself, you're targeting the (usually) softer, more malleable mortar. It requires no drilling, produces a hole so small it's barely a pinprick, and if you change your mind, the damage is almost invisible—often a tiny dab of color-matched grout or even just a finger-swipe of mortar dust fills it instantly.  [credit](https://images.pexels.com/photos/2079670/pexels-photo-2079670.jpeg), [licence](https://creativecommons.org/public-domain/) Now, let's be crystal clear on the limitations. We are not talking about hanging your great-grandma's cast-iron mirror. We're talking about feather-light duty. Think small, light frames, a cherished photograph, a delicate print, or a lightweight canvas. I've used these extensively when [creating a harmonious gallery wall](/finder/page/how-to-create-a-harmonious-gallery-wall-with-mixed-media-abstract-art), allowing me to mix in light, unframed pieces without a full drilling setup. **The [golden rule](/finder/page/golden-rule-art-ethics-best-practices):** A mortar hook's strength depends entirely on the quality of the mortar. If your wall has old, soft, sandy mortar, test a hook in an inconspicuous area first. If it goes in with barely a tap and feels loose, that's your wall telling you this isn't the anchor you're looking for. But for a well-maintained wall with solid mortar, these little hooks are an absolute revelation for low-impact, high-flexibility decorating. ### 2. The Mid-Tier Marvel: Drilling into Mortar This is where we graduate from clever hacks to serious hanging. For 80% of the art I hang on brick, drilling into the mortar is my go-to, my trusty middle ground, the "Goldilocks" solution that balances security with forgiveness. It's the difference between owning a drill and actually feeling like you know how to use it. So, why the mortar and not the [brick itself](/finder/page/how-to-hang-art-on-a-brick-wall)? It boils down to pragmatism. Mortar is the designer's "safety zone." It's almost always softer than the brick, which means your drill bit cuts through it with less fuss, less wear on the tool, and a dramatically reduced chance of an accidental, heart-sinking crack echoing through your living room. Aesthetically, it's a dream. A small hole in a mortar joint, filled later with a dab of fresh mortar or patching compound, virtually disappears into the wall's natural seams. It's the perfect method when you need real security without resorting to the "nuclear option" of drilling into the brick. For that perfect [statement art above the sofa](/finder/page/art-above-the-sofa-a-guide-to-perfect-placement-and-scale), the [bold, large-scale piece](/finder/page/decorating-with-bold-colors-how-to-integrate-vibrant-abstract-art-into-any-room) that's destined to be the [focal point](/finder/page/creating-a-focal-point:-how-to-position-abstract-art-to-transform-any-room) of the room, this is your ideal technique. It allows for heavier loads than mortar hooks and offers a bit of grace if your artistic vision shifts next year. My one piece of advice: use a masonry bit specifically sized for your wall anchors. A snug fit here is the foundation of a secure hang. ### 3. The Heavy-Duty Hero: Drilling into Brick Alright, let's talk about the main event. The moment of truth. When your art is heavy, or those beautifully even mortar lines just aren't in the right spot for your composition, you face a choice: compromise your vision, or go straight for the brick. This is the most secure method there is, but it's also the most serious. Don your proverbial armor, because this is about conquering the wall with respect, not brute force. Drilling into brick is for those moments when there's no other way. We're talking about anchoring that [statement art above the sofa](/finder/page/art-above-the-sofa-a-guide-to-perfect-placement-and-scale) that's secured in a heavy frame, or a solid piece of sculpture that needs to feel like it grew out of the [wall itself](/finder/page/how-to-choose-art-for-a-curved-wall). It demands not just a bit more muscle, but absolute precision. I vividly recall one particular brick, a beautiful, ancient, hard-as-nails monster, glaring back at me. Armed with the right hammer drill and a high-quality masonry bit, it eventually, grudgingly, yielded. The peace of mind you get from knowing your treasured piece is anchored deep and secure is worth every ounce of effort.  [credit](https://images.pexels.com/photos/15138850/pexels-photo-15138850/free-photo-of-exhibition-of-photographies.jpeg), [licence](https://creativecommons.org/public-domain/) I won't lie, it's a bigger commitment. The holes are permanent for all practical purposes. But sometimes, to get the home you envision, you have to make a bold move. My advice? Mask up, put on those safety glasses, and prepare for a bit of a workout. Brick dust is a sneaky, pervasive mess, and your lungs and eyes deserve better. ### 4. The Elegant Alternative: Picture Rail Systems What if the best way to [hang art](/finder/page/how-to-hang-art-on-wallpaper) on a brick wall is to *not* hang art on the brick wall at all? I know, it sounds like a paradox. But for anyone living in a historic home they can't (or won't) drill into, or for the fickle decorator who loves to rearrange monthly, this is the way. Enter the brilliant, timeless picture rail. This is the ultimate zero-damage, landlord-friendly, high-flexibility solution. You install a single, discreet rail—often a stylish moulding—high up on the wall, usually near the ceiling line. From that rail, you suspend your artwork using a system of hooks and (often decorative) wires or rods. It completely changes the game. Want to swap out a piece? You just lift it off its hook and hang a new one. Want to create a dynamic arrangement for a [harmonious gallery wall](/finder/page/how-to-create-a-harmonious-gallery-wall-with-mixed-media-abstract-art)? The hooks slide effortlessly along the rail, letting you experiment with spacing and composition to your heart's content.  [credit](https://images.pexels.com/photos/13558241/pexels-photo-13558241.jpeg), [licence](https://creativecommons.org/public-domain/) It turns your wall into a gallery with a constantly rotating exhibit. It keeps your beloved brickwork completely pristine and gives you the freedom to play without a shred of commitment. It's a classic, elegant solution that respects the architecture while giving you total creative freedom. For me, it's one of the most intelligent ways to [display art on architectural features](/finder/page/how-to-display-art-architectural-features) without ever touching them. 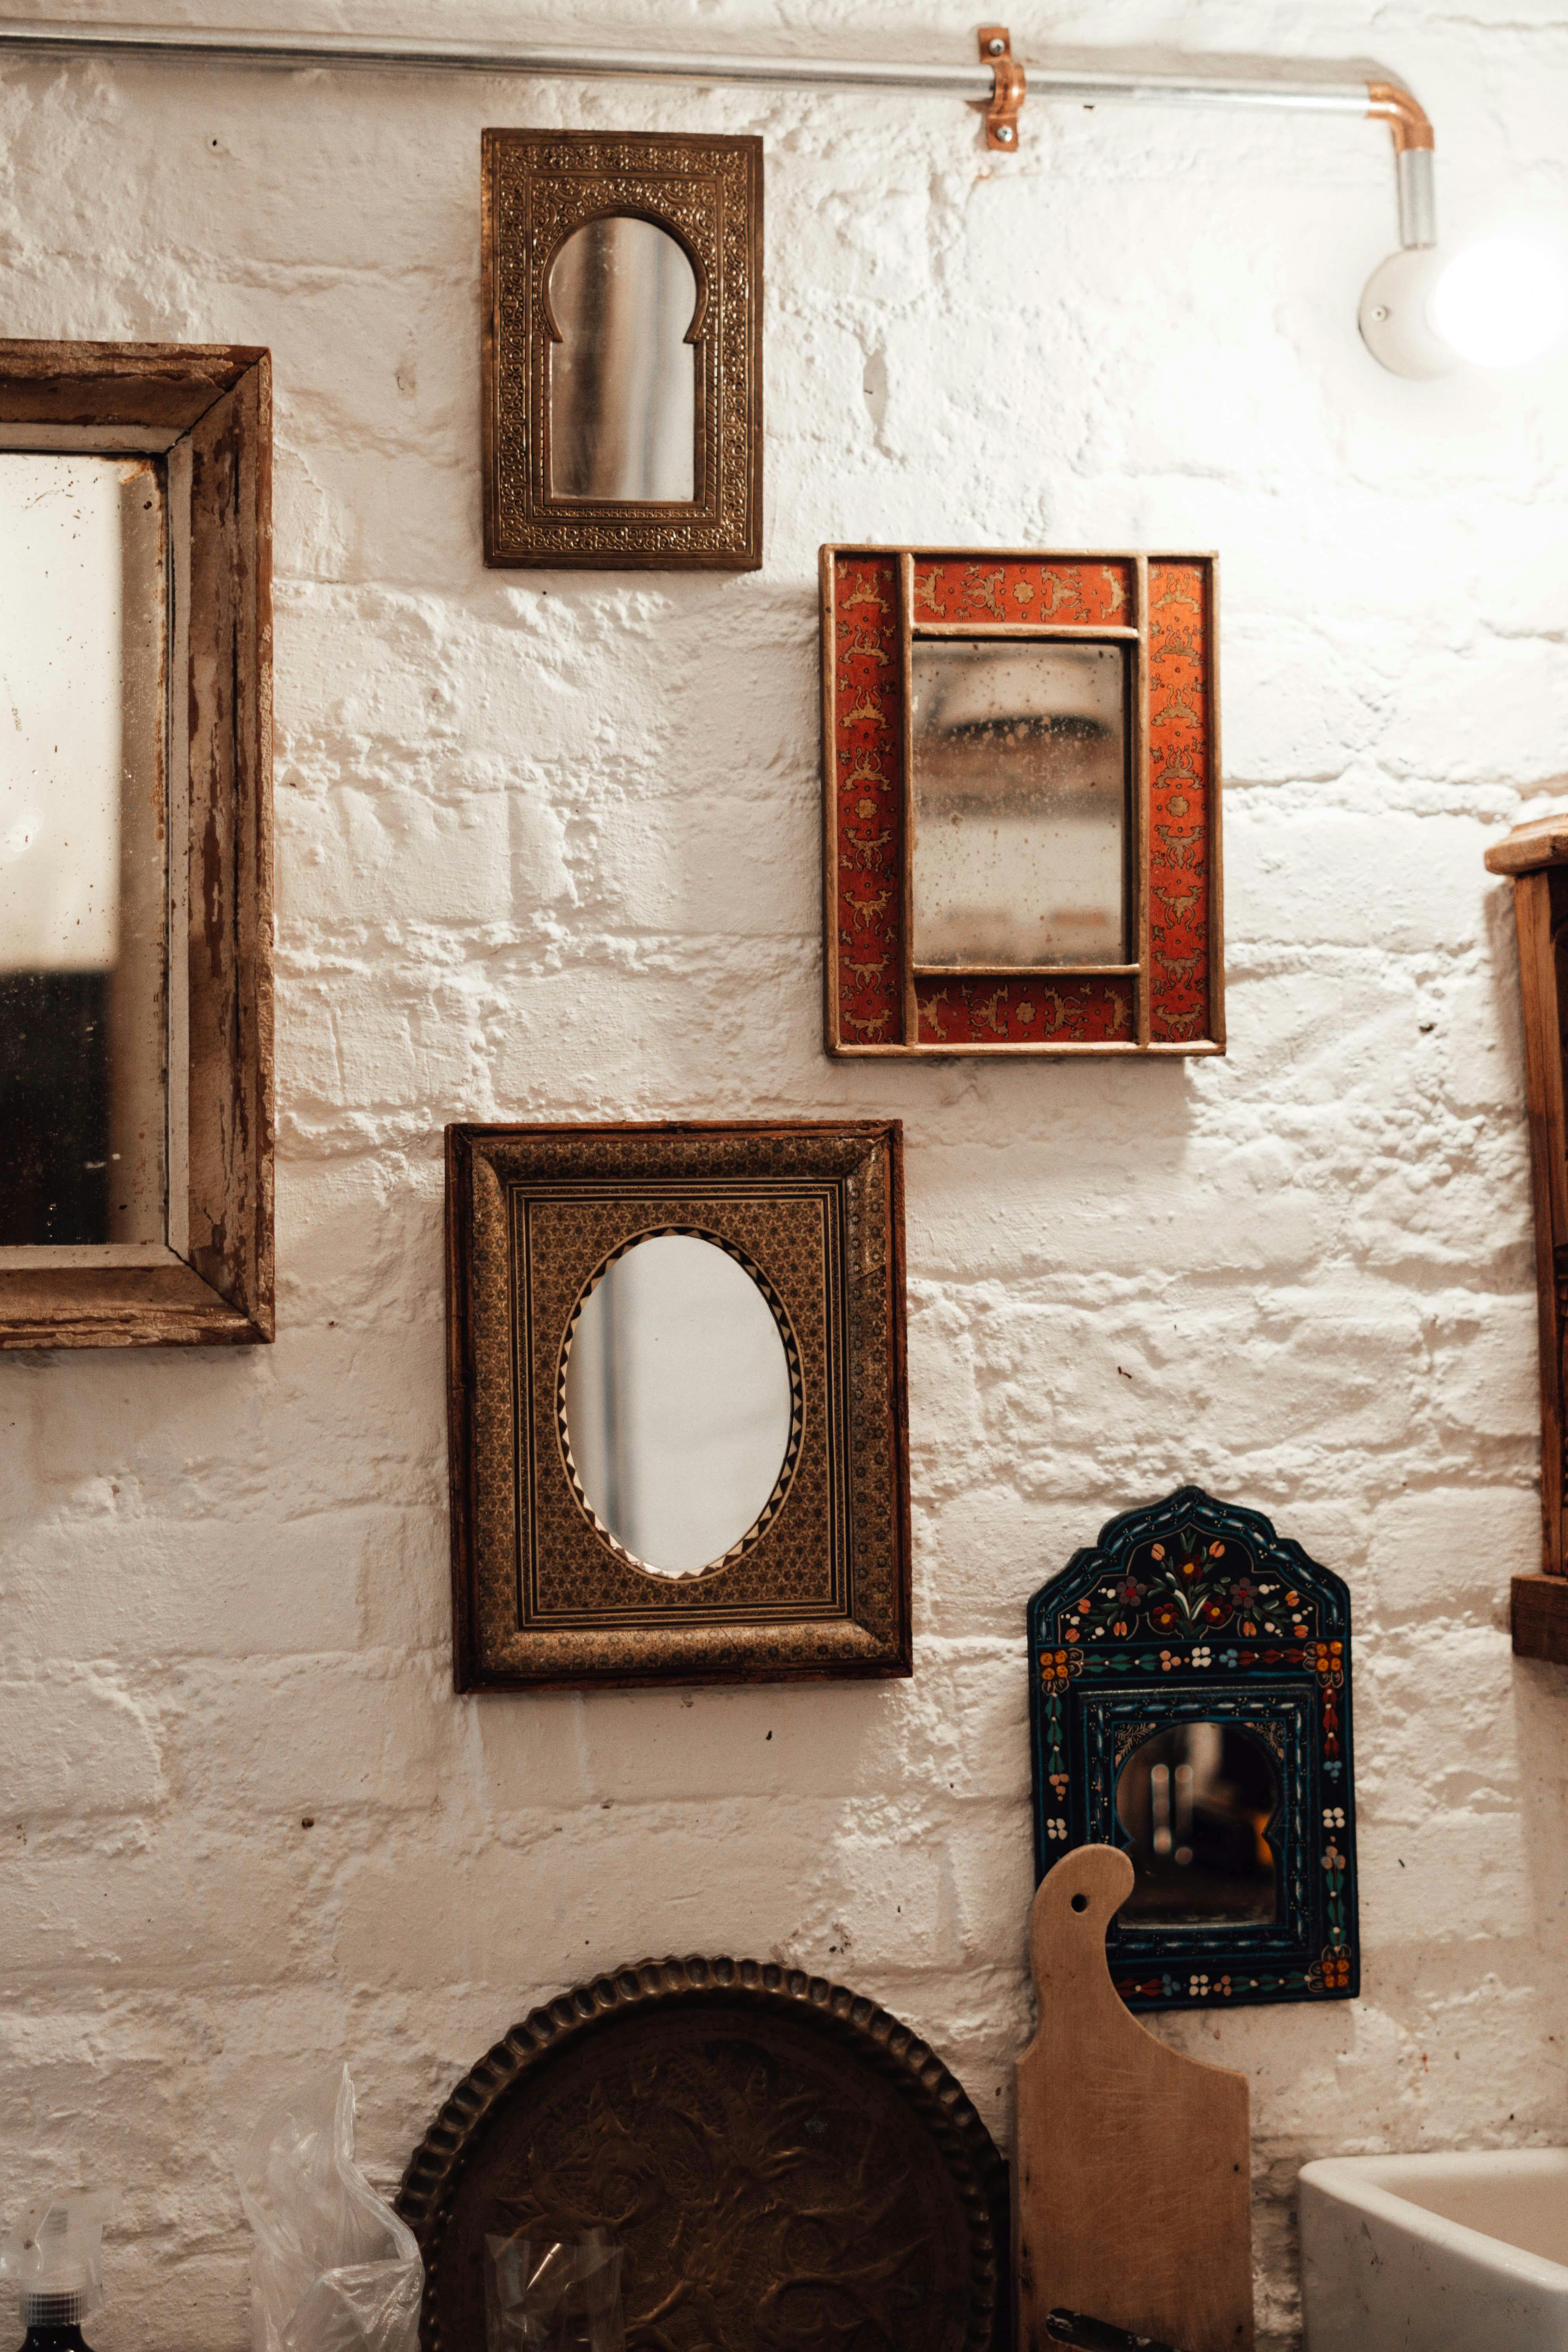 [credit](https://images.pexels.com/photos/6842189/pexels-photo-6842189.jpeg), [licence](https://creativecommons.org/public-domain/) ### 5. The Clever Concealers: Leaning and Shelving Okay, let's bend the rules a little. Or a lot. What if the ultimate power move is to ignore the hanging problem entirely? Sometimes, the chicest and most sophisticated way to [display art on a brick wall](/finder/page/how-to-display-art-architectural-features) is to not hang it at all. **The Art of the Lean:** There's an undeniably cool, [industrial vibe](/finder/page/decorating-with-art-in-industrial-interiors) to a large, eye-catching canvas casually leaned against a brick wall. It feels intentional yet effortless, curated yet lived-in. You can lean a piece on the floor, or elevate it onto a console table, sideboard, or even a fireplace mantel. It's the perfect way to [mix and match different art styles](/finder/page/how-to-mix-and-match-different-art-styles-in-your-home), layer pieces, and create depth without committing to a single nail hole. It's a strategy that screams confidence. **The Strategic Shelf:** For smaller pieces, or for when you want to create a rotating vignette, a floating shelf is your best friend. You bite the bullet once, using Method 2 or 3 to securely anchor the shelf brackets into the mortar or brick. From that point on, you have a blank canvas—literally. That one anchor point gives you the freedom to display smaller framed pieces, objects, vases, and sculptures, and to rearrange them whenever the mood strikes. It's the perfect blend of security and flexibility, letting your [art wall](/finder/page/decorating-large-walls-with-art) evolve with your taste. --- ## The Tools I've Come to Trust (and the Ones I Wished I Had Sooner) No matter which drilling method you choose, having the right gear makes all the difference. My early attempts were often frustrated by inadequate tools, leading to chipped bricks and bruised egos. Don't be like early me.  [credit](https://images.pexels.com/photos/15988007/pexels-photo-15988007/free-photo-of-man-walking-in-art-gallery.jpeg), [licence](https://creativecommons.org/public-domain/) * **Hammer Drill:** If you're going into brick (or even tough mortar), this is your best friend. A regular drill just won't cut it efficiently. It pulverizes the material as it spins, making drilling much easier. Trust me on this. It's an investment, but worth it if you have a lot of brick. * **Masonry Drill Bits:** These bits are specifically designed to chew through brick and mortar. They have a hardened, often carbide, tip. Make sure you get the right size for your wall anchors. * **Wall Anchors/Plugs:** Once you drill a hole, you need something for the screw to bite into. Plastic or metal wall anchors, appropriate for masonry, are essential. * **Measuring Tape, Pencil, Level:** For obvious reasons. Precision is key, unless you're going for a delightfully crooked look (which, sometimes, I am). * **Dust Mask & Safety Glasses:** Seriously, brick dust gets *everywhere*. Protect your lungs and your eyes. * **Vacuum Cleaner:** For immediate clean-up. You'll thank yourself later. --- ## My Step-by-Step for Drilling (Into Mortar or Brick) Okay, deep breaths. It's not as scary as it sounds. This is the process I've honed over several years and many, many holes. Follow these steps, and you'll move from anxious to confident in about an hour.  [credit](https://images.pexels.com/photos/14493083/pexels-photo-14493083.jpeg), [licence](https://creativecommons.org/public-domain/) #### Step 1: Picking Your Battleground (and Hiding the Evidence) First, decide: mortar or brick? My default is always the mortar joint. It's usually softer, easier to repair, and less likely to crack. If you absolutely must go into the brick face, inspect it closely. Avoid any bricks that are already cracked, flaking, or look ancient and fragile. Tap it with your knuckle—a solid, high-pitched "tink" is good. A dull "thud" might mean it's softer or damaged internally.  [credit](https://images.pexels.com/photos/18318322/pexels-photo-18318322/free-photo-of-art-deco-painting-on-brick-wall.jpeg), [licence](https://creativecommons.org/public-domain/) **Finding the Center:** Use your measuring tape to find the center of your artwork's hanging wire when it's pulled taut. Then, transfer that measurement to the wall. I like to use a [small piece](/finder/page/using-art-make-small-room-feel-bigger) of blue painter's tape for my mark. It's more visible than a pencil dot, it doesn't risk smudging, and it comes off cleanly. #### Step 2: The First Cut is the Deepest (Just a Pilot) This is the most crucial step for accuracy. Before you even think about firing up the hammer drill, take a center punch or a large nail, place it exactly on your marked spot, and give it a firm tap with your hammer. This creates a small indentation, or "dimple," in the surface. This dimple is your guide; it prevents the drill bit from "walking" or skittering across the hard surface when you first start drilling. It seems like a tiny, insignificant step, but it's the secret to getting your holes exactly where you want them.  [credit](https://images.pexels.com/photos/4267774/pexels-photo-4267774.jpeg), [licence](https://creativecommons.org/public-domain/) #### Step 3: Suit Up and Drill Put on your safety glasses and dust mask. Have your vacuum ready and its hose positioned nearby. Insert the correct-sized masonry bit into your hammer drill. Make sure the drill is set to "hammer" mode (the icon usually looks like a hammer). Approach the wall with confidence. Place the tip of the bit directly into the dimple you created. Start the drill at a slow speed to establish the hole, keeping it perfectly perpendicular to the wall. Once the bit has a good bite, you can ease up on the throttle and apply firm, steady pressure. Don't force it. Let the tool do the work. Pull the bit out every 10-15 seconds to clear dust from the hole and prevent the bit from overheating. **Drill to the Right Depth:** How deep should you go? The rule of thumb is: the depth of your screw, plus the length of your anchor, plus about 1/4 inch for good measure. To gauge this, hold your anchor and screw up to the drill bit and wrap a small piece of painter's tape around the bit at that depth. This simple trick gives you a visual "stop sign" so you don't drill too deep. #### Step 4: Clean, Tap, and Anchor Once your hole is drilled, blow out any loose dust (a can of compressed air is great for this) or use your small brush. Now, take your plastic anchor. Before you tap it in, put a small piece of painter's tape across its "ears" or flanges. This prevents the plastic from cracking when you tap it in with a hammer. Gently tap the anchor into the hole until it's flush with the wall surface.  [credit](https://images.pexels.com/photos/2442904/pexels-photo-2442904.jpeg), [licence](https://creativecommons.org/public-domain/) #### Step 5: Hang and Level Now for the moment of glory. Place your artwork's hanging hardware onto the screw or hook, and gently drive the screw into the anchor. Start by hand to ensure you're not stripping the threads, then finish with a screwdriver or drill on a very low clutch setting (if using a drill, be careful!). Tighten just until the artwork is secure and doesn't wobble. Over-tightening can strip the anchor. Once it's up, bring out your level. Place it on top of the frame (or in the center if it's a picture rail) and make your final adjustments. Sometimes you need to gently nudge the wire on the hook by a millimeter or two to get it perfectly level. Stand back, admire your handiwork, and then go wash the brick dust out of your hair.  [credit](https://images.pexels.com/photos/29546529/pexels-photo-29546529/free-photo-of-cozy-vintage-cafe-interior-with-brick-wall.jpeg), [licence](https://creativecommons.org/public-domain/) --- ## Maintaining Your Masterpiece on Masonry So, you've done the hard work, hung your art beautifully, and your [brick wall](/finder/page/how-to-hang-art-on-a-brick-wall) is now looking fabulous. High five! But your journey doesn't end there. Think of it this way: you've built a beautiful, static relationship between a piece of art and a living, breathing wall. Masonry expands and contracts with humidity and temperature, vibrations can work hardware loose over time, and dust is inevitable. A little proactive love keeps everything stable. I've developed a simple, low-stress maintenance routine that has saved me from at least one heart-stopping crash. * **The Quarterly Gentle Tug:** Every few months, I do a walk-through. I give each piece of art on my walls a very gentle, upward tug. You're not trying to yank it down, just checking for any movement or looseness in the anchor or hook. If something feels wobbly, it's a warning sign you can address *before* it becomes a disaster. Pay special attention to mortar hooks and adhesive strips, as these are the most susceptible to shifting over time. * **The Bi-Annual Frame Dusting:** Brick walls can be surprisingly dusty. A soft, dry microfiber cloth is all you need to gently wipe down the tops of frames and the edges where they meet the wall. This keeps your display looking crisp and prevents dust bunnies from accumulating. * **The "Removal is a Procedure" Rule:** When it's time to take a piece down—whether for cleaning, moving, or just a change of scenery—slow down. If you used a screw, back it out slowly and carefully to avoid stripping the anchor. If it's a mortor hook, gently wiggle it side-to-side as you pull it out to prevent breaking the hook. For adhesive strips, follow the manufacturer's instructions to the letter, pulling the tab slowly and parallel to the wall to avoid damaging the brick surface. * **Patching is an Art, Not a Crime:** Leaving a hole behind? No problem. For small holes in mortar, a tiny dab of color-matched grout or even a bit of caulk can make it virtually disappear. If you ever need to patch a hole in the brick face itself, there are excellent brick-colored patching compounds available. The goal is to keep your art safe and your wall looking its best, ensuring many more years of beautiful displays. --- ## Frequently Asked Questions (FAQs) I've gotten a lot of questions over the years, and these are the ones that pop up most often.  [credit](https://images.pexels.com/photos/16160115/pexels-photo-16160115/free-photo-of-woman-looking-at-paintings-in-an-art-gallery.jpeg), [licence](https://creativecommons.org/public-domain/) **What is the absolute best method for hanging art on brick?** There is no single "best" method. It's a spectrum of commitment and security.  [credit](https://images.pexels.com/photos/4279811/pexels-photo-4279811.jpeg), [licence](https://creativecommons.org/public-domain/) * **For a single, heavy, special piece:** Drilling into the brick is the most secure and long-term option. * **For most framed art and gallery walls:** Drilling into the mortar is the perfect sweet spot—secure, but more forgiving. * **For light, low-commitment pieces or renters:** Mortar hooks are a revelation. * **For maximum flexibility and zero wall damage:** A picture rail system can't be beaten. **Is it better to drill into brick or mortar?** For ease and aesthetics, mortar is almost always the better choice. It's usually softer, making drilling less work, and any patching or repair blends in almost invisibly. Drilling into the brick is a decision you make when you need maximum holding power or the mortar lines just aren't where you need them. When in doubt, choose the mortar joint. **Will drilling into a brick wall weaken it?** For a standard, non-load-bearing interior wall, drilling small-diameter holes (like for picture hooks or anchors) will not weaken the structural integrity of the wall. You are creating a tiny, localized disruption. However, you should always be cautious of old, crumbling, or historic brickwork, and avoid drilling into any bricks that are already cracked or loose.  [credit](https://www.flickr.com/photos/fiveblondes/2488269660/), [licence](https://creativecommons.org/licenses/by-nc-sa/2.0/) **Can I use nails on a brick wall?** You can, but it's not the best approach. A regular finish nail or picture hook nail will likely bend or only scratch the surface of a hard brick. While a hardened masonry nail can be driven in with a heavy hammer, the process is jarring and can easily crack the brick or surrounding mortar. Drilling a pilot hole and using an anchor provides a much cleaner, more secure, and less damaging result.  [credit](https://images.pexels.com/photos/5824517/pexels-photo-5824517.jpeg), [licence](https://creativecommons.org/public-domain/) **How much weight can a screw in a brick wall hold?** This depends entirely on the anchor you use and the quality of the brick or mortar. A single, properly installed plastic anchor in solid mortar can typically hold 20-50 lbs or more. A high-quality steel wedge anchor in solid brick can hold significantly more—easily over 100 lbs for larger anchors. **Always check the weight rating on the package of the anchors you buy and choose anchors rated for well above the weight of your artwork.** It's better to be vastly over-prepared than under. **Can you hang art on brick without drilling?** Absolutely! There are several excellent no-drill options, each with its own place.  [credit](https://images.pexels.com/photos/10599803/pexels-photo-10599803.jpeg), [licence](https://creativecommons.org/public-domain/) * Mortar Hooks * Picture Rail Systems * The tried-and-true "lean" Explore these options if you are renting, in a historic building, or just have a strong aversion to making holes in your lovely wall.