
Damage-Free Art for Renters: Decorate Walls, Keep Deposit & Express Your Style
Unlock creative, damage-free ways to hang art in your rental. From adhesives to leaning displays & easels, personalize your home without losing your deposit. A complete guide for renters.
Hanging Art in a Rental: Reclaiming Your Walls (and Your Deposit) with Damage-Free Flair
Look, I've been there. The thrill of a fresh rental, keys jingling, imagination already painting masterpieces on every blank wall. Then comes the chill: "Don't even think about putting a nail in that wall, or your deposit kisses you goodbye!" It's a classic renter's dilemma, isn't it? That deep yearning for a personalized space, a place that feels utterly you, clashing head-on with the very real fear of landlord wrath and repair bills. I confess, in my younger, more impulsive days, I definitely made a few questionable decor choices that involved far more patching than I cared to admit (don't ask about the time I tried to hang a tapestry with thumbtacks – a truly misguided venture). But we learn, we grow, and sometimes, we get much, much smarter about hanging art. My journey from nail-wielding rebel to damage-free enthusiast has been a revelation, truly transforming how I approach decorating and making every rental feel like a vibrant sanctuary. And let me tell you, it's not just about avoiding damage; it's about discovering a whole new world of creative, often more impactful, ways to display your cherished pieces without leaving a single permanent mark. Stick with me. We're about to reclaim your walls, personalize your temporary abode, and keep that precious deposit safe, exploring everything from the simplest lean to ingenious wire systems.
The Renter's Creative Conundrum: Making a House a Home
It’s a peculiar dance, this whole 'rental property' thing, isn't it? You pay good money for a place, but it never truly feels yours until you start infusing it with your personality. For me, and I suspect for many of you, art is a huge part of that. It’s not just decoration; it’s a reflection of who you are, what you love, what inspires you. Denying that creative outlet can feel… well, a bit soul-crushing. I remember staring at a vast, empty wall in my first apartment, a beautiful, vibrant abstract print leaning forlornly against it. It felt like a part of me was homeless. The thought of drilling, patching, and painting filled me with dread, yet the urge to personalize was overwhelming. This tension between longing and limitations is precisely why mastering damage-free art display is so vital, especially when making a rental truly yours where every square inch counts, and the rules are often strict. Learning how to create a personalized space, even temporarily, is an art in itself. But before we get too lost in the dream of decorating, let's ground ourselves in the reality of rental agreements and what they truly mean for our creative ambitions.
https://mastersatart.com/, https://creativecommons.org/licenses/by-nc/4.0/
Understanding Your Landlord's Logic (and Protecting Your Deposit)
Before you even think about reaching for the adhesive strips, a critical step often overlooked is to actually read your lease agreement. I know, I know, it sounds like homework, but trust me, it’s worth it. Some landlords have surprisingly specific clauses about wall hangings, even "damage-free" ones. Ignoring this can turn a well-intentioned decorating effort into a costly headache, potentially impacting your deposit far more than a tiny nail hole ever would. Knowledge is power, and in this case, it’s also deposit protection.
Beyond that, it’s worth taking a moment to put ourselves in our landlord’s shoes. I know, sometimes it feels like they’re just trying to stifle our creative spirit, but there’s usually a practical (and financial) reason behind those strict 'no holes' clauses. Think about it: every nail hole is a potential patch job, a paint touch-up, or even a more significant repair if done poorly. For them, it's about preserving property value, ensuring smooth transitions between tenants, and avoiding potential insurance hassles. A pristine wall means a quicker re-rental and less out-of-pocket expense for maintenance. Each repair costs time and money, reducing their profit margin and increasing the vacancy period between tenants. So, from their perspective, minimizing damage isn't just a preference; it's smart business. Understanding this perspective doesn't make our blank walls less daunting, but it does help us appreciate why damage-free decorating isn't just a tenant hack, but often a mutual benefit. It's about respecting the property while still making it feel like home.
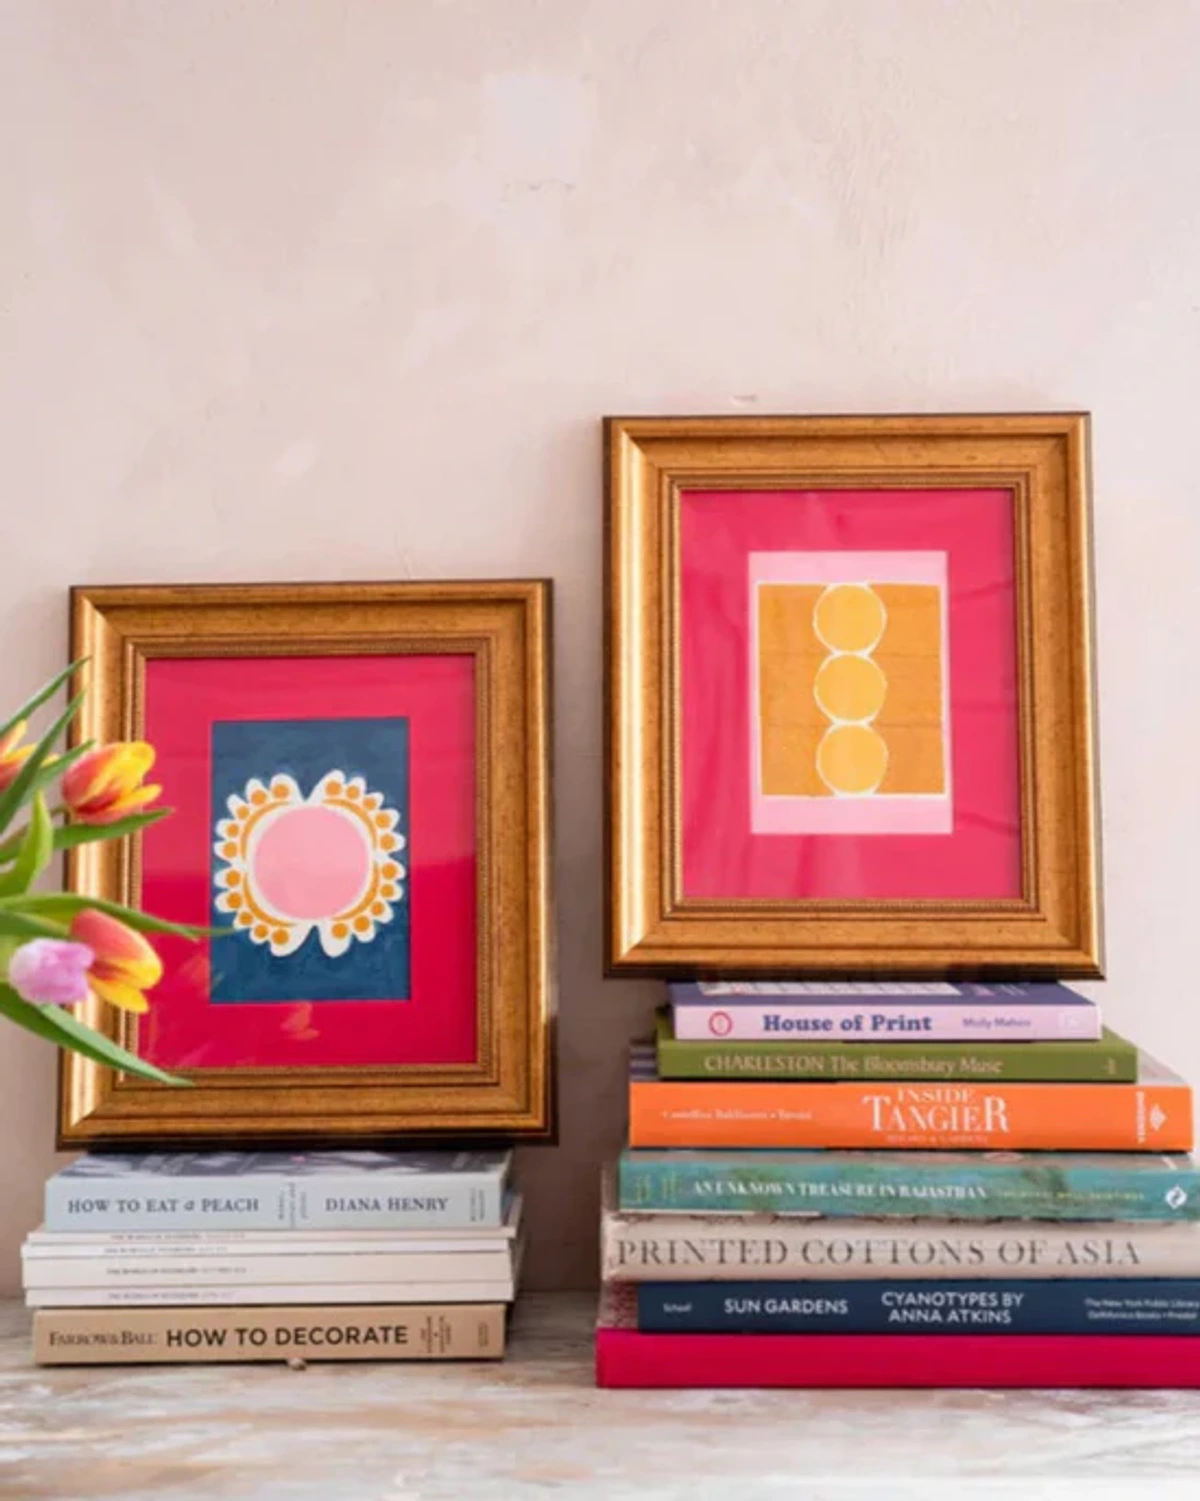
Choosing Art for the Temporarily-Minded: What Works Best?
When you're embracing damage-free methods, it helps to think strategically about the art itself. I’ve found that being proactive in my art choices makes the whole process so much smoother. What kind of pieces play nicely with adhesive strips, leaning, or easels? Generally, lighter frames are your best friends. Think wood, acrylic, or even gallery-wrapped canvas prints – they’re significantly easier to work with than heavy, glass-fronted pieces that scream 'permanent fixture.' Why? Because heavier items, and I mean the entire framed piece, put immense stress on adhesive solutions, making them far more likely to fail and potentially damage your wall (and your art!) during removal. For methods like leaning or easels, bulky frames can be cumbersome and less stable. Paper prints and unframed textiles or tapestries are also fantastic for adhesive strips or tension rod systems; they’re incredibly impactful and surprisingly easy to hang without a single nail. It’s all about finding the right fit between your artwork and the method, and sometimes, that means embracing the beauty of less weighty, more flexible options. This doesn't mean compromising on beauty, though! You can find truly vibrant and expressive pieces, like many abstract art for small spaces, that are perfectly suited for temporary displays. Moreover, choosing art that’s easily transportable, adaptable to different room layouts, and simple to repurpose aligns beautifully with a renter's transient lifestyle, making your decor choices not just aesthetically pleasing but also practical and sustainable. This foresight ensures your cherished pieces can accompany you from one adventure to the next without a hitch. Oh, and a quick thought: always consider the type of paint on your walls – matte, satin, or semi-gloss can react very differently to adhesives, something we'll dive into more later, but it's worth keeping in mind from the get-go.

Unknown, Unknown, https://creativecommons.com/licenses/by-sa/4.0
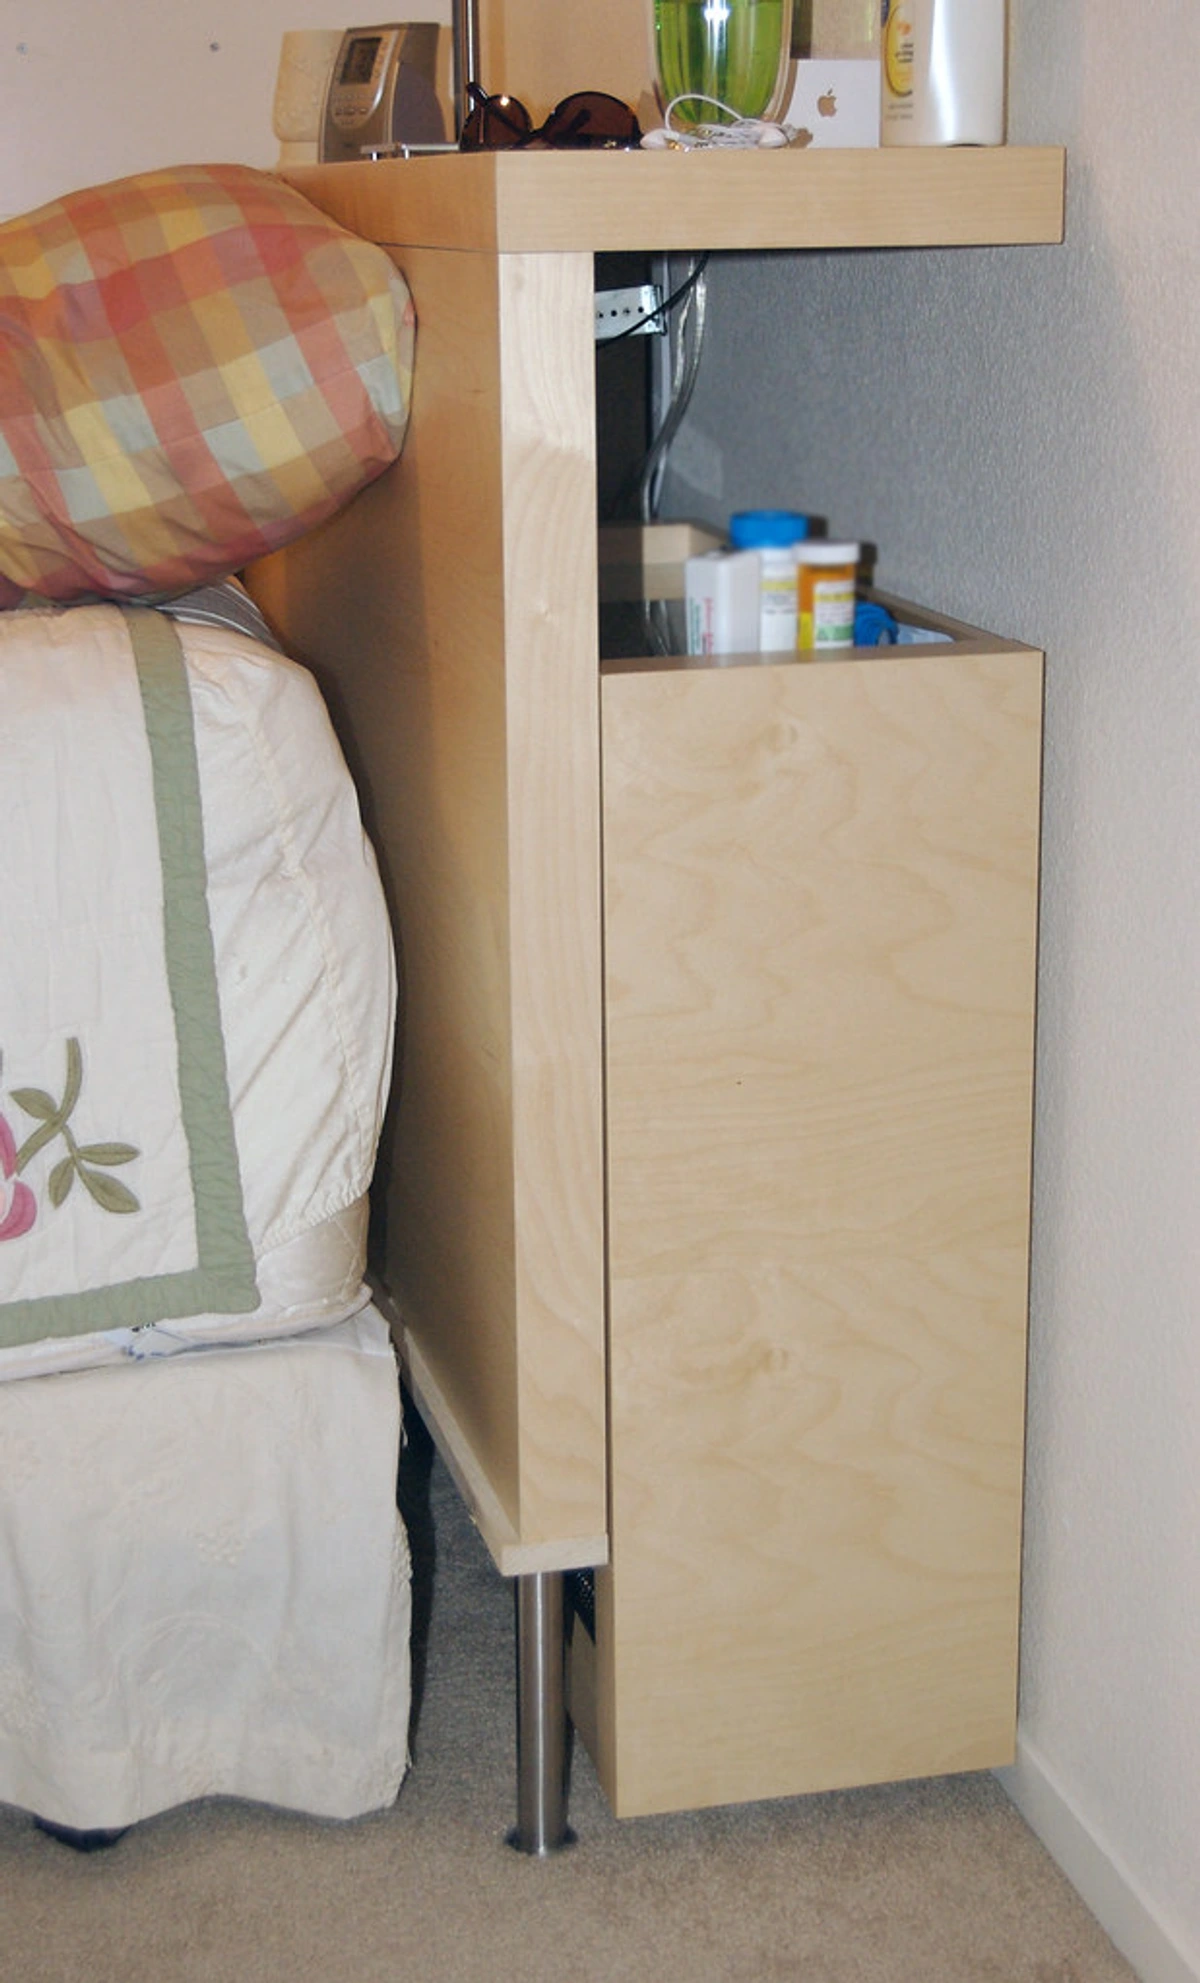
Art for High-Traffic Areas: Protection & Placement
When living in a rental, especially one with high-traffic areas like hallways, entryways, or kids' play zones (where little hands and paws tend to be curious!), protecting both your art and your walls becomes a dual mission. For these spots, consider robust methods like easels that stand independent of the wall, or leaning larger, heavier pieces directly onto the floor rather than precariously affixing them to the wall. If you must use adhesive strips, choose art with durable frames or protective glazing, and opt for multiple, high-strength strips to minimize the risk of accidental knocks dislodging them. Freestanding shelves or credenzas can also serve as excellent platforms for displaying art, keeping it out of the direct path of bumps and scrapes. The goal is to create beautiful displays that are also resilient, allowing your art to live harmoniously with the hustle and bustle of daily life without constant worry. Think durable materials for frames and secure placement that minimizes direct contact with busy pathways. Sometimes, the best solution is simply placing art in less trafficked areas, preserving both the piece and your peace of mind.
https://images.pexels.com/photos/6127442/pexels-photo-6127442.jpeg, this-link-is-broken-and-should-be-replaced/old:https://creativecommons.com/public-domain/
My Go-To Strategies for Stress-Free Art Display
I've experimented with almost everything under the sun, and these are the methods I now swear by. They're not just renter-friendly; some of them even offer a unique aesthetic that traditional hanging simply can't match, allowing for unparalleled flexibility and a fresh look whenever inspiration strikes. What follows are my personally tested and recommended strategies for turning those blank walls into a canvas for your personality, without ever worrying about your landlord.
1. The Elegant Lean: Walls Are for Resting, Too!
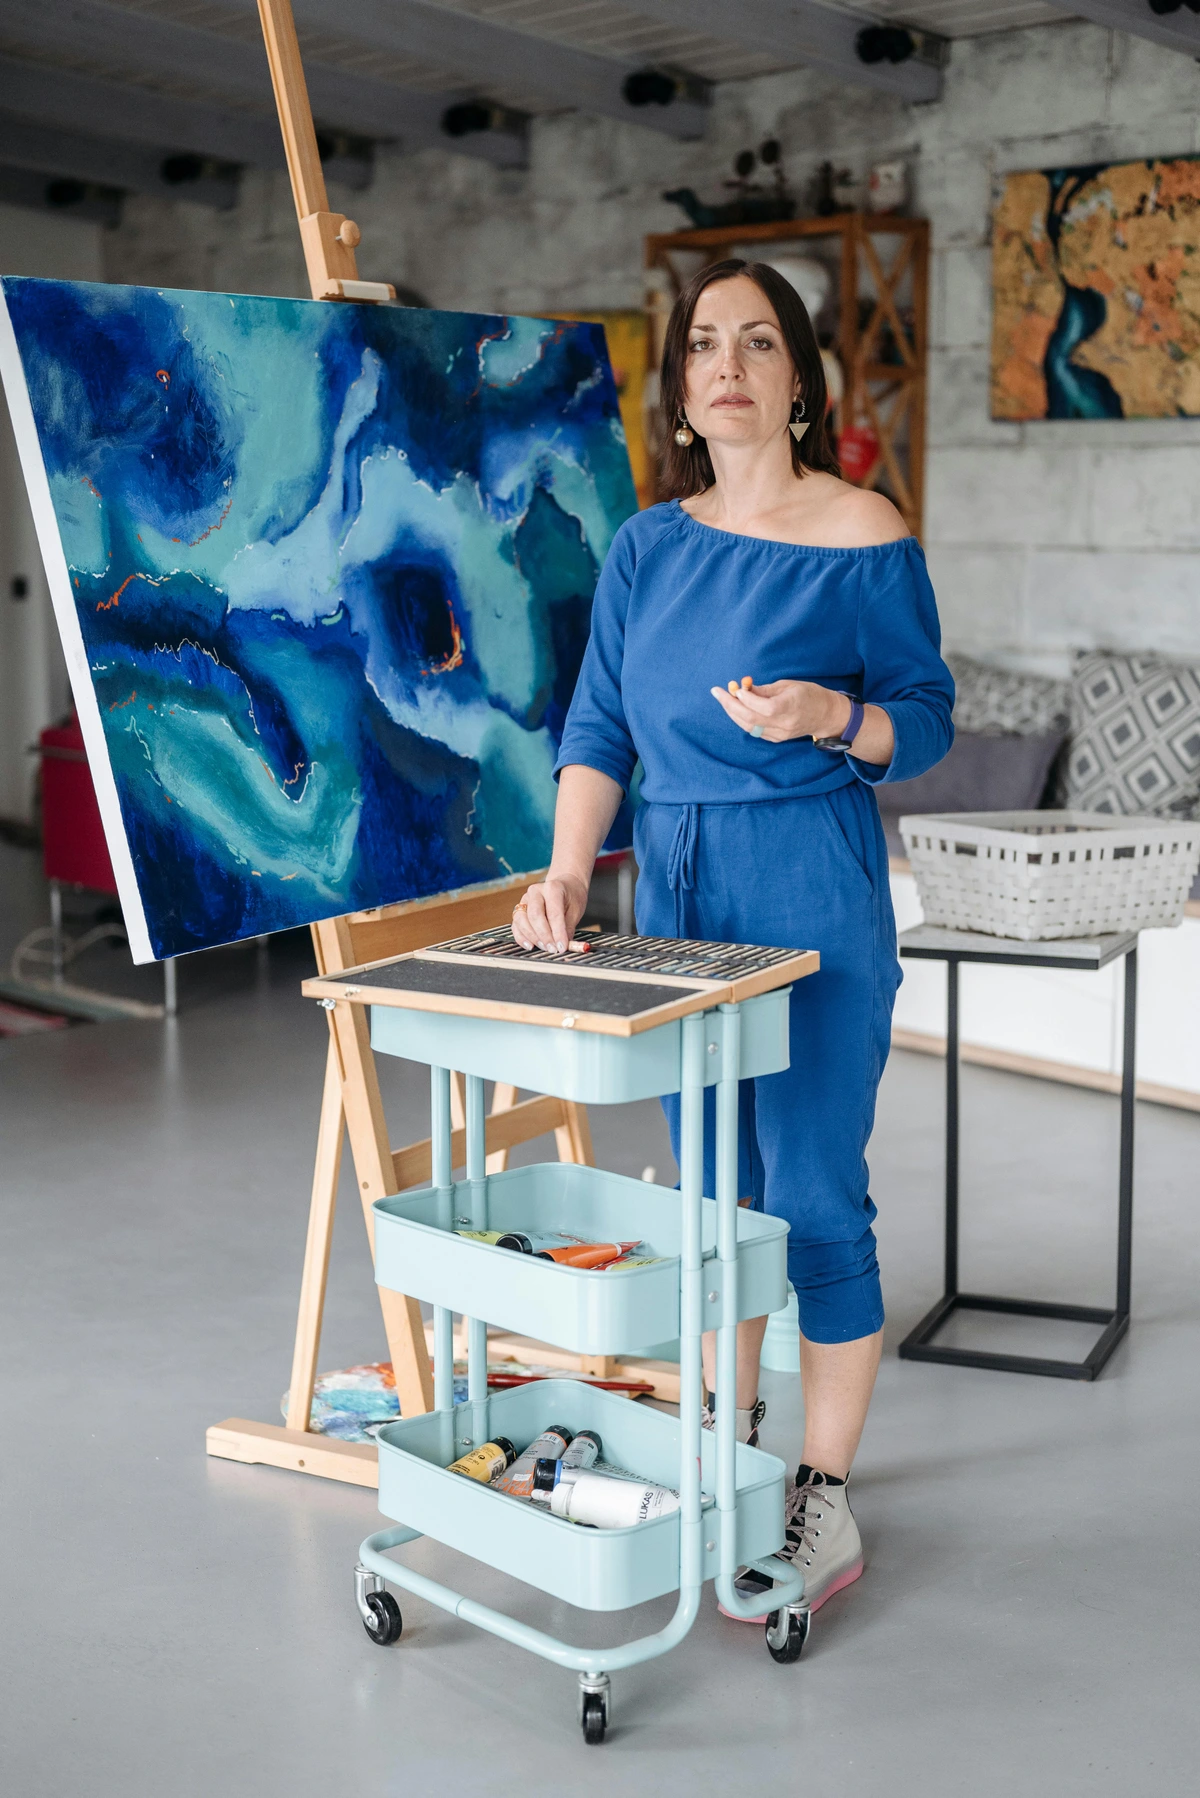
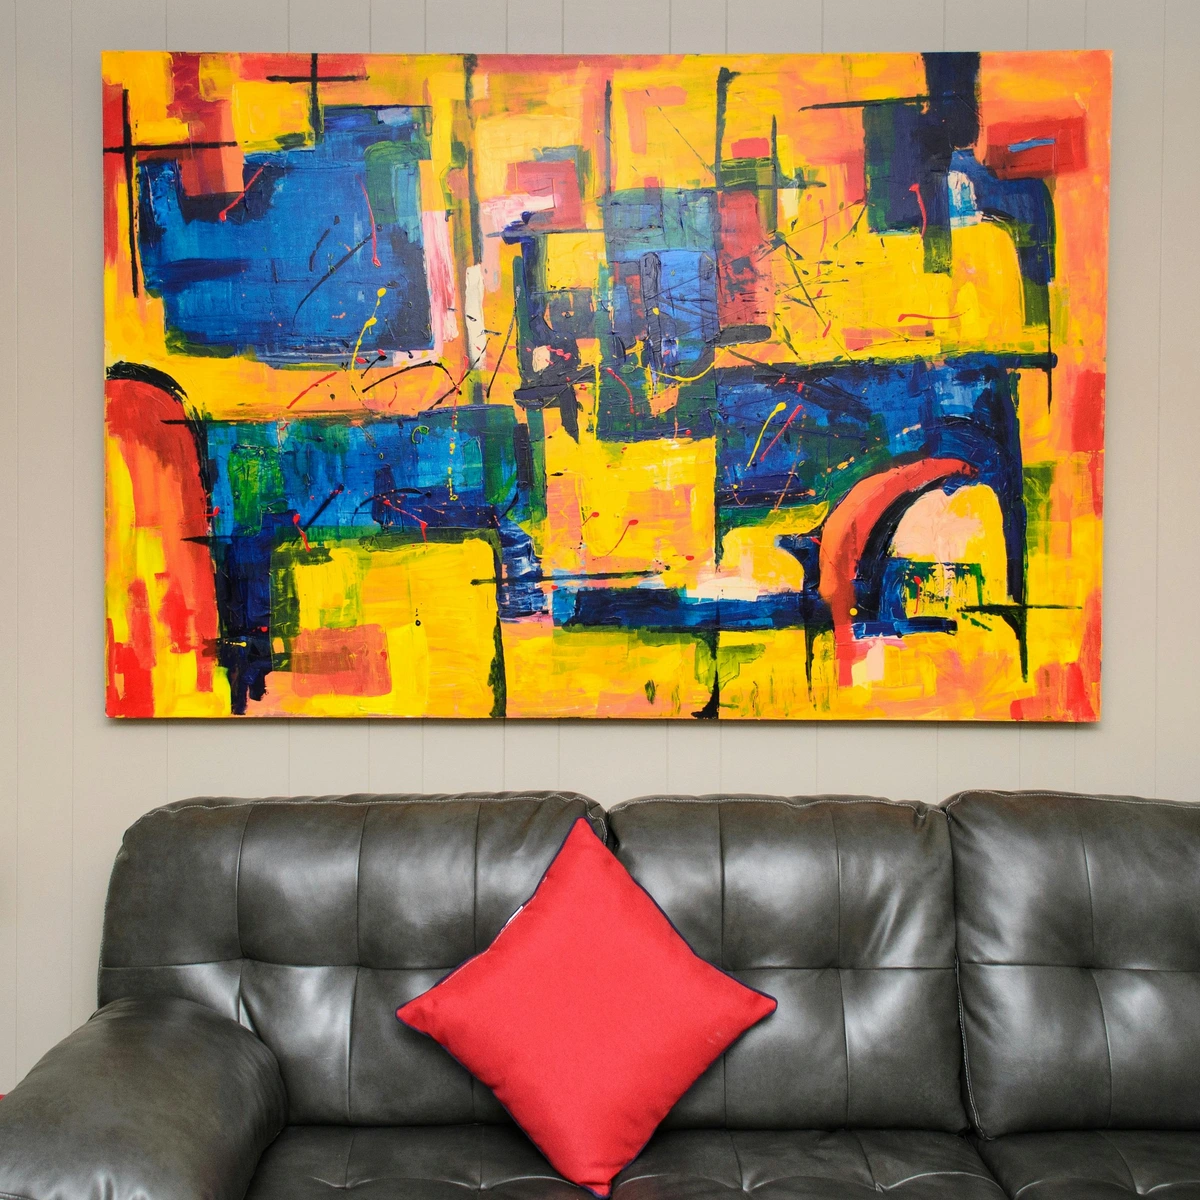
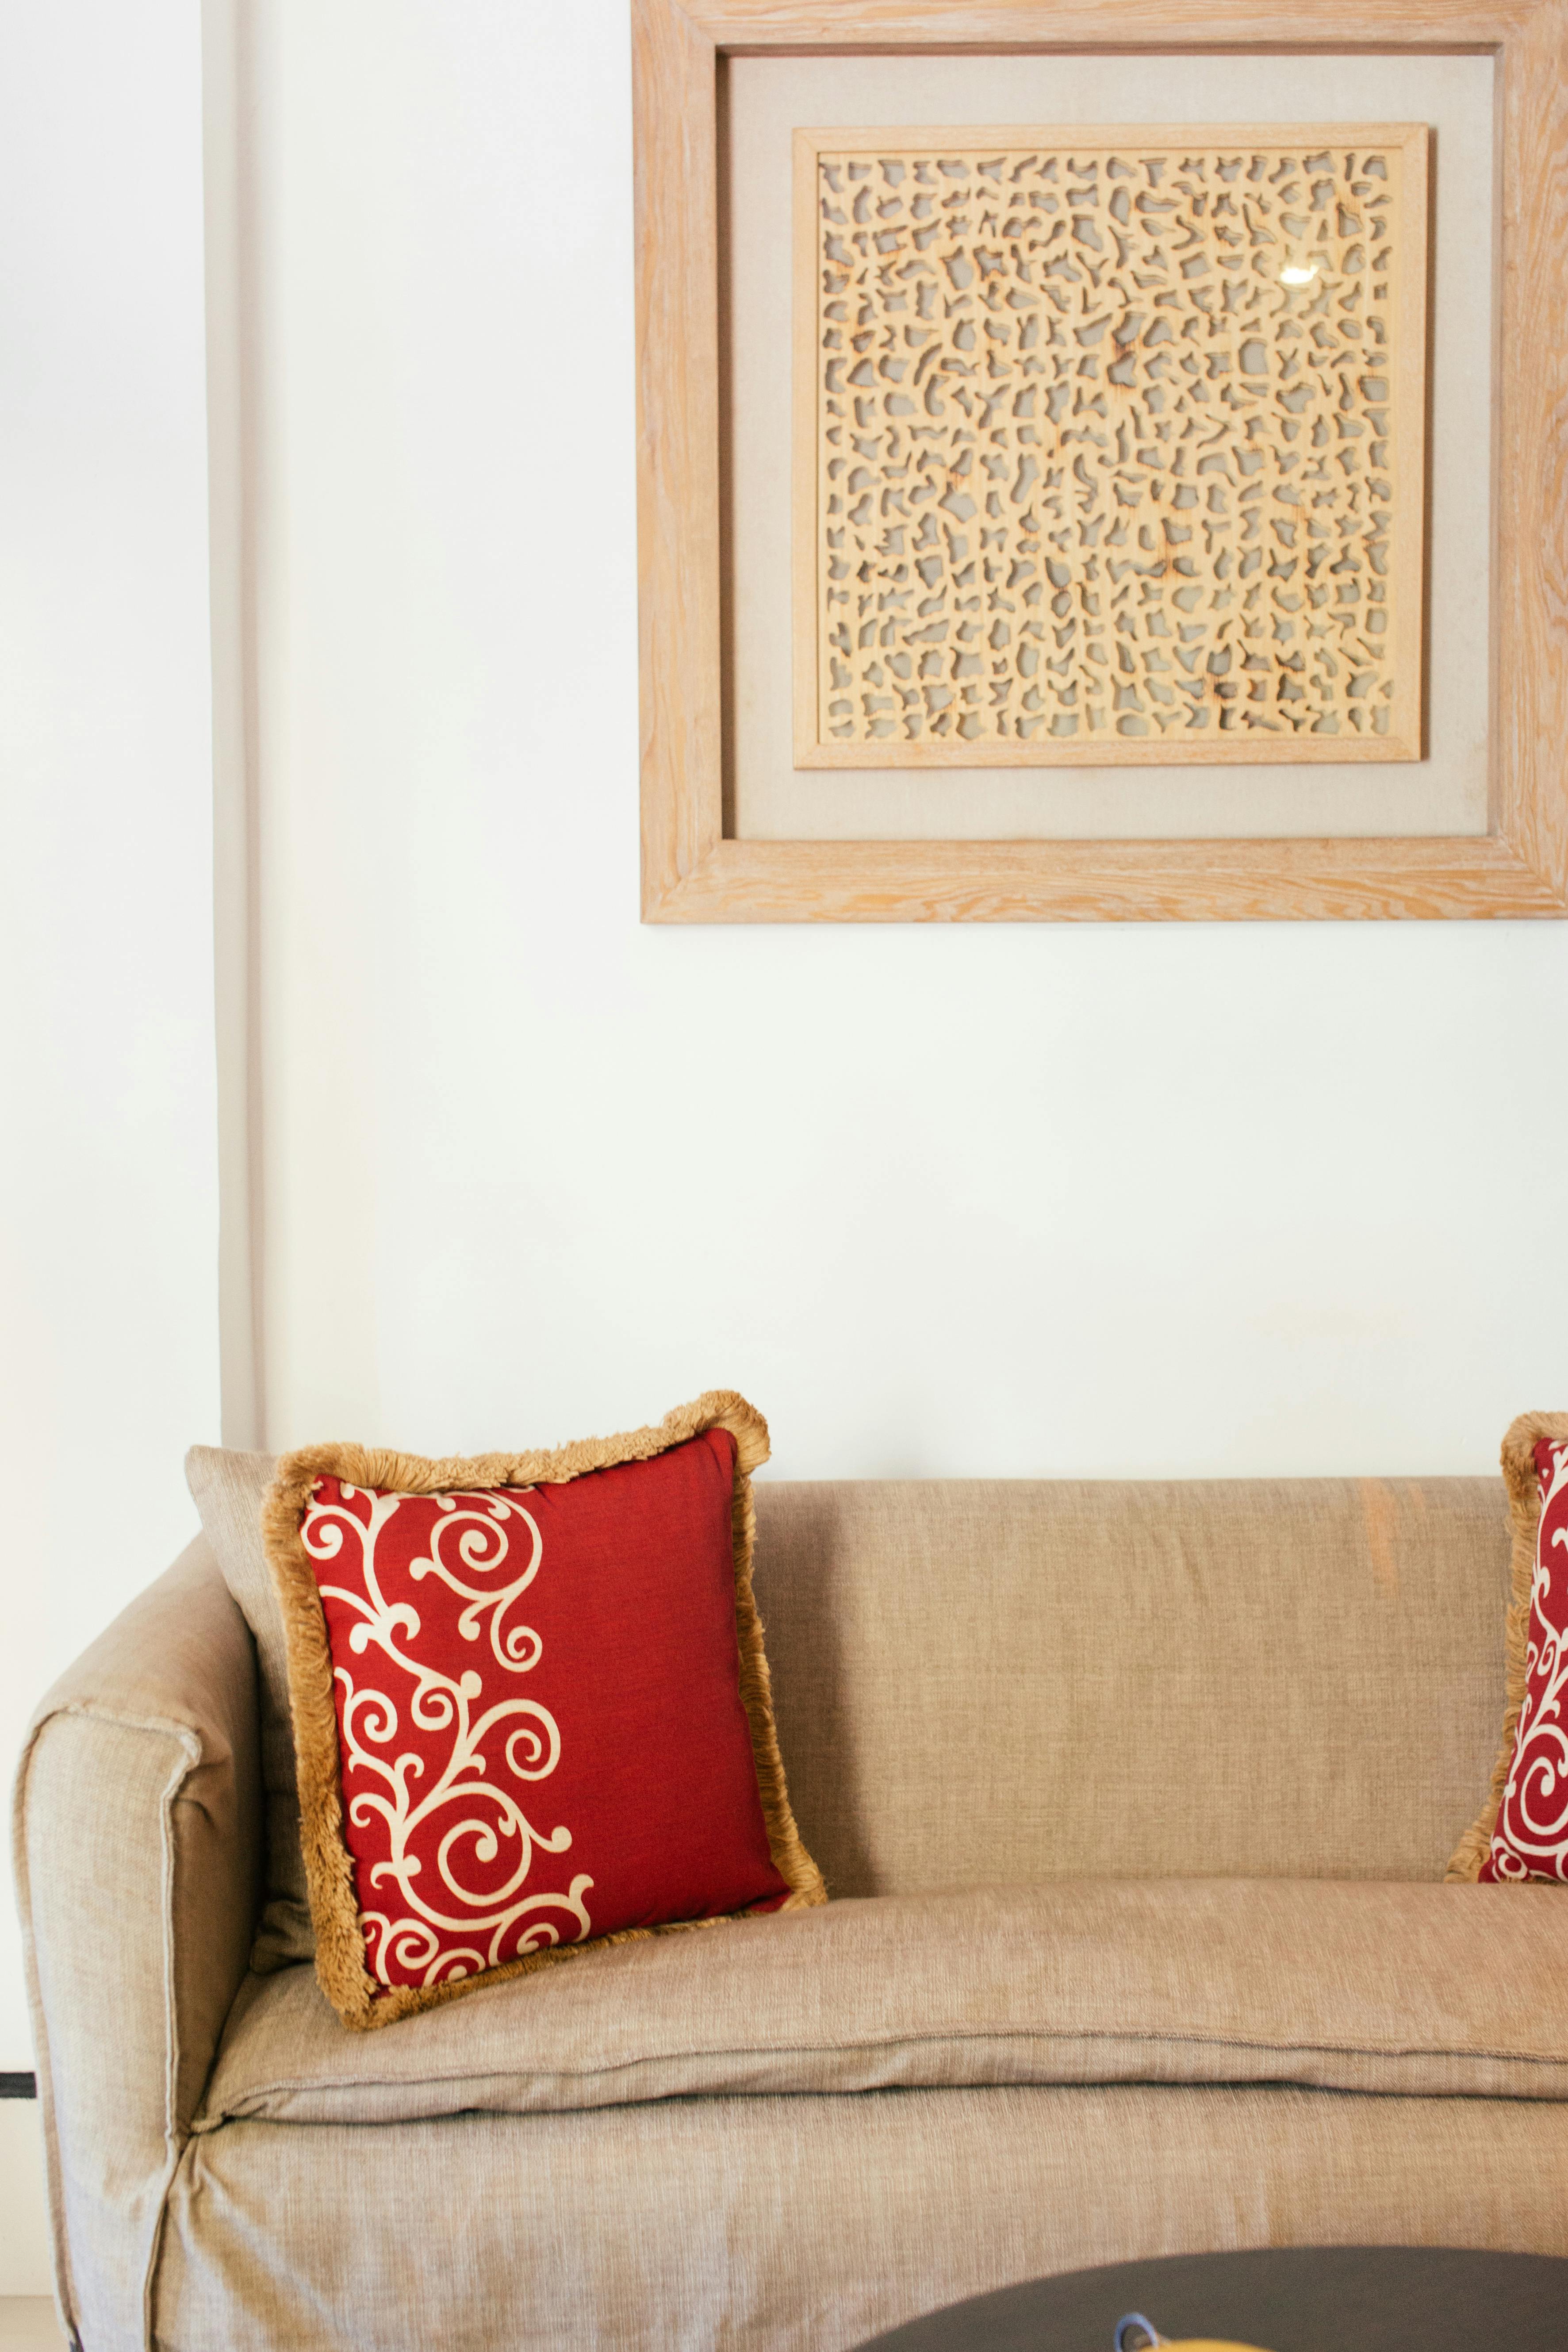
This is perhaps my favorite method, especially for larger pieces or statement art. Simply lean your artwork against the wall! It's effortlessly chic, gives a relaxed, gallery-like vibe, and requires absolutely zero wall intervention. This works brilliantly on any wall type – smooth drywall, textured plaster, even exposed brick – as the art isn't actually adhering to the surface. You can use it on the floor, on top of wide console tables, buffets, credenzas, mantels, or even nestled within a sturdy bookshelf. It also makes moving art around for a quick refresh incredibly easy. Plus, it adds a lovely layer of depth and dimension to your space. I've got a couple of my favorite vibrant, abstract art pieces leaning against a wall in my living room right now. I find abstract pieces particularly powerful for leaning displays because their non-representational nature allows them to blend seamlessly with various decor styles, providing a burst of color or intriguing form without needing perfect alignment. Sometimes, I layer a smaller print slightly in front of a larger one, and the effect is just fantastic – it creates an instant, dynamic focal point, drawing the eye in with a subtle invitation rather than a loud command. It truly transforms a flat wall into a conversation starter, adding depth and intrigue. This method isn't just easy; it offers an ever-evolving aesthetic, allowing you to rearrange on a whim. For more ideas on evolving your artistic perspective, explore our timeline of artistic inspiration. When you're seeking simplicity, elegance, and zero wall interference, the elegant lean is a winning choice.
Unknown, Unknown, https://creativecommons.com/licenses/by-sa/4.0
2. The Mighty Adhesive Hook & Strip (My Everyday Hero)
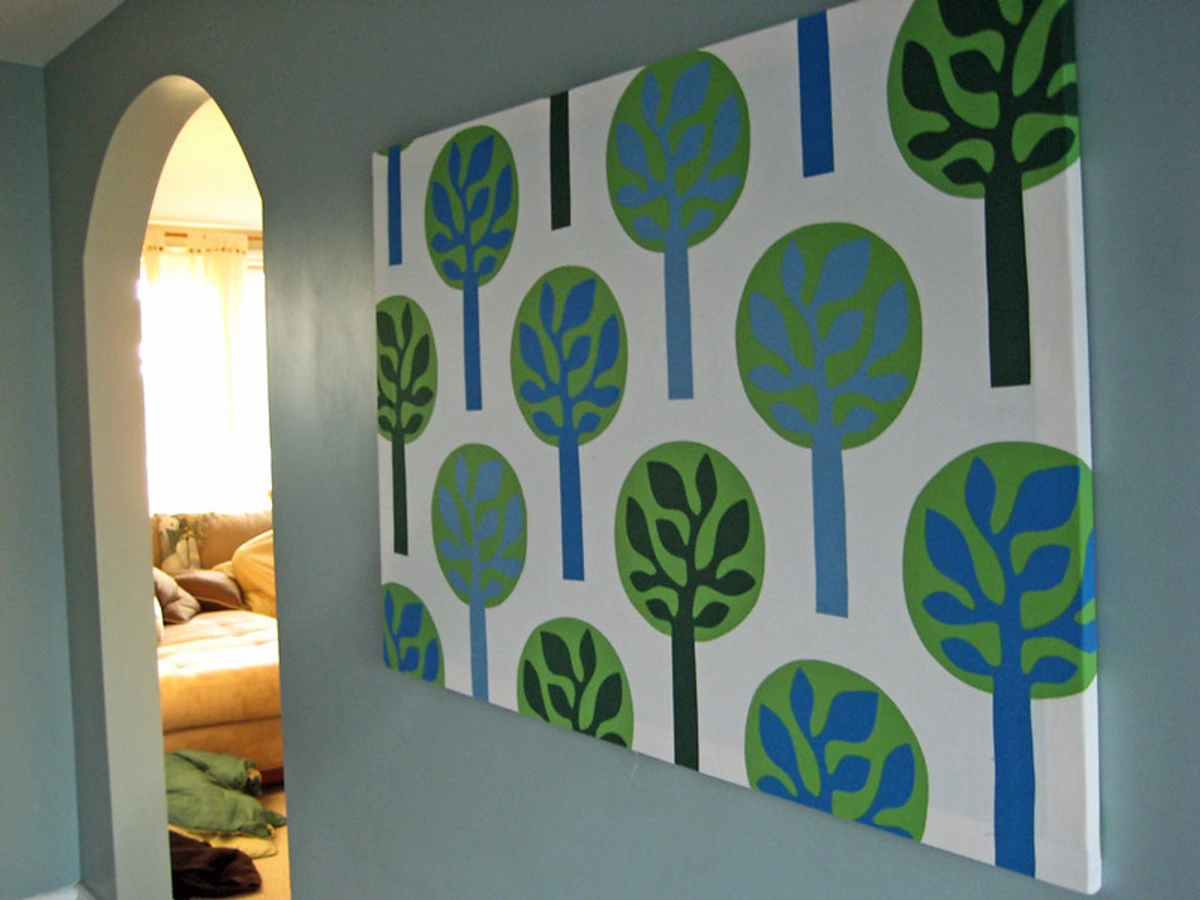
If there's one product that has truly saved my sanity (and my deposit), it's the humble adhesive hook or picture hanging strip. You know the ones – they often advertise "damage-free removal," and mostly, they deliver! For lighter frames, posters, or even small canvases, these are fantastic. They work best on smooth, clean, painted drywall or plaster surfaces, but always with caution. The key, I've learned, is to read the instructions meticulously. Seriously, don't just slap them on. Clean the wall surface thoroughly – whether it's painted drywall, a smooth plastered wall, or even a subtly textured one – as dust and grime are the enemies of adhesion. Press firmly, and wait the recommended hour after application before hanging anything. Rushing the drying time is where disaster strikes. I once got impatient and, impatient me, decided I knew better than the instructions. The result? I ripped a chunk of paint off, complete with a satisfying (and horrifying) peeling sound – a truly unforgettable lesson in humility and adhesion! Trust me, patience is truly a virtue here. Beyond drying time, different wall paint finishes – from matte and satin to semi-gloss or even textured surfaces – can react wildly differently to adhesives. A test patch in an inconspicuous spot is always a good idea, as some paint types are simply more delicate. And remember, the 'pull slowly downwards, parallel to the wall, stretching the strip' technique works because it gradually deforms and releases the adhesive bond, minimizing the shock to the paint surface. It’s a gentle, controlled ballet of physics. For many, reliable Command hooks are the go-to brand for these, a trusted name in damage-free decor. This method provides the most versatility for hanging traditional framed art without a single nail.

Unknown, Unknown, https://creativecommons.com/licenses/by-sa/4.0
3. Adhesive Putty & Removable Tape: For the Lightweights
For very light items – think postcards, small prints, children's drawings, or even temporary party decorations – a bit of adhesive putty (like the kind used for posters) or removable, low-tack tape can work wonders. Brands like Command Poster Strips or even good quality painter's tape (for very temporary, non-critical displays) can be gentle. These are generally best for smooth, non-textured walls. The trick here is lightness and testing. Don't try to hang anything substantial with this; if it feels like it might fall, it probably will, and then you've got a dent and a smudge to deal with! Always test a small, inconspicuous area first, especially with putty, as some can leave a slight oily residue or lift paint on certain finishes. My rule of thumb: if you can feel the tension as you pull it off, or if it feels like it's digging into the paint, you're risking it. Use this for truly feather-light pieces. When you need a quick, feather-light fix that can be changed on a whim, putty and removable tape offer delightful freedom.
4. Display Easels: The Portable Gallery
For those really special, perhaps slightly larger, pieces, a display easel isn't just a stand – it’s a stage, transforming your art into a personal exhibition, almost a piece of sculpture itself. It elevates the art, literally giving it a pedestal and drawing immediate attention, turning your space into a curated gallery. The beauty here is that easels work with any wall type, from smooth to heavily textured, because they don't interact with the wall surface at all. You can find easels in all sorts of materials and styles, from sleek minimalist metal (think tripod easels) to warm, traditional wood studio easels, or even compact tabletop versions for smaller works. The material of the easel itself contributes significantly to your room's aesthetic – a rustic wooden easel for a cozy feel, or a slim metal one for a modern edge. Considering the scale of the easel relative to your artwork and the room is key to making it feel purposeful, not just randomly placed. They're perfect for showcasing a single, impactful piece or even for creating a rotating display if you're like me and can never settle on just one favorite (a delightful conundrum, if you ask me). And the best part? Zero wall contact. It's essentially a mini, portable gallery for your home. If you're looking for something unique to display, why not browse some options available to buy directly from the artist? For a touch of gallery sophistication without the commitment, easels are an inspired choice.
Unknown, Unknown, https://creativecommons.com/licenses/by-sa/4.0
5. Picture Rails & Molding Hooks: The Dream Scenario
Some older rental properties (or even some newer, character-filled ones) come with existing picture rails or decorative molding near the ceiling. These are typically horizontal wooden strips, often about an inch wide, running around the room a foot or so below the ceiling, or sometimes as part of more intricate crown molding. To spot them, simply look for a distinct, continuous ledge or strip running along the top perimeter of your walls, often where the wall meets the ceiling, or just a foot or two below. You might also notice a subtle difference in paint texture or finish above and below the rail, indicating its presence even if painted over. If you're one of the lucky ones, embrace them! You can buy special picture rail hooks that simply clip over the rail, and then you hang your art with wire or string from those hooks. It's a classic, inherently damage-free method that allows for incredible flexibility in arrangement and height adjustment. I'm always a little envious when I see these in friends' homes; it’s like a built-in art gallery system that whispers tales of bygone eras, offering a nod to historical methods of art display. This method is, of course, entirely dependent on your rental having these features, and won't work on plain, smooth walls without modification. If you have an exceptionally understanding landlord and a more permanent rental situation, you might even subtly inquire about the possibility of installing a simple, non-invasive picture rail – though tread lightly! For timeless elegance and absolute wall protection, picture rails are an unparalleled solution.
https://www.flickr.com/photos/romseyfestival/35895267135, this-link-is-broken-and-should-be-replaced/old:https://creativecommons.com/licenses/by-nc/2.0/deed.en
6. Tension Rods & Wire Systems: Thinking Outside the Box
Now, this is where a little ingenuity comes in. Tension rods, the kind you might use for shower curtains or window coverings, can be surprisingly versatile. I've seen people use them to create a hanging system across a window frame (cleverly avoiding the wall entirely!), or even within a wide doorway or an alcove. You secure the rod tightly between two opposing surfaces that are not the main, painted walls themselves – think narrow doorways, inside a built-in cabinet frame, or between two sturdy pieces of furniture like tall bookshelves or a heavy dresser. This means it's adaptable to almost any wall type, as long as you have those stable opposing surfaces. You can then suspend lightweight prints, fabric art, or even string lights using S-hooks and thin wire. If you need to reinforce it for slightly heavier items, you can sometimes use non-damaging adhesive pads at the tension points for extra grip. It requires a bit of clever problem-solving to ensure stability and weight capacity, but the results can be really unique and, crucially, totally damage-free. It's an "aha!" moment when you realize the possibilities for transforming overlooked architectural features into display areas. When conventional walls are off-limits, tension rods offer ingenious vertical display possibilities.
https://freerangestock.com/photos/159386/modern-dining-area-with-abstract-wall-art.html, https://creativecommons.org/publicdomain/zero/1.0/
Key Takeaways for a Happy Home and a Safe Deposit
Before you go wild transforming your walls, there are a couple of things I always tell myself (and now, you) that are worth repeating. Consider this your damage-free decorating checklist:
- Read Your Lease, Then Read It Again: Seriously, dig it out. Some landlords are surprisingly lenient, others are… not. Know what you're up against. Sometimes, they even specify what can and cannot be used. Ignorance isn't bliss when your deposit is on the line.
- Test, Test, Test (Seriously): Always test adhesive products in a hidden spot (behind a door, inside a closet) for a few days before committing to your main display. Paint finishes vary wildly, and what works perfectly on one wall might be a disaster on another. This is especially true for older paint jobs, those with many layers, or freshly painted walls that haven't fully cured. Pay attention to how different paint types (matte, satin, semi-gloss) react.
- Consider the Actual Weight (Art + Frame): Be realistic. A tiny adhesive strip isn't going to hold up a massive framed mirror, no matter what the package claims. Always overestimate the weight capacity needed. When in doubt, go for a sturdier method or use multiple strips. Remember, it's the combined weight of the art and its frame that matters.
- Master the Removal Technique: The 'damage-free' promise hinges heavily on how you remove the adhesive. Always pull slowly downwards, parallel to the wall, stretching the strip until the bond gradually releases. Never pull directly outwards or yank quickly – that's a recipe for peeled paint!
- Embrace Eco-Conscious Decor: Beyond avoiding repairs, damage-free methods inherently reduce waste. Reusable adhesive strips (yes, some are designed for multiple uses!), leaning art, and easels mean less patching, less repainting, and fewer harsh chemicals needed for cleanup. Opting for durable, timeless art and display solutions also means less frequent replacements. It’s a subtle shift, but embracing longevity and reusability in your decor can contribute to a more sustainable, thoughtful home. After all, a beautiful home shouldn't come at the Earth's expense.
Frequently Asked Questions About Hanging Art in Rentals
Q: Are all "damage-free" products truly damage-free?
A: Mostly, yes, but it heavily depends on proper application and removal, and the condition of your walls. If paint is old, peeling, poorly applied, or if you rush the removal process, even the gentlest methods can cause issues. Always follow instructions to the letter and test first!
Q: How do I hang heavier items without nails?
A: This requires a bit of creative thinking and often a combination of methods! For truly heavy pieces, your best bets are floor easels or securely leaning the art against a sturdy console table or a robust credenza. You can also explore freestanding art display systems or even consider a minimalist art ledge. If you absolutely need something on the wall, industrial-strength adhesive strips (like those rated for significant weight) used in multiples can work, but this is where thorough testing, precise application, and understanding your wall's paint integrity become absolutely paramount. For very valuable heavy pieces, traditional hanging might be the only safe long-term option, requiring a direct conversation with your landlord about approved professional installation methods.
Q: How do I hang art on textured walls?
A: Textured walls present a challenge for adhesive products, as they reduce the surface area for adhesion. For these, leaning art or using easels are excellent choices. If you must use adhesive, look for products specifically designed for textured surfaces, or use extra strips to distribute the weight. Testing a small, hidden patch is even more critical on textured walls, as removal can sometimes pull off bits of the texture itself.
Q: Can I use wallpaper in a rental?
A: Generally, no, unless specifically allowed by your landlord. However, removable or peel-and-stick wallpaper is a fantastic alternative for creating accent walls or patterns without permanent commitment. Just be cautious; some "removable" wallpapers can still pull off paint, especially on older or poorly prepped walls. Always, always test a small, hidden patch for a few days before full application!
Q: What if my landlord says no holes at all?
A: Then methods like leaning art, using easels, tension rods, or even investing in freestanding display shelves become your best friends. There are still plenty of options to personalize your space without touching the walls directly. You might even explore creative ways to display your cherished pieces through our timeline of artistic inspiration.
Q: How long can damage-free methods typically stay up?
A: This really varies by product and environmental conditions, but generally, good quality adhesive strips are designed for long-term hold, often a year or more, provided they were applied correctly to a clean, appropriate surface. Factors like humidity, temperature fluctuations, and the weight of the item can affect longevity. It's wise to periodically check the adhesion (without trying to remove it) and consider reapplying or refreshing strips if you notice any loosening after many months or a year, especially for heavier items. When in doubt, checking the manufacturer's specific guidelines is always best.
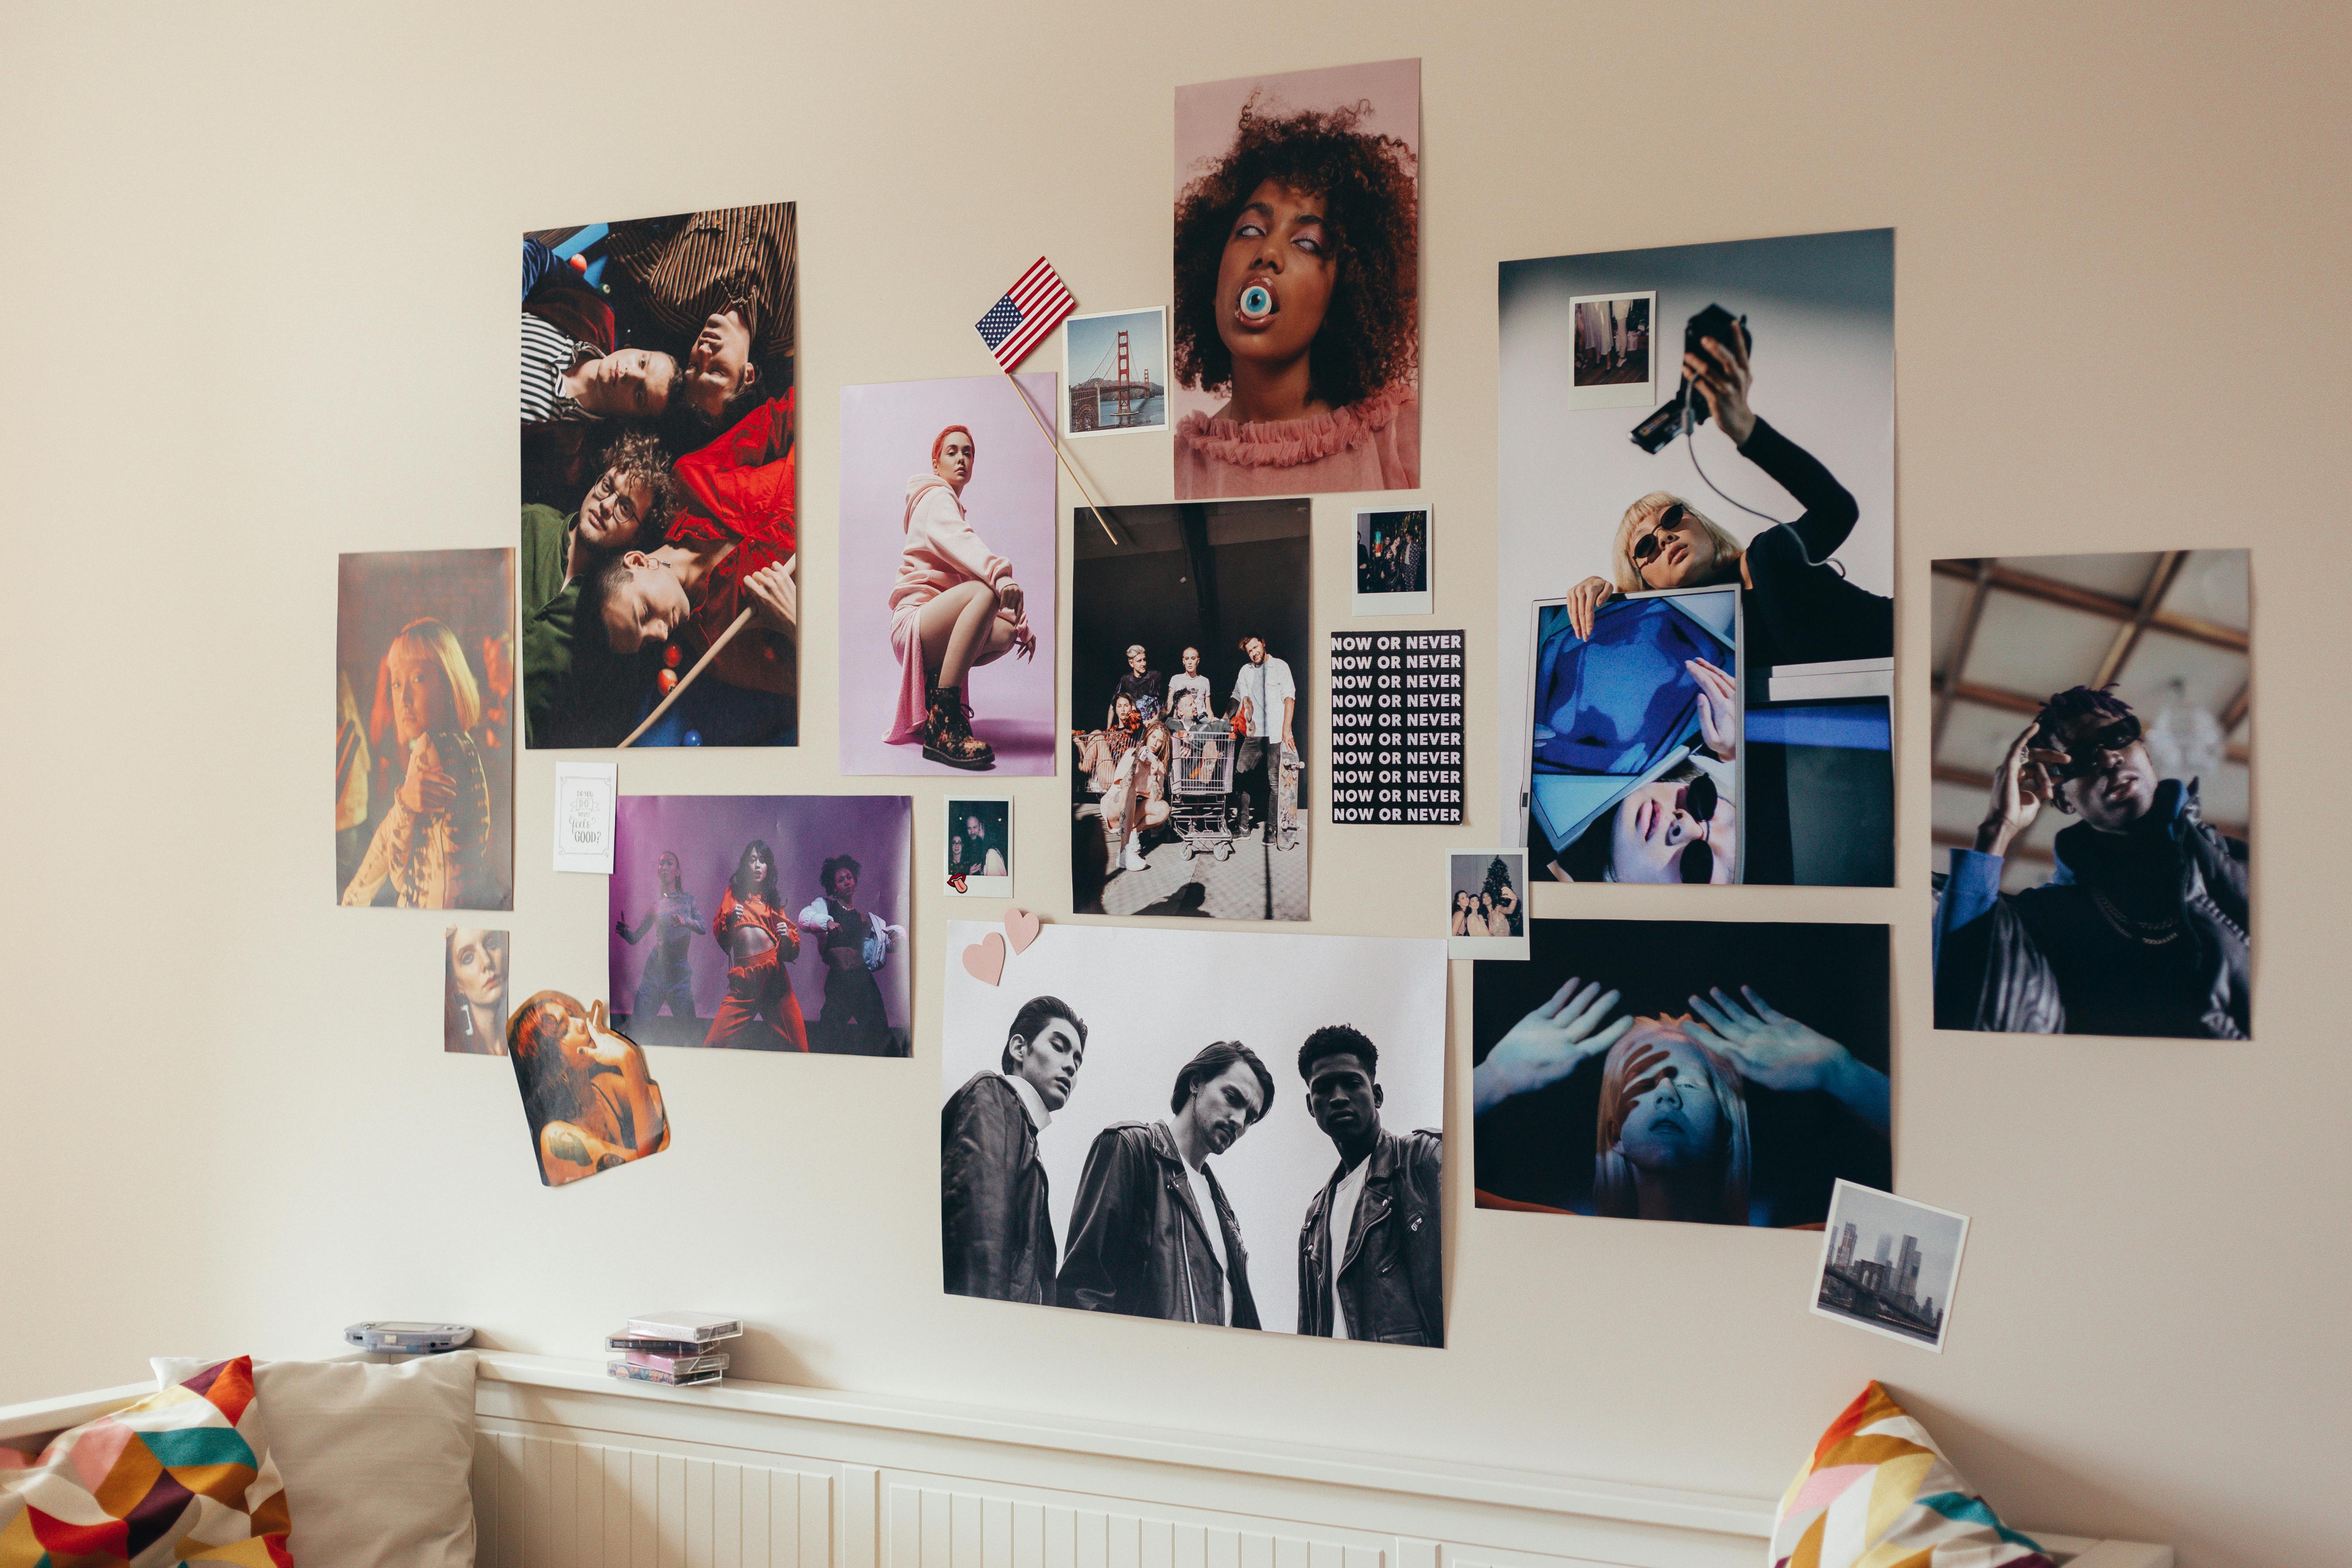
Q: How do I create a gallery wall without nails?
A: Combine adhesive strips of various sizes for different frame weights. Start by mapping out your arrangement on the floor with paper templates. Use a level and measuring tape to ensure your layout is visually cohesive and pleasing, even if you're mixing methods or leaning some pieces. You can even mix in art that's leaning on furniture for an eclectic, layered look. It takes patience, but it's totally achievable!
Q: Any tips for making small spaces feel bigger with art?
A: Absolutely! Use larger, single pieces of art that draw the eye upwards rather than many small, busy ones. Also, consider pieces with lighter backgrounds or those that incorporate depth. Leaning art can also create an illusion of more space than wall-mounted art by adding dimension. And here's a classic trick: strategically placed mirrors can reflect light and expand the perceived size of a room, often beautifully complemented by art nearby.
Unknown, Unknown, https://creativecommons.com/licenses/by-sa/4.0
Making a rental feel like home shouldn't be a battle against the landlord or a constant worry about your deposit. It should be a joyful, creative process! With these methods, you can infuse your space with personality, surround yourself with art you love, and still walk away with your full deposit when it's time for your next adventure. It's about being clever and thoughtful, rather than recklessly cautious. You're decorating your life, one beautiful, temporary wall at a time. So, go forth and transform your rental – I'd love to hear what creative solutions you discover along the way! And remember, whether you're looking for vibrant, original abstract pieces that are perfect for damage-free display, or simply inspiration for your next art adventure, our collection is always here to spark your imagination. For even more tips on making your rental truly yours, check out our guide on decorating rental properties with temporary solutions.