
Don't Fear the Plaster: My Definitive Guide to Hanging Art Securely
Struggling with plaster walls? This personal guide shares my proven methods for hanging art safely and beautifully, from light frames to heavy masterpieces, without cracks or collapses. Learn the secrets to transforming your space!
Don't Fear the Plaster: My Definitive Guide to Hanging Art Securely
Oh, plaster walls. They're beautiful, they hold history, and they can be an absolute nightmare if you don't know their secrets. I've been there, staring at a gorgeous piece of art, drill in hand, convinced I was about to either bring down the house or at least create a crater in my beloved wall. But trust me, with a little know-how and the right approach, hanging art on plaster can be a rewarding, even empowering, experience. It's all about respect for the material, really.
I remember my first old house, a charming, creaky place with walls that seemed to sigh when you looked at them funny. My initial attempts at hanging anything heavier than a postcard involved a lot of prayer and a few choice words. The plaster would crumble, the nails would bend, and my artistic vision would slowly morph into a crumpled mess on the floor. It was a learning curve, to say the least. But over the years, I've honed a method that works, and I'm here to share it with you, so you don't have to relive my early, dust-filled traumas.
Why Plaster Walls Are Different (and How to Love Them)
Before we dive into the 'how,' let's talk about the 'why.' Plaster walls aren't like modern drywall. Drywall is a gypsum core sandwiched between paper, relatively soft and consistent. Plaster, on the other hand, is layers of lime, sand, and sometimes horsehair, applied over wooden lath. It's hard, brittle, and often uneven. It’s also incredibly durable and fantastic for sound insulation. The challenge? It doesn't like direct impact or localized stress, which is exactly what a hammer and nail can provide.
My approach has always been to treat plaster with a surgeon's touch rather than a brute's force. Think precision, not power. This means ditching the old hammer-and-nail technique for anything but the lightest pieces and embracing the drill. Yes, I know, drilling into an old wall can feel intimidating, but it's truly the gentlest and most secure way to go.
The Right Tools for the Job: Your Plaster Wall Arsenal
Having the right tools is half the battle won, especially with plaster. Don't skimp here; these will save you a world of hurt and repair work. I've found that investing in quality tools makes the whole process smoother and much less stressful.
Tool | Purpose | Why It's Essential for Plaster |
|---|---|---|
| Cordless Drill | Creating pilot holes for screws and wall anchors. | Essential for clean, controlled drilling without cracking. Avoids direct impact. |
| Masonry Drill Bits | Designed for drilling into hard, brittle materials like plaster. | Standard wood/metal bits will dull quickly and can cause plaster to chip or crack. |
| Stud Finder | Locating wooden studs behind the plaster. | Crucial for heavy pieces; drilling into a stud provides maximum support and security. |
| Painter's Tape | Preventing cracks and marking drill spots. | Provides a stable surface, minimizing chipping around the drill hole. |
| Pencil | Marking exact hanging spots. | Precision is key. |
| Level | Ensuring your art hangs straight. | Nothing worse than a crooked frame after all that effort. |
| Wall Anchors/Plugs | Providing a secure grip in hollow plaster or lath. | Plaster alone often isn't strong enough for screws; anchors distribute the weight. |
| Screws | Attaching D-rings or picture wire to the wall anchors. | Stronger and more reliable than nails for most art on plaster. |
| Hammer (optional) | For gently tapping in small picture hooks (for very light items only). | Use with extreme caution; only for feather-light items where a drill is overkill. |
Step-by-Step: My Tried-and-True Method for Hanging Art
This is where we get down to business. I always approach this as a mini-project, taking my time, because rushing leads to mistakes, and mistakes lead to patching, and patching leads to me losing my mind. Trust the process, as they say.
1. Plan Your Layout Like a Pro
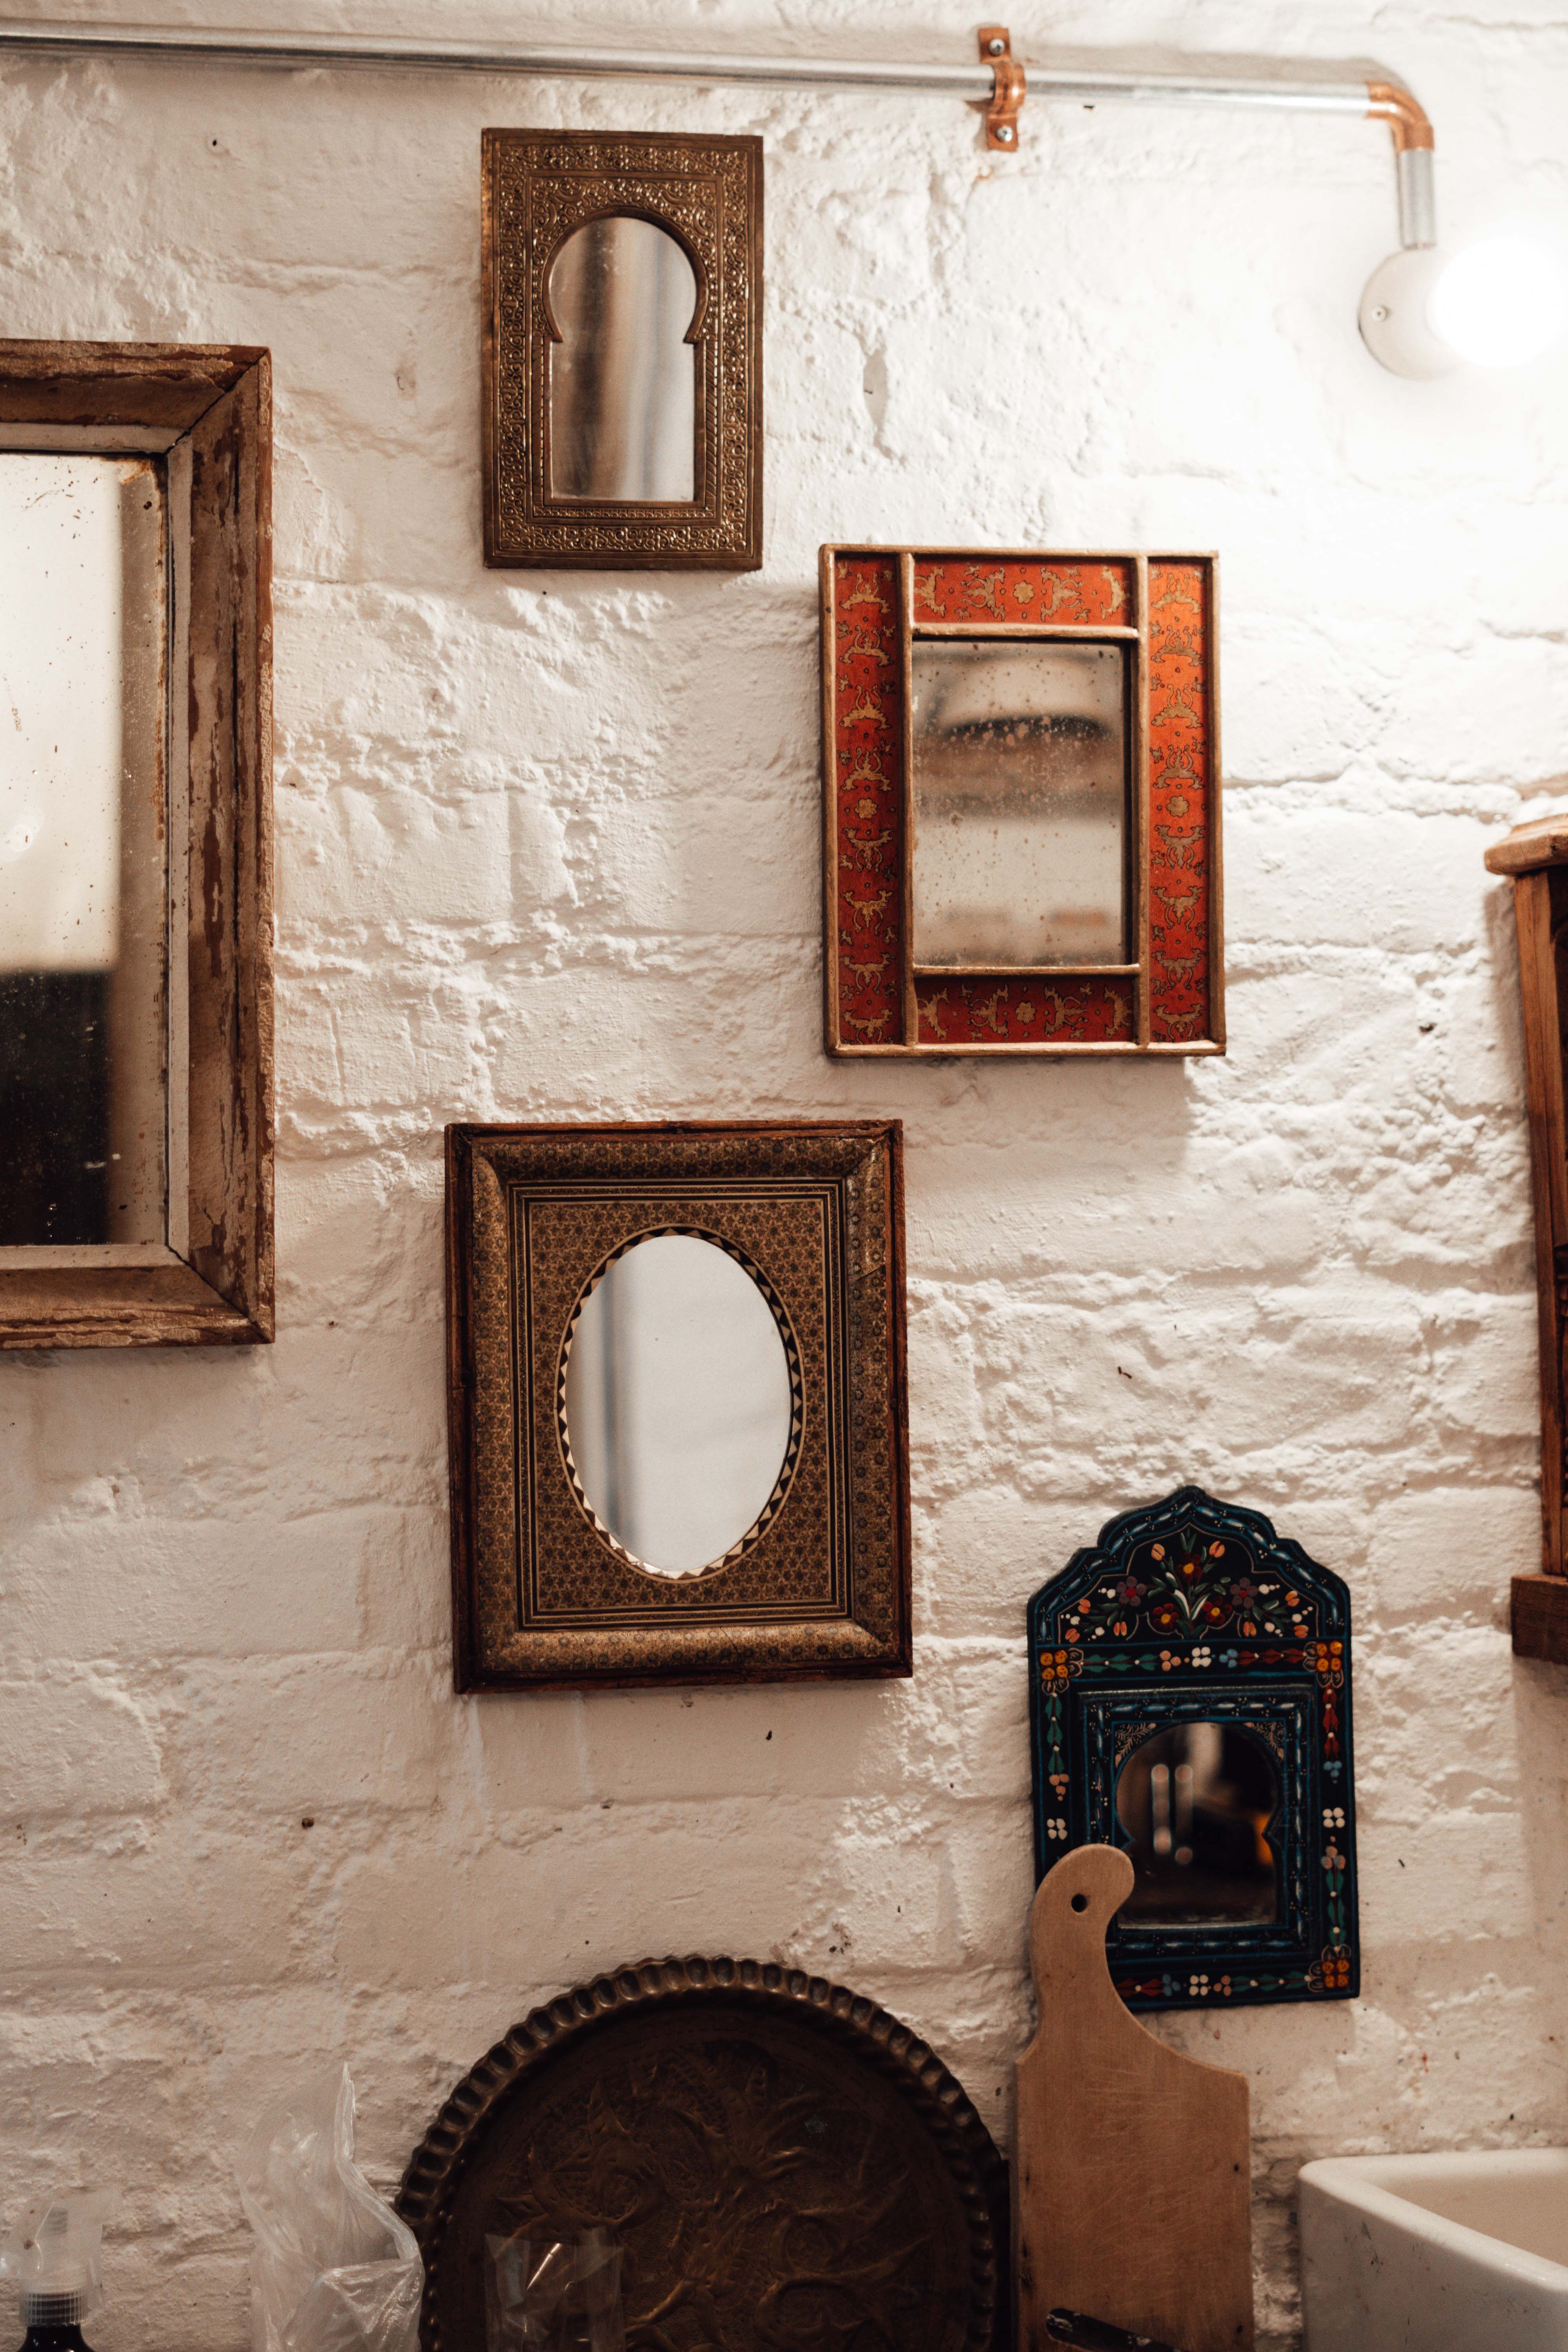
This is probably the most overlooked step, but it's absolutely vital, especially if you're doing a gallery wall. Don't just hold the art up and guess! I like to use craft paper cut to the size of my frames and tape them to the wall with painter's tape. This allows me to adjust, stand back, and really visualize the arrangement. Consider the room's flow and other elements. For general tips on how to improve your living space with art, you might enjoy my article on how to decorate your home.
- Height: A general rule of thumb is to hang the center of your artwork at eye-level, which is typically around 57-60 inches (145-152 cm) from the floor. Of course, this can vary based on your ceiling height, furniture, and personal preference. My rule of thumb? If it feels right, it is right.
- Weight: This is crucial for plaster. Estimate the weight of your art. Heavy frames, mirrors, or pieces with thick glass will require more robust anchors.
2. Mark It Up (Carefully!)
Once you're happy with your placement, mark the exact spot where the hook or screw will go. If your art has a wire, pull it taut at the center, measure down from the top of the frame to where the wire peaks, and transfer that measurement from the top of your paper template. If it's a D-ring or sawtooth hanger, mark directly where the hanger will sit. A tiny pencil mark is all you need.
Now, here's a little trick I picked up: before drilling, place a piece of painter's tape over your pencil mark. This helps prevent the drill bit from slipping and, more importantly, minimizes chipping and cracking of the plaster around the hole. It acts like a tiny, temporary brace.
3. Time to Drill (Slow and Steady Wins the Race)
This is the moment of truth. Grab your cordless drill and a masonry drill bit that's slightly smaller than your chosen wall anchor. If you're drilling into a stud (which you should aim for with anything substantial), you can use a regular wood drill bit, but a masonry bit is safer if you're unsure.
- Start Slow: Begin drilling at a slow speed, applying gentle, consistent pressure. Let the drill do the work. You'll feel it break through the plaster and then potentially hit the lath behind it.
- Depth: Drill to the required depth for your chosen wall anchor. Most anchors will specify this. You want the anchor to sit flush with the wall surface.
- Clean the Hole: Plaster dust is no joke. Once drilled, give the hole a quick puff of air (don't breathe it in!) or use a vacuum cleaner nozzle to clear out any debris. A clean hole helps the anchor get a better grip.
4. Insert Your Wall Anchor
This is your art's lifeline. Choose an anchor appropriate for the weight of your artwork. For most medium-weight pieces, a self-drilling drywall anchor can work in plaster, but I personally prefer more robust options like toggle bolts or expansion anchors specifically designed for plaster or hollow walls. Even for lighter items, a good plastic expansion anchor is a much safer bet than a bare screw in plaster.
- Insert: Gently push or tap the anchor into the pre-drilled hole until it's flush with the wall. Don't force it. If it's too tight, enlarge the hole slightly with a slightly larger bit (but be very careful not to over-drill).
5. Hang Your Masterpiece!
Now for the satisfying part! Screw your chosen hook or screw into the wall anchor. Make sure it's tight and secure. Give it a gentle tug to test its strength. Then, carefully hang your art. Stand back, admire, and perhaps let out a little celebratory sigh of relief.
Remember to check out my tips on how to properly wire a painting for hanging to ensure the back of your frame is just as secure as the wall mount.

Dealing with Heavier Art: When an Anchor Isn't Enough
For truly heavy pieces – think large canvases, framed mirrors, or anything over 20-30 pounds – you absolutely want to hit a stud. This is non-negotiable for security. Your stud finder is your best friend here. Mark the edges of the stud, drill a pilot hole, and then drive a long, sturdy screw directly into the center of the stud. No anchor needed if you're in solid wood.
If a stud isn't an option where you want to hang a heavy piece, then you'll need heavy-duty plaster-specific anchors like robust toggle bolts or molly bolts. These expand significantly behind the wall, distributing the weight over a larger area. They can be a bit trickier to install, so always follow the manufacturer's instructions to the letter. Don't eyeball it; your valuable art (and wall!) depends on it.
Common Pitfalls & Troubleshooting
Even with the best intentions, things can go a little sideways. It's plaster, after all!
- Cracking Around the Hole: This usually happens if you're drilling too fast, using the wrong bit, or not using painter's tape. If it's a small crack, some spackle can usually fix it. For larger cracks, you might need to broaden the repair area. My rule of thumb is: if it's more than a hairline crack, pause and assess. If the plaster feels loose, you've got bigger issues than just hanging art.
- Drill Bit Getting Stuck: This often means you've hit something hard like an old nail or a very dense section of lath. Stop immediately, reverse the drill, and try a slightly different spot, perhaps half an inch away. Never force it.
- Dust, Dust, Everywhere: Plaster dust is fine, white, and gets everywhere. Lay down a drop cloth, and if you're doing a lot of drilling, consider taping plastic sheeting to create a dust barrier. Your lungs (and your cleaning efforts) will thank you. I learned this the hard way after one particular project that left my entire house looking like a snow globe.
When to Call a Professional
Look, I'm all for DIY. There's a real sense of accomplishment that comes with transforming your space with your own hands. But there are times when it's just smarter to bring in the pros. If you have extremely old, crumbling plaster, or if you're hanging something exceptionally heavy or valuable, it might be worth hiring a professional handyman or art installer who specializes in old homes. Sometimes the peace of mind is worth every penny.
Integrating Your Art into Your Space (Beyond the Nail)
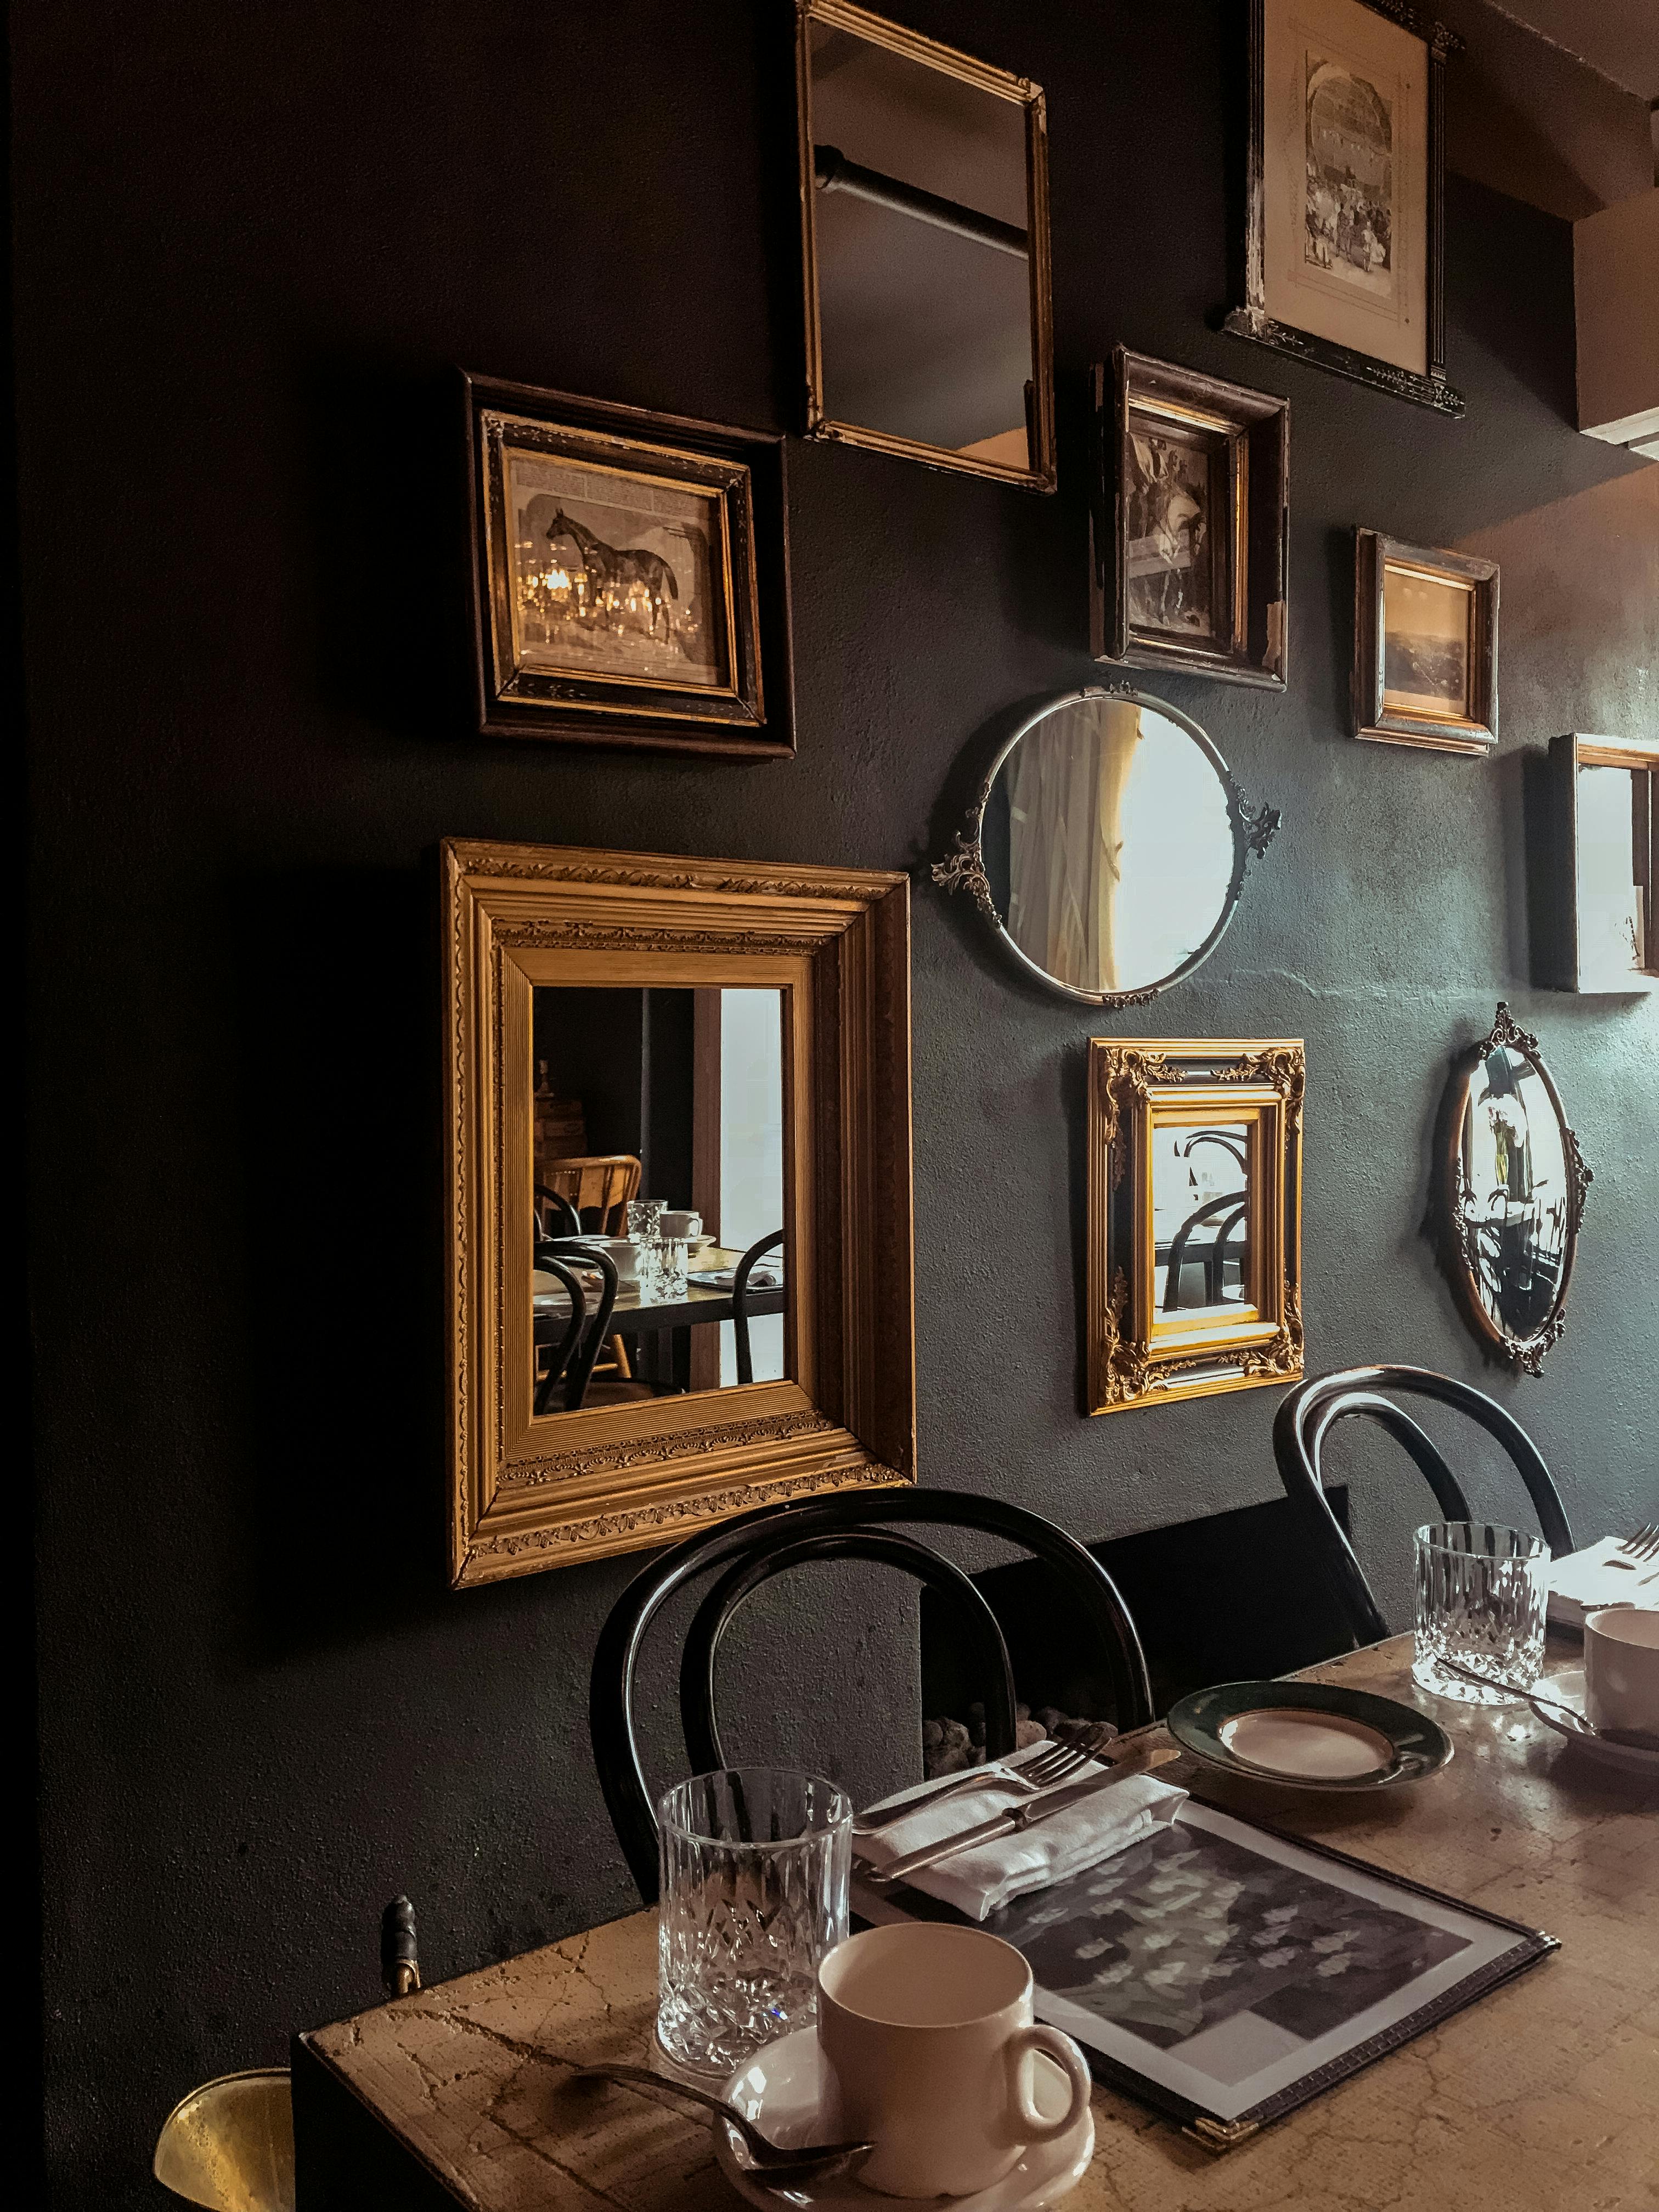
Now that you've mastered the mechanics of hanging, let's talk about the magic: how the art itself transforms a room. Hanging art isn't just about putting a picture on a wall; it's about curating an experience, telling a story, and reflecting your soul. Whether it's a bold abstract piece that anchors your living room or a serene landscape that brings calm to your bedroom, the placement and presence of art are everything. If you want more inspiration on creating a cohesive look, check out my thoughts on how to decorate a wall.
And if you're looking for that perfect piece to bring your vision to life, I invite you to explore my collection of art. You might find something that speaks directly to that empty space on your wall, waiting to be transformed. Or perhaps a trip to my Den Bosch museum could spark some inspiration for your next hanging project.

Frequently Asked Questions About Hanging Art on Plaster Walls
Q: Can I use regular nails to hang pictures on plaster walls?
A: For very light items (like small, unframed prints or postcards), you might get away with a thin picture nail if you tap it in very gently. However, for anything with a frame or significant weight, I strongly advise against it. Plaster is brittle and prone to cracking with direct impact. A drill with a masonry bit and a suitable wall anchor is always the safest and most secure method.
Q: What's the best type of anchor for heavy art on plaster?
A: For truly heavy art, the absolute best solution is to drill directly into a wooden stud behind the plaster. If a stud isn't accessible, heavy-duty anchors like toggle bolts or molly bolts are your next best bet. These provide excellent grip by expanding behind the wall, distributing the weight effectively. Always check the anchor's weight rating and follow installation instructions carefully.
Q: How do I avoid cracking plaster when drilling?
A: My top tips for avoiding cracks are: 1) Use a cordless drill at a slow speed with a masonry drill bit. 2) Apply painter's tape over the drilling spot before you start – this provides a stable surface and minimizes chipping. 3) Apply gentle, consistent pressure, letting the drill do the work, rather than forcing it.
Q: Is it okay to use self-drilling drywall anchors in plaster?
A: While some self-drilling drywall anchors can work in softer plaster, I generally don't recommend them as the primary choice for anything beyond light-to-medium weight. Plaster is denser and more brittle than drywall, and these anchors can sometimes cause larger chunks to break off during installation or fail to get a secure grip. Dedicated expansion anchors or toggle bolts are usually more reliable for plaster.
Q: What if I accidentally drill into a pipe or electrical wire?
A: This is why a stud finder with electrical and metal detection is crucial. Always scan the wall thoroughly before drilling, especially if you're unsure what's behind it. If you suspect plumbing or wiring, or if your drill suddenly meets unexpected resistance in a suspicious area, stop immediately. It's always better to be safe than sorry, and if in doubt, consult a professional.
Q: How can I patch holes in plaster walls?
A: For small holes, a good quality spackle or joint compound will do the trick. Apply it in thin layers, let each layer dry, and sand smooth. For larger repairs or if the plaster around the hole is crumbling, you might need a plaster repair kit or even a professional. Remember to prime the patched area before painting.
Final Thoughts: Embrace the Character of Your Walls
Hanging art on plaster walls doesn't have to be a daunting task. It's an opportunity to connect with the history and character of your home. With the right tools, a bit of patience, and a dash of confidence, you can display your beautiful art exactly where you want it. And remember, every little hole patched is just another story your home has to tell. So, go forth, hang your art, and make those walls sing! If you're curious about my own artistic journey and how I've learned to work with various mediums and challenges, feel free to explore my timeline. Happy hanging!