
How High to Hang Art: The Definitive Guide to Perfect Art Placement
Unlock the secrets to flawless art placement! Discover the optimal eye-level height (57-60"), master gallery walls, and perfectly position art above furniture. Learn expert tips for any room, art type, and architectural challenge. Your walls will thank you!
How High to Hang Art: The Definitive Guide to Perfect Art Placement
Ever stared at a blank wall, a cherished piece of art leaning against it, feeling a paralyzing mix of excitement and dread? You're not alone. The question of "how high to hang pictures" used to send a shiver down my spine. It felt like this mysterious, unwritten rule that only seasoned interior designers (or perhaps art gallery curators with their secret measuring tapes) truly understood. Too high, and it looks like it's floating aimlessly towards the ceiling. Too low, and it feels like it's crouching, almost apologetic. It's a delicate balance, isn't it?
But here's the thing I've learned, through countless repositionings, a few extra nail holes (shhh, don't tell anyone), and a lot of just looking: it's less about a rigid, scientific formula and more about creating a visual conversation in your space. It's about how the art speaks to you, to the furniture, and to the room itself. Yet, there are some truly golden guidelines that, once you grasp them, make the whole process so much less daunting. Think of them as your starting points, your trusted friends in the quest for perfect art placement. After all, the way we display art has evolved from grand salons to intimate homes, but the desire for harmonious arrangement remains eternal.
A Brief History of Art Placement: From Grand Salons to Your Living Room
To truly appreciate the contemporary rules of art placement, it helps to understand a little of where they came from. For centuries, art display was less about individual pieces and more about sheer volume. Think of the grand European salons, where paintings covered walls from floor to ceiling in what's known as the "salon style." It was a statement of wealth and connoisseurship, designed to overwhelm with sheer quantity. Eye-level? Not really a primary concern when you're looking at a hundred paintings at once.
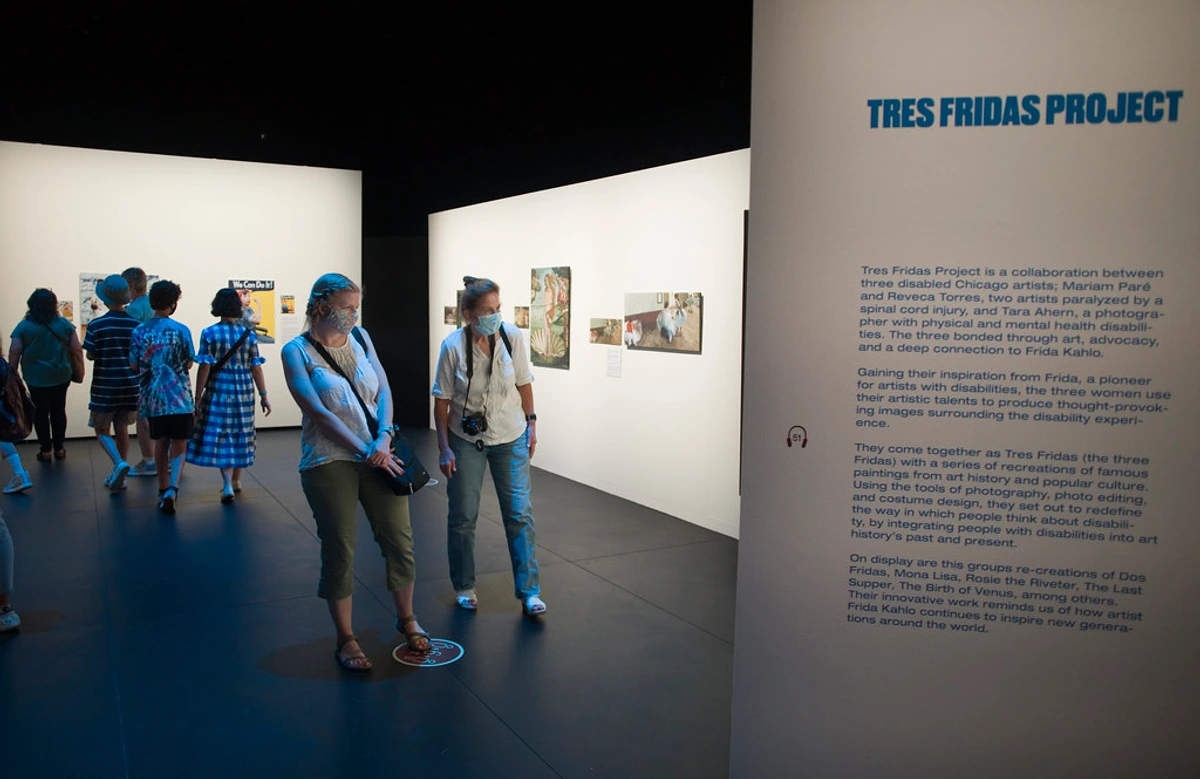
Then came the shift. As homes became more intimate and art became more accessible, the focus moved from overwhelming abundance to intentional curation. The Victorian era saw a move towards more deliberate groupings, and later, modernism stripped away the clutter, emphasizing individual pieces and negative space. This evolution brought us to today's human-centric approach, where the comfort and engagement of the viewer are paramount. The goal isn't just to fill a wall; it's to create an experience.
The Golden Rules of Art Height: A Harmonious Home for Your Art
Let's dive into the core principles that will make your art feel right at home, not just stuck on a wall. It's all about making your pieces accessible, enjoyable, and an integral part of your home decor.
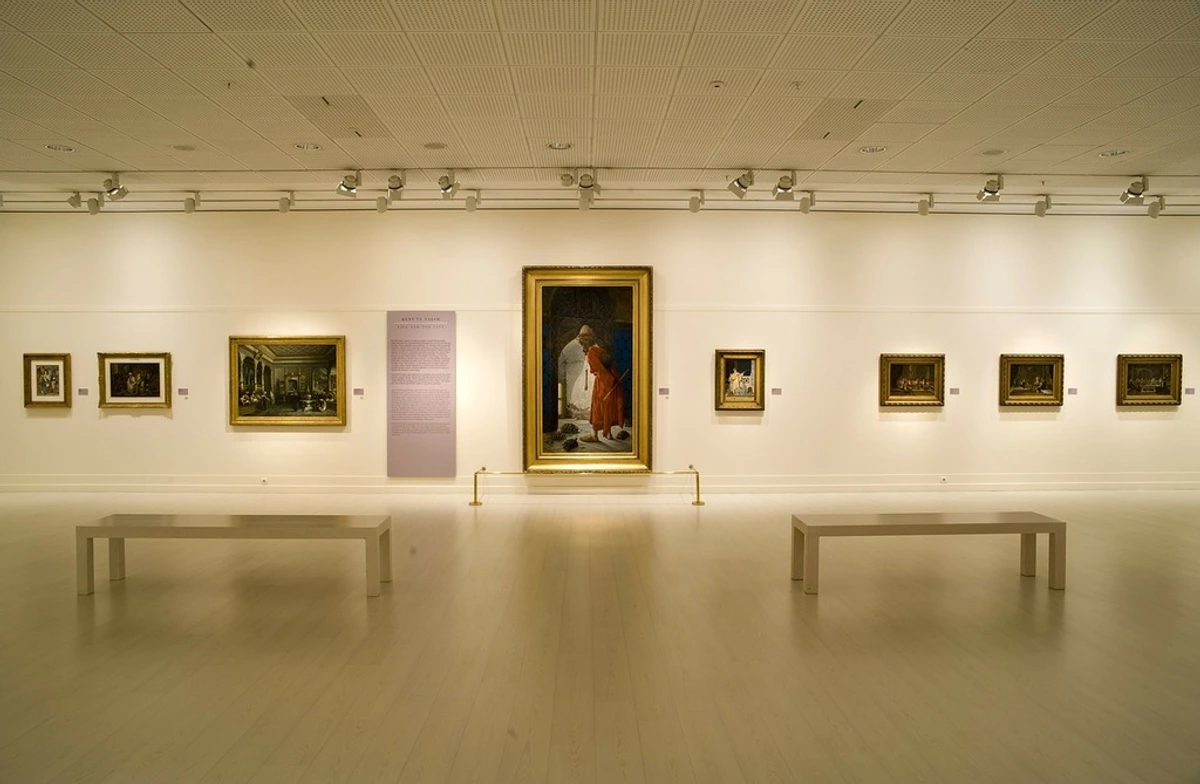
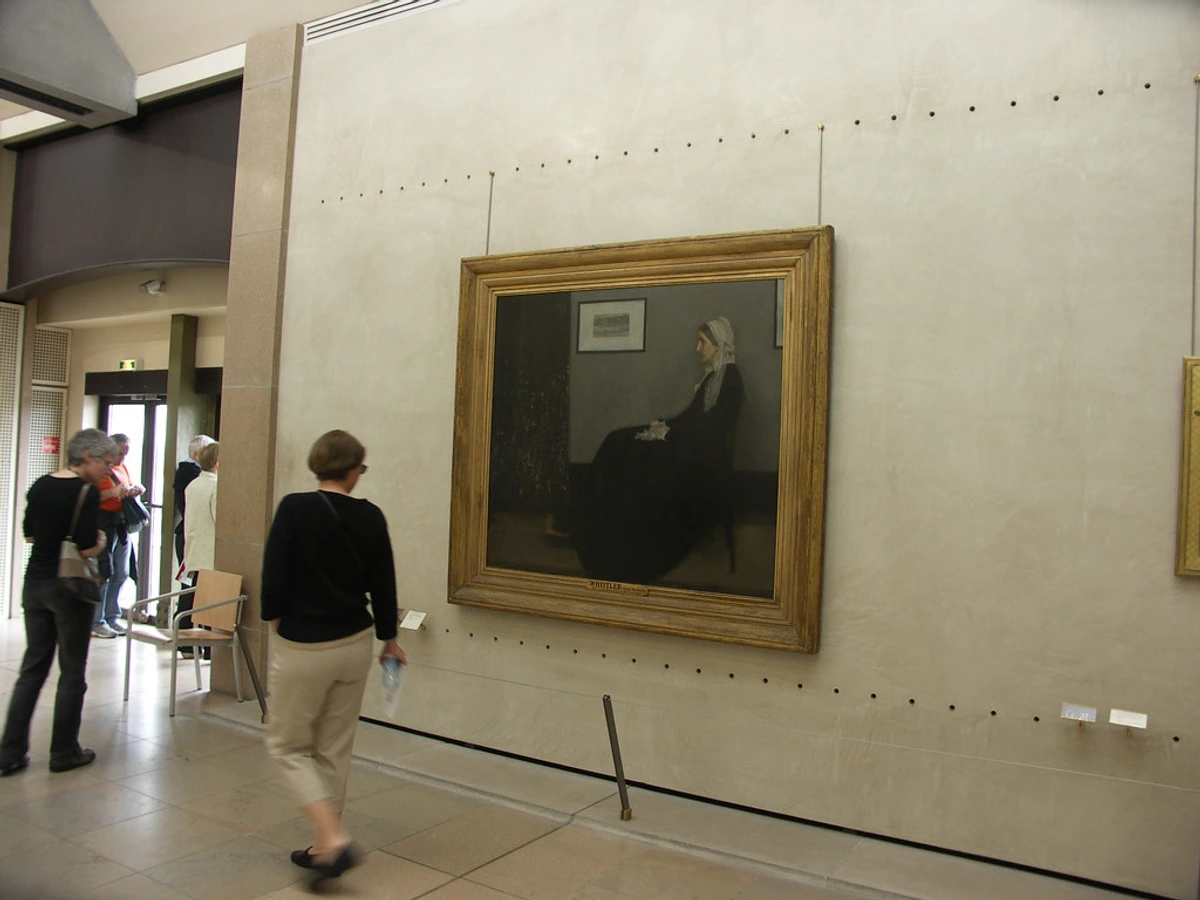
The Eye-Level Sweet Spot: Your Go-To Rule
This is the big one, the one you'll hear most often, and for good reason. Most art professionals, myself included, will tell you to hang the center of your artwork 57-60 inches (145-152 cm) from the floor. Why this specific height? Well, 57 inches is the average eye-level for a person, and 60 inches gives a little extra room for taller ceilings or a more expansive feel. It's where the piece feels most natural to view, comfortable, and engaging, without craning your neck or stooping. It's where your art truly connects with you, forming a visual gravitational pull that draws the eye. Psychologically, art at this height minimizes cognitive effort, allowing the viewer to absorb the piece without physical strain, thus fostering deeper engagement.
Now, I know what you're thinking: "But what if my art is huge? Or tiny?" This rule still holds! You're aiming for the center of the artwork to be at this height, not the top or bottom edge. It’s about that central point of visual weight. While this eye-level rule provides a fantastic baseline, the context of the furniture below significantly influences the final placement, creating a dynamic visual dialogue.
Room Type / Scenario | Ideal Center Height (from floor) | Notes |
|---|---|---|
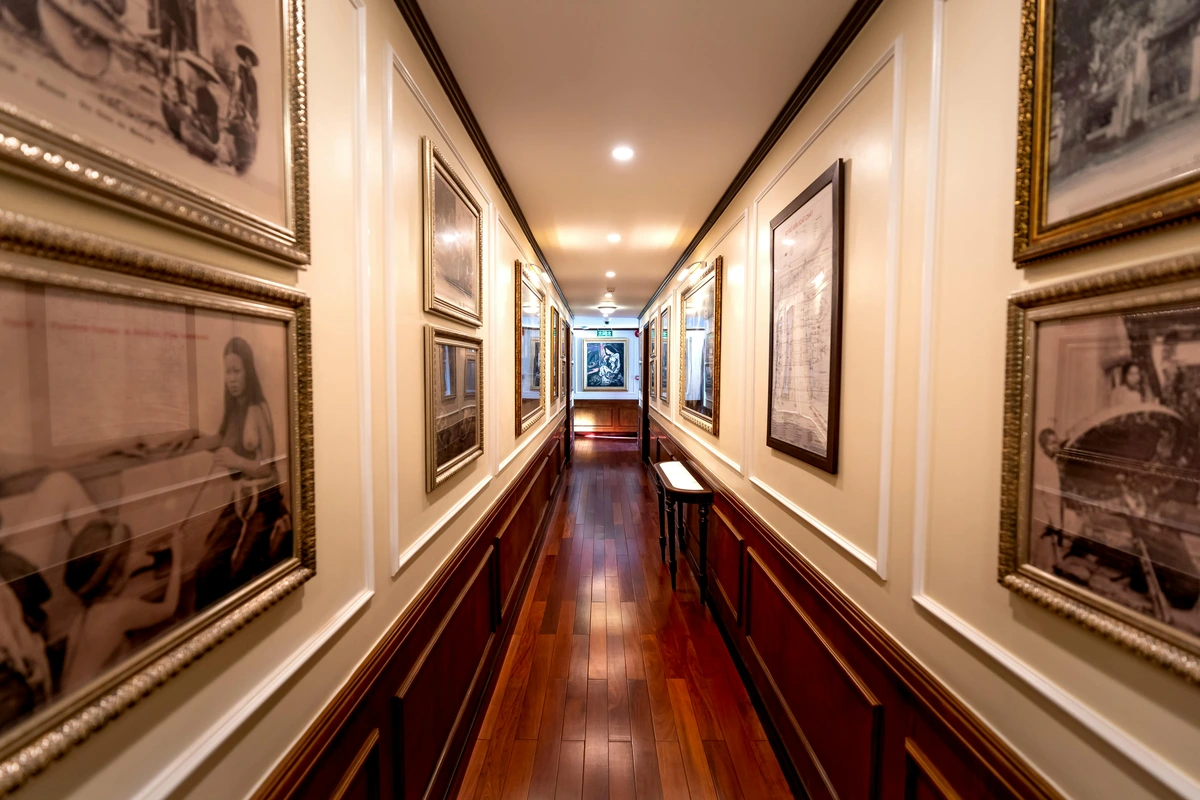
| General Wall / Hallway | 57-60 inches (145-152 cm) | Standard viewing comfort when standing. Maintains consistent flow in a hallway, guiding the eye. |
| Living Room | 57-60 inches (145-152 cm) | Prioritizes standing eye-level for versatility, even with a living room sofa. |
| Dining Room | 57-60 inches (145-152 cm) | Consider adjusting slightly lower (e.g., 50-55 inches) for dining rooms if the art is primarily viewed while seated for extended periods. |
| Bedroom | 57-60 inches (145-152 cm) | Especially for pieces not directly above the bed. For a small bedroom, scale and height are crucial for serenity. |
Art Above Furniture: The Silent Conversation
When art is hanging above a sofa, a bed, a console table, or a sideboard, a different kind of visual dance begins. The furniture and the art need to communicate, not compete. The general rule here is to leave 6-8 inches (15-20 cm) of space between the bottom of the frame and the top of the furniture. This creates a cohesive grouping, making them feel like they belong together, rather than two separate islands. Think of it as allowing the furniture to anchor the art, and the art to elevate the furniture. This also applies to art hung above the sofa.
I once hung a stunning abstract piece too high above a gorgeous mid-century modern credenza, and it looked like the credenza was desperately trying to reach for it. It was disjointed, visually unbalanced. Lowering it just those few inches instantly brought harmony to the whole wall. And it's not just about the gap; consider how the style and color palette of your art can complement your furniture. A vibrant abstract piece can energize a neutral sofa, or a serene landscape can echo the natural wood tones of a console. Trust me, this small adjustment in height and thoughtful pairing makes a monumental difference in the visual weight and balance of your space.

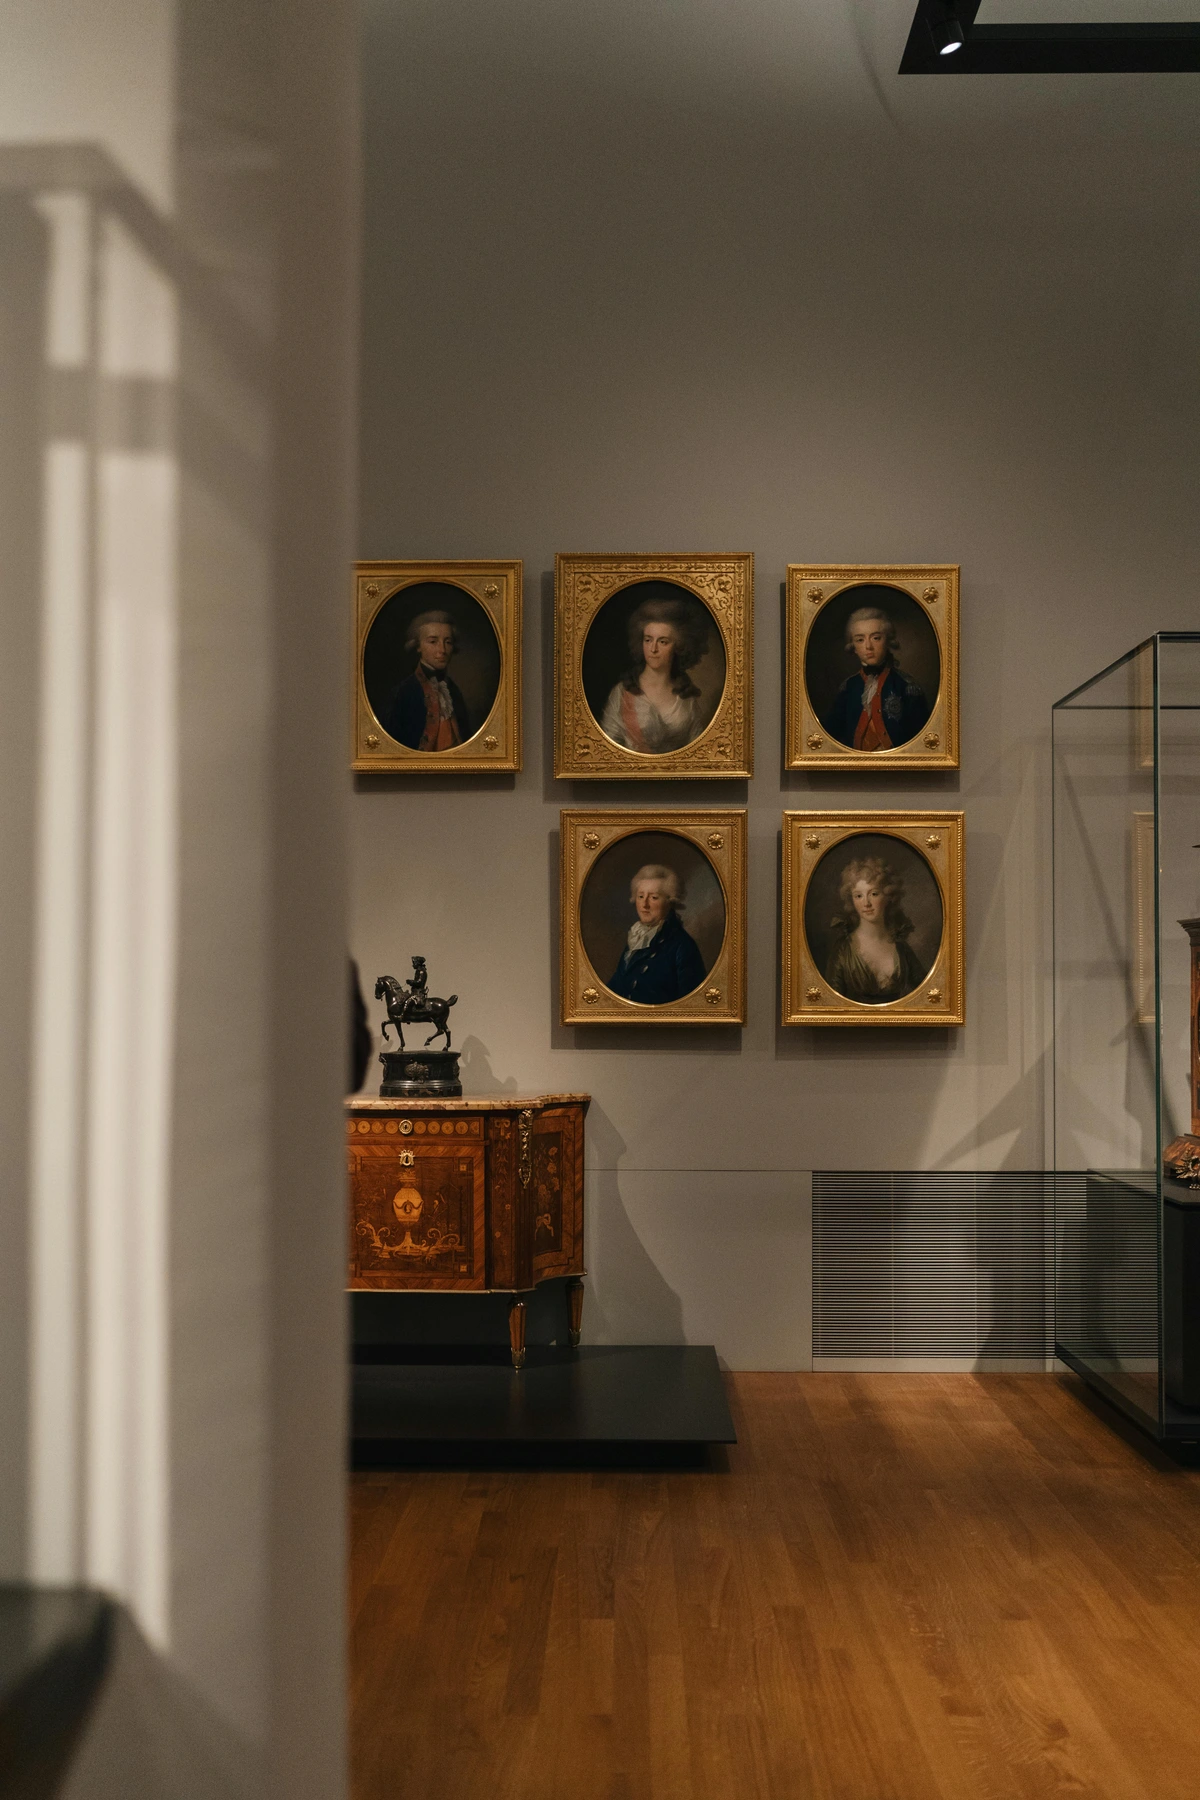
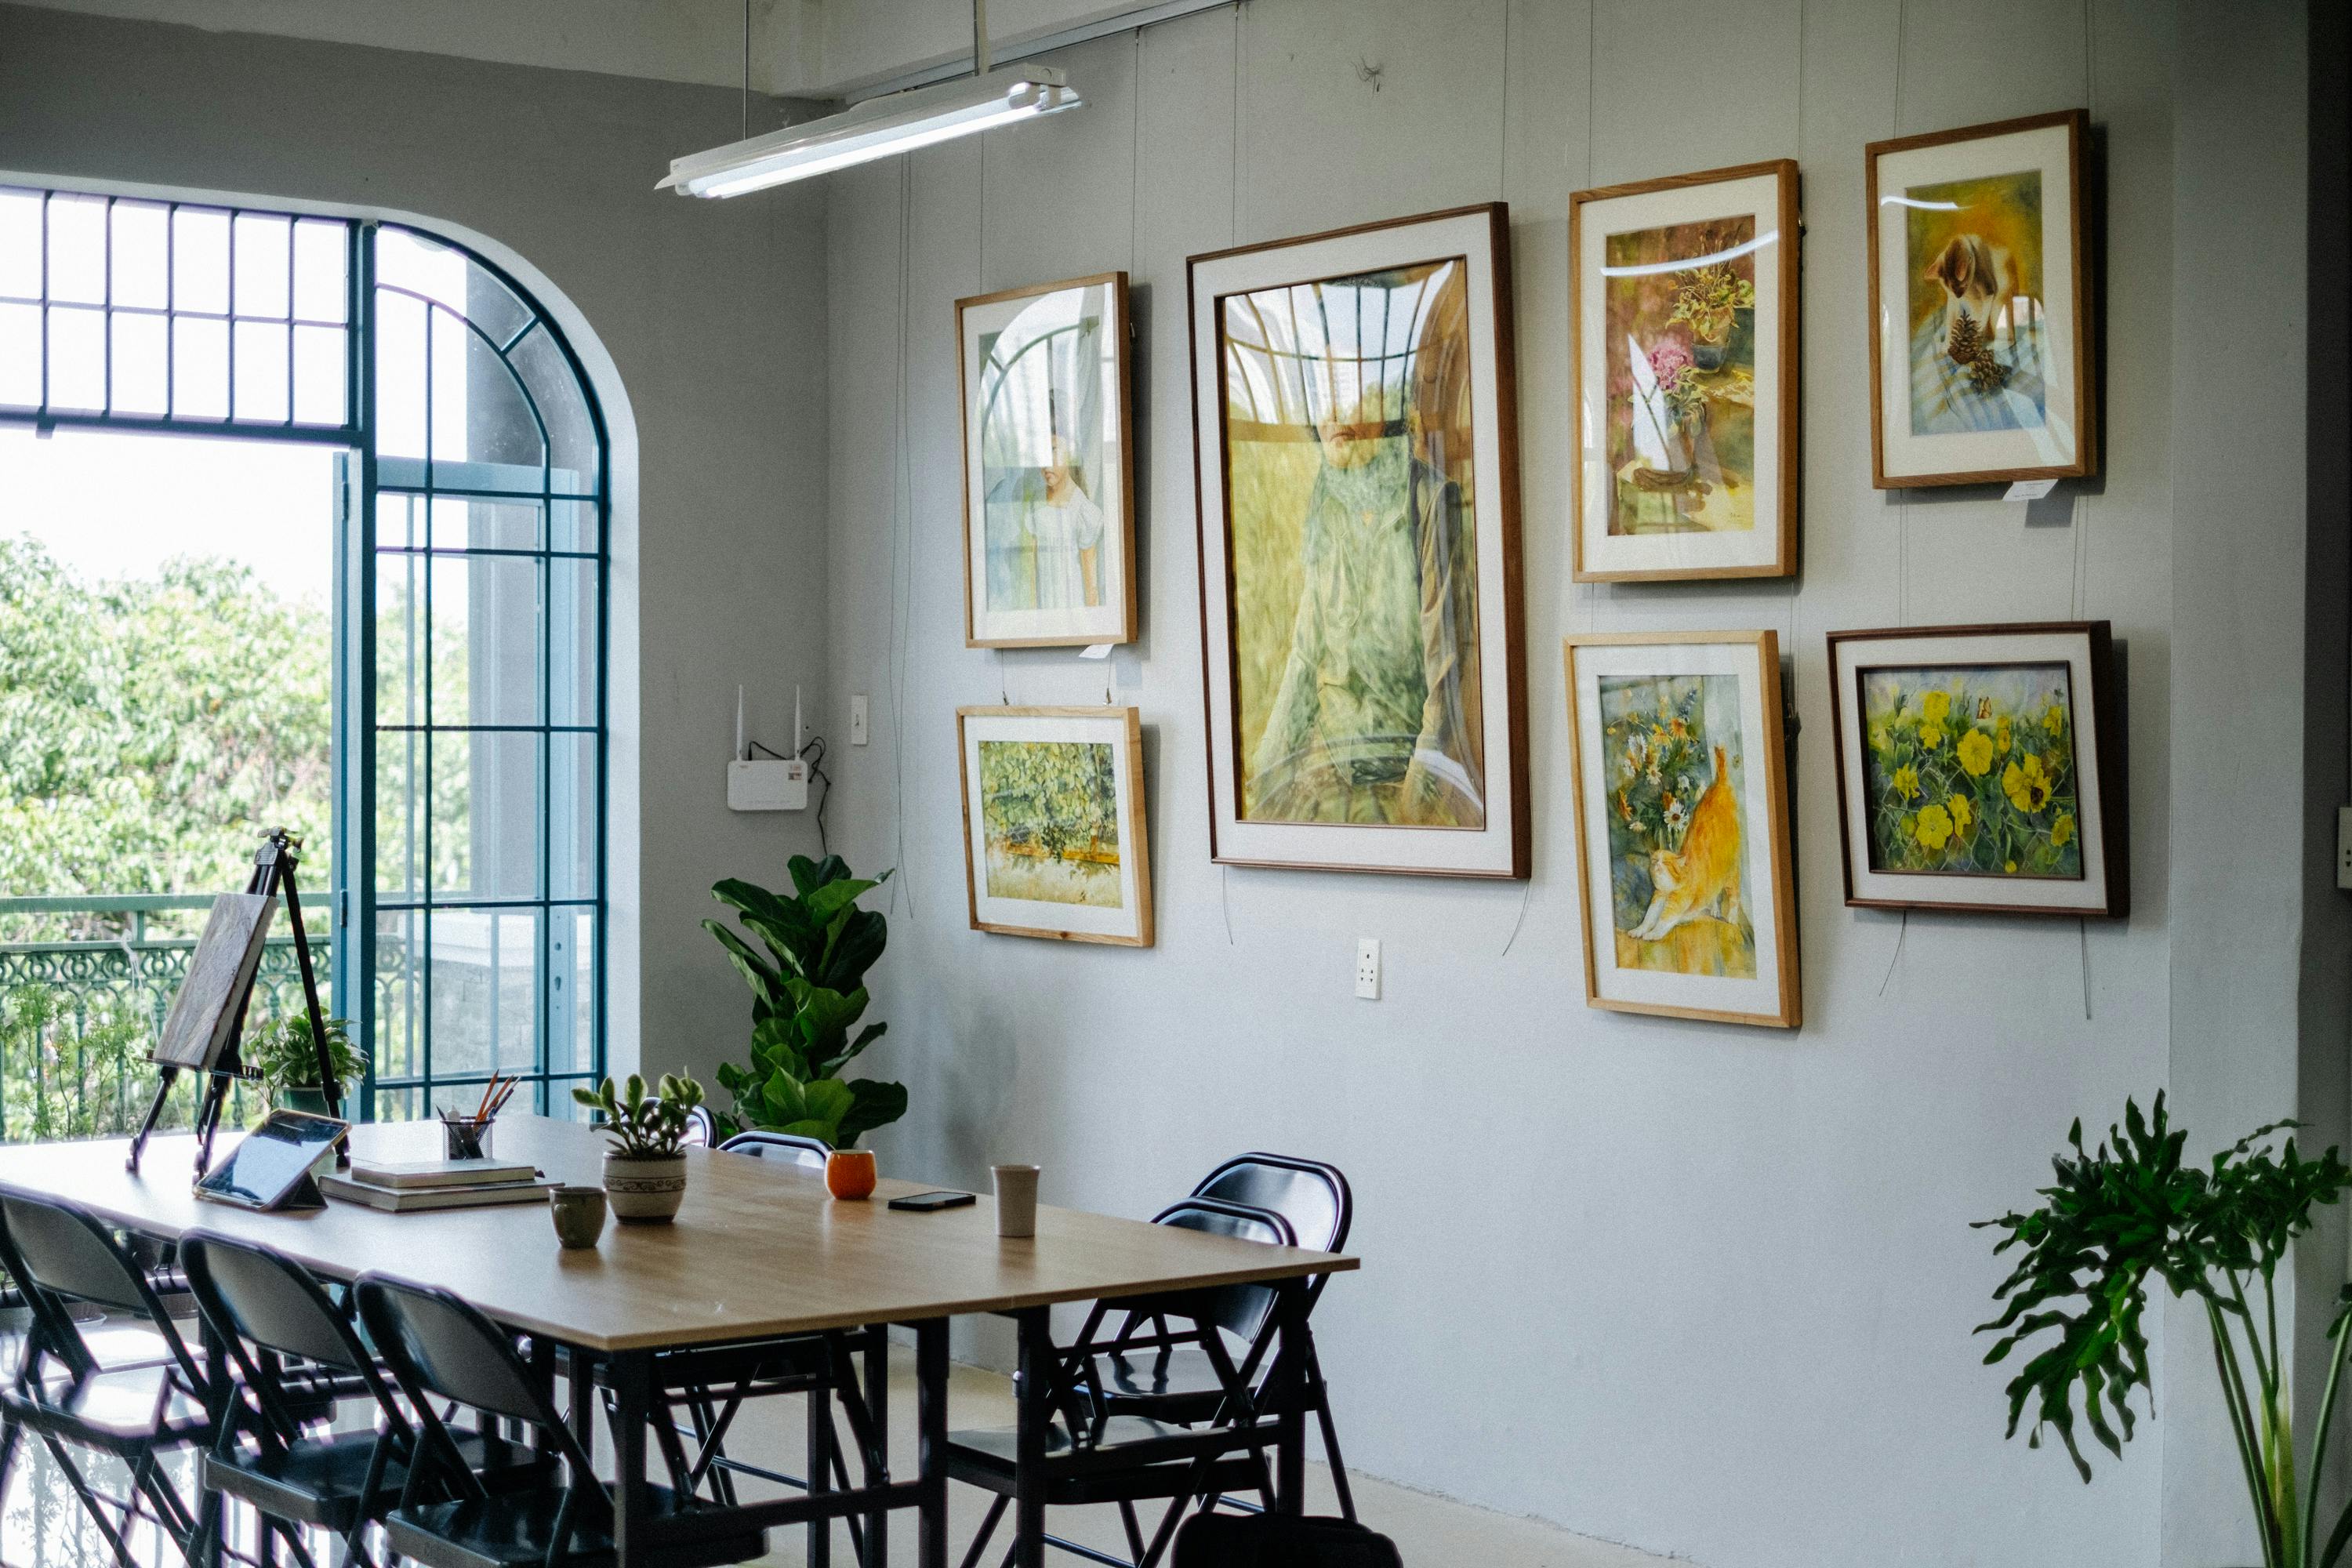
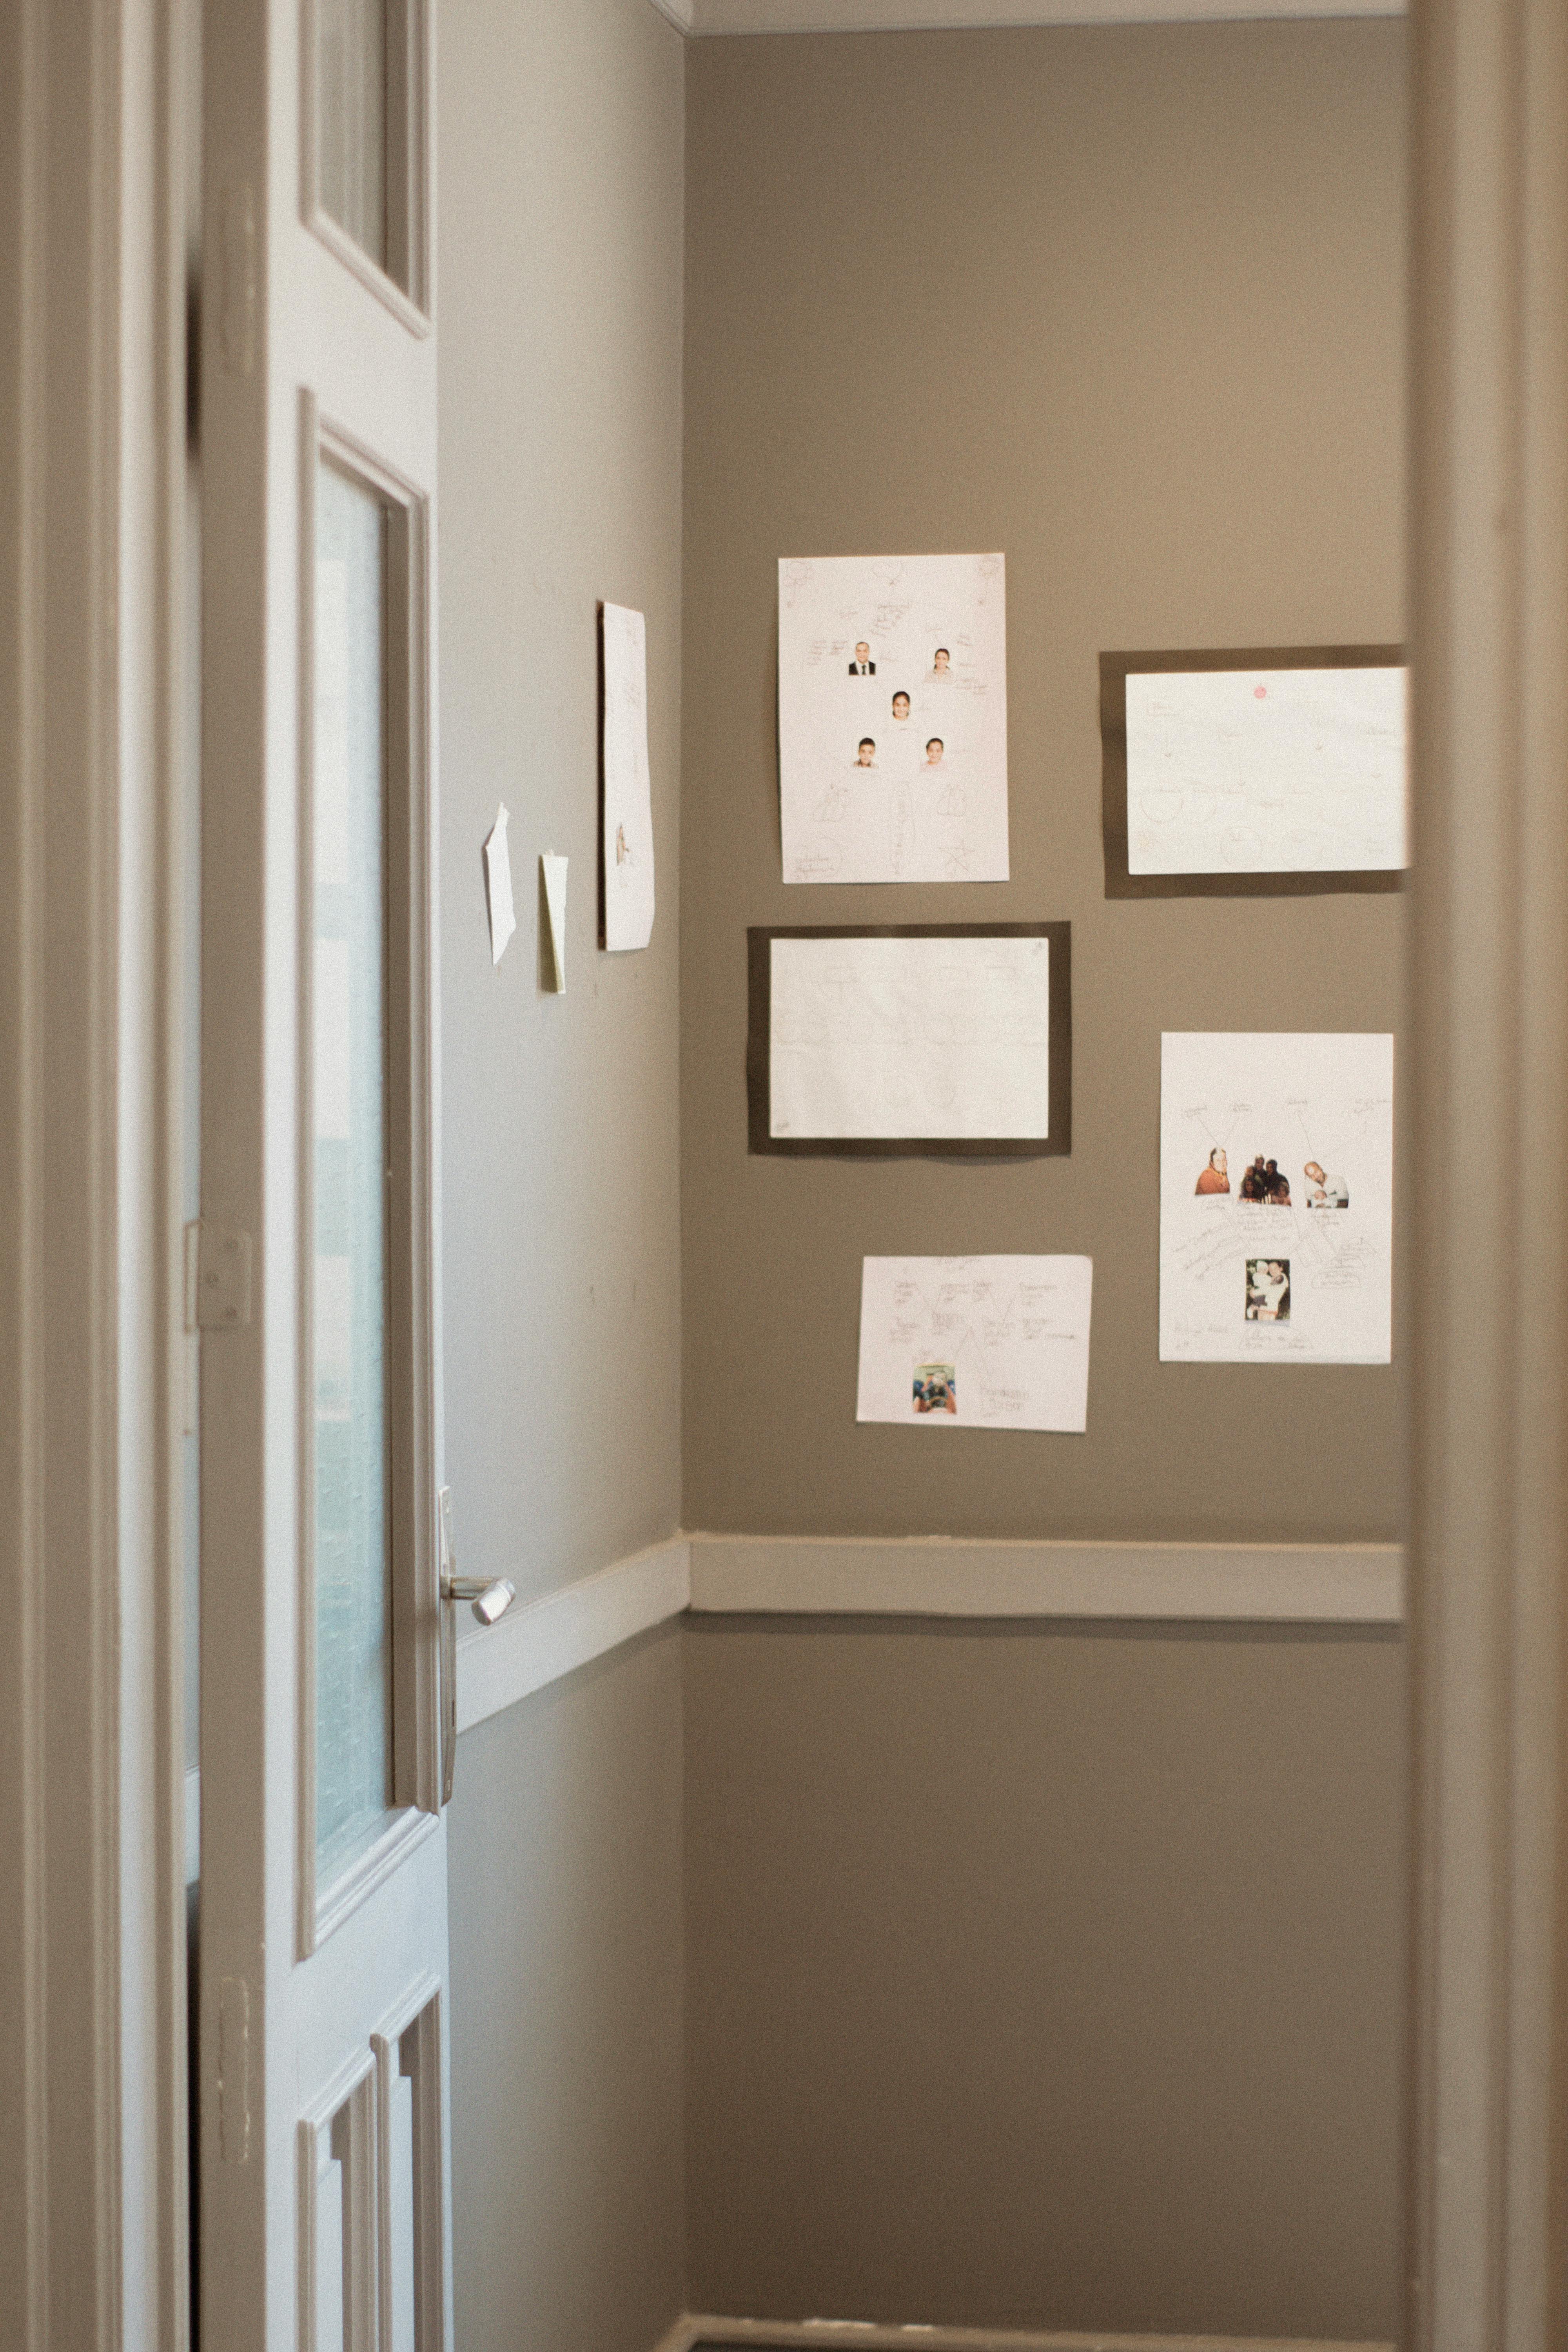
The Allure of the Gallery Wall
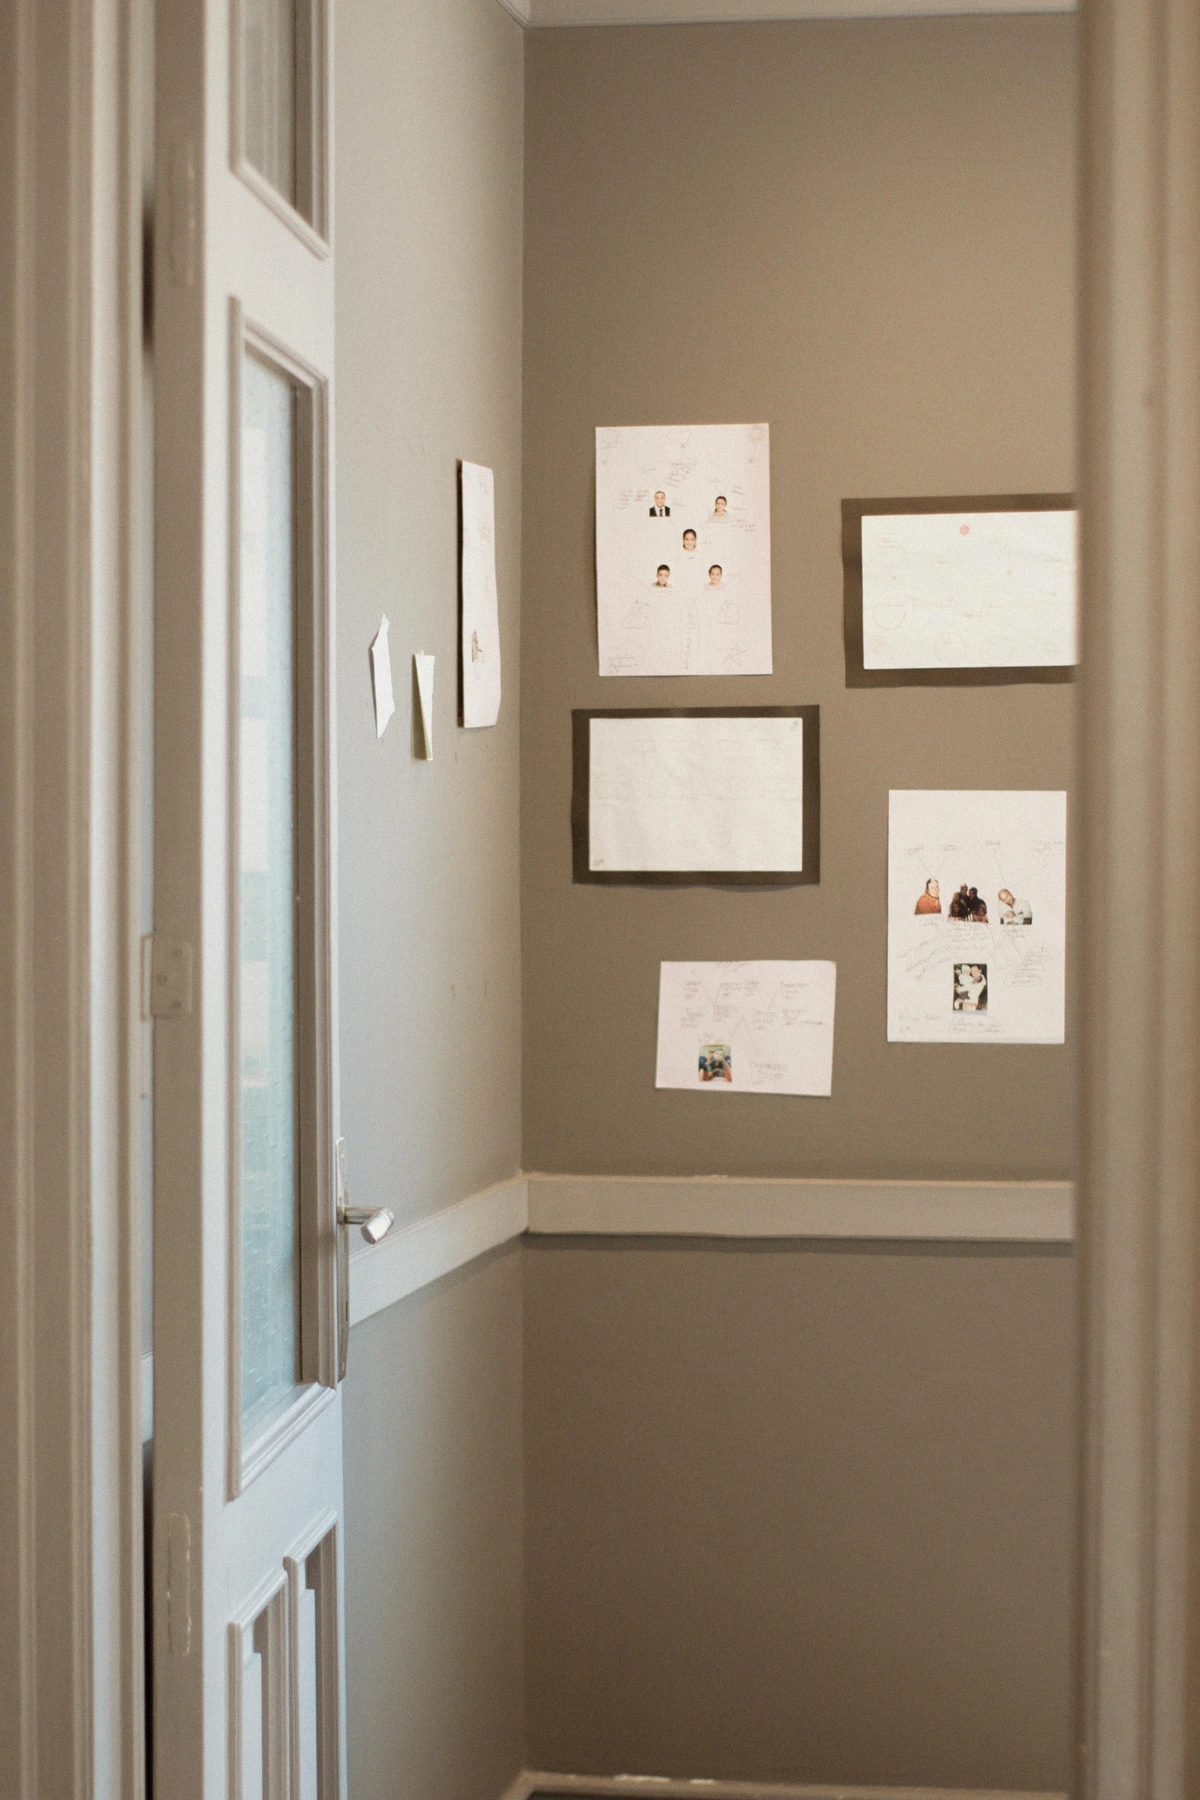
Ah, gallery walls! They're a whole different beast, aren't they? Instead of focusing on individual pieces, you treat the entire collection as one large artwork. When you're creating a gallery wall, the 57-60 inch rule still applies to the center of the entire grouping. Imagine a single, invisible rectangle encompassing all your pieces; the middle of that rectangle should be at eye level. It sounds complex, but trust me, arranging the pieces on the floor first (a lifesaver, honestly!) helps you visualize this 'invisible center.'

I find that keeping a consistent 2-4 inch (5-10 cm) space between frames within the gallery wall helps maintain a sense of order amidst the beautiful chaos. This thoughtful spacing gives each piece a little breathing room, allowing it to shine individually while still contributing to the overall narrative of the collection. For grid-style gallery walls, consistent spacing is key. For more organic or eclectic arrangements, you can vary the spacing slightly for visual interest, but always aim for overall balance. It's the secret to making your collection feel curated, not cluttered. For more detailed insights, you might find this guide on creating the perfect gallery wall helpful.
Tailoring to Art Type: Beyond the Flat Frame
Not all art is a rectangular painting waiting for a single hook. Different forms of art, and even different types of frames, can influence your hanging approach.
- Sculptural & 3D Wall Art: For pieces with depth, the "center" still applies, but think of its visual mass. If it's a particularly weighty or unusual shape, aim for the main body of the sculpture to be within the eye-level sweet spot. Often, you're hanging these closer to the wall, so the "X" measurement (from the hanging point to the top of the art) might be minimal or zero.
- Textiles & Tapestries: Fabric art often hangs differently, sometimes from a rod or clips. While the hardware might differ, the principle of centering the main body of the textile at eye level (or 6-8 inches above furniture) remains sound. Consider how the fabric hangs and drapes when determining its perceived height.
- Mirrors: While not always art, mirrors are frequently displayed like art. The 57-60 inch rule works well for stand-alone decorative mirrors. If a mirror is above a console or dresser, apply the 6-8 inch rule, ensuring it reflects something pleasing and not just the ceiling.
- Frameless vs. Framed Art: For canvas paintings without a frame, the canvas edges define the piece. For framed art, the frame itself is part of the visual mass. This distinction rarely changes the core height rules but can influence the perception of size within the room, so always consider the total dimension your eye sees.
Your Practical How-To Guide: Hanging Pictures Like a Pro
Alright, let's get down to brass tacks. You've got your art, you've got your rules, now let's get it on the wall! This is where you roll up your sleeves and bring your vision to life. No more guessing games; you've got this. I remember the first time I confidently measured and hung a piece perfectly on the first try – it felt like a minor superpower! That's the feeling I want for you.

Step-by-Step: From Vision to Wall
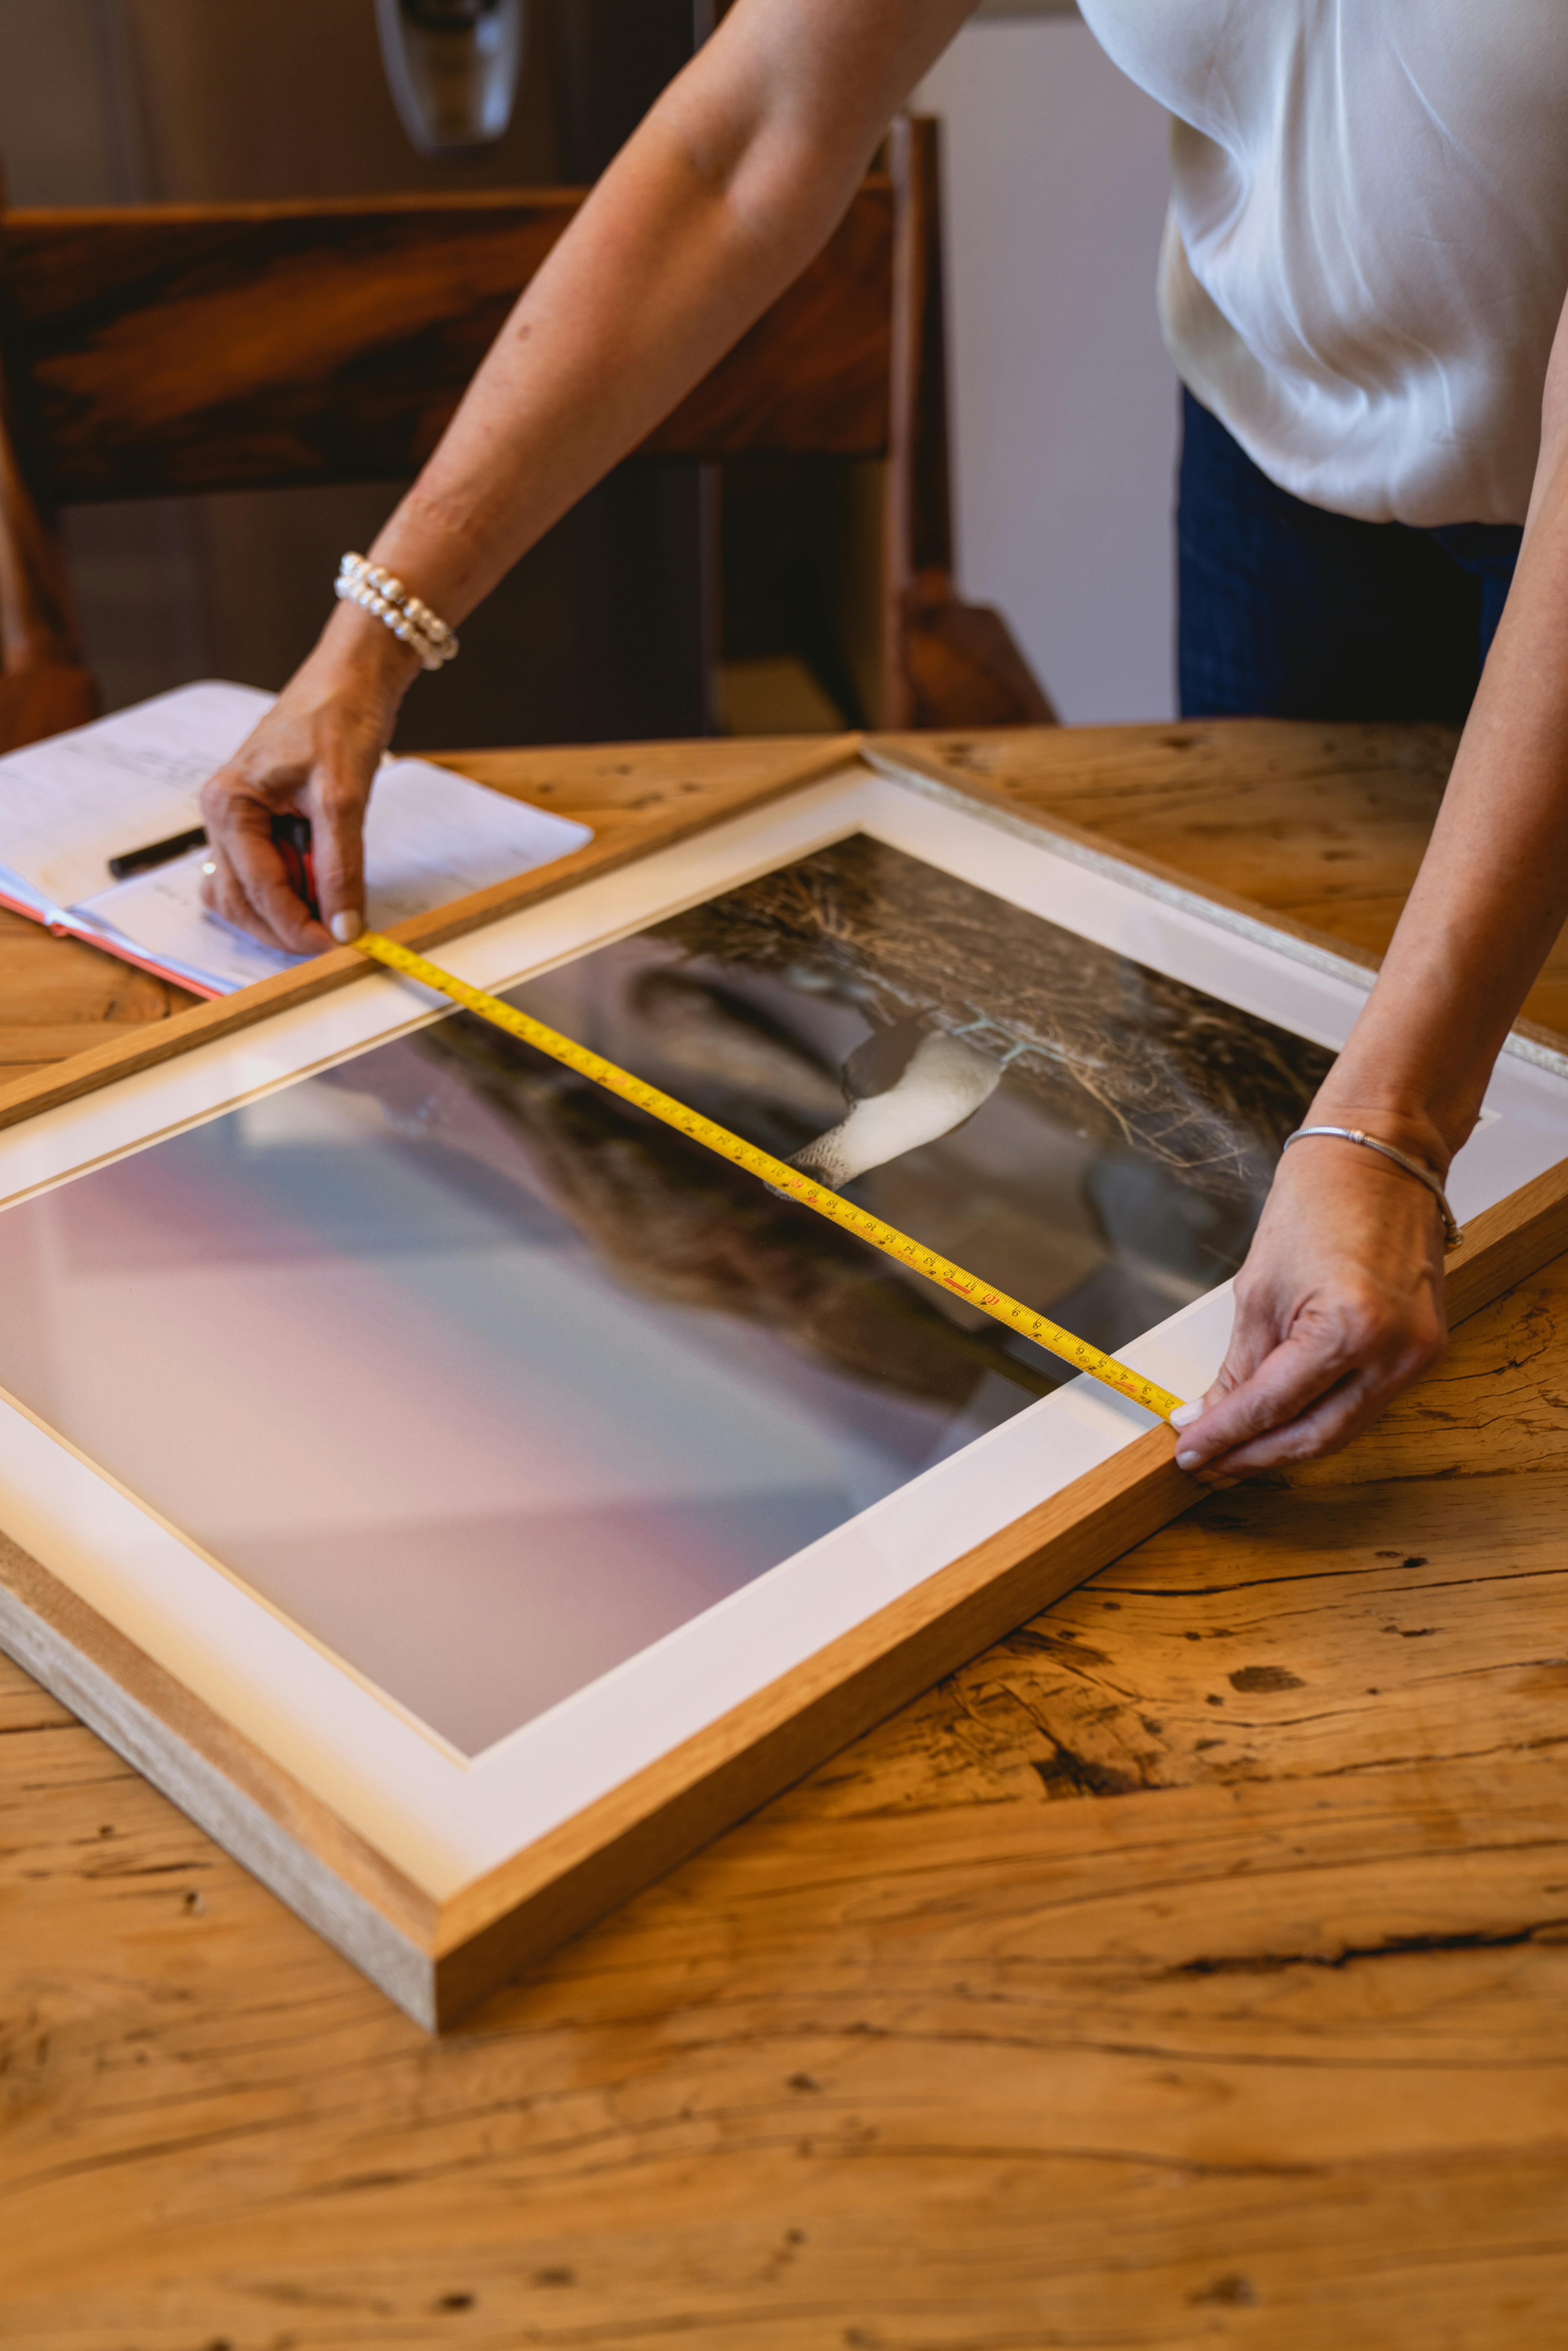
- Measure Your Art: Grab your tape measure! Measure the total height of your artwork, including the frame. If you're hanging multiple pieces, measure each one. For complex gallery walls, you might even cut out paper templates of your frames to experiment on the floor first – it's a messy but incredibly effective step, trust me.
- Find the Hanging Point (Your "X" Value): Turn your artwork over. Measure the distance from the top of the frame to the wire or hanging mechanism when it's pulled taut. This is crucial! This measurement, let's call it
X, tells you where the hook needs to be relative to the top of your frame. Forgetting thisXvalue is a classic mistake I've made more times than I'd like to admit! Be aware that D-rings or sawtooth hangers will have anXvalue close to zero, as the hanging point is near the top edge. - Determine Your Ideal Center Height (Your "C" Value): Decide on your target center height (e.g., 57 inches). Mark this lightly on your wall with a pencil. This is
C. - Calculate Hook Placement: Here's the magic formula, and it's simpler than it looks. This tells you the exact height from the floor where your nail or hook should go:
Hook Height = C + (Art Height / 2) - X
Let's break down the example:
- Example: Imagine your painting is 24" high, your
Xmeasurement (from top of frame to taut wire) is 3", and your target centerCis 57" from the floor. - Step 1: Find half the art height. (24" / 2) = 12"
- Step 2: Add this to your target center height. 57" (C) + 12" (Half Art Height) = 69"
- Step 3: Subtract your 'X' value. 69" - 3" (X Value) = 66"
- Result: Your hook needs to be placed at 66" from the floor.
- Mark and Hang: Use a level to ensure your mark is perfectly straight. Gently hammer in your picture hook (or use appropriate wall fasteners for drywall, brick, or concrete). Hang your art, stand back, and admire your work! That feeling of seeing a perfectly placed piece? Priceless.
Important Considerations: Tailoring to Your Space
Even with the rules firmly in hand, every room has its quirks, its personality. These considerations are where you elevate good art placement to truly exceptional interior styling, letting the art have a genuine visual conversation with its surroundings.
- Room Function & Flow: A dining room might benefit from art at eye-level when seated, especially if it's a large, focal piece, as meals mean longer periods of seated viewing. I sometimes advise clients to test this by having someone sit at the table while you hold the art up. In a living room, where people stand and sit, the 57-60 inch rule for standing eye-level is usually best for versatility. For a small bedroom, consider the scale so the art doesn't overwhelm the space – smaller pieces or a restrained gallery wall might be ideal. A hallway is perfect for a consistent visual line, drawing the eye along the corridor like a curated pathway. Think about the overall visual flow between adjacent rooms – does the art create a harmonious journey or abrupt stops?
- Ceiling Height: For high ceilings, don't be tempted to hang everything higher just to fill space. Stick to the eye-level rule, or slightly above, to avoid making the art feel disconnected from the human scale. If you have a truly expansive wall, consider larger pieces, a multi-level gallery wall that still centers at eye-level, or even two distinct groupings rather than trying to push a single piece too high. For lower ceilings, the 57-inch mark is your best friend – going much higher can make the room feel cramped and out of proportion. It's always about proportion, not just filling vertical space.
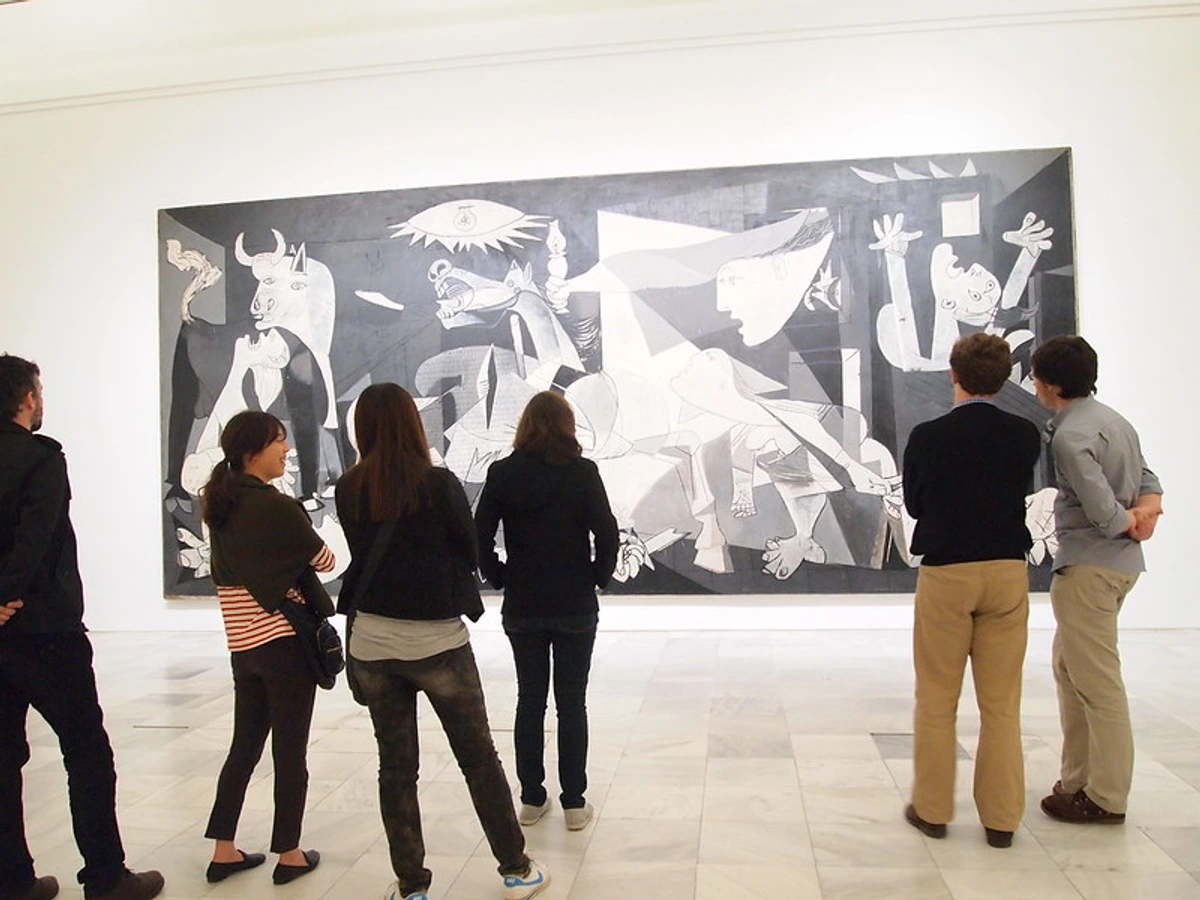
- Art Type and Size: A heavy painting will require more robust hardware, but the height principles remain the same. A collection of small pieces might work better as a gallery wall, centered according to the group, rather than individual pieces scattered aimlessly. For a single large-scale piece, focus intently on that eye-level sweet spot to maximize its impact. Even delicate textiles or sculptural wall art should adhere to these principles of human-centric viewing.
- Architectural Features: Your art shouldn't just float on a blank wall; it should engage with the architecture. Think about how a piece relates to windows, door frames, a fireplace mantel, wainscoting, or built-in shelving. Sometimes, aligning the top or bottom of a frame with an existing architectural line (like the top of a door frame or a picture rail) can create incredible visual unity and make the art feel intentionally integrated. It’s about more than just filling a wall; it’s about complementing the room’s inherent design. What about angled or vaulted ceilings? In those cases, try to find a consistent eye-level on the longest uninterrupted wall segment, or allow a gallery wall to follow the ceiling's slope, still centering the overall mass at eye level.
- Lighting: Consider how natural light hits your wall throughout the day. You don't want glaring reflections obscuring your beautiful art. Beyond glare, think about how lighting can enhance your art. Rooms with low light might benefit from slightly brighter, more vibrant pieces, but the hanging height still dictates comfortable viewing. Strategic accent lighting (like track lighting or picture lights) can dramatically highlight your artwork, and its effectiveness can be influenced by how high the piece is hung. A piece too high might be difficult to light effectively from above, creating shadows.
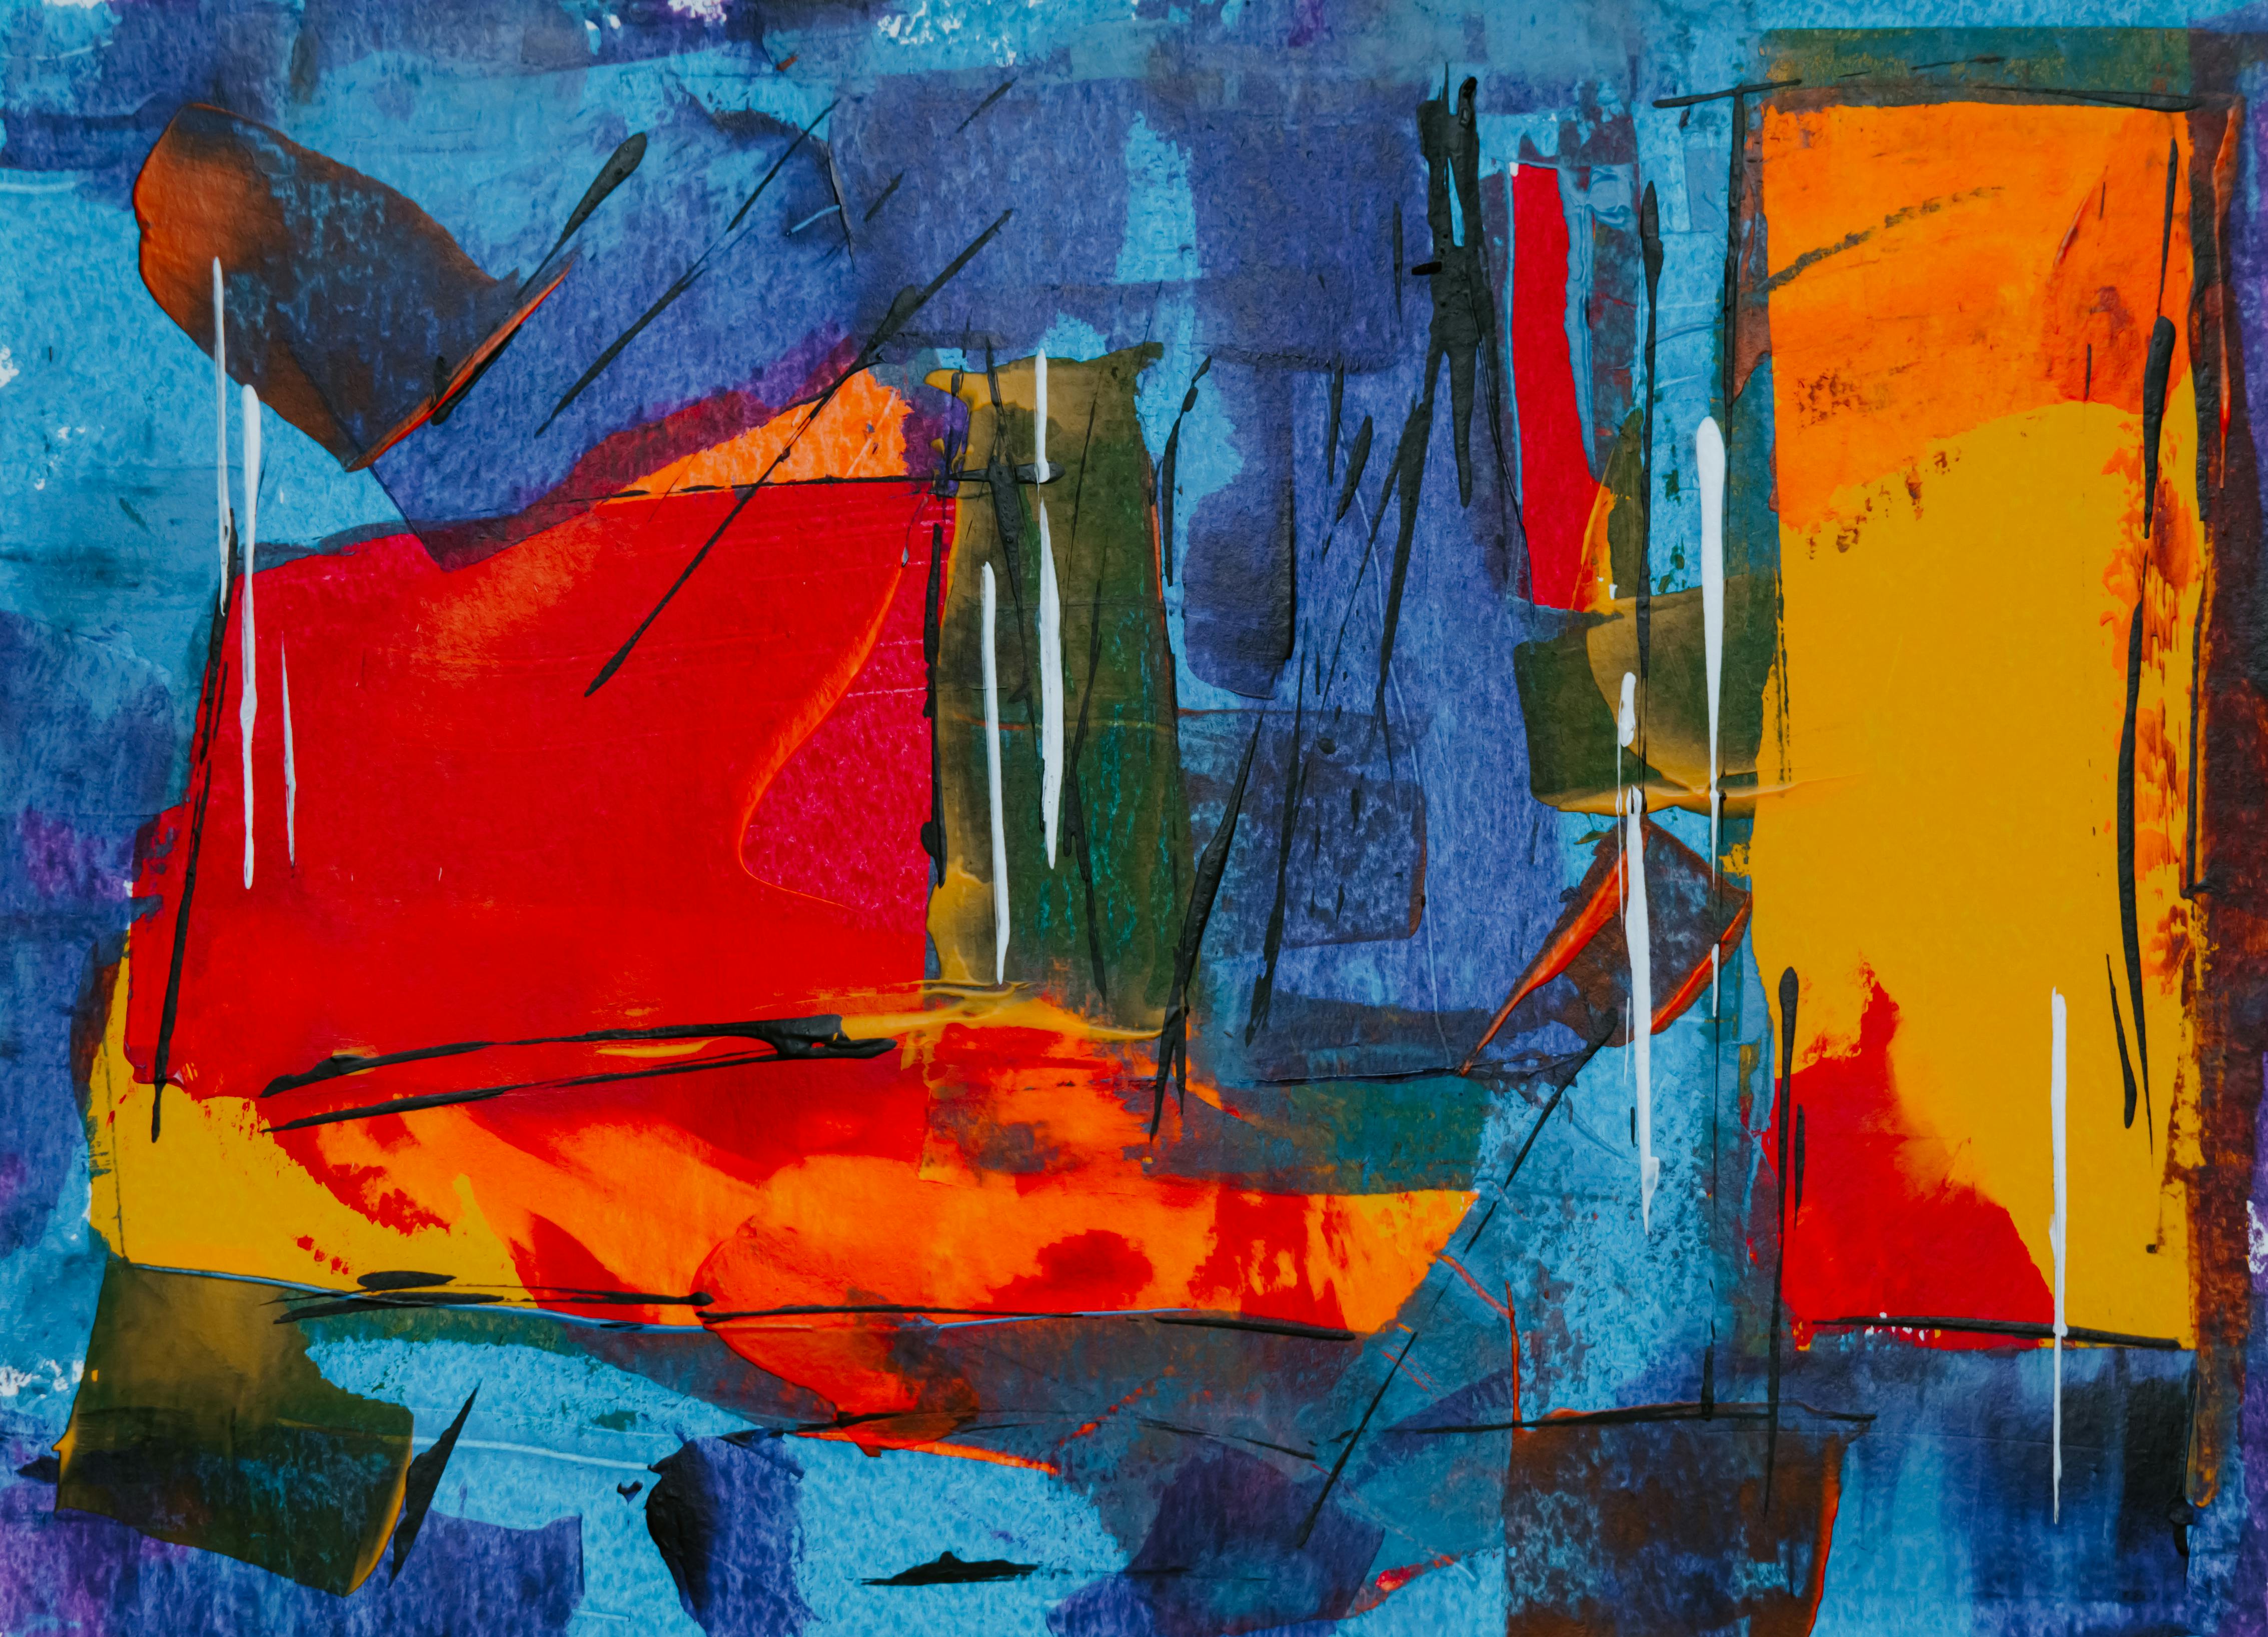
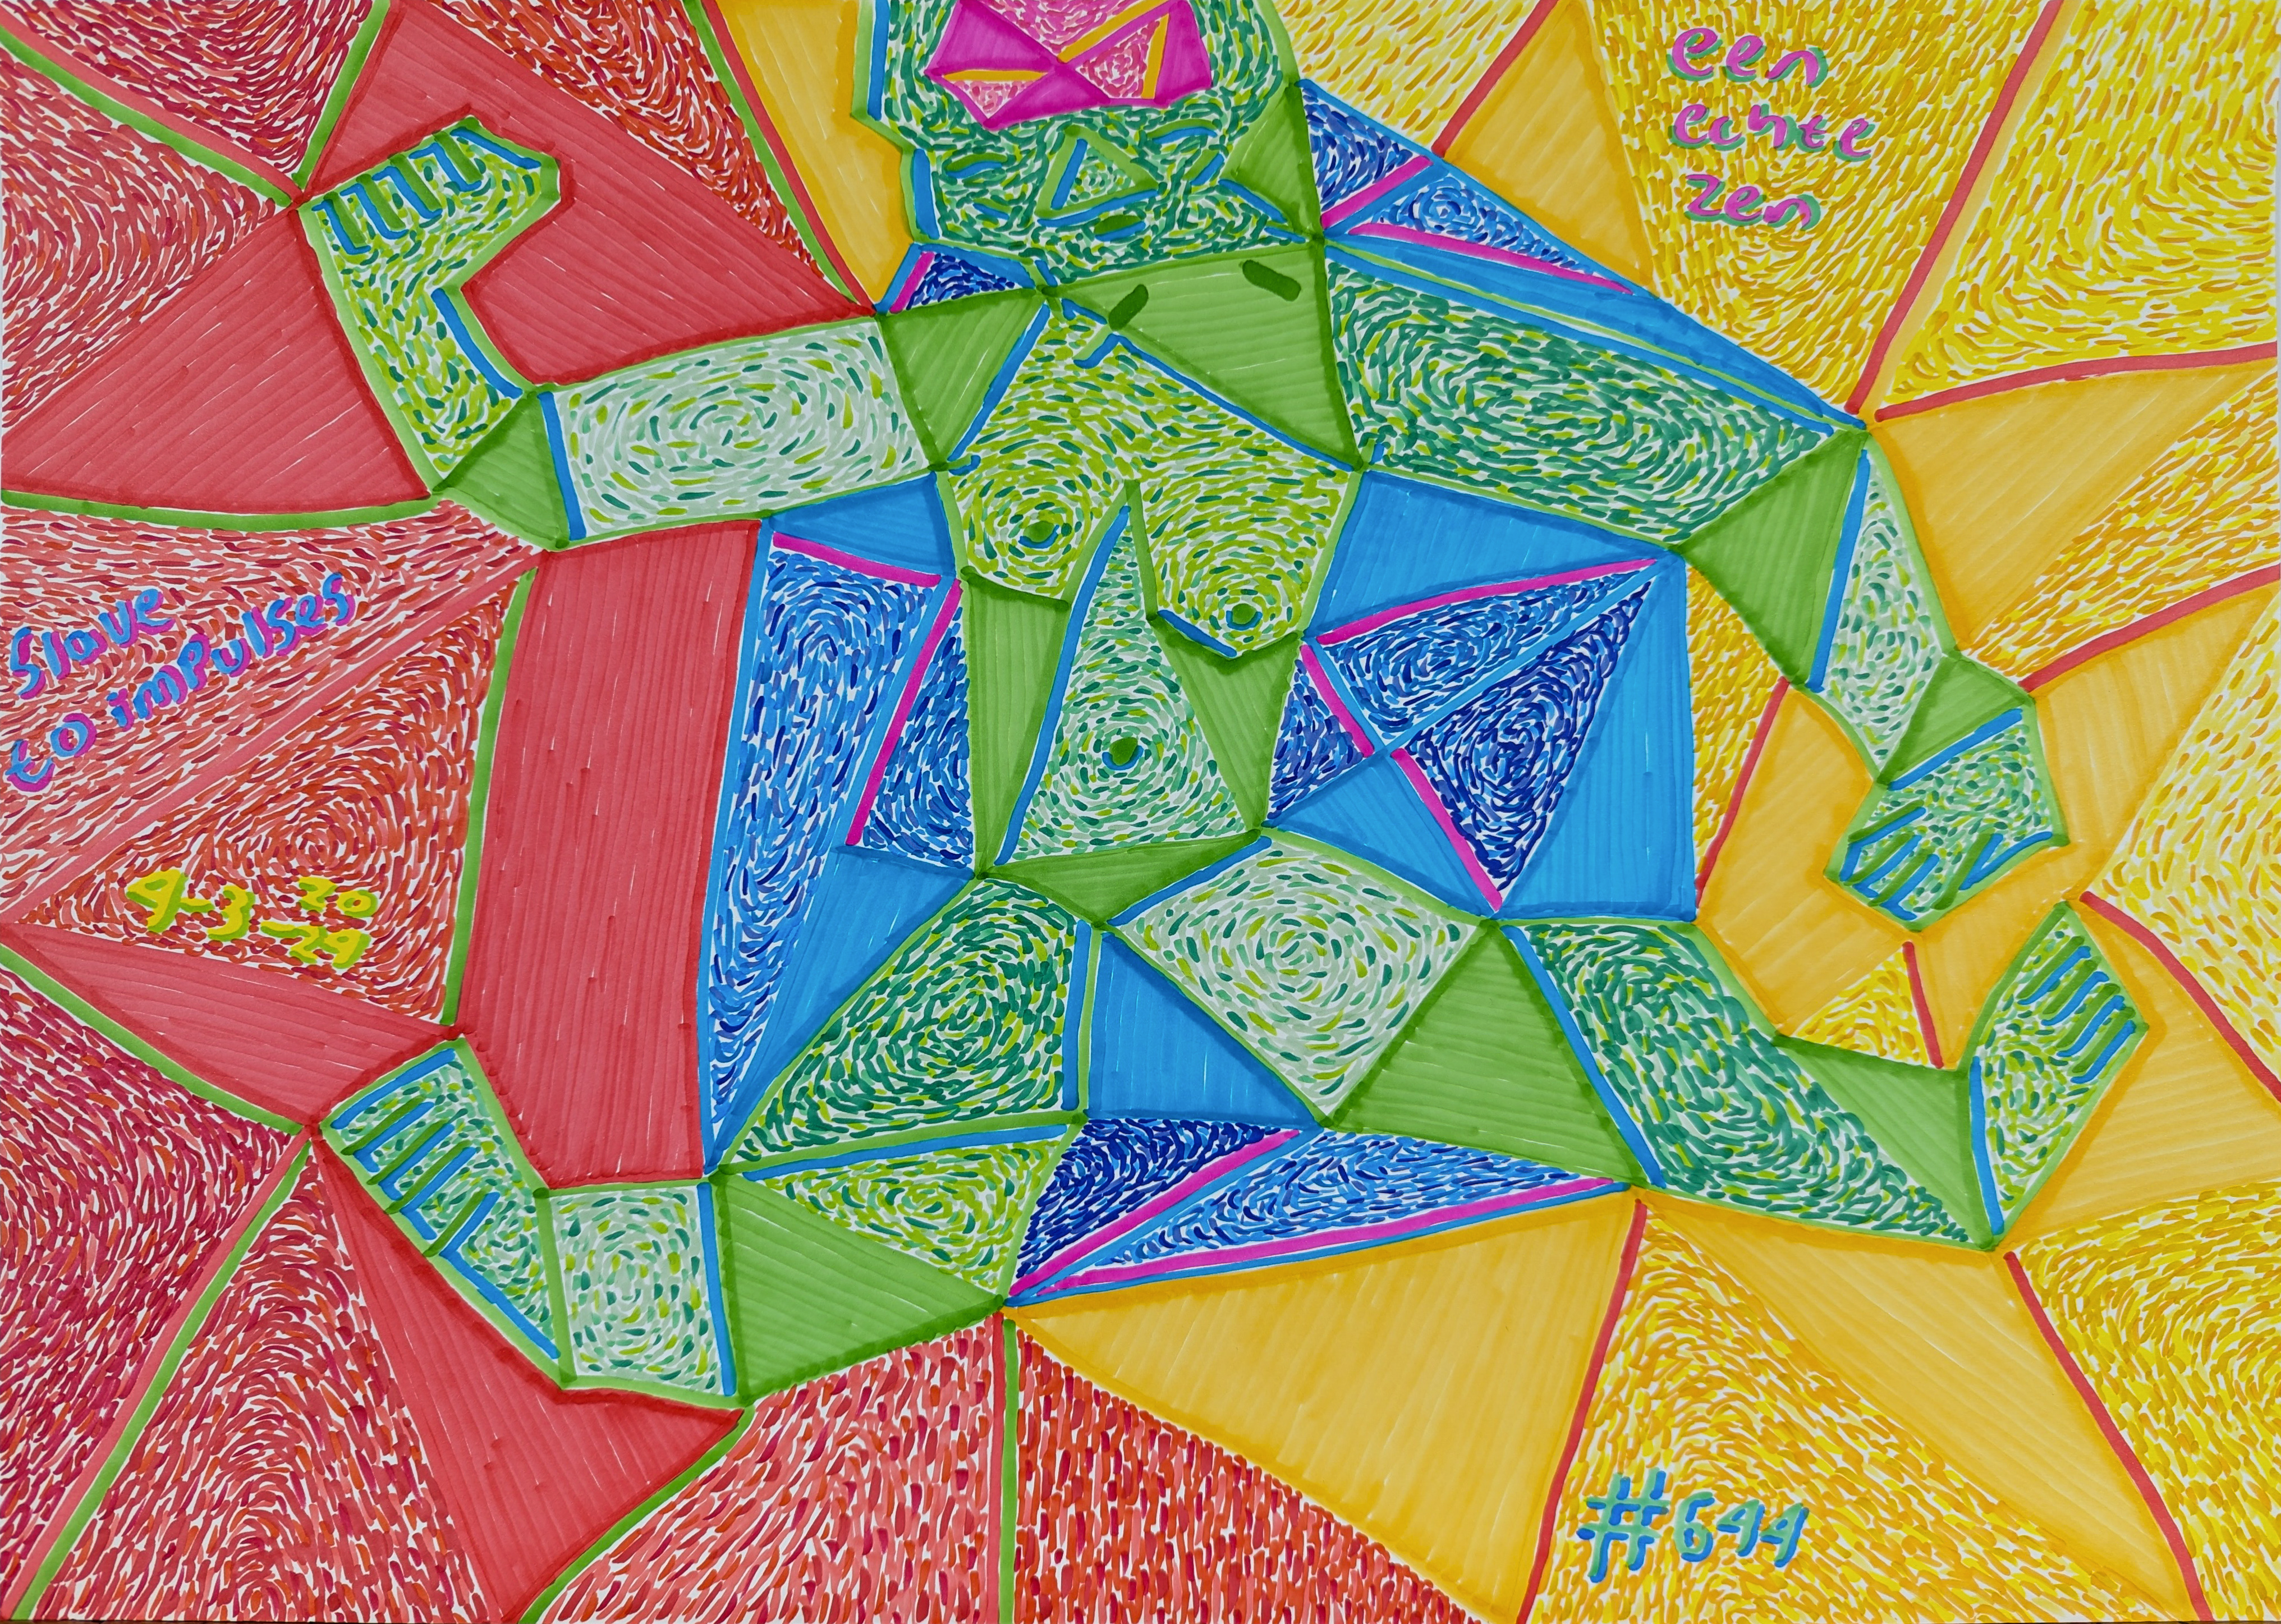
- Wall Color & Texture: A vibrant abstract piece on a stark white wall will pop differently than on a richly textured, dark wall. The wall itself is part of the backdrop, influencing how the art is perceived. While not directly affecting hanging height, it influences visual impact and how the art integrates. A busy wallpaper might call for simpler, bolder art, whereas a plain wall can accommodate more intricate pieces. For my own art, which is often very colorful, I find a neutral background allows the colors to truly sing.

Common Mistakes to Avoid
Even with the best intentions, a few common pitfalls can derail perfect art placement. Being aware of these can save you time, effort, and perhaps a few extra nail holes!
- Hanging Art Too High: This is, by far, the most common mistake. Art hung too high feels disconnected from the rest of the room's elements and floats aimlessly, forcing viewers to crane their necks.
- Ignoring Furniture: Treating art above furniture as completely separate pieces. The art and the furniture below it should form a cohesive unit, hence the 6-8 inch rule.
- Wrong Scale: Hanging a tiny piece on a huge, expansive wall, or a giant piece that overwhelms a small wall. Always consider the proportion of the art to the wall and the surrounding furniture.
- Not Using a Level: Eyeballing it almost always leads to a slightly crooked hang, which can be surprisingly jarring to the eye. Invest in a good level!
- Forgetting the "X" Factor: As I mentioned earlier, overlooking the distance from the top of the frame to the taut wire is a frequent error that results in the art hanging higher than intended.
- Poor Lighting or Glare: Placing art where it's constantly in shadow or directly opposite a window where reflections obscure the view. Plan your lighting and placement carefully.
- Playing It Too Safe (or Too Wild): While rules are good, don't be afraid to break them intentionally if it serves a specific artistic vision. Conversely, don't throw all caution to the wind if cohesion is your goal.
Frequently Asked Questions (FAQ)
Should all art be hung at eye level?
Generally, yes, the 57-60 inch rule (center of artwork at eye level) is a fantastic starting point for most scenarios, especially on a blank wall or in hallways. However, it's a guideline, not a strict law. Art above furniture, in a dining room where people are primarily seated, or as part of a multi-level gallery wall might require slight adjustments. The key is visual comfort and cohesion within its specific context.
How high should I hang pictures above a sofa?
For art placed above a sofa or other furniture, aim for 6-8 inches (15-20 cm) of space between the bottom of the frame and the top of the furniture. This creates a visually unified grouping, making the art and furniture feel connected.
What's the best height for a gallery wall?
For a gallery wall, treat the entire collection as one large piece of art. The center of this entire grouping (imagine an invisible rectangle around all the pieces) should be at the standard eye-level height of 57-60 inches (145-152 cm) from the floor. Individual pieces within the grouping will naturally vary in height.
Does ceiling height affect how high I should hang art?
Yes, but not by making you hang everything higher! For high ceilings, stick to the eye-level rule to ensure the art relates to the human scale. Don't let art float aimlessly near the ceiling. For lower ceilings, sticking closer to the 57-inch mark prevents the room from feeling cramped.
How do I hang heavy art?
Hanging heavy paintings requires robust hardware. Always use wall anchors appropriate for your wall type (e.g., toggle bolts for drywall, masonry anchors for brick or concrete) and ensure your picture wire or D-rings are rated for the weight. Often, using two hooks (spaced 4-6 inches apart horizontally) for a heavy piece provides greater stability and weight distribution than a single central hook.
Conclusion: Hang with Confidence
Hanging art, like curating a gallery or even deciding to buy a new piece, is an art in itself. It’s a blend of science, intuition, and personal expression. While the precise measurements and golden rules provide an invaluable foundation, the ultimate goal is to create a space that feels harmonious, engaging, and uniquely yours. Don't be afraid to experiment (carefully, with pencil marks and paper templates first!). Trust your eye, apply these guidelines, and remember that even seasoned designers have made a few extra nail holes in their time. The joy of stepping back and seeing a perfectly placed piece that truly elevates your space? That's what it's all about. Now go forth and hang with confidence!


