
Hang Heavy Art Like a Pro: My Ultimate Guide to Secure Display & Peace of Mind
Don't let heavy art intimidate you! Master the art of secure display with my comprehensive guide, covering wall types, hardware, advanced techniques, and pro tips for ultimate peace of mind. Learn to hang your treasured pieces like a seasoned professional, protecting your art and your home.
Hang Heavy Art Like a Pro: My Ultimate Guide to Secure Display
Let's be honest, the thought of hanging a really heavy painting can be a bit daunting, can't it? We're talking about precious art – or maybe that beloved, substantial mirror that's seen better days but still holds immense sentimental value. The last thing any of us wants is a crash, a shattered frame, or a massive, unsightly hole in the wall. I've certainly been there, staring at a sizable piece, drill in hand, my mind racing with a hundred 'what ifs.' Like that one time I thought a simple picture hook would hold a massive, antique gilded mirror. Spoiler alert: it did not, and a small, perfectly round hole appeared in my wall, swiftly followed by a very un-zen-like string of expletives. It feels like a rite of passage for any art lover or home decorator, a moment where you transition from simply admiring art to actively and confidently integrating it into your personal space.
So, let's tackle this together, because I've picked up more than a few tricks along the way that have saved me from countless headaches (and, yes, a few emergency drywall repairs). This isn't just about putting a nail in the wall; it's about building confidence, mastering precision, and developing a real knack for understanding what's truly going on behind that plaster or drywall. By the end of this guide, I want you to feel empowered to hang even your heaviest treasures with ease. This is the comprehensive resource I wish I'd had when I started my own journey of displaying art.
Why Your Heavy Art Deserves the Royal Treatment (and a Secure Spot)
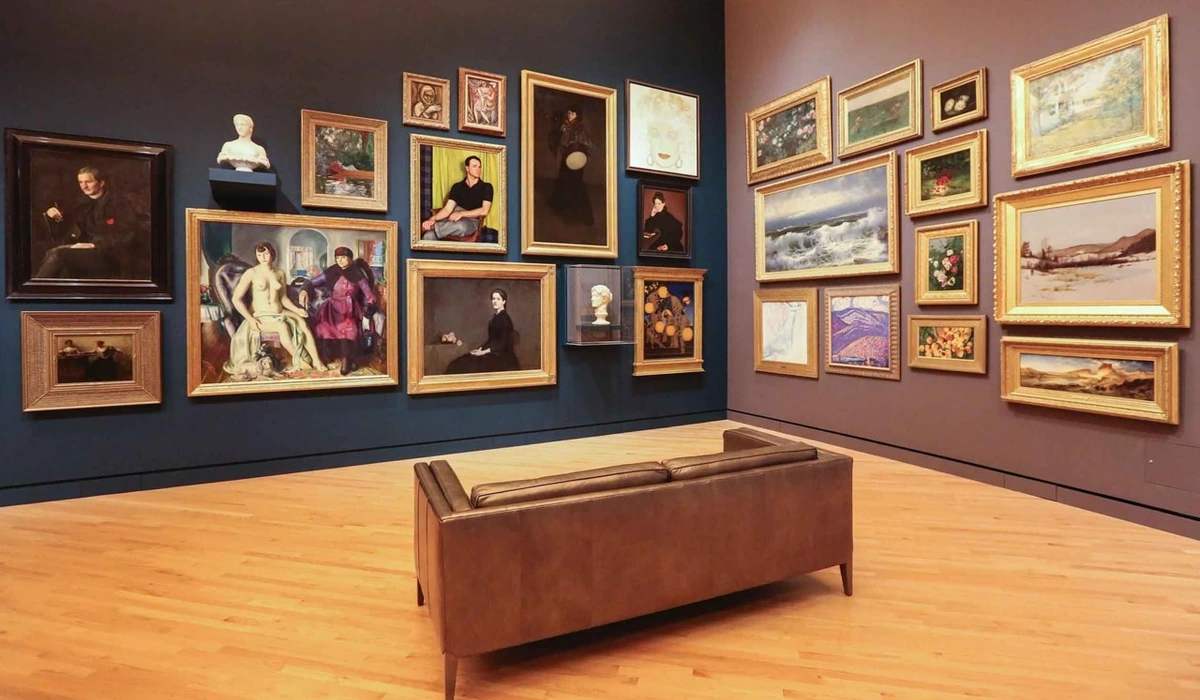
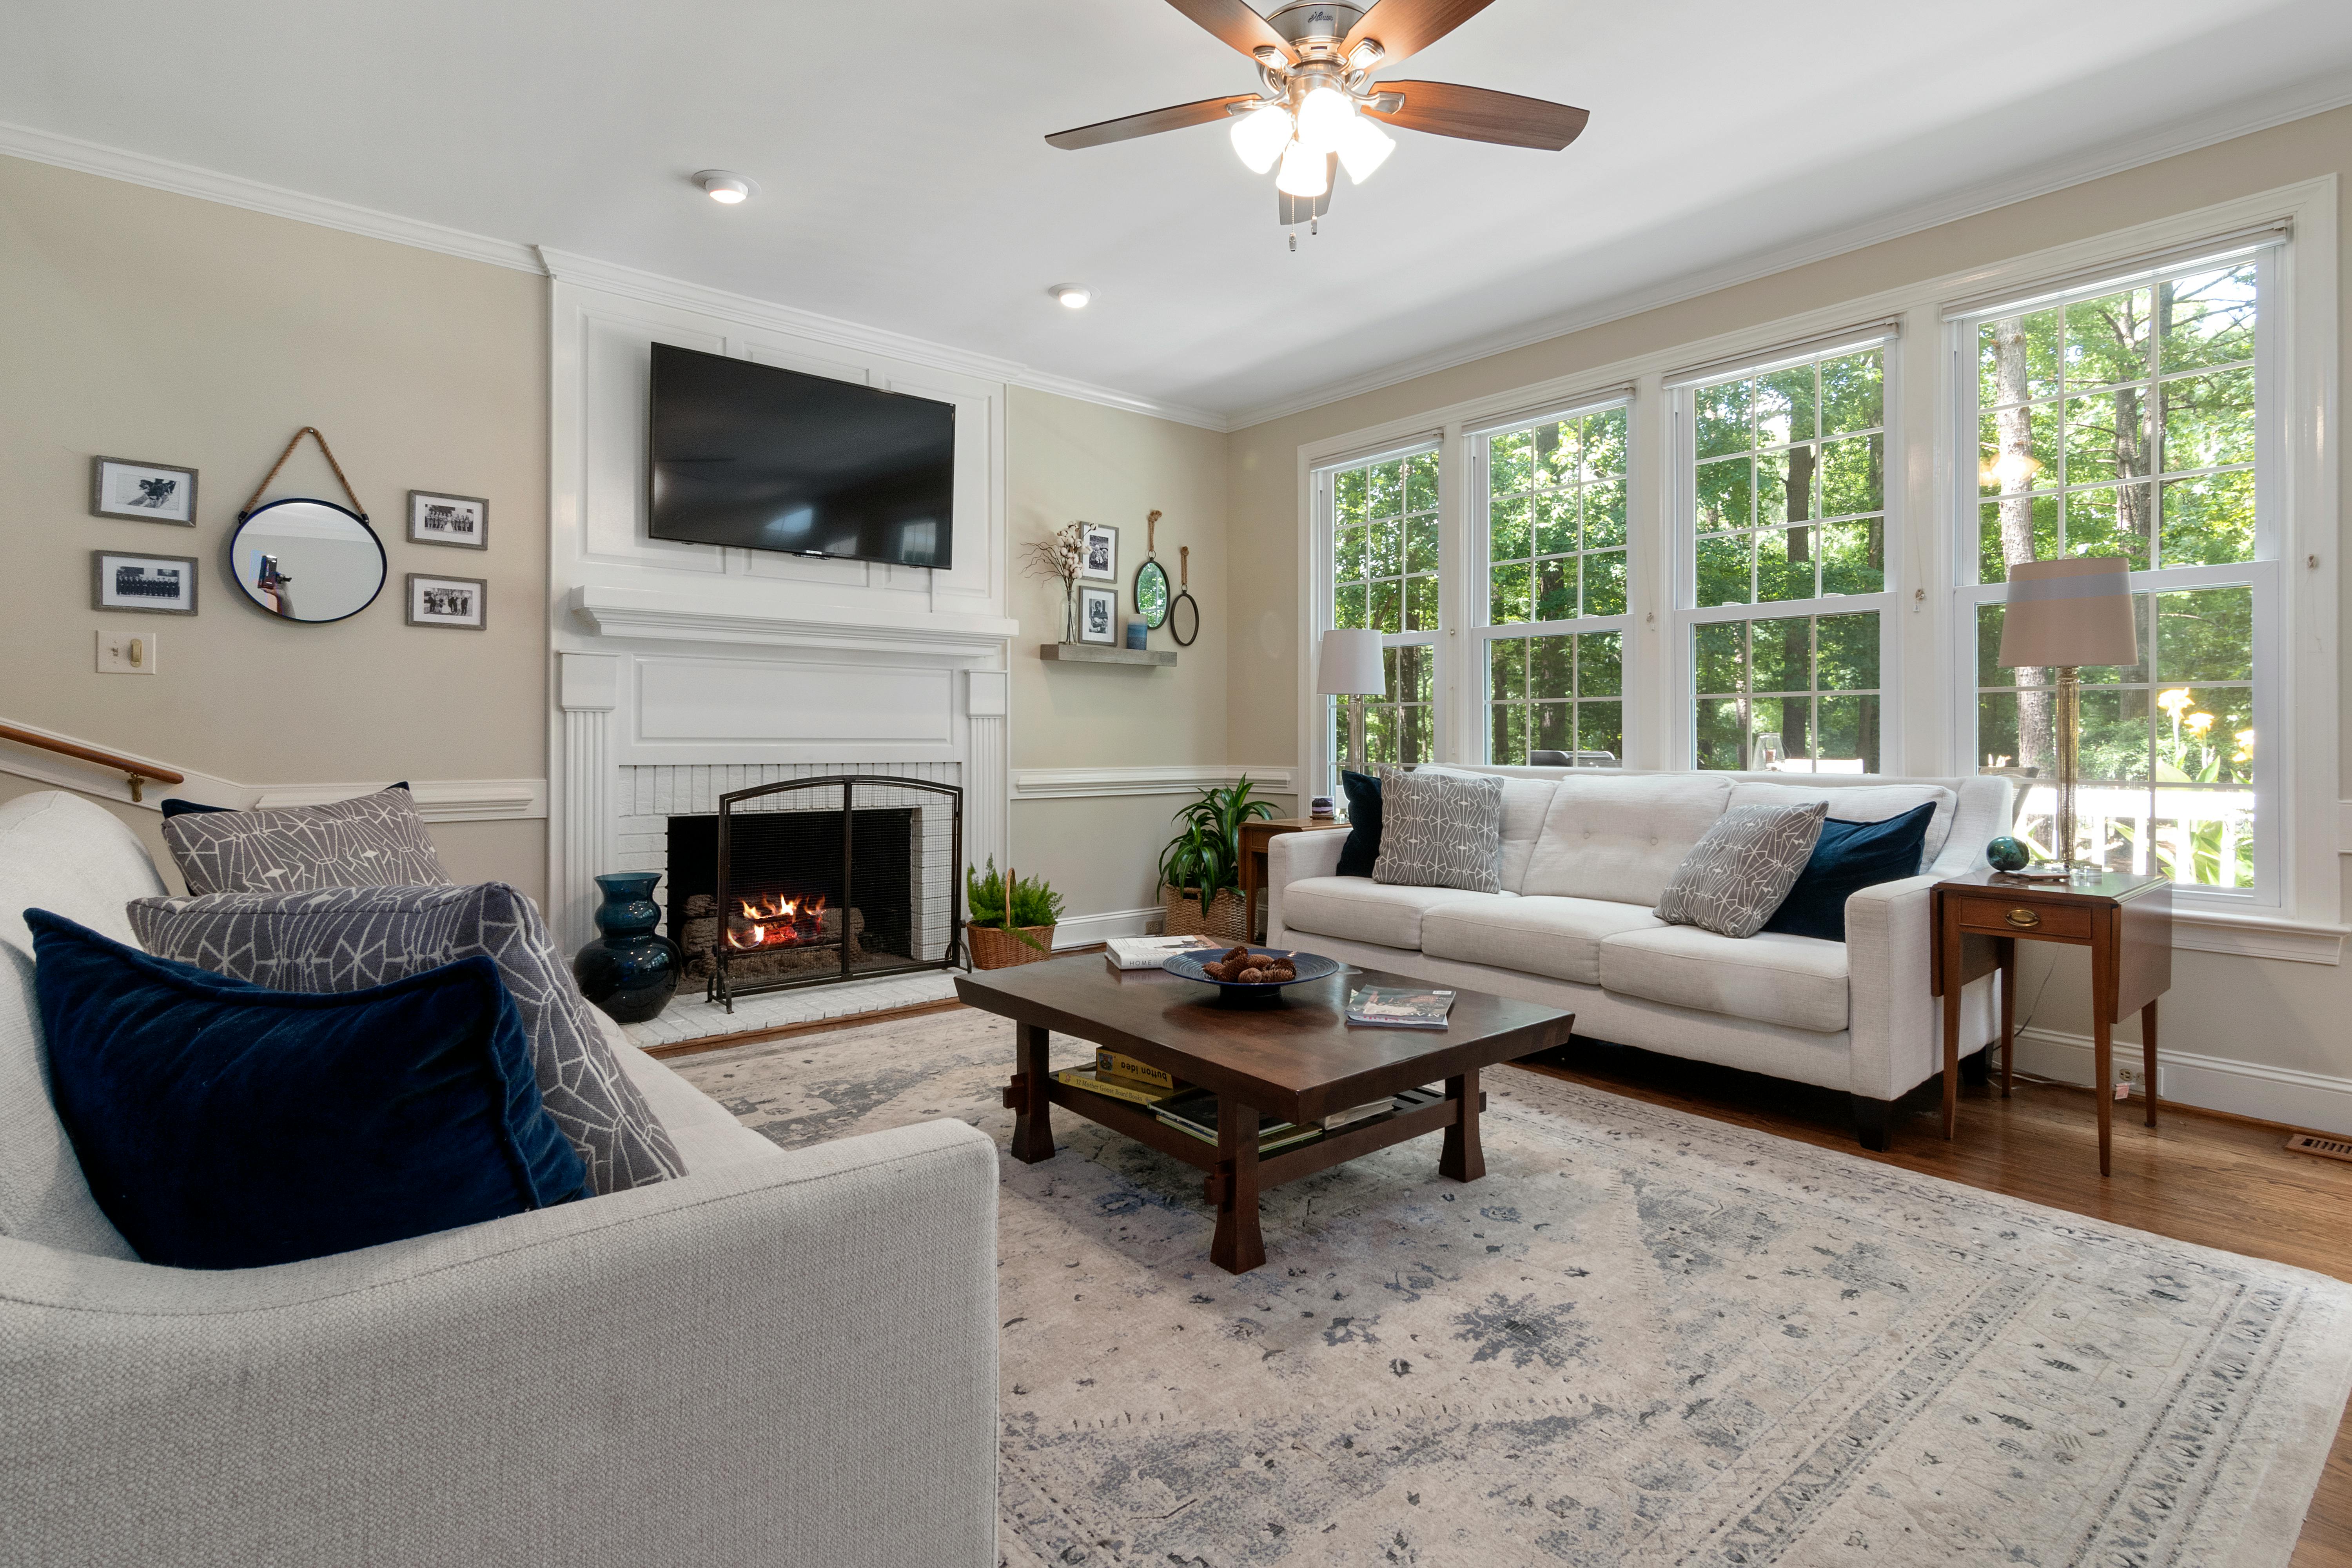
Before we dive into the nitty-gritty, let's talk about why this even matters beyond just avoiding a crash. A well-hung piece of art doesn't just elevate a room aesthetically; it tells a story, it reflects your personality, and it contributes profoundly to the feeling of your home. Historically, how we displayed art evolved from rudimentary pegs to elaborate hanging systems, reflecting changing aesthetics and increasing artistic value. As an artist who pours my soul into creating colorful, abstract pieces designed to bring joy and light, I truly believe the way you present art is an extension of its impact. When you're making choices for your home, whether it's decorating your home from scratch or just finding that perfect spot for a new acquisition, the secure and intentional display of your art is just as important as the art itself. There's a certain profound peace of mind that comes with knowing your treasured pieces are not only looking fantastic but are also completely secure. No more tiptoeing around, fearing the inevitable thud or the subtle lean that whispers 'disaster.' We want that perfect, stable display, whether it's art above the sofa or part of a grand dynamic art display. This isn't just about preventing damage; it's about maximizing the art's presence and your enjoyment, and frankly, protecting your investment. Imagine the sheer agony of a beloved, valuable piece crashing down – the repair costs, the heartache, potentially even voiding your insurance if not properly installed. Securing your art properly is, in many ways, an act of love and responsible stewardship.
The Anatomy of a Wall: Understanding Your Canvas
Before we even think about tools or hardware, it’s critical to understand the type of wall you're dealing with. Different walls demand different approaches. I've learned this the hard way – trying a drywall anchor in concrete is, shall we say, a futile exercise. Knowing your wall is like knowing your painting's backstory; it informs everything. Plus, hitting a stud is your absolute best friend for anything heavy; these are the robust, vertical wooden (or sometimes metal) framing members that give your wall its structural integrity. So, let's figure out what kind of canvas you're working with.
1. Drywall (Plasterboard): The Modern Standard
The most common interior wall in modern homes. Relatively soft, made of gypsum plaster pressed between two sheets of paper. If you tap it, you'll hear a hollow sound between studs, and you might spot seams or old nail pops. This is where most anchors shine between studs, but studs are still king for anything truly heavy. The challenge is its softness, which can lead to anchors pulling out if overloaded. Standard plastic anchors are often inadequate here for anything beyond very light pieces.
2. Plaster and Lath: The Classic Challenge
Common in older homes (pre-1950s). Consists of wooden strips (lath) nailed horizontally to studs, then covered with layers of plaster. If you tap it, you'll hear a denser, less resonant thud than drywall, and sometimes the surface can feel uneven or show fine cracks. Can be brittle and crack easily, especially when drilling or hammering. Drilling here requires more finesse, and specialized anchors are often needed that won't cause the plaster to crumble. Locating studs can also be trickier through the dense plaster. Standard toggle bolts work, but specialized plaster anchors designed for expansion are even better.
3. Concrete Block (Cinder Block): Strong but Tricky
Common in commercial buildings or some residential basements/garages. Similar to solid masonry in strength, but often hollow internally, which can complicate drilling if you hit a hollow cavity. You might see the block lines, or if covered, a very dull, solid thud when tapped. Specialized anchors that expand within the block or bridge the cavity are a must. Avoid standard screw-in anchors here; they simply won't get a grip.
4. Solid Masonry (Brick, Concrete, Stone): The Unyielding Foundation
Found in basements, exterior walls, or older structures. These are incredibly strong and will give a very solid, dull thud when tapped, and feel cold to the touch. They require specific masonry drill bits and expanding anchors. You won't find studs here in the traditional sense, so you're drilling directly into solid material. For more on this, check out our guide on how to hang art on brick walls. Standard wood screws will just strip the material.
5. Older, Unique Walls: The Assessment Zone
Think exposed brick, stone, or even reclaimed wood panels. These each present their own challenges and sometimes offer natural anchor points. Always assess carefully – if it's reclaimed wood, it might have hidden nails or be too soft in places. If in doubt, consider seeking professional advice to avoid structural damage or a ruined piece of art.
The Essentials: My Go-To Tools and Hardware
Alright, let's gather our arsenal. You don't need a professional workshop, but having the right tools makes all the difference. Think of it as preparing for a mini-expedition into the unknown depths of your wall. I remember trying to hang a massive, multi-panel piece with just a hammer and a prayer once. Let's just say the prayer didn't quite make up for the lack of a proper drill. Lesson learned, and a small hole in my wall to remember it by! With our toolkit ready, let's turn our attention to the crucial hardware that will actually hold your treasures.
Tools I Always Have Handy:
- Stud Finder: This is your MVP, your wall whisperer. Seriously, don't skimp. A good one will save you countless pilot holes, patches, and headaches. Some even detect electrical wires and pipes, which is a lifesaver. Believe me, finding a stud with your knuckles and a prayer is not a reliable strategy, and patching drywall is no fun. For extra caution, a non-contact voltage tester is also a great investment to check for live wires before drilling.
- Tape Measure & Pencil: For precise placement. Measure twice, drill once, as they say – and believe me, I've learned that the hard way enough times to swear by it.
- Level: Essential for that perfectly straight hang. My eyes are notoriously unreliable for this, especially after a long day in the studio. A crooked painting can drive you quietly mad.
- Drill & Assorted Bits: For pilot holes and anchors. Make sure your drill bit size is appropriate for the screw or anchor you are using; too small and the screw will bind, too large and it won't grip, compromising the hold. For example, for a #8 wood screw, a 7/64" or 9/64" bit is a good starting point, and for a #10 screw, try 9/64" or 11/64". For masonry, you'll need carbide-tipped bits – they're much harder and can actually cut through brick and concrete. For significant masonry work, a hammer drill is a game-changer, making the job much faster and easier than a standard drill.
- Hammer: For tapping in picture hooks, not for stud finding (unless you enjoy patching drywall).
- Safety Glasses: Because flying plaster dust and errant bits of metal are no fun for anyone's eyes. This isn't just a suggestion; it's a non-negotiable.
Choosing the Right Hardware for Your Heavy Piece:
This is where many people get tripped up. It's definitely not one-size-fits-all, not by a long shot. The actual weight of your art, the type of wall, and even the design of the frame will dictate your choice. I've broken down some common scenarios, including some personal favorites and crucial considerations like the quality of the hardware itself. Seriously, cheap hardware can fail, and that's just not worth the risk for your treasured art – or the headache of a broken frame and damaged wall. Investing in quality, weight-rated hardware is a tiny expense compared to replacing a beloved artwork or fixing a gaping hole in your wall. Consider it a small, wise insurance policy.
Remember to always look for the Working Load Limit (WLL) on packaging – this is the maximum weight the hardware is designed to hold safely, often with a significant safety factor built in. Aim for hardware with a WLL at least 4-5 times the actual weight of your artwork for ultimate peace of mind.
 credit,
licence
credit,
licence
Hardware Type | Ideal Wall Type | Weight Capacity (Approx.) | Mechanism & Notes |
|---|---|---|---|
| Picture Hooks (with nails) | Drywall, Plaster | 10-30 lbs (4.5-13.6 kg) | The angled nail penetrates the wall, distributing weight over a small area. Best for lighter-to-medium heavy pieces. The angled nail provides surprising strength. Opt for those with two nails for added stability on wider pieces. Always ensure the nail is securely embedded. Not recommended for very heavy pieces, despite appearing robust. |
| Monkey Hooks | Drywall | 20-35 lbs (9-15.9 kg) | A simple, thin metal hook that pierces drywall, then twists and locks behind it. Simple, quick to install. Best for thinner art/frames as they don't protrude much. A good quick fix for moderate weight, but ensure your drywall is in good condition. Not suitable for plaster or masonry, and can leave a larger hole than expected upon removal. |
| Toggle Bolts/Molly Bolts | Hollow Walls (Drywall, Plaster, Hollow Concrete Block) | 25-100+ lbs (11.3-45.4+ kg) | Require drilling a larger pilot hole for a spring-loaded toggle (or butterfly wings) or a pre-drilled sleeve to expand behind the wall, creating a wide, secure grip. Excellent for heavy items between studs or in hollow walls. Superstars for hollow walls due to their expansive hold. Check manufacturer rating carefully; pull-out strength (resistance to a force pulling it straight out from the wall) is very high, but shear strength (resistance to a force pulling it downwards, parallel to the wall, which can be a limiting factor for very wide, heavy items prone to tilting) can be a limiting factor. |
| Self-Drilling Drywall Anchors | Drywall | 25-50 lbs (11.3-22.7 kg) | These screw directly into the drywall, creating their own threads. Easy to install (no pilot hole usually needed). Good for medium-heavy items when no stud is available. Do not overtighten, as this can strip the drywall threads and compromise the hold. Not as robust as toggle bolts for very heavy items. Poor choice for plaster. |
| Heavy-Duty Picture Hangers (interlocking) | Wood Studs, Concrete, Masonry | 50-200+ lbs (22.7-90.7+ kg) | Often a two-part system that locks together, distributing weight over a wider area. These usually require screws into solid material (studs or masonry anchors). Great for very heavy art, especially if you can hit multiple studs. Provides a very strong, stable connection. Often known as Z-Bar Hangers (which can also be adapted for use with heavy-duty drywall anchors if studs are not available for wider pieces) or flush mounts. |
| French Cleat | Wood Studs, Concrete, Masonry | 100-300+ lbs (45.4-136.1+ kg) | A two-part system: one beveled strip mounts to the wall, another to the frame. They interlock, distributing weight evenly across the entire width of the cleat, making it incredibly secure and preventing tilting. My personal favorite for very heavy, wide pieces. Requires a flat-backed frame and precise installation. Available in wood or metal; metal is often preferred for max capacity. |
| Masonry Drill Bits & Anchors | Brick, Concrete, Stone | 50-300+ lbs (22.7-136.1+ kg) | For solid masonry walls. Requires specific carbide-tipped drill bits to penetrate hard materials and expanding sleeve anchors or lead anchors that wedge securely into the drilled hole. Choose based on weight and material density. Proper pilot hole size is critical for full expansion. |
| Picture Rail System | Any wall with a suitable rail | Varies (often 25-100+ lbs per hook) | An elegant solution for older homes or rented properties. Hooks hang from a decorative rail near the ceiling, with the art suspended by braided steel cables or strong picture wire. Allows for flexible rearrangement without drilling into the main wall. Ensure the rail itself is securely mounted, preferably into studs, as it carries the load. Always check the rail's capacity. |
| Specialty Mounts & Hybrid Solutions | Varies | 50-500+ lbs (22.7-227+ kg) | For unusually shaped art, unframed canvases needing flush mount, or extreme weights. This can include art huggers (bottom supports for heavy frames), specialized brackets, or combining multiple hardware types (e.g., using a French cleat mounted into one stud and heavy-duty toggle bolts into drywall on the other side for a very large artwork). Always consult a professional for truly unique or exceptionally challenging installations, especially if insurance is a concern. |

Before You Hang: Pre-Installation Checks & Framing Insights
Okay, deep breaths! We're doing this. This is the process I've refined over years of trial and (minimal, thankfully) error. It’s methodical, but it helps avoid those frustrating re-dos. Before you even touch a measuring tape, let's assess the art itself and its structural integrity – because even the best wall anchor is useless if the art's own hanging mechanism fails.

1. Protect Your Art During the Process:
This step is often overlooked in the excitement of hanging. Don't let a moment of carelessness undo all your hard work! I learned this the hard way when a large abstract piece, carefully painted, took a tumble during a slight reposition. Luckily, only the frame was scuffed, but the heart-stopping panic was real.
- Clear the Area: Remove any furniture, rugs, or delicate items directly below where you'll be working. You'll thank yourself if something accidentally drops.
- Soft Landing: Lay a moving blanket, thick towels, or even a soft rug on the floor beneath your work area. This provides a cushioned landing zone in case of an accidental slip.
- Gloves: Especially for delicate or valuable pieces, consider wearing clean cotton gloves to prevent transferring oils from your hands to the artwork or frame, which can cause discoloration over time.
- Spotter: For truly heavy or awkward pieces, having a second person to help lift, steady, and guide is invaluable. Not only for safety but also for accuracy.
2. Assess Your Art:
- Weight: How heavy is it really? Don't guess. Lift it. If it feels like a small child, it's heavy. If it feels like a small elephant, it's very heavy. A bathroom scale can give you a precise number. This number dictates your hardware choice. Remember to err on the side of caution and overestimate if unsure. Crucially, consider both the artwork's weight itself and the frame's weight. Sometimes, a massive, ornate frame can contribute more to the overall weight than the canvas or print it holds.
- Hanging Mechanism: Does it have a wire? D-rings? A sawtooth hanger? Or nothing at all? For heavy pieces, I always prefer D-rings (attached directly to the frame, usually with screws into solid wood) or a sturdy wire stretched between two D-rings. The quality of the wire and its attachments is paramount; look for braided stainless steel wire with a high tensile strength (its resistance to breaking under tension). Sawtooth hangers are generally not for heavy art; they're fine for lighter pieces but can fail catastrophically under significant weight. If your art has only a sawtooth hanger and is heavy, you'll need to upgrade its mechanism (see 'Adding Your Own Hardware' below).
- Balance: Hold it up gently. Does it naturally lean one way? This helps you anticipate how it will hang and when marking your spots. An unbalanced piece will fight you the entire time.
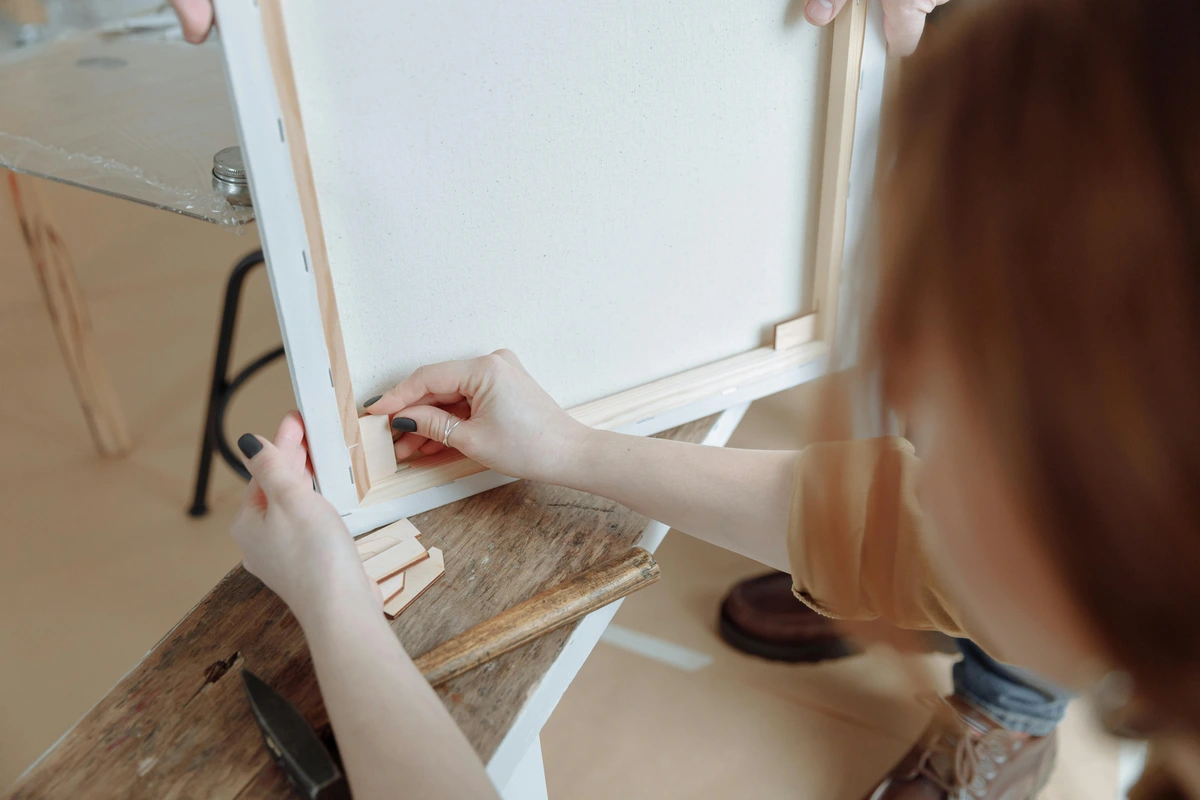
3. Framing Considerations & Adding Your Own Hardware:
- Frame Construction: Is the frame solid wood, metal, or a lighter material like engineered wood (MDF) or particleboard? Heavy oil paintings often have robust wooden frames with internal bracing to prevent warping. Solid wood or metal frames are always preferable for heavy pieces as they offer the best screw retention. Engineered wood frames are generally weaker and may not hold heavy screws or D-rings securely over time. Ensure the frame itself can handle the stress of the hanging hardware. A flimsy frame isn't worth anchoring to a solid wall.
- Backing: For very heavy items, especially mirrors, ensure the backing material (if any) is firmly secured and not just flimsy cardboard. The hardware needs to attach to something substantial, ideally the frame's solid wood, or structural cross-braces – these are internal wooden supports within the frame designed to add rigidity and provide solid points for hardware attachment. Look for them on larger, well-constructed frames.
- Adding Your Own Hardware: If your heavy piece has inadequate or no hanging hardware, you'll need to add it. This typically involves screwing D-rings (opt for heavy-duty, forged steel D-rings with a high WLL, not stamped metal) directly into the sturdy, solid wood of the frame's vertical sides, not into the soft stretcher bars of the canvas. When selecting screws for D-rings, choose a gauge (diameter) and length that are appropriate for the frame material, ensuring sufficient thread engagement (e.g., #6 or #8 screws with coarse threads for wood) but not so long they exit the front. Ensure they are evenly spaced and perfectly aligned. For really large pieces, a French cleat might be the best option, with one half screwed directly into the frame's robust backing using appropriate wood screws.
- Antique or Delicate Frames: For very old, ornate, or fragile frames, avoid drilling directly into them if possible. Instead, consider using frame supports that cradle the bottom of the frame or specialized hanging systems that distribute the weight without putting direct stress on the delicate frame material. Sometimes, a conservator or professional installer is the best choice here.
 credit,
licence
credit,
licence
The Step-by-Step: My Method for a Secure Hang
Now that you know your wall and your art, let's get it up there securely.
1. Locate Your Studs (Seriously, Do It!):
This is non-negotiable for anything truly heavy on a drywall or plaster wall. Use your stud finder. Run it horizontally along the wall where you plan to hang the art. Mark the edges of the stud with your pencil, then find the center. Aim for the center, always. Wood studs are your absolute best friends for maximum weight capacity. If your stud finder seems unreliable (some older models can be finicky, or textured walls can interfere), try tapping along the wall; a solid thud usually indicates a stud. You can also use a small finishing nail to carefully probe in an inconspicuous area (like behind a baseboard) – if it meets strong resistance and produces wood shavings, you've likely found a stud. Alternatively, a strong magnet can sometimes locate the metal screws or nails that secure the drywall to the studs. Remember that studs are typically spaced 16 or 24 inches (approx. 40 or 60 cm) apart.
- No studs? Don't panic, but proceed with extreme caution. This is a critical decision point. If studs aren't an option, those toggle bolts, molly bolts, or heavy-duty drywall anchors come into play. But always, always prefer a stud if you can get one for anything over 25-30 lbs (11-13 kg). If your piece is exceptionally heavy and there are no studs, or your wall seems particularly fragile, it might be time to consider professional installation.
2. Measure and Mark for Perfection:
- Decide on the height. A good general rule of thumb is to have the center of the artwork at eye level (around 57-60 inches or 145-152 cm from the floor), but always adjust for your specific space and furniture. If you're hanging art above the sofa, it might be a bit higher. If you are choosing art for your living room, you may wish to consider the room as a whole before choosing, ensuring balance with other elements. When decorating with art above a fireplace, scale and clearance are key.
- Hold the art against the wall at your desired height. Lightly mark the top center of the frame with a pencil.
- If using a wire: Measure the distance from the top of the frame to the taut wire when it's pulled up by the hanger (imagine it's already on the hook). Subtract this measurement from your top-center frame mark to find where your hook(s) will actually go. This can be a surprisingly large difference! Don't eyeball this; measure precisely.
- If using D-rings or a French cleat: Measure from the top of the frame down to the top edge of the D-ring or the top edge of the wall-mounted part of the French cleat. Mark these exact points on the wall. For D-rings, you'll need two marks, ensuring they are perfectly level using your level. For a French cleat, remember to mark the position where the top edge of the wall-mounted cleat will sit, allowing for the cleat on the art to interlock from above.
- Use your level to ensure your marks are perfectly horizontal, especially if using two points of contact. A crooked heavy painting is a special kind of agony, and notoriously difficult to adjust once installed.
3. Install Your Hardware (The Point of No Return, Almost!):
This is where precision truly pays off, and understanding weight distribution comes into play. Different hardware distributes weight in unique ways – a single hook concentrates it, while a French cleat spreads it horizontally. Always aim to distribute the load as widely and securely as possible, especially for heavier pieces.
- Pilot Holes: For screws into studs or for toggle/molly bolts, always drill a pilot hole. As mentioned, ensure the drill bit is slightly smaller than the screw shank (the smooth part of the screw, not the threads) – specific ratios were discussed in the 'Tools' section. This prevents wood splitting, makes screwing easier, and is crucial for masonry to guide the anchor correctly. For masonry, use your carbide-tipped bit and a hammer drill if available.
- Anchors: If using drywall anchors, follow the manufacturer's instructions carefully. Some self-drill, some require a pre-drilled pilot hole. For self-drilling anchors, do not overtighten as this can strip the drywall threads and compromise the hold. Stop when snug. For toggle or molly bolts, ensure the wings fully deploy behind the wall by gently pulling the screw outwards before tightening fully. Critically, ensure your pilot hole size exactly matches the manufacturer's recommendation to allow the toggle to deploy properly.
- Picture Hooks: For these, angle the nail slightly upwards when hammering it in. It provides more grip and leverage. Tap gently and consistently.
- French Cleats: Mount one half of the cleat securely to the wall (into studs if possible, or with heavy-duty anchors). Use a level obsessively here. Mount the other half to the back of your frame, ensuring it's also perfectly level. Double-check that both bevels are facing the correct opposing directions so they interlock smoothly and the art sits flush against the wall. When mounting the wall cleat, account for the height of the frame cleat so the art hangs at your desired overall height.
Troubleshooting and Pro-Tips I've Learned the Hard Way
Even with the best planning, sometimes things don't go perfectly. Here are some nuggets of wisdom from my own mishaps and successes, designed to save you from uttering expletives at your wall.
- Two Hangers are Better Than One (Often): For wider or heavier pieces, using two hooks/anchors (spaced evenly apart) offers significantly more stability and makes leveling much easier. For anything over, say, 30 inches (76 cm) wide, I almost always go for two points of contact, especially if it's heavy. This distributes the load and prevents tilting, a common culprit for crooked art. This is especially true when creating a perfect gallery wall with multiple heavy pieces.
- Test the Hang: Before letting go completely, gently tug downwards on the bottom of the frame. Does it feel solid? Any wobble, creaking, or signs of stress? Better to find out now than when you're hosting guests and explaining the giant hole. Trust your gut feeling here; if it feels flimsy, it probably is.
- Protect Your Walls (and the Art!): If you have textured walls, or even smooth ones, the back of a heavy frame can scratch it over time. I've used small felt pads or even sticky bumper dots on the bottom corners of the frame. This prevents scuffs, keeps the art from tilting too much (allowing it to sit flush), and allows for better airflow, which can be crucial for preventing moisture buildup behind the canvas, especially in humid environments. For particularly rough textures, consider using small, rigid plastic spacers or even cardboard shims behind the felt pads to bridge uneven surfaces and ensure even contact.
- Quality of Components Matters Immensely: I cannot stress this enough. A cheap wire or flimsy D-ring can spell disaster. Invest in high-quality, weight-rated hardware from reputable brands. It's a small expense compared to the value of your art and the cost of repairs. This is where your small 'insurance policy' really pays off – literal insurance policies often require proper installation for claims!
- When in Doubt, Ask a Pro: Seriously. If you're dealing with exceptionally valuable or irreplaceable art, an antique plaster wall you're terrified of damaging, or just feel completely out of your depth, a professional art installer is worth every penny. Think of it as an insurance policy for your peace of mind and your investment. They have specialized tools and experience that can handle virtually any situation, including complex rigging for very large or uniquely shaped pieces, or even ceiling installations.
- Consider What's Behind the Wall (and what not to hit!): Be mindful of electrical wires, plumbing pipes, or HVAC ducts. A good stud finder will detect most of these, but not all. If you have an older home, or are drilling near outlets or switches, proceed with extreme caution. Drilling shallow pilot holes (just enough to break the surface) first can sometimes reveal an obstacle. As mentioned, a non-contact voltage tester is your friend here. If in doubt, drill very shallow pilot holes, or even better, consult a professional who can confirm what's behind the wall. The last thing you want is a flooded bathroom or a blown circuit breaker.
- Future-Proofing Your Hang: If you anticipate moving the art, or redecorating frequently, consider hanging systems that minimize wall damage. Picture rail systems are excellent for this. For permanent installations, if you've used heavy-duty anchors, note their location (maybe take a picture!) for future reference, so you don't drill into old anchors.
- Hanging Non-Flat Art or Odd Shapes: For sculptures, tapestries, or unusually deep frames, you'll need to adapt. Sculptures may require pedestals or specialized brackets. Tapestries can be hung from battens or rods. Deep frames might necessitate longer screws or specific standoff mounts to ensure stability and proper projection from the wall. This is where those specialty mounts really shine.
Frequently Asked Questions About Hanging Heavy Art
Q1: How much weight can a drywall anchor hold?
A1: It really varies! Standard plastic anchors might only hold 10-20 lbs (4.5-9 kg), while self-drilling metal anchors can handle 25-50 lbs (11-23 kg). Toggle bolts and molly bolts are the superstars for hollow walls, often supporting 50-100+ lbs (23-45+ kg) or even more depending on their size and design. It's important to distinguish between an anchor's shear strength (resistance to a force pulling it downwards, parallel to the wall, which is important for wide or projecting items) and its pull-out strength (resistance to a force pulling it straight out from the wall). Toggle bolts typically have excellent pull-out strength. Always check the manufacturer's stated Working Load Limit (WLL), and when in doubt, always err on the side of caution and choose hardware rated significantly higher than your art's actual weight. If it's a very heavy piece, trying to hit a stud is always the safest bet, as a screw properly sunk into a wood stud can hold hundreds of pounds.
Q2: What's the best way to hang a heavy mirror without studs?
A2: If you absolutely can't find a stud, toggle bolts or molly bolts are your strongest allies. They expand behind the drywall, creating an incredibly secure hold. For wider mirrors, always use two, spaced evenly, to distribute the weight and prevent tilting. Z-bar hangers are also an excellent option for very wide and heavy mirrors without studs, as they distribute weight across a larger area using multiple toggle bolts or heavy-duty drywall anchors. Self-drilling drywall anchors can work for moderately heavy mirrors (up to 50 lbs / 23 kg), but toggle bolts or Z-bars offer superior strength for truly heavy items. Crucially, also ensure the hardware on the back of the mirror itself (D-rings, sturdy wire) is robust enough for the weight. Never rely on the mirror's frame alone if it's not reinforced.
Q3: Can I hang a heavy painting on plaster walls?
A3: Yes, but with care and the right hardware! Plaster can be brittle and prone to cracking. Avoid hammering directly into it, especially without a pilot hole. Instead, drill a small pilot hole first – even for picture hooks. For heavy items on plaster, toggle bolts (which use a large backing plate for support) or specialized plaster anchors (like self-drilling plaster anchors or expansion anchors designed to grip without crumbling the plaster) are your best bet. You can also try to locate studs behind the plaster, but this can be trickier than with drywall due to the density. Slow and steady wins the race here; take your time to avoid damage.
Q4: How do I know if my wall can support the weight of my painting?
A4: The general rule is: studs are king. A properly installed #8 or #10 wood screw into the center of a sound wood stud can hold hundreds of pounds (well over 100 kg) – far more than most single pieces of art. The actual capacity of a stud depends on the wood species and condition, but they are consistently the strongest option. If you're relying on drywall anchors, refer to their specific Working Load Limit (WLL) and never exceed it. For added safety, apply a safety factor by choosing hardware with a WLL that's 4-5 times the actual weight of your art. If you're hanging something exceptionally heavy (over 100 lbs / 45 kg), especially on drywall without studs, consider using a French cleat mounted into multiple points (preferably studs) or even consulting a structural engineer. Your wall type (drywall, plaster, brick, concrete) is the primary factor, and always choose hardware rated well above your art's actual weight. When in doubt, always go for a higher weight rating.
Q5: What's a French Cleat and why is it good for heavy art?
A5: A French cleat is a two-part hanging system that's incredibly secure and ideal for very heavy or large pieces. One strip of wood or metal, with a 45-degree bevel, is securely attached to the wall. A corresponding strip is attached to the back of the artwork, with its bevel facing the opposite direction. When the artwork is lifted and lowered, the two pieces interlock, creating a strong, continuous hold that distributes the weight evenly across a wider area of the wall. This prevents tilting, allows the art to sit flush against the wall, and makes it virtually impossible for the art to be accidentally knocked off. It’s a bit more involved to install due to the precision required (especially ensuring the 45-degree angle is consistent on both parts), but for peace of mind with your most substantial pieces, it's totally worth it. They are often used in museums and galleries for their superior stability and load distribution. Metal French cleats are available for maximum weight capacity.
Q6: What if I accidentally drill into an electrical wire or pipe?
A6: This is the nightmare scenario we all want to avoid! A good stud finder with multi-sensing capabilities can detect live electrical wires and metal pipes, so always scan the area thoroughly before drilling. Additionally, use a non-contact voltage tester on the wall surface to detect active electrical fields. If you do hit something unexpected, stop drilling immediately. If it's electrical, turn off the power at the breaker box and call an electrician. If it's a pipe, turn off the water supply and call a plumber. Never try to fix these issues yourself unless you are a qualified professional. Prevention through careful stud finding, voltage testing, and shallow pilot holes is key here.
Q7: How do I hang art on a wall with very old or brittle plaster?
A7: Hanging on old or brittle plaster requires extra care and often specialized hardware. First, try to locate studs behind the plaster; these are always the strongest option. If no studs are found, toggle bolts or molly bolts are highly recommended because their large wings distribute the load over a wider area behind the plaster, reducing stress on any single point. Drill pilot holes slowly and precisely, using a sharp, small drill bit, and increase the size gradually to the manufacturer's recommendation for the anchor. Some prefer to use a small piece of painter's tape over the drill site to help prevent crumbling. Avoid hammering anything directly into brittle plaster. If the plaster is actively crumbling, it's best to consult a professional or consider alternative hanging methods like a picture rail system if your home allows.
Q8: What is the difference between a picture hook and a mirror bracket, and when should I use each?
A8: The primary difference lies in their design and load-bearing capacity. A picture hook (typically with one or two angled nails) is designed for lighter to medium-heavy items, where the weight is pulled downwards and slightly outwards. They're good for framed pictures and canvases up to about 30 lbs, but their reliance on small nails makes them less secure for very heavy or valuable pieces. A mirror bracket (or specific heavy-duty hangers like Z-bar hangers or French cleats) is designed for heavier, often wider items like large mirrors, and typically involves screws into studs or robust anchors. These are engineered to distribute significant weight more broadly across the wall, often with interlocking systems that prevent tilting and provide a much stronger, more stable attachment. Always use mirror brackets or heavy-duty hangers for large, heavy mirrors or any art over 30-40 lbs, as standard picture hooks are simply not sufficient.
My Final Thoughts: Displaying Your Treasures with Confidence
There's something deeply satisfying about stepping back and seeing a beautifully, securely hung piece of art. It's more than just a decoration; it's a statement, a focal point, and a reflection of your own aesthetic journey. My path through how to decorate a house has truly taught me that the details, especially the practical ones, really do matter. And while I mostly create colorful, abstract pieces that bring joy and light, I also deeply appreciate the practicalities of making them shine, safely and securely, in your home. The confidence that comes with knowing your cherished artwork is firmly in place, not just looking good but safe, is immeasurable. It allows you to truly relax and enjoy your space, knowing you've mastered this art-hanging rite of passage.
So, armed with your stud finder, the right hardware, and this guide, go forth and adorn your walls with confidence. You've got this. And if you're looking for that next perfect piece to proudly display – something vibrant and unique to hang in the perfect spot you just prepared – feel free to explore my collection here. My art is designed to bring light and joy, and it deserves a secure and prominent place in your home.


