
Conquer Curved Walls: The Ultimate Guide to Hanging Art Seamlessly
Transform convex & concave walls into stunning art displays. Explore professional systems, clever anchors, creative alternatives, and expert insights for art that truly embraces your home's unique curves.
Conquer the Curve: How to Hang Art on Any Curved Wall: The Ultimate Guide to Dynamic Displays
I remember a client's grand hallway, all sweeping architectural gestures and a magnificent, subtly convex curved wall. It just begged for art, yet it seemed to defy every conventional hanging method. My client, with a sigh of exasperation, looked at me and asked, "What on earth do I do with this?" A standard flat frame on a gently bowing convex surface or an elegantly recessed concave wall simply doesn't sit right. It gaps, it wobbles, it looks precarious, and honestly, it can totally throw off the sophisticated vibe you're aiming for. Trust me, I've seen it happen more times than I care to admit, and it's a frustration I know well.
But here's the secret I've learned from years of wrestling with these beautiful beasts: a curved wall isn't a limitation at all; it's a unique opportunity to create a truly dynamic, memorable, and utterly bespoke art display. When I say "bespoke," I mean a display that's custom-tailored to that unique space, making the art feel like an organic extension of the architecture. Forget trying to force a flat object onto a round peg (believe me, I've tried, and it seldom ends well). We're going to work with the curve, not against it. From professional-grade gallery systems to clever, DIY-friendly tricks, and creative alternatives, this ultimate guide will equip you with the knowledge and techniques to transform that architectural challenge into your most admired art display, transforming your wall into a living gallery. We'll explore methods that will make your art feel at home on any curve.
Understanding the Architectural Dance: Convex vs. Concave Walls
Before we dive into the how-to, let's quickly clarify the two main types of curves you'll encounter, because understanding their distinct personalities is key to choosing the right approach. It's like knowing whether you're dealing with a gentle river bend or a dramatic mountain pass, each requiring a different strategy. I learned this distinction early in my career; a client's elegant concave dining room wall required a completely different approach than the bold convex feature wall in their entryway.
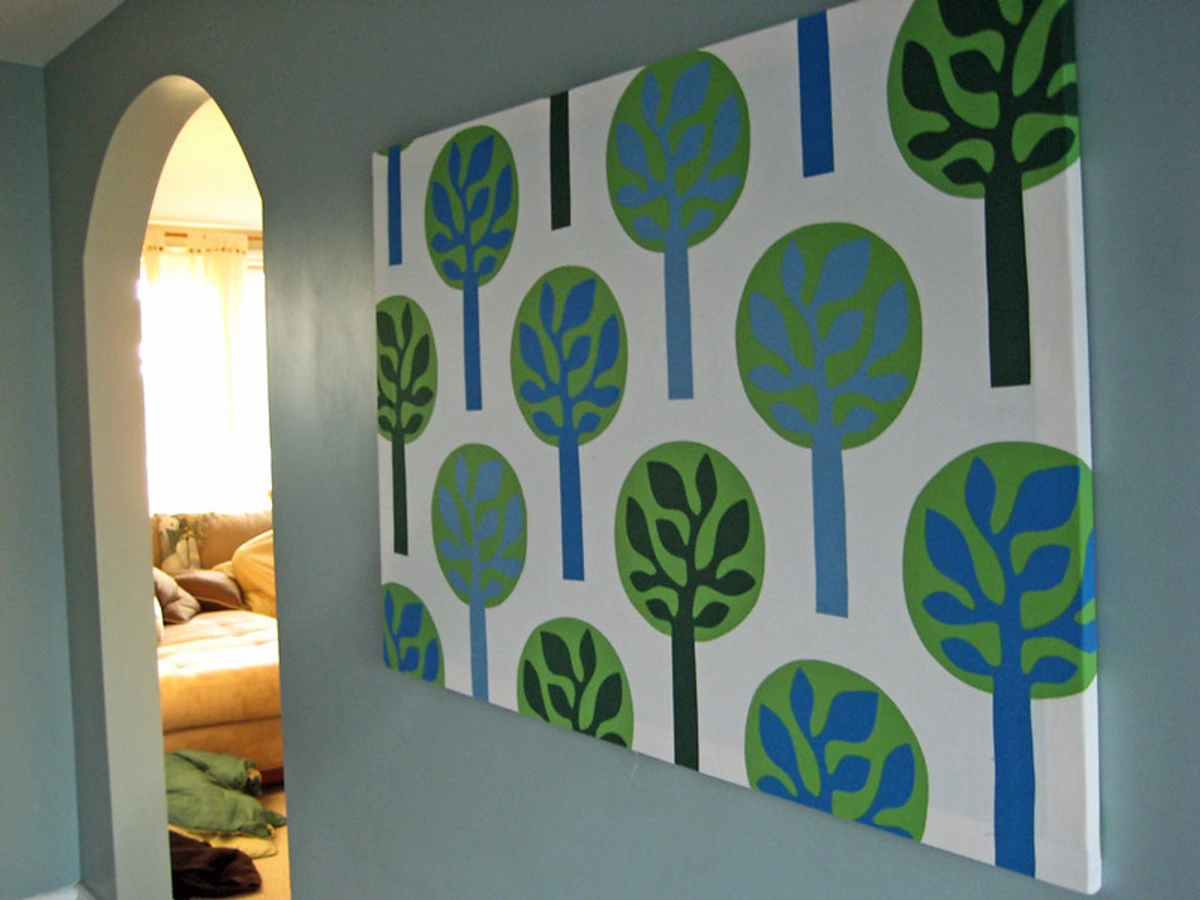
- Convex Curve: Imagine the exterior of a barrel or a large, perfectly round balloon. This wall bulges outwards into the room. When hanging art here, the edges of a flat frame will naturally pull away from the wall. Historically, architects often used frescoes or murals directly painted onto these surfaces to embrace the curve, rather than fight it with framed art. Think of the grand domes of Romanesque cathedrals, often adorned with integrated paintings or reliefs designed to complement the outward swell, or the imposing exterior walls of ancient amphitheaters, which often featured sculptural elements or friezes that wrapped around their convex forms. Early Renaissance architects also sometimes incorporated shallow convex walls to create a sense of expansive grandeur.
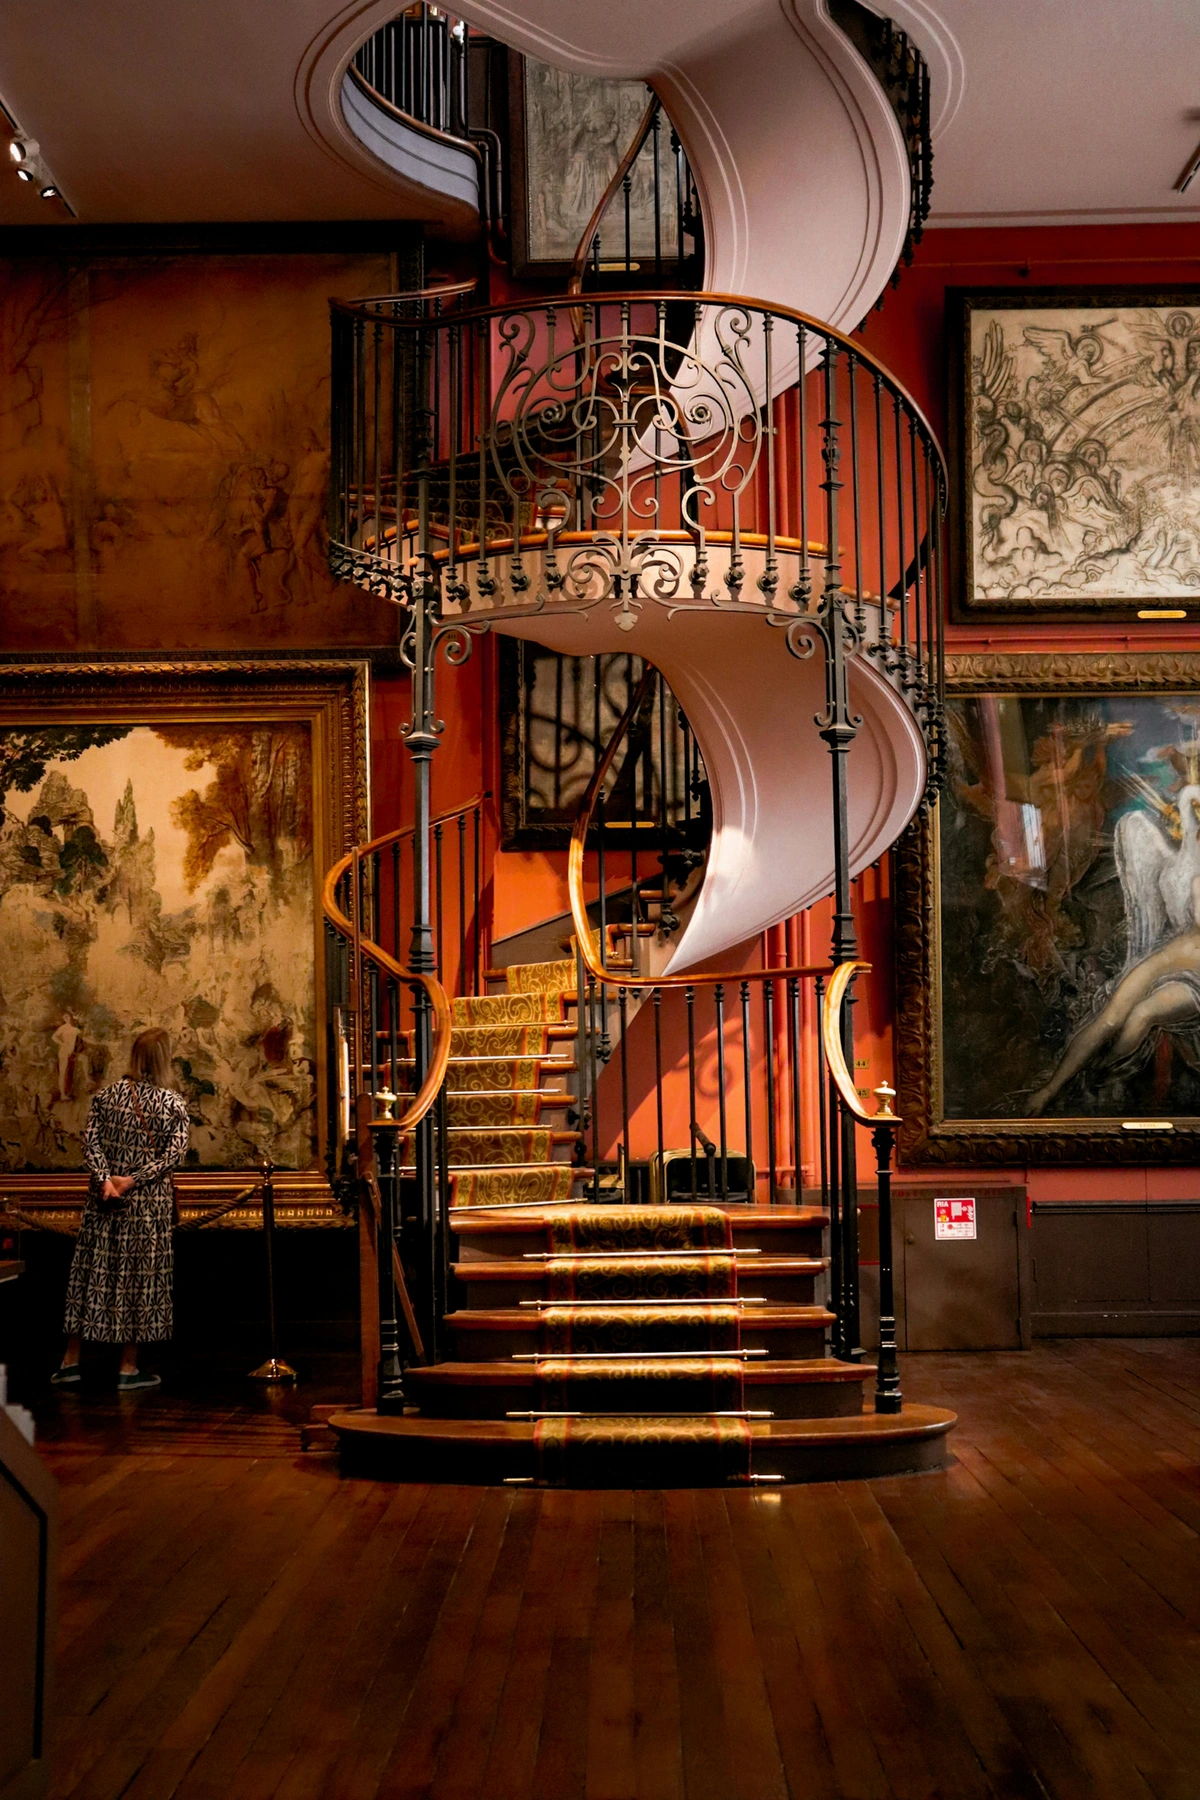
- Concave Curve: Picture the interior of a bowl or the graceful inside of a cave. This wall recedes inwards. Here, a flat frame will sit proud in the middle, leaving gaps at the top and bottom. Think of how ancient Roman or Byzantine mosaics beautifully lined the interior domes of their structures, perfectly conforming to the inward sweep. Baroque architecture, too, often employed dramatic concave walls to create a sense of movement and enclosure, frequently integrating sculptural elements or painted ceilings to draw the eye into the space. The apse of many cathedrals, the semi-circular or polygonal recess at the east end, is a prime example of a concave architectural feature designed to draw focus. The elegant curves of many Art Nouveau interiors also utilized concave forms to create a soft, flowing aesthetic.
Recognizing which type of curve you have is the first, crucial step toward mastering its art-hanging potential.
The Geometry of Curves: Why Flat Art Rebels
The fundamental problem is simple geometry, a concept I usually only revisit when helping my kids with their math homework (or, more likely, looking up the answers online). Imagine trying to balance your perfectly flat smartphone on the outside of a balloon; it will only ever truly touch at a single point, creating those annoying gaps. That's essentially what happens with a flat, rigid object, like most picture frames or canvases, on a curved surface.
Whether it's a convex curve (bowing outwards, like the exterior of a barrel) or a concave curve (receding inwards, like the interior of a bowl), this leaves those frustrating gaps at the edges, creating an uneven look that just screams "DIY gone wrong." This isn't just an aesthetic issue; those gaps mean the weight isn't distributed evenly, putting undue shear stress (a force that pushes one part of an object in one direction and another part in the opposite direction) and torque (the rotational force that tries to twist or turn the frame away from the wall) on the frame, the hanging wire, and the wall hook. Think of it like trying to loosen a stubborn bolt with a wrench: a longer wrench (more torque) makes it easier. On a curved wall, a single hanging point on a flat frame creates a similar leveraging effect, acting like a fulcrum that constantly pulls the center of the art away from the wall. The further the art's center of gravity is from its single hanging point on the wall, the more leverage it has to pull away, exacerbating any wobble or perceived crookedness. This uneven pressure can lead to frame warping, potential damage to delicate canvases, and in the worst cases, a safety hazard if the art decides to make an unscheduled descent. Trust me, I've seen art take a plunge, and it's rarely a graceful landing.
Our ultimate goal, then, is to discover and implement curved wall art installation methods that either gracefully conform to the wall's curvature or cleverly bypass the need for the art to sit perfectly flush against the wall. It's about smart solutions, not brute force, and I'll show you exactly how.
Your Essential Toolkit for Taming the Curve: Preparation is Key for a Flawless Install
Before we dive into the fun part, let's gather our supplies. Believe me when I say that having everything ready from the get-go makes the job ten times smoother. My past self, who once had to pause mid-installation to search for a specific drill bit (and then found it under a pile of paint rags), would thank me for this advice. On a curved wall, where precision is paramount, skipping proper preparation isn't just an inconvenience; it can lead to frustrating misalignments and unstable displays. This is where we lay the foundation for a truly stunning display.
Before You Start Checklist:
- Know your art: Weight, dimensions, and type of frame/canvas. The specific type of curve (tight vs. gentle) will also influence how much a flat frame will gap, potentially guiding your choice of hanging method and hardware flexibility.
- Know your wall: Is it drywall, plaster, brick, concrete, or something else? Is it in good condition? (This will determine anchors and any necessary pre-repairs). Any signs of structural damage like cracks or water stains? Get it professionally assessed before hanging anything.
- Visualize: Hold up your art (or a template) to get a feel for placement and proportion on the curve. This is crucial for how to arrange pictures on a wall.
First, consider the art itself. Know its weight and dimensions. On a curved wall, uneven weight distribution can be exacerbated, leading to more pronounced gapping or instability. So, choosing the right hardware for the art's heft is doubly crucial, especially for hanging a heavy painting. Then, assemble your essential tools:
- Flexible Measuring Tape: Think tailor's tape, made of cloth or vinyl, not a rigid builder's tape. This trusty tape measure has become my secret weapon for taming those curves – I swear it deserves its own spot on the wall! Its pliability allows it to conform perfectly to the wall's arc, giving you accurate measurements for layout and rail bending. To measure a curve, gently press the tape along the arc at several points, ensuring it lies flat and doesn't lift. Sum these small segments for a precise measurement.
- Pencil: For marking those crucial spots.
- Level: A good old bubble level works, but a laser level can be a game-changer for ensuring your points are perfectly aligned along a long, sweeping curve. It casts a perfectly straight line, letting you gauge true horizontal across an undulating surface. You can learn more about precise placement in my guide on how to arrange pictures on a wall.
- Stud Finder: Essential for locating the strongest structural points within your wall, especially if you're dealing with a heavier piece. Skipping this can lead to disaster, speaking from experience! Some older homes with lath and plaster walls might require a specialized stud finder or careful tapping to locate studs. These walls are notorious for being tricky, as the plaster can be brittle and the lath provides minimal structural support outside of a stud. Always wear eye protection when drilling.
- Wall Anchors: Never, ever skip these! They are absolutely crucial for a secure hold, especially on hollow walls like drywall. For heavier pieces on drywall, consider toggle bolts or molly bolts; these work by expanding or flipping open behind the drywall, distributing the weight over a larger surface area and making them significantly less prone to pulling out. Toggle bolts are generally suitable for up to 20-50 lbs (9-23 kg) depending on drywall thickness, while molly bolts can often handle a bit more, sometimes up to 100 lbs (45 kg) for heavier duty versions. This is especially important on a curve where stress points can be more concentrated. For solid walls (brick, concrete, or even thick plaster), use appropriate masonry anchors that expand into the drilled hole. These ensure the weight is distributed deep within the wall and prevent your hook from pulling out. For delicate plaster and lath walls, finding a stud is ideal; otherwise, specialized plaster anchors or toggle bolts are often the safest bet, but always proceed with caution and perhaps a small test hole in an inconspicuous area. Always ensure your chosen anchors are rated for at least double the weight of your artwork – it’s a lesson learned the hard way!
- Painter's Tape: Useful for marking lines, creating temporary templates, or securing small parts without damaging the wall, especially on delicate curved surfaces or newly painted walls. (I've learned the hard way that regular tape is not a substitute).
- Small Ruler or Straight Edge: Invaluable for ensuring components like D-rings on the back of a frame are perfectly level before installation.
- The specific hanging hardware for the method you choose (more on this below). This might include D-rings, picture wire, or specialized rail clips.

Method 1: The Flexible Gallery Rail System (Professional & Versatile)
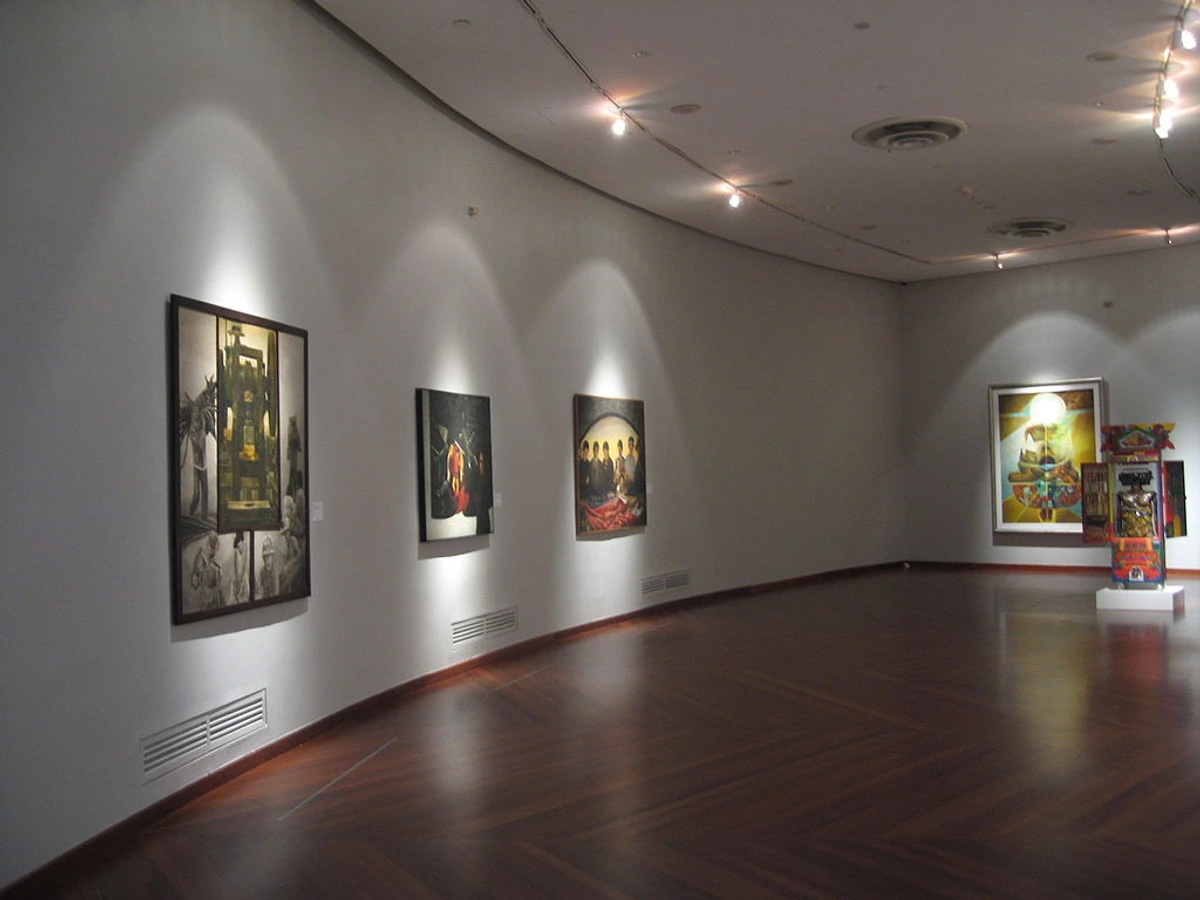
What if your art could simply float, making the wall's curve disappear? This is my absolute go-to solution, especially when I'm aiming for that sleek, museum-quality gallery wall effect, or working with clients who love to frequently rotate their art collection. It's an investment, yes, but the result is impeccably clean, incredibly versatile, and truly stunning. It's also fantastic for displaying art in a rental as it minimizes wall damage, leaving only small, easily patched holes near the ceiling.
Best for: Multiple pieces, creating a dynamic gallery wall, renters (minimal wall damage), high-traffic areas like hallways, and those who enjoy changing their art frequently.
How it works: A flexible metal track (often aluminum or steel, specifically designed to be bent without kinking) is mounted to the wall near the ceiling, meticulously following the curve. From this discreet track, transparent nylon cords or slender steel rods hang down. Adjustable hooks then attach to these cords or rods, cradling your artwork. The genius here is that the art naturally floats a small distance off the wall, rendering the curve a non-issue entirely. It's a beautifully engineered solution for hanging artwork on convex walls or concave walls, making it ideal for creating a flowing display that echoes the architecture of a curved hallway wall. Many gallery hooks also feature locking mechanisms, adding an extra layer of security, particularly valuable in high-traffic areas or homes with curious children.
Pros & Cons:
- Pros: Highly versatile, minimal wall damage, professional aesthetic, easy to reconfigure art, excellent for heavy pieces, ideal for high ceilings or changing art frequently.
- Cons: Higher initial cost, installation requires precision, track bending can be tricky without proper tools or a steady hand (sometimes it feels like I need a degree in metal origami for a perfect bend).
Step-by-Step Installation:
- Choose Your System: Research companies like STAS or Newly; they specialize in flexible rail systems purpose-built for curved walls. Look for systems known for their durable materials and engineered designs that facilitate smooth bending. Consider the different components available: clear nylon cords for a nearly invisible hang, or more robust steel cables for heavier pieces and an industrial aesthetic. Ensure you order a track long enough to cover your desired display area.
- Measure and Mark: Use your flexible measuring tape to precisely determine the length of the curve. Next, decide on the ideal height for your track (typically 1-2 inches below the ceiling line for a clean look). With your pencil, level, and perhaps painter's tape, mark your drill points along this line, meticulously following the manufacturer's instructions for clip spacing – this ensures optimal weight distribution. A laser level is invaluable here for ensuring a consistent horizontal line across the curve.
- Install the Clips: Drill holes at your marked points. Insert the appropriate wall anchors (toggle bolts are often a good choice here for drywall, or masonry anchors for solid walls). Then, screw in the mounting clips that will securely hold the rail.
- Bend the Rail: This step is often easier with an extra pair of hands. Gently, but firmly, bend the flexible rail to perfectly match your wall's curve. Many manufacturers offer specialized bending tools or recommend warming the rail slightly (always check their guidelines!) for easier manipulation. Be cautious not to over-warm, as this could cause discoloration or damage, and never force the bend too sharply, as it will kink, creating an unsightly and irreversible crease. Online forums and YouTube tutorials specific to your chosen rail system can provide excellent visual demonstrations of bending techniques. I've personally learned that patience and a steady hand (and sometimes a prayer or two) are key here.
- Attach the Rail: Once the rail precisely mirrors the shape, firmly click it into the pre-installed mounting clips. Make sure it's snug, secure, and shows no signs of shifting or wobbling.
- Hang Your Art: Now for the satisfying part! Insert the transparent cords or slender rods into the track. Slide the adjustable hooks (there are often different types for varying weights and security, some with locking mechanisms) onto the cords, and then, with careful precision, hang your chosen pieces. The beauty of this system is the effortless adjustability: you can easily tweak both the vertical height and horizontal position by sliding the cords along the track and adjusting the hooks on the cords. For more inspiration on creating your display, check out my guide on how to hang a perfect gallery wall.
Maintenance: Periodically (e.g., every six months or before hanging a particularly valuable piece) check that the cords are not fraying, hooks are secure, and mounting clips remain tight, especially with frequent art rotation or in high-traffic areas. This is especially important for delicate or older wall materials, where repeated stress might cause minor deterioration over time.

Method 2: The Two-Point Anchor (Stability for Single Pieces)
Ever wrestled with a single frame that just wouldn't sit still? For a single, substantial piece of art – think a large canvas or a well-framed print – the two-point anchor method is a revelation. It's how you achieve a very stable, surprisingly flush look without the infuriating rocking or gapping that a single hanging point often creates. I've used this many times to save a client's favorite piece from looking perpetually off-kilter, making it a fantastic solution for hanging pictures on a bowed wall. It's an elegant solution that embraces simple mechanics.

Best for: Single, medium-to-large canvases or framed pieces where you desire maximum stability and a significantly reduced gap against the curve.
How it works: Instead of the typical single wire that pulls the center of the art away from the wall (acting as a fulcrum), this technique employs two D-rings (small metal loops) attached directly to the back of your frame, and two corresponding hooks on the wall. This creates two distinct, secure points of contact that effectively pull the top corners of the frame into the wall's curve, minimizing the gap and preventing any unwanted movement. It works by providing more points of mechanical advantage, distributing the tension and allowing the frame to be gently coaxed into the curve, rather than resting awkwardly on a single, central point. It's a simple change with a dramatic impact on stability and how integrated the art feels.
Step-by-Step Installation:
- Prep Your Frame: This is where precision pays off. Attach two robust D-rings to the back of your frame. Position them roughly a quarter of the way down from the top edge on each side. This placement is optimal for leveraging the wall's curvature to gently pull the frame inwards, minimizing the gap, as it creates a wider, more stable base of support than a single central point. Crucially, use strong screws (make sure they aren't too long for your frame depth and attach them to sturdy frame elements like internal stretcher bars or corner braces for canvases, or the solid wood of a well-constructed frame!). Always pre-drill pilot holes to avoid splitting the wood, especially in delicate or older frames. Ensure the D-rings are perfectly level with each other. A small level or straight edge placed across the two D-rings before screwing them in is a must. If using picture wire with D-rings, ensure the wire is rated for at least double the weight of your artwork for extra safety. For very heavy pieces, a specialized wire tensioner can help ensure consistent, even pull from both D-rings.
- Measure the Distance: Carefully measure the exact horizontal distance between the centers of the two D-rings.
- Mark the Wall: Hold the artwork up to the wall in its desired final position. Have a helper assist you to ensure it's visually level and centered. Make a small, faint pencil mark at the top center of the frame's intended location.
- Calculate Hook Positions: From your center mark, measure out half the distance you measured between the D-rings to the left and mark a new point. Repeat this to the right. These are your two precise hook positions. Now, use your level to confirm these two points are at the exact same height. A laser level spanning between the two marked points, or a taut string held between them, can ensure perfect alignment. This step is critical for a level hang – a millimeter off here can mean a noticeable tilt there. Trust me, I've learned that particular lesson more times than I care to admit.
- Install Hooks: Drill holes and insert your chosen wall anchors (again, toggle bolts for drywall or masonry anchors for solid walls are highly recommended for substantial pieces, especially those approaching 50 lbs / 23 kg). Then, screw in your sturdy picture hooks, ensuring they are firmly anchored and pointing slightly upwards. This upward angle creates a more secure cradle for the D-rings, preventing them from easily slipping off and adding crucial security against accidental bumps.
- Hang the Piece: With extreme care, align the D-rings on the back of your artwork directly onto the wall hooks. The frame will now be pulled tight against the wall at these two points, significantly reducing any unsightly gap and making the piece feel wonderfully stable. Ah, the satisfaction!
Beyond the Frame: Creative Alternatives to Traditional Hanging
Sometimes, the best solution isn't to force a traditional frame onto a curve, but to rethink the art itself. This is where you can unleash your creativity and truly embrace the architectural statement of the wall. I always tell my clients that challenging spaces often lead to the most inventive and personal displays. These methods are excellent for DIY art hanging on curved walls, and are often ideal for decorating your home or even a large wall where a standard approach falls short.
Embracing Flexibility:
- Textile & Fiber Art: Macrame hangings, elaborate tapestries, beautiful quilts, or woven wall hangings are naturally flexible. They will gracefully drape and conform to a curved surface, adding incredible softness, texture, and often a bohemian or eclectic vibe to the room. A shaggy, rug-like tapestry might soften a sharp curve, while a smooth, silk hanging could highlight its elegance. They are frequently lightweight and can often be hung from a single, well-anchored hook (like strong command hooks for lighter pieces, though caution is advised on curves), or for larger pieces, a sturdy curtain rod (inserted into a rod pocket or hung from small, evenly spaced S-hooks or curtain rod brackets) can provide even distribution and a tailored look. The key is to let their inherent pliability work with the wall, not against it. Consider how a textile piece with flowing lines or organic patterns can visually enhance the natural sweep of the wall, perhaps mimicking the movement of water or wind.
- Wall Decals or Murals: For a truly integrated, seamless look, consider high-quality vinyl wall decals or a bespoke painted mural. These conform perfectly to the wall's shape because they become part of the surface itself. Opt for reputable brands for decals to ensure good adhesion and easy removal, and always ensure your wall is clean, dry, and properly primed for optimal adhesion – especially on a curved surface where any imperfections can be magnified. Consider professional artists for murals to avoid a "DIY gone wrong" look on such a prominent feature. When designing for a curve, consider motifs that enhance its flow, like flowing water, winding vines, or a sweeping celestial scene. Geometric patterns can also be strategically placed to accentuate or playfully break the curve, creating dynamic visual interest and a sense of depth. You could even commission an artist for a custom mural that takes the wall's unique geometry into account, or consider digital projection for a temporary, dynamic art display (more on this in the FAQ).
Strategic Groupings:
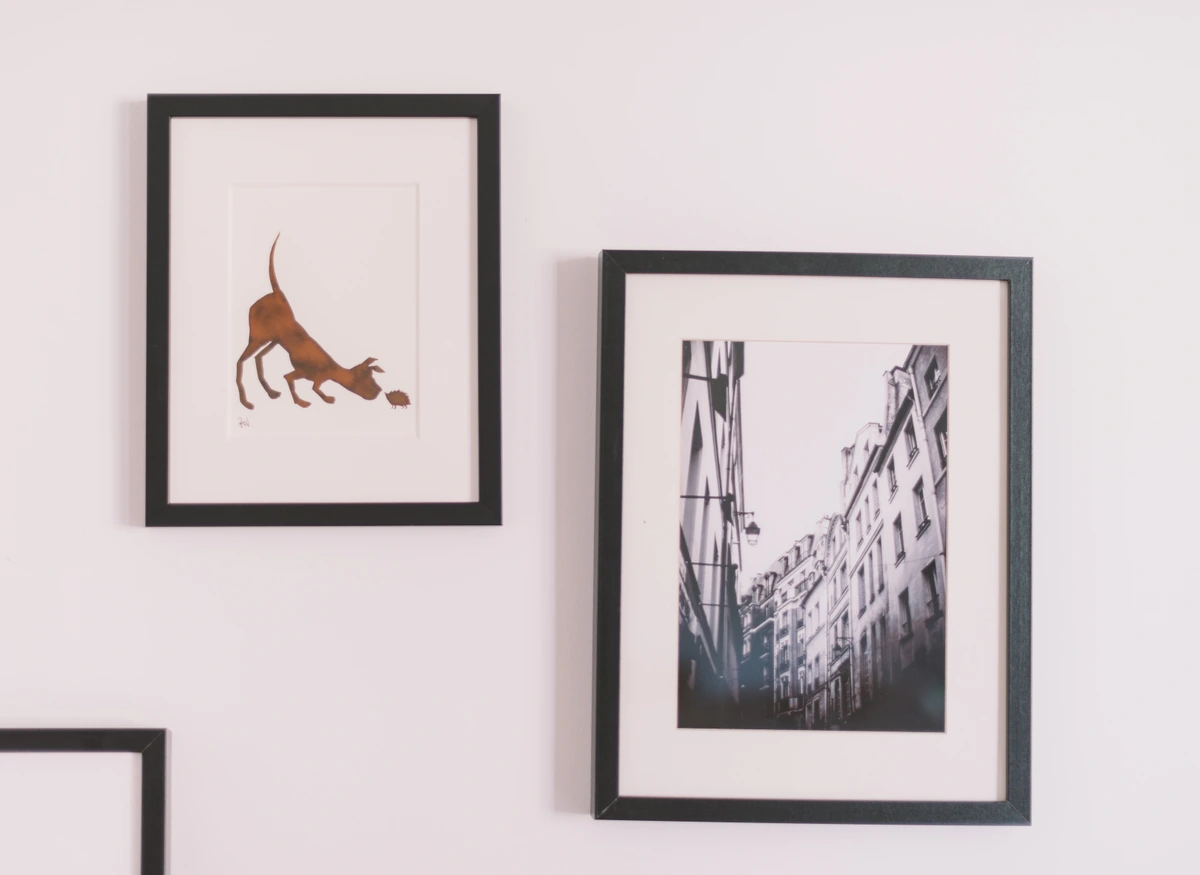
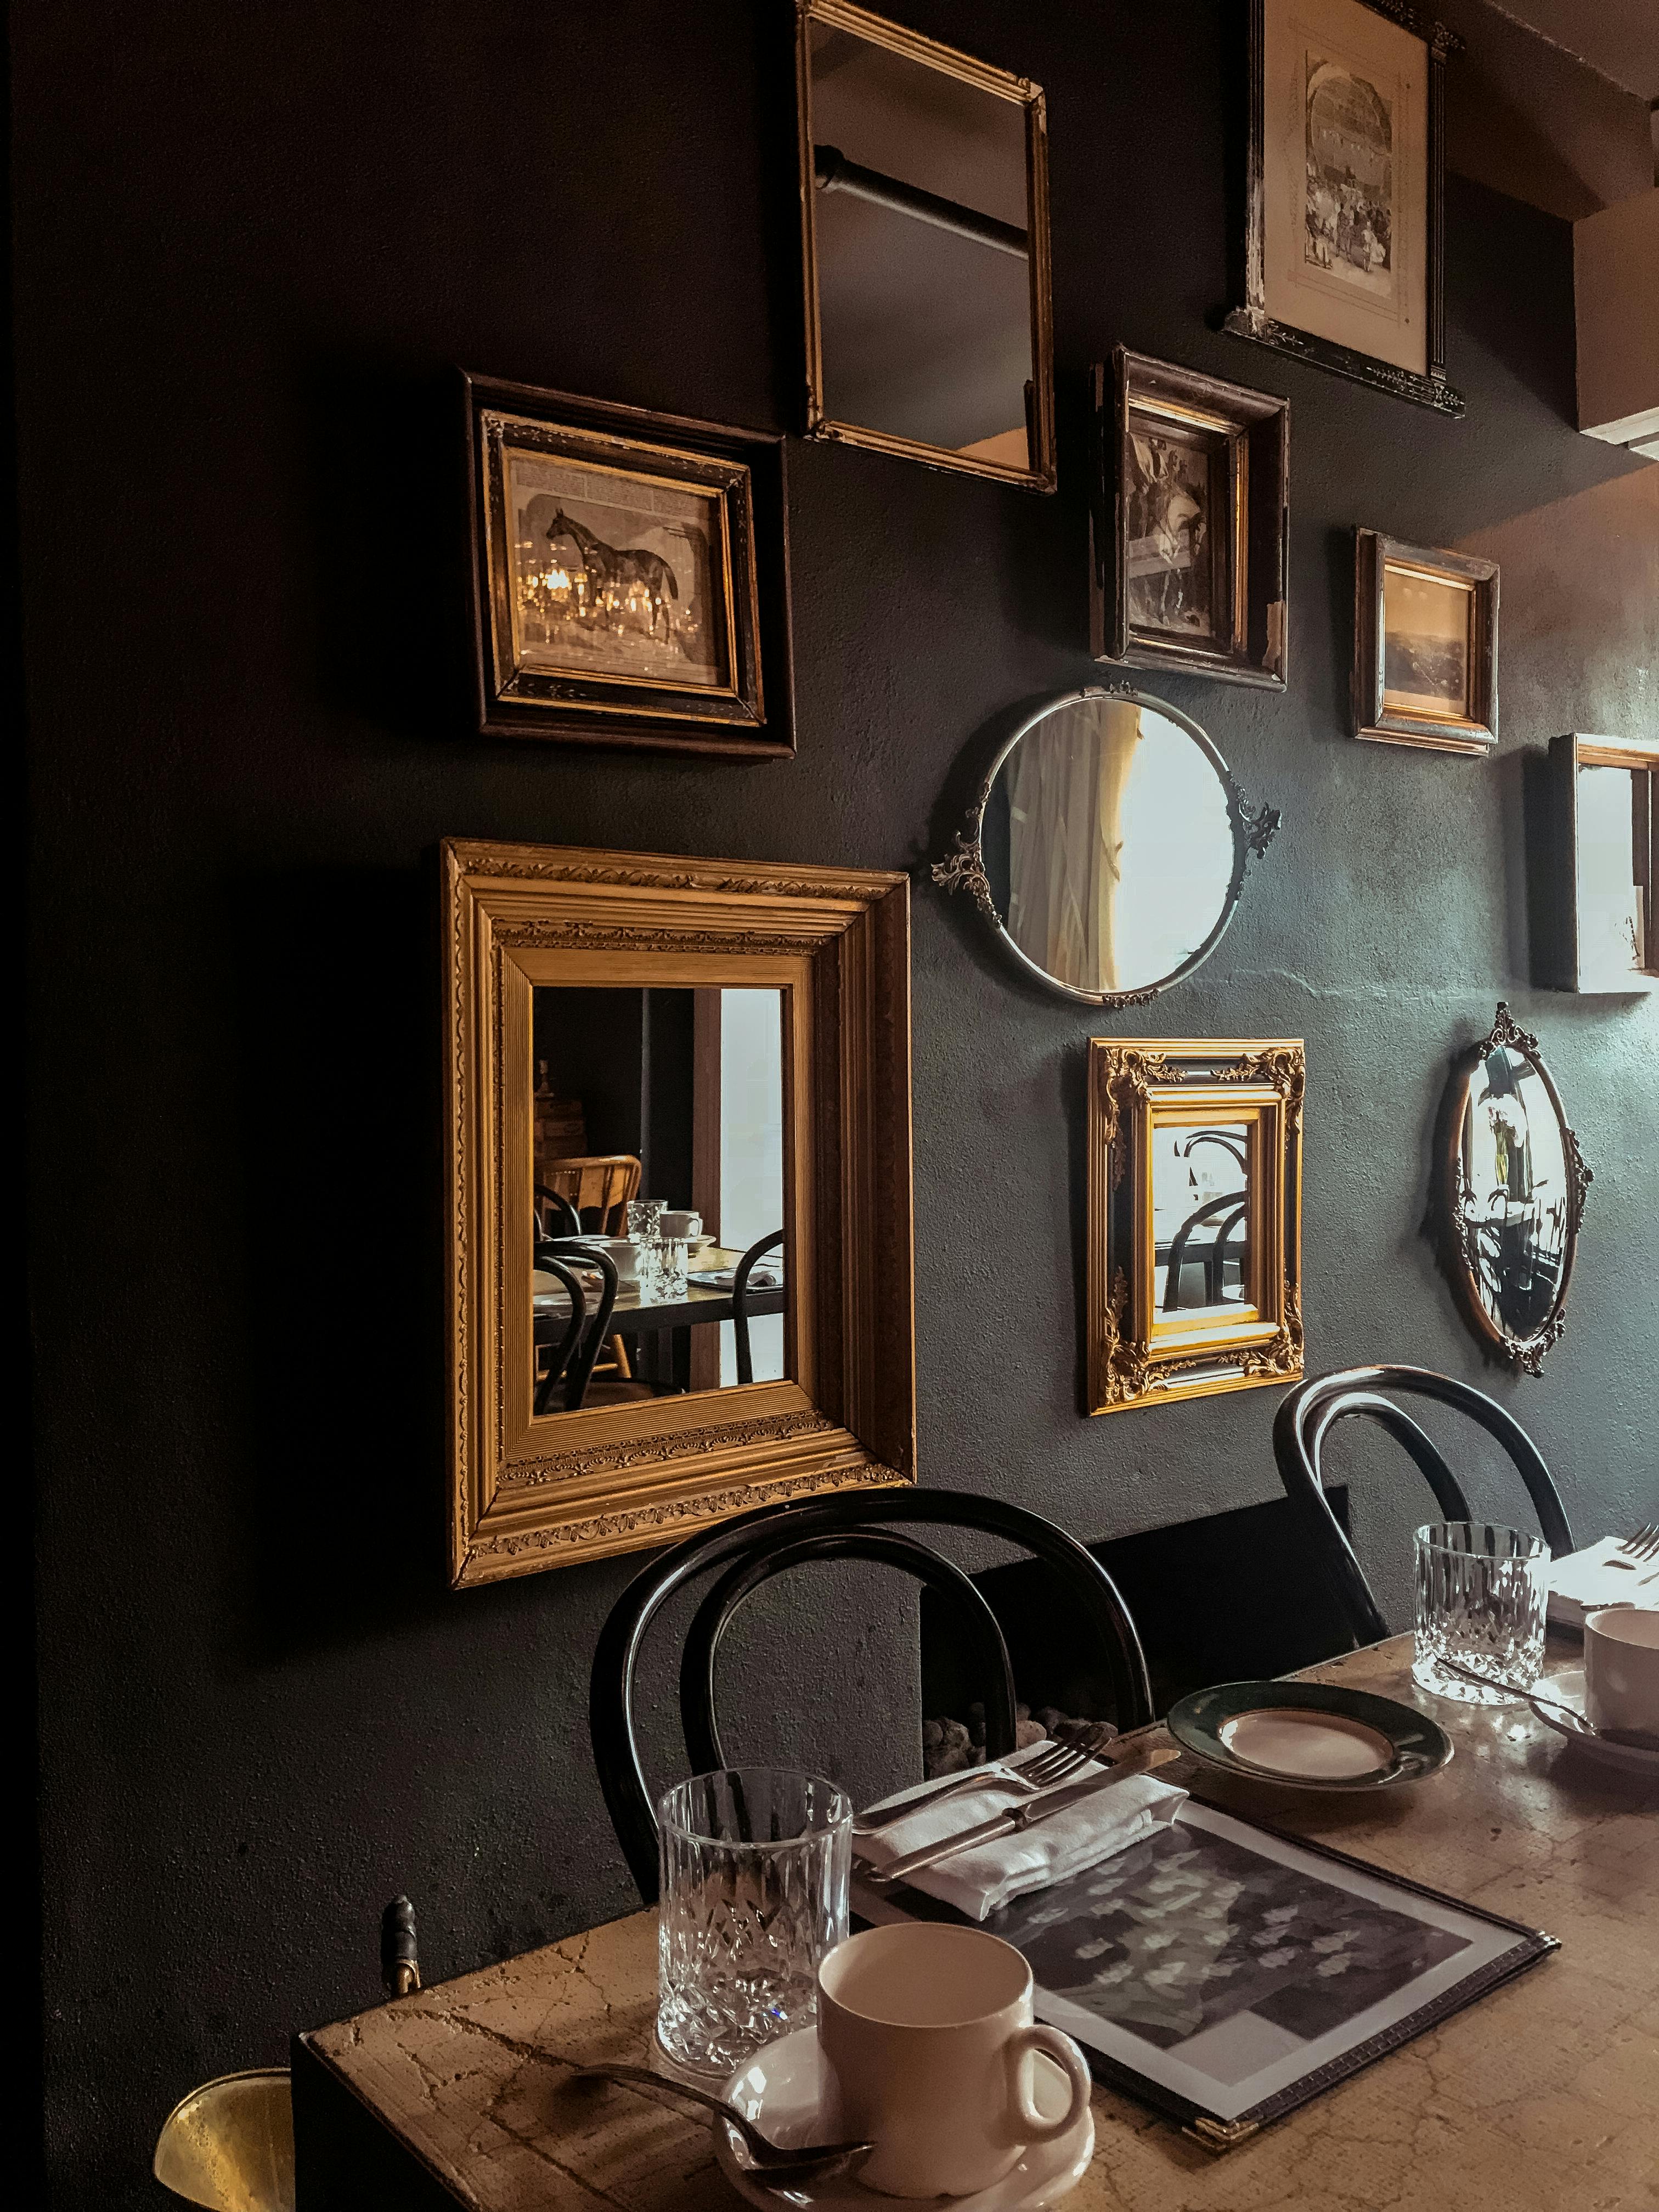
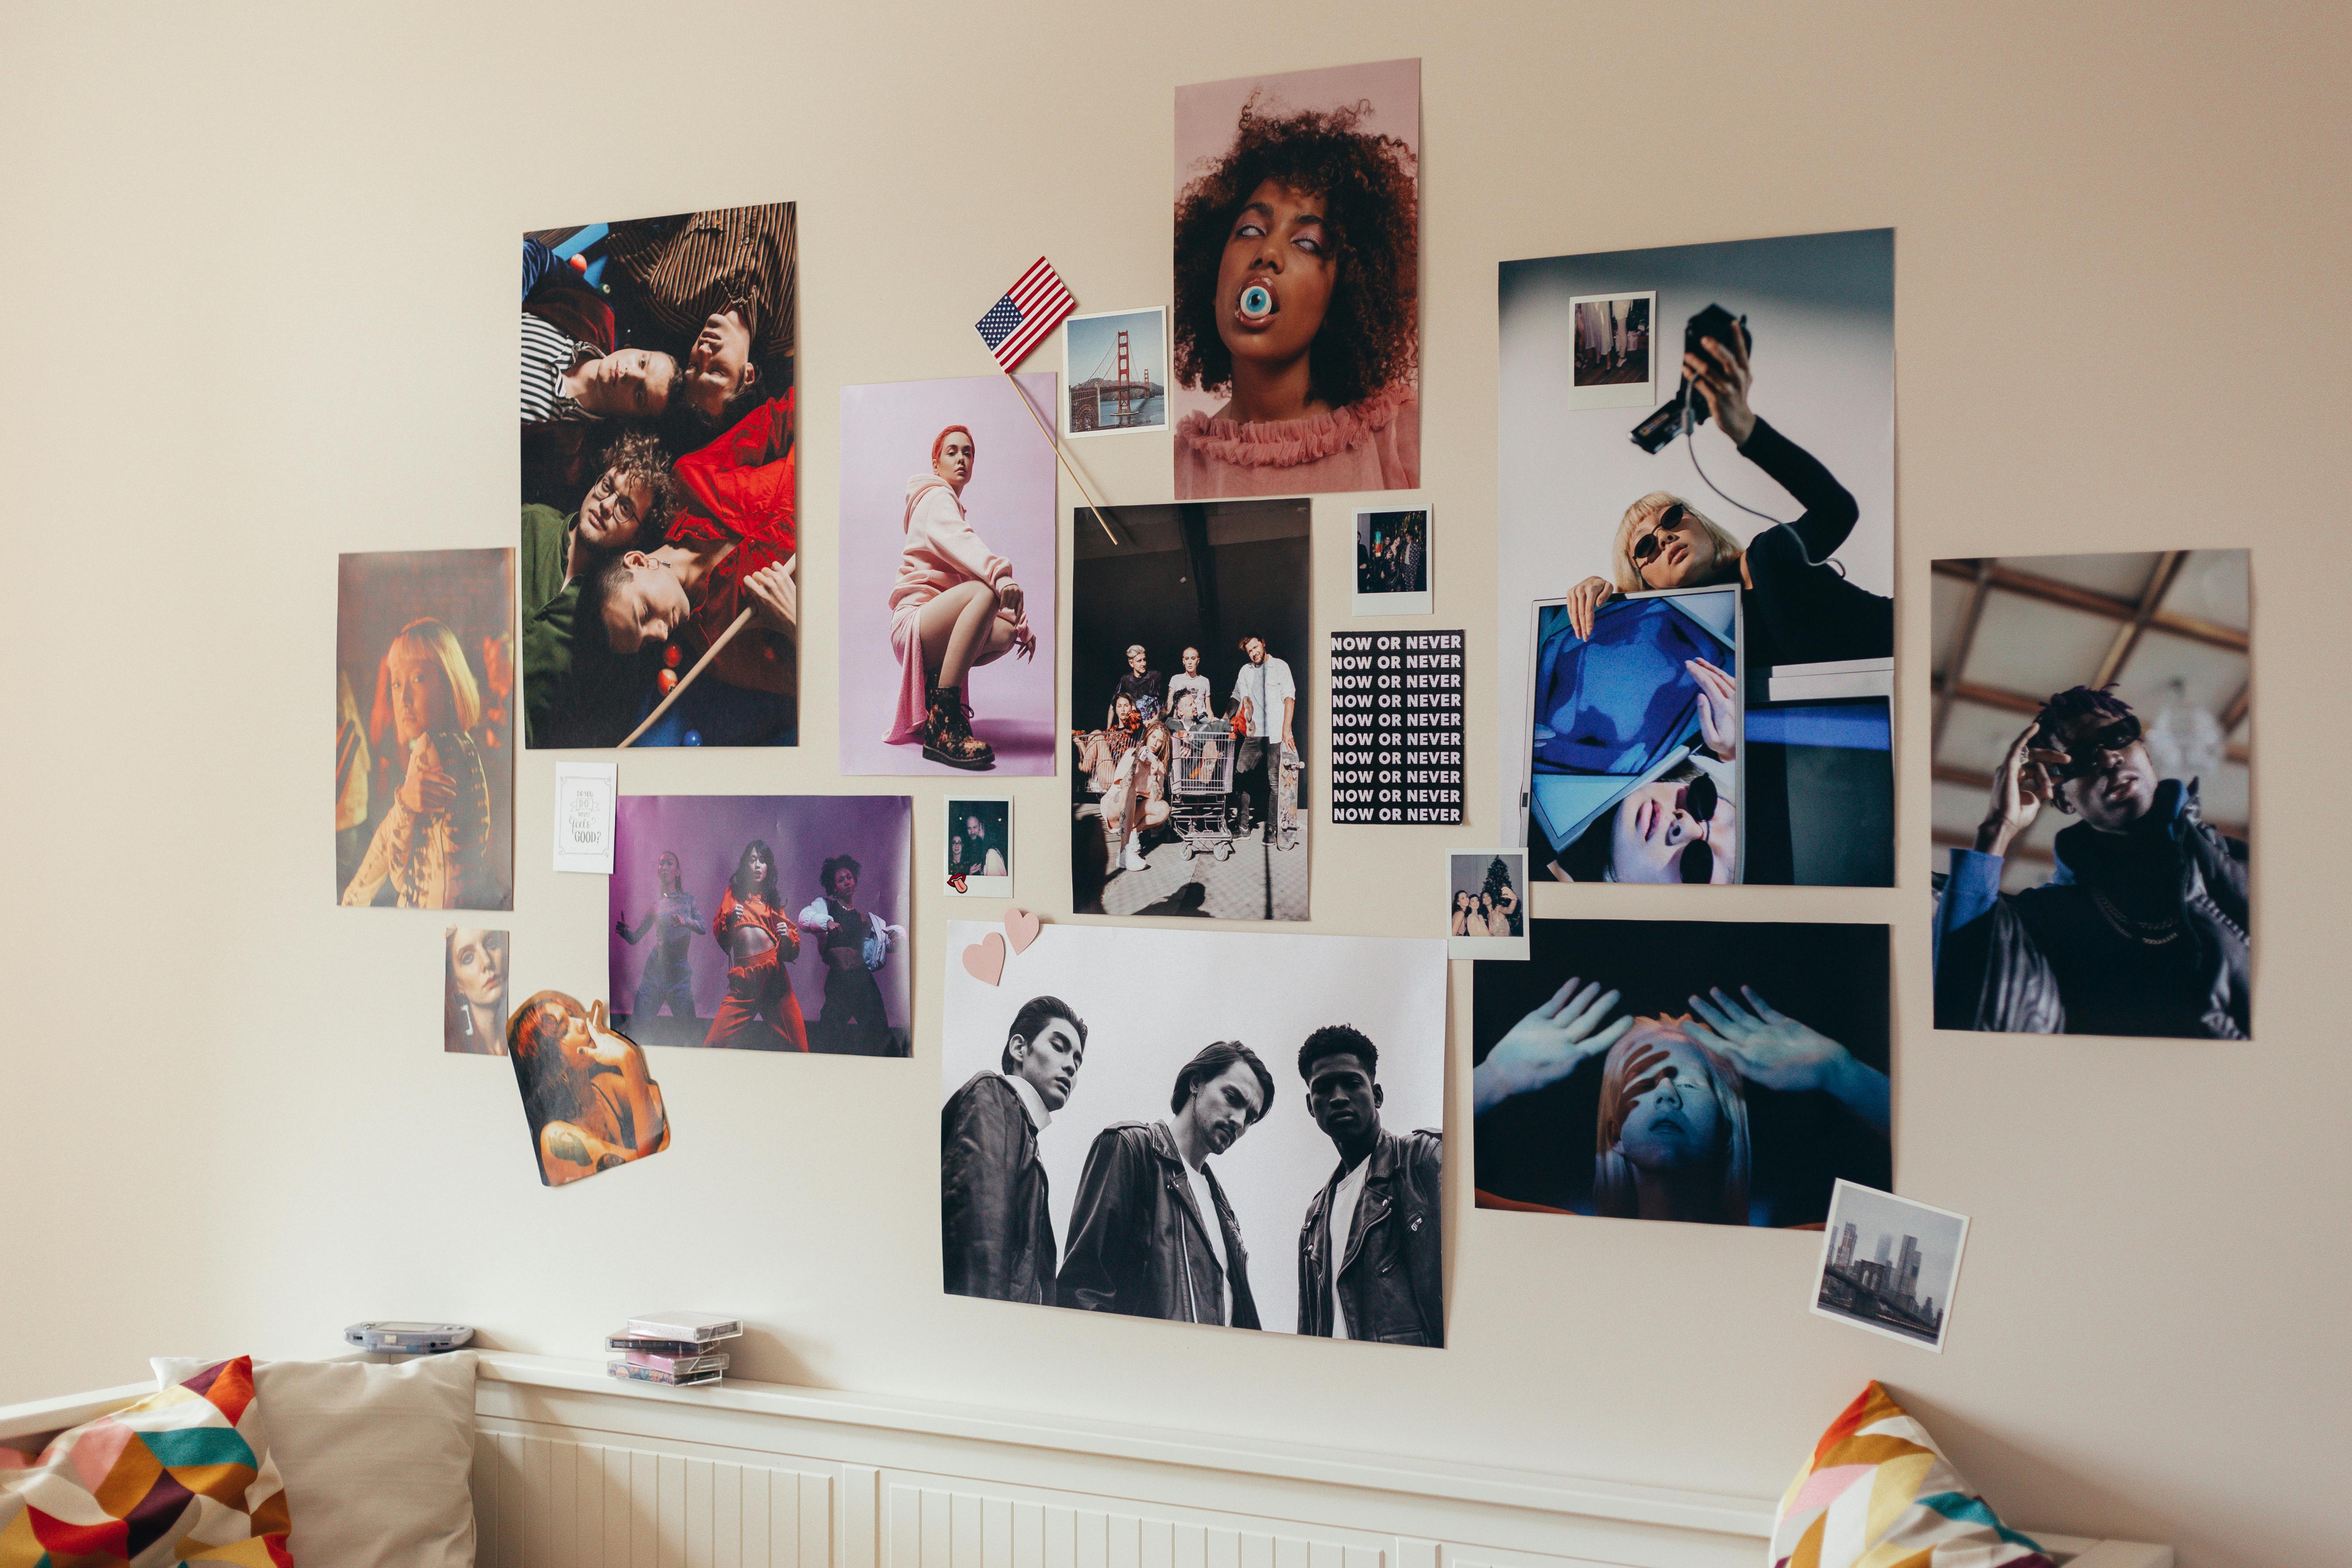
- A Constellation of Small Frames: Instead of one imposing large piece, create a dynamic cluster of smaller, lightweight frames. A 4x6 inch frame will have a minuscule gap against a curve compared to a 24x36 inch one. By arranging them artfully, perhaps in an organic, flowing shape that mimics the wall's curve (imagine a vine climbing the wall), a Fibonacci spiral, a staggered grid, or even a "waterfall" effect where pieces cascade down, you can create a powerful visual impact. The density of the grouping helps to camouflage any minor gaps, and you gain incredible flexibility in arrangement. Think of it like a beautiful scatter of jewels, rather than one large gem. This approach also allows you to be more adventurous with various art pieces, from photographs to abstract works, and is particularly renter-friendly due to the smaller, more easily patched holes. This is a great way to decorate a wall.
Sculptural Art and 3D Objects
Don't forget the power of the third dimension! Sculptures, ceramics, and other decorative objects often don't rely on being flush with the wall at all, making them perfect candidates for curved surfaces. Think about:
- Free-Standing Sculpture: Placed on a pedestal or plinth a short distance from the curved wall, a sculpture can create a fascinating interplay of light and shadow with the wall's contours, adding depth without any hanging concerns. Its presence in front of the curve, rather than on it, can be a powerful statement.
- Wall-Mounted 3D Art: For pieces specifically designed to be wall-mounted, ensure they have appropriate, multi-point attachment systems that can either bridge the gap or are flexible enough to conform. Relief sculptures, metal wall art with openwork designs, or even small, individually mounted ceramic tiles can create stunning textured effects that engage with the curve.
Method 3: The Floating Shelf Solution (Curated & Dynamic)
Sometimes, the answer isn't to conform, but to project. This is where well-placed floating shelves or ledges come into their own. They offer a versatile platform for displaying art and objects, and with a little ingenuity, they can truly elevate a curved wall, making them ideal for interior design on curved walls.

Best for: Displaying smaller framed pieces, sculptures, ceramics, decorative objects, or creating layered visual interest. Also great for renters or those who like to change displays frequently.
How it works: Shallow shelves or ledges are securely mounted to the wall. For a curved wall, you'll either need custom-built curved shelves (a more involved and costly option for a truly seamless look, often requiring a skilled carpenter or fabricator) or, more commonly, a series of straight, shallow floating shelves placed strategically along the curve. The magic lies in how you arrange your art on these shelves. Smaller framed pieces can lean against the wall, allowing their angles to be adjusted to minimize perceived gaps. Sculptures and decorative objects don't rely on being flush with the wall at all, making them perfect candidates for this method. Be mindful of the visual effect of the small gaps or "steps" between straight shelves if you opt for that approach; they can be integrated into the overall design, or deliberately offset for a dynamic look, breaking the visual monotony. When arranging, consider the concept of "visual weight" – balancing heavier-looking items or clusters with lighter ones to maintain harmony and stability along the curve. For a truly unique touch, I've even seen artists use painted 'shadow' lines or flexible molding between straight shelves to create the illusion of a continuous curve.
Step-by-Step Installation (for straight shelves on a curve):
- Plan Your Layout: Decide on the length and height of your shelves. For a sweeping curve, a series of shorter, straight shelves can be arranged in a staggered, stepped, or even a gentle wave pattern that visually follows the curve, creating an appealing visual rhythm. For example, imagine placing three shelves, one slightly higher and to the right of the first, then the third slightly higher and to the left of the second, creating a visual ripple effect that echoes the wall's shape. Mark your intended shelf locations with a pencil.
- Measure and Mark: Use your level to ensure each individual shelf will be perfectly horizontal. Mark the drill points for the mounting brackets according to the shelf manufacturer's instructions. Remember to use your stud finder and appropriate wall anchors! Ensure the shelves are deep enough to securely hold your leaning art without risk of it toppling over. When dealing with delicate finishes like plaster or historic paint, drill slowly and carefully, perhaps using painter's tape to prevent chipping.
- Install Mounting Brackets: Drill holes, insert anchors, and securely attach the shelf mounting brackets to the wall. Ensure they are robust enough to hold the weight of your chosen display items.
- Attach Shelves: Slide or screw your floating shelves onto their brackets. Give them a good test for stability – gently press down and try to wiggle them. If there's any movement, re-tighten or reinforce.
- Curate Your Display: Now, arrange your art! Lean smaller framed pieces against the wall, angling them slightly to reduce the visual impact of the curve. Layer items by placing taller objects behind smaller ones, and mix different heights and textures to create depth and visual interest that plays beautifully with the curve. Place sculptures, vases, or other objects strategically. To prevent items from sliding, especially with subtle wall undulations, consider using anti-slip mats or a thin layer of museum putty on the shelves. Museum putty is a non-permanent, reusable adhesive that can secure lightweight objects in place, preventing accidental shifts or toppling, but it's not meant to bear weight or bridge significant gaps. This method offers incredible flexibility to change out your display as often as your mood strikes. Think of it as a living gallery!
Comparison of Methods: Finding Your Perfect Fit
Choosing the right method often depends on your specific needs, budget, and desired aesthetic. To help you visualize the trade-offs, here’s a quick overview of the most effective methods, making it easier to select the perfect approach for your unique space and art collection:
Method | Best For | Difficulty | Cost | Wall Impact | DIY Friendly? | Customization Potential | Visual Weight/Impact | Best Art Styles | Medium Considerations |
|---|---|---|---|---|---|---|---|---|---|
| Flexible Rail System | Gallery walls, frequent changes, rentals, heavier pieces, hallways | Medium (precision required for curve) | $$$ | Low (holes near ceiling, easily patched) | Medium | High (adjust height & position) | Sleek, Modern, Minimalist. Art appears to float. | All styles, especially sleek, modern, dynamic abstract, contemporary, multi-panel | Minimal direct wall contact, good for all framed media. |
| Two-Point Anchor | Single large canvases/frames, maximum stability, minimizing gaps | Easy to Medium (precision for D-rings) | $ | Medium (two holes per piece, easily patched) | Yes | Low (fixed once hung) | Stable, Integrated. Reduces perceived wobble. | Traditional, contemporary, portraits, landscapes, substantial pieces | Good for stretched canvas, framed prints. Protects delicate paper from bowing. |
| Textile & Fiber Art | Adding texture, boho/eclectic styles, softness, lightweight pieces, awkward curves | Easiest | $-$$$ | Very Low (often one hole for small pieces) | Yes | Medium (can adjust draping) | Soft, Organic, Textured. Conforms naturally. | Boho, abstract, folk, contemporary fiber art, soft organic forms, ethereal | Naturally flexible, ideal for avoiding frame issues. |
| Wall Decals/Murals | Integrated, seamless look, bold statements, playful designs, custom art | Easy (application for decals), High (mural) | $-$$$ | None (removable decals), High (painted mural) | Yes (decals) | High (custom design) | Integrated, Bold, Seamless. Becomes part of the wall. | Graphic, illustrative, abstract, contemporary, custom imagery, flowing forms | Digital prints, painted directly. Protects from environmental strain. |
| Small Frame Cluster | Creative, eclectic displays, masking minor curves, mixed media, renters | Medium (layout planning, many holes) | $$ | Medium-High (numerous small holes, potentially more patching) | Yes | High (easily rearrangeable) | Dynamic, Eclectic, Playful. Breaks up the curve visually. | Eclectic, photographic, abstract, minimalist, mixed media, curated collections | Best for lightweight framed photos, small prints, or thin canvases. |
| Floating Shelf Solution | Small framed pieces, objects, layered displays, versatile, non-flush items, curated collections | Medium (shelf installation) | $$-$$$ | Medium (holes for brackets, easily patched) | Yes | High (change items freely) | Curated, Layered, Architectural. Adds depth in front of the curve. | Eclectic, sculptural, mixed media, curated collections, decorative objects | Excellent for unframed sculptures, ceramics. Framed pieces can lean. |
| Sculptural Art (Free-standing) | Adding 3D depth, interplay of light/shadow, minimal wall impact | Low (placement only) | $-$$$ | None (if free-standing) | Yes | High (easily repositioned) | Architectural, Dynamic. Creates depth in front of the curve. | Abstract sculpture, figurative works, ceramics, metalwork | No wall contact for the art itself. |
Art That Truly Embraces the Curve: Beyond Flat Surfaces
Now that you know how to hang it, let's talk about what to hang. The curve itself isn't just a physical challenge; it's a design element that can profoundly influence your art choices. Embrace it! Think of your curved wall not as an obstacle, but as a dynamic canvas waiting for the right composition. What kind of feeling do you want to evoke? How does the wall's curve make you feel as a viewer? I've found that the most memorable displays on curved walls aren't just hung on them, but truly interact with them.
Panoramic Perspectives
A long, horizontal piece can look absolutely incredible as it gently wraps around the viewer, creating a sense of immersion. Think abstract landscapes, sweeping cityscapes, multi-panel works that can be spaced out along the curve, or long, fluid abstract compositions. Artists known for large-scale, immersive works, or those who create serial pieces, can be particularly effective. The curve enhances the panorama, pulling you into the scene, almost like a subtle wide-angle lens. Imagine a vibrant, flowing abstract by an artist like Helen Frankenthaler or a panoramic landscape by Albert Bierstadt stretching across a subtly curved wall – the effect would be captivating.
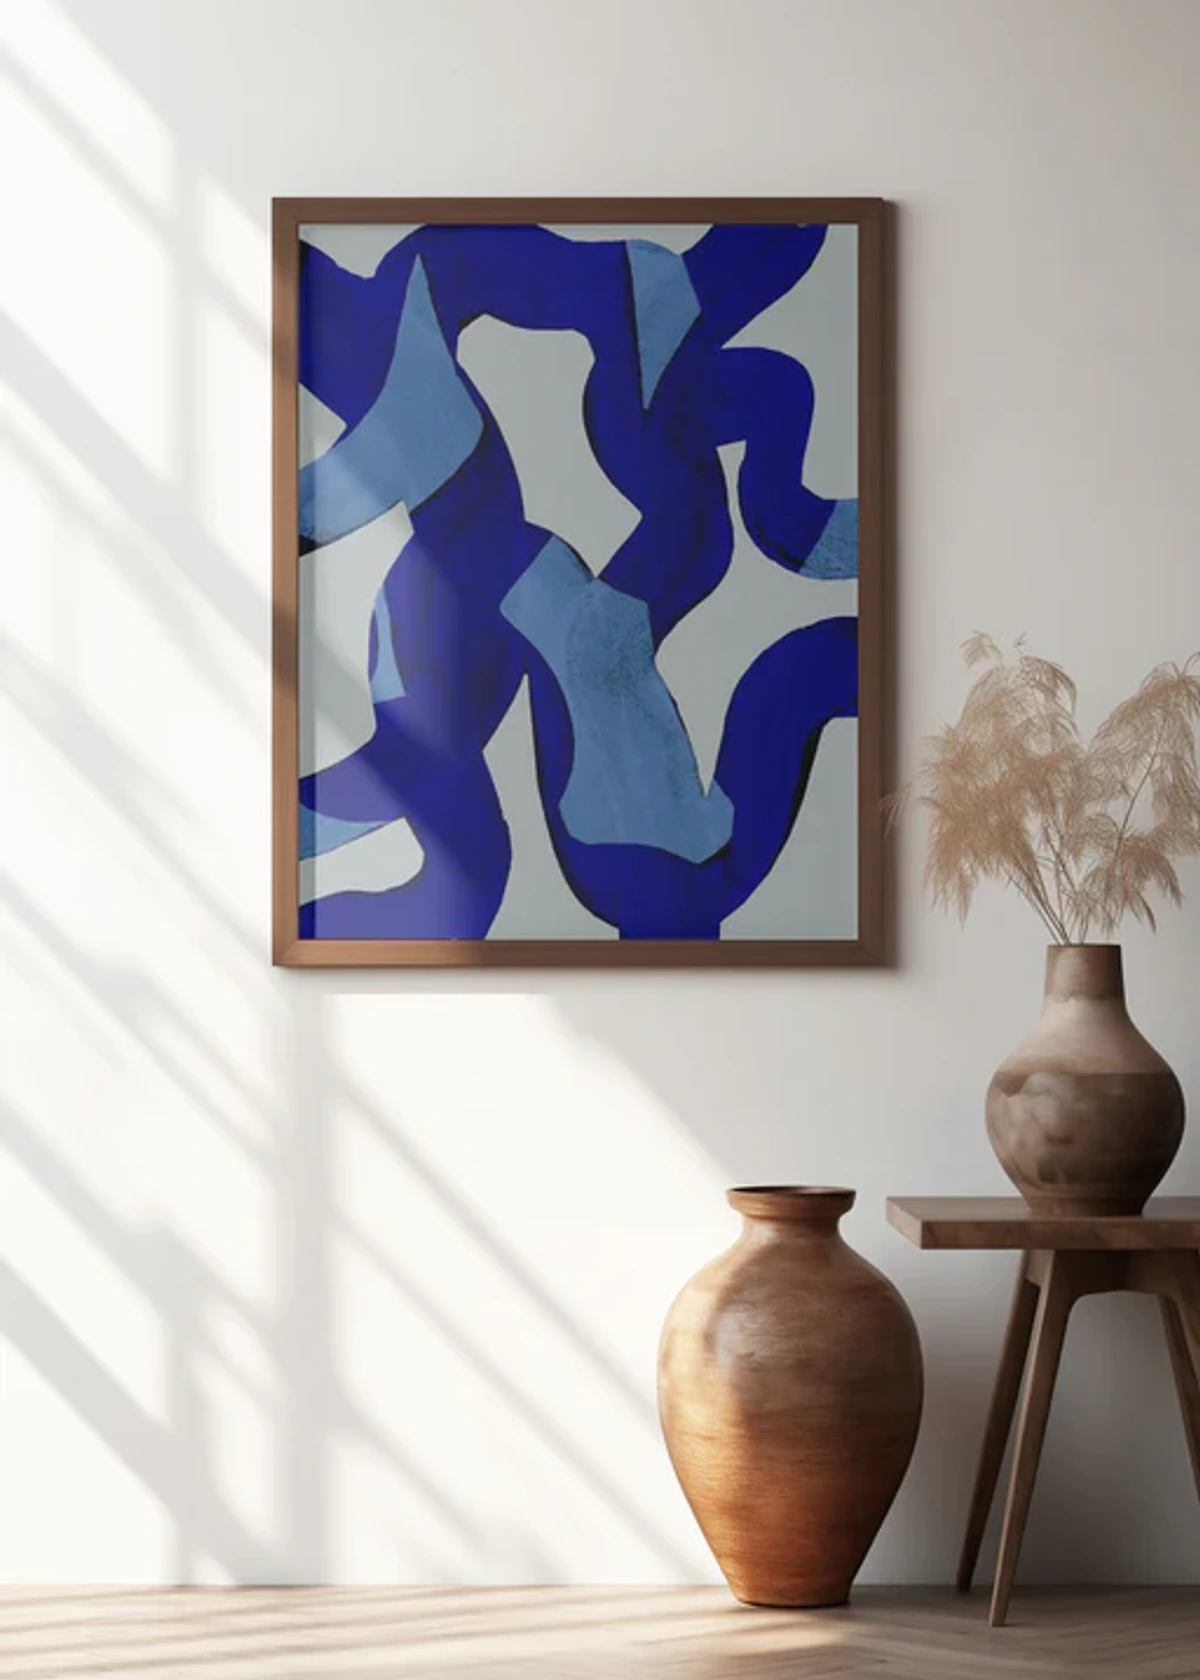
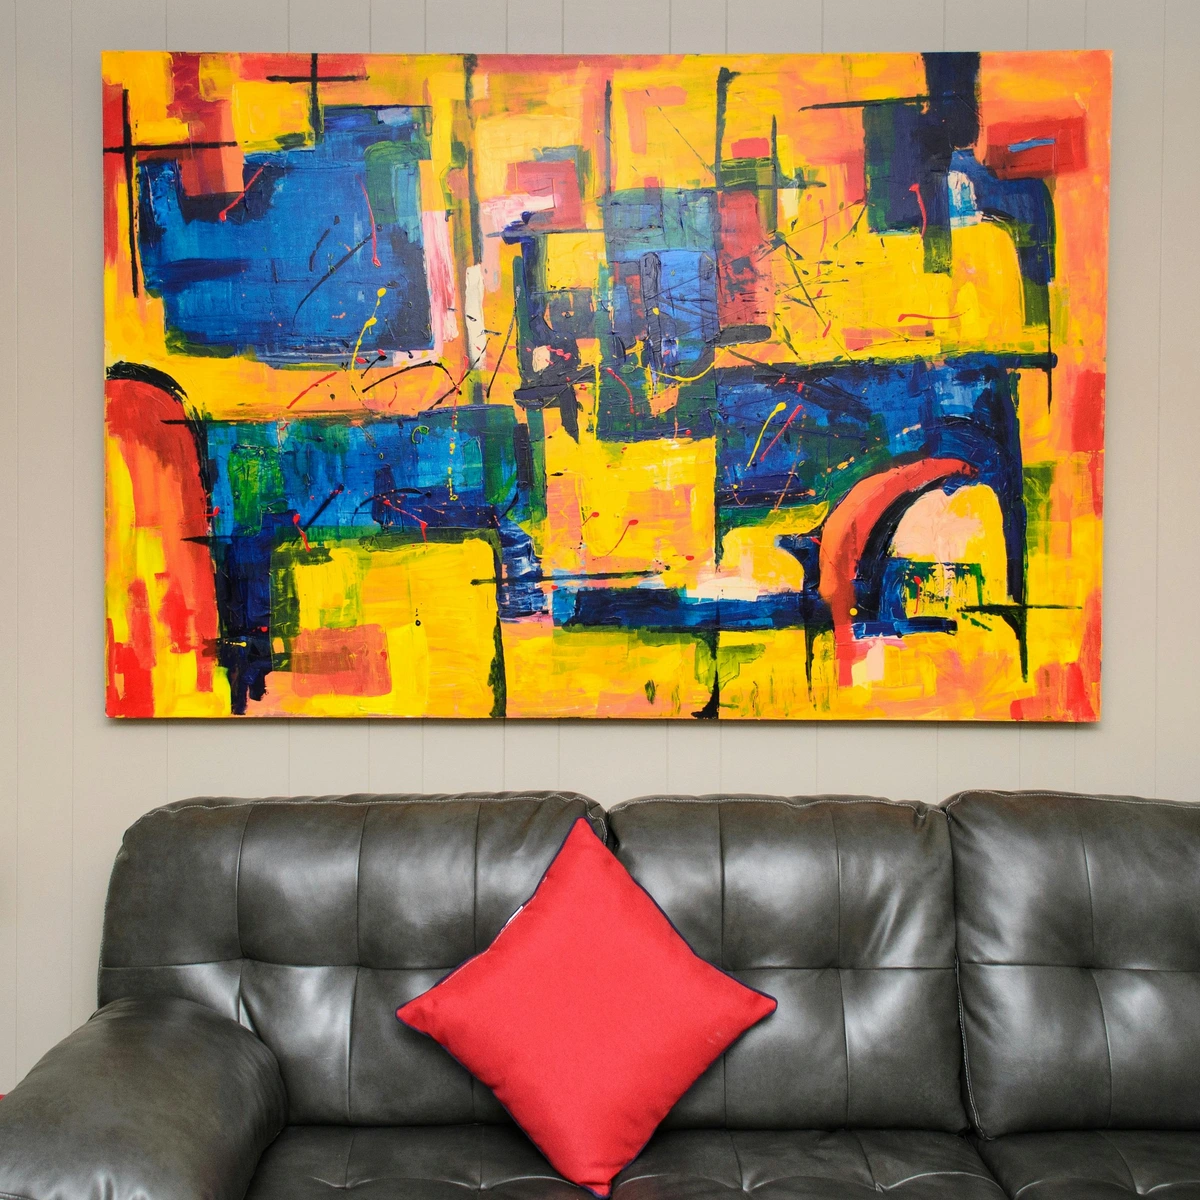
Abstract Harmonies
Pieces with fluid lines, organic shapes, or dynamic compositions naturally complement the flow of a curved wall. Abstract art, especially works that play with bold colors and movement, can create a sense of rhythm and energy, mirroring the wall's unique form. The curve can even amplify the emotional resonance of an abstract piece, making it feel more expansive and immersive. Works featuring spirals, circles, or other cyclical patterns, reminiscent of some Op Art by Bridget Riley or intricate mandalas, can visually echo and complement the inherent curvature, creating a harmonious dialogue between art and architecture. You can explore some of my abstract pieces that work wonderfully in dynamic spaces on the /buy page.

The Power of Light and Shadow
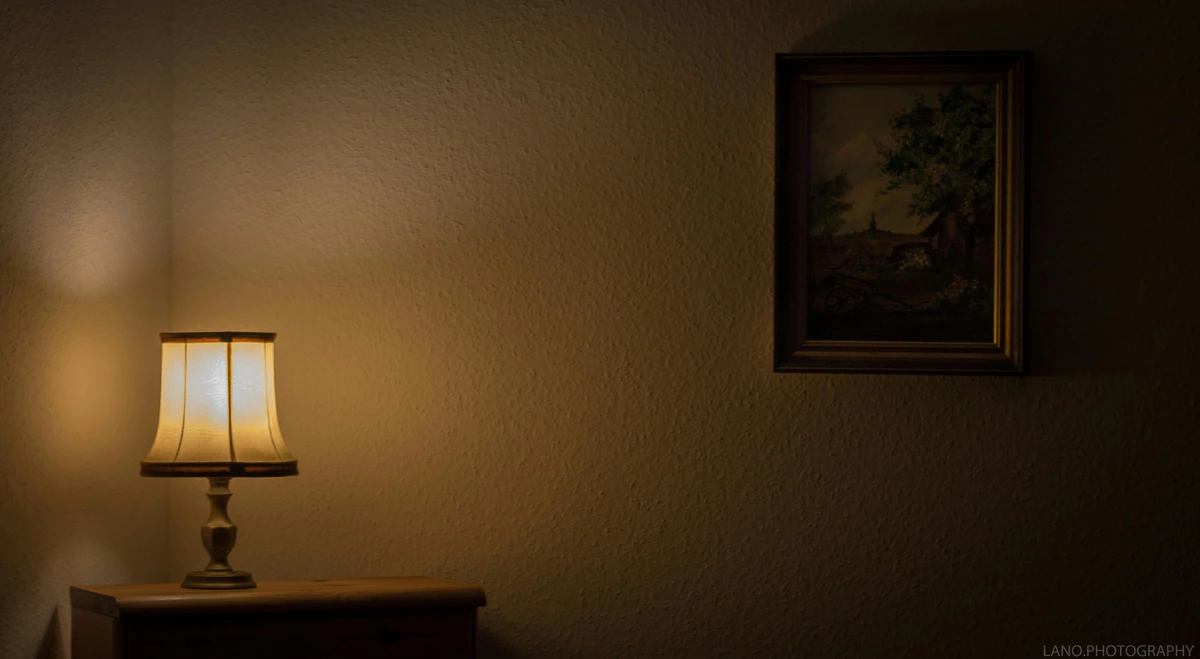
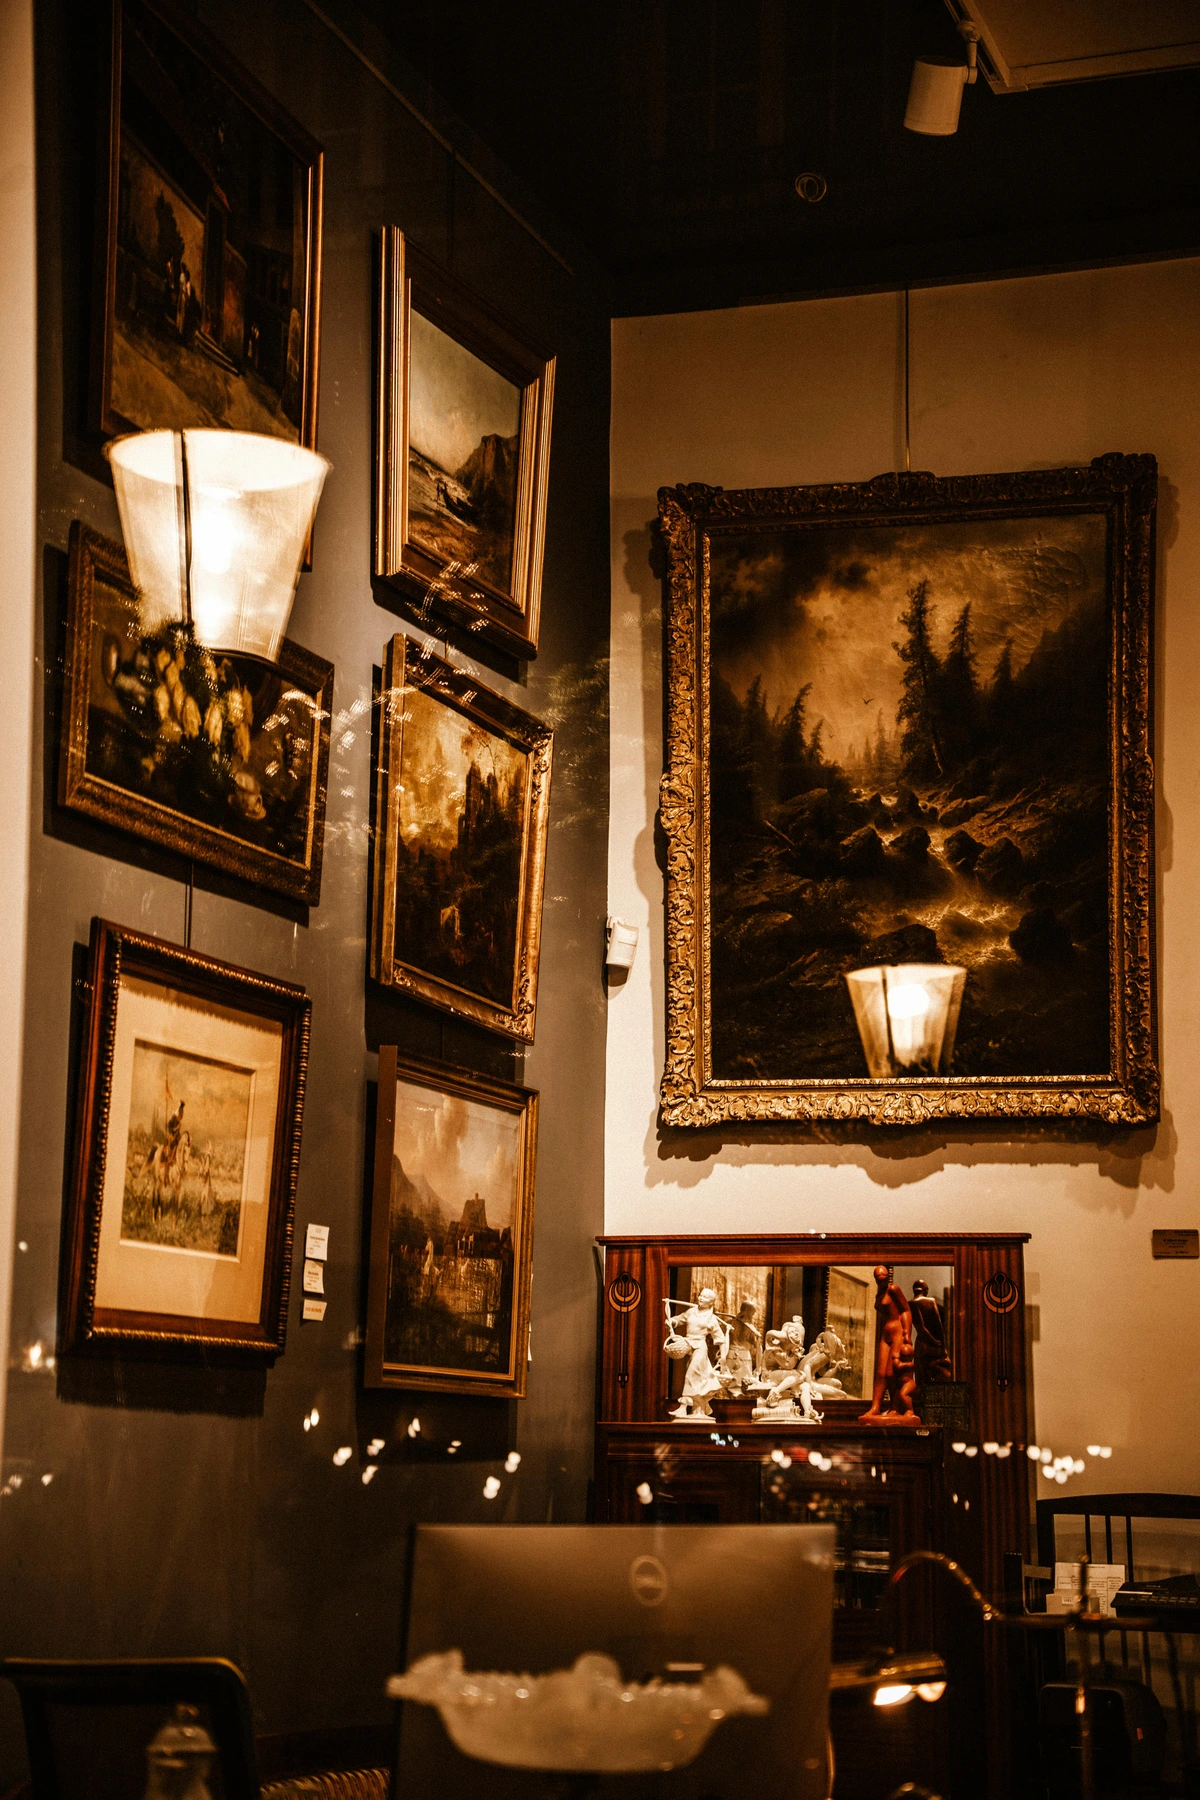
Lighting the Curve: Dedicated art lighting can be transformative. Uplighting on a concave wall can accentuate its graceful recession, creating dramatic shadows and drawing the eye in. Accent lighting focused on a convex wall can highlight its outward sweep, making it feel more prominent and casting intriguing shadows of the artwork. Consider how natural light in the room will interact with the curve throughout the day, creating highlights and shadows that can dramatically alter the perception of your artwork and the wall itself.
Materiality & Texture: Consider how different materials and textures interact with the light and shadow cast by the curve. A matte finish might absorb light differently than a glossy one, creating subtle shifts in appearance as you move around the room. A heavily impastoed (thickly painted) painting, like many works by Vincent van Gogh or Anselm Kiefer, will cast dramatic, shifting shadows on a concave wall, while a smooth, metallic sculpture or a print with metallic inks might catch and reflect light more intensely on a convex one, creating a living play of light. Textured paintings, relief sculptures, or fiber art (like the macrame mentioned earlier) can create fascinating interplay with the wall's contours.
Tailoring to the Curve's Type
- Concave Walls: These draw the eye inward. Art with a strong sense of depth or dimensionality, or even a subtle trompe l'oeil effect, can be particularly striking here, creating an illusion of even greater recession. A piece that plays with perspective or features elements that appear to emerge from the surface can feel incredibly dynamic, almost inviting you further into the space.
- Convex Walls: These push out into the room. Art that emphasizes outward movement, expansion, or a sense of embrace can work wonderfully. Consider pieces with motifs that seem to radiate outwards, or a series of works that gradually increase in size, mirroring the wall's swelling form. This can create a welcoming, expansive feeling.
Other Considerations
- Subject Matter: Art that evokes movement, flow, or organic forms (like water, clouds, natural landscapes, or dancing figures) can resonate particularly well with the fluid nature of curved walls, creating a harmonious and dynamic display. Conversely, pieces with a strong vertical element might feel visually stretched or elongated on a concave wall, so consider how the artwork's composition interacts with the wall's geometry.
- Scale and Proportion: Be mindful of the art's size relative to the wall's curve. Art that is too small can look lost on a grand, sweeping curve, while art that is too large might overwhelm the architectural feature or feel cramped. Aim for a balance where the art enhances, rather than competes with, the wall's inherent design. For maximizing impact choosing art for high ceilings that are also curved, scale becomes even more critical. A good rule of thumb is for the artwork (or grouping) to occupy roughly 60-75% of the visible wall width you want to decorate. Sometimes, the most powerful statement is embracing the curve itself, letting minor gaps in the artwork enhance its unique architectural charm, rather than fighting for a perfectly flush fit.
- Negative Space: The curve itself defines negative space in a unique way. Instead of traditional flat planes, you're working with continuous surfaces that inherently suggest movement. Consider how the empty areas around and between your artwork interact with the wall's form. A carefully placed piece can draw attention to the elegance of the curve by emphasizing the negative space it creates, almost like a sculptor carving absence.
- Art Medium Considerations: Different mediums respond differently. An oil painting on a tightly stretched canvas is generally robust, but a paper-based work (like a watercolor or print) might be more susceptible to slight bowing or stress if not framed or mounted with care. Digital prints can be mounted on flexible substrates or even projected directly onto a curved wall for a truly dynamic and customizable display (though this requires specialized projectors and content). Always ensure the framing (if any) provides adequate support and protection, especially if the piece isn't perfectly flush.
- Environmental Considerations: Temperature and humidity fluctuations can subtly affect both artwork and wall materials, especially in older homes or areas with less climate control. For delicate or valuable pieces on a curved wall, these fluctuations can exacerbate stresses. Consider climate-controlled framing, UV-filtering glass for pieces exposed to significant natural light, or ensuring stable environmental conditions to protect your art and prevent warping or damage.
- Height of the Curve: For very tall or high curved walls, the practicalities of installation and viewing change. Extremely high curves might necessitate specialized equipment and professional installers, or favor methods like gallery rail systems that allow for safe installation near the ceiling and viewing from a distance. The perception of scale for artwork also shifts on very high curves, demanding larger pieces for impact. An art piece that feels perfectly sized for a 10-foot ceiling on a flat wall might appear diminutive on a 20-foot curved ceiling, so scale becomes even more critical for making an impact.
The Professional vs. DIY Conundrum: When to Call for Backup
While many of these methods are certainly within the realm of an enthusiastic DIYer, it's crucial to know when to bring in the pros. As an artist, I value both creative freedom and structural integrity. Here's my rule of thumb for decorating your home with tricky walls:
- Call a Professional When: You're dealing with extremely heavy or oversized art (anything over 50 lbs / 23 kg, or very large dimensions that make it unwieldy), the curve is particularly complex or architecturally significant (perhaps an original feature in a historic home), the piece is of very high value and irreplaceable, you need to integrate the art with complex lighting systems, the wall material is unusual or delicate (e.g., crumbling plaster with lathe, extremely old or fragile drywall, walls with historic paint/wallpaper you don't want to damage, or even a tight curve where specialized bending tools are required), or you simply don't feel confident with power tools and wall anchors. A professional art installer has the specialized tools (like laser alignment systems for complex curves or specialized bracket mounting tools) and experience to ensure both safety and aesthetic perfection. They know how to handle situations like a seemingly solid wall that's actually hollow behind a thin layer of plaster, or how to properly reinforce a fragile surface. They can also advise on custom framing or integrated architectural elements that truly embrace the curve.
- DIY is Feasible When: The art is lightweight to medium-weight (under 50 lbs / 23 kg), the curve is gentle and accessible, you're comfortable using basic tools, you've thoroughly researched the appropriate anchors and techniques for your specific wall type and the art's weight, and you're willing to take your time with precision. DIY is a rewarding way to personalize your space, and the methods discussed here are designed to empower you.
Common Pitfalls to Avoid When Hanging Art on Curved Walls
Even with the best planning, I've had my share of "oops" moments. Learning from them is key! These are the mistakes I've seen (and sometimes made myself) that are easily preventable:
- Underestimating Weight & Wall Type: This is the absolute number one culprit for art falling. Always know the exact weight of your artwork and the material of your wall. Always use anchors rated for at least double the art's weight. Don't assume a wall is solid just because it sounds solid; older homes, especially those with lath and plaster, can hide surprises. If your curved wall has any signs of structural damage like cracks or water stains, get it professionally assessed before hanging anything.
- Ignoring the Gap: Trying to force a flat, rigid frame flush against a curve will only lead to stress, potential damage, and an unsightly appearance. Embrace methods that accommodate the curve or create an intentional float away from it. Don't fight the geometry; work with it, or around it.
- Lack of Leveling: Especially with two-point hanging, if your hanging points aren't perfectly level, your art will look perpetually crooked. Double-check, triple-check, and then check again with a level. A laser level is your best friend here.
- Rushing the Process: Precision takes time. Don't rush drilling, marking, or attaching. A few extra minutes of care can save hours of repair. As an artist, I've learned that patience is as much a tool as any hammer.
- Forgetting Safety: Always wear eye protection when drilling. Be aware of electrical wiring and plumbing in walls (a good stud finder can often detect these), and ensure your ladders are stable. A fall can be far more costly than calling a pro.
Troubleshooting Common Curved Wall Art Challenges
Sometimes, things just don't go perfectly. It happens to the best of us! Here are a few common issues and how to tackle them with a touch of artistic ingenuity:
- Art Still Gapping or Wobbling: This usually means the weight isn't distributed correctly, or the anchors aren't secure. Double-check your wall anchors – are they rated for the art's weight? For two-point hanging, ensure D-rings are level and hooks are pulling the frame firmly into the curve. For smaller frames, a tiny blob of museum putty or poster adhesive can sometimes secure the bottom corners discreetly against the wall, reducing wobble (remember, museum putty is for securing lightweight items, not bearing weight). For framed art, adding small, discreet spacers (like felt pads or thin wood shims) behind the bottom corners can gently push them forward and reduce the perceived gap. It's about fine-tuning.
- Art Drags/Pulls on One Side: This is often due to uneven anchor placement or a twisted hanging wire. First, check your measurements and use a level to ensure your wall anchors are perfectly horizontal. If using wire, ensure it's not twisted or snagged, causing an uneven pull. Re-adjusting the wire or slightly evening out the hook placement can often resolve this.
- Difficulty Bending the Rail (Gallery System): Flexible rails are flexible, but can be stubborn. Ensure you're following the manufacturer's instructions; some require gentle warming or specific tools for bending. Don't force it, as you could kink the rail or damage the wall. Consulting online forums or YouTube tutorials specific to your chosen rail system can also provide visual demonstrations of bending techniques. Patience is your ally here, and if you're struggling, sometimes a second pair of hands for steady pressure makes all the difference.
- Art Falling: This is a serious safety concern that can cause serious injury and damage. Immediately re-evaluate your chosen method and hardware. The most common culprit is insufficient wall anchors or incorrect installation. Always err on the side of stronger anchors than you think you need, especially for maximizing impact choosing art for high ceilings where falls are more dangerous. For heavier pieces hung with multiple points, a picture wire tensioner can ensure consistent tension across all points. If in doubt, call a professional; it’s an investment in safety and peace of mind.
- My Wall Isn't a Perfect Curve! Subtle undulations are common, especially in older homes or with hand-built architectural features. For flexible methods (textiles, decals, rail systems), these slight imperfections are often absorbed. For framed pieces on shelves or with two-point anchors, you might need to embrace a minuscule gap in places. For very minor adjustments, thin felt pads or shims can be placed behind the frame discreetly to reduce perceived unevenness. Sometimes, a subtle, organic irregularity in the wall can add character; consider if a slight, intentional gap can be interpreted as a design feature rather than a flaw. It's about finding harmony with the existing architecture.
Frequently Asked Questions (FAQ) About Hanging Art on Curved Walls
Got more questions? I hear you. Here are some common queries I encounter:
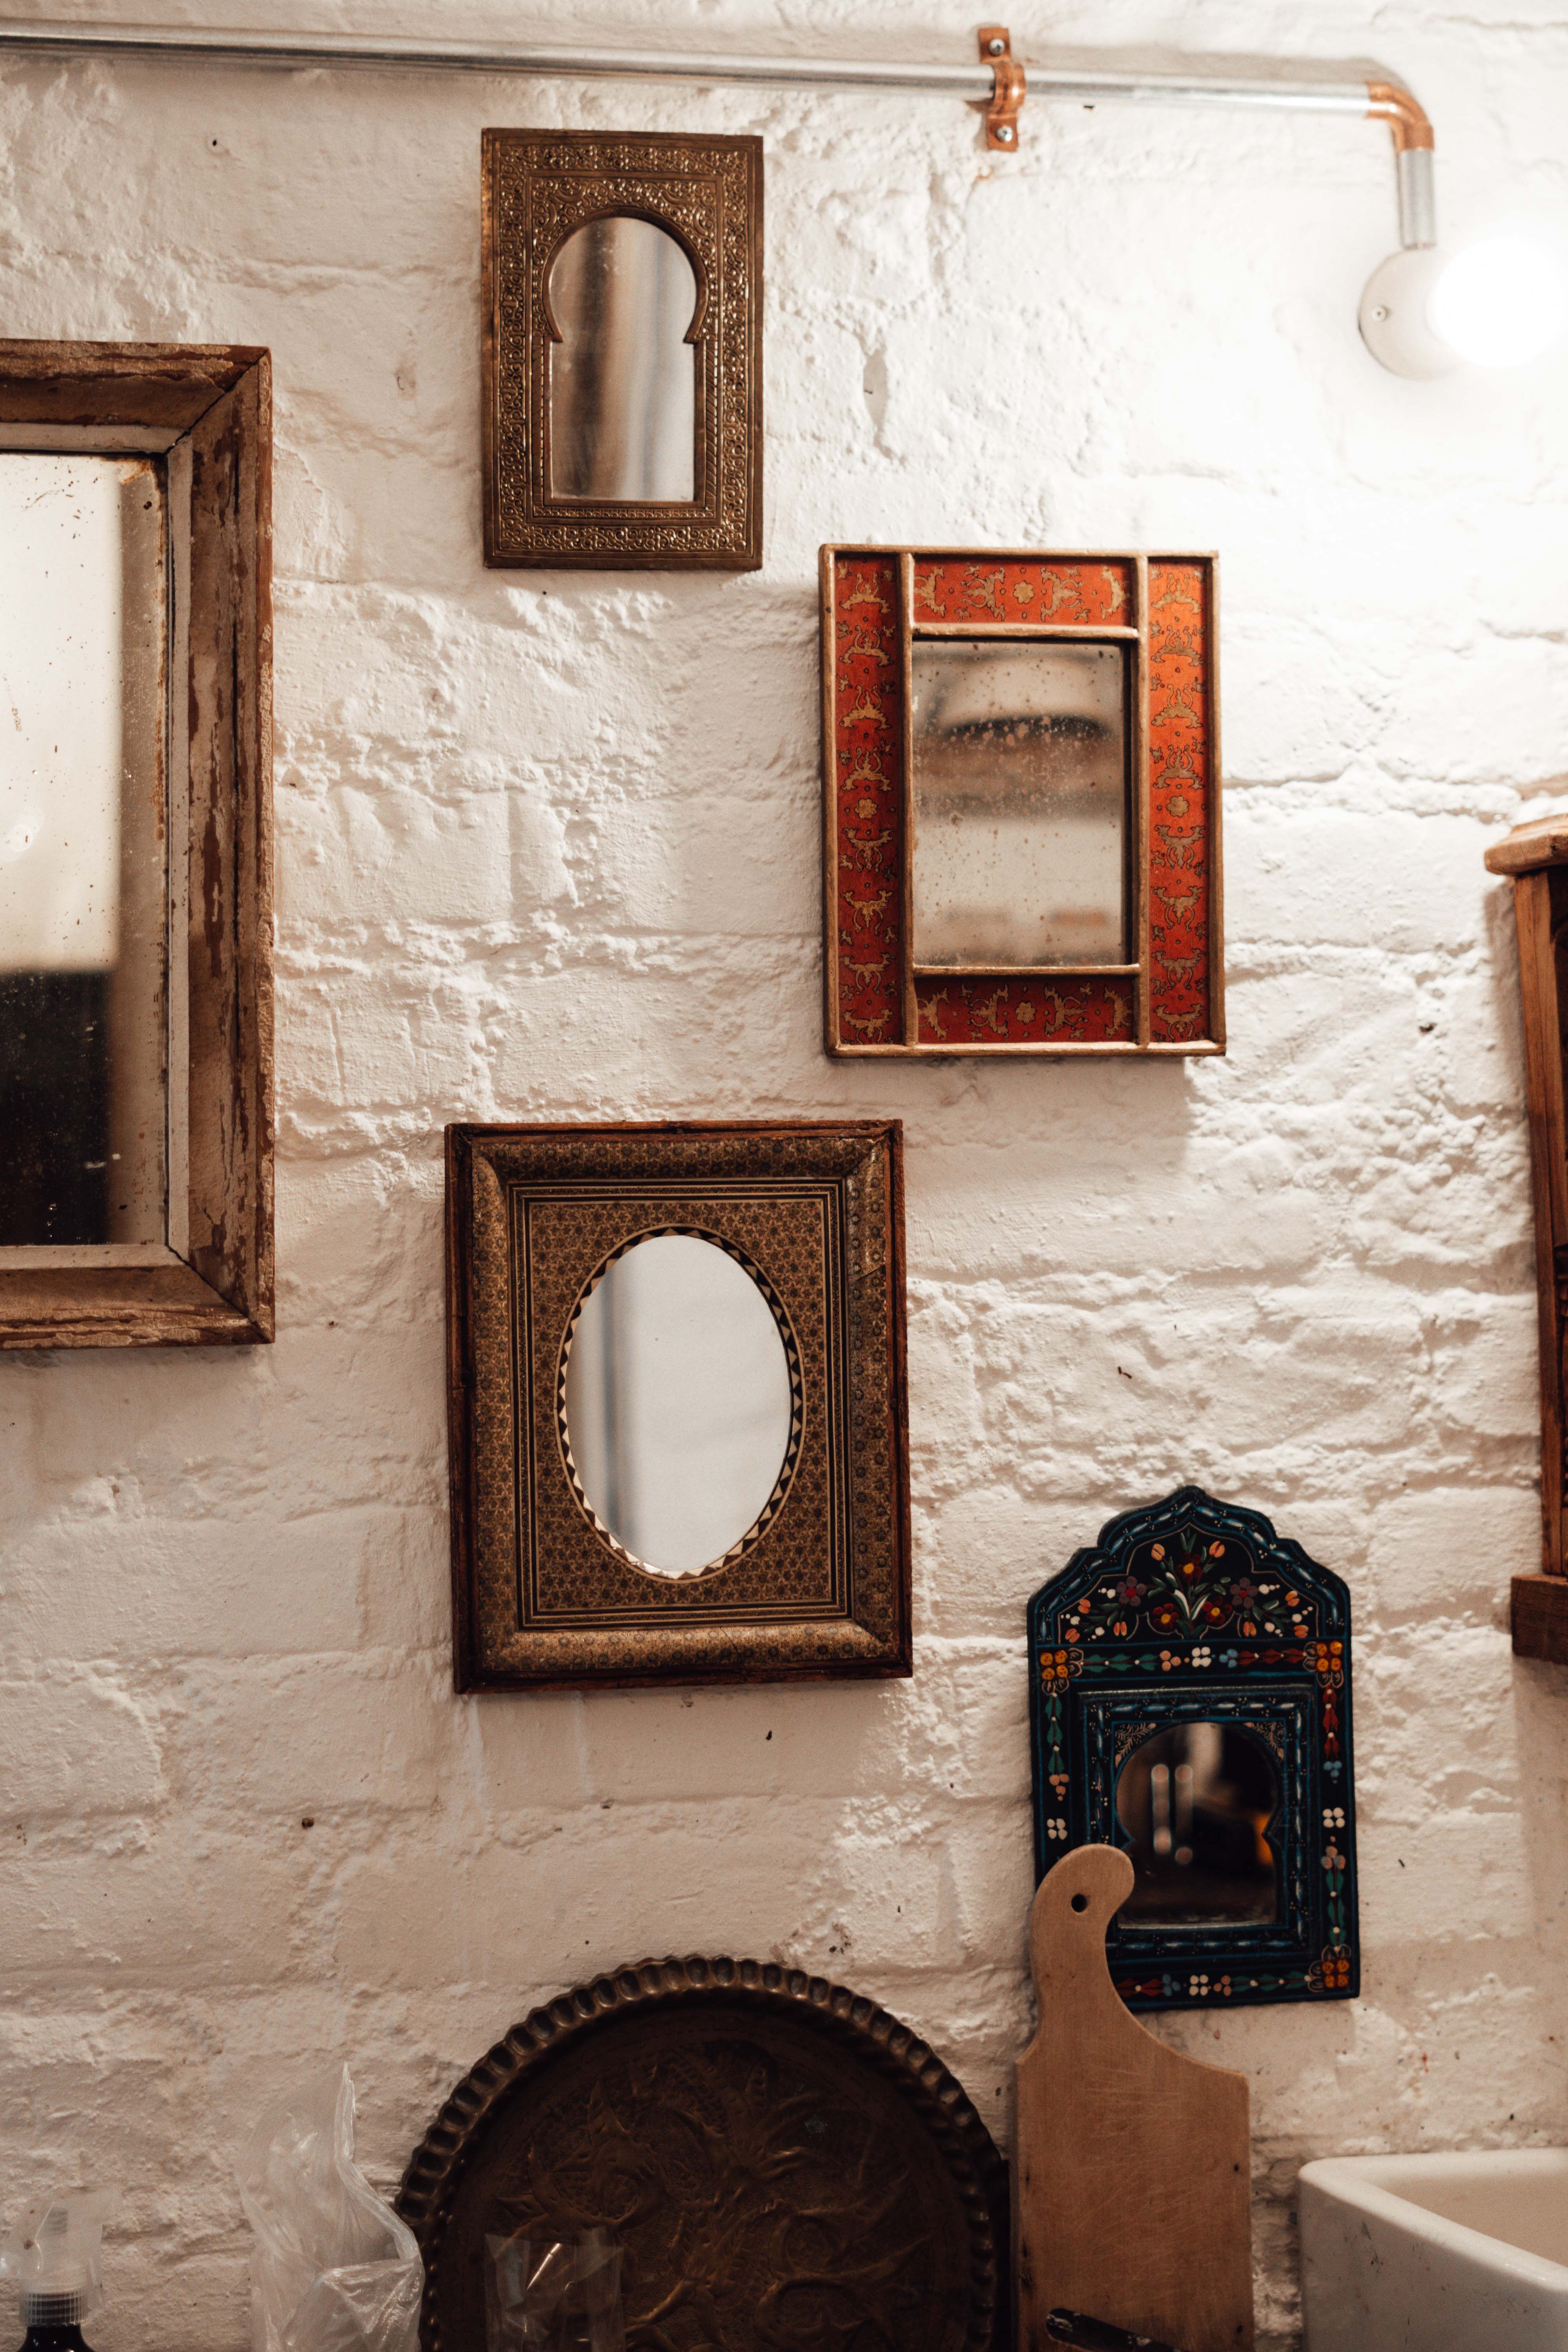
Can I hang a mirror on a curved wall?
Yes, absolutely! Mirrors on curved walls can be stunning, amplifying light and creating unique reflections. However, the same principles apply as with framed art. For large, heavy mirrors, a two-point anchor system is ideal for stability and minimizing gaps. For a truly flush and integrated look, custom-curved mirrors are an option but expensive and require specialized fabrication. Alternatively, a cluster of smaller, lightweight mirrors or mirrors displayed on floating shelves work wonderfully, reducing the impact of the curve on each individual piece. Rectangular mirrors tend to highlight convex curves more by emphasizing the gap at the edges, while round or oval mirrors can often blend more harmoniously with the curve. You might even integrate them into a gallery wall.
What's the best way to hang art on a curved hallway wall?
A curved hallway wall is an incredible opportunity for a dynamic display! For high traffic areas, I usually lean towards the flexible gallery rail system for its security, professional look, and ease of reconfiguring. This creates a flowing display that echoes the hallway's architecture, drawing the eye along the curve. Alternatively, a strategic grouping of small frames arranged in a natural, organic line can also be highly effective and less permanent. Consider panoramic abstract art to emphasize the sweep of the hallway, creating a continuous visual experience for those passing through. Remember, hallways are often seen in motion, so art that benefits from a changing perspective works beautifully here.
How do I measure a curved wall for art installation?
For general layout and sizing, use a flexible measuring tape (like a tailor's tape). Gently press it along the wall's curve, measuring in small, manageable segments (e.g., 1-foot sections), ensuring the tape lies flat against the surface and doesn't lift, and summing them up. For precise drill points for a gallery rail system, follow the manufacturer's instructions for clip spacing, using your flexible tape and a laser level to mark accurately. This allows you to 'flatten' the curve for measurement purposes and ensure perfect horizontal alignment of your mounting points.
Are there special tools needed for hanging art on curves?
While many standard tools are used, a flexible measuring tape is absolutely essential. A laser level is highly recommended for ensuring horizontal alignment over a curve, providing a true reference point across the arc. For flexible gallery rail systems, manufacturers may offer specialized bending tools to help achieve the perfect curve without kinks. Beyond that, ensuring you have the right wall anchors for your specific wall material and the art's weight is paramount – don't skimp here!
Can I use command strips on curved walls?
I'm usually skeptical of command strips on any wall for valuable art, and even more so on curved walls. While they might work for extremely lightweight items on very gentle curves, their adhesive strength can be severely compromised by the uneven contact area. Think about the geometry: a flat adhesive pad on a curved surface simply cannot achieve full, consistent contact. This means the adhesive isn't engaging with the wall as intended, leading to decreased adhesion, increased stress on the minimal contact points, and a significantly higher risk of your art falling. For anything you truly value, I strongly advise using mechanical fasteners (hooks, anchors) designed for the weight and wall type. Better safe than sorry, especially when art is involved.
How do different wall materials affect hanging art on a curve?
Wall material critically impacts your choice of anchors and hanging method. Drywall requires hollow wall anchors like toggle or molly bolts for anything beyond very light pieces. For plaster and lathe walls, locating studs is vital, as plaster can be brittle and the lath offers poor holding power; specialized plaster anchors or drilling into studs (if found) are best, and I recommend performing a small test drill in an inconspicuous area. For brick or concrete, you'll need a hammer drill and appropriate masonry anchors. Textured walls (like stucco or heavily painted surfaces) add another layer of complexity, as the texture itself can create tiny, inconsistent gaps, even with the best methods. Always match your hardware to your wall material for maximum security and minimal damage. When in doubt, consult a professional.
Can I commission custom art for a curved wall?
Absolutely, and it's often the most breathtaking solution! Many artists specialize in bespoke commissions, and an experienced artist will work with you to design a piece that not only complements your aesthetic but also specifically embraces the unique geometry of your curved wall. This could involve multi-panel works designed to wrap around the curve, murals painted directly onto the surface, or even relief sculptures that extend into the space. A custom piece ensures perfect harmony between the art and the architecture, making your wall a truly unique feature and a personal statement. I've seen custom installations transform entire rooms into immersive artistic experiences.
Is digital projection a viable option for curved walls?
Yes, it's a fantastic modern solution, especially if you love to change your art frequently! High-quality short-throw projectors can be used to project dynamic digital art directly onto a curved surface. This allows for incredible flexibility in content, scale, and even animation. While it requires an initial investment in projection equipment and carefully sourced digital art (or even creating your own!), it offers unparalleled versatility and zero physical impact on your wall. Digital art also presents interesting considerations around long-term digital preservation and ownership models, such as NFTs, which are still evolving. It's a truly immersive way to integrate art into a challenging space, turning your wall into a dynamic, ever-changing canvas.
Conquer the Curve: A Final Thought
Look, a curved wall can feel like a design puzzle, but it's really an invitation. An invitation to think differently, to be a little more inventive, and to ultimately create an art display that's genuinely unique to your space. It's not about forcing things to fit; it's about finding harmony between your art and your architecture. I've seen these walls transformed from daunting challenges into some of the most captivating features of a home. With the right tools, a bit of patience, and an open mind, you absolutely can conquer the curve and elevate your space into a living, breathing gallery. Go forth and create something beautiful! And if you're curious about abstract pieces that thrive in dynamic, curved environments, you can always explore some of my work on the /buy page. I'd also love to hear about your own curved wall art adventures – what challenges did you face, and what brilliant solutions did you discover? After all, every curve holds the potential for a masterpiece.