
Art in Rentals: Keep Your Deposit, Display Your Soul & Style Your Space
Unlock renter's art freedom! Master damage-free hanging, creative styling, and lease navigation to personalize your temporary home without losing your security deposit. Discover pro tips for a vibrant, art-filled rental.

The Renter's Art Revolution: Displaying Your Soul Without Losing Your Deposit
That sinking feeling when you realize your dream rental has walls that scream 'hotel room' and a lease that screams 'no drilling!' I know it well. For what feels like an eternity, I've been a renter, and that deflating moment when you walk into a new place with bland beige or aggressively sterile white walls just makes your creative spirit… sigh. All your beautiful art, the prints you've meticulously collected, the pieces that scream 'you' – they're often left in a sad, silent pile on the floor. But it doesn't have to be this way. I've learned, often the hard way, that true creativity in a rental isn't about rebellion; it's about ingenious circumvention. It's about empowering you to make a rental feel like your sanctuary. Together, we'll decode that mysterious lease, dive headfirst into brilliant damage-free techniques, and finally, unlock a world of creative alternatives that go far beyond traditional wall hanging. It's a win-win: a space that feels uniquely yours, and your full deposit back when it’s time to move on. This article will equip you with the knowledge and techniques to transform your rental into a personalized gallery without jeopardizing your deposit.
Why the frustration? The dreaded security deposit, of course. My personal nemesis once was a small, perfectly round nail hole. I remember once, in a fit of youthful exuberance (or perhaps just sleep deprivation), I decided a large, framed map of the world absolutely had to go on a prominent wall in my tiny studio apartment. My landlord, a sweet but stern woman, had delivered "the talk" about wall alterations. I nodded, smiled, and then promptly forgot, wielding a hammer with the confidence of a seasoned renovator. Six months later, during the move-out inspection, her gaze fixed on that undeniable, dime-sized mark. My security deposit took a hit, and I learned a very expensive lesson: creativity in a rental isn't about rebellion, it's about ingenious circumvention. And sometimes, it's about knowing your enemy – the lease – inside out. This costly lesson in 'reasonableness' became my catalyst for understanding the nuances of landlord expectations, and why it all begins with the cornerstone of any rental agreement: the lease itself.
But here's the thing I've learned after years of decorating temporary homes: making a rental feel like your own isn't about defying the rules. It's about getting creative within them. It's a puzzle, and honestly, it's kind of a fun one to solve. You don't have to live in a sterile box. You can surround yourself with art that makes you happy, and you can absolutely get that full security deposit back. Let's talk about how.
First, The Sacred Text: Understanding Your Lease
I know, I know. Nobody wants to read the lease. It's usually written in a language that only lawyers and robots understand, filled with jargon that makes your eyes glaze over. But here's the kicker: reading it is your first, best line of defense, and the key to unlocking your decorating freedom. Somewhere between the clauses about pet policies and parking restrictions, there will be a section on alterations to the property. Look for keywords like 'nails,' 'screws,' 'holes,' 'painting,' 'alterations,' 'fixtures,' 'modifications,' 'decorations,' 'improvements,' or 'restoration.' This is your first, and most crucial, step in planning your home decorating adventure.
Before you even sign that sacred text, take five minutes during your initial walk-through. Snap photos of any existing wall damage, no matter how tiny – seriously, every scuff, every faint mark. Ask about previous tenants' experiences with hanging art, and if possible, inquire about the wall material. This little bit of proactive sleuthing can save you a world of grief later.
Here’s what you might find, and what it generally means, often stemming from the overarching concept of "reasonable wear and tear" – a legal grey area we renters constantly navigate. Think of it this way: a tiny pinprick from a picture hook is often considered reasonable wear and tear in many jurisdictions; a gaping hole from trying to mount a plasma TV with a sledgehammer? Not so much. It's the difference between a scuff mark from carefully moving furniture and a deliberate, unrepaired gash, or even faint marks from adhesive residue if not removed correctly and completely. The definition of 'reasonable' can vary significantly by city, state, landlord, and even the type of property (e.g., a brand-new apartment vs. an older home with character). This makes thorough documentation at move-in and move-out absolutely crucial.
Consider these common clauses:
- "Minor cosmetic alterations vs. significant structural changes." This is where it gets tricky. A small nail hole for a picture? Probably cosmetic. Removing a wall-mounted light fixture and patching it poorly? That could be a structural alteration, incurring hefty charges. Be aware that what constitutes "cosmetic" can be interpreted differently, so always err on the side of caution.
- "Property must be returned in its original condition, minus reasonable wear and tear." This is the vague 'maybe.' While a tiny pinprick from a picture hook is often considered reasonable wear and tear, anything that requires more than a simple patch and paint touch-up (like a large anchor hole or a torn chunk of drywall) crosses into 'damage' territory. Damages that fall outside this 'reasonable' scope could include:
- Improper paint touch-ups that don't match the existing color or finish.
- Large holes from anchors not designed for the wall material.
- Significant gouges or tears in the drywall.
- Unapproved wallpaper removal that damages the underlying surface.
- Extensive staining (e.g., from candles, incense, or spills).
- Scratches on delicate surfaces from improper art removal. The difference between a carefully filled pinhole that blends seamlessly with the wall, and a glaring, poorly patched spot that stands out like a sore thumb, can cost you. Aim for invisible repairs.
- "No alterations of any kind are permitted." This is the hard 'no.' Don't even think about that hammer or drill. This usually means the landlord has specific reasons – fragile walls (common in older, historical buildings), a desire for pristine condition for high-turnover properties, or maintaining specific aesthetics. Violating this could mean hundreds, if not thousands, in deductions, or even legal action and potential eviction in severe cases. Always clarify before you do anything.
What if Your Lease is Silent? Always Ask, Always Document.
If you've scoured every line and there's absolutely no mention of hanging anything on the walls, your best bet is always to ask. Send a quick, polite email to your landlord asking for clarification. For instance: "Hi [Landlord's Name], I'm loving the apartment! I was wondering about hanging a few pieces of art. Are small nail holes generally permitted, provided I patch them neatly upon move-out?" Or, if you're planning a gallery wall with lighter pieces, "Would adhesive picture strips be acceptable for hanging lightweight frames, ensuring no wall damage upon removal?" This creates a paper trail and shows you're a responsible tenant who respects the property. Trust me, an email is gold if a dispute ever arises.
Quick Tips for Lease Review:
- Read before signing: Don't skim. Understand every clause about alterations.
- Document existing damage: Photos, photos, photos! Time-stamp them if possible.
- Clarify "reasonable wear and tear": Ask for specific examples if the lease is vague.
- Look for painting clauses: Is professional painting required at move-out? This impacts all wall alterations.
- Check for obscure language: "Fixtures," "modifications," or even "décor" can be red flags.
- Local laws are key: Always be mindful of local landlord/tenant laws. These can vary wildly from city to city, or state to state, and sometimes provide a baseline for what's considered 'reasonable' even if your lease is vague. A quick online search for '[tenant rights your city/state]' can be surprisingly enlightening. Please remember this article is for informational purposes only; consult local resources or legal counsel for specific legal advice.
Unleash Your Inner Artist: Brilliant Damage-Free Hanging Solutions
Now that we've deciphered the landlord's hieroglyphics and understood the playing field, let's dive into the exciting, liberating world of damage-free art display. This is where your inner art revolutionary truly thrives! These methods are your new best friends, and honestly, they've come a long way from the flimsy hooks of our parents' generation. The range of temporary solutions for personalizing your space is impressive now. Think of this as your renter's art toolkit, ready for any wall, any landlord. These clever approaches allow you to express your aesthetic without risking your security deposit.
Here's a breakdown of my favorite options for hanging art without nails:
Method  | Best For | Weight Limit (approx.) | Cost | Ease of Installation | Pros | Cons | Wall Type Suitability | Best for Aesthetics | Pro Tip |
|---|---|---|---|---|---|---|---|---|---|
| Adhesive Strips/Hooks | Small to medium frames, lightweight canvases, gallery walls, small decorative shelves, seasonal decor. | Up to 16 lbs / 7 kg (per large strip pair) | Low | Easy | Easy to apply and remove, leaves no trace if used correctly, widely available. | Must follow instructions perfectly, can fail in humid rooms (bathrooms, steamy kitchens), can damage delicate paint if removed improperly. | Best on smooth, clean, painted drywall (satin/semi-gloss). Caution on matte paints or textured surfaces (stucco, heavily textured plaster, some wallpapers). | Clean, modern look; invisible hanging. | Clean wall with rubbing alcohol, press firmly for recommended time, and pull down, not out, during removal. Test in an inconspicuous area! |
| Leaning Art | Large, heavy pieces; creating a casual, layered look on floors, consoles, or windowsills. | N/A (limited by surface stability) | Zero (if you have art) | Very Easy | Zero wall damage, effortlessly cool, easy to rearrange. Adds depth and a relaxed vibe to any apartment decor. | Takes up floor/surface space, can be knocked over by pets or kids, not ideal for tiny, high-traffic areas. | Works on any floor or sturdy surface. For rough walls like brick or concrete, use felt or silicone pads on frame backs to prevent scratching and protect the art. | Bohemian, curated, dynamic. | Use rubber stoppers or a small dab of museum putty on the back of frames to prevent slipping, especially on smooth floors. Layer smaller pieces in front for a dynamic composition. |
| Tension Rods | Lightweight prints, textiles, banners, hanging art in alcoves or between walls (e.g., within a window frame, across a doorway, or even vertically to create faux wall dividers). | Up to 5-10 lbs / 2-4 kg | Low | Easy | No damage, adjustable, great for awkward spaces like doorframes or window recesses. Can create temporary room dividers. | Only works between two opposing surfaces, limited weight capacity, can slip if not securely tensioned. | Best on smooth, parallel surfaces within alcoves or frames. Can be tricky on highly textured or uneven surfaces. | Minimalist, architectural. | Look for spring-loaded tension rods for easy installation. Use S-hooks to hang framed art or clips for fabric pieces. Ensure adequate tension to prevent slippage. |
| Picture Rail Molding | Homes with existing picture rails (common in older buildings, particularly Victorian or Craftsman). | Up to 25-50 lbs / 11-22 kg (per hook) | Medium (for hooks/wires) | Easy (if molding exists) | Designed specifically for art, very secure, adds historic character. Allows for easy rearrangement without new holes. | Useless if you don't have the molding; finding compatible hooks can be a slight hunt. | Requires existing picture rail molding. Ideal for plaster, drywall, or even wood paneling, as it bypasses direct wall attachment. | Classic, elegant, flexible vertical displays. | Invest in good quality brass or steel picture rail hooks and coordinating wires. This is the ultimate damage-free solution for period homes, often allowing for flexible vertical arrangements. |
| Adhesive Putty | Unframed posters, photos, very light paper art, small decorations. | Very low (often less than 1 lb / 0.5 kg) | Very Low | Very Easy | Reusable, cheap, good for irregular shapes, nearly invisible. | Can leave oily stains on some papers/walls over time, especially with prolonged use or heat. Not very strong, prone to letting art fall. | Best on smooth, non-porous surfaces. Use extreme caution on delicate paint, wallpaper, or unsealed plaster, as it can lift or stain. | Discreet, temporary, playful. | Place a small piece of wax paper or non-acidic masking tape on the back of the artwork where the putty will go to prevent stains. Roll, don't peel, to remove. |

My go-to is almost always adhesive strips (like the popular Command strips!). I've hung entire gallery walls with them, creating a fantastic effect. The trick, and I cannot stress this enough, is to clean the wall with rubbing alcohol first and press firmly for the recommended time. Don't skip these steps! Trust me on this; I've learned the hard way that impatience here costs you art on the floor (and sometimes a bit of paint). If removed improperly, pulling them straight out instead of down, you risk ripping off paint, especially on matte finishes, which tend to be more porous and less durable than satin or semi-gloss paints.
Adhesive Strips and Wall Textures: Your Non-Negotiable Test
Before you go wild with those strips, a quick word of caution about wall textures and paint finishes. Adhesive solutions generally work best on smooth, clean, painted drywall with a semi-gloss or satin finish. Matte paints can sometimes be delicate, and highly textured walls (like knockdown or popcorn finishes) might not provide a stable enough surface for adhesives to bond properly because the uneven surface creates air gaps that prevent full adhesion, or the texture itself can easily peel. This also brings up the point about delicate wall surfaces like heavily textured plaster or even some older wallpapers. Adhesives often struggle to get a secure grip on uneven surfaces, and removal can be tricky, potentially lifting paint or wallpaper. In these cases, leaning art, using tension rods, or seeking out existing picture rails are often your safest bets. Always, always test a strip in an inconspicuous area (behind a door, inside a closet, or even behind a large piece of furniture that rarely moves) for a few days before committing to your masterpiece. Your future self (and security deposit) will thank you. I once tried to hang a piece on an old, crumbly plaster wall with a flat paint, and let's just say gravity won that battle swiftly.
Art on Fabric or Textured Surfaces: A Creative Challenge
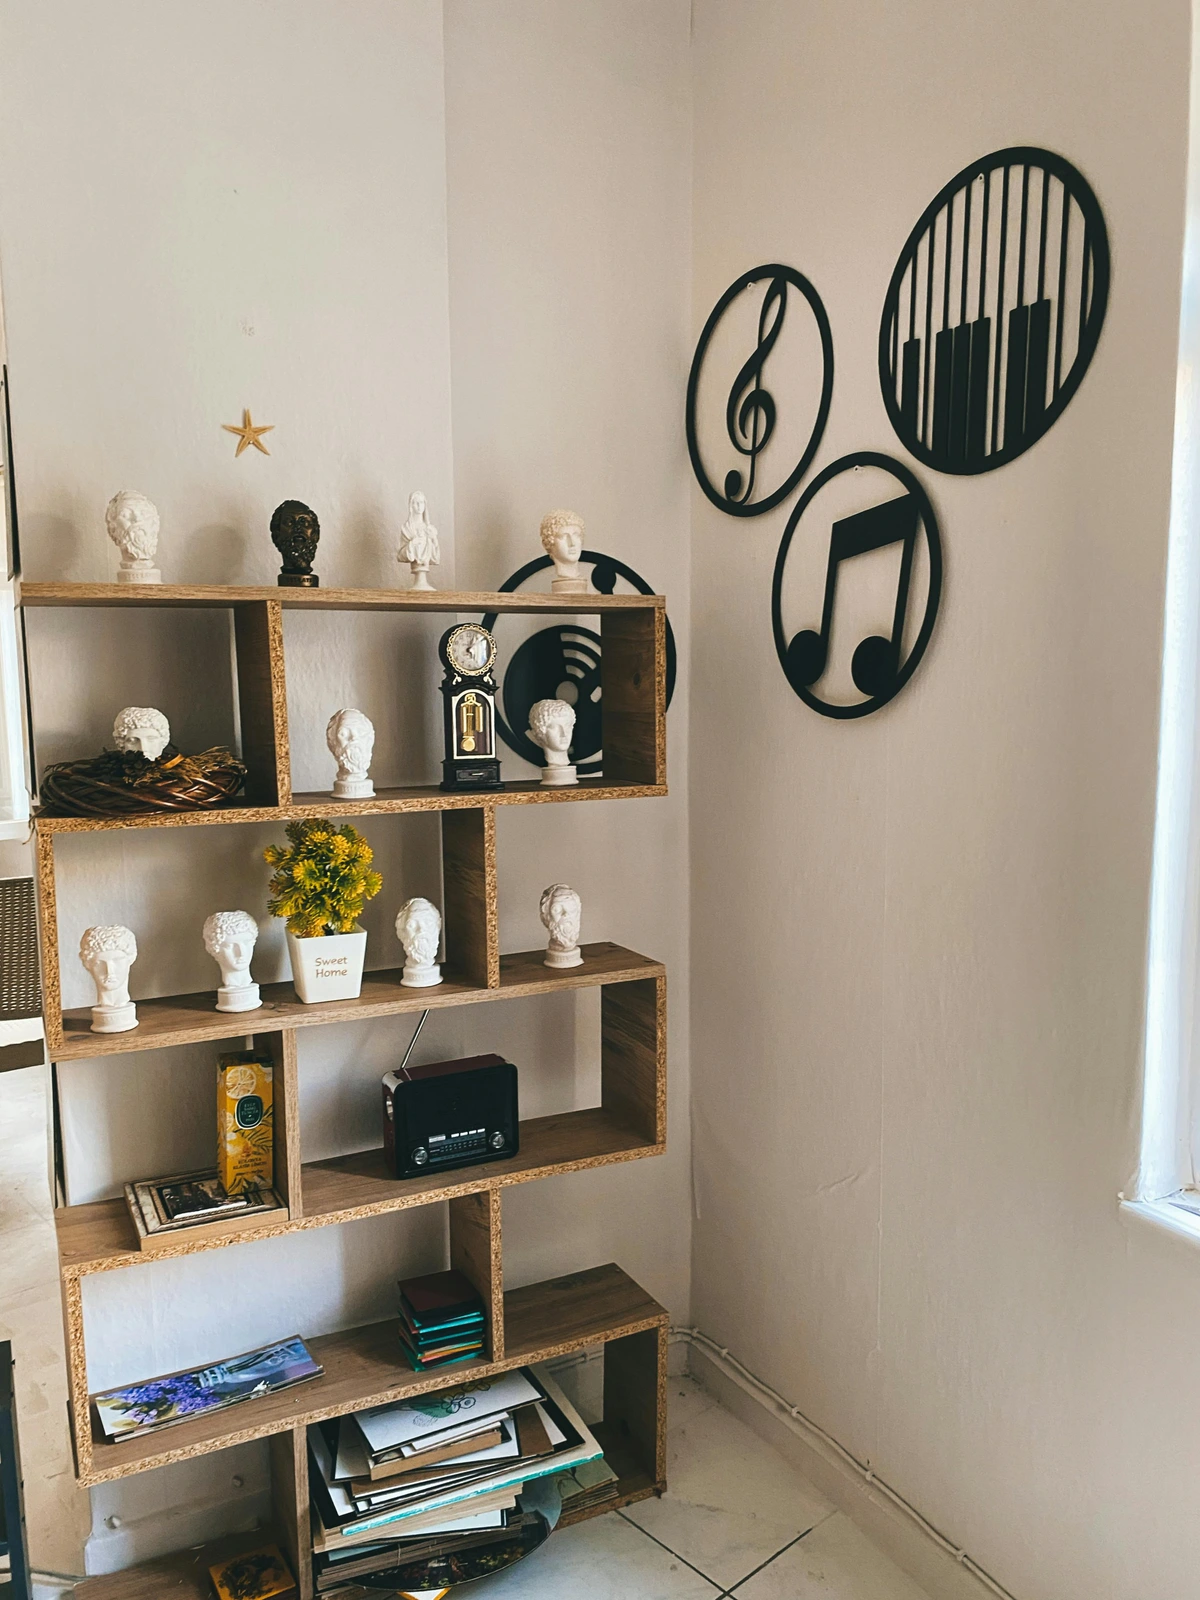
When traditional adhesives or nails just won't do on delicate wallpapers or deeply textured fabrics (think upholstered walls, yes they exist!), don't despair. Consider removable wall decals or static cling vinyl art that adheres without sticky residue. These are perfect for temporary bursts of pattern or imagery. For textile art that needs a more solid hold, explore temporary fabric adhesives (always test first in an unseen area!) or even magnet-based systems if you can discreetly place a metal plate behind the fabric. The key here is low-impact and easily reversible. You might also look into custom-made fabric art panels that use a tension rod or a lightweight frame that can be leaned. For very delicate wallpapers, especially vintage ones, any adhesive risks damage. Leaning art, using freestanding easels, or tension rods (if applicable) are almost always the safest bets. Sometimes, a beautiful fabric wall hanging with a lightweight tension rod and S-hooks is both stylish and entirely damage-free.

The Tiny Trace Tactic: When Minimal Damage is Okay
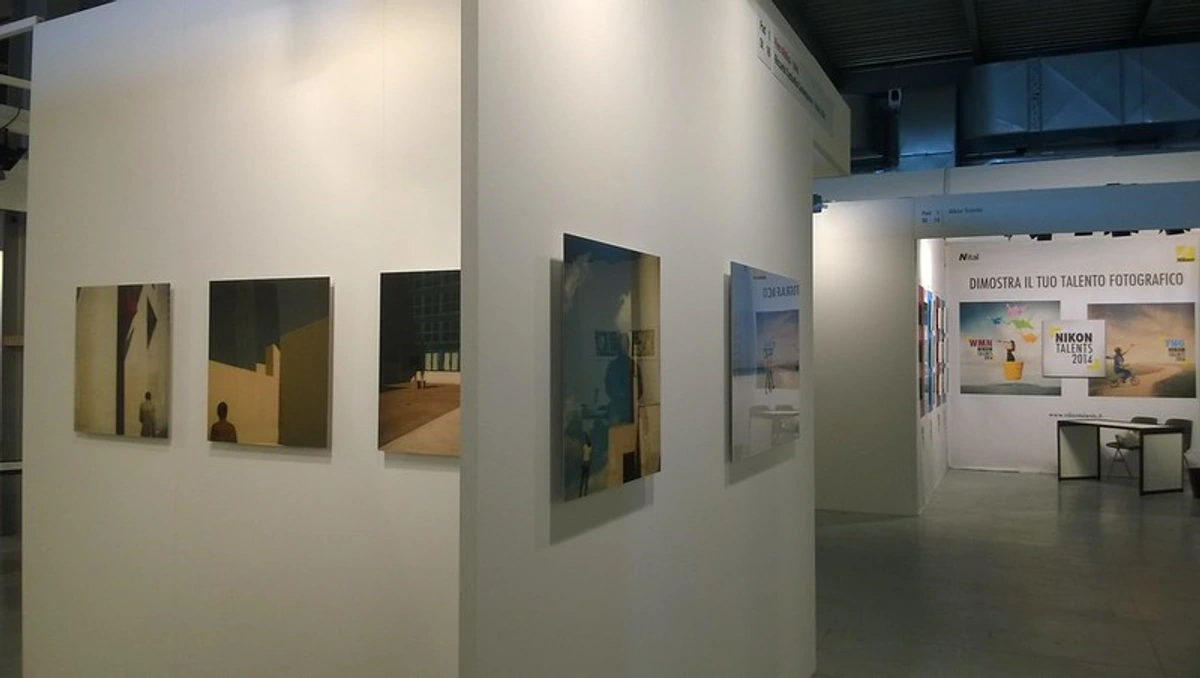
Let's say your lease is cool with small holes, as long as you patch them. This opens up a few more possibilities without going full-on construction mode. Remember, this isn't free rein to go wild; it's permission for minimal, repairable damage. These are fantastic for hanging art on drywall or even plaster walls.
Here are some of my preferred minimal-damage hangers:
- Small Picture Hangers: These are the classic, discreet little brass hooks with a tiny nail. They leave a pinprick-sized hole that's incredibly easy to fill later. They're inexpensive and can hold a surprising amount of weight for their size, making them a reliable choice for most framed pieces.
- Monkey Hooks / Hercules Hooks: These look a bit like a twisted paperclip, but they're brilliant for drywall. You just push them into the wall (no tools needed!), and they curve upwards to lock in place behind the drywall, much like a tiny, strong anchor. They can hold a surprising amount of weight – often up to 50 pounds (22 kg) for the heavier versions – and leave only a tiny, easily patchable hole. A true hidden gem in the renter's toolkit.
The Art of Patching: Making Holes Vanish (Like Magic, But Science)
When you move out, don't panic about those tiny holes. It's not a major renovation, but rather a small cosmetic fix – or, as I like to call it, minor wall surgery. Here's a simple, bullet-proof method to make those pinpricks disappear:
- Gather Your Arsenal: You'll need a small tub of lightweight spackle (this is crucial – it's far easier to apply, sand, and blend than heavy joint compound, which is usually for larger, more structural repairs), a small flexible putty knife (or a clean credit card in a pinch), and if possible, a small amount of the wall paint for touch-ups. I usually ask for a small sample pot from the landlord when I move in, just in case. They rarely say no, and it's a huge time-saver. Don't forget fine-grit sandpaper (220-grit or higher) for a smooth finish.
- Clean the Area: Gently wipe away any dust or debris around the hole.
- Apply Spackle: Use the putty knife to apply a small dab of spackle directly over the hole. Hold the knife at a shallow angle (around 30-45 degrees) and press gently into the hole, ensuring it fills completely.
- Scrape Flat: Immediately use the putty knife (or credit card) to scrape off any excess spackle, leaving a smooth, flat surface level with the wall. The goal is to make it as invisible as possible at this stage.
- Let It Dry: Give the spackle ample time to dry, usually a few hours or as per product instructions. It often changes color slightly when dry (e.g., from pink to white).
- Light Sand (Crucial for Seamless Blending): Use a piece of fine-grit sandpaper (220-grit or higher) to gently smooth the patched area. Wipe away any dust. My biggest patching mistake? Over-sanding. You end up with a perfectly smooth, often shiny patch that stands out against a slightly textured wall. The goal is seamless, not distinct. Always check your work by shining a light source at an angle across the patched area – this will reveal any imperfections.
- Paint: Dab a small amount of matching wall paint over the patched area. Feather the edges slightly to blend it with the surrounding wall. Just like that, the hole is gone – thanks to a little science and elbow grease. Your landlord will be none the wiser, and your deposit will be safe.
Beyond the Canvas: Rethinking Your Rental's Art Potential
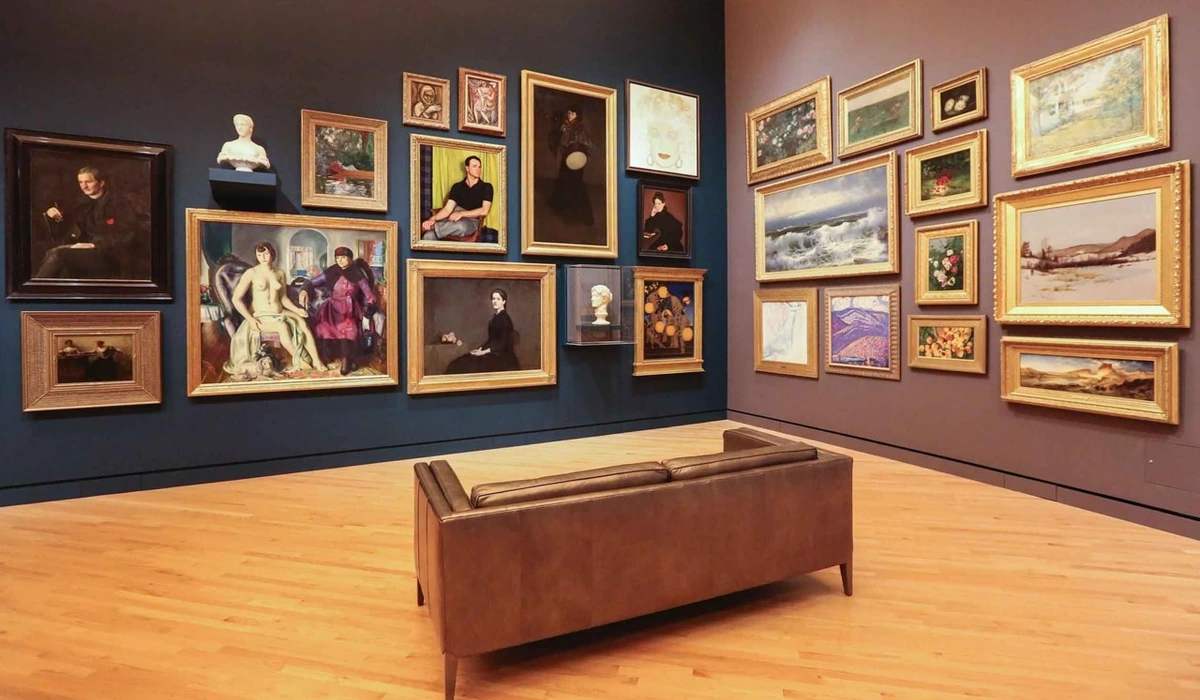
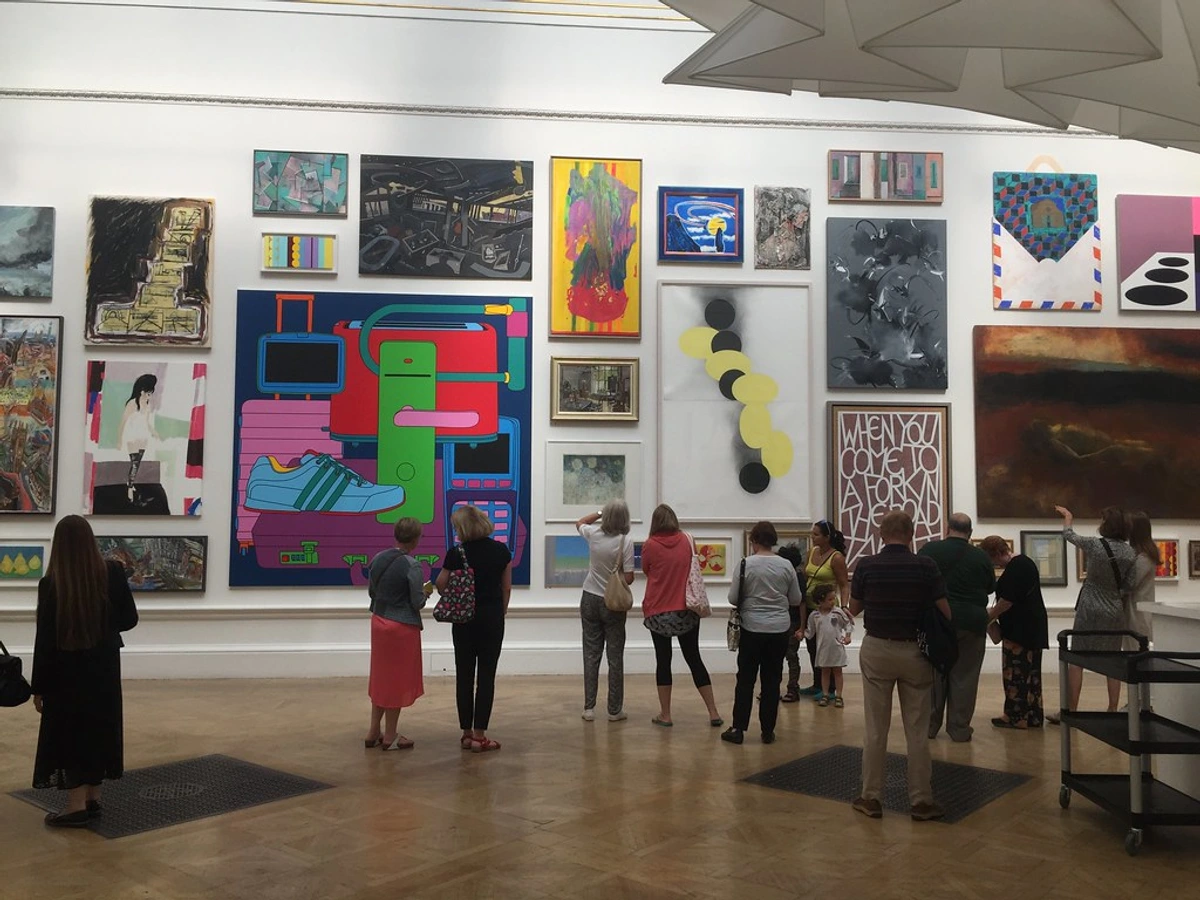
Who said art has to go on the wall? Some of the most interesting and sophisticated displays use the entire space as a canvas, leveraging existing features to create striking art installations without permanent changes. This is where your inner curator truly shines. We're moving beyond traditional hanging to embrace a more holistic and flexible approach to bringing art into your temporary home.
Rental-Friendly Art Itself: Choose Wisely
While any piece can find a home, some are simply easier to manage in a temporary space. "Rental-friendly" doesn't mean cheap art, but rather art with properties that make it easier to display, move, and protect without permanent alterations. Think about unframed prints (lightweight paper prints, often affordable) or canvas art (stretched canvas over a wooden frame, relatively light for its size) which are lightweight and can lean easily. Art mounted on rigid boards (like Dibond, aluminum composite material, or even sturdy foam core) is also sturdy for leaning or temporary adhesives and offers excellent durability and a sleek, modern look. Glass-fronted frames, while beautiful, add weight and a breakable element, making them less ideal for precarious leaning or high-traffic areas. And consider textile art (macrame, woven hangings), which often needs minimal, easily concealed hooks or rods. Ultimately, if you're worried about damage, the less fragile the art, the better.
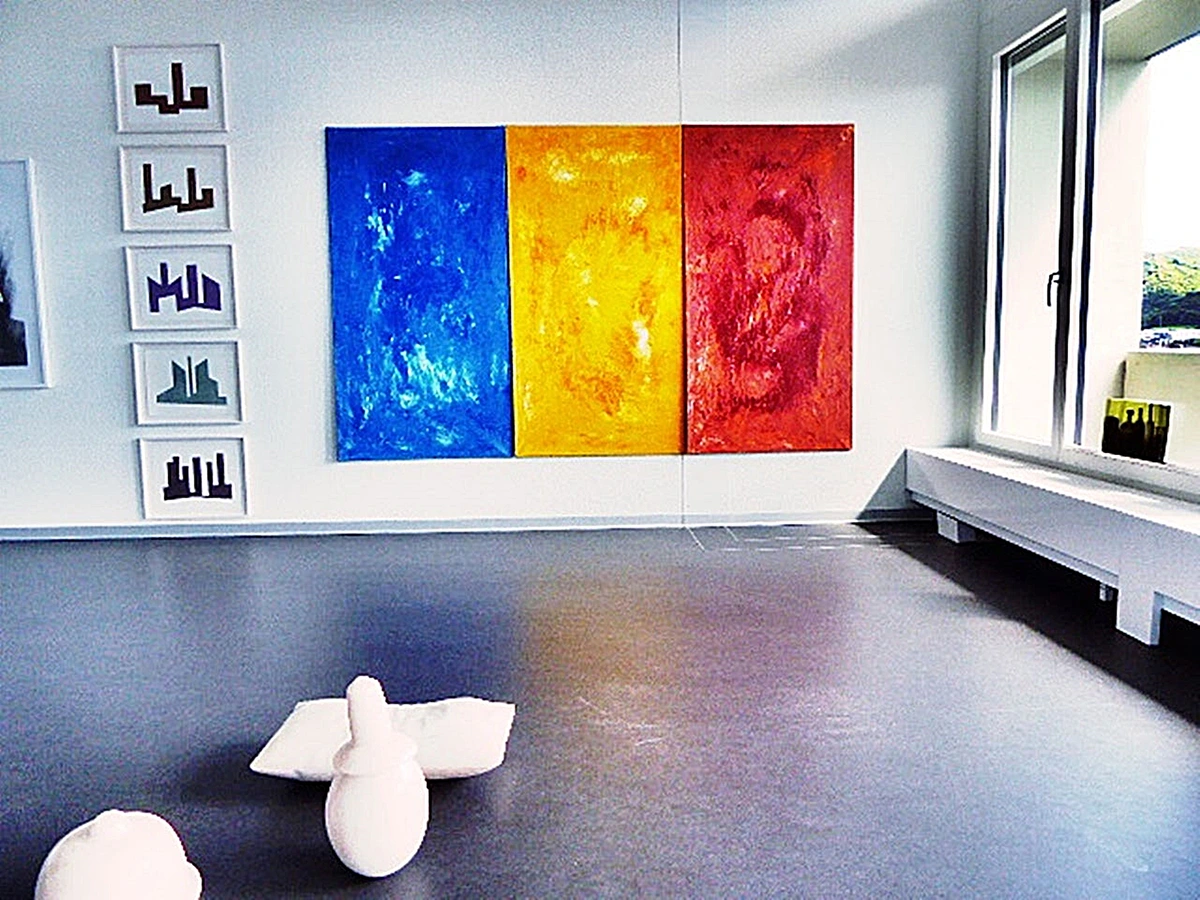
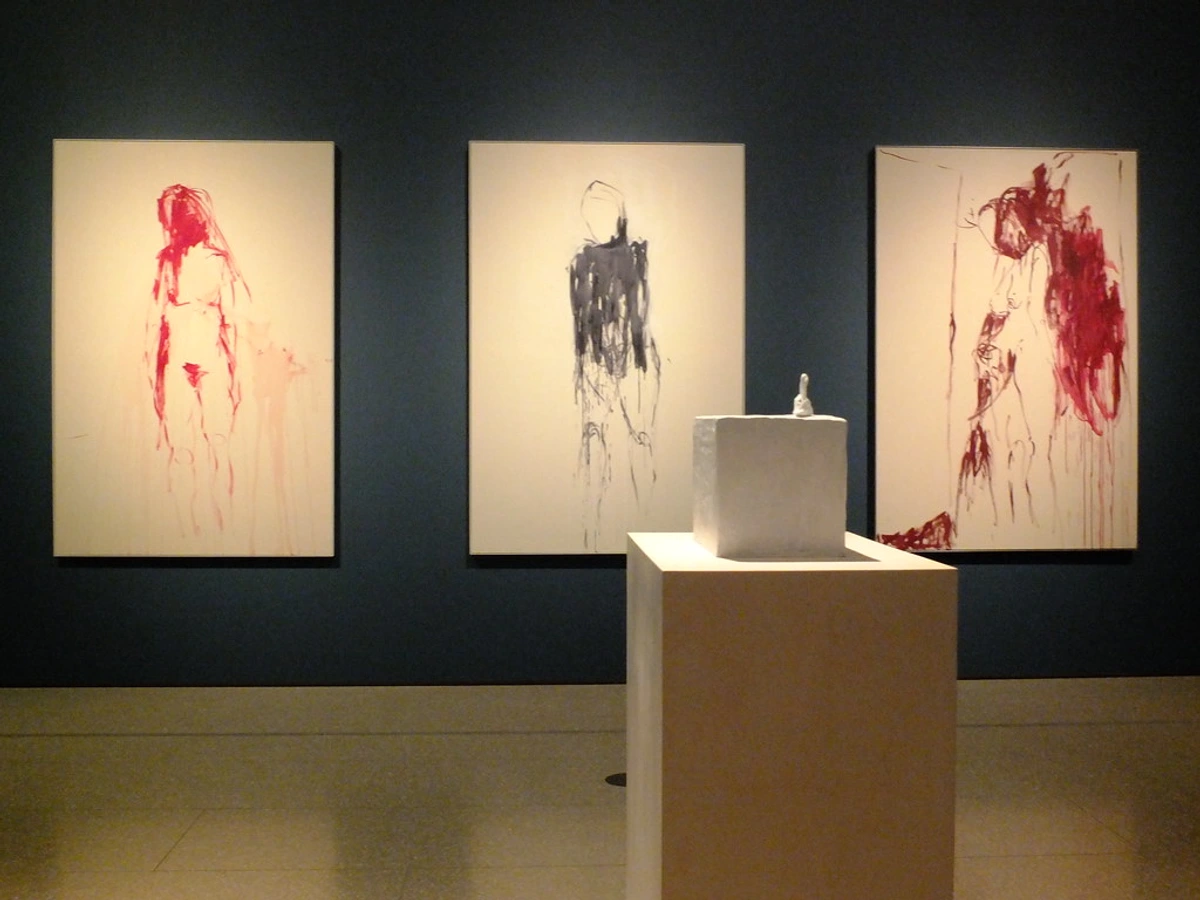
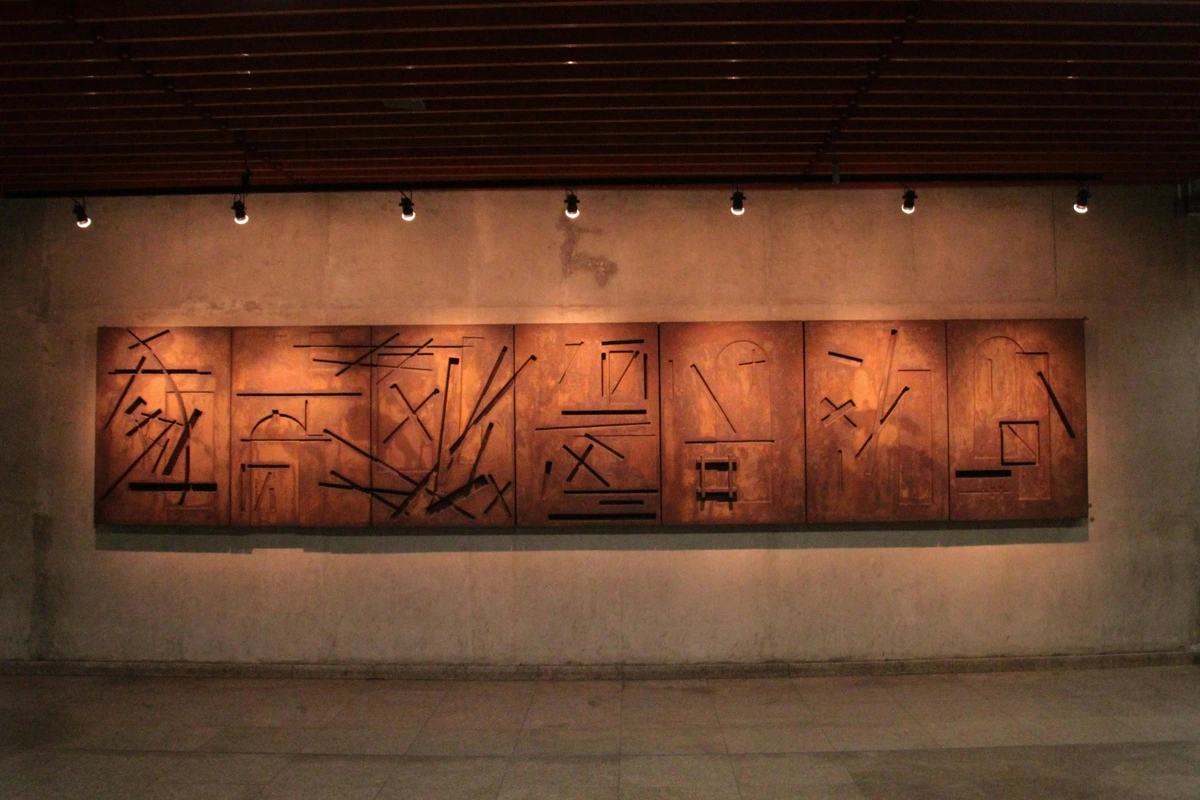
Consider also the style of the art itself. Minimalist or modular art pieces (like diptychs or triptychs that can be arranged in different configurations) are inherently more adaptable to changing spaces and easier to transport. Abstract art, with its often non-literal nature, can also be very forgiving in various room aesthetics and sizes – perfect for a dynamic renter's home. Pieces like https://images.zenmuseum.com/art/630/picture.jpg or https://images.zenmuseum.com/art/535/scan.jpeg?version=20-6-2023 with their vibrant colors and adaptable forms are ideal for this. Art that is less dependent on specific lighting or viewing angles is also a good bet for rentals where you have less control over the environment.

Bookshelves & Mantels: Creating Vignettes
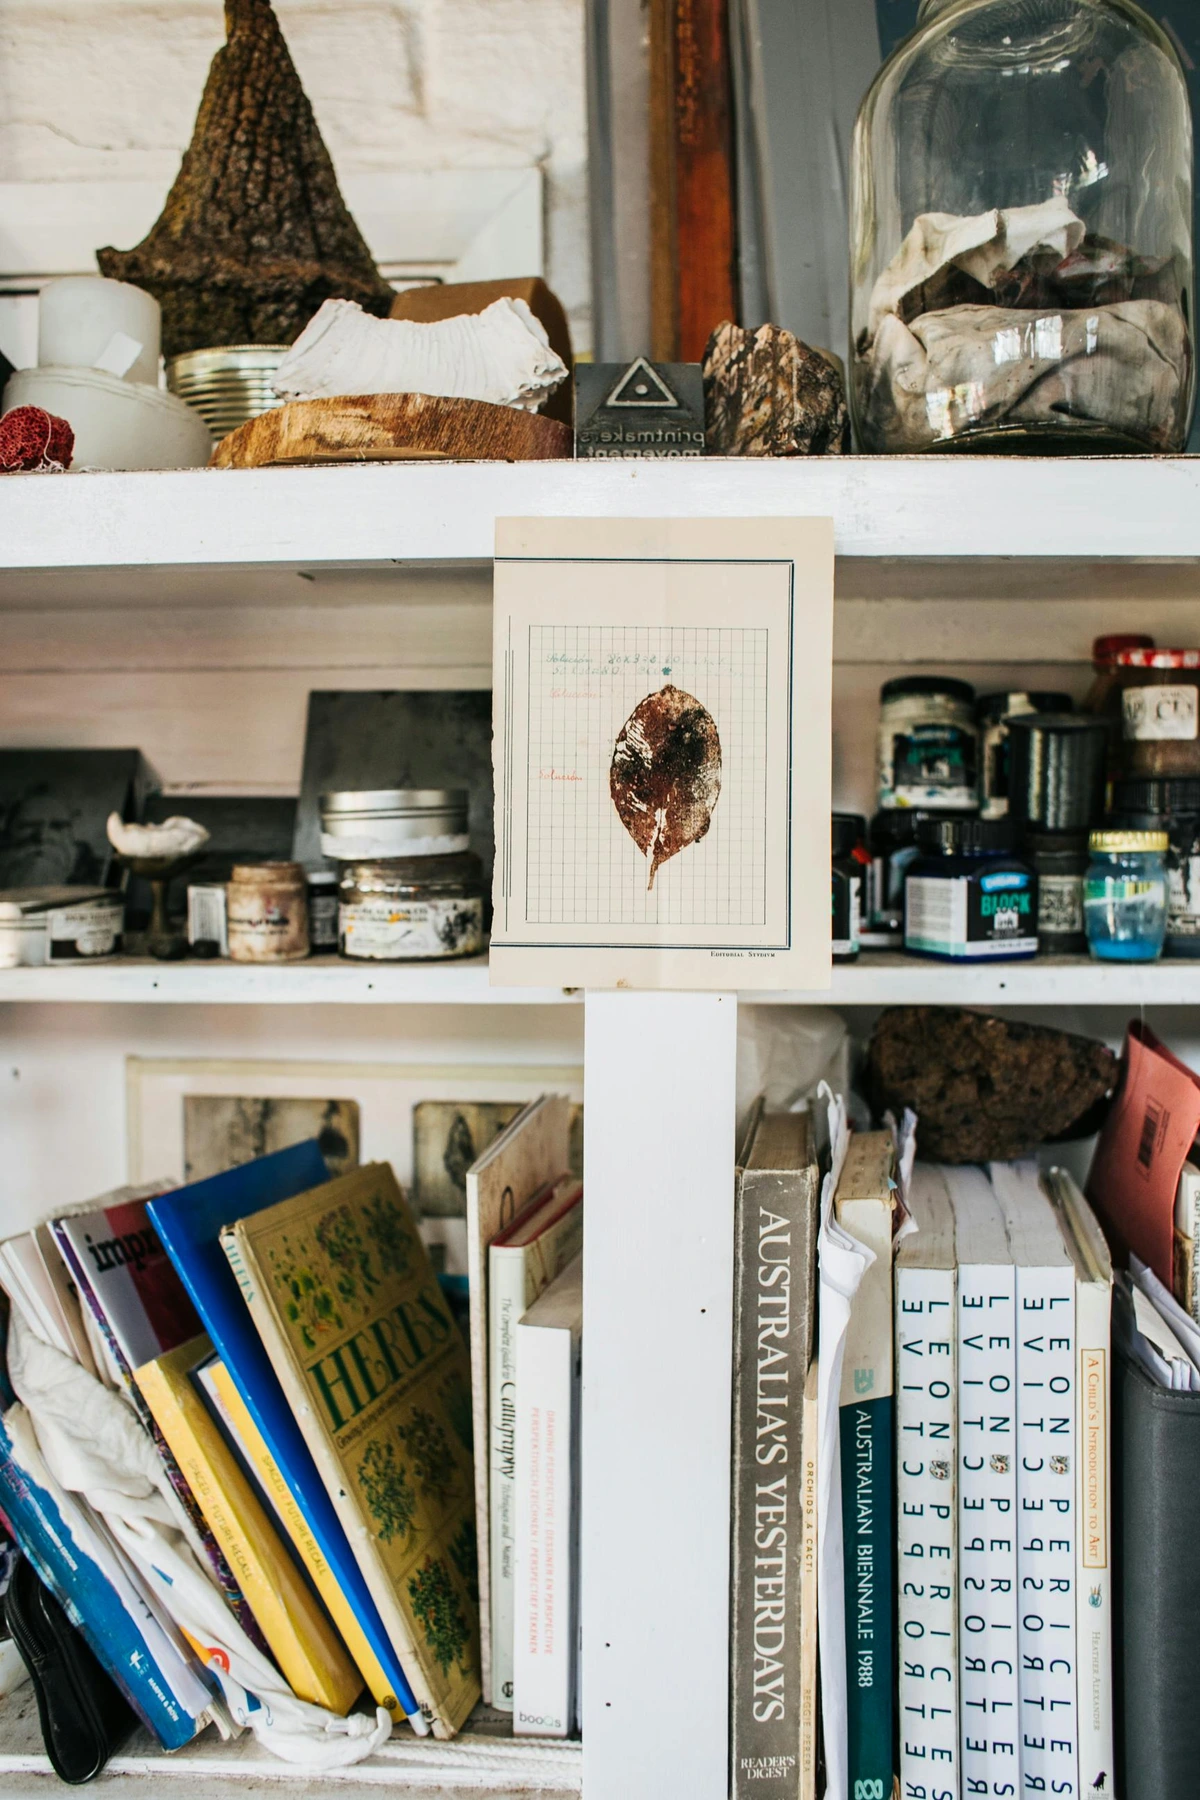
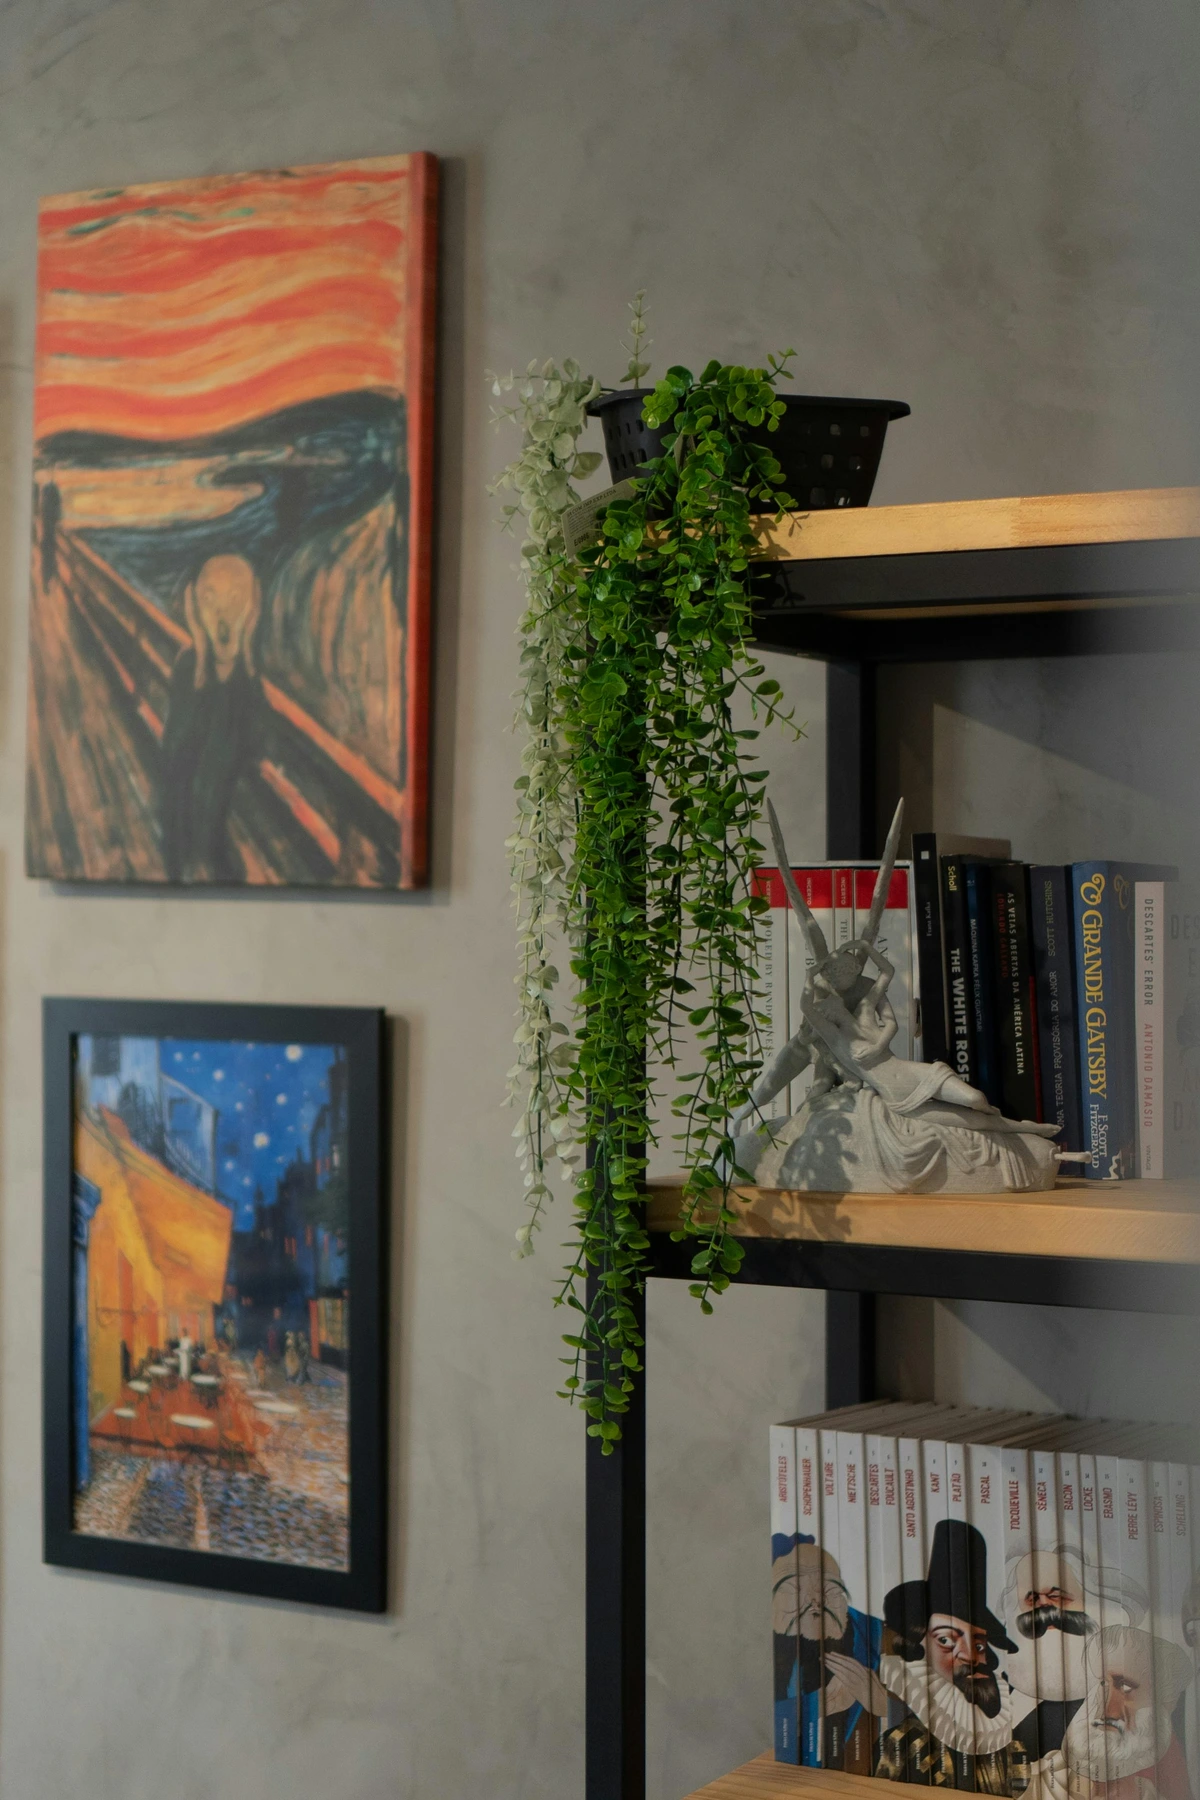
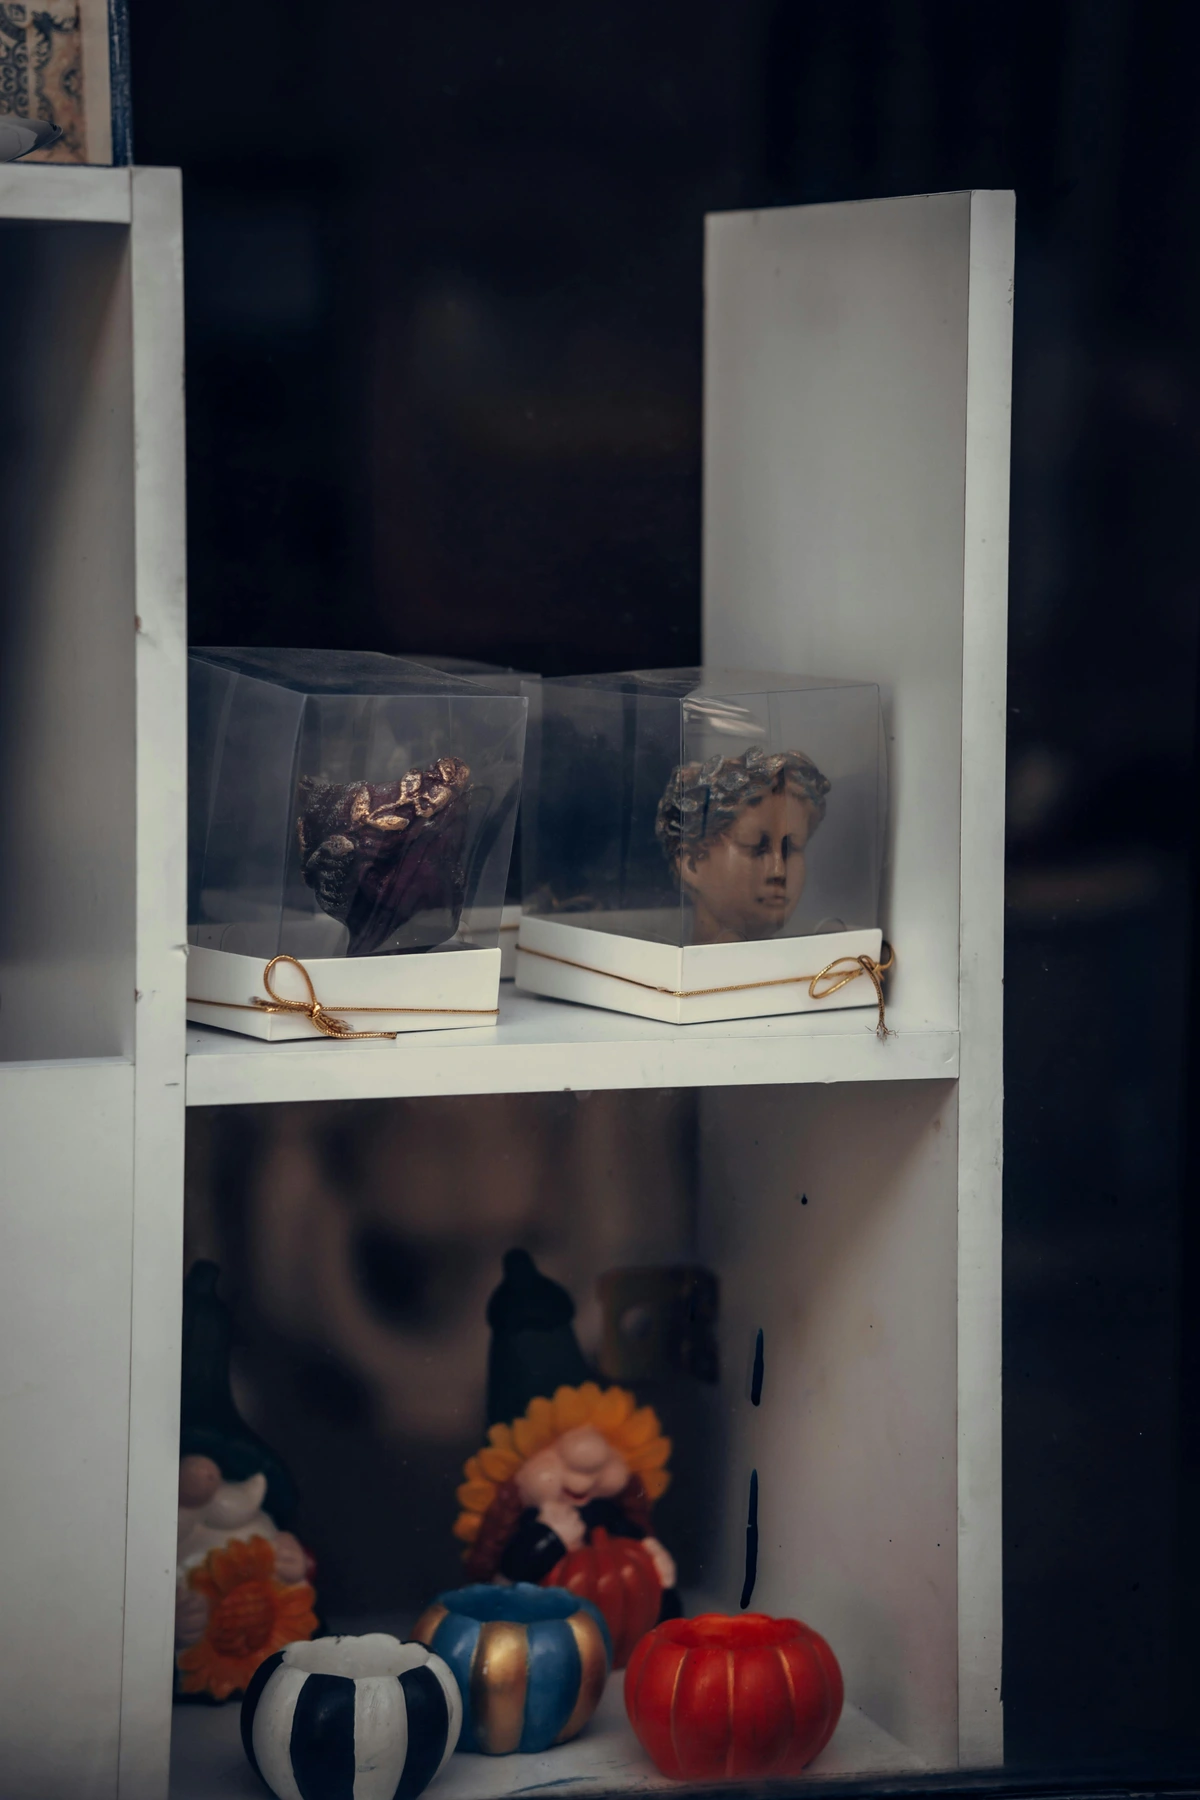
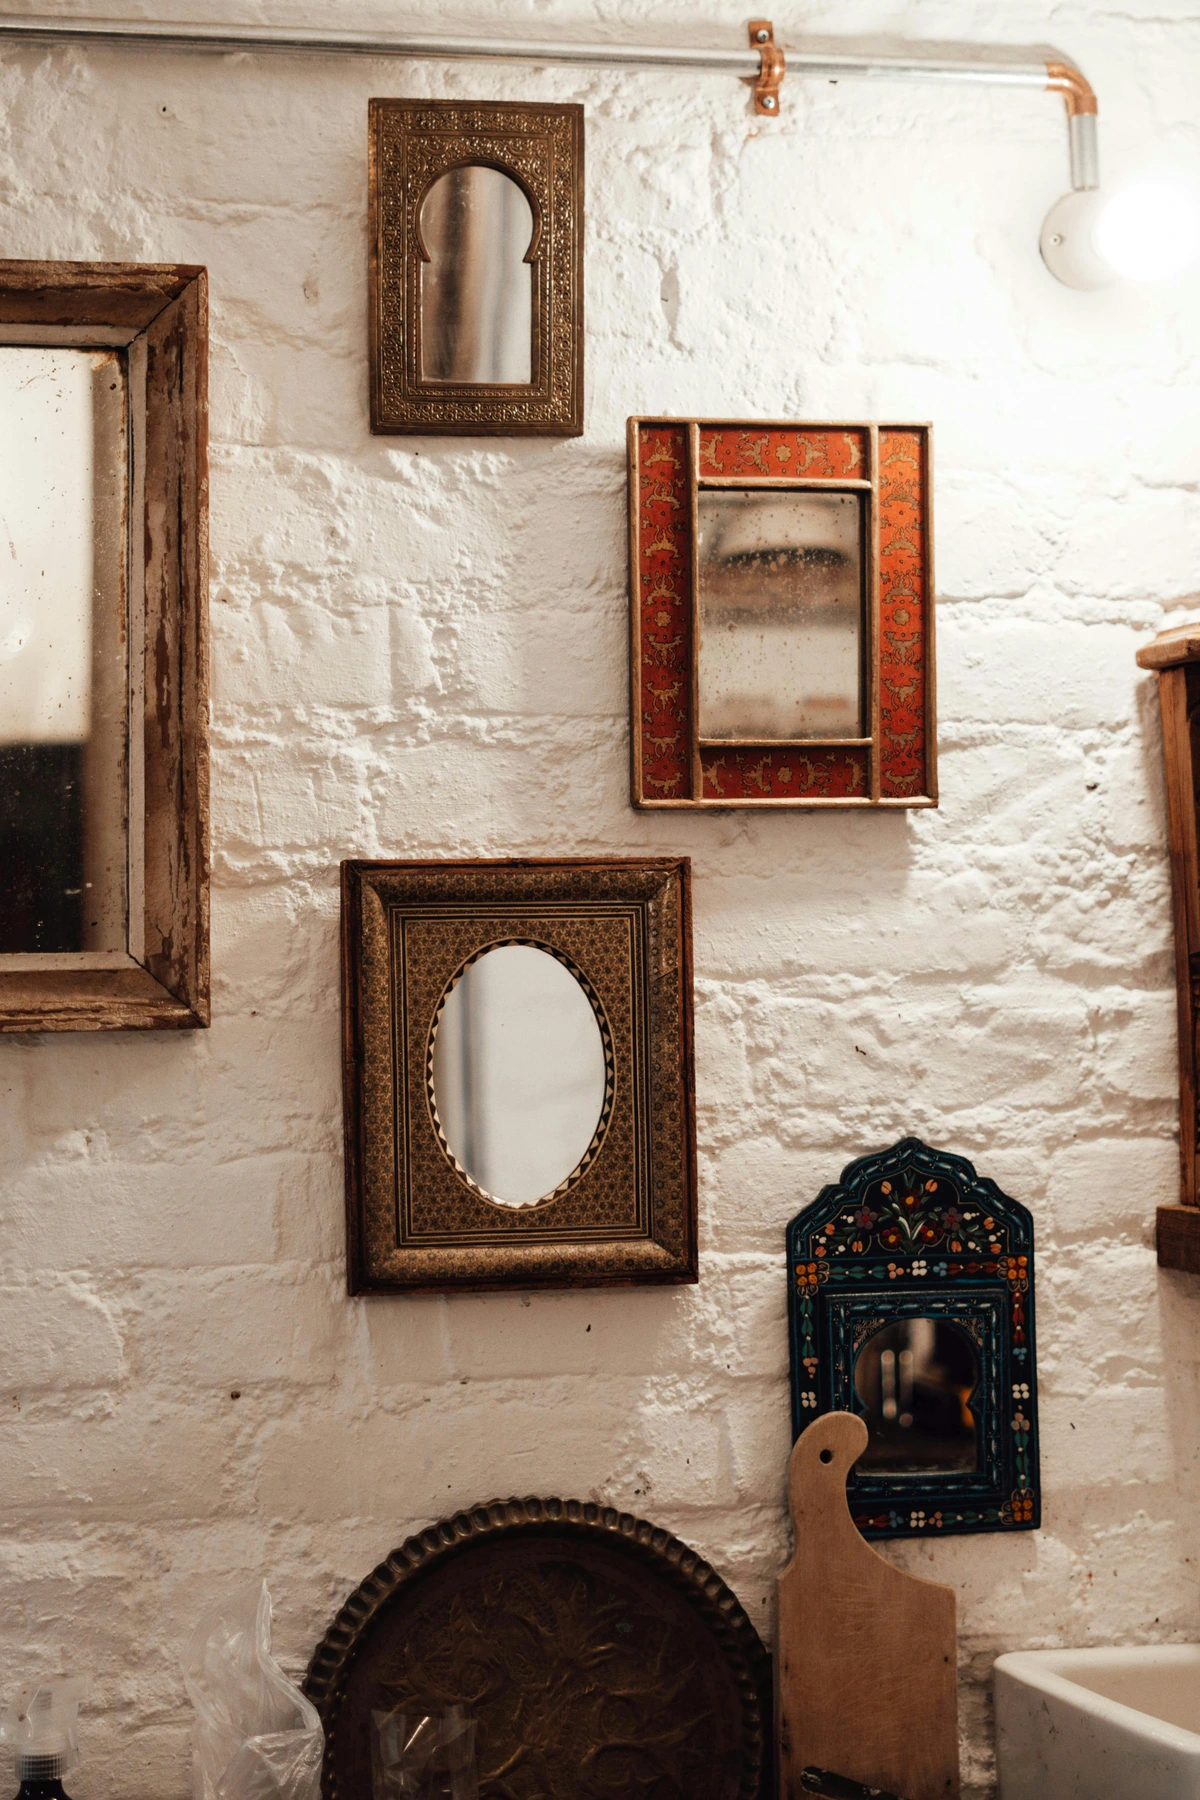
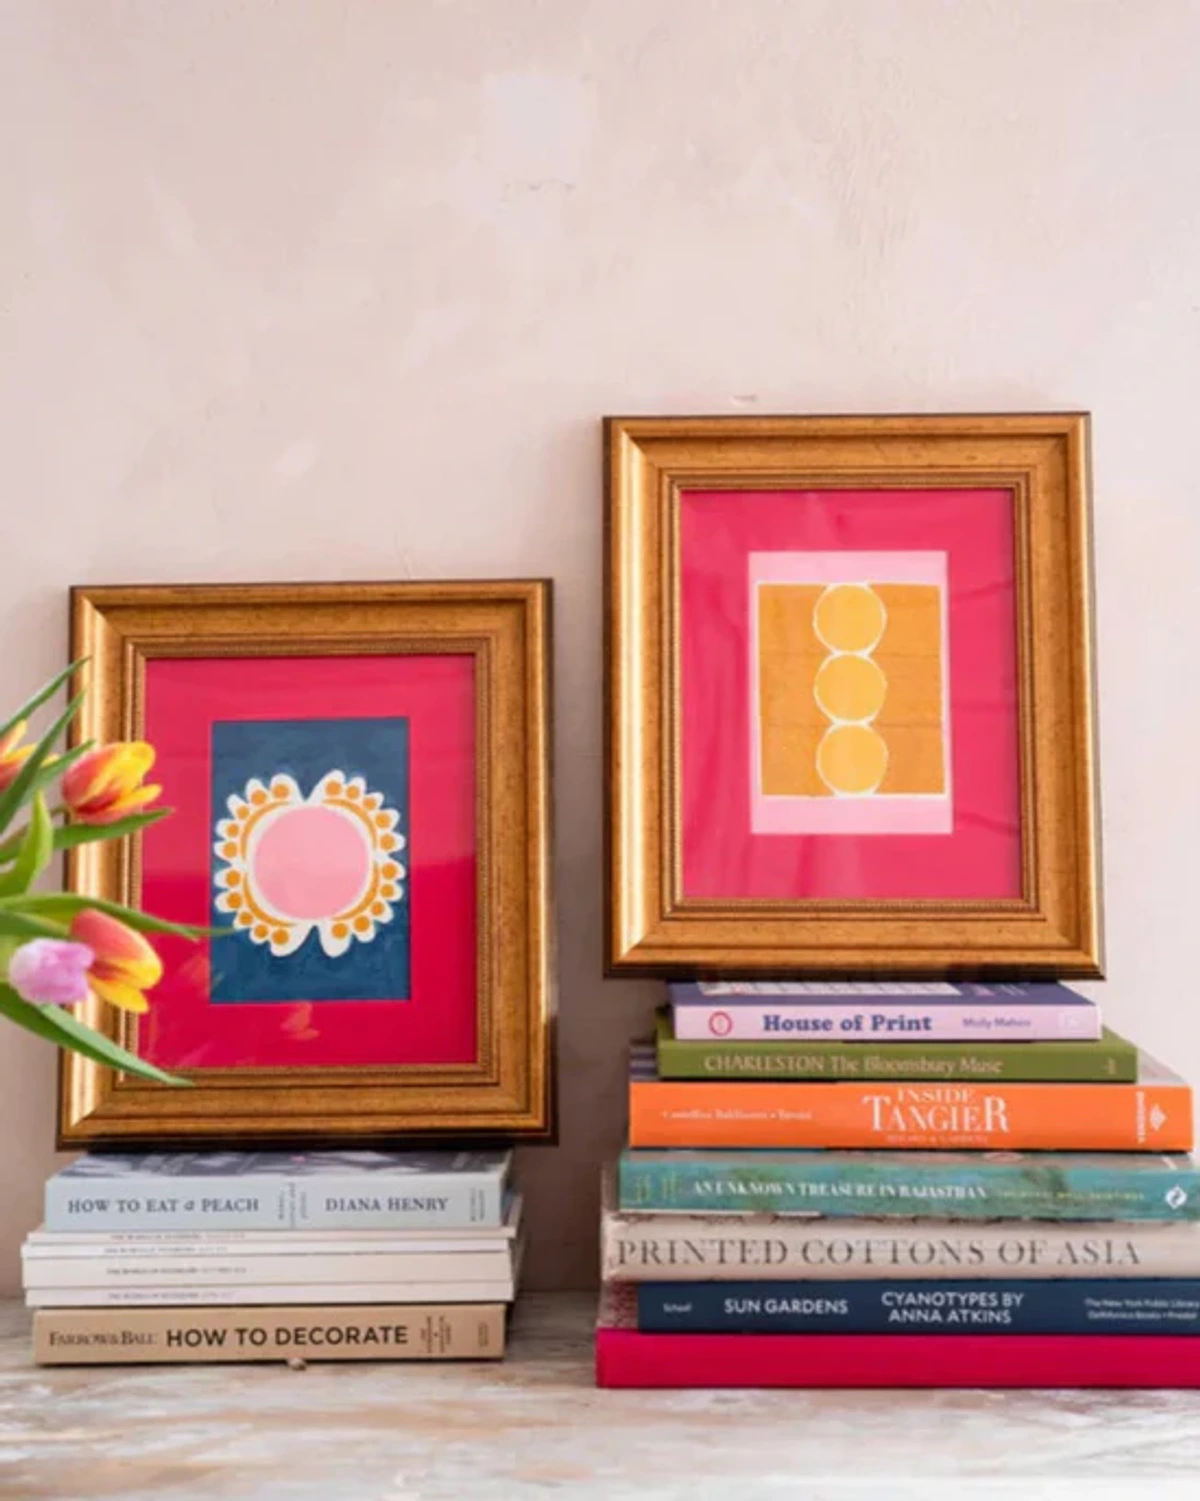
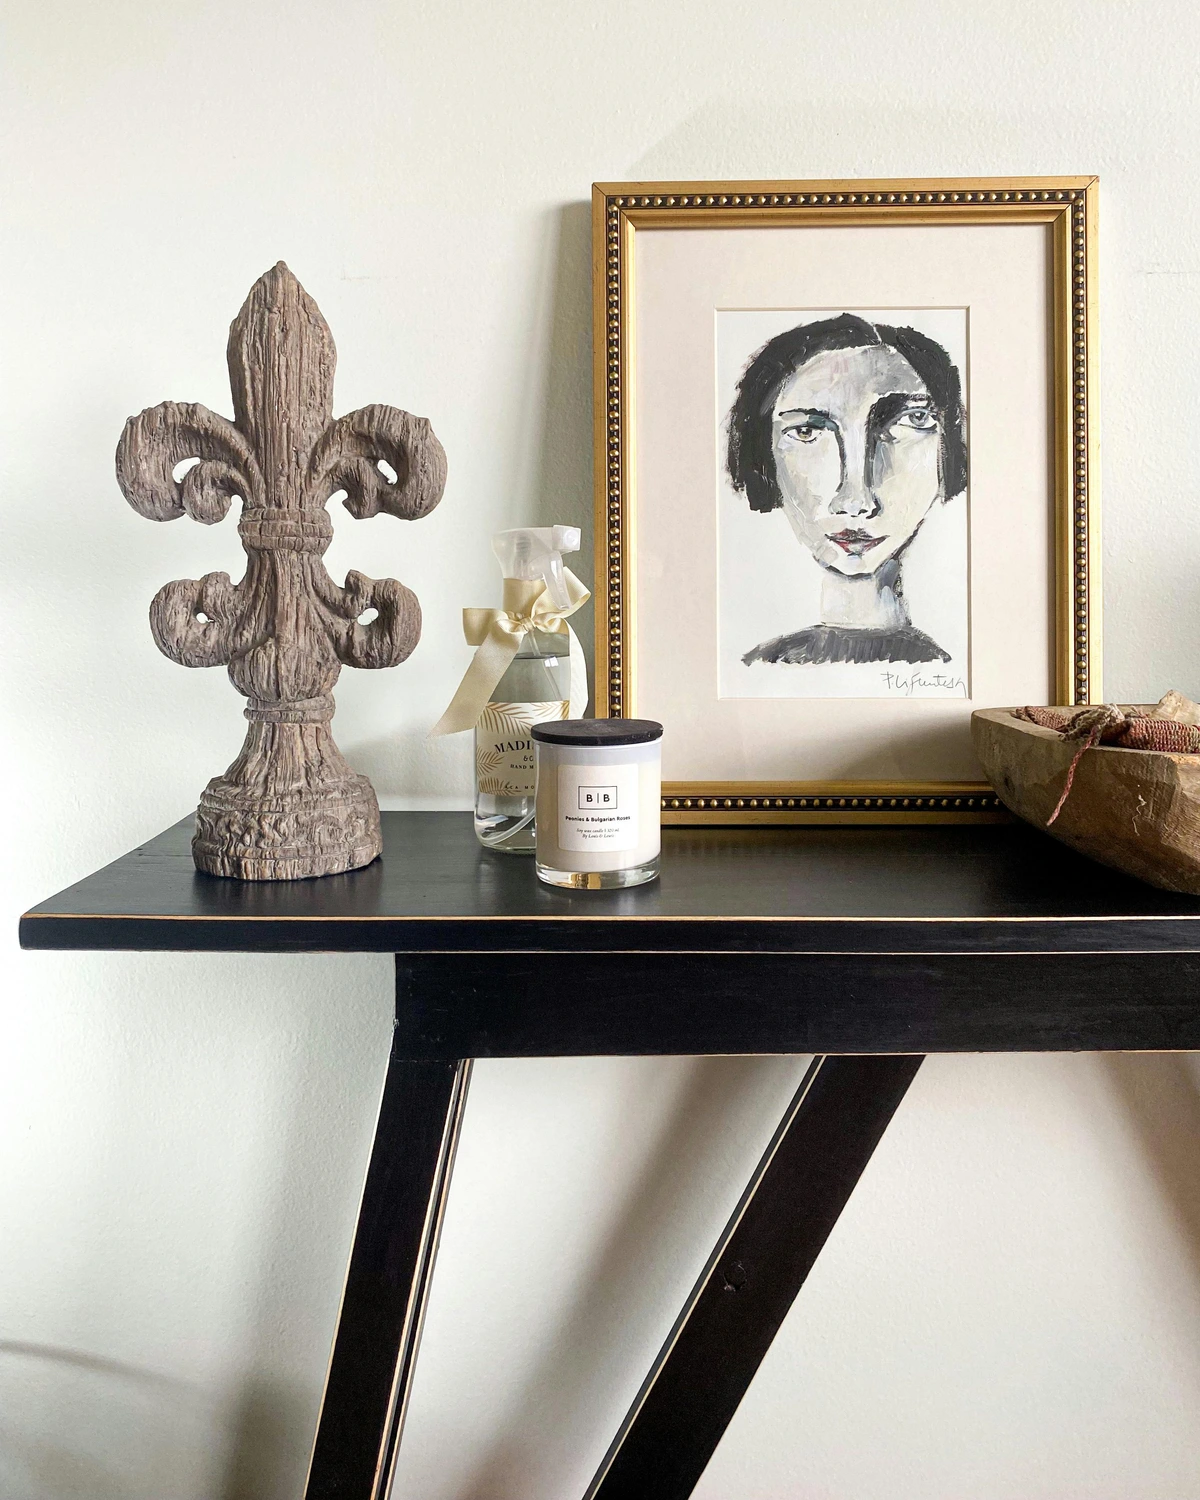
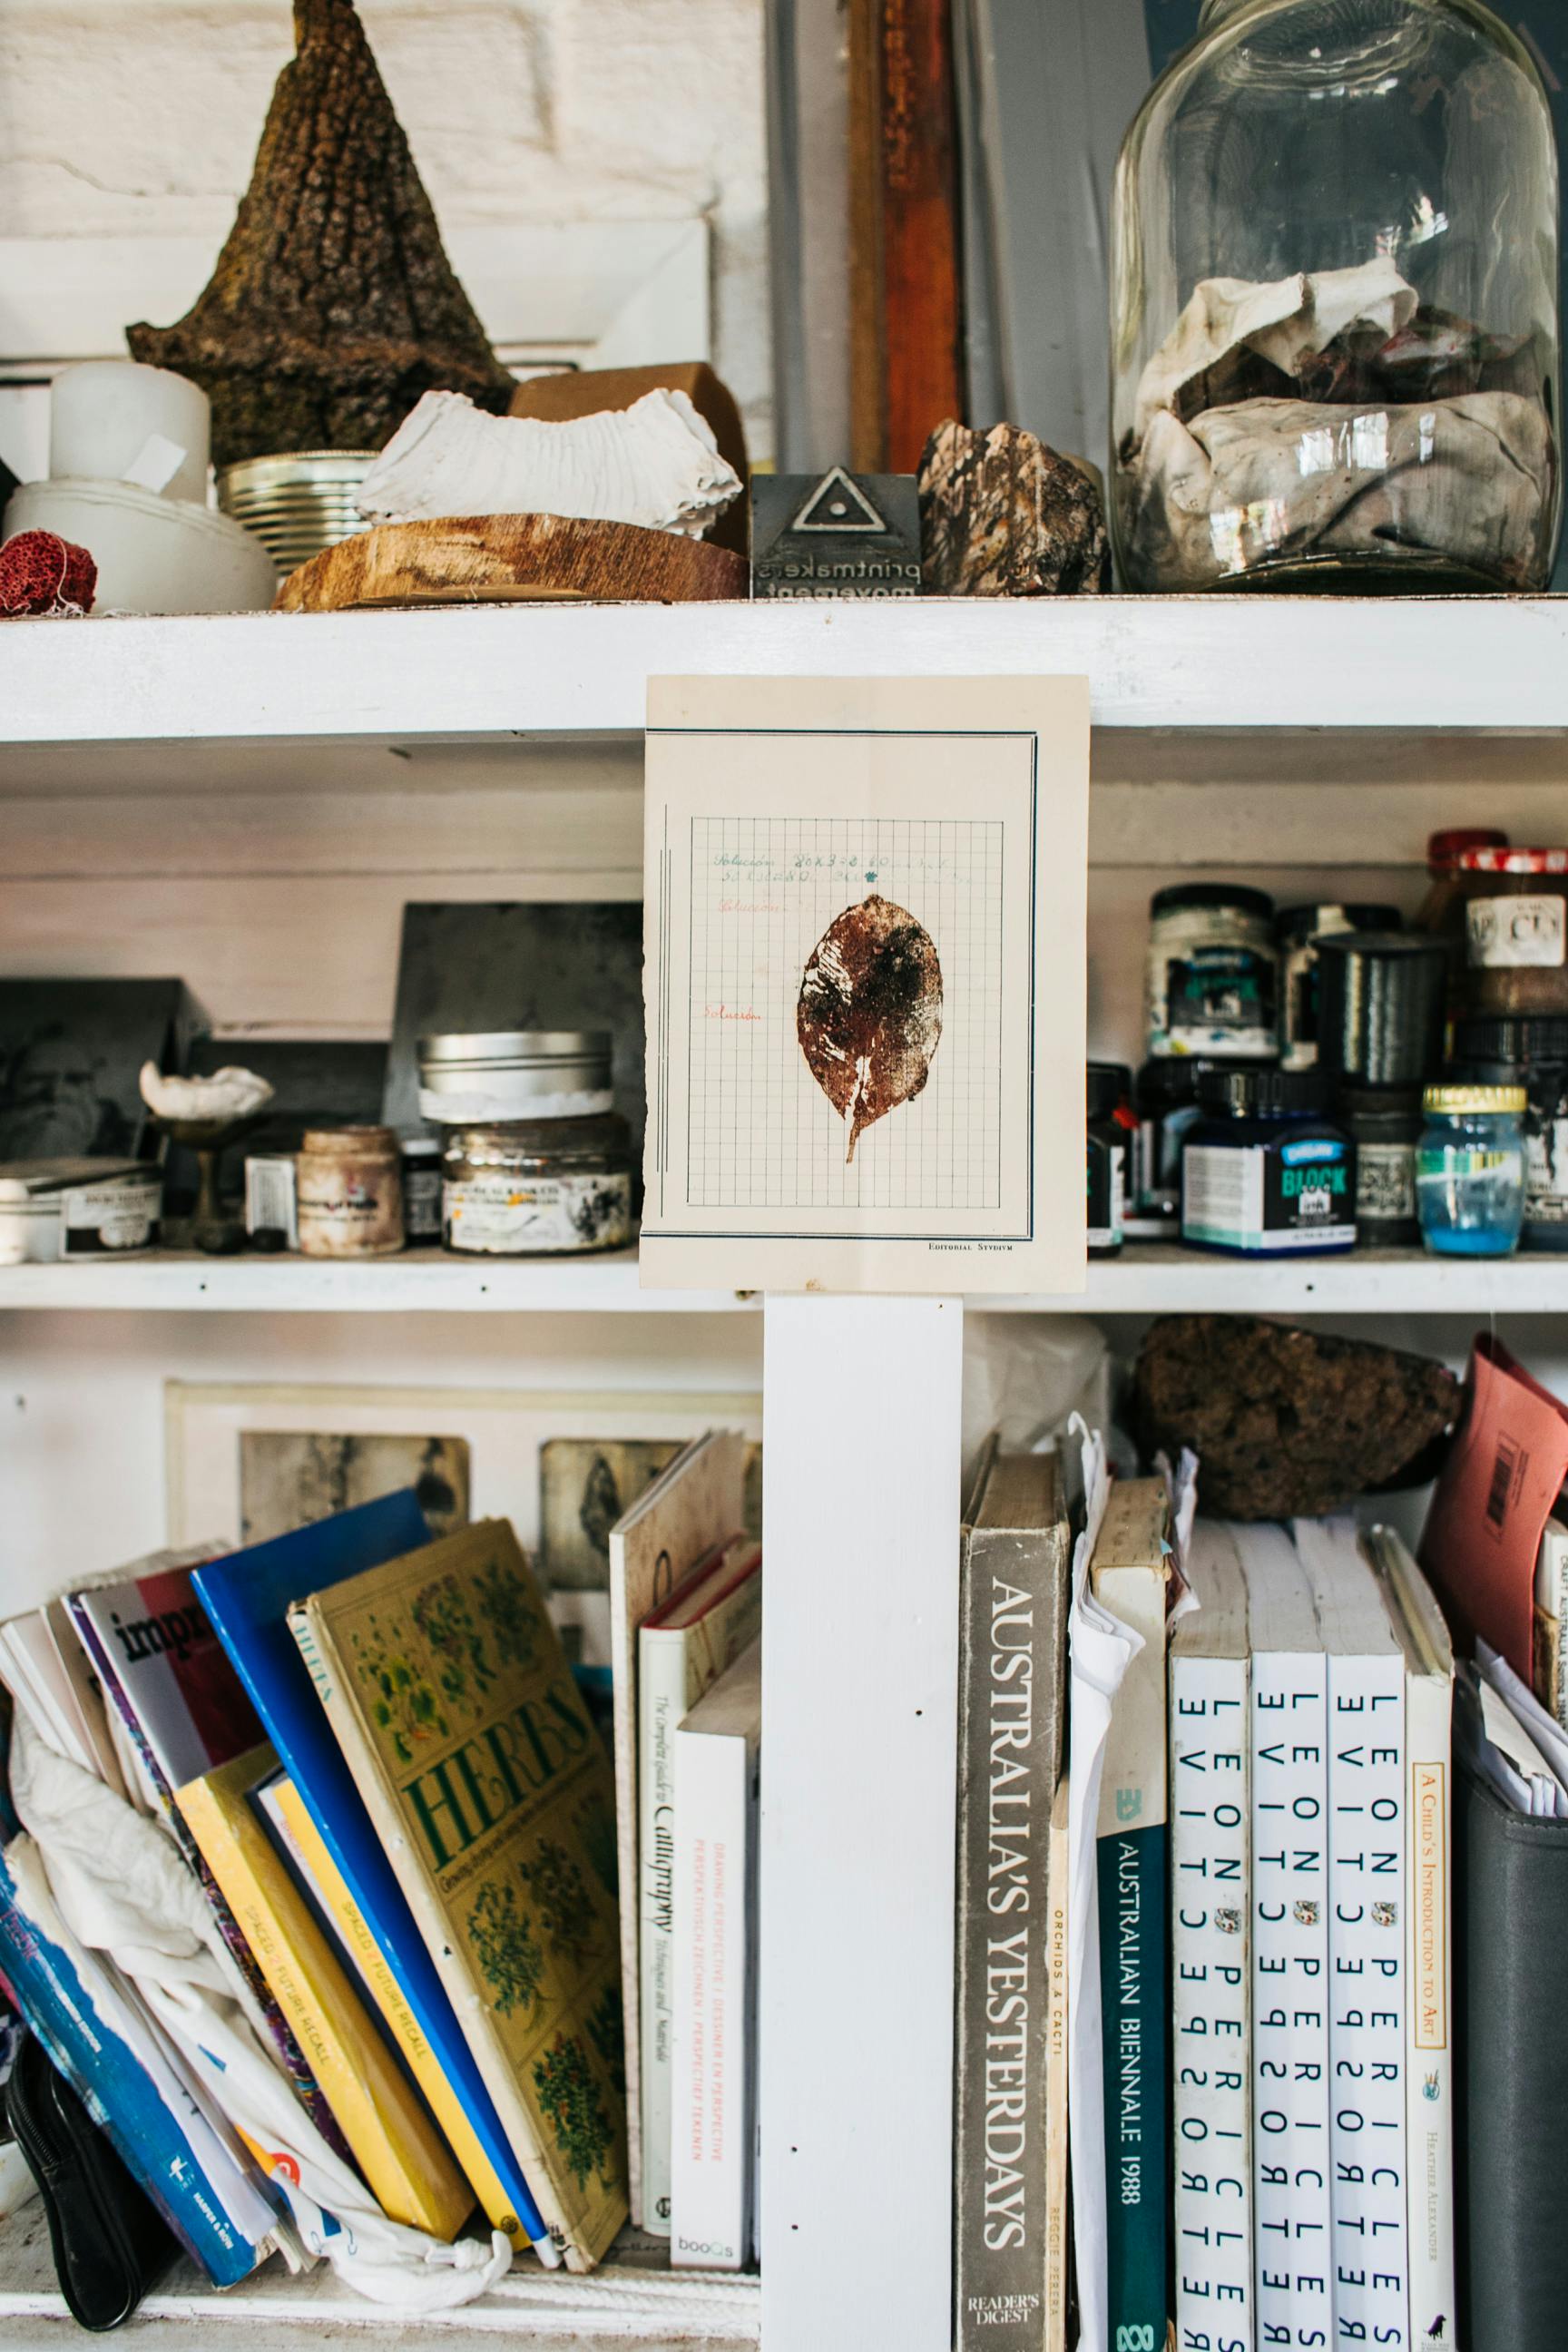
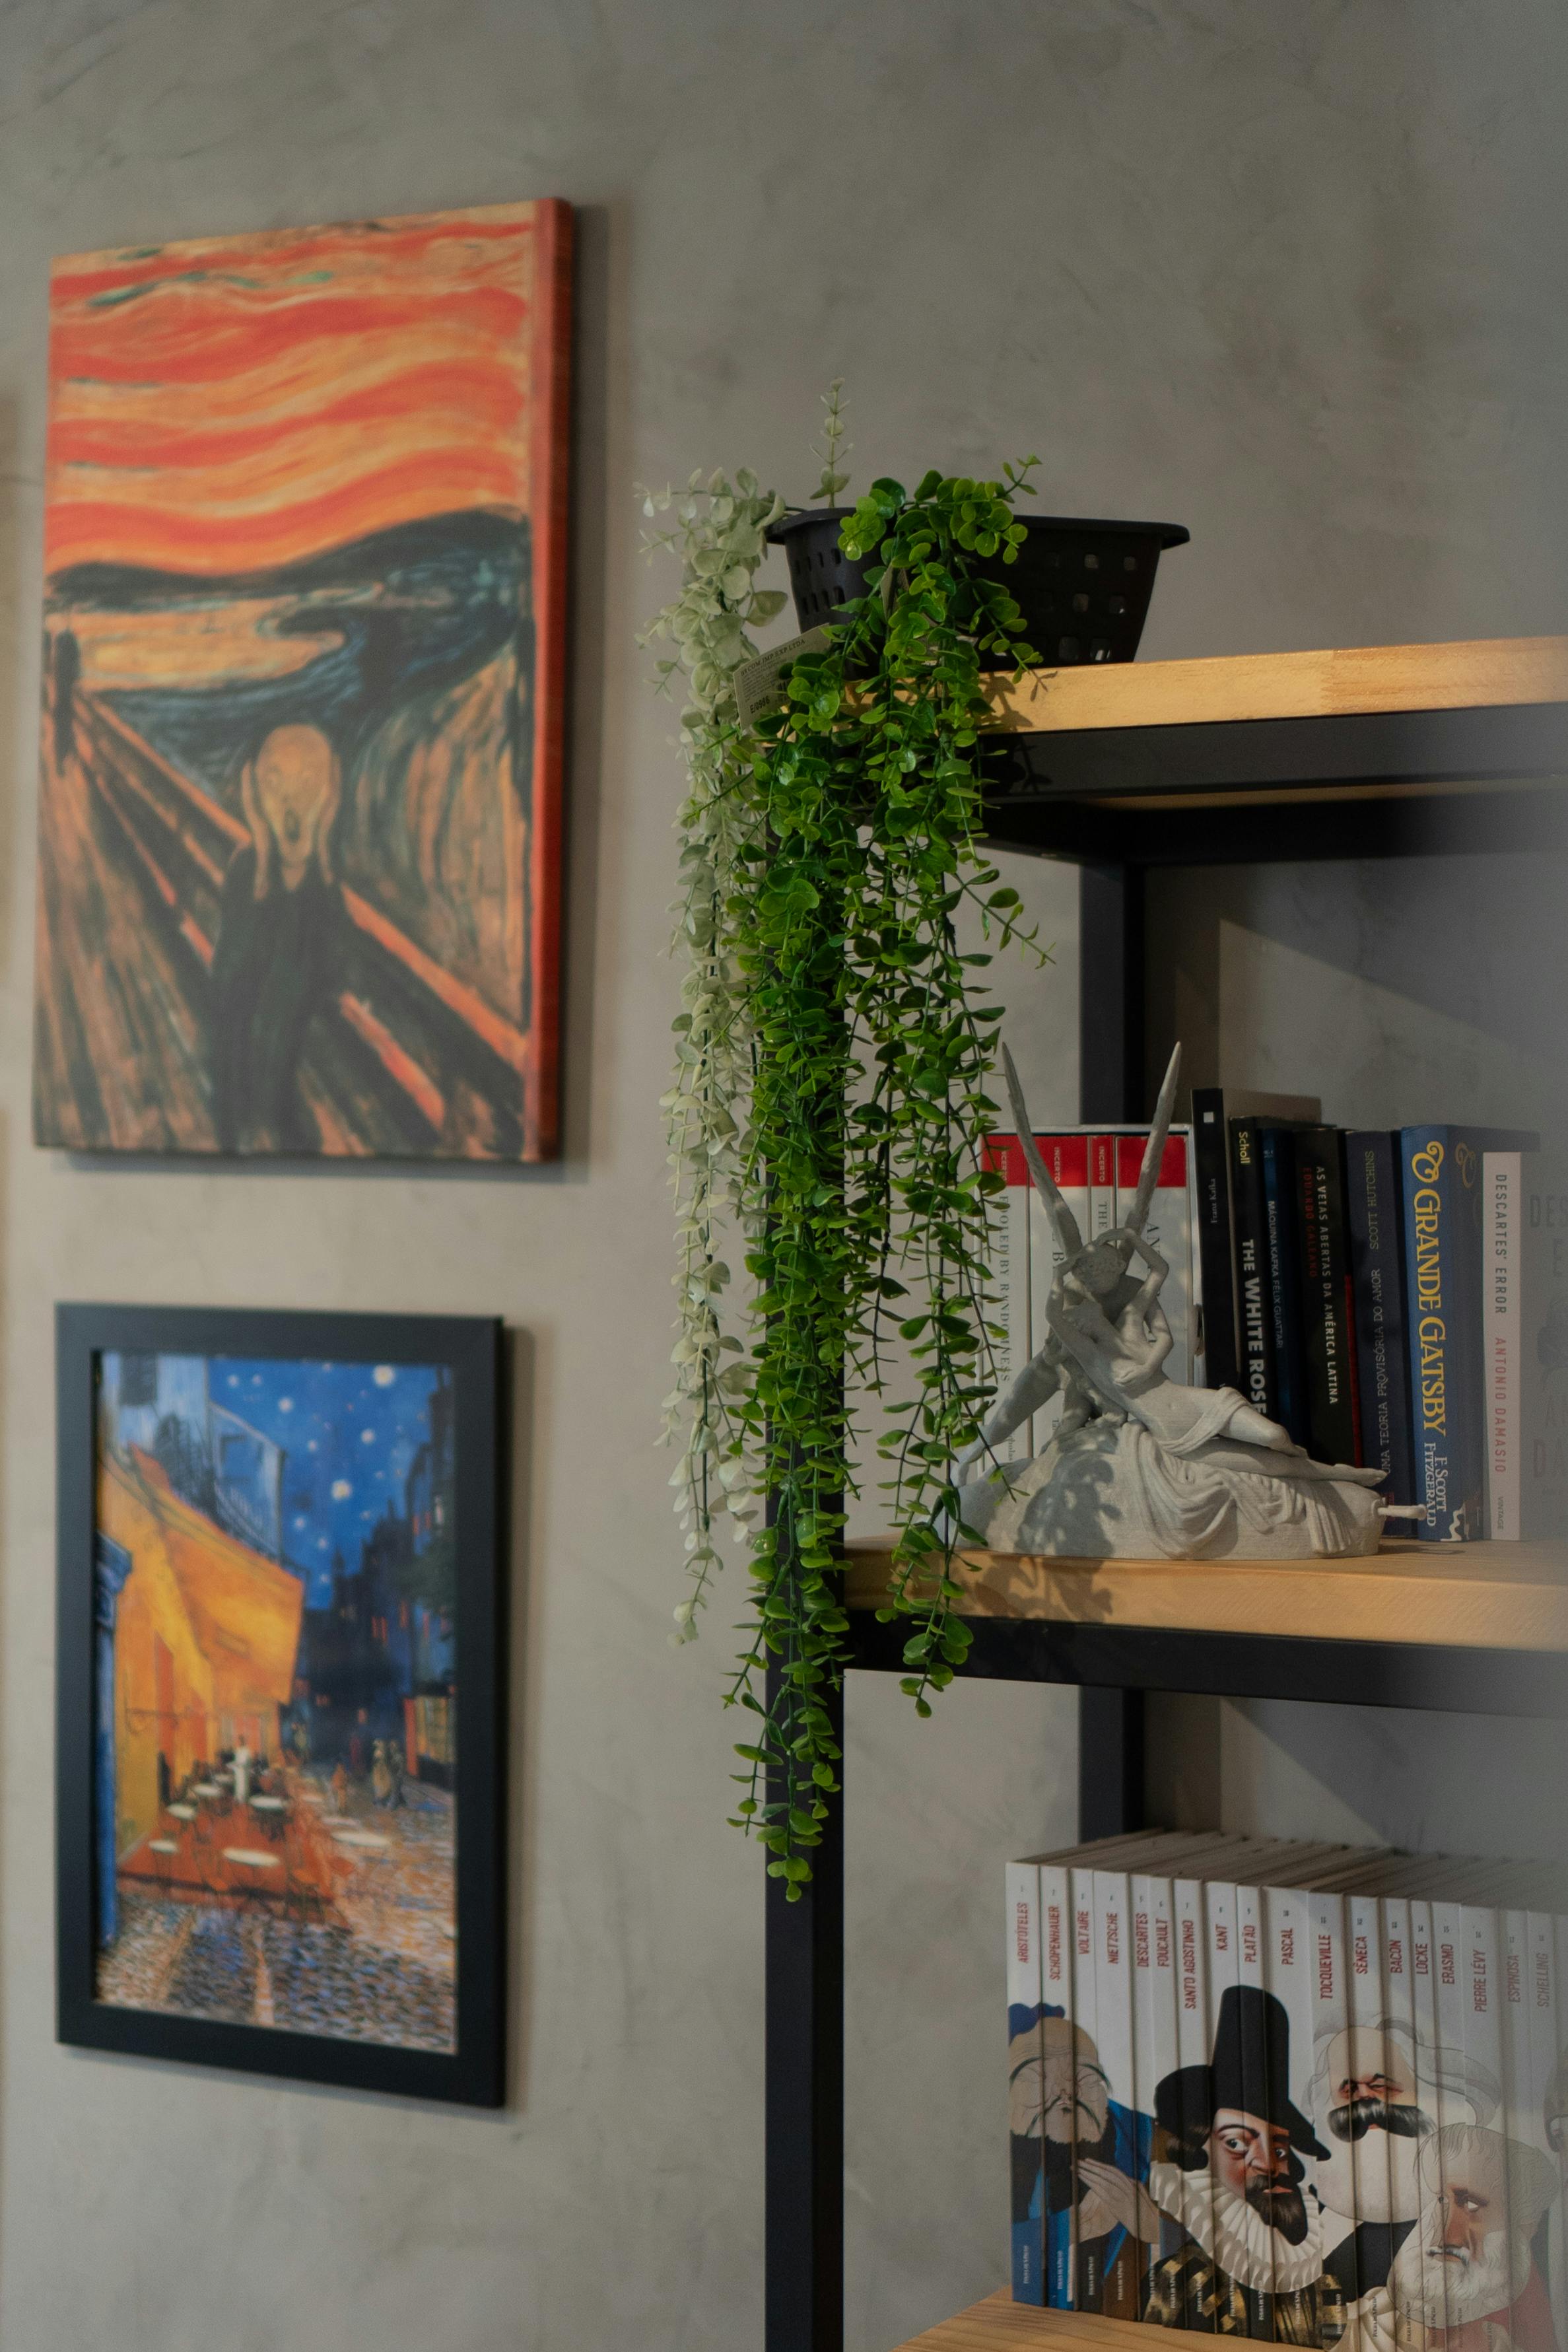
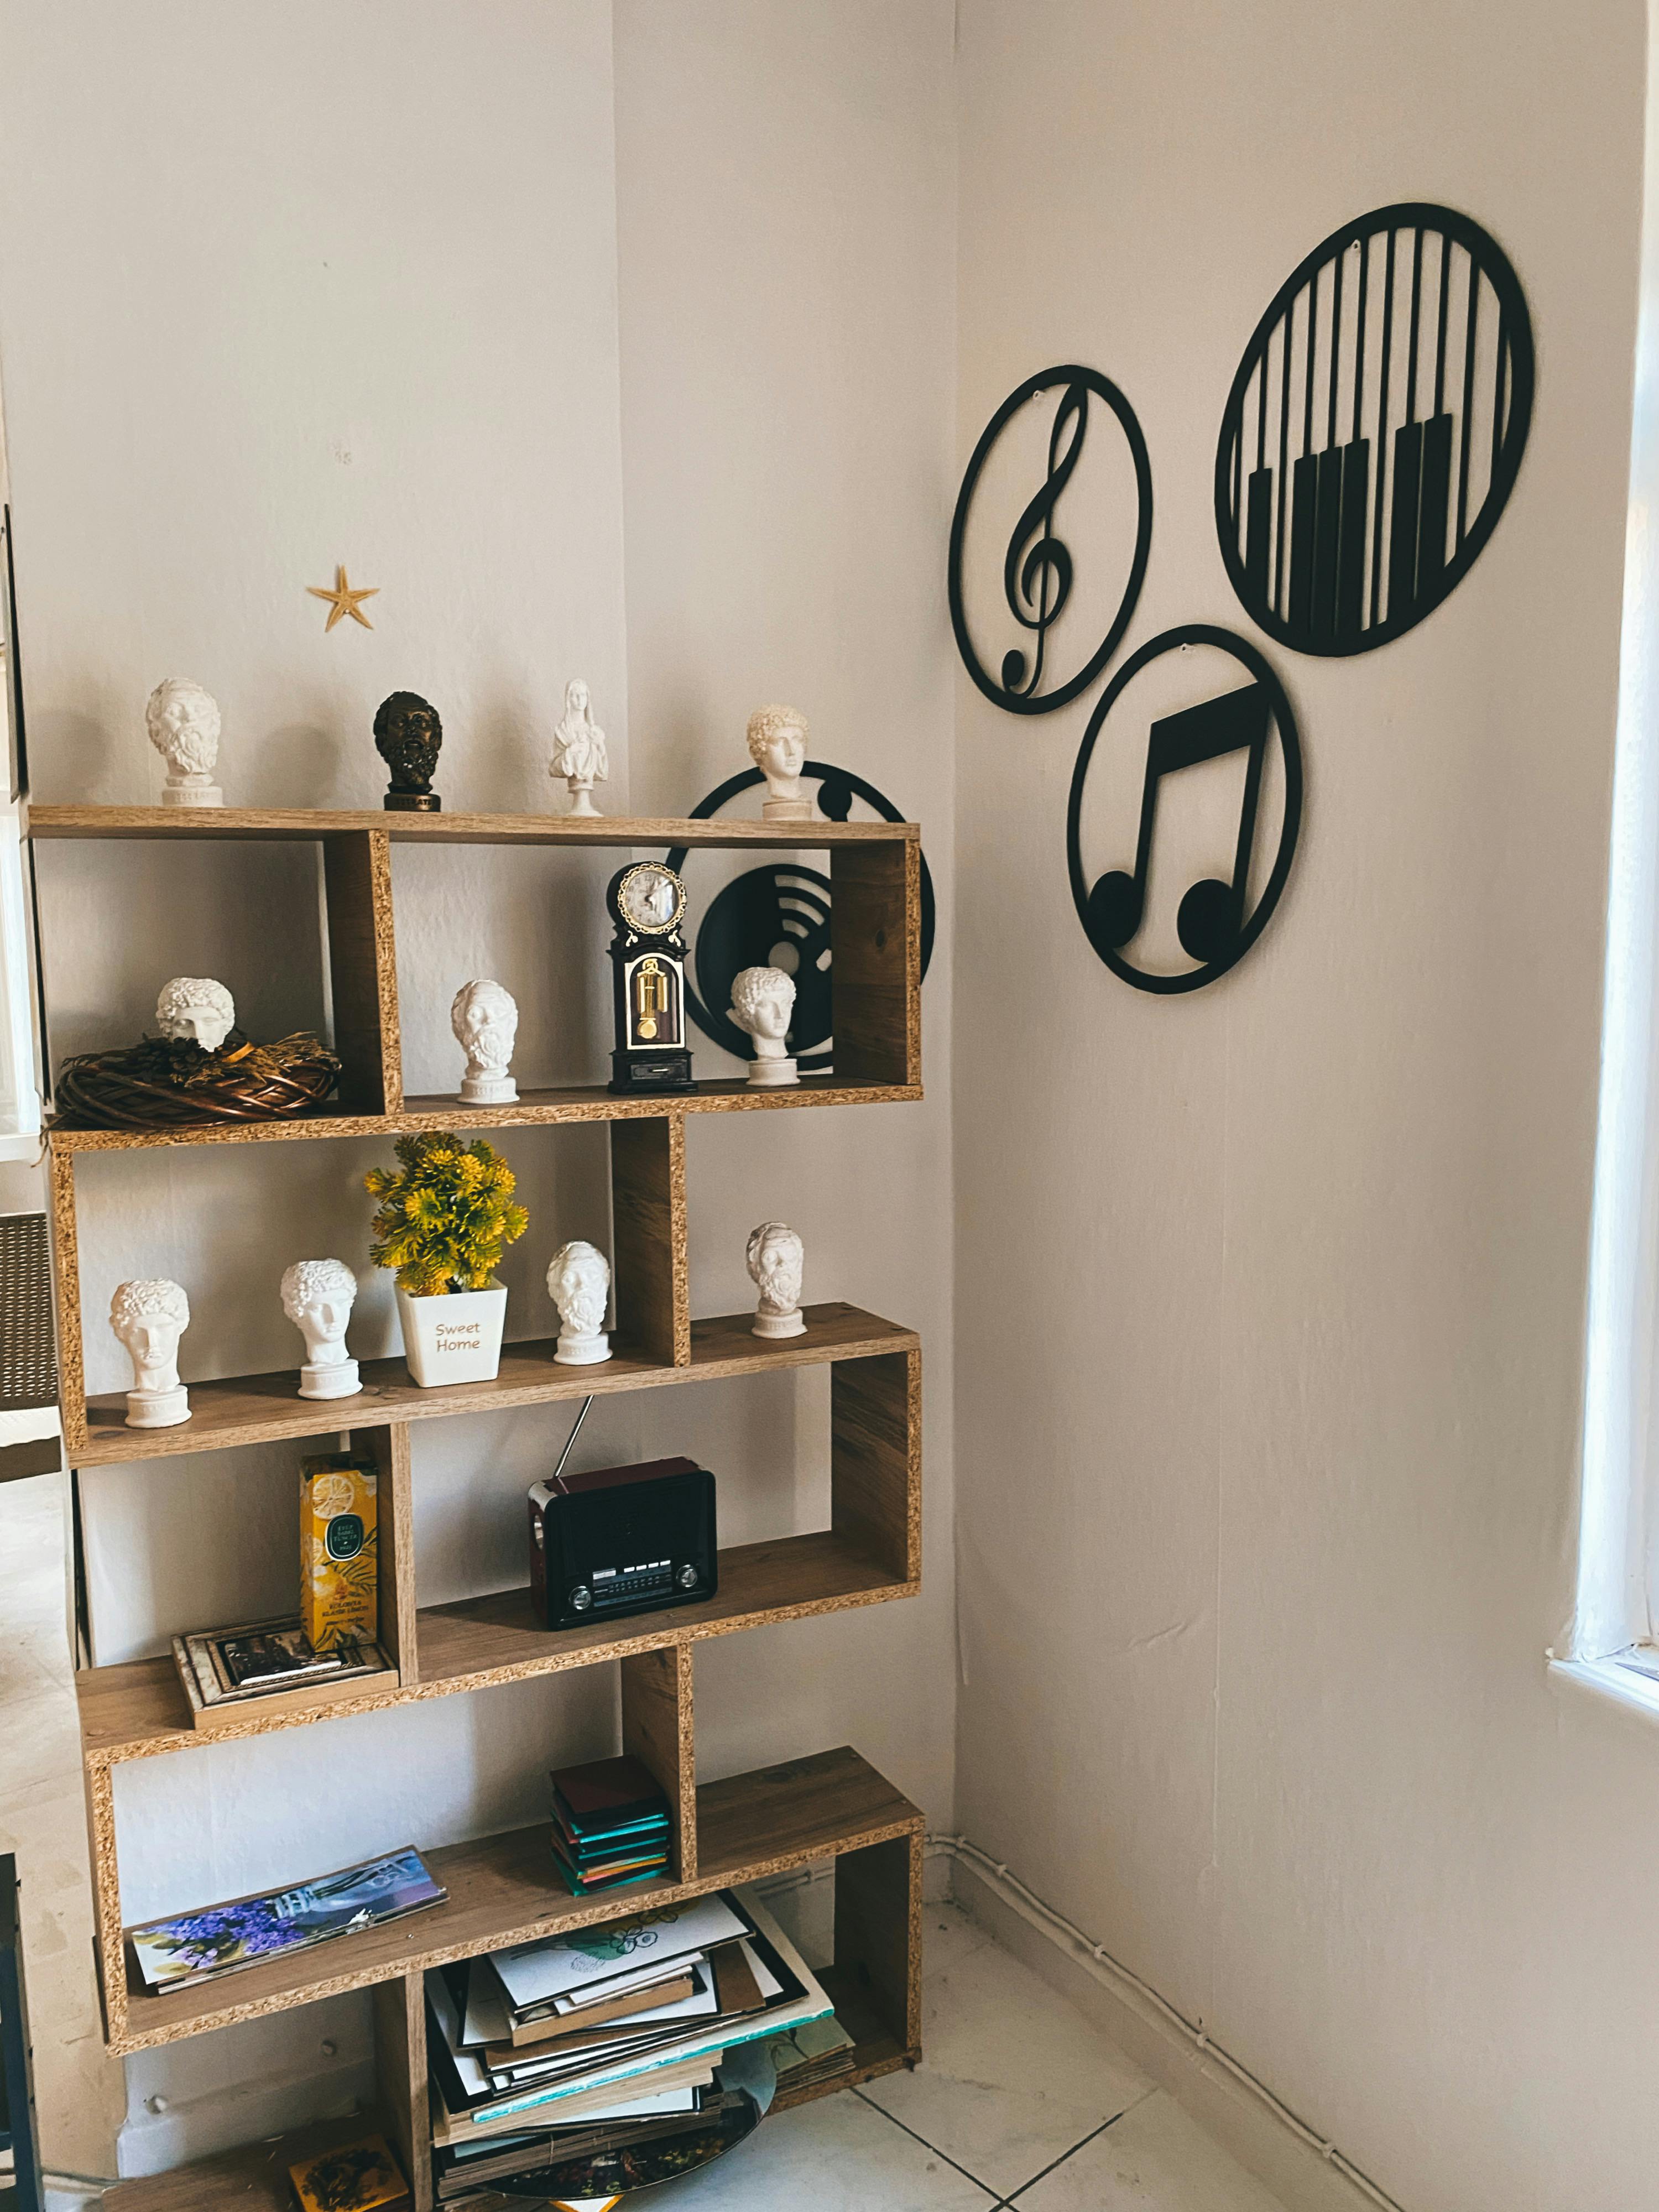
This is my absolute favorite trick for adding depth and personality without touching a wall. A bookshelf isn't just for books; it's a stage, a miniature gallery where you are the curator. Lean a small framed print against a stack of books, varying the heights and depths to create visual interest. Place a tiny sculpture next to a trailing plant, or a ceramic piece on a raised box. It's about creating these wonderful little vignettes – small, curated compositions that draw the eye and make the space feel intentionally lived-in and deeply personal. Think of it as painting a smaller picture within the larger canvas of your room, focusing on visual balance and unexpected juxtapositions. I've found that combining different textures – a smooth frame, a rough ceramic, a soft fabric – makes these displays really sing. To make them truly pop, consider adding battery-operated LED string lights or small puck lights tucked behind objects to cast a warm glow, creating instant ambiance without any wiring or damage. For more ideas on how to approach these, explore how to display art on a bookshelf.
And remember, art doesn't live in a vacuum. Integrate plants of varying heights, interesting vases, or a stack of beautiful books (art books, vintage novels, photography collections work wonders) to create layers and depth. Even a well-chosen decorative object (ceramic figures, vintage cameras, small globes) or a small sculpture can elevate a display and provide visual anchors. For example, try a small abstract sculpture alongside a vintage camera and a stack of colorful art books, all accented by a tiny trailing succulent and a discreet LED puck light behind.
Easels & Art Ledges: Statement Pieces & Flexible Displays
Want to make a real statement? Place a large, impactful piece of art on an easel in a corner or a prominent spot. It's unexpected, feels very intentional, and gives the impression you're living in a dynamic studio space. It instantly elevates both the art and the room's aesthetic. For a touch more permanence, floating shelves or picture ledges are also fantastic, though they usually require a few screw holes for installation. However, you're getting a lot of display real estate for minimal damage, and once the shelf is up, you can lean and layer frames to your heart's content, changing them out whenever the mood strikes without making new holes. They're a long-term win for a short-term commitment.
Windows as Galleries: Temporary Light Displays
Why limit your art to opaque walls when windows offer a whole new dimension? Think about displaying lighter art on your windows. Suction cup hooks can hold small, lightweight framed prints, delicate textile art, or even stained-glass inspired window clings, transforming your view. Temporary window clings or static vinyl art (look for brands like Gila or Rabbitgoo for easily removable, residue-free options) can add color and pattern without any residue. I've even seen clever renters use static cling films that mimic stained glass – no adhesive, no residue, just pure, temporary magic. You can also create hanging installations from a tension rod placed within the window frame, allowing lightweight pieces like macrame or sheer fabric prints to dance in the natural light.
Just be mindful of UV light (see below!) and consider privacy films or blackout curtains if your window art obstructs your need for seclusion. If your windows open frequently, ensure lightweight pieces are secured against breezes – a bit of adhesive putty on the back or a heavier base can prevent unplanned art departures. Also, consider any potential landlord policies regarding alterations to the exterior appearance of the building. Some leases prohibit anything that changes the facade, so even window clings could technically be a breach. A quick email asking if "temporary, removable window art is permitted" can save you a headache.
Seasonal and Temporary Art Displays: Embracing Change
Your home's aesthetic doesn't have to be static, especially in a rental. Seasonal art displays are a fantastic way to keep your space fresh and engaging without permanent changes. Think about rotating smaller prints on picture ledges, changing out textile hangings on tension rods, or curating themed vignettes on your bookshelves for holidays or different seasons. Damage-free adhesive hooks are perfect for hanging lightweight garlands, wreaths, or even small, framed holiday-themed art. This approach treats your rental as a dynamic, evolving canvas, always reflecting your current mood or the time of year.
Light Up Your Masterpiece: Rental-Friendly Illumination
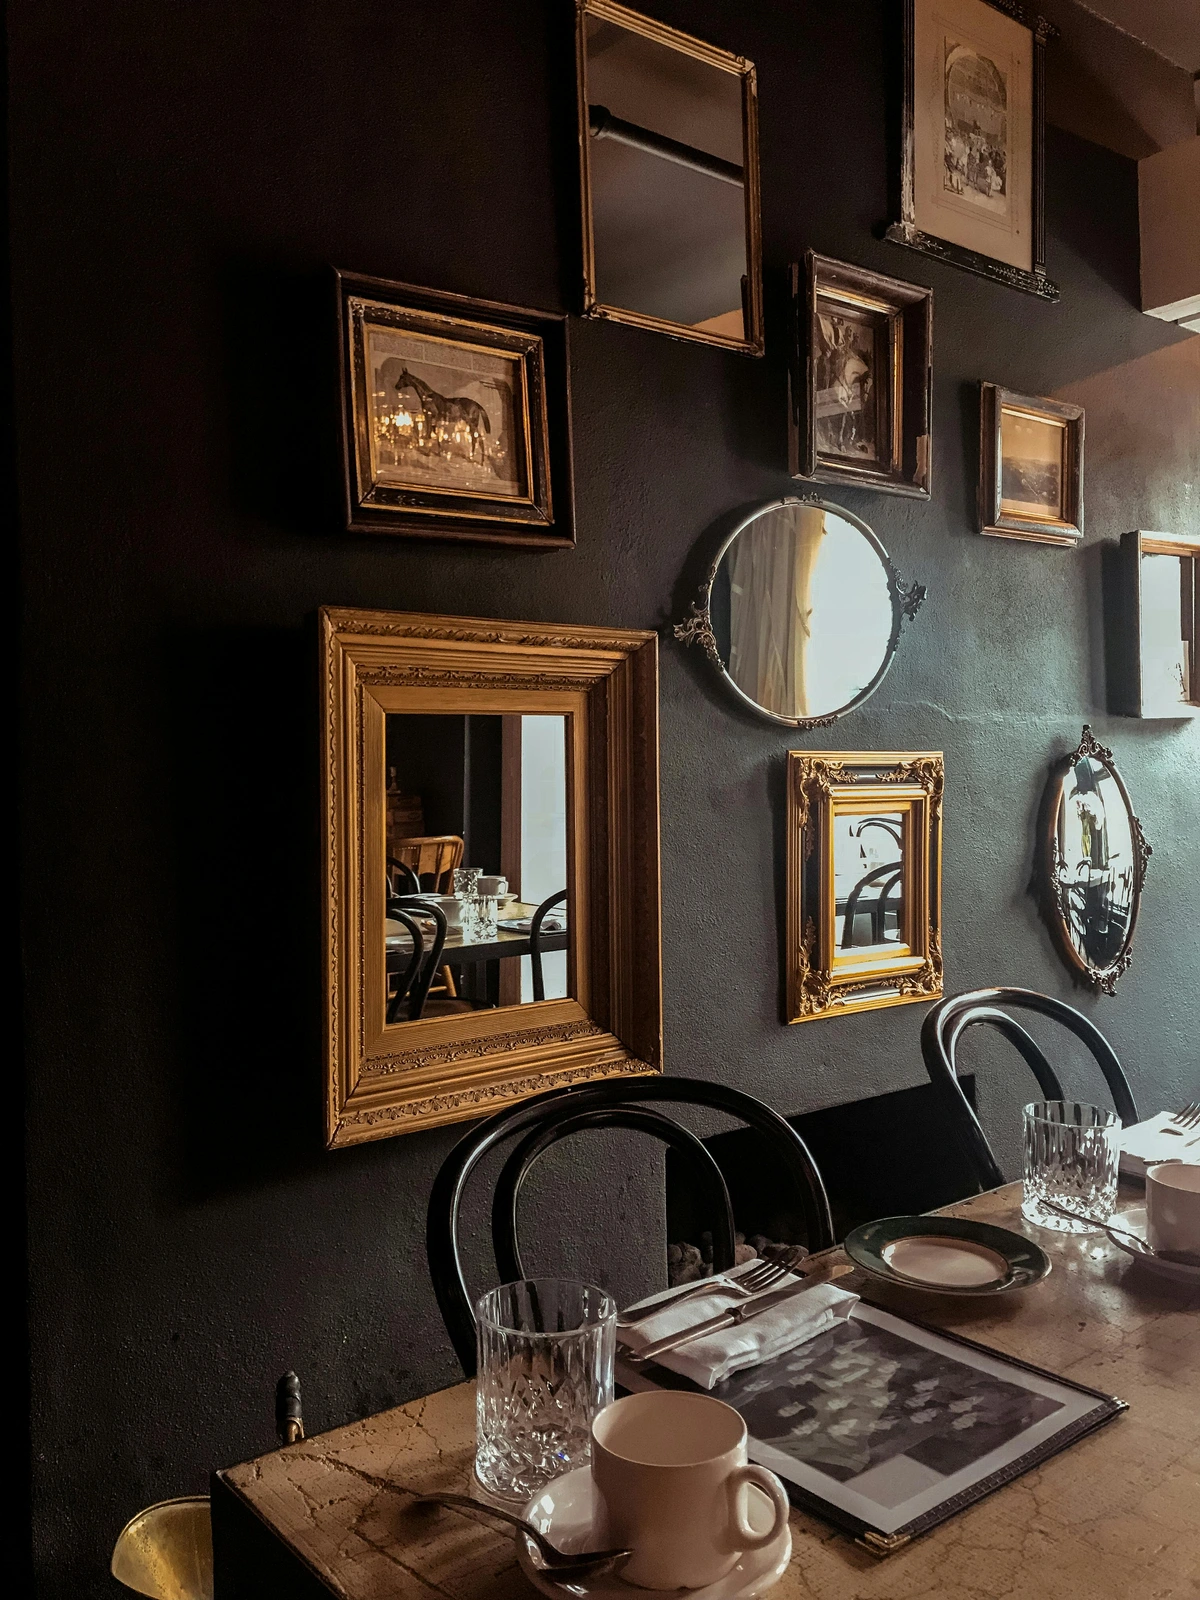
Proper lighting can transform how art is perceived, making colors pop and textures come alive. But drilling for wired picture lights isn't an option for most renters. The good news? Technology is on your side! Look for battery-operated picture lights that can be attached directly to the back of a frame (using adhesive, of course!) or that simply clip onto the top of the frame. Small, clip-on spotlights or puck lights (often with remote controls) can be strategically placed on nearby shelves or furniture to highlight your artwork. When choosing battery-operated lights, consider the color temperature on the Kelvin (K) scale: warmer 2700K-3000K enhances oil painting textures, while cooler 3500K-4500K makes contemporary photography pop with crispness. Even a well-placed floor lamp with an adjustable arm can become a fantastic spotlight, creating dramatic pools of light that elevate your art collection. For ultimate flexibility, explore smart bulbs that allow you to change color temperature and brightness remotely via an app or smart home assistant, offering unparalleled control over your art's presentation without any wiring fuss. The key is indirect light that enhances, not overpowers, and always ensure your light source isn't causing glare off the art's surface.
Advanced Renter Wisdom: Pro Strategies for Art Lovers
As you build your art collection in a rental, a few extra considerations can save you headaches and protect your precious pieces. This is where your discerning eye as a collector and an artist's appreciation for nuance truly come into play, moving beyond basic hacks to more strategic art management.
Guarding Against UV Fading: Art's Silent Enemy
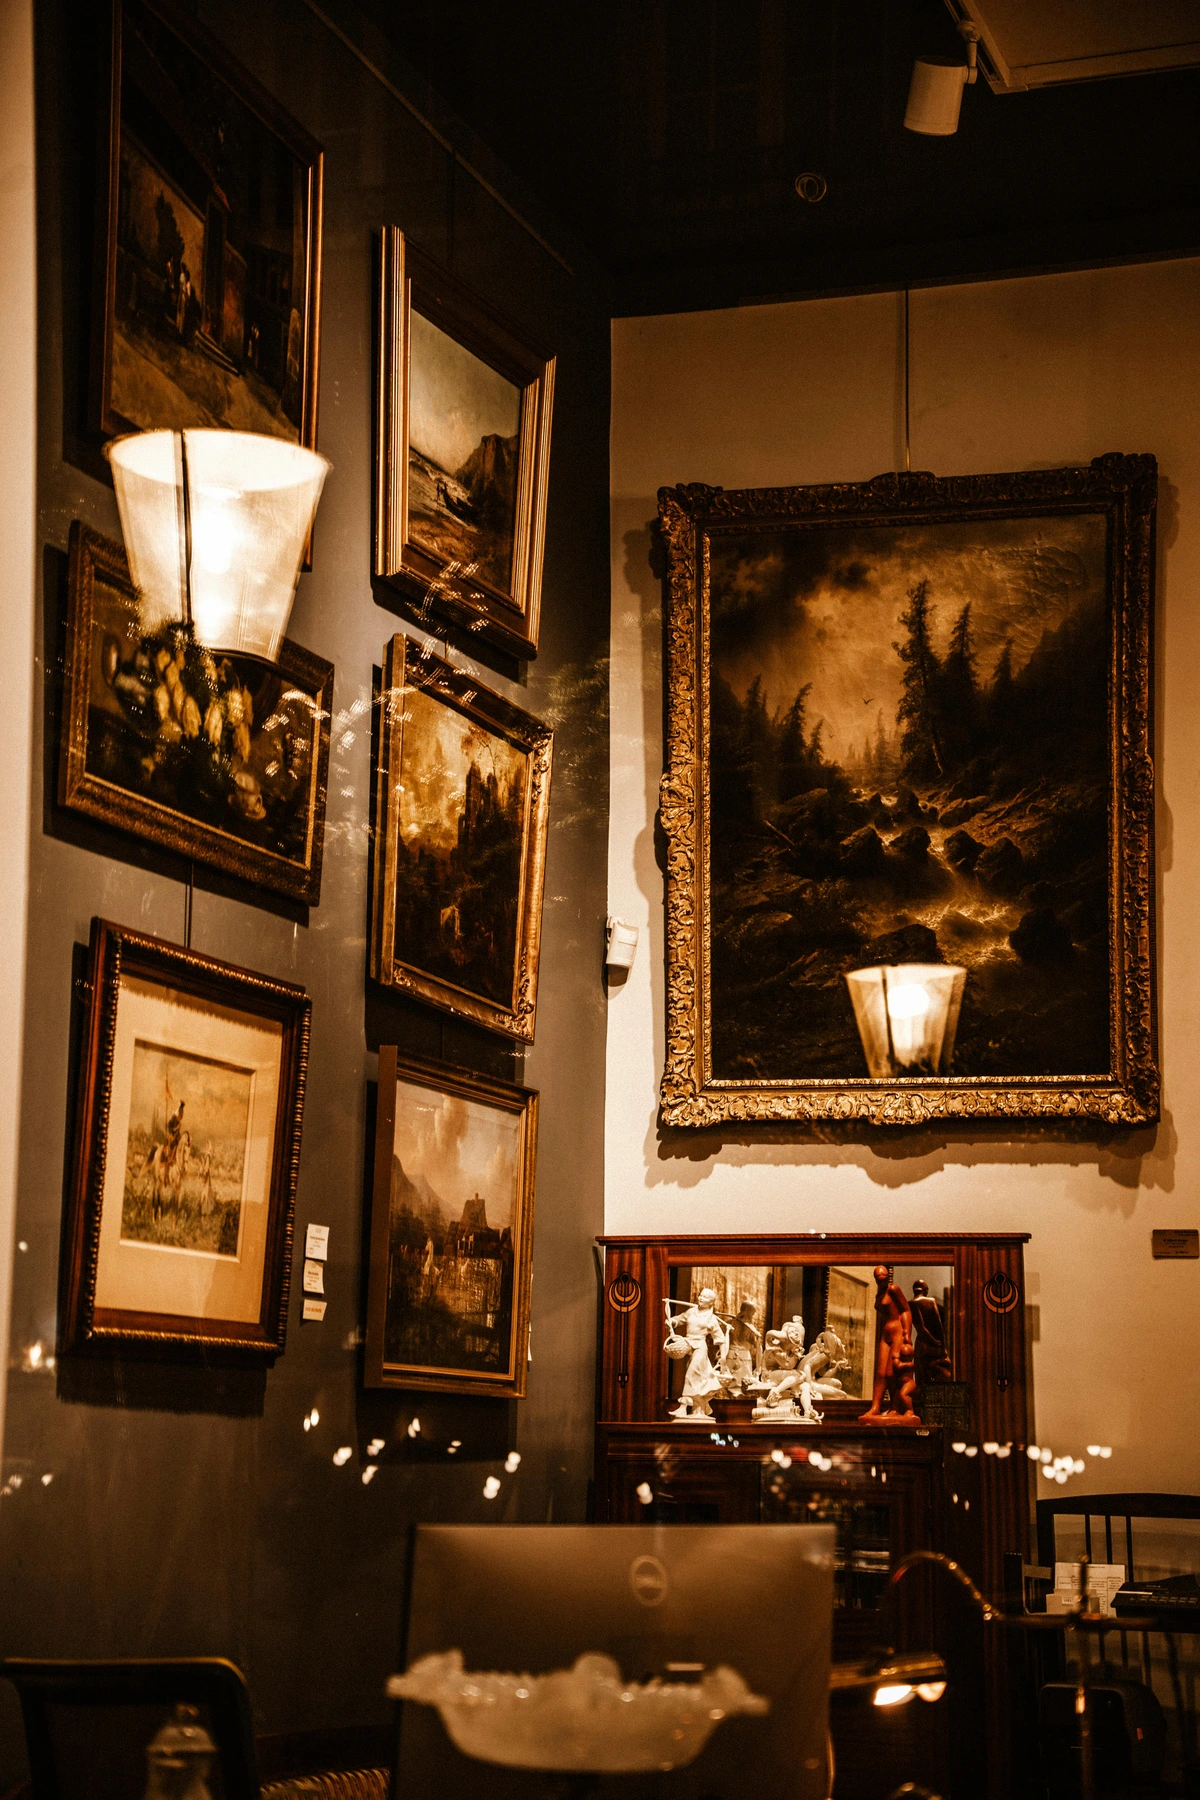
Direct sunlight is a beautiful thing, but it's the archenemy of most artwork. Over time, UV rays will fade colors, crack canvases, and degrade paper. In a rental, you might not be able to install UV-filtering windows, but you can be smart about placement. Avoid hanging valuable or delicate pieces directly opposite sun-drenched windows. Watercolors, pastels, and some vibrant inks are like vampires to direct sunlight – they'll fade almost before your eyes because their pigments are often organic and less lightfast compared to inorganic pigments found in many oils or acrylics. Oils and acrylics on sturdy canvas are generally more resilient, but even they'll suffer over decades. For those sunny spots you can't avoid, consider UV-filtering films (temporary and removable, like static cling window films) or simply rotate your art more frequently. If possible, research the material composition of your art – some pigments and papers are far more susceptible to UV damage than others. Think of it as sunscreen for your paintings.
Embracing Digital Art Displays
In our increasingly digital world, why limit ourselves to physical art? High-resolution digital picture frames offer a fantastic, rental-friendly way to display digital art, photography, or even classic masterpieces. For larger, more dynamic displays, a small, portable projector can turn an entire blank wall into a rotating art installation. It's completely damage-free, instantly changeable, and a fantastic conversation starter. Plus, you can change your entire "gallery" with the click of a button. And speaking of digital, consider smart TVs: many now have 'art modes' that display high-resolution images, and with smart home assistants you can even control what art is displayed with a simple voice command. Just be mindful of potential screen burn-in if a static image is left on for extremely long periods, though modern TVs are much better at mitigating this. For the best results, look for digital art specifically created for screens, including animated art, interactive pieces that respond to movement, or generative art that creates ever-changing visuals. These often come with less static elements, reducing the risk of screen burn-in and offering a more dynamic viewing experience. Remember, while NFTs exist in the digital art realm, focus on displaying the visual art itself rather than engaging with complex blockchain mechanics in a rental context.
Virtual Staging: Try Before You Commit
For the indecisive (or just cautious) renter, virtual staging apps and tools are a godsend. Apps like Artrooms, Curate, or even basic photo editing software allow you to upload a photo of your room and then virtually place art on the walls. It's a fantastic way to experiment with different sizes, layouts (hello, virtual gallery wall!), and even color palettes without making a single hole or committing to any purchase. Think of it as a digital canvas for your rental dreams, saving you time, effort, and potential damage.
Security & Safety in a Temporary Home
While we don't need Fort Knox, if you're collecting more valuable art, basic security in a rental is wise. Avoid placing highly valuable pieces on ground-floor walls directly visible from large, accessible windows. For heavier leaning pieces, non-slip pads or museum putty can secure them from accidental bumps by pets or lively children, preventing both damage to the art and potential injury. For truly heavy, freestanding pieces that can't be leaned, you might explore specialized freestanding art display systems (often available for rental or purchase from high-end art staging companies) that provide robust support without wall attachment. If you have children or pets, securing large leaning pieces with earthquake putty or hidden anti-tip straps is a must. Common sense and strategic placement go a long way.
Art Appraisal and Insurance for Renters
Even in a rental, your art collection might warrant appraisal and insurance. If you own pieces that are valuable, unique, or hold significant sentimental worth, a dedicated art insurance policy (often a rider on your renter's insurance) is a wise investment. This protects against theft, accidental damage (e.g., a frame falling), or even certain environmental damages. You'll typically need high-quality photos and often professional appraisals for valuable works. This provides peace of mind, knowing your cherished pieces are protected, no matter how temporary your walls.
Humidity and Temperature: Art's Silent Enemies
Just like UV light, extreme fluctuations in humidity and temperature can wreak havoc on artwork over time. In a rental, you might not have full control over the climate, but you can take proactive steps. Avoid placing art near radiators, air conditioning vents, or in excessively humid rooms like bathrooms (unless it's specifically designed for that environment). A small, inexpensive hygrometer can monitor your room's conditions, helping you identify problematic areas. For minor climate control, consider a small portable humidifier or dehumidifier in a specific room, or use draft stoppers for windows and doors to stabilize temperature. For very delicate pieces, consider framing them with conservation-grade materials (UV-filtering acrylic/glass, acid-free mats, archival backing) that offer an extra layer of protection against environmental shifts. While you can't install a museum-grade climate control system, mindful placement and monitoring can significantly extend the life of your collection.
Environmental Impact of Decorating Choices
As conscious consumers, it's worth considering the environmental footprint of our decorating choices. Opt for reusable hanging solutions like picture rail hooks or tension rods where possible. When using adhesives, look for brands that offer eco-friendly or recyclable options, and dispose of waste responsibly. Choose art made from sustainable materials or by local artists, reducing transport emissions. Even patching materials can have lower VOC (volatile organic compound) alternatives, and always dispose of paint and spackle waste properly. Look for certifications like GREENGUARD Gold for adhesives or paints, indicating low chemical emissions. This small effort helps align your aesthetic with your values, making your art choices truly sustainable.
Long-Term Rental Strategies & Art Transport
If you anticipate a longer stay in your rental (more than a year or two), it might be worth proposing more significant, but still reversible, changes to your landlord, with a clear written agreement. Perhaps a small picture rail installation? Or even asking if you can paint a single accent wall, agreeing to repaint it to a neutral upon move-out. When it comes time to move your cherished collection, proper art transport is crucial. Invest in art-specific moving boxes, archival wrapping materials, and always pack framed art upright. Disassemble large display systems. Consider professional art movers for very valuable or oversized pieces. Planning ahead ensures your art arrives safely at its next temporary home.
Camouflaging Imperfections with Art
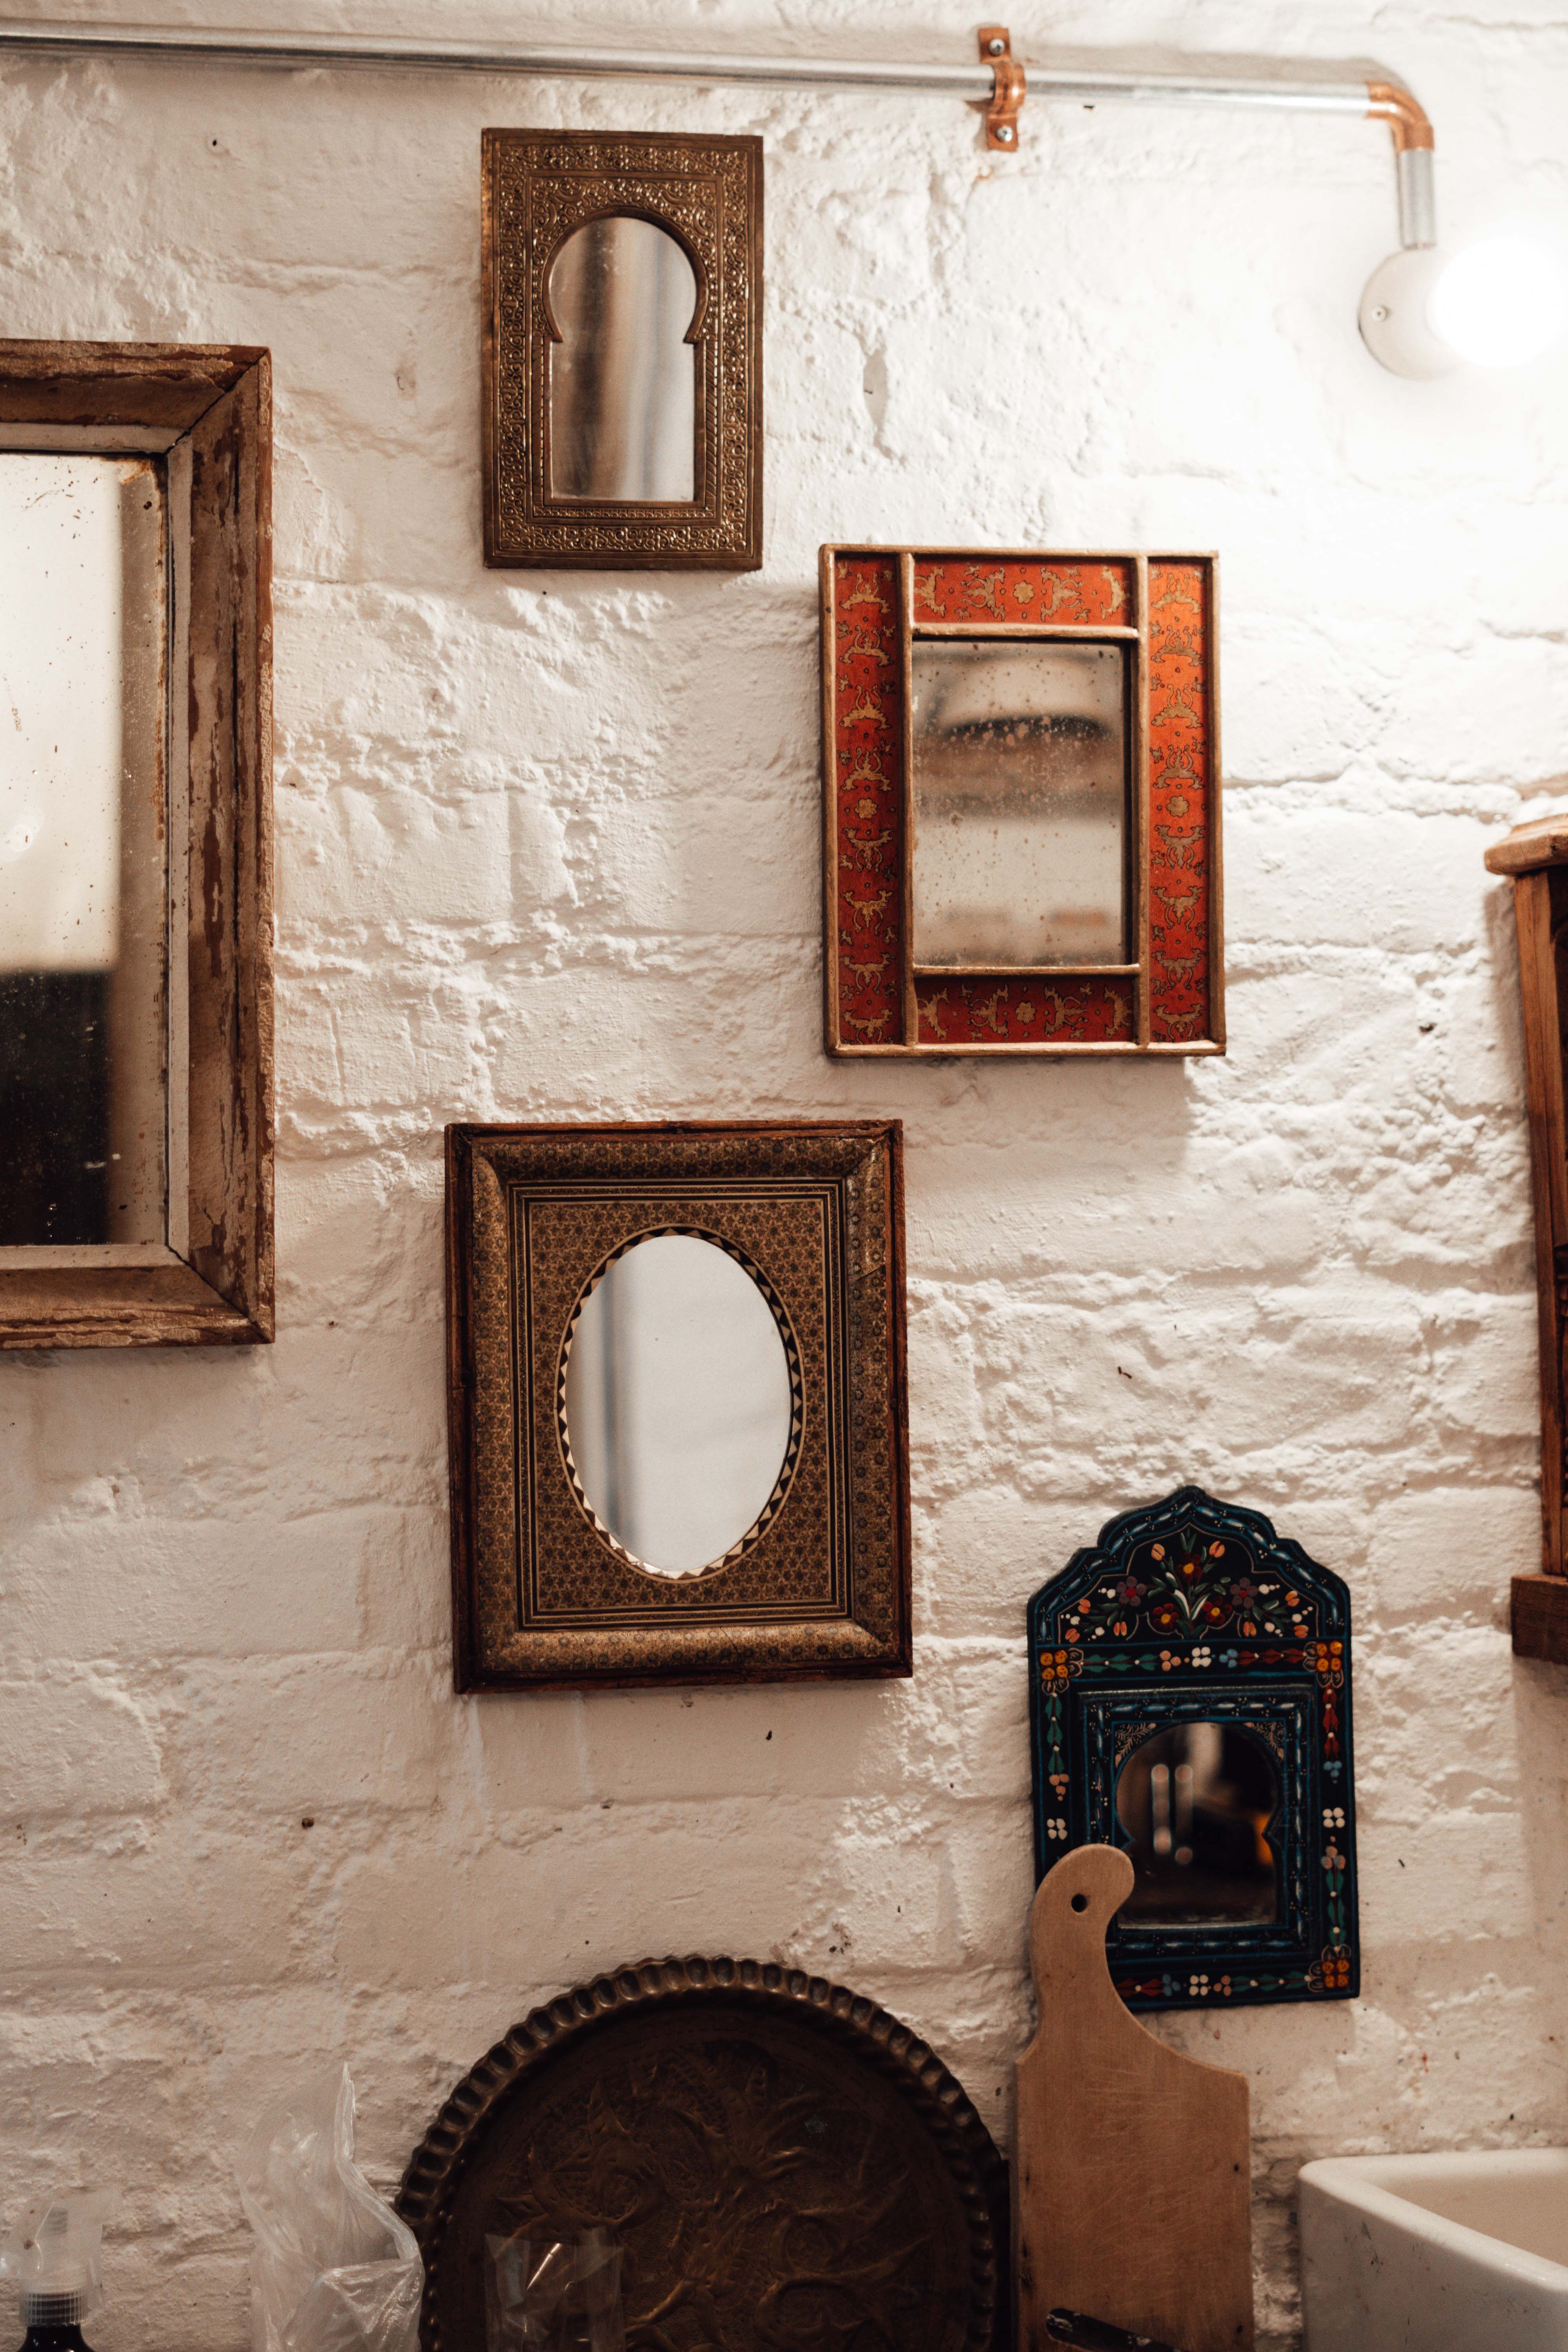
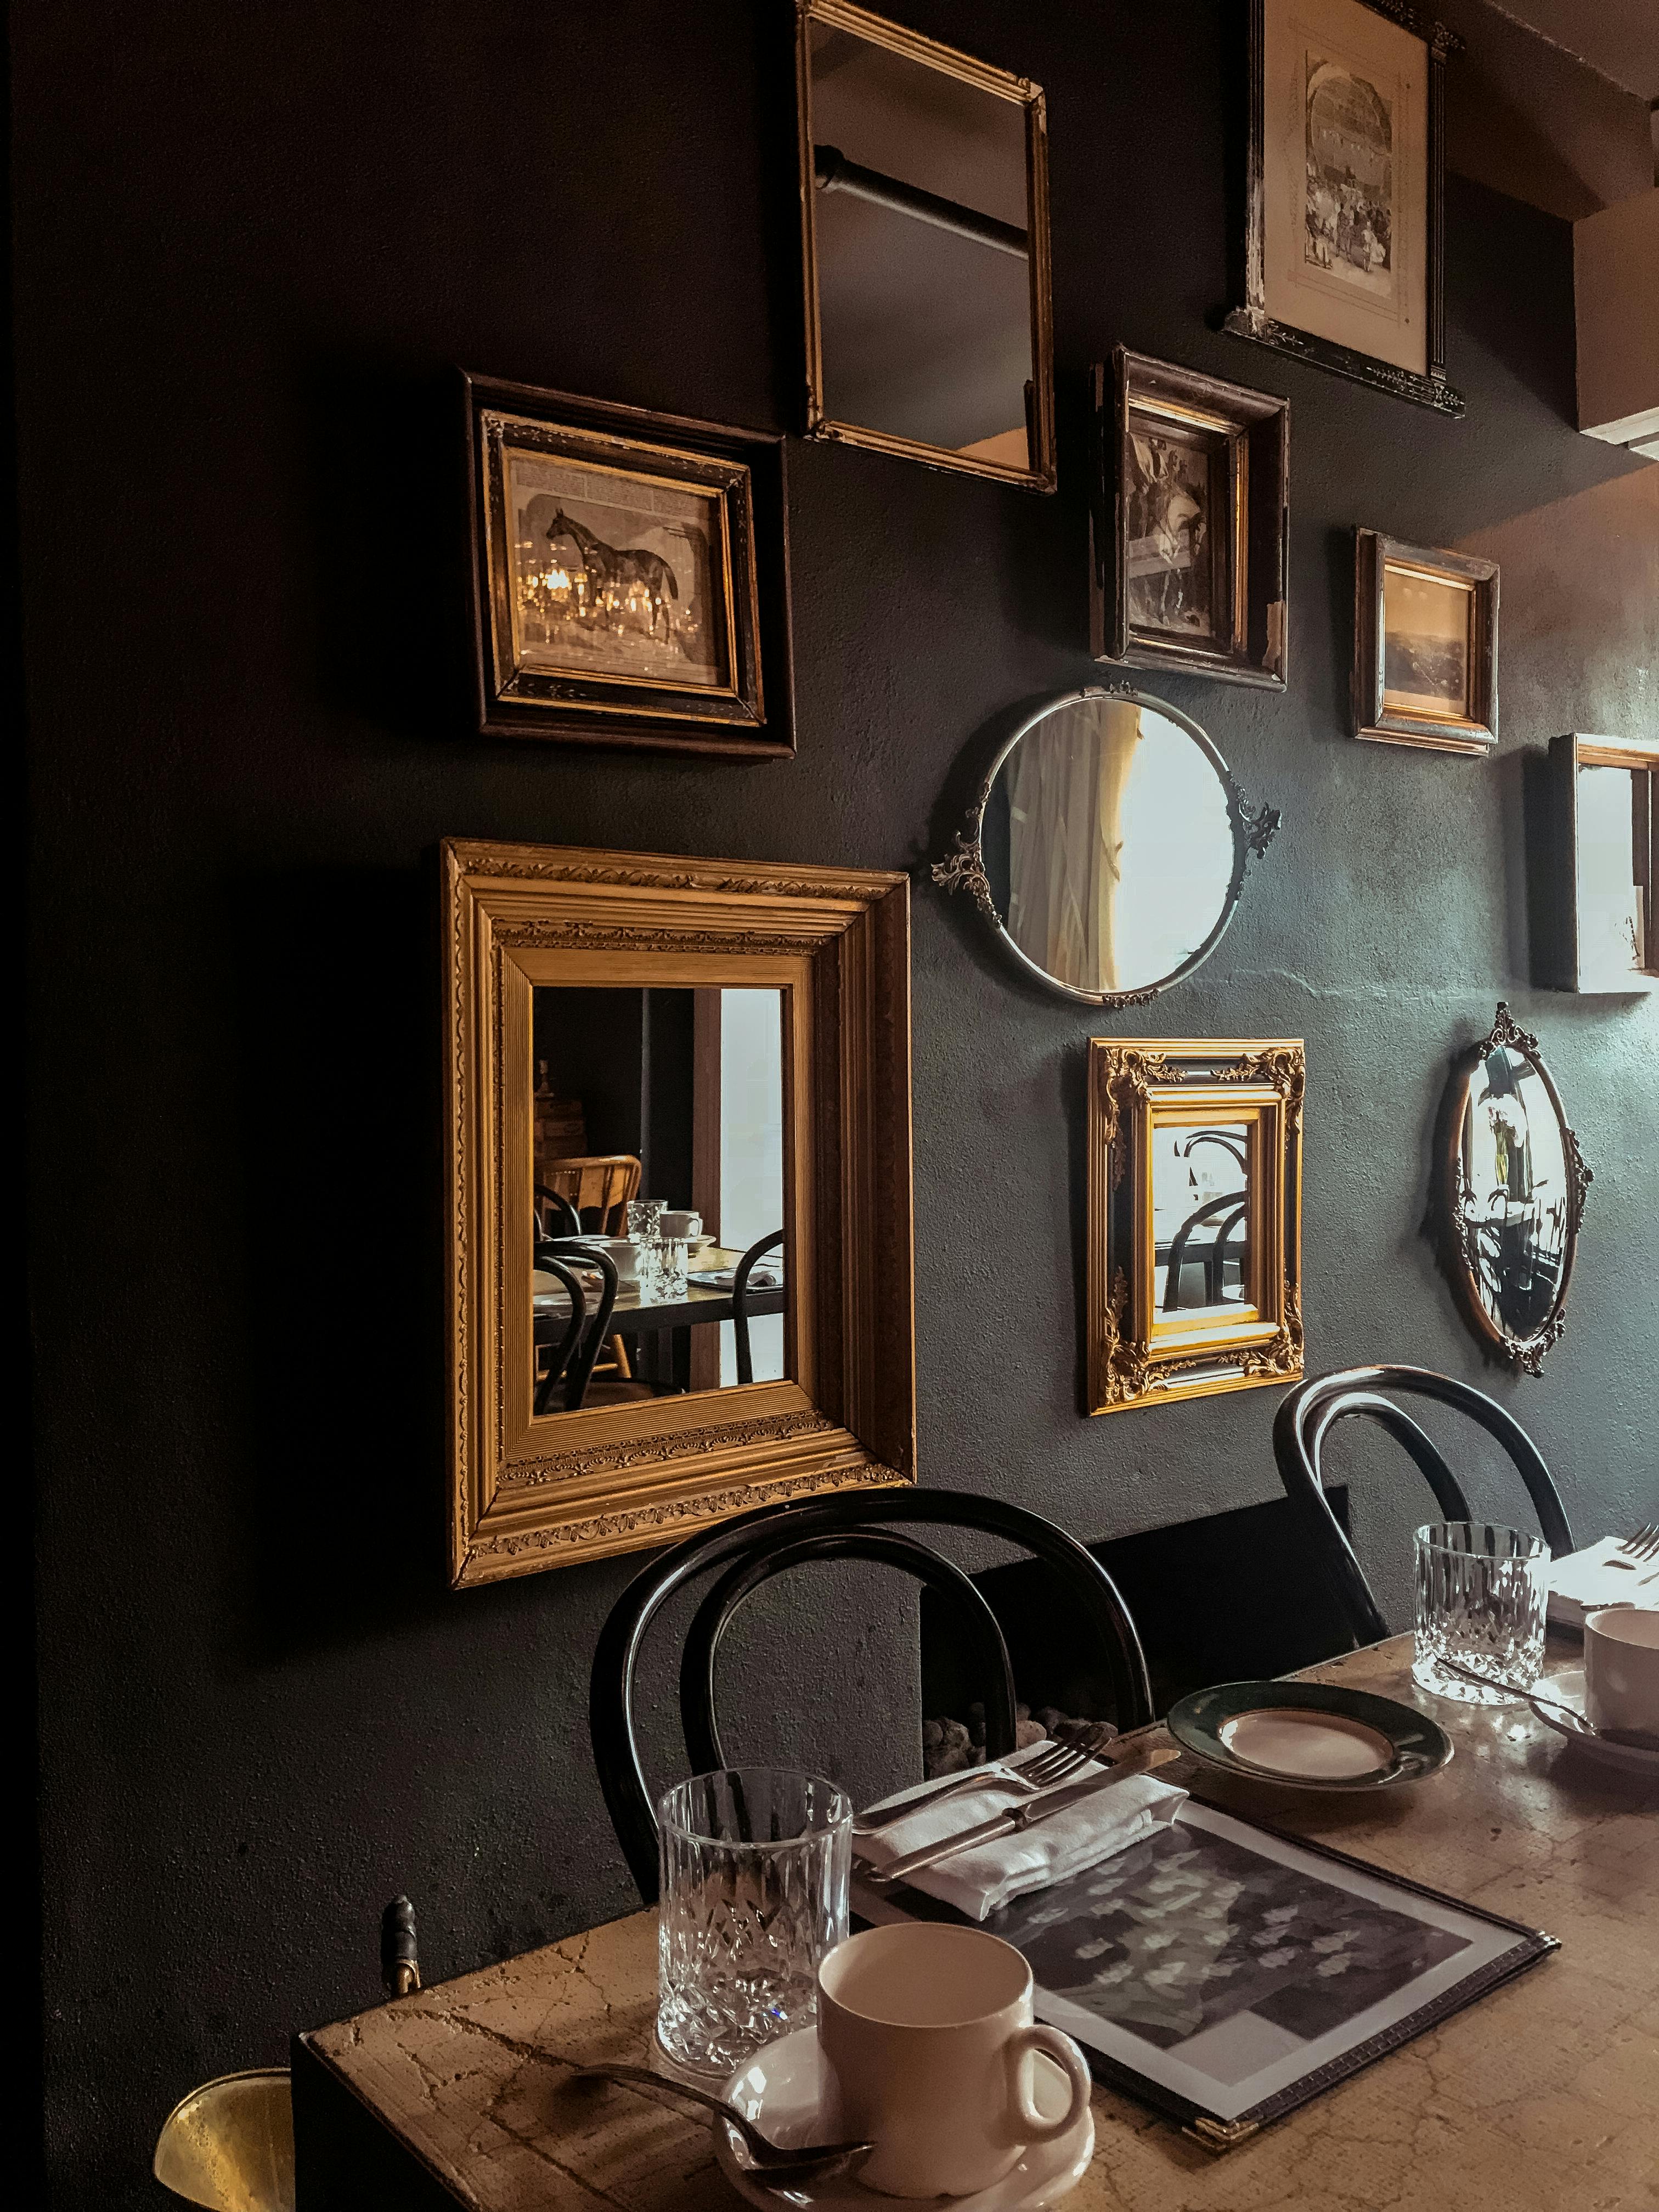
Don't underestimate art's power as a problem-solver! A strategically placed print or a small gallery wall can effectively camouflage an unsightly patch job from a previous tenant, a stubborn scuff mark, an awkwardly placed thermostat, or even an unpainted section of a wall. Turn a flaw into a feature by drawing the eye to something beautiful instead. For example, a tall, narrow abstract piece can perfectly obscure a prominent electrical outlet or a poorly spackled hole, while a dynamic gallery wall can distract from a scuffed corner or an uneven paint line. It's like giving your rental a mini-makeover without the renovation hassle.
FAQ: Your Rental Art Questions Answered (From One Renter to Another)
I know you might still have some burning questions, so let's dive into some common renter dilemmas based on my own trial-and-error (mostly error, if I'm being honest).

Q: What's the best way to hang art in a bathroom with all the steam?
A: Avoid adhesive strips here; the humidity can seriously weaken the glue and cause your art to take an unscheduled dive. If you can't make a small nail hole, leaning a piece on a shelf, the back of the toilet, or even using a small easel on a vanity is a great, damage-free option. Also, consider art that isn't precious or susceptible to moisture damage—a cheap, cheerful print you can easily replace, a piece sealed with a moisture-resistant varnish, or even a metal print is better than a one-of-a-kind original. We have a whole guide on choosing art for a bathroom.
Q: How do I create a gallery wall without nails?
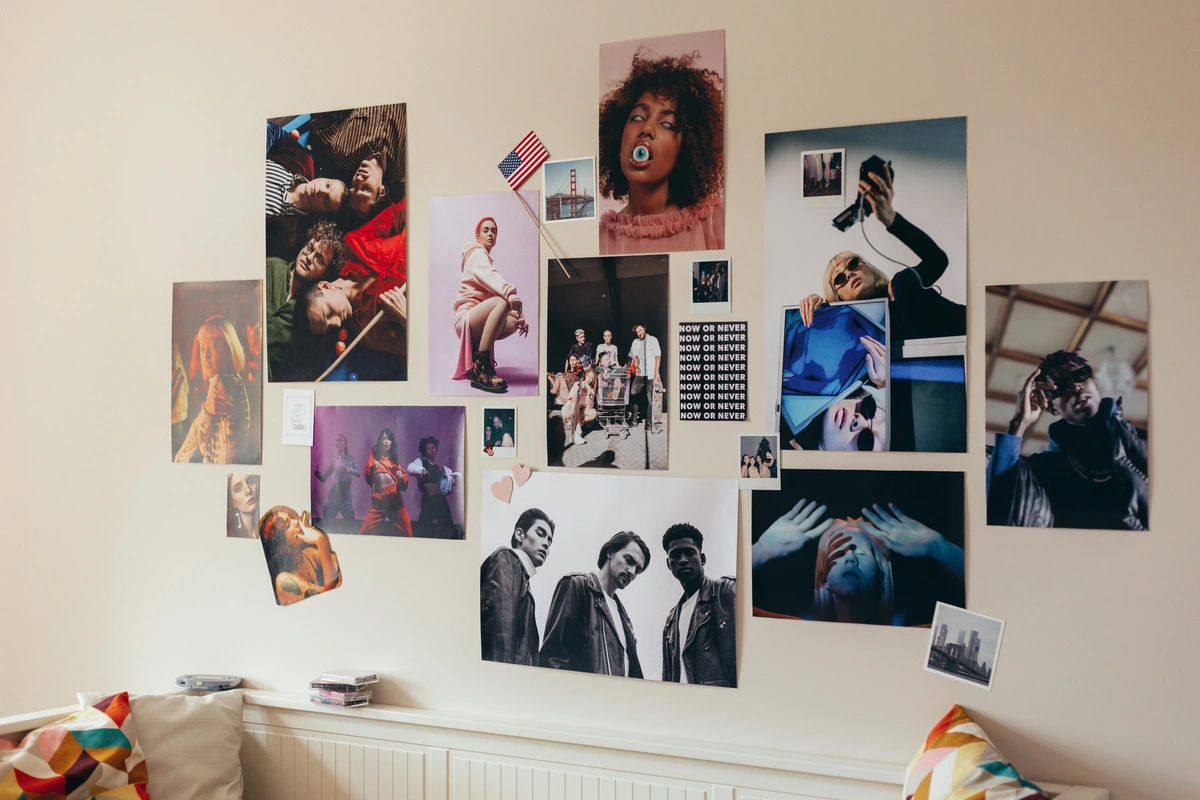
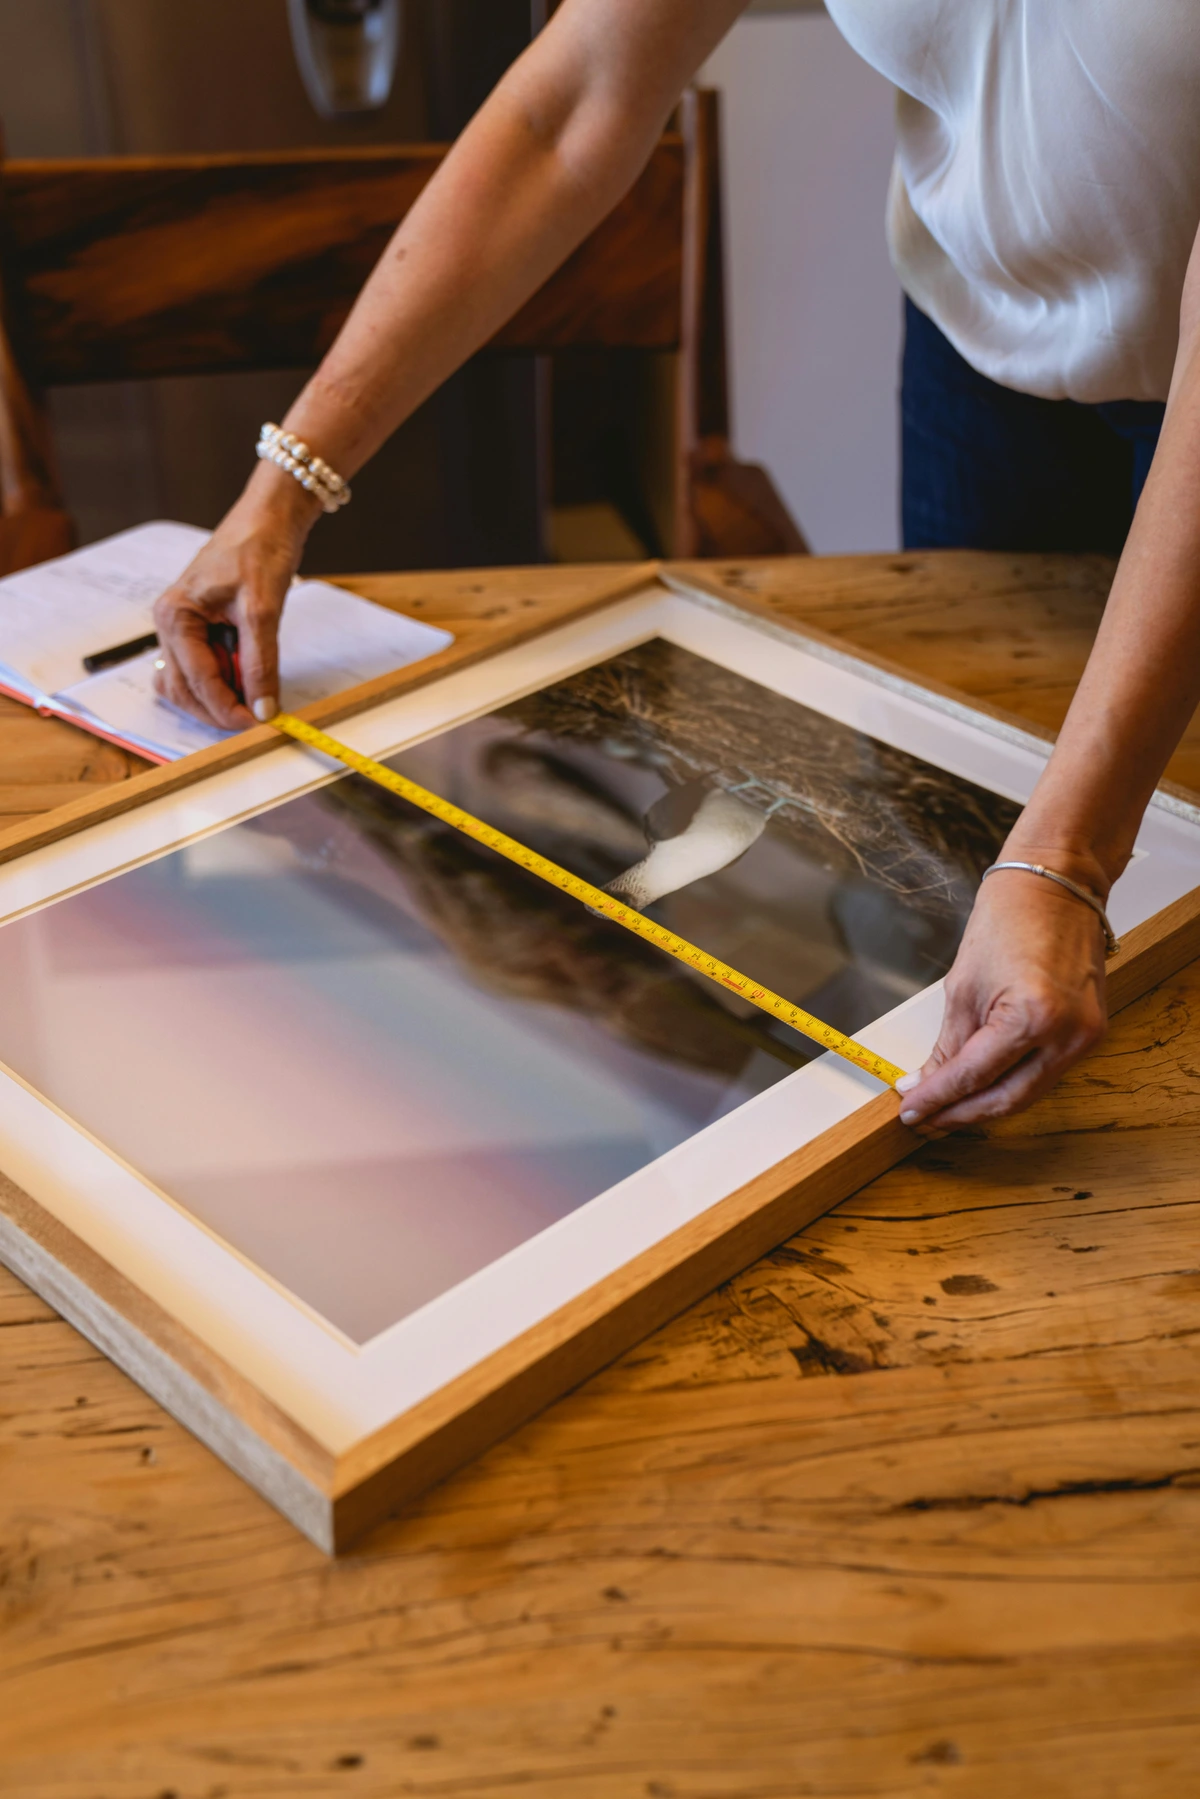
A: Adhesive strips (like Command strips) are your absolute champion here. Plan your layout on the floor first, just like you would for a traditional gallery wall. Use a level and a tape measure to get your spacing right on the wall. The key is using the right number of strips for the weight of each frame, and I always recommend erring on the side of caution and going for the heavier-duty ones to be safe. Remember that crucial cleaning and pressing step!
Q: My walls are brick/concrete. What are my options?
A: Drilling into these surfaces is a major no-go in a rental, not just because of the lease, but because it's incredibly difficult to repair these materials invisibly, and sometimes even causes structural damage. This is a perfect scenario for leaning large art directly against the wall. The raw texture of brick or concrete often provides a beautiful, industrial backdrop that enhances the art. Even leaning art against these rugged beauties needs care. I use felt or silicone pads on the back of my frames to protect them from scratches and to prevent dust from adhering to the artwork itself. Console tables are also your friends here. If your lease explicitly allows, and only then, you might explore heavy-duty adhesive hooks specifically designed for brick or concrete surfaces, though testing in an inconspicuous spot is paramount. While we have guides for hanging art on brick walls and concrete walls, always be mindful of your lease and prioritize damage-free leaning in a rental!
Q: I have a lot of art but I'm renting a tiny apartment. Any advice?
A: Absolutely. It's all about scale and clever placement, much like composing a small but impactful piece of abstract art. A gallery wall can actually make a small space feel bigger and more intentional by drawing the eye across varied elements. Also, think vertically! Using tall, narrow pieces or creating vertical stacks on shelves can draw the eye upward, making the ceilings feel higher and the room feel more expansive. Don't forget storage: consider dedicated art storage solutions for collectors like archival bins or modular storage systems for pieces you're rotating out. We have some great tips on collecting art for small apartments.
Q: How do different wall textures or paint finishes affect damage-free solutions?
A: This is a fantastic and often overlooked question! Smooth, semi-gloss or satin paint finishes are generally the most forgiving for adhesive strips. Matte paints can sometimes be delicate, and highly textured walls (like stucco, plaster with heavy texture, or even some wallpapers) might not provide a stable enough surface for adhesives to bond properly because the uneven surface creates air gaps that prevent full adhesion, or the texture itself can easily peel upon removal. Always, always test a strip in a discreet area (behind a door, inside a closet, or even a spot that will be hidden by furniture) for a few days to see how it adheres and removes before trusting it with your favorite piece. I've learned the hard way that even "damage-free" strips can be a menace on certain wallpapers or crumbly plaster, potentially pulling off paint or tearing the paper. Always, and I mean always, sacrifice a tiny, unseen corner for a 24-hour test. When in doubt, lean it!
Q: What types of art and frames are most 'rental-friendly' in high-traffic areas (like hallways)?
A: In hallways or other areas prone to accidental bumps, durability is key. Opt for pieces with acrylic glazing instead of glass (it's lighter and won't shatter). Canvas prints or art mounted on rigid boards are also great choices. Consider lightweight frames that won't cause serious damage if they do fall, and avoid anything too sculptural that protrudes far from the wall. Leaning art on a sturdy console table in a wider hallway is often a safer and very stylish solution. Also, how you arrange pictures on a wall in these areas can minimize bumps by ensuring ample space between pieces and avoiding placement directly behind swinging doors.
Q: I'm rotating my art collection, what are some temporary storage tips for renters?
A: Excellent question for the evolving art collector! For unframed prints, acid-free archival sleeves and flat storage boxes are your best friends. For framed pieces, especially if they have glass, invest in art-specific storage boxes or heavy-duty moving blankets. Always store art upright, never flat, to prevent pressure damage. If space is tight, look for modular shelving units or even under-bed storage containers that can safely house pieces you're not currently displaying. Remember, protecting your art while it's in storage is just as important as protecting it on your walls! Think of it as its own little art gallery in waiting.
Q: My landlord requires professional painting upon move-out. How does that affect me?
A: This is a specific clause that means even perfectly patched tiny holes might not be enough. If your lease states this, it implies the landlord wants a fresh, uniform coat by a professional. In this scenario, your best bet is to stick almost exclusively to damage-free solutions (leaning, tension rods, adhesive strips that you meticulously remove). Relying solely on patching and touch-up for any holes you make might not be sufficient, and you could still be charged for the professional painting regardless of how well you patched. Always ask for clarification in writing when you move in if this clause is present. If you see this clause, get clarification in writing before you sign. It could mean even your perfectly patched pinprick still incurs a fee, making damage-free methods your only truly 'safe' bet.
Q: What about very large or heavy art pieces if leaning isn't an option?
A: This is definitely a challenge in a rental! For truly massive or heavy pieces that can't safely lean, your options are limited without landlord approval. Some high-end furniture rental companies or art staging services offer specialized freestanding art display structures or heavy-duty easels designed to hold significant weight without wall attachment. It's a niche but brilliant solution for those impossible pieces. Otherwise, leaning remains your best damage-free friend for grand-scale works.
Q: How do older, delicate wall surfaces (like textured plaster or wallpaper) affect hanging methods?
A: Ah, the charming but challenging walls of yesteryear! Textured plaster, crumbly drywall, or delicate wallpapers require extra care. Adhesive strips might struggle to bond securely to uneven surfaces and could potentially pull off paint or wallpaper upon removal. Small picture hangers or Monkey Hooks might work for pinprick holes in solid plaster, but always test discreetly. For wallpaper, even a small hole can tear, so damage-free options like leaning, tension rods, or picture rails are usually safest. If you absolutely must use an adhesive on wallpaper, research 'wallpaper-safe' temporary adhesives, but proceed with extreme caution and a test strip. As I mentioned, I've learned the hard way that even "damage-free" strips can be a menace on certain wallpapers or crumbly plaster, potentially pulling off paint or tearing the paper. Always, and I mean always, sacrifice a tiny, unseen corner for a 24-hour test. When in doubt, lean it!

Q: Can I hang art on popcorn ceilings?
A: Popcorn ceilings are notoriously tricky for any kind of attachment. Drilling can cause chunks to fall, and adhesives rarely get a secure grip due to the uneven texture. Your best bet for these challenging surfaces is to focus on floor-standing easels, leaning art, picture rails (if existing on walls, not the ceiling!), or tension rods to create vertical displays without touching the ceiling. You can also explore freestanding room dividers or screens to create a faux wall where you can hang art more easily.
Q: What about using pegboards or slatwalls for flexible display?
A: Great question! Pegboards and slatwalls are fantastic for flexible, changeable displays and organization. The challenge in a rental is their installation, as they typically require significant drilling and anchoring. If your lease allows for more substantial alterations (e.g., if you're responsible for full wall repair upon move-out and are prepared for that cost), then they can be a brilliant, long-term solution. Otherwise, consider freestanding pegboards or slatwall panels that lean against a wall or are part of a larger shelving unit. These give you the same versatility without wall damage. I've seen some clever DIY versions that incorporate casters, making them portable and perfect for rentals.
Q: How do I manage an evolving art collection in a long-term rental?
A: For longer rentals, consider a dedicated art rotation schedule. Instead of displaying everything at once, keep some pieces in archival storage and swap them out seasonally or when your mood changes. This keeps your space fresh and gives you a reason to revisit older pieces. It also means less art is constantly exposed to light and environmental factors. Also, explore modular display systems that can adapt to new art and new layouts without constant re-drilling.
Q: Are there ethical considerations for displaying reproductions or borrowed art in a rental?
A: Absolutely. When displaying reproductions, particularly museum-quality prints or posters, it's good practice to acknowledge the original artist and source if possible. If you're displaying art borrowed from friends, a gallery, or an art rental service, always be clear about ownership, insurance responsibilities, and any display restrictions. Treat borrowed art with the utmost care, documenting its condition upon receipt and before return. Open communication is key to maintaining good relationships and protecting the integrity of the artwork. Always give credit where credit is due; it's a small but significant act of respect for artists and creators – a nod to the intellectual property that helps build our vibrant artistic world.
The Art of Living: Your Rental, Your Canvas
It's easy to fall into the trap of thinking, "I'll wait until I own a place to make it nice." But life is happening now. Your home, whether you rent it for a year or a decade, should be a sanctuary. It should be a place that reflects you, inspires you, and recharges you. Don't let a security deposit hold your personality hostage. Surrounding yourself with art—whether it's an original piece from an artist you love (perhaps even a Zen Dageraad Visser piece?), a print from a museum visit, or even your own work—is one of the most powerful ways to do that. It's about claiming your space, even if it's temporary, and infusing it with your unique spirit. Your rental isn't a waiting room for your 'real' life; it's the stage where it's happening. Fill it with art, claim your space, and let your soul breathe.







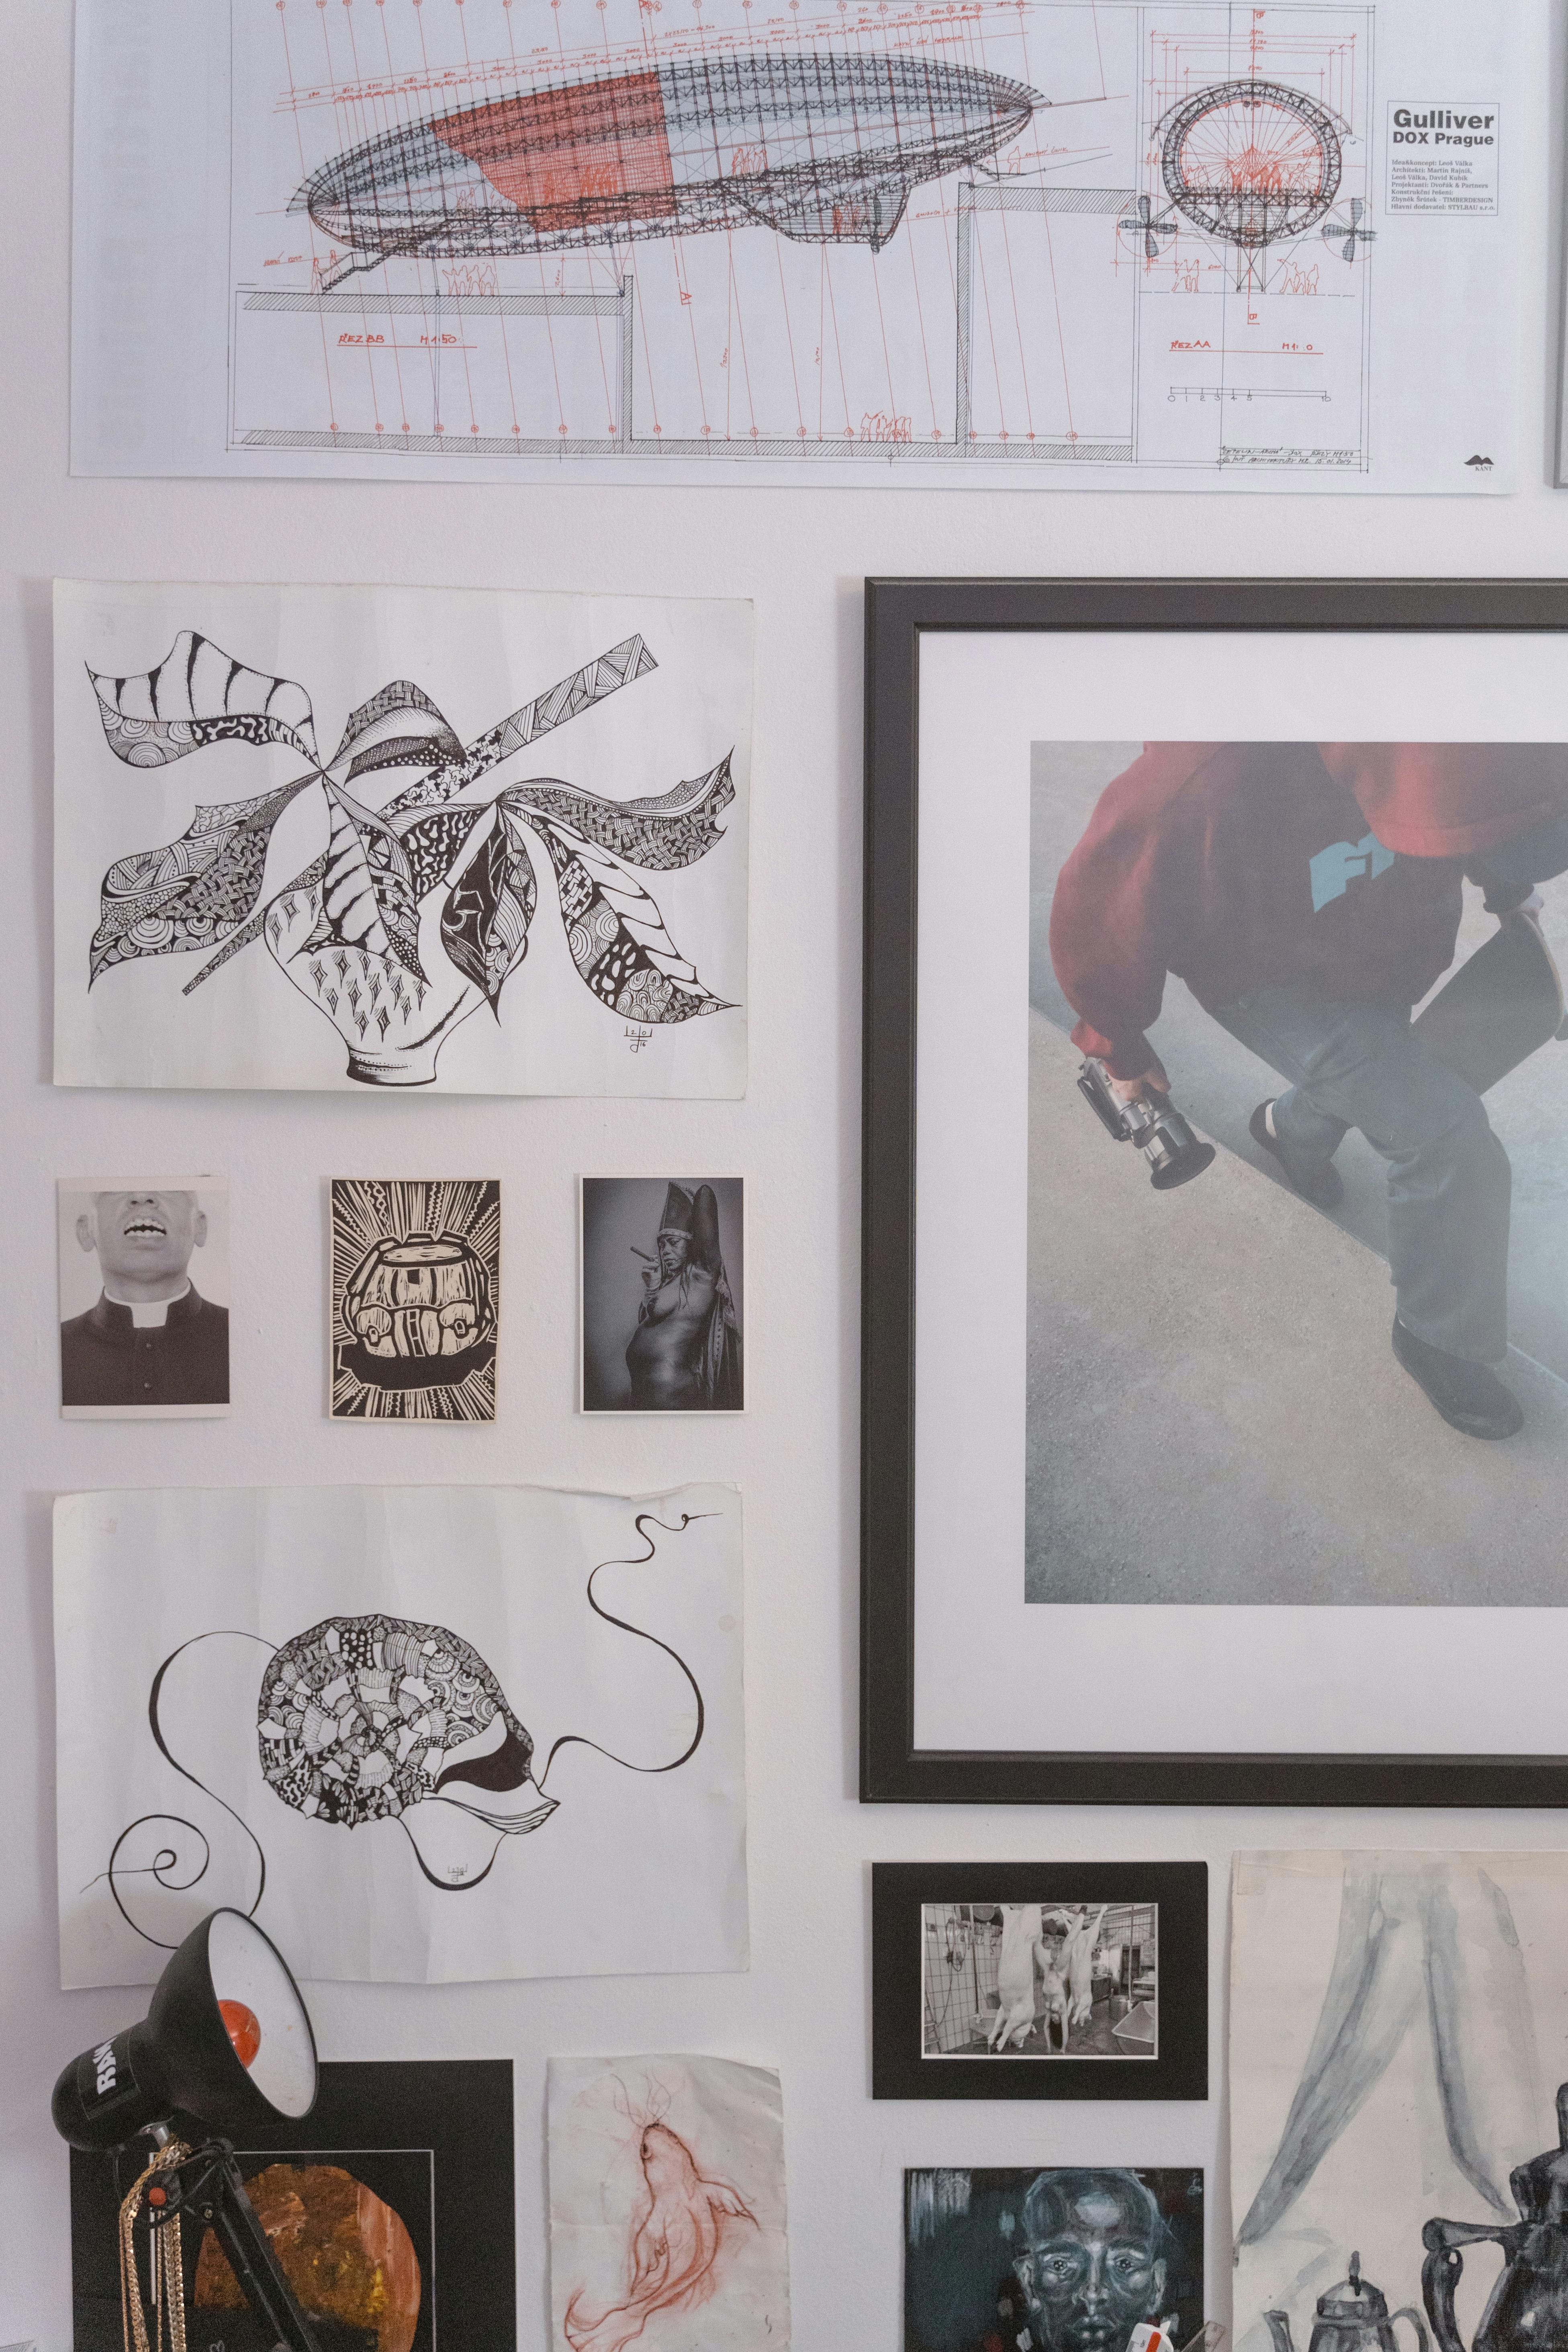
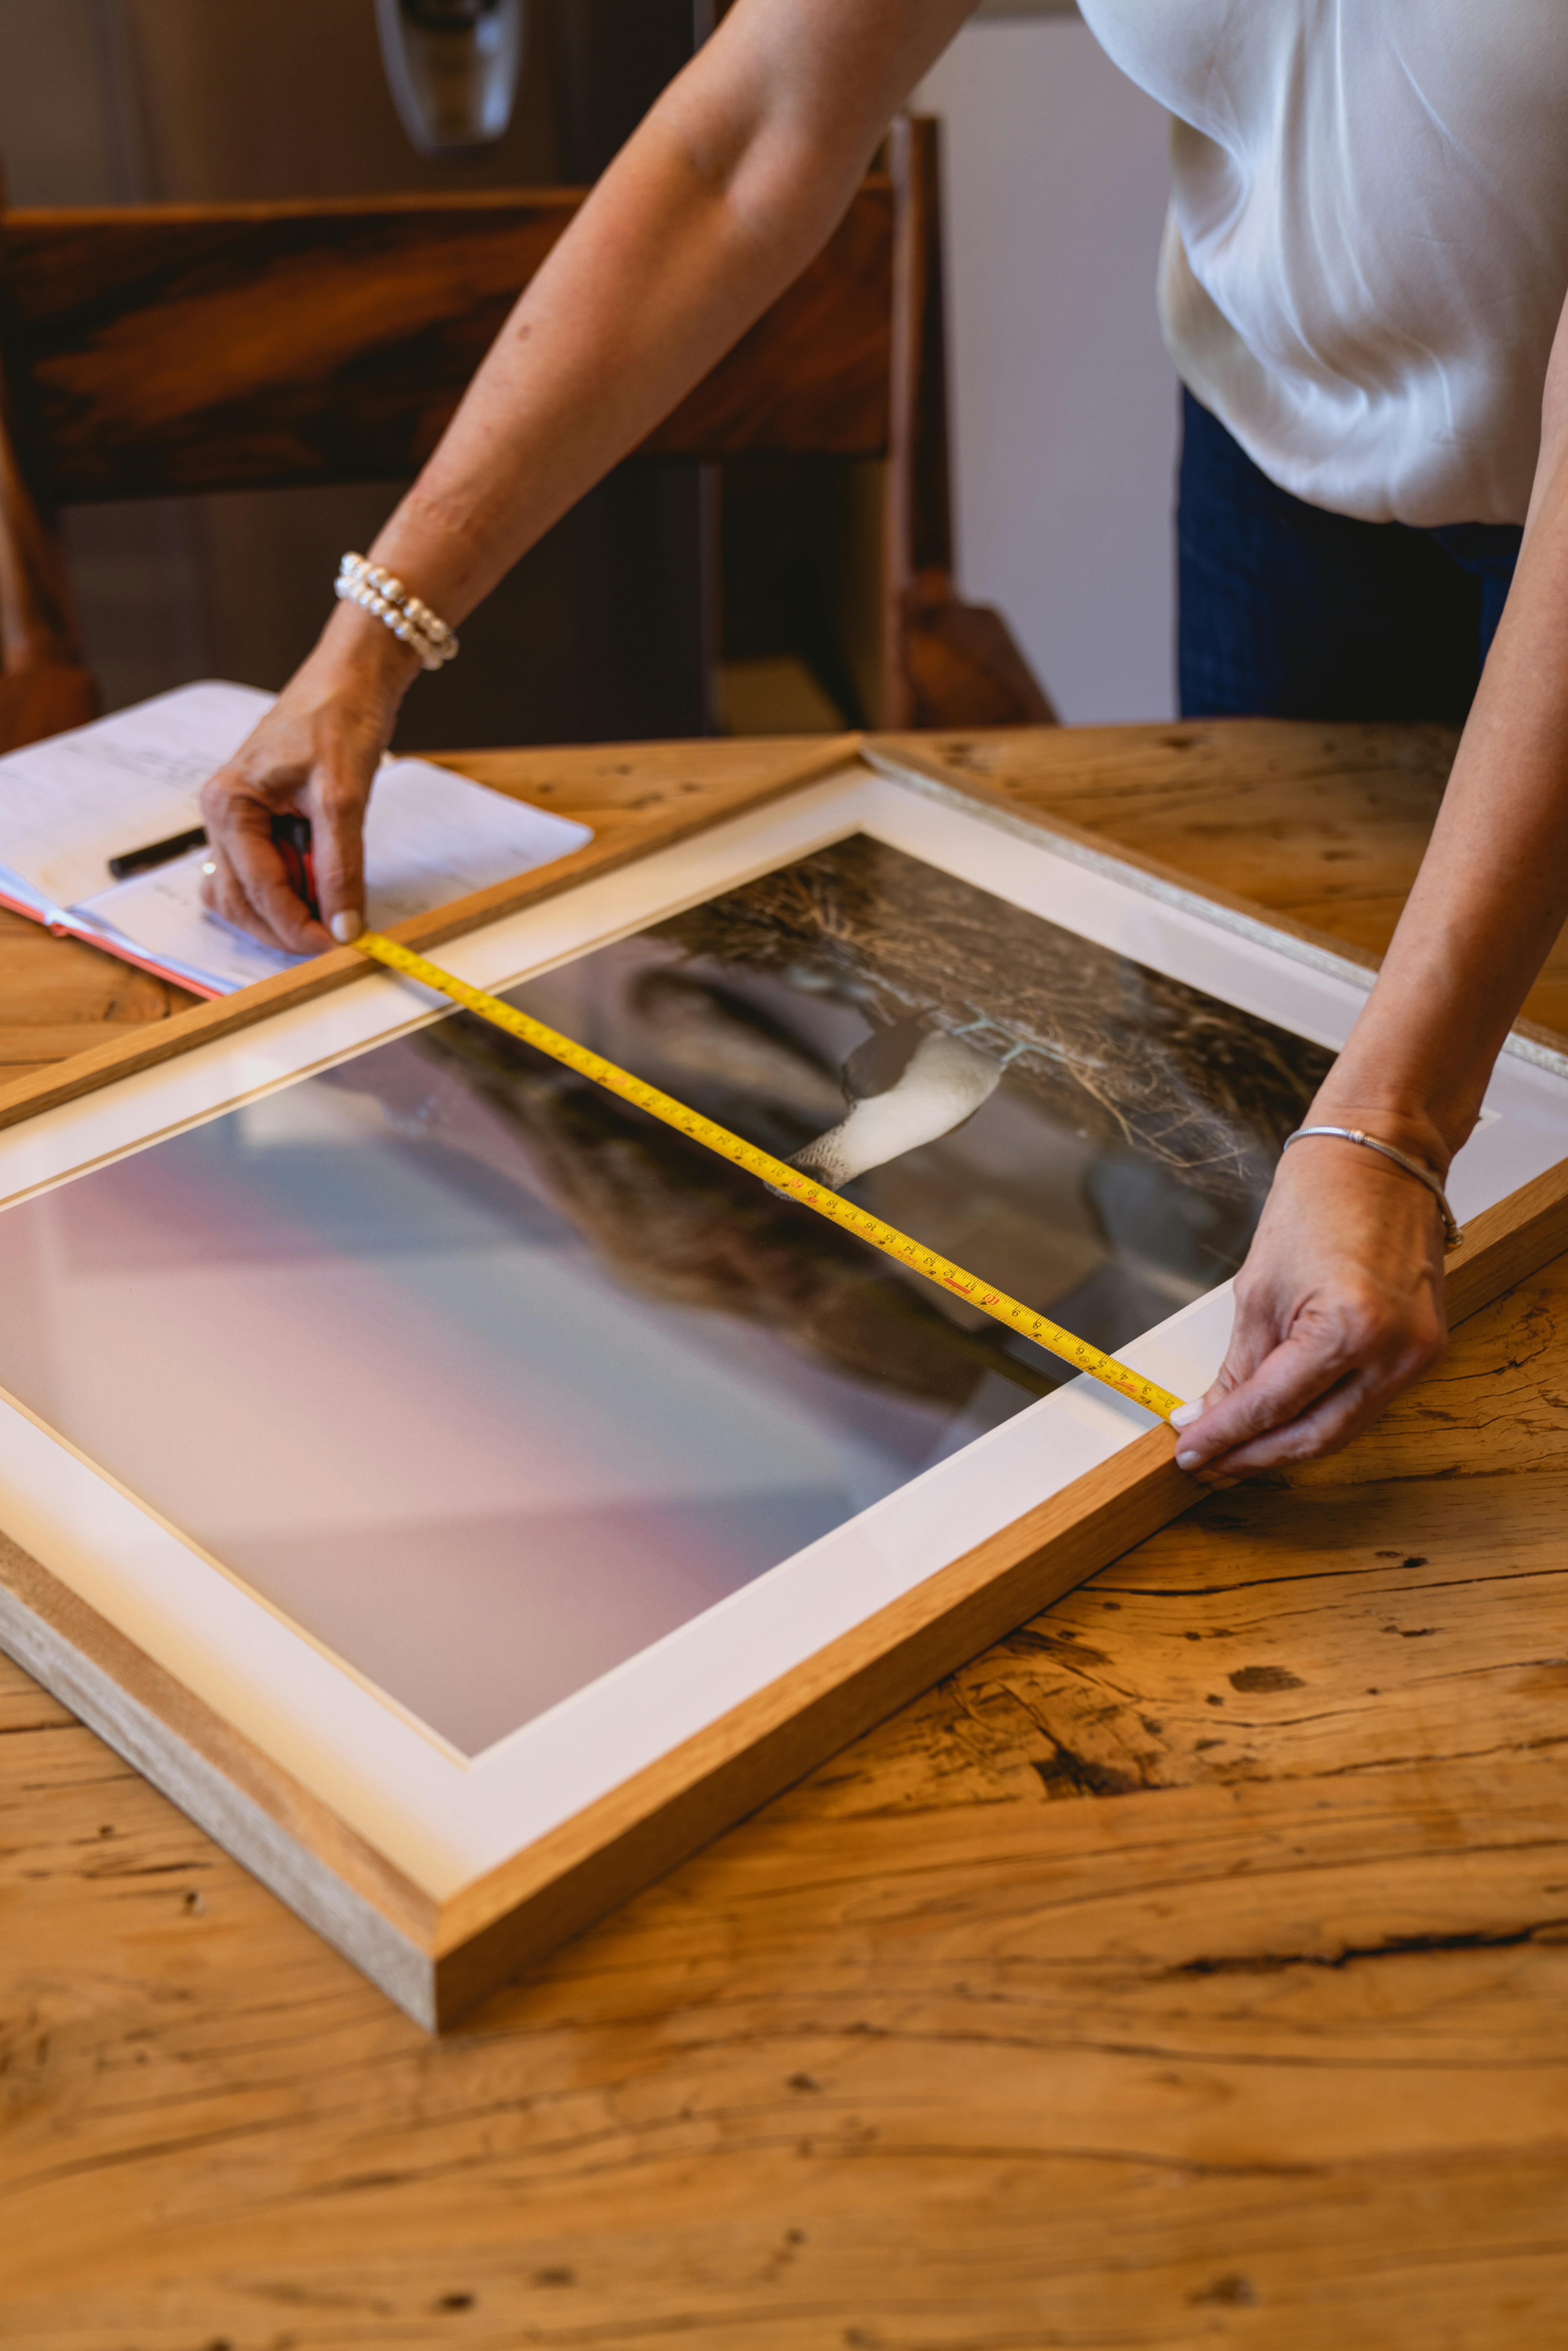


With a little creativity, the right tools, and a healthy dose of renter wisdom, you can build a beautiful, personal space that you can pack up and take with you, leaving nothing behind but clean, undamaged walls. So, grab that adhesive strip, lean that print, or explore a freestanding display. Commit to trying one new damage-free method this week – even just a small one to test the waters. Your security deposit will thank you, and more importantly, your soul will sing.