
How to Hang Art on Wallpaper (Without the Headache)
Unlock the secrets to hanging art on wallpaper without fear! This guide covers damage-free methods, traditional techniques, essential tools, and expert tips for every wallpaper type, ensuring your walls stay pristine. Say goodbye to tears and hello to stunning displays.

How to Hang Art on Wallpaper (Without the Headache)
Oh, wallpaper. It's a glorious, transformative element, isn't it? It can elevate a room from 'meh' to 'marvelous,' wrapping your space in personality and charm. But then comes the moment you want to hang art, and that beautiful, sometimes delicate, paper feels like an insurmountable barrier. The terror of tearing a perfect pattern, especially if it was a nightmare to put up, can paralyze you, leaving your cherished art stacked sadly in a corner. I get it. I've had my share of wallpaper woes, even shedding a tear or two over a particularly beloved vintage floral.
But here's the thing: art belongs on walls, even wallpapered ones. After years of wrestling with this dilemma, I've learned that it's absolutely possible to marry your art collection with your wallpaper, often without a single permanent mark. It's all about understanding your wallpaper, choosing the right method, and, dare I say, a little bit of nerve. So, let's banish that fear and get those walls looking fabulous.
First, A Quick Chat About Your Wallpaper
Before we dive into hooks and nails, let's talk about your wallpaper. Not all wallpapers are created equal, and understanding its type can save you a lot of heartache (and wallpaper!). Here's a quick overview of common types and how they might influence your hanging choices.
Wallpaper Type  | Characteristics | Hanging Considerations |
|---|---|---|
| Vinyl | Durable, washable, often smooth or lightly textured. | Generally robust; adhesive strips work well. Traditional methods are safer than on delicate papers. |
| Non-Woven | Breathable, easy to remove, often with a smooth finish. | Good for adhesives. Pin pricks can be less noticeable. Holds up well to careful traditional methods. |
| Textured/Embossed | Raised patterns, adds depth. | Excellent for hiding tiny pinholes. Adhesives need a smooth, clean contact point. May show indentations from heavy items. |
| Fabric/Grasscloth | Natural fibers, often delicate, porous, visible seams. | High risk for adhesives lifting. Pin pricks can fray fibers. Picture rails are ideal. Traditional methods require extreme caution and tape. |
| Peel-and-Stick | Temporary, often vinyl, designed for easy removal. | Adhesives work well, but always test removal in an inconspicuous area as some may still lift paint/paper, especially if left for long periods. |
| Flocked/Delicate | Raised velvet-like patterns, very fragile. | Avoid adhesives and traditional methods if possible. Picture rails are best. If not, professional installation is recommended. |
| Very Old Wallpaper | Brittle, easily torn, adhesive may have lost its strength. | Proceed with extreme caution. Test any method in an unseen spot. Damage-free is paramount. |
My Go-To Damage-Free Methods (And When I Use Them)
My philosophy is always to start with the least invasive option. Why make a hole if you don't have to, right? These are the heroes of my damage-free art hanging arsenal. For quick reference, here's how they stack up.
Method | Best For | Damage Risk | Versatility | Ideal Wallpaper Types |
|---|---|---|---|---|
| Adhesive Hooks/Strips | Lightweight to moderate items, temporary displays | Low | High (sizes/types) | Smooth vinyl, non-woven, some peel-and-stick |
| Pin Prick | Very lightweight items (postcards, small prints) | Very Low | Low | Textured, busy patterns, non-woven (to hide holes) |
| Picture Rails | All weights, permanent or frequently changed displays | None | High (reposition) | All types, especially delicate/valuable papers |
Method 1: The Adhesive Hook Superstars (My True Love)
If there's a modern marvel in the world of home decor, it's the humble adhesive hook or strip. Command Strips are probably the most famous, and for good reason. They've saved my sanity (and my security deposit) more times than I can count. These work by using a special adhesive that grips firmly but stretches to release cleanly when you're ready to take them down. Genius! While Command is the go-to, other brands offer similar solutions, so always check the weight capacity and removal instructions carefully.
I reach for these when I'm hanging anything relatively lightweight – think unframed prints, small canvases, fabric art, or even light mirrors. They're also my absolute favorite for renters, temporary displays, or when I'm still deciding on the perfect long-term spot for a piece.
Pros and Cons of Adhesive Solutions
Feature | Pros | Cons |
|---|---|---|
| Damage-Free | Removes cleanly, no holes | Can lift old/delicate wallpaper if not careful |
| Versatility | Many sizes/weight capacities, easy to reposition | Limited to lighter items |
| Ease of Use | Quick to apply, no tools needed | Adhesive can lose strength over time, humidity can impact bond |
| Aesthetics | Mostly hidden behind art | Can sometimes be visible if not placed well |
How I Use Them (The Right Way):
- Clean Your Surface: Even if your wallpaper looks clean, give the spot a quick wipe with rubbing alcohol and let it dry completely. This removes any dust or oils that could compromise the adhesive.
- Apply to Frame: Stick the strips directly to the back of your frame or art piece, pressing firmly for 30 seconds. My inner worrier always insists on double-duty, so I tend to use more strips than the packet recommends – peace of mind is priceless, right?
- Position and Press: Carefully align your art on the wall. Once you're happy, press the art firmly against the wall for another 30 seconds. The magic happens as the adhesive bonds to both surfaces.
- Wait (The Hardest Part): For maximum hold, I always remove the art (if it's a hook type) or gently pull the frame away from the wall (if using picture hanging strips) and wait an hour (or even better, 24 hours) before re-hanging. This allows the adhesive to fully cure on the wall surface. Trust me, it's worth it.
Quick Tip for Adhesive Removal:When it's time to take down your art, never pull the tab straight out or rip the strip off. Instead, pull the tab slowly downwards, parallel to the wall, stretching it. The strip will elongate and release cleanly. Rushing this step is the most common cause of wallpaper tears!
Method 2: The "Almost Invisible" Pin Prick (For the Cautious)
This method is for the truly lightweight stuff. Think a single postcard, a small fabric piece, or a very light unframed print. I wouldn't trust it with anything valuable or heavy. The idea here is to use the smallest possible nail or pin, creating a hole so tiny it can be virtually invisible if you're careful.
I use this when adhesive strips feel like overkill, or when I want to achieve a minimalist, floating look. It's best suited for wallpapers with a bit of texture or a busy pattern, which helps to hide the tiny pinhole.
How I Do It:
- Find Your Spot: Mark your desired hanging spot with a pencil (lightly!).
- The Gentle Poke: Use a very fine-gauge nail (like a brad nail) or a strong, slender pushpin. Gently push it through the wallpaper and into the wall behind. The key here is gentle, consistent pressure and a straight push to avoid tearing the paper.
- Hang Your Art: Hang your super-light art piece directly on the pin.
- Removal & Repair: When it's time to take it down, carefully remove the pin. If your wallpaper has a slightly fibrous or fabric-like backing, the tiny hole might naturally spring back and 'close up' on its own. For more delicate papers, I sometimes use a tiny dab of matching wallpaper adhesive or even a clear, archival glue applied with a toothpick to gently press the paper back together around the hole. It's not perfect, but it's often close enough for very small, non-critical holes.
Method 3: Picture Rails and Molding Hooks (The Elegant Solution)
If you're lucky enough to have picture rails or crown molding in your home, you've hit the jackpot for damage-free art hanging. These architectural features were practically designed for displaying art without touching your walls – a brilliant solution from a bygone era that's still perfectly relevant today. I've seen some absolutely stunning gallery walls created with this method, and it always makes me a little jealous when I don't have them in a space.
It's an elegant, traditional solution that works for almost any weight of art, depending on the strength of your rail and hooks. Plus, you can change your art arrangement on a whim without ever needing to touch the wallpaper.
How It Works (Simple as Can Be):
- Acquire Hooks & Wire: You'll need specialized picture rail hooks (they're usually S-shaped or curved to grip the rail) and sturdy picture hanging wire or nylon cord.
- Attach to Art: Secure the wire to the D-rings or eye hooks on the back of your framed art, ensuring it's strong enough for the weight.
- Hang from Rail: Hook the picture rail hook over the rail, then loop your art wire over the hook. Adjust the wire length to get your art at the perfect height. Voila! No wall damage, ever.
When You Have to Go Traditional (Nails & Screws on Wallpaper)
Okay, so sometimes you just have to commit. A heavy mirror, a large, treasured painting, or a gallery wall where adhesive just won't cut it. Or maybe you simply don't have picture rails and prefer a more permanent look. This is where nails and screws come in, but we're going to treat that wallpaper with the respect it deserves.
Tools for the Job: A Quick Checklist
Before you begin, gather your essentials:
- Measuring Tape & Pencil: For precision.
- Level: To ensure straight hanging.
- Low-Tack Painter's Masking Tape: (This is tape designed specifically not to damage surfaces upon removal. Crucial!)
- Hammer: For nails.
- Drill & Drill Bits: For screws and anchors.
- Screwdriver: For screws.
- Picture Hooks / Wall Anchors / Screws: Appropriate for the weight of your art.
- Rubbing Alcohol & Cloth: For cleaning (if using adhesives).
- Craft Knife & Toothpicks: For repairs.
- Wallpaper Adhesive/Clear Craft Glue: For repairs.
Preparing for Impact: The Wallpaper Protector's Pledge
This step is non-negotiable if you're going to put a hole in your wallpaper. The biggest risk isn't just the hole itself, but the act of drilling or hammering causing the wallpaper to tear or peel around the edges of the penetration. That's a heartache nobody needs.

My Little Trick:
- Masking Tape Magic: Before you do anything, place a piece of low-tack painter's masking tape directly over the spot where the nail or screw will go. Make sure it's larger than the head of your screw or nail. For extra protection, I sometimes use two layers of tape, crisscrossing them.
- The Purpose: This tape acts as a barrier, giving the wallpaper fibers something to grip onto, preventing them from tearing or fraying as the tool passes through. It's a small step that makes a huge difference.
Drilling or Nailing: The Art of Precision
With your wallpaper protected, you can proceed with a bit more confidence. Still, precision is key. And remember, for genuinely heavy pieces (say, over 10-15 lbs), you'll want to find a wall stud for maximum security, or use appropriate heavy-duty wall anchors. Your art's safety, and your wall's integrity, depend on it.

- Nailing: For standard picture hanging (up to moderate weight), use a picture hook with a thin nail. Hammer gently and steadily, making sure the nail goes straight in. The tape should help guide it and prevent tearing.
- Screwing: For heavier items that require a screw and potentially a wall anchor, use a sharp drill bit that is slightly smaller than your screw or anchor. Drill slowly through the tape and wallpaper, and into the wall. Again, the tape will minimize any tearing or lifting.
Repairing the Unthinkable (My Oopsie Moments)
Let's be real, mistakes happen. Even with all the precautions, you might still end up with a tiny tear or a slightly ragged hole. Don't panic. I've been there. My approach is usually to carefully trim any frayed edges with a craft knife to make the damage cleaner. Then, I use a tiny dab of wallpaper adhesive (or even a clear-drying craft glue like Mod Podge) applied with a toothpick to gently smooth down the edges and press any lifted paper back into place. For very noticeable tears, if you have a remnant of the wallpaper, you can even attempt a small patch. Carefully cut a piece that matches the pattern and adhere it over the damage with wallpaper paste, aligning the pattern meticulously. It requires patience and a steady hand, but it can be surprisingly effective. For truly valuable or intricate wallpaper, or significant damage, don't hesitate to consult a professional wallpaper repair specialist – they work wonders!
General Wisdom for Hanging Art on Any Wall (My Hard-Earned Lessons)
Beyond the specific wallpaper considerations, there are universal truths to hanging art that I've learned through trial and error (mostly error, if I'm honest).
Measure Twice, Hang Once (Seriously, Do It)
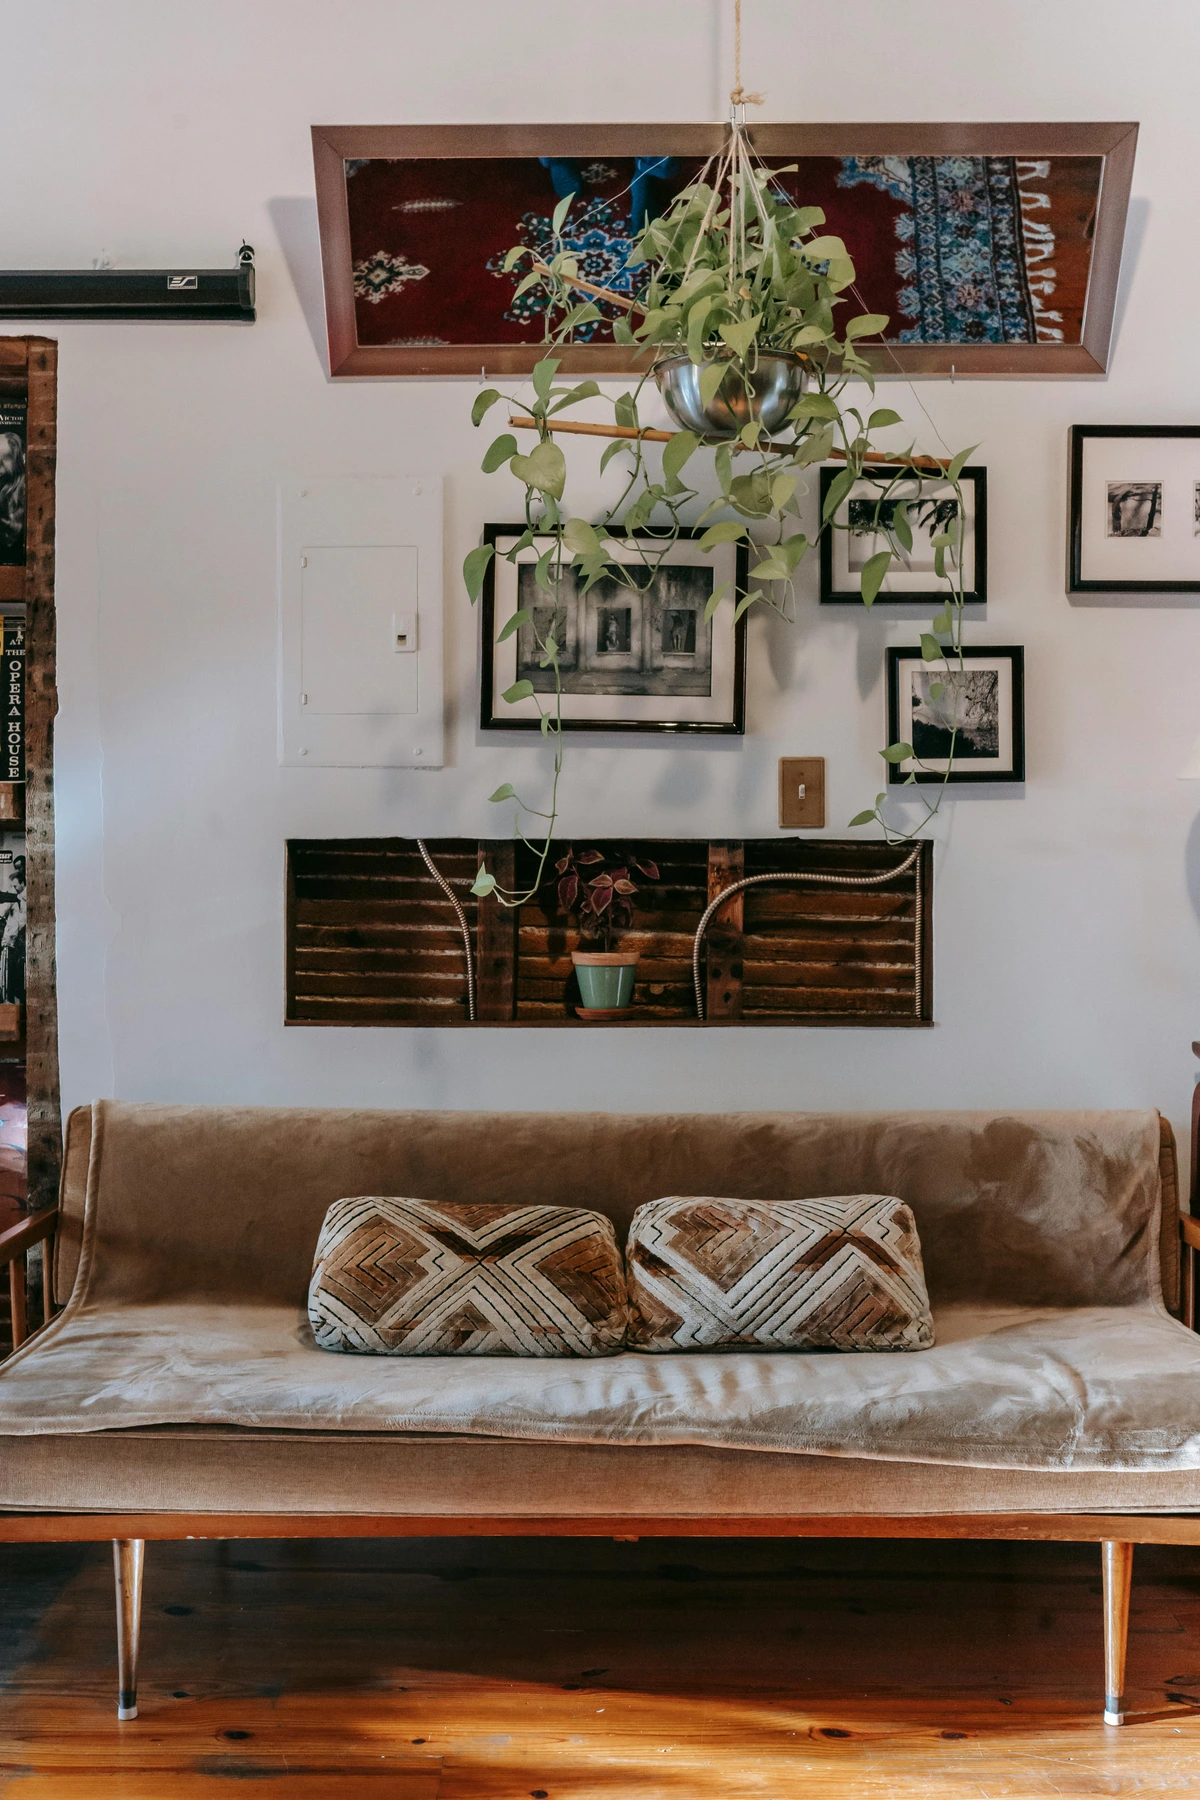
I used to be a 'wing it' kind of person, and my walls have the ghost holes to prove it. Now, I measure everything. The center of the wall, the height of the ceiling, the furniture below. I like to hang art at eye level, which is generally about 57-60 inches (145-152 cm) from the center of the artwork to the floor. For art above a sofa, I make sure the bottom of the frame is about 6-8 inches (15-20 cm) above the back of the sofa, creating a cohesive visual anchor. This meticulous approach truly prevents unnecessary holes and creates a more balanced, intentional display. If you're still figuring out the perfect spot, you might want to check out my thoughts on art above the sofa: a guide to perfect placement and scale or even more generally, how I approach how to decorate a house from scratch. It's a journey, not a destination, this decorating business.
Considering the Art Itself (Weight, Value & Environment)
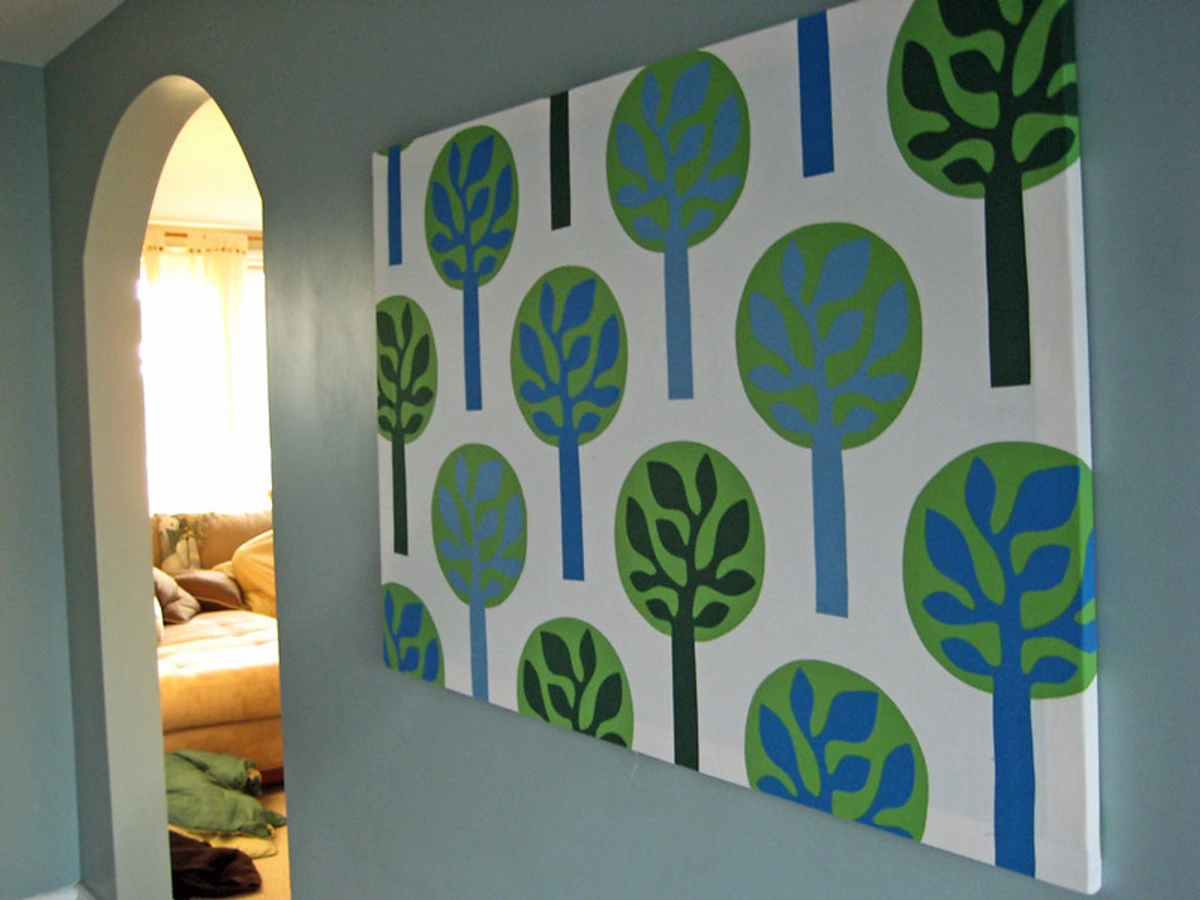
Before you even think about hooks, consider your art. Is it a lightweight print I whipped up in my studio (you can find some similar pieces to mine if you check out [/buy])? Or is it a heavy, glass-fronted masterpiece that once belonged to your great-aunt Mildred? The weight dictates the method. Never skimp on the hanging hardware for heavy pieces. Safety first, always. Also, consider the environment: in high-humidity areas like bathrooms or kitchens, adhesive bonds can weaken over time, and wallpaper can be more prone to lifting, making traditional, more secure methods (with proper protection) or picture rails a better choice. And if it's truly precious or irreplaceable, a professional installer might be worth the investment.
The Room's Vibe (And Your Wallpaper's Character)
Think about how the art and wallpaper will interact. Is your wallpaper a bold, geometric pattern? Then a simpler, perhaps abstract piece or minimalist line art might prevent visual clutter, creating a striking juxtaposition. Is it a subtle texture or a delicate floral? You have more freedom to experiment with bolder art. I find that contrasting styles can be incredibly exciting; for example, a modern abstract piece on a classic damask wallpaper can create a really dynamic tension, or a gallery wall of eclectic, organic-shaped pieces on a geometric background. It's all about balance and creating a conversation between the elements. Sometimes, even exploring decorating with art in modern farmhouse interiors gives me fresh ideas, even if my space is completely different. Ultimately, your walls are a canvas for your personal story – make it sing!

Frequently Asked Questions (Because We All Have Them)
Can I use Command Strips on all types of wallpaper?
Generally, no, not all. Command Strips and similar adhesives work best on smooth, robust vinyl or non-woven wallpapers. You should avoid them on delicate, flocked, fabric-backed, heavily embossed, or very old wallpapers, as the adhesive might lift or damage the paper when removed. Always test in an inconspicuous area first, especially with older or valuable wallpaper. Humidity can also impact the long-term bond, so consider this in bathrooms or kitchens.

What is the safest way to remove adhesive hooks without tearing wallpaper?
This is crucial! Never pull the tab straight out or rip the strip off. Instead, pull the tab slowly downwards, parallel to the wall. The strip is designed to stretch and release cleanly from the surface. If you pull it towards you, you risk tearing the wallpaper. Take your time, apply consistent, slow pressure, and don't rush the process.
How can I hang heavy art on wallpaper without causing damage?
For genuinely heavy pieces (over 10-15 lbs), I wouldn't rely solely on adhesive solutions, regardless of what the packaging says. You'll need to use traditional methods with nails or screws. The safest approach is to ensure your screw or nail goes into a wall stud for maximum support. If no stud is available, use appropriate heavy-duty wall anchors rated for your art's weight. Crucially, always apply low-tack painter's masking tape over the drilling/nailing spot to protect the wallpaper from tearing or fraying, as discussed earlier.
Will nails always leave visible holes in wallpaper?
Yes, nails will leave small holes. How visible they are depends heavily on the wallpaper. Textured or busy patterned wallpapers are much better at disguising tiny holes than smooth, plain papers. When a nail is removed, you can often gently push the wallpaper fibers back into place around the hole, or use a tiny bit of wallpaper adhesive applied with a toothpick to mend it. It won't be entirely invisible, but it can often be minimized to be almost unnoticeable from a distance.
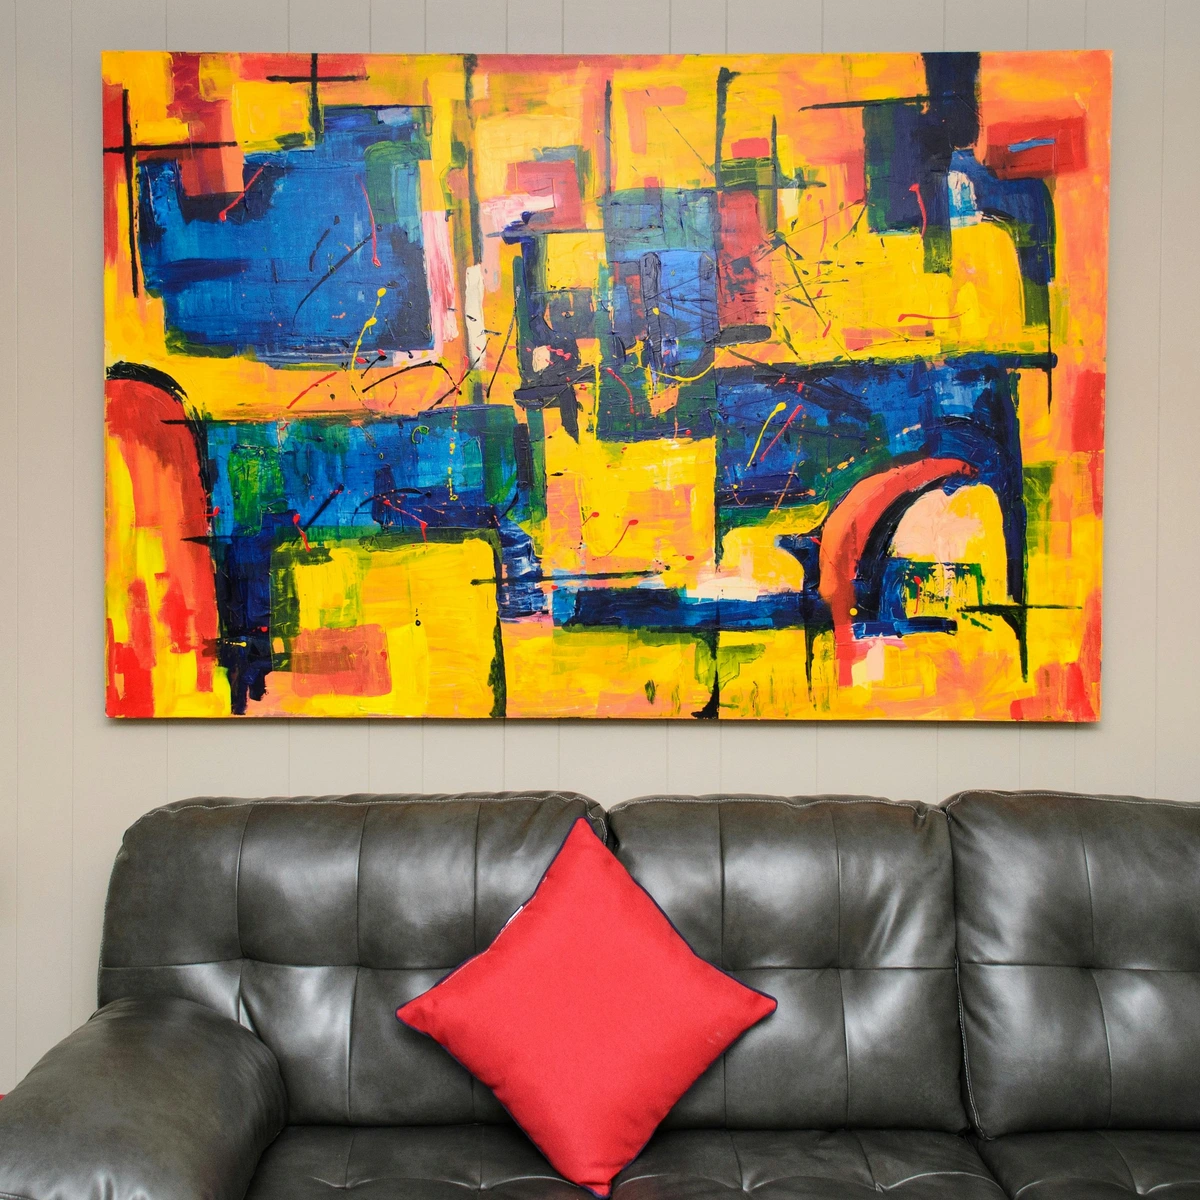
Is there a damage-free way to hang a gallery wall on wallpaper?
Absolutely! You have several options:
- All Adhesive: If all your frames are lightweight, use only adhesive strips (following all best practices) for a completely damage-free gallery.
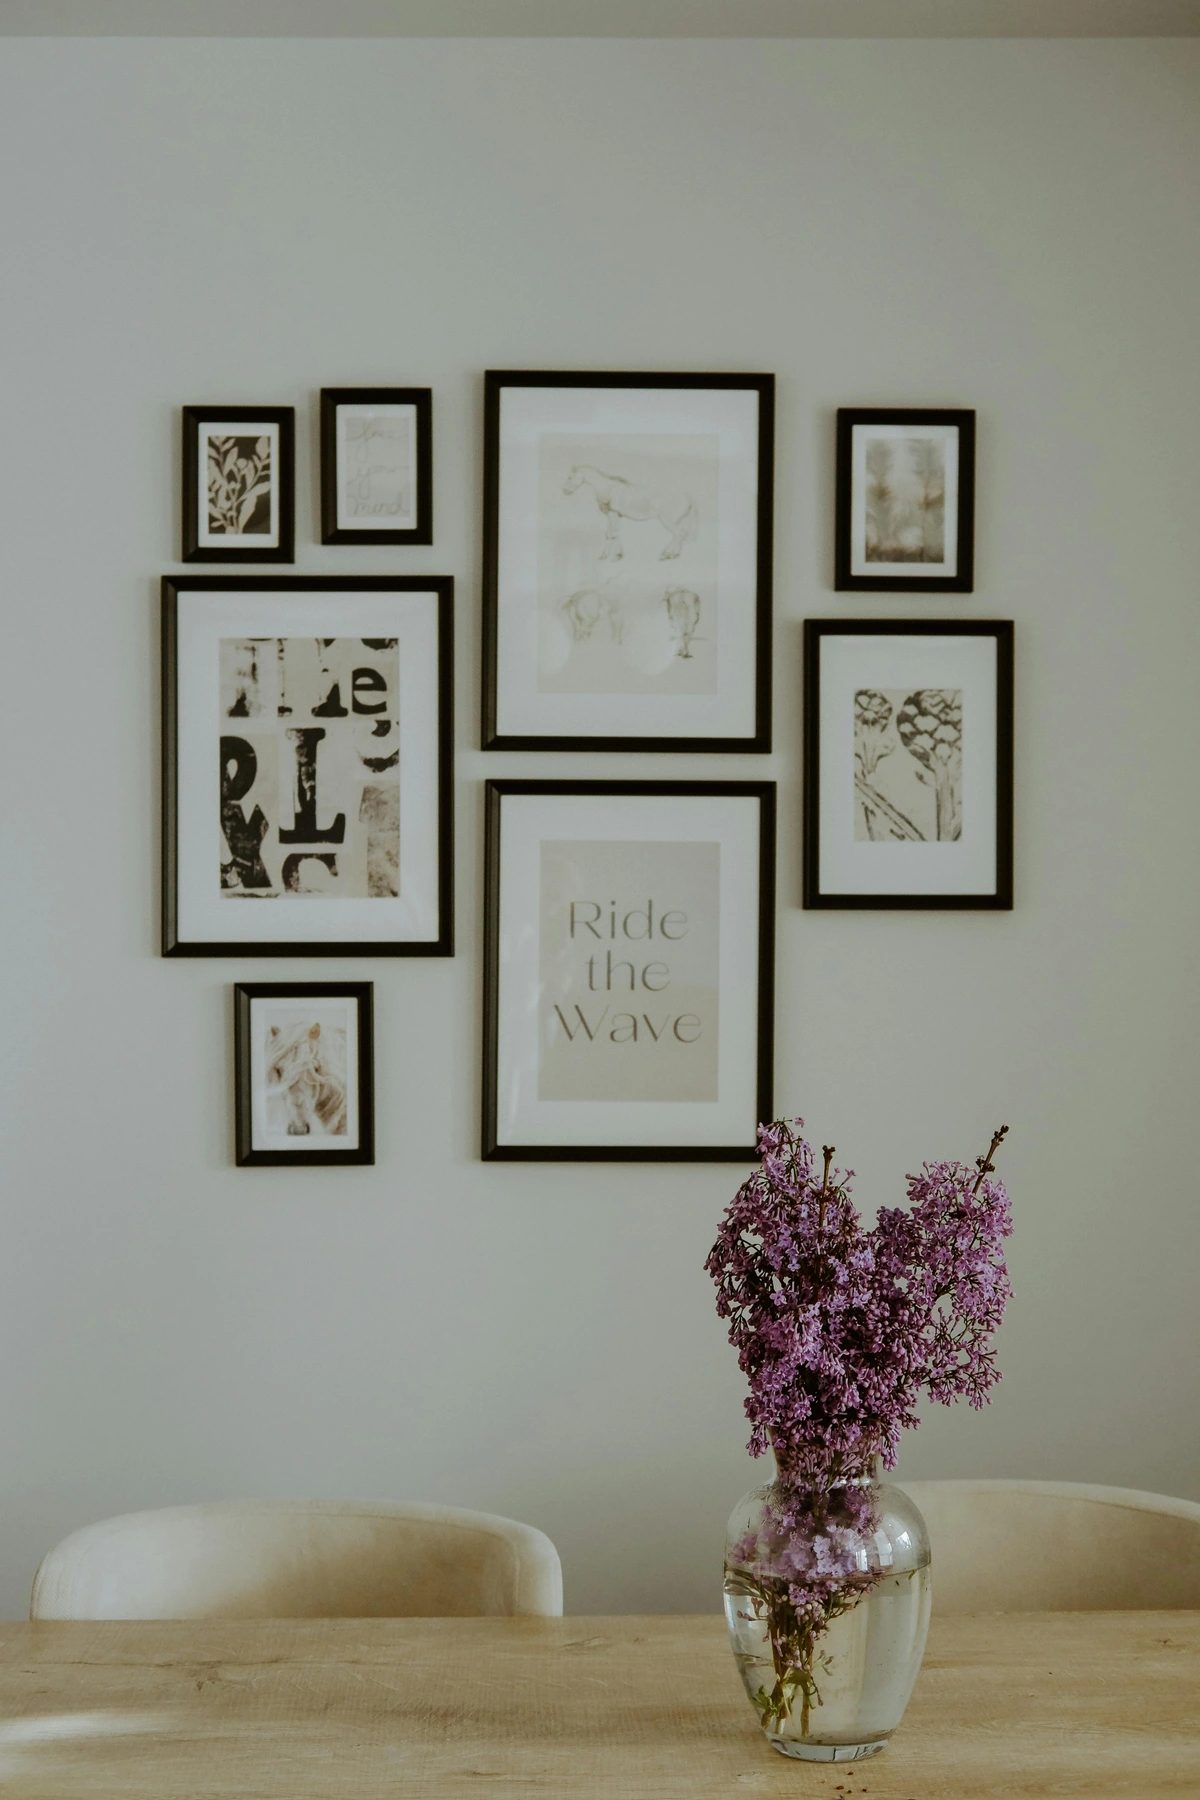
- Picture Rail System: If you have picture rails, this is the ideal solution for a gallery wall, as you can easily rearrange and swap out art without ever touching the wallpaper.
- Mixed Approach: For a gallery with varying weights, use traditional nails/screws for the heavier anchor pieces (with masking tape protection!), and then fill in around them with lighter pieces using adhesive strips. This offers a balance of security and flexibility.
My Final Thoughts: Don't Let Wallpaper Intimidate You
Look, I understand the trepidation. Wallpaper is an investment, both financially and emotionally. But it's also a canvas, a backdrop that can elevate your art and infuse your home with character. And your art deserves to be seen, not hidden away because of fear. With a little planning, the right tools, and a dash of confidence, you can absolutely create a stunning display that respects your wallpaper while celebrating your personal style.
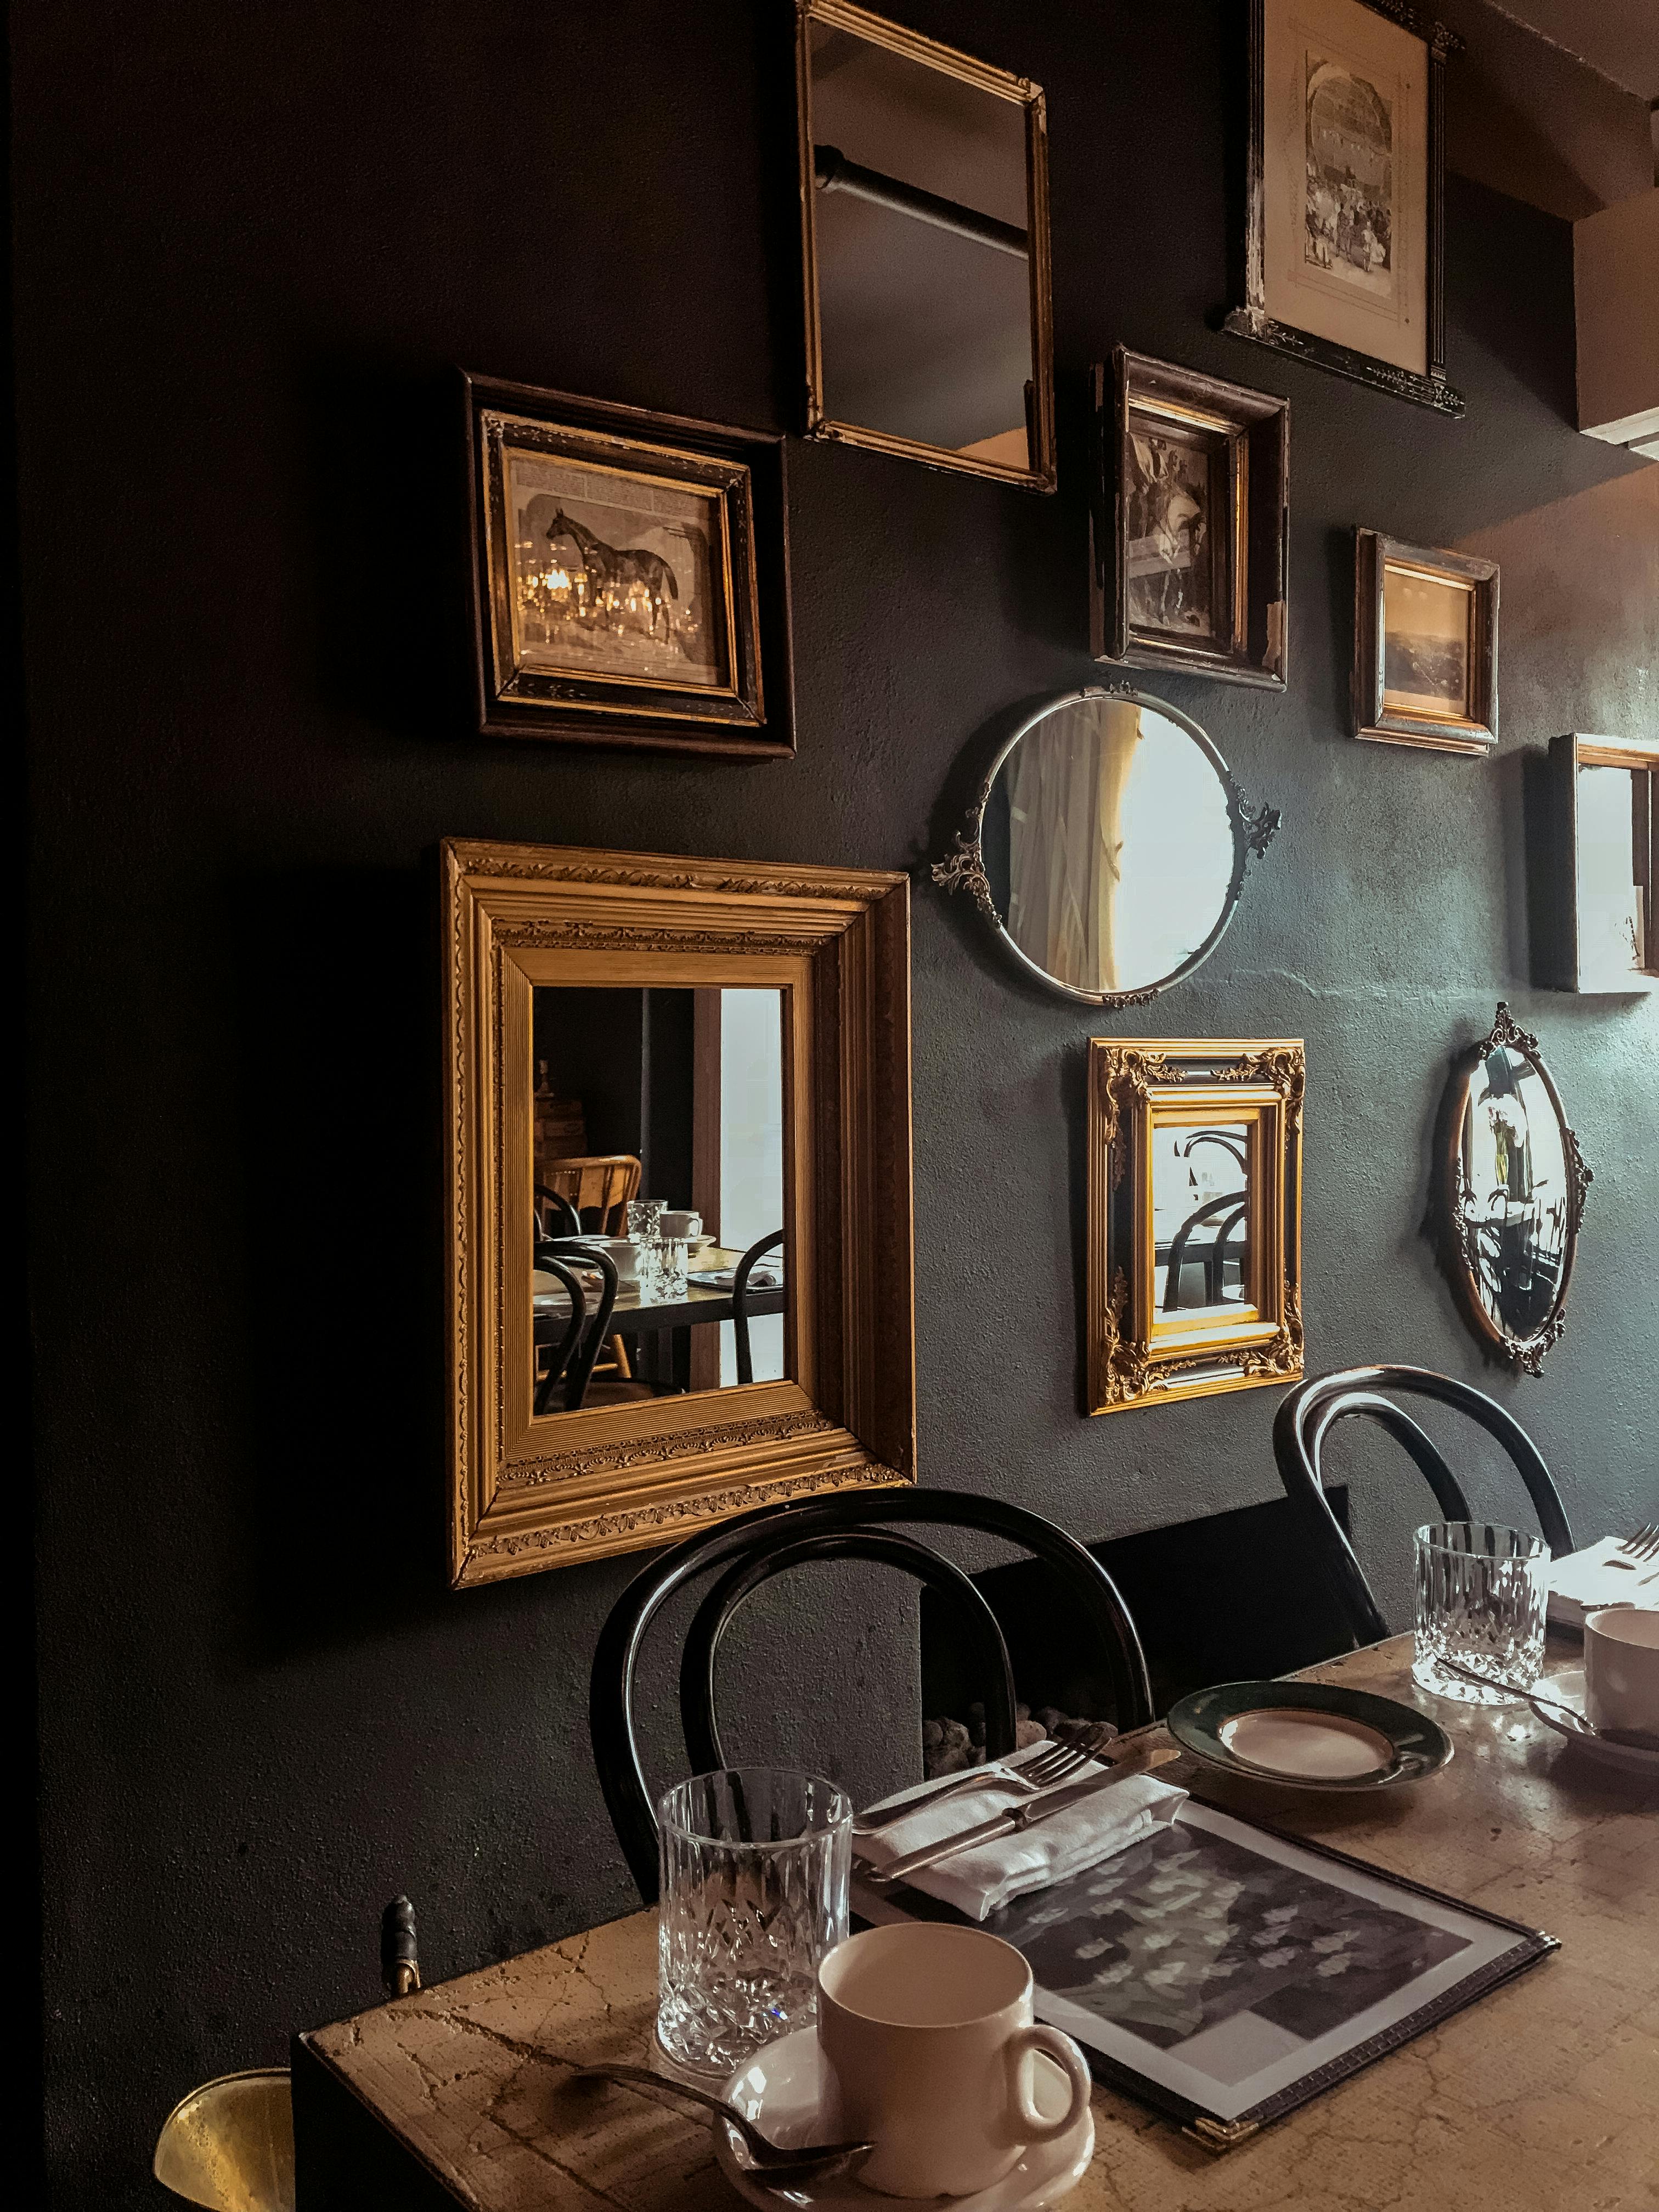



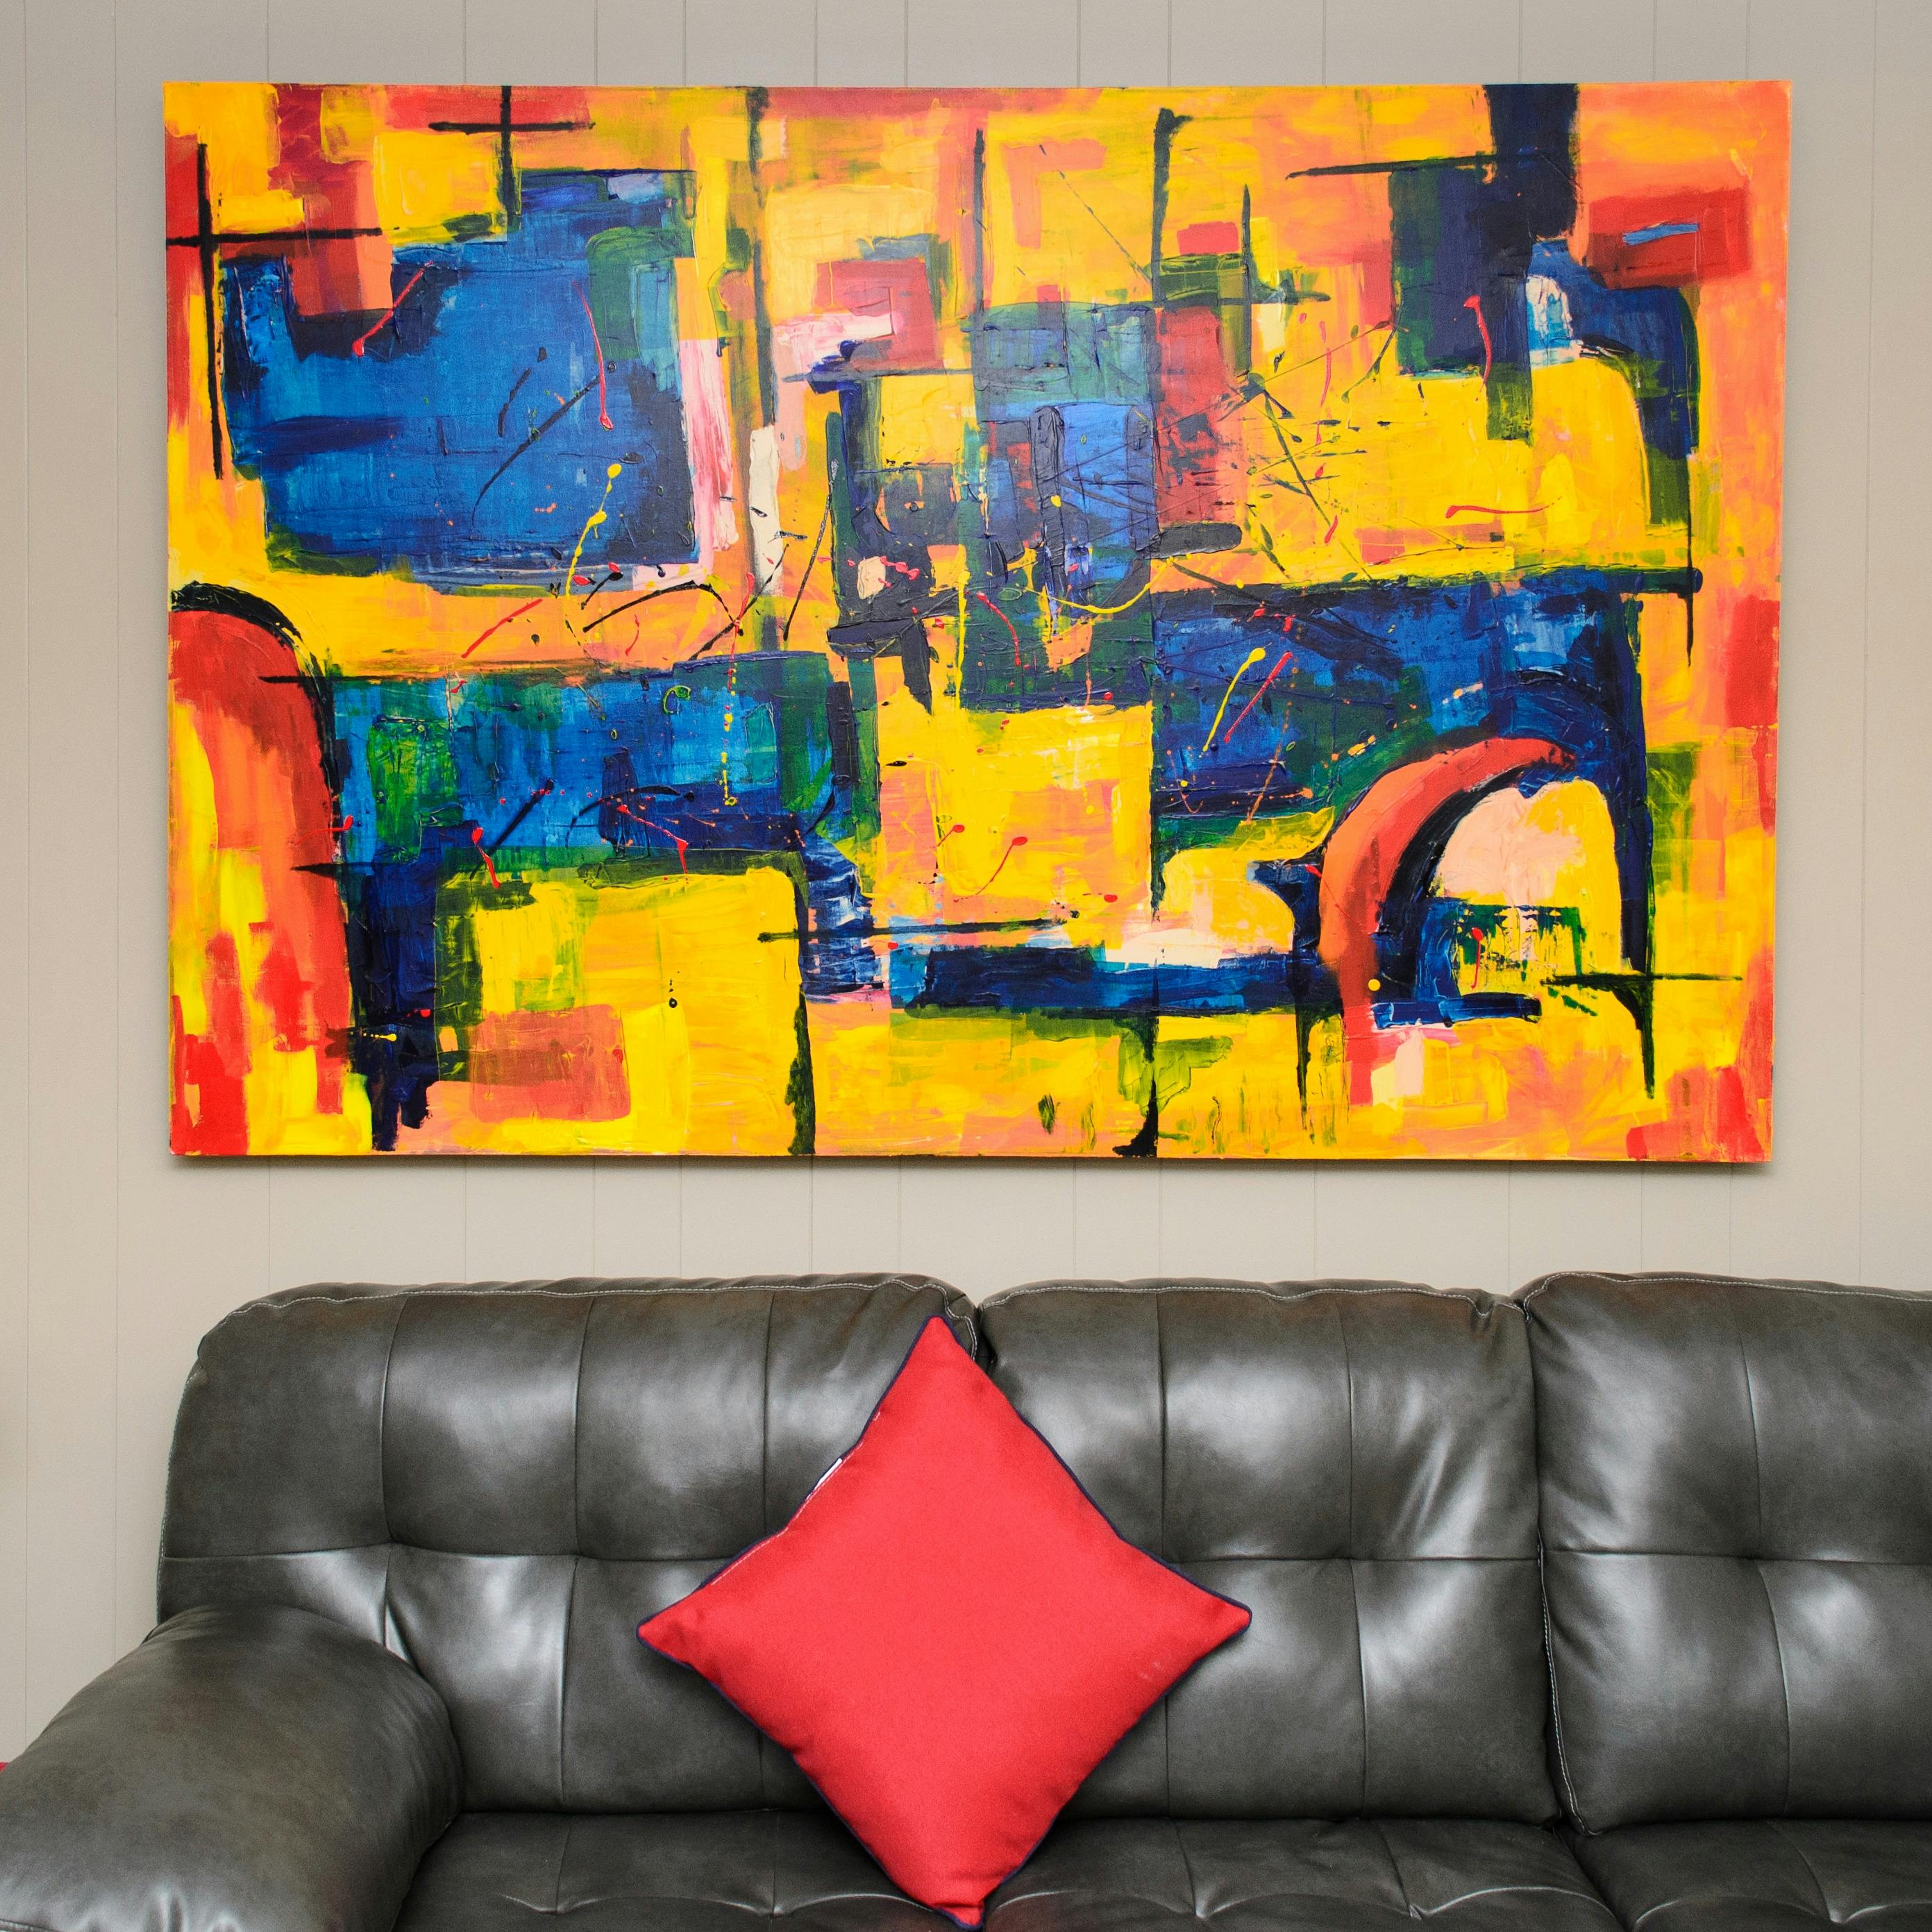

So go forth, experiment, and remember that even if you make a tiny mistake (we all do!), it's part of the journey. The beauty of a well-loved home, after all, often lies in its imperfections and the stories they tell. Now that you're equipped with the knowledge, I encourage you to find the perfect spot for your art. And if you're inspired to add a splash of color to your walls, I invite you to explore my collection at [/buy]. Happy hanging!