How to Hang Art on a Brick Wall: A Step-by-Step Guide
Struggling with a bare brick wall? Our guide shows you how to hang art securely, with both drill and no-drill methods. Get expert tips and tools lists.

# How to Hang Art on a Brick Wall: The Definitive Guide That exposed [brick wall](/finder/page/how-to-hang-art-on-brick-walls) in your home? It's a showstopper, isn't it? Full of character, that incredible texture, and a vibe that swings from industrial chic to cozy rustic. But then you think about hanging [art](/finder/page/history-of-art-guide) on it, and that stunning backdrop suddenly feels less like a blank canvas and more like an impenetrable fortress. The idea of drilling into brick can make anyone pause – is it even possible without calling in a pro? I've been there, staring at a beautiful, intimidating brick expanse, wrestling with the perfect spot for a beloved piece. That mix of excitement for the aesthetic and dread for the practicalities? Totally relatable, especially that time I almost gave up on displaying a particularly hefty [abstract piece](/finder/page/case-study-transforming-a-small-dark-hallway-with-a-vibrant-abstract-piece) against my own industrial loft's brick wall. Well, I'm here to share some truly good news: it absolutely is. Whether you're a renter in search of a damage-free solution, a homeowner ready to create that permanent gallery you've always envisioned, or simply someone looking to add a touch of artistic flair to a challenging surface, hanging art on brick is a surprisingly manageable [DIY](/finder/page/how-to-make-your-own-gesso-a-diy-guide-for-artists) project. This isn't just a quick skim; it's the definitive guide, a truly comprehensive deep dive into transforming that magnificent brick wall into a dynamic gallery. We'll walk through every single step, from innovative no-drill solutions perfect for renters to robust, permanent drilling methods for those monumental pieces. My unwavering goal is to equip you with all the knowledge, confidence, and insider tips you need to turn that beautiful brick into a stunning focal point, showcasing your art exactly as it deserves to be seen. Think of this as your personal blueprint to making that daunting brick expanse sing, whether you're hanging a delicate [print](/buy) or a monumental [heavy painting](/finder/page/how-to-hang-a-heavy-painting). We'll also cover essential safety checks and offer expert advice for different brick types, ensuring your art not only looks amazing but stays securely in place. Ready to banish those brick-wall worries for good? Let's get that masterpiece up! Don't let that brick wall intimidate you any longer. 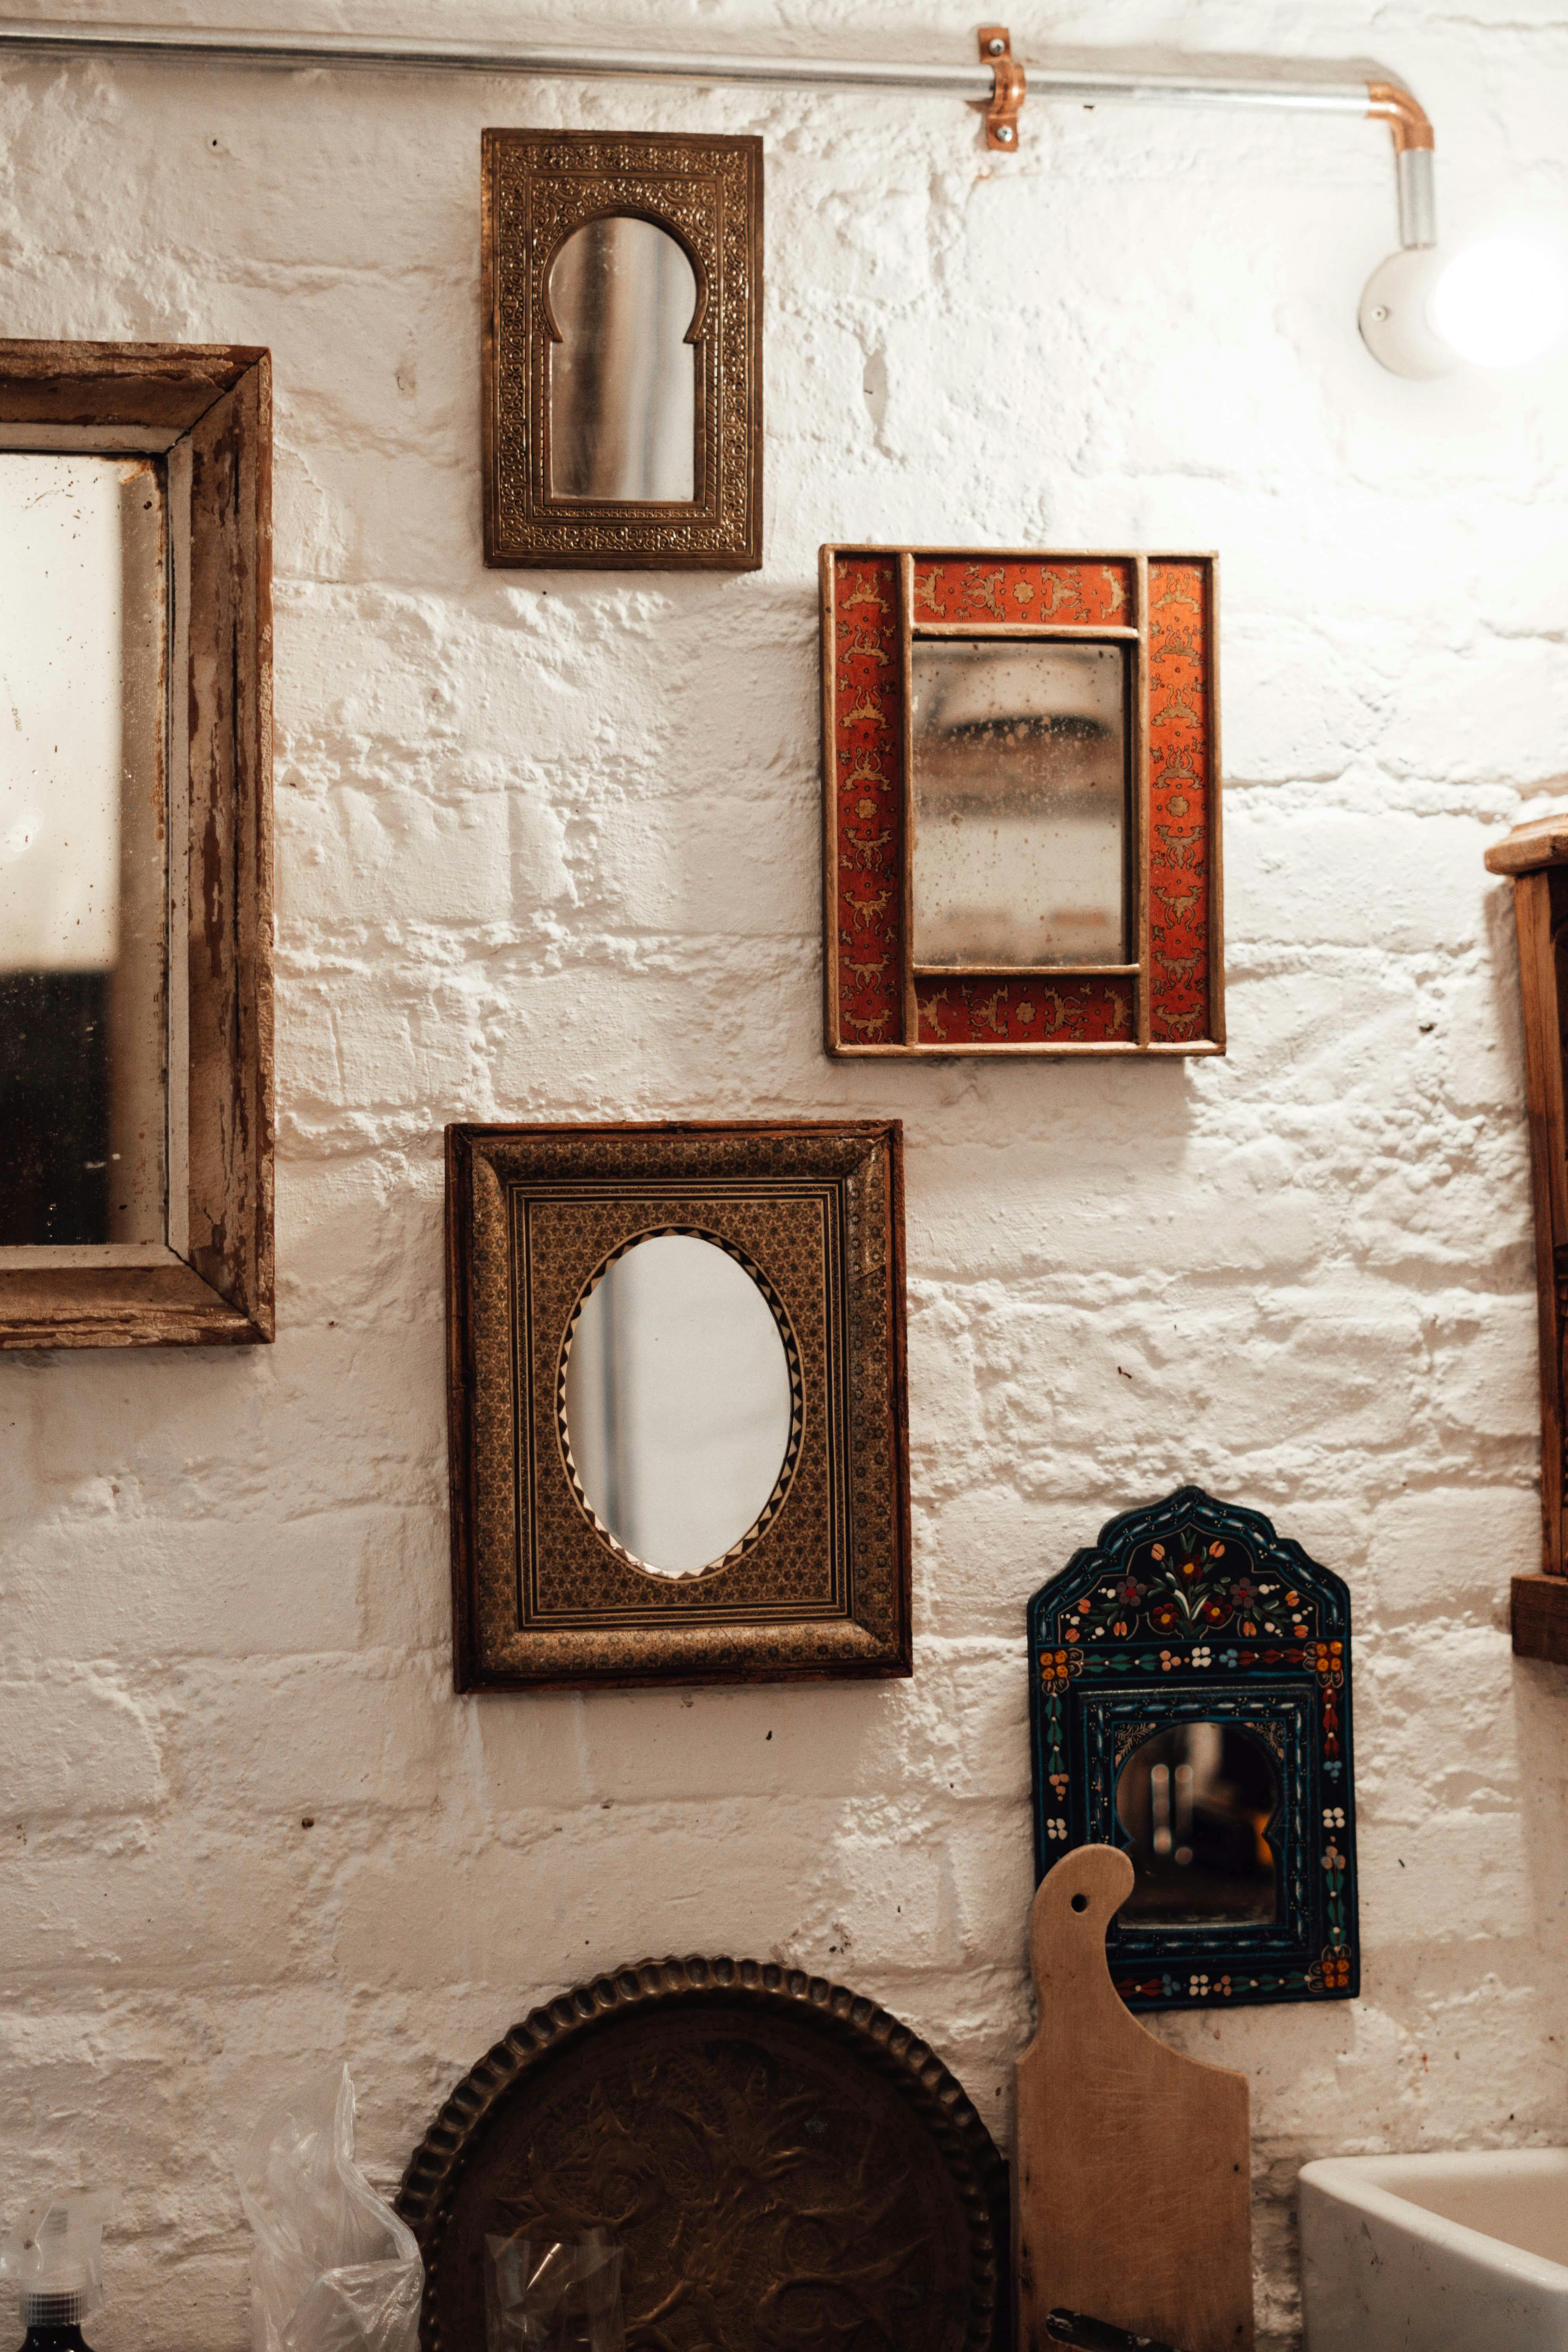 [credit](https://images.pexels.com/photos/6842189/pexels-photo-6842189.jpeg), [licence](https://creativecommons.org/public-domain/) ## Why Brick Walls Make Incredible Backdrops Before we even dive into the nitty-gritty of tools and techniques, let’s take a moment to appreciate why brick walls are such a sought-after feature for displaying art. I mean, seriously, there’s a reason why so many artists and designers gravitate towards them. That raw, earthy texture and inherent history create an almost magnetic dialogue with the artwork that drywall simply can’t replicate. It's an automatic conversation starter, a wall that seems to whisper stories and add a rich, layered dimension to any piece. It's truly a unique canvas, and one I absolutely adore working with, bringing out unexpected nuances in the art. I've often found myself just staring at a newly hung piece against a brick wall, noticing how the play of light and shadow on the brick transforms the art throughout the day – it's a living, breathing backdrop that truly engages with what you place upon it. You might even find it pairs beautifully with certain periods of [abstract art](/finder/page/the-definitive-guide-to-the-history-of-abstract-art-key-movements-artists-and-evolution) or [Art Deco interiors](/finder/page/how-to-decorate-with-art-in-art-deco-interiors). * **Texture and Depth:** The natural variations, those beautiful mortar lines, and the subtle imperfections of brick add an incredible, almost sculptural dimension that makes flat art *pop* in a way no smooth surface can. It’s like the [wall itself](/finder/page/how-to-choose-art-for-a-curved-wall) becomes an integral part of the composition, not just a neutral backdrop. This tactile quality plays wonderfully with **textured art** (think impasto paintings or mixed media pieces), **bold linework**, or even **minimalist pieces** where the contrast emphasizes both the art and the wall's character. I remember hanging a large [abstract painting](/buy) with thick, vibrant impasto against a rough brick wall; the way the light caught the texture of both the paint and the brick was just mesmerizing. It wasn't just art *on* a wall, it was art *with* the wall, creating a truly dynamic composition. This interaction can make even a simple graphic print feel like a deeply integrated part of the architectural narrative. For those aiming for visual depth, brick is truly your ally. * **Character and History:** Especially with reclaimed, antique, or older brick, you’re doing more than just hanging art; you’re integrating it into a rich narrative. Each brick often carries a story, a trace of its past, and your art becomes a vibrant new chapter, adding profound layers of meaning and depth to your entire space. I always feel a uniquely deeper connection to a piece when it's displayed against an aged, characterful brick surface, almost as if the wall itself is enhancing the artwork's soul. Imagine a piece of contemporary photography, stark and modern, set against centuries-old reclaimed brick – the juxtaposition tells a profound story, bridging eras in a single glance. It's that unspoken narrative that makes brick so endlessly fascinating to me. * **Aesthetic Versatility:** This is one of brick's secret superpowers. From sleek, **minimalist contemporary pieces** that create a striking contrast with the roughness, to **rustic or industrial art** that blends seamlessly, brick offers a surprisingly versatile canvas for almost any style imaginable. I've personally seen vibrant [abstract paintings](/buy) absolutely explode with energy against a dark, moody brick wall, while serene landscapes find a grounded, almost meditative calm. It's truly astonishing how brick can elevate both a delicate watercolor and a bold abstract expressionist canvas, making each piece feel more intentional and impactful. I've personally experimented with hanging my own vibrant [abstract paintings](/buy) against a dark, moody brick wall, and the colors absolutely explode with energy, creating a focal point that pops and injects a modern twist into a classic material. For more inspiration on how different art styles interact with various interiors, you might find our guide on [decorating with art in modern farmhouse interiors](/finder/page/decorating-with-art-in-modern-farmhouse-interiors) surprisingly relevant, even for brick! Or, consider our insights on [how to choose art for an industrial loft space](/finder/page/how-to-choose-art-for-an-industrial-loft-space) for even more targeted ideas. ### Brick Aesthetics and Art Style Pairings | Brick Style | Best Art Styles | Why it Works | | :--- | :--- | :--- | | **Rustic Red Brick** | Traditional landscapes, warm abstracts, black & white photography, vintage posters | Complements earthy tones, provides warm contrast to monochrome, enhances nostalgic feel. | | **Whitewashed Brick** | Modern minimalist, bold abstracts, vibrant [pop art](/finder/page/what-is-pop-art), large-scale photography | Acts as a neutral backdrop, allows colors to pop, creates a clean, contemporary contrast. | | **Dark/Industrial Brick** | Industrial art, metal sculptures, cool-toned abstracts, architectural prints, street art | Enhances raw, edgy aesthetic, creates dramatic backdrop, complements metallic accents. | | **Reclaimed/Historic Brick** | Contemporary photography, mixed media, art with a narrative, classic portraits | Juxtaposes old and new, adds depth and story, respects historical context. | | **Glazed Brick** | Sleek contemporary, [digital art](/finder/page/history-of-digital-art), graphic prints, abstract geometrics | Matches its modern, smooth finish; avoids visual clutter; enhances clean lines. | * **Warmth and Ambience:** The inherent, natural tones of brick—ranging from deep reds and earthy browns to cool grays and even whitewashed hues—can introduce an incredible warmth and inviting atmosphere to any room. This subtly enhances the overall mood of your art display, creating a richer, more engaging visual experience. Think of how a sunset-toned brick wall can make warm-hued art glow with an inner light, or how a cool-toned brick can provide a calming, earthy contrast that grounds a more vibrant piece. This subtle interplay of color and texture creates a richer, more engaging visual experience. I find myself continually surprised by how different brick tones can either amplify or soften the palette of a piece, making the art feel perfectly nestled in its environment. * **Sound Dampening:** While often overlooked, the sheer density and irregular surface of a brick wall can offer a significant degree of **sound dampening**. This helps absorb echoes and reduce ambient noise, creating a quieter, more intimate, and focused space specifically designed for appreciating your art. It's a fantastic, often unexpected bonus, if you ask me! This creates a quieter, more intimate, and focused space specifically designed for appreciating your art, allowing the viewer to truly immerse themselves without distraction. I always tell my clients, a little acoustic dampening is never a bad thing, especially when you're trying to create a serene art viewing experience. This is particularly beneficial in open-plan living spaces or areas with high ceilings where echoes can be an issue. It subtly enhances the immersive quality of your art viewing experience. * **Thermal Mass (Often Overlooked!):** Brick walls also possess significant **thermal mass**, meaning they can absorb and store heat, releasing it slowly. This contributes to a more stable internal temperature in your home, which, while not directly related to art hanging, can indirectly benefit sensitive artworks by reducing extreme temperature fluctuations. It's an often-unseen benefit that adds to the overall comfort and stability of your art's environment. * **Durability and Longevity:** Unlike drywall, which can be easily scuffed or damaged, brick is an incredibly robust and forgiving material. Once your art is securely hung, you can have confidence that the wall itself will withstand the test of time, providing a stable and enduring foundation for your treasured pieces for decades to come. This inherent strength means less worry about accidental bumps or minor impacts. Unlike drywall, which seems to dent if you look at it wrong, brick offers a robust foundation that provides genuine peace of mind, allowing you to confidently display your cherished pieces for decades. ## Understanding Your Brick: A Crucial First Step Before we even touch a tool, let's get intimately acquainted with the true star of this show: your brick wall. Because here's the thing – not all brick is created equal. Knowing precisely what you're working with, its age, its composition, its quirks, can dramatically influence your choice of hanging method, saving you untold headaches (and potentially, a lot of damaged brick!). I've definitely learned this the hard way over the years, and trust me, a little detective work now pays huge dividends. I once optimistically drilled into what I *thought* was solid brick, only to hit a hollow space – turns out, it was veneer, and I almost compromised the wall! That was a costly lesson, so believe me when I say, taking the time to understand your brick is an investment that saves untold headaches (and potentially, a lot of damaged brick!). 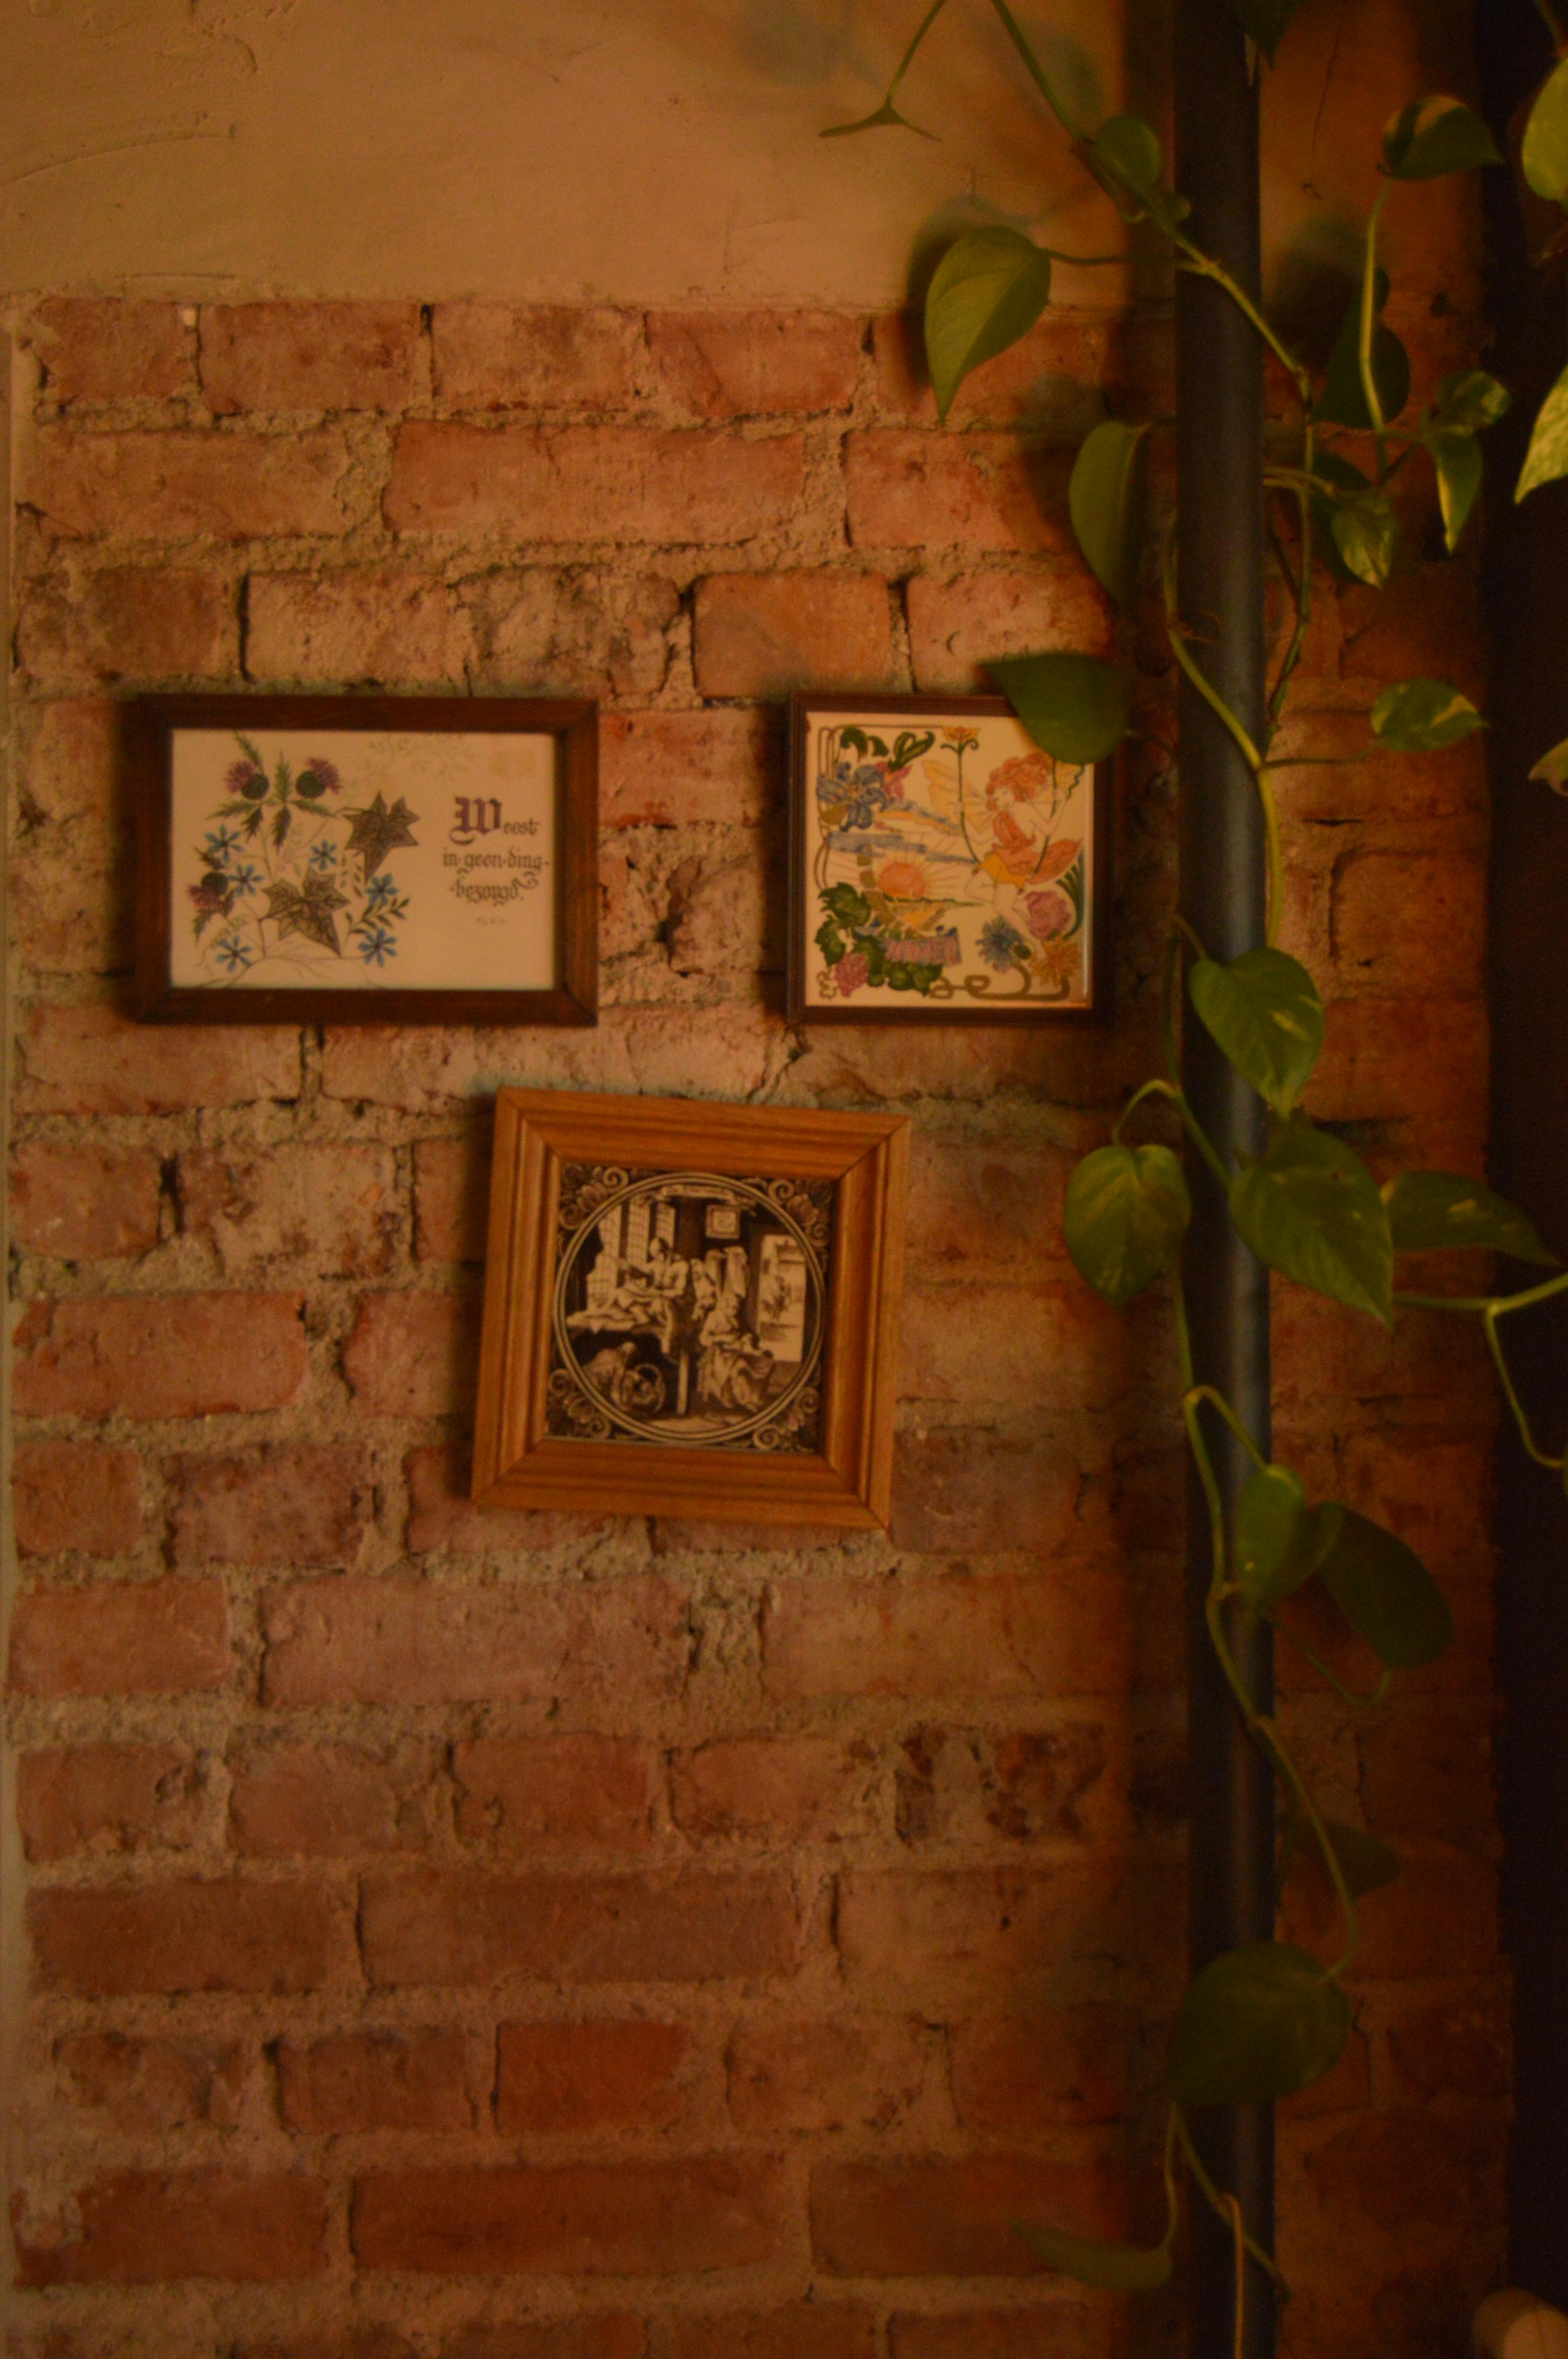 [credit](https://images.pexels.com/photos/18318322/pexels-photo-18318322/free-photo-of-art-deco-painting-on-brick-wall.jpeg), [licence](https://creativecommons.org/public-domain/) ### How to Identify Your Brick Type Sometimes, the type of brick isn't immediately obvious, and a wrong assumption can lead to a world of frustration. Don't worry, a few quick "detective" tips can help you pinpoint exactly what you're dealing with: 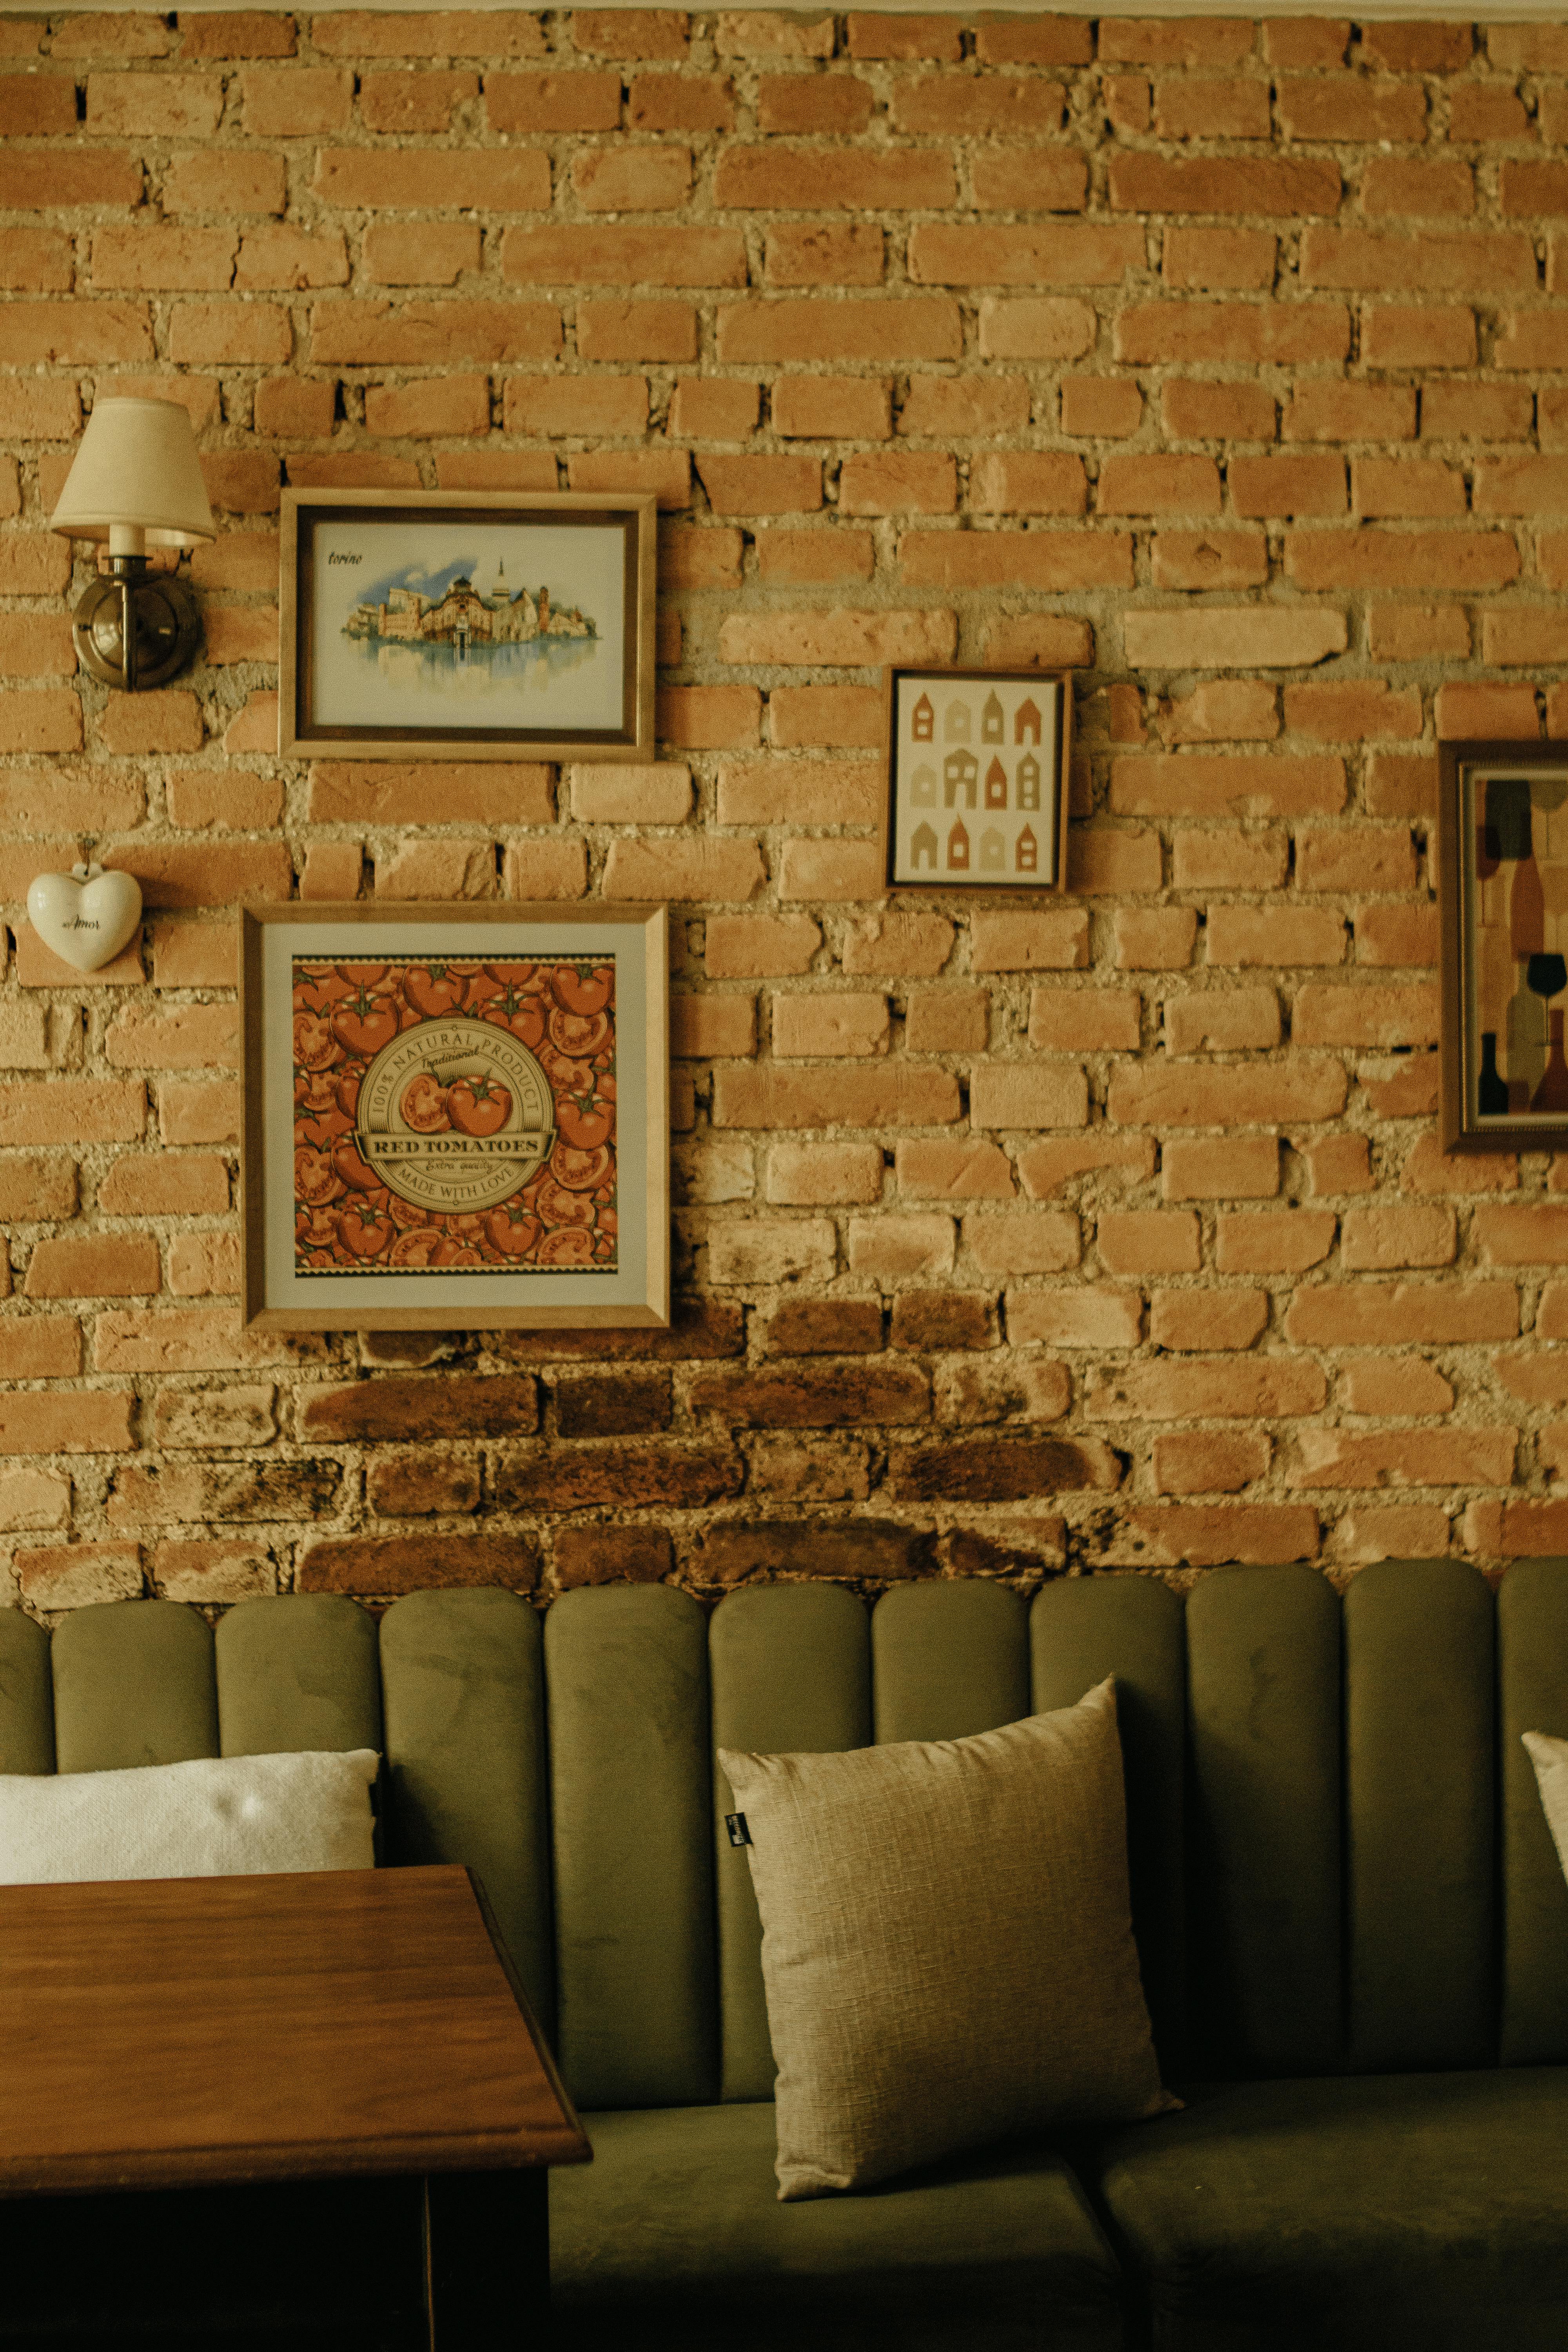 [credit](https://images.pexels.com/photos/29546529/pexels-photo-29546529/free-photo-of-cozy-vintage-cafe-interior-with-brick-wall.jpeg), [licence](https://creativecommons.org/public-domain/) * **Visual Inspection:** Get up close and personal. Look closely at the brick and especially the mortar lines. Is the brick uniform in color and texture, often with crisp edges (suggesting **common modern brick**)? Or does it show distinct signs of age, inconsistencies, pitting, or even crumbling edges (pointing towards **reclaimed or historic brick**)? Is there a visible layer of paint, and if so, how old does it look (hinting at **painted brick**)? Can you see any seams, patterns, or a slightly different texture that suggests a [thin layer](/finder/page/how-to-layer-colors-in-acrylic-painting) over another material (like **brick veneer**)? Take note of the brick's dimensions too; older bricks often have slightly different sizes. Observe for any **efflorescence** (a white, powdery residue), which can indicate moisture issues within the wall – a critical factor if you're considering drilling. Also, look for signs of previous repairs; unevenly colored mortar or mismatched bricks can indicate areas that might be weaker or have different compositions. Don't forget to check the overall integrity – crumbling edges, deep cracks, or areas that seem excessively soft or sandy are all red flags. * **Tap Test:** Grab a small hammer or the handle of a screwdriver and gently tap the brick. A solid, dense *thud* usually indicates **solid brick**. A distinct, hollow *tap* or even a slight give, on the other hand, is a strong indicator of **brick veneer** over drywall or another substrate. Now, try tapping the mortar: a dull, somewhat muted sound might mean softer, older **lime mortar**, while a sharper, more resonant sound points to a harder, more modern **cement mortar**. This distinction is critical for drilling. A quick word of caution: if the brick sounds hollow even without veneer, it could be a **cinder block** wall covered with brick facade, which requires different anchoring techniques. A truly solid *thud* suggests full structural brick, which is generally quite robust. A hollow *tap*, however, should immediately prompt further investigation, as it usually signals a cavity or a less substantial material behind the visible brick face. Another subtle indicator for brick type and age can be the **size and shape** of the bricks themselves; older bricks often have slightly different dimensions and less uniform shapes compared to modern machine-made bricks. * **Age of the House/Building:** While not a direct identification method for the brick itself, the age of your home or building can offer valuable clues. Older structures (pre-1900s) often feature solid brick construction and softer, lime-based mortar. Mid-20th century buildings might use common brick with cement mortar. Newer constructions (post-1970s) are more likely to feature brick veneer. This historical context can inform your expectations and guide your approach. * **Mortar Joint Width:** This is a subtle but telling clue. Older, historic brickwork often features wider, more irregular mortar joints, sometimes even slightly recessed or unevenly textured. Conversely, modern construction with common brick or veneer typically boasts thinner, much more consistent lines. This visual cue can give you a significant clue about the wall's age, construction techniques, and potential composition, all of which inform your hanging choices. * **Scratch Test (for Mortar):** For mortar, a gentle scratch with a metal object (like a nail or screwdriver tip) can reveal its hardness. If it scratches easily and powdery residue comes off, it's likely a softer, older lime mortar. If it resists scratching or feels very hard, it's probably a more robust cement mortar. This little test can save you a lot of frustration when choosing anchors. ### Common Brick Types and Considerations * **Common Brick:** This is your everyday workhorse, typically solid, often reddish-brown, and relatively consistent in its composition. It's generally robust for drilling, but remember that the mortar can vary significantly in hardness. It's usually a fairly forgiving canvas for most hanging methods, a good starting point for your DIY adventure. Always aim for the center of the brick or a solid mortar joint for best results. For new builds, common brick is often the easiest to work with, but older common brick can still present surprises, so always approach with a healthy dose of caution and a test drill if unsure. * **Glazed or Engineered Brick:** These are far less common for interior walls but worth noting. **Glazed brick** has a vitreous coating that gives it a smooth, often colorful, and sometimes shiny finish. **Engineered brick** is specifically manufactured for high strength and low water absorption, often used in damp or structural applications. Both are extremely hard to drill into, requiring specialized diamond-tipped bits and immense patience. Adhesives might also struggle with the very smooth surface of glazed brick. Proceed with extreme caution and consider professional help or no-drill methods for these types. If drilling is unavoidable, a **diamond-tipped core bit** on a rotary-only setting is often the only way to go, and even then, chipping is a high risk. Honestly, for these types, I usually lean heavily towards no-drill methods or professional installation, as the risk of damaging such a distinct surface often outweighs the DIY satisfaction. * **Reclaimed or Historic Brick:** Often found in beautiful older homes or industrial conversions, these bricks carry immense charm but can be a bit challenging. They are frequently softer, more porous, or even crumbly due to decades (or centuries!) of age and exposure. Drilling directly into them might be risky, potentially causing **spalling** (where chunks of brick break off around the hole) or cracking. Targeting the mortar is usually a safer bet here. Adhesion can also be tricky due to their irregular texture and accumulated grime, so meticulously clean the surface and choose adhesives with extra care. Always, and I mean *always*, proceed with extreme caution and test in an inconspicuous spot. For these delicate surfaces, **chemical anchors** or **epoxy-based solutions** can offer a superior, less disruptive hold than traditional expansion anchors. Meticulous cleaning is especially paramount for reclaimed brick to ensure any adhesive or chemical anchor can bond effectively, as decades of grime can severely compromise grip. Test in an inconspicuous area, and remember, patience is your greatest ally here. Sometimes, these bricks also have historic value, so extreme care should be taken to preserve their original state, making no-drill methods even more appealing. For heavy items, building a separate, discreet wall-mounted panel *in front* of the historic brick (anchored only into mortar if possible) can be a preservation-friendly option. * **Painted Brick:** Oh, painted brick can be stunning, offering a softer, often more contemporary look. However, it introduces its own unique challenges. Adhesives might not bond as effectively to the [paint layer](/finder/page/how-to-prevent-paint-film-cracking) as they would to raw, porous brick, as you're essentially relying on the paint's adhesion to the brick. Drilling can also cause paint to chip or flake dramatically around the hole, ruining that pristine finish. Consider carefully if you want to preserve the paint finish, and if drilling, always apply **painter's tape** over the drilling spot. Score the tape with a utility knife before drilling to create a clean edge and minimize unsightly chipping. And remember, if the paint is old, it might even contain lead – a crucial safety consideration we'll cover shortly. The age of the paint is also a factor; [fresh paint](/finder/page/how-to-remove-paint-from-clothes) might be too soft for adhesives, while very old, brittle paint can flake dramatically around drill holes, so always proceed with extreme care and perhaps a test in an unseen spot. * **Brick Veneer:** This is perhaps the most critical type to identify accurately. Brick veneer isn't solid structural brick but a thin layer (typically 1/2 to 1 inch thick) applied to another wall surface, such as drywall, plywood, or concrete block. It's absolutely crucial to know this, as you'll often need to use anchors appropriate for the wall *behind* the veneer, rather than just the veneer itself. For very light items, you might get away with very short screws that only bite into the veneer, but this is risky. A reliable **stud finder with AC detection** and a careful test drill (starting with a very small bit) are your absolute best friends here. The last thing you want is to drill through the veneer and just into [empty space](/finder/page/the-role-of-negative-space-in-abstract-art:-finding-balance-and-focus), leaving you with a compromised wall and a falling piece of art. Understanding the substrate behind the veneer is paramount for secure hanging. For heavier items on veneer, aim to drill *through* the veneer and into a stud if present, or use **toggle bolts** or **hollow-wall anchors** that expand behind the substrate. Always understand the material *behind* the veneer, be it drywall, plywood, or concrete, as this dictates the appropriate anchor. Remember, a thin veneer alone offers very little holding power for anything beyond the lightest decorative items. * **Mortar Joints:** This is the material that binds the bricks together. Generally, mortar is softer and considerably easier to drill into than the brick itself, making it a common target for picture hanging. A huge bonus is that mortar is also much easier to repair later, often blending seamlessly with simple patching compounds. However, be aware that very old, sandy, or **lime mortar** can be fragile and prone to crumbling easily, offering a less secure hold. Modern **cement mortar**, on the other hand, is typically harder and more robust, providing a strong anchor point. I often opt for drilling into the mortar if the piece isn't too heavy, simply because it feels less permanent and the repair is far simpler, which is always a consideration for a constantly evolving art collection. To test mortar integrity, you can gently poke it with a screwdriver or a metal pick; if it crumbles easily, it's probably too soft for most anchors, and you'll need to consider other options. ### Assessing Your Brick Wall's Overall Condition Beyond identifying the brick type, take a moment for a general assessment of your wall's condition. Are there any cracks in the bricks or mortar? Is there significant efflorescence (white, powdery residue) which can indicate moisture issues? Does any mortar feel loose or sandy to the touch? A wall in poor repair might not provide a secure anchor point, and drilling could exacerbate existing damage. For anything beyond minor cosmetic issues, it's always wise to consult a structural engineer or a masonry professional before attempting to hang heavy art. Safety and structural integrity always come first. If you notice signs of water damage, such as dark stains or persistent dampness, address these issues *before* attempting any installation, as moisture can severely compromise a wall's stability and your art's longevity. Remember, a structurally unsound wall is not just a risk to your art, but to the safety of your home. Don't hesitate to seek expert advice; it's an investment in peace of mind and the preservation of your property. Neglecting these warnings could lead to costly repairs and potential hazards. ## Before You Begin: Planning and Preparation A little prep work goes a long way. Before you pick up any tools, take a moment to plan your display. 1. **Choose Your Artwork:** The raw, earthy texture of brick provides an incredibly powerful backdrop, almost a piece of art in itself. This means you need to thoughtfully consider how your chosen artwork will truly interact with it. Do you crave a striking contrast? Then bold, contemporary, or even crisp minimalist pieces can create a stunning visual dialogue, making the art truly pop and [drawing](/finder/page/definitive-guide-to-drawing-techniques) the eye. Or perhaps you prefer a more harmonious feel? Rustic or vintage frames, perhaps art with earthy tones or a softer palette, might blend in beautifully, creating a seamless and integrated aesthetic. I've personally found that [abstract art](/buy), with its often vibrant colors and dynamic forms, looks absolutely captivating against the solidity of brick, creating a focal point that really pops and injecting a modern twist into a classic material. For inspiration, exploring [art for an industrial loft space](/finder/page/how-to-choose-art-for-an-industrial-loft-space) or [decorating with art in industrial interiors](/finder/page/decorating-with-art-in-industrial-interiors) can provide brilliant ideas. And remember, you can always browse our [collection of art](/buy) for unique pieces that would truly shine here. Don't be afraid to experiment with different styles; the brick can genuinely enhance almost any piece, making it more special. Consider also the **scale** of your artwork in relation to the wall; a massive brick wall can easily dwarf a tiny piece, while a large, commanding artwork can truly anchor the space. Also, think about the **color palette** of your art; warm brick tones might make cool-colored art stand out more, or vice-versa, creating a fascinating interplay of hues.  [credit](https://freerangestock.com/photos/152787/a-colorful-graffiti-on-a-building.html), [licence](https://creativecommons.org/publicdomain/zero/1.0/) 2. **Decide on Placement:** Ah, this is truly where the magic begins! Don't just hold your art up and hope for the best; grab some **painter's tape** (a true DIY superhero!) to outline exactly where you envision the frame. This simple trick is an absolute game-changer, allowing you to visualize the final result, check the height, and adjust spacing without making a single mark on your precious brick. For single pieces, aim for eye-level (typically 57-60 inches from the floor to the center of the art, which is the average human eye level). If you're creating a [gallery wall](/finder/page/how-to-create-a-gallery-wall-for-a-maximalist-interior), consider the overall composition, the negative space, and how each piece relates to its neighbors. Our guide on [how to arrange pictures on a wall](/finder/page/how-to-arrange-pictures-on-a-wall) offers incredibly helpful strategies for creating balance and flow, which is something I constantly strive for in my own home. For larger pieces, particularly those destined above furniture, our guide on [placing art above a sofa](/finder/page/art-above-the-sofa-a-guide-to-perfect-placement-and-scale) offers fantastic insights. And for broader guidance on arranging multiple pieces, you might find our article on [how to arrange art around a TV](/finder/page/how-to-arrange-art-around-a-tv) or [how to decorate a large wall](/finder/page/how-to-decorate-a-large-wall) incredibly helpful. It's all about creating balance and flow. I constantly strive for this in my own home, carefully arranging pieces until they feel just right. For a wider view on home aesthetics and how to achieve that perfect balance, checking out resources like our guide on [how to decorate your home](/finder/page/how-to-decorate-your-home) can provide excellent foundational strategies for any wall type. ### Gallery Wall Layouts for Brick Walls Creating a [gallery wall](/finder/page/how-to-create-a-gallery-wall-for-a-maximalist-interior) on a brick wall can be particularly impactful. The texture of the brick adds another layer of interest to your curated collection. Consider these layouts: * **Grid Layout:** For a clean, modern look, arrange uniformly sized frames in a precise grid. The strong lines of the grid will contrast beautifully with the organic texture of the brick. This works well with minimalist or [contemporary art](/finder/page/contemporary-art-meaning). * **Salon Style:** Embrace a more eclectic, bohemian vibe with a salon-style hang, mixing various frame sizes, orientations, and even different art mediums. The brick's inherent character lends itself well to this layered, curated chaos. Start with a central piece and build outwards. * **Shelf Display:** Integrate floating shelves (securely installed, ideally into studs or with heavy-duty anchors) into your brick wall. These can hold smaller framed pieces, decorative objects, or even [sculptures](/finder/page/how-to-decorate-with-sculptures), allowing for easy rearrangement without additional drilling. This is a fantastic way to add dimension and combine elements. * **Linear Arrangement:** For a minimalist approach, hang pieces in a single horizontal or vertical line. This creates a strong visual statement and can be particularly effective in narrow spaces, emphasizing the length or height of the wall. Always use a level! 3. **Weigh Your Art:** Trust me, this isn't just a step; it's *the* foundational step you absolutely cannot skip. Knowing your artwork's precise weight is *the* most critical factor in determining which hanging method is truly safe and suitable for your brick wall. It’s the crucial difference between art gracefully adorning your wall and an unexpected, possibly damaging, and utterly heartbreaking tumble. For lighter pieces, a standard kitchen scale works perfectly. For anything heavier, don't hesitate to employ a bathroom scale (you can weigh yourself, then weigh yourself holding the art, and subtract the difference – it's a classic trick!). Always, always write down the weight, and honestly, I usually add a few extra pounds just for peace of mind and an added safety margin. This precise weight will directly inform your choice of brick clips, heavy-duty adhesive hooks, or the specific drilling hardware (anchors, screws) you'll need. For instance, a small, framed print might be perfectly fine with adhesive, but a large, [heavy canvas painting](/finder/page/how-to-hang-a-heavy-painting) demands a significantly more robust, drilled-in solution with appropriately rated anchors and screws. I once underestimated the weight of a vintage mirror, using what I *thought* were strong enough anchors, and the faint creaking I heard later that night sent me scrambling to re-secure it properly. Believe me, that lesson stuck! It's about safety first, always. Better safe than sorry, especially when dealing with a beloved piece of art or a valuable [sculpture](/finder/page/how-to-decorate-with-sculptures)! Don't just estimate; precision here prevents heartbreak. It's not just about the art's weight, but also considering any dynamic loads if the art might be bumped or if you live in an earthquake-prone area, where extra securing methods are critical. ### Choosing the Right Fasteners: An Overview Before diving into the toolkit, let's talk about the unsung heroes of art hanging: fasteners. The type of fastener you choose – be it a brick clip, adhesive hook, or a specific masonry anchor – is entirely dependent on your brick type, the weight of your art, and how permanent you want the installation to be. This decision isn't just about security; it's about minimizing damage and ensuring longevity. We'll go into detail on each in the following sections, but keep these core principles in mind: * **Weight First:** Always match the fastener's weight rating to your artwork's weight (and then some for a safety margin!). * **Brick Type Second:** Different brick types (common, historic, veneer, painted) react differently to various fasteners. * **Permanence Third:** Do you want a [temporary solution](/finder/page/decorating-rental-properties-with-art-temporary-solutions) or a permanent fixture? This dictates drilling vs. no-drill methods. ### Fastener Comparison: Quick Reference | Fastener Type | Best For | Weight Capacity | Damage Risk | Flexibility | | :--- | :--- | :--- | :--- | :--- | | **Brick Clips** | Light to medium art, renters, frequent changes | Up to 30 lbs (13 kg) | Very Low | High | | **Adhesive Hooks** | Very light art, smoother brick, temporary | Up to 15 lbs (7 kg) | Low (if removed correctly) | Medium | | **[Leaning Art](/finder/page/how-to-hang-art-without-nails)** | All weights, large pieces, renters | Unlimited (if stable) | None | Very High | | **Picture Rails** | Gallery walls, heavy art, historical preservation | Medium to Heavy (after initial drill) | Low (one-time drill for rail) | Very High | | **Plastic Anchors** | Light to medium art, solid brick/mortar | Up to 50 lbs (22 kg) | Moderate | Low (permanent hole) | | **Lead Anchors** | Medium to heavy art, older/softer masonry | Up to 100 lbs (45 kg) | Moderate | Low (permanent hole) | | **Sleeve Anchors** | Heavy art, concrete, solid brick | 100+ lbs (45+ kg) | Moderate | Low (permanent hole) | | **Toggle Bolts** | Brick veneer with hollow substrate | Up to 50 lbs (22 kg) | Moderate | Low (permanent hole) | | **Chemical Anchors** | Heavy art, crumbly brick/mortar, high security | Very High | Moderate | Low (highly permanent) | | **French Cleats** | Very heavy/oversized art, precise leveling | Very High | Moderate | Medium (art easily removed, cleat remains) | 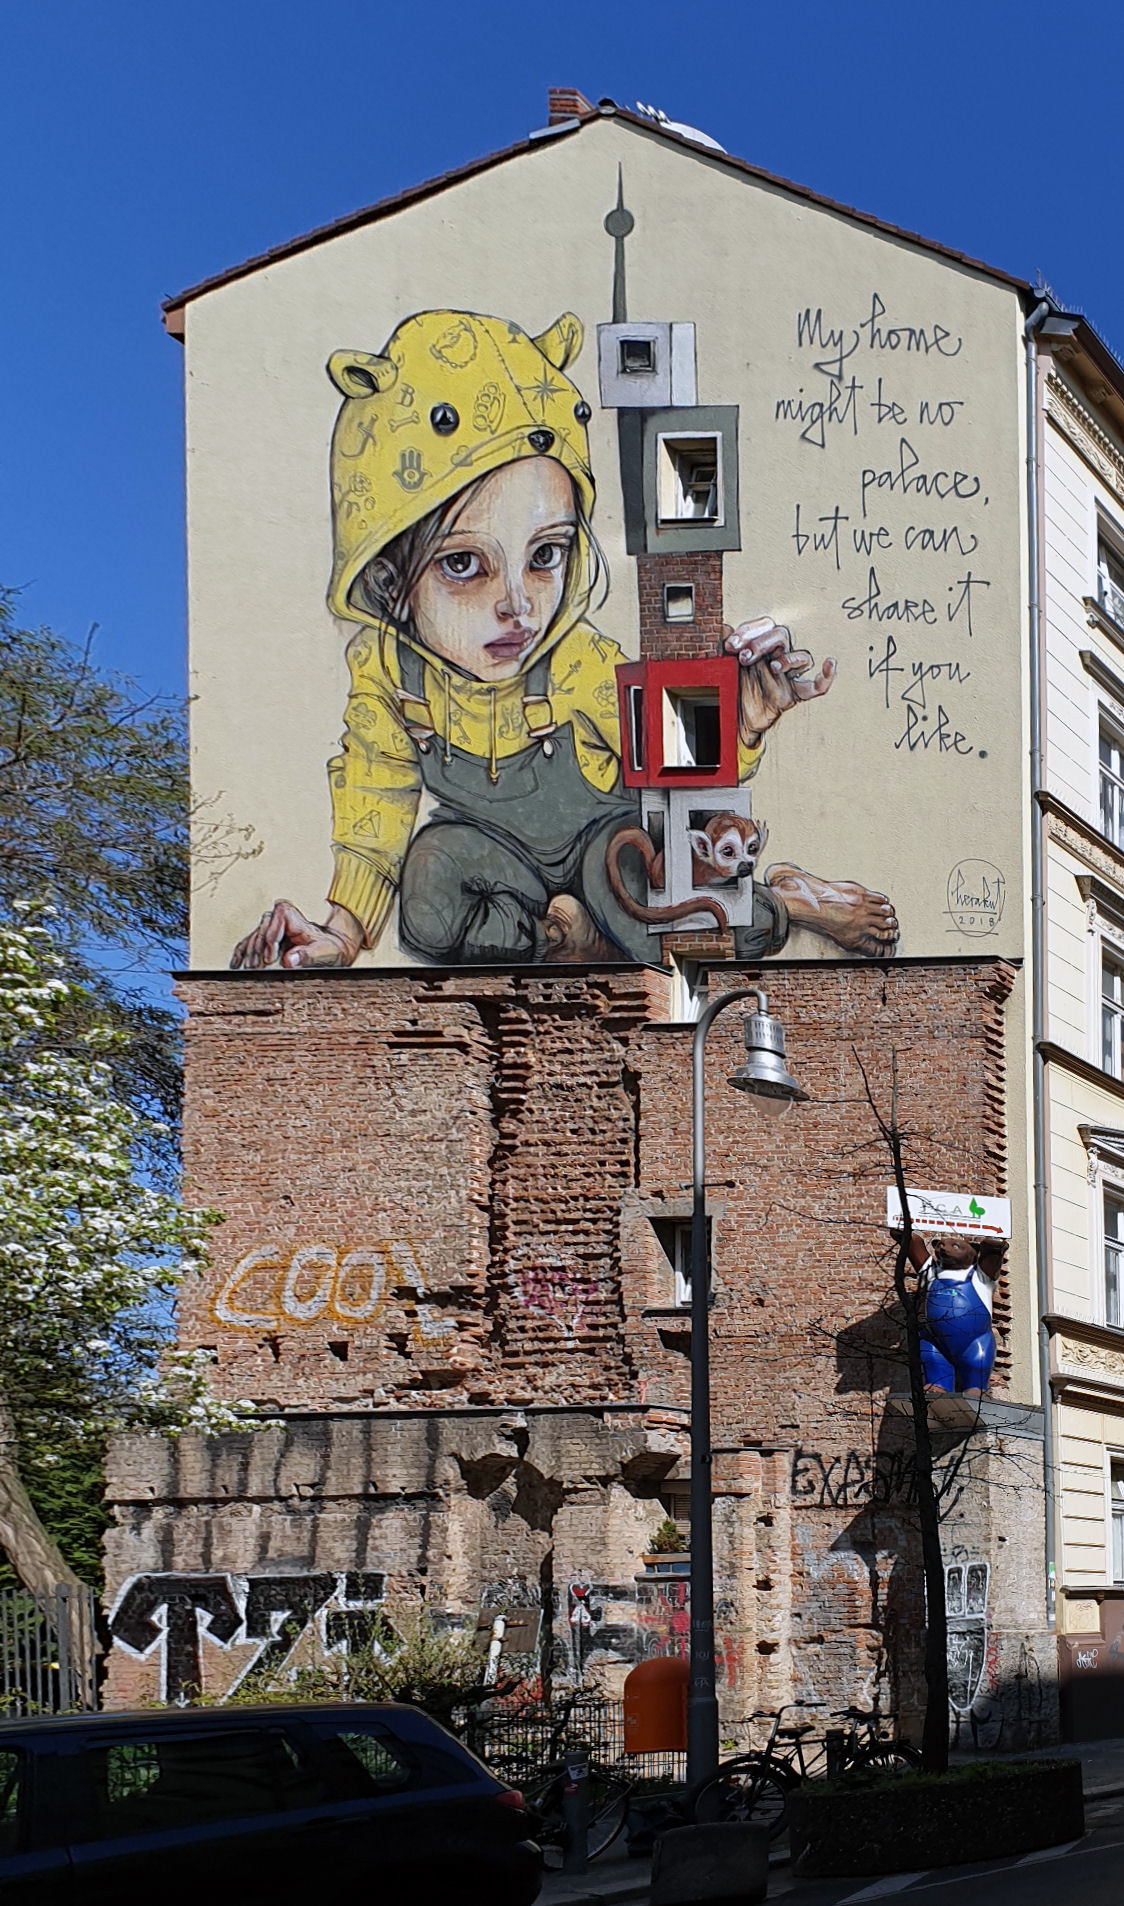 [credit](https://upload.wikimedia.org/wikipedia/commons/1/15/Wandmalerei_Luckauer_Str_14_%28Kreuz%29_Mural%26Herakut%262018.jpg), [licence](https://creativecommons.org/licenses/by-sa/3.0) ### Your Essential Toolkit Gathering your tools beforehand makes the process much smoother. Trust me, there’s nothing worse than being halfway through a project and realizing you need to run to the hardware store. Here’s what you might need, depending on the method you choose, along with a few personal recommendations. | Tool/Material | No-Drill Method | Drilling Method | Purpose | | :--- | :---: | :---: | :--- | | **Measuring Tape** | ✓ | ✓ | Absolutely essential for accurate placement and ensuring everything is perfectly centered. Remember my mantra: double-check your measurements; it's a small step that saves big headaches later! | | **Pencil** | ✓ | ✓ | To precisely mark your spots. For rougher or darker brick surfaces, a **grease pencil** or even a **piece of chalk** can make your marks more visible than a standard graphite pencil. | | **Level** | ✓ | ✓ | Crucial for ensuring your art hangs perfectly straight and level. A traditional bubble level works great, but a **digital level** or a **laser level** can be an absolute time-saver, especially when tackling a complex [gallery wall](/finder/page/how-to-create-a-gallery-wall-for-a-maximalist-interior). | | **Painter's Tape** | ✓ | ✓ | My personal go-to for temporarily marking placement, creating templates, protecting paint when drilling, and even catching dust. It's incredibly versatile for visualizing layouts without making permanent marks! | | **Stud Finder with AC Detection** | | ✓ | **CRITICAL!** Essential for identifying hidden electrical wires, plumbing, or studs behind brick veneer. *Never* drill without checking first. | | **Brick Clips/Hangers** | ✓ | | These ingenious metal clips are a non-invasive, damage-free hanging solution specifically for lighter to medium pieces. Always look for robust, high-quality metal options that grip firmly. | | **Heavy-Duty Adhesive Hooks** | ✓ | | Your damage-free option for lighter art, but *only* if they are specifically designed and rated for textured, porous surfaces. Standard adhesive strips simply won't cut it on brick. | | **Drill with Masonry Bit** | | ✓ | Absolutely essential for drilling into brick or mortar. For brick, a **hammer drill** makes the job significantly (and I mean *significantly*) easier and faster, though a powerful standard drill can work with patience. Ensure your bits are carbide-tipped for masonry. | **Wall Anchors** | | ✓ | The unsung heroes! These provide a secure, long-lasting hold for screws in masonry. It's critical to choose the right type (plastic, lead, sleeve, chemical) and weight capacity specifically for your brick type and art weight. | | **Screws** | | ✓ | These will hold your hanging hardware. Crucially, ensure they are not only compatible with your chosen anchors (packaging will specify!) but also of appropriate length and gauge. For outdoor use, opt for **rust-resistant** (e.g., stainless steel) screws. | | **Hammer** | | ✓ | For gently tapping (never forcing!) wall anchors into place until they are flush. A **rubber mallet** can also be handy to avoid marring surfaces or the anchor itself. | | **Shop Vacuum (with HEPA filter if possible)** | | ✓ | Absolutely essential for meticulous cleanup, especially *during* and *after* drilling. A small brush attachment is key for clearing dust from freshly drilled holes, ensuring anchors get a proper grip. This also minimizes airborne dust. | | **Safety Goggles** | | ✓ | NON-NEGOTIABLE. Your eyes are precious! ESSENTIAL protection from flying brick dust, debris, and tiny shards. Do not skip this under any circumstances! | | **Dust Mask (or Respirator)** | | ✓ | Absolutely vital for protecting your lungs from fine brick and mortar dust, which isn't just irritating but can be genuinely harmful if inhaled regularly. If dealing with suspected lead paint or asbestos, a **respirator mask** is mandatory. | | **First Aid Kit** | | (Highly Recommended) | Accidents happen, even to the most careful DIYer. Having basic first aid supplies on hand (bandages, antiseptic wipes, pain relievers) means you can quickly address minor scrapes or nicks. | | **Caulk Gun & Mortar Repair Caulk** | | (Optional) | Essential for patching holes in mortar if you make a mistake or decide to move your art. Choose a color that blends with your existing mortar. | 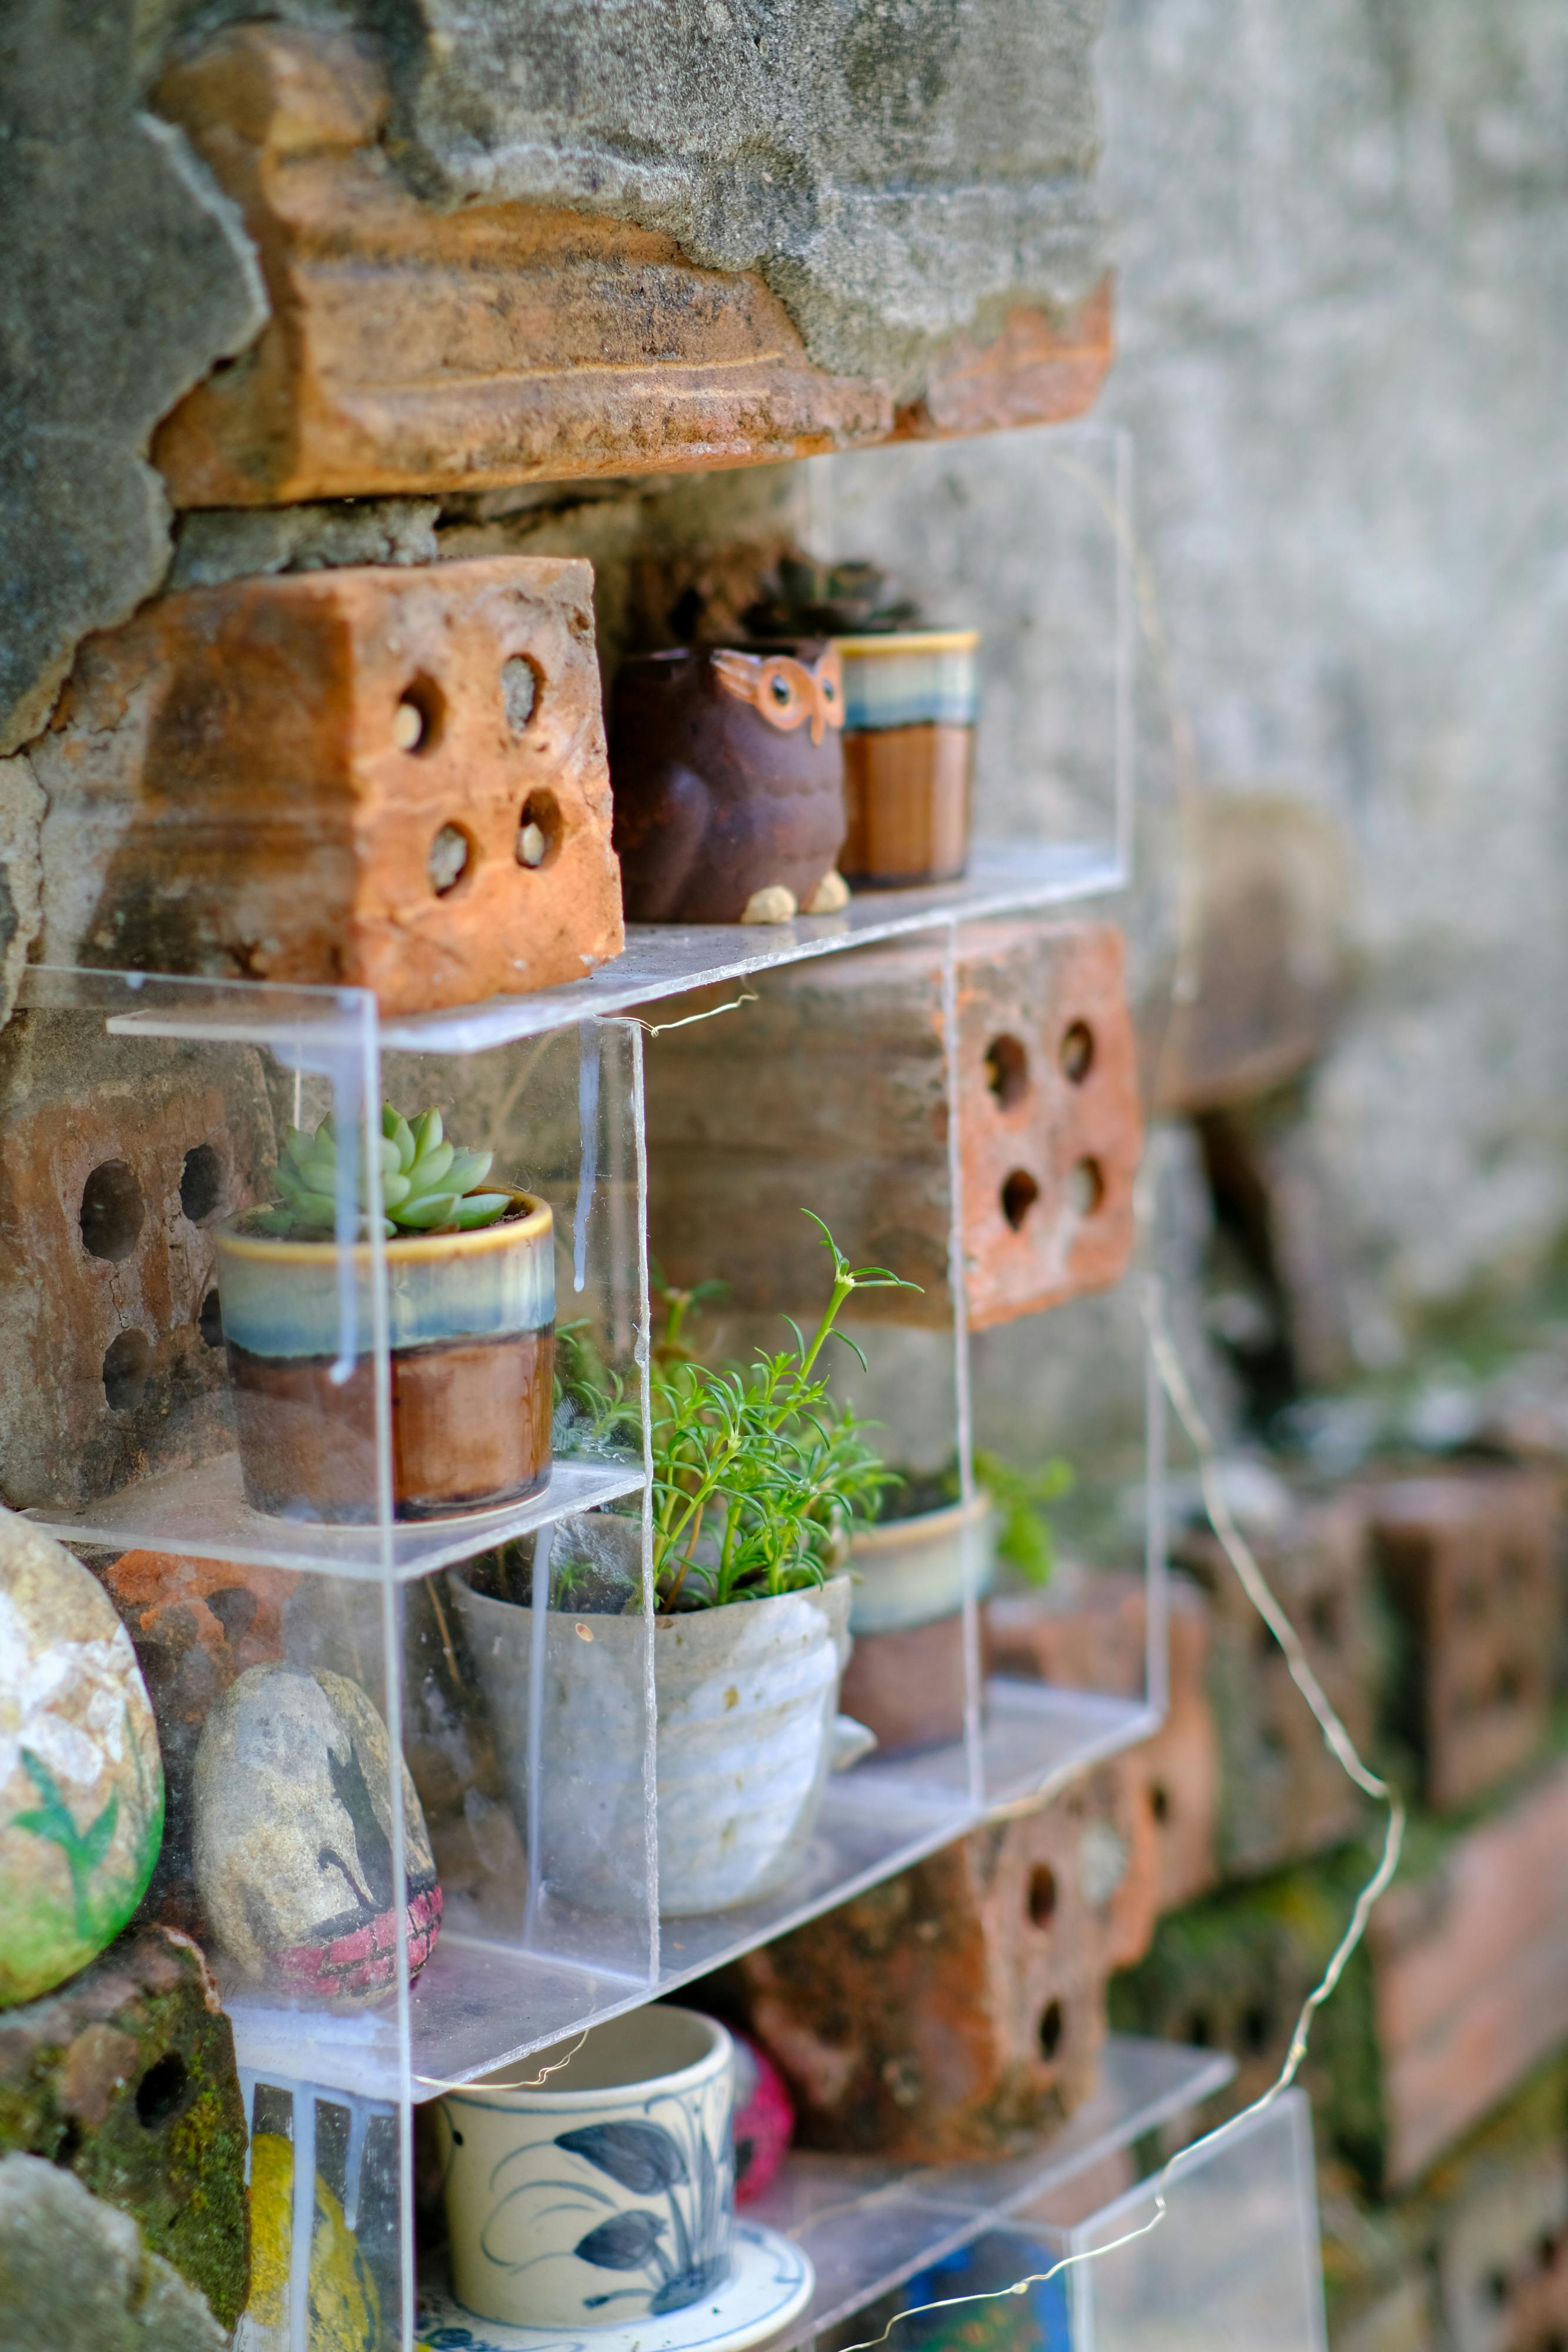 [credit](https://images.pexels.com/photos/34164796/pexels-photo-34164796.jpeg?cs=srgb&dl=pexels-nhavantuonglai-34164796.jpg&fm=jpg), [licence](https://creativecommons.org/public-domain/) ### Safety First: Essential Considerations Hanging art, especially with power tools, requires attention to safety. Beyond the basic eye and lung protection, here are a few other critical considerations I always keep in mind: * **Utility Lines:** This is arguably the most critical safety check before *any* drilling. Before you even think about putting a bit to the wall, use a reliable **stud finder with AC detection** (the kind that warns you about live electrical current). Scan the area thoroughly to check for electrical wires, junction boxes, or plumbing pipes hidden behind the wall. This is especially crucial if your brick is veneer over drywall or if you're drilling anywhere near existing outlets, switches, or water lines. Hitting a live wire is incredibly dangerous and can be life-threatening; puncturing a pipe can lead to significant water damage. Better to adjust your hanging spot slightly than risk an electric shock, a flood, or a costly repair! Think of it as your absolute pre-drilling ritual. * **Lead Paint & Asbestos: Beyond the Drill Bit:** If you have older, painted brick, particularly in homes built before 1978, there's a significant possibility of **lead paint**. Disturbing lead paint by drilling, sanding, or scraping can release hazardous lead dust and chips into the air, which are extremely harmful, especially to children and pregnant women. Similarly, some older mortar mixes or backing materials behind brick veneer (especially if installed before the 1980s) might contain **asbestos**. If you suspect either, I strongly recommend professional testing. If you proceed yourself, take extreme precautions: use a wet/dry vac with a **HEPA filter** running constantly to capture dust, seal off the work area with plastic sheeting, and wear a **respirator mask** (not just a basic dust mask) specifically rated for lead particulate and/or asbestos. This is serious business, and your health (and your family's) is paramount. When in doubt, call a specialist – your art isn't worth a health hazard. If you *do* suspect lead paint or asbestos and decide to proceed with extreme caution yourself, invest in an N95 or P100 **respirator mask**, not just a basic dust mask, and ensure your work area is completely sealed off with plastic sheeting to contain any dust. This isn't just a recommendation; it's a critical health and safety directive. ## The No-Drill Approach: Damage-Free Solutions Perfect for renters or anyone hesitant to make permanent holes, these methods use the brick's existing structure to your advantage. They are best suited for **light to medium-weight** artwork. ### Method 1: Brick Wall Clips (or Hangers) These are truly ingenious. Brick clips are clever metal hangers specifically designed to grip the top and bottom edges of a single brick, providing a surprisingly sturdy hook without the need for *any* adhesive or drilling. They're a renter's dream and a homeowner's easy button, perfect for when you want to hang a [painting](/finder/page/how-to-hang-a-painting) or a [tapestry](/finder/page/how-to-hang-a-tapestry) without commitment. They come in various finishes, from subtle silver to rustic black, so you can even match them to your decor if you wish.  [credit](https://images.pexels.com/photos/242827/pexels-photo-242827.jpeg), [licence](https://creativecommons.org/public-domain/) * **Best for:** Brick clips truly shine on walls where the bricks protrude slightly from the mortar, ideally by at least 1/8 inch (3mm), creating a lip for the clip to grab onto. If your mortar is flush or recessed, these clever clips might not get the secure grip they need, so always check your brick profile first. They're absolutely ideal for **light to medium-weight art**, typically up to 20-30 lbs (9-13 kg), but please, *always* double-check the manufacturer's specific weight rating and err on the side of caution. They're particularly good for items equipped with a wire hanger, D-rings, or sawtooth hangers. ### Pros and Cons of Brick Clips | Feature | Pros | Cons | | :--- | :--- | :--- | | **Damage** | None (if used correctly) | Can scratch brick if mishandled | | **Installation** | Extremely fast and easy | Requires specific brick profile (protruding) | | **Flexibility** | High (easy to reposition/remove) | Limited weight capacity (typically <30 lbs) | | **Visibility** | Generally discreet | May be visible if art is small/light | | **Cost** | Very affordable | Not suitable for all brick types or very heavy art | * **How they work:** The sheer genius is in their simple yet effective design: the clip features strong, springy, often serrated teeth that create a friction grip onto the brick itself. You simply position it over the desired brick and press it firmly into place, ensuring a secure grip on both the top and bottom edge of the brick. They typically come equipped with a small hook, loop, or even a swivel hook from which you can easily suspend your artwork using picture wire, D-rings, or string. That swivel hook, by the way, offers a lovely bit more flexibility in adjusting your art's angle. * **Pros:** Absolutely no damage to the brick or mortar (if installed carefully), incredibly easy to install and remove, reusable, and offer great flexibility for rearranging art. They're also often quite discreet, blending into the mortar lines. They're a fantastic temporary solution or for those who like to frequently change their displays. * **Cons:** They are undeniably limited to bricks with a sufficiently protruding profile; flush or recessed mortar simply won't work. They are also not suitable for very heavy art. Crucially, they can sometimes scratch the brick face if not installed or removed carefully, so a thin piece of felt or rubber on the clip's contact points can be a smart preventative measure. If the brick isn't uniform in size or texture, you might find some spots where they don't grip as well, which can be frustrating and compromise security. Always, *always* double-check the hold with a gentle tug downwards before entrusting your beloved art to it. Think of it as a pre-flight check! When removing brick clips, gently lift them off rather than pulling them straight out to avoid scratching the brick face. I've learned that a little finesse goes a long way in keeping your beautiful brick pristine. **Quick Installation Steps:** These are wonderfully straightforward: 1. **Select the Right Brick:** Choose a brick with a pronounced, clean, and intact edge that protrudes sufficiently from the mortar. Ensure the surface is clean of loose dust or debris. This means brushing away any crumbling bits, especially from older brick, to ensure a solid contact point. 2. **Position the Clip:** Carefully place the clip over the top of the chosen brick, ensuring the 'teeth' or gripping mechanism are perfectly aligned with the brick's edges. Make sure it's centered for even weight distribution and visual appeal. 3. **Press Firmly:** Apply firm, even pressure to push the clip down until you feel it positively snap and grip securely onto the brick. You should distinctly feel it 'grab' the brick, creating a stable point. Listen for that satisfying 'click' or 'thunk' that signals it's seated correctly. 4. **Test the Hold:** This step is non-negotiable! Give the hook a good, firm tug downwards and outwards to ensure it's absolutely firmly attached and won't slip or wobble. Any give means it's not secure enough for your art. I usually apply slightly more force than the art's actual weight, just for that extra layer of confidence. 5. **Hang Your Art:** Once you're confident in the clip's hold, attach your picture wire, D-ring, or sawtooth hanger to the clip's hook, and *voila*! Your masterpiece is up, no holes required. Stand back and admire your handiwork! ### Method 2: Strong Adhesive Hooks While I'd generally steer clear of standard adhesive hooks on textured brick (they're just not built for it—I've seen too many forlorn frames on the floor, and it's never a pretty sight), there *are* heavy-duty versions specifically engineered for rough, porous surfaces. These are a great option for lighter art and if brick clips aren't suitable. Think of them as the superheroes of damage-free hanging, but even superheroes have their limits.  [credit](https://www.flickr.com/photos/peaceedcenter/5677334397/), [licence](https://creativecommons.org/licenses/by-nc-nd/2.0/) * **Best for:** These truly excel on smoother, less porous brick surfaces, where the adhesive can achieve maximum contact. They are generally limited to lighter artwork. Think small framed prints, lightweight canvases, decorative plates, or even a [small mirror](/finder/page/how-to-decorate-with-mirrors-and-art) that isn't too heavy. Let me be clear: they are *not* for heavy, valuable, or irreplaceable pieces – you don't want to risk a tumble! They are also a good alternative for **brick veneer** where drilling into the thin surface might be risky, provided the substrate behind is solid. ### Pros and Cons of Adhesive Hooks | Feature | Pros | Cons | | :--- | :--- | :--- | | **Damage** | None (if removed correctly) | Can pull paint/brick if not removed slowly | | **Installation** | Easy and quick | Limited to lighter weights, requires pristine surface | | **Flexibility** | Medium (removable, but not endlessly repositionable) | Cure time required, effectiveness varies with brick texture | | **Visibility** | Generally discreet | Less secure for high-value/heavy items | | **Cost** | Affordable | Adhesion can be compromised by dust, moisture, or old paint | * **How they work:** The secret sauce here is typically a powerful, often foam-based acrylic adhesive that's ingeniously designed to conform to and create a strong bond with irregular surfaces. Some high-end versions even feature a specialized backing, sometimes with tiny bristles or a thicker gel, for enhanced grip on textured materials. The absolute key is finding ones specifically marketed and rated for 'rough,' 'textured,' or 'masonry' surfaces – generic adhesive strips are simply not up to the task of holding art on brick, and I've seen the disappointing results first-hand. Always check the packaging for specific surface compatibility. * **Weight Limit:** This is where you absolutely *must* pay attention, as it varies *hugely* by brand and product, typically ranging anywhere from a cautious 5 to a hopeful 15 pounds (2-7 kg). My golden rule, born from years of experience? **Always choose a hook rated for at least double your art's actual weight.** Seriously, do *not* skimp here; it's simply not worth the risk of your beloved art taking an unexpected (and possibly damaging) tumble. I always imagine a worst-case scenario and build in that extra margin for peace of mind. The strongest adhesive hooks often use a high-performance foam or gel that conforms to texture, or a specialized hook-and-loop fastener system designed for masonry. Always ensure the brick surface is free of any loose debris, efflorescence, or flaking paint – these will severely impede the adhesive's ability to bond securely. ### Types of Heavy-Duty Adhesives for Masonry When I talk about **Steps:** 1. **Clean Meticulously:** This step is absolutely non-negotiable and, I'd argue, 90% of your success! You must meticulously clean the chosen area of brick. First, gently brush away any loose dust or debris with a stiff brush or even a dry toothbrush. Then, thoroughly clean the surface with **rubbing alcohol** to remove *every single trace* of dust, dirt, grease, oil, or grime. Allow the brick to dry *completely* – any moisture or residue will severely compromise the adhesive's ability to bond strongly. Take your time here; a clean surface is paramount! You can even use a small, soft-bristled wire brush if the brick is particularly grimy, but be gentle. 2. **Temperature Matters:** For optimal and lasting adhesion, ensure both the wall surface and the ambient room temperature are within the specific range recommended by the adhesive manufacturer (this is usually between 50-105°F or 10-40°C). Extreme cold or heat can severely impact the adhesive's initial grab and its long-term effectiveness, leading to premature failure. If your room is chilly, a gentle warming with a hairdryer on a low setting can sometimes help, but always follow instructions. I've found that applying adhesive on a cold wall is a recipe for disappointment. 3. **Apply with Precision:** This isn't a "slap and go" situation. Follow the package instructions to the letter, as each brand can have slightly different nuances. Apply the adhesive strip to the hook, then press the hook *firmly* and *consistently* against the brick for the recommended duration (this is often a solid 30-60 seconds, don't rush it!). Apply even pressure across the entire adhesive surface, really working it into the brick's natural texture to ensure maximum contact and a robust bond. Ensure no air bubbles are trapped beneath the adhesive. 4. **Cure Time is CRITICAL:** This, my friends, is where patience truly becomes a virtue. You absolutely *must* wait for the recommended curing time – it's often at least an hour, but for heavy-duty adhesives on textured surfaces, it can be up to 24 hours – *before* hanging anything on it. The adhesive needs this crucial time to fully form a strong, lasting chemical bond with the brick. Trying to rush it is a surefire way to have your art on the floor (which is devastating!), and then a sticky mess to clean up. Don't risk it; let it cure completely. ### Removing Adhesive Hooks Safely Just as important as applying them is removing them without damaging your brick. Most heavy-duty adhesive hooks are designed for clean removal, but sometimes brick's uneven surface can make it tricky. Here are my tips to help you avoid peeling off paint or brick fragments (because I've done both, don't worry, it's a learning curve!).  [credit](https://live.staticflickr.com/65535/54516427805_40a244e5de_b.jpg), [licence](https://creativecommons.org/licenses/by-nc-sa/2.0/) * **Read Instructions:** This sounds obvious, but so many people skip it! Always, *always* refer to the manufacturer's specific removal instructions first. Some brands feature clever pull tabs, others require a slow twist, while some might need a specific release method. Following these will minimize the risk of damage. * **Heat Gently:** If an adhesive is proving particularly stubborn, a hairdryer on a low-to-medium setting can sometimes work wonders. Gently warm the adhesive for 30-60 seconds; this can soften the bond, making it much easier to peel away without resistance. Just be careful not to overheat the brick or any surrounding painted surfaces. * **Slow and Steady:** This is the mantra of damage-free removal: peel the hook away *very, very slowly* and at a shallow, almost flat angle. Resist the urge to rip it off quickly; doing so is a surefire way to take chunks of paint, mortar, or even delicate brick surface right along with it. Patience, my friend, is your best tool here. * **Residue Removal:** For any stubborn adhesive residue that remains, try a gentle attack first with **rubbing alcohol** or a specialized **citrus-based adhesive remover** like Goo Gone. However, and this is crucial, *always test it on an inconspicuous area first* to ensure it doesn't stain, discolor, or chemically react negatively with your specific brick or mortar. Some bricks are more porous than others and can absorb chemicals, leading to permanent stains. Avoid harsh scraping tools or abrasive pads that could permanently scratch or damage the brick surface; a plastic scraper combined with a solvent and gentle rubbing with a microfiber cloth can often carefully lift stubborn spots. 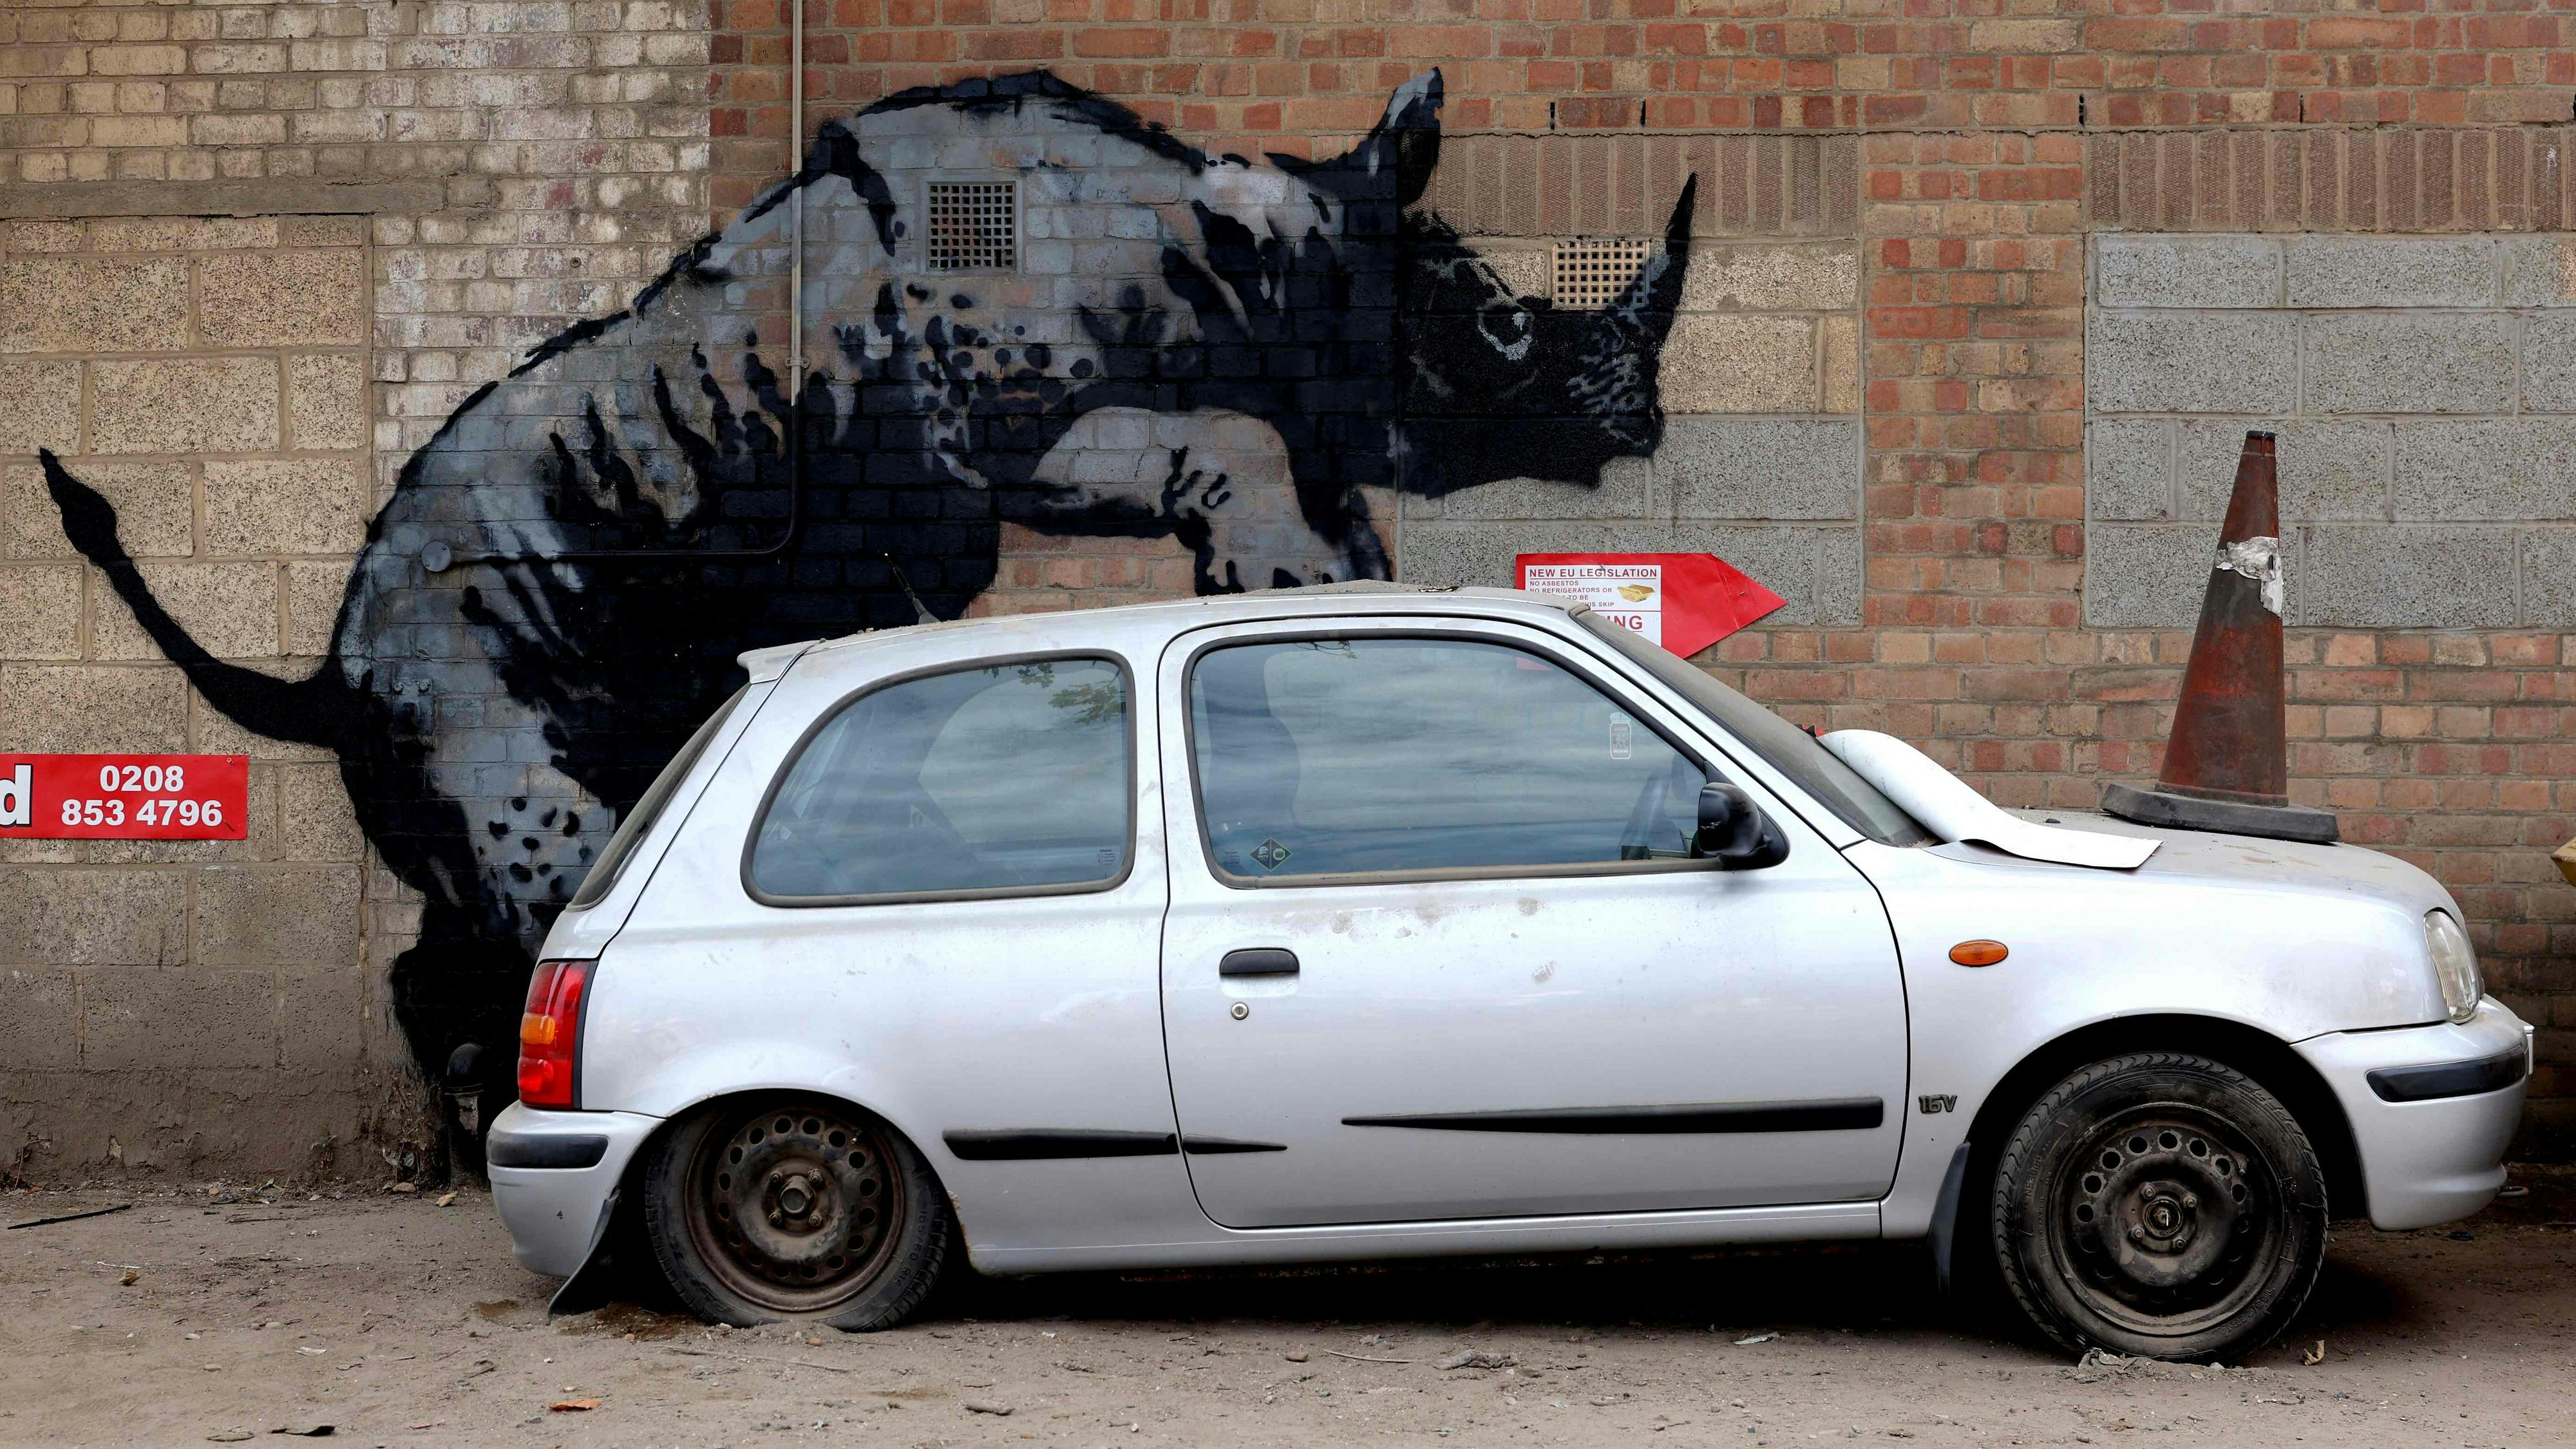 [credit](https://heute-at-prod-images.imgix.net/2024/08/12/d3295cb3-df28-46d0-9b0a-0af4d3141ee7.jpeg?rect=0%2C155%2C4000%2C2250&auto=format), [licence](https://creativecommons.org/licenses/by/4.0/) ### Method 3: Leaning Art & Floor Easels Sometimes, the simplest solution truly is the most elegant, and certainly the most damage-free. Why hang when you can lean? This effortlessly chic method works beautifully with brick walls, leveraging their inherent texture as a natural, grounding backdrop without the need for *any* hardware. It’s absolutely perfect for creating a relaxed, informal gallery-like feel, and it's my personal go-to for frequently changing displays or very large, unwieldy, or extremely heavy pieces. Plus, it instantly gives your space that effortlessly curated, artistic vibe that makes it look like you've just brought home a new masterpiece from a [local artist](/finder/page/buying-art-local-artists) and are still deciding on its permanent home. It's truly an interior designer's secret weapon for injecting personality without commitment. ### Pros and Cons of Leaning Art | Feature | Pros | Cons | | :--- | :--- | :--- | | **Damage** | None | Can tip if not stable or in high-traffic areas | | **Installation** | Instant, no tools required | Not suitable for all art (e.g., highly fragile or small) | | **Flexibility** | Extremely high (easy to move/rearrange) | Requires floor space, can feel less 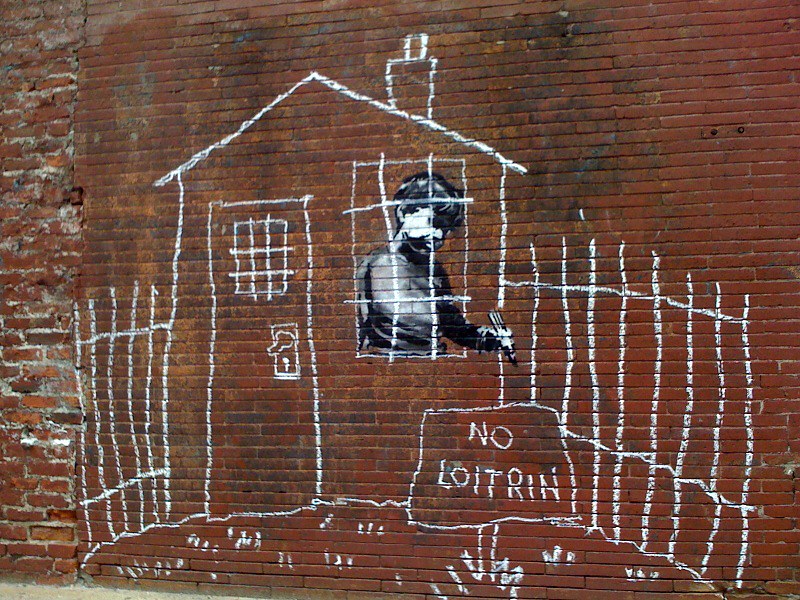 [credit](https://live.staticflickr.com/4028/4602001717_869ce16552_c.jpg), [licence](https://creativecommons.org/licenses/by-nc-nd/2.0/) * **Best for:** This method is surprisingly versatile, suitable for **all weight categories** (provided the art is properly stable on the floor). It's fantastic for large format art, oversized canvases, framed prints, or even multiple pieces layered artfully together. It’s the ultimate choice for renters, for anyone who loves to frequently rearrange their decor, and an excellent, character-rich choice for a [maximalist interior](/finder/page/how-to-create-a-gallery-wall-for-a-maximalist-interior) where layering adds depth. * **How it works:** Art is simply propped against the wall, either directly or on a floor easel. For larger pieces, the weight of the [art itself](/finder/page/how-to-choose-art-for-a-scandinavian-style-home) provides stability and a satisfying sense of groundedness. * **Weight Limit:** Limited only by the stability of the art itself and its contact with the floor. Heavy pieces are generally safer to lean, as their weight helps prevent accidental tipping. **Tips for Leaning Art:** 1. **Large Scale Impact:** Go big! Lean oversized canvases, monumental framed prints, or even [heavy mirrors](/finder/page/how-to-hang-a-heavy-mirror) directly against the wall on the floor. This immediately creates a casual, effortlessly artistic vibe and an incredibly impressive focal point. I often employ this strategy with my larger [abstract paintings](/buy), letting the brick's raw texture interact with and speak volumes through the artwork. 2. **Layering:** For an incredibly dynamic, curated look, layer smaller pieces in front of a larger one, or even multiple pieces of varying sizes. This creates a wonderful sense of depth, visual intrigue, and a perfectly "curated chaos." Just ensure the back, larger piece is utterly stable and cannot be easily knocked over before placing smaller pieces in front. Consider varying textures and frame styles for added visual interest. 3. **Floor [Easels](/finder/page/best-easels-for-beginners):** For a slightly more formal presentation, or simply to lift art slightly off the floor to a more prominent height, a sturdy [floor easel](/finder/page/best-easels-for-painting-at-home) is absolutely perfect. They come in a vast array of styles—from classic wooden tripods to sleek, modern metal designs—allowing you to complement your existing decor and add another layer of sophisticated visual interest. I particularly adore how a minimalist easel can make a vibrant piece of [contemporary art](/buy) truly pop against a rustic brick backdrop. 4. **Tabletop Easels & Ledges:** Never overlook the power of smaller pieces! A tabletop easel on a console table, a sturdy mantelpiece, or even a floating shelf positioned in front of a brick wall can highlight a smaller artwork beautifully. And those charming brick ledges, if your wall happens to have them, are absolutely fantastic for propping up smaller frames, decorative objects, or even [sculptures](/finder/page/how-to-decorate-with-sculptures), creating intriguing vignettes. 5. **Secure Fragile Pieces:** While leaning art is generally quite safe, if you have energetic children, curious pets, or live in an earthquake-prone area, it's always wise to add an extra layer of security. Consider applying **museum wax** or using **non-slip furniture pads** to the bottom edges of leaned art. This helps prevent accidental movement or tipping, keeping your precious art safe and sound. Safety always, always comes first, especially for irreplaceable pieces. For earthquake zones, specifically look for **quake putty** or **museum gel** for a stronger, yet removable, hold. ### Method 4: Picture Rail Systems If you love the idea of a [gallery wall](/finder/page/how-to-create-a-harmonious-gallery-wall-with-mixed-media-abstract-art-and-photography) but want ultimate flexibility without repeatedly drilling into your brick, a picture rail system might be your ideal solution. While it usually involves *some* initial drilling for the rail itself, it's a one-time setup for endless rearrangements of your art below. It’s a beautiful way to maintain the integrity of your brick while still having a dynamic display, giving off a sophisticated, old-world charm that I absolutely adore. 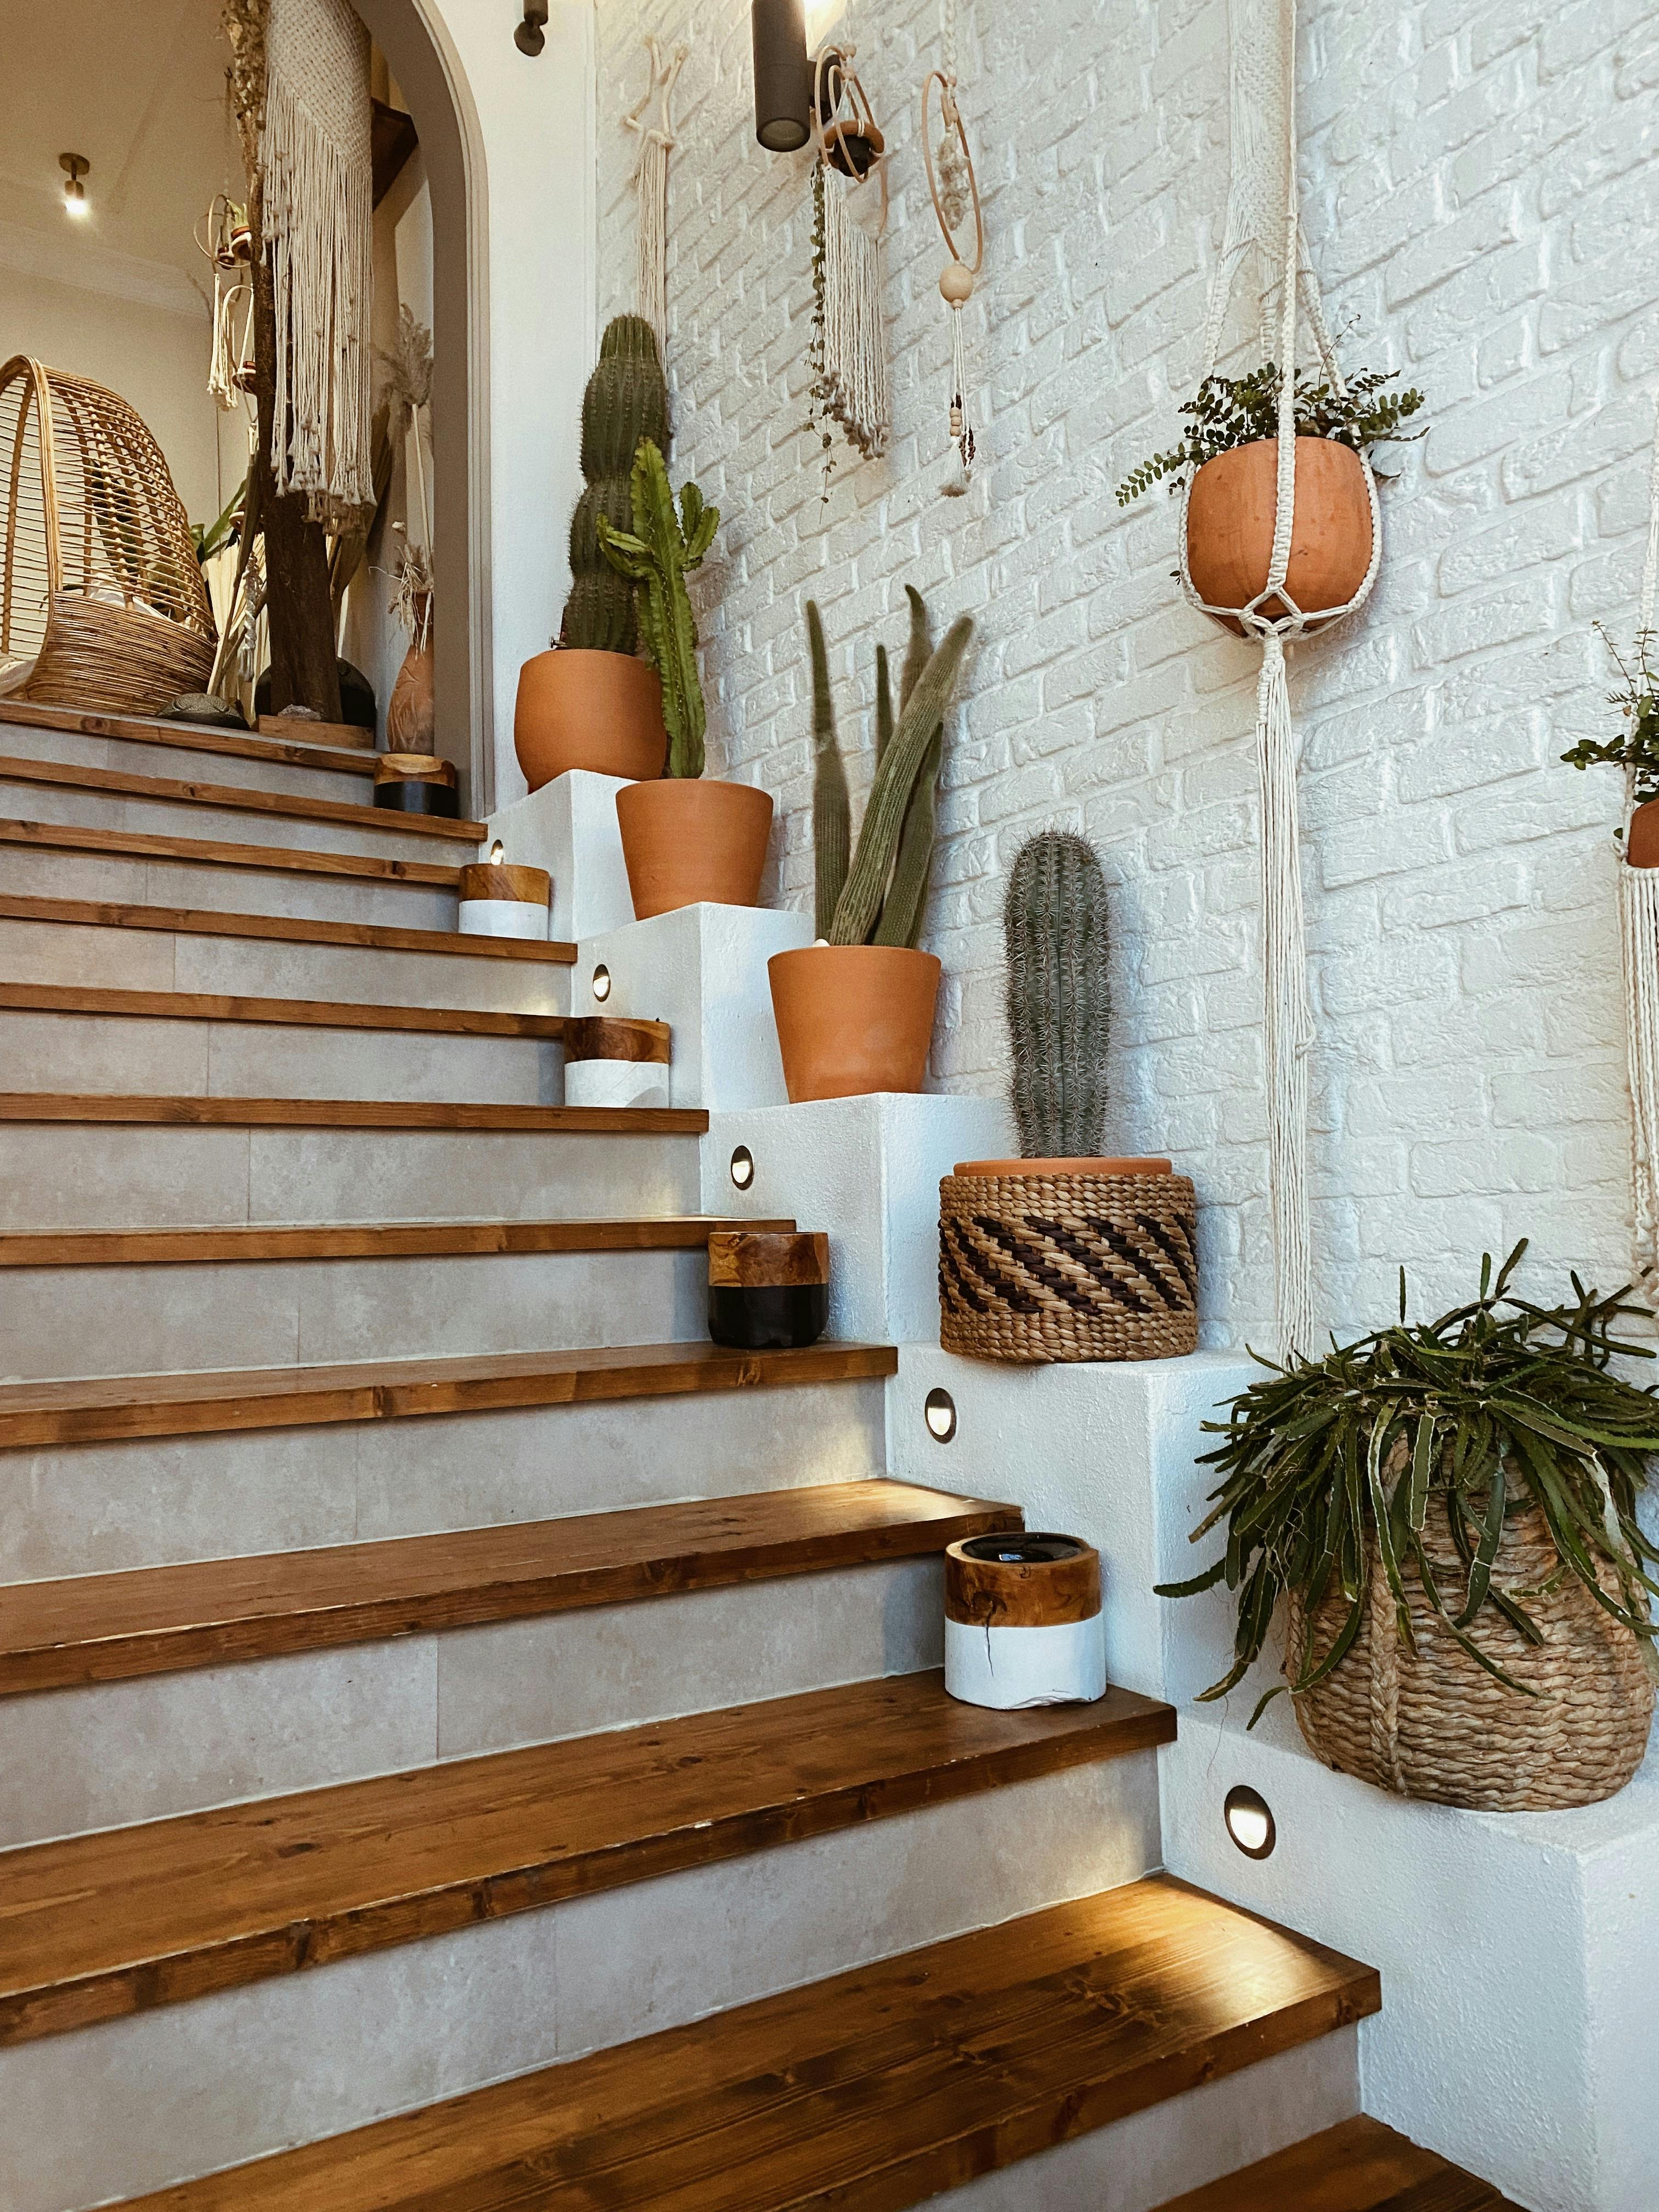 [credit](https://images.pexels.com/photos/11713148/pexels-photo-11713148.jpeg), [licence](https://creativecommons.org/public-domain/) * **Best for:** These systems are a dream for creating truly dynamic [gallery walls](/finder/page/how-to-create-a-gallery-wall-for-a-maximalist-interior), for those who love frequently changing their displays, for heavy art (provided the rails are securely installed into wall studs behind drywall or with heavy-duty masonry anchors), and critically, for protecting historical or delicate brickwork. It offers the ultimate blend of flexibility and preservation, allowing you to curate your collection with ease. * **How they work:** The core concept is simple yet brilliant: a horizontal rail (which can be decorative wood, sleek metal, or even a discreet track system) is installed near the top of your wall, typically close to the ceiling line. Specialized hooks with wires (often clear nylon for a minimalist look, or elegant metal cables for a more industrial aesthetic) or rigid rods then hang gracefully from this rail. Your artwork is then suspended from these wires or rods, allowing you to easily adjust its height and horizontal position without ever needing to touch the brick wall below. This keeps your brick wall pristine, allows for effortless curation, and offers a beautiful, classic aesthetic. * **Weight Limit:** This is a crucial consideration and varies significantly based on the rail's material, its installation method (e.g., directly into wall studs behind veneer, or with heavy-duty masonry anchors into solid brick), and the quality of the chosen hooks and wires/rods. Always, *always* check the manufacturer's specific weight ratings and err on the side of extreme caution, especially for heavier or more valuable pieces. High-quality systems, when properly installed, can often support surprisingly substantial weight, making them suitable for quite large artworks. **Installation Overview (requires some initial drilling for the rail, but then offers unparalleled freedom for your art):** 1. **Locate Studs (if applicable):** This is the foundational step for security. If your brick is a veneer over drywall, locating the wall studs behind the drywall is absolutely paramount for the most secure attachment of the rail. Use a reliable **stud finder** with AC detection. If it's solid brick, you'll need to drill directly into the brick or robust mortar for strong, reliable anchor points, ensuring the rail can bear the intended weight. In older homes, studs can be less consistently spaced, so thorough scanning is key. 2. **Install the Rail:** With your layout planned and anchor points identified, mount the picture rail securely to the wall using a **level** to ensure it's perfectly straight. This crucial step involves drilling pilot holes, inserting appropriate masonry anchors (or screwing directly into studs if applicable), and firmly screwing the rail into place. This initial installation is typically the *only* drilling you'll need for the entire system, offering immense long-term flexibility. Always use corrosion-resistant screws if the environment might be damp or humid. 3. **Attach Hooks and Wires:** Now for the magic! Slide special picture rail hooks (they often have a distinctive 'J' shape, designed to sit neatly over the rail) onto the installed rail. Attach your chosen wires (clear nylon for a minimalist look, or elegant metal cables for a more industrial aesthetic) or rigid rods to these hooks. Then, at the bottom of the wires, secure your artwork using adjustable picture hooks, S-hooks, or specialized hangers. The beauty here is that you can effortlessly slide the art horizontally and adjust the wire length to change vertical position. *Voila!* Instant flexibility, a sophisticated gallery look, and pristine brick. ### Pros and Cons of Picture Rail Systems | Feature | Pros | Cons | | :--- | :--- | :--- | | **Damage** | Minimal (one-time drilling for rail) | Initial installation requires drilling | | **Installation** | Moderate (initial setup), then very easy | Can be costly for high-quality systems | | **Flexibility** | Extremely high (endless rearrangement) | Rail itself is a permanent fixture | | **Aesthetics** | Classic, sophisticated gallery look | Can feel traditional, may not suit all modern aesthetics | | **Weight** | Medium to Heavy (system dependent) | Requires precise leveling during initial rail installation | 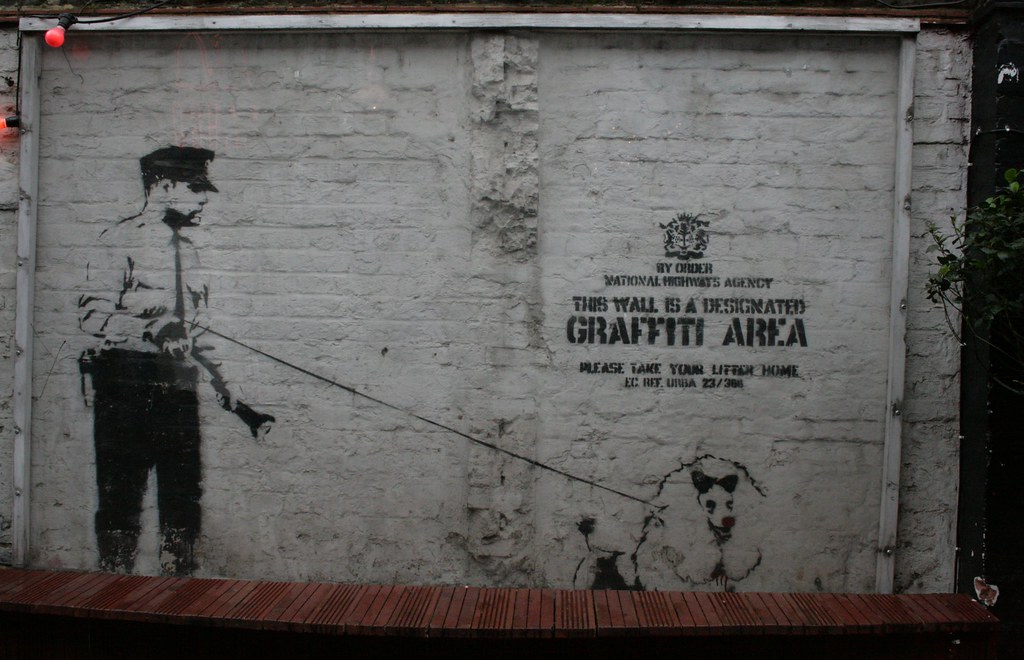 [credit](https://live.staticflickr.com/7354/10890312006_cd0875413f_b.jpg), [licence](https://creativecommons.org/licenses/by/2.0/) ### Combining No-Drill Methods Creatively Don't limit yourself to just one no-drill method! Sometimes the most engaging displays come from combining approaches. Imagine a large, vibrant abstract piece leaning against the brick (Method 3), flanked by smaller framed prints hung with brick clips (Method 1) or adhesive hooks (Method 2). Or perhaps a picture rail system (Method 4) for your main display, with a small easel (Method 3) on a nearby table showcasing a rotating piece. The brick wall provides such a unified backdrop that mixed methods can feel incredibly cohesive and personalized. This layered approach adds depth and tells a more complex visual story, which is always my goal when arranging art. For instance, you could use a large, striking [abstract painting](/buy) leaning against the wall, flanked by smaller, framed [prints](/buy) hung with brick clips, and perhaps a [sculpture](/finder/page/how-to-decorate-with-sculptures) on a nearby pedestal or floating shelf. The possibilities are truly endless when you start to think outside the single-method box! This mixed-media approach not only creates visual interest but also allows you to display a wider range of your collection. You might even integrate small [mirrors](/finder/page/how-to-decorate-with-mirrors-and-art) to reflect light and expand the sense of space.  [credit](https://images.pexels.com/photos/14493083/pexels-photo-14493083.jpeg), [licence](https://creativecommons.org/public-domain/) ### Quick Comparison: No-Drill Solutions | Method | Weight Capacity | Damage to Wall | Ease of Installation | Flexibility | Best For | | :--- | :--- | :--- | :--- | :--- | :--- | | **Brick Clips** | Light to Medium (up to 30 lbs) | None (if careful) | Very Easy | High | Renters, frequent changes, bricks with protruding edges | | **Adhesive Hooks** | Light (5-15 lbs) | None (if removed correctly) | Easy to Moderate | Medium | Smoother brick, very light items, temporary displays | | **Leaning Art** | All weights (if stable) | None | Very Easy | High | Large pieces, frequently rotating art, creating casual vibes | | **Picture Rails** | Medium to Heavy (after initial drilling) | Minimal (one-time holes for rail) | Moderate (initial setup) | Very High | Gallery walls, historical preservation, ultimate adjustability | ## The Drilling Method: For a Secure, Permanent Display For those pieces you absolutely adore and know will be a fixture in your home for years, or for anything with significant weight, the drilling method offers unparalleled security. It’s not as scary as it sounds, I promise. With the right tools and a bit of patience, you'll be drilling like a seasoned pro. For heavy artwork or a display you know you'll love for years, drilling is the most secure and reliable method. It might seem daunting, but with the right tools and technique, it's straightforward. 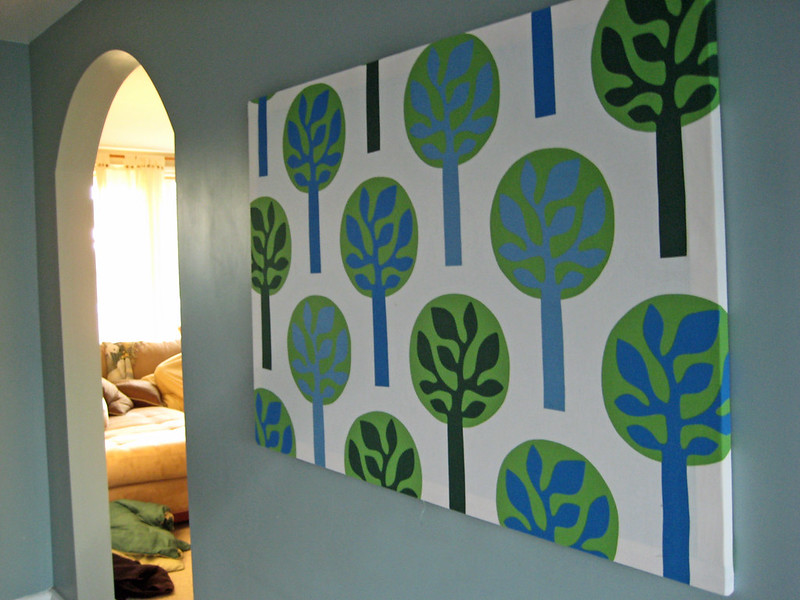 [credit](https://www.flickr.com/photos/fiveblondes/2488269660/), [licence](https://creativecommons.org/licenses/by-nc-sa/2.0/) ### Understanding Masonry Anchors: Your Art's Best Friend Before we pick up the drill, let's talk anchors. These aren't just little plastic plugs; they are the crucial component that transfers the weight of your art from the screw to the wall, providing a secure, lasting hold. Choosing the right anchor is paramount, and it depends on your brick type, the weight of your art, and whether you're drilling into brick or mortar. Think of them as tiny, mighty engineers, tirelessly supporting your masterpieces. 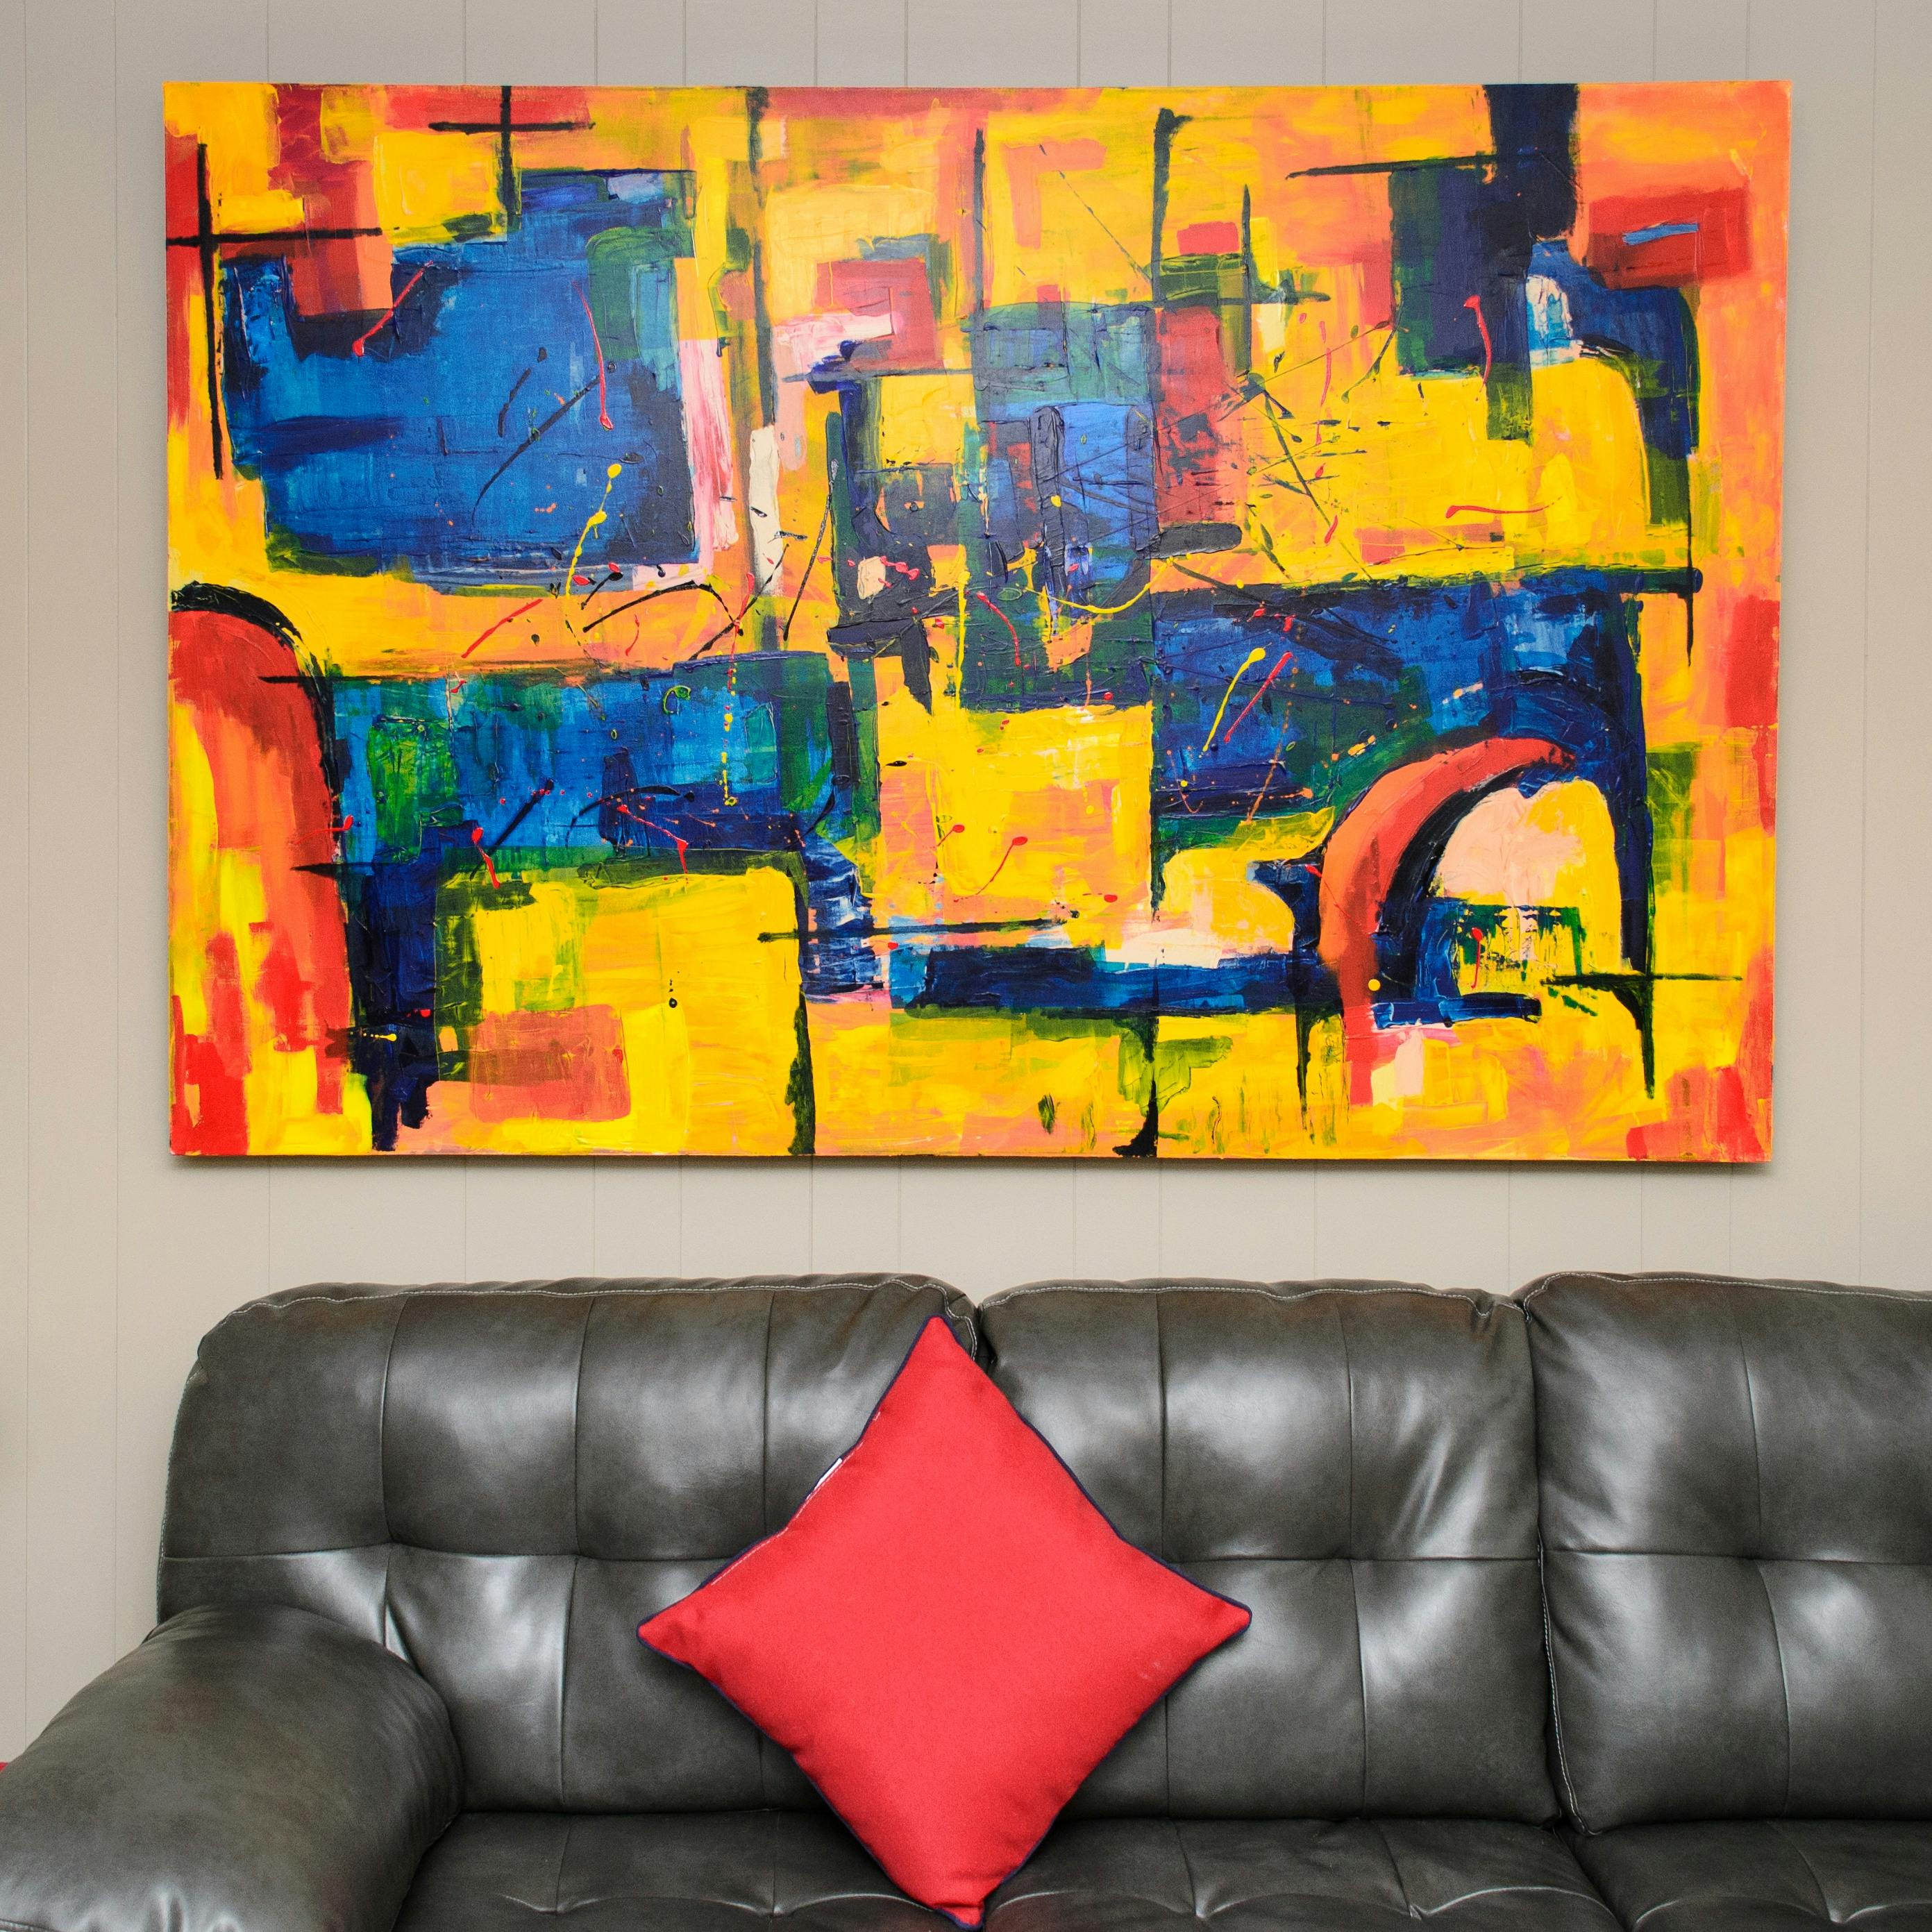 [credit](https://images.pexels.com/photos/1067556/pexels-photo-1067556.jpeg), [licence](https://creativecommons.org/public-domain/) ### Masonry Anchor Types: A Deeper Dive Choosing the right masonry anchor is arguably the most crucial decision for drilled installations. It's not a one-size-fits-all situation, and matching the anchor to your brick type, material, and artwork weight is paramount for security and longevity. Here's a breakdown of common types I rely on: | Anchor Type | Description | Best Use Cases | Weight Capacity (Approx.) | Pros | Cons | | :--- | :--- | :--- | :--- | :--- | :--- | | **Plastic Expansion Anchor** | Simple plastic sleeve that expands when a screw is driven in. | Light to medium loads in solid brick or firm mortar. | 10-50 lbs (4.5-22 kg) | Easy to use, inexpensive. | Not for heavy loads, can spin in soft material, not ideal for hollow areas. | | **Lead Expansion Anchor** | Lead alloy sleeve that expands and deforms when a screw is driven in. | Medium to heavy loads in solid brick, concrete, or older, softer mortar. | 25-100 lbs (11-45 kg) | Stronger than plastic, good in variable masonry. | Can be harder to install, lead content (handle with care). | | **Sleeve Anchor** | Metal sleeve with an expanding cone nut; a hex nut tightens the assembly. | Heavy loads in solid brick, concrete, or stone; through-fixture installation. | 50-200+ lbs (22-90+ kg) | Very strong, secure, suitable for structural mounting. | Requires precise drilling, visible hardware (often). | | **Tapcon (Concrete Screw)** | Self-tapping screw with specialized threads that cut into masonry directly. | Light to medium loads in solid concrete, brick, or block *without* a separate anchor. | 10-100 lbs (4.5-45 kg) | Fast installation, no anchor needed (often). | Requires specific bit, can snap if overtightened, less effective in very soft mortar. | | **Drop-In Anchor** | Internally threaded metal anchor inserted into a pre-drilled hole, then expanded with a setting tool. | Medium to heavy loads, often used for overhead applications or when flush finish is needed. | 50-150 lbs (22-68 kg) | Very strong, flush finish, accepts machine screws. | Requires a setting tool, precise hole size. | | **Hammer Drive Anchor** | One-piece anchor with a pre-assembled nail/pin that expands the body when hammered in. | Light to medium loads in solid masonry, quick installation. | 10-50 lbs (4.5-22 kg) | Very fast to install. | Not easily removable, requires solid material. | | **Toggle Bolt / Molly Bolt** | Expanding wings (toggle) or collapsible sleeve (molly) that grip behind a hollow space. | Light to medium loads in brick veneer with a hollow cavity behind. | 10-50 lbs (4.5-22 kg) | Excellent for hollow walls/veneer. | Requires large pilot hole, not for solid brick, complex removal. | | **Chemical Anchor (Resin/Epoxy)** | Two-part resin injected into a hole, setting a threaded rod or rebar in place. | Extremely heavy loads, crumbly or delicate masonry, high vibration resistance. | 200+ lbs (90+ kg) | Highest strength, seals the hole, works in damaged masonry. | More complex, cure time, irreversible, can be messy, higher cost. | ### A Note on Mortar vs. Brick: Where to Drill? Okay, this is a big one, and a question I get asked all the time. You'll frequently hear the sage advice to drill into the mortar joints (those lines between the bricks) rather than directly into the brick itself. And for good reason! But let's dive into the nuances, because the 'best' spot really depends on your specific situation and the weight of your art, and sometimes, even your long-term commitment to the placement. * **Drilling into Mortar:** This is generally my preferred approach for most medium-weight pieces, and frankly, it's often the safest bet for DIYers. Why? Mortar is typically softer than the brick itself, making it considerably easier to drill. Plus, and this is a huge plus, if you ever decide to move your art, patching a hole in mortar is far less noticeable and much simpler than patching brick. You can usually color-match mortar repair caulk quite effectively, making the repair virtually invisible. However, just be mindful of old, crumbly, or very sandy mortar, which might not offer a secure hold; always test its integrity first by gently poking it with a screwdriver. If it crumbles easily, you might need a specialized anchor (like a **chemical anchor**) or to consider drilling into the brick itself. * **Drilling into Brick:** For very heavy, extremely valuable, or truly permanent installations (like hanging a [heavy mirror](/finder/page/how-to-hang-a-heavy-mirror) that's going nowhere), drilling directly into the brick itself often provides a superior, much stronger hold. Bricks are denser and less prone to crumbling than mortar. However, they are also significantly harder to drill, require more specialized bits (sometimes even a diamond bit for very hard bricks like engineering brick), and patching a brick hole requires more skill to make it blend seamlessly. The choice depends heavily on your art's weight, the type of brick, and your comfort level with making a more permanent mark. For delicate art or those on historically protected walls, I'd err on the side of mortar, but for a truly monumental piece, the brick offers unwavering support. Just be prepared for more effort and specialized tools. ### Where to Drill: Making the Decision | Factor | Drill into Mortar | Drill into Brick | | :--- | :--- | :--- | | **Weight of Art** | Light to Medium | Medium to Very Heavy | | **Ease of Drilling** | Easier | Harder (requires hammer drill, specialized bits) | | **Repairability** | Easier (mortar repair caulk) | Harder (can be noticeable) | | **Brick Condition** | Good for sound mortar, risky for crumbly | Best for solid, intact bricks; risky for soft/historic | | **Permanence Desired** | Less permanent, more flexible | More permanent, maximum security | | **Risk of Damage** | Lower to brick, higher to fragile mortar | Higher to brick (cracking, spalling) | | **Aesthetics** | Less visible hole (if patched) | Hole more prominent if not perfectly patched | **My personal recommendation?** For most home art hanging projects, especially if you anticipate rearranging in the future, **drilling into the mortar joint is often the pragmatic choice**. It's less disruptive, easier to repair, and generally provides sufficient hold for most pieces. Only opt for drilling directly into the brick for truly heavy or irreplaceable items where maximum, unwavering support is the absolute priority, and you're prepared for the added effort and permanence. 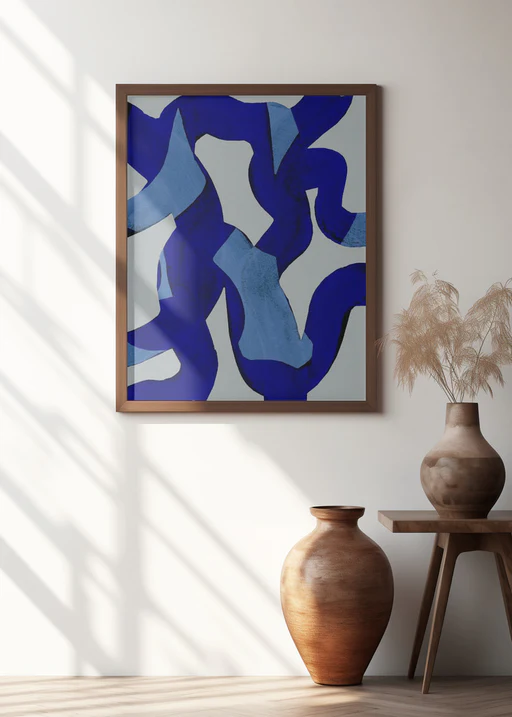 [credit](https://www.modernmemorydesign.com/collections/abstract-wall-art-for-home-decor), [licence](https://creativecommons.org/licenses/by-nc/4.0/) ### Step-by-Step Guide to Drilling 1. **Mark Your Spot:** Use your pencil and level to mark exactly where the screw will go. For precision, particularly with multiple hanging points, use painter's tape to create a template. Measure twice, drill once – that's my mantra! For dark brick, a piece of chalk or a grease pencil will be far more visible than graphite. 2. **Choose Your Gear:** This isn't a job for your standard drill bits. You absolutely, positively need a **masonry drill bit**. These bits are specially designed with a carbide-tipped head to withstand the intense friction and heat generated when cutting through hard materials like brick and mortar. Ensure the masonry bit's diameter matches the diameter of your chosen wall anchor (the packaging will specify this). As for the drill itself, a drill with a **hammer function** is a lifesaver. This function provides a rapid hammering motion in addition to rotation, making quick work of even the toughest masonry. If you don't have one, a regular drill can work, but it will be slower, require more effort, and you might burn through a few bits. For really tough jobs, an **SDS (Slotted Drive System) hammer drill** is even more powerful and efficient, though typically overkill for a single picture hook. 3. **Drill the Pilot Hole:** Safety first, always! Put on your **safety goggles**—brick dust is no joke, and a tiny shard in your eye is a surefire way to ruin your day. Don't forget your **dust mask** too; you don't want to inhale that stuff. Start drilling slowly, applying gentle pressure, to create a small indent. This helps prevent the bit from 'walking' across the brick surface. Once you have a steady indent, increase your drill speed and, if using a hammer drill, engage the hammer function. Keep the drill straight and apply firm, consistent pressure. Drill to a depth that matches the length of your wall anchor. A handy trick is to mark the required depth on your drill bit with a piece of painter's tape. Another tip: have a small piece of painter's tape just below your drill spot to catch some of the dust as it falls; it makes cleanup a little easier. For painted brick, score the painter's tape with a utility knife around your marked spot to minimize chipping. 3. **Drill the Pilot Hole:** Safety first, always! Put on your **safety goggles**—brick dust is no joke, and a tiny shard in your eye is a surefire way to ruin your day. Don't forget your **dust mask** too; you don't want to inhale that stuff. Choose a masonry drill bit that precisely matches the diameter of your chosen wall anchor – it's crucial for a secure fit. As for the drill itself, a drill with a **hammer function** is a lifesaver, providing a rapid hammering motion in addition to rotation, making quick work of even the toughest masonry. Start drilling slowly, applying gentle pressure, to create a small indent. This helps prevent the bit from 'walking' across the brick surface. Once you have a steady indent, increase your drill speed and, if using a hammer drill, engage the hammer function. Keep the drill straight and apply firm, consistent pressure. Drill to a depth that matches the length of your wall anchor. A handy trick is to mark the required depth on your drill bit with a piece of painter's tape. Another tip: have a small piece of painter's tape just below your drill spot to catch some of the dust as it falls; it makes cleanup a little easier. For painted brick, score the painter's tape with a utility knife around your marked spot to minimize chipping. 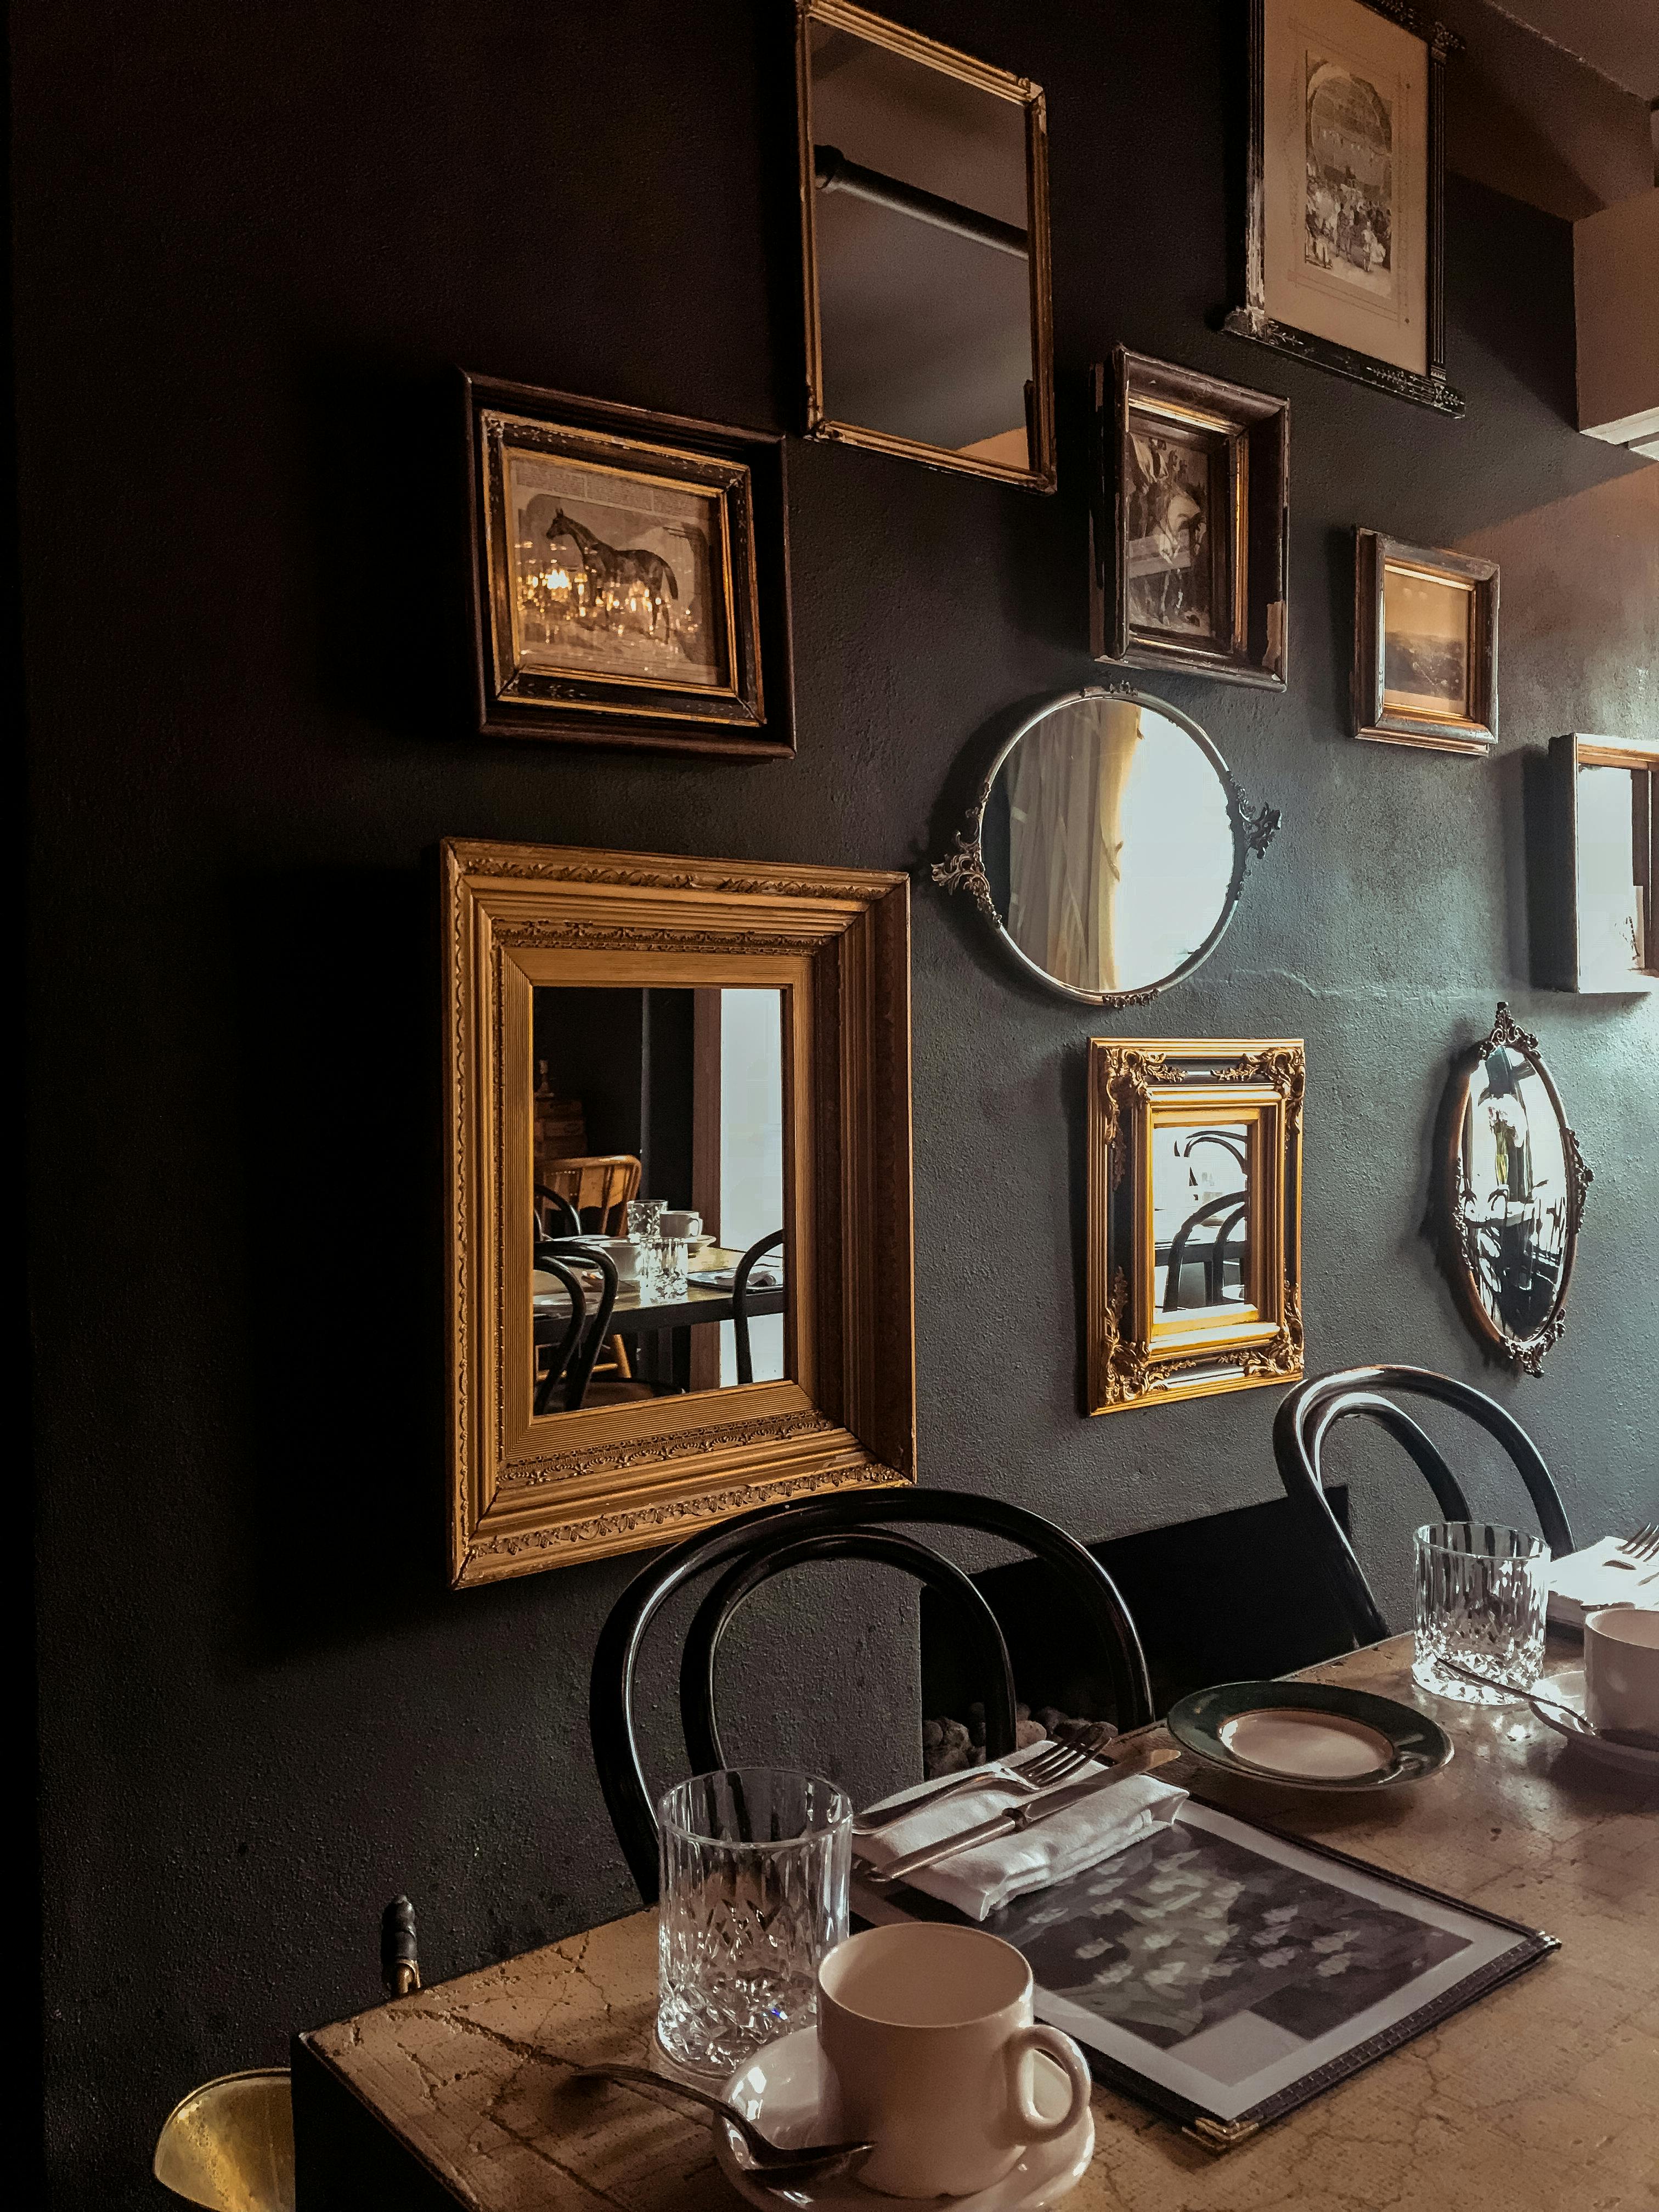 [credit](https://images.pexels.com/photos/2442904/pexels-photo-2442904.jpeg), [licence](https://creativecommons.org/public-domain/) 4. **Clear and Insert the Anchor:** Once your hole is drilled, clear out all the dust and debris. This is absolutely critical! A quick puff of air or, even better, a shop vacuum with a narrow attachment will do the trick. You want that hole as clean as possible for the anchor to get a proper, secure grip. Now, gently tap your chosen **wall anchor** into the hole with a hammer until it's flush with the wall. Don't force it; if it's too tight, your drill bit might have been too small. If it's too loose, the bit was too large, and you'll need a bigger anchor (if the hole isn't *too* oversized) or to fill the hole with a masonry repair compound and re-drill (which is nobody's favorite task!). There are various types of anchors: **plastic expansion anchors** are common for lighter to medium loads, but for heavier loads, softer mortar, or particularly crumbly brick, consider **lead anchors**, **sleeve anchors**, or even **drop-in anchors** which offer superior hold. For hollow brick or brick veneer where you might hit a cavity, **toggle bolts** or **molly bolts** can provide excellent holding power behind the surface. Always ensure the anchor is designed for masonry and rated for your art's weight—never guess! 5. **Drive the Screw:** With the anchor firmly in place, use your drill (on a regular drill setting, *not* hammer, unless you're using a self-tapping masonry screw without an anchor, which is less common for art hanging) or a screwdriver to drive the screw into the anchor. Choose a screw that's appropriate for your anchor; the anchor packaging will always clearly recommend a size and type (e.g., length, gauge). Drive it until it feels snug and secure, but *avoid overtightening*, which can strip the anchor or crack the brick/mortar. I've been guilty of this in the past, and it's frustrating because then you're back to step 4! Leave just enough of the screw head sticking out—usually about 1/4 to 1/2 inch—to securely hang your picture wire, D-ring, or bracket. 6. **Test the Hold (Crucial Step!):** Before you commit your precious art, give that screw a good, firm tug downwards and outwards, simulating the weight and movement your art might experience. Does it feel absolutely rock-solid? Any wobble or give means the anchor isn't fully secure, and you need to investigate. Better a re-drill now than a broken frame later, right? Trust your gut here. If you're hanging a truly [heavy piece](/finder/page/how-to-hang-a-heavy-painting), have a second person spot-check the anchor for any movement while you test it. 7. **Hang Your Masterpiece:** With confidence in your anchor, carefully place your art onto the screw. Adjust as needed with your level, step back, and finally, admire your beautifully hung work! It's always a satisfying moment when a plan comes together, and a testament to your newfound DIY skills. ### Advanced Drilling: French Cleats and Heavy-Duty Rail Systems For the heaviest, most oversized, or incredibly valuable pieces—or if you simply want the most robust and secure hanging system for a [heavy painting](/finder/page/how-to-hang-a-heavy-painting) or [heavy mirror](/finder/page/how-to-hang-a-heavy-mirror)—French cleats or specialized heavy-duty rail systems installed directly into the brick (or through veneer into studs) are often the gold standard. These methods are typically more involved and require a solid understanding of masonry drilling, but they offer unparalleled stability and often allow for easier leveling and adjustments, which is a huge bonus for large art. I consider these the ultimate in art security, especially for investment pieces. ### French Cleats: The Ultimate in Secure Hanging A **French cleat** system involves two interlocking strips, usually wood or metal. One strip is securely mounted to the wall, angled upwards, and the other is attached to the back of your artwork, angled downwards. They slot together, creating an incredibly strong mechanical lock and distributing the weight evenly across a wider area. These are fantastic for large mirrors, heavy framed art, or even custom shelving. Installation requires precise leveling and robust anchors into either the brick or the studs behind veneer. The beauty of a French cleat is that once the wall-mounted piece is level, your art will always hang perfectly straight. It's an elegant solution that ensures the artwork sits almost flush against the wall, reducing sway and enhancing its integrated look. I often recommend them for high-value pieces where absolute security and precise alignment are non-negotiable.  [credit](https://images.pexels.com/photos/10599803/pexels-photo-10599803.jpeg), [licence](https://creativecommons.org/public-domain/) ### Heavy-Duty Rail Systems: Museum-Quality Display Similar in concept to the decorative picture rail systems mentioned earlier but designed for much greater weight, these robust metal rails are anchored deeply into the brick or structural elements behind it. They can support multiple heavy pieces via specialized hooks and rods, making them ideal for a professional-grade gallery setup or a large, frequently changing collection. These systems are an investment but offer incredible flexibility and peace of mind, allowing you to reconfigure your display without drilling new holes. Think museum-quality installation in your own home. They are often made from aircraft-grade aluminum or steel, ensuring maximum load bearing and resistance to corrosion. Some systems even incorporate integrated lighting, further elevating your art display to a professional level. * **French Cleats:** A **French cleat** system involves two interlocking strips, usually wood or metal. One strip is securely mounted to the wall, angled upwards, and the other is attached to the back of your artwork, angled downwards. They slot together, creating an incredibly strong mechanical lock and distributing the weight evenly across a wider area. These are fantastic for large mirrors, heavy framed art, or even custom shelving. Installation requires precise leveling and robust anchors into either the brick or the studs behind veneer. The beauty of a French cleat is that once the wall-mounted piece is level, your art will always hang perfectly straight. * **Heavy-Duty Rail Systems:** Similar in concept to the decorative picture rail systems mentioned earlier but designed for much greater weight, these robust metal rails are anchored deeply into the brick or structural elements behind it. They can support multiple heavy pieces via specialized hooks and rods, making them ideal for a professional-grade gallery setup or a large, frequently changing collection. These systems are an investment but offer incredible flexibility and peace of mind, allowing you to reconfigure your display without drilling new holes. Think museum-quality installation in your own home. Consulting a professional for installation of these systems is often a wise investment, especially for extremely heavy or high-value items, or if you're dealing with challenging brick types or historical properties. It’s always better to ensure maximum security for your cherished art – after all, a falling piece isn't just a shame, it can be a hazard.  [credit](https://live.staticflickr.com/2796/4517666735_898124fb9f_z.jpg), [licence](https://creativecommons.org/licenses/by-nc-nd/2.0/) ## Drill vs. No-Drill: Which is Right for You? Still undecided? It's a common dilemma, and the 'right' answer really depends on your specific needs, the nature of your brick, and your comfort level with tools. Here’s a quick breakdown to help you choose, based on my own trial-and-error over the years. | Feature | No-Drill Methods | Drilling Method | | :--- | :--- | :--- | | **Permanence** | Temporary, easily removable | Permanent, requires patching to remove | | **Weight Capacity** | Lower (up to ~30 lbs / 13 kg) | High (can support very heavy items) | | **Best For** | Renters, light/medium art, frequent redecorators | Homeowners, heavy/valuable art, permanent displays | | **Difficulty** | Easy, no special tools needed | Moderate, requires a drill and masonry bits | | **Surface Impact** | None, completely damage-free | Creates a permanent hole | | **Aesthetics** | Can be less integrated (clips, exposed hooks) | Integrated, clean look (hardware hidden by art) | | **Long-Term Security** | Lower (risk of adhesive failure, clip slippage) | Highest (when properly installed) | ## Maintenance and Care for Art on Brick Walls You've successfully hung your art, but the journey doesn't quite end there! Ensuring your masterpiece (and your wall) stays in pristine condition requires a little ongoing care, especially given the unique environment of a brick wall. This isn't just about preserving your art; it's about maintaining the beauty of your wall, too. After all, your art and wall are now in conversation, and you want that conversation to be a long and happy one! Regular checks and mindful maintenance ensure that this dialogue continues beautifully, preserving both your treasured pieces and the character of your brick wall. ### Environmental Factors and Your Art's Longevity Brick walls, by their very nature, interact with their environment differently than drywall. Being mindful of these interactions will help protect your cherished artwork.  [credit](https://live.staticflickr.com/6195/6087778411_164f0d9a2f_b.jpg), [licence](https://creativecommons.org/licenses/by-nc-nd/2.0/) * **Humidity and Temperature:** Brick is a porous material that can absorb and release moisture, leading to fluctuations in humidity around your artwork. Extreme or rapid changes can affect sensitive art, causing canvases to stretch or warp, paper to buckle, or frames to crack. If you live in a very humid environment, consider using a dehumidifier or ensuring good ventilation. For highly valuable or sensitive pieces, consistent climate control (around 50% relative humidity and stable temperature) is ideal. I once saw a beautiful ink drawing almost ruined by unchecked humidity against a brick wall, so I learned my lesson, and now I'm a bit obsessive about my hygrometer! Consider placing a **barrier** (like archival foam board) between the art and the brick, especially for paper-based works, to mitigate direct moisture transfer. Installing a hygrometer in the room can also give you crucial data on humidity levels, allowing you to react proactively. If you have particularly sensitive pieces, sometimes a professional framer can create a sealed back, which further protects against micro-climates and moisture fluctuations. * **Air Circulation:** Good air circulation is vital to prevent moisture buildup and reduce the risk of mold or mildew forming behind your artwork, especially if it sits flush against the brick. If possible, ensure there's a small gap between the back of the art and the wall. Art bumpers or small felt pads can help achieve this discreetly. Stagnant air trapped between the art and a porous brick surface is a recipe for potential problems, particularly in humid environments. A well-ventilated space is a healthy space for both you and your art. * **Dust and Dirt:** Brick walls, especially textured ones, can accumulate dust more readily than smooth drywall. Regularly (and gently!) dust your artwork and the surrounding brick. For the art itself, a soft, dry microfiber cloth is usually best. For the brick, a soft-bristled brush or a vacuum cleaner with a brush attachment can help remove dust without abrading the surface. For deep-set dust in mortar lines, a soft toothbrush can work wonders. Remember, dust isn't just unsightly; it can be abrasive and acidic over time. For painted brick, use a soft, damp cloth, but avoid harsh chemicals. * **Sunlight Exposure:** If your brick wall gets direct sunlight, be mindful of how that might affect your art over time. UV rays are the primary culprit for causing colors to fade, especially in prints, watercolors, or textiles. Consider **UV-protective glazing** for framed pieces (it's worth the extra cost for precious works!), position art away from direct sun, or rotate artwork periodically to minimize prolonged exposure. Alternatively, embrace the natural aging process, if that's your aesthetic, but be aware of the subtle (or not-so-subtle) changes that will occur over years. Even indirect sunlight can cause damage over decades, so thoughtful placement is key. Investing in **UV-protective glass** or **acrylic** for framed pieces is an excellent proactive measure, filtering out a significant portion of harmful UV rays without compromising clarity. Also, strategically placed window treatments like sheer curtains or blinds can soften direct sunlight without plunging your room into darkness. Remember, damage from UV light is cumulative and irreversible; once the colors fade, they're gone for good, so prevention is key, especially for vibrant [abstract paintings](/buy). * **Inspecting Hardware:** Periodically check the hanging hardware, especially if you have very heavy pieces or if there have been significant structural shifts (like house settling or nearby construction). Give the art a gentle wiggle (if safe) to ensure everything is still snug. For adhesive methods, visually inspect the bond to ensure no lifting or cracking. Catching issues early can prevent a catastrophic fall, which is far better than a surprise crash! I recommend a quick check every 6-12 months, or more often for very heavy installations. For drilled installations, a quick tightening of screws or bolts (without overtightening!) can ensure everything remains snug. For adhesive methods, look for any signs of peeling or lifting, especially around the edges of the adhesive strip. The key is vigilance; small issues caught early are far easier to fix than a major catastrophe. ### Annual Art and Wall Maintenance Checklist To ensure your brick wall art display remains a point of pride, I've put together a simple checklist for annual (or semi-annual) maintenance: | Task | Details | Why it Matters | | :--- | :--- | :--- | | **Dust Artwork & Wall** | Use soft brush/microfiber, vacuum for brick/mortar. | Prevents abrasive damage, keeps display clean. | | **Check Humidity & Temp** | Monitor with hygrometer, adjust as needed. | Protects art from warping, cracking, mold. | | **Inspect Hanging Hardware** | Tug gently on art, check screws/anchors/clips/adhesive. | Prevents catastrophic falls, catches issues early. | | **Assess Sunlight Exposure** | Note any fading, consider UV glazing or relocation. | Prevents irreversible color fading. | | **Look for Pests/Moisture** | Check behind art, in crevices. | Prevents damage from insects, mold, or structural issues. | | **Clean Glass/Frame** | Use appropriate cleaner for material. | Maintains clarity and aesthetic appeal. | | **Rotate Artwork (Optional)** | Periodically move pieces to different spots. | Distributes environmental exposure, refreshes decor. | | **Inspect for Wall Damage** | Check for new cracks, efflorescence, loose mortar. | Early detection of structural or moisture problems. | * **Pest Control:** Exposed brick can sometimes harbor tiny insects or spiders in its crevices. While usually harmless, it's worth checking behind your art during your periodic inspections to ensure no unwanted guests are making a home that could potentially affect your artwork. A quick brush or vacuum can deter them. Nobody wants a spider making a web on their prized abstract painting. For more stubborn grime or discolored mortar, specialized masonry cleaners exist, but always test them in an inconspicuous area first to prevent damage or discoloration to your brick. If you notice persistent pest issues, a professional exterminator might be needed before serious damage occurs. Taking these small, consistent steps will help ensure your art continues to enhance your brick wall for years to come, preserving both your investment and your aesthetic. After all, a beautifully maintained display is a point of pride, and it allows your art to truly shine without distractions. 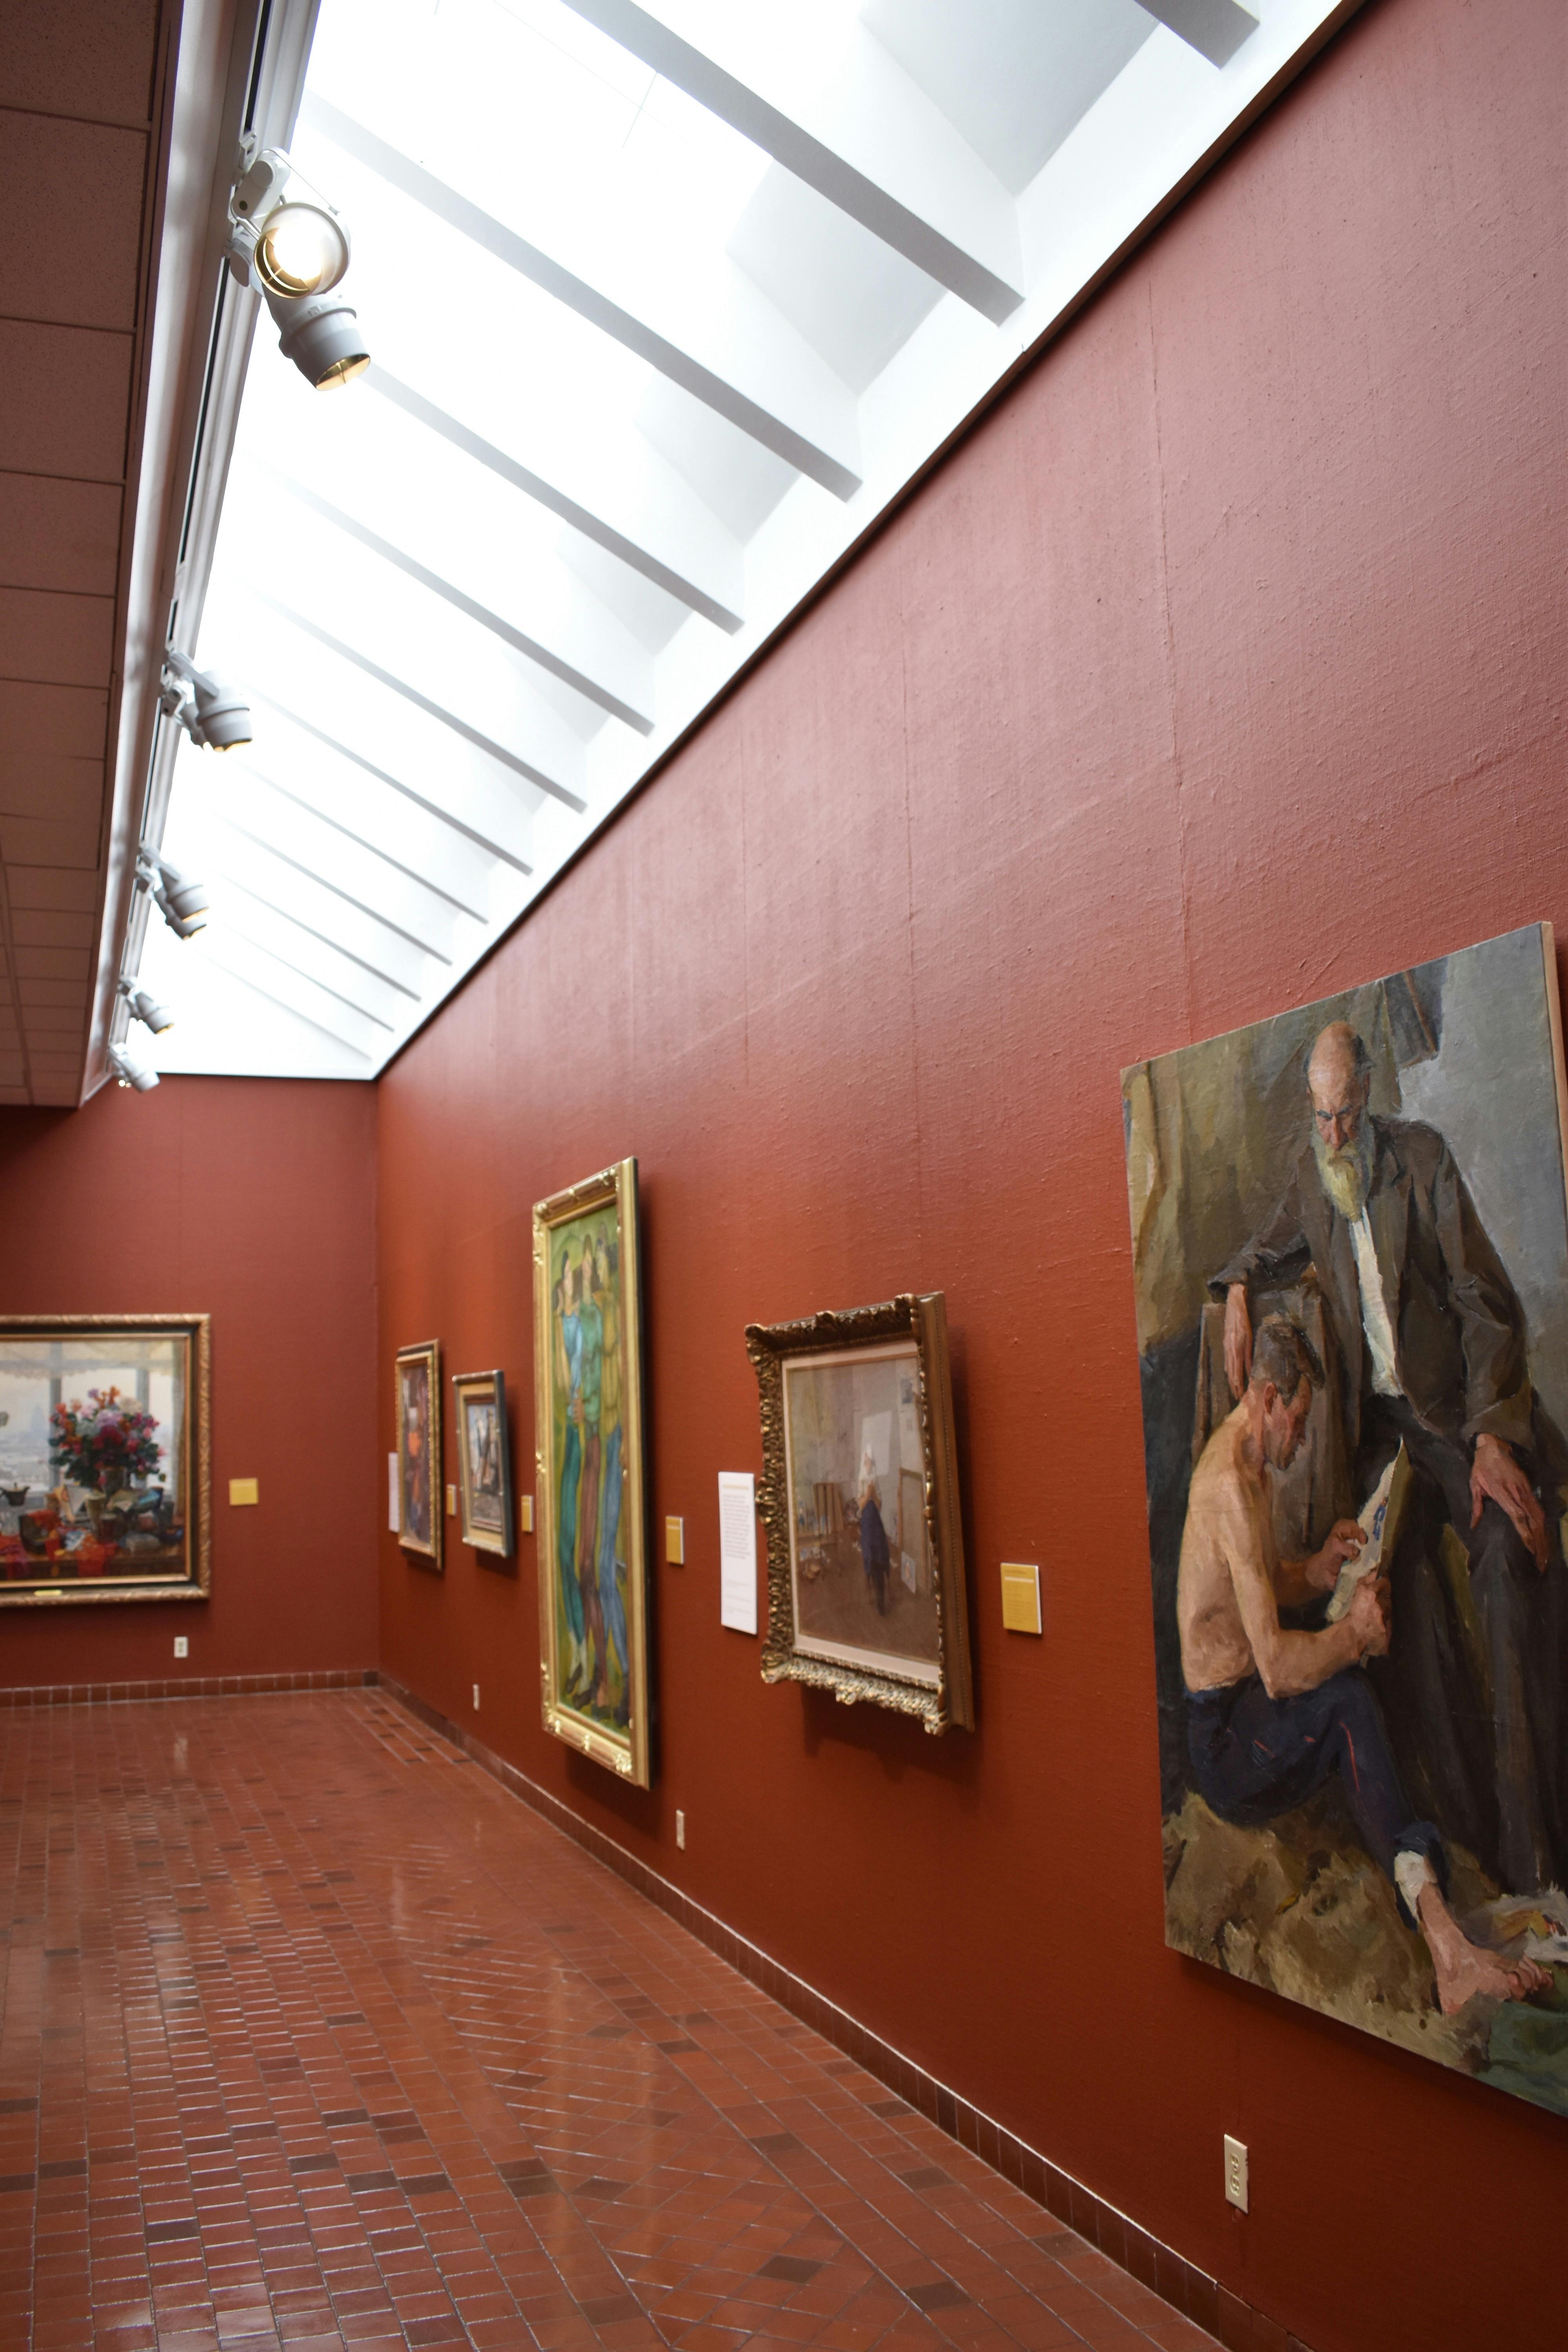 [credit](https://www.pexels.com/photo/photo-of-a-room-full-of-paintings-in-an-art-gallery-14595876/), [licence](https://creativecommons.org/public-domain/cc0/) ## FAQ: Your Brick Wall Questions Answered **Q: Can I use a regular drill bit on brick?** A: No, you absolutely must use a **masonry bit**. They are specifically designed with a hardened tip to cut through hard materials like brick and concrete. A regular bit will dull almost instantly and won't get you very far. Using the wrong bit can also overheat your drill and potentially damage the brick surface. **Q: My brick is very old and crumbly. What should I do?** A: This is a common challenge with historic homes, and one that requires a delicate touch! For truly fragile or crumbly brick, my strongest recommendation is to stick to a no-drill method like brick clips if at all possible. They put no stress on the brick face. If you absolutely must drill, target the mortar joints—they're softer and easier to patch. However, *even mortar* in old homes can be quite fragile, sometimes crumbling just by looking at it! Use a high-quality anchor designed for soft masonry (sometimes called **lead anchors** or specialized **epoxy anchors**), which expand less aggressively. Go *very* slowly, applying minimal pressure, and *avoid* using the hammer drill function, as the vibration can cause significant cracking and spalling (which means pieces of brick breaking off). A regular drill on a slow setting is best here. In extreme cases, or for very heavy art, it might be worth consulting a preservation specialist or a structural engineer to ensure you don't compromise the wall's integrity. Sometimes, for very valuable pieces, an independent structure built in front of the wall is the safest option, creating a false wall for hanging. You might also consider using a **chemical anchor** as they solidify the hole as they set, providing a much stronger and less destructive hold in soft materials. Always test in an inconspicuous area first. **Q: How do I know what size anchor and screw to use?** A: This is where those package instructions are your best friend, truly! The packaging for your specific wall anchors will always clearly state the recommended drill bit size and, crucially, the maximum weight they can support for different materials (e.g., concrete, solid brick, hollow brick, drywall behind veneer). Pay close attention to this. As a solid rule of thumb that I always follow, choose an anchor/screw combination rated for *at least twice* the actual weight of your artwork. This provides a generous safety margin and a little peace of mind, especially important with valuable art or something that could cause injury if it fell. Also, ensure the screw's diameter is appropriate for the anchor—too thin, and it won't expand properly; too thick, and it won't fit or could damage the anchor (and then you're starting over!). When in doubt, always size up slightly on the anchor's capacity; it's better to be over-engineered than under. Remember, a chain is only as strong as its weakest link, so ensure all components (anchor, screw, picture wire, and frame hardware) are suitably rated. For a truly professional approach, some manufacturers provide online calculators to help you determine the exact anchor and screw for your specific load and material. **Q: What about painted brick? Can I still use these methods?** A: Yes, but with extra care and a dose of patience. For adhesive methods, ensure the painted surface is meticulously clean and fully cured (give it at least 30 days if it's fresh paint!). Adhesion might not be as strong as on raw, porous brick, as the adhesive is bonding to the paint layer, not the brick itself. So, always do a patch test in an inconspicuous area first (like behind a piece of furniture or where art will cover) to gauge its hold and removal. For drilling, be prepared for potential chipping or flaking around the drill hole, especially if the paint is old, brittle, or thickly applied. Drilling slowly and using **painter's tape** over the drill spot can help minimize this chipping. Once the hole is drilled, you might want to carefully peel back the tape *before* inserting the anchor to avoid pulling up more paint. Patching painted brick requires careful color matching and possibly multiple coats to blend seamlessly, so consider the permanence of your decision before committing. If you're really concerned about chipping, use a sharp utility knife to score the perimeter of your marked drill spot on the painter's tape; this can help create a cleaner edge for the drill bit and reduce tearing of the paint layer. **Q: Can I use construction adhesive or liquid nails for a permanent no-drill solution?** A: While products like Liquid Nails or Gorilla Glue offer incredibly strong bonds, I generally advise extreme caution for art hanging, especially indoors. They are highly permanent and can cause significant damage if you ever try to remove them, potentially pulling off brick faces or large sections of paint/mortar, which is a homeowner's nightmare that is incredibly difficult to fix. They are also notoriously difficult to clean up, and the fumes can be quite strong during application, requiring excellent ventilation. For *truly* permanent, heavy-duty applications where you want to avoid drilling for structural reasons, professional-grade epoxy adhesives (not readily available to the public) are sometimes used, but these are extreme solutions. For interior walls, drilling with appropriate anchors is usually a safer and more reversible (if patched correctly) option, as you have more control over the removal and repair. For outdoor use where extreme permanence is desired and the artwork is weather-resistant (like a street art mural), they *might* be an option, but always test first in an inconspicuous area and understand the irreversible nature of the bond. My advice? Save the construction adhesive for, well, construction! For temporary or renter-friendly solutions, always err on the side of products specifically designed for clean removal, even if it means a lower weight capacity. **Q: How do I remove adhesive residue from brick without damage?** A: This can be tricky, and patience is key! For lighter residues, gentle scrubbing with warm soapy water and a soft brush might work wonders. For stronger adhesives, you might need a specialized **adhesive remover** (like Goo Gone, mineral spirits, or even a citrus-based cleaner), but—and this is crucial—always test it on an inconspicuous area first to ensure it doesn't stain, discolor, or chemically react with your specific brick or mortar. Some bricks are more porous than others and can absorb chemicals, leading to permanent stains. Avoid harsh scraping tools or abrasive pads that could permanently scratch or damage the brick surface; a plastic scraper combined with a solvent and gentle rubbing with a microfiber cloth can often carefully lift stubborn spots. You want to be gentle but persistent, thinking of it more like a delicate extraction than a forceful removal. A heat gun on a very low setting can also sometimes soften stubborn adhesives, making them easier to scrape, but use extreme caution to avoid damaging the brick itself. **Q: What if I hit something solid inside the wall while drilling (like rebar or a utility line)?** A: Stop drilling *immediately*! This is a critical safety moment. Hitting something unexpectedly hard could be **rebar** (common in reinforced masonry, especially in structural walls), or, more concerningly, a hidden **pipe** or **electrical conduit**. If it's rebar, you'll feel a sudden, jarring resistance and your drill might bind. You'll need a specialized rebar-cutting masonry bit (and often professional help, as these are serious tools) to proceed, and even then, it's generally best to relocate your drill spot. If you suspect a utility line (you might hear a change in sound, smell something metallic/burnt, or see sparks), **DO NOT PROCEED**. Turn off the power at the breaker if you suspect electrical, and call a professional electrician or plumber *immediately*. This is why using a **stud finder with AC detection** before drilling *anywhere* in the wall is non-negotiable – it helps avoid a dangerous, potentially life-threatening situation. It’s always better to be safe than sorry with electrical or plumbing; your art isn't worth a trip to the emergency room or a flooded home! You can also consult architectural plans if available, which might show where utility lines are run. If you suspect rebar, you'll feel a sudden, unyielding resistance. Rebar-cutting bits exist, but it's generally best to relocate your drilling spot to avoid compromising structural integrity. When in doubt, call a professional, because some things are just not worth the risk. Always think about what's *behind* the brick; it's often more than just empty space. Always be especially cautious near existing outlets, light switches, and water fixtures. If in doubt, drill a very shallow pilot hole by hand or choose a no-drill method altogether. * **Ventilation:** Drilling into brick or mortar creates a significant amount of fine dust, which can be irritating and harmful to your respiratory system. Even with a dust mask, ensuring good ventilation in your work area is crucial. Open windows, use fans to create cross-ventilation, and consider running your shop vacuum constantly to capture airborne particles at the source. This is especially important for prolonged drilling sessions. **Q: Are there special considerations for outdoor brick walls?** A: Absolutely. Hanging art outdoors introduces a whole new set of environmental challenges. Outdoor brick is exposed to weather, temperature fluctuations (freeze-thaw cycles), humidity, and UV radiation. You'll need **anchors and screws specifically rated for exterior use and corrosion resistance** (e.g., stainless steel, hot-dip galvanized, or marine-grade hardware). The artwork itself should also be suitable for outdoor environments—think weather-resistant metals, ceramic, treated wood, or specialized outdoor canvases. You might also consider a slight angle for drainage behind the art to prevent moisture buildup, which can lead to mold or mildew, especially if your art is flush against the wall. UV-resistant frames and canvases are also a huge plus for longevity, preventing premature fading. And always ensure any materials used can withstand the elements without degrading or staining your beautiful brick, potentially leaving unsightly streaks. Don't forget proper sealing around any drilled holes to prevent water intrusion into the wall itself. Also, consider the security of outdoor art; strong winds or vandalism can be a concern, so ensure your installation is robust and theft-resistant if applicable. **Q: What if I make a mistake and drill in the wrong place?** A: It happens to the best of us! Trust me, I've had my share of 'oops' moments. You can patch a hole in mortar using **mortar repair caulk** or a small amount of pre-mixed mortar, which you can find at any hardware store. Try to match the color of your existing mortar as closely as possible; sometimes mixing two shades can help you achieve that perfect blend. For holes in brick, it's a bit trickier, but you can use a **brick repair kit** (which often includes colored mortar and a patching compound) or even carefully chip out a section of brick and replace it if you're feeling ambitious and have a matching donor brick (though this is definitely an advanced DIY!). The key is patience and blending, often taking multiple thin layers to achieve an invisible repair. Always let any patching compound fully cure before attempting to redrill nearby. If you drilled into a brick face and don't have a matching donor brick, you can sometimes use a specialized brick repair mortar or even carefully mix pigments into a patching compound to approximate the brick color and texture. It's an art in itself to make it truly disappear! **Q: How do do I prepare a new brick wall for art hanging?** A: If you're dealing with a newly installed brick wall, the key is patience. Allow ample time for the mortar to fully cure, which can take several weeks, or even longer in damp conditions. Rushing this can lead to unstable drilling or anchors that don't hold properly. Additionally, new brickwork often has a lot of dust and residue from the construction process, so a thorough cleaning is essential before any adhesive or drilling methods are attempted. I usually recommend a gentle brushing followed by a wipe-down to remove loose particles. Check for any efflorescence that might appear as the wall dries out – this should be addressed before hanging art. Efflorescence can be an ongoing issue in new masonry, indicating salts leaching out. If not cleaned, it can affect adhesive bonds and the long-term appearance of your wall. A stiff brush and water, or a diluted acid solution (with extreme caution), can typically remove it, but preventing its return often involves addressing underlying moisture issues. **Q: Can I hang very large art or a [gallery wall](/finder/page/what-is-a-gallery-wall) on a brick wall?** A: Absolutely, and a brick wall makes an incredible backdrop for both! For very large, heavy single pieces, the drilling method with heavy-duty anchors (like sleeve anchors or even French cleats if installed professionally) is typically the safest bet. For a [gallery wall](/finder/page/how-to-create-a-gallery-wall-for-a-maximalist-interior), you have more flexibility. You can mix and match no-drill methods for lighter pieces (brick clips, adhesive hooks) with drilled anchors for the heavier, anchor pieces of your collection. Planning is key here: map out your arrangement with painter's tape first, and ensure each individual piece is secured with a method appropriate for its weight and your brick type. Don't underestimate the visual impact of a well-curated [gallery wall](/finder/page/how-to-create-a-harmonious-gallery-wall-with-mixed-media-abstract-art-and-photography) against a textured brick surface – it truly elevates the entire space. Consider the overall balance of sizes, shapes, and colors. A brick wall provides a strong, unifying backdrop that can handle a more eclectic mix of art than a plain wall. Don't be afraid to mix [abstract art](/finder/page/the-ultimate-guide-to-abstract-art-movements-from-early-pioneers-to-contemporary-trends) with more traditional pieces; the brick often creates a cohesive feel. **Q: What if my brick wall is irregular or uneven?** A: Irregularities are part of brick's charm, but they can pose challenges for hanging. For no-drill methods like brick clips, very uneven brick might mean some bricks don't offer a secure lip – you'll need to carefully select bricks that do. For adhesive hooks, very rough or uneven surfaces reduce the contact area for the adhesive, so ensure you're using heavy-duty options designed for texture and apply with extra care to press the adhesive into the crevices. When drilling into an uneven wall, ensuring your marks are level is even more crucial, and you might need slightly longer screws to account for variations in depth. For pieces that need to sit flush, shims can sometimes be used discreetly behind the artwork to compensate for unevenness, though this is often an advanced technique. Sometimes, embracing the unevenness and letting art float slightly from the wall can add to the rustic charm. For very heavy or large pieces on an extremely uneven wall, a [French cleat system](/finder/page/how-to-hang-a-heavy-mirror) (as discussed in the drilling section) can be adapted to account for wall irregularities, creating a secure and level hang. It might require shimming the cleat on the wall side to ensure it's perfectly flat before attaching the artwork. This allows the art to project slightly from the wall, embracing rather than fighting the brick's character. Hanging art on a brick wall is more than just a home improvement project; it's an opportunity to truly transform a simple architectural feature into a vibrant, personal statement. It's a journey that, I believe, pays huge dividends in terms of both style and the unique character it adds to your home. Whether you're opting for the simplicity of a brick clip or tackling the challenge of the power drill, you now have a comprehensive toolkit of knowledge and techniques to do it right, and safely. So go forth and create something beautiful! So, take a deep breath, reread these steps, and go find that perfect piece you’ve been wanting to display. Perhaps it's a bold abstract, a serene landscape, or a thought-provoking portrait from our [collection of art](/buy). Whatever your style, give it the showcase it deserves on your beautiful brick wall. After all, your home is your canvas, and that brick wall is just waiting to tell your story. It’s time to make your walls sing! And if you ever feel stuck, just remember that even the most seasoned DIYers (like me!) occasionally have to patch a hole or two. It's all part of the artistic journey of making a house a home. Don't be afraid to experiment, learn, and most importantly, enjoy the process of turning your vision into a stunning reality. This journey of transforming your brick wall into an art haven is an immensely rewarding one, reflecting your personal style and creating a space that truly feels like home. So, gather your tools, choose your art, and let that magnificent brick wall become the unique, engaging backdrop it was always meant to be. Remember, whether you're a seasoned art collector or just starting to [decorate your home](/finder/page/how-to-decorate-your-home), the brick wall offers a unique canvas, full of character and untold potential. It's an opportunity to create a truly one-of-a-kind display that speaks to your aesthetic and turns a simple architectural feature into a conversation piece. Embrace the texture, play with contrast, and most importantly, enjoy the process of making your space truly your own. After all, your art should always feel at home, and now, so will you with these expert tips!