Mastering Gouache: Essential Techniques for Beginners & My Honest Guide
Unlock gouache's vibrant potential with my honest guide! Learn essential painting techniques for beginners, covering water control, layering, color mixing, common fixes, and personal insights for dynamic abstract art.
Mastering Gouache: Essential Techniques for Beginners, My Honest Guide & Deep Dive into the Medium's Quirks
I remember the first time I really tried gouache. It wasn't love at first sight, let me tell you. It felt… finicky. Like trying to wrangle a flock of particularly stubborn, colorful pigeons. There were streaks where I wanted opacity, chalkiness where I craved vibrancy, and layers that just refused to cooperate. But somewhere between a streaky mess and an accidental opaque masterpiece, something clicked. Gouache, with its quirky personality, has since become one of my absolute favorite mediums for creating vibrant, contemporary abstract art. And if you're standing at the edge of the gouache rabbit hole, wondering whether to dive in, this is my honest, slightly chaotic, but hopefully helpful take for you. In this guide, we'll dive deep into essential techniques, practical advice, and common troubleshooting tips to get you started on your own vibrant gouache journey, transforming those finicky pigeons into soaring masterpieces. We'll cover both the how-to and the why of mastering this surprisingly versatile paint.
Why Gouache? My Unexpected Love Affair (It's Not Just Opaque Watercolor!)
Look, when most people hear gouache, they often think 'opaque watercolor.' And while that's technically true – it's water-soluble and uses similar pigments – it’s like saying a highly caffeinated espresso is 'just strong coffee.' Or perhaps, a gourmet burger is 'just a sandwich.' It’s like comparing a high-performance sports car to a reliable family sedan – both get you there, but one offers a distinctly thrilling ride. Gouache has its own distinct magic. Its unique formulation, often containing a higher pigment load and sometimes chalk or other opaque white pigments, is what truly sets it apart, contributing to its signature matte finish and remarkable opacity. Historically, gouache has been cherished for centuries, famously by illustrators during the Art Nouveau movement for its crisp, matte finish and vibrant colors. But its lineage goes back further, used in illuminated manuscripts for its precision and flat color, and by early scientific illustrators where clarity and uniform color were paramount. Beyond Art Nouveau, gouache found its stride in various dynamic fields. Think of the vibrant, flat colors of early 20th-century poster art—like the iconic designs of Leonetto Cappiello—or the crisp precision demanded by animation cels of the Golden Age, allowing for consistent, reproducible color fills. It was also a staple in children's book illustration and for concept artists in film and games, prized for its speed and reworkability. Its ability to dry quickly and create a uniform, matte block of color made it indispensable.
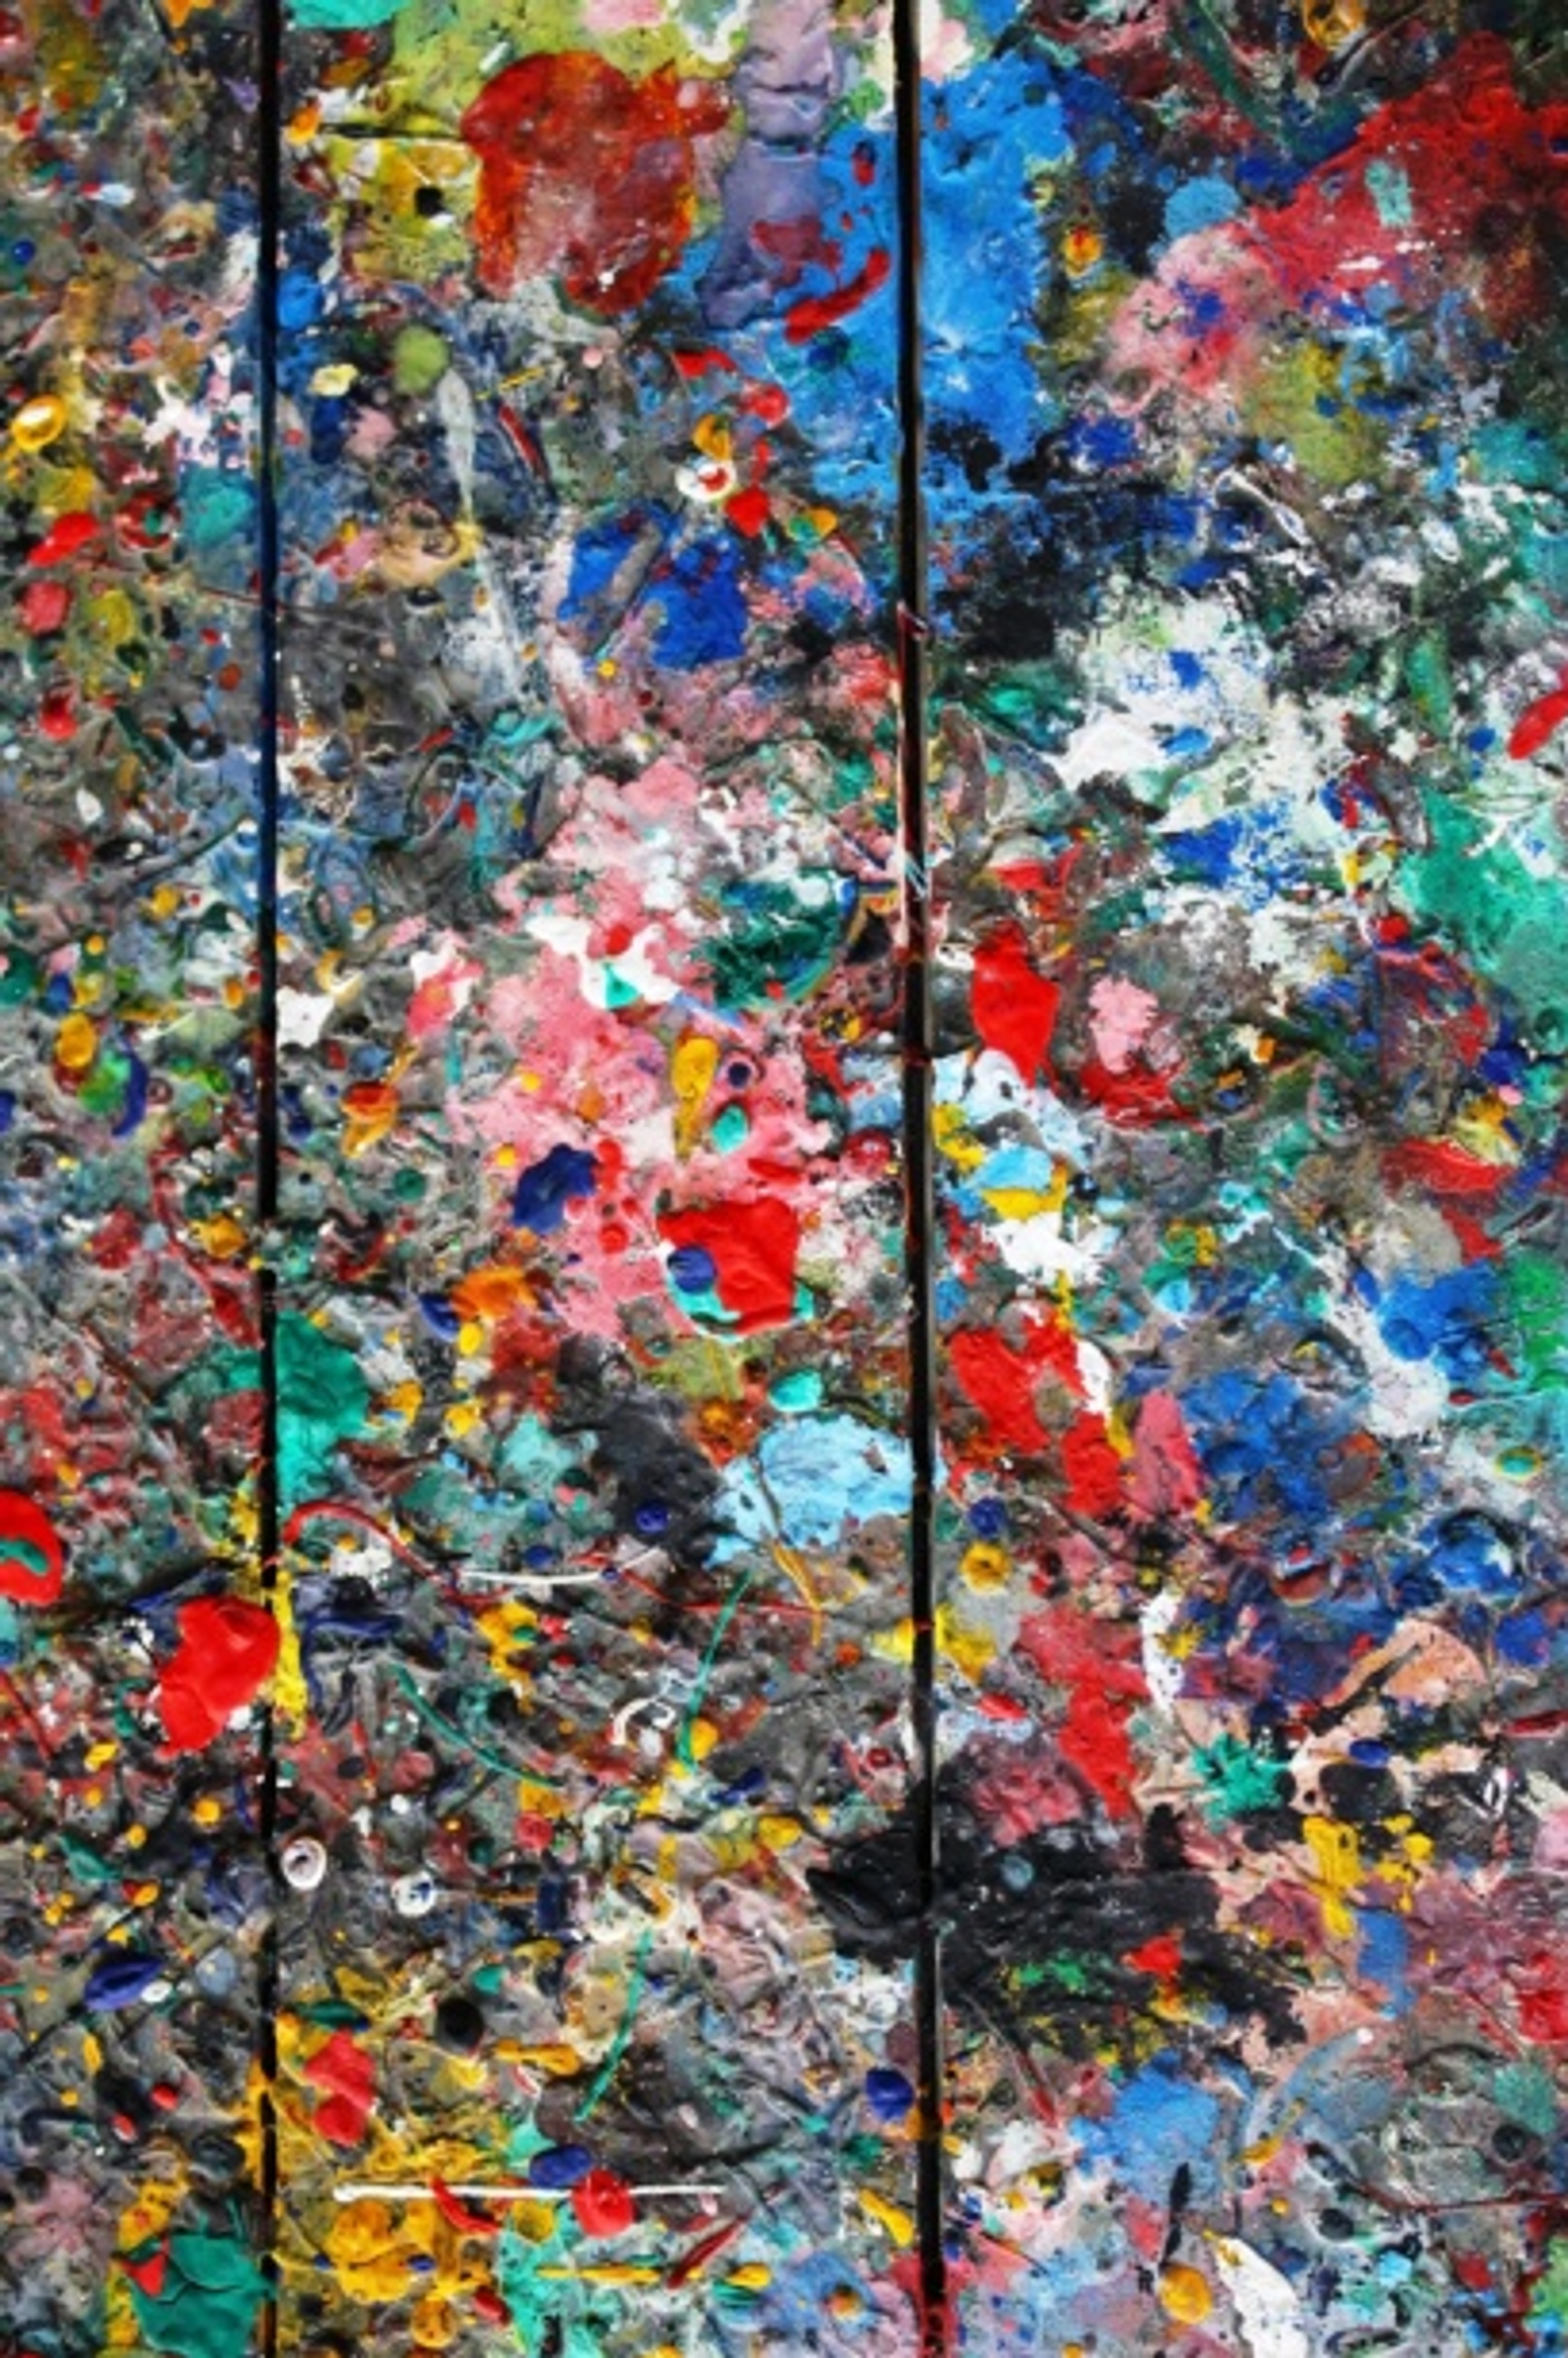
What makes it special for me, especially in my colorful and abstract work? Its incredible versatility. I can use it thin, almost like a translucent stain, or thick and creamy, like a vibrant, velvety block of color, but its primary advantage for beginners is often found in its beautiful opacity. It dries to a beautiful matte finish that I adore, which adds such a distinct tactile quality to my art. Plus, the ability to reactivate dried paint? Pure genius. It's like having a built-in undo button, which, let's be honest, is a game-changer when you're experimenting with abstract forms and bold hues, allowing you to easily adjust and refine your vision.
It’s a medium that truly bridges the gap between the transparency of watercolor and the opacity of acrylics, offering unique creative possibilities. If you're curious about the broader world of paints, you might enjoy my definitive guide to paint types for artists. For a truly deep dive, there’s also the ultimate guide to gouache painting.
Getting Started: The Bare Necessities (My Quirky Must-Haves)
Before we jump into slinging paint, let's talk tools. You don't need a fancy studio, just a few essentials. Trust me, I've tried painting with everything from twigs to credit cards, and these are my non-negotiables. There was this one time I tried to use a toothbrush because I was too lazy to clean a proper brush, and let's just say my "abstract" piece looked less like art and more like I'd just woken up. Lesson learned: invest in the right basics!
Let’s start with the heart of it all:
- Gouache Paints: Go for artist-grade if you can; the pigment load is truly worth it. Beyond just vibrancy, artist-grade paints often boast superior pigment dispersion, leading to cleaner, more consistent mixes, smoother application, and less chalkiness. They also offer better lightfastness – meaning your vibrant colors will resist fading over time when exposed to light, ensuring your artwork endures. Artist-grade paints, beyond pigment load and lightfastness, often boast superior binder quality (like gum arabic), which means less cracking, smoother consistency, and better re-wetting capabilities. Student grades can sometimes feel a bit more chalky or less vibrant when dry, often due to a higher ratio of fillers or less expensive binders, but they're still excellent for practice and experimentation. If you're unsure where to start, many reputable brands like Winsor & Newton, Holbein, or M. Graham offer beginner sets that provide a balanced primary palette. But student-grade is perfectly fine to start experimenting. My advice? Grab a basic primary palette (red, yellow, blue, black, white) and play. You can always expand later.
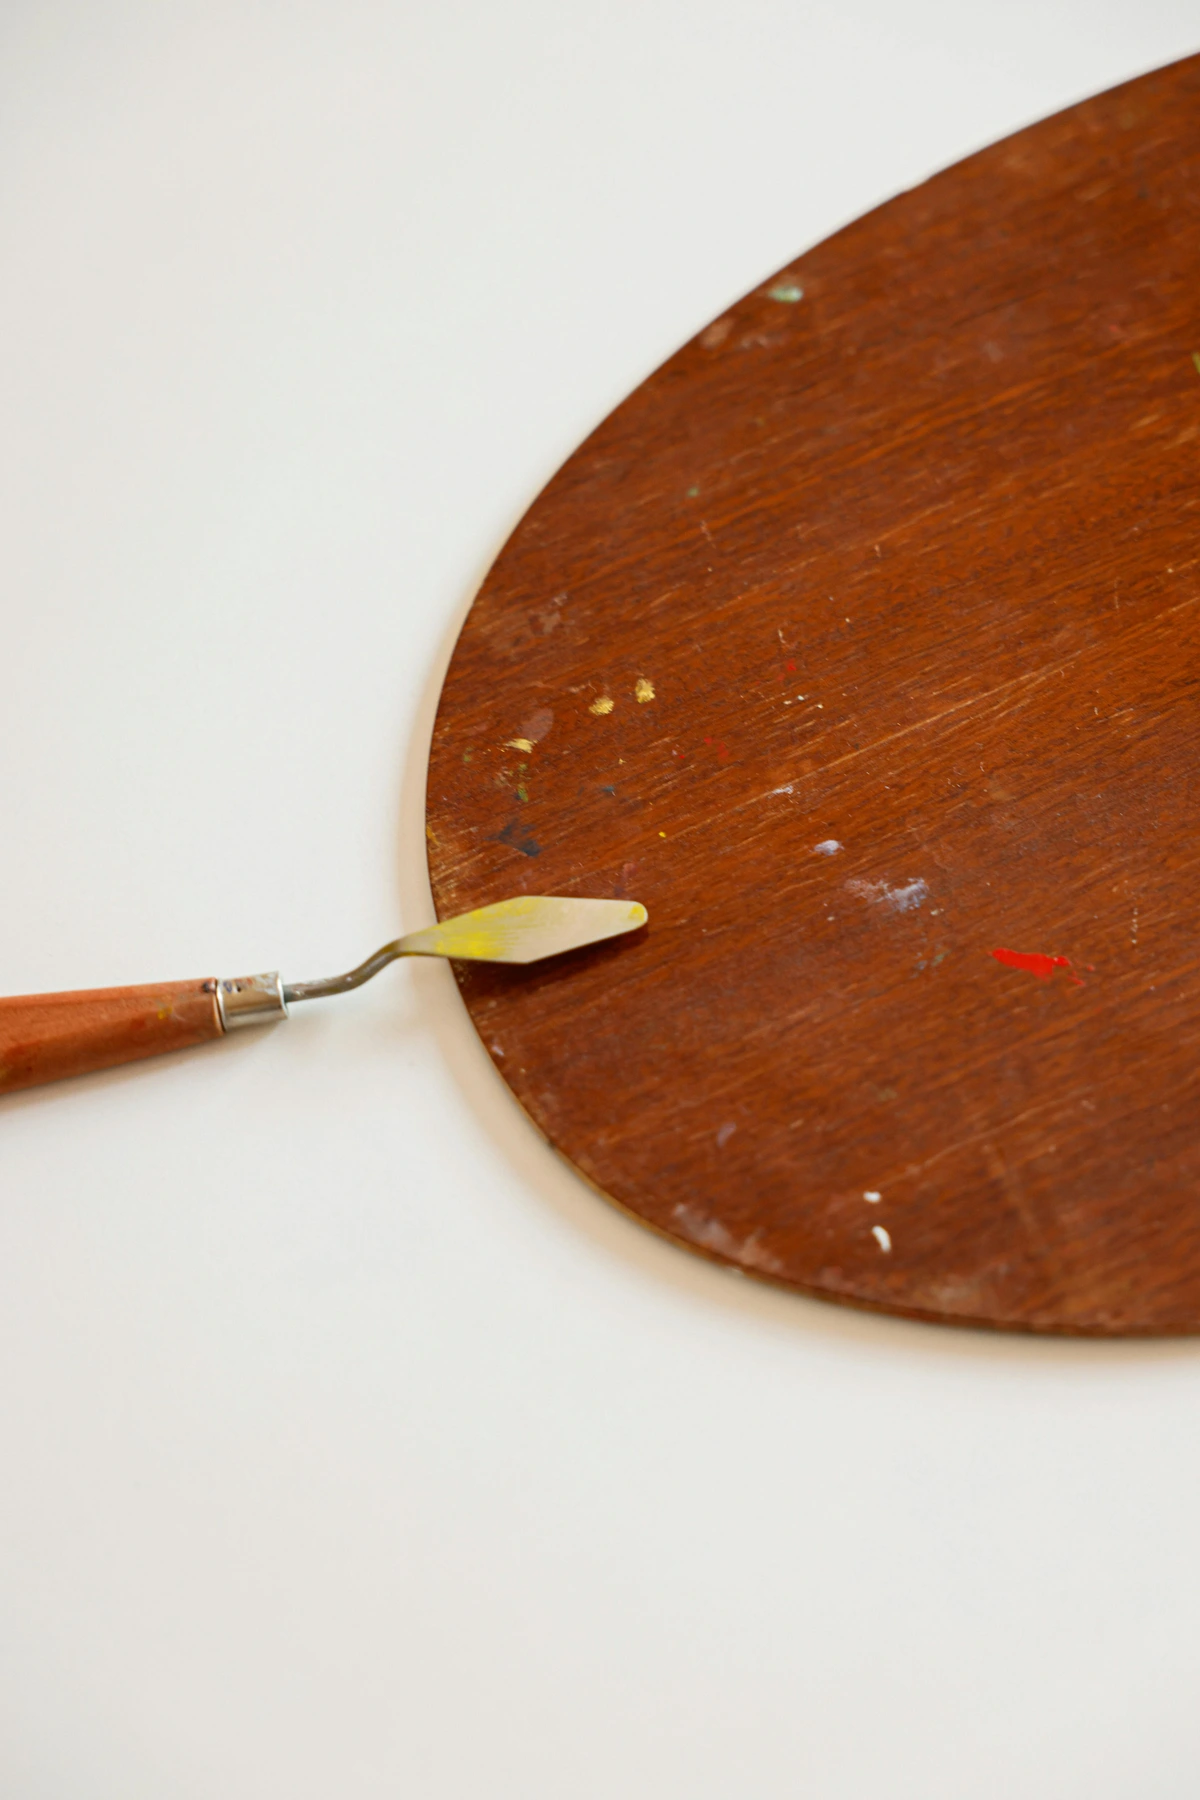
- Brushes: A mix is good. I tend to lean towards softer synthetic brushes for smooth washes and a few stiffer ones for texture and bolder marks. For more on tools, check out essential gouache painting supplies for beginners.

credit, licence
- Paper: This is critical. Gouache likes a bit of tooth and weight. I generally prefer cold-press watercolor paper (140lb/300gsm or heavier) because its textured surface grips the paint beautifully, allows for subtle lifting effects, and handles water without buckling excessively or causing excessive pooling. Its higher absorbency helps the paint dry more evenly. Hot-press can be nice for smoother, more detailed work, but its less absorbent, smoother surface interacts with the paint very differently, making it less forgiving for beginners, though excellent for fine detail. It allows the paint to sit on the surface longer, which can be tricky for water control. Don't forget a good quality sketchbook! It's a low-pressure way to practice techniques before committing to a larger piece.
- Palette: Anything non-porous works. I often use an old ceramic plate or a dedicated stay-wet palette. The key is something that keeps your paints workable longer.
- Water: Two containers! One for rinsing your brush (the dirty one) and one for mixing with your paint (the clean one). This keeps your colors vibrant and your whites pure. Believe me, I learned this the hard way after many muddy moments.
Now that we have our essential toolkit, let's dive into the heart of what makes gouache so special: its techniques. These are the building blocks to truly mastering the medium.
The Heart of Gouache: Essential Techniques & My Personal Takes
This is where the fun (and occasional frustration) begins. These are the techniques that truly unlock gouache's potential for me.
1. Water Control: The Goldilocks Zone
Finding the perfect consistency is key to vibrant, confident gouache strokes.
This is probably the most crucial aspect of gouache, and it's a feeling you'll develop over time. It's like finding the perfect balance on a tightrope. Too much water, and your gouache acts like watercolor – translucent, potentially streaky, and less vibrant. Too little, and it's stiff, hard to spread, and can appear chalky. I remember trying to paint a deep, opaque blue once, added too much water, and ended up with a sad, watery stain that just didn't have the punch I was aiming for. I've had days where my 'thick cream' turned into 'sad soup' or 'stiff paste' faster than I could say 'oops!' It's a dance, really.
- Just Right: Aim for the consistency of heavy cream that flows smoothly, like a thick milkshake. It should flow effortlessly from your brush but still cover the paper opaquely. This is where the magic happens for bold, flat areas of color in abstract pieces. I’ve found that experimenting with small blobs of paint and gradually adding tiny amounts of water is the best way to get a feel for it. Don't be afraid to make a mess; it's part of the discovery! What's your go-to trick for finding that perfect consistency, or do you have any funny 'sad soup' stories?
2. Layering: Building Up Your Story, Boldly or Subtly
Build worlds, one confident stroke at a time, creating depth and definition.
This is one of gouache's superpowers for me, especially when creating depth and complex compositions. You can layer opaque color over opaque color, which is fantastic for abstract work where you want strong, defined shapes. However, a word of caution: applying too many thick layers or overworking wet layers can lead to muddying or a tendency for the paint to crack later if the surface is flexible. While building opacity, resist the urge to add excessive white pigment in every layer. Too much white can lead to a 'chalky' appearance as the paint dries, diminishing the vibrancy you're working so hard to achieve, because the white pigments (often titanium white) can dull the intensity of other colors when mixed in excess.
- Opaque Layering (Wet-on-Dry): Let the previous layer dry completely. Then, apply your next layer with that creamy, 'just right' consistency. Apply with confidence; avoid scrubbing, which can lift underlying layers. This allows you to build up rich, vibrant colors without the layers underneath showing through. This technique is brilliant for creating overlapping geometric shapes with crisp, defined edges, or building up subtle color shifts within a single abstract form. It allows for intentional choices about composition.
- Thin Washes/Glazing (Surprisingly): While known for opacity, you can use gouache with more water for translucent washes, almost like glazing in oil painting. This creates a different effect, allowing underlying colors to subtly influence the new layer, perfect for creating soft, atmospheric backgrounds or gentle color blends in abstract pieces. It's less common for my bold abstract work, but it’s a tool in the toolbox. Have you tried using gouache for subtle glazes, or do you stick to its opaque strength?
credit, licence
3. Re-wetting & Lifting: Your Secret Weapon Against 'Mistakes'
Embrace the 'undo' button; your canvas is a playground, not a prison.
This is the characteristic that makes gouache so forgiving and unique compared to many other mediums. Unlike acrylics, which dry permanently, gouache can be reactivated with water, even days later. This means mistakes aren't really mistakes; they're opportunities for revision. It’s truly like having a built-in undo button, which, let's be honest, is an absolute game-changer when you're experimenting with abstract forms and bold hues, freeing you to try new things without fear.
- Reactivating: If a layer is too dark or you want to blend two dried colors, simply re-wet the area with a clean, damp brush. The paint will become workable again! I’ve used a small spray bottle to gently mist larger areas to work back into them, which is a fantastic way to create soft, atmospheric transitions between colors, or achieve a beautifully "worn" or "distressed" look in abstract forms. This is an absolute lifesaver for making adjustments and refining edges, especially in the pursuit of the perfect form or texture.
- Lifting: With a damp brush or a clean cloth, you can gently lift dried paint from the paper. This is fantastic for creating highlights, softening edges, or completely removing a section you're unhappy with. It’s a wonderful freedom, isn't it? Have you ever had a happy accident from lifting, or saved a painting you thought was ruined?
4. Color Mixing: Keeping it Vibrant (Mostly)
A playful dance of hues, where patience unveils true vibrancy despite subtle shifts.
Gouache colors are so luscious straight from the tube, but mixing them opens up a world of possibilities for your unique color harmonies.
- Drying Shift: Be aware that gouache often dries a shade lighter or darker than it appears wet. It's like the paint has a little secret, subtly shifting its personality as it dries! This shift happens primarily because as the water evaporates, pigment particles settle closer together, and the binders undergo subtle changes, affecting how light reflects off the dried surface. The degree of shift can vary greatly depending on the specific pigment and brand. Some blues might deepen, while certain reds might lighten more noticeably. Even within gouache, some pigments naturally possess more transparency than others (think quinacridones versus cadmiums), which can subtly affect layering or how an underlying color interacts. I always test my mixes on a scrap piece of paper before committing to the main artwork. For frequently used colors, I even keep a small swatch chart to track their wet-to-dry shifts, so I'm never caught off guard. It's all part of getting to know your unique palette.
- Cleanliness is Key: For vibrant, clean mixes (especially for abstract color blocking), always clean your brush thoroughly between colors. As for creating those vibrant palettes, I shared my approach to color mixing recently, which might give you some ideas. What's your favorite color combination to mix for abstract work?

5. Brushstrokes & Mark Making: Your Language of Expression
Every touch tells a part of your unique story; explore the diverse marks gouache allows.
This is where your personal style truly shines. Gouache is incredibly versatile for various marks.
- Flat Washes: Perfect for backgrounds or large areas of solid color. Apply with a soft, broad brush for even coverage. The key is consistent paint consistency and confident strokes.
- Dry Brush: Load your brush with very little paint and drag it across the paper. This creates a beautiful, textured, broken mark that’s fantastic for adding texture in abstract art or suggesting ruggedness. It's like whispering with your brush.
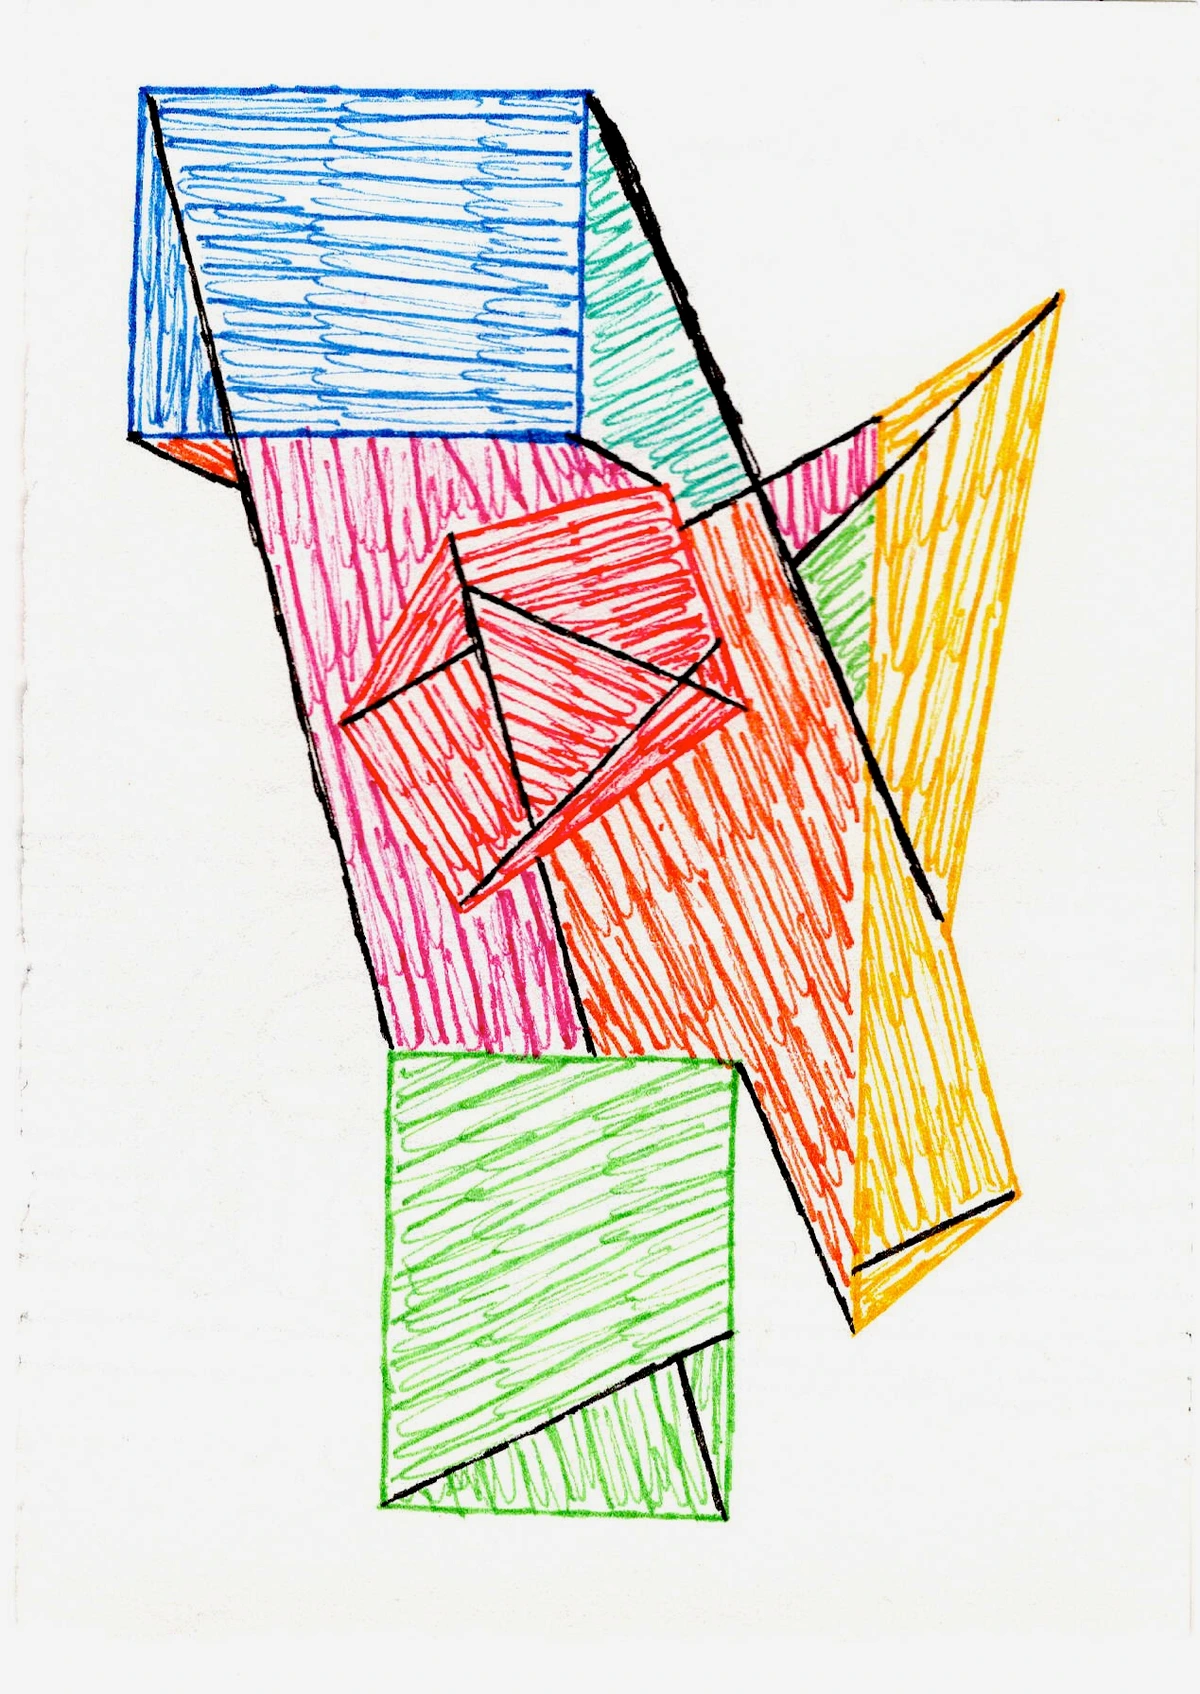
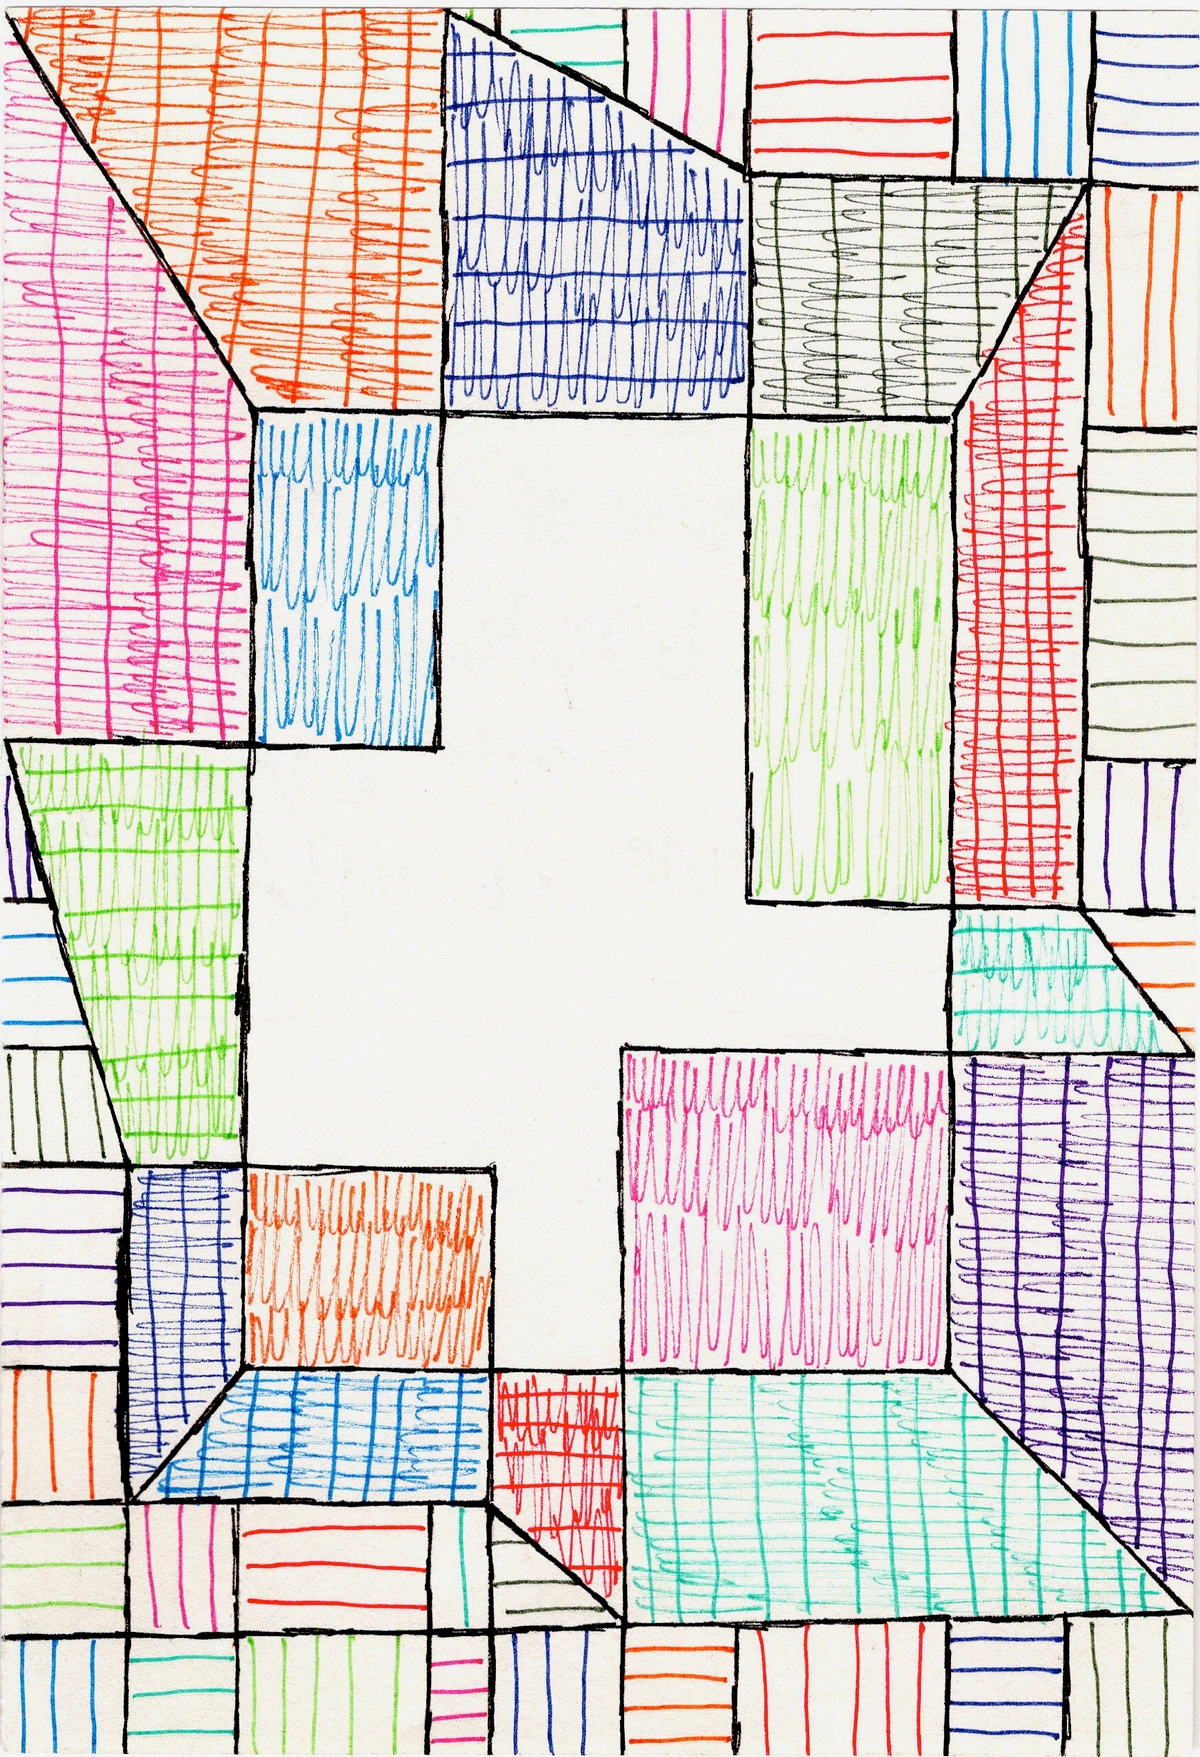
- Bold, Expressive Strokes: Embrace the opaque nature! Use thick, juicy paint for strong, defined lines and shapes. This is where I often play when I'm exploring line in abstract art. Don't overthink it; just let your hand move.
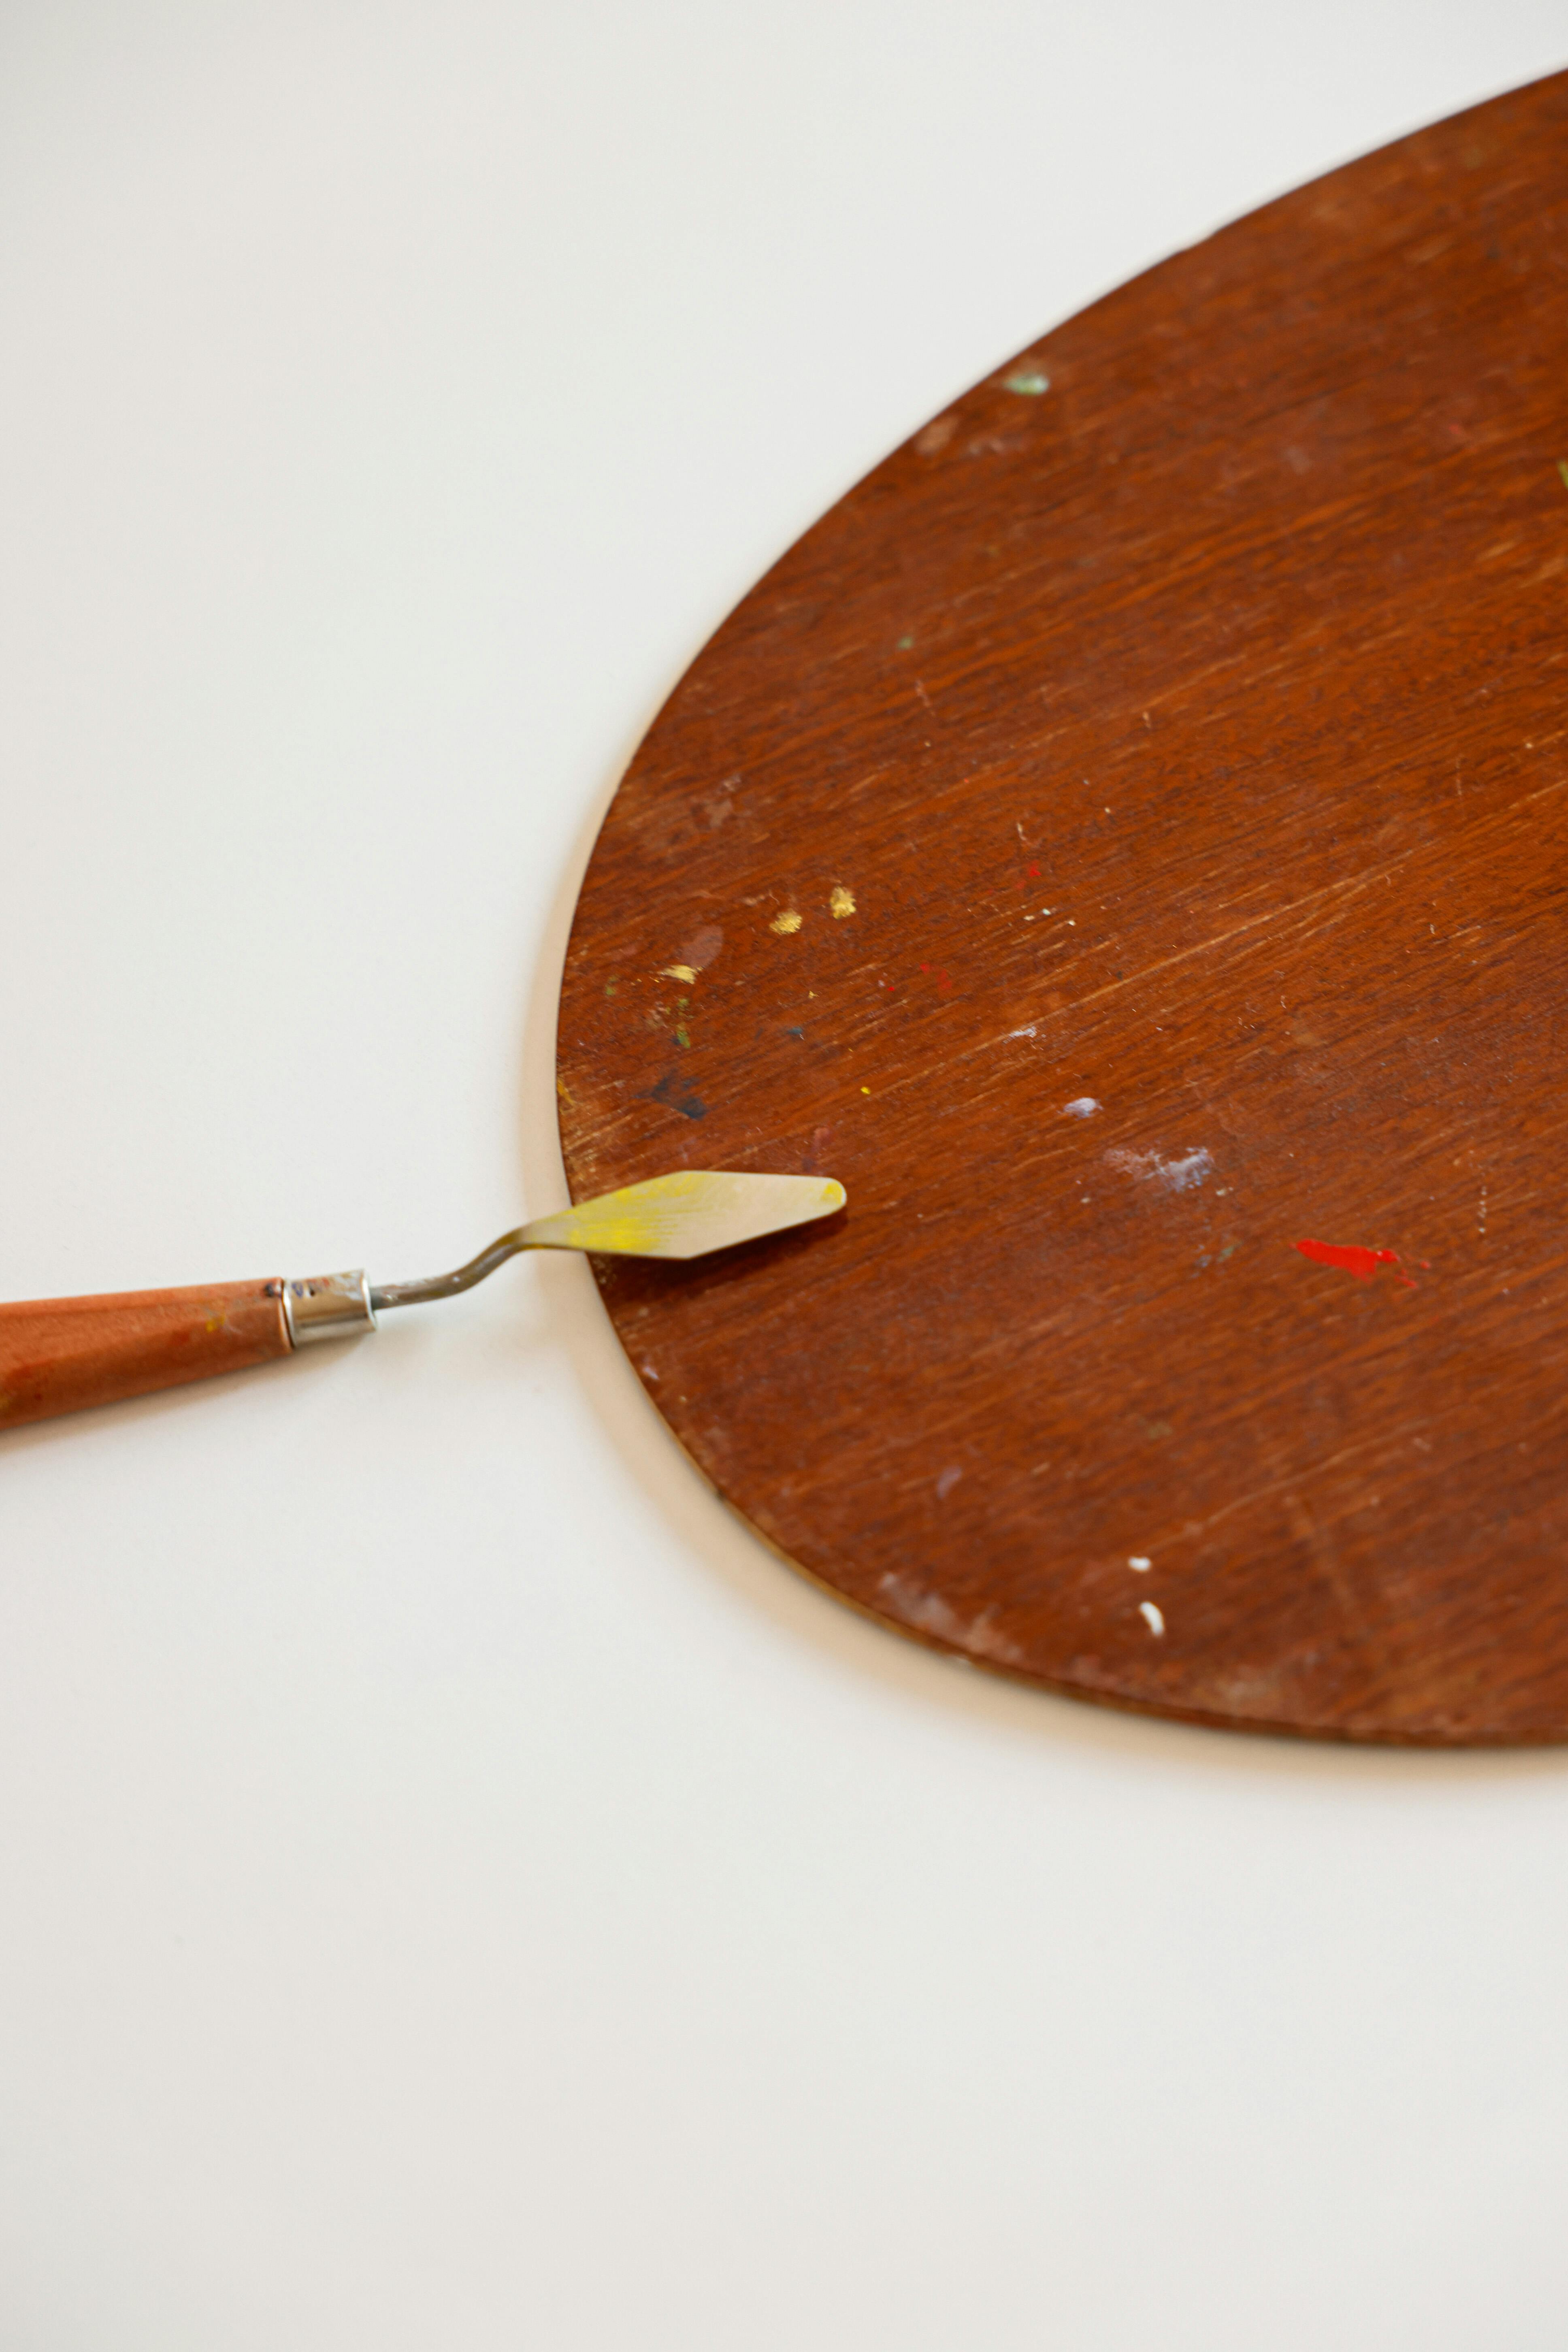
- Palette Knife Application: Don't limit yourself to brushes! A palette knife can be used with thick gouache to create impasto-like textures, sharp, clean edges, or unique scraping effects. It’s a fantastic way to add a sculptural quality to your abstract work, creating bold, tactile surfaces that really stand out.
- Sponging/Stippling: For unique textural effects, try dabbing a slightly damp sponge loaded with a little gouache. This creates a soft, dappled, or stippled look, adding another layer of visual interest to abstract backgrounds or forms.
- Fine Details & Lines: A fine-tipped synthetic brush is indispensable for adding crisp details, delicate lines, or precise outlines that can elevate an abstract piece from good to truly compelling. It’s about the subtle accents that make your forms sing.
Here’s a quick recap of these essential gouache techniques:
- Water Control: Find that creamy, milkshake consistency for opaque, smooth flow to achieve vibrant, confident strokes.
- Layering: Build up colors wet-on-dry for crisp edges, or thin washes for subtle glazes. Be mindful of thick applications and excessive white pigment to avoid chalkiness and dulled vibrancy.
- Re-wetting & Lifting: Use water to reactivate dried paint for blending, corrections, and atmospheric effects, embracing your 'undo' button.
- Color Mixing: Test mixes on scrap paper to account for the drying shift (due to pigment settling and binder changes) and natural pigment transparency; always use two water pots for clean, vibrant colors.
- Brushstrokes & Mark Making: Experiment with flat washes, dry brush, bold strokes, palette knives, sponges, and fine detail brushes for diverse textures and expressions.
When Things Go Sideways: My Honest Confessions & Fixes (Because They Will!)
Let’s be real, painting isn't always smooth sailing. I've had my fair share of gouache disasters. Here are a few common pitfalls and how I usually navigate them.
- Streaky Layers: Usually a sign of too much water, not enough paint, or trying to overwork a drying layer. Solution? Let it dry, then re-wet and try again with thicker paint, or embrace the streakiness if it works for your abstract vision!
- Muddy Colors: This often happens from not cleaning your brush enough between colors, using too much water, or even applying too many thick layers (especially dark over light) which reactivates the underneath. Keep those two water pots handy! If it’s already on the paper, remember the re-wetting and lifting trick. You can usually salvage it.
- Chalky Colors: A common beginner mistake is adding too much white to colors to make them opaque. While white is essential, excessive use can make your vibrant gouache look dull and chalky. This happens because white pigments, particularly titanium white, have larger particles and a high refractive index that, when used in excess, can scatter light and create a desaturated, pasty appearance as the paint dries. Try building opacity with layers of pure color or using a thicker consistency of paint first, rather than relying solely on white.
- Paint Drying Too Fast on the Palette: Gouache dries quickly. I usually mist my palette with a little water or work in smaller batches. Sometimes, I embrace the dried paint on the palette – it can be re-activated later!
- Overworking: This is the killer of many a good painting in any medium. With gouache, overworking wet layers can lift the layers underneath, creating a muddy mess. Learn to step away, let it dry, and then reassess. Your future self will thank you. Remember, understanding balance in art composition applies to your process too!
credit, licence
Understanding Gouache's Nuances: A Balanced Perspective
While I adore gouache, it's fair to acknowledge its particular quirks – the very things that give it its charm also require a little understanding. This section explores some of those personality traits that, once understood, make working with gouache even more rewarding.
Its water-soluble nature, which gives it its forgiving 'undo' button, also means it's not as durable as oil or acrylic paints when exposed to moisture. Unlike acrylics, which become fully waterproof once dry, gouache's water-soluble nature, while offering the joy of re-wetting, means it remains vulnerable to moisture. This is why framing under glass isn't just a suggestion; it's often a necessity for long-term preservation. A spilled drink or even high humidity can reactivate it, which is precisely why framing under glass is so crucial for longevity. Gouache relies on a binder, most commonly gum arabic, which dissolves in water, making the paint re-workable. This also means that tubes of gouache, even if they appear dried out, can often be revived with a little water and patience, extending their lifespan. Also, gouache can be susceptible to cracking if applied too thickly or on flexible surfaces, so rigid support or heavy paper is often preferred for very impasto applications. I've also found that layering dark over light, or vice versa, needs a light hand to avoid scumbling or ghosting. Scumbling refers to the subtle, broken layers of opaque color applied over another, allowing the underlying color to partially show through, which can be an intentional effect. Ghosting, on the other hand, describes an unintended patchy appearance where underlying colors subtly peek through or lift due to overworking or too much moisture, leading to unintended muddiness or a patchy appearance.
Environmental factors also play a role. Humidity, for instance, can make your gouache take longer to dry or even reactivate already dry layers prematurely, leading to unexpected blending or smudging. Conversely, extremely dry conditions can cause paints to dry too quickly on your palette. Direct sunlight can contribute to fading over time, even with lightfast pigments, so consider storing your finished pieces away from harsh light. In my studio, I try to maintain a consistent temperature and humidity, and I'm always mindful of where I store my works. It's a medium that asks for a little understanding and careful handling, but gives so much in return.
Gouache is also surprisingly versatile for mixed media! I often incorporate it with colored pencils for fine details, ink for crisp lines, or even combine it with digital art, using gouache studies as a base for digital paintings. The possibilities are truly endless once you understand its properties.
Protecting Your Masterpieces (Because You Made Them!)
Once you’ve poured your heart into a gouache painting, you’ll want to protect it. This is where gouache gets a little tricky, as its inherent re-wettability means you can't just slap a varnish on it like an acrylic painting, which cures to a permanent, waterproof film.
- Framing Under Glass: This is, by far, the safest and most recommended method. It protects your painting from moisture, dust, and physical damage without altering the beautiful matte finish. Sprays, even fixatives designed for gouache, can degrade over time, yellow, attract dust, and permanently alter the surface or colors. When sprays are applied, they introduce a new binder or resin layer over the paint, which can sometimes seep into the gouache, causing colors to darken or the signature matte finish to turn semi-glossy or shiny. I once had a small experimental piece get damaged by a spilled drink, and if it hadn't been under glass, it would have been completely ruined. For prints and original pieces I sell on my site, which you can always buy, I ensure they are well-protected.
- Sprays (Use with Caution): Some artists use fixatives or spray varnishes designed for watercolor/gouache. Always test these on a scrap piece first. They can sometimes deepen colors or change the matte finish, introducing a slight sheen or dulling the vibrancy. Apply in very light, even coats from a distance. I rarely use them myself, preferring the natural finish.
My Final Thoughts: Just Dive In!
Gouache can feel intimidating at first, like learning a new language. But it’s a language incredibly rich in expression, especially for those of us drawn to bold colors and abstract forms. Remember, its versatility and forgiving nature are truly its superpowers. Don't worry about perfection; worry about exploring. Every streaky layer, every muddy mix, every little mistake you lift away, is a step on your unique artistic journey. My own artist's journey has been full of such 'happy accidents.' The more you experiment with these techniques, perhaps starting with quick sketches in a dedicated gouache sketchbook, the more confidently you'll express your unique artistic vision.
So grab some paint, a brush, and some paper, and just begin. Perhaps start with a simple abstract shape study, focusing on achieving that perfect creamy consistency or practicing crisp layering. You might be surprised by the vibrant, expressive world waiting for you. And who knows, maybe someday you'll see your own creations, refined by these techniques, hanging in a place like my virtual museum in 's-Hertogenbosch, inspiring others on their vibrant journeys. Happy painting!


