
How to Improve Technical Drawing Skills: A Practical Guide
A personal, no-nonsense guide to improving your technical drawing skills. Learn about perspective, line control, shading, and the exercises that actually work.
So, You Want to Get Good at Technical Drawing? Let's Talk.
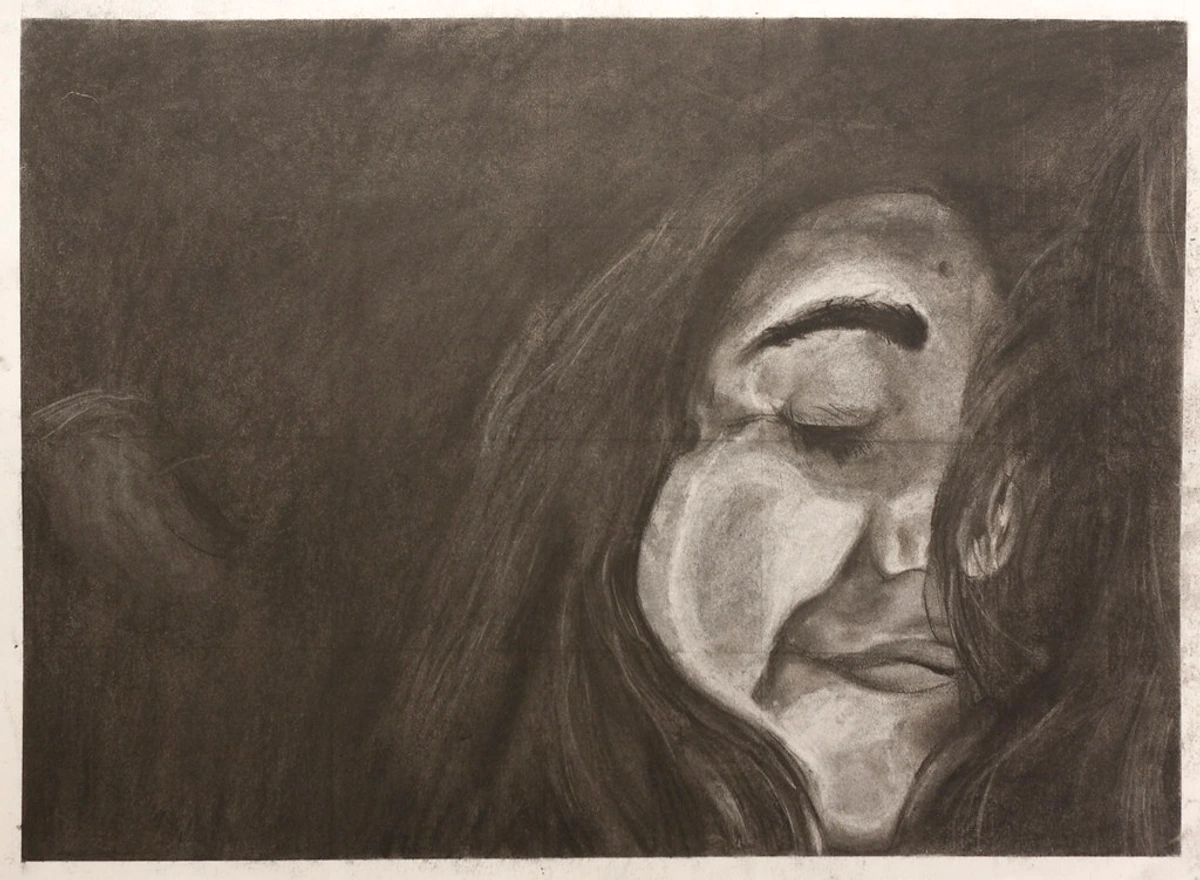
I remember the first time I tried to draw a perfect cube in a high school art class. It looked less like a box and more like a parallelogram that had survived a car crash. It was wobbly, the lines were hairy, and the perspective was... imaginative. I felt like a fraud. How could I ever make expressive, abstract art if I couldn't even draw a simple box?
That moment of frustration? It's universal. Whether you're 14 or 40, the first time your hand betrays your vision and draws that lopsided cube, it feels like the universe is mocking your artistic ambitions. But here's what I've learned in the years since: that wobbly cube isn't a failure. It's the beginning of a conversation between your hand and your brain. Technical drawing is where you learn to speak the same language as your eyes, where you translate three-dimensional reality onto a two-dimensional surface with confidence and precision.
Why Technical Drawing Matters in the Digital Age
In a world where digital tools promise instant perfection, why bother learning the fundamentals of technical drawing? The answer is both simple and profound: technical drawing builds the foundation upon which all artistic expression rests. When you think about it, every digital painting, every 3D model, every architectural rendering begins as a set of fundamental lines and forms. Understanding these basics gives you an advantage that no algorithm can replicate.
Consider this: when you look at a complex digital painting, you're seeing the final product. But when you understand technical drawing, you can see the invisible scaffolding that holds it together. You understand the perspective grid that makes the buildings look real, the construction lines that give the figures their proportions, the light logic that creates depth and atmosphere. This understanding transforms you from someone who just creates art to someone who truly understands how art works.
The beauty of technical drawing is that it's democratic. You don't need expensive equipment or software. A pencil, some paper, and the willingness to make mistakes are all that's required. Yet the results can be astonishingly precise and powerful. This accessibility makes it one of the most inclusive art forms in existence.

It’s a feeling I think a lot of us have. We see technical drawing as this rigid, soulless discipline for architects and engineers, completely separate from the wild freedom of 'real' art. But here’s the secret I learned the hard way: it’s not separate at all. It’s the foundation. It’s learning the grammar before you write the poetry. Getting good at technical drawing doesn't trap you; it sets you free.
So, if you're ready to stop wrestling with wobbly cubes and start drawing with confidence, let's get into it. This isn't about becoming a robot; it's about teaching your hands to speak the same language as your eyes.

Why Bother? The Unseen Power of Precision
You might be thinking, "But I want to paint loose, expressive abstracts! Why do I need to draw a perfect cylinder?" It’s a fair question. The answer is understanding. When you can accurately draw an object in space, you understand its volume, its form, and how light hits it. You internalize the rules of reality. And once you truly know the rules, you can break them with intention and power.
Mastering technical drawing gives you:
- Confidence: Every mark you make is deliberate. No more hoping for the best.
- A Better Eye: You'll start seeing the world in terms of basic shapes, lines, and planes. A car becomes a series of boxes; a tree becomes a collection of cylinders and spheres. This is fundamental to all art, from realism to abstraction.
- Stronger Compositions: Understanding structure helps you build more compelling and believable compositions, even if the subject is completely imaginary. It's a key part of understanding composition in art.
The Evolution of Technical Drawing Through History
Technical drawing isn't just a modern skill—it's as old as humanity itself. The earliest known drawings, dating back over 30,000 years in caves like Lascaux, were technical in nature. They depicted animals with remarkable accuracy, showing early humans understanding form and perspective.
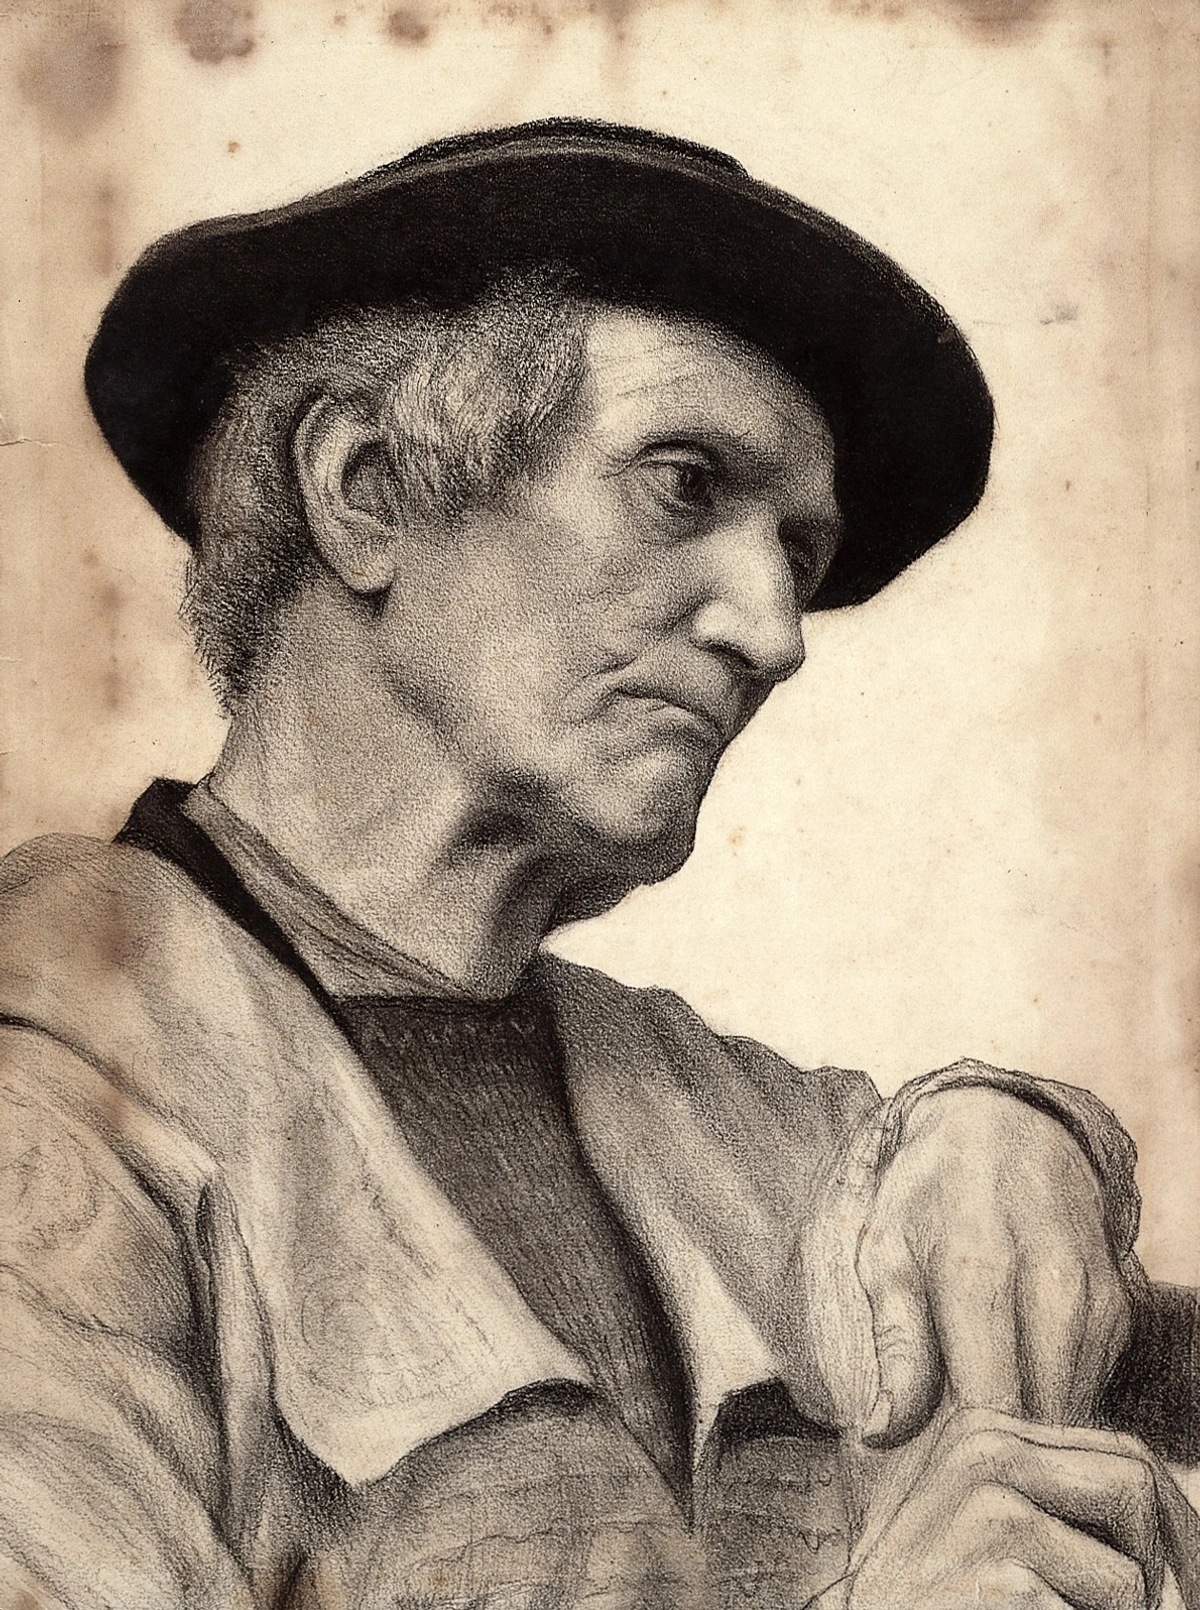
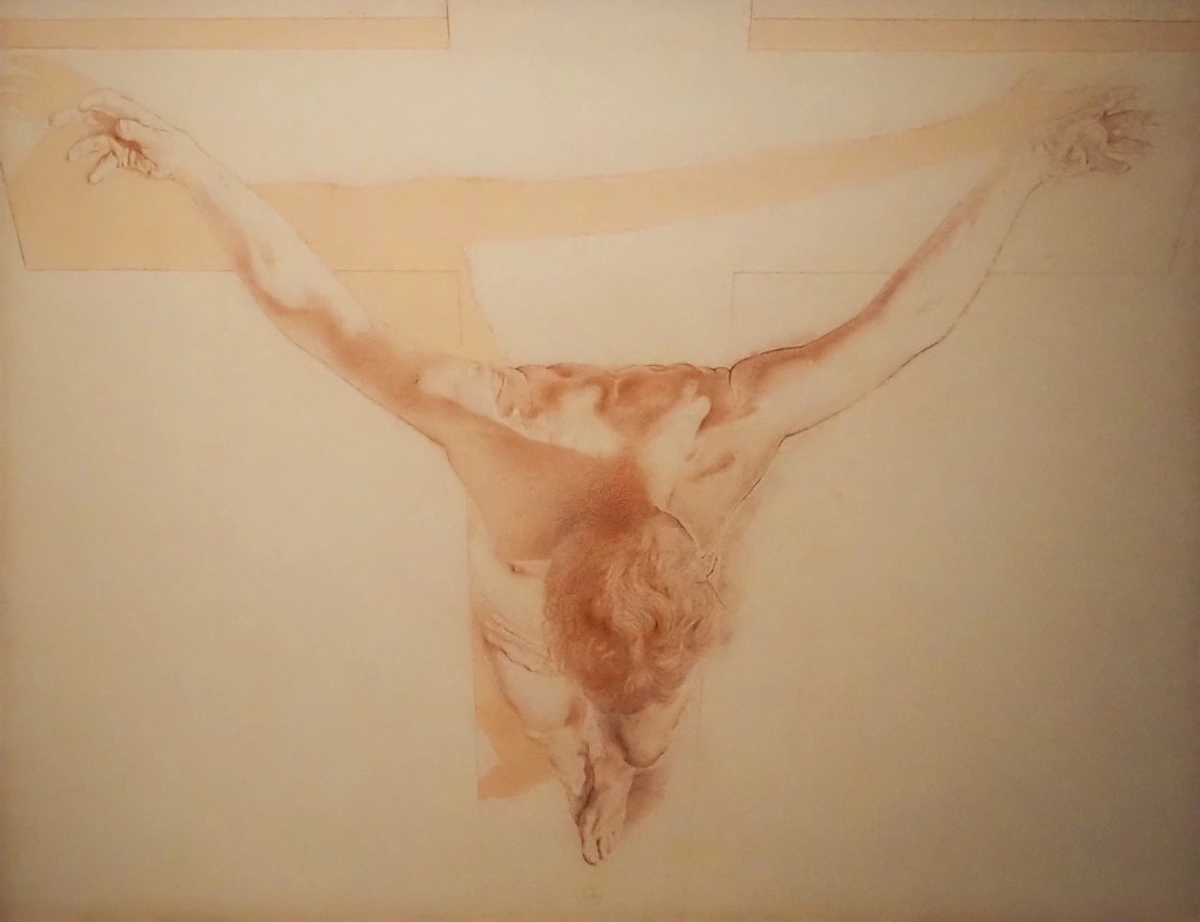
During the Renaissance, artists like Leonardo da Vinci and Albrecht Dürer elevated technical drawing to an art form. Da Vinci's anatomical drawings weren't just studies—they were masterpieces that combined scientific precision with artistic vision. Dürer's work on perspective and proportion laid the groundwork for modern technical drawing.
The Industrial Revolution brought a new level of precision to technical drawing. With the need for standardized manufacturing, blueprints and engineering drawings became essential. This is when the "rules" of technical drawing as we know them today began to be formalized.
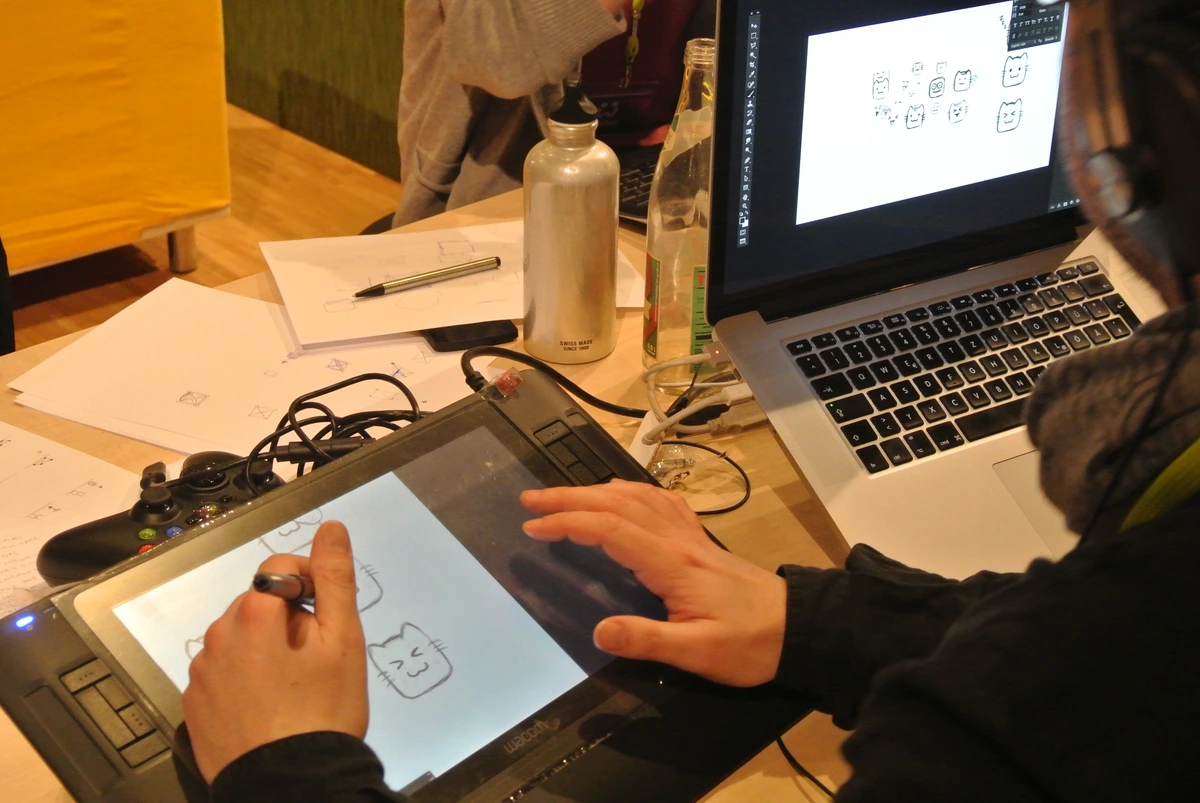
Today, while digital tools have transformed how we create technical drawings, the fundamental principles remain the same. Whether you're sketching on paper with a pencil or drafting in CAD software, you're still using the same spatial reasoning and understanding of form that humans have been developing for millennia.
The Renaissance and Beyond: Technical Drawing as Art
The Renaissance marked a turning point where technical drawing became inseparable from artistic excellence. Artists like Leonardo da Vinci didn't just paint—they were scientists, engineers, and anatomists who used drawing as their primary tool for understanding the world.
Leonardo da Vinci: The Ultimate Technical Artist
Leonardo's notebooks reveal a mind obsessed with understanding how things work. His anatomical drawings aren't just scientifically accurate—they're beautiful works of art that show the human body as both mechanical and divine. His studies of motion, water flow, and mechanical systems demonstrate how technical understanding informs artistic vision.
Albrecht Dürer: The Mathematics of Beauty
Dürer brought mathematical precision to art, developing systematic methods for perspective and proportion. His "Four Books on Human Proportion" established standards that influenced centuries of artists. Dürer understood that beauty wasn't random—it followed mathematical principles that could be learned and applied.

The Industrial Revolution: Standardization and Innovation
The Industrial Revolution created new demands for technical drawing. As manufacturing became more precise, so did the need for accurate blueprints and engineering drawings. This era established many of the conventions we still use today, including standardized line weights, dimensioning systems, and orthographic projection methods.
Modern Applications: From Traditional to Digital
Today, technical drawing exists in a fascinating hybrid space. Many traditional techniques remain essential, while digital tools have opened up new possibilities:
- CAD (Computer-Aided Design): Used in architecture, engineering, and product design
- 3D Modeling: Building digital models that can be viewed from any angle
- Digital Sculpting: Combining traditional sculptural principles with digital tools
- Technical Illustration: Creating clear, accurate diagrams for manuals and educational materials
- Concept Art: Using technical skills to design believable characters, environments, and props
Despite these technological advances, the core principles remain unchanged. Whether you're drawing with a stylus on a tablet or with charcoal on paper, you're still solving the same spatial problems that artists have been solving for thousands of years.

The Core Pillars: Nailing the Fundamentals
Forget trying to learn everything at once. I've found it boils down to four key areas. Focus on these, and you'll see massive improvement.
The Four Pillars Explained
These four pillars represent the fundamental skills upon which all technical drawing is built. Think of them as the legs of a chair—if any one is weak, the whole structure is unstable.
- Line Control: The ability to draw confident, accurate lines
- Perspective: Understanding how to create the illusion of depth
- Form Construction: Breaking down complex objects into simple shapes
What makes these pillars so powerful is that they're interconnected. When you improve your line control, your perspective drawings become more accurate. When you master perspective, your form construction gains depth. When you understand form construction, your light and shadow rendering becomes more believable. Each skill reinforces the others, creating a virtuous cycle of improvement.
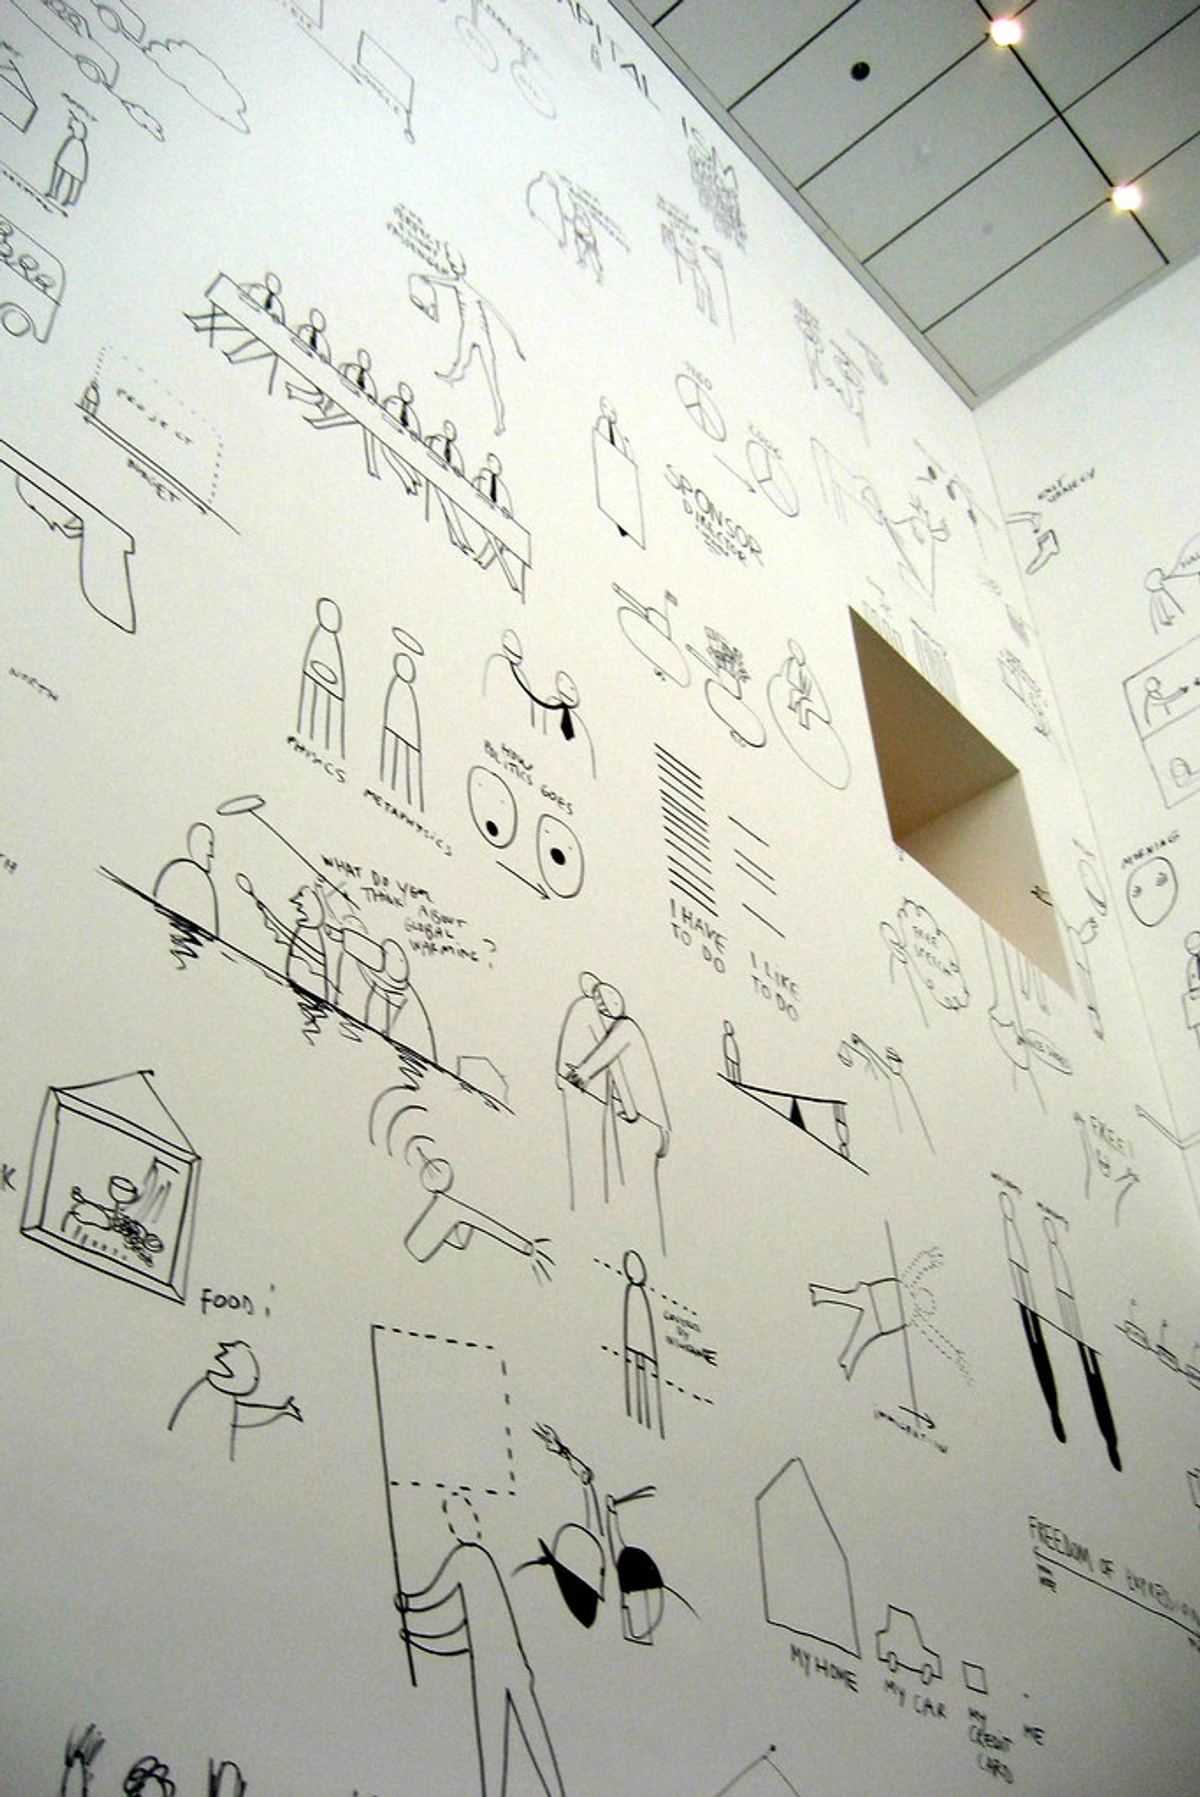
Technical Drawing vs. Artistic Sketching: What's the Difference?
Before we dive deeper, let's clarify something important: technical drawing and artistic sketching serve different purposes, though they share many skills. This distinction is crucial because understanding it will help you focus your practice effectively.
The Spectrum of Drawing Approaches
Drawing exists on a spectrum from purely technical to purely expressive. Most real-world drawing falls somewhere in the middle, but understanding the extremes helps you find your own balance.
Approach | Technical Drawing | Balanced Approach | Artistic Sketching | Expressive Drawing |
|---|---|---|---|---|
| Primary Goal | Accuracy and communication | Balance of accuracy and expression | Exploration and expression | Emotional impact |
| Focus | Correctness and precision | Visual storytelling and accuracy | Mood and feeling | Pure emotion |
| Process | Methodical and planned | Strategic and adaptable | Intuitive and fluid | Spontaneous and reactive |
| Outcome | Consistent and reproducible | Unique but believable | Personal and stylized | Highly individual |
| Time Investment | Can take hours per drawing | Variable depending on goal | Quick studies, 5-30 minutes | Can range from seconds to hours |
| Common Uses | Blueprints, engineering diagrams, technical illustrations | Concept art, illustration, design | Brainstorming, rapid prototyping, personal journaling | Abstract art, expressive portraits, emotional studies |
The Hybrid Approach: Technical Expression
The most powerful artists often blend technical precision with expressive freedom. This hybrid approach gives them the best of both worlds—the ability to draw anything accurately and the freedom to add their personal style.

Examples of technical expression include:
- Architectural renderings that are both accurate and beautiful
- Product design sketches that communicate function and aesthetic
- Anatomical studies that are scientifically precise yet artistically rendered
- Technical illustrations that are clear and engaging
The key is understanding when to prioritize technical accuracy and when to prioritize expressive qualities. This judgment comes with experience and develops as you master both approaches.
Aspect | Technical Drawing | Artistic Sketching |
|---|---|---|
| Purpose | Accuracy, precision, communication | Expression, exploration, emotion |
| Process | Methodical, planned, deliberate | Fluid, spontaneous, intuitive |
| Outcome | Consistent, measurable results | Unique, personal expression |
| Tools | Rulers, compasses, templates (traditionally) | Flexible, expressive tools preferred |
| Standards | Follows established conventions | Follows personal aesthetic |
The beautiful thing is that mastering technical drawing makes you better at artistic sketching. When you understand how things should look, your expressive sketches become more believable and powerful. Technical drawing gives you the vocabulary; artistic sketching lets you write poetry.
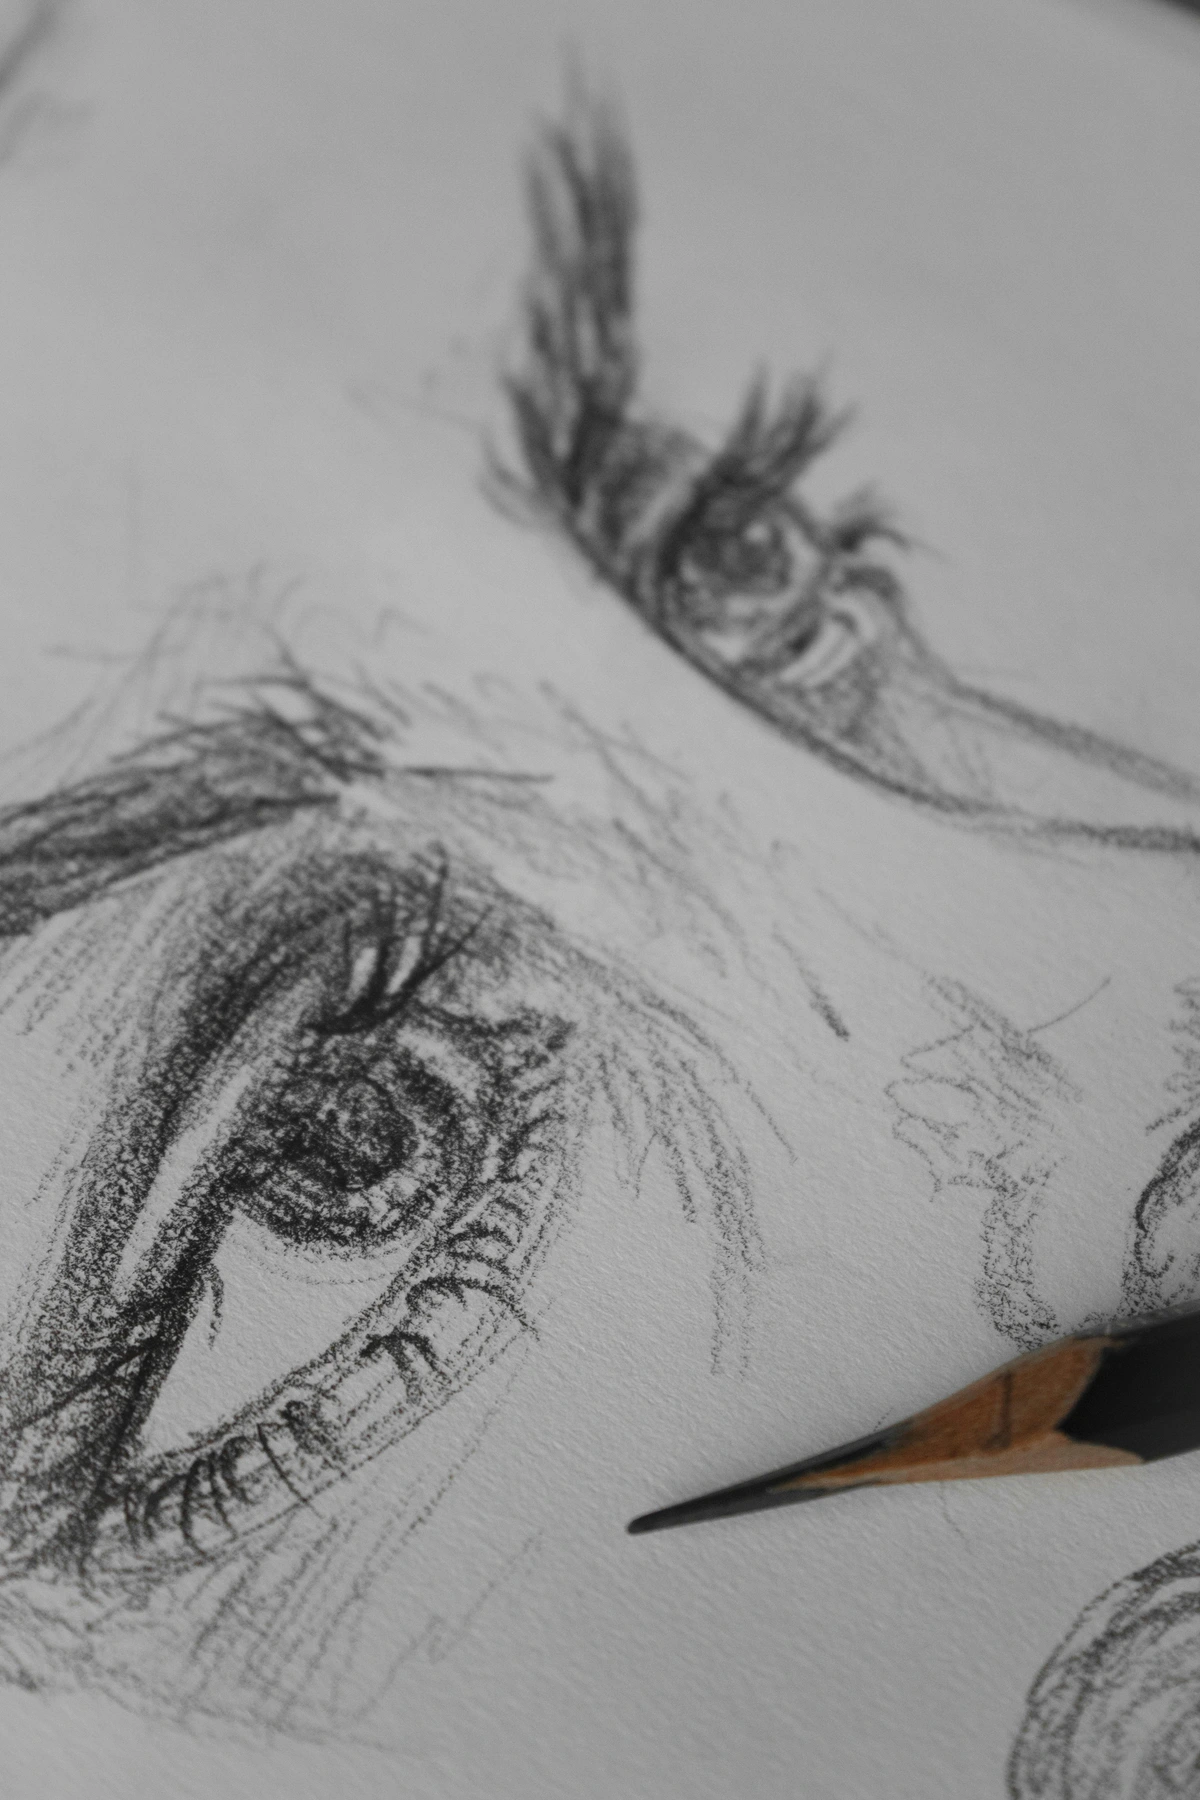
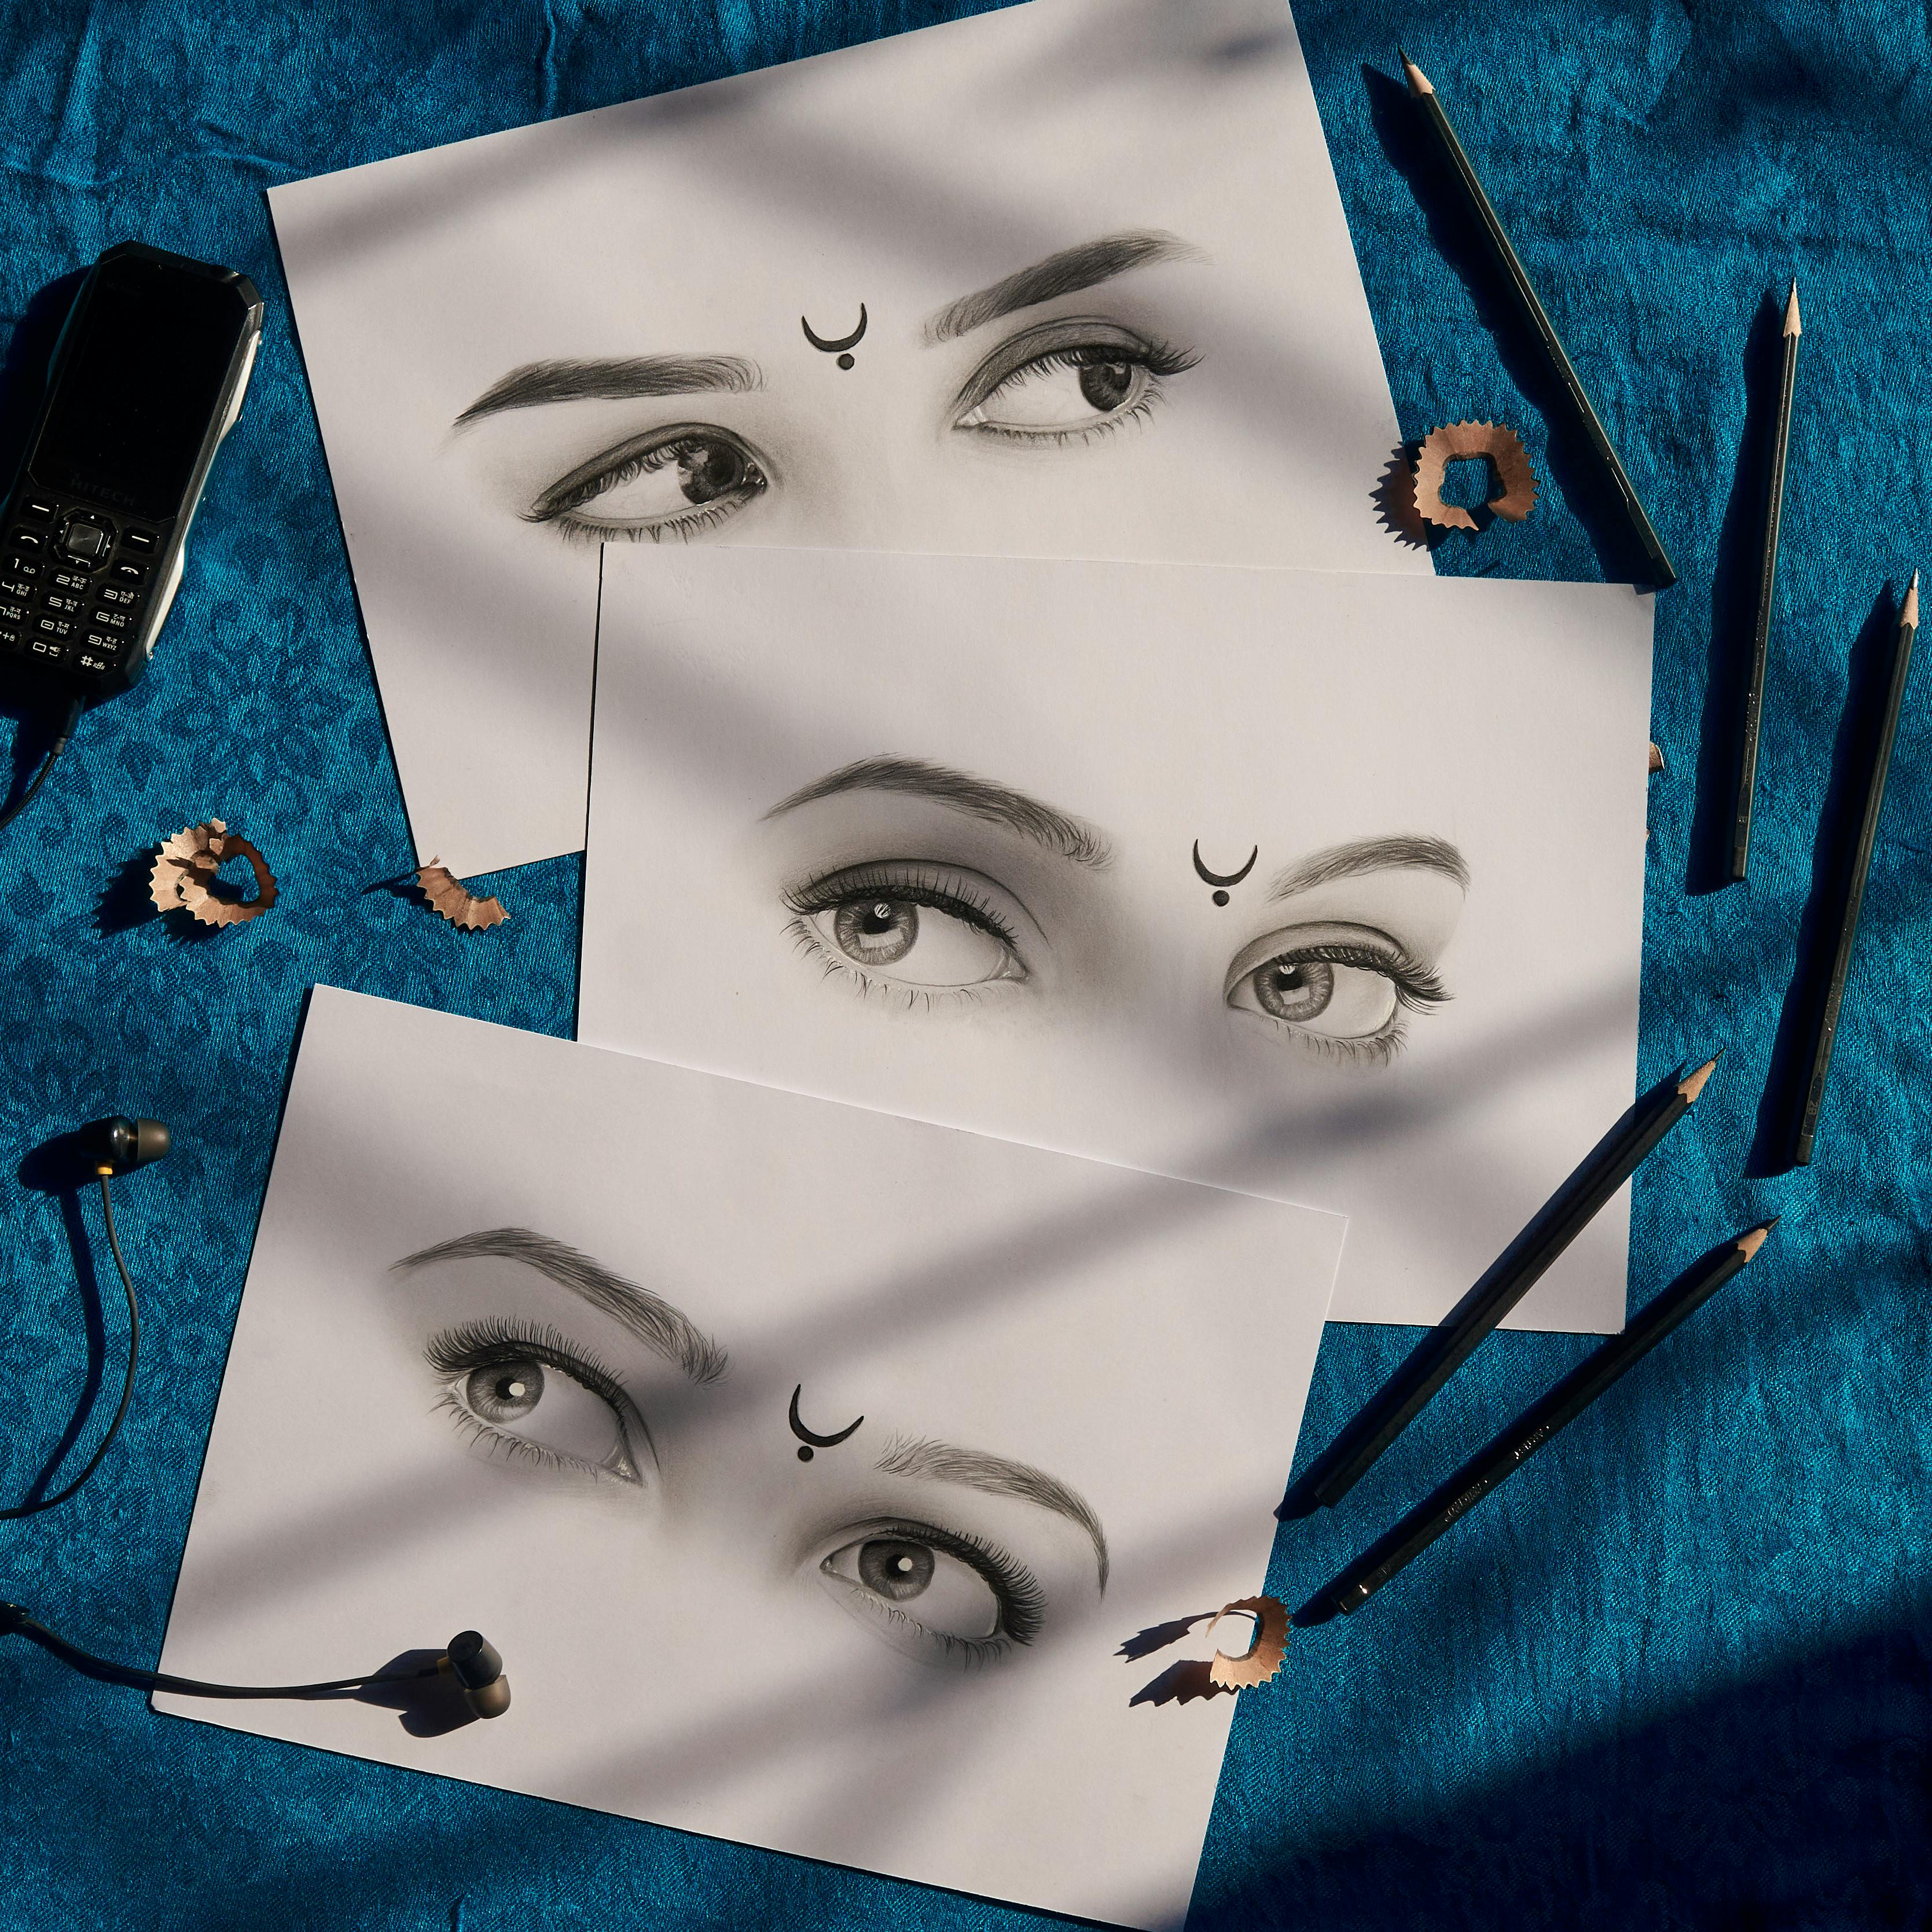
Pillar 1: The Myth of the Steady Hand (It's Really About Line Control)
Nobody is born with a hand that can draw a perfectly straight line. It's a learned motor skill, like throwing a ball. The trick isn't a slow, cautious crawl across the page—that's what creates wobbly, uncertain lines. The trick is confidence and motion.

Pillar 2: Perspective - Faking Depth Like a Pro
Perspective is what makes a 2D surface feel like a 3D world. It can seem like complex geometry, but the basics are surprisingly simple. I highly recommend diving into our definitive guide to perspective in art for a deeper look, but here's the gist.
The Science of Visual Perception
Perspective isn't just a drawing technique—it's how our eyes actually see the world. When you understand the optical principles behind perspective, you can apply them more intuitively and effectively.

How Our Eyes Process Depth
Your brain uses several clues to determine depth:
- Size: Objects appear smaller as they get farther away
- Overlap: Objects in front partially block objects behind them
- Position: Objects lower in the frame appear closer
- Detail: Distant objects have less detail
- Color: Distant objects appear bluer and lighter (atmospheric perspective)
- Convergence: Parallel lines appear to meet at distant points
Perspective drawing systematically organizes these visual cues to create convincing depth.
Understanding the Horizon Line and Eye Level
Before diving into perspective types, understand this crucial concept: the horizon line represents your eye level. Everything above the horizon line is below you in space, and everything below the horizon line is above you. This single concept is the foundation of all perspective drawing.
Finding Your Horizon Line in Real Life
The horizon line isn't just a theoretical concept—you can see it every day. Stand outside and look at the horizon where the sky meets the ground. That's your horizon line. If you're on a hill, it will be lower in your view. If you're in an airplane, it will be much higher.

Practice Exercise: Go outside and observe how objects change relative to the horizon line:
- Cars on the road appear smaller as they move away
- Buildings show less of their tops when you're looking up at them
- Trees appear as simple shapes when far away
Advanced Perspective Systems
Beyond the basic one, two, and three-point perspective, there are more specialized systems:
Four-Point Perspective (Infinite Perspective)
Used for extreme wide-angle shots or creating a "fisheye" effect. The four vanishing points are placed in a circle around the viewer, creating a distorted but mathematically correct representation.
Five-Point Perspective
An extension of four-point perspective that includes a vanishing point at the viewer's position, creating a completely immersive view.

Bird's Eye and Worm's Eye View
These are not separate perspective systems but rather applications of three-point perspective:
- Bird's Eye: High horizon line, looking down
- Worm's Eye: Low horizon line, looking up
Atmospheric Perspective: The Artist's Secret Weapon
While not strictly a perspective system, atmospheric perspective is crucial for creating depth:
Distance | Color Temperature | Value (Lightness) | Detail | Saturation |
|---|---|---|---|---|
| Near | Warm (reds, yellows) | Darker | High | High |
| Mid | Neutral (greens, grays) | Medium | Medium | Medium |
| Far | Cool (blues, purples) | Lighter | Low | Low |
By applying these principles, you can create the illusion of atmospheric haze that makes distant objects appear to recede naturally.

- One-Point Perspective: Imagine standing on a long, straight road. The edges of the road seem to converge at a single point on the horizon. That's your vanishing point. Anything with parallel lines moving away from you will aim for that point.
- Two-Point Perspective: Now, imagine looking at the corner of a building. The lines on the left side of the building recede to a vanishing point on the left, and the lines on the right side recede to a vanishing point on the right. You're viewing the object from an angle.
Three-Point Perspective and Beyond
Once you've mastered one and two-point perspective, you can explore more complex systems:

- Three-Point Perspective: Used when looking up at very tall buildings or down from great heights. This adds a third vanishing point, typically either high above or far below the horizon line.
- Atmospheric Perspective: This isn't about vanishing points, but about how objects appear to change as they get farther away. Distant objects appear lighter, cooler in color, and less detailed. This technique adds incredible depth to your drawings.
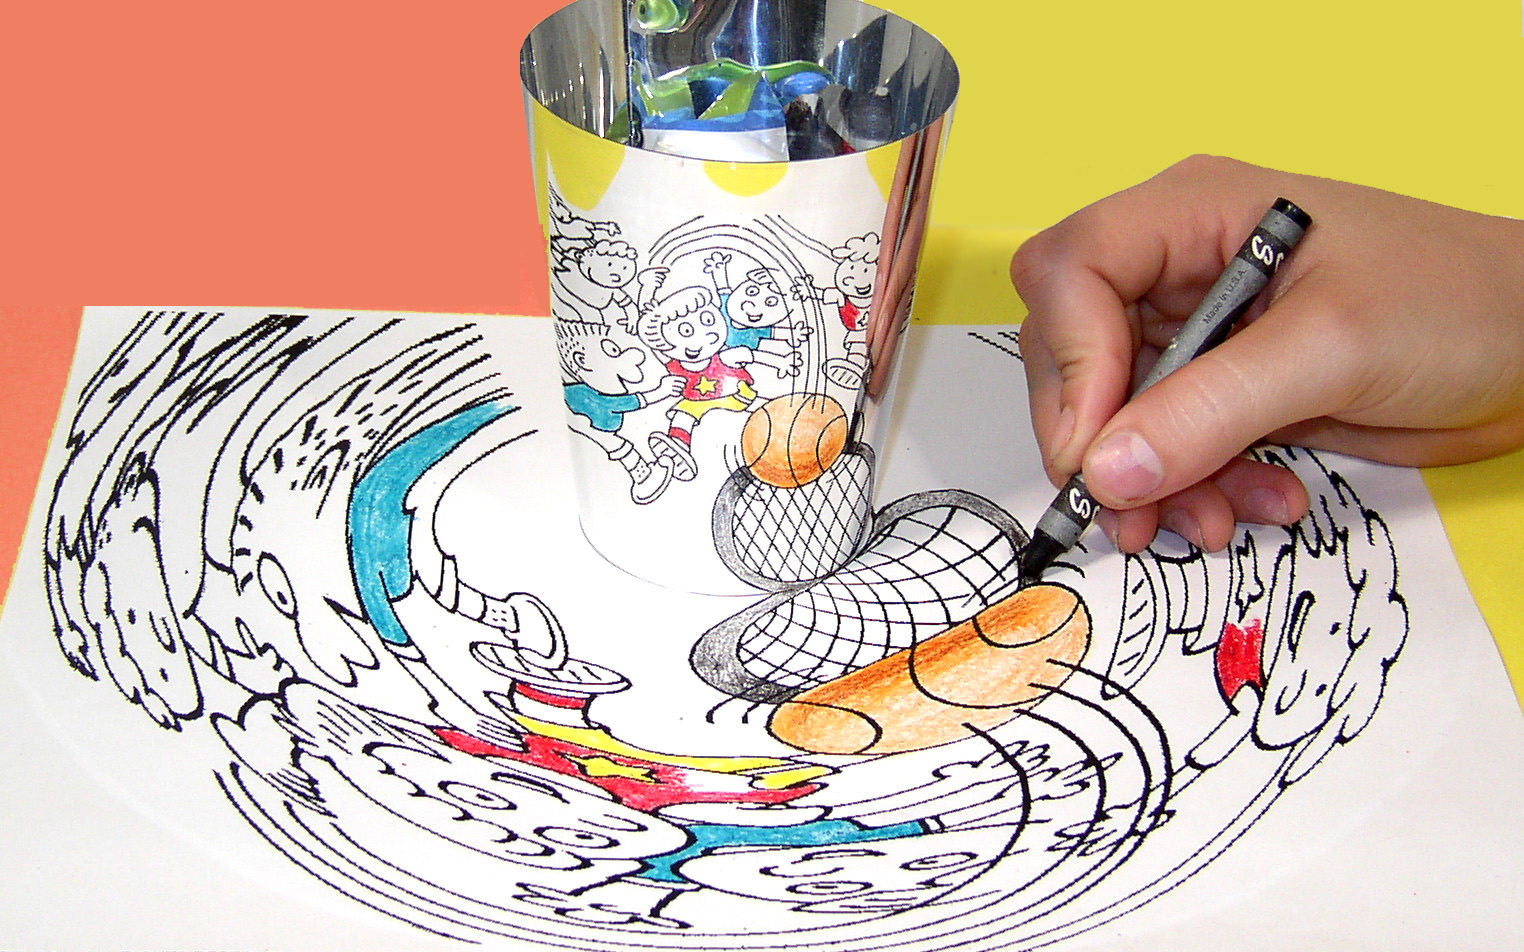
- Forced Perspective: An artistic technique that uses optical illusion to make objects appear smaller or larger than they actually are, often used in photography and film.
Measuring and Proportion in Perspective
One of the most challenging aspects of perspective is maintaining correct proportions. Here's a technique I find useful:
- Establish your horizon line and vanishing points
- Draw a "measuring line" parallel to your horizon line
- Mark known distances on this line
- Use these measurements to place objects correctly in space
This technique is essential for architectural drawing and ensures your buildings look convincing and properly proportioned.
Actionable Exercise: Draw ten cubes in two-point perspective. Place your horizon line and vanishing points, and just build boxes. Put some above the horizon line, some below. This single exercise is one of the most powerful things you can do to improve.
Pillar 3: Anatomy of Everything - Seeing in Shapes
When I say anatomy, I don't just mean for people or animals. I mean the underlying structure of everything. The skill here is learning to simplify. See past the details and identify the fundamental geometric forms that make up an object.

The Five Basic Forms
All objects in the world can be broken down into five fundamental geometric forms:
- Cube: Six equal square faces, 12 edges, 8 vertices
- Cylinder: Two parallel circular faces connected by a curved surface
- Sphere: Perfectly round, all points equidistant from center
- Cone: Circular base tapering to a single point (apex)
- Torus: Donut shape, like a cylinder bent into a circle
Master drawing these five forms in perspective, and you can draw anything.

- A coffee mug is a cylinder with a handle (a partial torus).
- A smartphone is a thin rectangular prism.
- A chair is an assembly of boxes and cylinders.
This is your artistic x-ray vision. By breaking complex objects down, you can construct them accurately on the page before you even think about the details. This is a core part of understanding the elements of art.
Constructive Drawing Method
Constructive drawing is the process of building up complex forms from simple ones. Here's the step-by-step approach:
- Block In: Start with the largest, simplest form that captures the overall shape
- Find the Center: Locate the center points and axes of your initial form
- Add Subdivisions: Use the center lines to place additional forms
- Refine Edges: Clean up your construction lines and define the final forms
- Add Details: Only after the main structure is complete
This method ensures your drawings have solid, believable structure from the very beginning.
The Physics of Light and Form
Light travels in straight lines and bounces off surfaces. When light hits an object, some is absorbed and some is reflected. The way light interacts with an object's surface determines what we see.

Understanding Surface Properties
Different surfaces interact with light in different ways:
Surface Type | Light Behavior | Visual Result | Drawing Approach |
|---|---|---|---|
| Matte | Light scatters in all directions | Soft, even shading | Use gradual transitions |
| Glossy | Light reflects at specific angles | Sharp highlights and reflections | Create distinct highlight areas |
| Textured | Light hits peaks and valleys | Varied, irregular shading | Use stippling or cross-hatching |
| Translucent | Light passes through partially | Diffused, glowing effect | Layer transparent values |
| Reflective | Light bounces off the surface | Mirror-like highlights | Sharp, bright highlights |

Advanced Shadow Casting
Shadows aren't just flat shapes—they have depth and structure. Understanding how shadows are cast can dramatically improve your drawings.
Types of Shadows
- Cast Shadow: The shadow an object throws onto another surface
- Shape depends on the light source position
- Sharper with direct light, softer with diffused light
- Color often affected by the surface it falls on
- Form Shadow: The shadow on the object itself
- Created by the object blocking its own light
- Softer than cast shadows
- Shows the object's three-dimensional form
- Core Shadow: The darkest part where light cannot reach
- Often not pure black
- May contain reflected light from surroundings
- Edge Highlight: The bright line where light meets shadow
- Shows the object's curvature
- Sharper on smooth surfaces, softer on textured ones
Color Temperature in Light and Shadow
Light and shadow aren't just different values—they often have different color temperatures:
- Light Side: Warmer colors (yellows, oranges)
- Shadow Side: Cooler colors (blues, purples)
- Transition Zone: Neutral grays or slight color shifts
This color separation creates depth and realism that pure value shading cannot achieve.

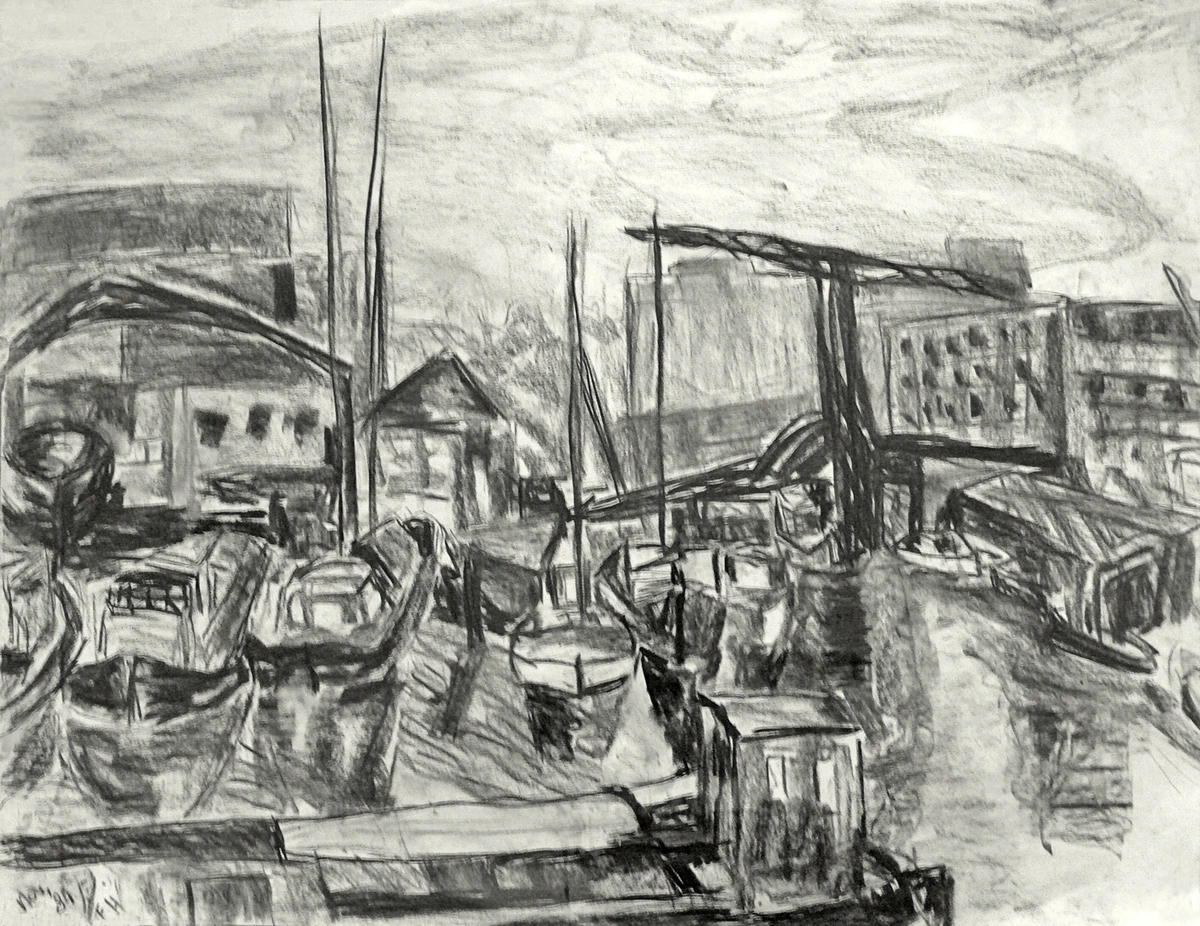
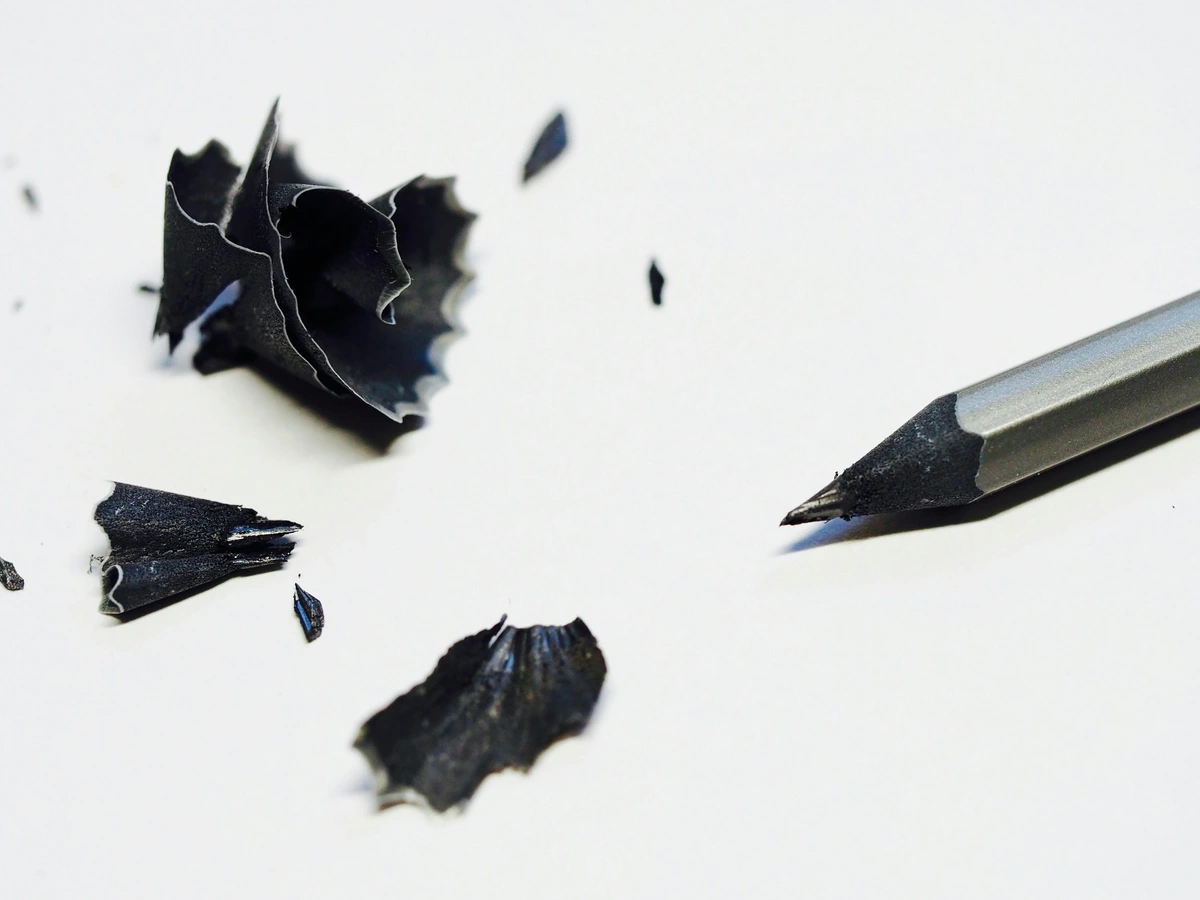
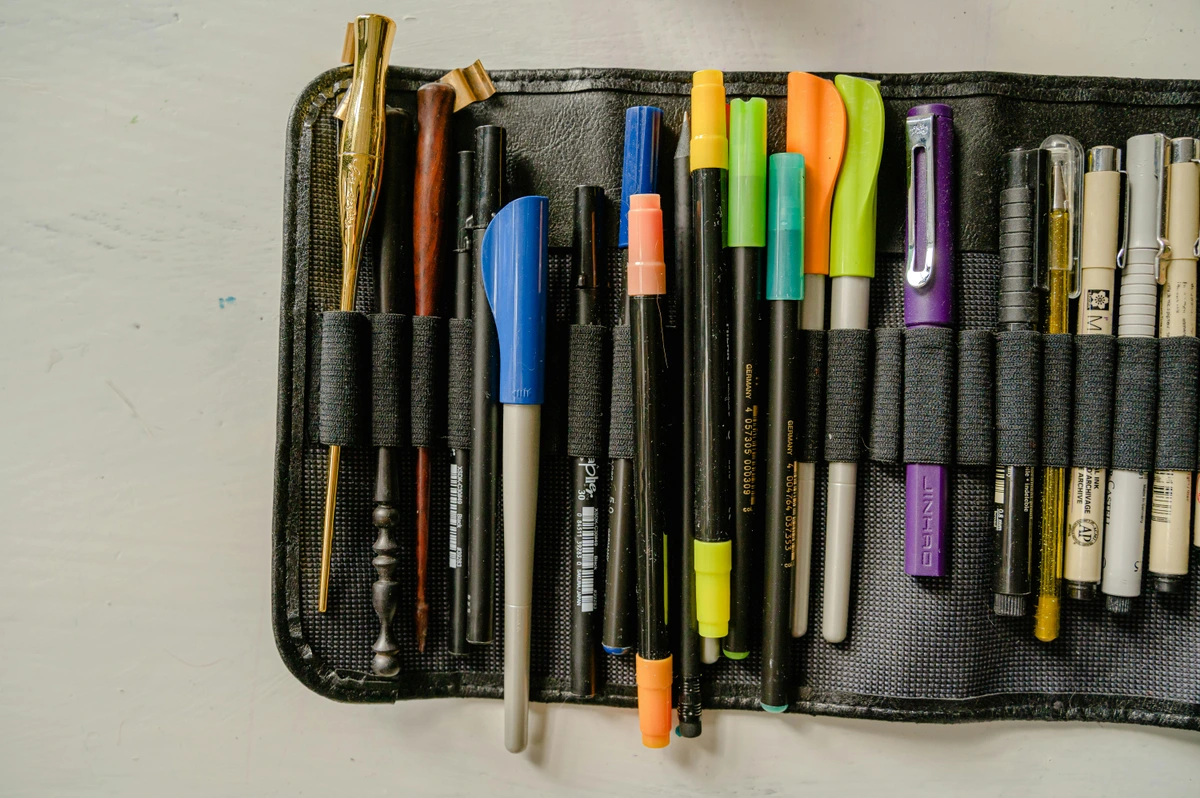
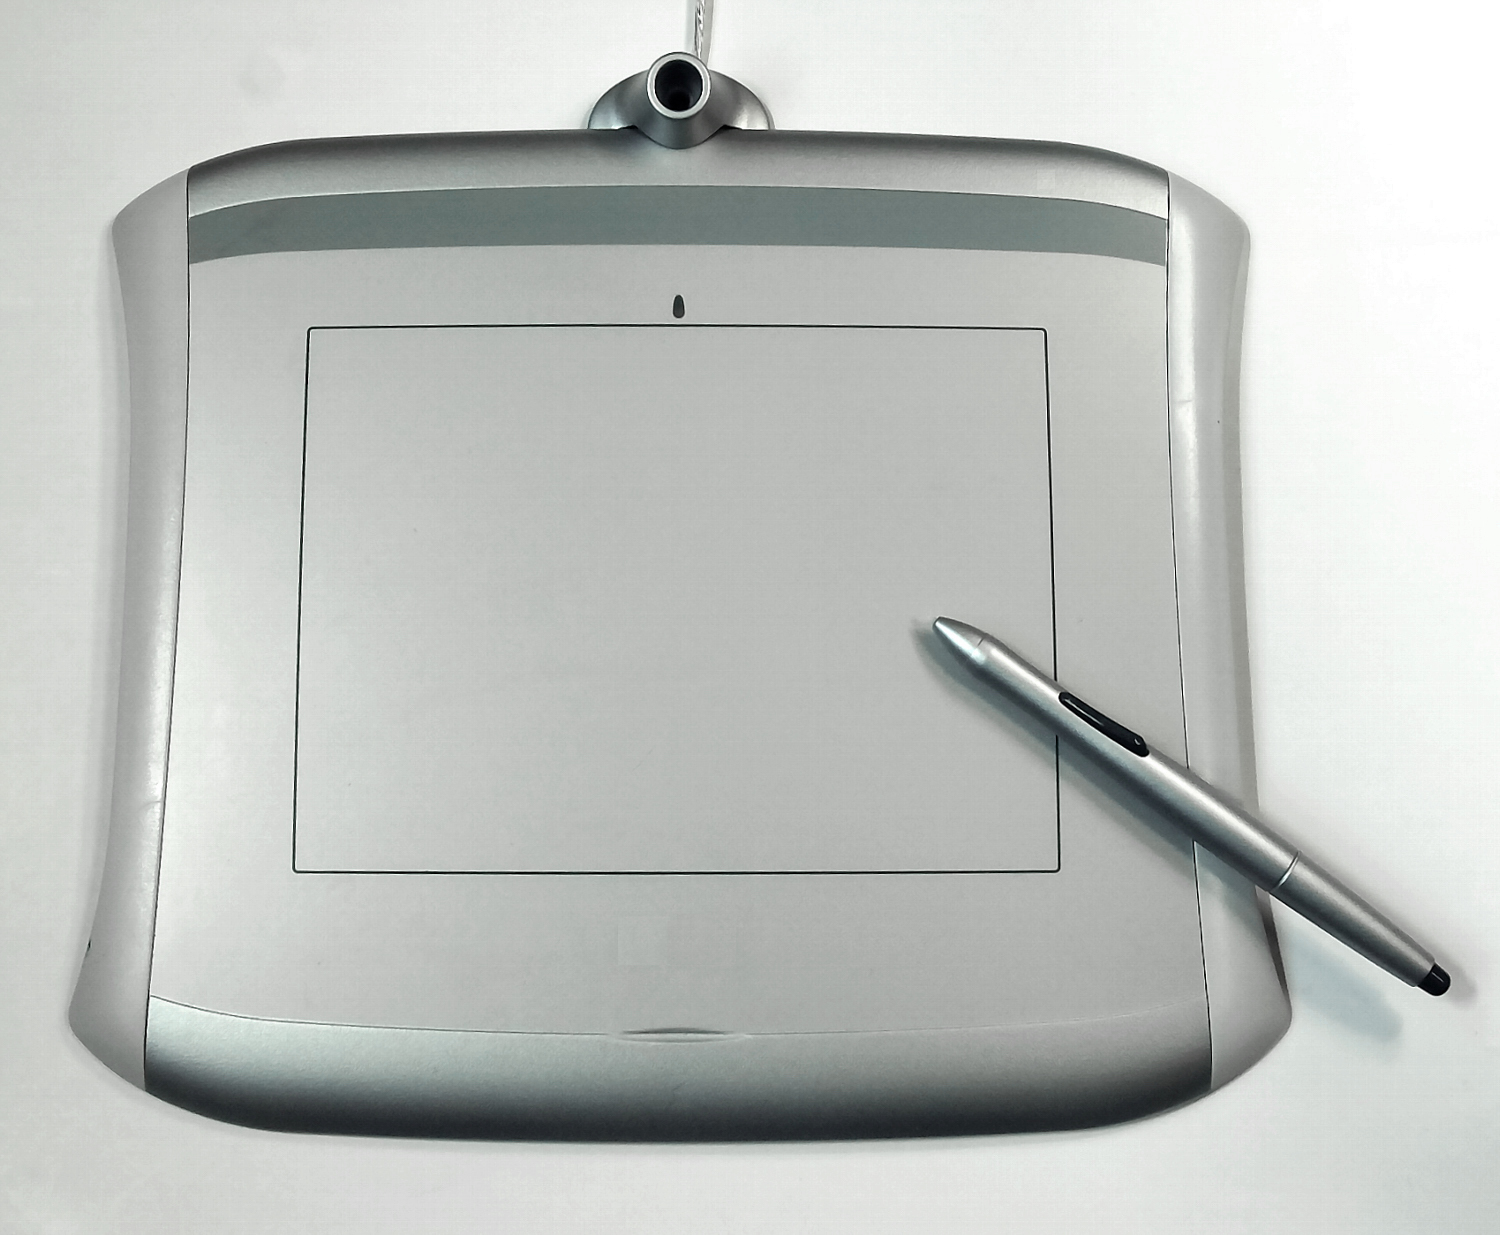
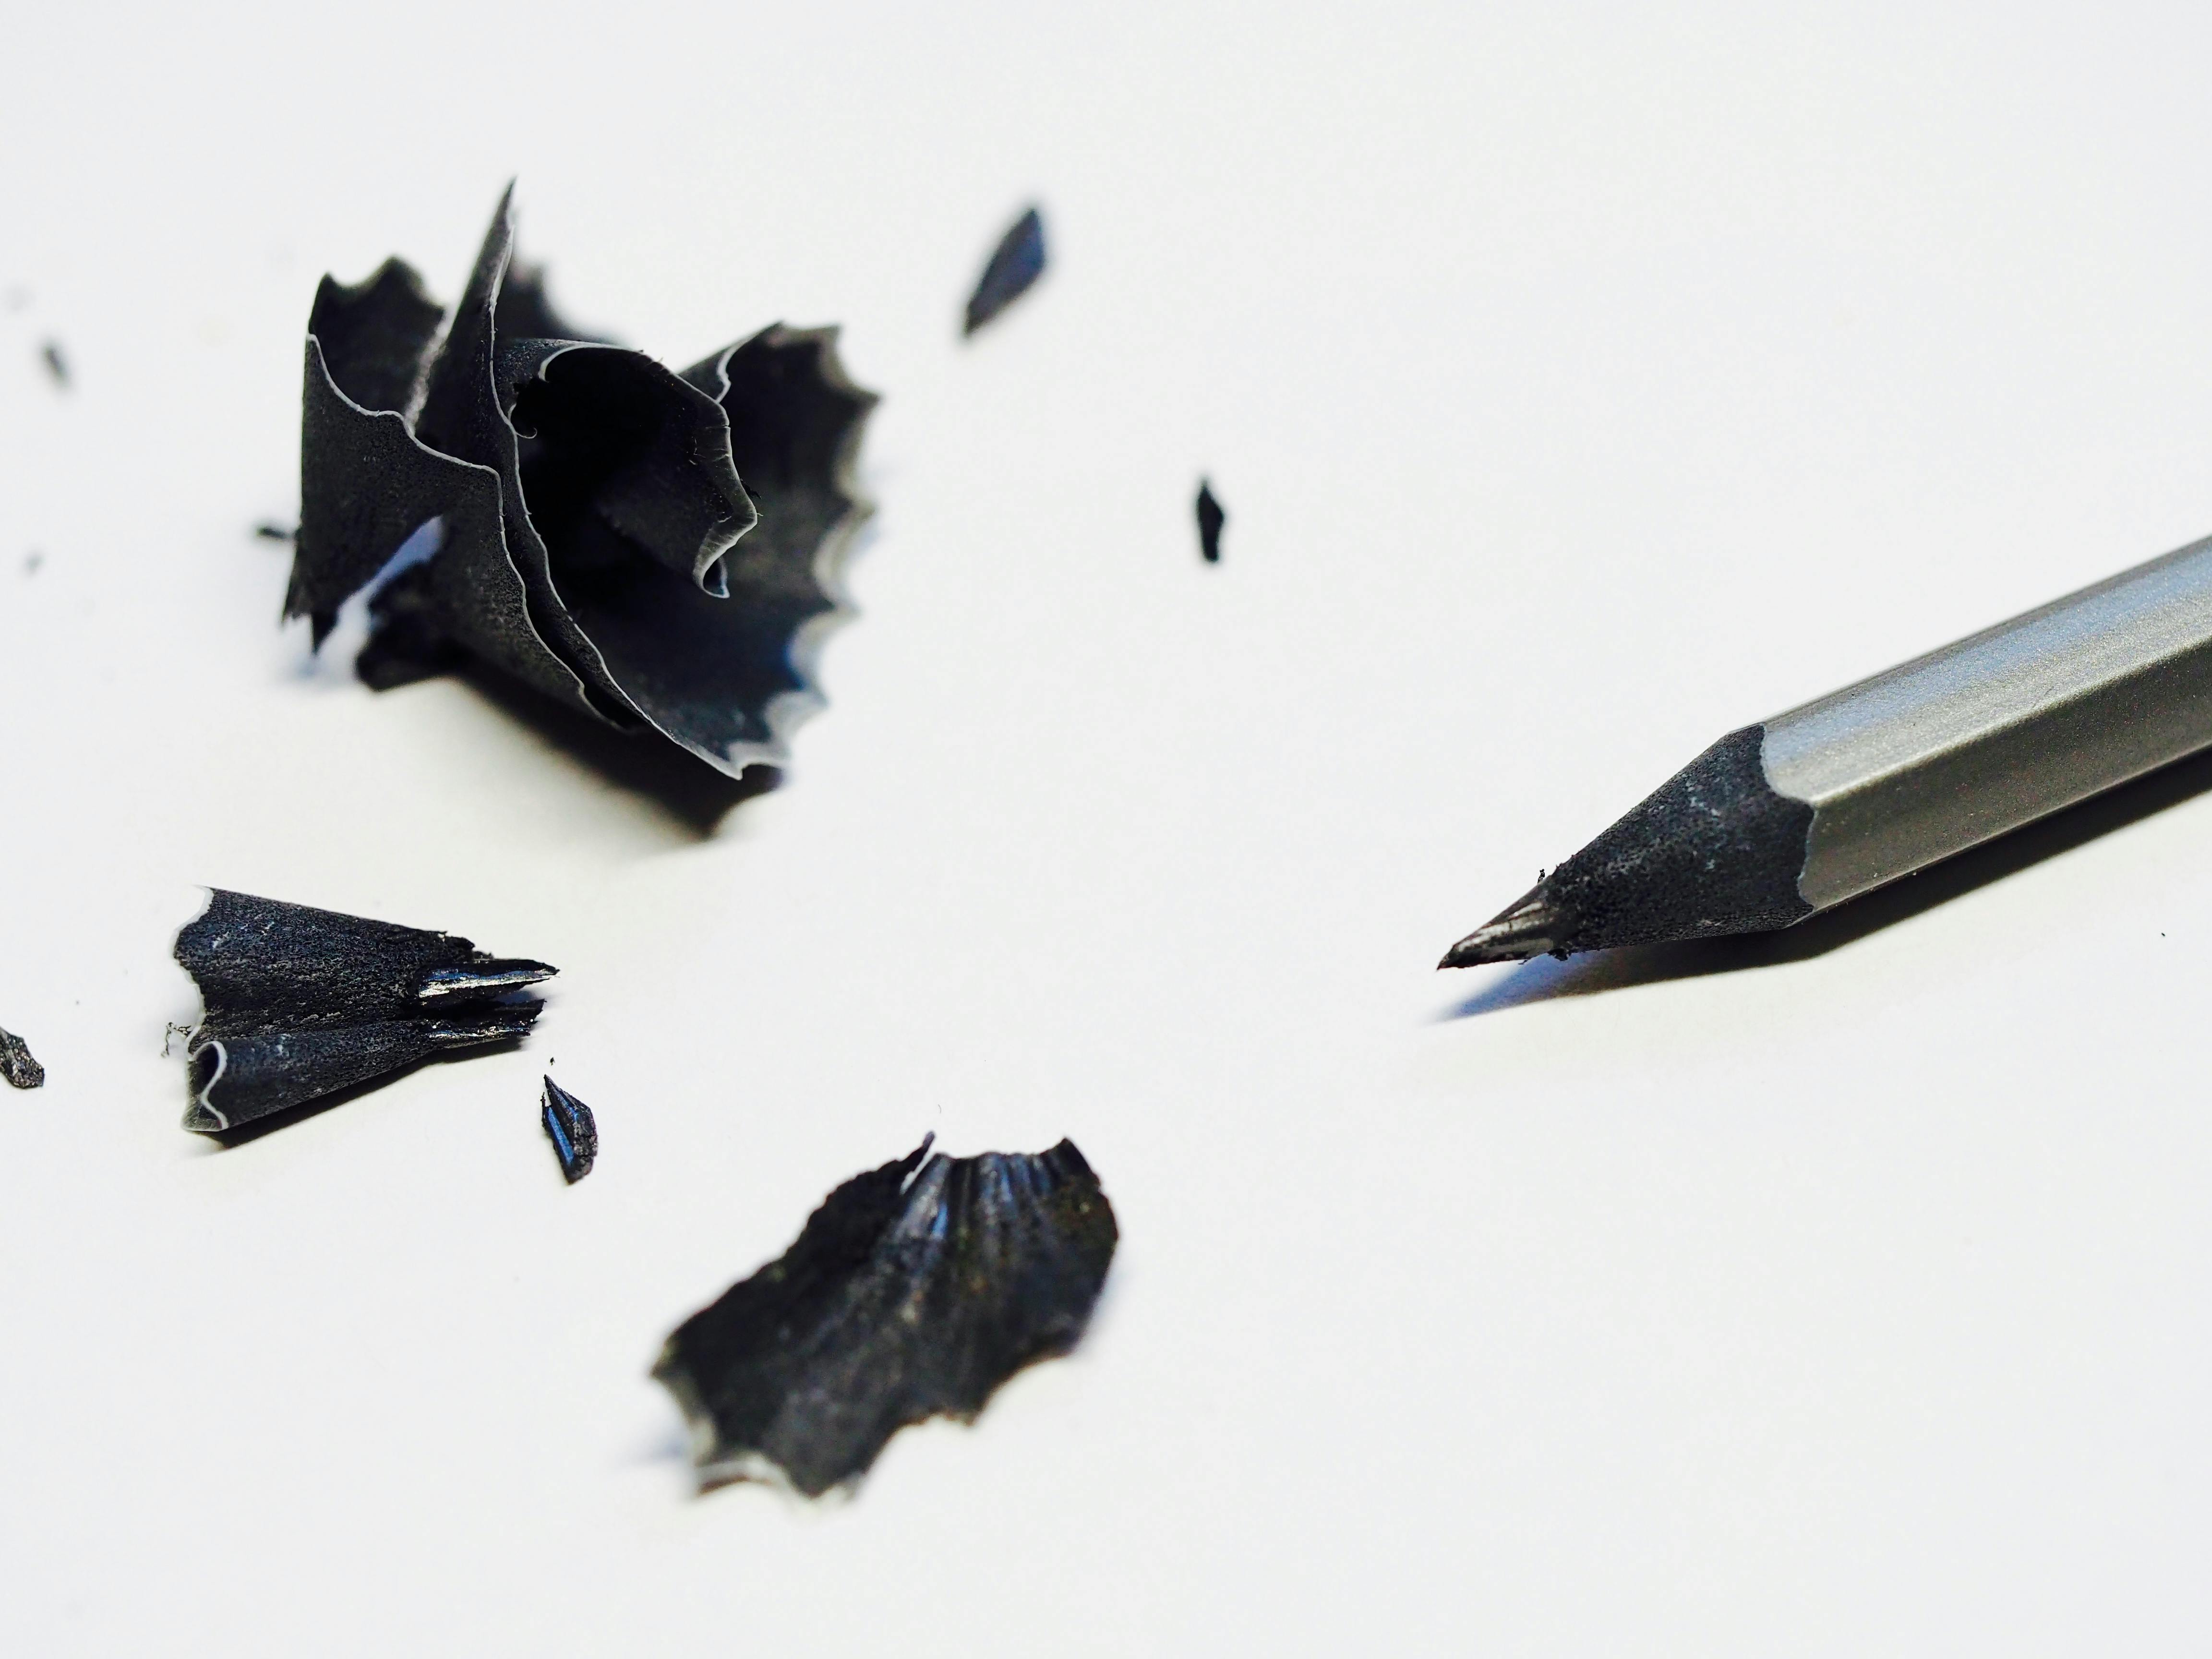
Tools of the Trade (You Don't Need Much)
Don't get paralyzed by the sheer volume of art supplies out there. You can do 90% of your technical drawing practice with a few simple, cheap tools.
Essential Tools for Technical Drawing
Note: The higher the number (H or B), the harder or softer the pencil. "H" stands for hardness, "B" for blackness.
Paper Types
The paper you choose affects your drawing experience significantly:
- Sketch Paper: Inexpensive, good for practice, but doesn't handle multiple erasings well
- Drawing Paper: Heavier weight, better quality, more durable
- Bristol Board: Very smooth, heavyweight paper excellent for detailed work
- Tracing Paper: Transparent, useful for transferring drawings and overlays
- Vellum: Traditional drafting paper, translucent and durable
Measuring and Drawing Tools
- Rulers: Clear plastic rulers are preferred as you can see your drawing through them
- Compass: Essential for drawing perfect circles and arcs
- French Curve: Template for drawing smooth, complex curves
- Templates: Pre-cut shapes for common geometric forms
- Protractor: For measuring and drawing angles accurately
Optional but Useful Tools
- Drafting Tape: Low-tack tape that won't damage paper when removed
- Circle Template: Quick reference for perfect circles
- Triangle Set: For drawing precise angles and parallel lines
- Fixative Spray: Protects finished drawings from smudging
- Electric Sharpener: Keeps your pencil points consistently sharp
A Simple Practice Plan That Works
Consistency beats cramming. A little bit every day is infinitely better than one marathon session a week. Here's a sample routine you can adapt.
The 30-Day Technical Drawing Challenge
Here's a structured 30-day plan that builds progressively:
Week 1: Foundations (Days 1-7)
- Day 1-3: Line control practice - parallel lines, circles, ellipses
- Day 4-5: One-point perspective - boxes, simple objects
- Day 6-7: Basic shape construction - cubes, spheres, cylinders
Week 2: Perspective Basics (Days 8-14)
- Day 8-10: Two-point perspective - boxes, simple buildings
- Day 11-12: Measuring in perspective - proportion exercises
- Day 13-14: Complex forms in one-point perspective
Week 3: Form and Structure (Days 15-21)
- Day 15-17: Constructive drawing - breaking down complex objects
- Day 18-19: Three basic forms in perspective
- Day 20-21: Still life setup - simple objects with lighting
Week 4: Light and Shadow (Days 22-30)
- Day 22-24: Value scales and gradations
- Day 25-27: Rendering basic forms with consistent lighting
- Day 28-30: Complete still life with construction, perspective, and shading
Daily Practice Structure
- Warm-up (5 minutes): Fill a page with lines and circles. Don't think, just move. This is like stretching before a run.
- Perspective Drill (10 minutes): Draw cubes. Or cylinders. Or both. Just focus on placing simple forms in perspective correctly.
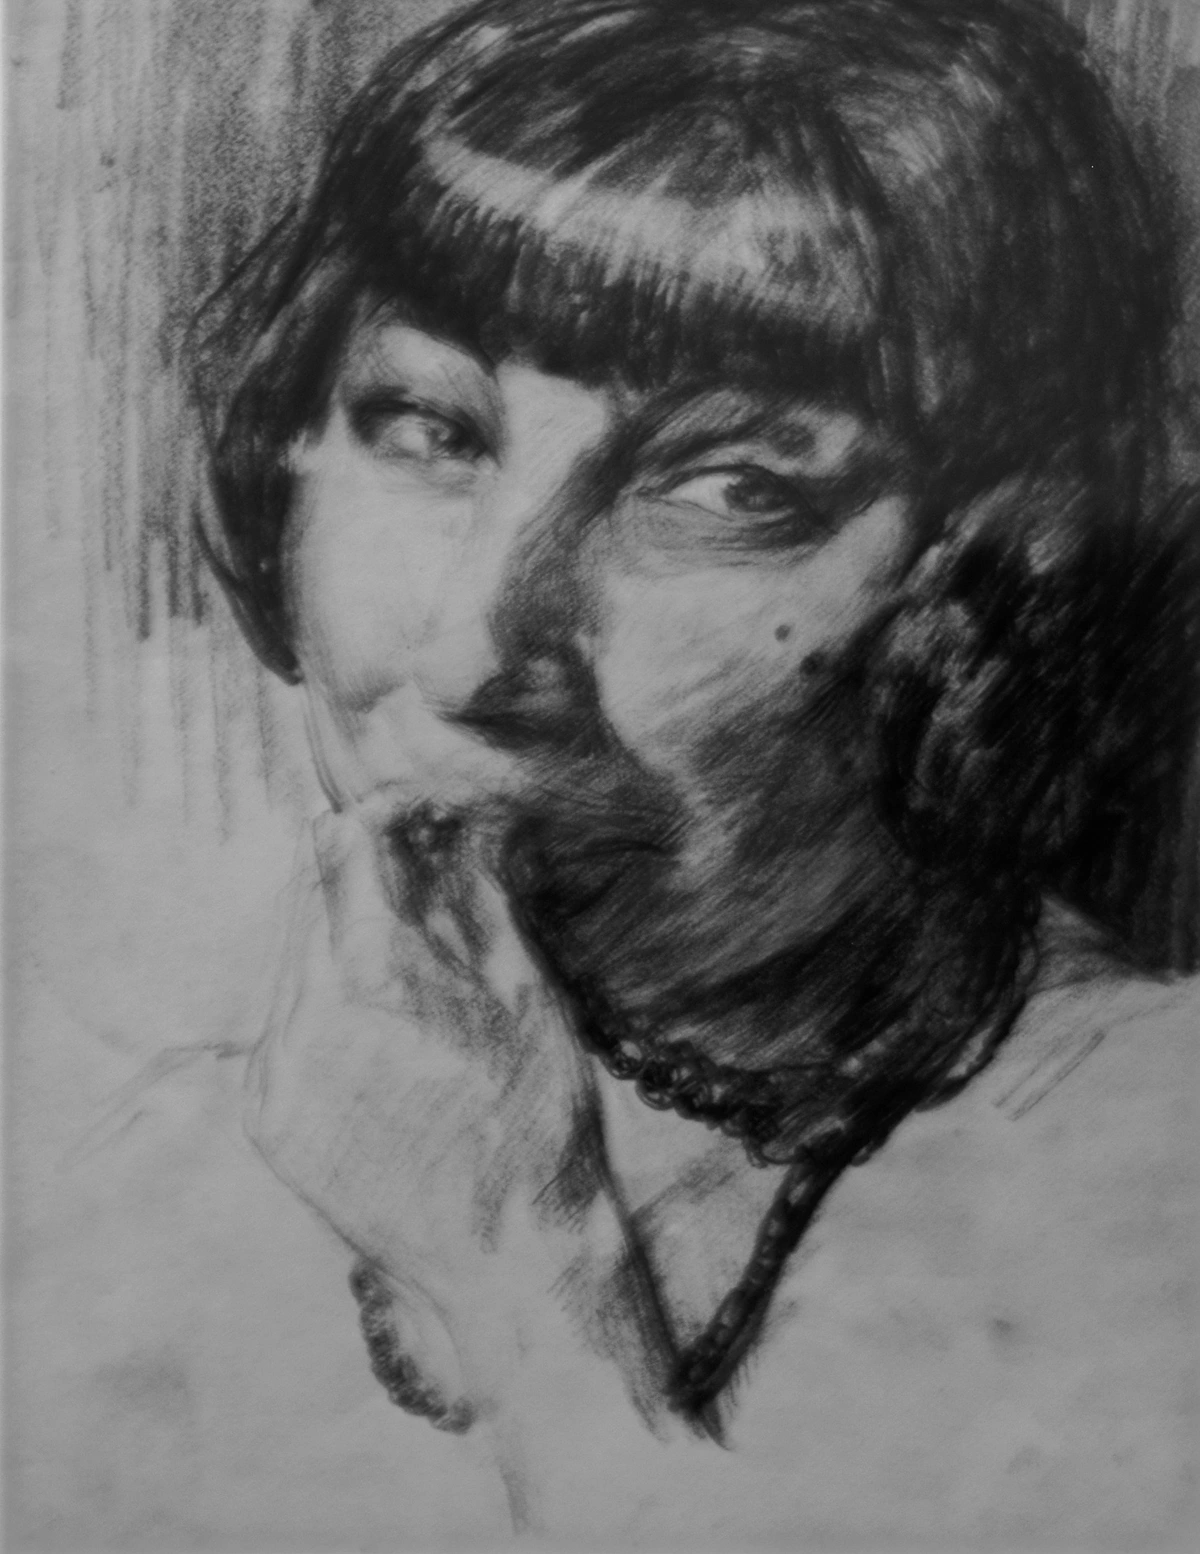
- Observational Drawing (15 minutes): Pick a simple object from your desk. A stapler, a pair of scissors, a plant pot. Draw it. Try to break it down into its core shapes and render the light and shadow as best you can.
Progressive Difficulty Levels
Beginner Level (15-30 minutes/day)
- Focus basic shapes in simple perspective
- Practice line control and construction
- Simple observational drawings
Intermediate Level (30-60 minutes/day)
- Complex perspective systems
- Detailed object construction
- More complex lighting scenarios
Advanced Level (60+ minutes/day)
- Complex compositions
- Advanced rendering techniques
- Personal projects and creative applications
Do this every day for a month. I promise you, the artist you are at the end of that month will be miles ahead of the artist you are today.
FAQ: Your Technical Drawing Questions, Answered
The Most Common Technical Drawing Questions
Timeline Expectations:
- 1-2 weeks: Basic line control and simple perspective
- 1 month: Comfortable with one and two-point perspective
- 3 months: Able to construct complex objects accurately
- 6 months: Solid understanding of all fundamentals
- 1 year: Professional-level technical drawing skills
When to Consider Digital Tools:
- You want to work in digital illustration
- You need to create reproducible designs
- You prefer the undo feature and layers
- You want to explore CAD or 3D modeling
Common Beginner Mistakes to Avoid:
- Drawing too lightly: Makes it hard to see construction lines and build confidence
- Using too many lines: Creates confusion and "hairy" drawings
- Starting with details: Always work from general to specific
- Poor posture: Leads to shaky lines and fatigue
- No warm-up: Like any physical activity, drawing benefits from preparation
The CAD vs. Technical Drawing Debate:
- CAD: Excellent for precision, replication, and digital workflows
- Technical Drawing: Builds spatial reasoning, understanding of form, and creative thinking
- Best Approach: Learn both - technical drawing for conceptual thinking, CAD for final execution
From a Box to a Universe
Look, I know this can feel like a grind. Practicing scales on a piano isn't as fun as playing a beautiful song. But without the scales, the song is impossible. My own artistic journey, which you can see a bit of on my [/timeline], has been a constant back-and-forth between structure and chaos. The more I strengthen my understanding of structure, the more powerful and intentional the chaos becomes.
That wobbly cube I drew all those years ago wasn't a failure. It was the first step. The goal isn't just to draw a perfect box. The goal is to understand the box so deeply that you can then stretch it, twist it, shatter it, or build a whole universe from it.
The Evolution of Your Drawing Journey
Your technical drawing journey will progress through several stages, each with its own challenges and rewards:
Stage 1: The Awkward Beginning (0-3 months)
- Focus: Basic line control and simple perspective
- Challenges: Shaky lines, poor proportions, frustration
- Mindset: Learning the "rules" and struggling to apply them
- Goal: Consistent, confident lines and basic perspective understanding
Stage 2: The Technical Foundation (3-6 months)
- Focus: Form construction and accurate proportions
- Challenges: Complex objects, maintaining perspective accuracy
- Mindset: Systematic problem-solving and analytical thinking
- Goal: Ability to construct any object from basic forms
Stage 3: The Creative Integration (6-12 months)
- Focus: Combining technical skills with personal style
- Challenges: Finding your voice while maintaining accuracy
- Mindset: Balancing structure with expression
- Goal: Technical drawings that reflect your unique perspective
Stage 4: The Mastery Phase (1+ years)
- Focus: Advanced techniques and personal projects
- Challenges: Developing original approaches and solving complex visual problems
- Mindset: Confident experimentation and creative problem-solving
- Goal: Work that demonstrates both technical excellence and artistic vision
Building Your Technical Drawing Portfolio
As you progress, consider building a portfolio that showcases your technical drawing skills. A good technical drawing portfolio should demonstrate:
- Line Quality: Clean, confident lines with varied weight
- Perspective Mastery: Correct one, two, and three-point perspective
- Form Construction: Accurate breakdown of complex objects
- Light and Shadow: Understanding and rendering of lighting
- Technical Precision: Measuring, construction lines, accuracy
Portfolio Ideas:
- Architectural studies (buildings, interiors)
- Product design sketches
- Mechanical drawings
- Anatomical studies
- Technical illustrations
Advanced Technical Drawing Techniques
Once you've mastered the fundamentals, you can explore more advanced techniques:
- Isometric Projection: A method of visually representing three-dimensional objects in two dimensions, where all three axes are equally foreshortened
- Oblique Drawing: Similar to isometric but with one face drawn true to shape and size
- Sectional Views: Showing the interior of objects by cutting away a portion
- Exploded Views: Showing how components fit together by separating them
- Auxiliary Views: Showing true shape of angled surfaces
Specialized Drawing Methods
Multi-View Orthographic Projection
This professional drafting technique shows an object from multiple perpendicular views:
- Front View: Primary elevation
- Top View: Plan view from above
- Side View: Profile view from the side
- Additional Views: As needed for complex objects
This method is essential for engineering and manufacturing documentation.
Axonometric Projection Systems
Type | Characteristics | Best For | Complexity |
|---|---|---|---|
| Isometric | 30-degree angles, equal foreshortening | Technical illustrations, instruction manuals | Moderate |
| Dimetric | Two equal axes, one different | Architectural visualization | Advanced |
| Trimetric | All three axes different | Artistic perspective, conceptual design | Expert |
Advanced Shading Techniques
- Chiaroscuro: Dramatic contrast between light and dark areas
- Hatching: Parallel lines for tonal variation
- Cross-Hatching: Intersecting lines for darker values
- Stippling: Dots for subtle tonal gradation
- Sfumato: Soft, smoky transitions between light and dark
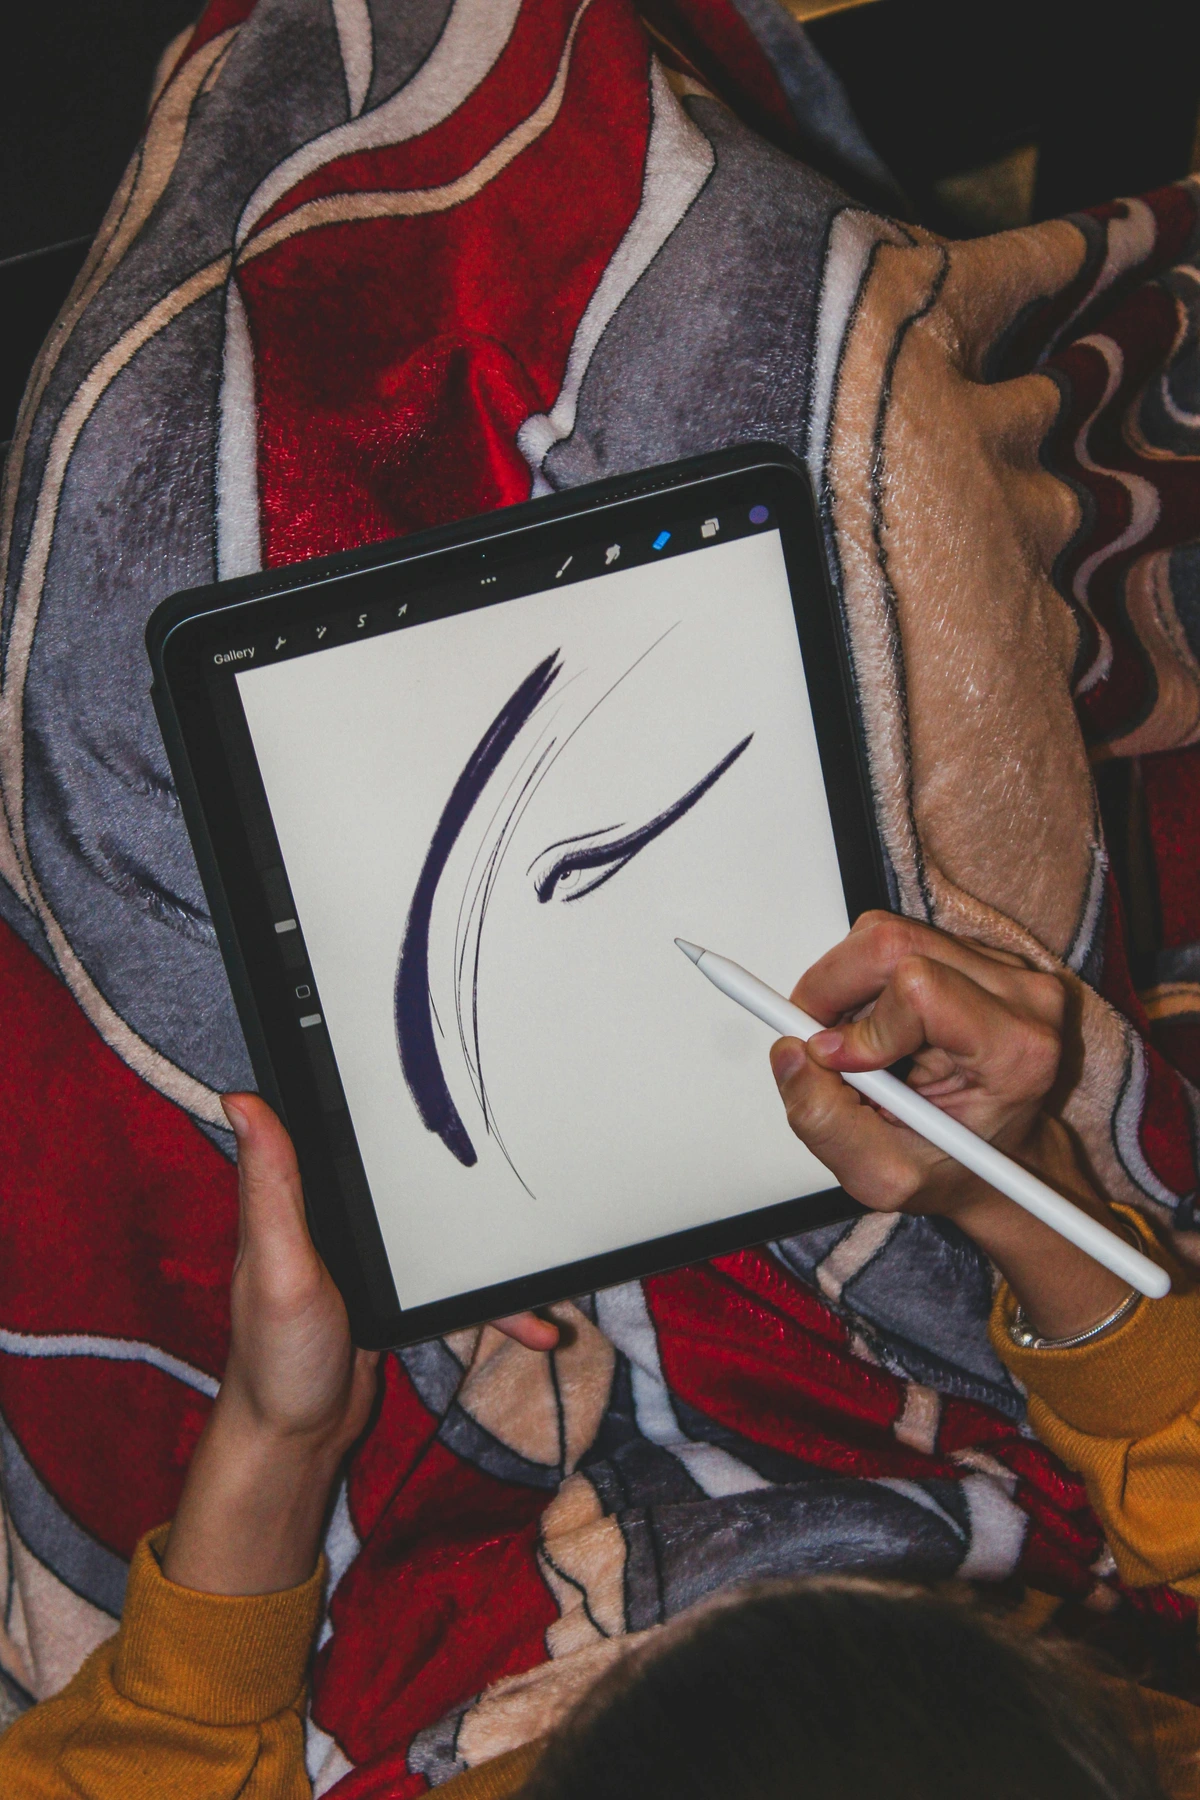
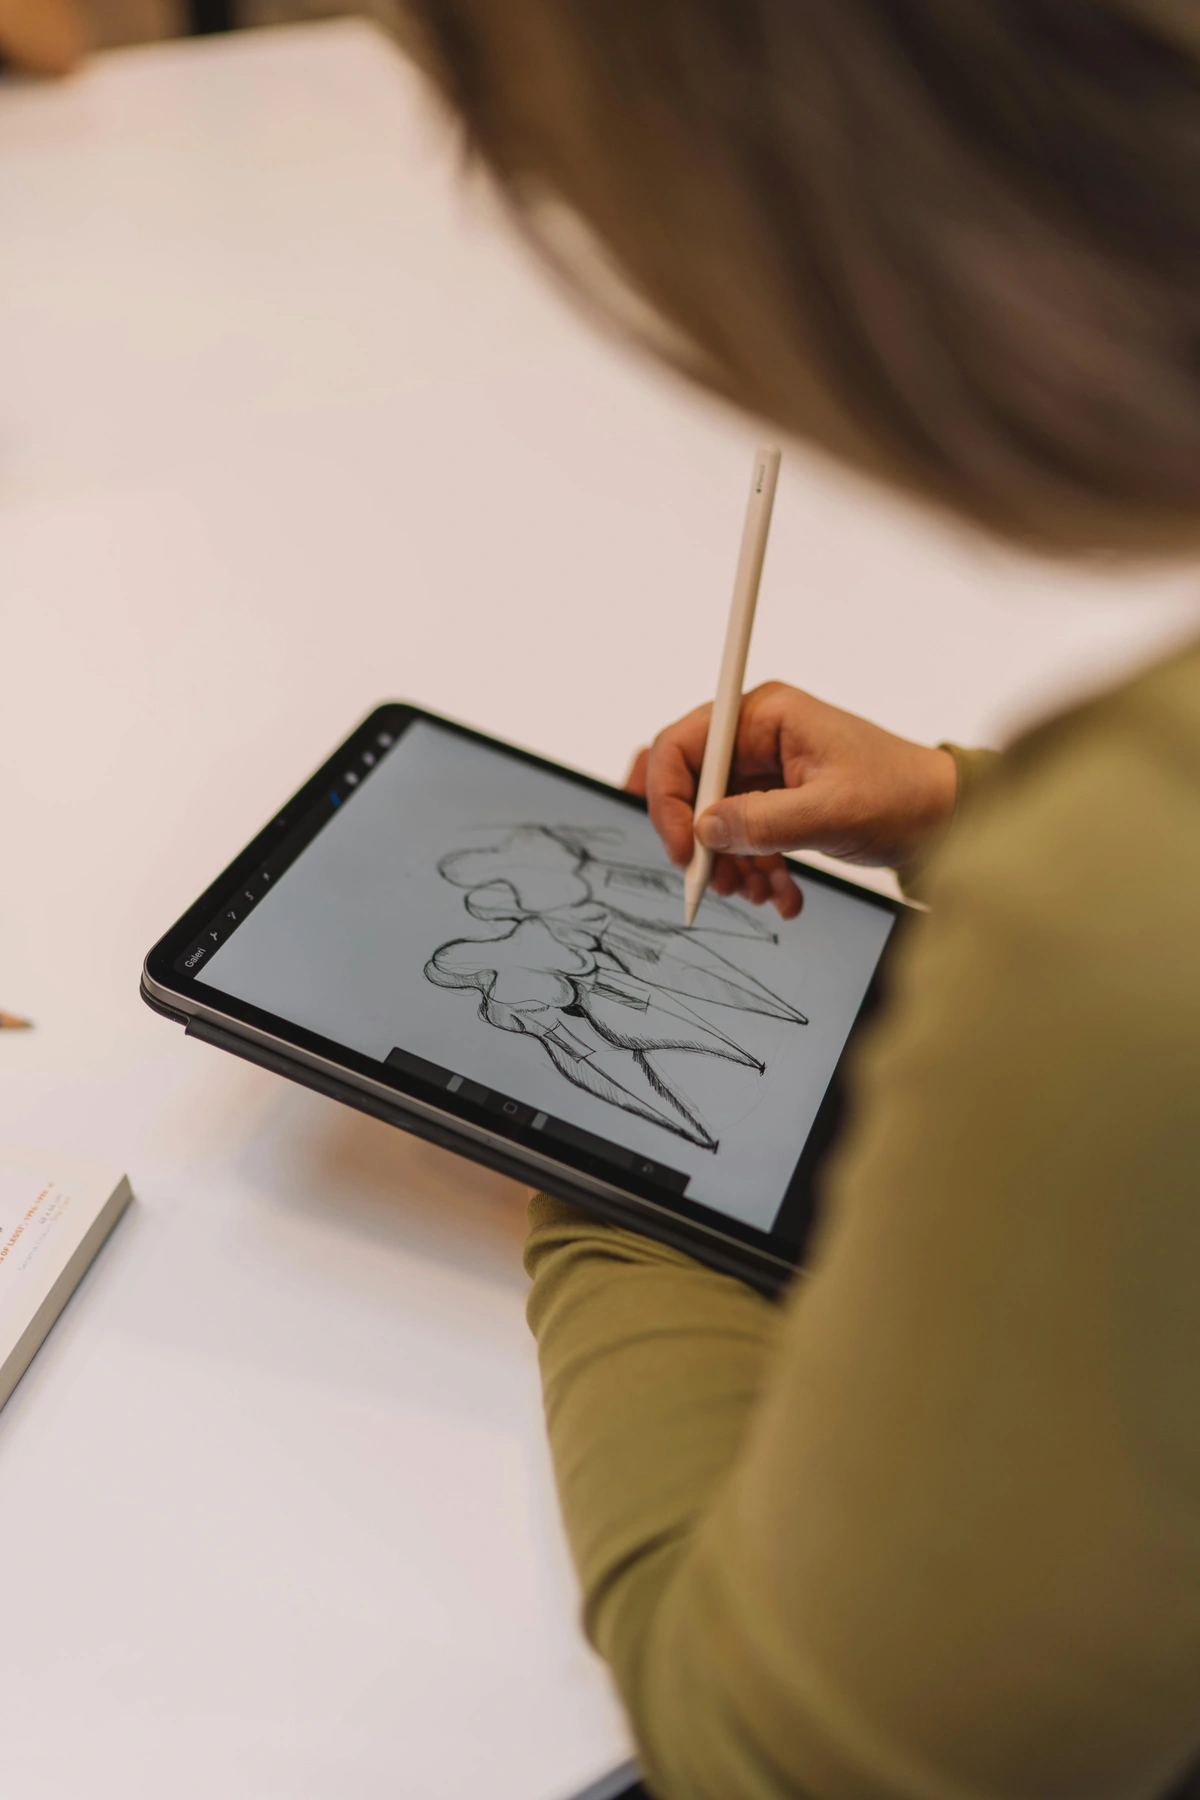
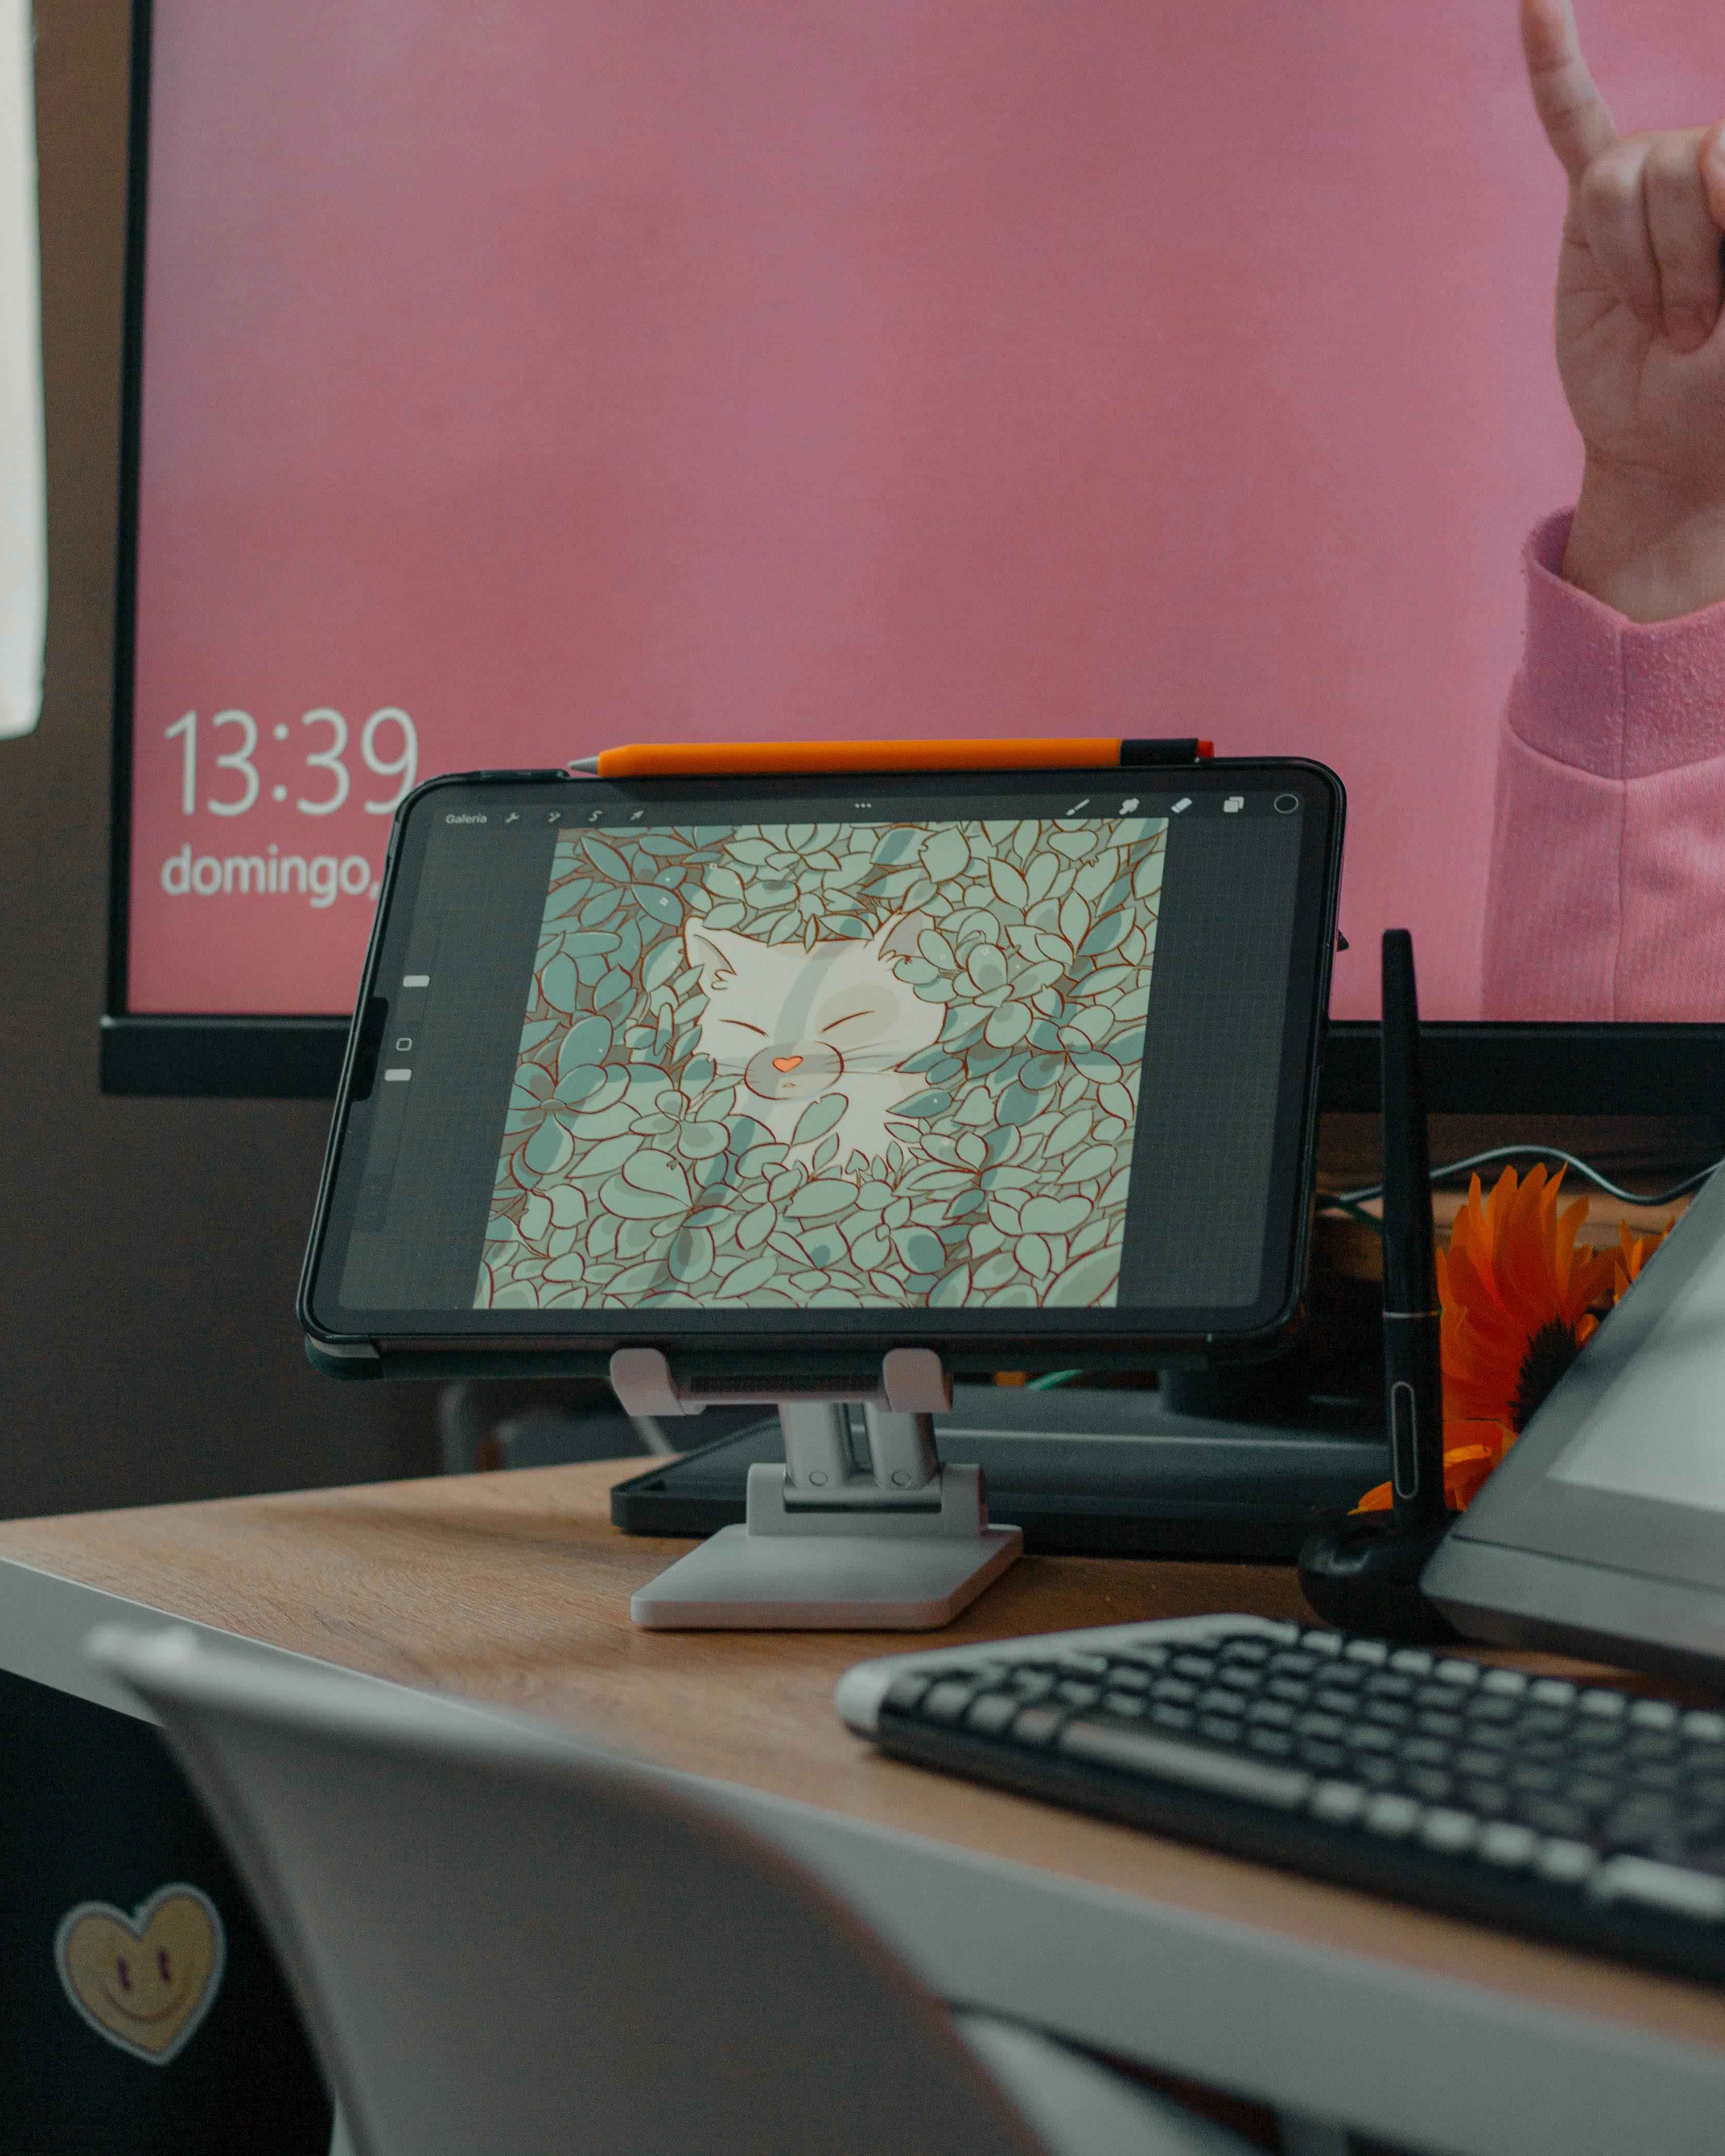
Digital Technical Drawing
Modern technical drawing combines traditional skills with digital tools:

Software for Technical Drawing
- CAD Programs: AutoCAD, SolidWorks, Rhino (precision engineering)
- Illustration Software: Adobe Illustrator, Affinity Designer (vector graphics)
- 3D Modeling: Blender, Maya, 3ds Max (three-dimensional visualization)
- Technical Illustration: CorelDRAW, Vectornatives (specialized illustration)
Digital vs Traditional Workflow
Aspect | Traditional | Digital | Hybrid |
|---|---|---|---|
| Setup Time | Minimal (paper, pencil) | Significant (software, tablet) | Moderate (digital tablet, traditional media) |
| Revisions | Erasing, starting over | Easy undo and layers | Limited undo ability |
| Precision | Limited by hand skill | Perfect precision with tools | Natural feel with digital precision |
| Output | Physical originals | Digital files | Physical or digital |
| Learning Curve | Steady, immediate feedback | Steep, software-specific | Moderate, combines both |
Measuring and Scaling Techniques
Professional technical drawing requires precise measurement:

Traditional Measuring Tools
- Architect's Scale: For building measurements (1:100, 1:50, etc.)
- Engineer's Scale: For technical drawings (1:1, 1:2, etc.)
- Divider: For transferring measurements
- Compass: For circles and arcs
Digital Measurement Tools
- Grid Overlays: Digital grids for alignment
- Measurement Tools: Built-in rulers and protractors
- Precision Cursors: Snap-to-grid functionality
- Scale Tools: Automatic scaling and measurement
The Mindset of a Technical Artist
Technical drawing isn't just about skill—it's about mindset. Here are some psychological principles that will accelerate your progress:
- Embrace the Process: Focus on the journey, not just the destination
- Practice Deliberately: Not just practice, but practice with intention
- Study from Life: Reference real objects whenever possible
- Learn from Mistakes: Every "bad" drawing is a learning opportunity
- Stay Curious: Always ask "how" and "why" about what you're drawing
The Future of Technical Drawing
As technology continues to evolve, so does the field of technical drawing. While the fundamental principles remain unchanged, new tools and applications are constantly emerging.
Emerging Trends
AI-Assisted Technical Drawing
- Automated Perspective Correction: AI tools that fix perspective errors
- Smart Line Detection: Software that recognizes and improves hand-drawn lines
- Generative Design: AI that creates technical drawings based on parameters
- Style Transfer: Applying artistic styles to technical illustrations
Augmented and Virtual Reality
- AR Overlays: Seeing technical information overlaid on real objects
- VR Design: Creating and manipulating 3D technical drawings in virtual space
- Collaborative Design: Multiple artists working together in shared virtual spaces
- Immersive Review: Experiencing designs at full scale before production
Sustainable and Ethical Practices
- Digital-First Workflows: Reducing paper waste through digital processes
- Open Source Tools: Free and accessible drawing software
- Collaborative Platforms: Sharing knowledge and techniques globally
- Inclusive Design: Ensuring technical drawing skills are accessible to all
Community and Resources
Technical drawing has never been more accessible, thanks to online communities and resources:
Online Learning Platforms
- YouTube Channels: Free tutorials on every aspect of technical drawing
- Online Courses: Structured learning from professional artists
- Virtual Workshops: Live instruction and feedback
- Digital Communities: Forums for sharing work and getting critique
Practice Communities
- Daily Drawing Challenges: Structured practice with community support
- Portfolio Platforms: Sites to showcase and get feedback on your work
- Social Media Groups: Communities of like-minded artists
- Local Meetups: In-person practice groups and workshops
Final Thoughts
Technical drawing is more than just a set of skills—it's a way of seeing and understanding the world. When you learn to draw, you're not just learning to make marks on paper; you're learning to see the underlying structure of everything around you.
The journey from that first wobbly cube to creating complex, beautiful drawings is challenging but incredibly rewarding. Every line you draw, every perspective you master, every form you construct brings you closer to true artistic freedom.
Remember: the goal isn't perfection. The goal is understanding. When you truly understand how things work in space, you can create anything you imagine.
So go ahead—pick up that pencil, open your sketchbook, and start drawing. The world is full of boxes waiting to be understood, stretched, twisted, and transformed into something entirely new.