Unsung Studio Heroes: Essential Tools for Creative Mastery & Well-being
Unlock your artistic potential. Discover 5 essential, often overlooked tools that transform your art workflow, boost creativity, and safeguard your artistic journey. This ultimate guide helps artists master their craft and well-being.
Mastering Your Craft: 5 Unsung Studio Heroes Every Artist Needs to Thrive
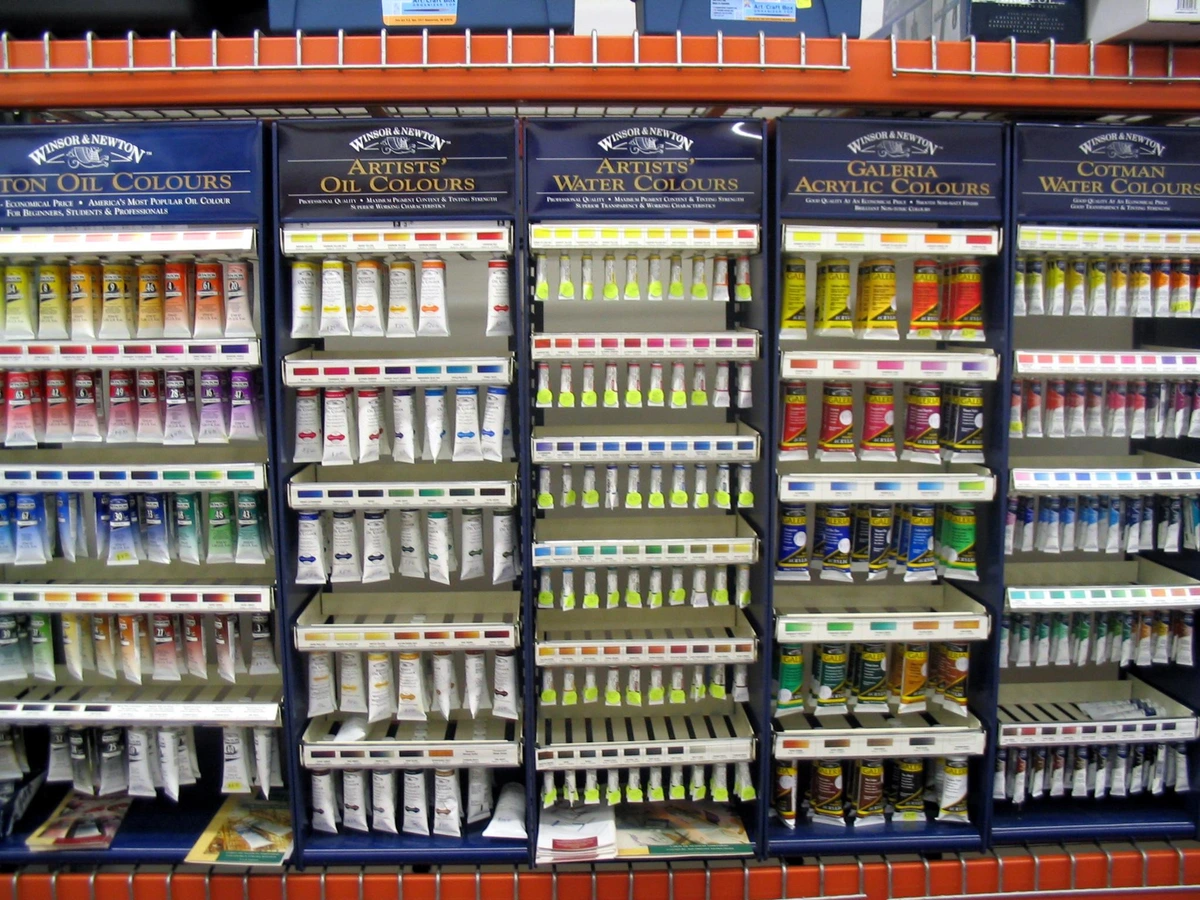
We all love the rock stars of the art studio, right? The vibrant tubes of paint, the brand-new brushes with perfectly shaped bristles, the pristine canvas waiting for a masterpiece. They get all the glory, the Instagram photos, the oohs and aahs. But I've learned over countless hours spent in my studio—some frustrating, some magical—that the real Most Valuable Players are the quiet ones. They're the roadies of the art world, the behind-the-scenes crew that makes the whole show possible. Honestly, neglecting these foundational elements is like trying to build a skyscraper with a plastic toy shovel. It just won't work, and crucially, it actively hinders your creative process, wastes valuable energy, and will eventually show in the limitations of your finished work. Are you struggling with inconsistent results or physical discomfort after long creative sessions? These tools might be your answer.
Investing in the right tools isn't about luxury; it's about empowering your creative process and safeguarding your artistic journey. Think about it: how much mental energy do you lose fighting with flimsy equipment or wrestling with preventable messes like accidental smudges or dried-out brushes? I remember the sheer frustration of a brush caked stiff with dried acrylic, refusing to yield, or the disappointment of a painting marred by an avoidable smudge. When your tools support you, rather than hinder you, your artistic vision can truly take flight. These aren't just accessories; they're the silent partners that underpin every successful session, from the initial sketch to the final, triumphant brushstroke. They allow you to focus on the art itself, to experiment boldly, and to maintain the longevity of your practice. And here's the kicker: consciously choosing and maintaining these unsung heroes also contributes subtly to a more sustainable art practice by prolonging the life of your materials and reducing waste in the long run.
So, let's pull back the curtain on these five studio essentials that rarely get the spotlight: the humble palette knife, a truly good easel, the magical masking fluid, the indispensable digital sketchbook, and the often-forgotten dedicated cleaning station. These aren't just tools; they're investments in your creative freedom, your physical comfort, and the longevity of your artistic practice. Let's start with a tool that truly transformed my relationship with paint itself...
Hero #1: The Humble Palette Knife
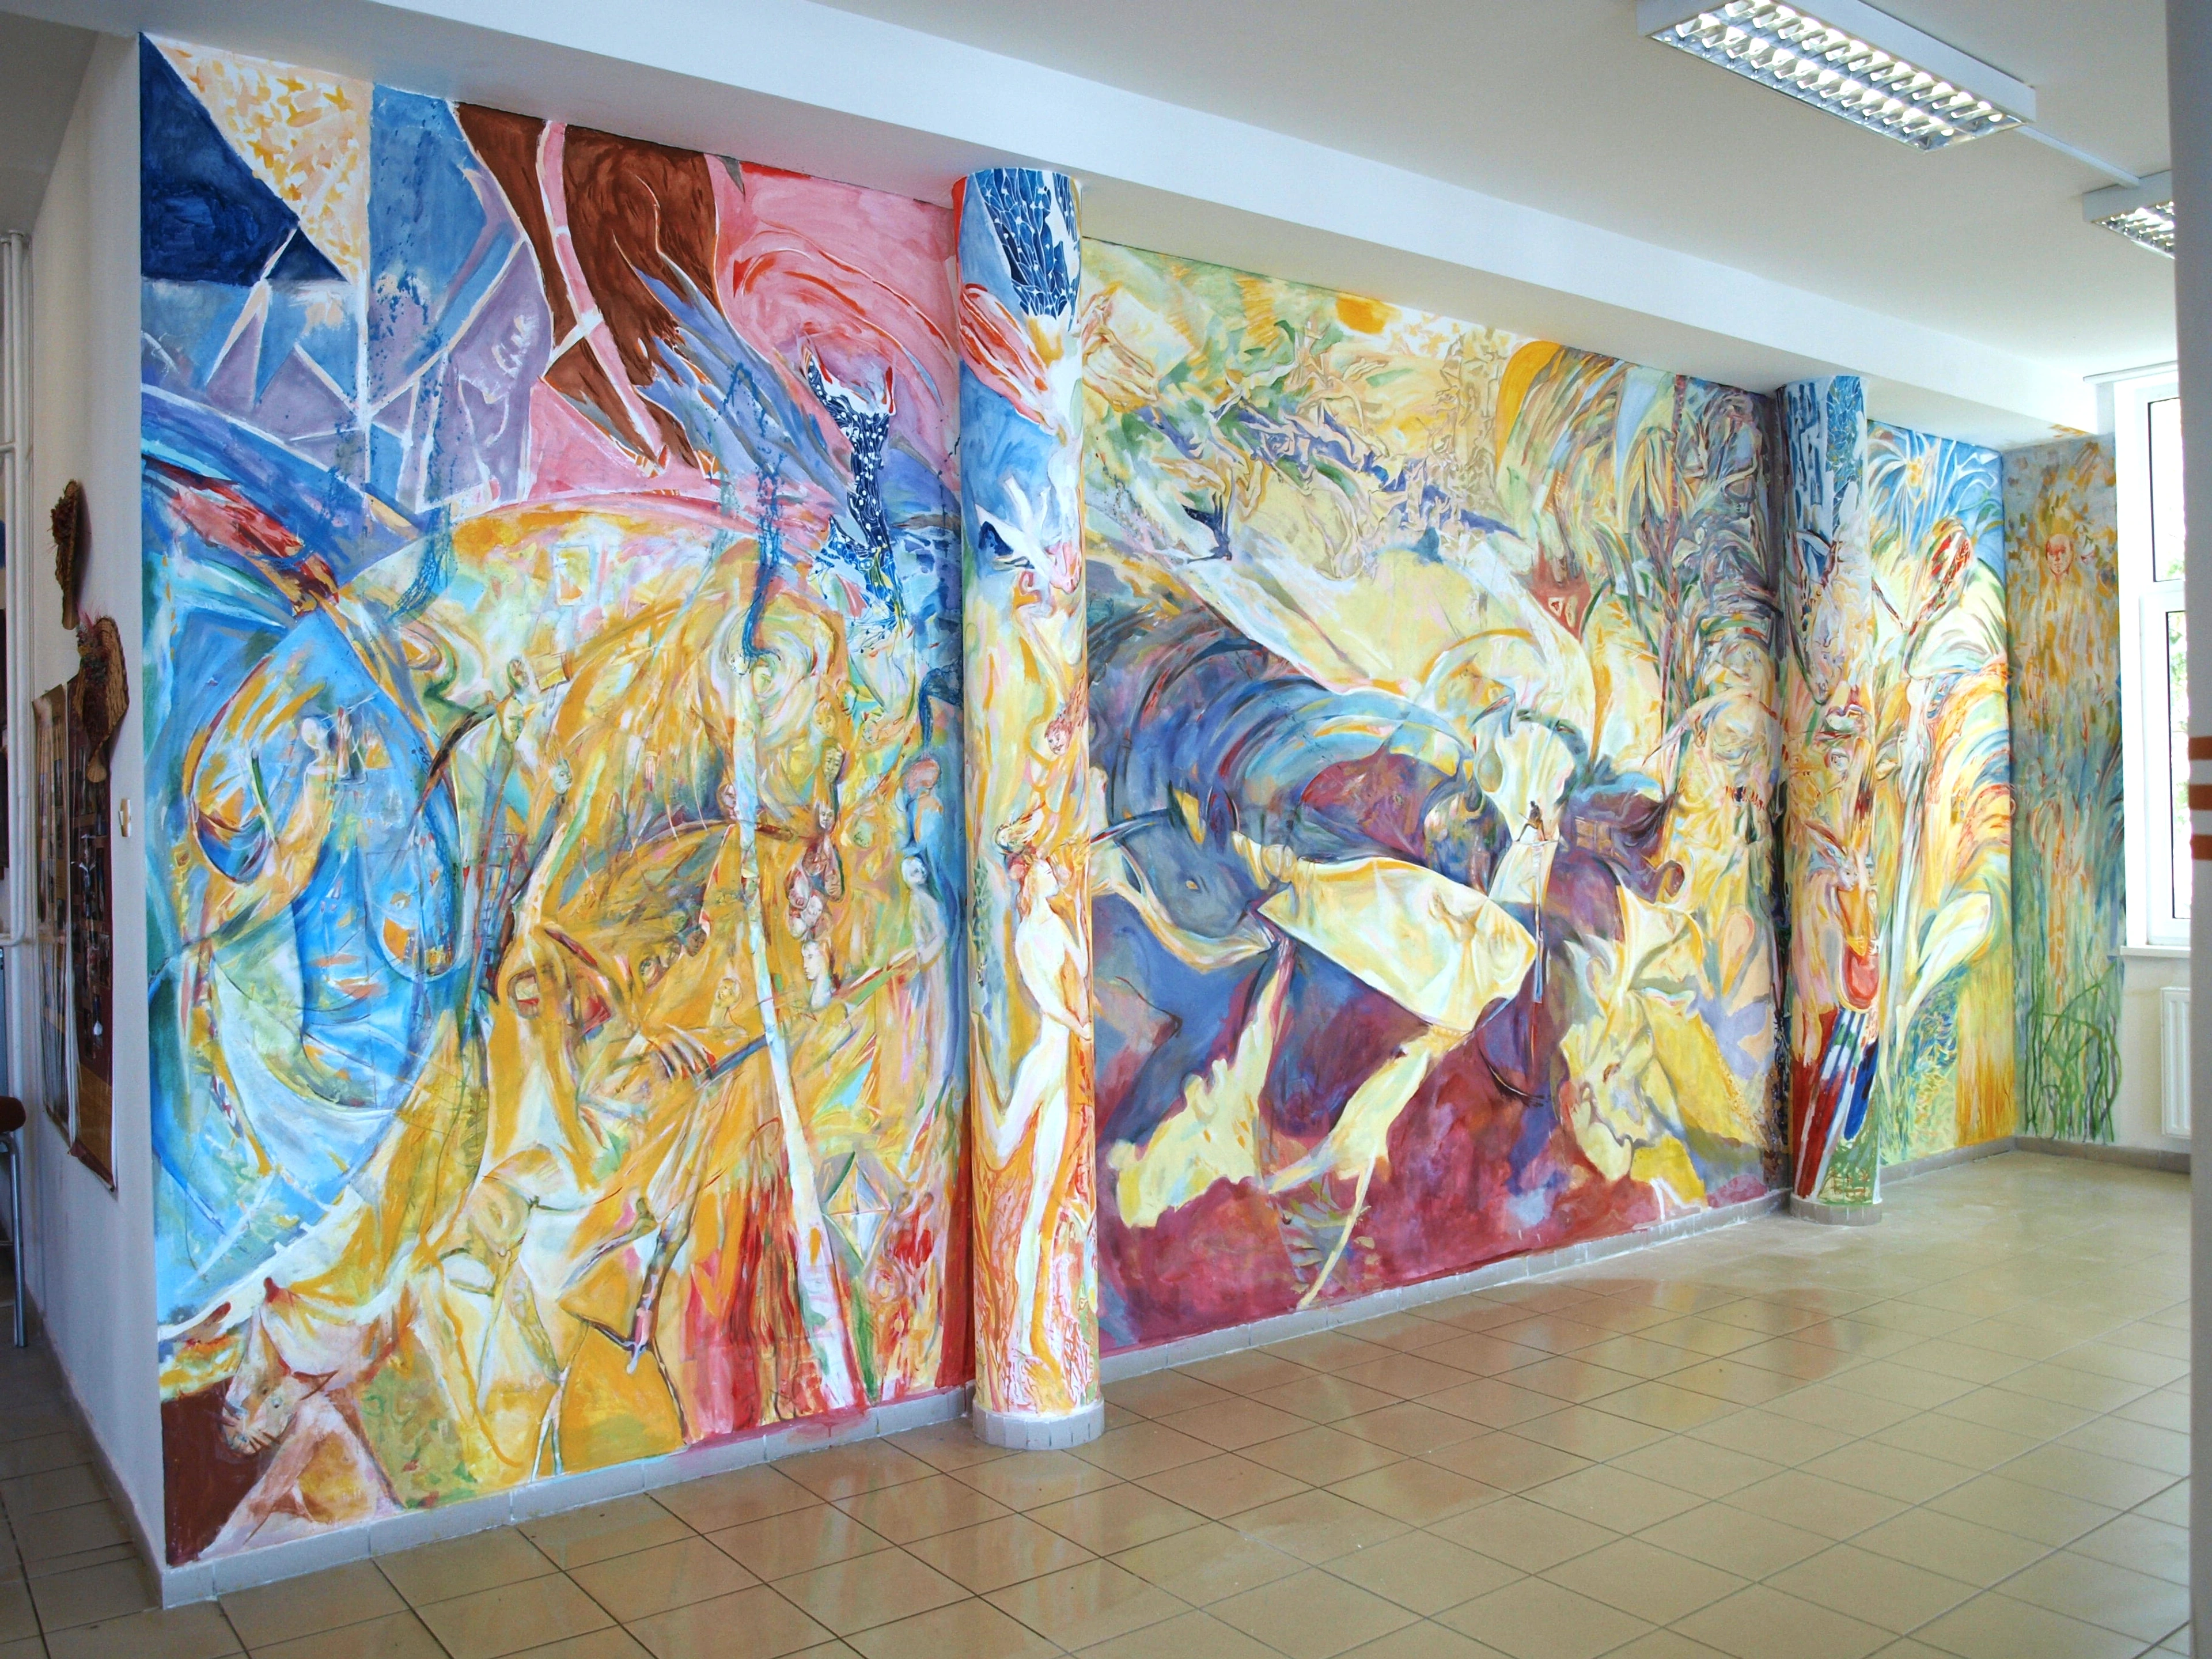
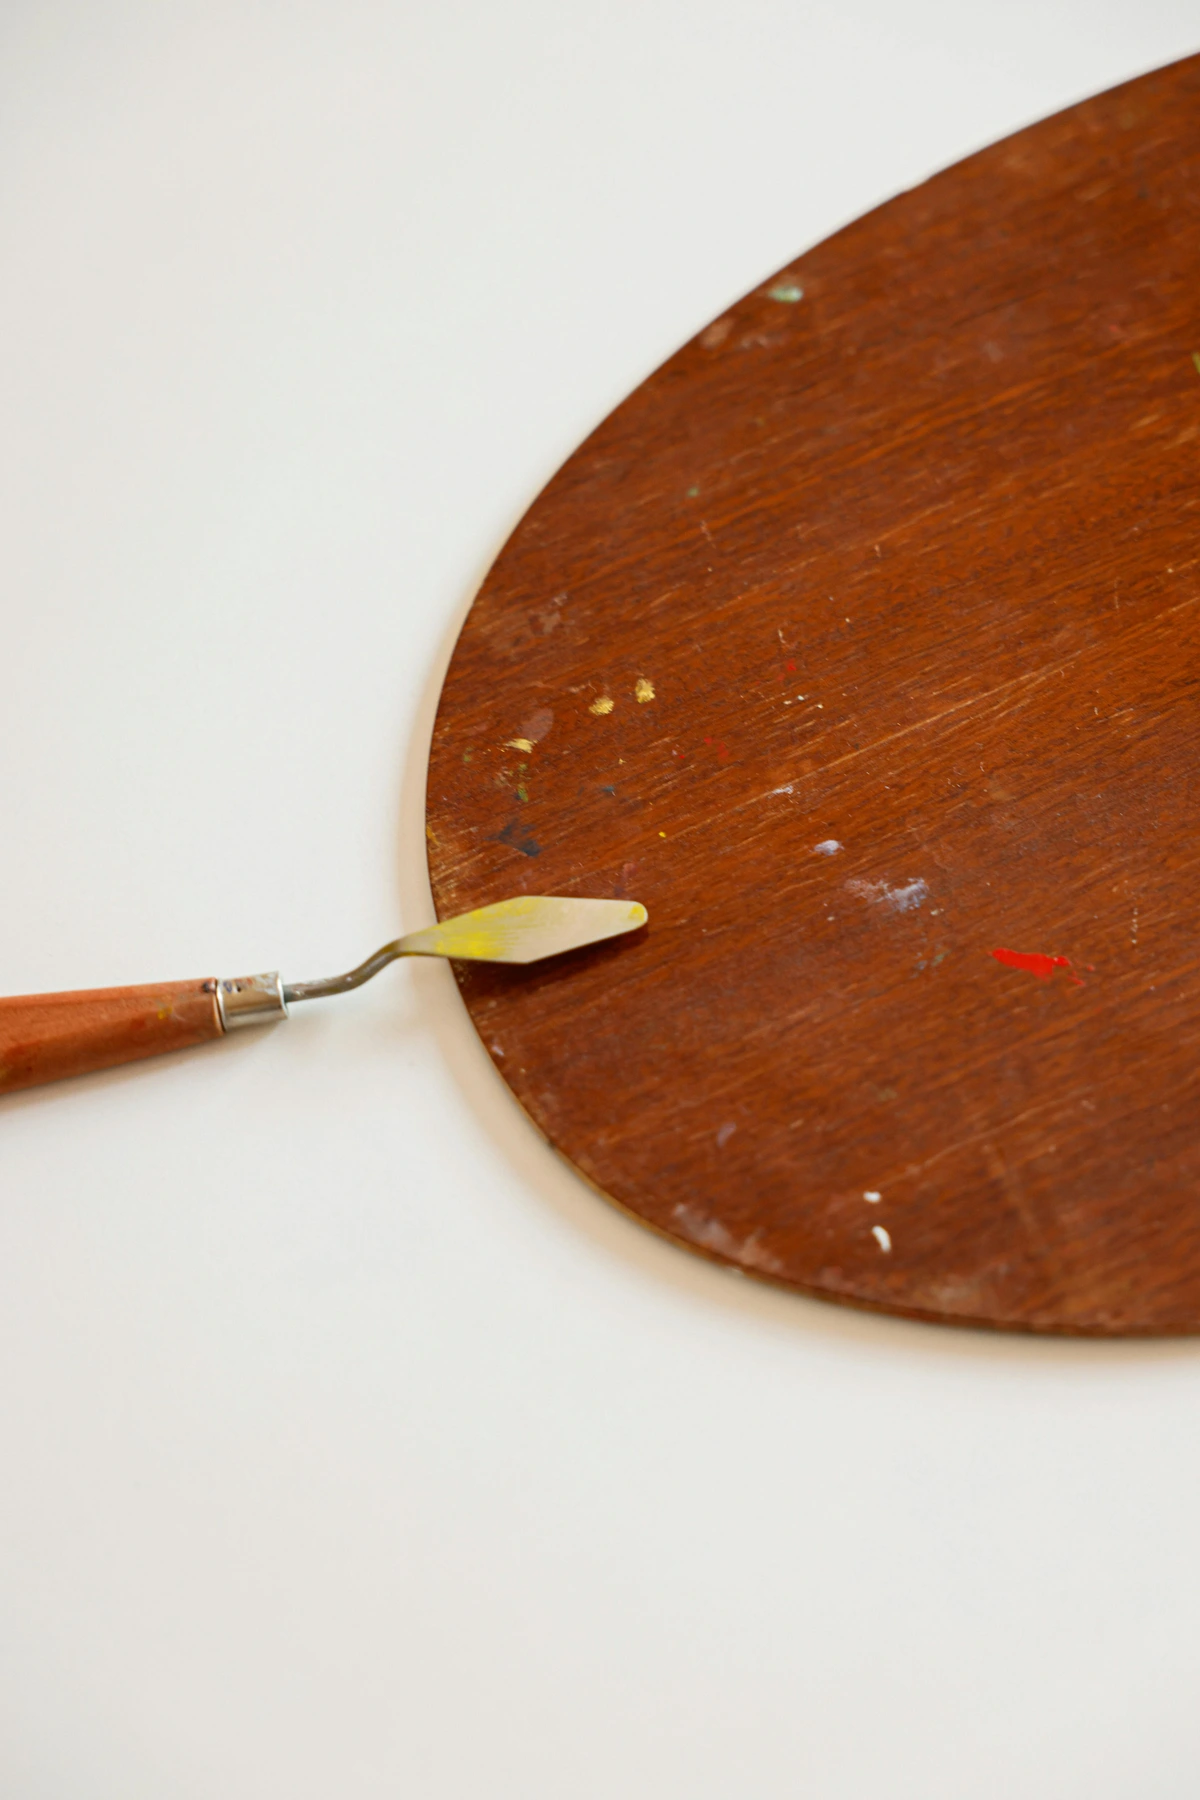
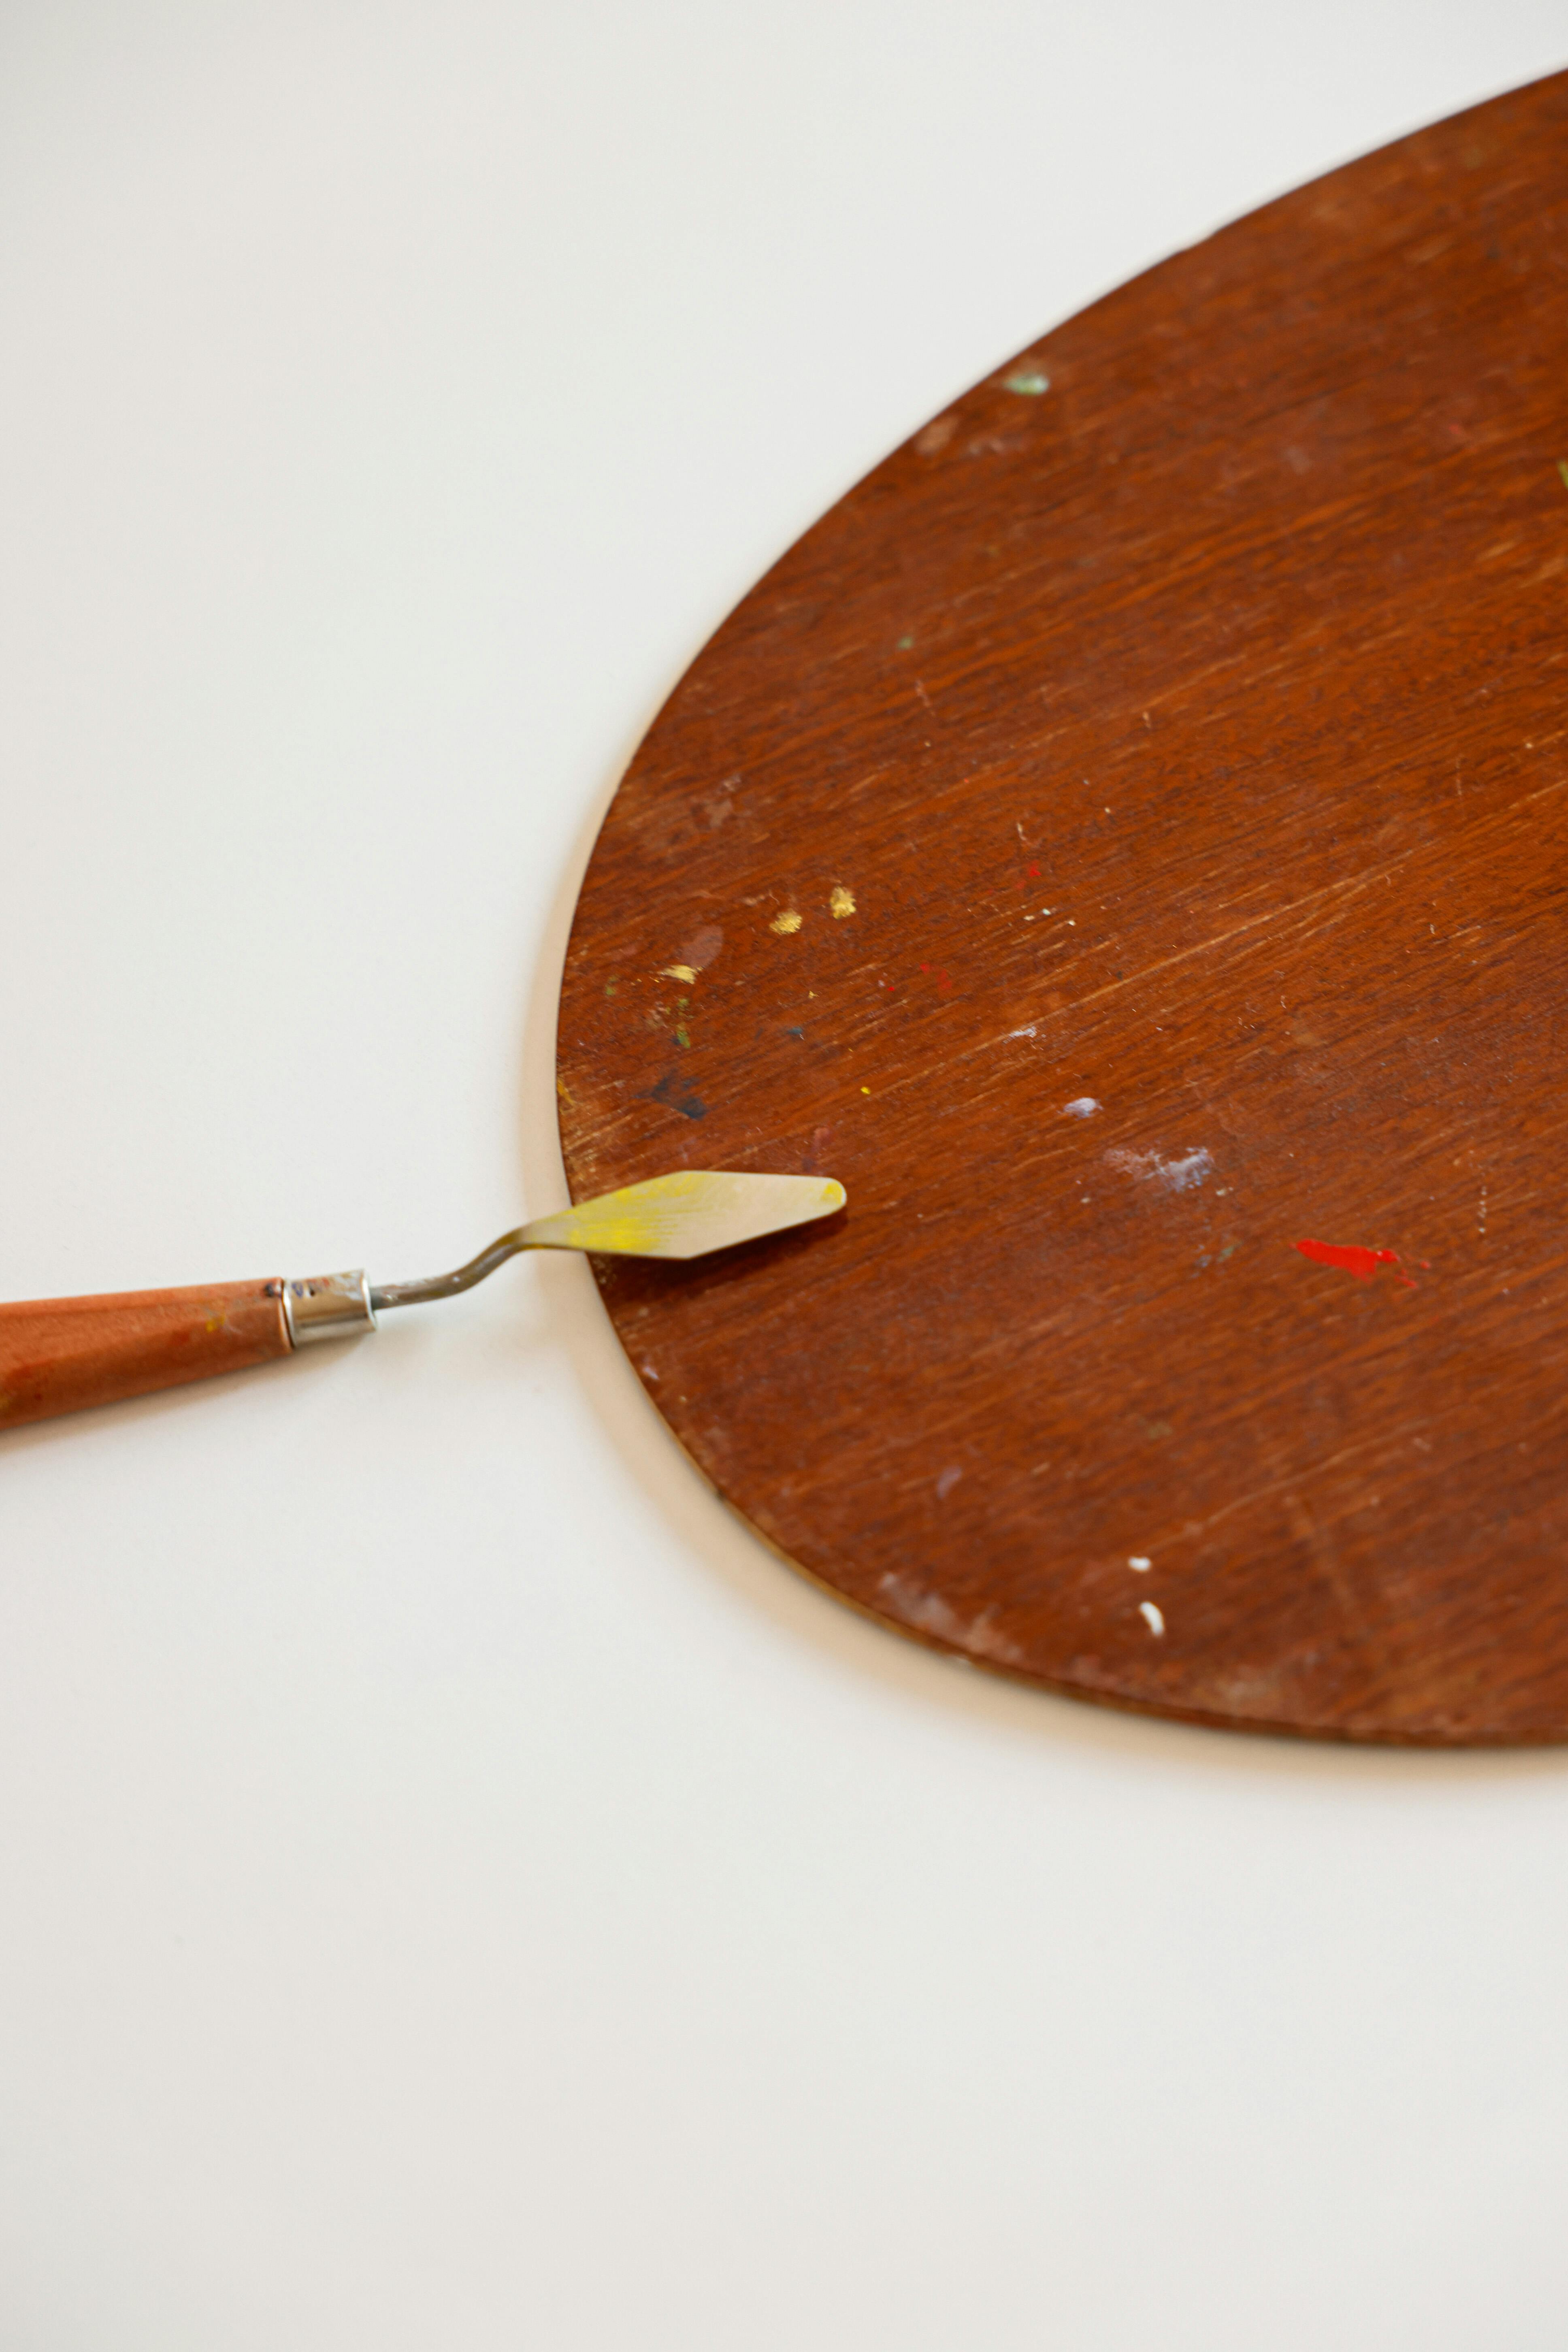
I used to think a palette knife was just for, well, mixing paint on a palette. It seemed like a glorified butter knife, utterly secondary to my brushes. How incredibly wrong I was! My brushes probably snickered behind my back for years. This simple piece of metal is now one of my most expressive tools, and I feel a bit lost without it. It's truly revolutionized how I approach texture and application, especially in abstract work where the physical presence of the paint is key. This tool was absolutely crucial for achieving the sculptural textures in my 'Ocean Swirl' series, known for its thick, impasto layers mimicking the movement of water and light, creating a dynamic sense of depth that draws the viewer in.
Why the Palette Knife is a Studio Essential
Its versatility is astounding; it's not a one-trick pony, it's a whole circus act in one tool. Traditionally, palette knives evolved from practical scraping tools used in various crafts and even surgical instruments, highlighting their heritage of precision and utility long before they became art studio mainstays. Most often made from durable stainless steel (often specific grades like 304 or 420 for enhanced corrosion resistance, meaning they resist rust and chemical degradation from pigments and solvents), these knives are easy to clean and resist rust, ensuring a long lifespan in your studio. Investing in a good quality one means it will withstand the rigors of heavy pigment and solvent exposure. Artists like Vincent Van Gogh and Franz Kline famously embraced the palette knife, not just for mixing, but to convey raw emotion and energetic movement directly onto the canvas, making the paint itself a sculptural element, a technique also seen in some of the bold, expressive works of Abstract Expressionists like Willem de Kooning.
I use it for:
- Mixing Colors: Of course! It keeps my brush bristles clean, preventing them from getting gunked up, and helps create pure, un-muddied colors directly from the tube or in complex mixes. Essential for any color study where clarity is key. It's particularly useful for thick oil and acrylic paints.
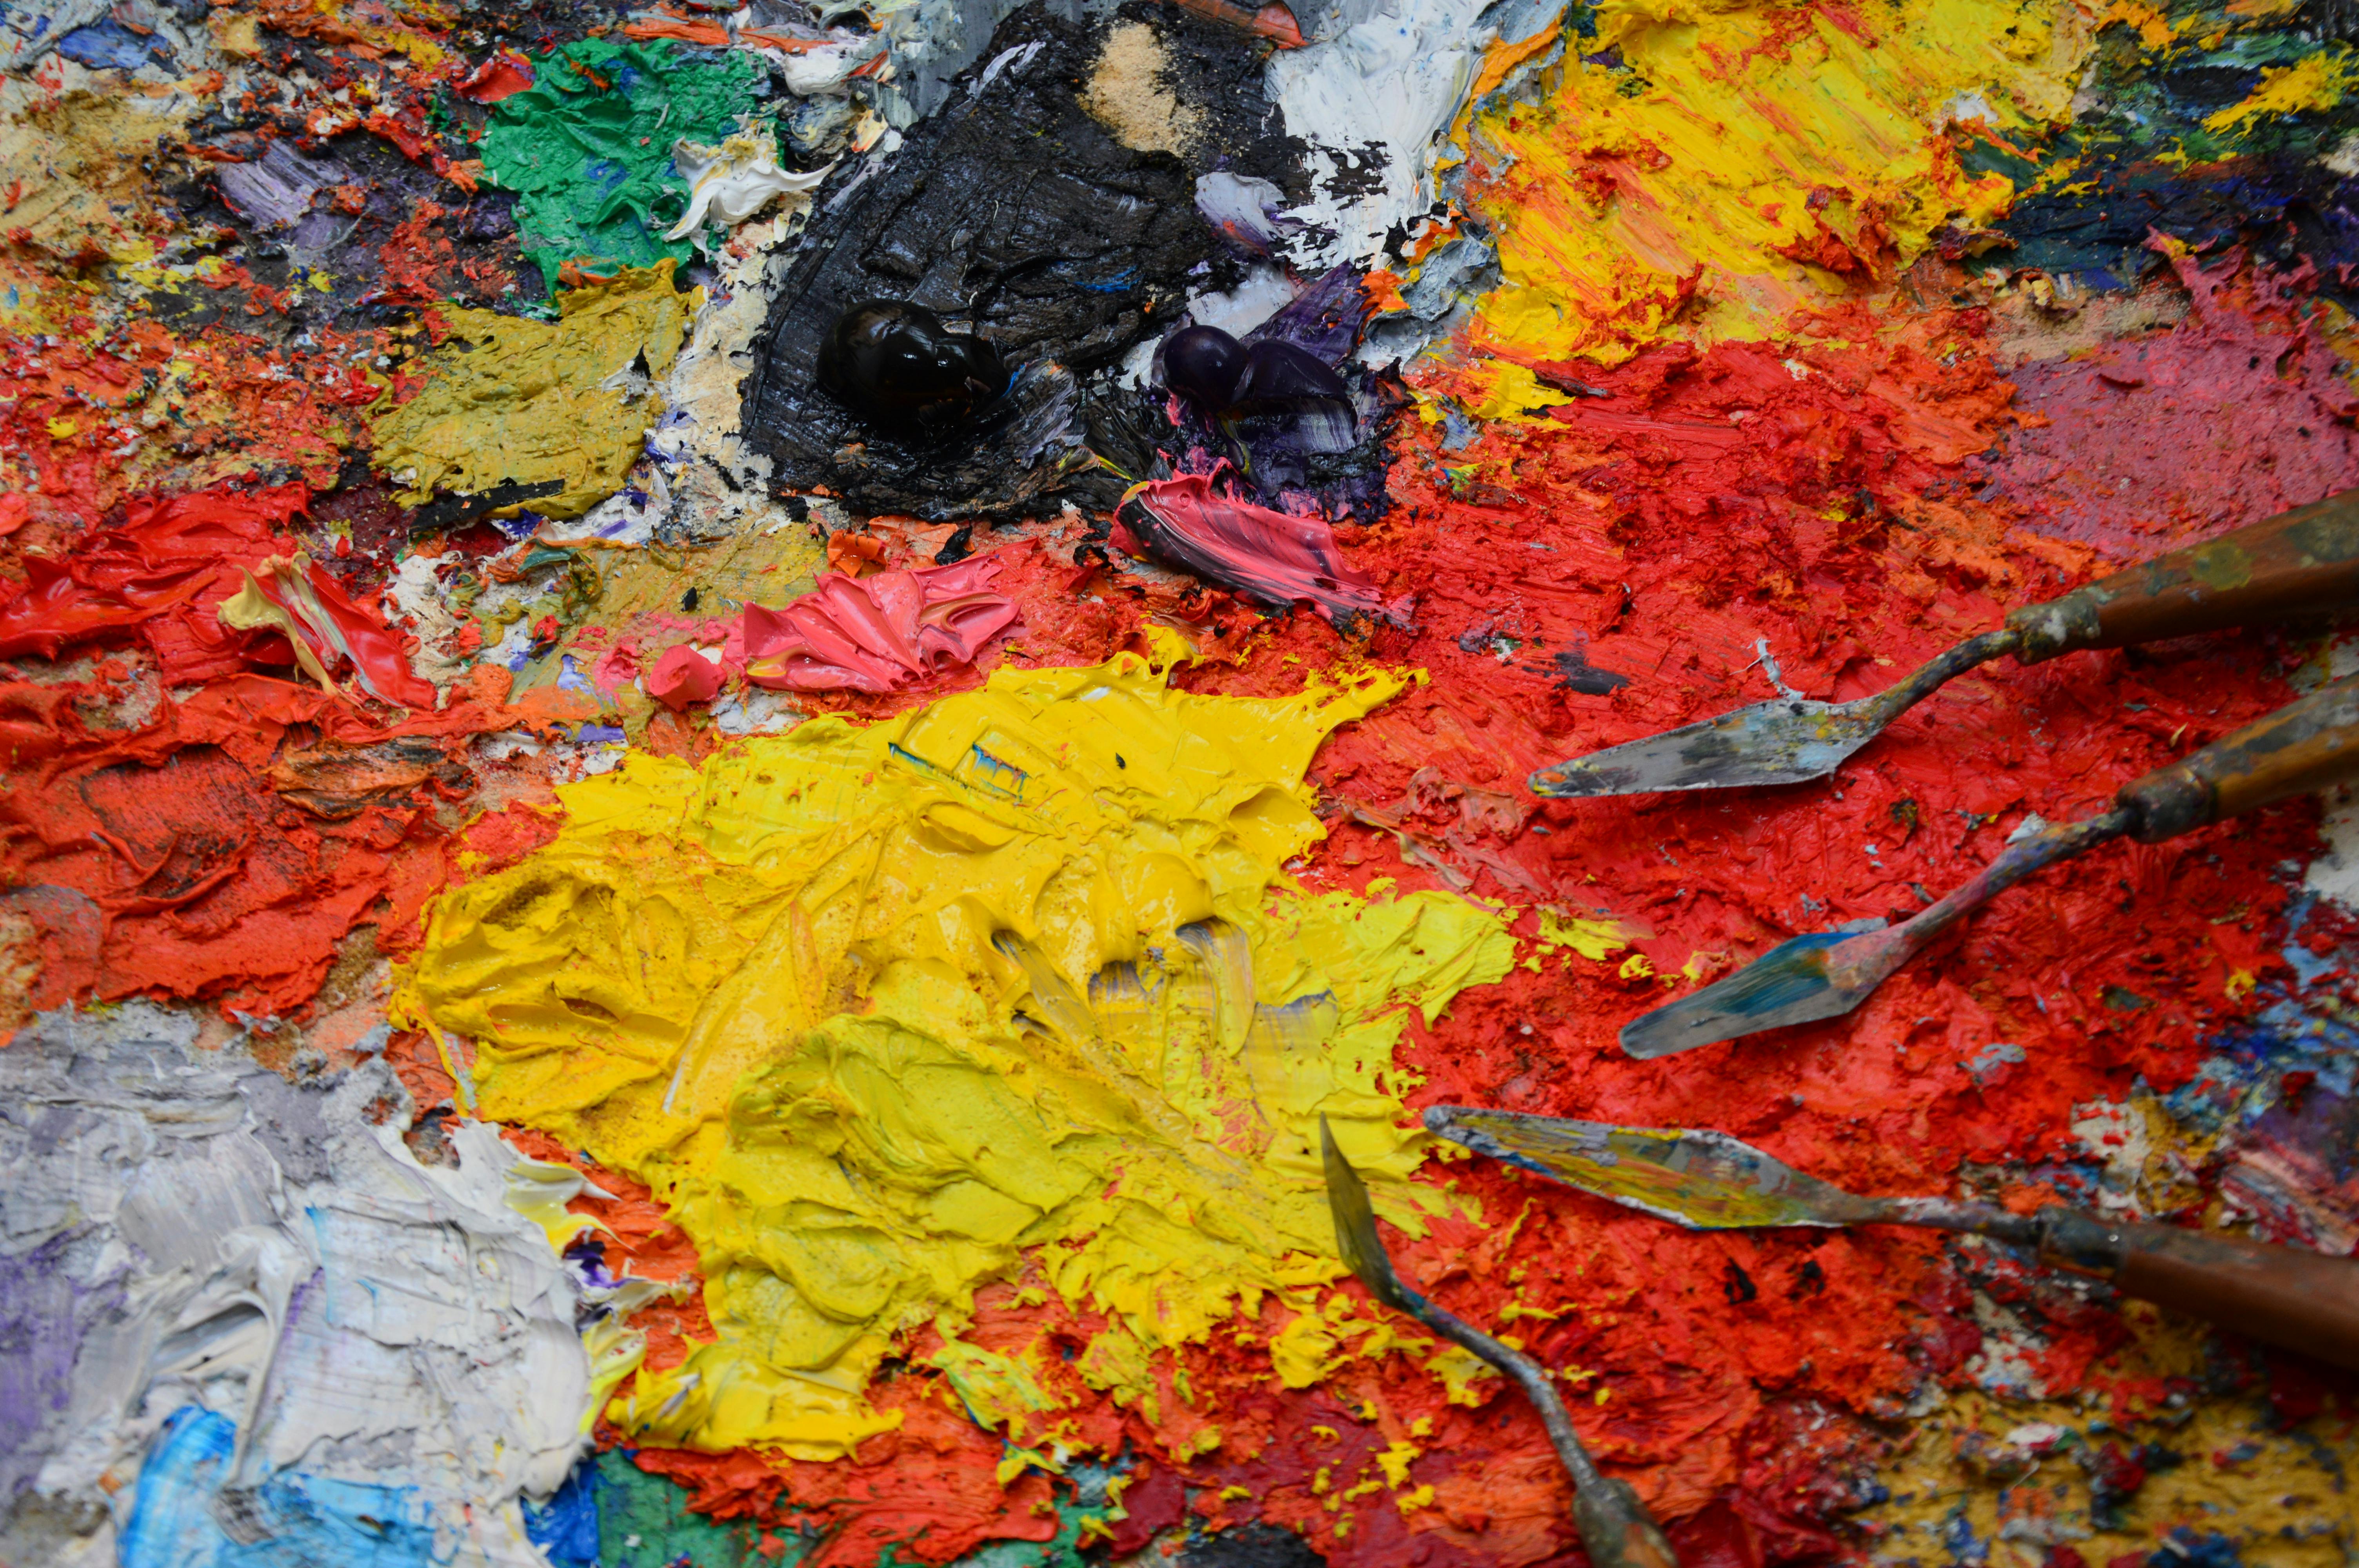
- Creating Texture (Impasto): This is where it truly shines, especially for abstract or expressive pieces. You can slather on thick, buttery layers of paint—a technique called impasto—that give a piece incredible depth and physical presence. For me, it's a go-to for really making the viewer want to reach out and touch the canvas, exploring the very limits of texture in art. Van Gogh's swirling, tactile brushstrokes, often applied with a palette knife, are a prime example of how this tool can infuse a painting with emotion and energy.
- Making Sharp Edges: Need a crisp line for an architectural element, a horizon, or a geometric abstraction? A palette knife edge is often cleaner and more decisive than most brushes can manage. Try it; you'll be surprised by its precision.
- Scraping and Revealing: Sometimes the most interesting thing you can do is remove paint. Scraping back a layer, especially when it's still wet or semi-dry, can reveal the colors underneath, creating a sense of history and complexity in the work. Just be mindful of your surface; scraping too hard on thin paper might not be the best idea.
Beyond the Basics: Advanced Palette Knife Techniques
Once you've mastered the fundamental applications of the palette knife, you can explore more nuanced techniques to further enhance your textural vocabulary. Beyond these core uses, a palette knife can be used for scumbling (dragging a thin layer of paint over a dry layer to create a broken color effect), creating unique sgraffito marks (scratching through wet paint to reveal layers underneath), or even applying paint with the back of the blade for extremely subtle, soft textures. There are different types of palette knives, too: straight-edged for broad application, trowel-shaped for mixing and impasto, and even diamond-point for fine lines. Each has its nuance, allowing for different marks and expressions. This distinction separates a flat image from a painting that begs to be touched.
For those on a budget, simple plastic palette knives can be a great starting point, though they lack the durability and flexibility of steel. Regardless of material, regular cleaning with soap and water (or solvent for oils) immediately after use will prolong its life. Learning to sharpen a slightly dulled metal palette knife involves gently filing or sanding the edges at a slight angle to restore its crispness, often with fine-grit sandpaper or a sharpening stone. This maintenance ensures precision over time.
Common Mistakes to Avoid with Palette Knives
- Not cleaning promptly: Dried paint, especially acrylics, can permanently damage the knife's edge and surface, making it less effective for clean mixes and sharp lines.
- Using too much pressure: While tempting for impasto, excessive force can scratch delicate surfaces or even bend thinner blades.
- Neglecting different shapes: Sticking to just one general-purpose knife limits your textural range. Experiment with various shapes to discover new possibilities.

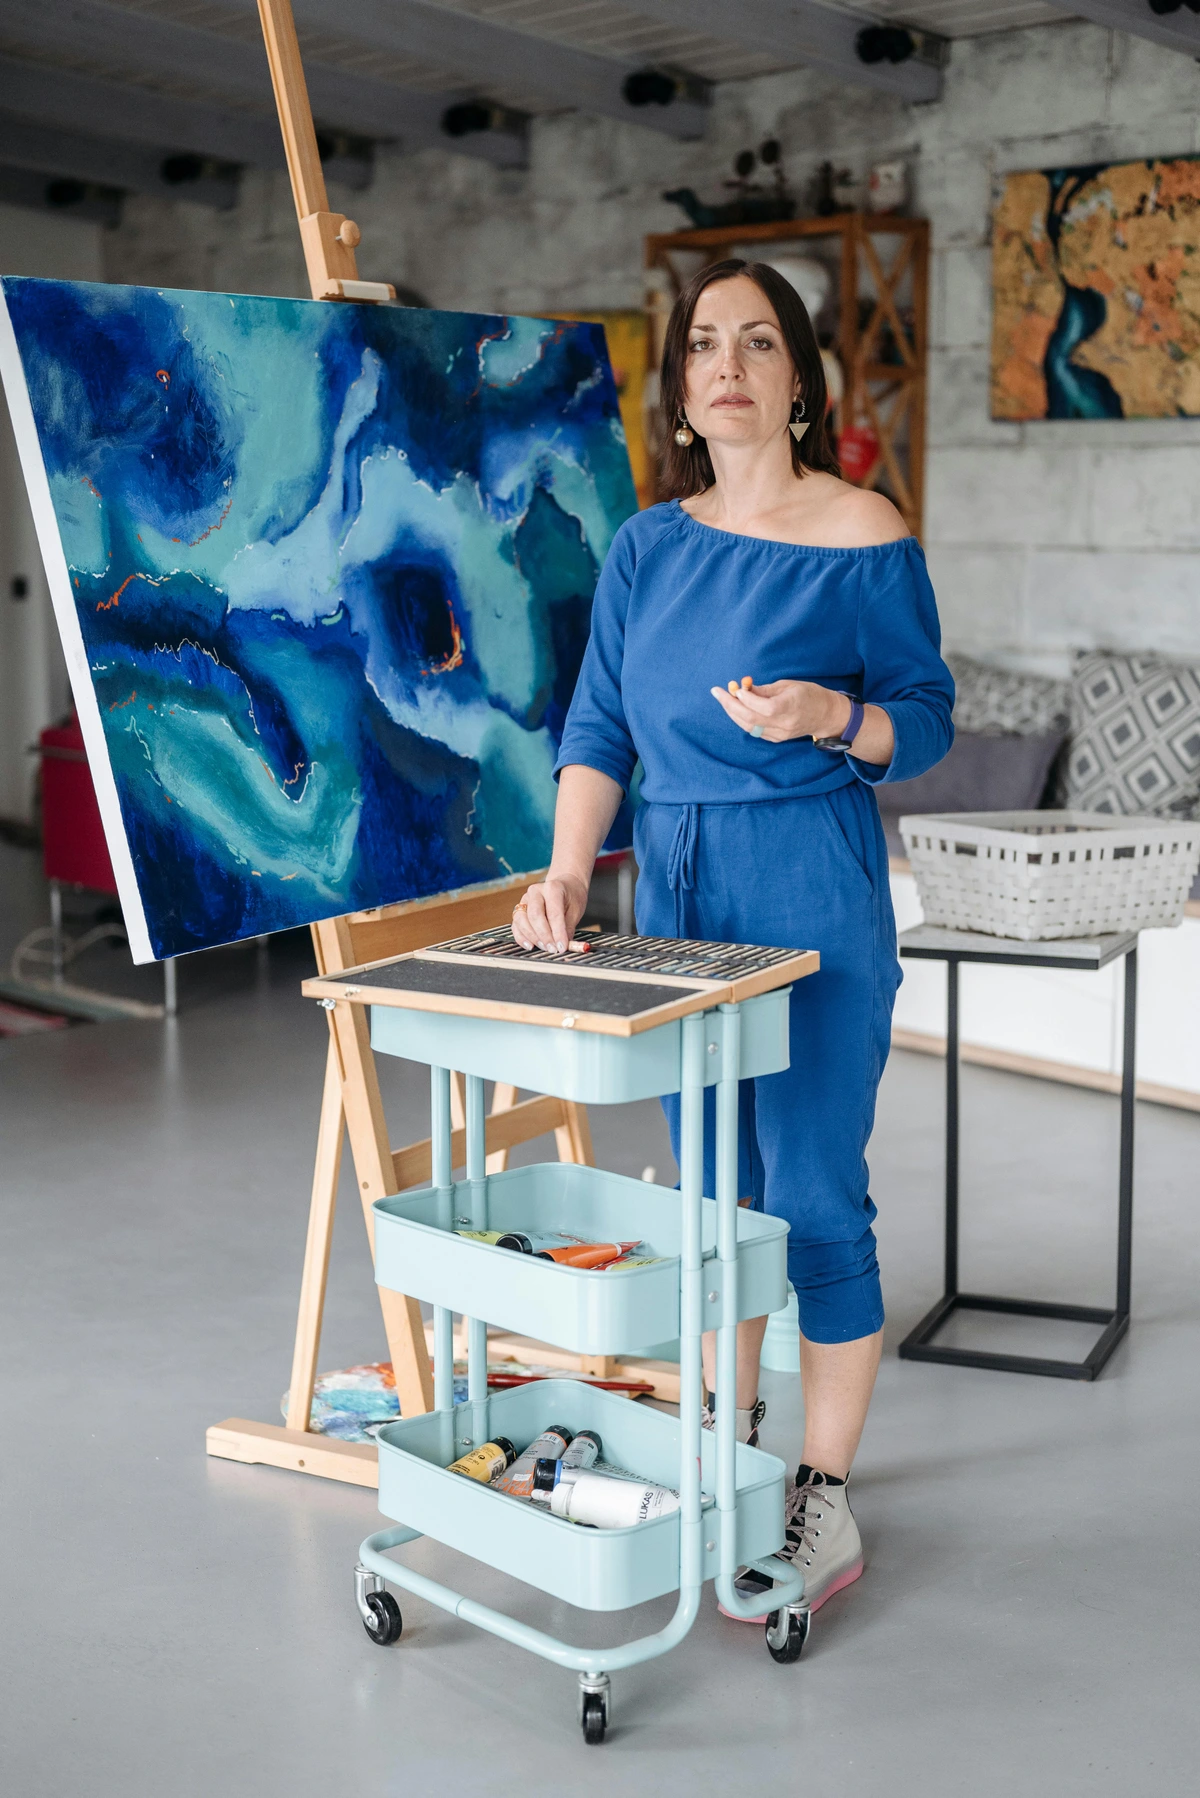
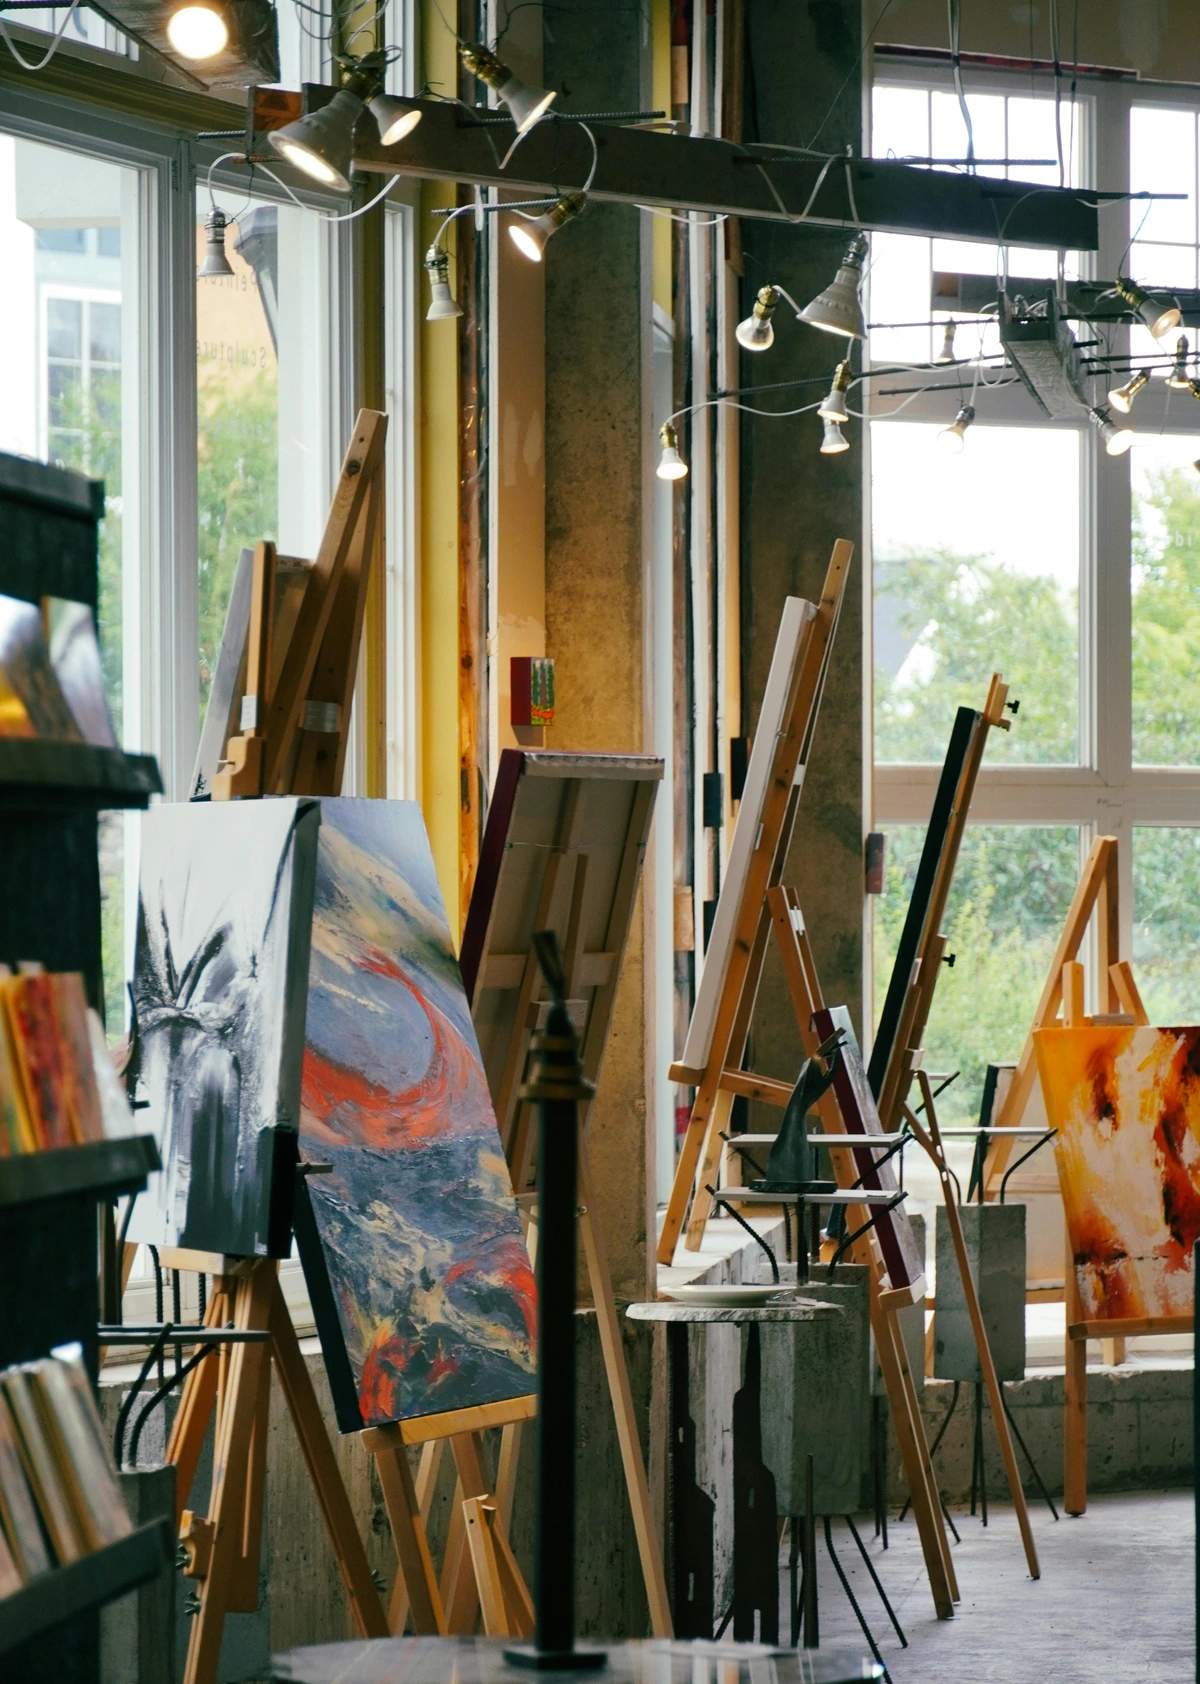
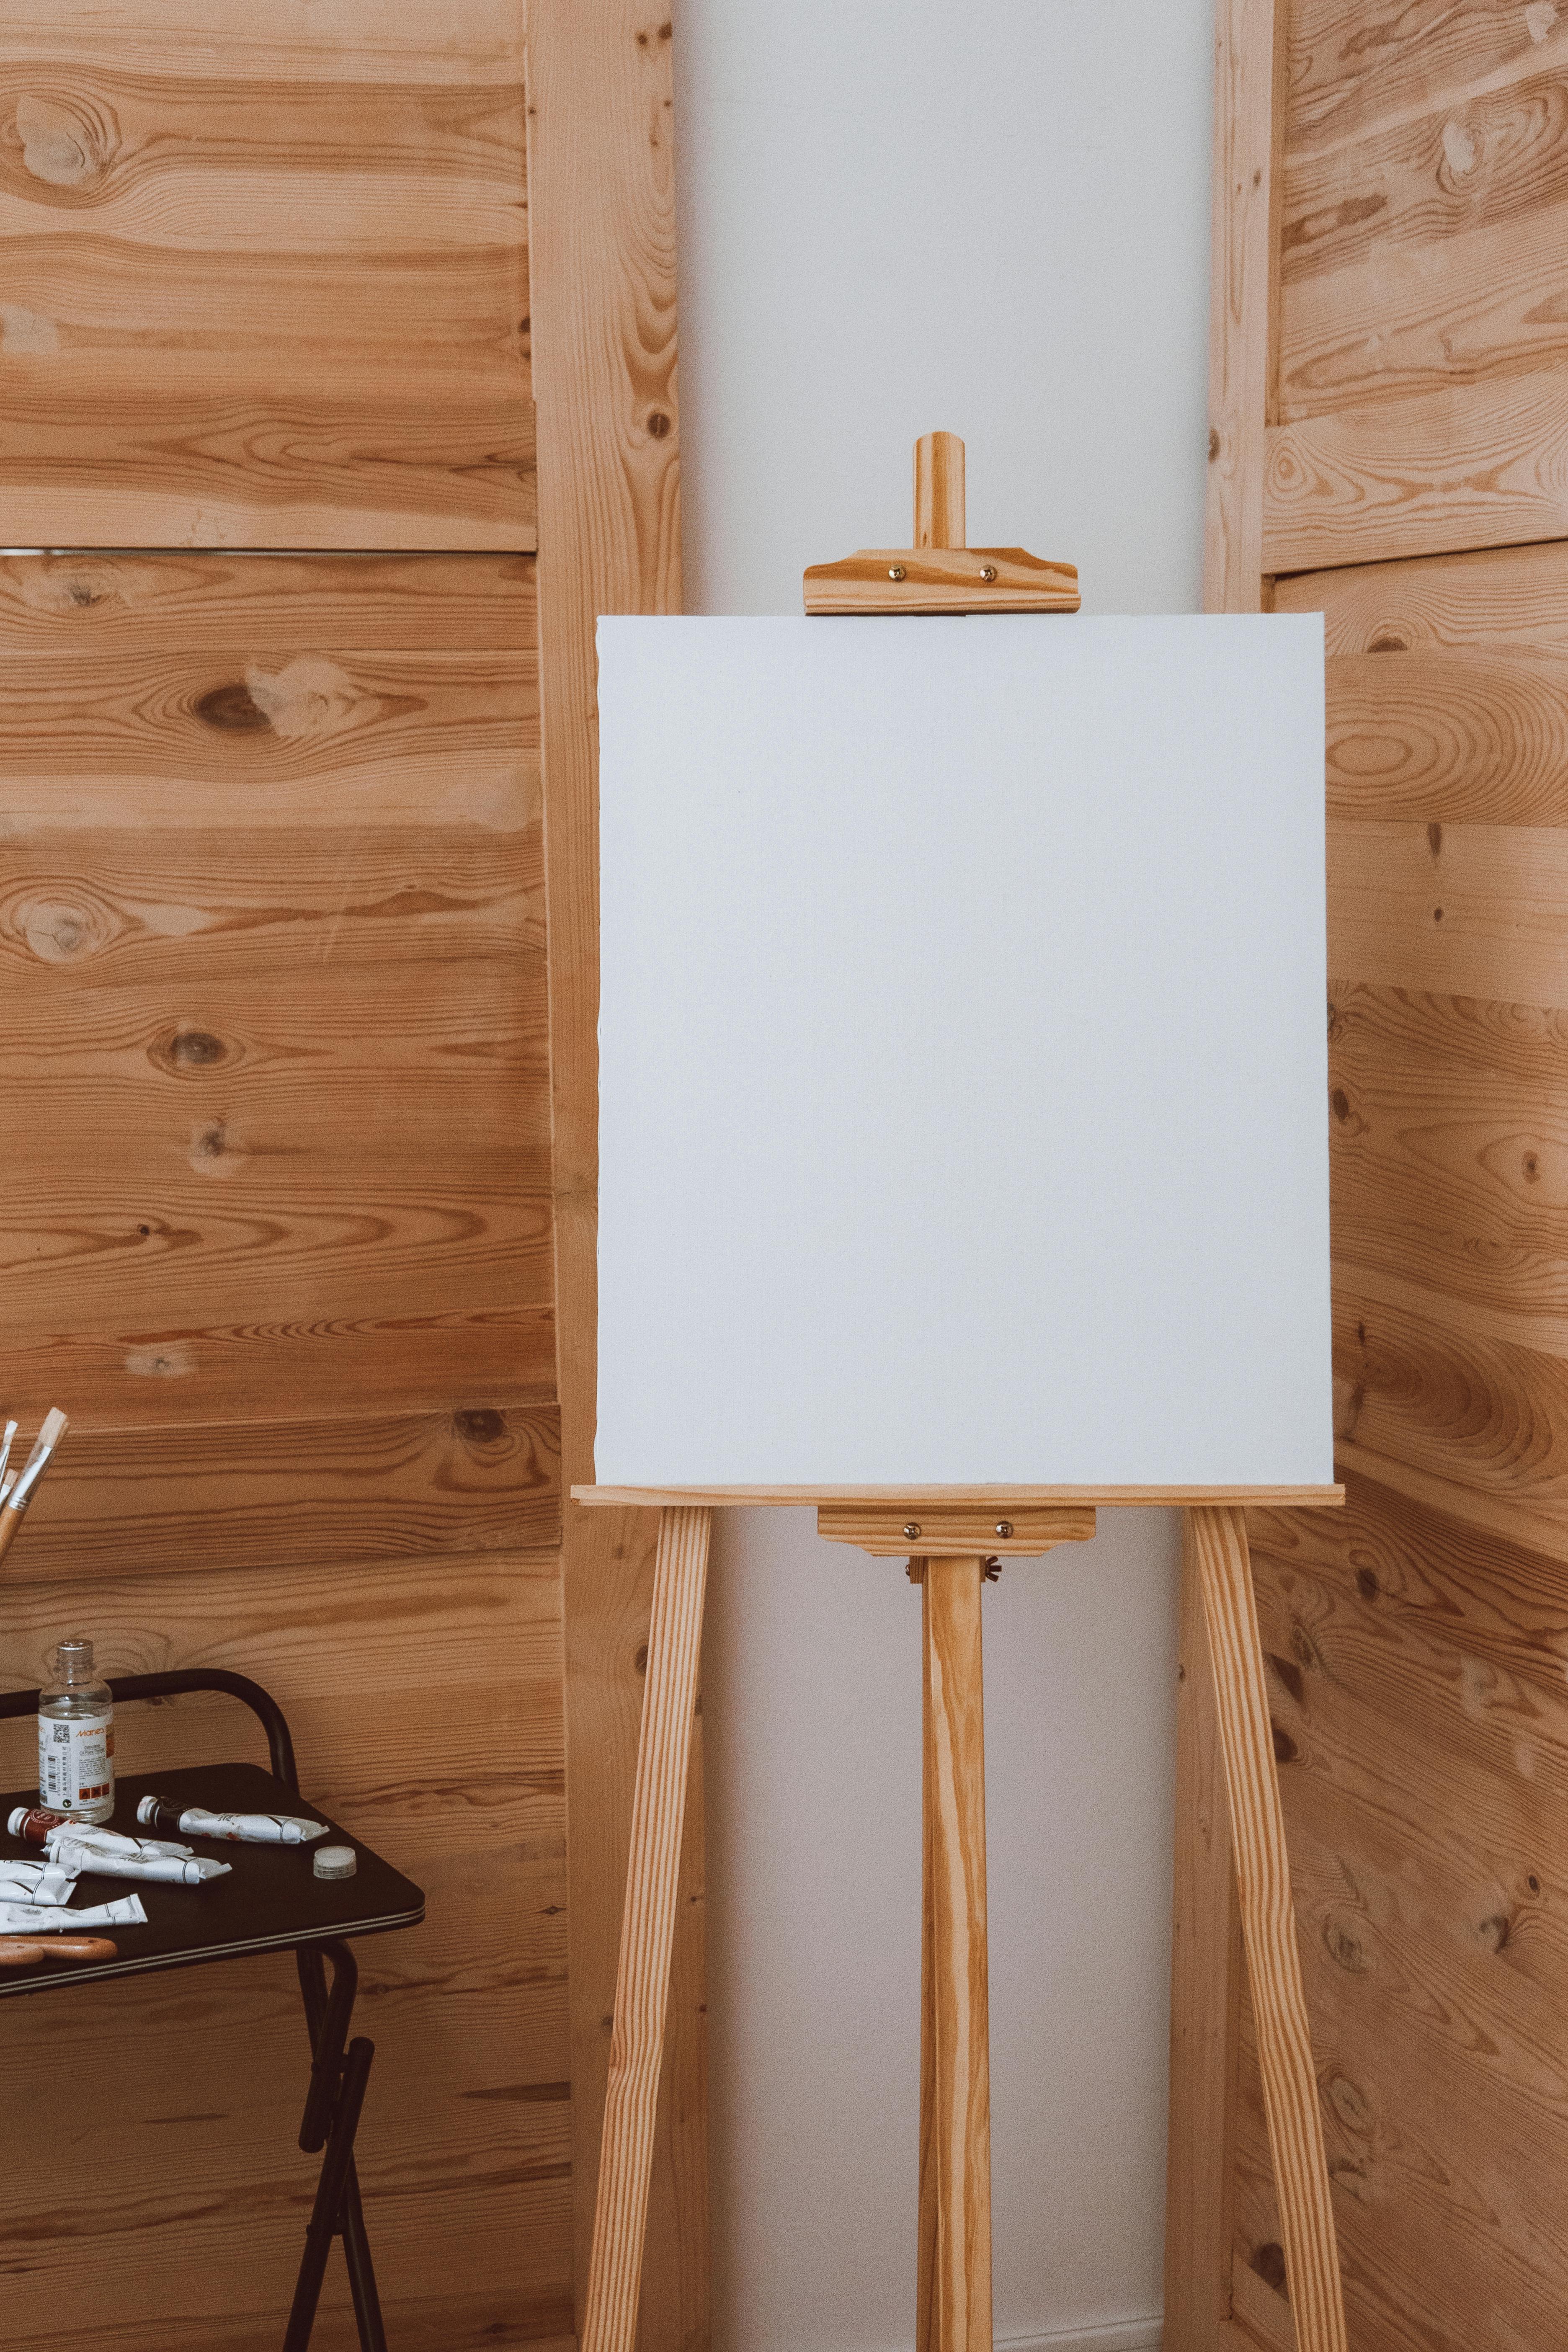
Hero #2: A Really, Really Good Easel
Once you have the tools to manipulate paint with precision and expression, you need a stable platform to bring your vision to life without literal wobbles. Confession time: for the first few years of my artistic journey, which you can see parts of on my /timeline, I worked on a flimsy, rickety easel that I’m pretty sure was designed for a child's birthday party. Every bold stroke I made was a gamble against the whole setup collapsing. My back ached constantly, my neck was always stiff, and frankly, it was terrible for my art. The physical discomfort made me resent my studio time, and it directly limited the scale and energy I could put into my work. I mean, how can you truly focus on understanding balance in your art composition if your canvas is swaying like a ship in a storm?
Investing in a solid, heavy-duty H-frame easel felt like a ridiculous luxury at the time, especially when I was pinching pennies for paint. But it was one of the best decisions I ever made, right up there with starting therapy! It's more than just holding a canvas; it’s a direct investment in your physical well-being and, consequently, your artistic output. The relief I felt when I finally upgraded was immense, allowing me to paint for longer periods without pain. This improved comfort directly translates to improved artwork, allowing for bolder strokes and deeper immersion. Monet, for example, famously used portable easels to paint en plein air, requiring remarkable stability even in changing outdoor conditions like wind or uneven ground, which a good easel would mitigate. This stability also enables what's known as action painting, where the physicality of the artist, their gestures and energy, are directly translated onto the canvas with uninhibited power, a hallmark of artists like Jackson Pollock.
The Pillars of a Productive Easel
A good easel is about:
- Unshakeable Stability: This is non-negotiable. It doesn't move. You can attack the canvas with energy, lay down thick layers, or even lean on it slightly, and it won’t flinch. This freedom is transformative, allowing for bold, confident strokes on large canvases. From a physics perspective, a wide leg spread and a low center of gravity (often achieved with heavier, denser materials like solid beech wood) significantly increase an easel's resistance to tipping or wobbling. This enables true action painting, where the physicality of the artist is directly translated to the canvas, as seen in works like those of Jackson Pollock.
- Posture and Ergonomics: It allows you to work standing up, at the right height, which saves your back, neck, and shoulders from a world of pain and repetitive strain injuries like carpal tunnel syndrome or chronic tendonitis. Think of it as self-care for your artist's body, much like investing in a good ergonomic chair for office work. From a biomechanical perspective, maintaining a neutral spine and keeping your elbows at approximately 90 degrees reduces stress on joints and muscles, preventing long-term issues like carpal tunnel or chronic back pain. Crucially, a well-positioned easel can also alleviate eye strain by allowing you to view your work from an optimal distance and angle.
- Optimal Perspective: It lets you step back easily to see the whole composition, to assess your progress from a proper distance. You can't get a proper sense of scale or flow when your nose is two inches from the canvas. This stepping back is crucial for critical evaluation and maintaining what is design in art principles, allowing you to catch compositional flaws early. A studio with multiple easels can even allow you to work on several pieces simultaneously, rotating between them to maintain fresh perspective.
Choosing Your Easel: Materials and Types
When choosing an easel, consider its adjustability (height and tilt are key), weight capacity (for larger works), material (sturdy wood like beech or oak for studio use or lightweight aluminum for portability), and overall footprint for your studio space. Different easels cater to different needs:
Easel Type | Ideal Use Cases | Key Features | Pros | Cons |
|---|---|---|---|---|
| H-Frame | Large canvases, studio work, impasto, action painting | Heavy, robust, often made of durable hardwoods (beech, oak), rectangular base | Maximum stability, high weight capacity, very durable | Heavy, less portable, large footprint, can be expensive |
| L-Frame/Tripod | Studio work, medium-sized canvases | Lighter, often made of pine or metal, three-legged tripod base | More portable than H-frame, adjustable, good for smaller spaces | Less stable than H-frame for very large/heavy works, wood can warp |
| French/Field | Plein air painting, portable studio | Foldable, self-contained box with storage, often aluminum or lighter wood | Highly portable, integrated storage, versatile for outdoor use | Can be less stable than studio easels, limited size capacity, complex setup |
| Tabletop | Small projects, watercolor, drawing, limited space | Compact, sits on a table, often lightweight wood or metal | Portable, space-saving, ideal for working flat or at a desk | Limited to small canvases, requires a table, less stable for aggressive work |
| Wall-Mounted | Very small studios, space-saving, fixed setups | Attaches directly to wall, adjustable height/tilt mechanisms, minimal footprint | Saves floor space, highly stable (when mounted correctly), ergonomic options | Permanent installation, not portable, limited adjustability range |
A studio H-frame easel offers maximum stability for large works and can be a beautiful, robust centerpiece, though heavy and less portable. These are often made from durable hardwoods like beech or oak. A French easel or field easel is perfect for plein air painting, often foldable, box-like in structure, and combining integrated storage for paints and brushes. Aluminum models are lightweight but may be less stable for very large canvases. A table easel suits smaller projects or watercolorists who prefer working flat, offering portability and space-saving options. For artists with small studio spaces, a compact tripod easel (often metal and foldable) or a wall-mounted option (saving floor space entirely) can be a godsend. Look for wall-mounted models with adjustable height and tilt mechanisms for better ergonomics.
Budget-friendly easels, often made of pine or lighter metals, can be suitable for beginners, but be mindful of their stability limitations and potential for pine to warp over time. Always check reviews for ease of assembly and material quality. Treating yourself to a good easel isn't buying gear; it's an investment in your health, your comfort, and the quality of your work. Your future self (and your chiropractor) will thank you.
Common Mistakes to Avoid with Easels
- Prioritizing cost over stability: A flimsy easel will cause constant frustration, back pain, and can compromise your artwork, making it a false economy.
- Neglecting ergonomics: Working at the wrong height or angle leads to physical strain and can shorten your creative sessions and career. Always adjust your easel to your body.
- Overlooking maintenance: Regularly checking and tightening screws, especially on wooden easels which can expand and contract, ensures longevity and safety.
credit, licence
Hero #3: Masking Fluid (Or as I Call It, 'Liquid Magic')
Now that you're painting boldly and comfortably, what about those intricate details or pristine negative spaces (the areas around your main subject)? They call it masking fluid, but I call it 'liquid frustration-remover.' If you've ever tried to paint a complex background around a tiny, intricate object, like a delicate flower or a crisp highlight, you know the pain. You try to keep your edges clean, your hand trembles, and suddenly there's a smudge of blue right where a crisp white highlight was supposed to be. It's enough to make you throw your brush across the room, or at least feel like your brushes have survived a minor paint explosion. I've been there, cursing my unsteady hand.
Masking fluid is the answer, a truly unsung hero for watercolorists and acrylic artists alike. It’s a latex-based liquid (though latex-free versions exist, often using synthetic polymers that provide similar resist properties without the allergen) that you paint onto the areas you want to protect. How it works is quite simple: the liquid latex coagulates as it dries, forming a thin, rubbery film. This film acts like a temporary shield, creating an impermeable barrier against subsequent paint layers. Then, you can paint over your entire piece with wild abandon, knowing your protected areas are safe. Once your new layer is dry (and this is crucial: make sure it's completely dry to prevent tearing or residue), you simply rub off the masking fluid with your finger or a specialized rubber cement pick-up, and voilà—the pristine white paper (or underlying color) is revealed underneath, creating an incredibly sharp contrast and clean edge. It feels like a magic trick every single time, especially when I'm working on intricate botanical illustrations where the delicate veins of a leaf are preserved, or in my 'Luminous Cityscapes' series, where preserving tiny, bright lights against dark, layered backgrounds is key. This technique is also employed in some printmaking processes, like silkscreen, to create precise areas of resistance.
Consider these applications:
- Crisp Highlights: Preserve brilliant whites in eyes, water reflections, or architectural details.
- Intricate Details: Isolate tiny, complex elements to paint around them effortlessly.
- Layering: Apply washes over protected areas without muddying earlier work, crucial for building depth in abstract paintings.
- Creating 'Hard' Edges: Achieve clean, defined borders for graphic elements or architectural forms.
- Beyond the brush: Use masking fluid with stamps, stencils, or even textured objects to create interesting resisted patterns.
Masking Fluid vs. Alternatives: What to Use When
When aiming for crisp edges or protected areas, masking fluid is a powerful tool, but it's not the only option. Here's a look at how it compares to other techniques:
Feature | Masking Fluid | Painter's Tape/Frisket Film | Clear Acrylic Medium (removable) | Wax/Oil Pastel Resist | Best For | Drying Time |
|---|---|---|---|---|---|---|
| Application | Liquid, applied with a brush/tool. Suited for organic shapes. | Adhesive tape/sheet, cut and pressed onto surface. Best for straight lines. | Liquid, often clear, applied with a brush; forms a temporary barrier. | Solid, applied by rubbing. Creates soft, blurred edges. | Intricate curves, small details, watercolor transparency | 10-20 min |
| Shape Versatility | Excellent for organic, intricate, curved shapes. | Best for straight lines, geometric shapes, large areas. | Good for organic shapes, but may require multiple layers for full opacity. | Textured, soft, crayon-like marks. | Large, simple shapes, geometric designs, crisp lines | N/A (applied dry) |
| Fine Details | Can create very fine lines with precision applicators. | Difficult for very small or highly detailed areas. | Can achieve fine details, but less forgiving than dedicated masking fluid. | Challenging for fine, sharp details. | Expressive, textural effects; protecting areas from washes | Varies by thickness |
| Surface Adhesion | Adheres well to paper/board, forms a seal. | Can sometimes lift paper or leave residue on delicate surfaces. | Generally safe, but can sometimes absorb into very porous papers. | Becomes part of the surface, not removable. | Protecting from subsequent layers, creating texture | N/A (permanent) |
| Removal | Rubs off easily when dry. | Peels off; can be slow for intricate designs. | Often peels or rubs off, but some may remain as a transparent layer. | Permanent; cannot be removed once applied. | Adding a textural dimension, creating soft borders | N/A (permanent) |
| Media Suitability | Primarily watercolor, gouache, thinned acrylics. | Good for most media on sturdy surfaces. | Varies by product; often acrylic-specific, some universal. | Watercolor, ink washes, thinned acrylics. | Areas where you want the original paper/color to show through | Varies |
| Cost | Generally higher per use for small bottles. | Economical for large, simple areas. | Varies; some clear mediums are multi-purpose and economical. | Economical, especially for beginner sets. | Quick studies, abstract experimentation, mixed media | Varies |

This comparison highlights that while masking fluid excels at intricate, organic shapes and fine details, other methods offer viable solutions depending on your project and medium. Always consider the specific requirements of your artwork before deciding.
Common Mistakes to Avoid with Masking Fluid
- Using good brushes: Masking fluid is notoriously difficult to clean and will ruin natural hair bristles. Always use old, synthetic brushes, rubber cement pick-up tools, or specialized silicone applicators.
- Leaving it on too long: Especially in humid environments or on delicate paper, masking fluid can bond permanently to the paper, tearing it upon removal or leaving a stubborn residue. Remove it as soon as the paint layers are completely dry.
- Applying on wet paper: This can cause the fluid to seep into the paper fibers, making removal difficult and potentially damaging the surface.
- Not testing first: Always do a patch test on a scrap piece of your chosen paper to ensure it doesn't stain or damage the surface upon removal.
Tips to avoid pitfalls: Only use old brushes or special silicone tools for application, as it's notoriously difficult to clean from bristles. Don't leave it on the paper for too long (especially in humid environments), as it can bond to the paper and tear it when removed, leaving an unsightly residue. Always test on a scrap piece first! For latex allergies or eco-friendliness, look for latex-free masking fluids or experiment with traditional alternatives like gum arabic, which offers a similar resist effect for watercolors (though it needs to be removed quickly and is less durable, often not forming a truly impermeable barrier, and can become more permanent if left on the paper for extended periods). Specialized rubber cement pick-ups are excellent for clean, gentle removal, minimizing paper damage.

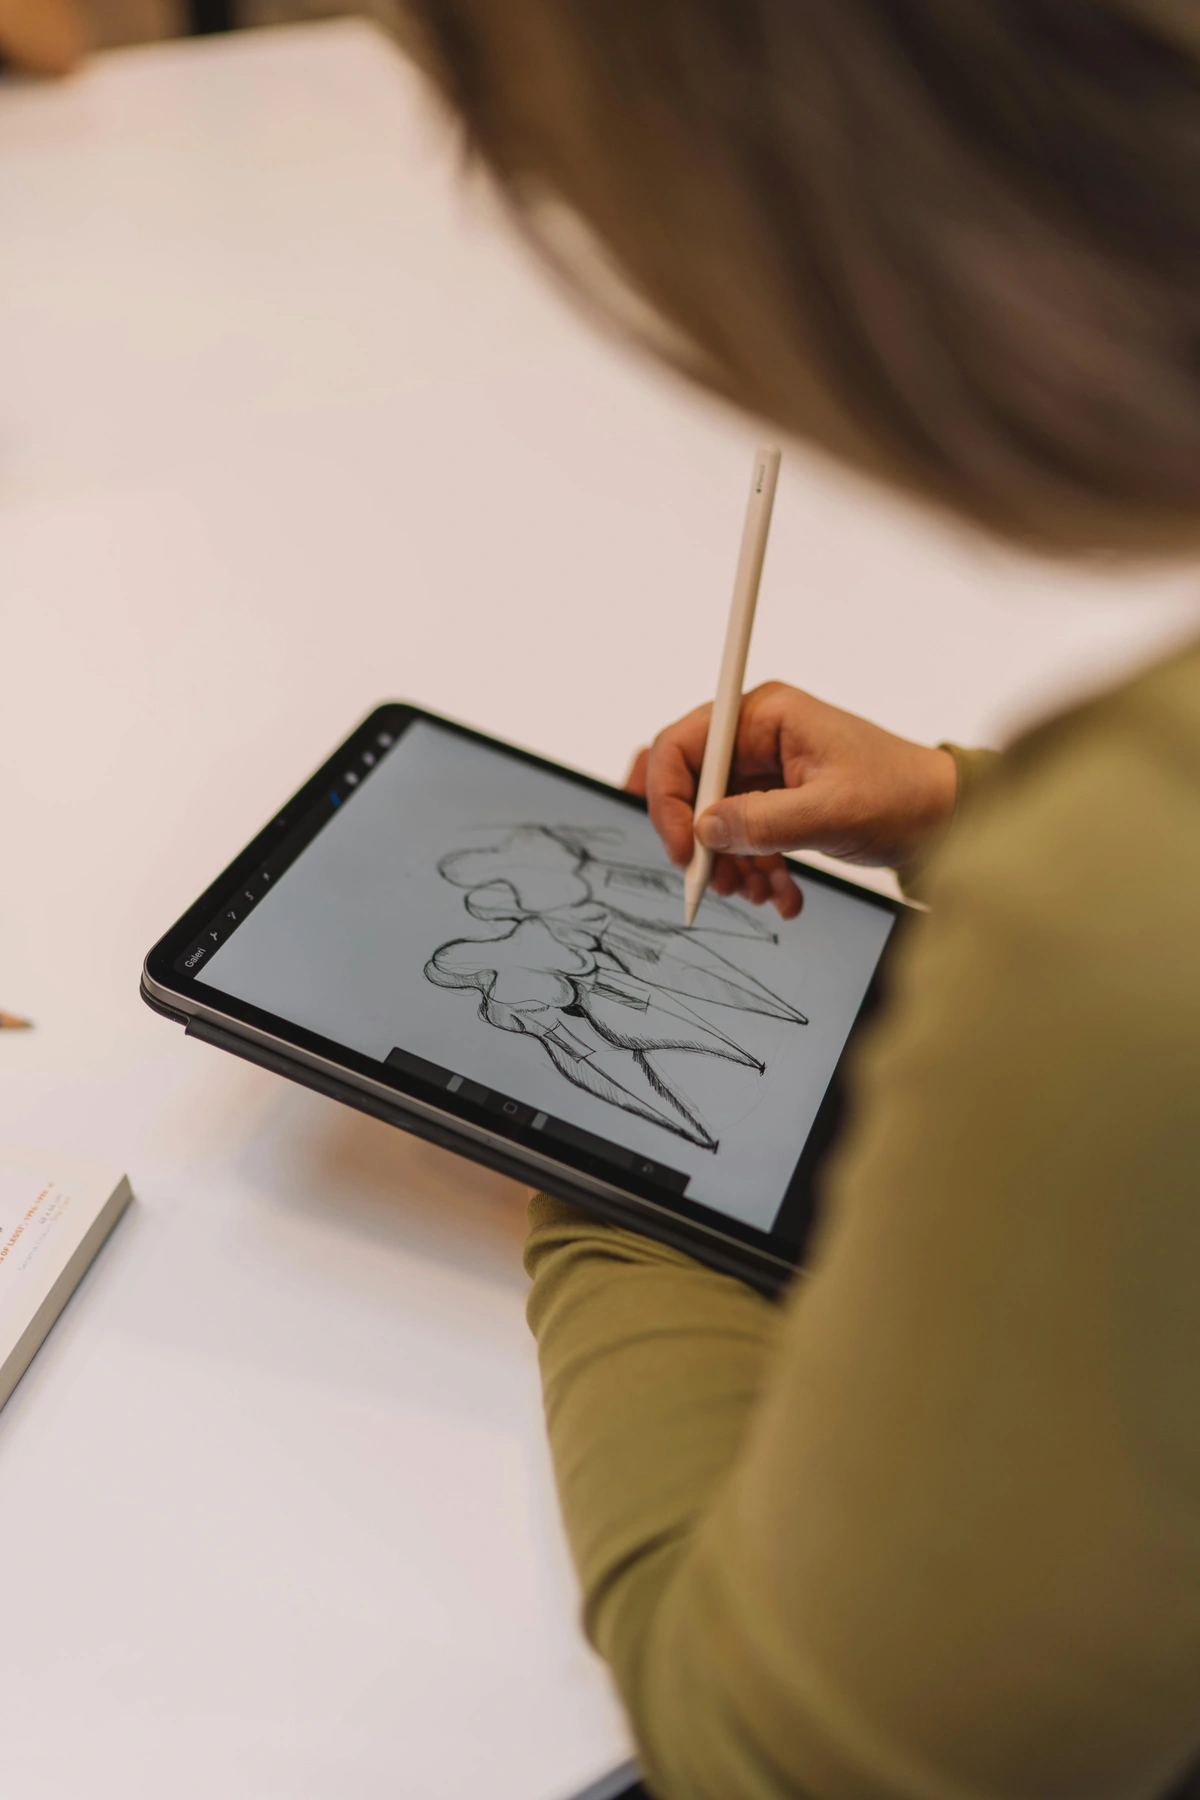
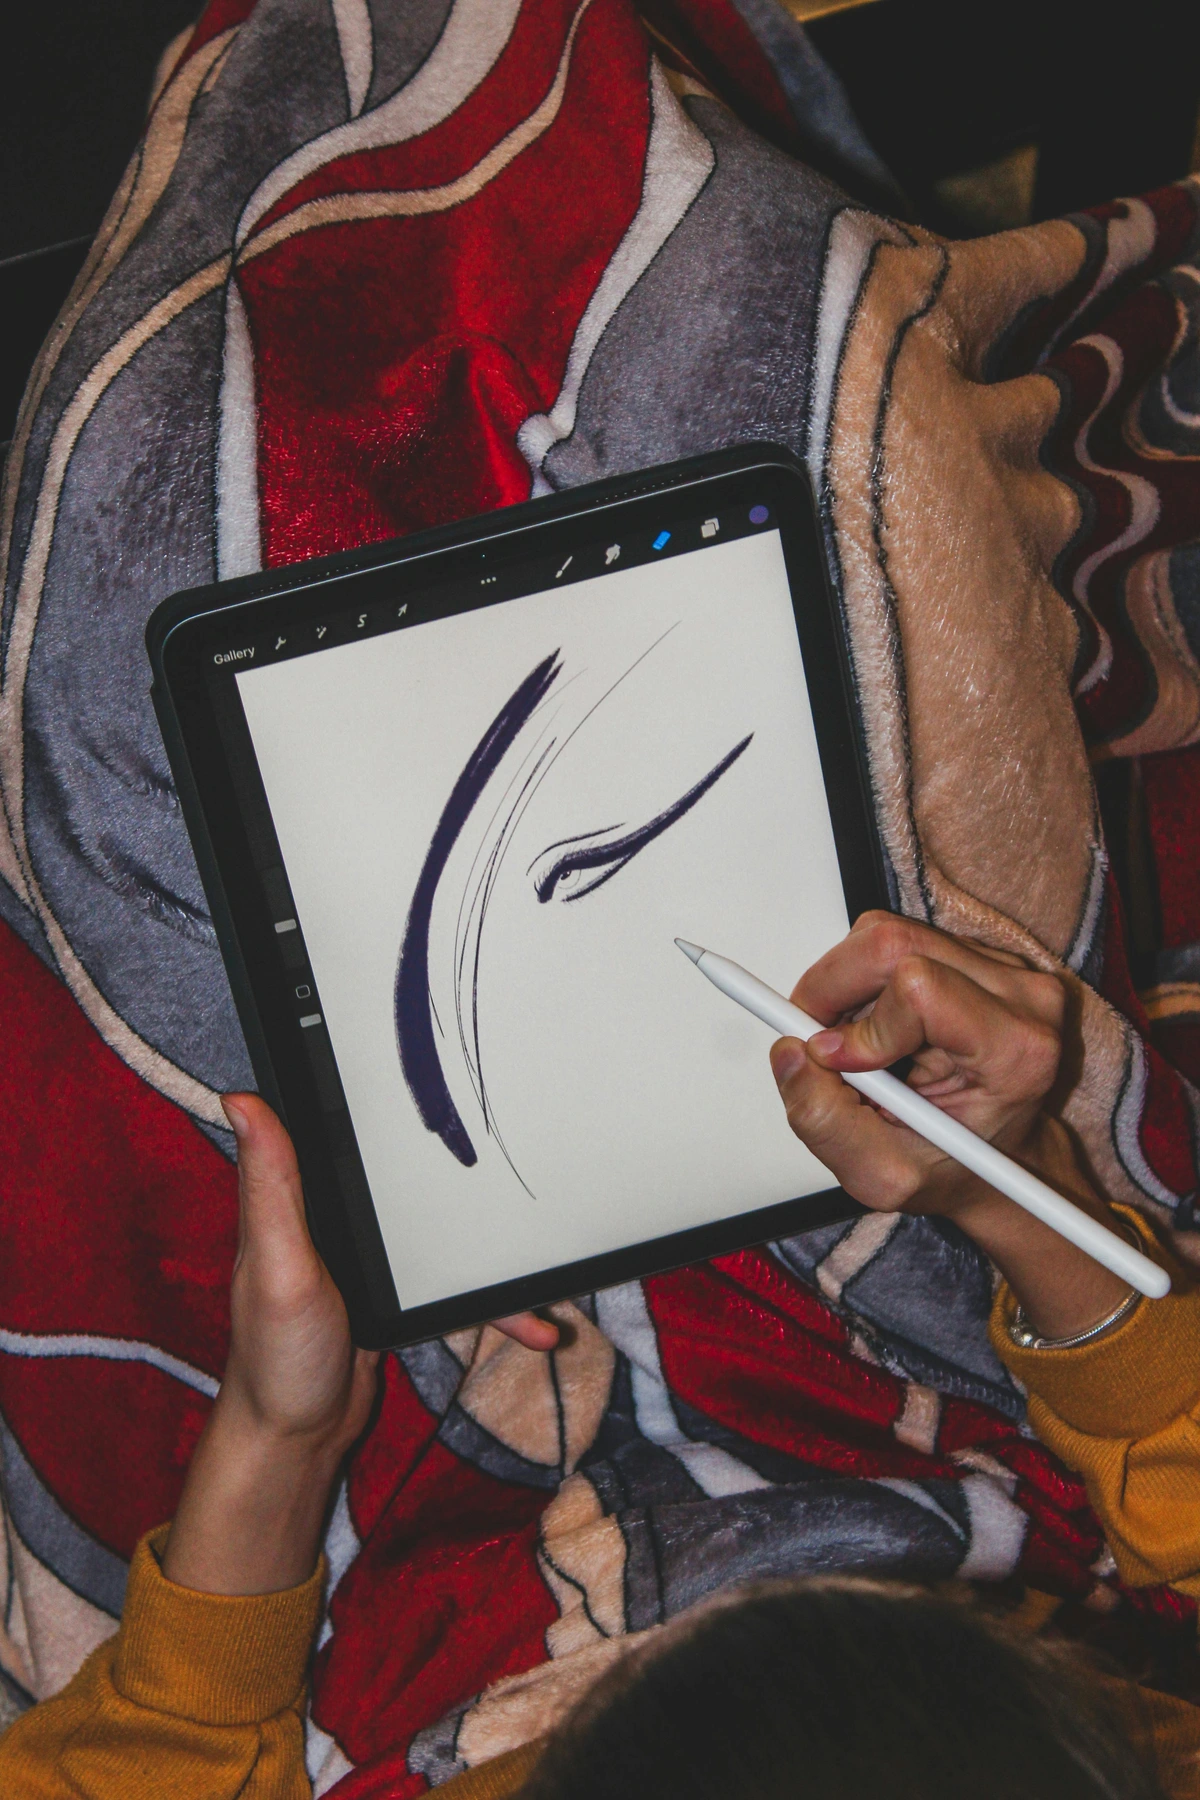
Hero #4: The Digital Sketchbook
Okay, hear me out on this one, especially if you're a die-hard traditionalist. I know, I know. "Real art is tactile!" "It's about the feel of the brush!" Believe me, I am a hands-on, paint-under-my-fingernails kind of artist, and I've even been known to cast a wry, slightly judgemental glance at artists glued to their screens. The physical act of making art is what I love, and it’s why so much of what you see on my /buy page is deeply textured. But my iPad, equipped with apps like Procreate, Clip Studio Paint, Adobe Photoshop Sketch, or Autodesk Sketchbook, has become one of my most crucial studio tools. And yes, it surprised me too; I initially resisted it like a grumpy old master, stubbornly clinging to my charcoal and newsprint.
The Ultimate Creative Sandbox
Why embrace digital for traditional work? Because it's my creative sandbox. It’s the ultimate 'what if?' machine. Before I commit to an expensive canvas and tubes of paint, I can use a digital sketchbook to:
- Test out dozens of compositions in minutes: No wasted paper, no wasted time. I can drag, drop, resize, and rotate elements using layers and transform tools until the elements of art line and composition sing. This alone saves so much headache and helps how to overcome fear of the blank canvas by front-loading the experimentation. This process also subtly contributes to sustainability by reducing the consumption of physical paper and art materials during the ideation phase.
- Experiment with wild, risky color palettes without consequence: Ever wonder what that crimson would look like next to electric blue without committing? Here's your chance. You can create a new layer for each color idea, adjusting hue, saturation, and brightness with a few taps. It’s an amazing way to do a quick color study without wasting paint, exploring possibilities that would be too costly or time-consuming traditionally. I often use it to test how artists use color in unexpected ways.
- Sketch out ideas on the go, wherever inspiration strikes: From a café to a train, my digital sketchbook is always with me, ready to capture those fleeting moments of inspiration. These sketches can form the basis of future physical works, or even inspire a new collaborative art project.
- Layer elements and move them around to find the perfect arrangement: This is invaluable for complex pieces or when exploring mixed media compositions, allowing for dynamic adjustments before the physical materials are touched. Understanding layers in digital art is like having transparent sheets you can draw on independently, reorder, or turn off, making complex compositions incredibly manageable.
- Archive and organize creative ideas: Every sketch is automatically saved, tagged, and searchable, creating a digital library of your creative evolution. For long-term preservation and sharing, understanding file formats is key: JPG for web display, PNG for transparency, TIFF for high-quality printing, and PSD (Photoshop Document) for retaining all editable layers.
It's where I make my mistakes so the final canvas doesn't have to. It doesn't replace traditional sketching; it enhances it, saving time, money, and materials. The synergy between digital planning and traditional execution is powerful. I often print my digital compositions onto canvas as a guide or project them for large-scale works, which ensures the initial vision is perfectly captured and allows for precise scaling. Sometimes, a rough AI-generated image can even serve as a surprising starting point, a visual prompt to kick off a digital sketch before I add my own artistic interpretation, perhaps generating unique textures or initial forms to build upon. While I approach AI with a healthy skepticism about its 'authorship,' its capacity to generate varied starting points can be an intriguing, if ephemeral, creative spark.
Enhancing Your Digital Sketchbook Experience
To truly enhance the experience, investing in the right hardware is key. Pressure-sensitive styluses (like the Apple Pencil for iPads or the Samsung S-Pen for Android tablets) are crucial, offering unparalleled control over line weight and opacity based on how hard you press. Dedicated drawing tablets from brands like Wacom or Huion come in two main types:
- Screenless tablets: These connect to your computer, and you draw on an opaque surface while looking at your monitor. They are often more affordable and portable, ideal for vector-based drawing where precision lines (scalable without pixelation) are paramount.
- Display tablets: These have a screen you draw directly on, offering a more intuitive, paper-like experience (though typically more expensive), often preferred for raster-based painting (pixel-based, offering rich detail and blending).
Even a smartphone paired with a basic stylus can be a powerful on-the-go tool. These hardware additions elevate the digital sketchbook from a novelty to a true studio essential.
Common Mistakes to Avoid with Digital Sketchbooks
- Over-polishing sketches: The digital medium can make it easy to refine a sketch to oblivion, losing the spontaneity and freshness you might want in a preliminary idea. Embrace imperfection.
- Neglecting traditional skills: While powerful, digital tools shouldn't replace your foundational drawing and observational skills. They are complements, not substitutes.
- Ignoring file management: Losing hours of work due to poor saving habits or unrecognized file formats is heartbreaking. Regularly back up your work and understand your app's file structure.
Hero #5: A Dedicated 'Cleaning Station'
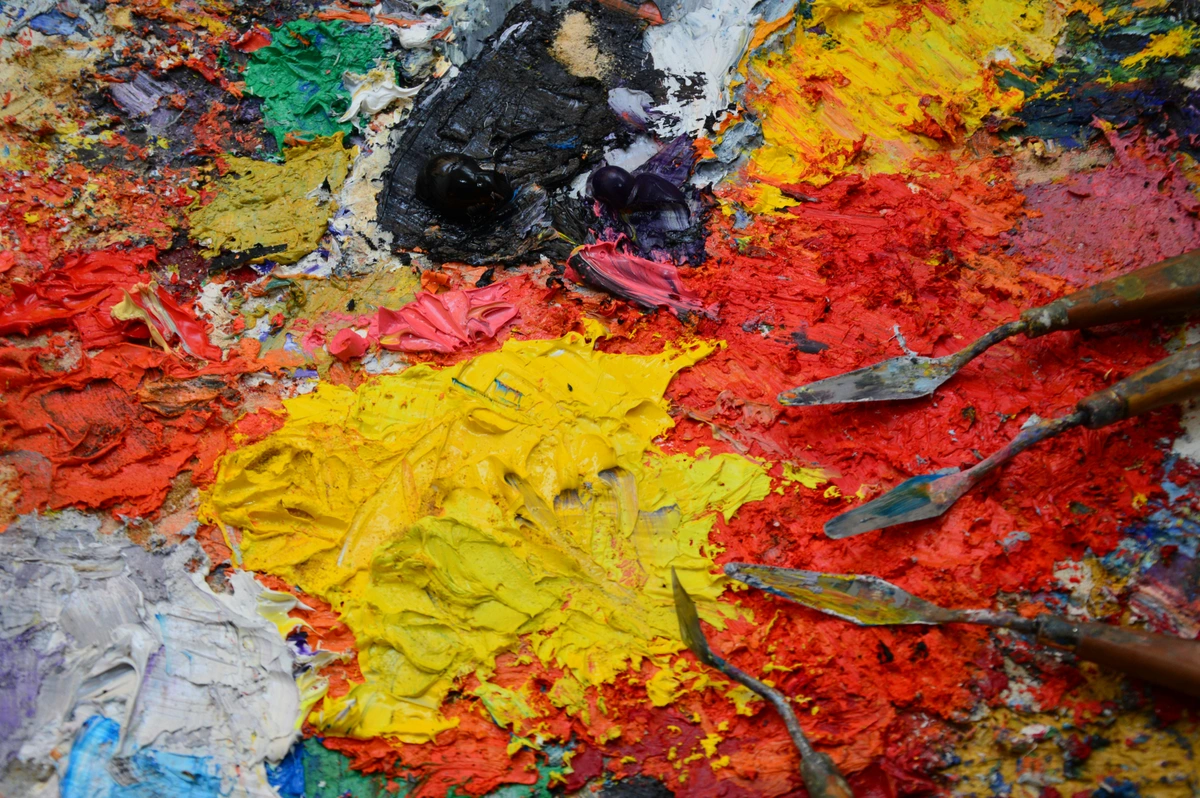
This one is the most unglamorous of all, so unglamorous it barely counts as a tool in some artists' minds, but trust me, it's the bedrock of a productive studio and the secret to keeping your valuable tools (and yourself!) in top condition. How many times have you reached for a brush, only to find it stiff with dried paint, or accidentally smeared a fresh painting with a rogue pigment from a dirty hand? Far too many, if you're anything like me, especially when I used to be less disciplined.
My dedicated cleaning station is less a fancy setup and more a philosophy of intentionality. It’s a small, intentional space where messes are contained, and tools are given the care they deserve. It's crucial not just for your brushes, but for your health, your workspace, and the longevity of your art supplies. A messy studio, after all, often leads to a messy mind and compromises your output. Just thinking about the state of my palette after a particularly intense session, splattered with reds, blues, and yellows, makes me appreciate the clean slate a good wash-up offers. I once had a splitting headache and a distinct metallic taste in my mouth after an intense oil painting session, realizing too late that my inadequate ventilation and messy cleanup were to blame – a lesson learned the hard way about respecting your studio environment.

Here’s what makes up my unsung cleaning hero:
- Multiple Water Containers: Not just one, but usually two or three. The first is for the initial rinse, getting off the bulk of the paint. The second is for a cleaner rinse, and sometimes a third for water that needs to stay pristine for delicate watercolor work or a final brush shape. Segmented water pails with grids are fantastic for this, ensuring pigments don't cross-contaminate and allowing for clean water for final rinses. For oil painters, having dedicated solvent containers (one for rough cleaning, e.g., with odorless mineral spirits which are less toxic, and one for a finer rinse with artist-grade turpentine or other specialized solvents) is equally important, ensuring solvents don't get overly saturated too quickly.
- Quality Brush Soaps/Cleaners: Forget just plain water. Investing in a good artist's brush soap (often glycerin-based, excellent for conditioning bristles and removing stubborn acrylics and oils) or a gentle liquid brush cleaner (for tougher pigments like those in oil paints, or a mild detergent for watercolors) can extend the life of your brushes significantly. Glycerin soaps excel at reconditioning dried bristles and preventing them from becoming brittle or splayed, while stronger detergents are better for caked-on oils. Even an old bar of saddle soap can work wonders. For synthetic brushes, a mild dish soap is often sufficient, while natural hair brushes (like sable) benefit from more conditioning soaps.
- Lint-Free Rags/Paper Towels: An endless supply, seriously. Old t-shirts, cut-up towels, or durable paper towels are invaluable for wiping excess paint, patting brushes dry, and quick clean-ups. Using a dedicated rag for dark colors and another for lights prevents accidental smudging and keeps your palette tidy for new ideas, preventing the muddying of colors and allowing for clearer mixing. Don't forget to clean your palette itself by scraping off dried paint and wiping it down between sessions.
- Dedicated Trash Can (and safe disposal): Not just any trash can, but one specifically for paint-soaked rags, palette scrapings, and any other art waste. Keeping it separate prevents accidental mess and makes disposal easier. If you're using solvents (like turpentine or mineral spirits), ensure it's a lidded, fire-safe metal container to prevent fumes from escaping and minimize fire hazards. Always check local hazardous waste disposal guidelines (often found on your city's environmental agency website or at specialized art supply stores) for proper chemical waste management, as solvents should never just go down the drain.
- Ventilation: Often overlooked, but critical, especially when working with oils, spray fixatives, or certain mediums. A good fan, an open window, or even a small personal air purifier keeps the air in your studio healthy and prevents the buildup of fumes that can irritate your lungs, warp your sense of smell, and generally lead to headaches or nausea. For more intense chemical use, consider wearing a vapor respirator or N95 mask. This is fundamental for your long-term health as an artist.
- Brush Drying Rack/Holder: After cleaning, brushes need to dry properly to maintain their shape and prevent water from seeping into the ferrule (the metal part) and loosening the glue. A simple brush drying rack allows brushes to dry horizontally or bristle-down, ensuring longevity. Never dry brushes upright in a container, as water can pool in the ferrule and compromise the glue.
A dedicated cleaning station isn't just about hygiene; it's about respecting your tools, your health, and your creative space. It's the silent guardian of your investment in art supplies and a simple, yet profoundly effective, way to streamline your studio workflow. When my studio is clean, my mind feels clearer, ready to tackle any new abstract creation.
Common Mistakes to Avoid with Your Cleaning Station
- Neglecting ventilation: This is perhaps the most dangerous mistake, leading to respiratory issues and headaches from fume buildup, particularly with oil paints and solvents.
- Improper disposal of solvents/rags: Not only a fire hazard but also an environmental risk. Always follow local guidelines for hazardous waste.
- Leaving brushes to dry upright: Water pooling in the ferrule is the quickest way to destroy a good brush, causing bristles to splay and fall out.
- Using a single water container: This quickly leads to muddy water, ineffective cleaning, and cross-contamination of colors in your next painting session.
Frequently Asked Questions (FAQ) About Essential Art Studio Tools
Q1: What's the single most important "unsung hero" tool for a beginner artist to start with?
Honestly, it's a toss-up between a good set of water containers and quality brush soap (our Hero #5, the Cleaning Station) and a palette knife (Hero #1) or a basic, sturdy easel (Hero #2). While the palette knife offers immediate creative expansion and textural exploration, and an easel provides foundational comfort for your body, proper cleaning habits ensure your tools last, saving you money and frustration in the long run. If you don't care for your tools, even the best ones will quickly become useless. For sustainable creative practice, I'd say start with a palette knife for creative expression and a robust cleaning routine for sustainability, and then quickly add a decent easel for comfort, as both will have an immediate, positive impact on your early artistic journey.
Q2: Can digital sketchbooks truly replace traditional sketching for planning larger works?
For planning and ideation, absolutely! Digital sketchbooks excel at allowing you to rapidly iterate, experiment with color palettes, and adjust compositions without waste. They are fantastic for pre-visualization. However, I believe they enhance traditional sketching rather than replace it. The tactile experience of pencil on paper or charcoal on newsprint still offers a unique connection to the material that digital tools can't fully replicate. The best approach is often a hybrid one: use digital for rapid composition and color blocking, then do traditional charcoal studies for texture and form, perhaps even printing your digital composition onto the canvas as a guide for your final physical work.

Q3: How do I choose the right easel if I have a small studio space?
If space is a premium, look for compact and versatile easel types. A table easel is excellent for small canvases and allows you to work from any table. A tripod-style field easel (often metal) can be folded down when not in use and stored away, offering great portability. Even some H-frame easels come in smaller, more foldable versions. For ultimate space-saving, a wall-mounted easel eliminates the floor footprint entirely; specifically, look for models with adjustable height and tilt mechanisms for better ergonomics. Prioritize stability within your space constraints, and ensure it can adjust to both sitting and standing heights if possible to protect your posture.
Q4: Are there any eco-friendly or latex-free alternatives to traditional masking fluid?
Yes, absolutely. For watercolor, some artists opt for gum arabic as a traditional, natural masking agent, though it can be less durable, needs to be removed promptly after the wash dries (often not forming a truly impermeable barrier like latex), and can become more permanent if left on the paper for extended periods. There are also newer latex-free masking fluids available on the market specifically designed for artists with sensitivities, often made from synthetic polymers. Additionally, for simpler masks, techniques like using wax crayons or a clear, removable liquid frisket can serve as alternatives. Always do a patch test on your paper first, regardless of the product!

Q5: How can these unsung tools help overcome artistic block?
Believe it or not, these tools can be powerful antidotes to artistic block. The digital sketchbook (Hero #4) allows for consequence-free experimentation, letting you play with ideas without the pressure of wasting materials or commitment to a final piece. The palette knife (Hero #1), by forcing a different way of applying paint—making you think about texture, thickness, and broad gestures rather than fine lines—can break you out of rigid habits and unlock new textures and expressions. Even a thorough cleanup at your cleaning station (Hero #5) can clear your mental space, creating a fresh environment for new ideas to emerge. Sometimes, the best way to get unstuck is to change your tools or process.
Q6: How do these tools contribute to an artist's long-term health and well-being?
These tools are absolutely vital for your longevity as an artist. A good easel (Hero #2) directly impacts your physical health by promoting proper posture, reducing strain on your back, neck, and shoulders, and preventing repetitive strain injuries. The cleaning station (Hero #5) ensures a healthy studio environment through proper ventilation, protecting your lungs from fumes and chemicals, and keeps your hands clean to prevent skin irritation. Even the digital sketchbook (Hero #4) contributes by reducing material waste, which is good for the planet and your wallet, thus easing mental stress and a reduced fear of failure. Furthermore, a well-organized and clean studio environment, facilitated by these tools, contributes significantly to mental clarity and reduces the psychological burden of a chaotic workspace. Investing in these essentials is truly an act of self-care.
Conclusion: Your Studio's Unsung Symphony
Stepping back, what we've really explored here isn't just a list of tools; it's a philosophy of intentional art-making. These five unsung heroes—the versatile palette knife, the steadfast easel, the magical masking fluid, the boundless digital sketchbook, and the foundational cleaning station—each play a vital, often invisible, role in transforming an artist's potential into tangible, meaningful work. They are the quiet hum that allows the symphony of your creativity to unfold without discord, much like the rhythmic beats that fuel my studio playlist.
My journey, reflected in the varied textures and expressions on my /buy page, has taught me that the biggest leaps in artistic freedom often come from refining the smallest details of my process and environment. Don't underestimate the power of these humble allies. Invest in them, understand them, and let them elevate your practice from a struggle against limitations to a celebration of pure, unadulterated creation. They not only smooth the path for your current projects but also lay the groundwork for future breakthroughs and sustained artistic well-being, ultimately helping to define and develop your unique artistic voice and brand. Now, go forth and discover your own unsung heroes—perhaps by exploring a new palette knife technique, finally investing in a proper easel, or simply committing to a more disciplined cleaning routine! Your art (and your sanity) will thank you for it.
