Unsung Heroes of the Artist Studio: My Essential, Overlooked Tools
Forget fancy paints for a moment. Discover the essential, often-overlooked tools every artist's studio needs. A personal guide to the real MVPs of my creative space.

Unsung Heroes of the Artist Studio: My Essential, Overlooked Tools
The Silent Partners in Every Masterpiece (and Glorious Failure)
Let's be honest, we've all been there. Scrolling through curated art feeds, admiring pristine studios filled with gleaming, expensive art supplies. We dream of that perfect set of watercolors, that designer easel, or the latest pigment straight from a volcanic crater. But I'll tell you a secret, something that often gets lost in the glossy images and carefully constructed narratives: my artistic practice, the very heart of my creative flow, is often held together by the most unassuming, even mundane, items. Think cheap masking tape, a growing collection of old jam jars, and an endless stack of paper towels. It’s a messy, glorious, and very real reality.
We often focus on the grand gestures, the primary tools, the ones that promise instant genius. But what about the true workhorses? The humble, often overlooked, and utterly unglamorous tools that do the heavy lifting behind the scenes? These aren't just accessories; they are the quiet enablers, the silent partners in every masterpiece (and, let’s be real, every glorious failure too). They're the things that prevent disaster, encourage those wonderful 'happy accidents,' and transform the struggle of creation into a genuine flow. Without these unsung heroes, my studio — and I'd wager, yours too — would simply cease to function. They deserve our attention, our gratitude, and a moment in the spotlight.
What Makes an "Unsung Hero" Truly Heroic?
So, what exactly qualifies a tool for this hallowed title of 'unsung hero'? For me, it's not always about the price tag, though many of these items are incredibly affordable. An unsung hero is the tool that consistently punches above its weight, delivering far more value than its perceived worth. It's the one your hand instinctively reaches for, the one that anticipates and solves problems you didn't even know were lurking until its absence left you utterly stranded. We're talking about practicality, resilience, sheer versatility, and a quiet competence. These are the items that seamlessly become extensions of your creative will, allowing your mind to stay fully immersed in the art itself, rather than wrestling with inadequate or temperamental equipment. They're the foundation, the secret sauce, the quiet backbone of every successful piece – and yes, even those glorious failures from which we learn so much.
1. The Mighty Paper Towel & The Trusty Rag
Alright, let's dive right into the thrilling world of… paper towels. I know, I know, it's not exactly a grand entrance for a list of essential tools, but hear me out. I am absolutely, unequivocally serious when I declare that a roll of good, absorbent paper towels is my absolute number one studio sidekick. Right alongside it, you'll always find a healthy pile of old cotton rags – usually the tattered remains of a beloved t-shirt that has gloriously exited its prime. Most people relegate these humble items to purely cleanup duty, and yes, they are unparalleled at tackling spills and wiping brushes. But to stop there is to miss their profound artistic potential. Trust me, these aren't just for cleaning; they're for creating.
More Than Just Wiping: The Creative Power of Absorbent Fabric
Why are they so crucial? They aren't just for cleaning up spills; they are active participants in the creative process.
- Blotting & Lifting: They are the ultimate tool for lifting excess paint or water from a canvas or paper. This is how you create soft, atmospheric textures in watercolor, or how you can subtly correct an overloaded brushstroke in acrylics or oils without muddying your work. It's about control through removal, which is just as important as application.
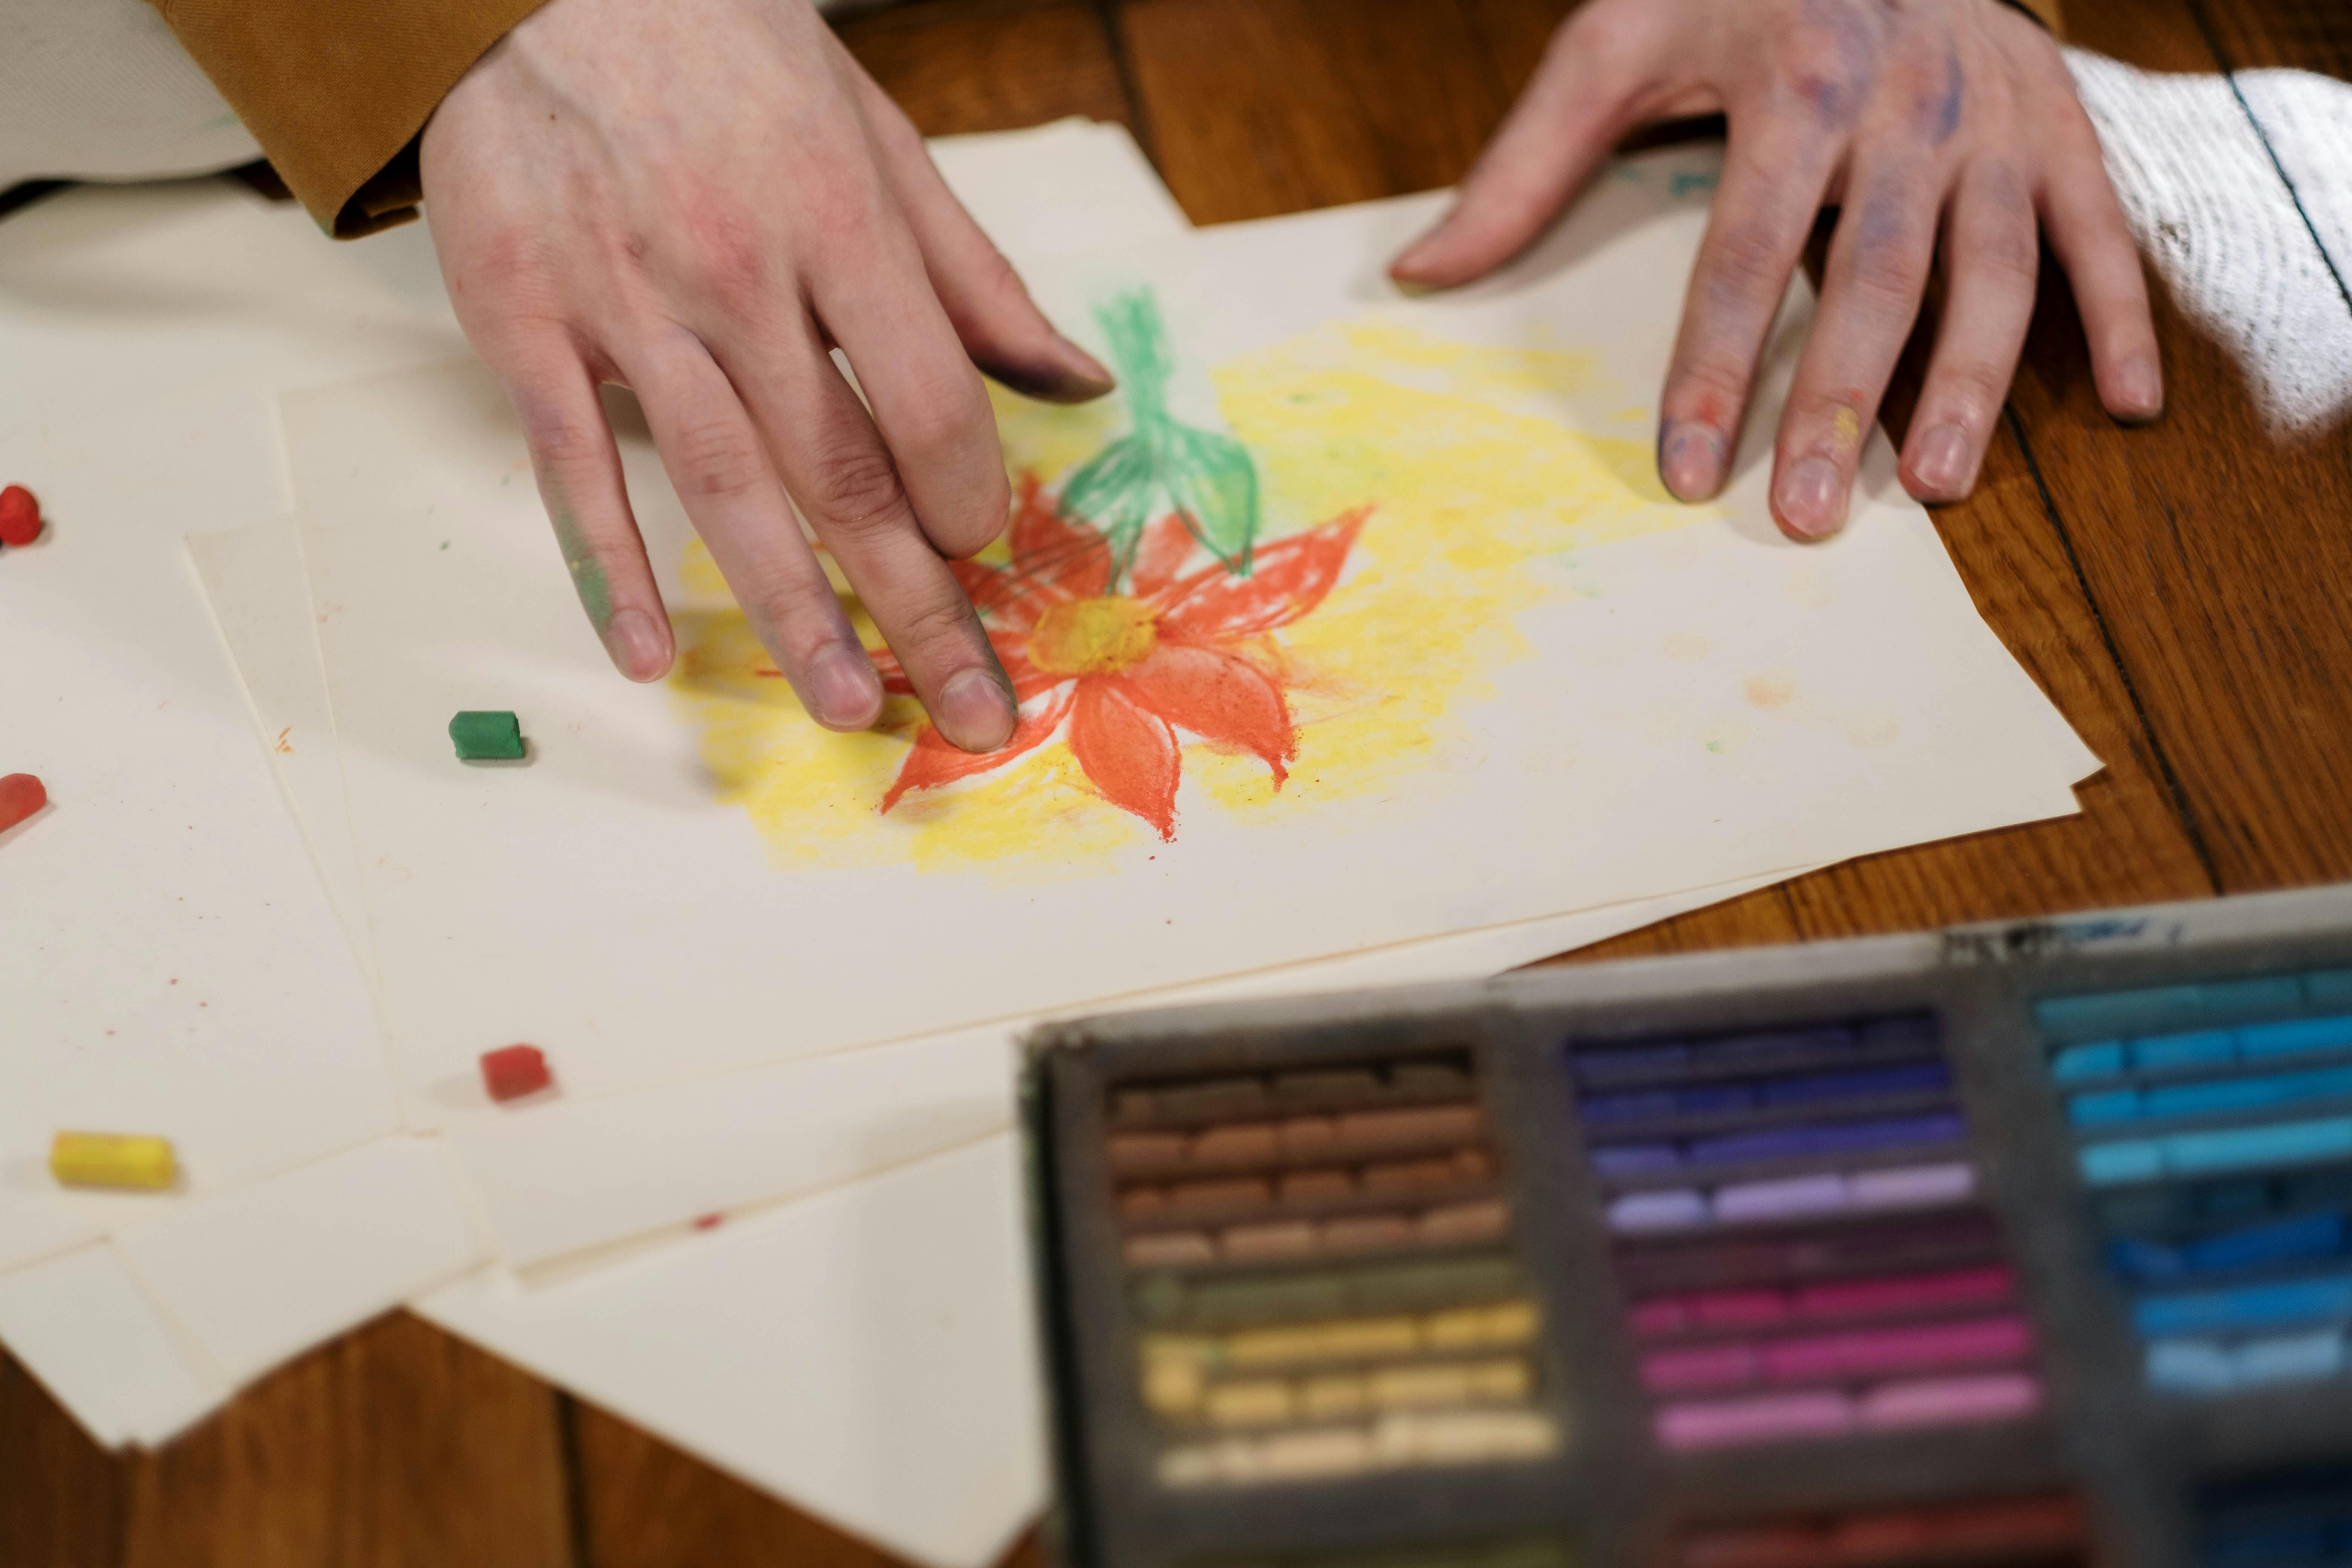
- Blending & Softening: A wadded-up paper towel can smudge charcoal or pastel in a way your fingers just can't, creating beautiful, soft gradients and transitions that feel incredibly organic. The slight texture of the paper or fabric adds a unique quality.
- Creating Texture: Dabbing a crumpled towel (or a rough rag) into wet paint can produce organic, unpredictable patterns that brushes simply can't replicate. It's a cheap and incredibly effective way to break up a flat, uninteresting surface and introduce visual complexity.
- Controlling Mediums: When working with fluid mediums like inks or thin washes, a quick blot can prevent uncontrolled spreading, allowing for sharper edges or more intentional drips.
Exploring Unique Textural Effects with Rags
Beyond simple dabbing, try twisting a slightly damp rag and pressing it onto a wet surface for unpredictable, organic patterns. Or, load a rag with a little paint and drag it across a nearly dry canvas to create subtle scumbling or broken color fields. The possibilities are truly endless, and each rag, with its unique weave and wear, will leave its own distinct mark.
Don't skimp and get the flimsy kind that disintegrates at the first hint of moisture. You want something robust, something that won't fall apart and leave little bits of paper lint in your masterpiece. For rags, old cotton t-shirts are perfect – soft, absorbent, and lint-free. I also keep a few microfibre cloths for specific, delicate blending tasks.
Material  | Primary Use | Artistic Advantage & Unique Effect |
|---|---|---|
| Paper Towel | Spill cleanup, blotting, texture | Quick, aggressive absorption; creates rough, organic textures via dabbing or pressing; excellent for lifting paint. |
| Cotton Rag | General wiping, blending, smudging | Soft, lint-free, ideal for gentle smudging of charcoal/pastel; good for polishing dried surfaces; creates subtle blended effects. |
| Microfibre Cloth | Delicate blending, buffing, polishing | Ultra-smooth and lint-free, perfect for fine, precise blending and achieving smooth gradients without brushstrokes. |
| Terry Cloth | Heavy-duty cleaning, coarse texture | Highly absorbent for major spills; can create very distinct, coarse textures when dabbed into wet paint. |
| Old Socks/Tights | Soft blending, polishing | Surprisingly good for delicate blending and creating a 'seamless' finish, especially on smooth surfaces like gessoed panels. |

2. Jars, Jars, and More Jars: The Unsung Organizers
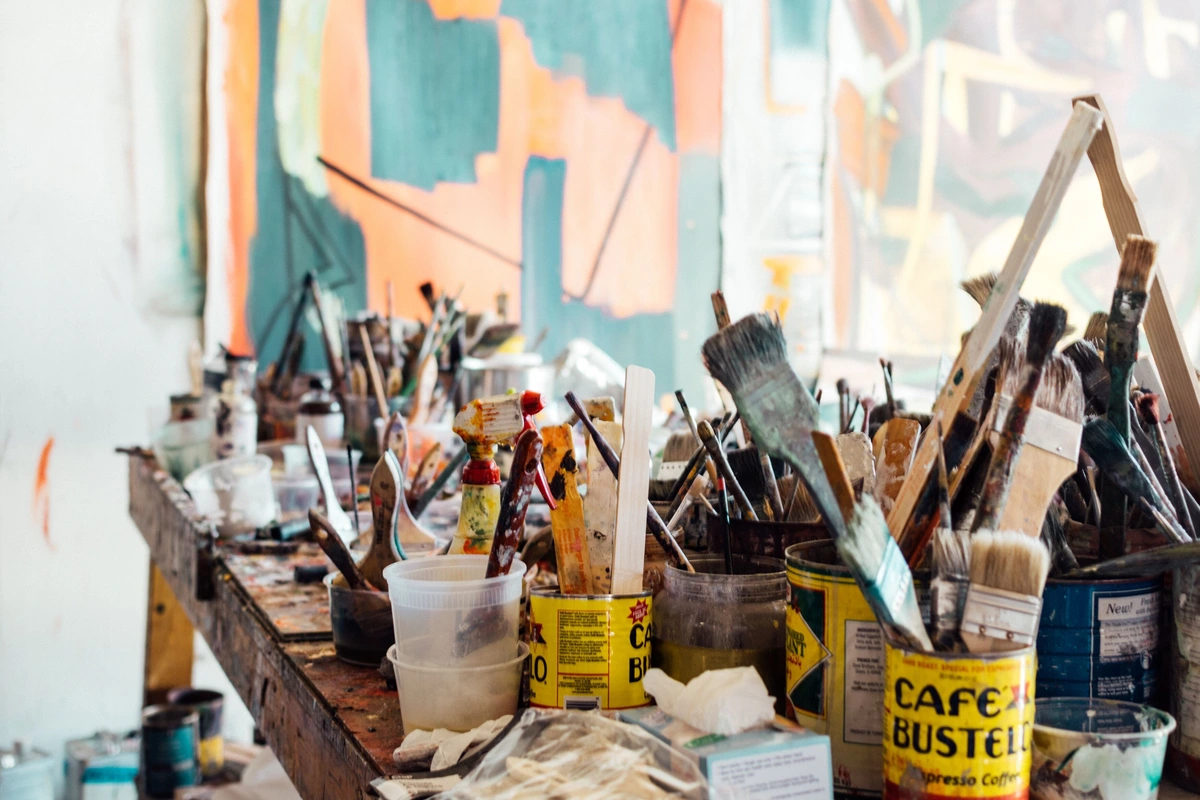
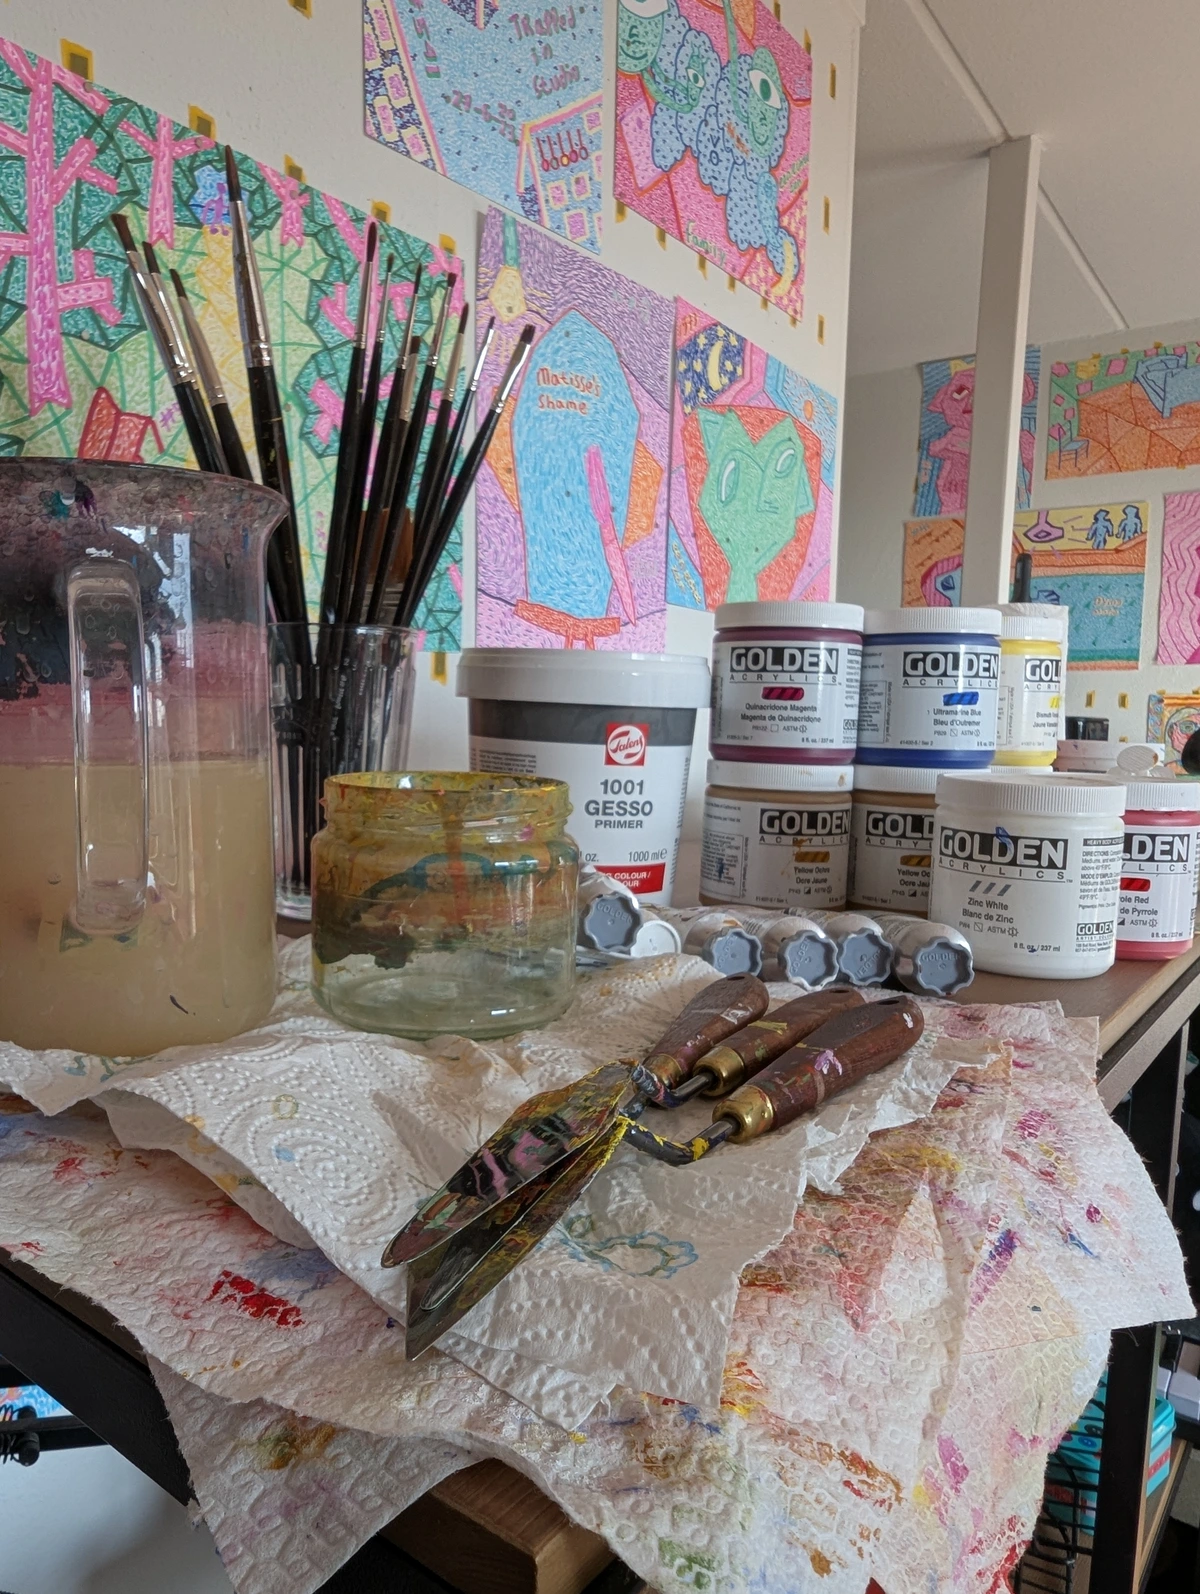
If you were to peek into my studio, you might think you've stumbled into a recycling depot. It's truly a graveyard for jars! Jam jars, pickle jars, old coffee jars – you name it. If it once held food and is now empty, chances are it's found a new, honorable life on my workbench. Forget those flimsy plastic water cups they push in art stores, the ones that inevitably tip over at the most disastrous moment. Glass has a satisfying weight, a stability that becomes your best friend against catastrophic spills. They’re not just containers; they're fortresses against creative chaos.
A Multi-Purpose Marvel
My primary, non-negotiable use for jars is a sacred two-jar system for cleaning brushes. One jar is for the initial, dirty rinse – the glorious swirl where all the caked-on color makes its dramatic exit. The second, pristine jar is for a final, cleaner rinse. This deceptively simple habit is a game-changer: it keeps my precious colors from getting muddy, drastically extends the life of my often expensive brushes, and significantly reduces the amount of pigment washing down the drain (a tiny, satisfying win for the environment, I tell myself).
But their utility extends far beyond brush cleaning:
- Mediums & Solvents: Dedicated jars are indispensable for keeping various painting mediums, turpentine, or odorless mineral spirits clearly identified and contained. This simple separation prevents accidental mixing – a tiny detail that saves big headaches and wasted materials!
- Tool Holders: Taller jars are a dream for corralling brushes, palette knives, pencils, and rulers. They keep everything upright, visible, and gloriously accessible. I often sort them by type or size, which, believe it or not, saves precious minutes during a heated creative flow. No more rummaging!
- Pigment Storage & Custom Colors: Small, airtight jars are fantastic for mixing custom paint colors in larger batches. This means you can prep specific hues ahead of time, a massive time-saver for repetitive work or if you're trying to maintain color consistency across multiple pieces. They're also great for storing dried pigments that you might want to rehydrate later.
- Water Source for Specific Techniques: For watercolorists, or anyone working with delicate washes, a series of jars with clean, progressively cleaner water is invaluable. This layered approach allows for controlled washes, prevents insidious color contamination, and lets you maintain pristine hues.
- Collecting Scraps & Found Objects: Those tiny offcuts of paper, dried paint flakes, interesting bits of texture, or even natural elements find a temporary, organized home in jars. They're waiting patiently to be incorporated into a collage art piece, a mixed media project, or even just to spark a new idea. Jars truly are the ultimate, humble, versatile organizers, effortlessly bringing a semblance of order to the beautiful, often overwhelming, chaos of the studio.
3. The Palette Knife: Not Just for Mixing, But for Making Marks
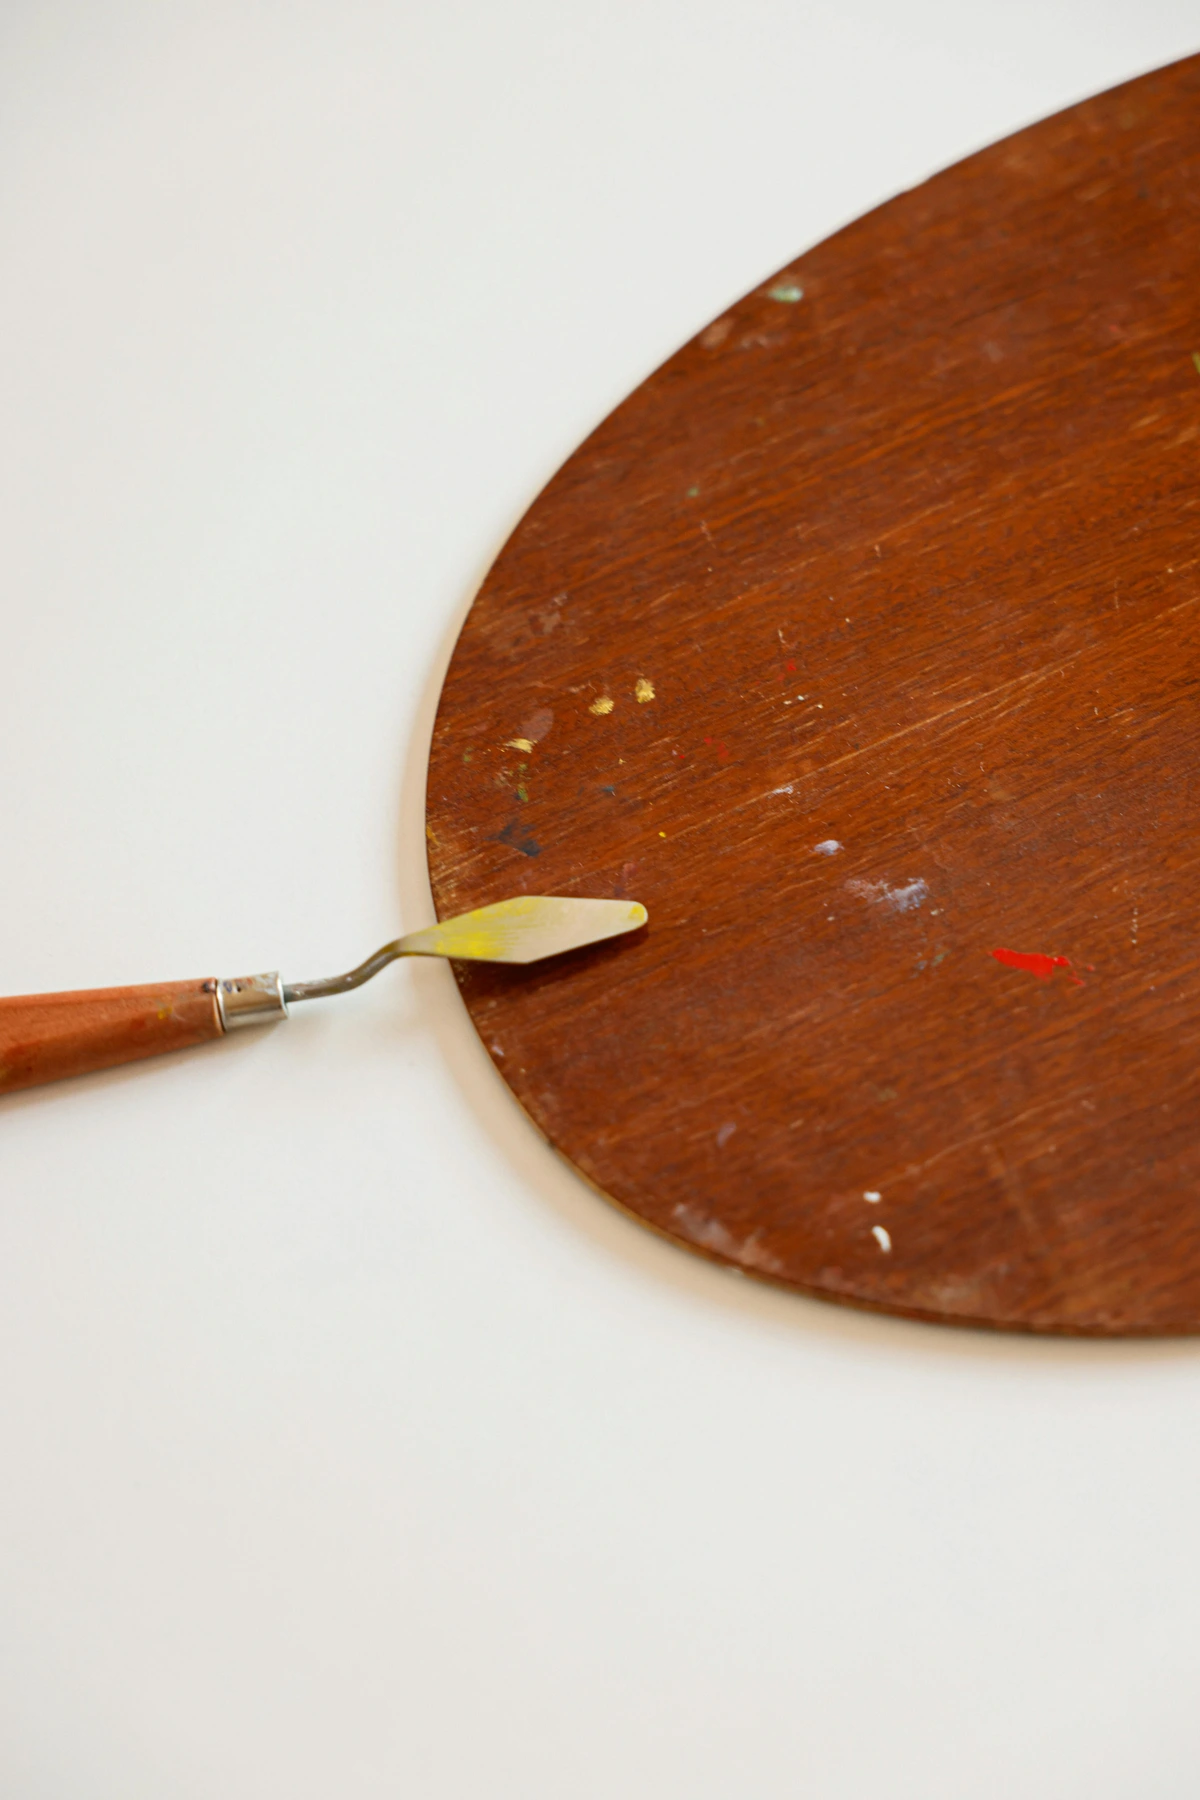
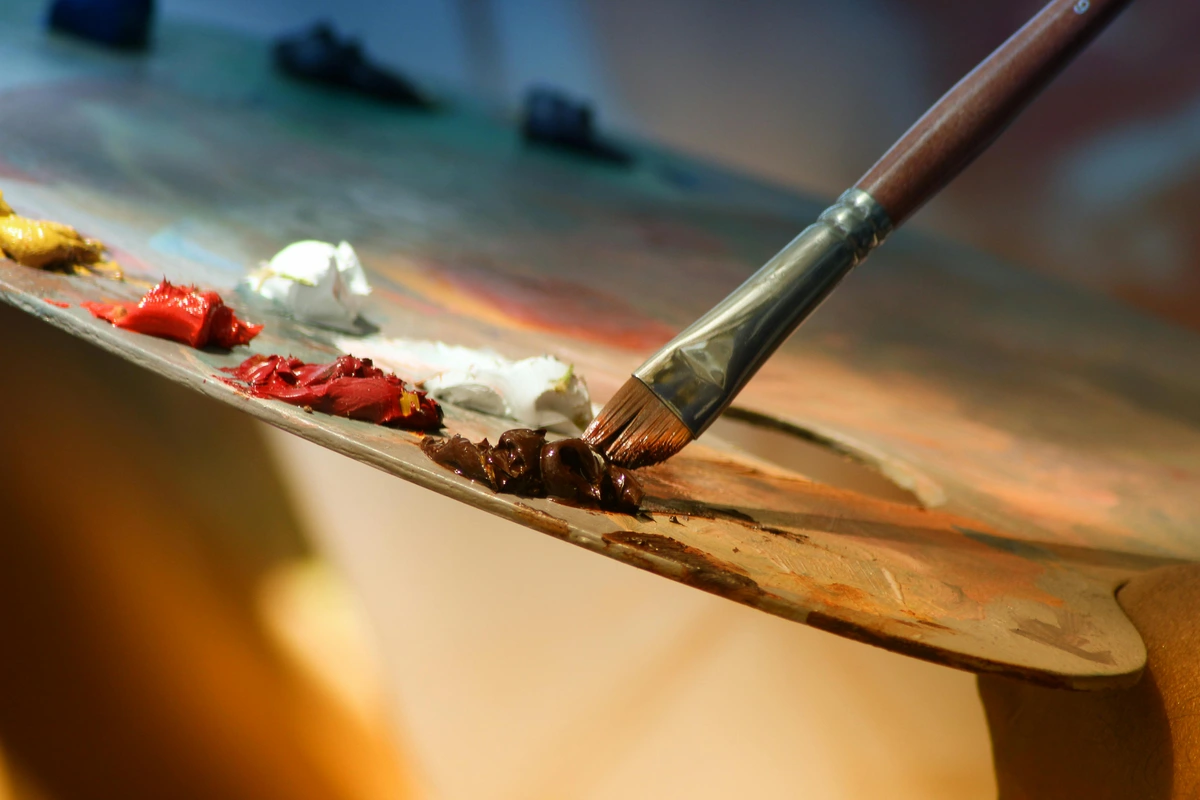
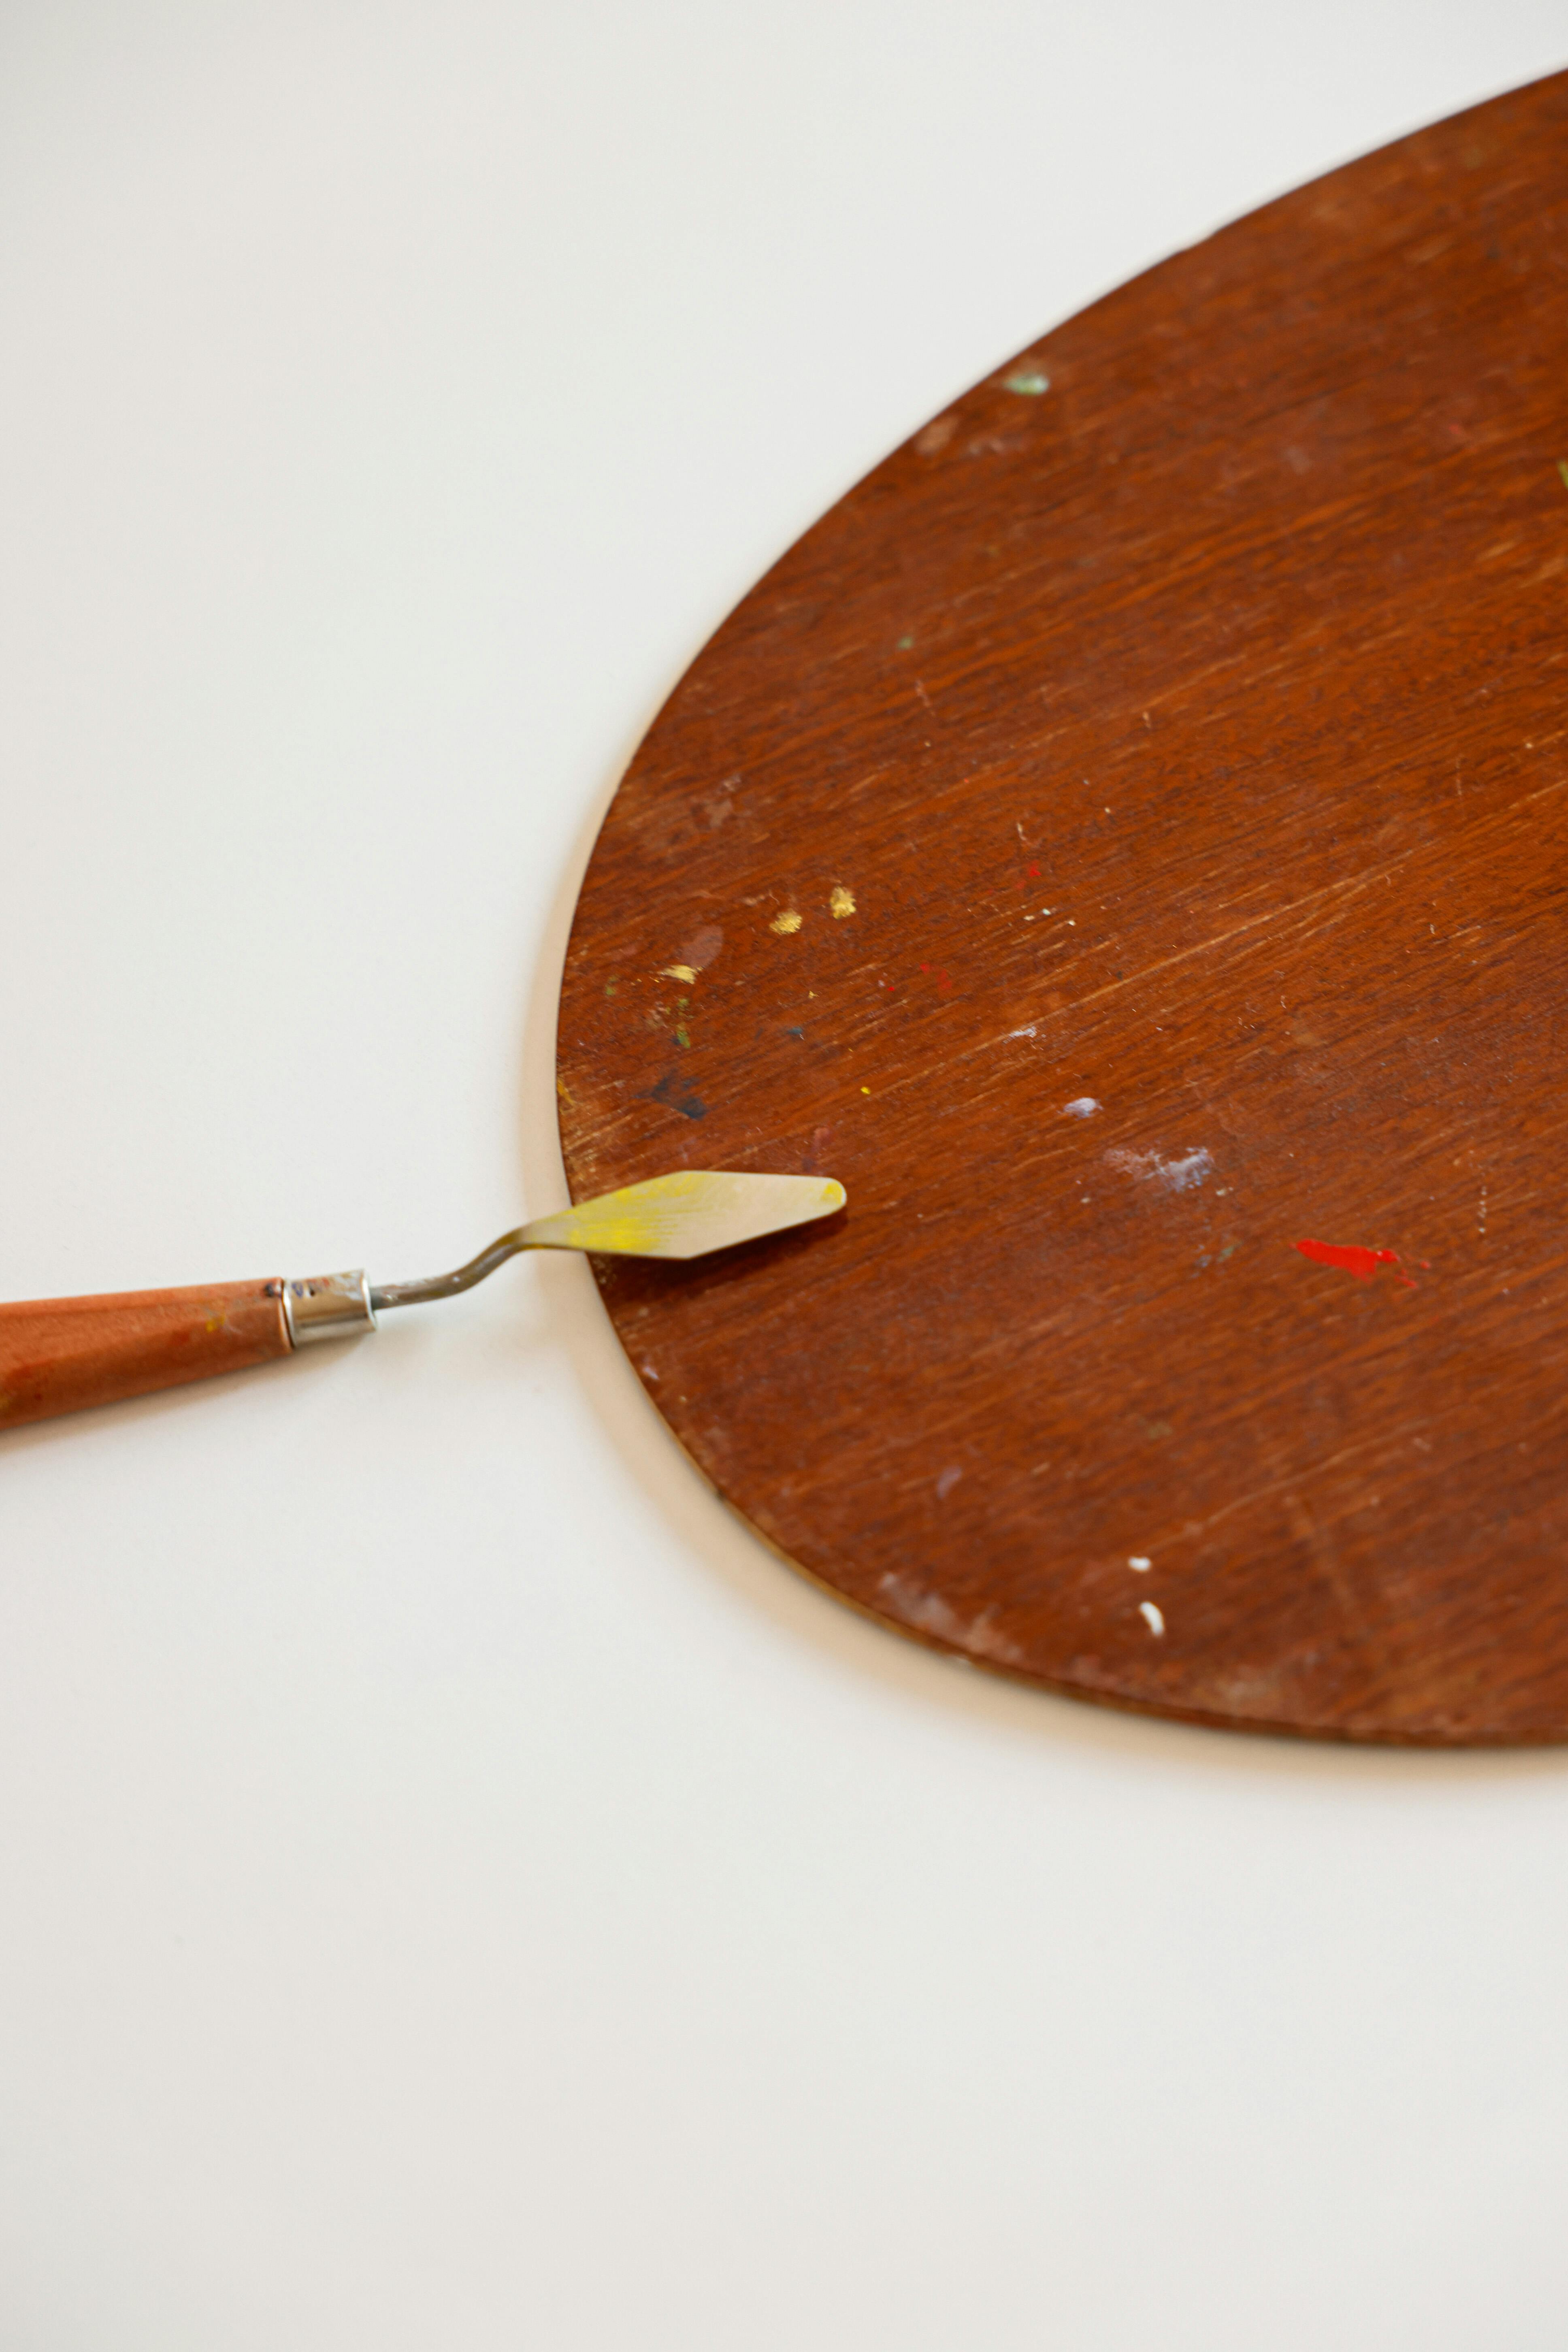
The humble palette knife, often relegated to the singular task of mixing colors on, well, a palette, is a deeply misunderstood tool. And yes, it performs that duty with elegant efficiency, liberating your precious brushes for the actual act of painting. But to confine this marvel of simplicity to mere mixing is to drastically underestimate its true genius, which, I passionately believe, lies in its incredible versatility for applying paint directly to the canvas. It’s a game-changer, a brush's rebellious cousin, and a powerful instrument for textural expression.
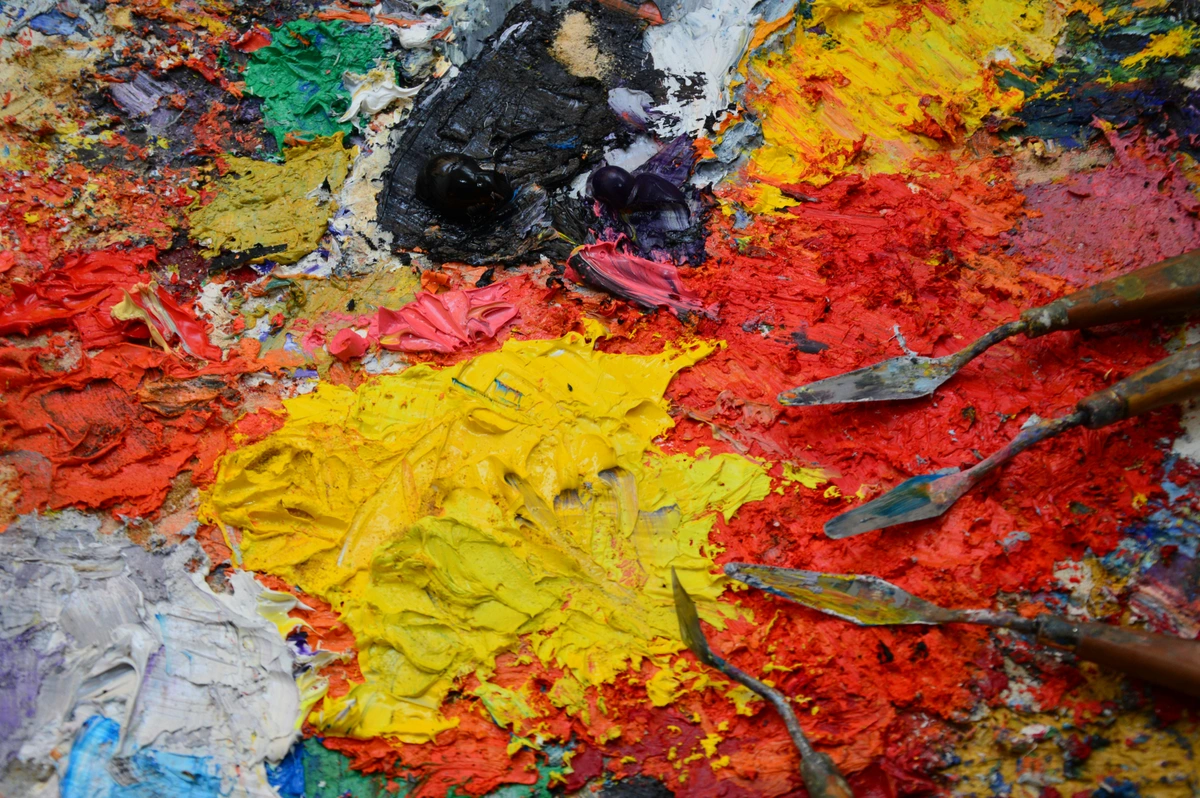
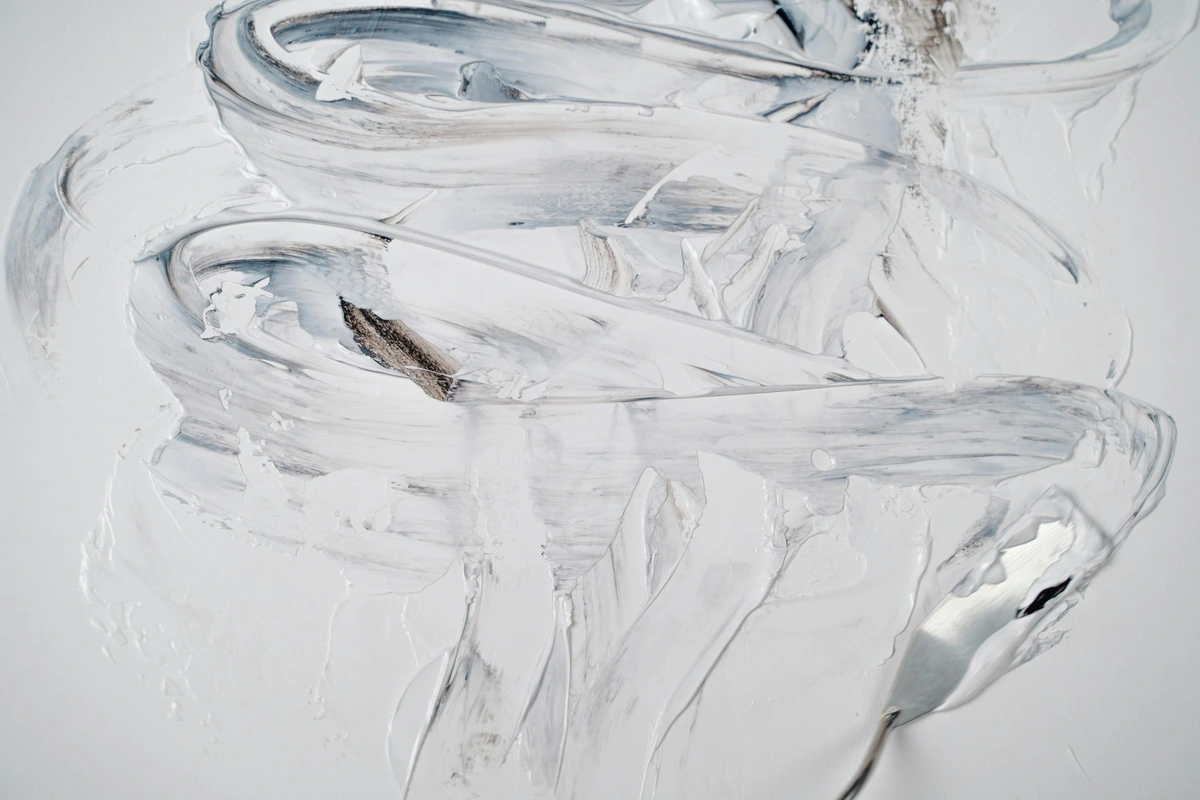
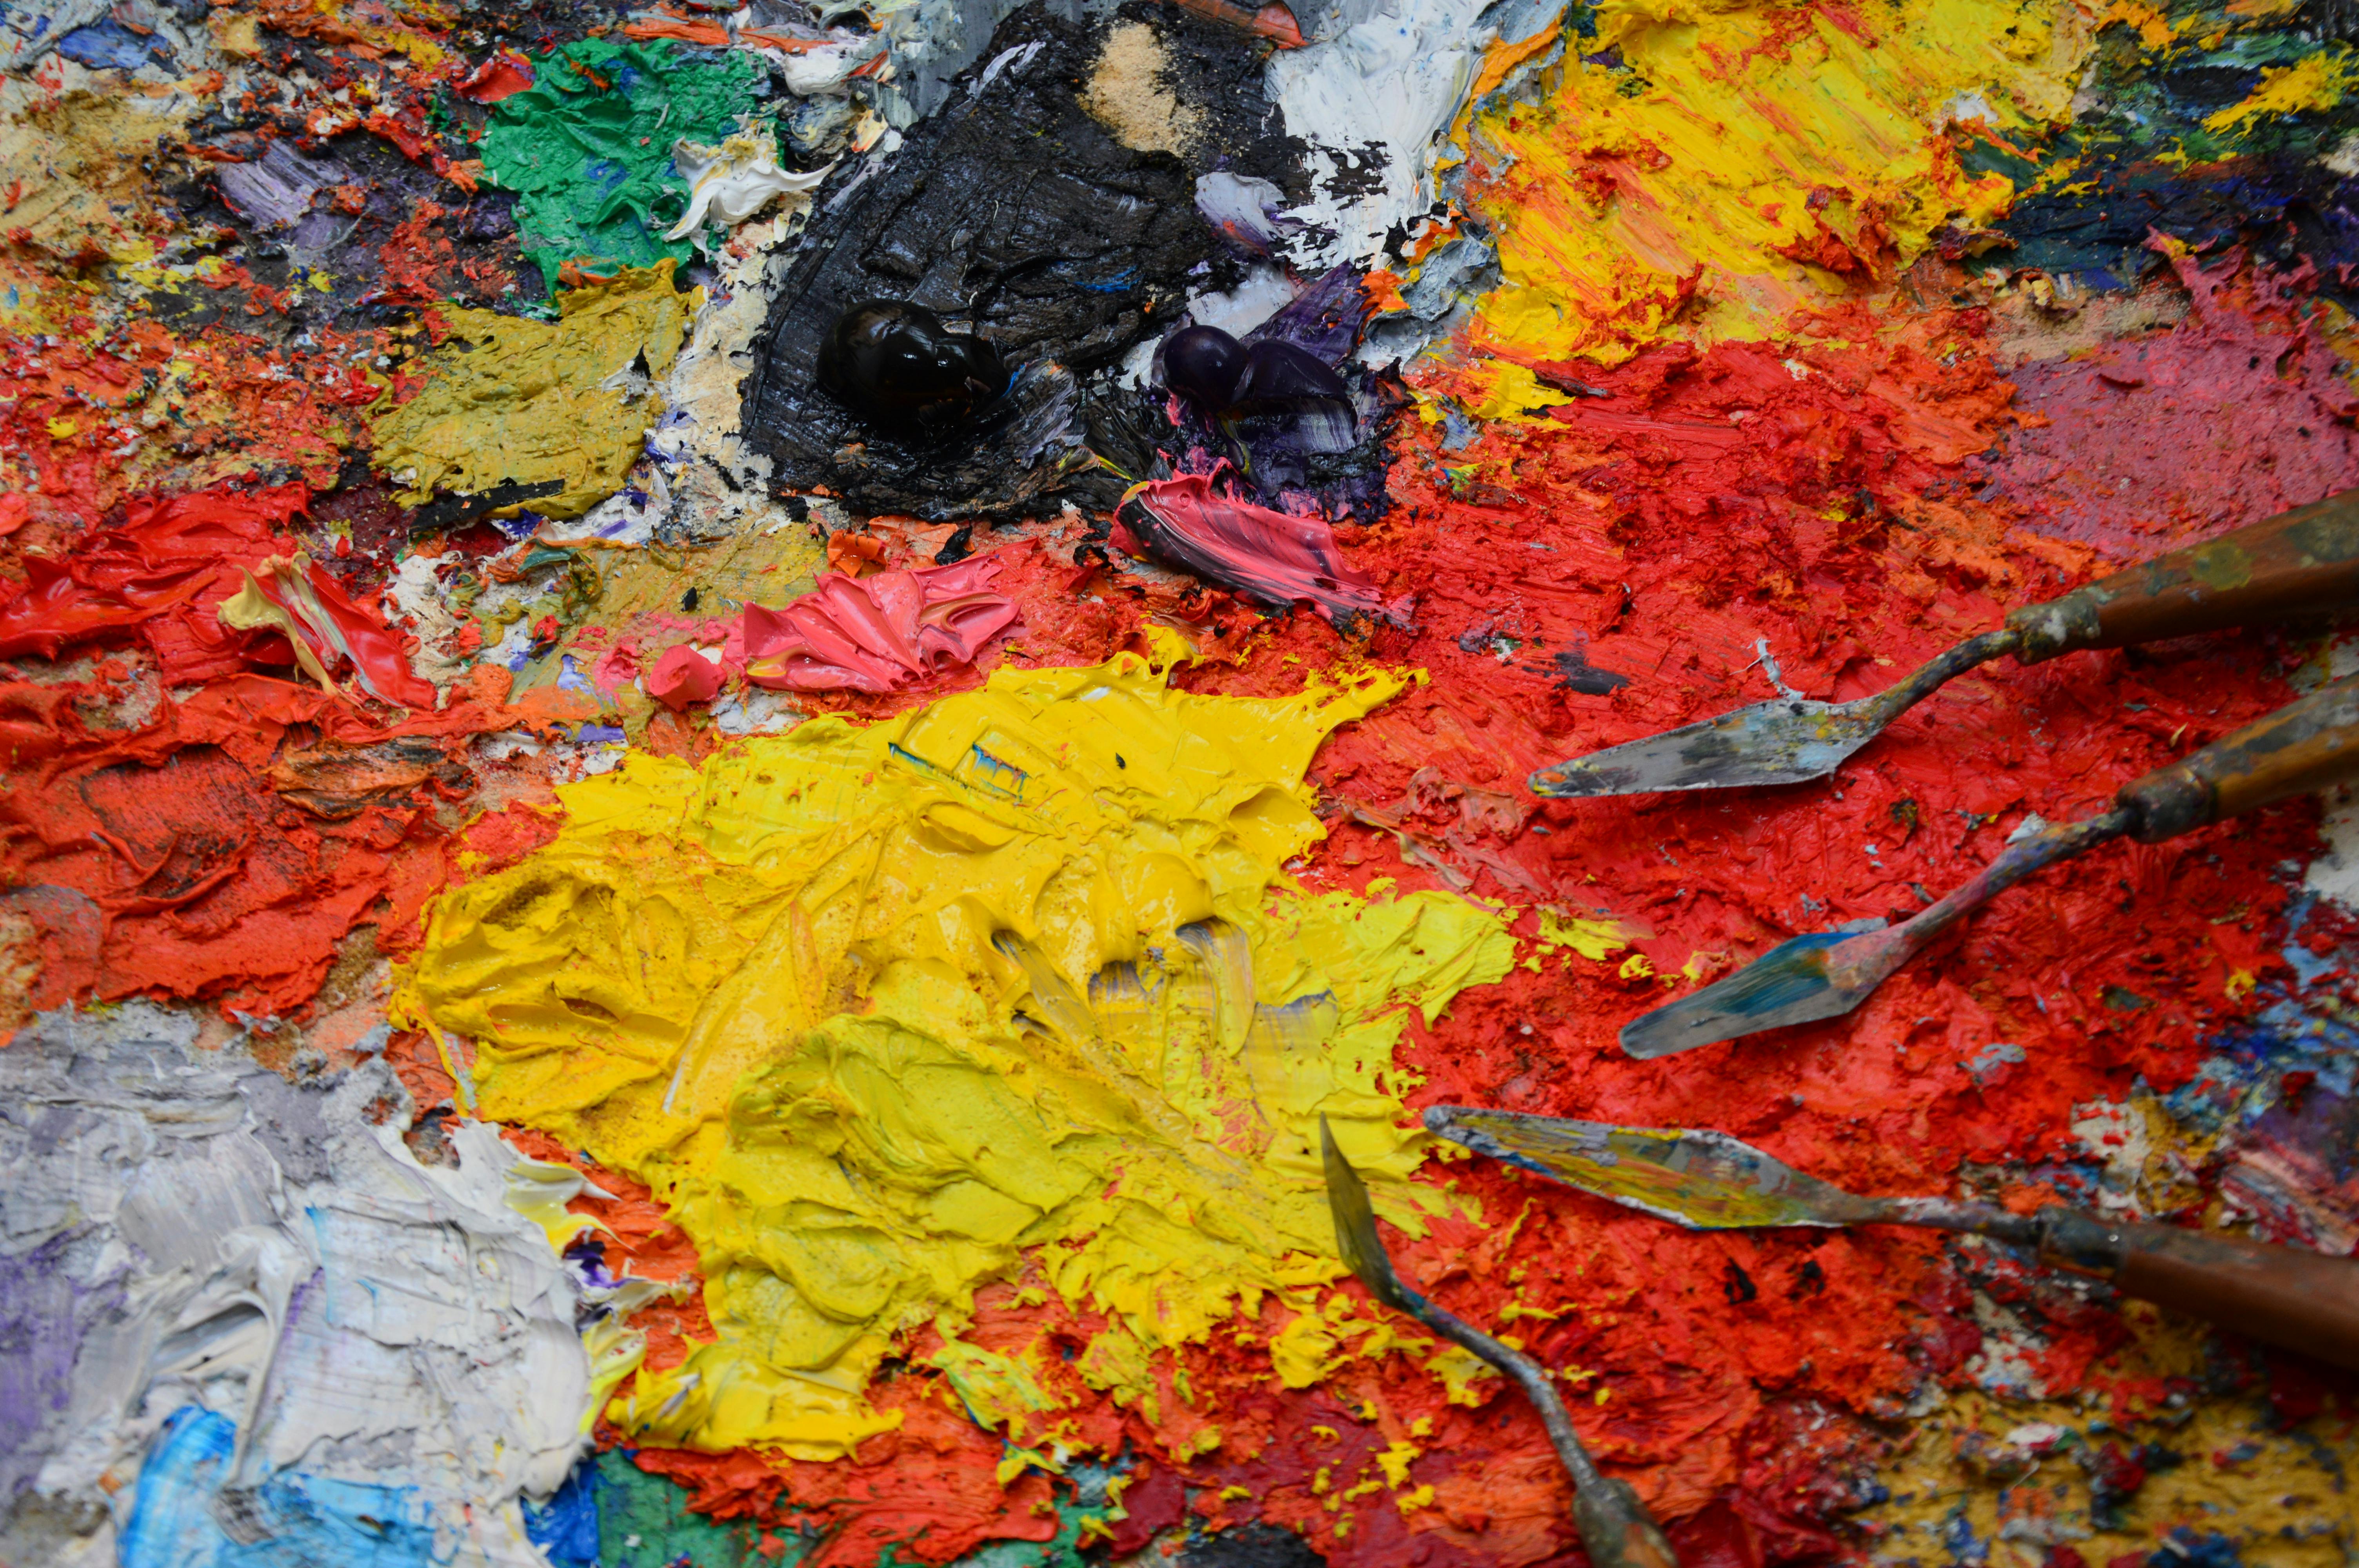
I'll be honest, for certain phases of a painting, especially in my abstract pieces, I probably reach for my palette knife as much as, if not more than, my brushes. It is, without a doubt, the undisputed master key to unlocking thick, visceral impasto effects. This is where the paint isn't just on the surface; it stands proud from it, catching the light in a way that just begs to be touched, to be experienced tactilely. With a palette knife, you can literally spread paint like butter, laying down broad, generous fields of color with unparalleled speed. You can scrape away layers to reveal tantalizing glimpses of what lies beneath, adding a history and depth to your surface. Or, use its thin edge to carve out sharp, decisive lines that cut through softer, more atmospheric passages, creating moments of crisp contrast. It's truly an instrument of both bold, blunt force and astonishing delicate precision. If you've ever felt that your brushes were making your work too fussy or overly detailed, picking up a palette knife forces you to be bold. It encourages a direct, confident, and unapologetic approach that can be incredibly liberating and often leads to totally unexpected breakthroughs in your artistic style. It's particularly fantastic for exploring texture in a way that truly engages the viewer.
Types and Techniques: Unlocking the Knife's Potential
One of the joys of the palette knife is its sheer variety. They come in an astonishing array of shapes and sizes: from long, elegantly flexible blades perfect for sweeping, expressive gestures that cover large areas, to small, almost diamond-shaped ones designed for the most intricate details and precise marks. I highly recommend experimenting with both plastic and metal versions; each has its own unique character. Metal knives generally offer superior flexibility and a sharper, more defined edge, which is fantastic for crisp lines and bold applications. Plastic knives, on the other hand, can be gentler on delicate surfaces (especially paper) and are often excellent for vigorous paint mixing without fear of scratching your palette. Beyond shape, the way you hold and manipulate the knife unlocks a universe of effects. Try dragging the flat side across a wet layer of paint for a smooth, almost marble-like finish. Or, use just the very tip or edge to create small, deliberate dots of color, fine lines, or even expressive scribbles. Each shape, each angle, each stroke, creates its own distinct visual language, inviting you to discover new ways of expression. Don't be afraid to try holding the knife at extreme angles, or even using the side of the handle for unique scraping effects. The less you try to control it like a brush, the more surprising and expressive the results can be.
Tool | Primary Use | Secret Superpower & Advanced Techniques | Artistic Effect |
|---|---|---|---|
| Brush | Applying paint smoothly, blending | Nuanced, detailed marks; precise color placement; expressive strokes. | Smooth gradients, fine lines, delicate washes, impasto (depending on brush type). |
| Paper Towel | Cleaning up, blotting | Lifting excess paint/water; creating organic textures; gentle blending; controlled removal. | Soft edges, atmospheric effects, unique organic patterns, subtle corrections. |
| Palette Knife | Mixing paint, applying paint | Creating bold, thick textures (impasto); scraping away paint; creating sharp, decisive lines; broad color fields. | Dramatic impasto, vibrant textural layers, crisp edges, energetic marks, scraped effects. |
| Sponge (Natural/Synthetic) | Applying washes, stippling | Creating unique, irregular textures; soft, diffused color application; lifting paint. | Mottled textures, cloudy effects, varied surface interest. |
| Brayer/Roller | Smooth color application | Applying even, thin layers of paint; printing mono-prints; creating smooth gradients. | Flat, even color fields; crisp edge transfers; unique print textures. |
4. The Versatile Spray Bottle: Moisture Control
Here’s a confession: this tool is so utterly simple, so incredibly ubiquitous, yet so profoundly powerful that I still marvel at its impact. I'm talking about a cheap plastic spray bottle, the kind you might use for plants, the kind you probably already have lurking in a cupboard. For anyone working with acrylics, watercolors, inks, or even certain mixed media, it is an absolute, non-negotiable must-have.
My artistic life used to be a constant battle: acrylics drying too fast on the palette, paper curling under heavy washes, or struggling to achieve that perfectly soft, ethereal blend. This unassuming little hero comes to the rescue every single time, transforming frustration into fluid possibility.
How to Mist Your Way to Better Art
Think of the spray bottle not just as a water dispenser, but as a dynamic tool for manipulating your medium. Its power lies in its ability to introduce moisture in a controlled, atmospheric way:
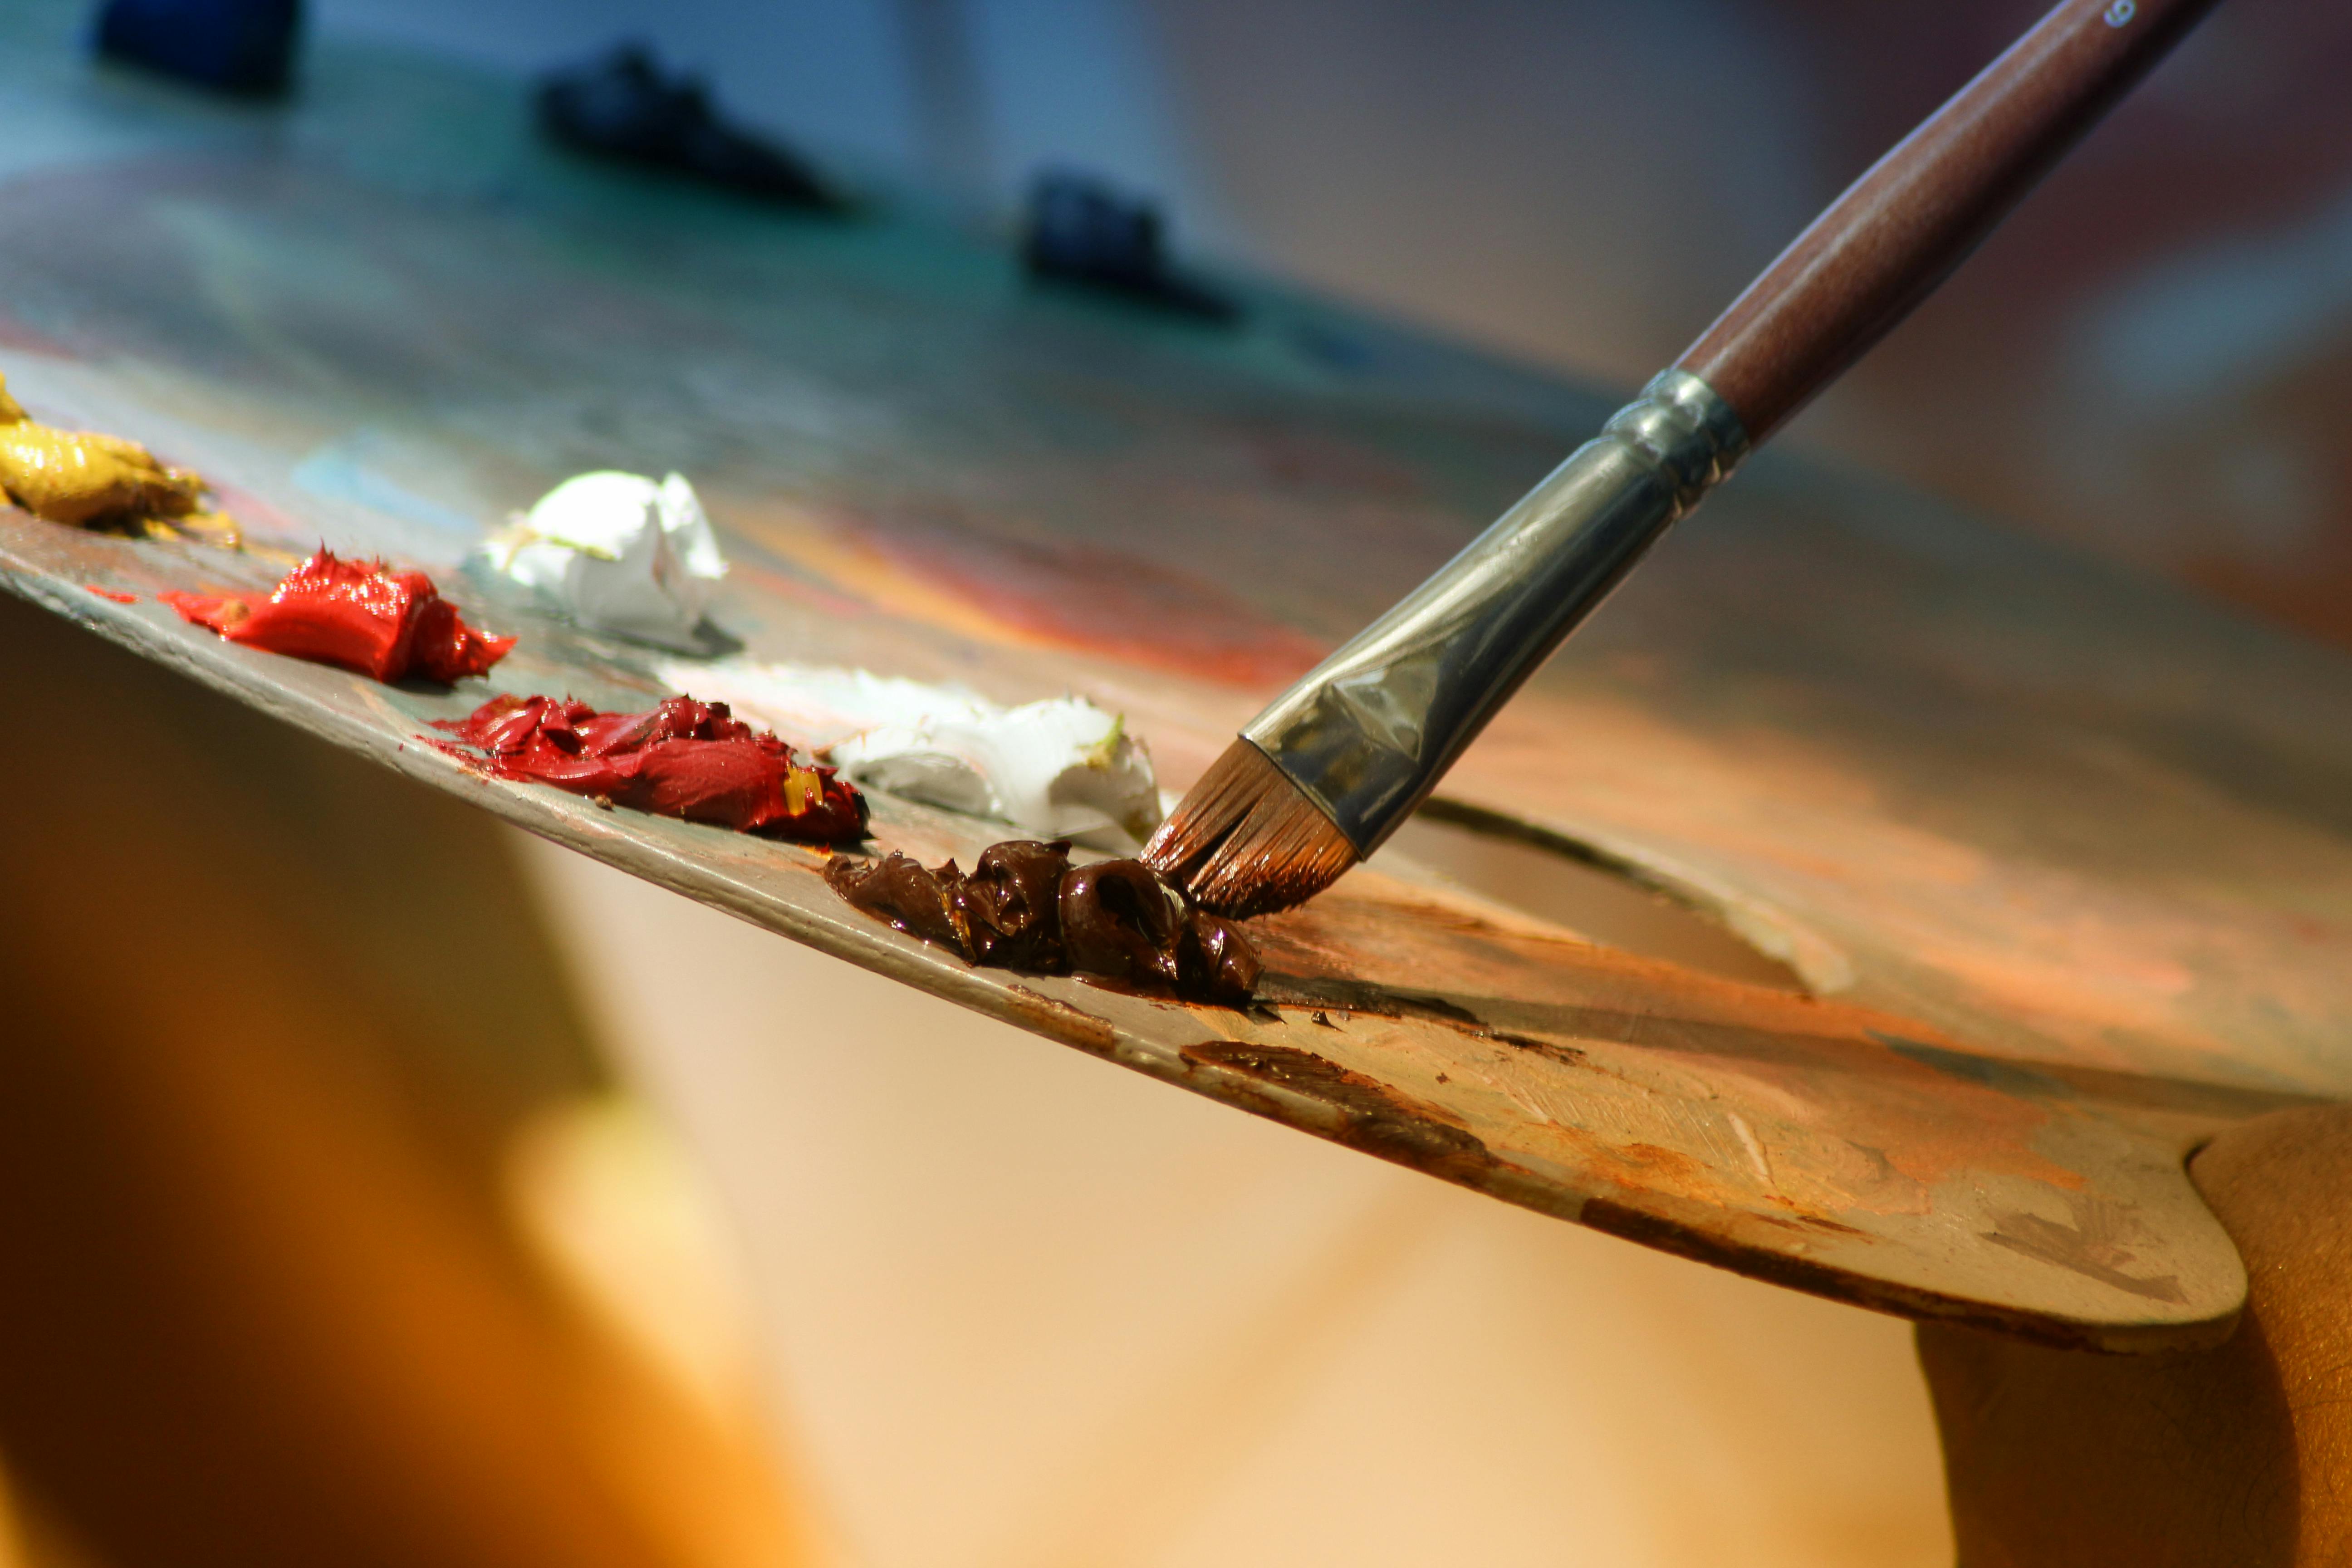
- Keeping Paints Workable: This is a lifesaver, particularly with fast-drying acrylics. A fine, gentle mist over your palette can extend the workability of your paints significantly, preventing costly waste and the maddening frustration of dried, unusable blobs. I often give my palette a quick spritz if I even step away for a minute or two – it’s a habit that pays dividends.
- Watercolor & Ink Effects: For watercolorists, the spray bottle is nothing short of transformative. You can pre-mist your paper before applying paint to achieve gorgeously soft, diffuse washes that spread like dreams. Or, spray into wet paint already on the paper to create stunning blooms, backruns, and unpredictable, organic gradients that are simply impossible to achieve with a brush alone. It's a fantastic way to introduce an element of controlled chaos and natural diffusion.
- Reactivating Dried Pigments: Don't throw away that slightly dried paint! Sometimes, a little targeted mist is all it takes to reactivate semi-dried paint on your palette, bringing it back to a perfectly workable consistency. It’s magic, I tell you.
- Cleaning & Loosening: A quick, generous spray on a messy palette or a paint-splattered workbench can work wonders. The moisture loosens dried paint, making cleanup infinitely easier and less of a chore. It turns caked-on messes into manageable spills.
It’s about understanding that moisture isn't just for diluting; it's a profound tool for manipulating the flow, texture, transparency, and blend of your paint. The key, of course, is a good nozzle that provides a fine mist, not a harsh jet stream – unless, of course, you're intentionally aiming for very specific drip effects! Then, by all means, unleash the stream!
5. The Unexpected Heat Source: Hair Dryer or Heat Gun
Alright, prepare for a surprise. A hair dryer? In a serious art studio? Absolutely, unequivocally yes. And for certain, more intense techniques, a low-power heat gun is even better. This unassuming appliance has become my clandestine weapon against the inevitable impatience that bubbles up during the creative process (and let's be honest, we all get impatient!). More than just a time-saver, it’s a powerful tool for producing unique, sometimes unexpected, artistic effects. Think of it as a creative accelerator, a controlled element of fire and wind at your fingertips.
Speeding Up & Texturizing: Beyond Basic Drying
- Accelerated Drying: This is, of course, the most immediate and obvious benefit. If you work in layers with fast-drying mediums like acrylics, the agonizing wait for each layer to dry can utterly kill your creative momentum. A hair dryer, used on a cool or low-heat setting, dramatically speeds up this process, allowing you to build up glazes, opaque layers, or intricate details without fear of lifting or muddying the paint underneath. It’s a literal time machine for your artwork.
- Creating Dynamic Flow Effects: With fluid acrylics, inks, or resin, directly applying warm air can become a fascinating dance. It pushes and pulls the paint, creating mesmerizing cells, intricate waves, and organic flow patterns that are almost impossible to achieve otherwise. This is truly where a heat gun begins to shine, as its more concentrated heat allows for incredibly precise manipulation of fluid dynamics.
- Textural & Crackling Effects: Here’s where the unpredictable magic happens. Applying heat (carefully!) to slightly wet or layered paint can induce interesting crackling, bubbling, or rippling textures as the water or medium evaporates rapidly. It’s a technique that’s always a bit of a surprise, which, for me, is half the fun and keeps things exciting!
- Wax & Encaustic Mediums: For encaustic artists, the heat gun isn't just useful; it's absolutely indispensable. It's the primary tool for melting, fusing, and manipulating layers of wax, allowing for rich textures and translucent depth. In fact, it's a cornerstone of the history of encaustic painting: ancient wax art to modern revival, where precise heat control is everything.
A Crucial Word of Caution (I learned this the hard way): Always, always use the lowest effective heat setting. Keep the dryer or gun moving constantly to prevent scorching your surface, creating unwanted cracks in your paint, or damaging delicate materials. And please, be acutely mindful of fumes, especially when working with certain oil paint mediums or resins. Ventilation is your best friend here. While I rarely use a heat gun directly on wet oils, it's a powerhouse for acrylics and a non-negotiable for encaustic work. It's a tool for incredible control, but it also asks you to embrace a little beautiful unpredictability. Always use a heat tool in a well-ventilated area, and never point it directly at your skin or other flammable materials. Proper safety extends your creative journey and keeps your studio a haven, not a hazard.
Hair Dryer vs. Heat Gun: Knowing the Difference
Feature | Hair Dryer | Heat Gun (Low Setting) | Best Use For |
|---|---|---|---|
| Heat Output | Lower, broader, less intense | Higher, more concentrated, sustained | General drying, gentle flow effects |
| Airflow | Stronger, broader | Targeted, often adjustable | Pushing fluid paints, creating large cells |
| Control | Less precise heat, more air disruption | More precise heat application, less air disruption | Detailed texture, localized drying, encaustic art |
| Safety Note | Generally safer for most surfaces | Can overheat surfaces quickly, requires caution | Always keep moving, monitor surface temperature |
6. Tape: The Master of Crisp Edges and Controlled Chaos
Ah, tape. I’m not talking about shiny office tape (please, for the love of art, keep that far away from your canvas). I'm talking about purpose-made artist's tape, drafting tape, or even just decent-quality painter's masking tape. The joy of peeling back a piece of tape to reveal a perfectly crisp, clean line, a stark contrast to the painterly chaos around it, is one of the great simple pleasures of studio life. It's about defining boundaries, protecting areas, and creating visual impact through precision.
Beyond the Straight Line: Creative Taping Techniques
Yes, tape is absolutely indispensable for creating crisp geometric compositions, for protecting that crucial horizon line in a landscape, or for masking off a pristine area you desperately want to keep paint-free. But its creative utility, my friend, extends far, far beyond these obvious applications:
- Negative Space Mastery: This is where tape truly shines for conceptual work. Use it to define intricate shapes or patterns, then boldly paint over and around them. When the tape is removed, the original, untouched surface is revealed, creating powerful negative space designs. This technique is a crucial aspect of understanding the elements of design in art, adding depth and visual intrigue.
- Complex Layering Effects: Want to build up rich, multi-layered compositions? Tape is your ally. Mask off specific areas, apply a layer of paint, allow it to dry, then remove the tape. Now, apply new tape to different areas, and paint another layer. Repeat. The result is a fascinating interplay of overlapping forms and colors, creating a sense of history and depth on your surface.
- Faux Frames & Borders: Before framing (or sometimes as a stylistic choice instead of framing), use tape to create a clean, sharp border around your artwork. This instantly gives it a finished, professional, gallery-wrapped look, elevating the entire presentation.
- Protecting Edges & Sides: If you paint on panels, stretched canvas, or even thick paper, taping the edges ensures perfectly clean lines where your artwork meets the support. This prevents paint from creeping onto the sides or the back, making for a much tidier, more professional finish, especially important if your work is viewed from multiple angles.
A Little Tip That Will Save You Heartbreak: Before firmly sticking any artist's or painter's tape to your paper or canvas, take a moment to press it gently against your clothes (or a clean, lint-free cloth) once or twice. This picks up a tiny bit of lint and subtly reduces the tackiness, just enough to prevent it from tearing your delicate surface when you finally peel it off. You're welcome; I learned that soul-crushing lesson the hard, sticky way.
Tape Adhesion and Residue Control: Mastering the Peel
The magic of tape lies in its removal, and that's where things can go wrong if you're not careful. Always wait for your paint to be completely dry before peeling. Peel slowly, at a sharp angle (almost parallel to the surface), pulling against the painted edge, not away from it. This minimizes the chance of paint lifting. If you're working on delicate paper, consider using a hair dryer on a low setting to gently warm the tape as you peel; this can soften the adhesive and make for a cleaner release. For particularly stubborn residue, a rubber cement pickup or a gentle art gum eraser can sometimes help, but prevention is always the best cure. A little planning goes a long, long way in achieving those pristine lines without the heartbreak.
Type of Tape | Characteristics | Best For | Important Note |
|---|---|---|---|
| Artist's Tape | Low tack, acid-free | Masking on paper, delicate surfaces | Minimal residue, gentle removal |
| Painter's Tape | Medium tack, clean release | Canvas, walls, larger masking jobs | Good for sharp lines, some can be higher tack |
| Drafting Tape | Very low tack, translucent | Technical drawings, temporary holds | Ideal for precise, light-duty masking |
| Washi Tape | Decorative, low tack | Mixed media, light masking, decorative lines | Often leaves minimal residue, comes in patterns |
Tape is all about controlled elements of art line, bringing structure and unexpected visual dynamics to your work.
7. Good Lighting: The Invisible Brush
This one isn't a physical tool you can hold, but it might be the most critical of all. I spent years working in poorly lit rooms, wondering why my colors looked so different in the morning. Bad lighting will lie to you. It will make your blues look purple and your yellows look dull.
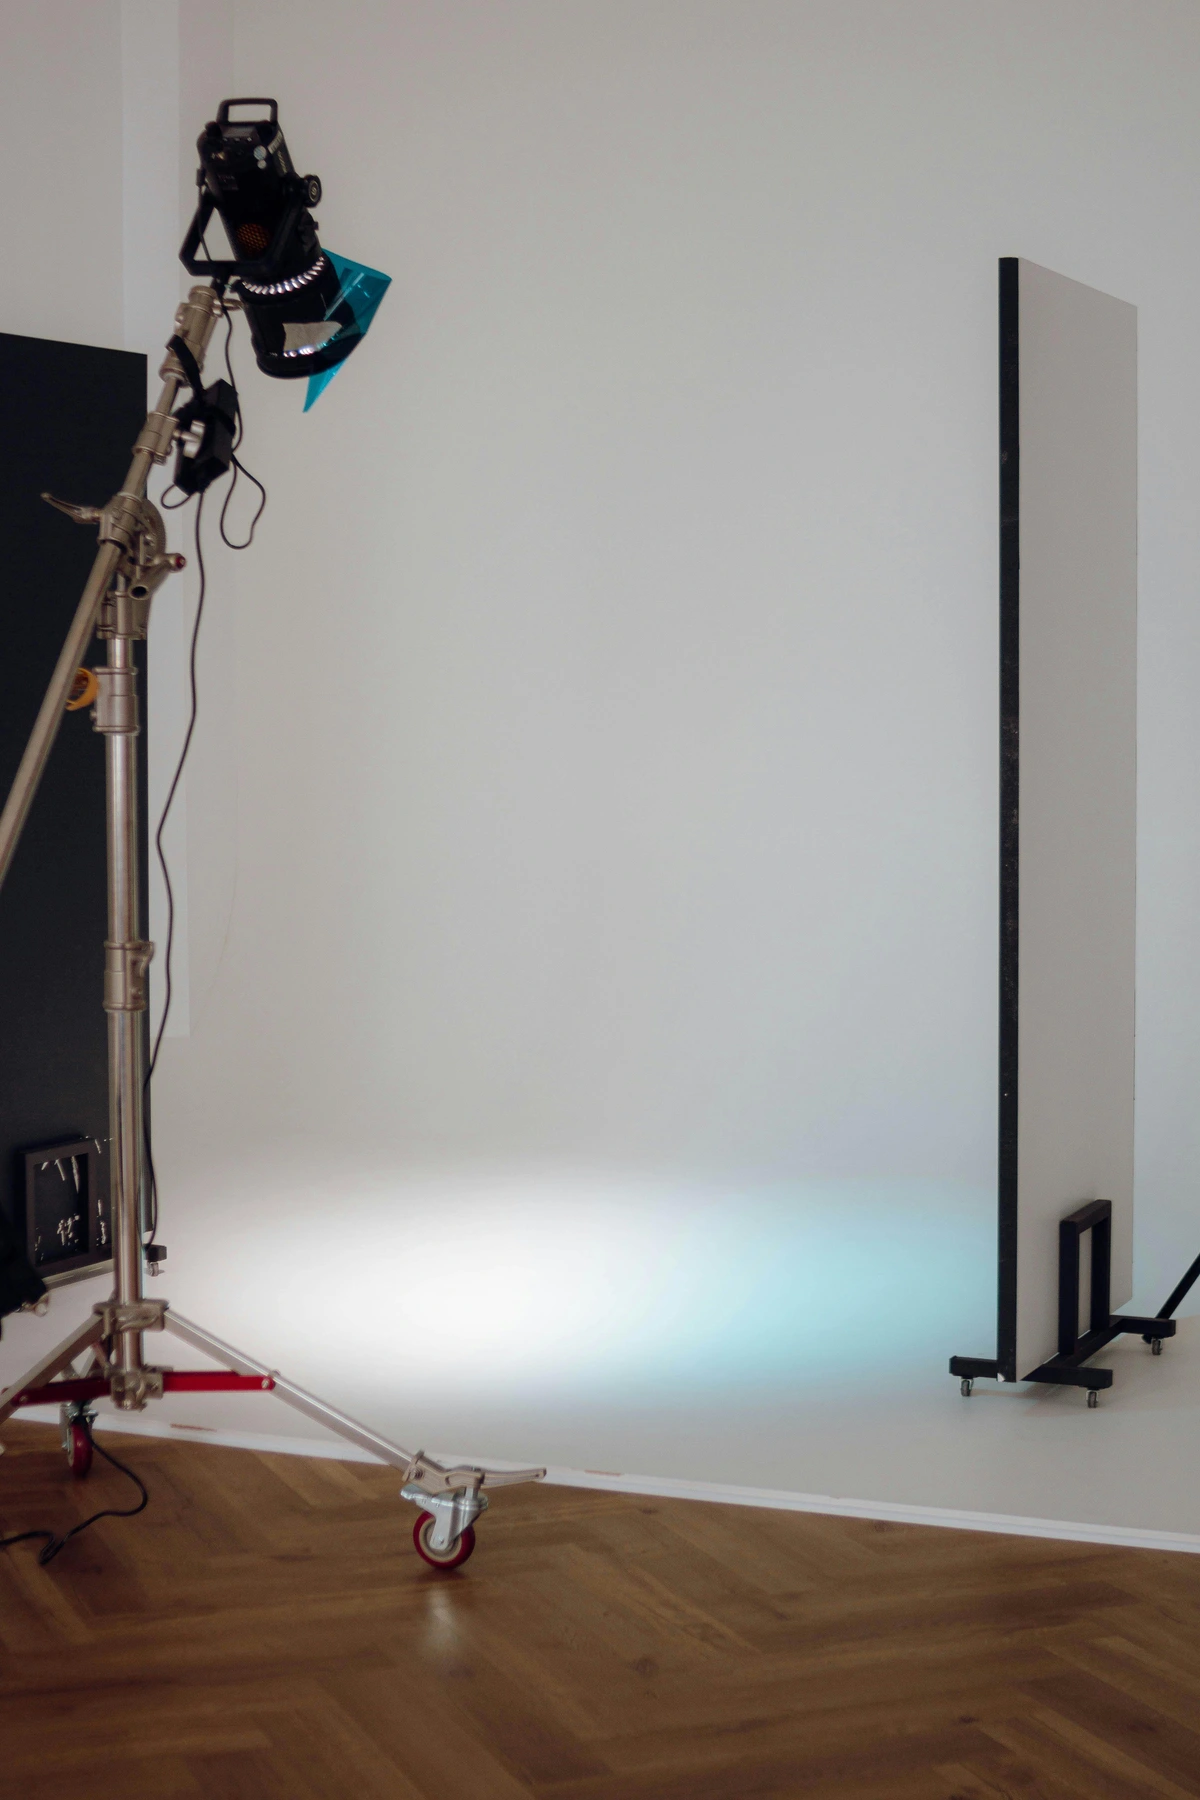
Investing in good, color-corrected studio lighting changed everything. You don't need a professional Hollywood setup. A couple of strong, daylight-balanced LED lamps positioned to eliminate shadows will allow you to see your colors truly. It's like taking off sunglasses you didn't know you were wearing. It lets you work at any time of day or night with confidence, knowing that what you see is what you're actually painting.

8. The Studio Uniform: Aprons and Old Clothes
The Psychological Edge of the Studio Uniform
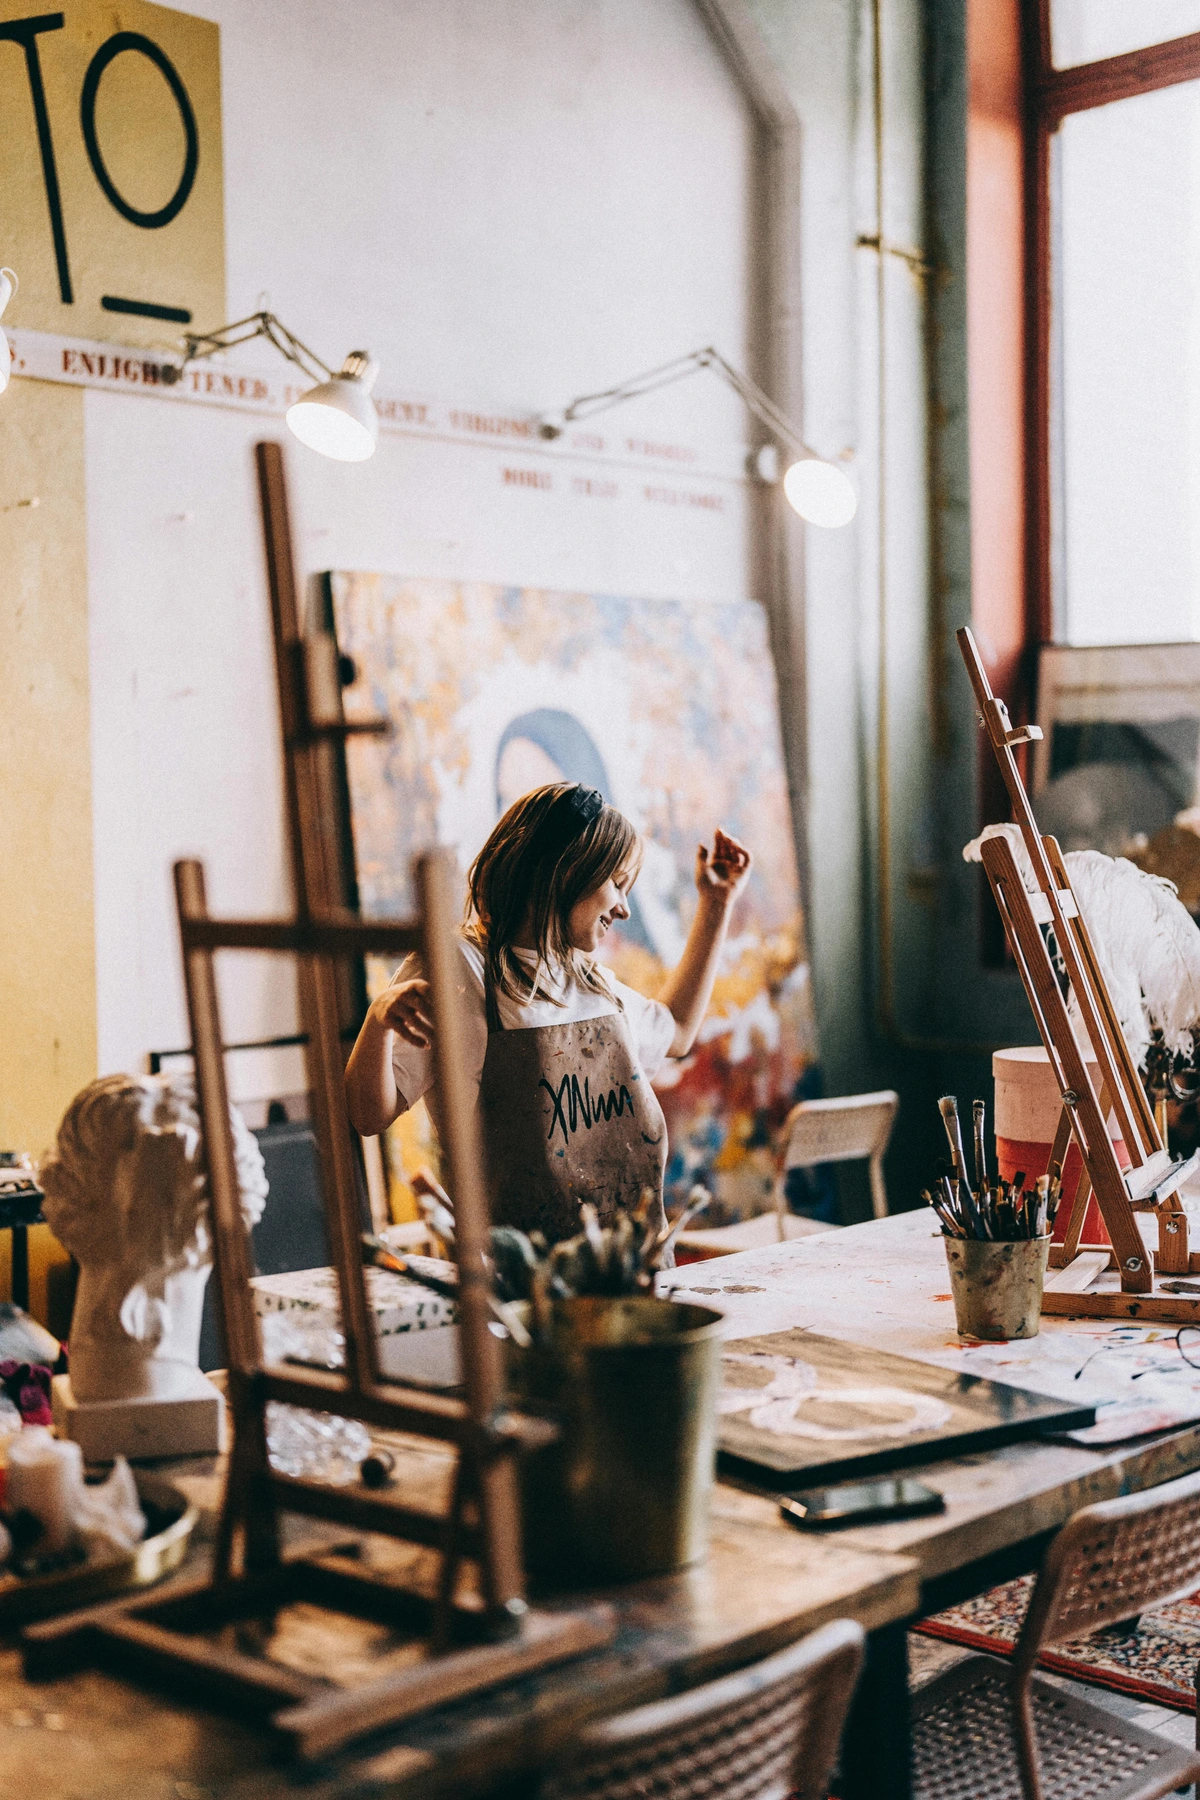
Beyond the practical protection, the studio uniform offers a powerful psychological advantage. When I put on my paint-splattered apron, it's a signal to my brain: "It's time to get messy, to experiment, to create." There's a freedom that comes with knowing that drips, splatters, and accidental brushstrokes won't ruin your day. This allows for a much looser, more experimental approach to painting, unhindered by the fear of a ruined outfit. My studio uniform has seen better days, covered in years of artistic adventures, and honestly, I wouldn't have it any other way. It's a badge of honor, a testament to hours spent in the joyful chaos of creation. A simple cotton canvas apron is usually enough, but if you're working with particularly staining mediums, consider a heavier-duty painter's smock.
Okay, so this isn't a "tool" in the traditional sense, but I promise you, having dedicated studio clothes or a sturdy apron is an absolute game-changer. I spent far too many years ruining good shirts and trying (and failing) to get oil paint out of my favorite jeans. It's not just about protecting your clothes; it’s about setting a mindset.
Dress for Mess, Create with Freedom
When I put on my paint-splattered apron, it's a signal to my brain: "It's time to get messy, to experiment, to create." There's a freedom that comes with knowing that drips, splatters, and accidental brushstrokes won't ruin your day. This allows for a much looser, more experimental approach to painting, unhindered by the fear of a ruined outfit. My studio uniform has seen better days, covered in years of artistic adventures, and honestly, I wouldn't have it any other way. It's a badge of honor, a testament to hours spent in the joyful chaos of creation. A simple cotton canvas apron is usually enough, but if you're working with particularly staining mediums, consider a heavier-duty painter's smock.
9. Breathe Easy: The Importance of Ventilation
Identifying Fumes and Protecting Your Lungs
Many art materials, especially certain solvents like turpentine or mineral spirits, spray varnishes, fixatives, and even some pigments (particularly in dry powder form), release Volatile Organic Compounds (VOCs) and other harmful fumes. Long-term exposure to these can lead to headaches, dizziness, and more serious respiratory issues. Don't rely solely on your nose; if you can smell it, you're inhaling it. Good ventilation is your first line of defense, creating a safer, more sustainable environment for your practice.
Ventilation Method | Pros | Cons | Best For |
|---|---|---|---|
| Open Windows | Simplest, cost-effective, natural fresh air | Weather dependent, limited air exchange in still air | Light, non-toxic mediums, general airflow |
| Exhaust Fan (Window) | Actively draws fumes out, improves air exchange | Can be noisy, may not be powerful enough for heavy fumes | Medium fume levels, small studios |
| Fume Extractor Hood | Targeted extraction, often with filters | More expensive, requires dedicated setup | Heavy solvents, spray paints, dry pigments |
| Air Purifier | Filters particulates and some VOCs, circulates air | Doesn't remove fumes from the space, only filters | Supplement to ventilation, general air quality |
Remember, the goal is to move contaminated air away from your breathing zone and replace it with fresh air. Cross-ventilation (air moving in one window and out another) is incredibly effective. For anything involving strong chemicals, a dedicated fume extractor is a non-negotiable investment in your long-term health.
Another invisible, yet absolutely critical, unsung hero is good ventilation. Many art materials, especially certain solvents, sprays, and even some paints, release fumes that are not good for your long-term health. I learned this the hard way after too many headaches in poorly aired spaces.
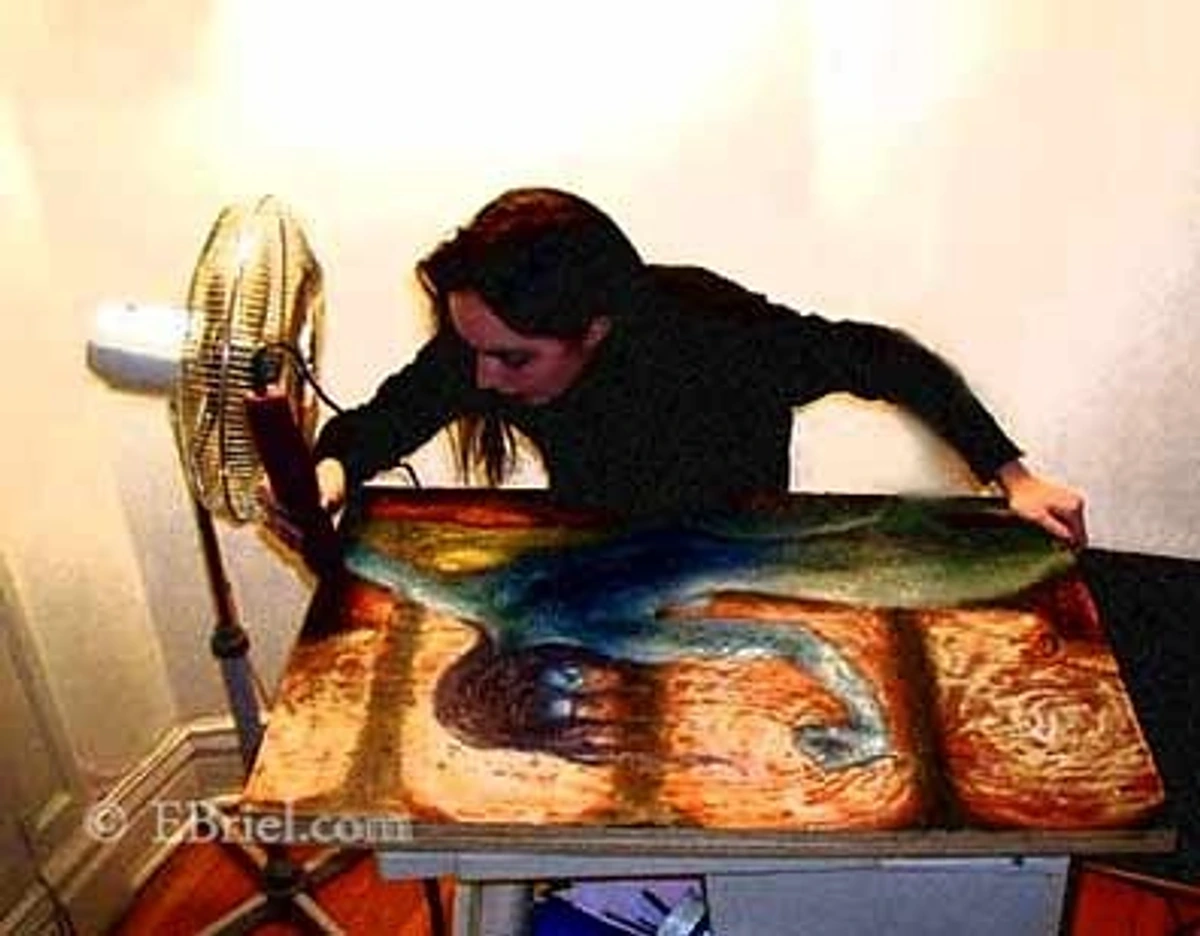
Clear the Air, Clear the Mind
- Open Windows: The simplest solution is often the best. If you can, work near an open window. Cross-ventilation is ideal, so opening another window or door in the room can create a good flow.
- Fans: A simple box fan positioned to draw air out of your studio, or to circulate fresh air in, can make a huge difference. Don't blow fumes directly into your face; aim to move them away from your breathing zone.
- Fume Extractors: For those working with stronger chemicals or in smaller, less ventilated spaces, a dedicated fume extractor with a filter system is a worthwhile investment. Think of it as an investment in your artistic longevity.
This isn't just about avoiding a dizzy spell; it's about protecting your respiratory system and ensuring a comfortable, safe working environment. A clear head makes for clearer art, and fresh air is fundamental to that.
10. Your Body, Your Tool: The Ergonomic Setup
Movement and Micro-Breaks: Fueling Your Creativity
Beyond the initial setup, how you move (or don't move) within your studio is equally vital. Prolonged static postures, whether standing or sitting, can lead to muscle strain and fatigue. I've found that incorporating 'micro-breaks' every 20-30 minutes makes an enormous difference. This isn't about stopping for coffee; it's about a quick stretch, a walk around the studio, or even just shifting your weight. This not only refreshes your body but also your eye, allowing you to return to your work with renewed perspective. Remember, art-making is often a marathon, not a sprint, and pacing yourself physically is just as important as pacing your creative energy.
Let’s talk about your most primary tool, your most sophisticated instrument, the one that makes all the other tools sing: your body. Yet, in our passion for creation, how often do we shamefully neglect its comfort, its posture, and its long-term health in the studio? For years, I considered backaches and stiff necks just part of being a 'tortured artist' (how cliché!). I hunched over canvases, painted until my shoulders screamed, and wondered why my energy flagged so quickly. It turns out, it was just bad planning.
Ergonomics—the scientific art of designing your workspace for maximum efficiency, comfort, and safety—is truly an unsung hero of sustained artistic practice. It's not a luxury; it's a necessity.
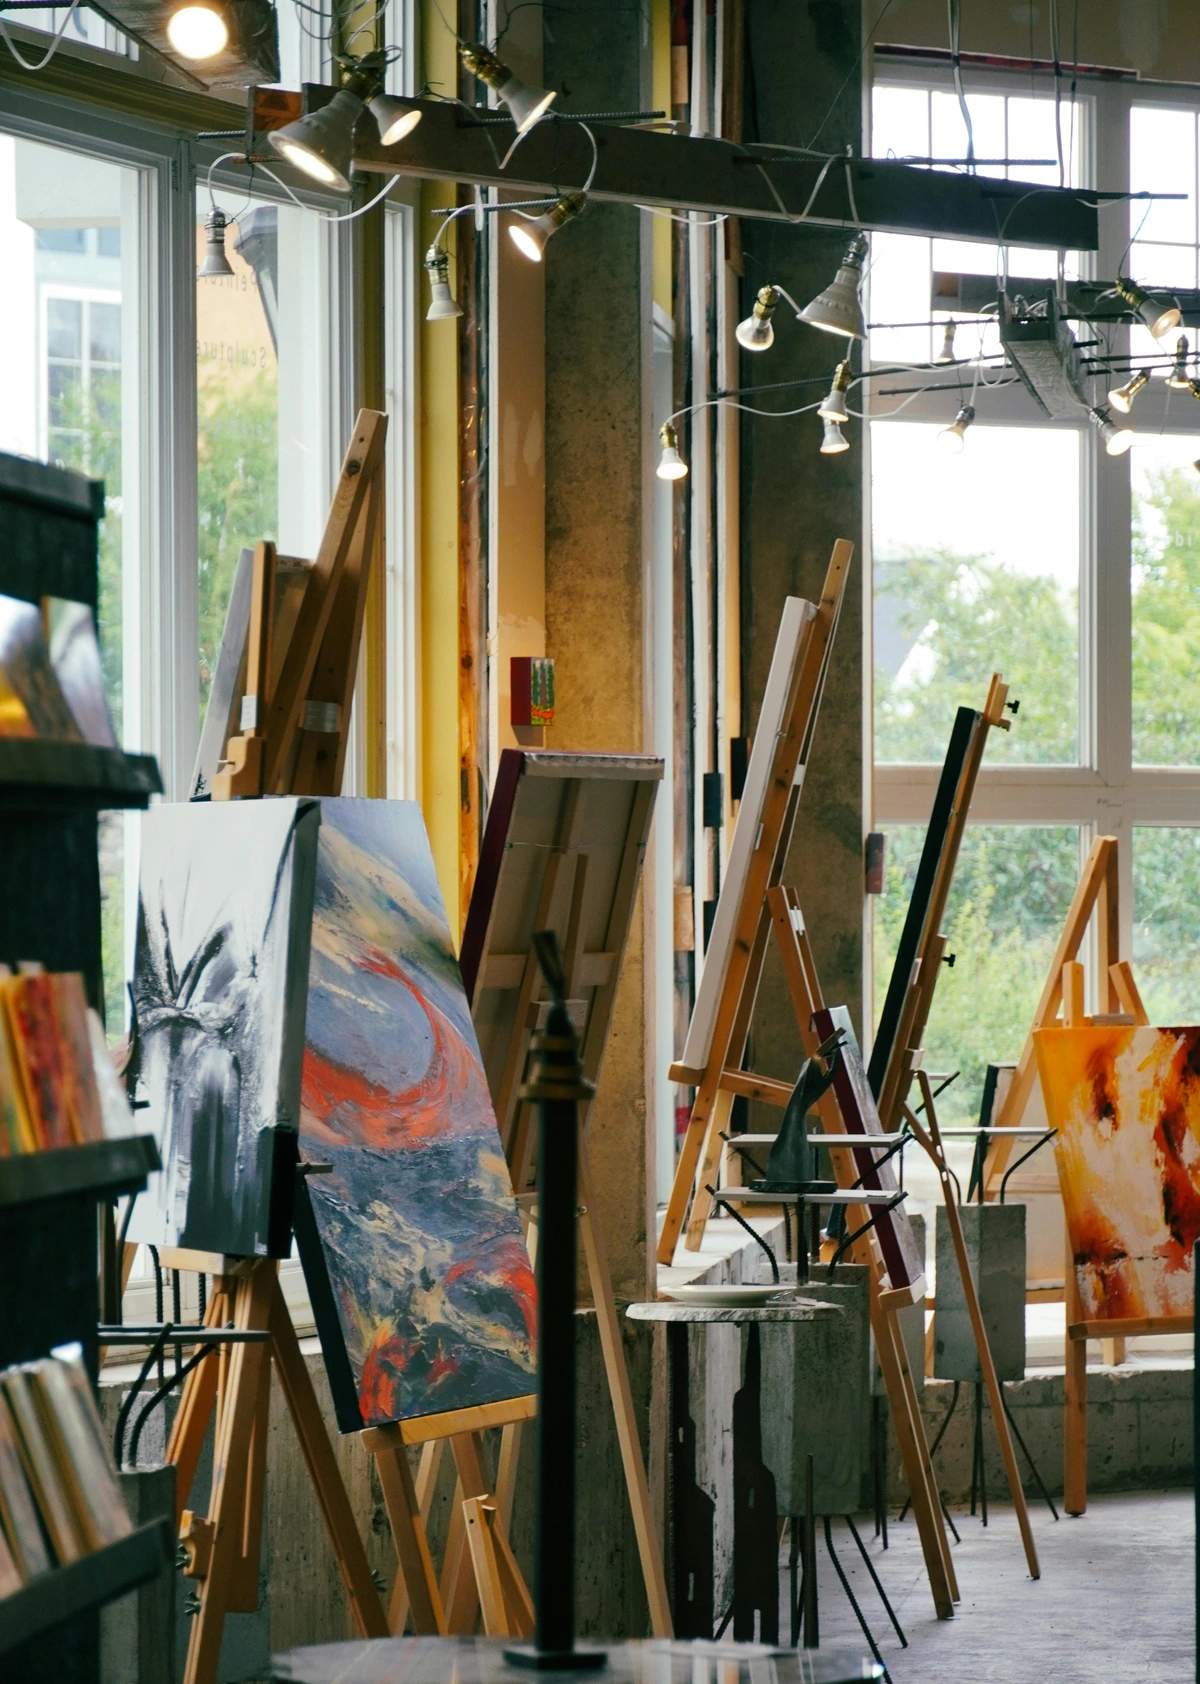
Setting Up for Longevity
When I first started, I thought discomfort was just part of being a 'tortured artist.' Turns out, it was just bad planning. Now, I see my studio setup as an extension of my self-care, a way to ensure that my body can keep up with my creative impulses for years to come. Think of it as preventative maintenance for your most important tool: you.
- Adjustable Easel/Table: The ability to easily adjust the height and angle of your work surface is paramount. Whether you prefer to stand or sit, your canvas or paper should be at a comfortable height that prevents excessive bending or reaching.
- Supportive Seating: If you sit, invest in a good, adjustable chair that provides lumbar support. Swivel chairs are great for easily moving around your workspace without straining.
- Take Breaks: This isn't a tool, but a practice. Regular breaks, stretching, and stepping back from your work are essential. It rests your eyes, gives you perspective, and allows your body to reset.
- Floor Mats: Anti-fatigue mats can make a huge difference if you stand for long periods, cushioning your feet and reducing strain on your legs and back.
Ignoring your physical comfort is a recipe for burnout and injury. Treating your body as the valuable tool it is—and setting up your studio accordingly—will enable you to create more, and for much longer, without pain becoming an unwelcome muse.
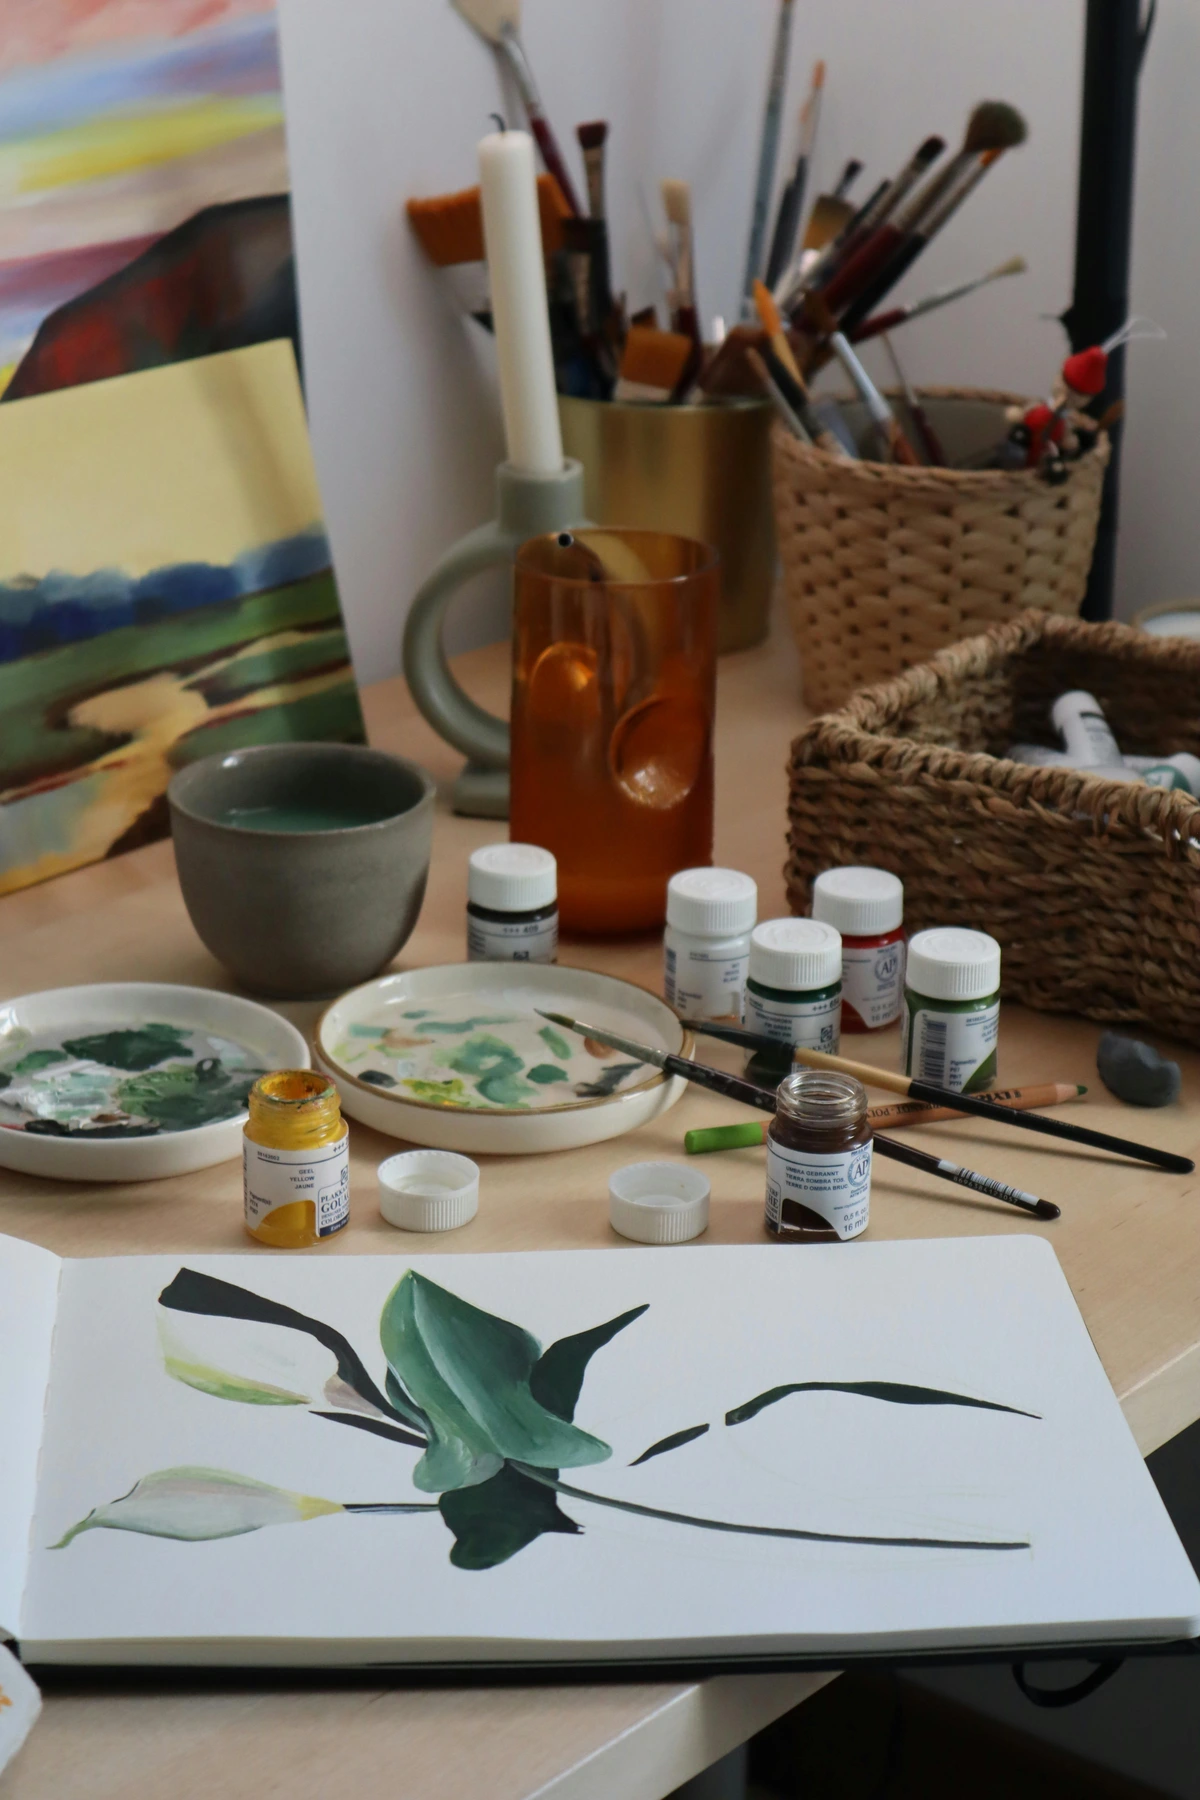
11. The Digital Companion: Reference, Planning, and Inspiration
While this article has primarily focused on the tangible, physical tools we hold in our hands, it would be utterly incomplete, frankly, a disservice, if I didn't shine a spotlight on the digital companions that have become absolutely indispensable in my studio. These aren't replacements for the tactile joy of hands-on work, but rather powerful, silent partners that enhance and streamline every single stage of the creative process. Your smartphone, tablet, or computer, when loaded with the right apps and knowledge, can be just as much of an unsung hero as that trusty rag or jar.
Integrating Digital into Analog Art: A Powerful Synergy
I've encountered a few artists who shy away from digital tools, fearing they'll somehow dilute the 'authentic' feel or purity of traditional art. For me, however, it has never been about replacing the tactile experience, but profoundly about enhancing it. My tablet isn't painting the picture, but it's an invaluable partner, helping me to see my compositions more clearly, plan them more effectively, and document them more professionally. Think of it as having a tireless assistant who never complains, always has the answer at their fingertips, and expands your creative capabilities. This collaborative approach helps me immensely in fields like understanding the psychology of color in abstract art: beyond basic hues and how light and hue translate across different mediums.
- Reference Material & Inspiration Library: My phone or tablet is constantly open, a boundless library of inspiration at my fingertips. I use it for reference images – perhaps a specific color palette I'm exploring from a photograph, a textural detail observed in nature, or an architectural element that sparks an idea. Remember, always take your own photos when possible to avoid copyright complications, but the world is your visual oyster!
- Preliminary Sketching & Planning: Digital sketching applications are a revelation for rapid ideation. They allow for quick iterations, effortless color studies, and endless compositional experiments without wasting a single sheet of precious physical paper or drop of paint. You can try out countless variations, knowing that a simple 'undo' button can reset everything before you commit to the physical canvas. It's a risk-free playground for your ideas.
- Color Matching & Palette Development: Various apps can help you identify specific colors from photos, generate custom palettes based on inspiration, or even simulate how different light conditions might affect your chosen hues. This is invaluable for maintaining color harmony and consistency across a series of works.
- Time-Lapse & Process Documentation: Using your phone or a dedicated camera to capture time-lapses of your creative process is not only utterly fascinating for sharing, but also an incredibly insightful way to review your progress, identify patterns in your workflow, and learn from your own methods. Documenting your finished work professionally is also non-negotiable for your portfolio, especially for platforms like the /buy page.
- Online Galleries & Creative Community: Beyond the act of making art, digital tools empower us to share it with the world. Platforms for online galleries, social media, and vibrant artist communities are indispensable for receiving feedback, finding new inspiration, and connecting with fellow creatives. It's the modern, digital extension of the traditional art salon, breaking down geographical barriers and bringing a global community directly into your studio space. It's a vital part of staying connected and inspired.
Digital Tools Table
Category | Examples of Tools/Apps | Artistic Advantage | Note |
|---|---|---|---|
| Digital Sketching | Procreate, Autodesk Sketchbook, Adobe Fresco | Rapid ideation, endless iterations, non-destructive experimentation, color studies. | Saves physical materials, allows for quick changes. |
| Reference Management | Pinterest, PureRef, Google Photos | Organize inspiration, store mood boards, quick visual look-up. | Crucial for consistency and developing themes. |
| Color Pickers | Adobe Capture, specific art apps | Identify colors from photos, generate harmonious palettes. | Ensures color accuracy and harmony. |
| Photo Editing | Lightroom, Snapseed, Photoshop Express | Document artwork, adjust lighting/color for portfolios. | Essential for professional presentation of finished art. |
| Time-Lapse | Built-in phone features, dedicated apps | Review process, share creative journey, self-reflection. | Great for social media and personal learning. |
These digital aids are facilitators, not replacements. They enhance your vision, streamline your workflow, and provide a bottomless well of inspiration, allowing you to focus more deeply on the physical act of creation. They are a testament to the ever-evolving nature of the artist's toolkit.

Frequently Asked Questions (FAQ)
What's one tool beginners always forget?
Ah, the ubiquitous, yet frequently overlooked, sketchbook! It's not for creating masterpieces, my friend; it's for making glorious messes. A sketchbook is your personal playground for nascent ideas, a low-stakes laboratory for fearlessly testing how artists use color, and an intimate diary for your visual thoughts and fleeting inspirations. My biggest advice? Don't be precious with it. Fill it with 'bad' drawings, 'failed' experiments, and half-baked concepts – that's precisely what it's for! It's also incredibly invaluable for quickly jotting down ideas that strike you unexpectedly, preventing those ephemeral sparks of inspiration from simply disappearing into the ether. A pocket-sized one is always with me.
Do I need expensive tools to make good art?
Absolutely, unequivocally not. And honestly, this entire article is a heartfelt testament to that very principle. Great art, truly impactful and resonant art, springs forth from your unique vision, your honed skill, and the depth of your passion – not from the exorbitant price tag on your art supplies. A genuinely compelling drawing created with a humble, cheap pencil is, in my book, infinitely more powerful than a technically perfect, yet utterly soulless, painting rendered with the most expensive oils money can buy. My advice? Start with basic, decent-quality supplies for your chosen medium, perhaps referencing a definitive guide to paint types for artists. Only upgrade when you genuinely feel the tool itself is physically holding you back, not because you harbor the magical thinking that a 'better' brush will magically transform you into a better artist. I've personally witnessed breathtaking works created with nothing more than found materials, and conversely, incredibly dull pieces produced with the finest pigments available. Ultimately, it's the hand, the eye, and the heart behind the tool that truly matters, a profound lesson I absorbed early on, especially when exploring my own path to why I paint abstract: my personal philosophy and artistic vision.

How do I choose the right art supplies?
Oh, the paradox of choice! This can feel incredibly overwhelming with the sheer, dazzling number of options available on the market. My best advice, distilled from years of trial and error, is this: start with the absolute basics for your chosen medium. If you're diving into painting, focus on primary colors, a good black and white, a few brushes of varying sizes (a small round, a medium flat, a larger wash brush), a simple palette, and a suitable surface (paper or canvas). For drawing, a basic range of graphite pencils (HB, 2B, 6B), a good eraser, and a sturdy sketchbook are plenty. Resist the urge to buy that enormous, all-inclusive set until you genuinely know what you enjoy working with and what you actually use. Read independent reviews, don't hesitate to ask other artists for their recommendations, and most importantly, don't be afraid to experiment with different brands until you discover what truly feels right for you. It's an ongoing, personal journey of discovery, much like the process of reviewing the best gouache sets for beginners or comparing the nuances of a liquitex basics acrylic paint review. Your materials should serve your creative impulses, not dictate them.
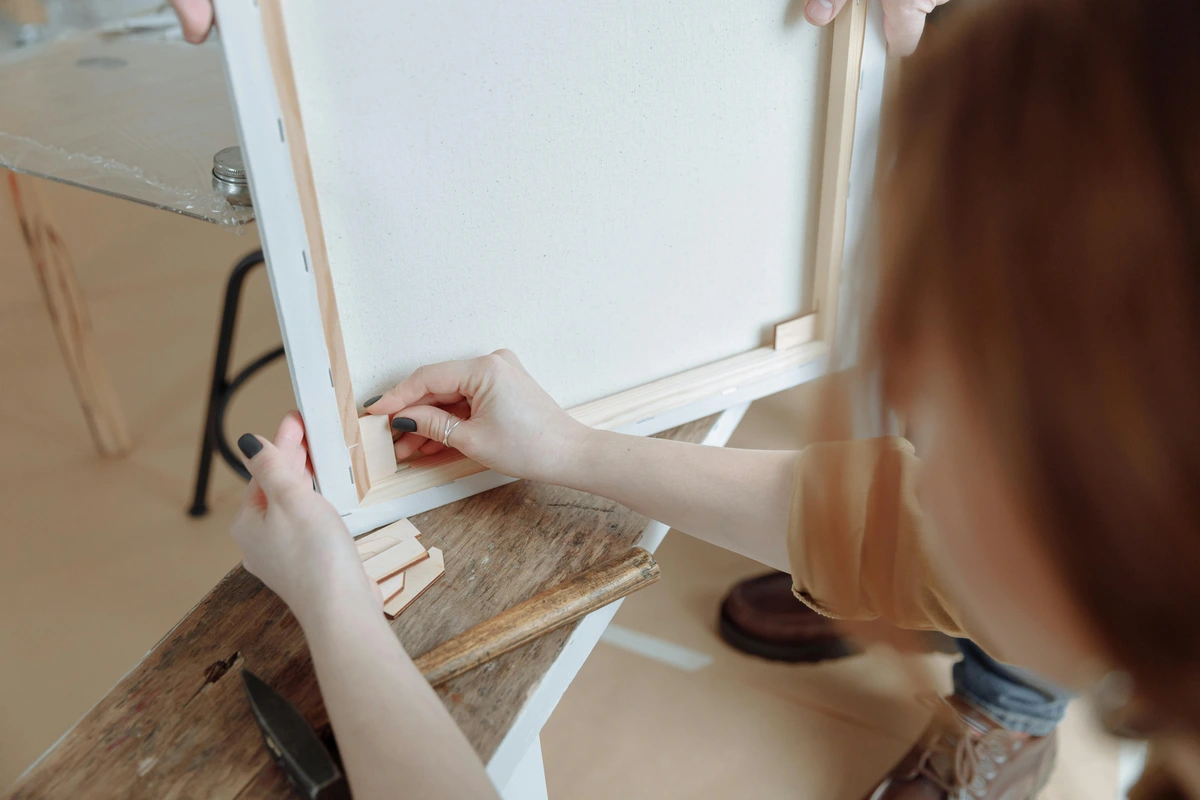
Consider attending workshops or art classes where you can often try out different materials before investing. And don't forget the power of observing other artists at work; sometimes seeing a tool in action is all it takes to know if it's right for you.
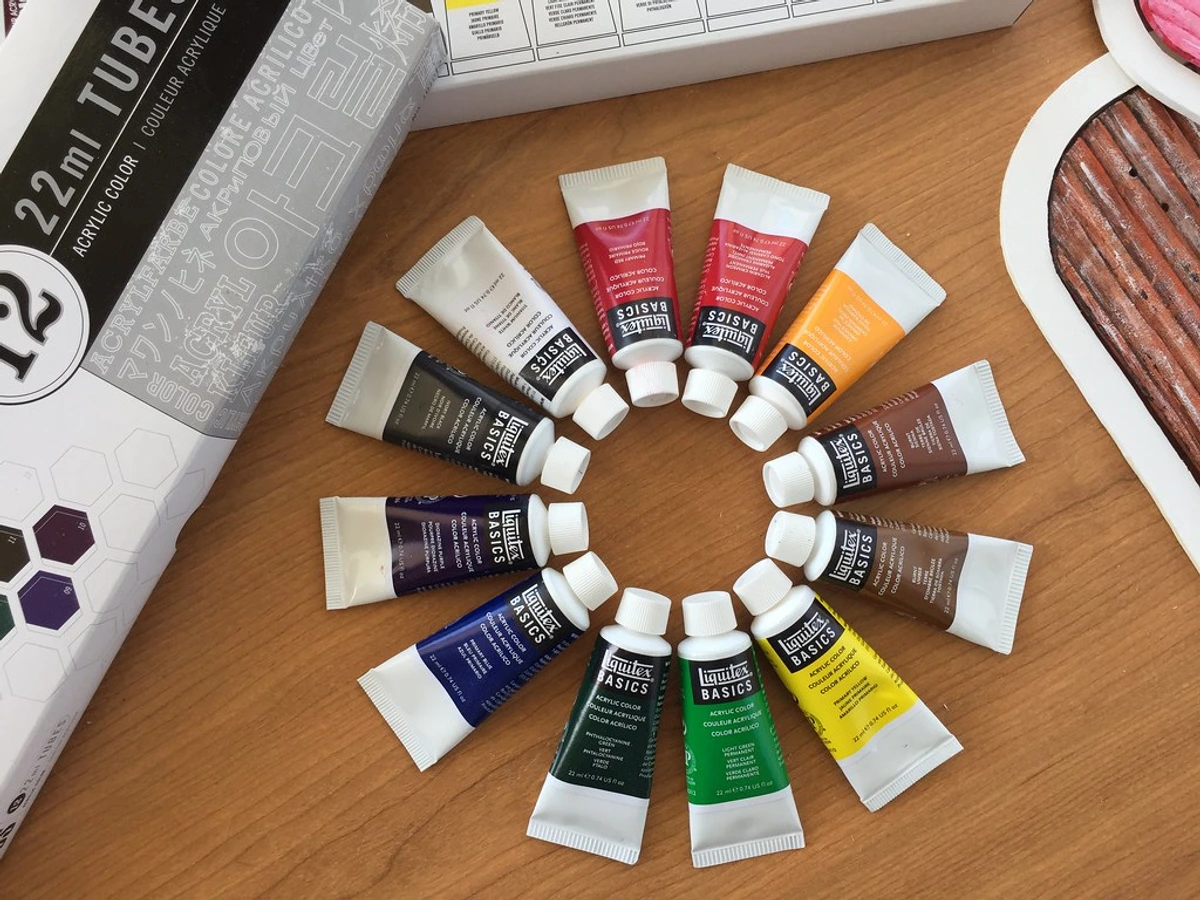
How do you keep your studio from becoming a total disaster zone?
Ah, the perennial battle! Believe me, it's a never-ending dance between embracing creative chaos and striving for functional order. My best, most actionable advice is to implement the 'five-minute tidy' at the very end of every studio session. Seriously, set a timer. This means: put your brushes in water (or better yet, clean them thoroughly!), wipe down your palette, and put the caps back on your paints. It's utterly amazing what a difference this tiny, consistent habit makes. It ensures that the next time you walk into your studio, you're greeted by a space ready for creation, not a daunting cleanup task. Also, having a dedicated place for everything helps tremendously, even if that place is something as simple as 'the jar of miscellaneous tools.' And sometimes, you just have to embrace the beautiful mess for a while, because, let’s be honest, that's often precisely where the magic truly happens, right?
What about safety equipment like gloves or masks?
These, my friend, are not just unsung heroes; they are lifesavers. For specific mediums and processes – and I'm talking about things like resins, spray paints, certain pigments (especially dry powders), heavy solvents, or even some fixatives – good quality gloves and a proper respirator mask are not optional. They are non-negotiable essentials. Always, without exception, meticulously read the safety instructions for all your art materials. Protecting your skin, your lungs, and your long-term health isn't a suggestion; it's fundamental to being able to continue your artistic journey for decades to come. Think of them as essential extensions of your self-care in the studio, just as important as your brushes. It's about respecting the inherent properties of your materials and, far more importantly, respecting yourself and your vibrant future as an artist. Because let's face it, what good is a masterpiece if you can't be around to enjoy creating it for a lifetime?
How do I overcome the fear of a blank canvas?
Ah, the dreaded blank canvas! It stands there, pristine and silent, brimming with infinite potential yet often so utterly paralyzing. I know that feeling all too well. My biggest, most liberating tip? Don't ever think of it as a blank canvas that must be filled with an instant masterpiece. Instead, approach it as an expansive playground for fearless exploration. Start with a messy, expressive underpainting that won't even be seen. Do some warm-up sketches directly on the surface, or simply play with colors and textures you adore. The crucial thing is this: the first mark doesn't have to be perfect; it just has to be. Sometimes, to break that intimidating pristine surface, I’ll even scrawl a word or a random shape on the canvas, knowing full well it will soon be covered. It's all about letting go of crippling perfectionism and courageously embracing the creative chaos of abstract art – because that's where true breakthroughs happen.
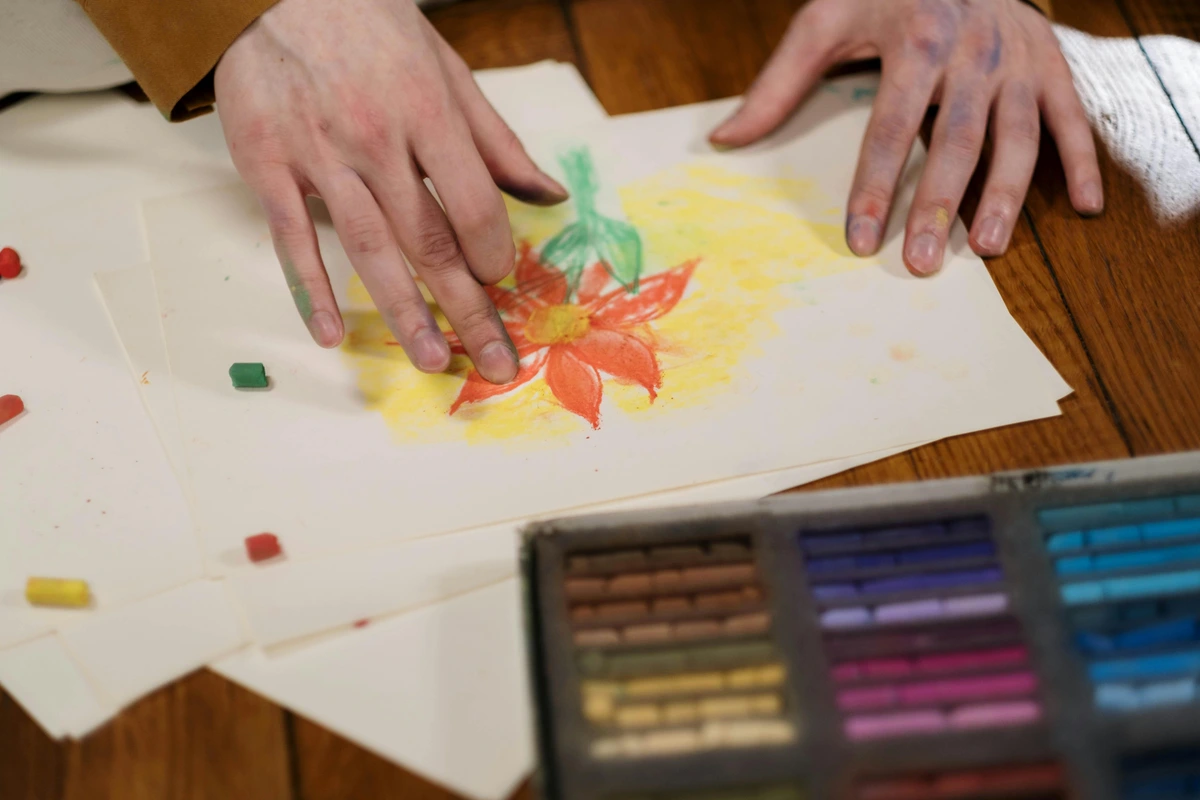
How do I store my unfinished artwork?
Ah, the perennial challenge! For works on paper, flat files or large portfolios are essential to prevent creasing or damage. For canvases, I use simple racks made from spare wood or even old milk crates, ensuring they don't lean against each other and potentially transfer paint. Proper storage protects your work and keeps your studio organized, ready for your next session. Remember, every piece, finished or not, deserves respect. This is especially true for delicate mixed media pieces, where the role of shadow boxes in displaying art can be crucial for preservation.
The Real Tools Are Your Hands and Your Eyes
Ultimately, all of these 'unsung heroes'—from the most basic rag to the most sophisticated digital assistant—are simply extensions of our hands, our unique vision, and the vibrant ideas bubbling up in our heads. They are the quiet facilitators, the ingenious problem-solvers, and the steadfast, silent partners in every single stroke, every thoughtful smudge, every carefully planned line, and every spontaneous gesture.
A truly well-equipped studio, I've come to understand, isn't about boasting the most expensive, most cutting-edge gear. It's profoundly about having the right gear—the perfectly chosen items that seamlessly remove friction from your creative process. It’s about that perfectly broken-in old rag that feels just right for subtle smudging, that specific jam jar that’s the ideal height for your longest brushes, the gentle, almost imperceptible hum of a fan ensuring a safe, clear breathing space, and that meticulously chosen light that allows you to see the world—and your art—as it truly is, in all its nuanced glory.
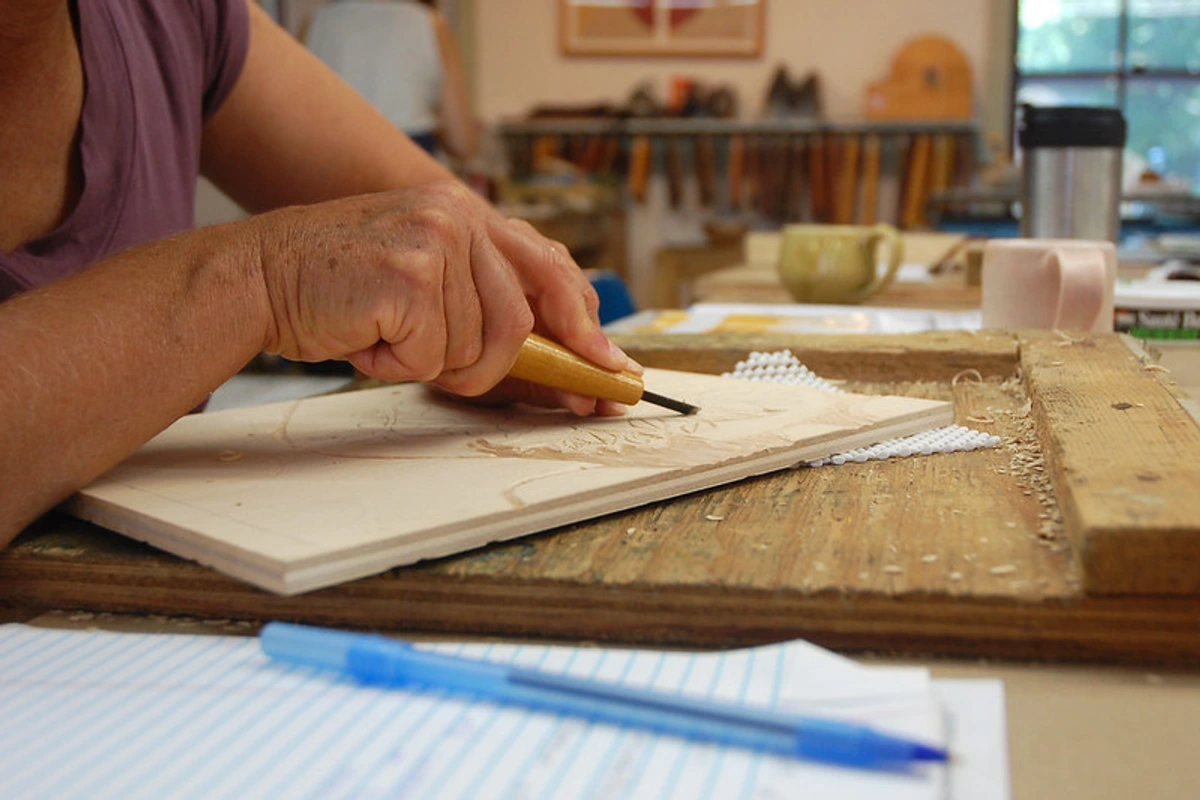







So, next time you find yourself immersed in your creative space, I urge you: take a genuine moment to appreciate these unsung heroes. Look past the obvious, beyond the glamorous brushes and the vibrant tubes of paint, and truly acknowledge the humble workhorses that make it all possible. They are, in every sense, the real MVPs, allowing your deepest artistic visions to become tangible reality. And if you're curious to witness the fruits of their labor, and perhaps even acquire a piece they've helped bring to life, I invite you to explore some of the works on my /buy page. These tools deserve the recognition, and for diligently harnessing their power, so do you. The journey of art-making is a continuous dialogue between the artist and their tools, both seen and unseen. Embrace them all, and watch your creative vision flourish.