
A Decorator's Guide to Lighting Art at Home
Tired of your beautiful art looking flat? Learn the decorator's secrets to lighting art at home. A practical guide to spotlights, color temperature, and placement.

The Secret to Making Your Art Pop: A Decorator's Guide to Lighting at Home
So, you did it. You found that piece of art, the one that truly speaks to your soul, and you've brought it home, giving it pride of place on your wall. You step back, take a deep breath to admire it, and... it's just, well, okay. The colors don't pop, the textures seem muted, and that undeniable gallery magic you felt just isn't translating. Does that hit home? Because trust me, I've been there. I've seen countless incredible artworks fall flat in a beautiful home, and it almost always comes down to one often-overlooked secret.
I see this all the time. The missing ingredient, nine times out of ten, is light. Proper lighting is the single most transformative thing you can do for your art collection, whether it's one beloved piece or a whole gallery wall. It's the difference between having art on your wall and creating a true focal point. Let's turn your home into a personal gallery, shall we?

Why Bother with Special Lighting?
I get it, adding new lighting sounds like a hassle. But think of it this way: you wouldn't buy a beautiful sculpture and then hide it in a dark corner. Lighting does more than just help you see the art; it shapes your experience of it. It’s an act of respect, truly. You've invested in a piece, perhaps fallen a little in love with it, so why let it recede into the shadows when it could be singing?
Beyond the immediate visual impact, there are subtle but powerful reasons to invest in quality art lighting:
- It Preserves Your Investment: Modern LED lighting, as we'll discuss, is incredibly gentle on artwork, protecting it from the fading and damage that older, hotter bulbs caused. It’s about enjoying your art for years to come.
- It Extends Viewing Pleasure: When your art is perfectly lit, it invites you to linger, to discover new details at different times of day, making your home feel more curated and alive, even when the natural light fades.
- It Creates Drama and Focus: Good lighting tells your eyes where to look. It elevates a piece from being just another object in the room to being the star of the show.
- It Reveals True Colors and Textures: The standard overhead light in most rooms tends to wash everything out in a generic, often yellowish, glow. Dedicated art lighting with the right properties will render the colors accurately, just as the artist intended. You'll suddenly see subtleties in shade and texture you never knew were there. For pieces with a lot of texture, this is a total game-changer, something I explore a lot in my own work.
- It Sets the Mood: By controlling the light, you control the atmosphere of the entire room. You can create a dramatic, museum-like feel or a warm, inviting glow. It's a powerful tool in your home decorating toolkit.

The Building Blocks: Types of Art Lighting
When we talk about lighting art, we're mostly talking about accent lighting. Think of it as the glorious spotlight on your star performer, allowing them to truly own the stage. Your general room light (ambient) is fantastic for overall illumination, and task lighting helps you read or cook, but neither is designed to make your art truly sing. Accent lighting is specifically for drawing attention, creating depth, and highlighting focal points, transforming a mere object into a captivating presence. Here are the main players for the job.
Here’s a breakdown of the most common types of art-specific accent lighting:
Accent Lighting: The Heavy Lifters
Light Type  | Pros | Cons | Best For |
|---|---|---|---|
| Recessed Spotlights | Inconspicuous, clean ceiling line; provides a sleek, modern look, blending seamlessly into architecture. | Less flexible once installed; requires ceiling installation; harder to adjust beam direction. | Contemporary spaces, minimalist interiors, highlighting specific pieces without visible fixtures. |
| Track Lighting | Highly flexible and adjustable; can light multiple pieces from one power source; modern designs can be very sleek and come with dimmable features. | Can look a bit industrial if not chosen carefully; requires installation; might feel less integrated. | Gallery walls, large collections, or rooms where you might rearrange art frequently; provides versatility for evolving collections. |
| Monopoint Spotlights | A cleaner, more minimalist look than a full track; great for a single, dramatic statement piece. | Less flexible than track lighting; requires individual installation for each light. | Highlighting a single large painting or sculpture. |
| Wall Washers | Provides broad, even light across a large vertical surface. | Can flatten texture; requires specific placement, often recessed in the ceiling. | Large-scale artworks, murals, or creating a bright, airy feel on a feature wall. |
| Picture Lights | Traditional, elegant look; mounted directly to the wall or frame. | Can create hotspots and shadows if not sized correctly; light is fixed on one piece. | Traditionally framed artworks in more formal settings. |
For a more detailed breakdown, I highly recommend checking out this guide on how to light and position abstract art.
Let's Talk Tech (But I'll Make It Simple, I Promise)
Okay, don't let the technical terms scare you. I know it can sound like a science experiment, but truly, getting these three fundamental aspects right is most of the battle. And I promise you, it's far easier than it sounds, and the payoff is absolutely worth it.
1. Color Temperature (Kelvin)
This is basically the color of the light itself, measured in Kelvin (K). Think of a candle's warm, orange glow versus the cool, bluish light of a cloudy day.
Kelvin (K) | Light Appearance | Vibe | Best For |
|---|---|---|---|
| 2700K | Warm White | Cozy, intimate, inviting; a classic, soft glow like traditional incandescent bulbs. | Living rooms, bedrooms. Great for art with warm tones (reds, yellows, browns) or creating a relaxed ambiance. |
| 3000K | Soft White | Neutral, crisp, and clean; often considered the benchmark for accurate color perception in galleries. | The safest all-around choice. Works well with most art styles and home interiors, providing a balanced look. |
| 4000K+ | Cool White / Daylight | Very bright, can feel sterile or commercial. | Generally too cool for home interiors, can make colors look harsh. |
My advice? Stick to the 2700K-3000K range. It provides beautiful clarity without feeling like you're in an office. While some modern, minimalist art might benefit from a slightly cooler 3500K in a very specific contemporary setting, for the vast majority of homes and art, this warm-to-neutral range is your best friend. Some advanced lighting systems even offer "dynamic white" allowing you to shift color temperature throughout the day – a fascinating (and fun!) feature, but 2700K-3000K is your reliable baseline.
2. Color Rendering Index (CRI)
This is the big one. CRI is a measure of how accurately a light source reveals the true colors of an object. It's a scale from 0 to 100, where 100 is essentially perfect, like natural daylight. Think of it this way: a low CRI light is like looking at a vibrant painting through a slightly murky, gray filter. It dulls everything. For lighting your precious art, you should accept nothing less than a CRI of 90+, with 95+ being the gold standard. A low CRI bulb will make colors look dull and distorted, no matter how perfectly you do everything else. Most standard LED bulbs have a CRI of around 80, which is fine for a hallway, but not for your art. Investing in high-CRI bulbs is the single most impactful decision you can make for your art's visual integrity.
It’s important to remember that CRI and Kelvin work hand-in-hand. A high CRI bulb with a cool color temperature (4000K+) might reveal colors accurately but present them in a sterile light. Conversely, a warm (2700K) low CRI bulb will give a cozy glow but muddy the true colors. The sweet spot is high CRI within your preferred warm or soft white Kelvin range.

3. Lumens and Wattage (The Brightness Factor)
Alright, so we've got the color of the light (Kelvin) and how true it renders hues (CRI). Now, how bright is it? That's where Lumens come in. Lumens measure the total amount of visible light emitted by a bulb. Think of it as the sheer volume of light. Historically, we talked about Wattage as a proxy for brightness (e.g., a 60-watt bulb), but wattage actually measures energy consumption. With efficient LEDs, a very low wattage can produce a high lumen output. So, when buying LED art lights, focus on lumens for brightness, not wattage for power!
- Finding the Right Balance: You don't want a spotlight that's so intense it feels like a interrogation lamp, nor one so dim your art still feels hidden. The ideal lumen output will depend on the size of your artwork, the distance of the fixture, and the overall ambient light in the room. This is where dimmers become your best friend – offering precise control to dial in the perfect intensity.
- The Power of Dimmers: I cannot stress this enough: dimmable lights are non-negotiable for art lighting. They allow you to fine-tune the intensity, adapting to different times of day, different moods, or even different viewing preferences. Imagine hosting a lively dinner party versus having a quiet evening with a book – your art can adapt to both scenarios with a simple slide of a dimmer switch.
4. Beam Angle
This refers to how wide or narrow the cone of light is. A narrow beam (a 'spot') creates a dramatic, focused circle of light, perfect for emphasizing a specific detail or small artwork. A wider beam (a 'flood') covers a larger area more softly, ideal for broader pieces. For most pieces, a spot or narrow flood is what you're after to contain the light to the artwork itself and avoid spillover onto the surrounding wall.
Here’s a quick overview:
Beam Angle Type | Characteristics | Best For | Considerations |
|---|---|---|---|
| Narrow Spot (10-25 degrees) | Intense, focused light; creates high contrast and drama. | Small artworks, sculptures, highlighting specific details within a larger piece. | Can create harsh shadows if not positioned carefully; requires precise aiming. |
| Medium Flood (25-45 degrees) | Good balance of focus and spread; versatile for many artworks. | Most average-sized paintings, photographs, or a pair of smaller pieces. | The most common and forgiving choice for general art lighting. |
| Wide Flood (45+ degrees) | Broad, soft wash of light; less dramatic but covers a large area evenly. | Very large murals, entire gallery walls, or textured walls where grazing is desired. | Can lack the drama of a spot; may spill light onto surrounding areas if not controlled. |
Practical How-To: Placement is Everything
Once you have the right light in your hands, the next critical step is aiming it correctly. Think of yourself as a sculptor, using light to carve out the beauty of your artwork from its surroundings. The biggest enemy here, and the fastest way to ruin the effect, is glare—that annoying reflection you get on glass, glossy varnish, or even just the subtle sheen of paint. Nobody wants to look at a mirror when they're trying to appreciate art.
Once you have the right light, you need to aim it correctly. The biggest enemy here is glare—that annoying reflection you get on glass or glossy varnish.
The 30-Degree Rule: The sweet spot for most ceiling-mounted accent lights is to aim them at the wall at a 30-degree angle. If you mount the light too close to the wall, you'll create harsh shadows ('grazing'). If it's too far away, you risk creating glare and casting a shadow of your own body as you view the art.
To find the right spot on the ceiling for a ceiling-mounted fixture:
- Measure the height from the floor to the center of your artwork.
- Stand directly in front of the art, at the same height as the art's center.
- From that position, look up at a 30-degree angle towards the ceiling. That's roughly where your light should be positioned. This angle minimizes glare while maximizing illumination.
Now, a few nuances for the 30-Degree Rule:
- For highly textured art (like many abstract pieces): Sometimes, a slightly shallower angle (say, 20-25 degrees) can create beautiful "grazing" light, enhancing shadows and bringing out the physical depth of the work. It’s a creative choice, one I often employ in my own work, but be mindful of casting too many harsh shadows that might obscure details.
- For very tall or very wide artworks: A single 30-degree light might not be enough. You might need two or even three lights, carefully spaced and angled to ensure even coverage without creating multiple competing hotspots. This often requires a bit of trial and error, so don't be afraid to move things around until it feels right.
- For glass-fronted art: The 30-degree rule is paramount. Any deviation can lead to noticeable reflections. If you still see glare, try moving your fixture slightly, or consider a picture light mounted directly to the frame which illuminates from the top down. Sometimes, the solution might even be as simple as adjusting your seating arrangement or the angle from which you typically view the piece.
- For glass-fronted art: The 30-degree rule is paramount. Any deviation can lead to noticeable reflections. If you still see glare, try moving your fixture slightly, or consider a picture light mounted directly to the frame which illuminates from the top down.
- Multiple lights for large pieces: For very wide pieces, you might need two spotlights, one angled from each side, to ensure even illumination and avoid a single central hotspot.
This simple rule will save you a world of frustration, and once you master it, you'll wonder how you ever lived without it.

Maintenance and Longevity: Keeping Your Lights Shining
Proper maintenance ensures your art lighting continues to perform beautifully for years.
- Dust Regularly: Dust can accumulate on bulbs and fixtures, dimming the light and altering its quality. A soft, dry cloth is usually all you need.
- Check Bulbs: Even LEDs have a lifespan. While long, be mindful of any flickering or changes in color, which might indicate a bulb nearing the end of its life. Replace promptly to maintain consistent lighting.
- Fixture Cleanliness: Occasionally wipe down the exterior of your fixtures to keep them looking their best and prevent dust from settling into vents (if applicable).
Layering Light: A Harmonious Symphony for Your Home
While accent lighting is the star for your art, it doesn't exist in a vacuum. The most beautifully lit rooms employ a strategy called light layering, combining different types of light to create depth, warmth, and functionality.
1. Ambient Lighting (The Foundation)
This is your general, overall illumination – ceiling fixtures, recessed lights, or even natural light from windows. It sets the base brightness of the room. Think of it as the soft background music.
2. Task Lighting (The Workers)
These lights are focused on specific activities, like a reading lamp by your armchair, under-cabinet lighting in the kitchen, or a desk lamp. They’re functional and practical.
3. Accent Lighting (The Spotlight)
This is where your art lives! Dedicated lights that highlight artworks, architectural features, or decorative objects. It adds drama, focus, and visual interest, turning your home into a captivating space.
4. Architectural Lighting (The Subtle Sculptor)
This refers to integrated lighting that highlights the structure of the room itself, like cove lighting or LED strips under shelves. While not directly on art, it contributes to the overall ambiance that complements your accent lighting.
The Magic Happens When They Work Together:
When these layers are balanced, your art doesn't feel isolated; it feels integrated into a living, breathing space. You'll want your accent lighting to be brighter than your ambient light (the "three times brighter" rule we'll discuss later), but not so overwhelmingly bright that it's jarring. It's all about creating a harmonious flow, guiding the eye, and setting the perfect mood.
Lighting Different Art Forms: Beyond the Canvas
While many of the principles we've discussed apply broadly, different art forms have unique needs when it comes to illumination. It's not a one-size-fits-all solution, much like you wouldn't use the same brush for a delicate watercolor as you would for a bold acrylic. Understanding these nuances will help you bring out the very best in each piece you own, respecting the artist's original intent and the medium's inherent qualities.
Lighting Sculptures and 3D Art
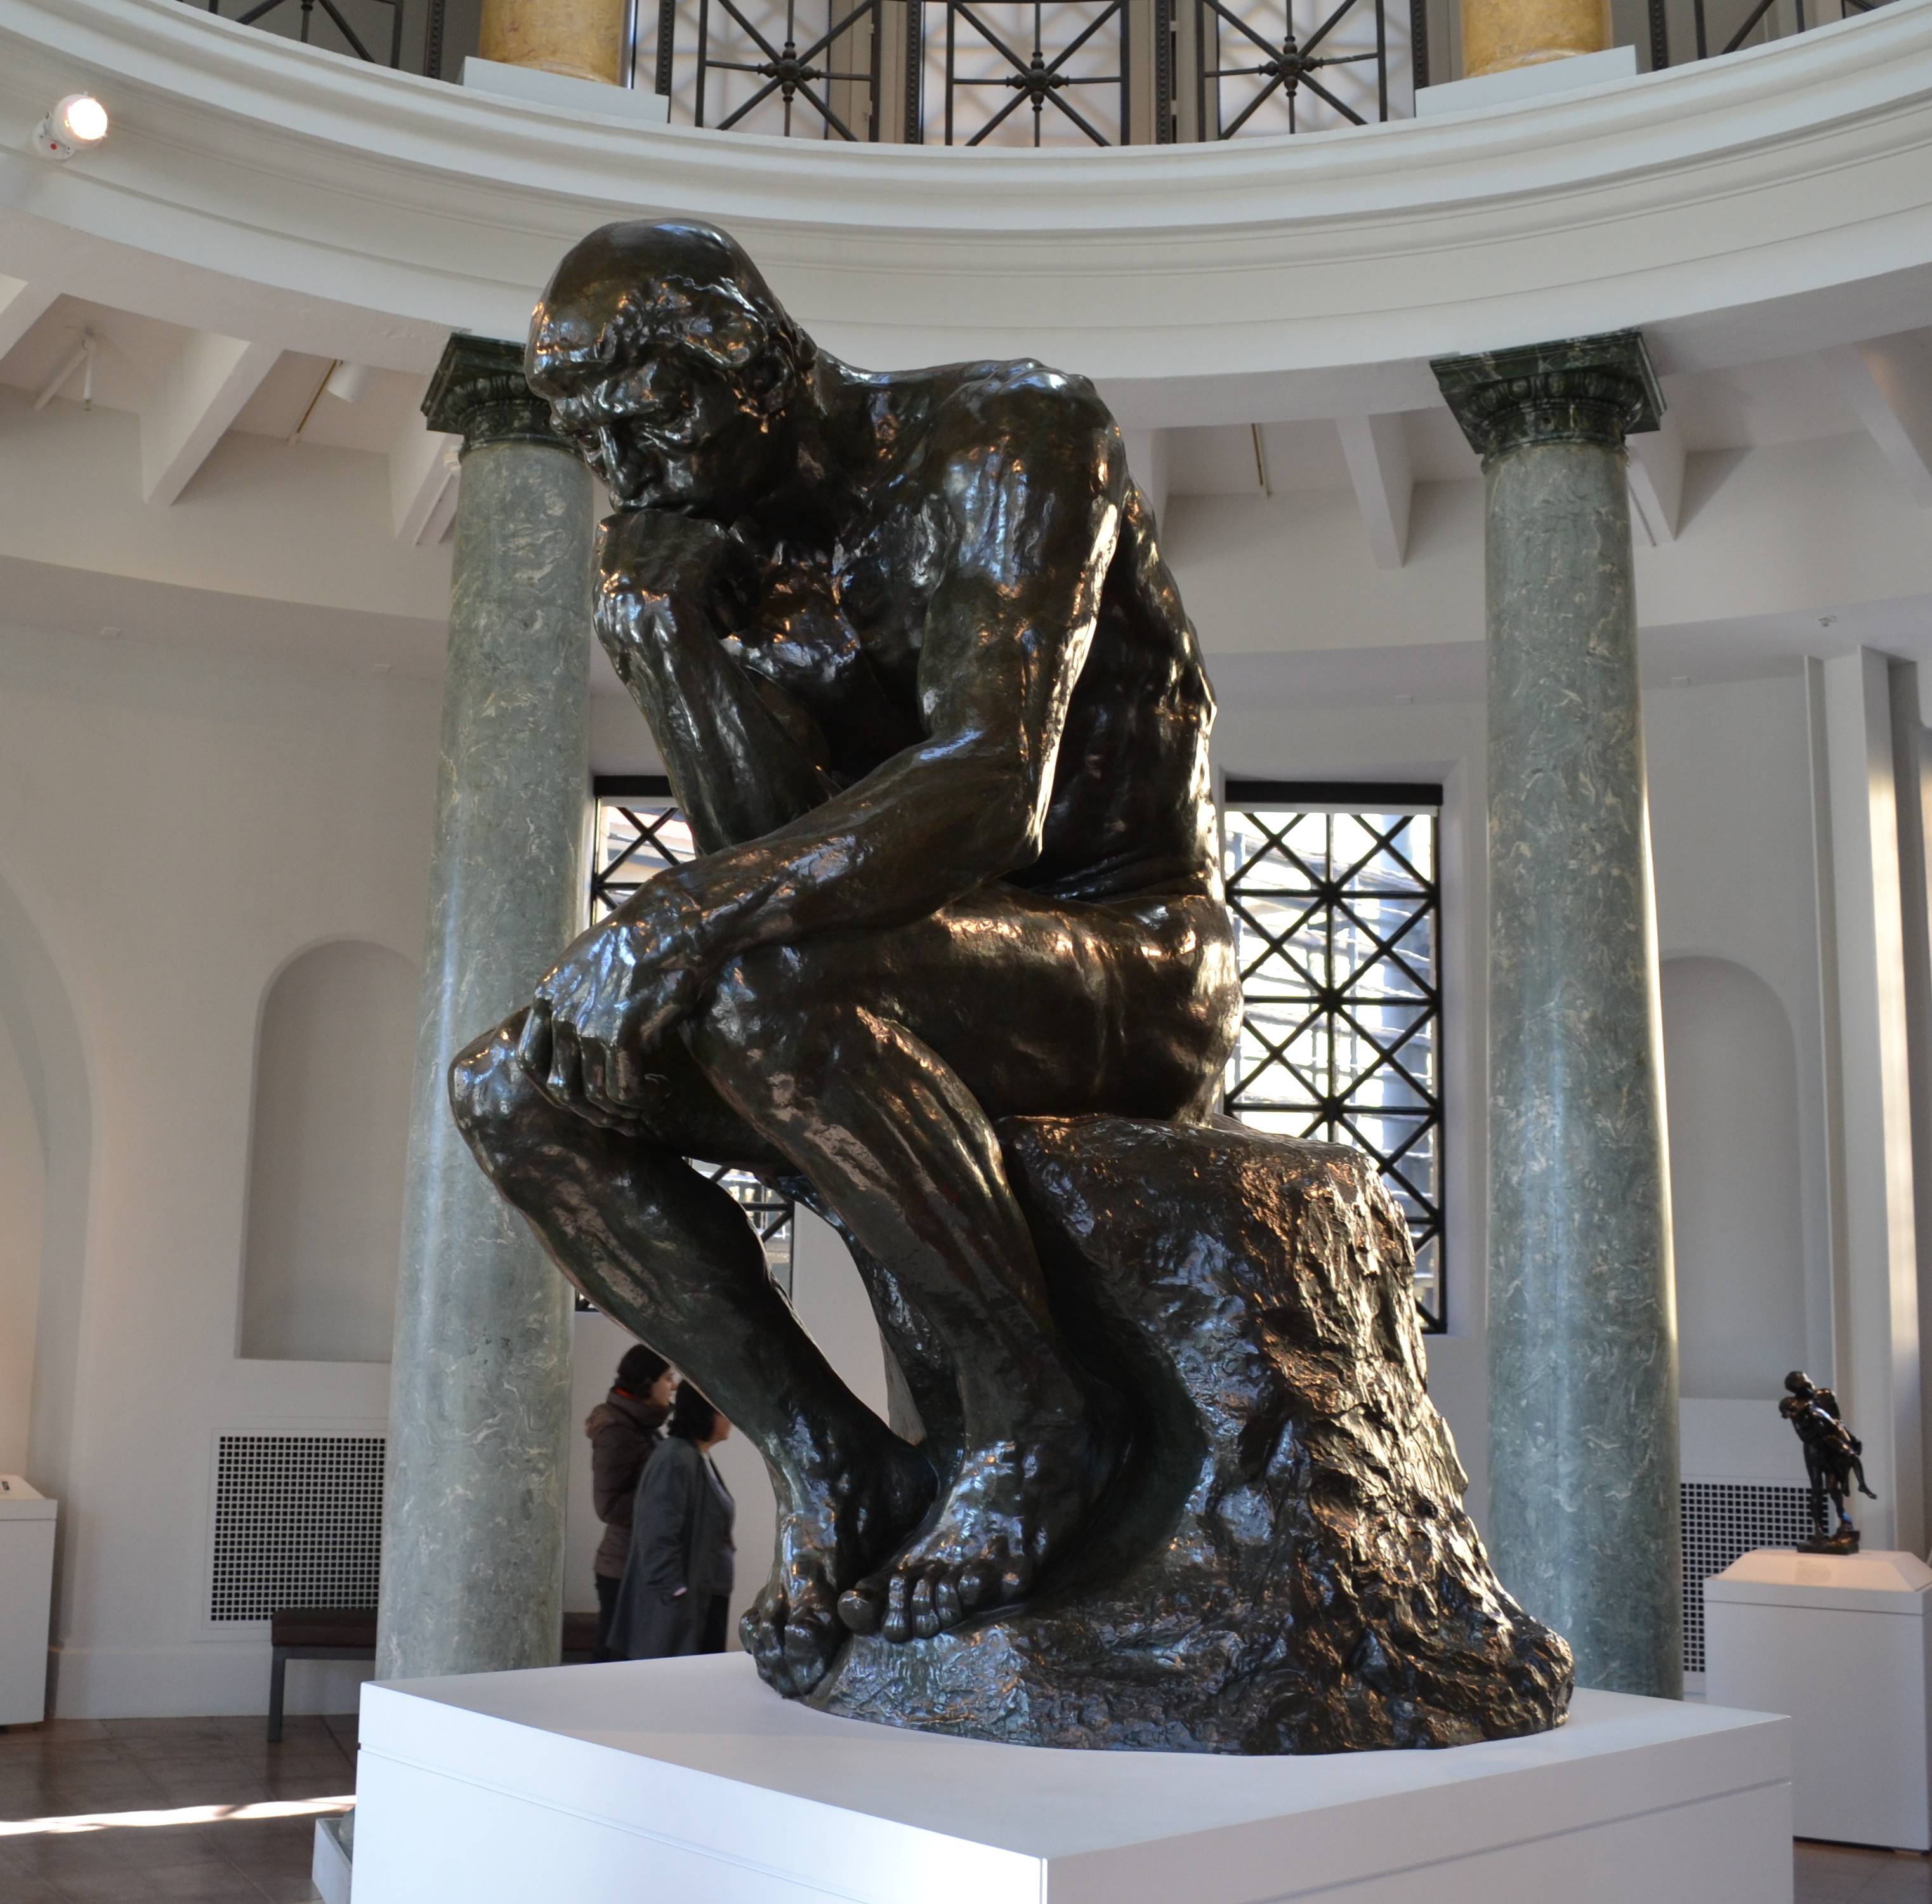
Sculptures, by their very nature, thrive on light and shadow. Unlike a flat painting, a 3D piece needs light from multiple angles to reveal its form, texture, and contours.
- Multiple Light Sources: Aim for at least two, preferably three, lights from different directions. This creates dynamic shadows that define the sculpture's volume.
- Grazing Light: For textured sculptures, a light source placed very close and angled sharply can "graze" the surface, emphasizing every ridge and curve.
- Backlighting: Sometimes, a subtle backlight can create a halo effect, separating the sculpture from the wall and adding ethereal drama.
- Avoid Flat Lighting: A single, direct overhead light will flatten a sculpture, making it lose its impact.
For more inspiration on incorporating three-dimensional pieces, check out my thoughts on how to incorporate sculptural art into modern interiors.
Lighting Textured and Abstract Art
Many contemporary and abstract pieces, particularly those with impasto or mixed media, benefit immensely from light that emphasizes their tactile qualities.
- Directional Light is Key: A focused spot or narrow floodlight at a steeper angle (closer to the wall than the 30-degree rule) can create dramatic shadows that highlight the raised surfaces and intricate details.
- Experiment with Angles: Don't be afraid to play with light from the sides, or even slightly from below, to see how new textures emerge.
- Avoid Over-Smoothing: While wall washers are great for murals, they can sometimes flatten the very qualities you want to highlight in a textured painting.
- Color Play: For vibrant abstract art, a high CRI is non-negotiable to ensure the artist's original palette shines through.
Lighting Textiles and Tapestries
Textiles, tapestries, and other fabric artworks require delicate handling when it comes to lighting, primarily to protect the fibers from degradation and to emphasize their unique textures.
- Gentle, Diffused Light: Avoid harsh, direct spotlights that can create unflattering hot spots or uneven fading. Opt for softer, diffused light sources.
- UV Protection is Crucial: Fabric art is particularly susceptible to UV damage and fading. Ensure any lighting used emits virtually no UV, and consider UV-filtering window treatments for rooms housing precious textiles.
- Grazing Light (Carefully Applied): For highly textured tapestries, a very subtle grazing light from the side can highlight the weave and physical depth, but this must be done with extreme care to avoid damage or exaggerated shadows.
Smart Lighting Solutions: The Future is Here (and it's brilliant!)
Gone are the days of simple on/off switches. Modern smart lighting systems offer an incredible level of control and flexibility that can transform your art display.
- Wireless Control: Adjust brightness, color temperature, and even beam angle (with some advanced fixtures) from your phone or voice assistant.
- Schedules & Scenes: Program your lights to dim or change color temperature at different times of day, or create "scenes" for entertaining, quiet evenings, or focused viewing.
- Energy Efficiency: Most smart lighting uses LED technology, making it incredibly energy-efficient and long-lasting.
- Integration: Seamlessly integrate your art lighting with your broader home automation system for a truly sophisticated environment. Modern control systems allow for grouping lights, voice commands, and even motion detection, elevating the experience beyond simple illumination.
- Enhanced Security: Some smart lighting systems can be programmed to mimic occupancy when you're away, or to turn on if motion sensors are triggered near your art, adding an extra layer of peace of mind.
It might seem like a luxury, but the ability to fine-tune your lighting with such ease can be a game-changer for appreciating your art in every possible mood and moment.
Lighting for Specific Rooms: Tailoring the Glow
The perfect light for your art also depends on where that art lives. Different rooms have different functions and ambient light levels, which impacts how you approach accent lighting.
Living Room Art: The Centerpiece
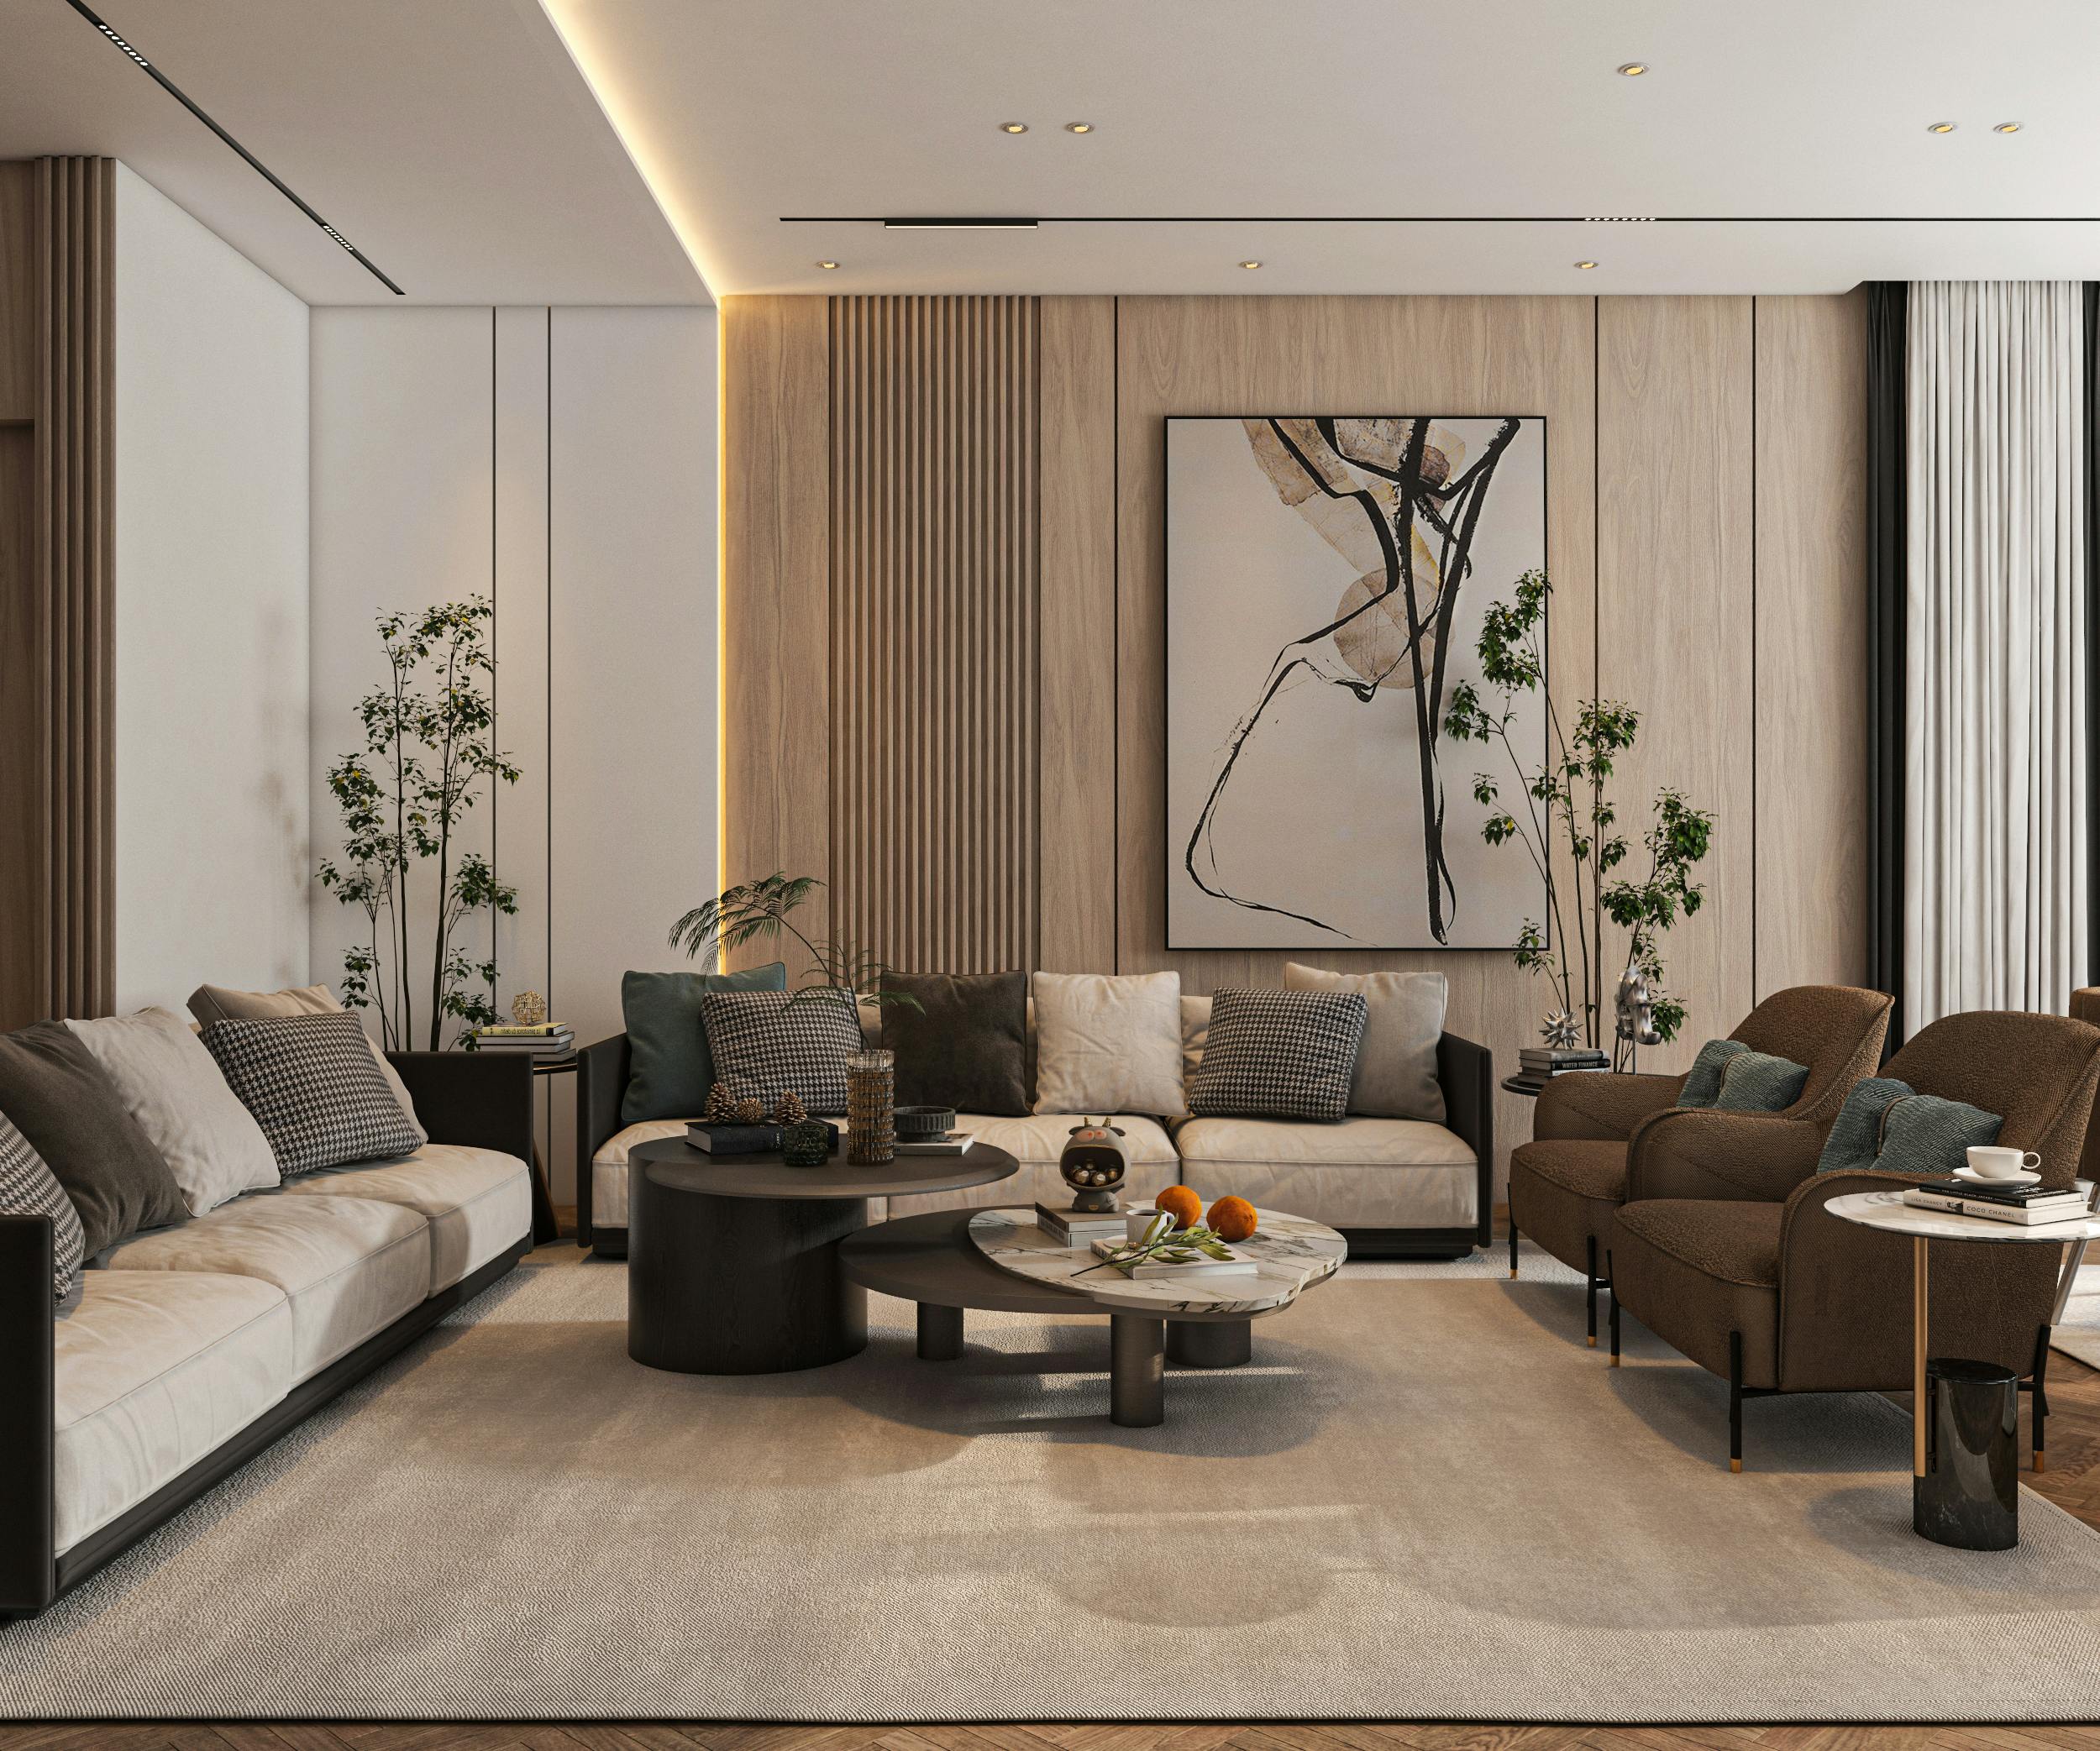
In a living room, art often serves as a focal point.
- Balance: Ensure your art lighting complements the room's overall ambient light. You want it to stand out, but not feel like a separate entity.
- Dimmers: Absolutely essential here. They allow you to adjust the intensity for movie nights, entertaining, or quiet contemplation.
- Versatility: If you have a gallery wall or frequently rearrange, track lighting offers excellent flexibility. For a single impactful piece, a monopoint or recessed spot might be cleaner.
You can find more ideas for choosing art for your living room and how it integrates with your overall decor.
Dining Room Art: Conversation Starter
Dining rooms are social spaces, and art can set the mood.

- Warmth is Key: Lean towards the warmer end of the Kelvin spectrum (2700K) to create an inviting, intimate atmosphere that flatters both your guests and your art.
- Avoid Glare on Tables: Be mindful that ceiling-mounted lights angled at art might reflect off glossy dining tables. Adjust carefully.
- Consider Adjacent Spaces: If your dining room flows into a living area, try to maintain a consistent lighting theme for harmony.
For further inspiration, explore ideas for how to choose art for a dining room.
Bedroom Art: Personal Sanctuary
Art in the bedroom should contribute to a serene and personal space.
- Soft & Subtle: Avoid harsh, overly bright lights. Dimmable fixtures are crucial.
- Wall Sconces: Sometimes, small, dedicated wall sconces that cast a soft glow upwards or downwards can work beautifully for art above a bedside table or even above the bed itself.
- Color Temperature: A very warm color temperature (around 2700K) can enhance the cozy, relaxing vibe of a bedroom.
Discover more tips for how to choose art for a bedroom to create your perfect sanctuary.

Home Office Art: Inspiration & Focus
For a home office, art can be a source of inspiration, but lighting needs to avoid distraction.
- Task-Compliant: Ensure art lighting doesn't interfere with computer screens or desk work by causing glare.
- Uplighting: For art above eye level, a subtle uplight can provide ambiance without being distracting.
- Motivating Art: Choose art that inspires focus and creativity, and light it to bring out its best qualities.
Explore decorating with art in a home office: boosting creativity and focus for more ideas.

Hallways and Entryways: First Impressions
These are often transitional spaces, but they offer prime real estate for showcasing art and making a powerful first impression. Lighting here is crucial for both functionality and aesthetic impact.
- Consistent Flow: If your hallway leads to other rooms, try to maintain a consistent lighting scheme with your accent lights to create a cohesive feel. You don't want jarring shifts in ambiance.
- Linear Arrangement: For long hallways, consider a series of monopoint spotlights or a track lighting system to illuminate multiple pieces evenly. Avoid a single bright light that creates a tunnel effect.
- Highlighting Pathways: Beyond the art, good lighting in an entryway helps guide guests and creates a welcoming atmosphere. Combine ambient and accent lighting to achieve this.
For more ideas on transforming these spaces, check out art for entryway and how to choose art for an entryway.
Kitchen and Bathroom: Unexpected Galleries
These utilitarian spaces might seem unusual for art, but they offer fantastic opportunities to introduce personality and unexpected beauty. However, they come with unique environmental considerations.
- Humidity and Temperature: Choose fixtures and art materials that can withstand fluctuations in humidity and temperature. For valuable pieces, consider framing under museum-grade glass to protect them.
- Washable Surfaces: In kitchens especially, art lighting fixtures might accumulate grease or dust. Opt for easy-to-clean designs.
- Task Lighting Integration: In both rooms, task lighting (under-cabinet in kitchens, vanity lighting in bathrooms) will be dominant. Your art lighting should complement, not compete with, these functional lights.
Find more specific guidance in articles like how to choose art for a kitchen and how to choose art for a bathroom.
Frequently Asked Questions (FAQ)
Q: Will lighting damage my artwork?
This is a valid concern, and a very smart question to ask! The two main culprits for art damage from lighting are UV radiation and heat. Historically, this was a real problem with incandescent and halogen bulbs. The good news is that modern LED bulbs emit virtually no UV radiation and very little heat, making them the safest and most energy-efficient choice by a long shot. Avoid older halogen or incandescent bulbs entirely when lighting art. While LEDs are safe, any light exposure, especially visible light over time, can still contribute to fading. So, it's also about finding the right balance of brightness and only keeping the lights on when you're actively appreciating the art.
Q: What about UV protection for windows?
This is an excellent question, especially if you have valuable or sensitive artwork! While modern LED art lights emit virtually no UV, natural light streaming through windows can be a significant source of UV radiation, which is a major culprit for fading and damage over time. Consider installing UV-filtering window films or using UV-protective glazing on your windows, particularly those in rooms with direct sunlight exposure to art. Heavy curtains or blinds that are closed during peak sun hours can also offer substantial protection.

Q: Can't I just use a floor lamp?
You can, and sometimes necessity dictates. However, it's tricky to get right. A floor or table lamp will almost always light the art from a sharp upward or side angle, which can create odd, elongated shadows and distortion, making the art look unnatural. It's better than nothing, especially in a room with low light, but for a truly professional, integrated look where the art is the focus and not just incidentally lit, a ceiling-mounted accent light or a properly sized picture light is always the way to go. They offer the precise control that general lamps simply can't.
Q: How often should I clean my art lighting?
Regular cleaning is crucial to maintain optimal performance! Dust and grime can accumulate on bulbs and fixtures, dimming the light and subtly altering its color and spread. I recommend a light dusting with a soft, dry cloth at least once a month, and a more thorough wipe-down (when the fixture is off and cool, of course!) every three to six months. Think of it as part of your regular home cleaning routine – a quick wipe can make a world of difference.
Q: How many lights should I use per artwork?
For most standard-sized paintings (say, up to 3-4 feet wide), a single, well-aimed spotlight or picture light is usually sufficient. For larger pieces, or if you want to create more nuanced shadows on textured art, two lights – one from each side – can provide more even illumination and depth. For sculptures, as we discussed, two or three lights from different angles are often ideal to fully reveal their form. It's less about a strict number and more about achieving evenness and depth without creating distracting hot spots or shadows.
Q: What's the most important factor: Kelvin, CRI, or the fixture itself?
If I had to pick one, it would be CRI. A high-CRI bulb in a basic fixture will always look better than a low-CRI bulb in a fancy, expensive one. The whole point is to see the art's true colors.

Q: How much should I light my art?
The rule of thumb is that your lit artwork should be about three times brighter than the rest of the room. This creates a clear focal point without being jarring. Many high-quality fixtures are dimmable, which gives you ultimate control to find the perfect balance.
## A Final Thought: The Art of Illumination
Lighting your art isn't just a technical step; it's a profound act of curation, an intimate conversation between you, the art, and your space. It's the moment you consciously choose to elevate a piece, to say, "This is important. This deserves to be seen, truly seen." It brings your walls to life, adds depth to your rooms, and completes the story you're telling with your home. Don't let your beautiful art sit in the shadows, half-realized. Let it shine, and in doing so, watch your entire home come alive.












Ready to find the next piece to illuminate? Explore my latest art collection here or delve into other insights on how to decorate a house with intention and style. The journey of transforming your home into a personal gallery is a rewarding one, and I'm here to help you every step of the way.