Primed vs. Unprimed Canvas: The Ultimate Artist's Guide to Surface Choice for Lasting Art
Unlock the secrets of art canvas! This comprehensive guide delves into primed vs. raw canvas, sizing, gesso, techniques for oils & acrylics, archival qualities, and art care. Master your surface choice for art that truly endures.
Primed vs. Unprimed Canvas: The Ultimate Artist's Guide to Surface Choice for Lasting Art
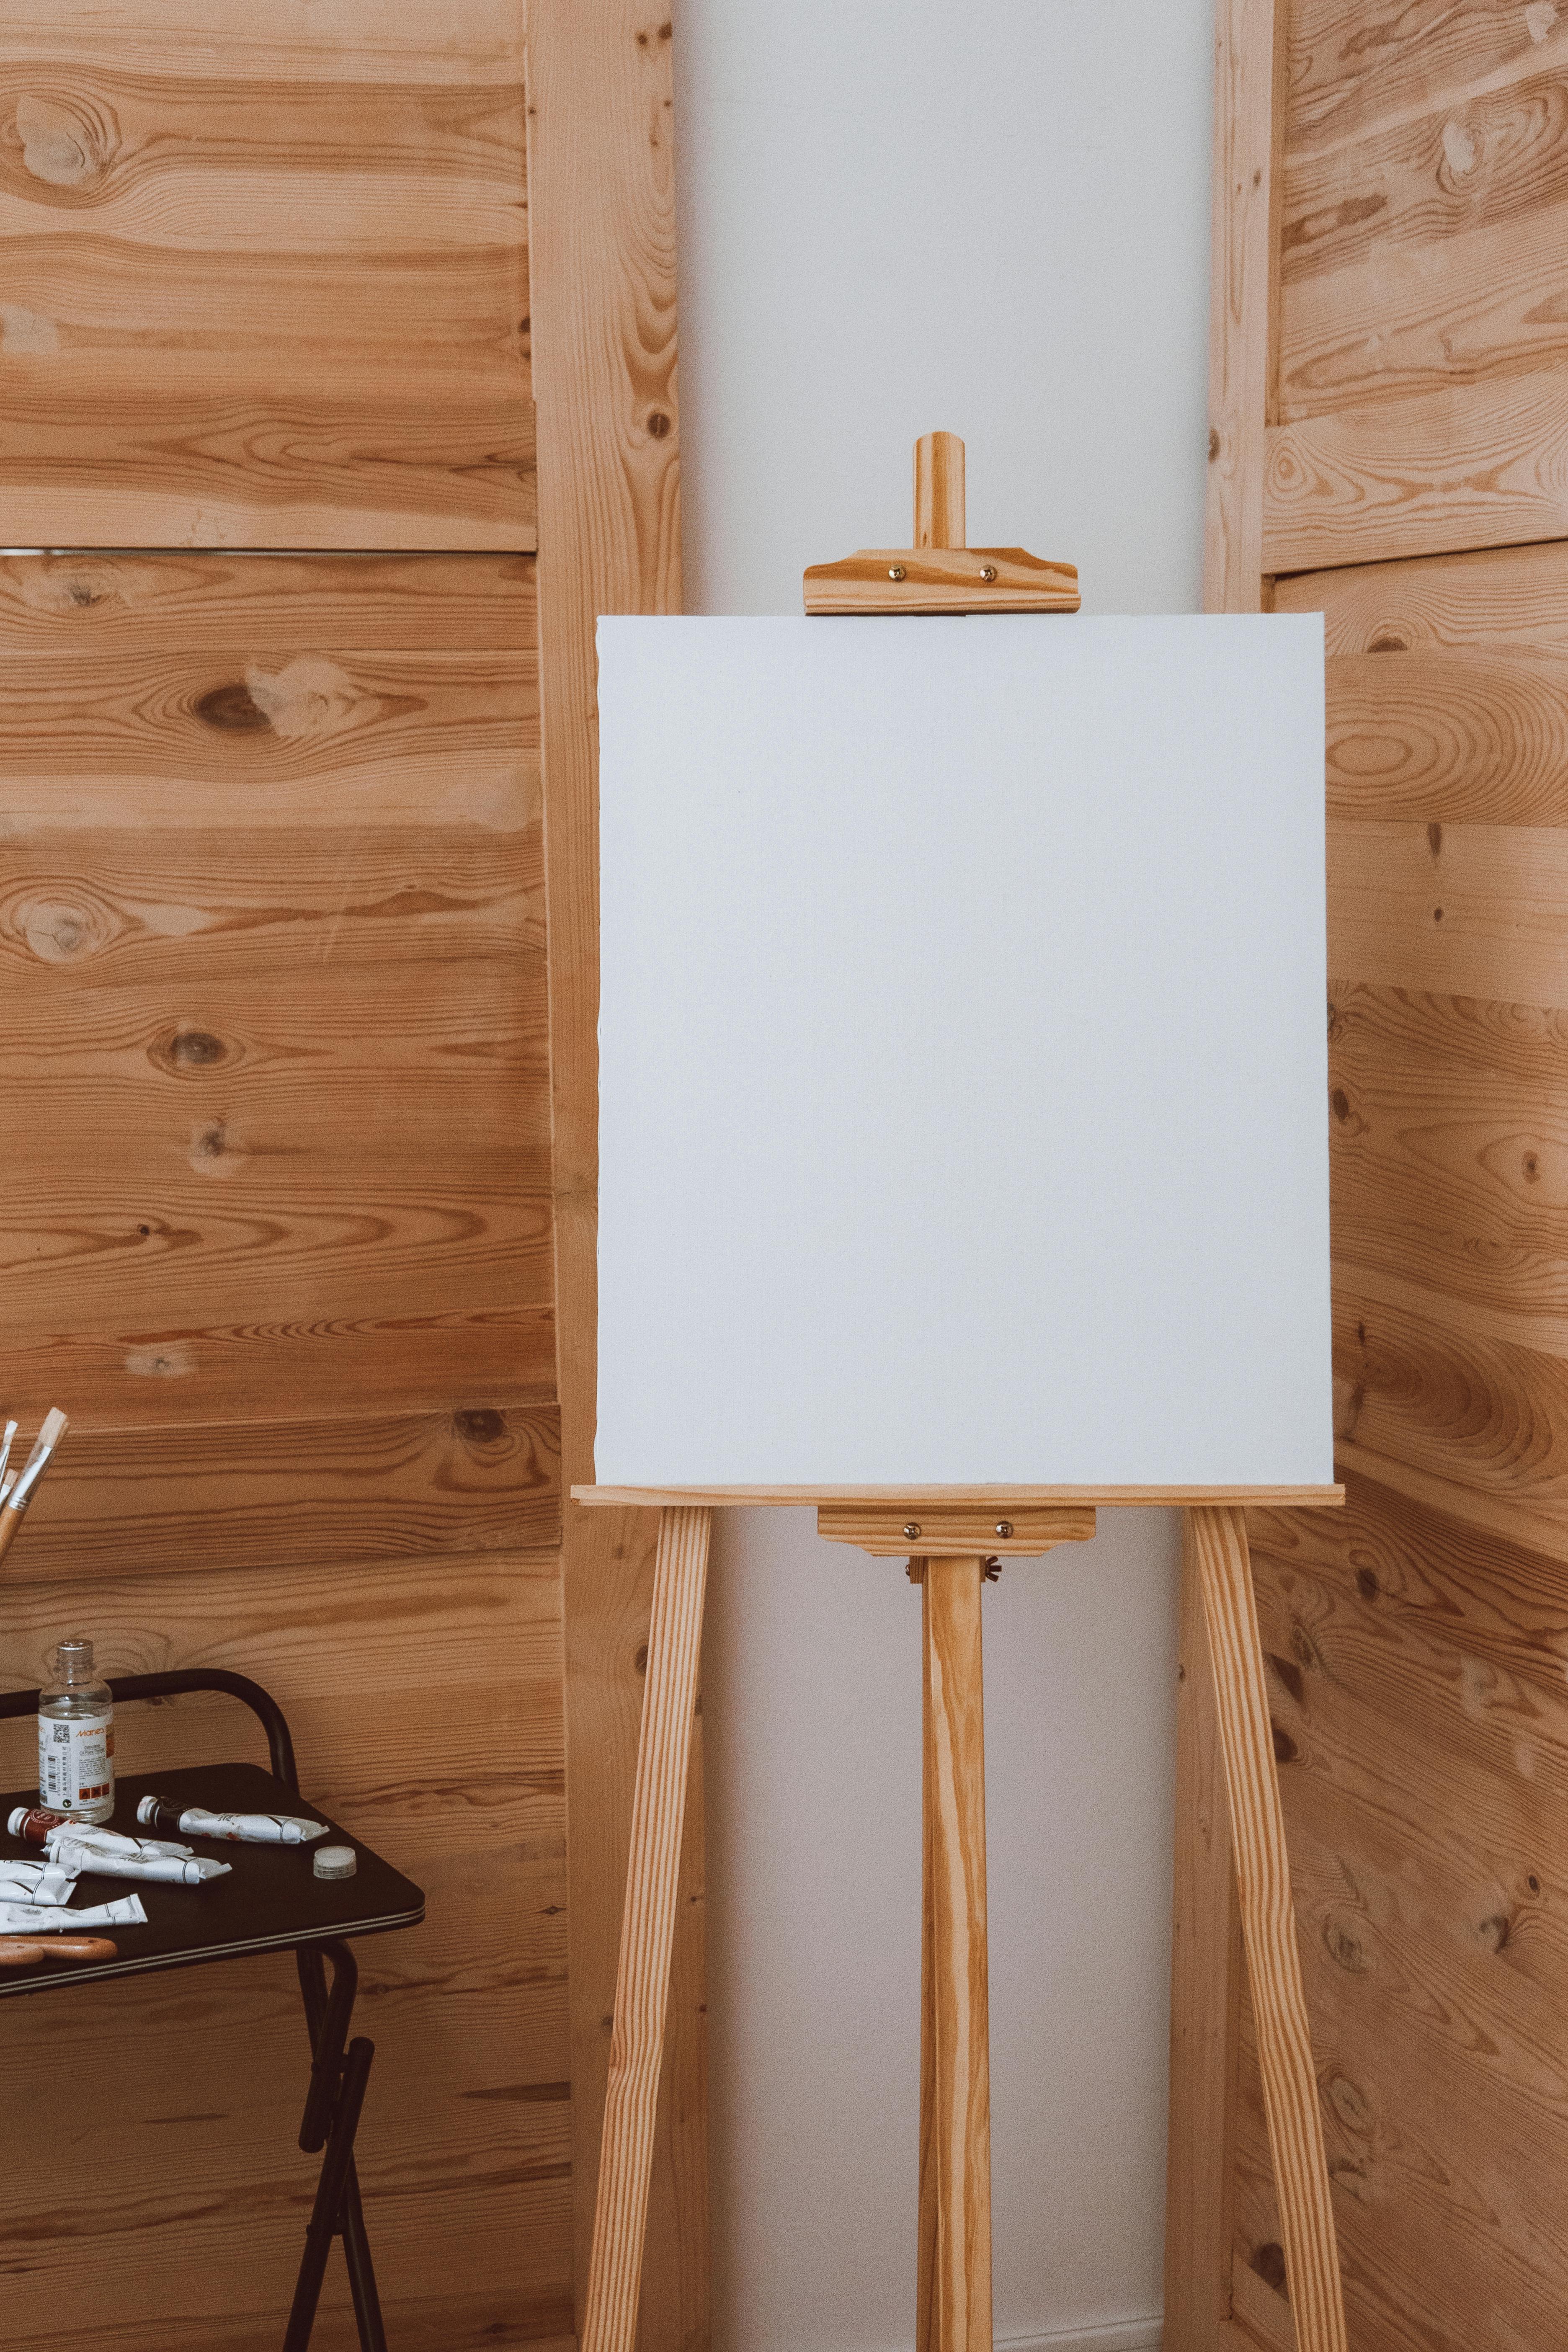
Every artist has stood at that crossroads, staring at a blank canvas, wondering: "Primed or unprimed?" I know I did. I remember standing in the art store, a rookie painter with big dreams and an even bigger blank stare. There they were, the pristine white canvases beckoning, and then the mysterious 'raw' or 'unprimed' ones, looking all rustic and serious. My first impulse? Go for 'authentic.' I bought a roll of unprimed linen, stretched it myself, feeling like a true master – only to find that painting a few years later looking dull, brittle, and cracked. The tiny fissures spiderwebbing across the surface, the way the once-vibrant colors seemed to sink and dull into a lifeless beige, the sickening realization that a piece of my soul was literally crumbling. It was a heart-wrenching, costly lesson that taught me the hard way: skipping crucial preparation steps is a recipe for artistic disaster. I'm here to make sure you don't repeat my mistakes, because choosing the right canvas isn't just about what feels good in the moment; it's about making your art last and protecting your creative vision. Is using raw canvas a shortcut or a sophisticated artistic choice?
Choosing between primed and unprimed isn't just a technical choice; it’s a creative and even philosophical one that fundamentally changes how you work and what your final piece looks like. So let's break it down, no jargon, just the real talk.
The Ancient Roots of Artistic Surfaces: From Cave Walls to Gessoed Panels
Before canvas swept the art world off its feet, artists primarily toiled away on rigid wood panels. But even before that, the desire to create lasting images manifested on cave walls, through intricate frescoes, vibrant mosaics, or meticulous wall paintings in ancient civilizations. Imagine the earliest artists drawing on cave walls, then later, Egyptians painting on papyrus, or medieval illuminators meticulously decorating parchment and vellum. The desire to create lasting images is ancient, but the materials changed dramatically over time. Think intricate layers of gesso (often gypsum and animal glue) meticulously applied to create that smooth, almost luminous surface on wood panels during the early Renaissance. This wasn't just about making a surface white; it was about preparing it to receive and enhance the paint.
Then came the 15th century, and the burgeoning popularity of oil paints. These new mediums, with their rich pigments and slow-drying oil binders (like linseed or walnut oil), demanded a different kind of support. Unlike fast-drying tempera, oils needed a surface that wouldn't greedily absorb the precious binder, and one that could withstand the chemicals within the paint without degrading. This is where fabric truly began its ascent.
The Canvas Revolution: Why Fabric Endured
As the Renaissance blossomed, so too did the desire for larger, more portable, and less cumbersome works. Stretched fabric, typically linen or cotton, quickly became the darling of the era, not just for its flexibility but also its relative accessibility compared to large, expensive wood panels. This shift democratized art-making, allowing more artists to produce and transport works, catering to a growing merchant class and itinerant painters.
Yet, these new fabric supports couldn't just be painted on raw; they demanded preparation. They needed protection from the paint's often-harsh chemicals and a surface that would truly make the pigments sing. This evolution of priming wasn't a static affair; it marched hand-in-hand with new mediums and artistic intentions.
The Venetian masters, like Titian and Giovanni Bellini, were among the earliest to experiment with canvas, often utilizing colored grounds not just to prepare the surface, but to influence the luminosity and mood of their oils, harmonizing with the unique light of Venice. Later, artists like John Constable in the English Romantic period embraced the visible texture of their canvases, sometimes opting for less smooth grounds to achieve their signature atmospheric, textural effects. And as we moved into the 19th century, the Impressionists, though often associated with alla prima (direct, wet-on-wet) techniques, still relied on carefully prepared canvases that allowed for vibrant, unabsorbed color to capture fleeting light and movement. Each era, each medium, brought its own demands and innovations to the humble art of canvas preparation.
Unpacking the Essentials: Sizing, Gesso, and Ground
Before we dive into the primed vs. unprimed debate, let's get our terms straight. These foundational layers are critical to understanding canvas preparation.
- Sizing: This is the first, crucial layer applied directly to raw canvas. Its primary purpose is to seal the canvas fibers, creating a barrier that prevents paint (especially oil paint) from soaking directly into the fabric. Think of it as a shield protecting the canvas from the inside out.
- Gesso: Often synonymous with primer, gesso is a preparatory coating applied after sizing (if using oils). It creates a uniform, slightly textured surface for your paint to adhere to. It typically contains a binder, pigment (like titanium dioxide for whiteness), and fillers that provide tooth – that subtle grip your brush loves. Gesso is about preparing the painting surface.
- Ground: This term can sometimes be used interchangeably with gesso or primer. Historically, a ground was any prepared surface on which an artist painted. Today, it generally refers to the final preparatory layer that determines the surface's color, absorbency, and texture before the actual painting begins.
Primed Canvas: The Ready-Made Foundation
A primed canvas is your ready-to-go champion, meticulously pre-coated, typically with gesso. This isn't just white paint. It's a specialized primer, usually an acrylic polymer emulsion (or traditional rabbit skin glue with chalk), that contains pigments (like titanium dioxide for whiteness) and fillers (like calcium carbonate, gypsum, or marble dust). These fillers give it that crucial slight texture, or 'tooth.' Think of it like painting a house: you wouldn't just slap color directly onto drywall, right? You'd use a primer to seal it, make the topcoat look better, and ensure it sticks. Gesso does all of that for your canvas.
Why artists love it:
- It’s Non-Absorbent: The gesso creates a robust, uniform barrier. Your paint doesn't soak into the fibers; instead, it sits proudly on top, retaining its true color intensity, brightness, and vibrancy. This barrier gives you incredible control over your brushstrokes, blending, and layering, because the paint won't immediately disappear into the thirsty fibers.
- It Provides "Tooth": That chalk, gypsum, or marble dust in gesso isn't just for show. It provides a fine, sandpaper-like texture – what artists call 'tooth.' Think of it like microscopic velcro for your paint, providing countless tiny anchor points that prevent your brushstrokes from sliding around and ensure each layer truly grips the one beneath. The particle size and shape of these fillers directly influence the texture: finer particles create a smoother surface, while coarser ones offer more grip. This microscopic roughness is essential because it allows paint to grip the surface better than it would on a completely smooth, slick substrate. It prevents paint from slipping and sliding around and ensures excellent adhesion for subsequent layers, which is crucial for building depth and texture. This is a physical adhesion and sometimes a chemical bond at the molecular level, ensuring durability.
- It’s Convenient: This is a big one, especially if you're eager to get started. Most canvases you buy pre-stretched on a frame are already primed and ready for action. You can unwrap it and dive into painting within minutes, skipping all the messy, time-consuming prep work.
- It’s Forgiving (More Open Time): Because the gesso barrier keeps the paint from soaking in instantly, you get more 'open time' to manipulate your medium. This means more time to blend colors, refine edges, or even wipe away a mistake before it becomes a permanent part of the canvas. It's an artist's safety net, letting you experiment with less pressure.
Unprimed (Raw) Canvas: The Untamed Aesthetic
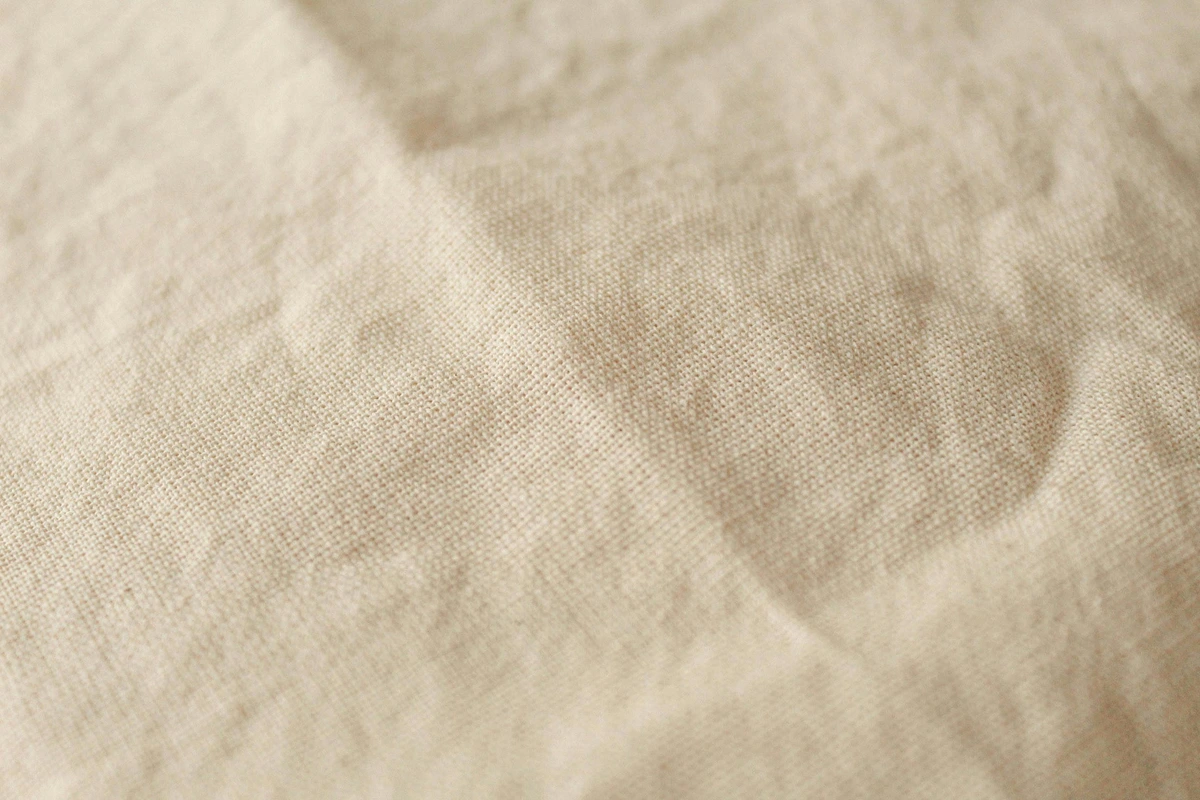
An unprimed canvas, often affectionately called raw canvas, is precisely what it sounds like: the naked fabric, straight off the roll. It's just the woven cotton, linen, or sometimes jute, in its most literal, porous, and utterly unadulterated form. There's a raw beauty to it, an earthy, organic feel that speaks volumes even before you apply a single drop of paint. The subtle variations in the weave, which can range from a finely threaded portrait-grade linen to a robust, coarse cotton duck, aren't just a background; they become an integral, visible part of your artwork. Its unique texture and inherent absorbency define its character and dictate how paint behaves on its surface—often feeling like a subtle topography under your fingertips.

Why artists dare to go raw:
- It’s Super Absorbent: This is its defining characteristic. Imagine dropping water onto a paper towel; that’s the kind of thirst a raw canvas has. Touch a wet brush to it, and the canvas instantly drinks the paint, drawing the pigment deep into its fibers. This quality is absolutely fantastic for specific techniques, like staining, where you want colors to bleed, merge, and create soft, muted, almost watercolor-like effects. The color becomes truly one with the fabric, rather than just sitting on top. This is also why some printmakers prefer raw canvas, as it can absorb inks uniquely.
- It Requires Prep Work: This is the non-negotiable part, especially if you're working with oil paints. Before you can safely or effectively paint on it, you must prepare it. My earlier brittle painting is a testament to the disaster that awaits if you skip this crucial, protective step. We’ll dive into the specifics, but remember: raw doesn't mean ready-to-use with all mediums.
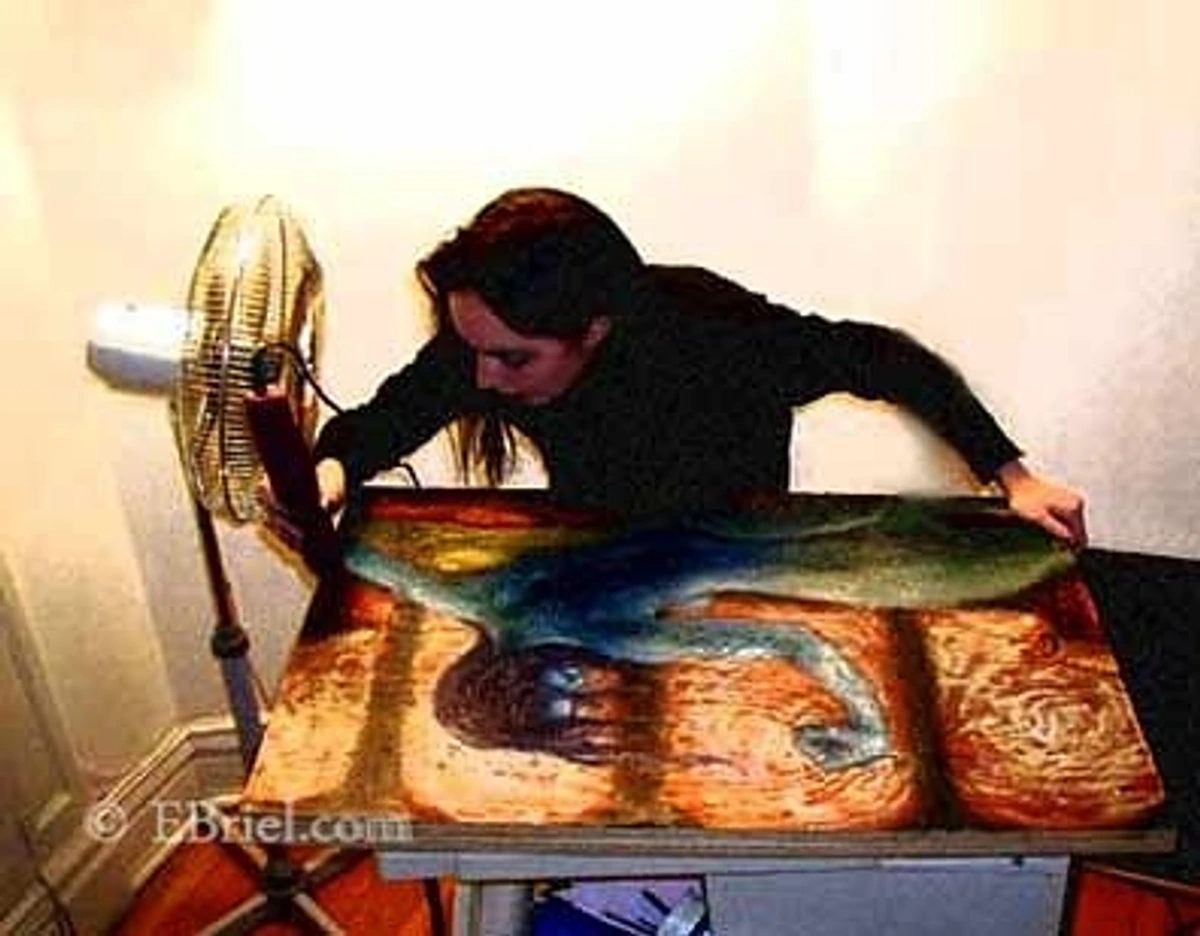
- The Texture is a Feature: The natural weave, the slight imperfections, and the raw, earthy color of the canvas aren't just incidental details; they are fundamental elements of your artwork. Many artists intentionally leave parts of the raw canvas exposed, allowing its unique aesthetic to shine through, contributing to the composition and narrative of the piece. For some, the canvas itself becomes a sculptural material, manipulated and layered to create dimensional art, with the very fabric serving as a key textural and visual component.
The Head-to-Head Showdown: Primed vs. Unprimed Canvas
Sometimes a simple table just makes things clearer, doesn't it? When weighing your options, this comparison should give you a quick overview of what you're signing up for with each choice. It really boils down to how much control you want to exert and how much the inherent qualities of the material will dictate your artistic process.
Feature | Primed Canvas | Unprimed (Raw) Canvas |
|---|---|---|
| Preparation | Ready to paint immediately. | Requires sizing and/or priming. Significant time investment and technical knowledge. |
| Paint Behavior | Paint sits on the surface. Bright, vibrant colors. Easy to blend and manipulate. Controlled, predictable application. | Paint soaks into the fibers, creating stains and muted, integrated colors. Less blending time, more unpredictable, embraces happy accidents. |
| Surface Feel/Texture Variation | Generally consistent. Texture (tooth) can be controlled by gesso type and sanding. Feels uniform. | The natural weave of the fabric (e.g., linen slubs, cotton's uniform weave) is prominent, unique, and integral to the art. Feels organic, often varied. |
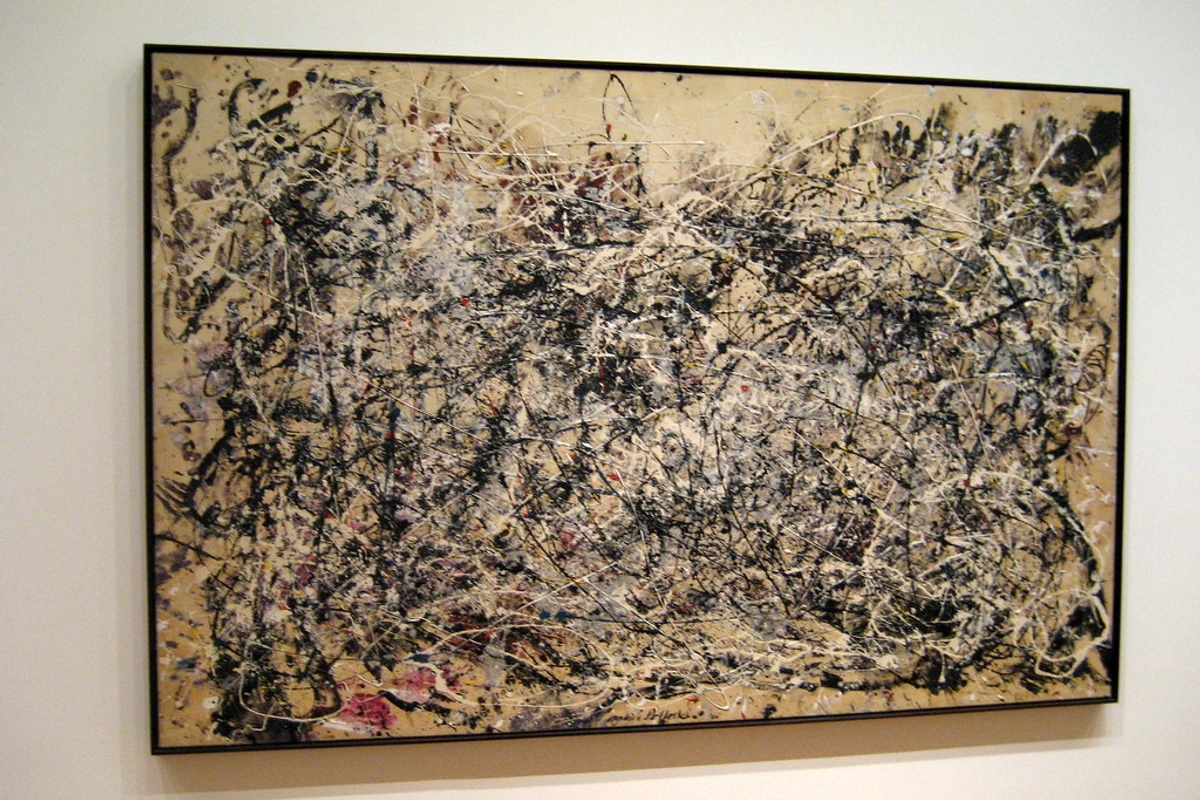
| Best for... | Traditional oil/acrylic techniques, sharp details, glazing (e.g., Dutch Masters), vibrant palettes, thick impasto, scumbling, sfumato, photorealism or hyperrealism, precise blending, and techniques requiring maximum control and luminosity. | Staining, watercolor-like effects, subtle washes, Abstract Expressionism (Color Field painting like Helen Frankenthaler, Morris Louis), minimalist work where fabric shows through, textural emphasis, encaustic painting (where molten wax penetrates and bonds with fibers), some printmaking techniques, and any approach where the raw material is integral to the aesthetic. |
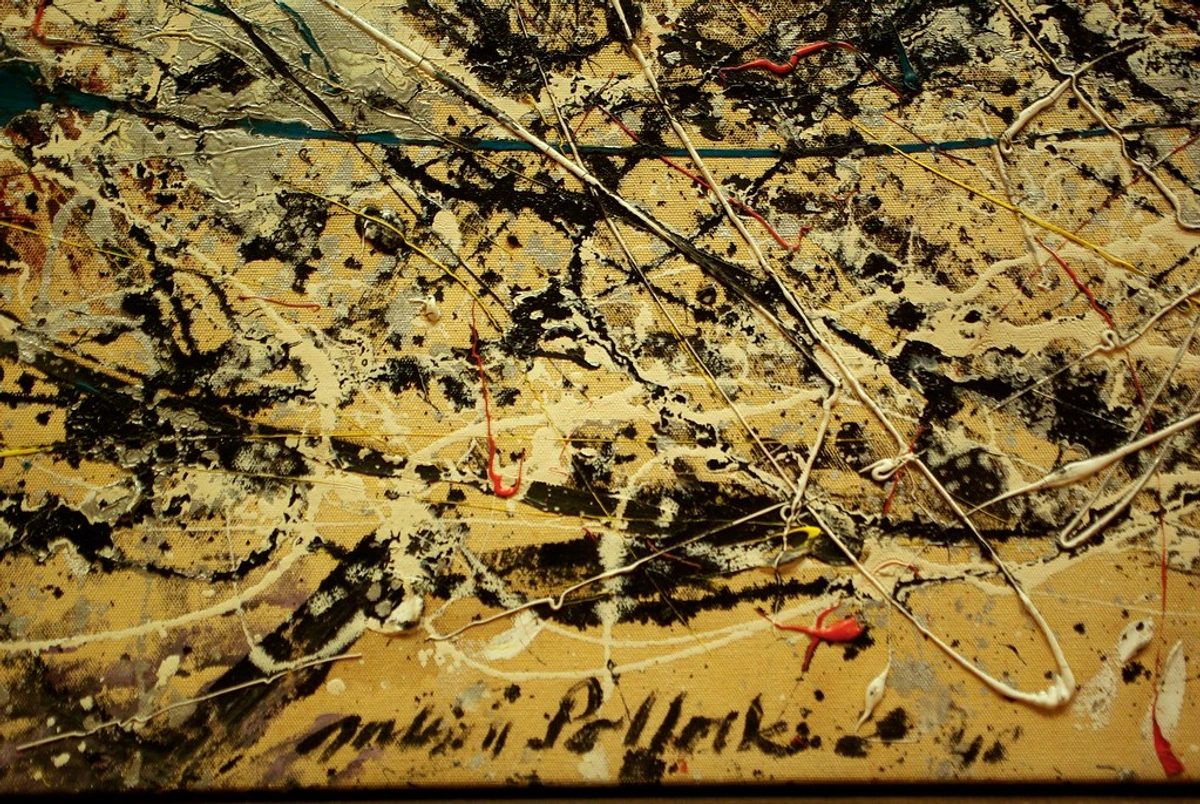
| Historical Usage/Movements | Renaissance (glazing), Baroque (chiaroscuro), Academic Art, Realism, Impressionism (with preparation), generally traditional painting. | Abstract Expressionism (Pollock, Frankenthaler, Louis), Color Field Painting, contemporary art movements exploring materiality, process art. |
| Longevity (Archival Qualities) | Excellent. The gesso creates a stable, archival barrier, protecting the canvas fibers from the paint's corrosive elements and environmental degradation, ensuring the artwork's long-term integrity and preventing embrittlement. Archival means resistant to fading, discoloration, and physical degradation over extended periods. | Potentially poor if not prepared correctly. Oil paints contain acidic binders (like linseed oil) that, upon direct contact, will eventually break down the lignin (a complex polymer in plant cell walls that gives rigidity) and cellulose in the canvas fibers through acid hydrolysis and oxidation (acid migration), leading to brittleness, cracking, and eventual disintegration. Proper sizing is non-negotiable for oils. |
| Control | High degree of control over paint application, layering, and blending. | Less control; embraces happy accidents and the fluid, unpredictable flow of the medium, encouraging spontaneity. |
| Cost | Generally more expensive upfront for pre-stretched canvases. For small-scale work or beginners, this can be more cost-effective due to less initial investment in tools and materials. | Cheaper by the yard/meter for fabric, but costs add up quickly with gesso, size, stretcher bars, and your time. For large-scale professional work, DIY is often significantly more economical, assuming your time isn't an 'opportunity cost'. |
| Learning Curve | Lower. Easier to jump in, predictable results, focus on painting skills. | Higher. Requires knowledge of materials, preparation techniques, and how mediums interact with raw fabric. Understanding canvas types (cotton duck weights, linen grades) is beneficial. |
Why Go Raw? The Artist's Connection and Creative Expression
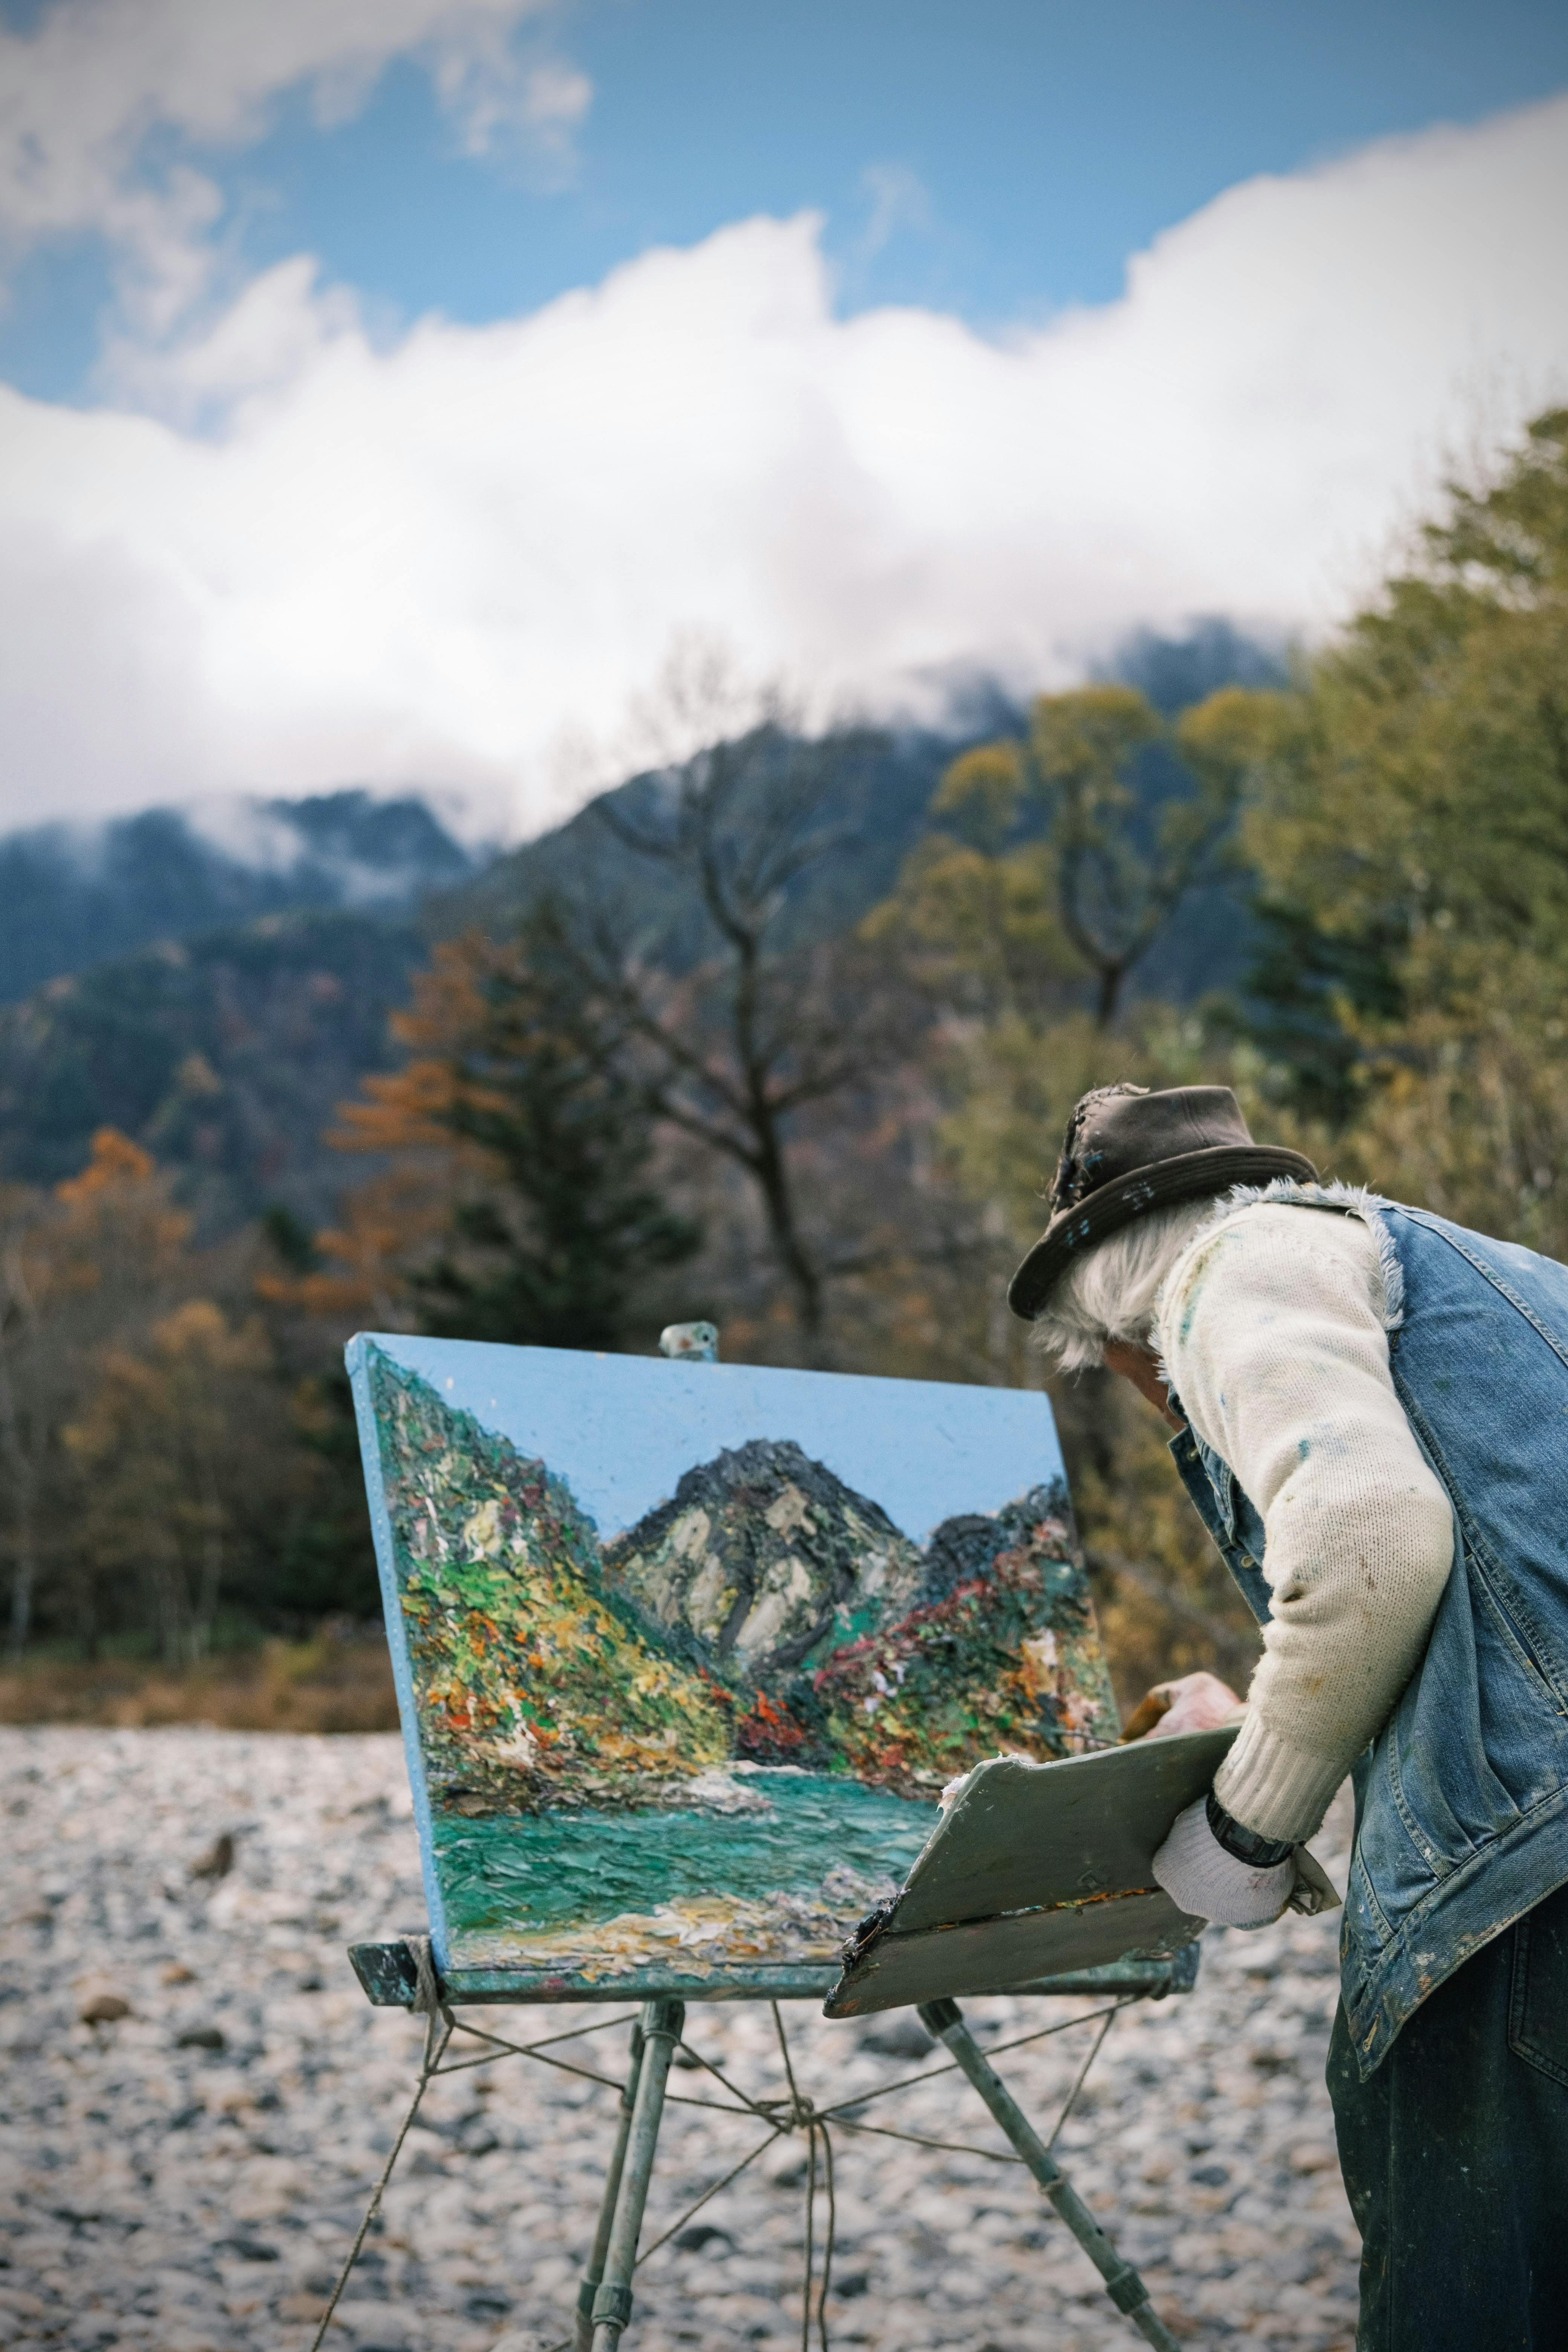
Despite the undeniable prep work involved, there's a certain, almost alchemical magic to working with unprimed canvas. The very act of preparing the surface yourself—stretching, sizing, perhaps even priming—forges a deeper, more intimate connection to the artwork. It transforms the process from merely decorating a pre-made surface into truly building the painting from the ground up. For me, it's a ritual, a foundational step that slows down my often-rushed creative process and makes me more intentional. And let's be honest, in our perpetually fast-paced world, finding moments of focused, deliberate creation can be a profound gift.
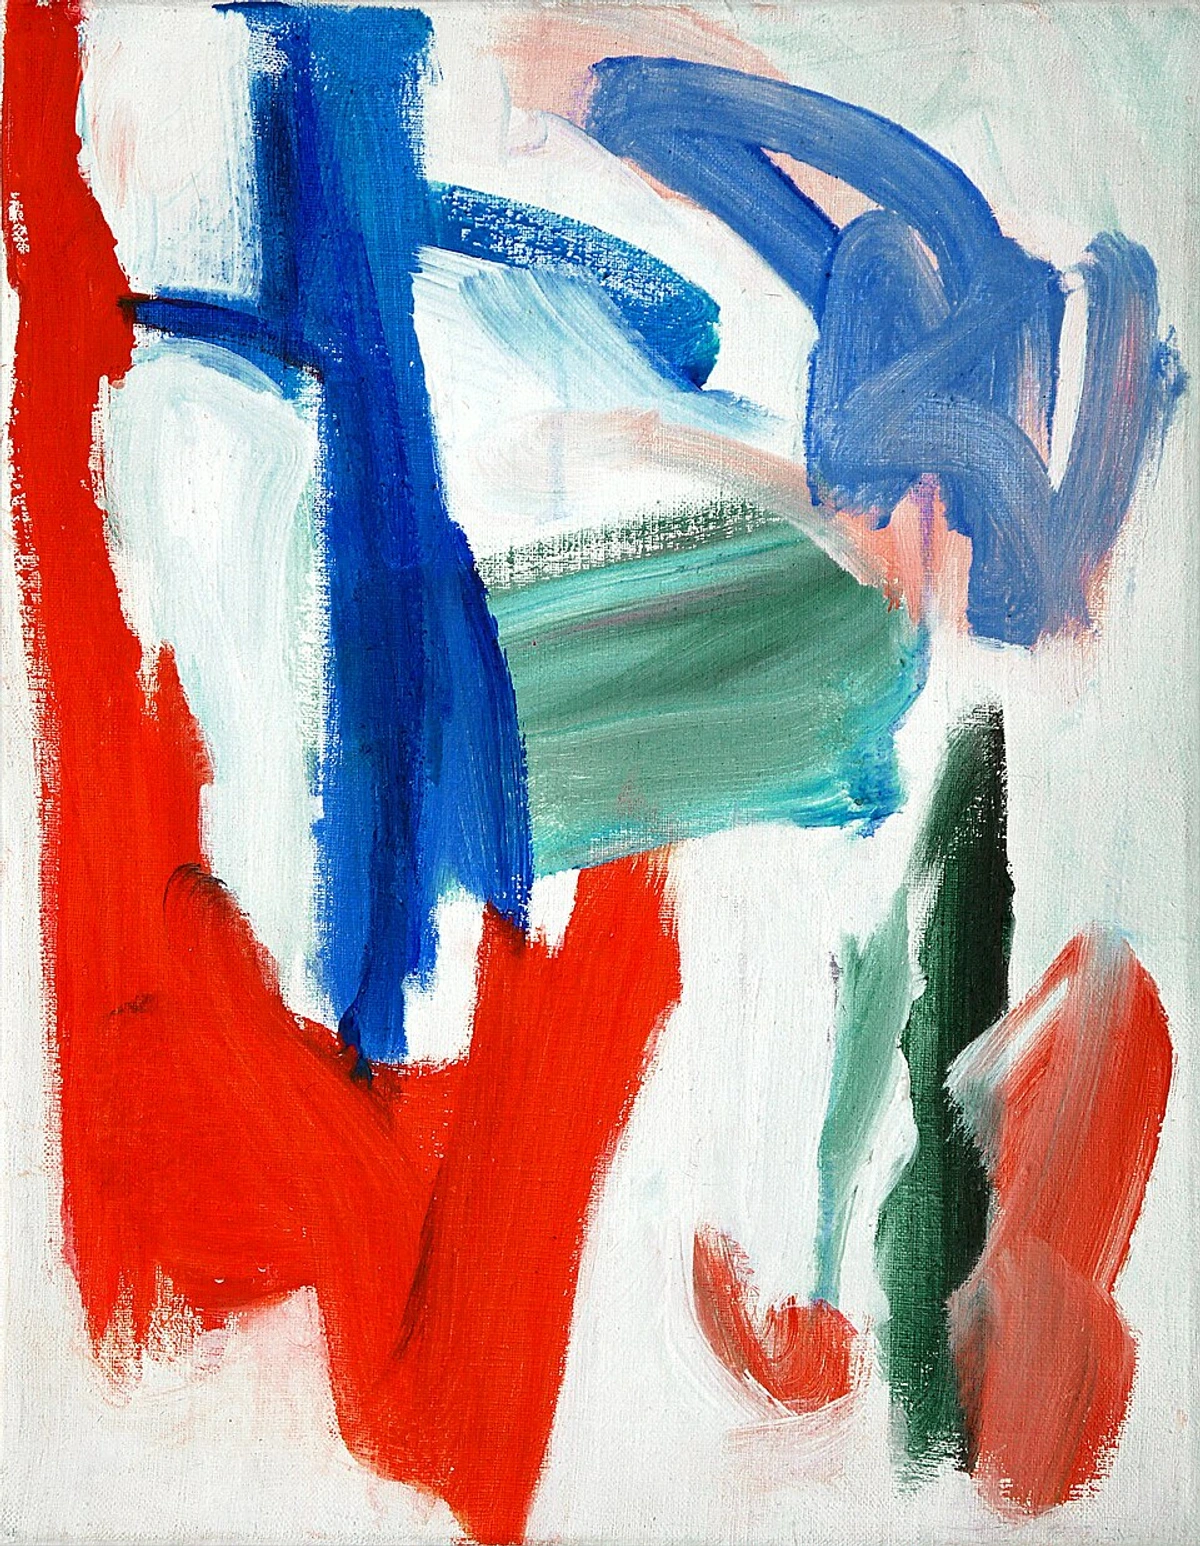
But beyond the personal ritual, the aesthetic is truly the main draw. This is where the raw canvas sings. Artists like Helen Frankenthaler and Morris Louis didn't just use unprimed canvas; they pioneered the 'soak-stain' technique, allowing thinned acrylic or oil paint to literally soak into the fabric. This process creates ethereal, luminous fields of color that are uniquely integrated with the canvas itself. The paint doesn't just sit on top; it becomes part of the weave, creating a softer, more breathable, and deeply integrated feel. The earthy beige or natural tone of the canvas isn't just a blank background; it acts as a beautiful mid-tone, a unifying element, or a grounding presence in the composition. It's a dialogue between the medium and the support, forcing you to think about what is design in art in a more holistic way. The surface isn't just on the design; it is the design, actively participating in the color choices and juxtapositions of the final piece. The way colors spread, diffuse, and interact with the natural fibers creates effects that are simply impossible to replicate on a smooth, impervious primed surface. Some artists even treat the canvas as a sculptural material, manipulating, layering, or folding it to create dimensional art, where the fabric itself becomes a central element of the form.
Critical Warning: Oil Paints and Raw Canvas - The Scientific Imperative for Longevity
Remember my sad, brittle painting from the introduction? That was my painful crash course in canvas chemistry. If you are working with oil paints on unprimed canvas, I cannot stress this enough: you MUST size it first. This isn't some fussy art school rule; it's absolutely fundamental to the longevity—the very survival—of your artwork. Without sizing, the acidic linseed oil (or other drying oils) in your paint comes into direct contact with the natural cellulose fibers of the canvas. Over time, these acids, coupled with oxidation, will aggressively attack and break down the lignin (a complex polymer in plant cell walls that gives rigidity) and cellulose within the fibers. The result? A canvas that becomes incredibly brittle, prone to cracking, and eventually disintegrates into dust—a slow-motion unraveling as the canvas fibers literally begin to 'digest' themselves through a process called acid hydrolysis. This chemical breakdown makes the canvas lose its structural integrity, leading to a weak, fragile support. It's a slow, silent destruction, and a piece of your artistic legacy crumbles along with it.
What is Sizing (and why is it non-negotiable for oils)?
Sizing is the application of a clear, protective sealant directly onto the raw canvas. Its primary purpose is to create a physical barrier, isolating the canvas fibers from the potentially harmful components of your paint. This step is also crucial when using certain mediums or techniques that might interact negatively with raw canvas. For a deeper dive into the world of artistic materials, you might find our definitive guide to paint types for artists enlightening.
Types of Sizing:
- PVA (Polyvinyl Acetate) Size: This is a fantastic, modern, archival choice. It's non-yellowing, flexible, chemically stable, and widely considered a vegan-friendly alternative to animal glues. It creates a highly effective, impenetrable barrier for oils. It's easy to apply, non-toxic, and dries clear. Many contemporary artists swear by it for its reliability and excellent long-term stability.
- Acrylic Polymer Medium: Essentially diluted acrylic paint binder without pigment, it also creates a good barrier. It's very flexible and compatible with acrylic gesso, but some conservators argue PVA provides a superior, more impenetrable barrier for the specific challenges of oil paint. You can also find specialized clear acrylic gesso or clear primers designed for this purpose. Using a good quality acrylic medium can provide a flexible and clear base.
- Traditional Rabbit Skin Glue (RSG): This is the classic, historical sizing agent, made from animal collagen. It creates an excellent, taut surface and forms a strong barrier. However, it's highly hygroscopic (absorbs and releases moisture), which can lead to expansion and contraction with changes in humidity. This constant flexing can stress the canvas and overlying paint layers over time, potentially leading to cracking. It also needs to be heated for application and has a distinct, rather strong odor. Many artists now opt for modern, synthetic alternatives for superior archival reasons and ease of use.
My advice? For oils, a good quality PVA size is generally the most reliable and artist-friendly option for maximum longevity and flexibility. Always apply at least two thin, even coats of size for oils, allowing each to dry completely, especially on very porous canvases.
What is Priming (and when do you do it)?
Priming is the application of gesso. You apply this after your sizing layer has thoroughly dried. While sizing protects the canvas, priming prepares the surface quality for painting. If you want that classic white, slightly textured surface that gesso provides, you'll add this step. You can apply gesso to a sized canvas to get the best of both worlds: a protected canvas with a classic, versatile painting surface that you prepared yourself. Critically, for oils, gesso on its own is NOT enough protection; sizing must come first. If you want to create your own traditional oil ground, you'll apply specific oil-based primers over your size, but that's a whole other article for another day!
Choosing Your Canvas for Your Medium: A Quick Guide
Different paints behave differently, and your choice of canvas should ideally complement your medium. Here's a quick run-down:
- For Oil Paints: This is where the rules are strictest. Always, always, always apply a size (like PVA) first to protect the canvas fibers. After sizing, you can then apply acrylic gesso for a white, textured surface, or even an oil-based primer for a traditional oil ground. Never apply oil paint directly to raw, un-sized canvas.
- For Acrylic Paints: The rules are, thankfully, a bit more relaxed. Acrylic polymer is essentially a plastic emulsion; it's chemically inert and won't rot canvas fibers like oils do. You can technically paint directly onto raw canvas with acrylics without fear of long-term degradation of the fabric. However, the raw canvas will be incredibly thirsty and soak up a vast amount of your (often expensive) paint, leading to muted colors and requiring many layers. Sizing it first, even with just a thinned acrylic medium or clear gesso, can significantly reduce this absorbency, make your paint go further, and give you much more control over color intensity and blending.
- For Watercolors & Gouache: This is an adventurous choice! Raw canvas is incredibly absorbent, much like highly absorbent paper. Watercolors will immediately soak in, potentially bleeding and creating very soft, diffuse effects with less control over sharp edges. You'll likely need to use much more pigment to achieve saturation, and colors might appear duller. For more control and vibrancy with watercolors or gouache on canvas, a specific watercolor ground (which creates a paper-like surface) or a very thin, clear acrylic medium applied as a size can be beneficial. These specialized grounds minimize absorbency and help retain the luminosity of water-based paints.
DIY Canvas Preparation: Your Guide to Sizing and Priming
So, you're ready to embrace the DIY route? Excellent! There's a profound satisfaction in preparing your own surface. Here's how I approach it:
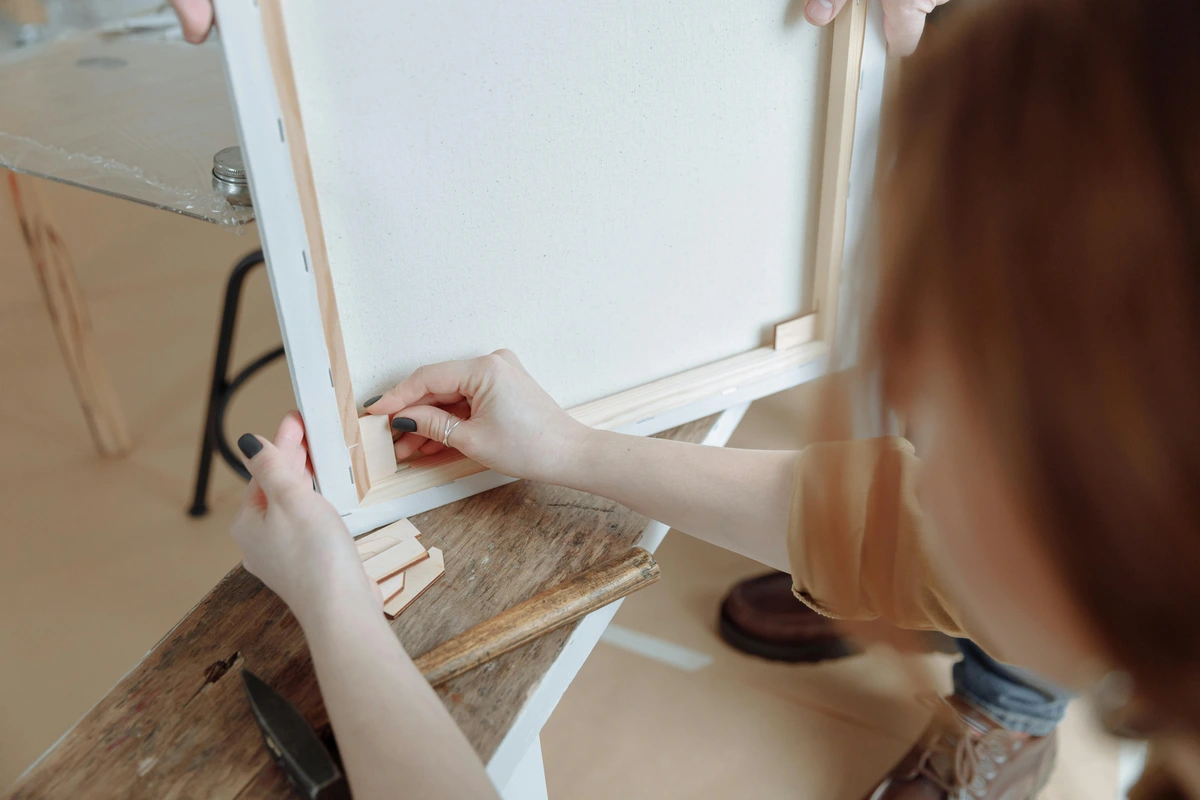
- Stretch Your Canvas: First things first, get that raw fabric taut. Securely stretch your raw canvas onto stretcher bars using a staple gun and canvas pliers. Opt for high-quality stretcher bars that are strong and true, and consider keyed bars if you want the ability to re-tension your canvas later. This isn't just for aesthetics; a taut surface is crucial for even application of size and gesso, preventing sagging or buckling later.
- Apply Size (The Protective Shield): Using a wide, soft synthetic brush (to avoid brush hairs shedding and to get an even application), apply a thin, even coat of your chosen PVA size or acrylic medium. If using an acrylic medium, you might need to thin it slightly with water – always follow the product manufacturer's instructions. Apply it across the entire surface. Let this first coat dry completely – this can take anywhere from a few hours to overnight (typically 2-12 hours), depending on humidity and product. Proper ventilation is key during this stage. For very porous canvases, or if you're using oils, a second thin, even coat of size is highly recommended for maximum protection. Ensure each layer is completely dry to the touch before applying the next.
- Apply Gesso (The Painting Surface - Optional for Acrylics, Recommended for Oils wanting a white surface): Once the size is bone dry, it's time for gesso if you want a prepared, white painting surface. Again, use a wide synthetic brush. Apply one or more thin coats of acrylic gesso. Resist the urge to go thick; thin, even layers are less prone to cracking (especially on flexible canvases) and dry more uniformly. I often sand lightly with a fine-grit sandpaper (e.g., 220-400 grit) between coats for an incredibly smooth finish, if that's the surface I'm after. Remember, each layer must be completely dry before the next. And critically, for oils, gesso on its own is NOT enough protection; sizing must come first.
- Consider the Back (Optional): If your artwork will be framed in a way that exposes the back of the canvas (like a floating frame) or if you simply prefer a neat finish, you might apply a thin coat of size or gesso to the back as well, though this is primarily for aesthetic consistency rather than protection.
Common Pitfalls to Avoid in Canvas Preparation
Even with the best intentions, DIY canvas preparation can have its hiccups. Here are a few things I've learned to avoid:
- Uneven Sizing/Gesso: Applying too much in one area or not enough in another can lead to patchy absorbency or inconsistent surface texture. Always aim for thin, even coats.
- Rushing Drying Times: This is probably the most common mistake. Applying subsequent layers before the previous one is completely dry can trap moisture, lead to cracking, poor adhesion, and even mold. Patience is key!
- Over-sanding Gesso: While light sanding creates a smooth finish, aggressive sanding can remove too much tooth, making it difficult for paint to adhere, or even compromise the barrier. Use a light hand and fine-grit sandpaper.
- Not Stretching Tightly Enough: A loose canvas will sag, warp, and make painting difficult. It can also lead to paint cracking as the canvas flexes. Ensure your canvas is drum-tight.
- Using Incompatible Materials: Always check that your sizing, gesso, and paints are compatible. For example, oil paint directly on acrylic gesso (without sizing) is a no-go for longevity. Similarly, some traditional materials might not play well with modern synthetics without proper understanding.
- Improper Ventilation: Many sizing and gesso products can release fumes, especially during application and drying. Work in a well-ventilated area to protect your health and ensure proper drying.
- Neglecting Brush Care: Sizing and gesso can quickly ruin brushes if not cleaned immediately and thoroughly. Dried acrylic products are particularly difficult to remove.
- Not Considering Canvas Age: Older rolls of raw canvas, especially if stored poorly, can be more brittle or have fibers that have already started to degrade. Always inspect canvas for signs of damage before stretching and preparing.
Beyond the Studio: Caring for Your Masterpiece (Especially Raw Canvas)
Once your masterpiece is complete, regardless of whether it graces a primed or raw canvas, proper care is paramount for ensuring its longevity. However, works on unprimed canvas, particularly those that embrace staining techniques or leave significant raw areas exposed, demand a bit more delicate handling. The natural fibers, even when sized, remain more susceptible to environmental factors like dust accumulation, airborne pollutants, and physical abrasion. Always store your finished artwork in a stable environment, away from extreme temperature and humidity fluctuations. Volatile Organic Compounds (VOCs) from household cleaners or industrial environments can also contribute to degradation over time, so ensure good ventilation.

For works on raw canvas, I strongly consider framing them under glass for maximum protection, especially if the surface isn't varnished. If opting for glass, choose UV-protective, anti-reflective glass and ensure spacers are used to prevent the artwork from touching the glass. If framing isn't your aesthetic, a protective varnish is essential. But choose wisely! Ensure the varnish is compatible with your paint medium (acrylic varnishes for acrylics, solvent-based varnishes for oils after appropriate curing time) and, crucially, that it doesn't alter the raw canvas aesthetic you so carefully cultivated. A matte or satin varnish will preserve the natural, un-glossy look of raw canvas better than a high-gloss finish. For works with extensive texture or powdery pigments (like charcoal or pastel integrated into the canvas), consider applying a light fixative before varnishing to secure loose particles. Avoid touching the raw canvas surface directly, as oils from your skin can stain it over time. For dusting, a soft, dry brush or a gentle vacuum with a brush attachment can be used sparingly, always brushing in the direction of the weave to avoid snagging fibers.
Primed canvases, with their robust, sealed surface, generally offer a more resilient and easier-to-maintain artwork. They are less prone to fiber damage from superficial contact and are typically easier to clean with a soft, damp cloth (again, compatible with your paint and varnish) if needed. Ultimately, the goal is to create art that stands the test of time, and a little thoughtful care goes a very long way. This proactive approach ensures your work is not just beautiful, but also a lasting legacy. For instance, a guide to building a floating frame for canvas art can be particularly useful here, as it beautifully showcases the unique, raw edges of the fabric while offering protection.

Key Takeaways: Your Canvas Choice, Your Artistic Voice
Before we wrap up, let's distill the most crucial points into an actionable checklist:
- Prioritize Longevity: For oil paints, proper sizing on raw canvas is non-negotiable to prevent degradation. Acrylics are more forgiving but still benefit from sizing to control absorbency.
- Match Surface to Style: Primed canvas offers predictability, vibrant colors, and sharp detail, ideal for many traditional techniques. Raw canvas encourages staining, soft edges, and integrates the fabric's texture into the art.
- Embrace Preparation: DIY preparation offers a deeper connection to your materials and potential cost savings, but requires patience and technical understanding.
- Consider Your Medium: Your paint choice heavily influences the necessary canvas preparation. Oils require a barrier; acrylics and watercolors benefit from managed absorbency or specialized grounds.
- Protect Your Work: Proper storage, framing, and varnishing are essential for preserving your art, especially delicate works on raw canvas.
Frequently Asked Questions (FAQ)
Q: So, can I use acrylics directly on raw canvas?
A: Yes, you absolutely can, and many artists love the unique aesthetic it creates! The acrylic polymer is a plastic and won't damage the canvas fibers like oil paints do. However, be prepared for the raw canvas to be incredibly thirsty; it will absorb a lot of your (expensive!) paint, often resulting in less vibrant, more muted colors. If you're aiming for a soft, stained, or watercolor-like look, it's perfect. If you want more vibrancy and control, consider applying a thin coat of clear acrylic medium as a size first to reduce absorbency, or building up color with multiple thin layers of acrylic paint.
Q: Is gesso the same as white paint?
A: Not quite! While gesso is usually white, it's a fundamentally different product. Gesso is a primer, designed to prepare a surface for painting. It contains a binder (often acrylic polymer or traditional animal glue), pigment (like titanium white), and fillers such as chalk, gypsum, or marble dust. These fillers provide the crucial 'tooth' (a slight texture) that allows paint to adhere better. Regular white acrylic paint, on the other hand, is primarily composed of pigment and binder designed for color application, not surface preparation or protection. It's much smoother and less absorbent, and it won't provide the ideal surface for subsequent layers or the necessary protective barrier from oil paints.

Q: Is it cheaper to prime my own canvas?
A: It certainly can be, especially for larger artworks or if you're buying materials in bulk. Purchasing a roll of unprimed canvas, a large tub of gesso, and stretcher bars is often significantly more economical per square meter than continuously buying pre-stretched, pre-primed canvases. However, don't forget to factor in the opportunity cost of your time. If you're a professional artist with limited painting hours, the time spent stretching and priming might be better spent actually painting. Also, account for the cost of other supplies like sizing medium, staples, canvas pliers, and tools. For a beginner or hobbyist, it's a great way to save money and gain a deeper understanding of your materials.
Q: What's better, cotton or linen canvas?
A: "Better" really depends on your budget and artistic goals, but linen is generally considered the premium, archival choice. Here's a breakdown:

- Linen: Made from flax fibers, linen is exceptionally strong, stable, and less prone to expanding and contracting with humidity changes compared to cotton. It has a beautiful, natural, often slightly irregular weave (sometimes called 'slubs' or 'neps') that artists love, ranging from very fine portrait-grade weaves to coarser sailcloth textures. It's naturally archival and highly durable, making it ideal for artworks intended to last centuries. The natural oils and resins in flax fibers also contribute to its longevity. However, it's more expensive due to the labor-intensive cultivation and processing of flax.
- Cotton: A fantastic, more affordable alternative, especially for students and professionals. Cotton canvas (like cotton duck) offers good stability, a consistent weave (though various weights and weaves exist, from smooth to textured), and good durability. It tends to have a more uniform, predictable texture. While not as inherently archival as linen, a properly sized and primed cotton canvas will last for generations. Its tendency to expand and contract slightly more with humidity means ensuring a very taut stretch and robust priming is extra important. I use both, depending on the project's demands and my budget.
Q: Can I leave parts of the raw canvas exposed in my final painting?
A: Yes, please do! This is one of the biggest and most exciting reasons artists choose unprimed canvas. The textural and tonal contrast between the painted areas and the natural, raw fabric can be stunningly beautiful, adding depth, narrative, and another layer of visual interest to your work. It's a hallmark of many Abstract Expressionist and Color Field artists. Just remember: if any exposed raw canvas areas are adjacent to or integrated with oil paint, they must still be properly sized to protect the fibers.
Q: What about the environmental impact of canvas choices?
A: This is an excellent and increasingly important question. Both cotton and linen can be grown sustainably. Look for organic cotton (which avoids pesticides) and European-grown linen (flax cultivation often requires less water and pesticides than cotton, making it a more eco-friendly choice). Traditional rabbit skin glue sizing is animal-derived, which might be a concern for some artists, who would prefer vegan alternatives like PVA size. Acrylic gesso and paints are plastic-based, so consider minimizing waste, disposing of materials responsibly, and looking for brands committed to eco-friendly practices (e.g., recycled content, reduced emissions). Ultimately, making art that is well-crafted and lasts is perhaps one of the most sustainable acts of all.
Q: What are the different types of gesso?
A: While acrylic gesso is the most common modern type, there are several formulations:
- Acrylic Gesso: (Most common) Composed of acrylic polymer emulsion, titanium white pigment, and calcium carbonate/gypsum fillers. Flexible, fast-drying, and suitable for both acrylics and oils (when applied over a size). It creates a moderately absorbent surface.
- Traditional Gesso (Gesso Gesso): Historically made from multiple layers of animal glue (like rabbit skin glue) and chalk/gypsum. Creates a very absorbent, luminous, and rigid surface, traditionally used for tempera and early oil painting on wood panels or very rigid canvases. It is quite brittle and not recommended for flexible canvases without extremely careful and specific preparation, as it's prone to cracking with canvas movement.
- Oil Gesso (Oil Ground): A modern formulation that contains oil (like linseed oil), pigments, and fillers. It's applied over a non-oil-based size (like PVA) and provides a beautiful, smooth, slightly absorbent surface ideal for oil painting. It dries much slower than acrylic gesso and must always be applied over a non-oil size to prevent the canvas from rotting.
Q: How does the choice of canvas affect the drying time of oil paints?
A: It has a significant impact!
- Unprimed (Raw) Canvas (if only sized, not primed with gesso): Because the fibers can still absorb some oil from the paint (even if a size barrier is present), raw canvas can initially appear to 'drink' the oil, leading to a faster surface drying time. However, this absorbency can also draw too much oil out of the paint film, making it lean and potentially brittle in the long run. This is why a proper, non-porous size is so crucial.
- Primed Canvas (with gesso): The gesso barrier prevents the canvas from absorbing oil from the paint. This means the oil paint dries more slowly and evenly through oxidation, allowing for more open working time and a more stable, durable paint film. This controlled drying is generally preferred for the longevity of oil paintings.
Q: What about canvas weight and thread count?
A: Canvas comes in various weights (often measured in ounces per square yard/meter) and thread counts (threads per inch). Higher weight generally means a thicker, stronger, and often coarser canvas, suitable for larger works, heavy impasto, or when the canvas itself is intended to be a prominent textural element. For example, a heavy 12-15 oz cotton duck. Lower weight means a finer, smoother canvas, often used for detailed portraiture or delicate glazes. Thread count, on the other hand, refers to the tightness of the weave; a higher thread count results in a smoother surface, ideal for detailed work, while a lower count gives a more prominent texture that can be embraced in expressive pieces. Understanding these helps you choose a canvas that complements your desired style and longevity.
Q: Can I re-prime an old primed canvas?
A: Yes, often you can! If the existing primed surface is stable (not flaking or cracked), clean it thoroughly. If it's glossy, lightly sand it with fine-grit sandpaper (e.g., 220-400 grit) to create some tooth. Then, apply new layers of acrylic gesso. This can be a great way to refresh older canvases or change their absorbency/texture, but always ensure the underlying surface is sound.
Q: What's the difference between 'artist's grade' and 'student's grade' gesso?
A: Like paints, gesso comes in different grades. Artist's grade gesso typically contains a higher concentration of titanium white pigment and finer fillers, providing superior opacity, coverage, and a consistent, finely textured tooth. It offers a more professional surface for paint adhesion and color vibrancy, often requiring fewer coats to achieve full opacity and an ideal painting surface. Student's grade gesso is more economical, often containing less pigment (making it less opaque) and coarser fillers. While perfectly functional for practice and studies, it might require more coats to achieve the same coverage and smooth finish as artist's grade, and its tooth might be less consistent.
Q: How can I test my raw canvas before committing to a large piece?
A: This is a smart move! Always perform a small test on a swatch cut from the corner or back of your raw canvas. Do a water drop test: drop a small amount of water onto the fabric. If it soaks in immediately, the canvas is very absorbent. If it beads up or takes a moment to absorb, it's less so. Then, apply a small patch of your intended size and, once dry, your gesso/paint. Observe how the paint behaves – its vibrancy, spread, and drying time. This mini-experiment saves you from costly surprises on your main artwork.
Q: What about canvas boards or panels?
A: While this article focuses on stretched canvases, canvas boards or canvas panels are excellent, rigid alternatives. These are typically canvas fabric (often cotton, pre-primed) adhered to a rigid backing board (like cardboard or MDF). They are generally more affordable, don't require stretching, and are less prone to flexing, making them great for studies, smaller works, travel, or beginners. Their rigidity can also be a benefit for certain techniques or if you prefer a solid painting surface, though they lack the classic spring of a stretched canvas.
Q: How do temperature and humidity affect canvas preparation?
A: Environmental conditions play a crucial role. High humidity can significantly extend drying times for sizing and gesso, potentially leading to trapped moisture, poor adhesion, or even mold. Conversely, extremely dry conditions can make raw canvas fibers brittle and prone to cracking during stretching. Always aim to prepare your canvas in a room with moderate, stable temperature and humidity, and ensure good ventilation.
Q: What is the optimal surface absorbency for painting?
A: The "optimal" absorbency is a balanced one: you want the surface to be neither too thirsty nor too slick. A too-thirsty surface (like raw, unsized canvas) will pull too much oil from your paint, dulling colors and making the paint film brittle. A too-slick surface (like glass) offers no tooth, causing paint to slide off. A properly sized and gessoed canvas offers ideal, controlled absorbency – just enough to let the paint grip and adhere, but not so much that it leeches the binder or compromises vibrancy. This allows for excellent color saturation, blending, and layering.
The Final Verdict: Trust Your Intuition
So, after all this talk, what's the final word? The truth, as it often is in art, is that there's no single 'better' option; there is only the 'better option for this specific project and your unique artistic intention.' It’s not about right or wrong, but about making an informed decision that aligns with your vision and the feeling you want to evoke in your viewer.
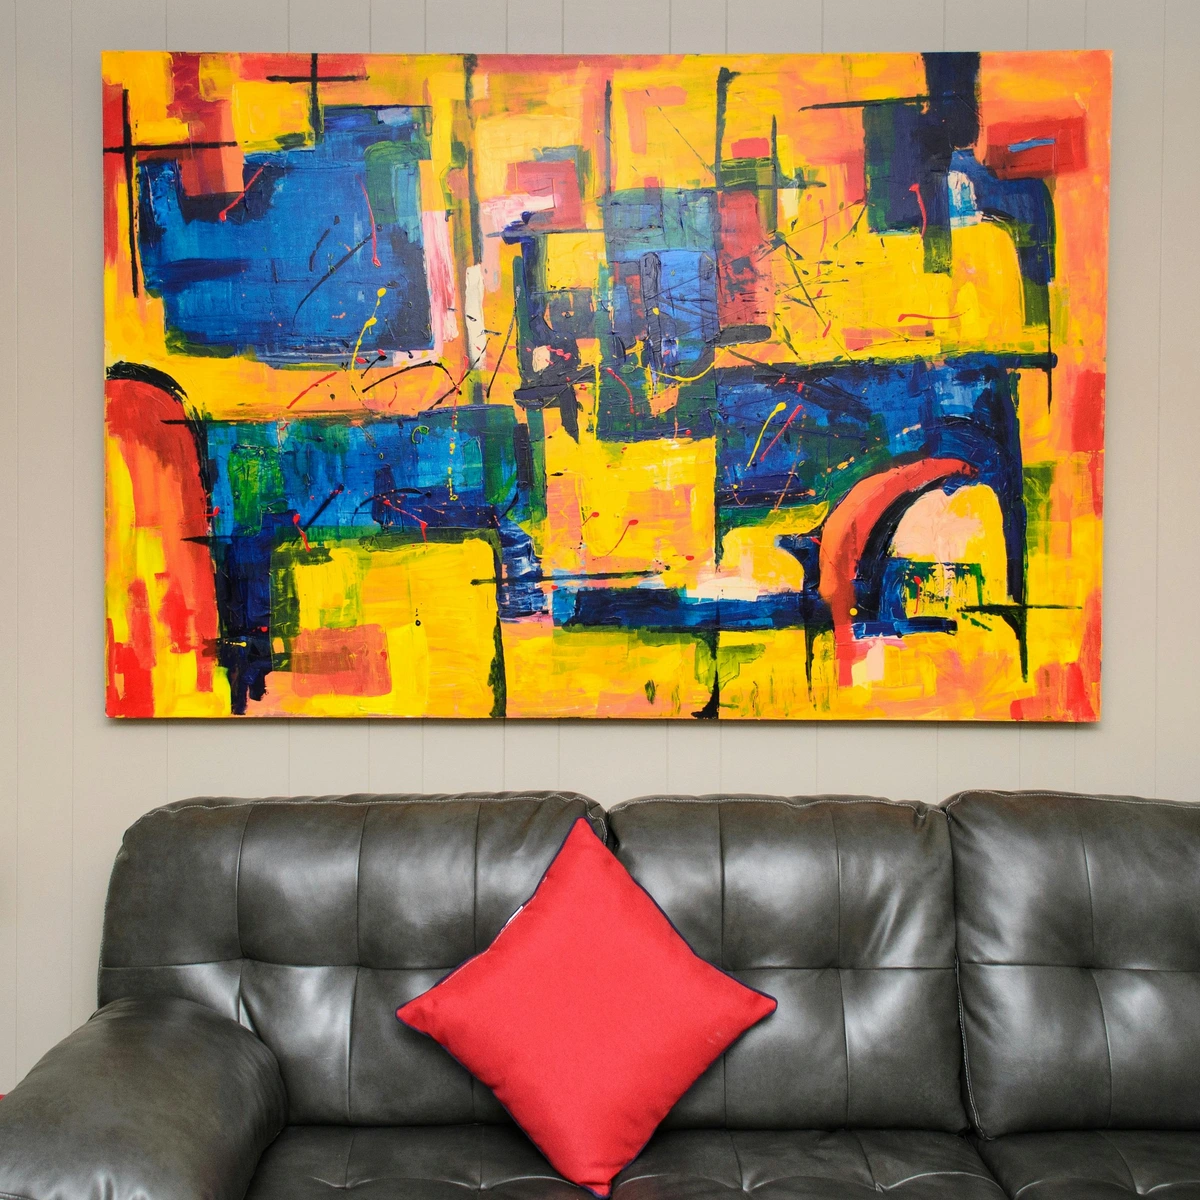
For me, primed canvas remains my workhorse, probably for 80% of my creations. It's reliable, I know exactly how my paint will behave, and frankly, it lets me get straight to the exhilarating part of putting ideas onto the surface. Many of the pieces you see available for viewing and purchase on my site are done on these tried-and-true primed surfaces, allowing for crisp lines and vibrant color fields.

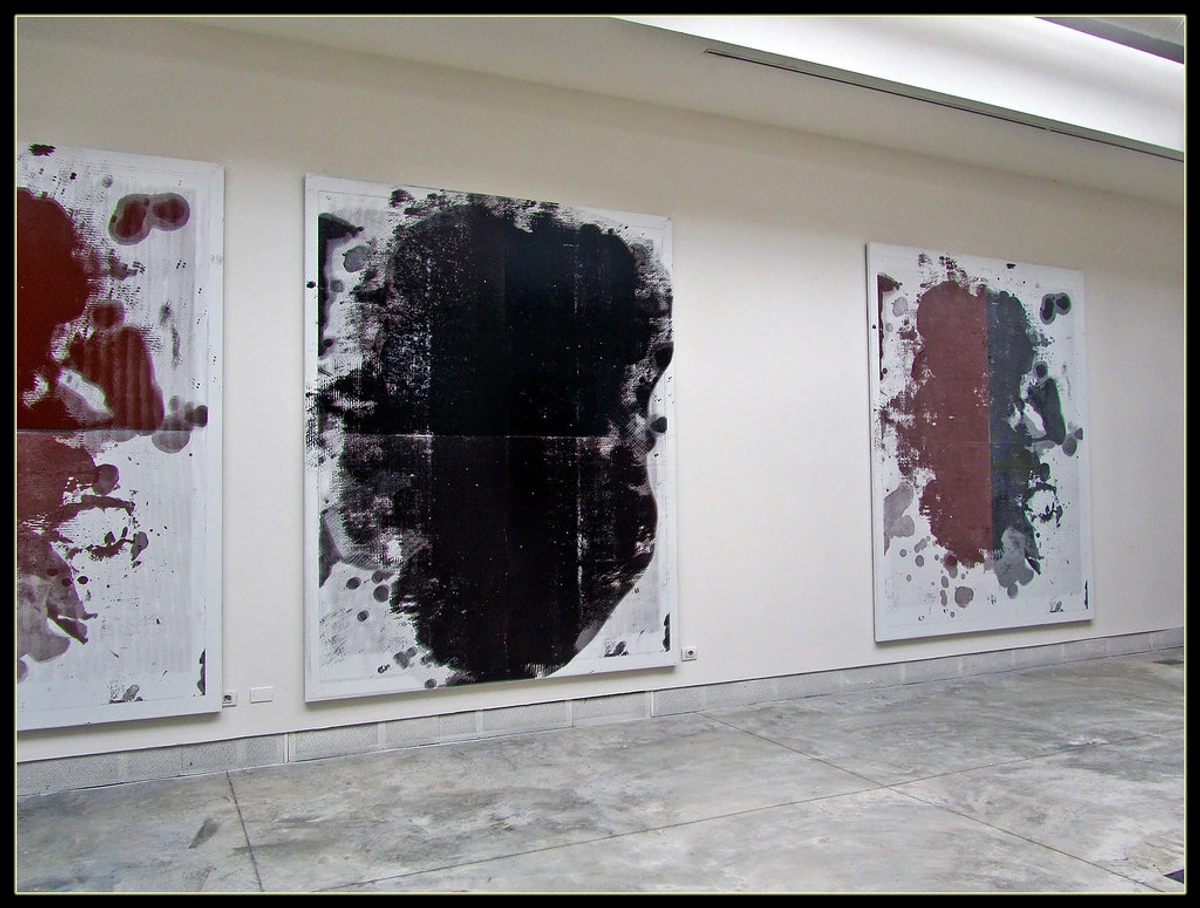
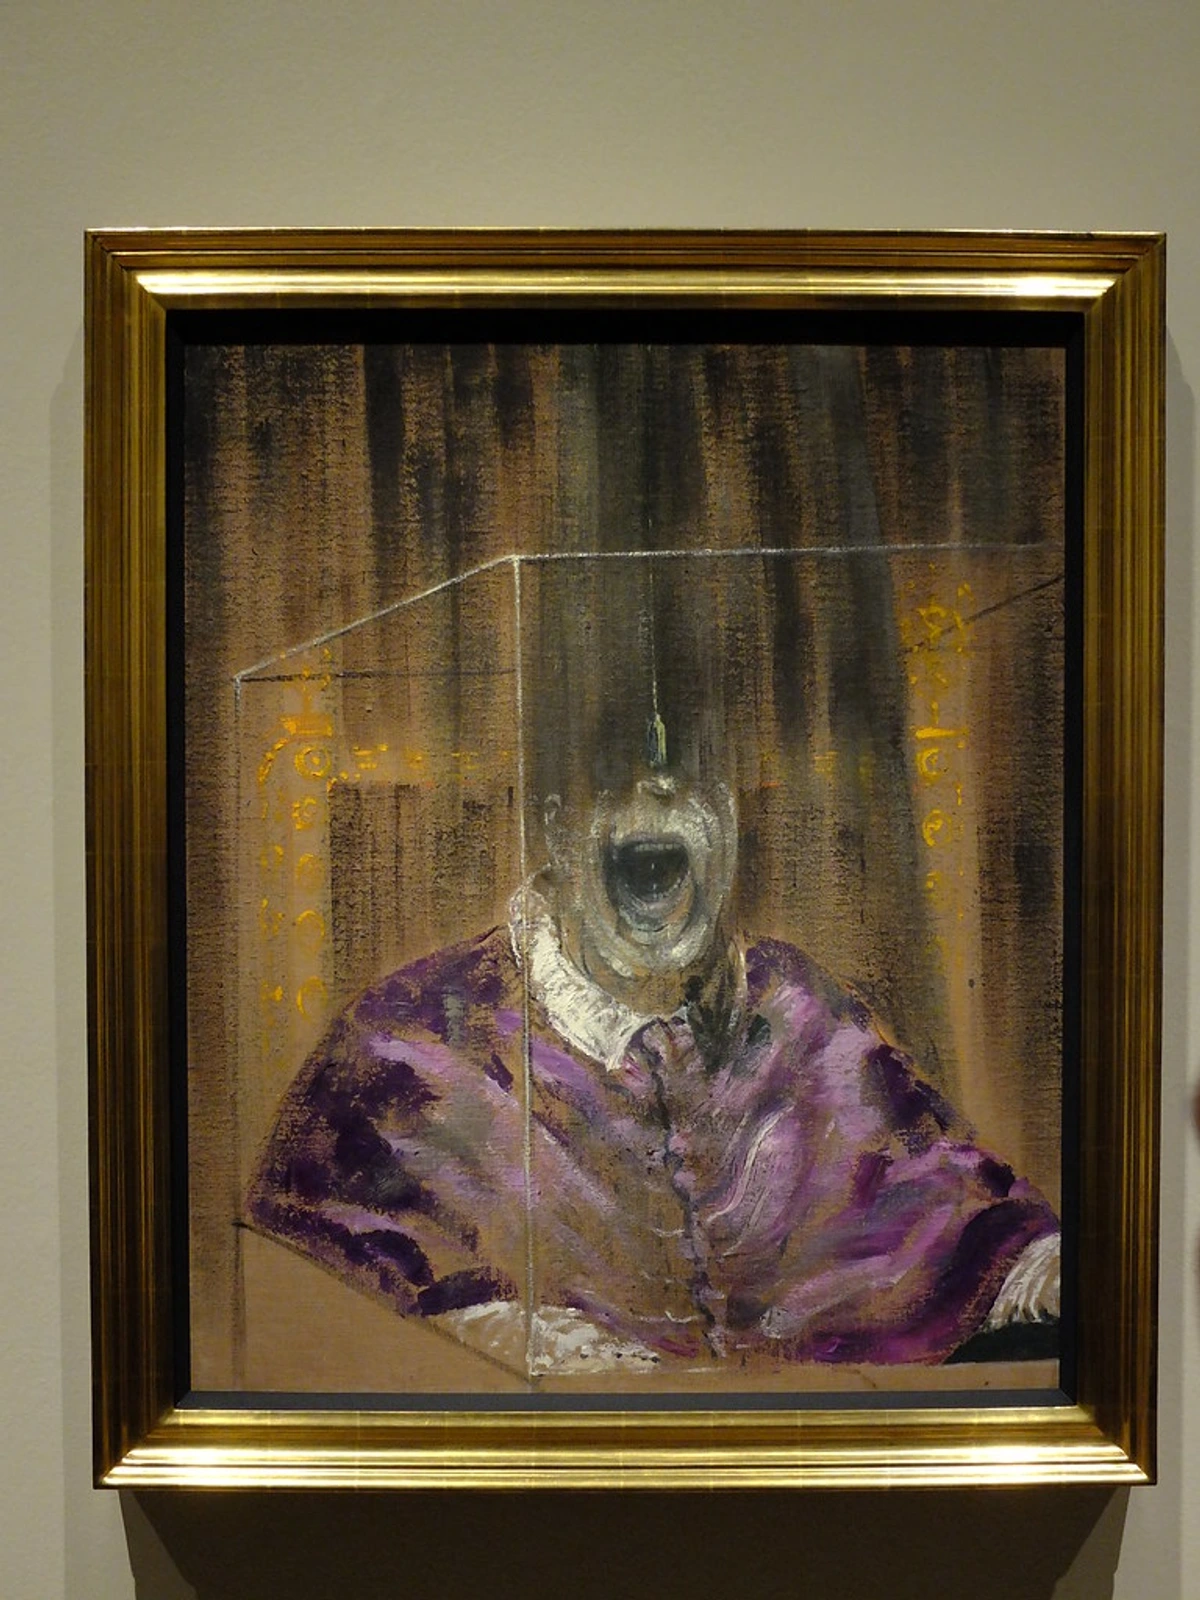
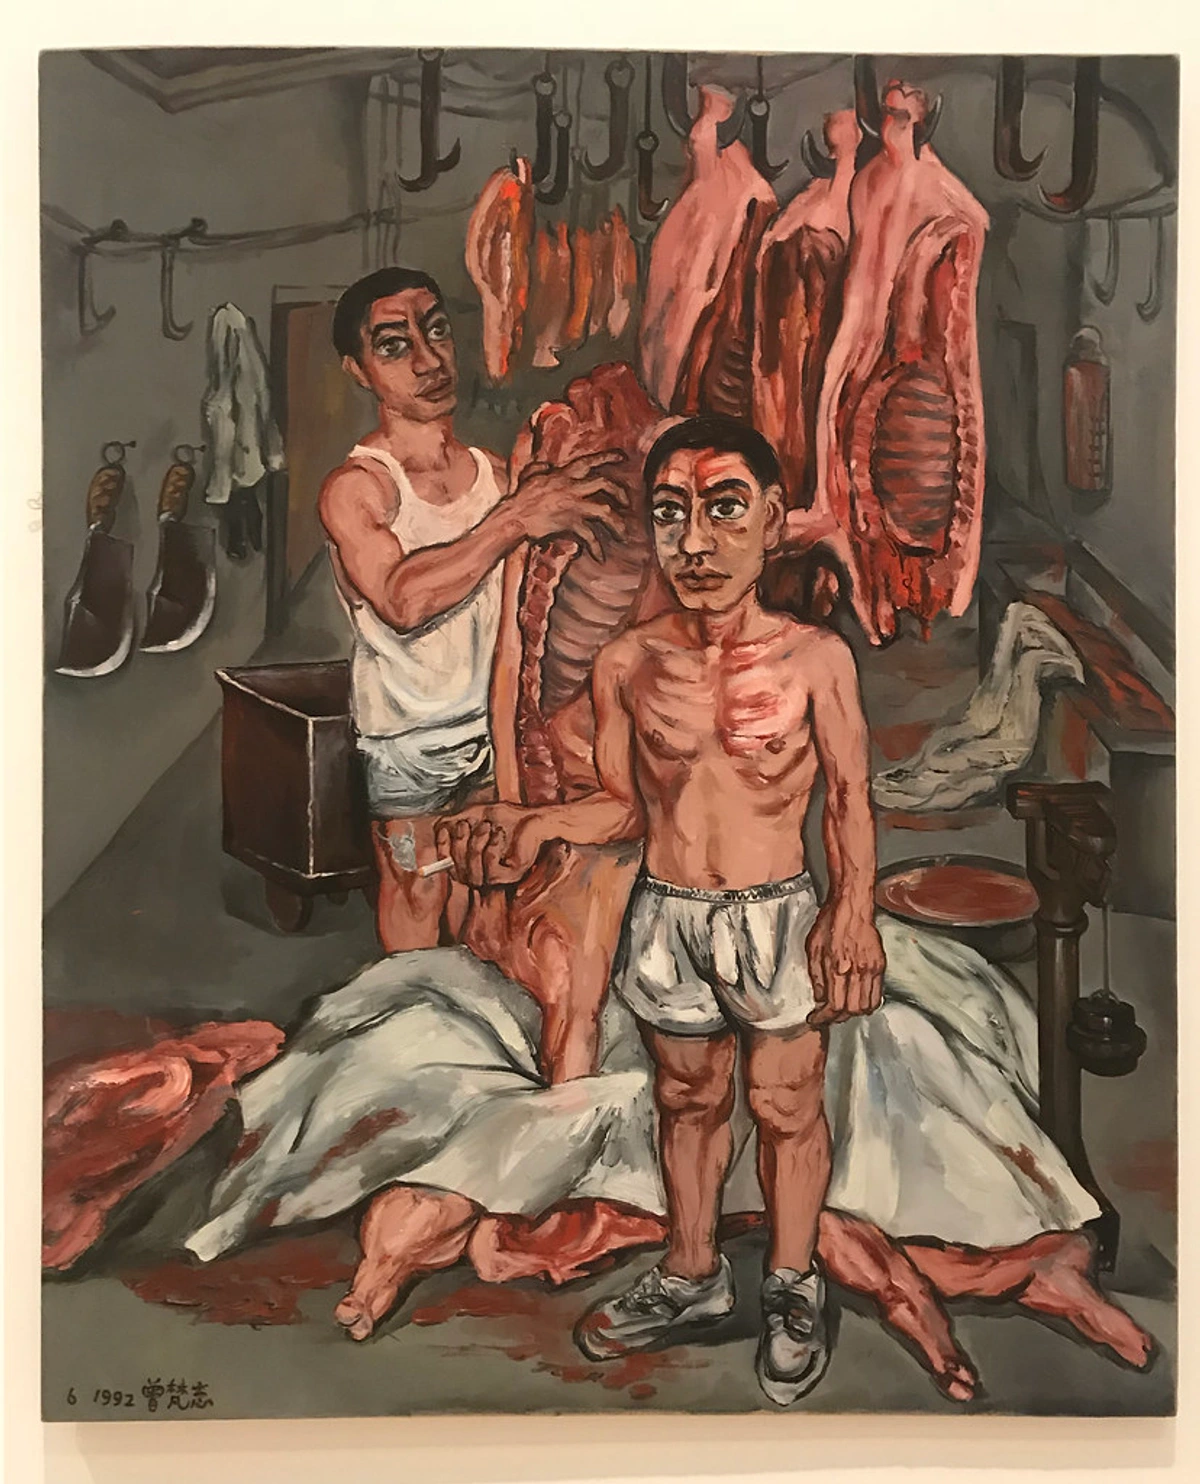
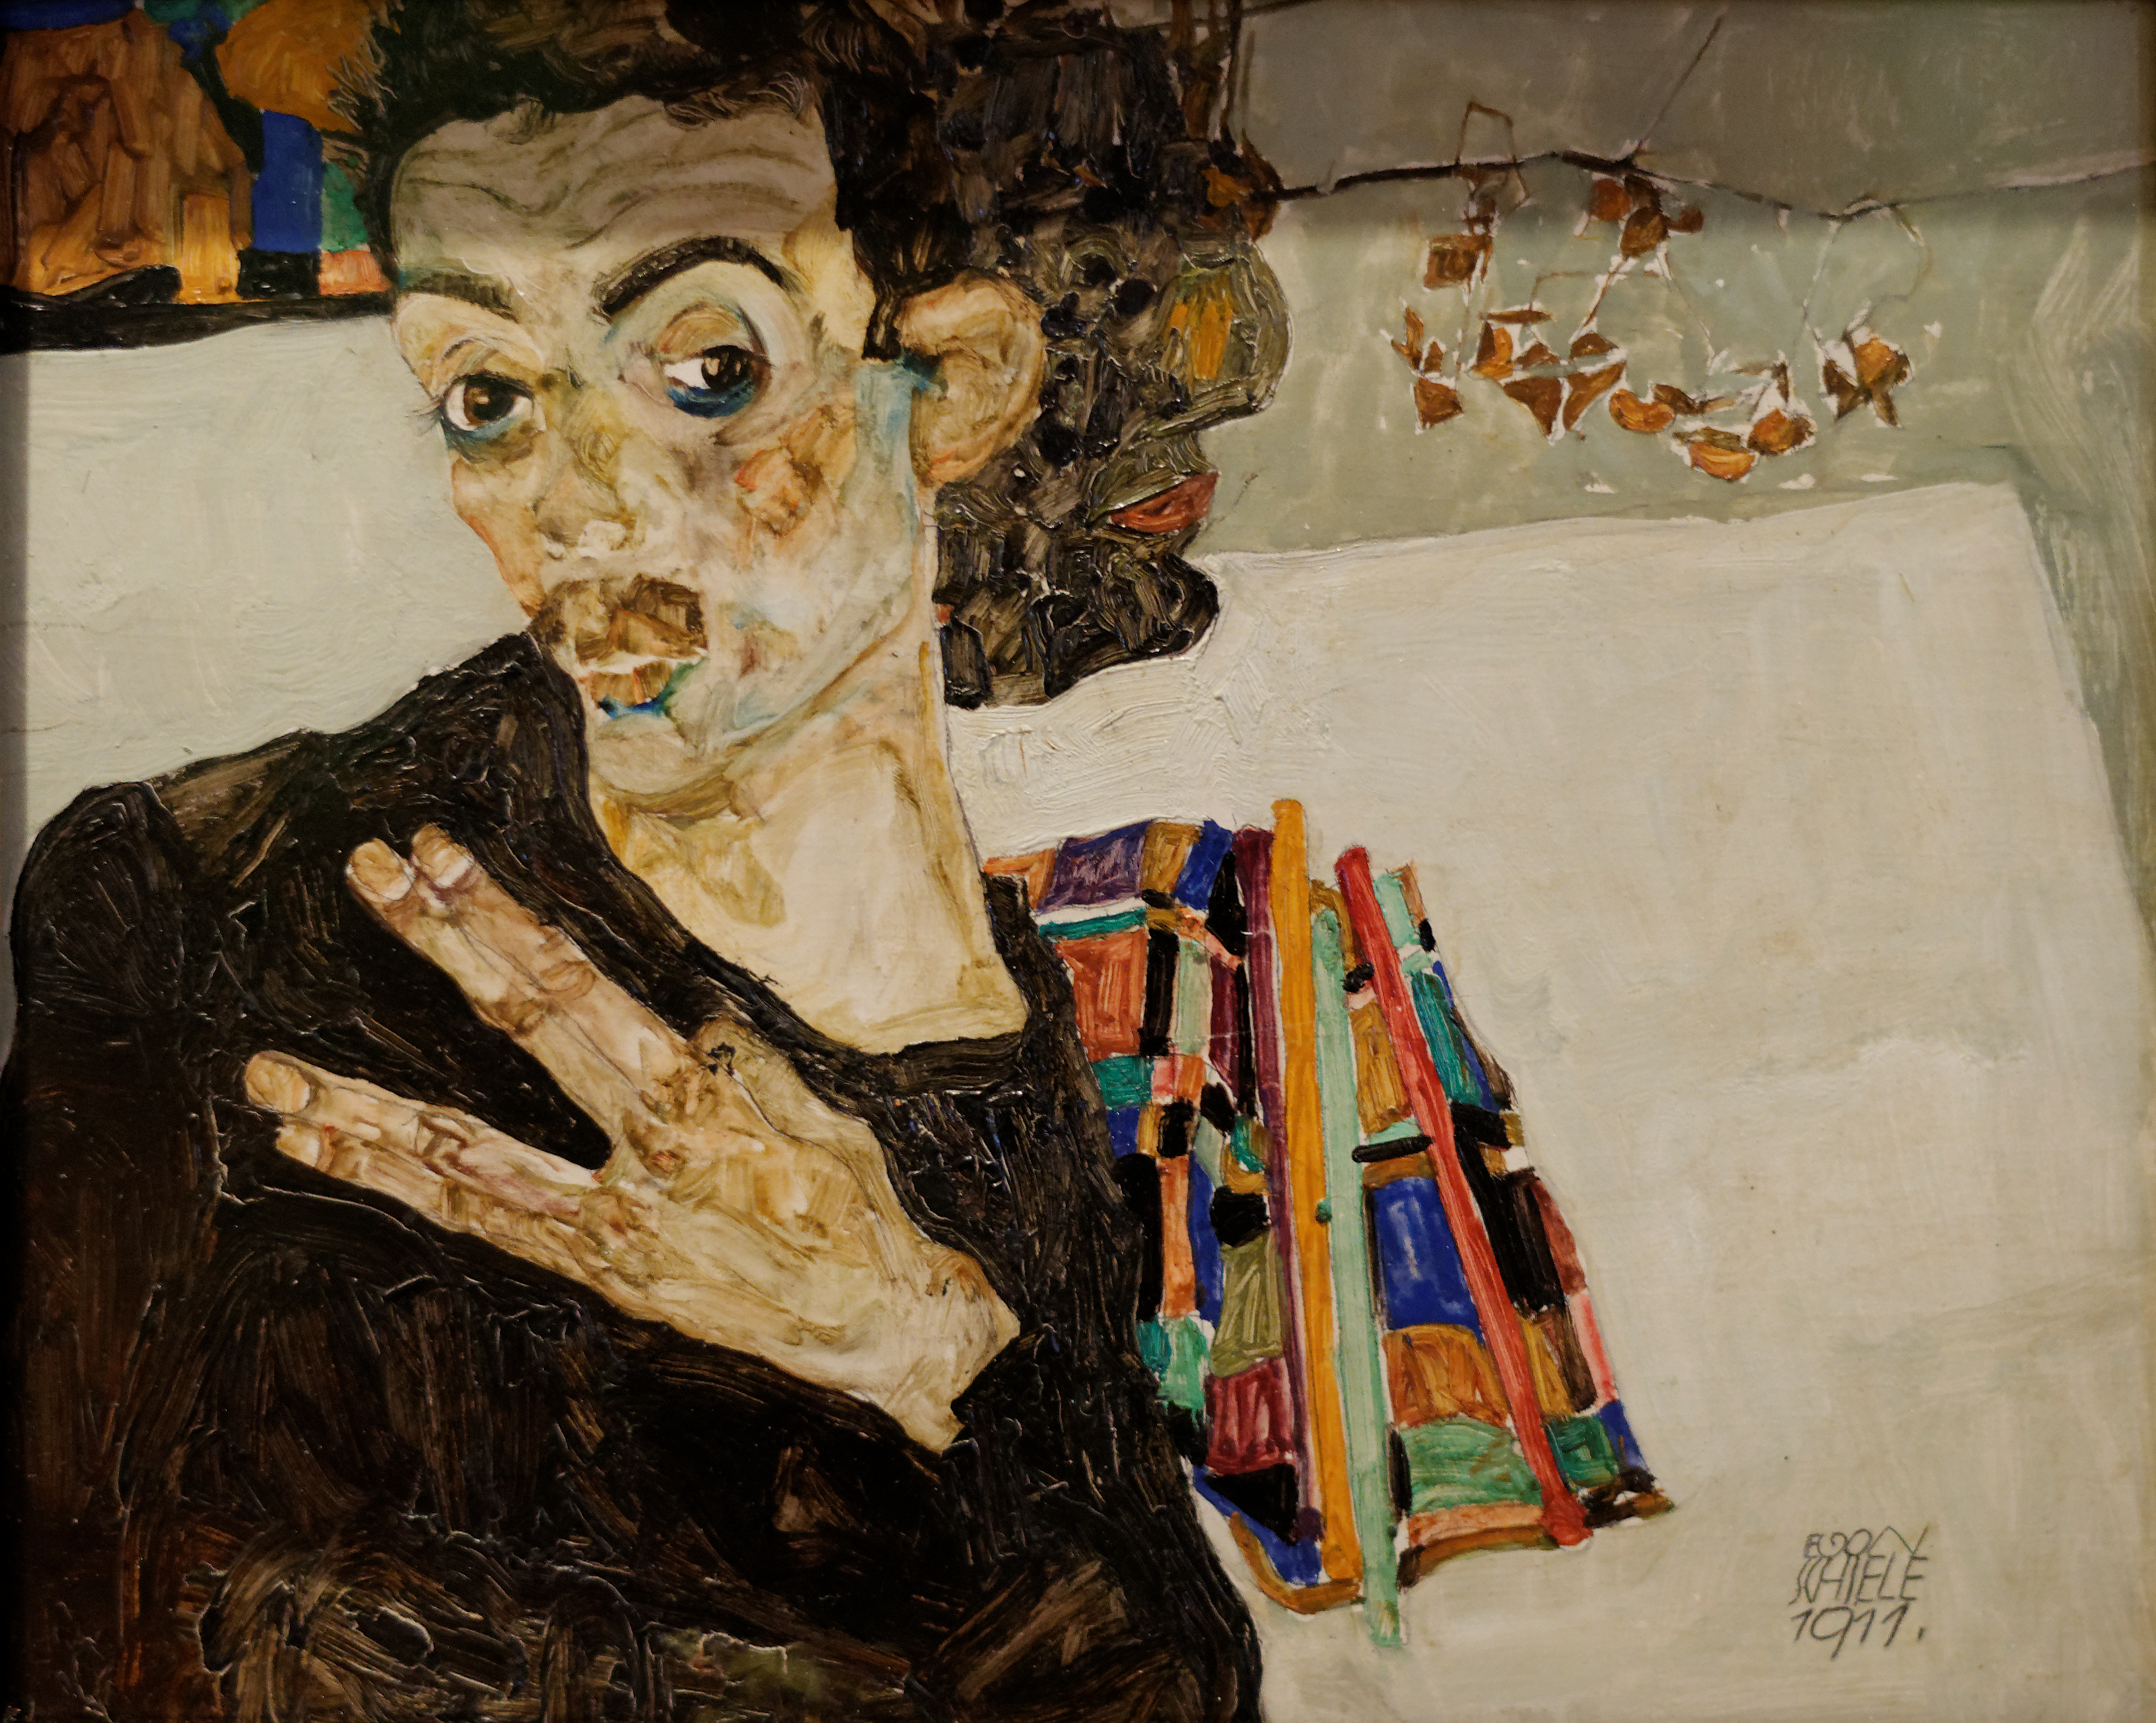
But for that other 20%, when I crave an artwork that feels more earthy, more integrated with its own foundational materials—a raw, honest dialogue with the fabric itself—I will absolutely reach for the raw canvas. The ritual of preparing it myself slows me down, deepens my connection to the physicality of art-making, and makes me incredibly intentional about every single stroke. You can see examples of this approach in some of the works at the Den Bosch Museum, where the canvas's raw texture becomes an undeniable part of the composition, sometimes a quiet whisper, sometimes a resonant thrum.
My ultimate advice? Don't just take my word for it. Go out and buy a small pre-primed canvas and a small piece of raw cotton duck or linen canvas. Stretch the raw one yourself (it's a great skill to learn, and honestly, a little frustrating at first, but worth it!). Then, here's a challenge: Try painting the same subject on both surfaces, exploring how different thinning mediums, brushstrokes, or color applications change the outcome. Observe how the colors behave, how they blend, how they feel under your brush. Your hands, your intuition, and your creative vision will tell you precisely which surface you need for your next brilliant idea. Happy painting, and don't be afraid to get a little messy on the journey to discovery!