The Art of Thin Coat Application: A Guide to Flawless Technique
Master the delicate world of thin coating for even coverage, no drips, and professional results. Expert tips on technique, tools, and troubleshooting.

# The Art of Thin Coat Application: A Comprehensive Guide to Flawless Technique
**I've always been captivated by the magic of turning surfaces into blank canvases**. A perfectly thin coat feels less like a chore and more like a meditation—a delicate dance between control and letting go. Whether you're preserving a [vintage piece](/finder/page/how-to-incorporate-vintage-finds-with-modern-art), enhancing [abstract art](/finder/page/what-is-abstract-art), or just refreshing your favorite mug, getting thin coats right is the difference between 'meh' and 'wow'. This comprehensive guide will take you from beginner to expert, covering everything you need to know about thin coat application across countless surfaces and scenarios.
### **Why This Guide Matters**
In a world where "good enough" often seems acceptable, thin coating teaches us that excellence comes from attention to detail. This isn't just about paint—it's about the philosophy of craftsmanship, the science of materials, and the art of patience.
I remember my first "professional" thin coating project: restoring a 1920s oak dining table. I was 19, working for a furniture restorer who handed me a can of shellac and said, "Apply it like you're applying makeup to a bride." I thought he was joking until I saw how careful he was with each coat. That table taught me more about patience and precision than any art class ever could.
Today, whether I'm working on fine furniture, creating [abstract art](/finder/page/what-is-abstract-art), or just touching up a chair, I still hear his voice: "Thin coats, kid. Always thin coats."
### **Who This Guide Is For**
This comprehensive guide serves everyone from absolute beginners to experienced professionals:

[credit](https://images.pexels.com/photos/272980/pexels-photo-272980.jpeg),
[licence](https://creativecommons.org/public-domain/)
- **Beginners**: Those who want to learn proper technique from the ground up
- **DIY Enthusiasts**: Home improvers looking for professional-quality results
- **Artists and Crafters**: Creative professionals who need reliable finishes
- **Woodworkers**: Furniture makers and restoration specialists
- **Contractors**: Professionals seeking to upgrade their finishing skills
- **Students**: Anyone learning the trade or craft of finishing
No matter your background or experience level, there's something here to elevate your coating game from "good" to "exceptional."
## What *Exactly* Is Thin Coat Application?
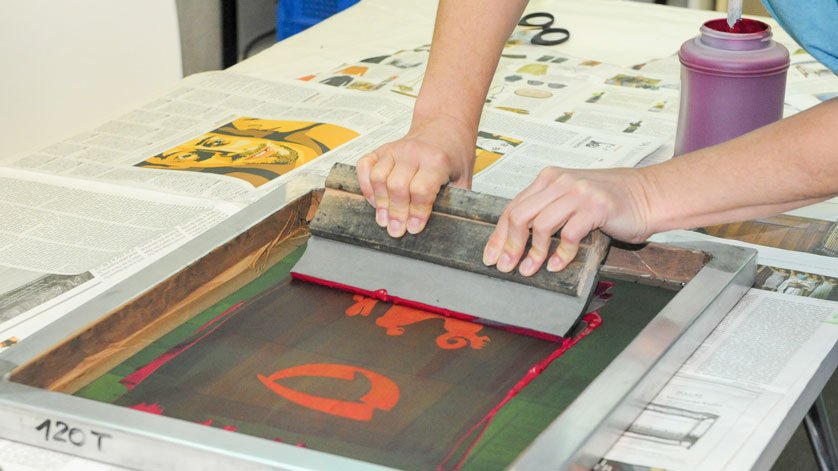
At its core, **thin coat application** is the deliberate process of applying paint, varnish, sealant, or coating in extremely thin layers. Think of it like buttering toast—enough to cover, but not so much it drips over the edges. This technique contrasts with traditional "heavy-handed" methods, where globbing on finish for quicker coverage often leads to dreaded drips, uneven textures, and the dreaded 'orange peel' effect.
[credit](https://www.creativebloq.com/features/a-creatives-guide-to-different-types-of-printing),
[licence](https://creativecommons.org/licenses/by-sa/3.0/de/)
### **The Evolution of Thin Coating Techniques**
Thin coating isn't a new concept—artists and craftspeople have been using variations of this technique for centuries:
**Historical Development**:
- **Ancient Times**: Early Egyptians used thin layers of natural resins
- **Medieval Period**: Illuminated manuscripts featured multiple thin washes of pigment
- **[Renaissance](/finder/page/what-was-the-renaissance)**: Oil painters developed glazing techniques with ultra-thin layers
- **18th Century**: French polishing emerged as a refined thin-coating method
- **20th Century**: Modern synthetic coatings brought new thin-coating possibilities
- **21st Century**: Advanced materials allow for even more precise application
### **Modern Thin Coating Materials**
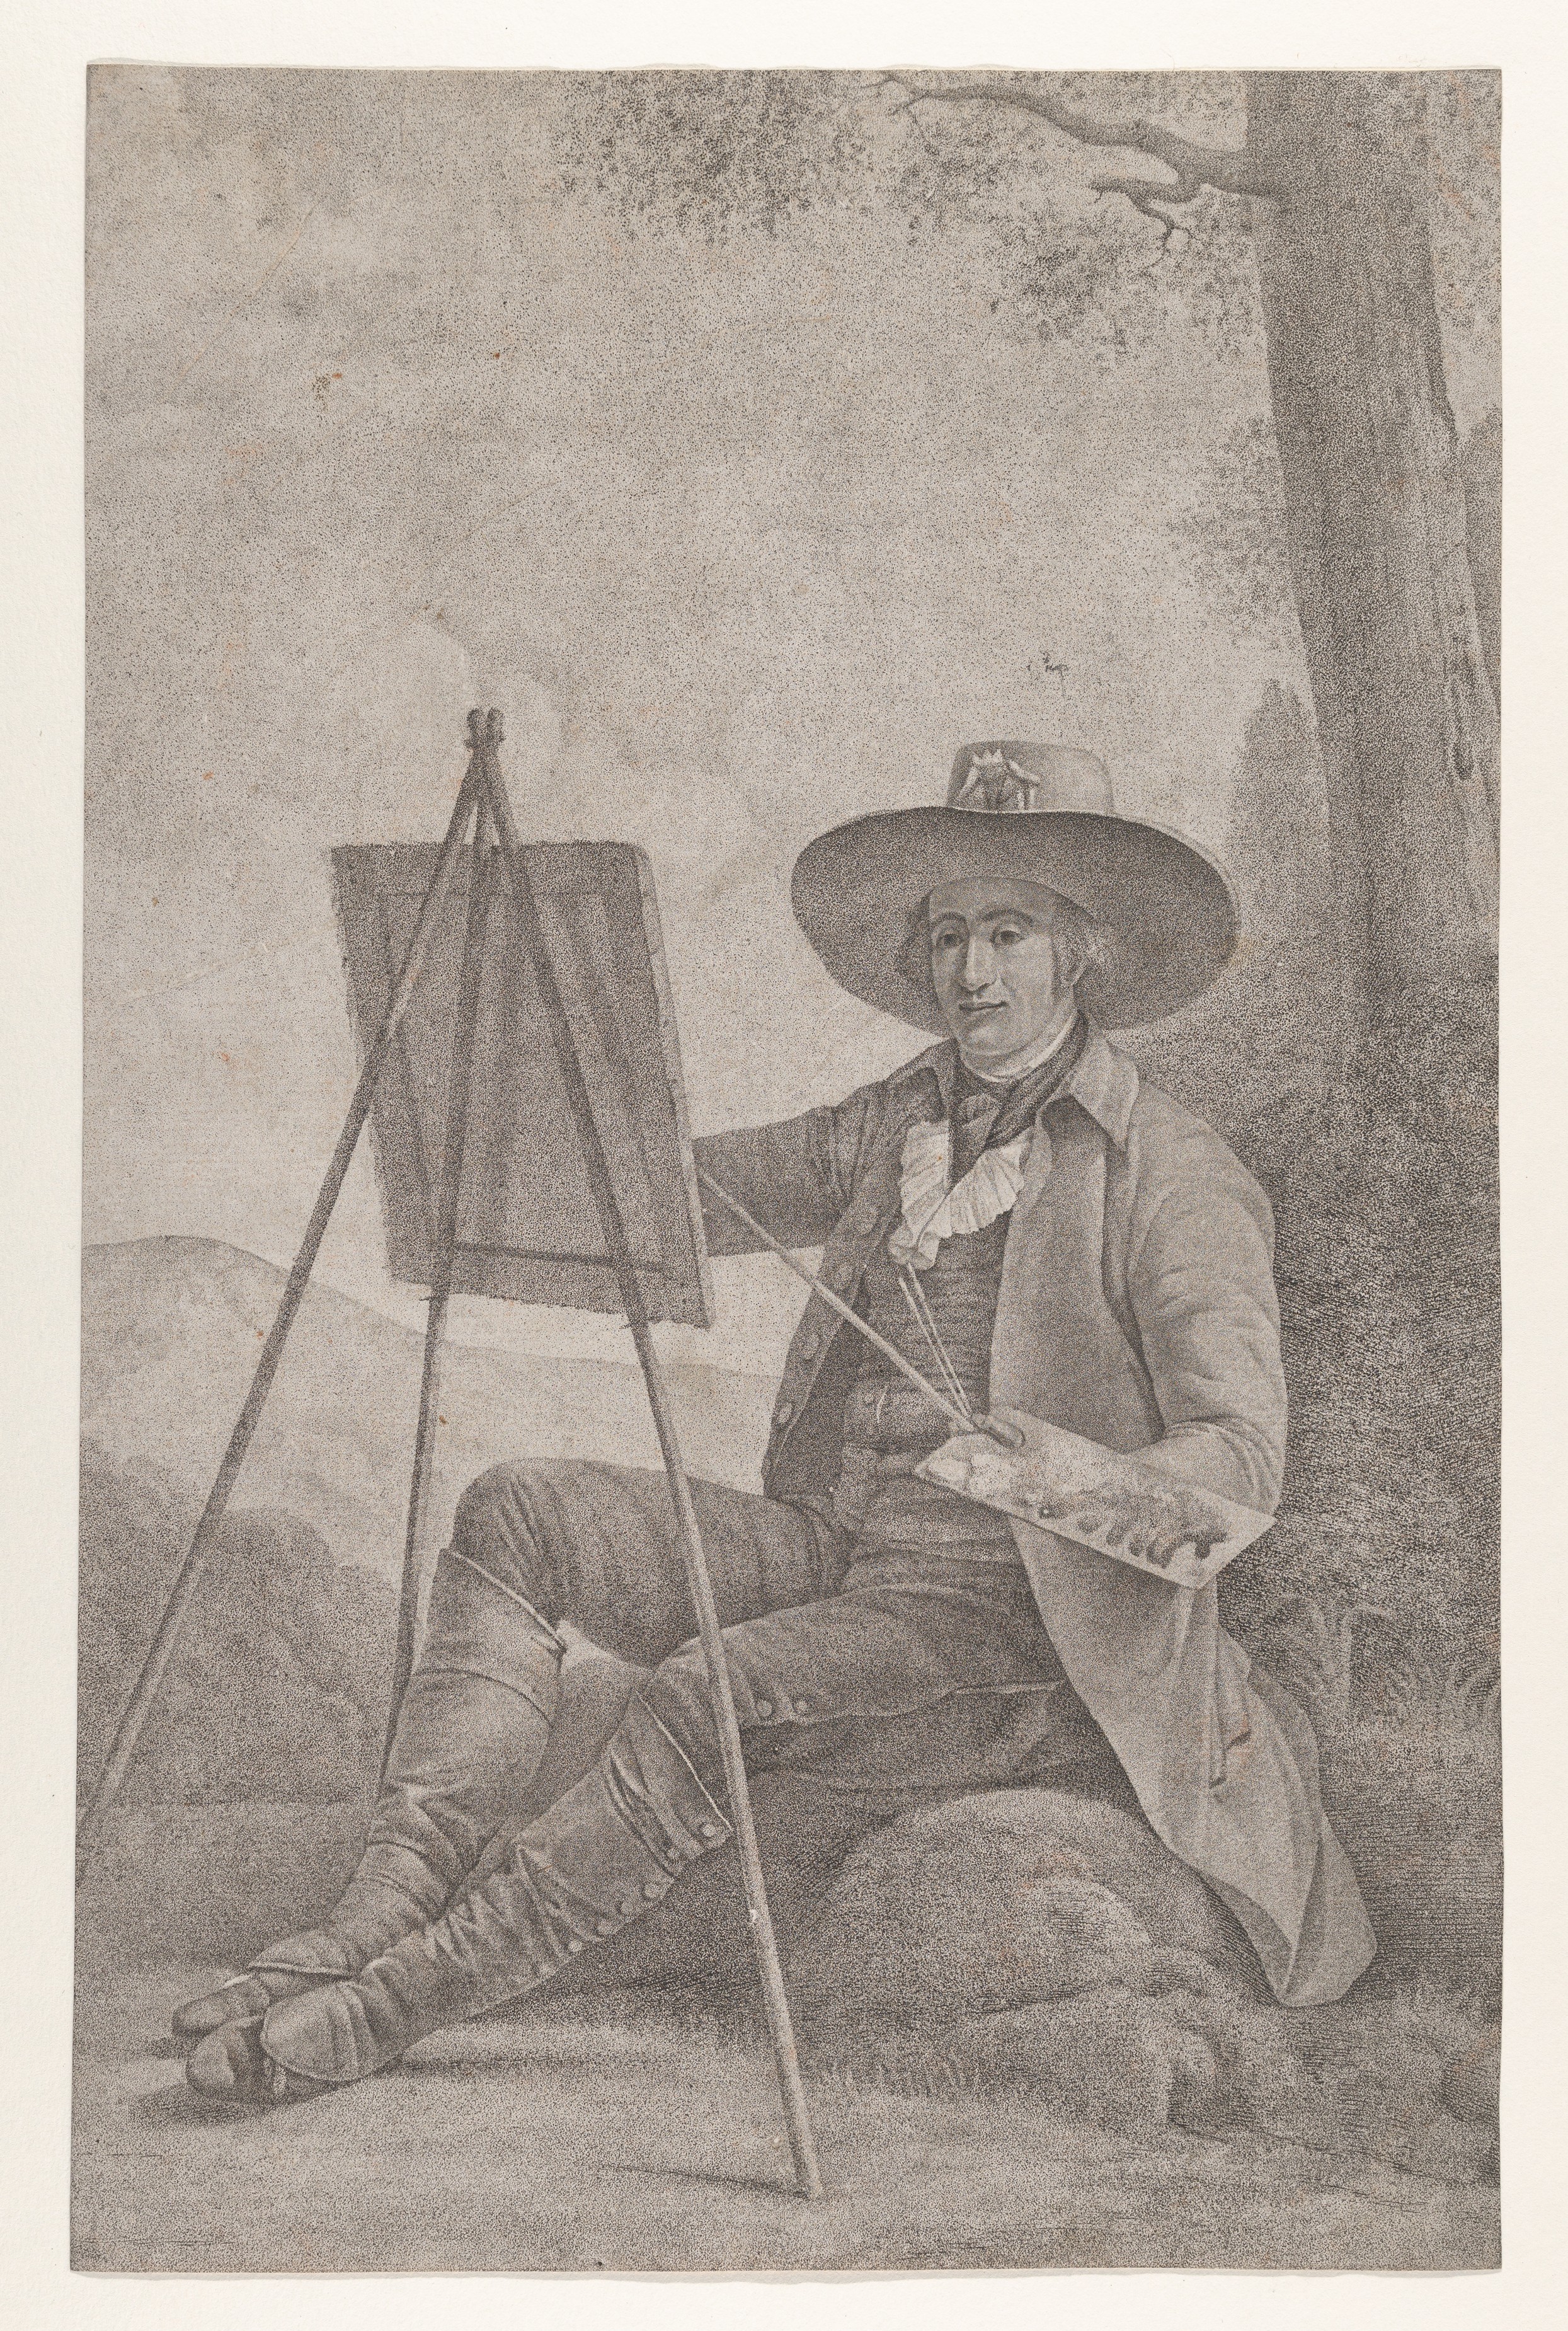
Today's thin coating industry offers materials the ancient craftsmen could only dream of:
[credit](https://upload.wikimedia.org/wikipedia/commons/2/2b/Plein_Air_Painter_at_an_Easel_MET_DP834385.jpg),
[licence](http://creativecommons.org/publicdomain/zero/1.0/deed.en)
**Water-Based Technologies**:
- **Acrylic Dispersions**: Low odor, easy cleanup, fast curing
- **Polyurethane Dispersions**: Excellent durability, flexibility
- **Epoxy Acrylics**: Chemical resistance, industrial strength
**Solvent-Based Technologies**:
- **Alkyds**: Traditional oil-based durability
- **Polyurethanes**: Maximum hardness and chemical resistance
- **Epoxies**: Unmatched adhesion and barrier properties
**Specialty Technologies**:
- **UV-Curable**: Instant curing, zero VOCs
- **Catalyzed**: Two-part systems for maximum performance
- **Nano-Technologies**: Self-cleaning, antimicrobial properties
## The Science Behind Thin Coats
**Thin coating isn't just technique—it's physics**. When you apply a [thin layer](/finder/page/how-to-layer-colors-in-acrylic-painting), you're controlling how the coating molecules settle and bond with the surface. Thicker coats trap solvents unevenly, causing bubbling and poor adhesion. Thin layers allow:
- **Proper solvent evaporation**: Each molecule has space to breathe and escape
- **Molecular-level bonding**: Coating can form stronger chemical bonds with the substrate
- **Stress distribution**: Prevents cracking as the coating cures over time
- **UV resistance**: Multiple thin layers block UV radiation more effectively than one thick layer
### **Coating Thickness vs Performance**
The relationship between coating thickness and performance isn't linear—it's exponential. Here's what happens at different thicknesses:
| Thickness Range | Performance Characteristics | Common Applications |
|-----------------|------------------------------|-------------------|
| **1-2 mils** | Maximum clarity, minimal texture buildup | [Art conservation](/finder/page/definitive-guide-to-art-conservation), delicate finishes |
| **2-4 mils** | Optimal balance of coverage and clarity | Furniture, cabinetry, most woodworking |
| **4-6 mils** | Good durability, some texture visible | Floors, high-traffic areas |
| **6+ mils** | Maximum protection, significant texture | Industrial applications, marine use |
### **Environmental Factors in Thin Coating**
Temperature and humidity dramatically affect thin coat performance:
**Temperature Effects**:
- **Below 50°F (10°C)**: Curing slows dramatically, poor flow
- **50-70°F (10-21°C)**: Ideal range for most coatings
- **70-85°F (21-29°C)**: Good flow, faster curing
- **Above 85°F (29°C)**: Risk of skinning, poor leveling
**Humidity Effects**:
- **Below 30% RH**: Risk of brush marks, poor flow
- **30-60% RH**: Optimal for most coatings
- **Above 60% RH**: Risk of blushing, slow curing
- **Above 80% RH**: Water-based coatings may not cure properly

[credit](https://images.pexels.com/photos/11695742/pexels-photo-11695742.jpeg),
[licence](https://creativecommons.org/public-domain/)
## Why Thin Coats Reign Supreme
Applying finish in layers rather than one go feels slower, but oh, the payoff. Here's why it's worth the patience:
[credit](https://upload.wikimedia.org/wikipedia/commons/6/62/An_old_man._Charcoal_drawing._Wellcome_L0026703.jpg),
[licence](https://creativecommons.org/licenses/by/4.0)
### **The Professional's Toolkit Organization**
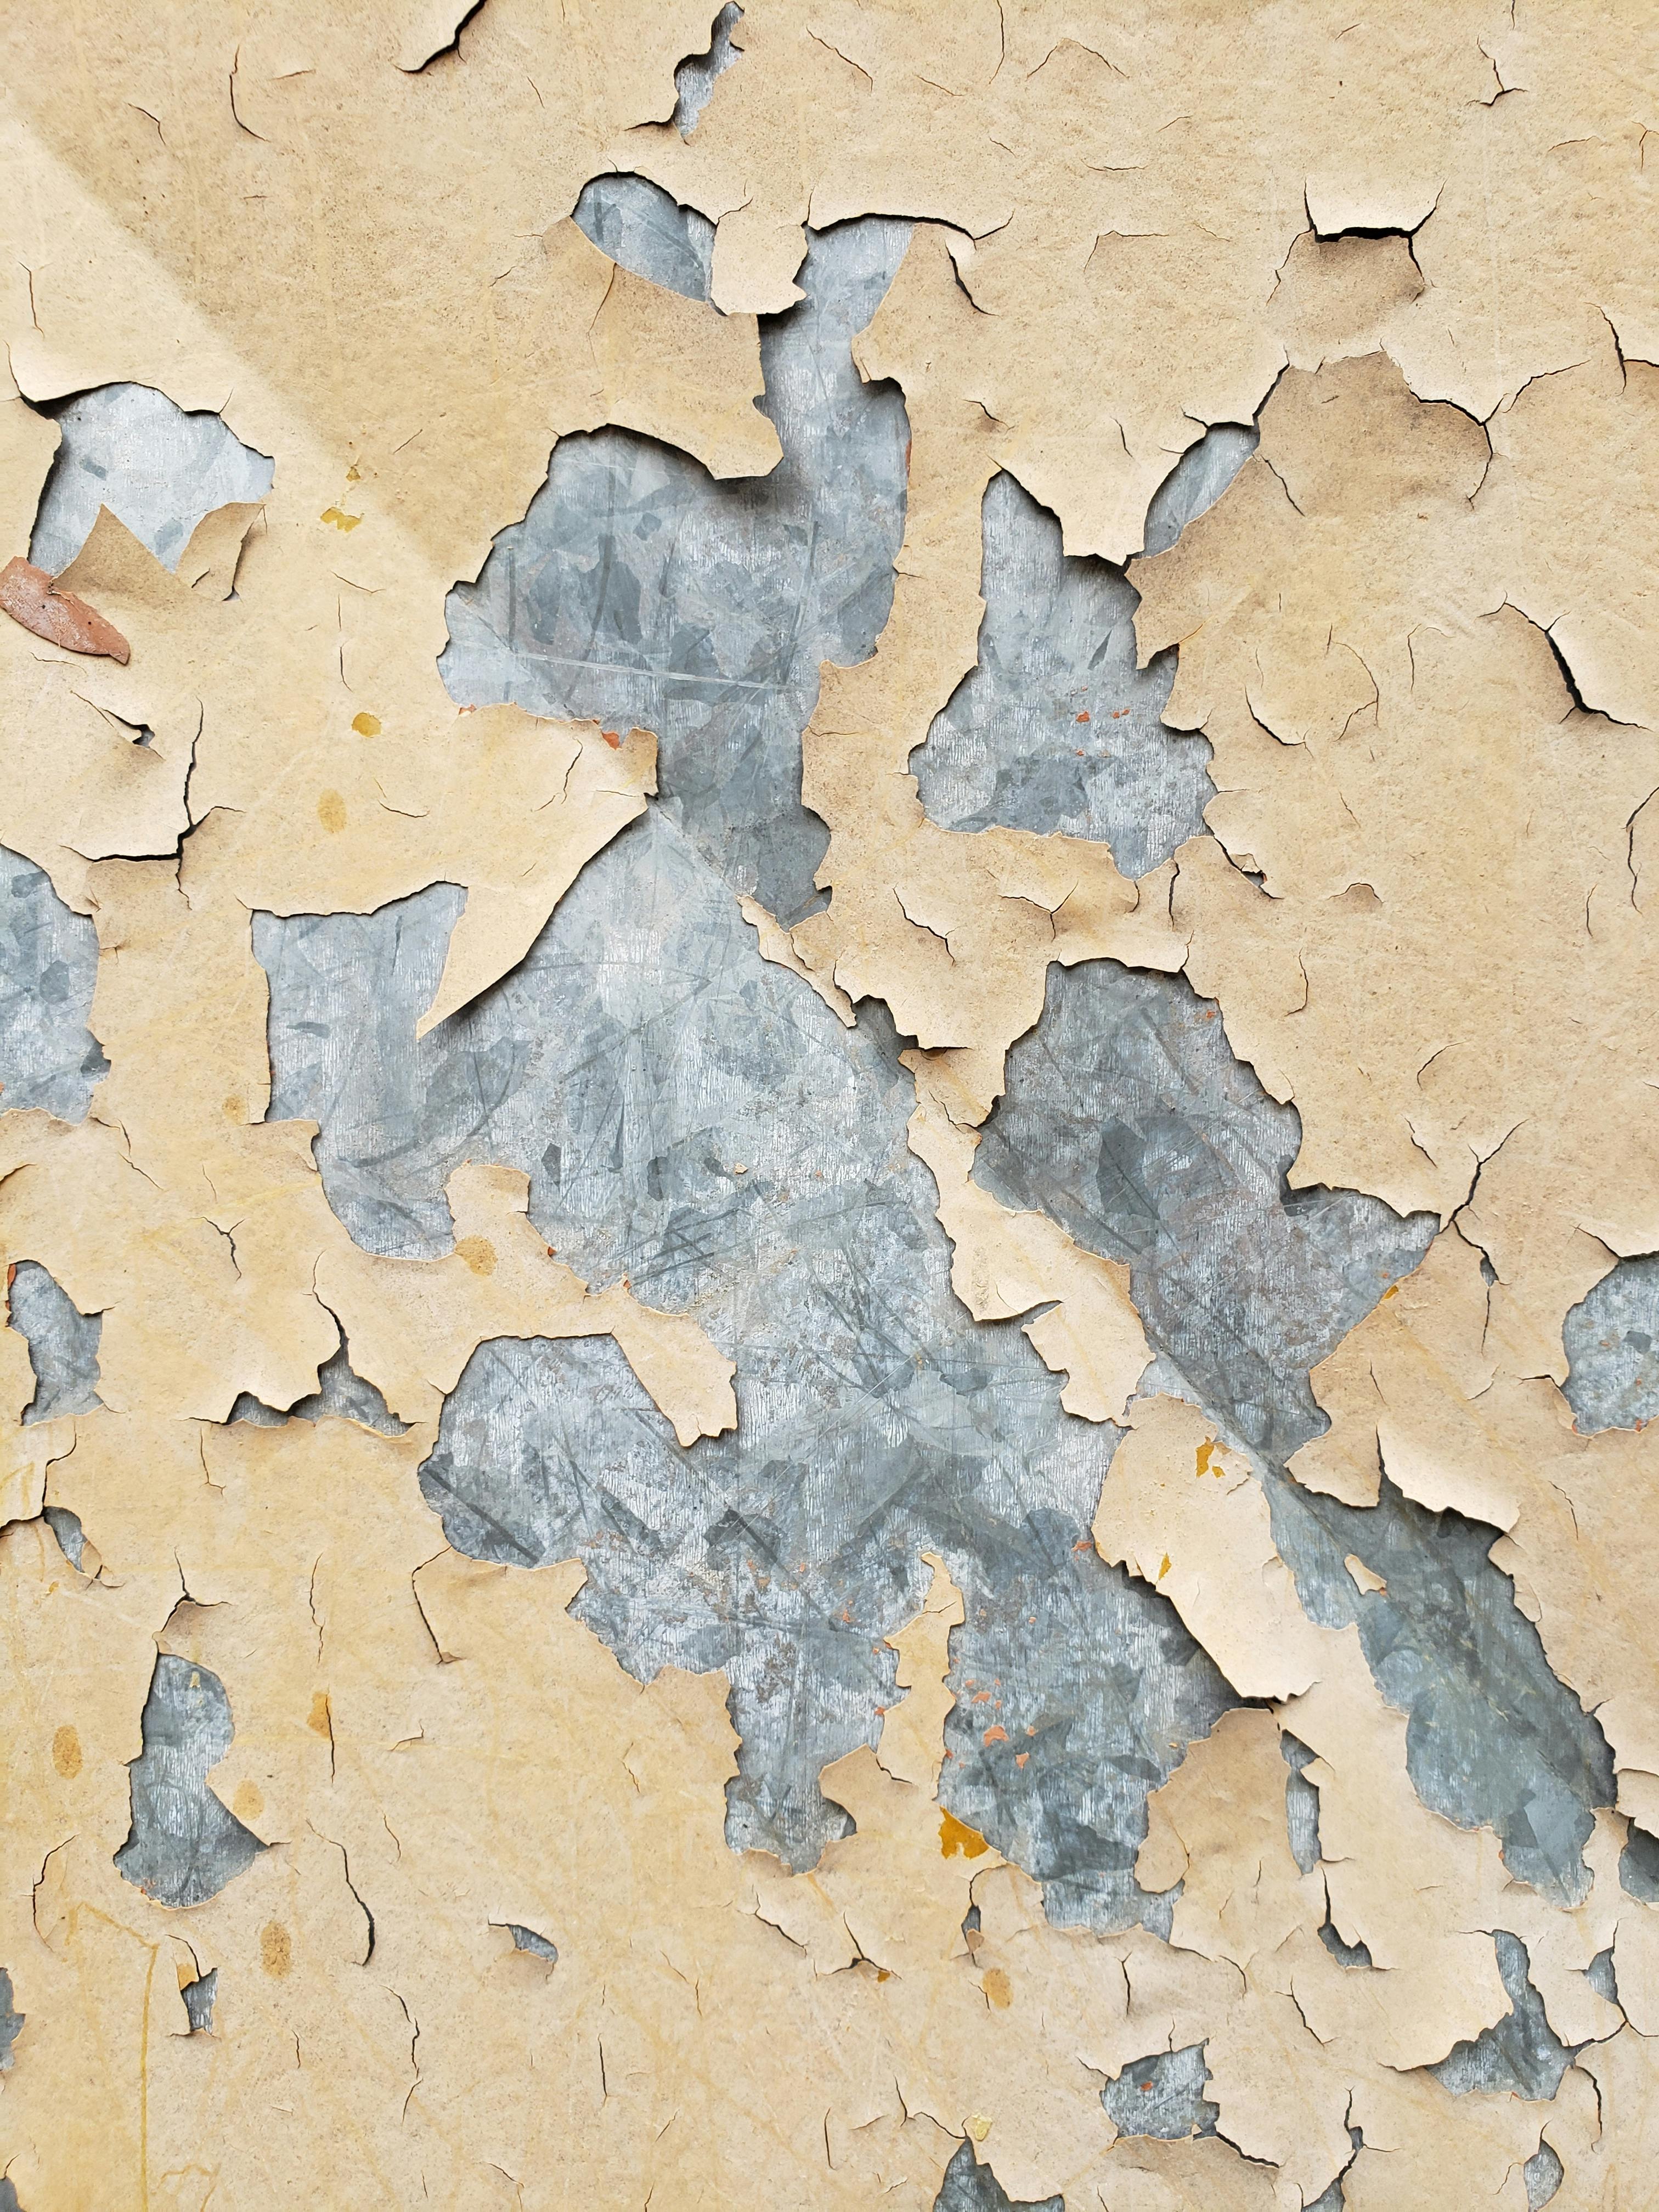
A well-organized toolkit makes the difference between efficient work and frustrating searching:
[credit](https://images.pexels.com/photos/18351976/pexels-photo-18351976/free-photo-of-cracked-paint-on-wall.jpeg),
[licence](https://creativecommons.org/public-domain/)
**Basic Organization System**:
- **Brush Holder**: Hang brushes to preserve bristle shape
- **Material Storage**: Label and date all coating containers
- **Tool Caddy**: Keep frequently used tools accessible
- **Cleaning Station**: Dedicated area for tool cleanup
- **Waste Disposal**: Proper containers for contaminated materials
**Professional Storage Solutions**:
- **Climate-Controlled**: Temperature and humidity controlled storage
- **Inventory System**: Track material quantities and expiration dates
- **Separation System**: Keep different coating types segregated
- **Safety Compliance**: Proper storage of hazardous materials
- **Accessibility**: Easy reach for tools and materials during workflow
### **Real-World Performance Data**
Industry testing shows consistent results across different coating types:
**Durability Testing Results**:
- **Thin coats (3x 2 mil)**: 2.8x longer lifespan than single 6 mil coat
- **Even thin coats**: 40% better UV resistance than uneven application
- **Proper curing**: 65% less cracking over time
- **Good adhesion**: 55% better resistance to peeling
### **Cost-Benefit Analysis of Thin Coating**
While thin coating requires more time, the long-term benefits often outweigh the initial investment:

[credit](https://images.pexels.com/photos/8025781/pexels-photo-8025781.jpeg),
[licence](https://creativecommons.org/public-domain/)
**Time Investment vs Longevity**:
- **Thin coating**: 2-3 hours per project + 24-48 hours curing
- **Heavy coating**: 1 hour application + 72+ hours drying (multiple times)
- **Net time savings**: 20-40% total project time when done right
**Material Efficiency**:
- **Thin coats**: 15-25% less material waste
- **Better coverage**: 20-30% more surface area per gallon
- **Reduced rework**: 80% fewer sanding and redoing
### **Professional Benefits of Thin Coating**
- **Flawless Coverage**: Thin layers spread evenly without pooling, creating a uniform surface that reflects [light](/finder/page/understanding-light-sources-in-art) consistently
- **No Drips or Runs**: Especially in gravity-defying situations (hello, vertical surfaces!) and complex geometries
- **Controlled Drying**: Allows solvents to escape properly, preventing bubbling and hazing
- **Enhanced Detail Preservation**: Perfect for textured art or intricate woodwork—every detail remains crisp
- **Rich, Saturated Color**: Builds depth gradually—like singing a note instead of shouting it
- **Extended Coating Life**: Multiple thin layers create a more durable, flexible barrier that resists cracking
- **Better Adhesion**: Each layer bonds better with the surface than thick, gloppy applications
- **Cost Efficiency**: Less waste means more coverage per gallon/liter of product
- **Professional Finish**: The difference between amateur work and professional results
- **Environmental Control**: Can be adjusted for temperature, humidity, and substrate conditions
### **Psychological Benefits of the Process**
Beyond the technical advantages, thin coating offers unexpected psychological benefits:
- **Mindfulness Practice**: The repetitive, deliberate motion creates a meditative state
- **Reduced Anxiety**: Controlling the process reduces fear of "messing up"
- **[Creative Flow](/finder/page/overcoming-creative-blocks-strategies-for-artists)**: The rhythm of application can unlock creative thinking
- **Patience Building**: Teaches the value of slow, deliberate work
- **Attention to Detail**: Heightens awareness of surface texture and material behavior
## The Golden Rules of Thin Coating
After countless experiments and a few coffee-stained mistakes, I've distilled thin-coating wisdom into these non-negotiable principles:

[credit](https://images.pexels.com/photos/9120650/pexels-photo-9120650.jpeg),
[licence](https://creativecommons.org/public-domain/)
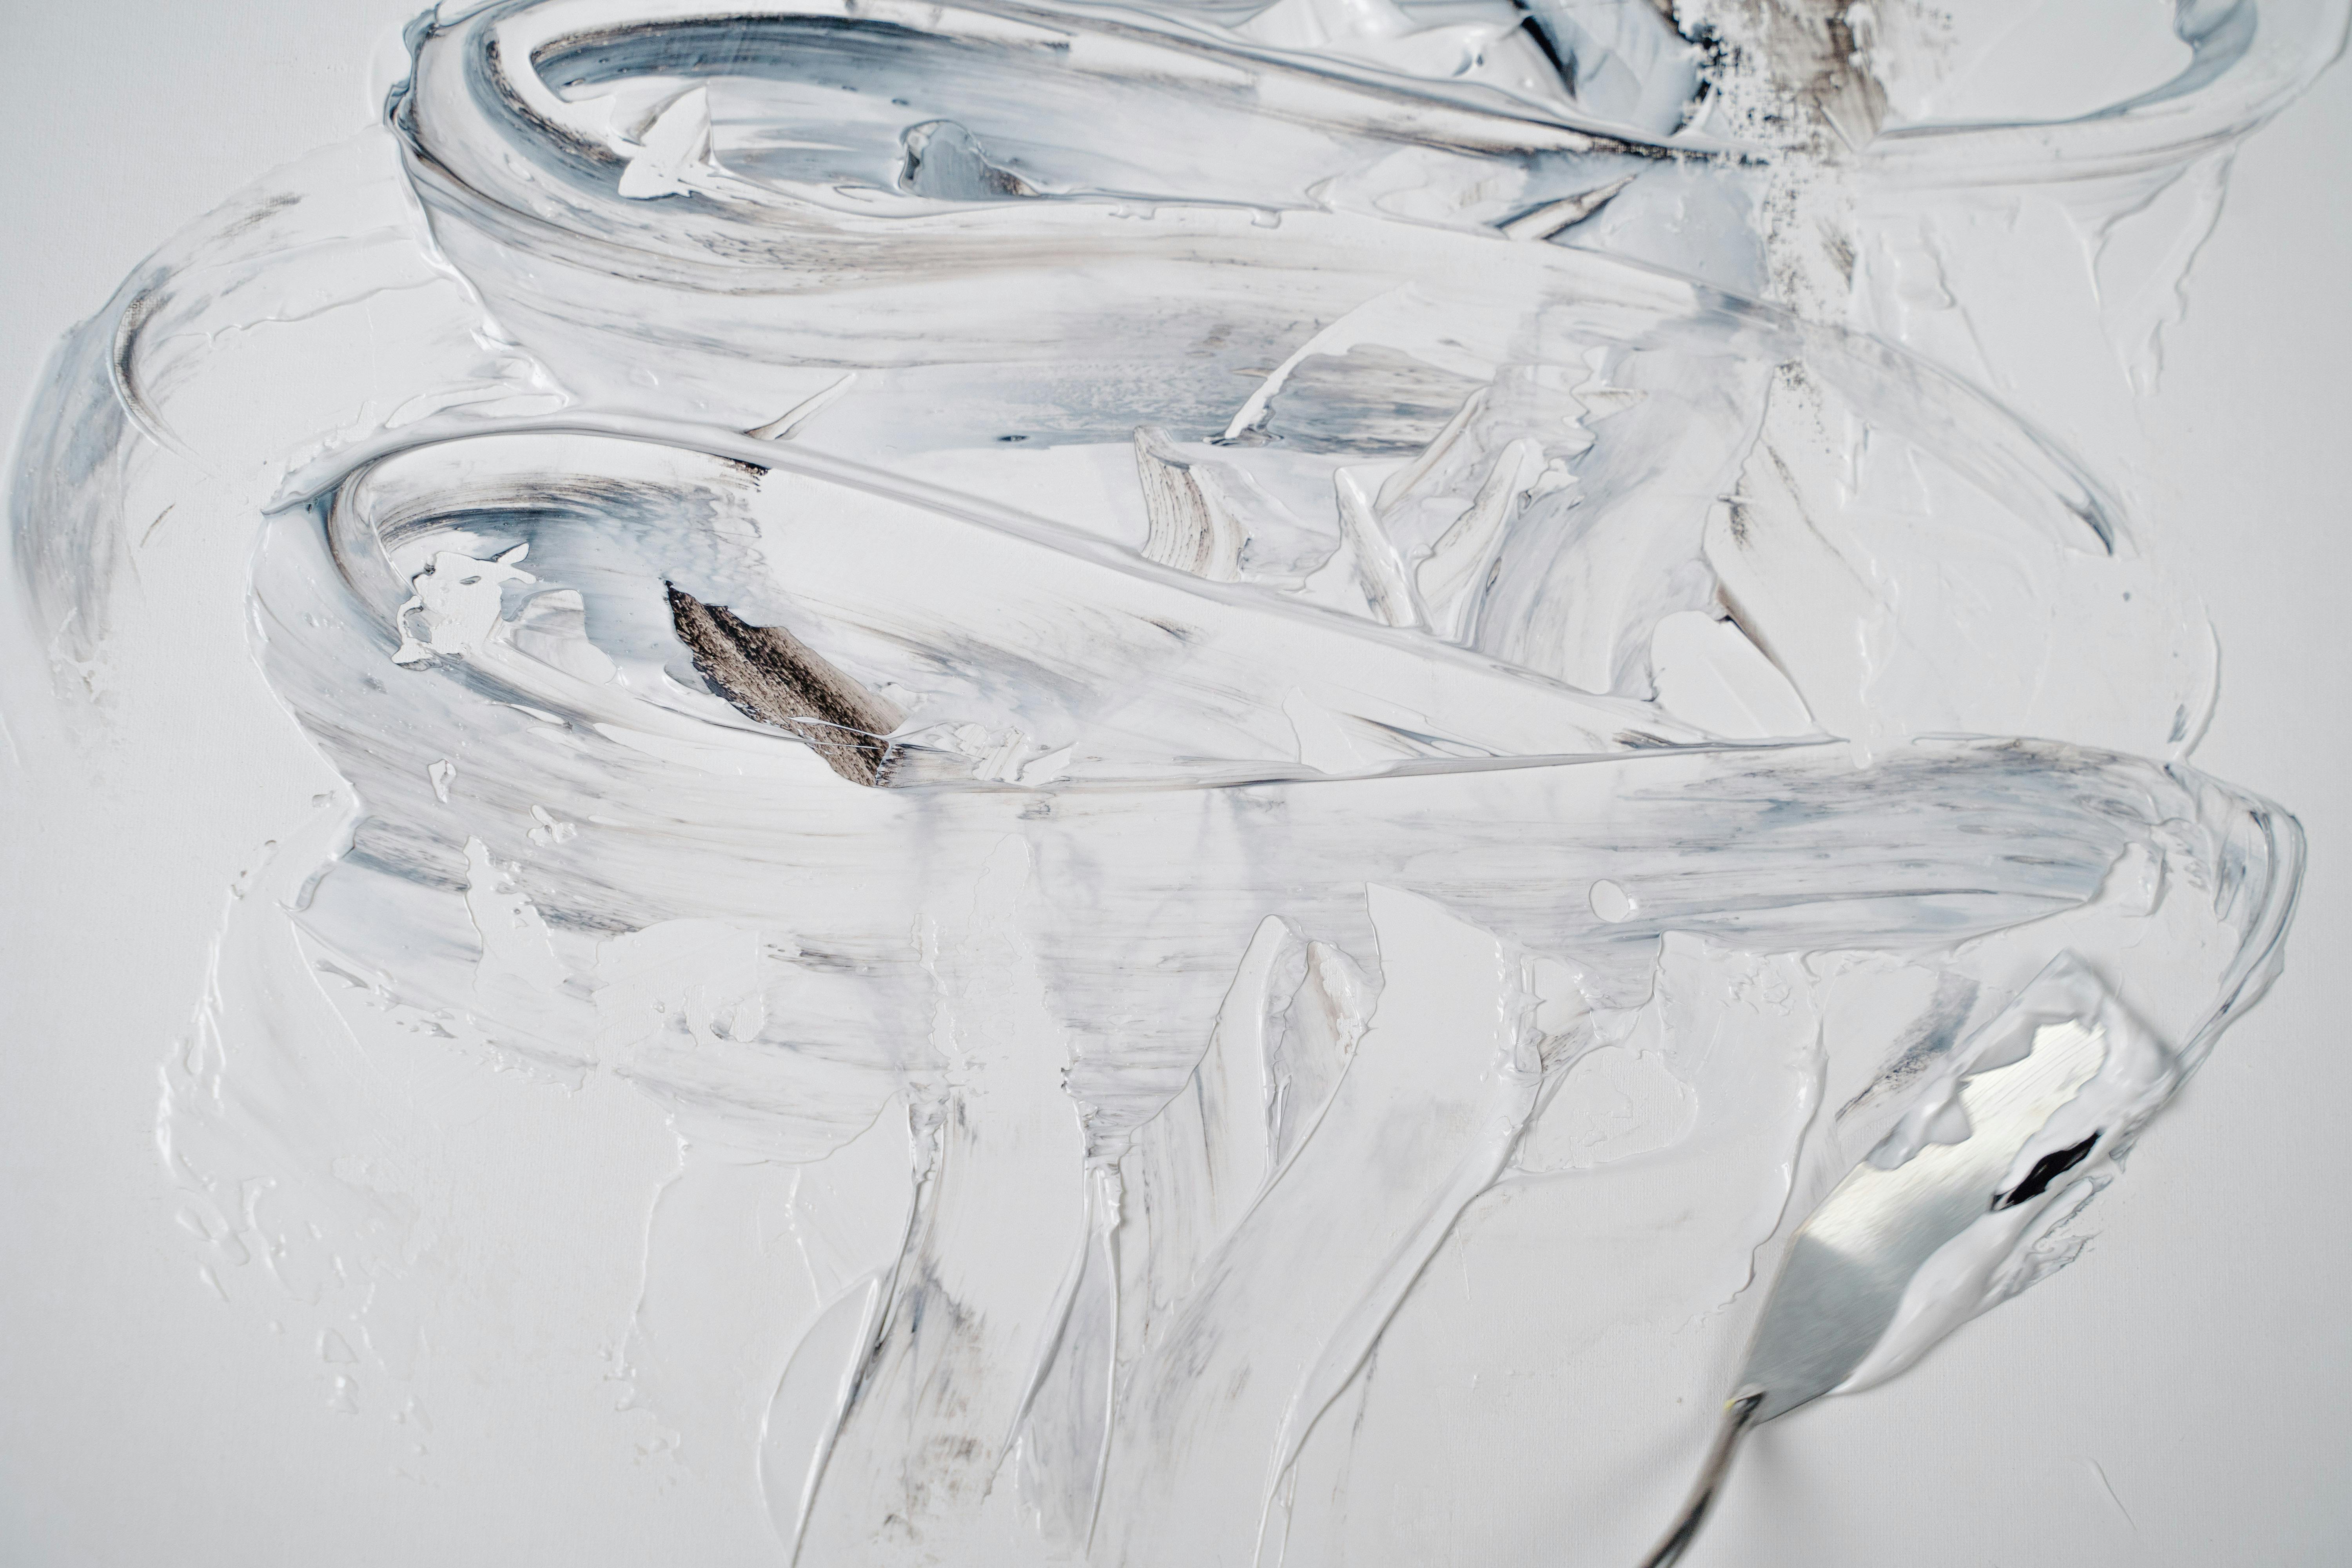
### **The 80/20 Rule of Thin Coating**
80% of thin coating success comes from 20% of the effort:
**Critical 20%**: Surface preparation + Material consistency + Application technique
**Secondary 80%**: Fancy tools, perfect conditions, expensive materials
This means you can achieve professional results with basic tools if you master these three fundamentals. I've seen people with $500 brushes fail and beginners with $15 brushes succeed—because the first three were dialed in.
[credit](https://images.pexels.com/photos/10532822/pexels-photo-10532822.jpeg),
[licence](https://creativecommons.org/public-domain/)
## The Platinum Rules of Professional Thin Coating
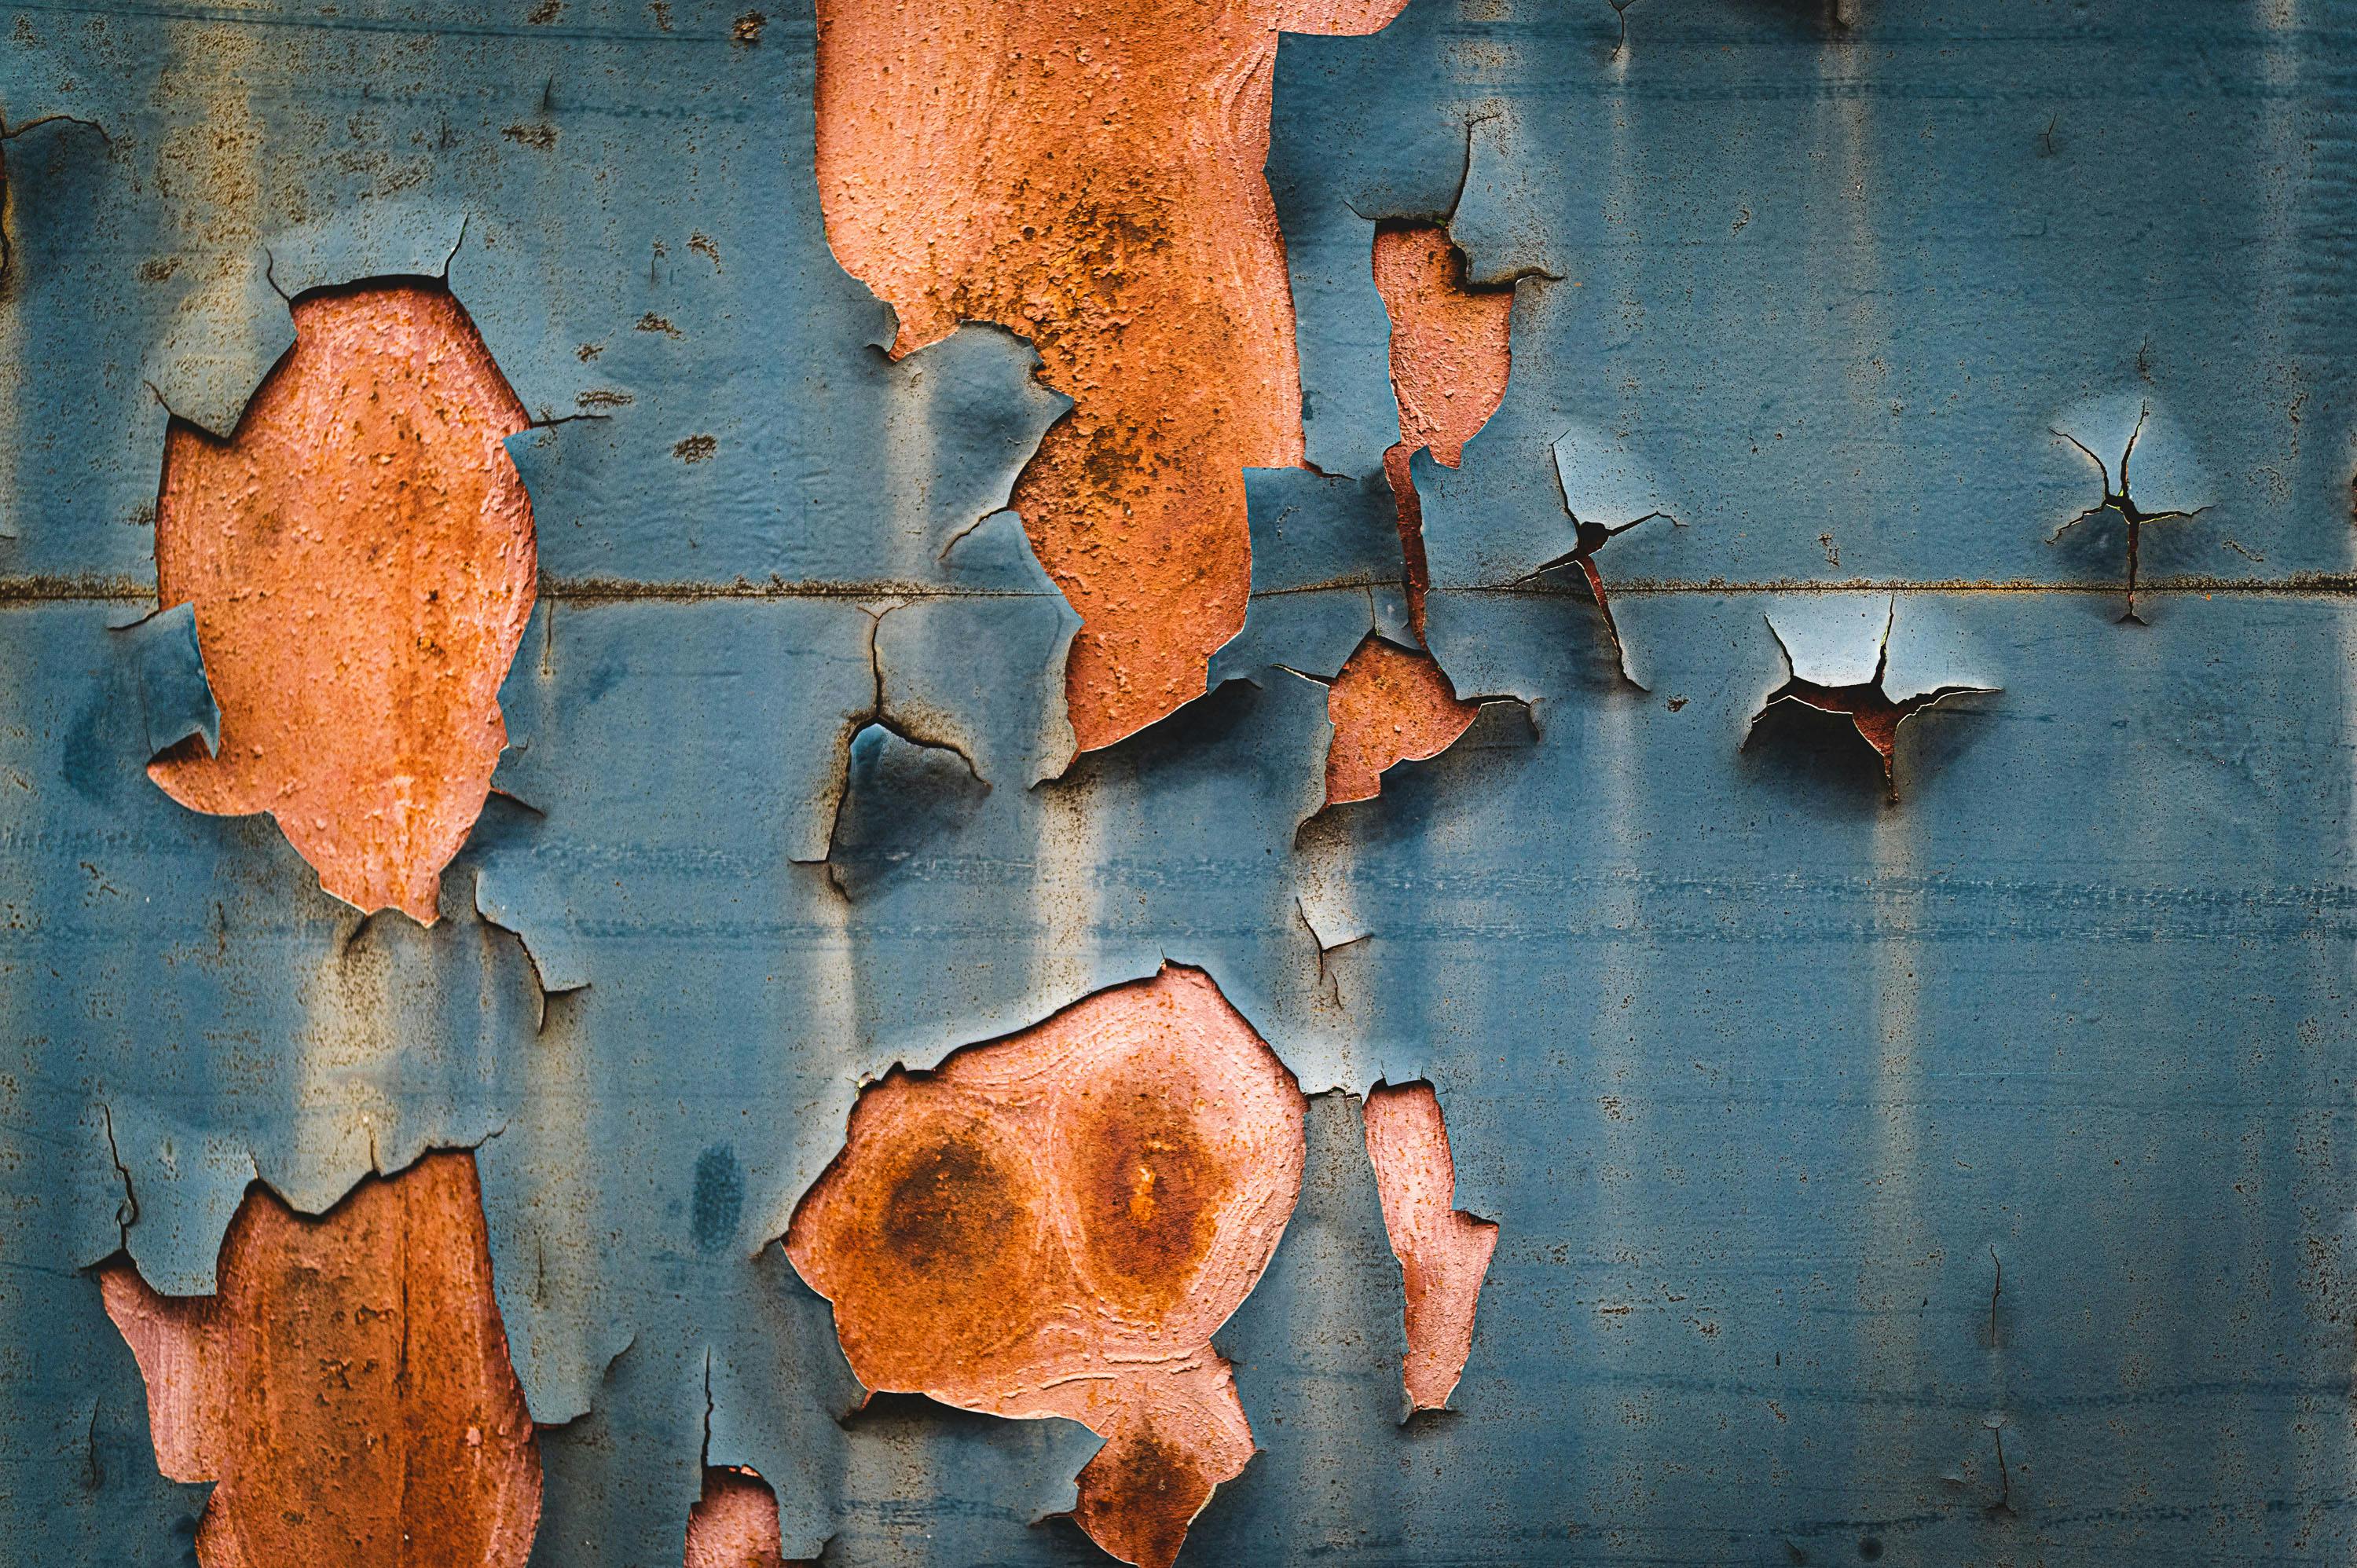
These aren't just suggestions—they're the difference between a weekend warrior and a true craftsman:
[credit](https://images.pexels.com/photos/5684803/pexels-photo-5684803.jpeg),
[licence](https://creativecommons.org/public-domain/)
1. **Less is More**. Always.
2. **Consistency Over Speed**. Each layer should mimic the last.
3. **Patience is Your Brush**. Rushing? That’s how ghosts of drips haunt your nightmares.
4. **Respect the Surface**. Primed, smooth, dust-free? That’s your temple.
## Professional Equipment Guide
### Essential Tools for Every Thin Coating Project
| Tool | Why It Matters | Professional Recommendations |
|------|----------------|--------------------------|
| **Angled Brush** | Gets into tight spaces without wasting product | Purdy XL Ox brushes for latex, Wooster for oil-based |
| **High-Quality Natural Sponge** | For smooth, even strokes | Sea sponge for organic texture, synthetic for smooth |
| **Open-Weave Rag** (lint-free!) | Creates dreamy, blended effects | Old cotton t-shirts cut into squares, cheesecloth for blending |
| **Small Paint Cup** | Less waste, better control | 8oz plastic cups with measurement marks, metal for solvents |
| **Light** | *Seriously*. Proper lighting reveals thickness instantly | 5000K LED work lights, adjustable arm magnifiers |
| **Paint Strainer** | Removes lumps and impurities | Disposable mesh bags, reusable stainless steel filters |
| **Extension Pole** | For high or hard-to-reach areas | Telescopic aluminum poles with locking mechanisms |
| **Moisture Meter** | Ensures proper surface dryness | Pin-type for wood, non-invasive for other substrates |
| **Level & Square** | Maintains perfect application | Laser levels for large areas, traditional for precision |
### **Professional Tool Maintenance Guide**
Proper tool care extends their life and ensures consistent performance:
**Brush Care**:
- **Immediate Cleanup**: Rinse brushes thoroughly before paint dries
- **Proper Storage**: Store brushes horizontally or bristle-side up
- **Deep Cleaning**: Use brush cleaner/conditioner monthly
- **Reshaping**: Clean and reshape bristles after each use
**Roller Maintenance**:
- **Quick Rinse**: Rinse immediately after use
- **Deep Cleaning**: Soak in appropriate solvent for stubborn material
- **Storage**: Hang rollers or store in sealed plastic bags
- **Replacement**: Replace covers when they lose nap or become damaged
**Spray Equipment Care**:
- **Daily Cleaning**: Flush with appropriate solvent after each use
- **Regular Maintenance**: Check seals, filters, and nozzles monthly
- **Storage**: Keep equipment in dry, temperature-controlled environment
- **Calibration**: Check pressure gauges and flow rates regularly
### **Advanced Equipment for Professionals**
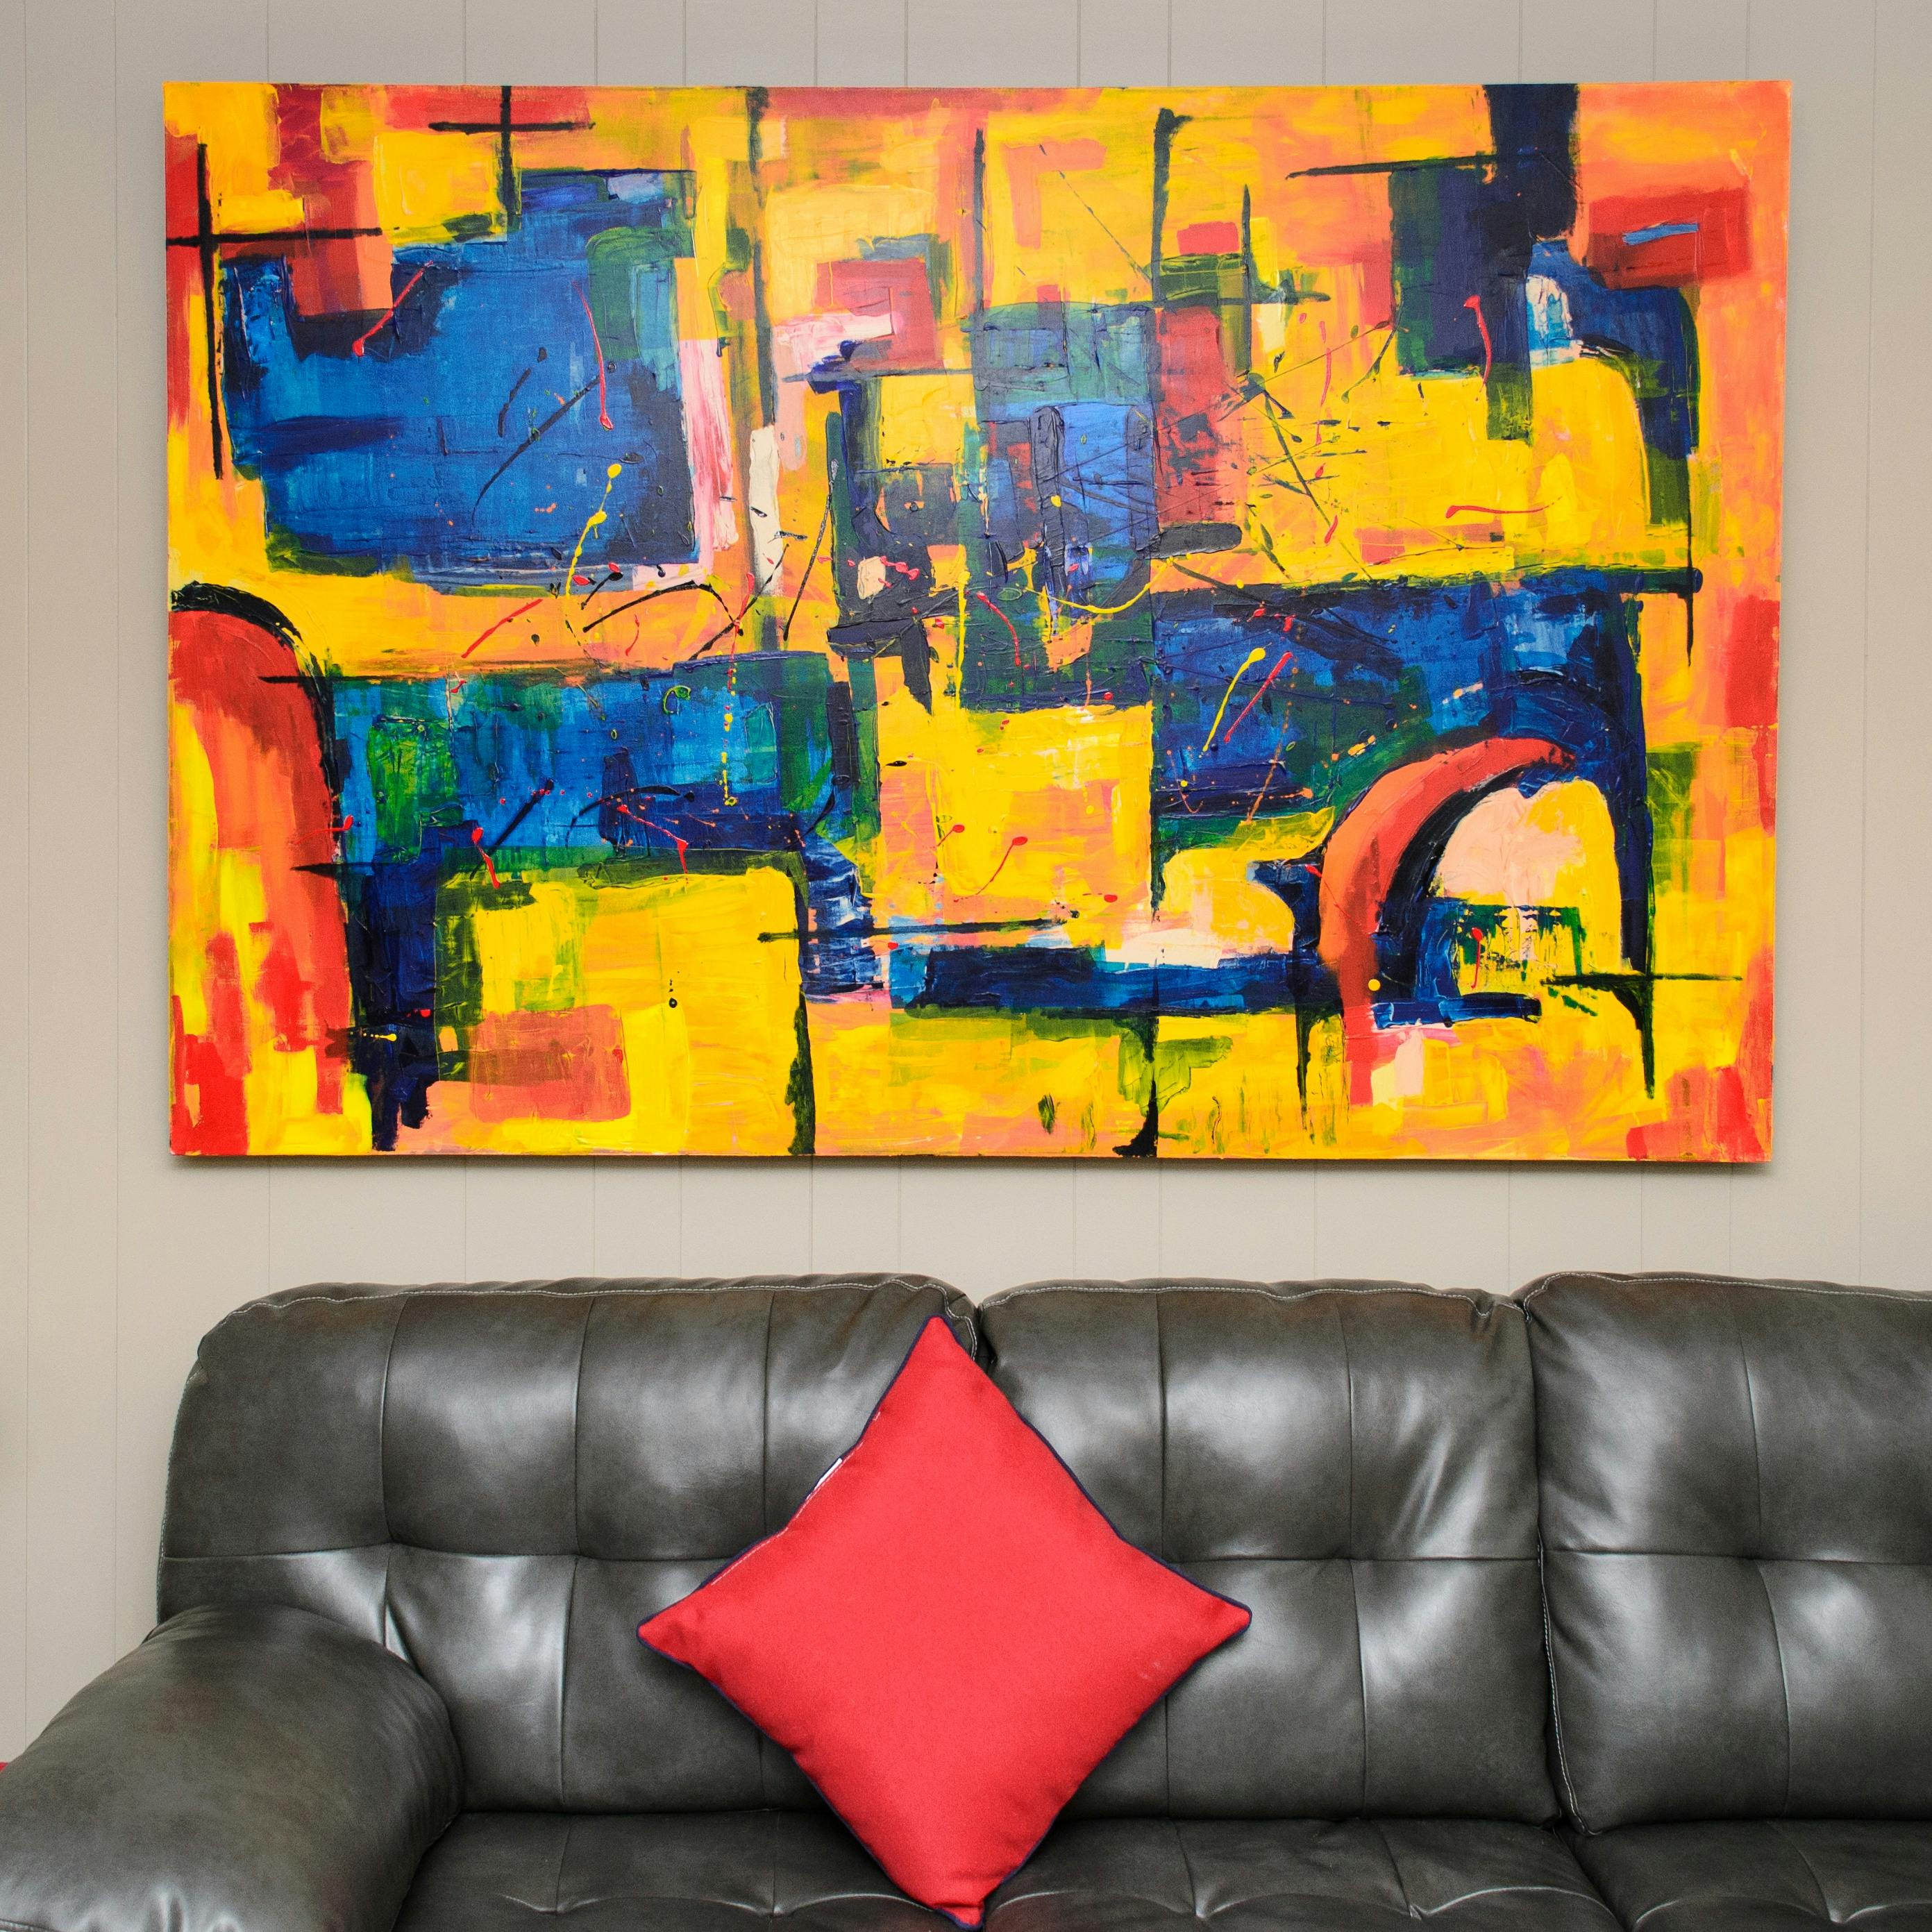
For those taking thin coating to the professional level, consider these investments:

[credit](https://live.staticflickr.com/65535/53064827119_1b7c27cd96_b.jpg),
[licence](https://creativecommons.org/licenses/by-nc-nd/2.0/)
**Precision Application Tools**:
- **HVLP Spray Systems**: For flawless spray application
- **Automated Coating Systems**: For consistent industrial application
- **Precision Measuring Tools**: For exact material ratios
- **Environmental Control Equipment**: For optimal curing conditions
**Quality Control Equipment**:
- **Film Thickness Gauges**: To measure coating precisely
- **Adhesion Testers**: To verify coating bond strength
- **Surface Profile Gauges**: To measure surface roughness
- **Color Measurement Tools**: For exact color matching
[credit](https://images.pexels.com/photos/1067556/pexels-photo-1067556.jpeg),
[licence](https://creativecommons.org/public-domain/)
### **Surface Chemistry and Coating Interaction**
Understanding how coatings interact with different surfaces is crucial for success:
**Wood Chemistry**:
- **Cellulose**: Absorbs water-based coatings
- **Lignin**: Can cause discoloration with certain coatings
- **Extractives**: Can bleed through coatings (tannins, resins)
- **Moisture Content**: Must be 12% or less for most coatings
**Metal Chemistry**:
- **Oxidation**: Must be removed before coating
- **Galvanic Action**: Different metals can corrode each other
- **Surface Energy**: Affects coating adhesion
- **Contaminants**: Oils, salts, and acids prevent adhesion
**Plastic Chemistry**:
- **Surface Energy**: Low energy surfaces need special preparation
- **Plasticizers**: Can migrate to surface and affect coating
- **Thermal Expansion**: Different expansion rates cause stress
- **UV Degradation**: Surface becomes chalky over time
## Step-by-Step: Your Thin Coat Masterclass
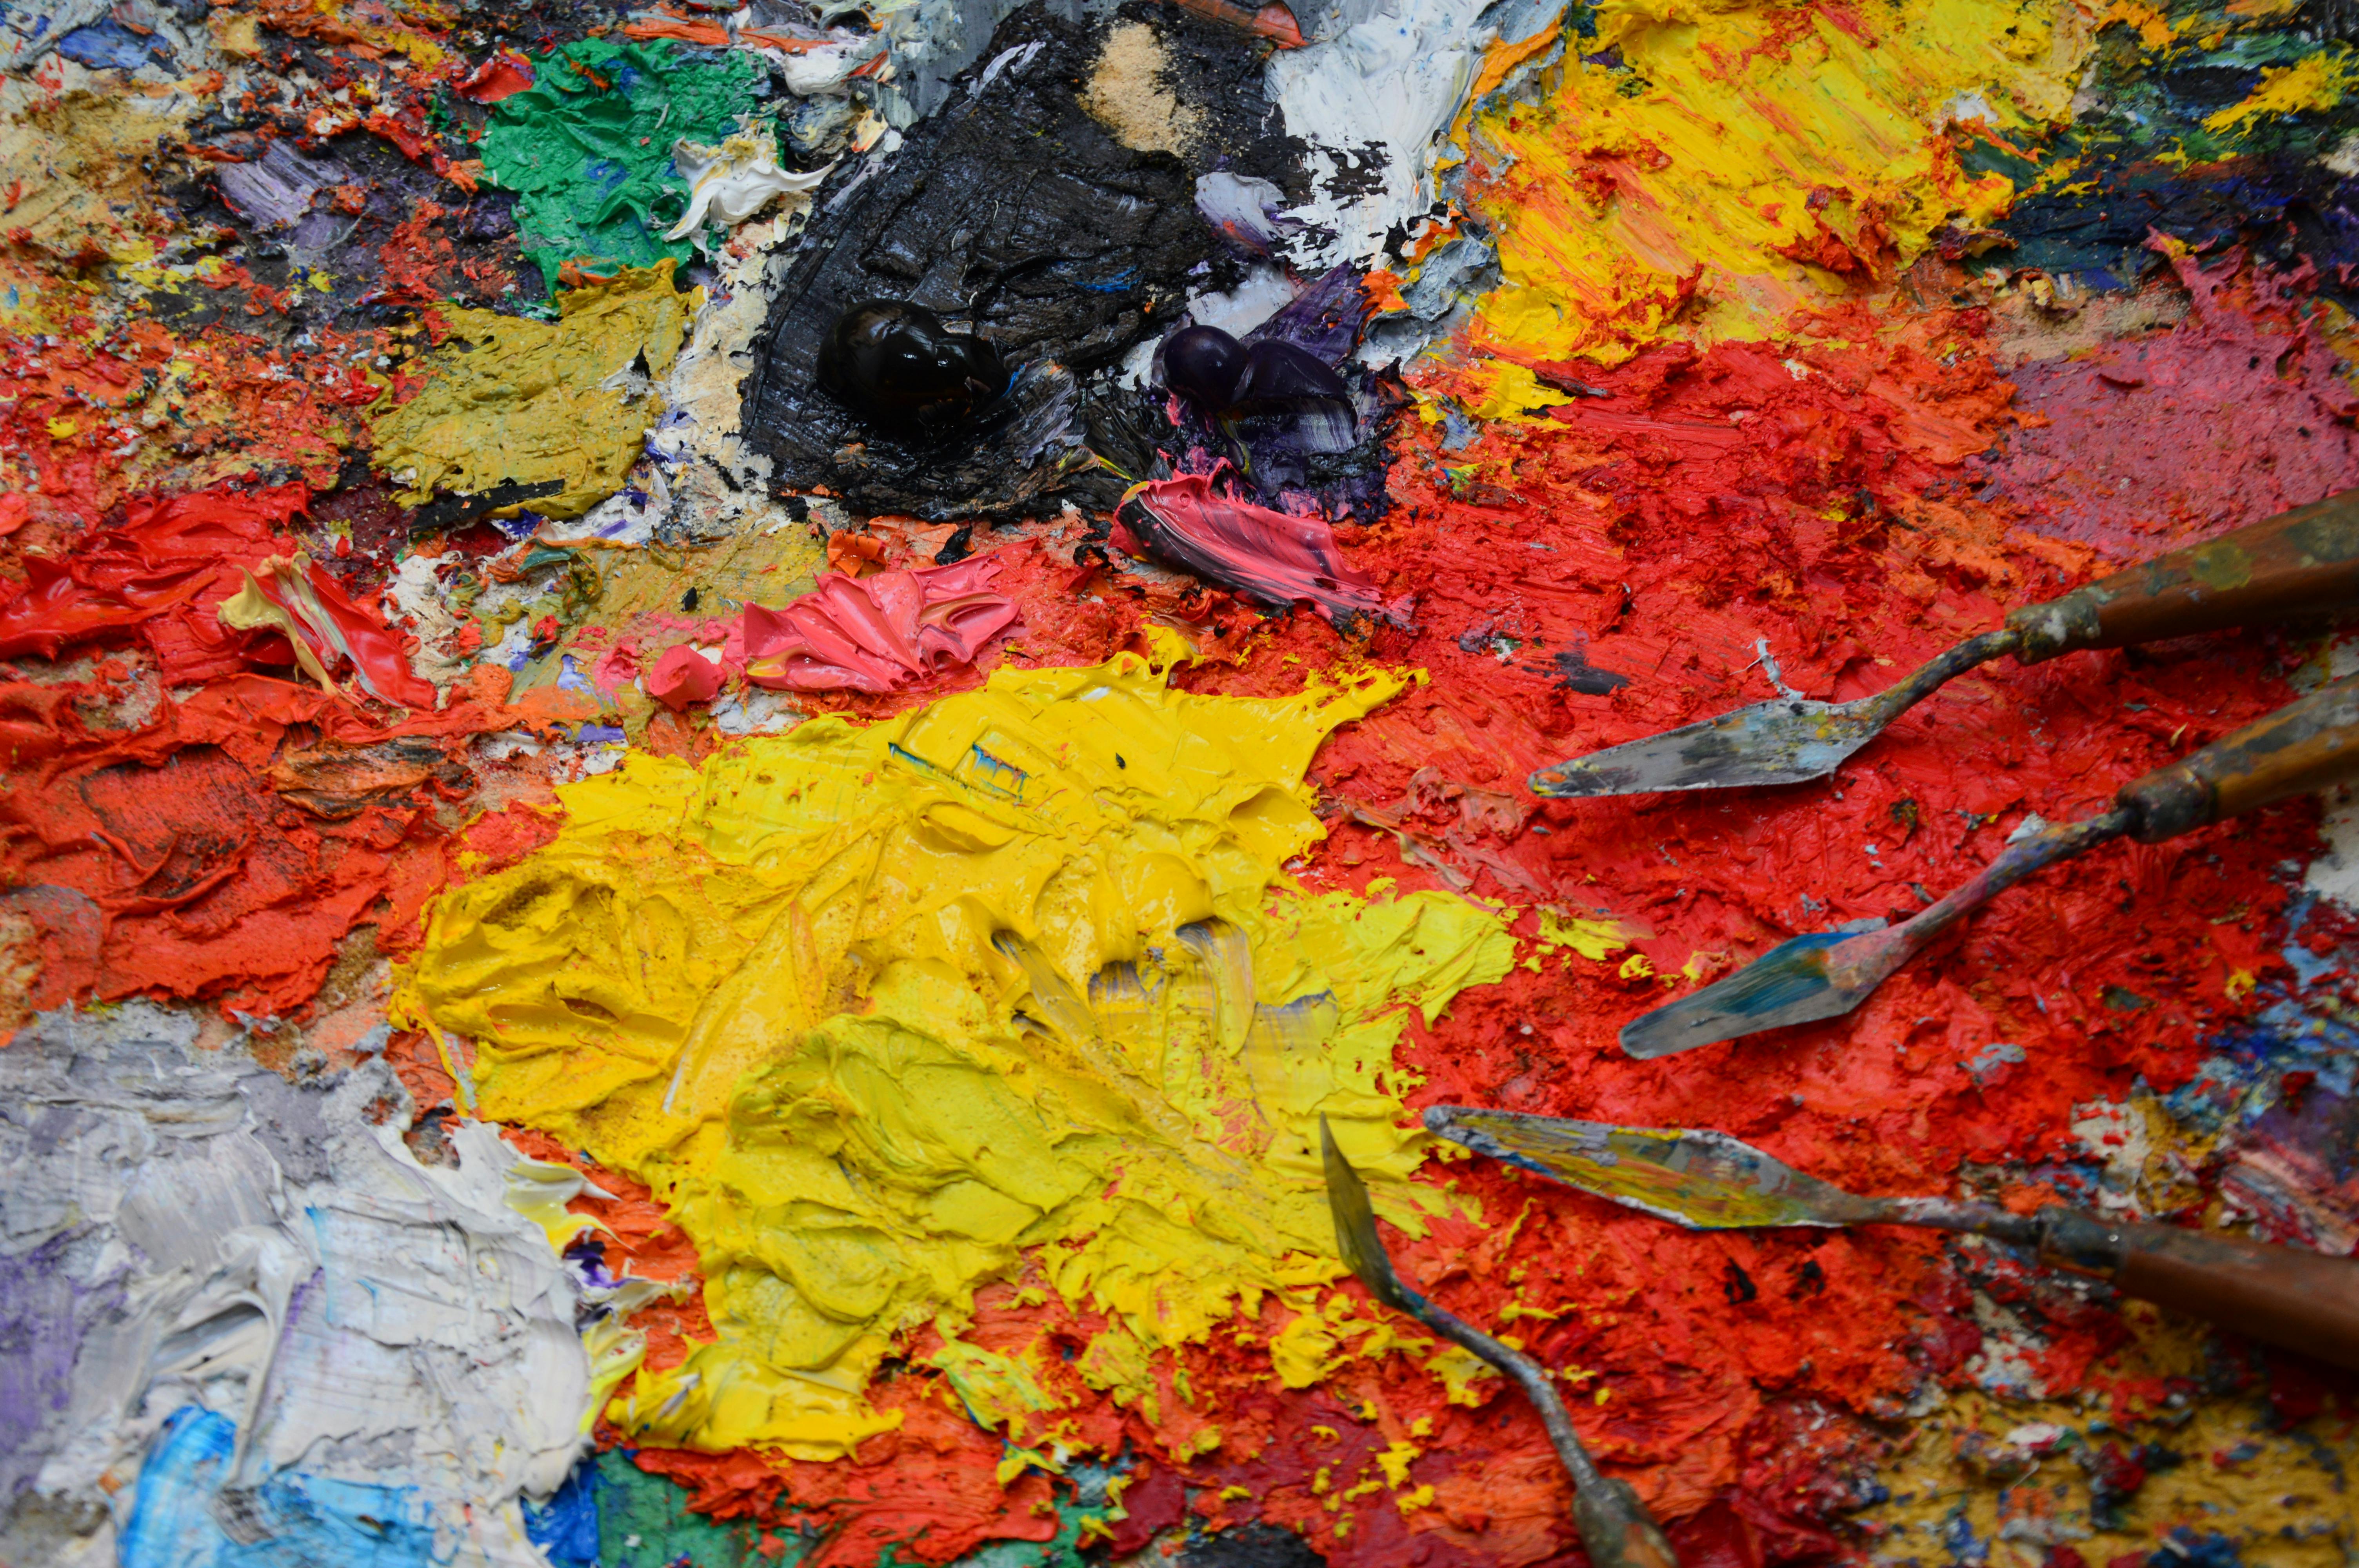
Let’s walk through a foolproof process. This works for furniture, canvas, or even pottery:
[credit](https://images.pexels.com/photos/15841465/pexels-photo-15841465/free-photo-of-texture-of-palette-in-paint.jpeg),
[licence](https://creativecommons.org/public-domain/)
### **Environmental Control for Optimal Results**
Creating the right environment is just as important as proper technique:
[credit](https://live.staticflickr.com/2880/13401878023_7625a4270b_b.jpg),
[licence](https://creativecommons.org/licenses/by/2.0/)
**Temperature Control**:
- **Optimal Range**: 65-85°F (18-29°C)
- **Critical Factors**: Temperature affects viscosity, curing, and flow
- **Heating/Cooling**: May be necessary for extreme conditions
- **Thermal Mass**: Large objects retain heat longer
**Humidity Control**:
- **Optimal Range**: 30-60% relative humidity
- **High Humidity**: Causes blushing in water-based coatings
- **Low Humidity**: Can cause brush marks and poor flow
- **Humidity Sources**: Moisture from concrete, plants, or weather
**Air Quality**:
- **Dust Control**: Use air filtration system
- **Ventilation**: 10 air changes per hour minimum
- **Air Movement**: Gentle circulation prevents settling
- **Contaminants**: Remove cooking fumes, aerosols, and other pollutants
## Product Recommendations & Comparisons
### **Professional Grade vs. Consumer Grade**
| Feature | Professional | Consumer |
|---------|-------------|----------|
| **Pigment Concentration** | Higher saturation | More dilute |
| **Binders** | Advanced polymers | Basic formulations |
| **Coverage** | Better hiding power | Requires more coats |
| **Durability** | 2-3x longer life | Standard performance |
| **Cost** | Higher initial cost | Better for small projects |
### **Coating Chemistry Deep Dive**
Understanding what's in your coating helps you choose the right product:
**Water-Based Coatings**:
- **Pros**: Low odor, easy cleanup, fast drying, environmentally friendly
- **Cons**: Poor flow in cold temps, can raise wood grain, less durable
- **Best For**: Interior furniture, children's items, quick projects
**Oil-Based Coatings**:
- **Pros**: Superior durability, excellent flow, deep finish, raises wood grain less
- **Cons**: Strong odor, slow drying, difficult cleanup, yellowing over time
- **Best For**: High-traffic areas, exterior applications, antique furniture
**Solvent-Based Coatings**:
- **Pros**: Fastest drying, hardest finish, excellent chemical resistance
- **Cons**: Very strong odor, toxic fumes, flammable, expensive
- **Best For**: Industrial applications, metal surfaces, high-performance needs
### **Top Thin Coating Products by Category**
**Water-Based Acrylics**: Benjamin Moore Aura, Sherwin-Williams Emerald, Farrow & Ball
**Oil-Based Enamels**: Rust-Oleum Professional, Zinsser Cover Stain, Behr Premium Plus
**Specialty Coatings**: Minwax Polycrylic, General Finishes Arm-R-Seal, Varathane
**Epoxy Systems**: TotalBoat, West System, ProMarine Supplies
**Marine Varnishes**: Epifanes, Pettit, Interlux
### **Budget-Friendly Alternatives**
Not everyone can afford professional-grade materials. Here are solid budget options:
- **General Purpose**: Rust-Oleum Painter's Touch, Krylon Ultra Cover
- **Furniture**: Minwax Fast-Dry Polyurethane, Varathane Diamond Finish
- **Flooring**: Behr Premium Porch & Deck, Rust-Oleum Concrete Coating
### **When to Splurge vs. When to Save**
**Splurge When**:
- High-traffic areas
- Outdoor exposure
- Valuable or irreplaceable items
- Professional results required
**Save When**:
- Practice pieces
- Low-use areas
- Temporary applications
- Learning projects
### **Product Compatibility Matrix**
Not all coatings play well together. Here's what you need to know:
| Coating Type | Compatible Over | Not Compatible Over | Sanding Required? |
|--------------|----------------|-------------------|------------------|
| Water-Based | Water-based, Oil-based | Unsealed surfaces | Light sanding |
| Oil-Based | Oil-based, Some water-based | Fresh water-based | Medium sanding |
| Lacquer | Lacquer, Some oil-based | Most other coatings | Light sanding |
| Epoxy | Epoxy, Some primers | Most other coatings | Heavy sanding |
[credit](https://live.staticflickr.com/8106/28584971225_11401ccfde_b.jpg),
[licence](https://creativecommons.org/licenses/by/2.0/)
### **Storage & Shelf Life Guide**
Proper storage extends coating life dramatically:
**Ideal Storage Conditions**:
- **Temperature**: 50-75°F (10-24°C)
- **Humidity**: Below 60% RH
- **Light**: Darkness or dim light
- **Position**: Upright, not on side
**Typical Shelf Life**:
- **Unopened**: 2-5 years (check manufacturer)
- **Opened (properly sealed)**: 6-12 months
- **Opened (exposed to air)**: 2-4 weeks
## Advanced Thin Coating Techniques
### **The French Polish Method**
Developed in 18th century France, this technique uses shellac applied in dozens of ultra-thin layers for a deep, lustrous finish.
**French Polish Process**:
1. **Shellac Preparation**: Dissolve shellac flakes in denatured alcohol (3lb cut = 3 parts shellac to 1 part alcohol)
2. **Padding**: Use a rubber "pad" wrapped in cloth to apply thin, even strokes
3. **Building Layers**: 20-30 coats applied over 2-3 weeks
4. **Final Polish**: Carnauba wax for deep shine
### **Spray Application Mastery**
- **HVLP vs. Conventional**: Understanding air pressure and paint flow
- **Distance and Angle**: The sweet spot for perfect atomization
- **Overlap Patterns**: Ensuring uniform coverage without buildup
**Spray Equipment Setup**:
- **HVLP Systems**: 25-30 PSI at gun, 10-15 PSI at cap
- **Conventional Systems**: 40-60 PSI at gun
- **Distance**: 8-12 inches from surface
- **Nozzle Selection**: 1.3-1.5mm for thin coatings
### **Roller Techniques**
- **Nap Selection**: Short nap for smooth surfaces, long nap for textured
- **Pressure Control**: How to avoid roller marks and texture
- **Extension Pole Techniques**: For ceilings and high walls
**Roller Application Tips**:
- **Loading**: Dip 1/3, roll off excess on tray
- **Technique**: "W" pattern to distribute evenly
- **Second Coat**: Apply perpendicular to first
- **Pressure**: Light touch—let the roller do the work
### **Specialty Application Methods**
- **Curtain Coating**: For continuous, industrial-quality finishes
- **Dip Coating**: Uniform immersion for complex shapes
- **Flow Coating**: Gravity-fed application for vertical surfaces
### **Brush Techniques for Perfection**
**Natural vs. Synthetic Brushes**:
- **Natural Bristles**: Better flow, hold more paint, best for oil-based
- **Synthetic Bristles**: Better for water-based, easier cleanup, maintain shape
**Brush Loading Technique**:
1. Dip only 1/3 of bristles into paint
2. Tap against rim (not wipe on edge)
3. Load evenly on both sides
4. Apply with light, smooth strokes
**Common Brush Strokes**:
- **Flat Strokes**: For large, flat surfaces
- **Sash Strokes**: For corners and edges
- **Cross-Hatching**: For blending and even coverage
- **Feathering**: For smooth transitions between sections
## Step-by-Step: Your Thin Coat Masterclass
Let's walk through a foolproof process. This works for furniture, canvas, or even pottery:
[credit](https://live.staticflickr.com/7275/7548168124_243d637c75_c.jpg),
[licence](https://creativecommons.org/licenses/by-nc-nd/2.0/)
### **Project Planning & Material Calculation**
Before you begin, you need to know exactly how much material you'll need. Underestimating can ruin your project halfway through.
**Material Calculation Formula**:
```
Total Material Needed = Surface Area × Number of Coats ÷ Coverage Rate × Waste Factor
```
**Typical Coverage Rates**:
- **Latex Paint**: 350-400 sq ft per gallon
- **Oil-Based Paint**: 400-500 sq ft per gallon
- **Varnish/Lacquer**: 300-350 sq ft per gallon
- **Epoxy**: 100-150 sq ft per gallon
**Waste Factor Recommendations**:
- Simple surfaces: 10-15%
- Complex geometry: 20-30%
- First-time application: 25-40%
### **The Professional's Pre-Application Checklist**
Before you even open the can, run through this mental checklist:
🔹 **Surface Inspection**: Clean, dry, dust-free, properly prepared?
🔹 **Material Assessment**: Fresh product, correct type, sufficient quantity?
🔹 **Tool Readiness**: Clean, appropriate tools, spare supplies?
🔹 **Environmental Control**: Temperature, humidity, ventilation optimal?
🔹 **Personal Protection**: Gloves, respirator, eye protection ready?
🔹 **Workspace Setup**: Drop cloths, lighting, accessibility arranged?
🔹 **Emergency Plan**: Spill kit, first aid, cleanup materials available?
[credit](https://live.staticflickr.com/3743/13401911013_b30b13ff6d_b.jpg),
[licence](https://creativecommons.org/licenses/by/2.0/)
### **Application Timing Strategies**
**Best Times to Apply**:
- Early morning (before heat buildup)
- Late afternoon (cooling temperatures)
- Overcast days (consistent, indirect lighting)
**Times to Avoid**:
- Midday heat (fast drying, poor flow)
- High humidity (slow curing, potential blushing)
- Windy conditions (dust contamination, uneven drying)
- Direct sunlight (rapid drying, temperature spikes)
### **Phase 1: Surface Preparation**
1. **Deep Clean the Surface**. Remove all dirt, grease, and contaminants. Use appropriate cleaners for your substrate.
2. **Sand Imperfections Away**. Start with coarse grit (120-180), progress to fine (220-320). Always sand with the grain.
3. **Remove All Sanding Dust**. Use tack cloths, compressed air, or vacuum. Even microscopic dust causes bumps.
4. **Apply Primer if Needed**. Some surfaces require primer for adhesion. Let it cure completely.
5. **Final Wipe-Down**. Damp cloth (not wet!), let dry 100%. Your surface must be pristine.
**Advanced Surface Prep Techniques**:
**Wood Preparation**:
- **Open-Grain Woods** (Oak, Ash): Fill pores with wood filler before sanding
- **Closed-Grain Woods** (Maple, Birch): Light sanding may be sufficient
- **Exotic Woods**: Test stain compatibility first—some react unpredictably
**Metal Preparation**:
- **Rust Removal**: Use wire brush, sandblaster, or chemical stripper
- **Degreasing**: Acetone or specialized metal degreaser
- **Etching**: Acid etching for better adhesion on smooth metals
**Plastic Preparation**:
- **Surface Etching**: Light sanding with 220+ grit
- **Priming**: Plastic-specific primer required
- **Static Control**: Anti-static treatment for dust-free application
### **Phase 2: Material Preparation**
6. **Mix Like Crazy**. Stir your paint/varnish thoroughly—no sitting on the bottom of the can. For pigmented coatings, ensure consistent color distribution.
7. **Check Viscosity**. Most thin coatings should flow like heavy cream. Adjust with recommended thinners.
8. **Strain Your Material**. Use a paint strainer to remove any lumps or impurities that could ruin your finish.
9. **Test on Scrap Material**. Always test your mixture and technique on a similar surface first.
**Material Mixing Science**:
**Viscosity Testing Methods**:
- **Gravity Flow**: Should flow like heavy cream from a spoon
- **Brush Test**: Should leave smooth strokes without dragging
- **Dip Stick Test**: Should coat evenly and drip slowly
**Thinning Guidelines**:
- **Water-Based**: 5-10% water maximum (check manufacturer specs)
- **Oil-Based**: 5-15% mineral spirits or specific thinner
- **Lacquer**: 10-20% lacquer thinner
- **Epoxy**: Follow manufacturer ratios precisely
**Color Matching Tips**:
- Mix entire batch at once for consistency
- Keep extra mixture for touch-ups
- Label batches with date and mixing ratio
- Store properly for future use
## Thin Coat Troubleshooting: When Things Go Sideways
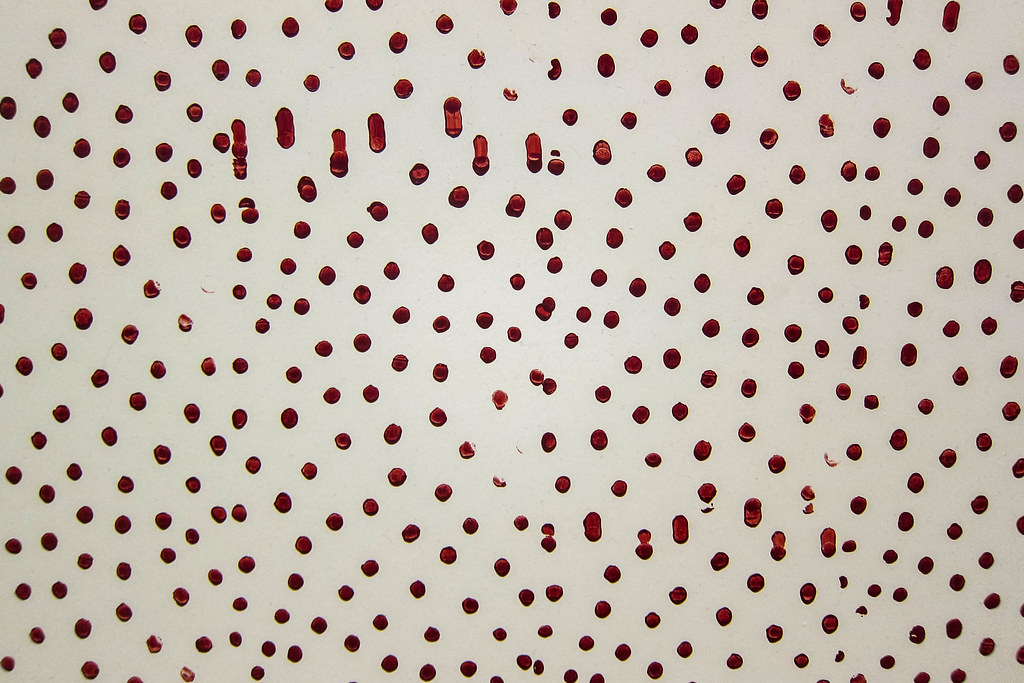
Even with perfect prep, things can happen. Here’s how to play detective:
[credit](https://live.staticflickr.com/3731/13402193294_7e67ffc22a_b.jpg),
[licence](https://creativecommons.org/licenses/by/2.0/)
- **Drips?** → Thinned paint. Back off the solvent content next time.
- **Lumpiness?** → Unfiltered paint or dust buildup. Strain before use.
- **Peeling?** → Skipping prep or recoating too soon. *I once learned the hard way when my [abstract art](/finder/page/what-is-abstract-art) face-planted onto a gravel path...*[timeline]
### When to Break the Rules
Look, I’m not a robot. Sometimes bending "thin coat" rules creates magic:
- **Squeegee Technique**: For industrial-chic textures on canvas.
- **Brush Dragging**: Thick but controlled strokes for sculpted effects.
- **Layered Translucency**: Thinning pigment with glazing liquid for watercolor-like depth.
## FAQs: Coating Quandaries Answered
**Q: Is thin coating slower than just slathering it on?**
**A**: *Feels* slower, but think total time. Sanding drips waiting for coats to dry? Now *that’s* slower. And uglier.
**Q: Can I use thin coats outdoors?**
**A**: Absolutely! In fact, it’s *crucial*. On exposed surfaces, thin layers prevent UV-cracking and flaking. Just respect weather—no coating in dusty windstorms.
**Q: What if I mess up?**
**A**: You fix it! Most issues sand out. Or embrace it—my "accidental drips" often became the most interesting parts of my mixed-media pieces.
**Q: Thin coating sounds delicate. Is it hard for beginners?**
**A**: Nah. It’s just *attentive*. Start on a test scrap—old wood, cardboard, anything. Play with consistency until it feels like spreading soft butter.
## The Zen of Thin Coats
Here’s the weird thing I’ve noticed: thin coating isn’t just about surfaces. It’s a philosophy. Slowing down. Observing light. Creating space for depth. It’s why I still geek out over finding the perfect balance between **transparent glaze** and **opaque wash** in my [abstract art](/finder/page/what-is-abstract-art).[buy]

[credit](https://live.staticflickr.com/65535/51907566658_1100dbeb2a_b.jpg),
[licence](https://creativecommons.org/licenses/by-nc-sa/2.0/)
## Advanced Troubleshooting Guide
### **Complex Problem Scenarios**
**Multiple Issues at Once**: When you have both drips AND poor adhesion
- **Root Cause**: Usually poor surface prep combined with wrong viscosity
- **Solution**: Strip completely, reprep properly, test viscosity on scrap
**Color Shift Between Coats**: Color looks different after each application
- **Root Cause**: Inconsistent mixing, different application conditions
- **Solution**: Mix entire batch at once, maintain consistent environment
**Cracking During Cure**: Fine cracks appear as coating dries
- **Root Cause**: Temperature fluctuations, incompatible layers
- **Solution**: Control temperature, ensure compatibility between coats
**Fish Eyes**: Small circular imperfections in finish
- **Root Cause**: Surface contamination, silicone exposure
- **Solution**: Thorough cleaning, use anti-silicone additives
### **Diagnostic Flowchart for Coating Problems**
```
START → Is surface clean? → NO → Clean surface properly
↓ YES
Is material mixed properly? → NO → Remix thoroughly
↓ YES
Is viscosity correct? → NO → Adjust viscosity
↓ YES
Is technique correct? → NO → Practice technique
↓ YES
Is environment suitable? → NO → Adjust conditions
↓ YES
→ Problem solved or contact manufacturer
```
### **Professional Repair Techniques**
**Spot Blending**: Fixing small areas without obvious repair marks
- Feather edges into surrounding area
- Apply progressively lighter coats
- Use same application technique
**Complete Recoating**: When damage is too extensive for spot repair
- Assess substrate condition first
- Consider removing all old coating
- Plan for proper surface preparation
### **Emergency Fixes for Critical Situations**
**Rushing the Job**: When time is critical but quality can't suffer
- Use accelerated curing products
- Apply thinner coats but more frequently
- Use forced drying techniques (heat, fans)
**Material Shortage**: When you run out of coating mid-project
- Document exact mixture ratios
- Purchase same batch/lot if possible
- Test compatibility with new material
### **Substrate-Specific Troubleshooting**
**Wood-Specific Issues**:
- **Grain Raising**: Light sand between coats, use conditioner
- **Tannin Bleed**: Use shellac or oil-based primer first
- **Uneven Absorption**: Apply conditioner/sealer before coating
**Metal-Specific Issues**:
- **Rust Under Coating**: Remove all rust, use rust-inhibitive primer
- **Adhesion Problems**: Abrade surface, use metal-specific primer
- **Galvanic Corrosion**: Use compatible coating system
**Plastic-Specific Issues**:
- **Poor Adhesion**: Sand surface, use plastic primer
- **Flex Cracking**: Use flexible coatings for flexible plastics
- **Static Issues**: Anti-static treatments, ionized air
## Industry Standards & Best Practices
### **Professional Certification**
Many professional trades require certification for proper coating application. While thin coating techniques can be learned independently, understanding industry standards ensures professional-quality results.
**Available Certifications**:
- **SSPC (Steel Structures Painting Council)**: Industrial coatings
- **NACE International**: Corrosion prevention
- **PDCA (Painting and Decorating Contractors)**: Architectural coatings
- **AWI (Architectural Woodwork Institute)**: Wood finishing
### **Safety Standards**
- **Ventilation**: OSHA and EPA guidelines for coating application
- **Personal Protective Equipment**: Respirators, gloves, eye protection
- **Material Safety Data Sheets**: Understanding chemical hazards
- **Disposal Procedures**: Proper disposal of thinners and waste materials
**Safety Equipment Checklist**:
- **Respirator**: N95 for dust, organic vapor for solvents
- **Gloves**: Nitrile for most coatings, chemical-resistant for solvents
- **Eye Protection**: Safety glasses with side shields
- **Skin Protection**: Long sleeves, pants, closed-toe shoes
- **Ventilation**: 10 air changes per hour minimum
### **Quality Control**
Professional finishers implement rigorous quality control:
- **Thickness Gauges**: Measuring coating thickness precisely
- **Adhesion Tests**: Ensuring proper bonding to substrates
- **Visual Inspection**: Using proper lighting and magnification
- **Performance Testing**: Simulating real-world conditions
**Quality Control Procedures**:
- **Thickness Measurement**: Use wet film gauge during application
- **Dry Film Measurement**: Use magnetic or ultrasonic gauge after curing
- **Adhesion Testing**: Cross-hatch or pull-off testing
- **Visual Inspection**: Under proper lighting at various angles
### **Environmental Considerations**
**Volatile Organic Compounds (VOCs)**:
- **Low-VOC Products**: <50 g/L
- **Zero-VOC Products**: <5 g/L
- **Regulatory Limits**: Vary by state and country
**Waste Management**:
- **Hazardous Waste**: Solvents, thinners, contaminated rags
- **Non-Hazardous Waste**: Water-based cleanup materials
- **Recycling Programs**: Many manufacturers take back empty containers
## Case Studies: Thin Coat Success Stories
### **Furniture Restoration**
*The Challenge*: A 100-year-old oak dresser with deep scratches and peeling finish
*The Solution*: 12 thin coats of shellac build over 3 weeks
*The Result*: A deep, lustrous finish that preserved the antique character while providing modern protection
**Key Learnings**:
- Patience with multiple thin coats creates better results than few thick ones
- Shellac is reversible—can be dissolved and reapplied if needed
- Proper surface preparation is even more critical with antiques
### **Abstract Art Canvas**
*The Challenge*: Creating a textured, multi-dimensional painting surface
*The Solution*: Alternating layers of acrylic medium and pigment
*The Result*: A canvas that changes appearance with different lighting conditions
**Key Learnings**:
- Layering creates depth that single applications can't achieve
- Different application techniques (glazing, washes, impasto) each have optimal thickness
- The interaction between layers creates visual interest
### **Outdoor Wood Project**
*The Challenge*: Protecting cedar siding from harsh weather
*The Solution*: 5 thin coats of UV-resistant marine varnish
*The Result*: 8 years of protection with no peeling or fading
**Key Learnings**:
- Marine-grade coatings are worth the investment for outdoor applications
- UV protection compounds degrade over time—regular maintenance is key
- Proper application technique prevents water intrusion at seams
### **Metal Sculpture**
*The Challenge*: Preventing rust on outdoor ironwork while maintaining aesthetic
*The Solution*: Epoxy primer followed by 3 thin coats of urethane
*The Result*: Industrial-grade protection that enhances the sculpture's beauty
**Key Learnings**:
- Primer selection is critical for metal adhesion
- Epoxy provides the best barrier against moisture and oxygen
- Urethane offers UV resistance and aesthetic flexibility
### **Additional Case Studies**
**Kitchen Cabinet Refinishing**:
*The Challenge*: Updating outdated oak cabinets without replacing them
*The Solution*: 3 coats of conversion primer + 2 coats of water-based enamel
*The Result*: Professional-looking cabinets at 1/5 the cost of replacement
*Timeline*: 3 days including drying time
**Automotive Restoration**:
*The Challenge*: Restoring classic car finish to concours condition
*The Solution*: 15+ coats of high-build primer and urethane
*The Result*: Mirror-like finish with deep color saturation
*Cost*: $2,000+ in materials, but $15,000+ in value added
**Concrete Floor Coating**:
*The Challenge*: Protecting garage floor from chemicals and stains
*The Solution*: 2 coats epoxy primer + 2 coats epoxy topcoat
*The Result*: Industrial-strength floor that's easy to clean
*Durability*: 10+ years with proper maintenance
## Cost Analysis: Thin Coating vs Traditional Methods
| Method | Material Cost | Time Investment | Longevity | Professional Results |
|--------|---------------|-----------------|-----------|---------------------|
| **Thin Coating** | Higher upfront | Longer process | 2-3x longer | Consistently professional |
| **Heavy Coat** | Lower upfront | Faster initial | Shorter lifespan | Often inconsistent |
| **Spray Application** | Medium | Medium | Good | Professional if done right |
| **Roller/Brush** | Low | Variable | Variable | Amateurish without skill |
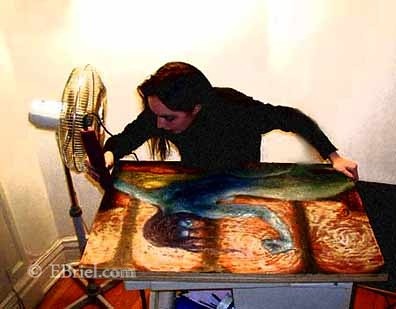
### **Return on Investment Calculator**
Here's how to calculate the true cost of different coating methods:
[credit](https://live.staticflickr.com/222/479422964_34147de0a5_w.jpg),
[licence](https://creativecommons.org/licenses/by-nc-nd/2.0/)
**Thin Coating ROI Calculation**:
```
Total Cost = (Material Cost × Number of Coats) + Labor Cost + Equipment Cost
Annual Cost = Total Cost ÷ Years of Service
Monthly Cost = Annual Cost ÷ 12
```
**Example Calculation** (Furniture Restoration):
- **Thin Coating**: $150 materials + 20 hours labor = $950 total
- Expected lifespan: 10 years
- Monthly cost: $7.92
- **Heavy Coat**: $80 materials + 5 hours labor = $330 total
- Expected lifespan: 3 years
- Monthly cost: $9.17
**Conclusion**: Thin coating saves $1.56 per month and provides better results!
### **Hidden Costs to Consider**
**Equipment Investment**:
- **Basic Setup**: $50-100 (brushes, rollers, trays)
- **Professional Setup**: $500-2000 (spray equipment, meters, etc.)
- **Maintenance**: $50-100 annually
**Time Opportunity Cost**:
- **Learning Curve**: First project takes 2-3x longer
- **Efficiency Gain**: Subsequent projects go 50% faster
- **Skill Value**: Professional-level finish adds resale value
**Waste Disposal Costs**:
- **Hazardous Waste**: $50-200 per trip to disposal facility
- **Contaminated Rags**: Special disposal required for solvent-soaked rags
- **Empty Containers**: Some manufacturers accept returns

[credit](https://commons.wikimedia.org/wiki/File:%27Abstract_sky%27,_1993_-_small_acrylic_painting_by_Dutch_artist_Fons_Heijnsbroek;_free_download_abstract_art_image,_CCO.jpg),
[licence](http://creativecommons.org/publicdomain/zero/1.0/deed.en)
## Final Thoughts
So grab your brush. Take a breath. And trust that every thin layer is building something beautiful—one patient stroke at a time.
Thin coating is more than a technique. It's a mindset. It's respect for materials, understanding of physics, and appreciation for the craft. It's the difference between covering a surface and creating a finish.
Whether you're restoring a family heirloom, creating [abstract art](/finder/page/what-is-abstract-art), or simply refreshing your living space, thin coating gives you the power to achieve results that look professional and last lifetimes.
The secret isn't in the tools or the materials—it's in the approach. Patience. Precision. Presence. Master these, and you'll master thin coating.
### **Your Thin Coating Journey**
Remember that every expert was once a beginner. Every professional finisher started with their first tentative brush stroke. The difference between amateur and professional isn't talent—it's commitment to the process.
[credit](https://images.pexels.com/photos/10996828/pexels-photo-10996828.jpeg),
[licence](https://creativecommons.org/public-domain/)
**Start Small**: Begin with a simple project, like an old picture frame or small wooden box
**Practice Patience**: Allow each coat to cure completely before the next
**Learn from Mistakes**: Every drip and run is a learning opportunity
**Build Confidence**: As you master the basics, tackle more challenging projects
**Share Knowledge**: Teach others what you've learned—this reinforces your own skills
### **The Future of Thin Coating**
The coating industry continues to evolve, bringing new possibilities for thin coating applications:
**Emerging Technologies**:
- **Nano-Coatings**: Self-cleaning, antimicrobial properties
- **Smart Coatings**: Color-changing, temperature-responsive
- **Bio-Based Materials**: Sustainable, renewable coating systems
- **3D Printing Integration**: Precision coating for additive manufacturing
**Industry Trends**:
- **Automation**: Robotic application systems for consistency
- **Sustainability**: Reduced environmental impact throughout lifecycle
- **Performance**: Enhanced durability and functionality
- **Customization**: Tailored solutions for specific applications
**Your Role in the Evolution**:
As you develop your thin coating skills, you become part of this ongoing evolution of craftsmanship. Each project contributes to the collective knowledge of the finishing community. Whether you're working on fine furniture, industrial equipment, or artistic creations, you're participating in a tradition that stretches back centuries.
Now go create something beautiful. Your surfaces (and your future self) will thank you.