Professional Art Pro Tips: Elevate Your Craft from Amateur to Master
Discover advanced professional art tips from working artists. Learn studio practices, time management, and techniques to elevate your art from amateur to professional quality.

Professional Art Pro Tips: Elevate Your Craft from Amateur to Master
I remember the first time I walked into a professional artist’s studio. The air smelled of linseed oil and turpentine, and the walls were covered in sketches, half-finished canvases, and scribbled notes. It wasn’t just the talent that struck me—it was the process. The way everything was organized, the rhythm of their work, the little habits that made their art not just good, but professional. That’s what we’re diving into today: the pro tips that separate amateur work from masterful craft.
Why Professionalism Matters in Art
Art is often seen as a purely creative endeavor, but professionalism elevates it to a sustainable career. Professionalism in art is about consistency, discipline, and a deep understanding of your craft. It’s about treating your art as a business while maintaining your creative integrity. This guide will walk you through the mindset, techniques, and business strategies that define a professional artist.
Key Benefits of Professionalism:
- Sustainability: Turning passion into a viable career.
- Credibility: Building trust with collectors, galleries, and audiences.
- Growth: Continuous improvement through structured practices.
The Mindset Shift: From Hobbyist to Professional
Before we talk about techniques or tools, let’s address the elephant in the room: mindset. Being a professional artist isn’t just about skill—it’s about how you approach your work. I’ve seen incredibly talented artists struggle because they treated their craft like a hobby, and I’ve seen others with less natural ability thrive because they adopted a professional mindset.
Key Mindset Shifts:
- From Inspiration to Discipline: Waiting for inspiration is a luxury; professionals create it through action.
- From Isolation to Communication: Art is a dialogue, not a monologue.
- From Perfectionism to Progress: Mistakes are stepping stones, not failures.
Additional Mindset Shifts:
- From Fear to Courage: Embrace vulnerability and take creative risks.
- From Comparison to Self-Reflection: Focus on your growth rather than comparing yourself to others.
- From Procrastination to Action: Break tasks into smaller steps to overcome overwhelm.
The Importance of Discipline
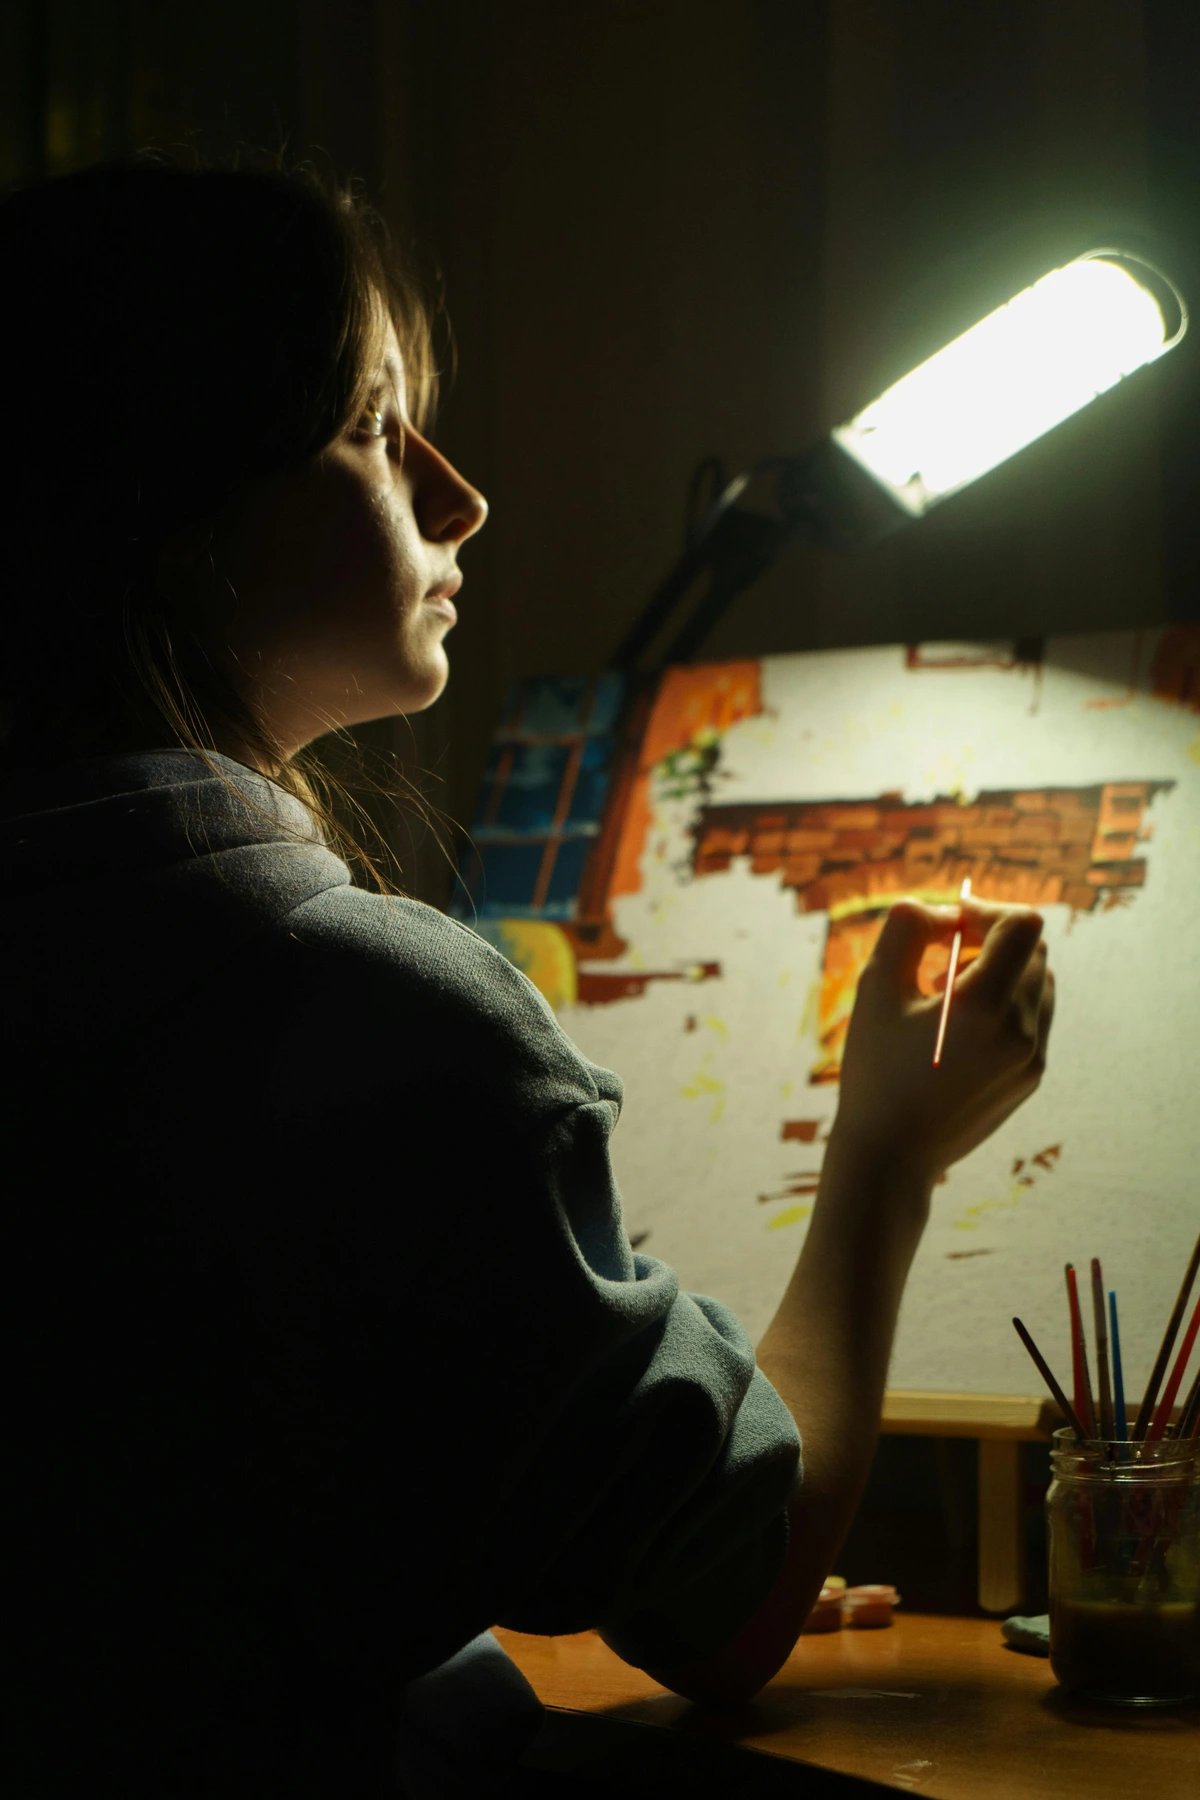
Discipline is the backbone of professionalism. It’s not about waiting for inspiration to strike; it’s about showing up every day and putting in the work. Discipline means setting aside time for your art, even when you don’t feel like it. It’s about pushing through creative blocks and staying committed to your goals.
Pro Tip: Create a daily routine that includes dedicated time for your art. Even if it’s just 30 minutes a day, consistency is key to long-term success.
Building a Routine:
- Set Clear Goals: Define what you want to achieve each day, week, or month.
- Track Progress: Use a journal or digital tool to monitor your progress.
- Stay Accountable: Share your goals with a friend or mentor to stay motivated.
Key Mindset Shifts
Amateur Mindset  | Professional Mindset |
|---|---|
| "I’ll paint when I feel inspired." | "Inspiration follows action—I show up every day." |
| "My art is just for me." | "My art communicates something to others." |
| "I’ll fix mistakes later." | "I address issues as they arise." |
| "I don’t need a schedule." | "Consistency is key—I plan my time." |
| "I don’t need feedback." | "Feedback helps me grow and improve." |
| "I’ll work on whatever I feel like." | "I prioritize projects based on goals and deadlines." |
| "I’ll keep my process to myself." | "Sharing my process helps me connect with my audience." |
| "I’ll avoid challenges." | "I embrace challenges as opportunities for growth." |
| "I’ll stick to what I know." | "I experiment and explore new techniques." |
Pro Tip: Start treating your art like a business, even if it’s just a side hustle. Set regular studio hours, track your progress, and hold yourself accountable. It’s amazing how much this simple shift can transform your output.
Embracing Feedback
Feedback is a crucial part of growth. Seek out constructive criticism from peers, mentors, and even your audience. Learn to separate useful feedback from noise and use it to refine your craft. Remember, every piece of feedback is an opportunity to improve.
Pro Tip: Join art communities or forums where you can share your work and receive feedback. Engaging with other artists can provide fresh perspectives and insights.
Types of Feedback:
- Constructive Criticism: Focuses on specific areas for improvement.
- Encouragement: Boosts morale and motivation.
- Technical Advice: Offers practical tips and techniques.
Studio Practices: The Backbone of Professional Art
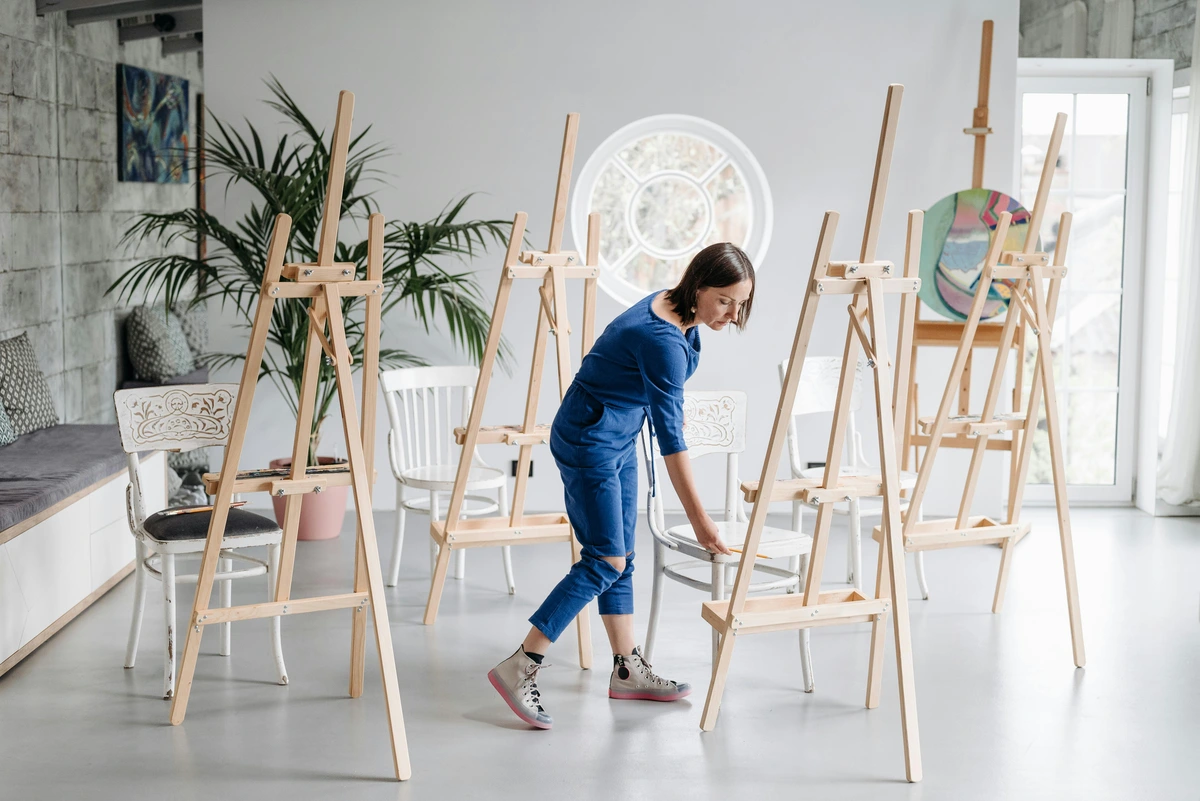
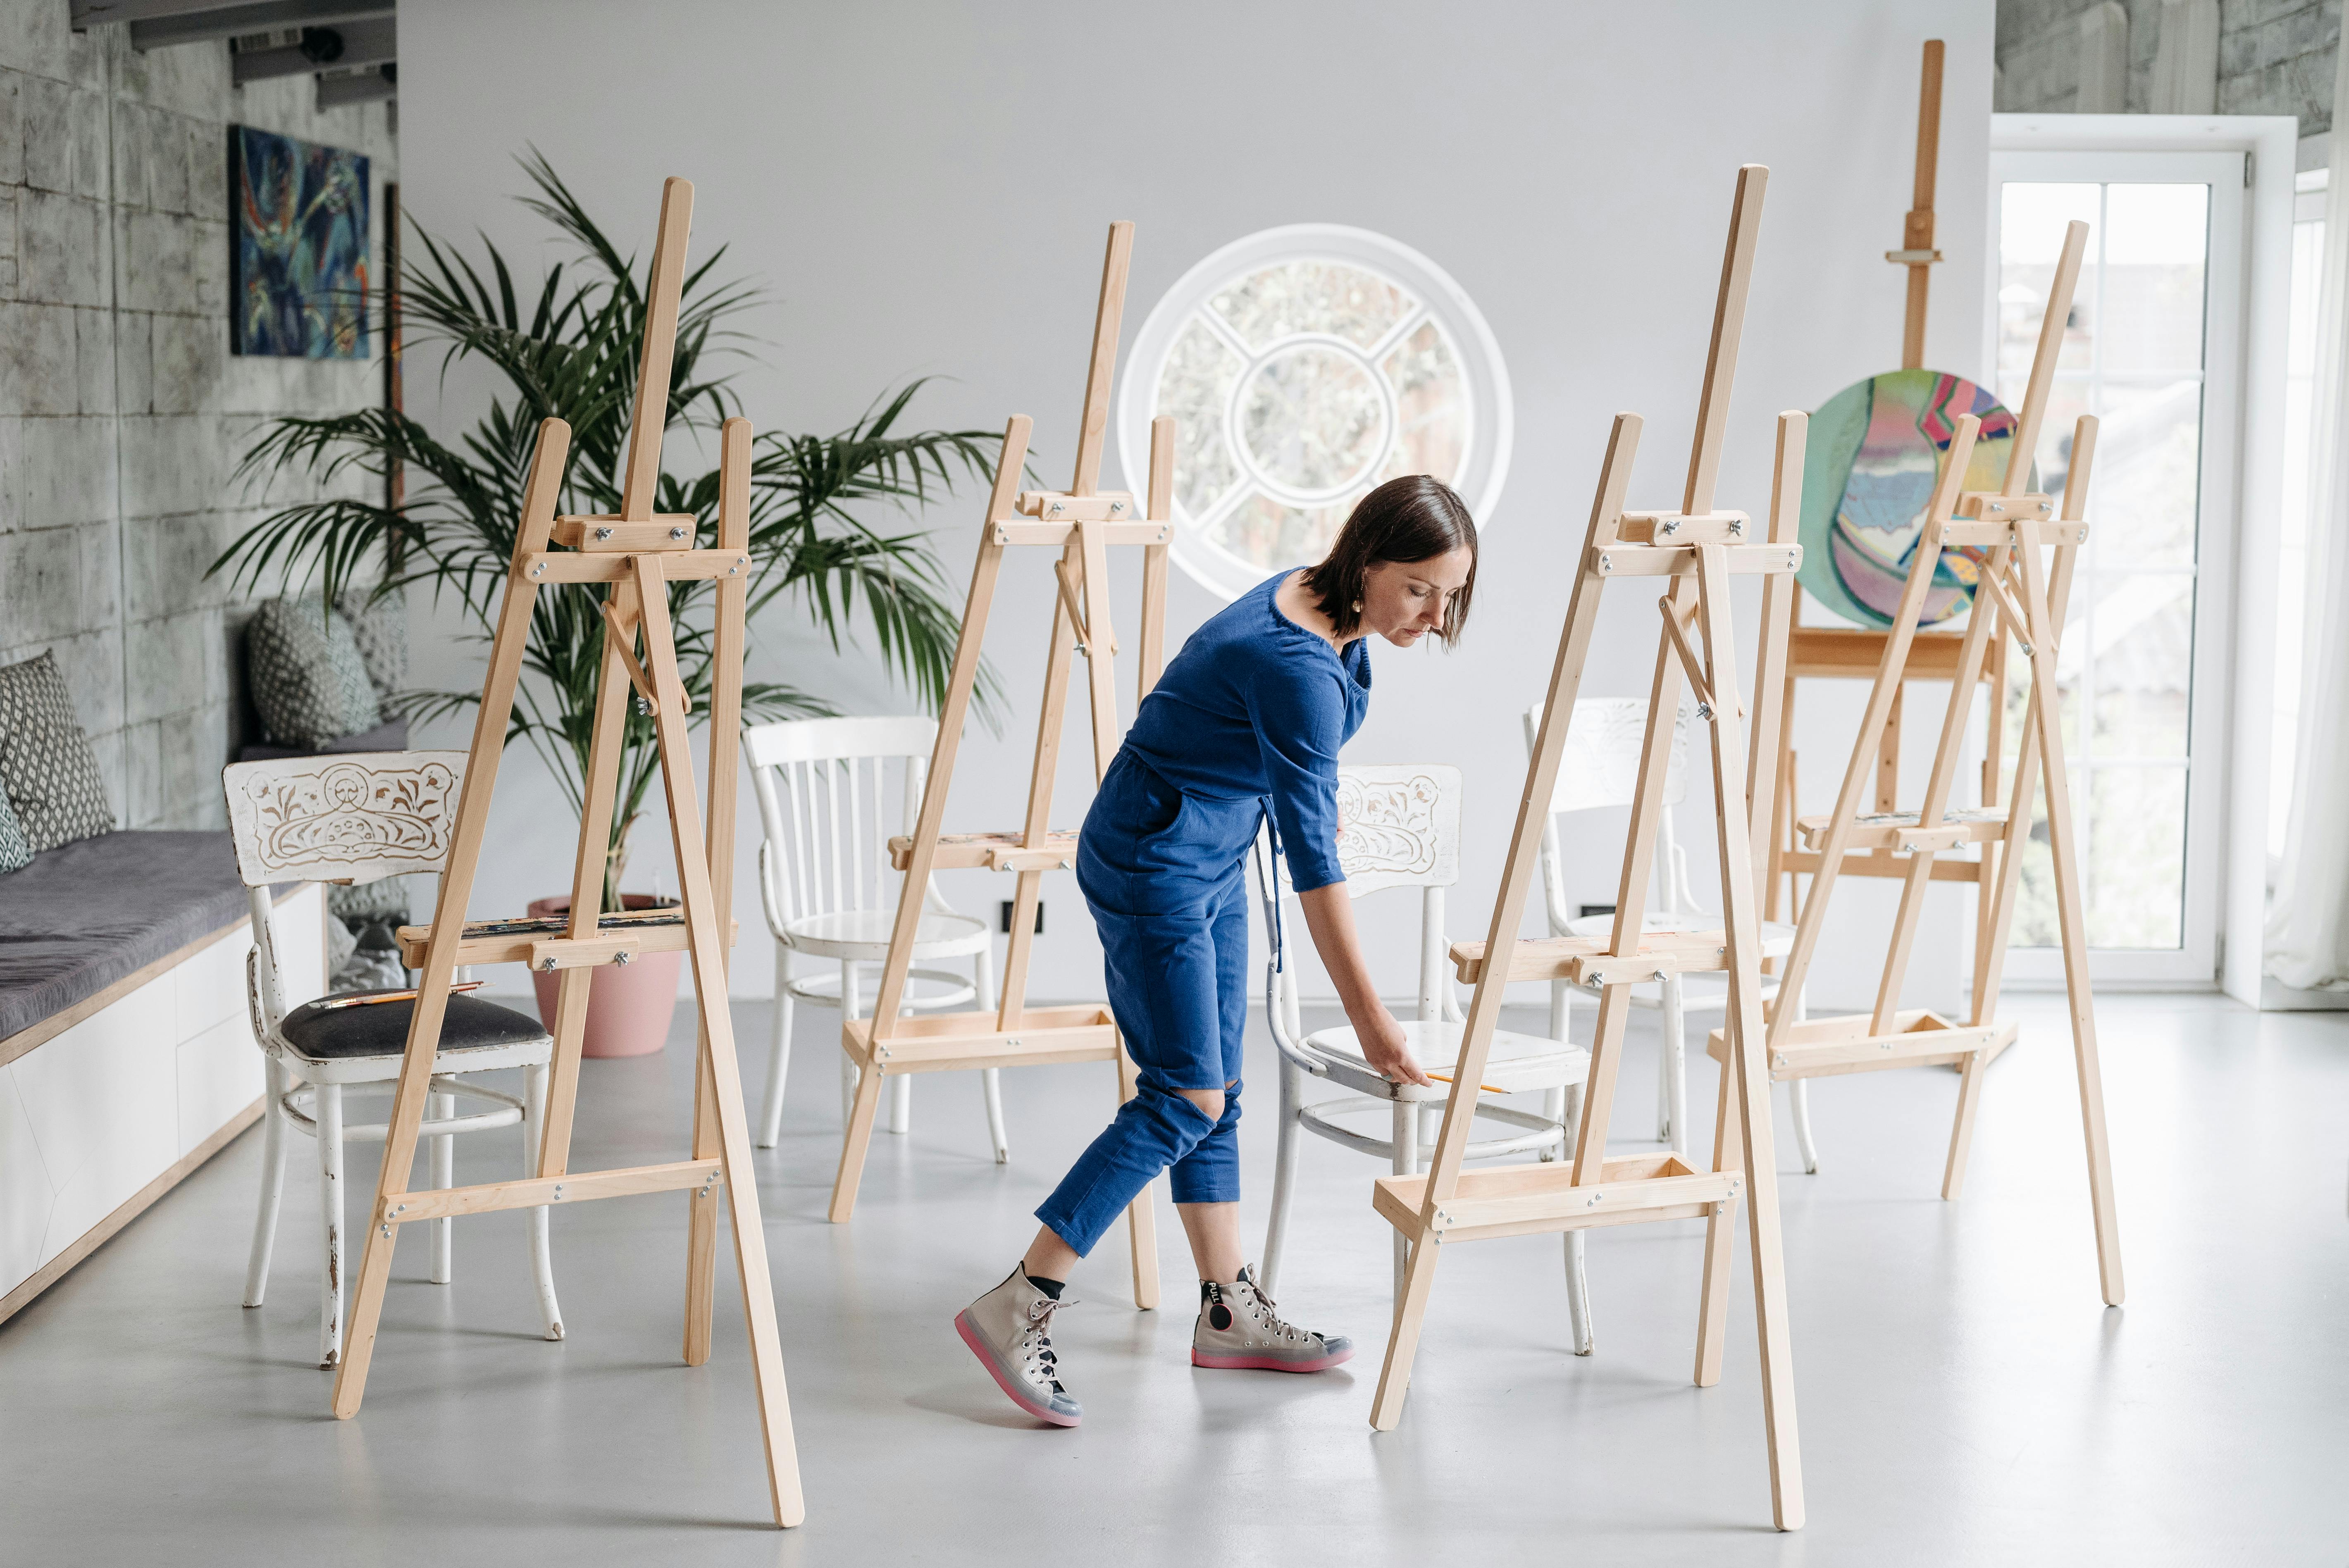
Your studio isn’t just a place to make art—it’s your creative headquarters. How you set it up and maintain it can make or break your productivity and the quality of your work.
Pro Tip: Treat your studio as a sacred space for creativity. Keep it organized, inspiring, and free from distractions to maximize your productivity.
Essential Studio Elements:
- Lighting: Natural light is ideal, but invest in quality artificial lighting if needed.
- Ventilation: Ensure proper airflow, especially when working with solvents or aerosols.
- Layout: Arrange your space to facilitate workflow and minimize distractions.
Creating a Creative Atmosphere:
- Personal Touches: Add artwork, plants, or objects that inspire you.
- Music or Silence: Choose an environment that enhances your focus.
- Comfort: Ensure your workspace is comfortable and ergonomic.
Creating a Productive Environment
A well-organized studio fosters creativity and efficiency. It’s not just about having the right tools; it’s about creating a space that inspires you and allows you to focus. Consider the lighting, ventilation, and layout of your studio. Natural light is ideal, but if that’s not possible, invest in good-quality artificial lighting that mimics daylight.

A well-organized studio fosters creativity and efficiency. It’s not just about having the right tools; it’s about creating a space that inspires you and allows you to focus. Consider the lighting, ventilation, and layout of your studio. Natural light is ideal, but if that’s not possible, invest in good-quality artificial lighting that mimics daylight.

Organizing Your Space
I once worked in a studio that was so cluttered, I wasted half my time searching for tools or materials. After a brutal weekend of reorganizing, I cut my "prep time" by 70%. Here’s how you can do the same:
- Zone Your Studio: Divide your space into areas for specific tasks—painting, sketching, storage, and packing finished work. This minimizes distractions and keeps you in the flow.
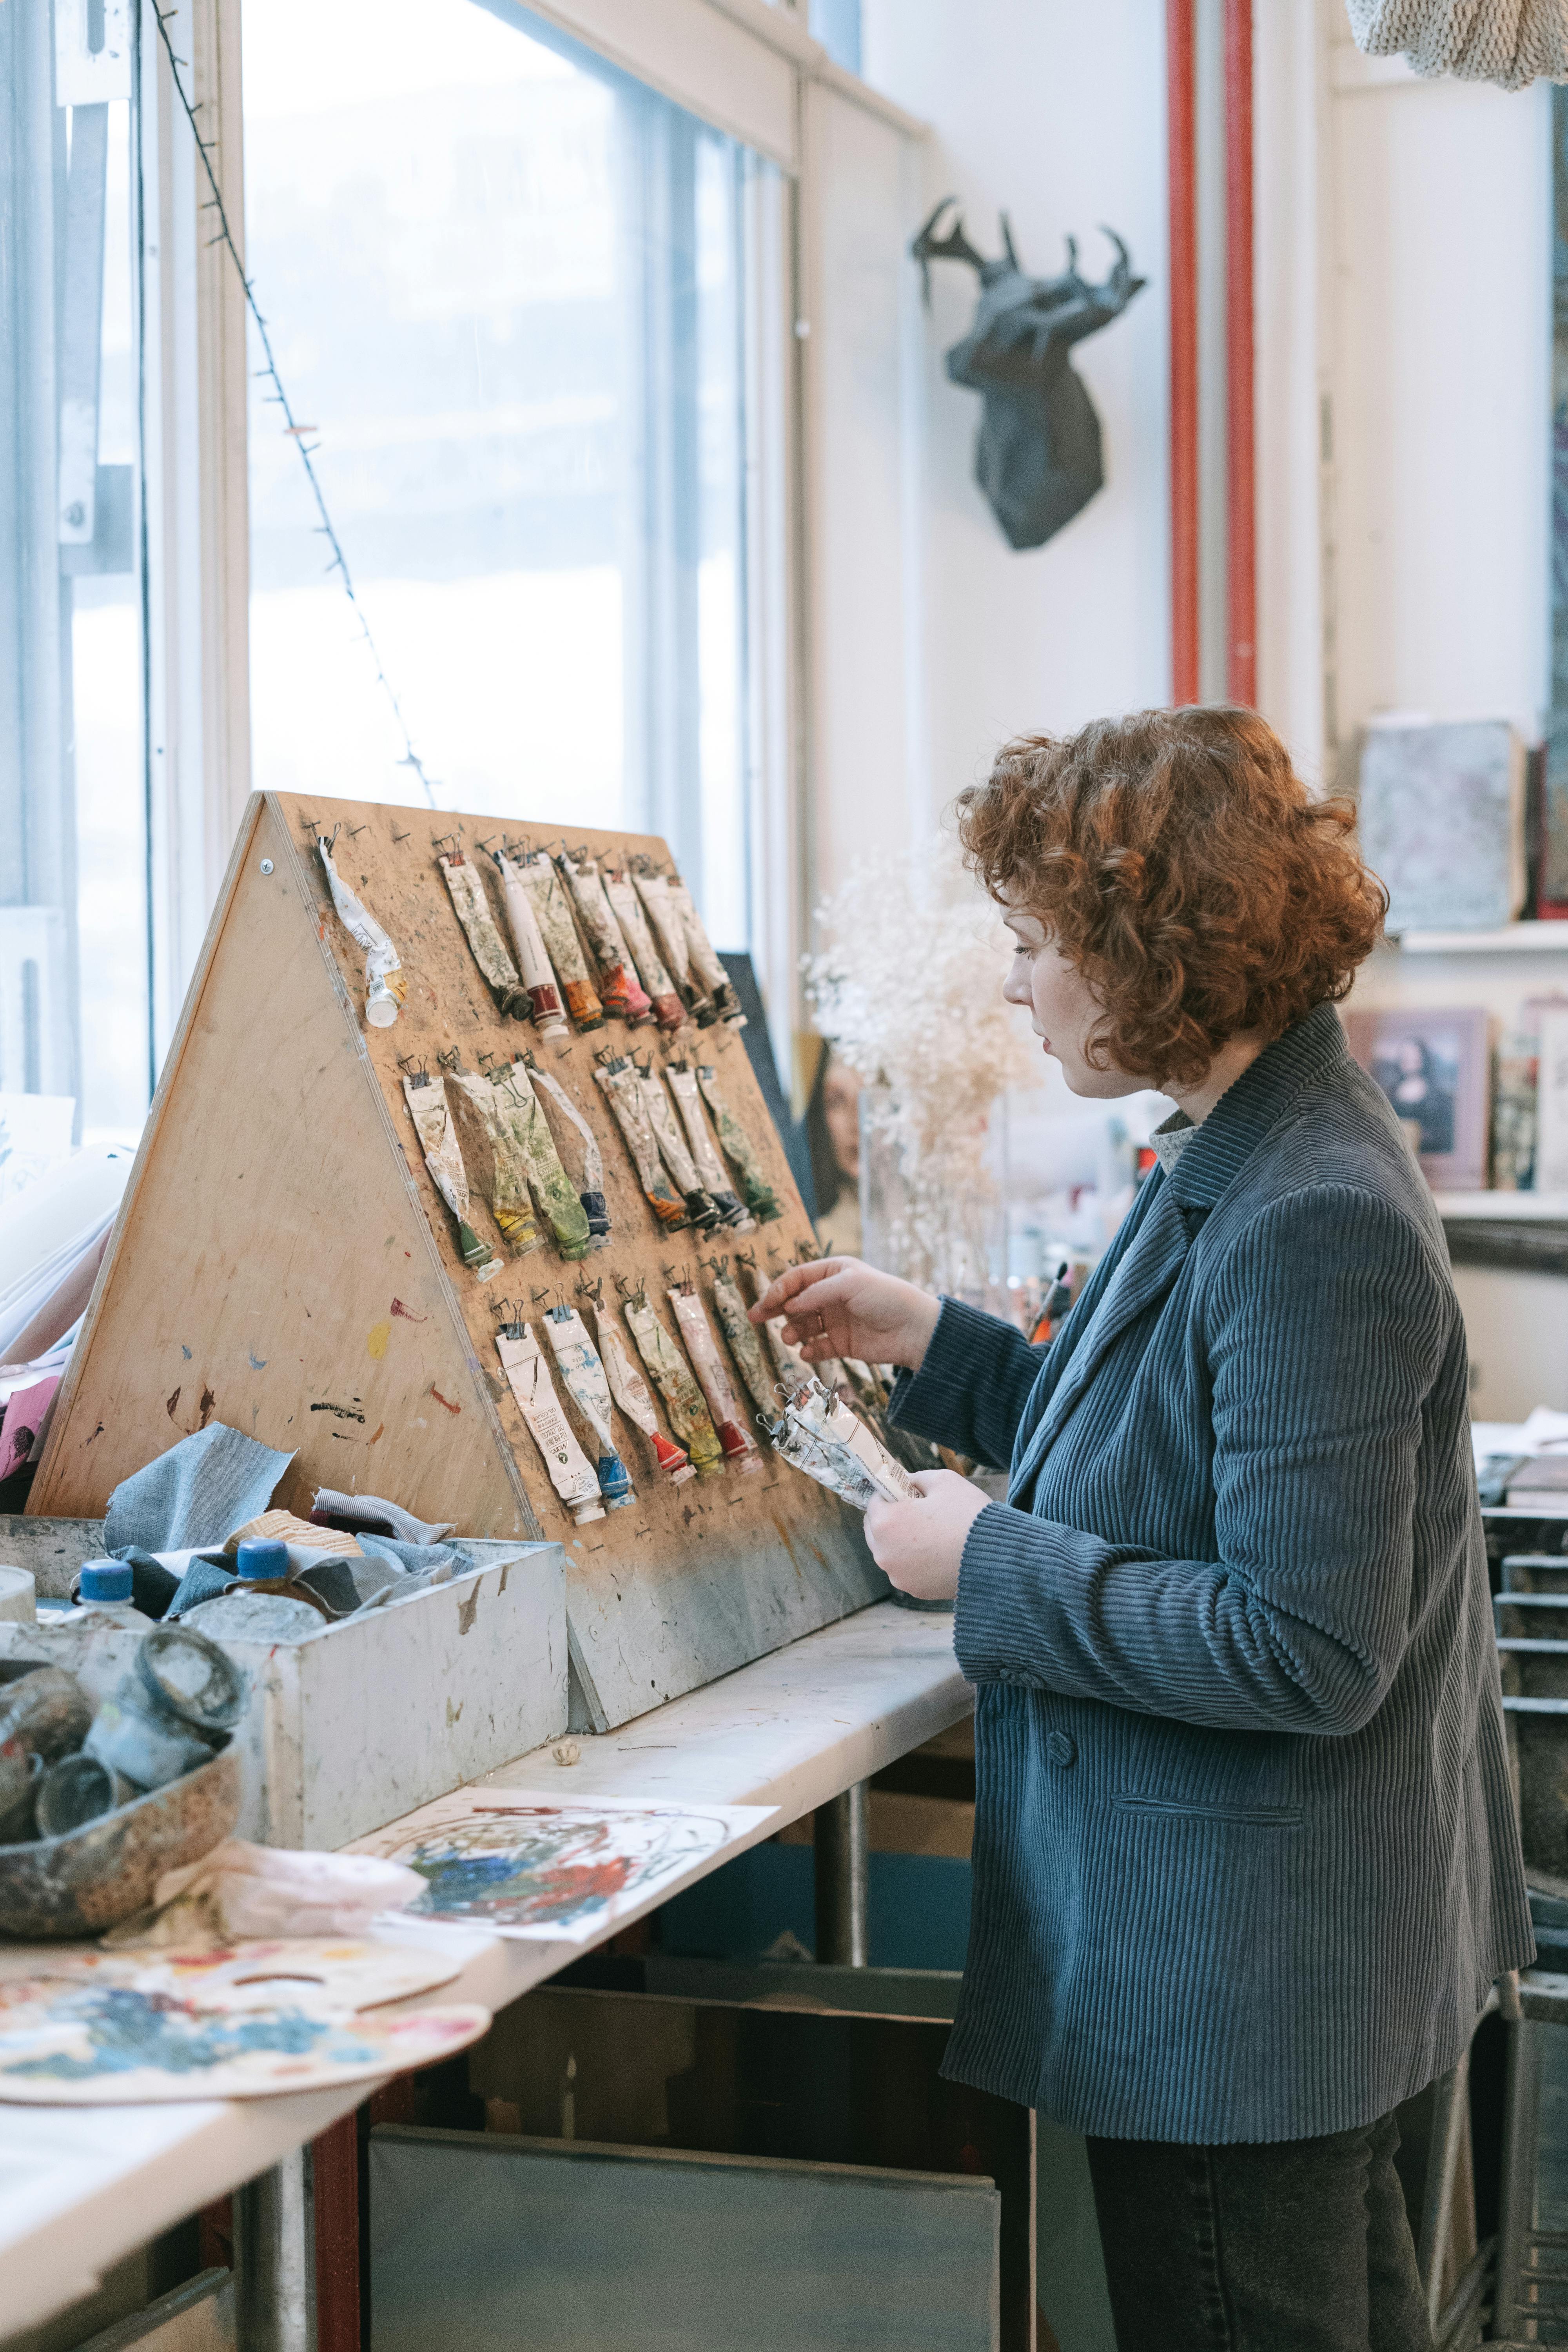
- Vertical Storage: Use pegboards, shelves, and wall-mounted racks to keep supplies visible and accessible. No more digging through drawers!
- Label Everything: This might sound obvious, but labeling your materials (especially paints, mediums, and varnishes) saves time and prevents costly mistakes.
- Ergonomic Setup: Ensure your workspace is ergonomically designed to prevent strain and injury. Adjust the height of your easel and chair to maintain a comfortable posture while working.
Pro Tip: Regularly declutter your studio to maintain an organized and inspiring workspace. A clean studio leads to a clear mind.
Additional Organization Tips:
- Color-Coding: Use color-coded labels or containers for different types of materials.
- Seasonal Rotation: Rotate materials based on the season or current projects.
- Digital Organization: Keep digital files and references organized for easy access.
Credit, License
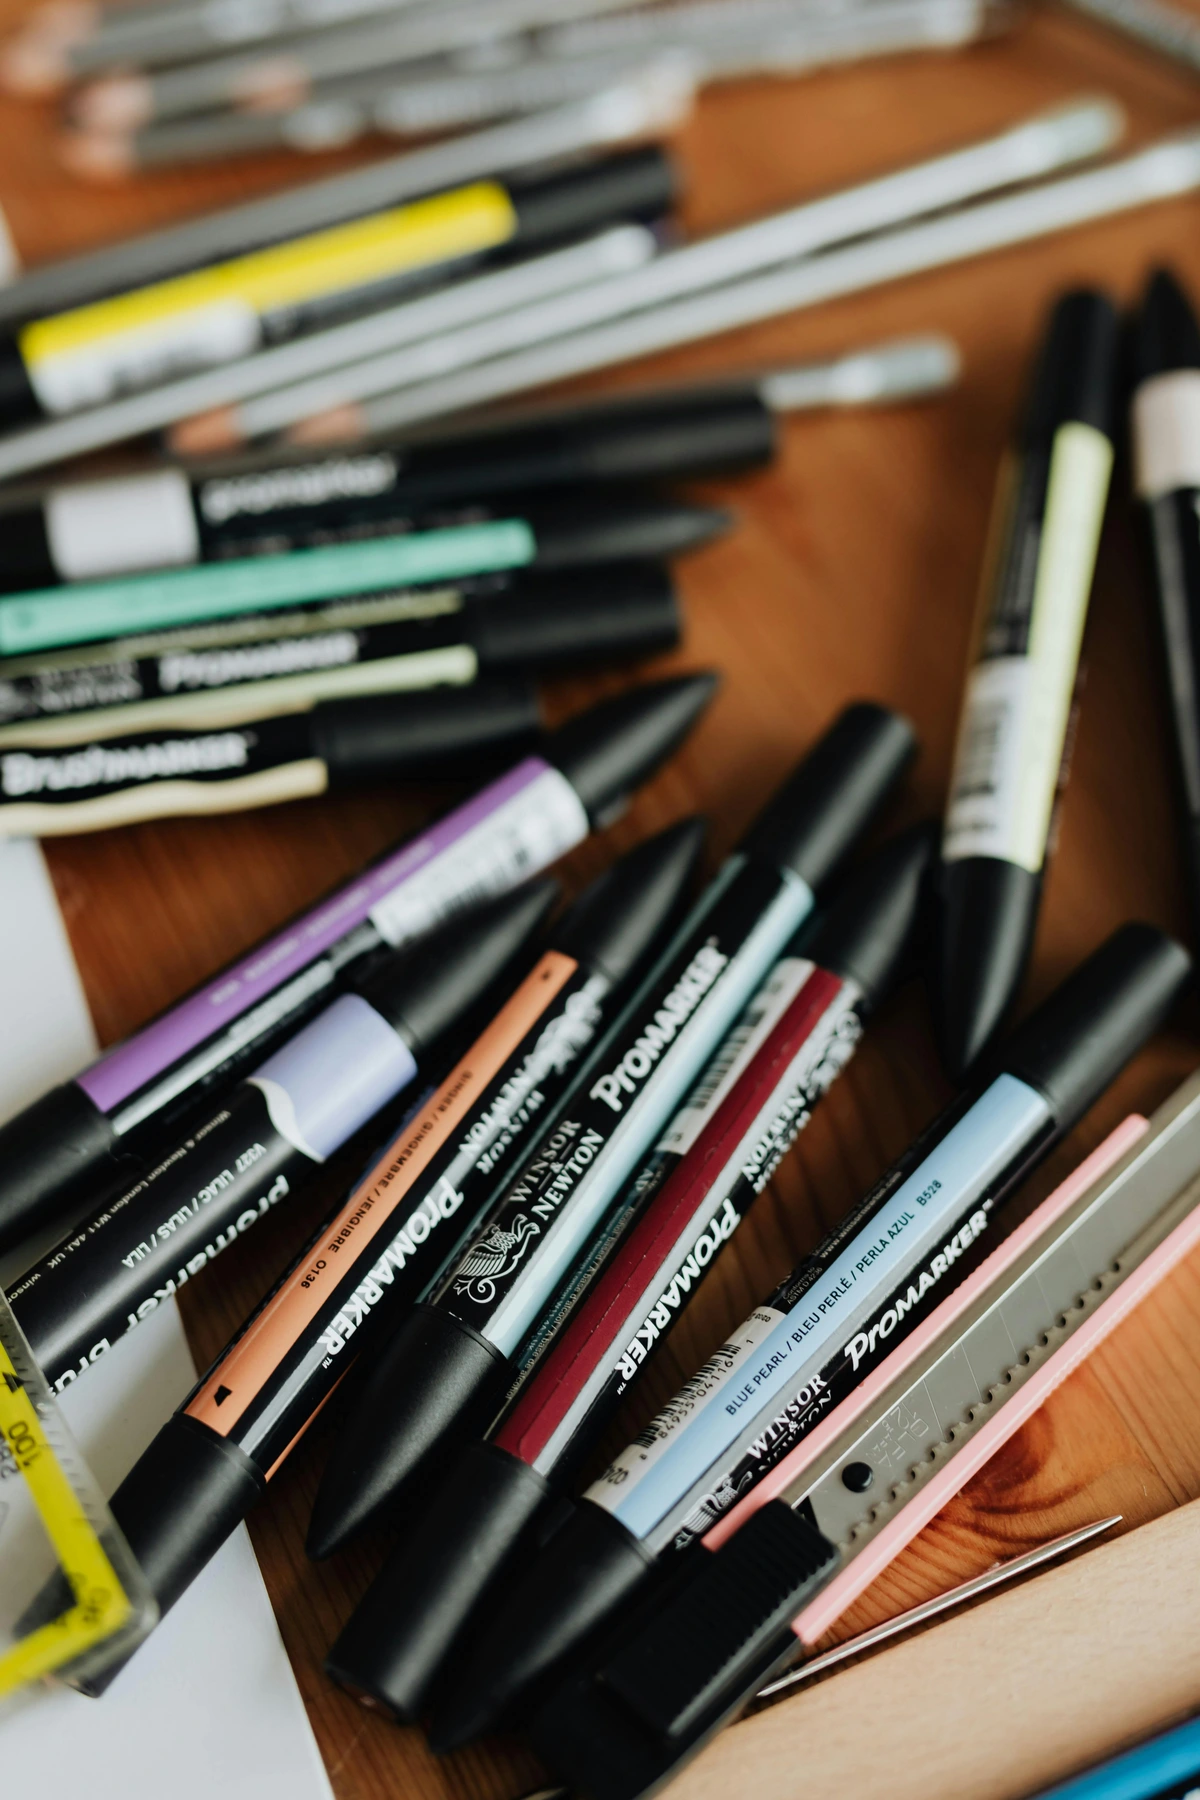
Maintaining Your Tools
Professionals take care of their tools like a chef sharpens their knives. Here’s a quick checklist:

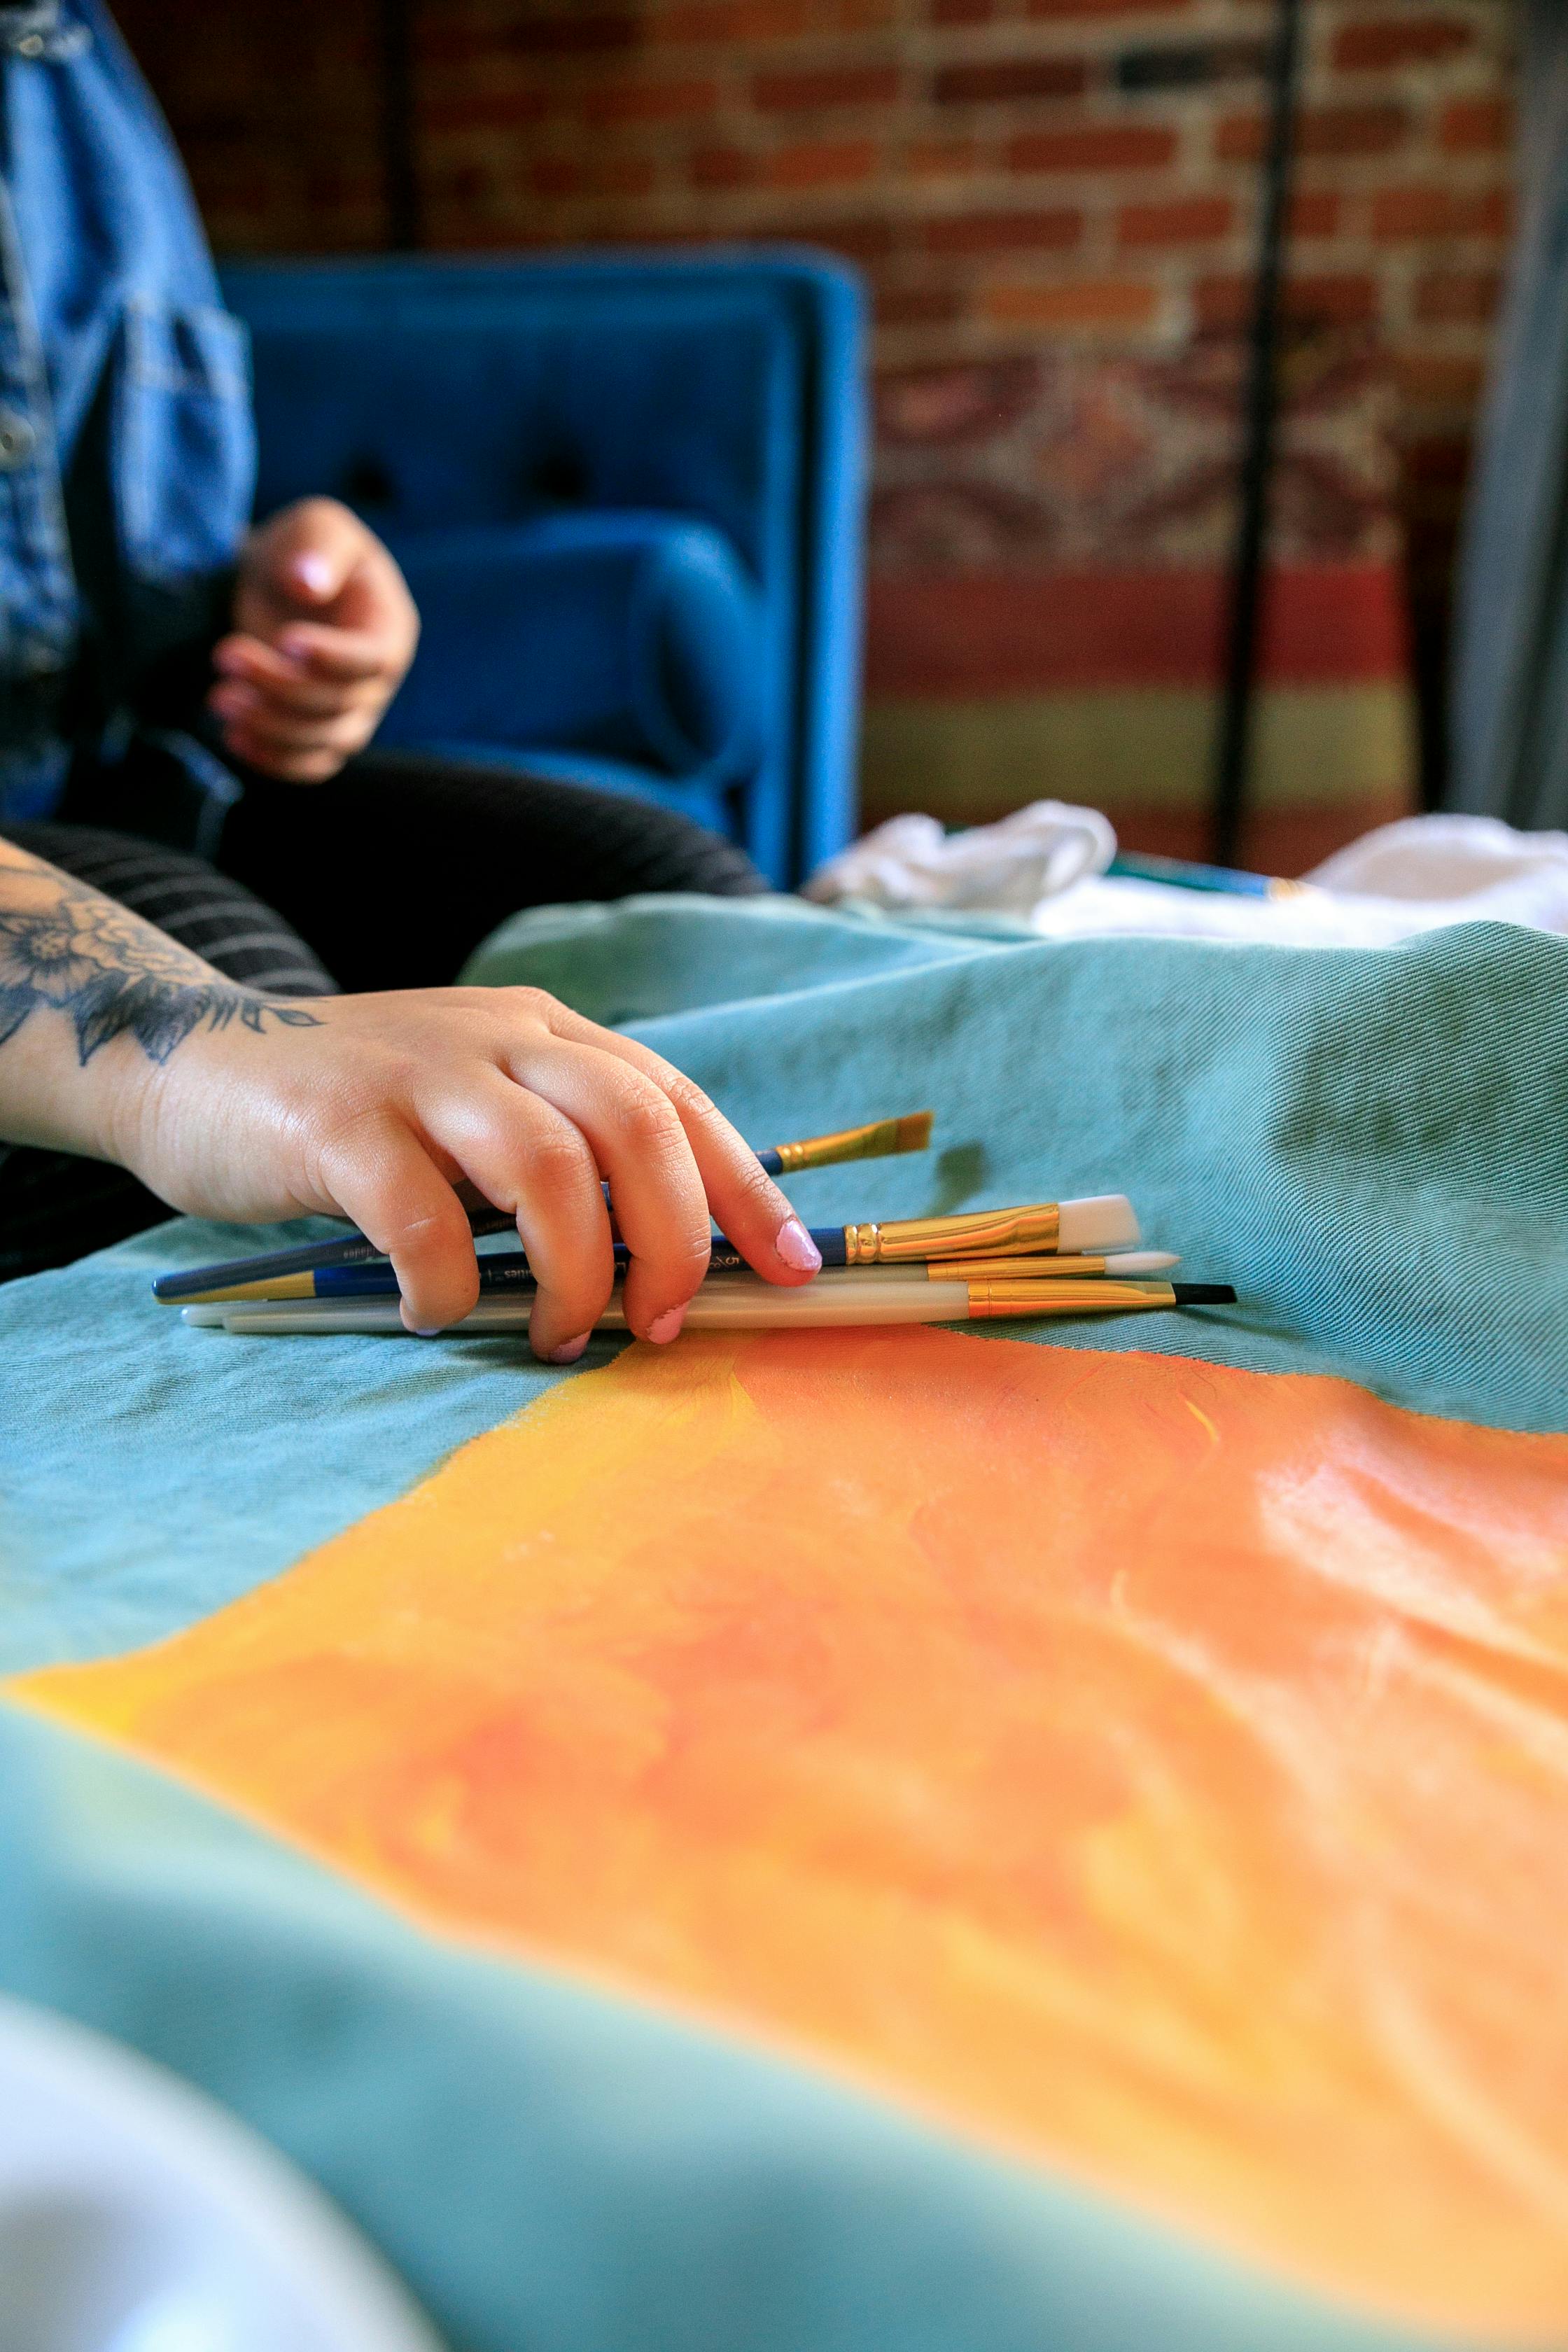
- Brushes: Clean them thoroughly after each use with mild soap and water. Reshape the bristles and store them upright or flat.
- Palettes: Scrape off excess paint and wipe them down with a damp cloth. For wooden palettes, occasional oiling keeps them from cracking.
- Easels and Furniture: Tighten screws regularly and check for stability. A wobbly easel is a recipe for disaster.
- Paints and Mediums: Store paints and mediums in a cool, dry place. Keep lids tightly sealed to prevent drying out or contamination.
Pro Tip: Dedicate 10 minutes at the end of each session to clean up. It’s a small habit that prevents overwhelming messes later.
Safety in the Studio
Safety is often overlooked but is essential in a professional studio. Ensure proper ventilation when working with solvents or aerosols. Wear protective gear like gloves and masks when handling toxic materials. Keep a first aid kit handy and know how to handle accidents.
Pro Tip: Familiarize yourself with the safety guidelines for the materials you use. Being informed can prevent accidents and ensure a safe working environment.
Safety Checklist:
- Ventilation: Use fans or open windows to ensure proper airflow.
- Protective Gear: Always wear gloves, masks, and aprons when necessary.
- Emergency Plan: Know the location of emergency exits and first aid supplies.
Additional Safety Tips:
- Material Safety Data Sheets (MSDS): Keep MSDS for all materials in your studio.
- Fire Safety: Ensure fire extinguishers are accessible and functional.
- Chemical Storage: Store chemicals in labeled, sealed containers away from heat sources.
Time Management: The Artist’s Secret Weapon
Time is your most valuable resource, and how you manage it determines how much you can create—and how well. Let’s break down the strategies that work for professional artists.
Pro Tip: Use a planner or digital tool to track your tasks and deadlines. Visualizing your schedule can help you stay organized and focused.
Time Management Techniques:
- Time Blocking: Allocate specific blocks of time for different tasks.
- Task Batching: Group similar tasks together to minimize context switching.
- Prioritization: Focus on high-impact tasks that align with your goals.
Prioritizing Tasks
Not all tasks are created equal. Learn to prioritize based on deadlines, importance, and your creative energy levels. Tackle high-priority tasks when you’re most productive, and save administrative tasks for when your energy dips.
Pro Tip: Use the Eisenhower Matrix to categorize tasks into urgent, important, both, or neither. This can help you focus on what truly matters.
Eisenhower Matrix:
Urgent | Not Urgent | |
|---|---|---|
| Important | Do Now | Schedule |
| Not Important | Delegate | Eliminate |
Additional Prioritization Tips:
- Energy Levels: Schedule creative tasks during peak energy times.
- Deadlines: Break down projects into smaller tasks with individual deadlines.
- Flexibility: Allow room for unexpected tasks or creative inspiration.
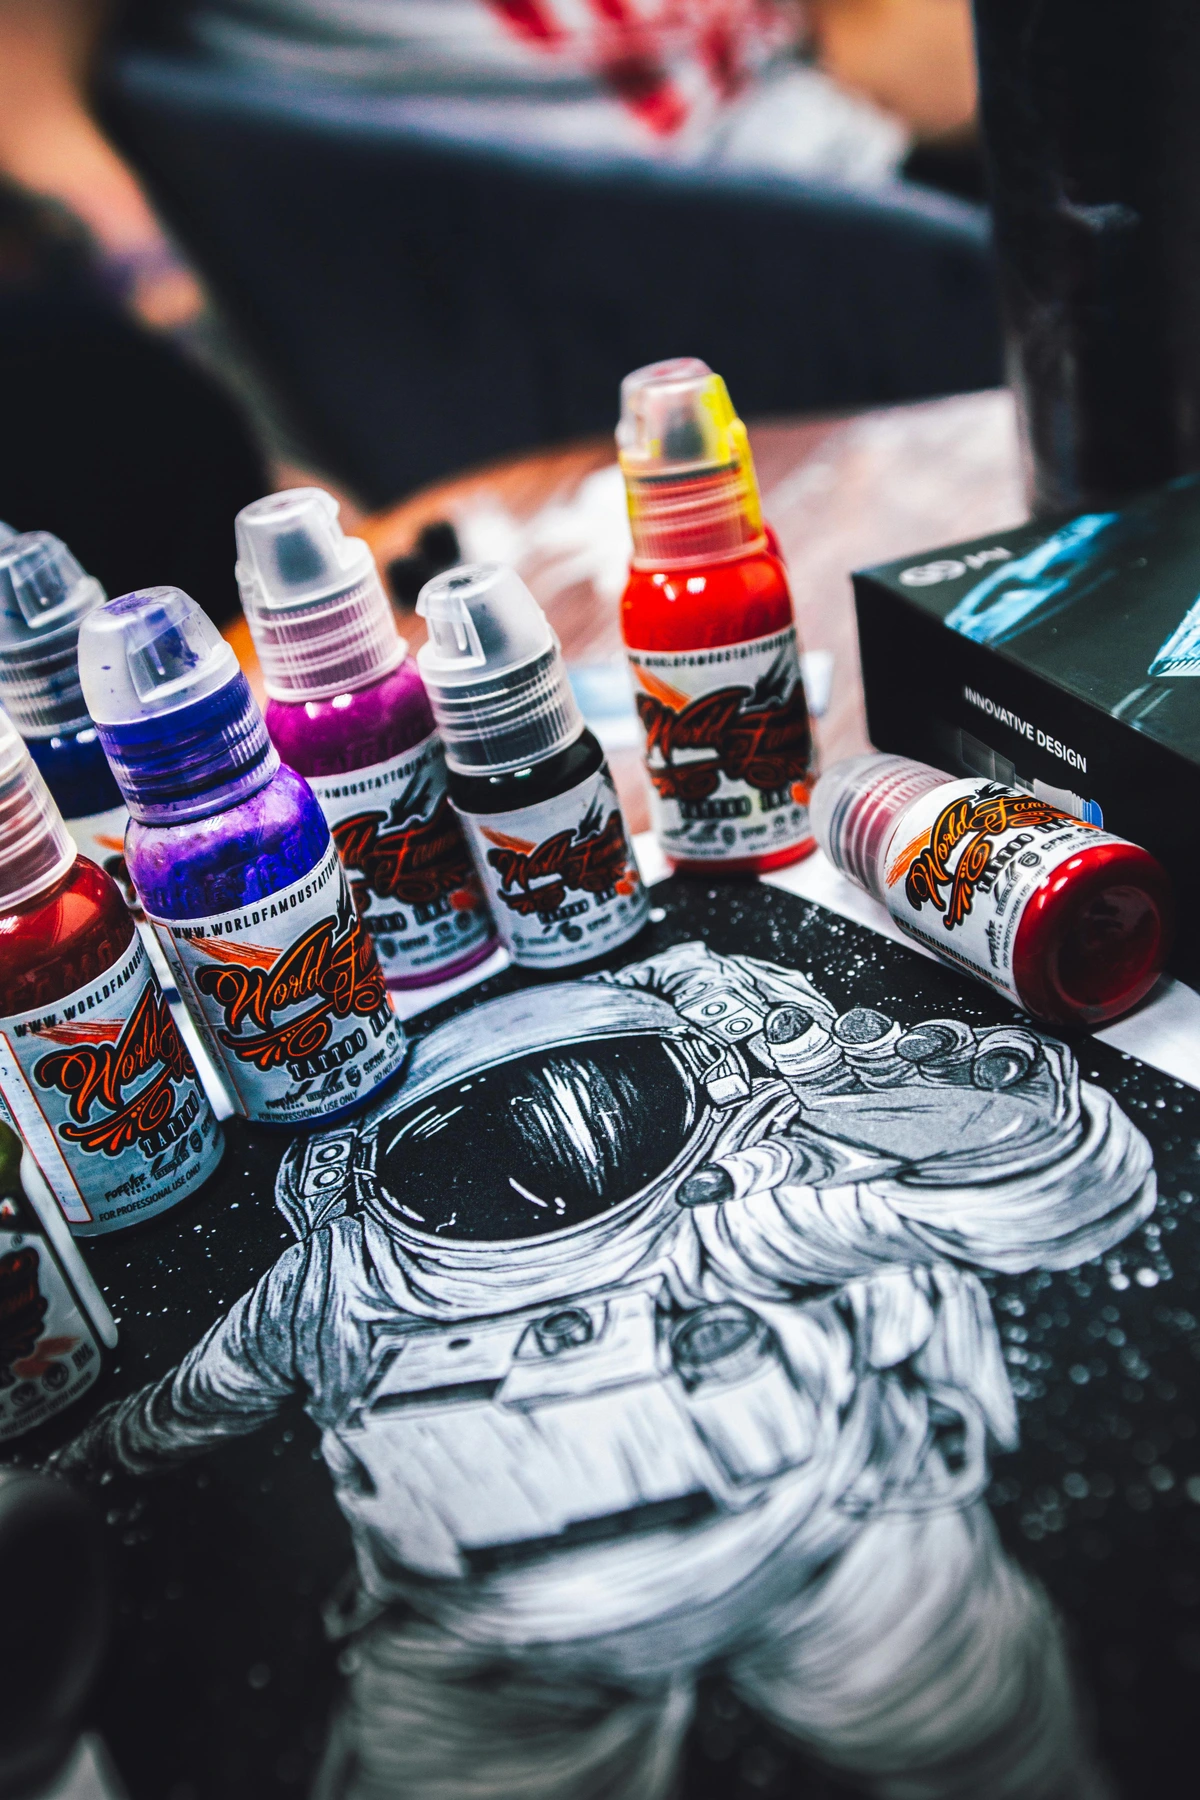
The Pomodoro Technique for Artists
You’ve probably heard of the Pomodoro Technique—working in focused 25-minute bursts with short breaks. But how does it apply to art? Here’s my twist:
- Set a Timer for 25 Minutes: Focus solely on one task—sketching, blocking in colors, or refining details.
- Take a 5-Minute Break: Step back, stretch, or grab a drink. This prevents burnout and gives you fresh eyes.
- After Four Sessions, Take a Longer Break: Use this time to assess your progress or plan your next steps.
- Reflect and Adjust: At the end of each Pomodoro session, take a moment to reflect on what you accomplished and adjust your goals for the next session.
Why It Works: It forces you to work efficiently and prevents the dreaded "overworking" a piece, where you nitpick it to death.
Pro Tip: Experiment with different time intervals to find what works best for your creative process. Some artists prefer longer sessions with fewer breaks.
Alternative Time Management Techniques:
- Time Boxing: Allocate a fixed amount of time for a task and stop when the time is up.
- Two-Minute Rule: If a task takes less than two minutes, do it immediately.
- Themed Days: Dedicate specific days to specific types of tasks (e.g., Mondays for sketching, Tuesdays for painting).
Setting Goals and Deadlines
Setting clear goals and deadlines can help you stay on track and motivated:
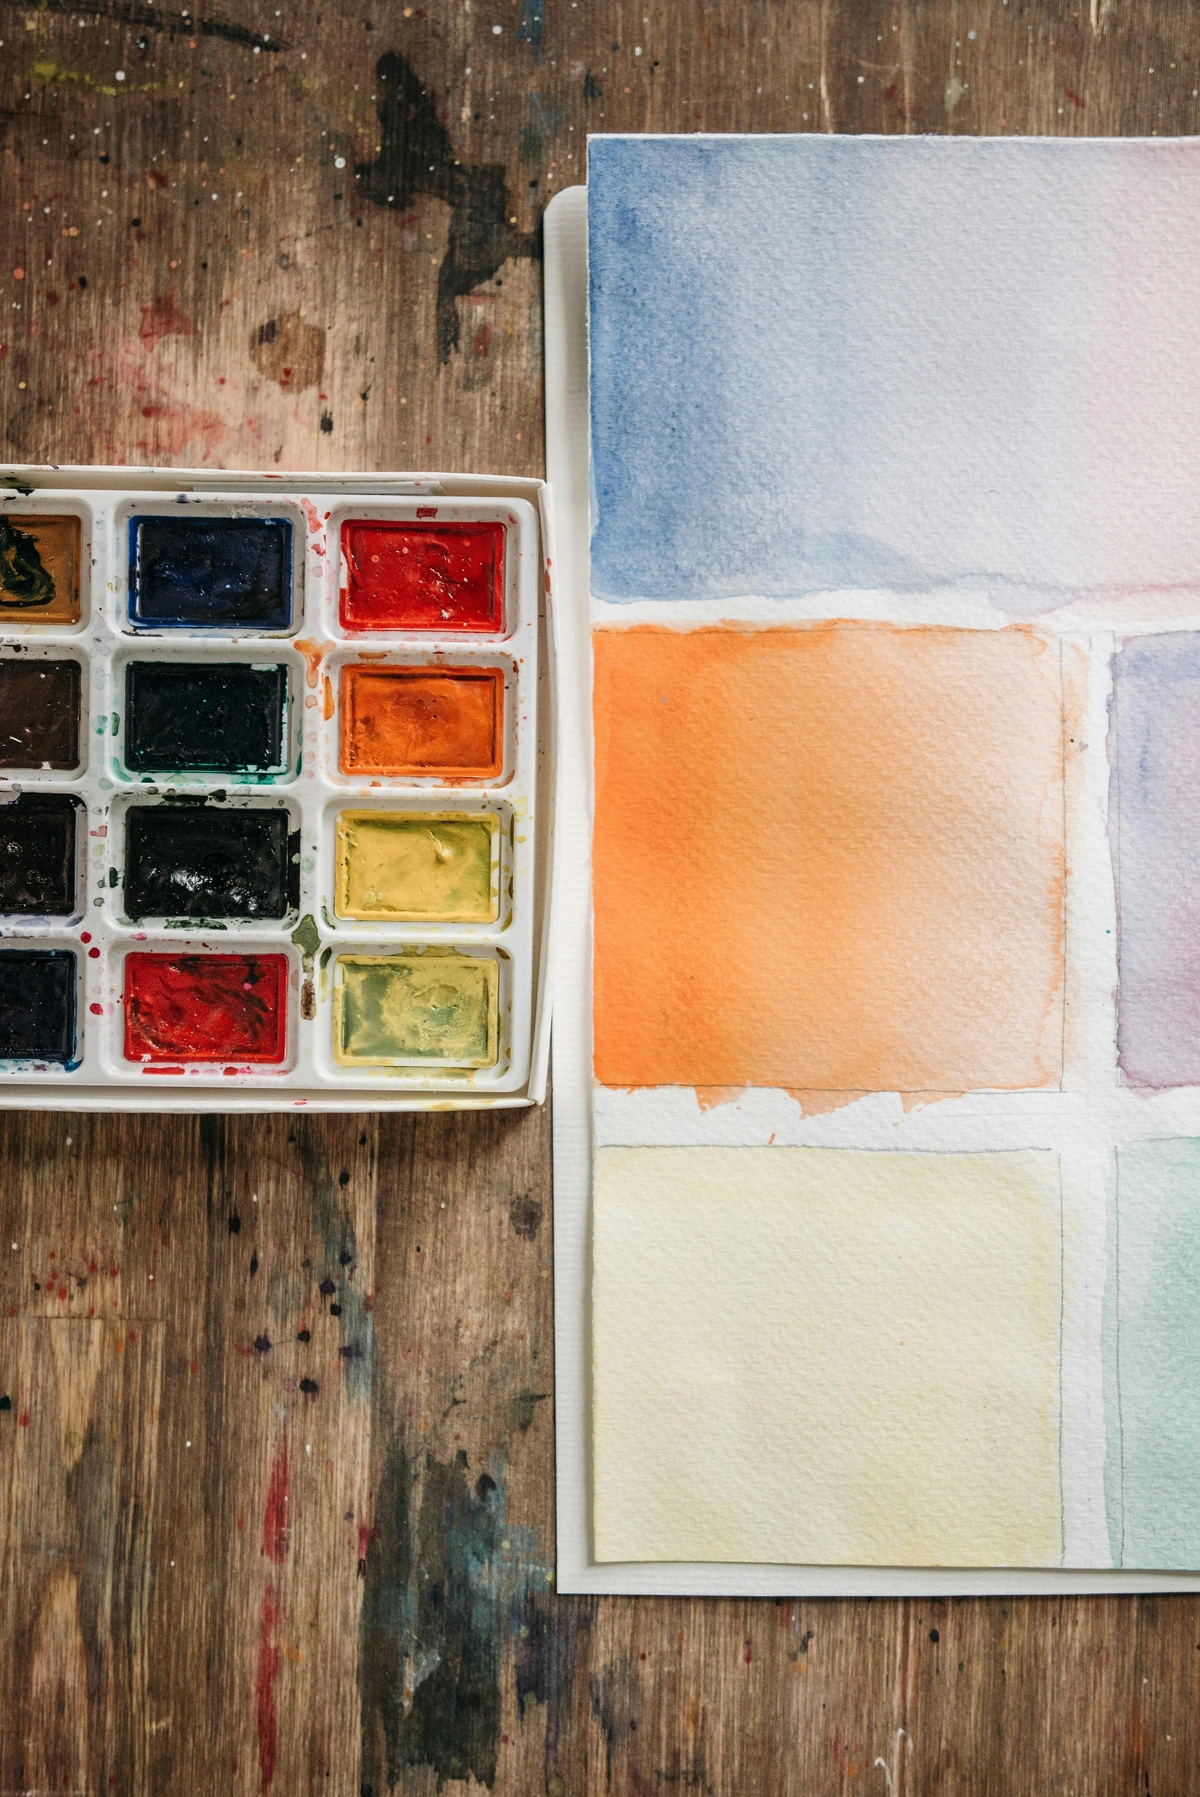
- Short-Term Goals: These could be daily or weekly tasks, like completing a sketch or experimenting with a new technique.
- Long-Term Goals: These might include finishing a series of paintings or preparing for an exhibition.
- Deadlines: Set realistic deadlines for your projects. They create a sense of urgency and help you prioritize your time.
- Milestones: Break down long-term goals into milestones. Celebrate small victories along the way to stay motivated and on track.
Pro Tip: Break down larger goals into smaller, manageable tasks. This makes them less overwhelming and easier to achieve.
Batch Processing
Professionals don’t just create one piece at a time—they work in batches. Here’s how:
- Prep Multiple Canvases: Stretch, prime, and tone several canvases at once. This way, you’re always ready to start a new piece.
- Mix Paints in Bulk: If you use specific colors frequently, mix larger quantities and store them in airtight containers.
- Photograph and Document: Set aside a day each month to photograph your work, update your portfolio, and document your process for social media.
- Plan Your Content: Create a content calendar for your social media and blog posts. This helps you stay consistent and engaged with your audience.
Pro Tip: Batch processing saves time and keeps your creative momentum going. It’s like meal prepping for your art practice.
Pro Tip: Use batch processing to experiment with new techniques or styles. This can help you discover new creative directions without disrupting your main projects.
Additional Batch Processing Tips:
- Material Preparation: Prepare all materials and tools in advance for a seamless workflow.
- Theme-Based Batches: Work on a series of pieces with a common theme or style.
- Efficiency: Batch processing reduces setup and cleanup time, allowing more time for creativity.
Techniques That Elevate Your Work
Now, let’s talk about the techniques that separate amateur work from professional quality. These aren’t just tricks—they’re fundamental skills that take time to master.
Pro Tip: Mastering techniques takes practice and patience. Don’t rush the process; enjoy the journey of learning and improving.
Key Techniques to Master:
- Light and Shadow: Understanding how light interacts with surfaces.
- Composition: Arranging elements to create a balanced and engaging piece.
- Color Theory: Using color to evoke emotions and create harmony.
Additional Techniques to Explore:
- Perspective: Creating depth and dimension in your artwork.
- Texture: Adding tactile elements to enhance visual interest.
- Brushwork: Experimenting with different brush strokes and techniques.

Understanding Light and Shadow
Light and shadow are the building blocks of form and depth in art. Study how light interacts with different surfaces and practice rendering shadows accurately. This skill alone can dramatically improve the realism and impact of your work.
Pro Tip: Experiment with different lighting scenarios to understand how shadows change with the angle and intensity of light. This can add depth and dimension to your artwork.
Light and Shadow Techniques:
- Chiaroscuro: Using strong contrasts between light and dark.
- Gradation: Smooth transitions between light and shadow.
- Reflections: Capturing how light reflects off surfaces.
Additional Lighting Tips:
- Natural vs. Artificial Light: Understand the differences and how to use each effectively.
- Shadow Mapping: Create a map of shadows to guide your shading.
- Light Sources: Experiment with multiple light sources for complex effects.
Mastering Composition
A strong composition is the backbone of any great artwork. Here are the rules professionals swear by:

- Rule of Thirds: Divide your canvas into thirds (both horizontally and vertically) and place key elements along these lines or at their intersections.
- Leading Lines: Use lines—whether they’re roads, rivers, or even shadows—to guide the viewer’s eye through your piece.
- Negative Space: Don’t overlook the empty spaces. They’re just as important as the filled ones in creating balance and focus.
- Symmetry and Asymmetry: Experiment with both symmetrical and asymmetrical compositions. Symmetry can create a sense of order and calm, while asymmetry can add dynamism and interest.

Credit, License
Color Theory in Practice
Understanding color theory is one thing—applying it like a pro is another. Here’s how to make your colors sing:

- Limited Palette: Start with just 3-5 colors and mix everything from them. This creates harmony in your work.
- Temperature Control: Warm colors advance; cool colors recede. Use this to create depth and focus.
- Grayscale Check: Take a photo of your work and convert it to grayscale. If the values (lights and darks) don’t read clearly, your colors won’t either.
- Color Psychology: Understand the emotional impact of colors. Use this knowledge to evoke specific moods or feelings in your artwork.
Pro Tip: Keep a color journal. Swatch your mixes and note the ratios. It’s a game-changer for consistency.
The Power of Layers
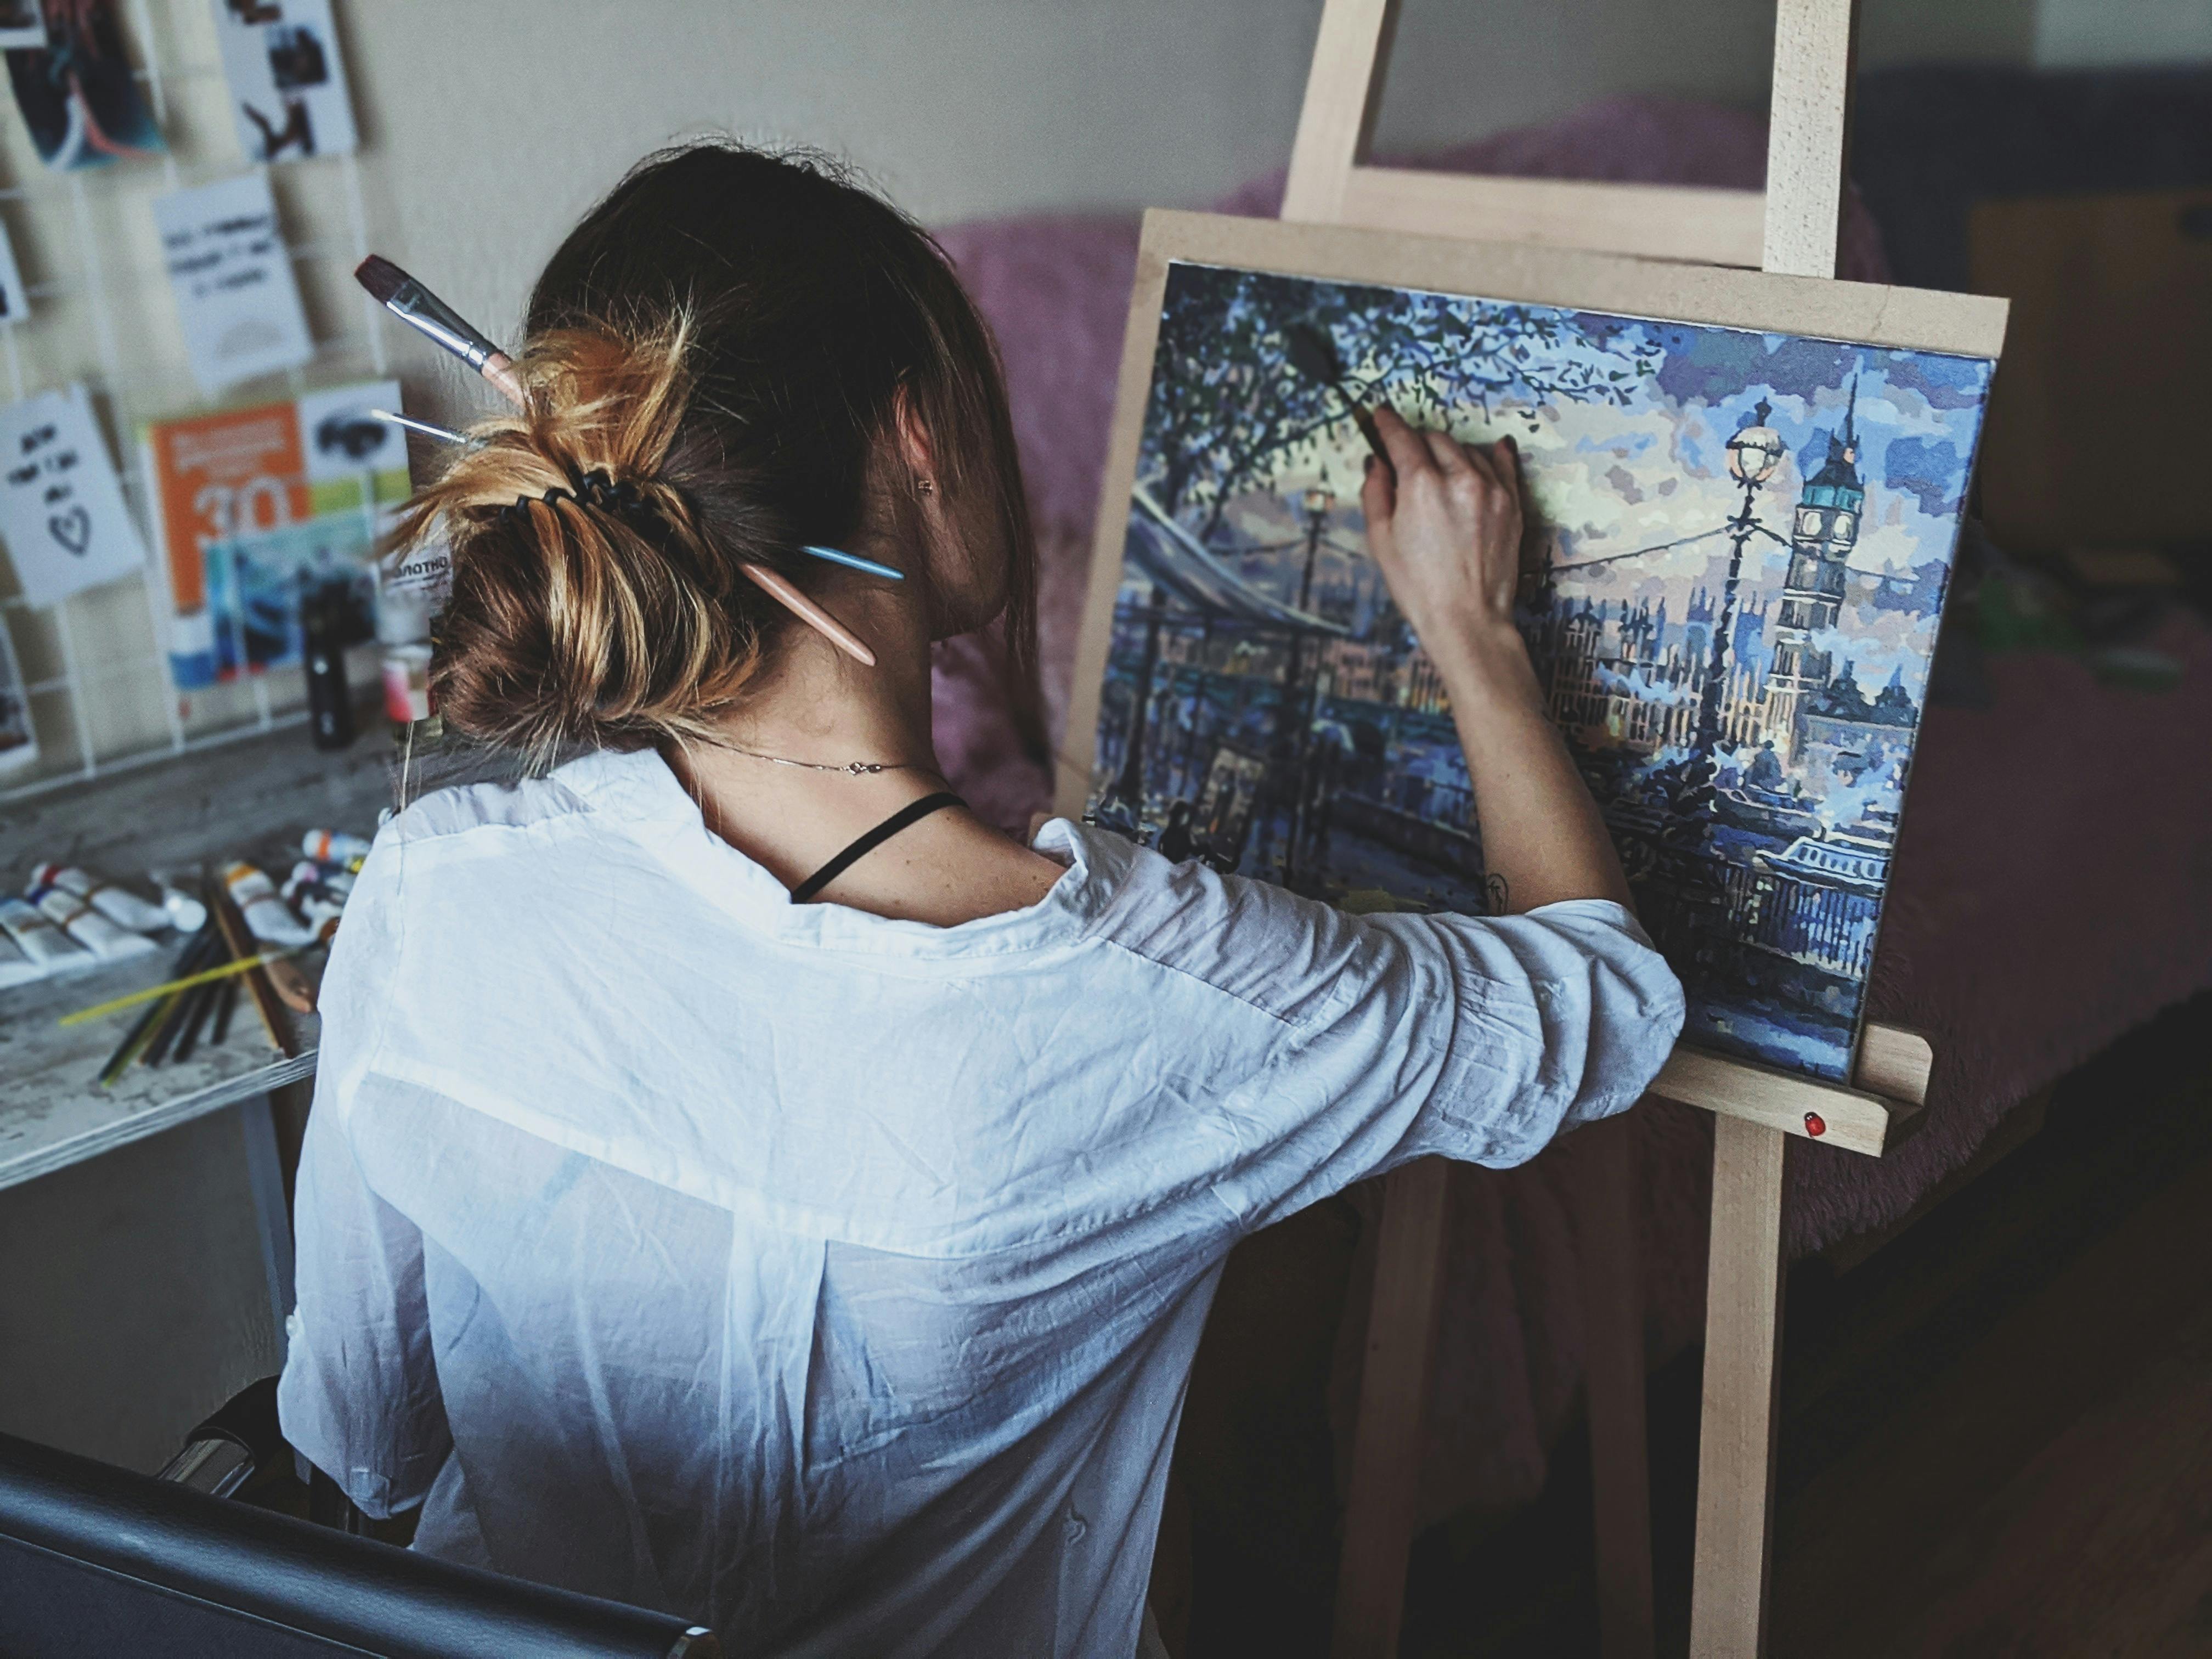
Professional artists rarely finish a piece in one go. Instead, they build it up in layers:
- Underpainting: Start with a thin, monochromatic layer to establish values and composition.
- Blocking In: Add broad areas of color, focusing on large shapes rather than details.
- Refining: Gradually add details, adjusting colors and values as you go.
- Final Touches: This is where you add highlights, textures, and any final adjustments.
- Varnishing: Apply a protective varnish to your finished piece to enhance its longevity and appearance.
Why It Works: Layers allow you to correct mistakes early and create depth and luminosity in your work.
Pro Tip: Allow each layer to dry completely before adding the next. This prevents smudging and ensures a clean, professional finish.
Additional Layering Tips:
- Glazing: Apply thin, transparent layers of color to create luminous effects.
- Scumbling: Use a dry brush to apply opaque layers for texture.
- Impasto: Apply thick layers of paint for a three-dimensional effect.
Experimenting with Textures
Adding texture to your artwork can create visual interest and depth:
- Impasto: This technique involves applying paint thickly to create a textured surface.
- Collage: Incorporate different materials like paper, fabric, or found objects into your artwork.
- Dry Brushing: Use a dry brush to apply paint lightly, creating a rough, textured effect.
- Sgraffito: Scratch through a layer of paint to reveal the layer beneath, creating interesting textures and patterns.
Pro Tip: Don’t be afraid to mix and match techniques. Experimentation can lead to unique and exciting results.
Pro Tip: Use textures to add a tactile element to your artwork. This can make your pieces more engaging and memorable.
Additional Texturing Techniques:
- Stippling: Use small dots to create texture and shading.
- Washing: Apply thin layers of paint to create a translucent effect.
- Mixed Media: Combine different materials and techniques for unique textures.
The Business Side: Selling and Promoting Your Art
Creating art is only half the battle—getting it out into the world is the other. Here’s how professionals handle the business side.
Pro Tip: Treat your art as a business. This means setting goals, tracking your progress, and continuously looking for opportunities to grow and expand your reach.
Business Strategies:
- Branding: Develop a unique identity for your art.
- Marketing: Use social media, email lists, and networking to promote your work.
- Sales: Explore galleries, online platforms, and art fairs to sell your art.
Building Your Brand
Your brand is more than just your artwork; it’s your story, your values, and how you present yourself to the world. Develop a consistent visual identity, including your logo, color scheme, and typography. This helps you stand out and be memorable.
Pro Tip: Your brand should reflect your unique artistic voice and vision. Be authentic and true to yourself in all your branding efforts.
Branding Elements:
- Logo: A simple, recognizable symbol.
- Color Scheme: Consistent colors that represent your style.
- Typography: Fonts that complement your artwork and message.
Additional Branding Tips:
- Storytelling: Share your artistic journey and inspirations.
- Consistency: Maintain a consistent style and message across all platforms.
- Engagement: Build a community around your brand through social media and events.
Pricing Your Work
Pricing art is tricky, but here’s a simple formula to start:

- Cost of Materials: Calculate what you spent on canvas, paint, framing, etc.
- Time Invested: Decide on an hourly rate (even if it’s modest at first) and multiply it by the hours spent.
- Market Research: Look at what similar artists are charging. Adjust your prices based on your experience and demand.
- Perceived Value: Consider the perceived value of your artwork. Factors like uniqueness, emotional impact, and your reputation can influence how much people are willing to pay.
Pro Tip: Don’t undervalue your work. It’s better to start a little higher and offer discounts than to price too low and struggle to raise prices later.
Pro Tip: Offer limited edition prints or exclusive pieces to create a sense of scarcity and increase the perceived value of your work.
Additional Pricing Tips:
- Tiered Pricing: Offer different price points for various sizes or formats.
- Commission Pricing: Charge a premium for custom or commissioned work.
- Seasonal Adjustments: Adjust prices based on demand and seasonal trends.
Understanding Your Market
Knowing your target market can help you price and sell your work more effectively:
- Identify Your Audience: Who are your ideal buyers? Are they collectors, interior designers, or art enthusiasts?
- Research Trends: Stay up-to-date with current trends in the art market. This can help you position your work effectively.
- Networking: Build relationships with galleries, curators, and other artists. Networking can open doors to new opportunities.
- Engage with Your Community: Participate in local art events, online forums, and social media groups. Engaging with your community builds your reputation and expands your reach.
Pro Tip: Attend art fairs, exhibitions, and networking events to connect with potential buyers and industry professionals.
Pro Tip: Use social media analytics to understand your audience better. This can help you tailor your content and marketing strategies to their preferences.
Additional Market Research Tips:
- Competitor Analysis: Study the strategies of successful artists in your niche.
- Customer Feedback: Gather feedback from your audience to refine your offerings.
- Market Segmentation: Identify and target specific segments of the art market.
Building an Online Presence
In today’s world, an online presence is non-negotiable. Here’s how to do it right:
- Website: Your website is your digital studio. Make sure it’s clean, easy to navigate, and showcases your best work. Check out our timeline for inspiration on how to present your artistic journey.
- Social Media: Post consistently, but focus on quality over quantity. Share your process, not just finished pieces.
- Email List: Start building an email list early. It’s the best way to connect directly with collectors and fans.
- Blogging: Share your insights, experiences, and tips through a blog. This not only helps with SEO but also establishes you as an authority in your field.
Pro Tip: Engage with your audience. Reply to comments, ask questions, and build a community around your art.
Pro Tip: Collaborate with other artists or influencers to expand your reach and gain exposure to new audiences.
Additional Online Presence Tips:
- SEO Optimization: Use keywords and meta descriptions to improve search engine rankings.
- Content Calendar: Plan and schedule your content in advance for consistency.
- Analytics: Track your online performance to refine your strategies.
FAQ: Your Burning Questions Answered
How do I stay motivated when I don’t feel inspired?
Inspiration is fickle, but discipline isn’t. Set small, achievable goals—like "I’ll sketch for 10 minutes"—and often, the motivation will follow. Remember, professionals don’t wait for inspiration; they create it.
Pro Tip: Create a vision board or a list of artistic goals to remind yourself of what you’re working towards. This can reignite your passion and motivation.
Additional Tips for Motivation:
- Change Your Environment: Work in a new location or rearrange your studio.
- Seek Inspiration: Visit galleries, read books, or explore nature.
- Set Challenges: Participate in art challenges or competitions to push your boundaries.
Additional Motivation Strategies:
- Accountability Partners: Share your goals with a friend or mentor to stay accountable.
- Rewards: Treat yourself to small rewards for achieving milestones.
- Mindfulness: Practice mindfulness and meditation to stay focused and motivated.
How can I overcome creative burnout?
Creative burnout is a real challenge. Take breaks, change your environment, or try a new medium. Sometimes, stepping away from your usual routine can reignite your passion and creativity.
Pro Tip: Engage in activities outside of art, such as hiking, reading, or cooking. These can provide fresh perspectives and ideas for your work.
Signs of Creative Burnout:
- Lack of Motivation: Feeling uninspired or uninterested in your work.
- Frustration: Feeling stuck or unable to make progress.
- Exhaustion: Physical or mental fatigue from overworking.
Additional Burnout Recovery Tips:
- Self-Care: Prioritize rest, nutrition, and exercise.
- Creative Breaks: Take a break from creating to recharge.
- New Experiences: Explore new hobbies or activities to spark creativity.
How can I find my unique artistic style?
Finding your unique style takes time and experimentation. Here are some tips:

- Experiment: Try different mediums, techniques, and subjects. Don’t be afraid to step out of your comfort zone.
- Study Other Artists: Look at the work of artists you admire. Analyze what you like about their style and how you can incorporate those elements into your own work.
- Be Patient: Your style will evolve over time. Don’t rush the process—enjoy the journey of discovery.
- Reflect on Your Work: Regularly review your past work to identify recurring themes, techniques, or elements that define your style.
Pro Tip: Keep a sketchbook to document your experiments and ideas. It’s a great way to track your progress and see how your style develops.
What’s the best way to deal with creative block?
Creative blocks happen to everyone. Try switching mediums, taking a walk, or visiting a museum. Sometimes, stepping away is the best way to come back with fresh ideas. Check out our museum page for some virtual inspiration.
Pro Tip: Set aside time for free-form experimentation without the pressure of creating a finished piece. This can help you break through creative blocks and rediscover your passion.
Additional Creative Block Solutions:
- Mind Mapping: Create a mind map to explore new ideas and connections.
- Collaboration: Work with other artists to gain new perspectives.
- Rest: Sometimes, the best solution is to rest and recharge.
How do I know when a piece is finished?
This is one of the hardest questions! A piece is finished when it communicates what you intended, not when it’s "perfect." Learn to step back and assess your work objectively. If you’re unsure, take a break and revisit it later.
Pro Tip: Ask for feedback from trusted peers or mentors. They can provide valuable insights and help you determine when a piece is complete.
Signs a Piece is Finished:
- Clear Message: The artwork effectively communicates its intended message.
- Balanced Composition: All elements work together harmoniously.
- Emotional Impact: The piece evokes the desired emotional response.
How can I avoid overworking a piece?
Overworking a piece can lead to frustration and a loss of spontaneity. Set a deadline for yourself and stick to it. Learn to recognize when a piece is nearing completion and resist the urge to keep tweaking it.
Pro Tip: Take photographs of your work at different stages. This can help you track your progress and identify when a piece is complete.
Avoiding Overworking:
- Set Deadlines: Give yourself a time limit for each piece.
- Step Back: Take breaks to assess your work with fresh eyes.
- Seek Feedback: Ask for input from others to gain perspective.
Additional Overworking Prevention Tips:
- Limit Revisions: Set a limit on the number of revisions you allow yourself.
- Trust Your Process: Have confidence in your creative process and decisions.
- Move On: Once a piece is complete, move on to the next project.
How can I protect my artwork?
Protecting your artwork is essential for its longevity. Here are some tips:
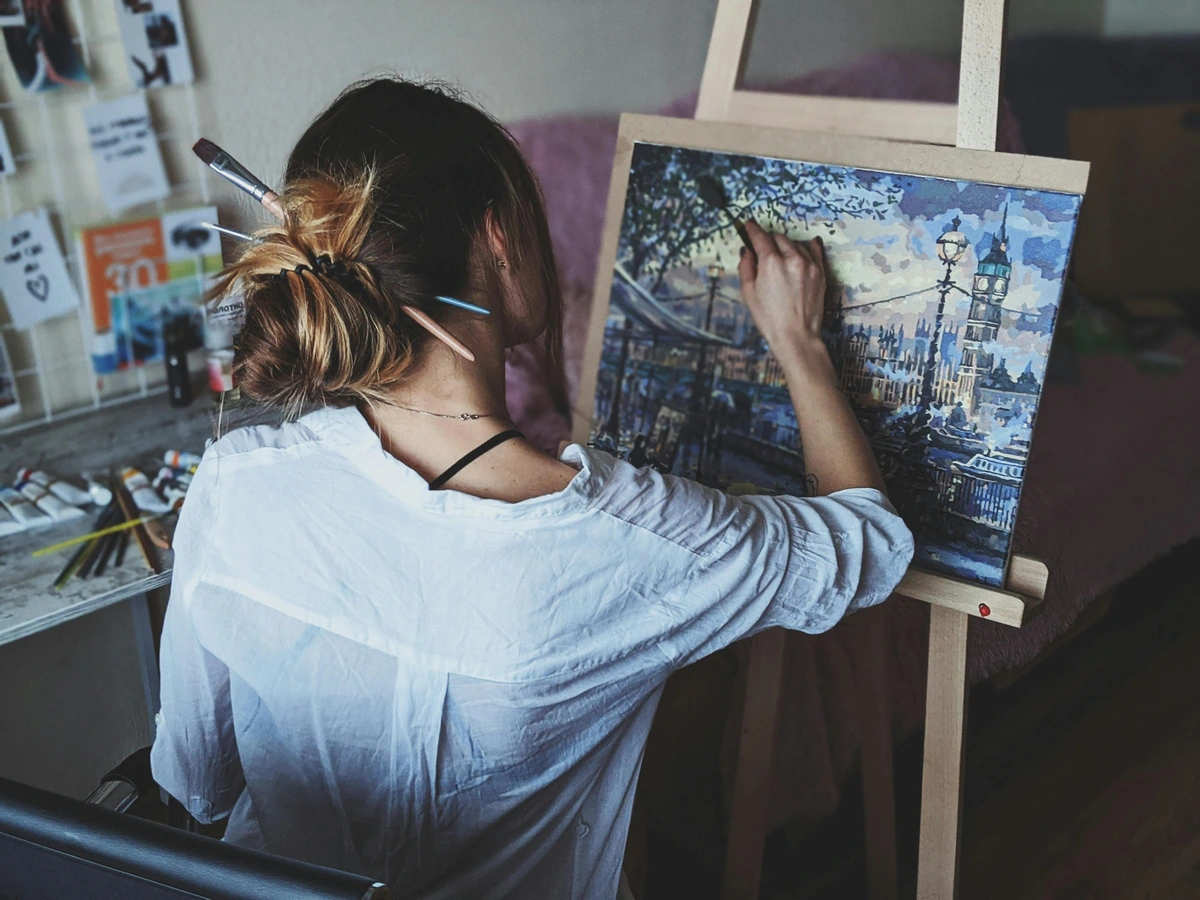
- Use Archival Materials: Choose acid-free paper, high-quality paints, and other archival materials to ensure your artwork lasts.
- Varnish Your Paintings: Applying a varnish can protect your paintings from dust, UV light, and other environmental factors.
- Store Properly: Keep your artwork in a cool, dry place away from direct sunlight and humidity.
Pro Tip: Document your artwork with high-quality photos. This can help with insurance claims and provide a record of your work.
Should I stick to one style or experiment?
Both! Having a recognizable style is important for branding, but experimentation keeps your work fresh and exciting. Find a balance—maybe 80% of your work is in your signature style, and 20% is for exploration.
Pro Tip: Experimentation can lead to new creative breakthroughs. Don’t be afraid to take risks and explore new artistic directions.
Balancing Style and Experimentation:
- Signature Style: Develop a recognizable style that defines your brand.
- Exploration: Dedicate time to experiment with new techniques and ideas.
- Feedback: Use feedback to refine your style and explore new directions.
Additional Style and Experimentation Tips:
- Series Work: Create series of works that explore a theme or technique.
- Collaboration: Collaborate with other artists to gain new insights.
- Reflection: Regularly reflect on your work to identify areas for growth.
How can I balance consistency and experimentation?
Consistency builds your brand, while experimentation fuels your creativity. Dedicate specific projects or periods to experimentation, and use the insights gained to refine your signature style.
Pro Tip: Use experimentation to explore new themes, techniques, or mediums. This can help you grow as an artist and keep your work fresh and exciting.
Balancing Consistency and Experimentation:
- Dedicated Time: Set aside specific times for experimentation.
- Reflection: Regularly review your experiments to identify what works and what doesn’t.
- Integration: Incorporate successful experiments into your signature style.
Additional Consistency and Experimentation Tips:
- Project Planning: Plan projects that allow for both consistency and experimentation.
- Feedback: Seek feedback to refine your approach.
- Flexibility: Be open to adjusting your style based on new insights.
How can I find inspiration for my art?
Inspiration can come from many sources. Here are some ideas:
- Nature: Spend time outdoors and observe the beauty of the natural world.
- Other Artists: Visit galleries, museums, and online platforms to see the work of other artists.
- Everyday Life: Look for inspiration in your daily experiences, emotions, and surroundings.
Pro Tip: Keep an inspiration journal. Collect images, quotes, and ideas that inspire you. It’s a great resource to turn to when you need a creative boost.
How do I handle criticism of my work?
Criticism is tough, but it’s also a tool for growth. Learn to separate constructive feedback from baseless opinions. Use what helps you improve and let go of the rest.
Pro Tip: Seek feedback from a diverse group of people, including artists, collectors, and non-artists. This can provide a well-rounded perspective on your work.
Handling Criticism:
- Stay Open-Minded: Listen to feedback without becoming defensive.
- Evaluate Feedback: Determine what is helpful and what is not.
- Use Feedback: Apply constructive criticism to improve your work.
Additional Criticism Handling Tips:
- Growth Mindset: View criticism as an opportunity for growth.
- Self-Reflection: Reflect on feedback to identify areas for improvement.
- Support System: Surround yourself with supportive peers and mentors.
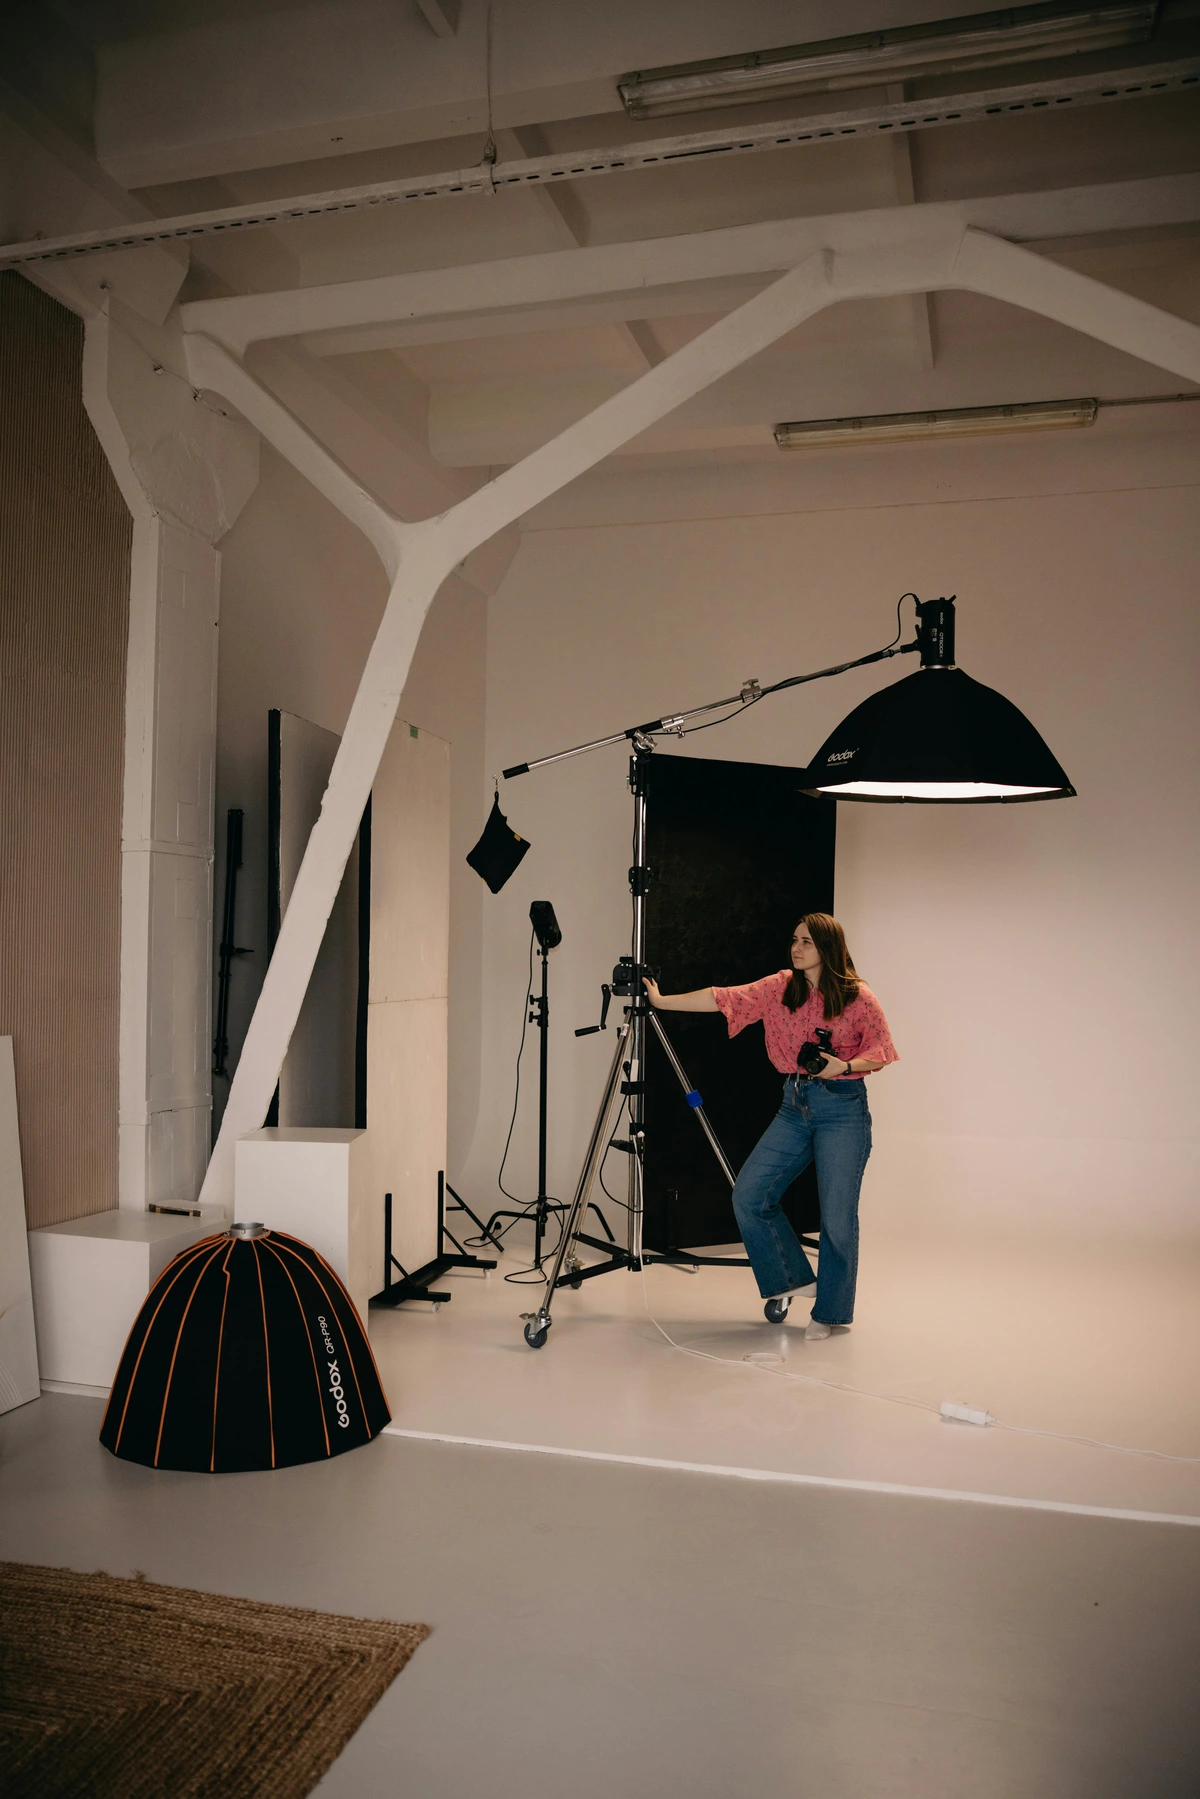
How can I build a portfolio?
Building a strong portfolio is essential for showcasing your work. Here are some tips:















- Quality Over Quantity: Include only your best work. It’s better to have a few outstanding pieces than many mediocre ones.
- Showcase Your Range: Include a variety of styles, techniques, and subjects to demonstrate your versatility.
- Update Regularly: Keep your portfolio up-to-date with your latest and best work.
Pro Tip: Create both a physical and digital portfolio. A physical portfolio is great for in-person meetings, while a digital portfolio can reach a wider audience.
Conclusion: The Journey to Mastery
Becoming a professional artist isn’t about reaching a destination—it’s about embracing the journey. It’s the daily habits, the mindset shifts, and the relentless pursuit of improvement that separate the amateurs from the masters. So, take these tips, make them your own, and keep creating. The world needs your art.
Final Thoughts
Remember, every artist’s journey is unique. What works for one may not work for another, and that’s okay. The key is to stay true to your vision, keep learning, and never stop creating. The art world is vast and full of opportunities—go out there and make your mark.
Pro Tip: Continuously seek out new learning opportunities, whether through workshops, online courses, or mentorship. The journey to mastery is a lifelong process of growth and discovery.
Additional Final Thoughts:
- Community: Build a supportive community of fellow artists and mentors.
- Resilience: Embrace challenges and setbacks as opportunities for growth.
- Passion: Stay passionate and committed to your artistic journey.
And if you’re ready to take the next step, check out our collection for inspiration or to add a professional piece to your own space.