The Damp Cloth Technique: Your Secret to Painting Magic
Discover how a simple damp cloth can transform your art with soft edges, seamless blends, and beautiful textures. A personal guide from the studio to yours.

The Damp Cloth Technique: Your Secret to Painting Magic
I’ll never forget the day I finally stopped fighting harsh edges in my paintings. I’d spent weeks wrestling with a stubborn piece, trying to mute harsh transitions between colors, and getting nowhere. Then, almost as a joke, I grabbed a slightly damp cloth and dabbed at the canvas. And just like that —poof—suddenly, colors whispered together instead of yelled. That damp cloth? Became my unsung hero. If you’ve ever looked at your work and thought, “This just feels too rigid,” stick around. This is the simplest, most tactile way to invite softness and flow into your process. Let’s dive in.
What Is the Damp Cloth Technique?
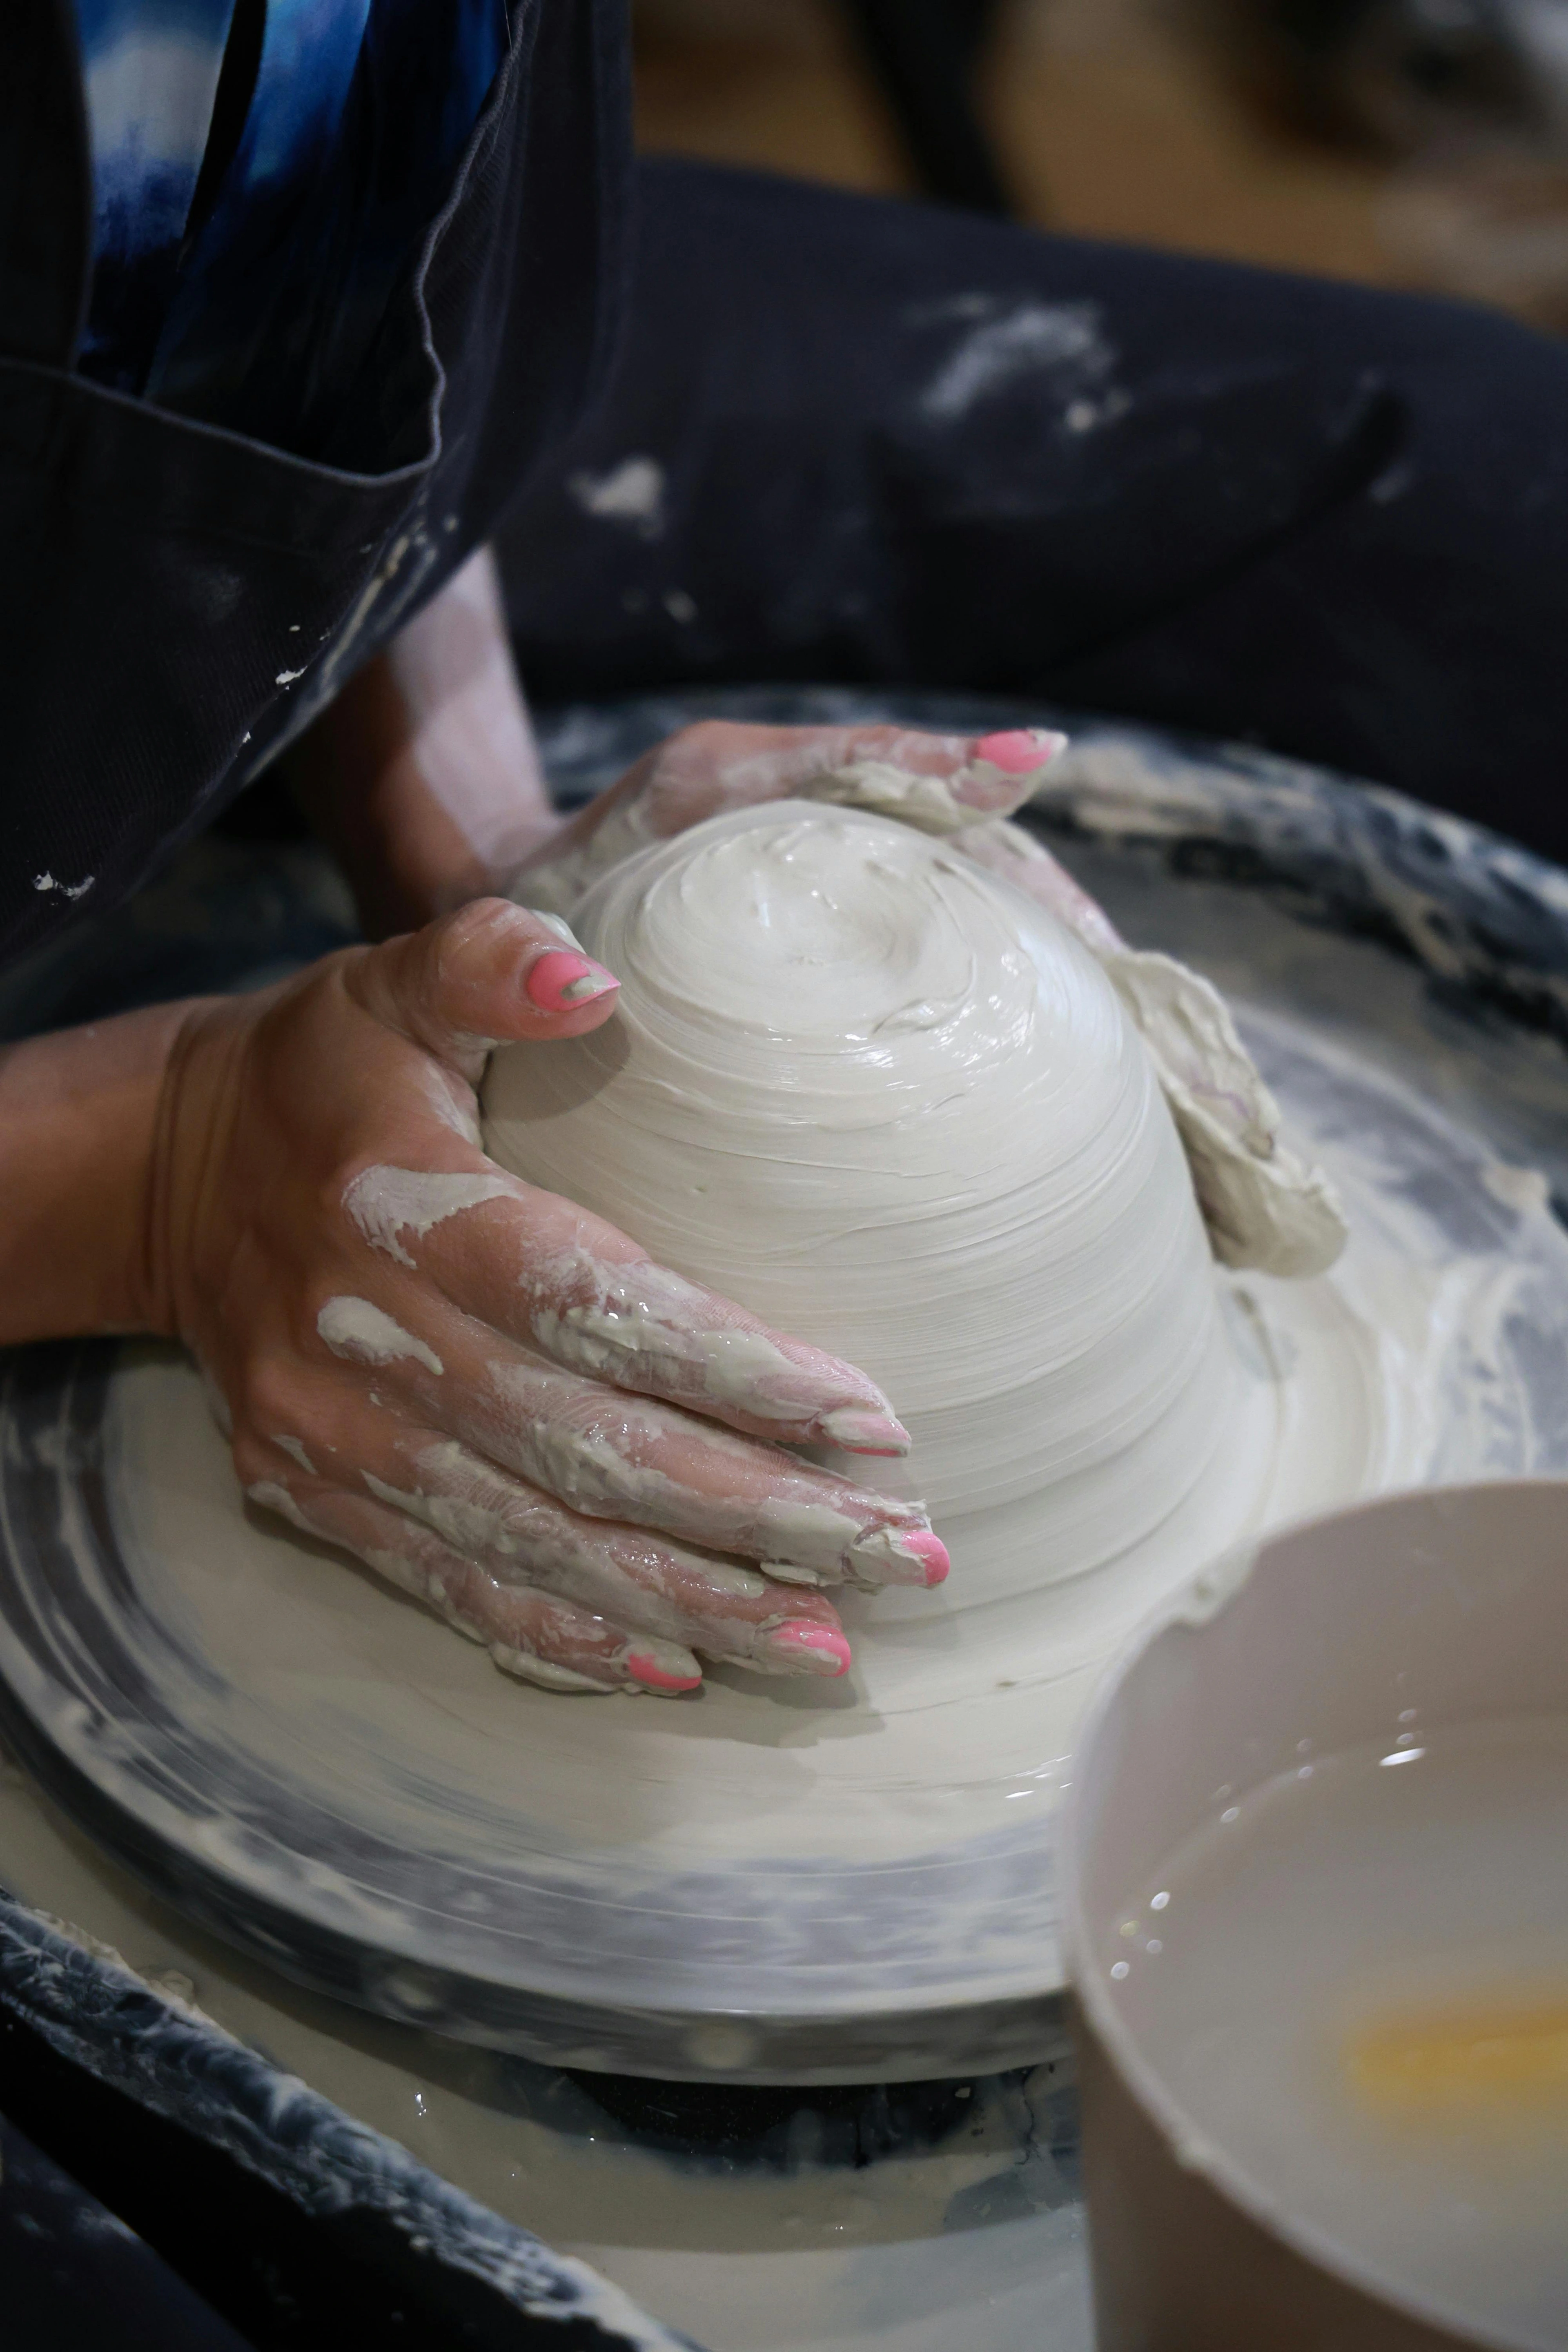
At its core, this technique uses moistened fabric to manipulate paint on your surface. Forget sterile brushes and precise strokes for a moment—this approach is messy, intuitive, and deeply hands-on. Think of it less like a technique and more like a conversation with your materials. The dampness acts as a facilitator: it softens edges, blends colors organically, and creates textures that brushes simply can’t replicate. It’s not about control—it’s about partnership with the medium.
Why Artists Swear By It
- Soft Edges Made Simple: Those abrupt transitions between colors? That’s where the damp cloth shines. A gentle touch blurs boundaries, creating gradients that feel dreamy and atmospheric.
- Blending Without Mud: We’ve all been there. Trying to mix colors directly on a canvas and ending up with a murky brown soup. A damp cloth allows you to layer wet pigment, then diffuse it. You blend while preserving the integrity of each hue.
- Do-Overs Are Friendly: Made a mistake? Too much pigment? A well-dampened cloth can lift excess paint or soften errors without leaving harsh scars. It’s your artistic eraser with charm.
The Magic Revealed: When It Works Best
This technique isn’t a one-size-fits-all; it has sweet spots where it truly shines. Let’s break it down:
Medium  | Best Use Cases | Why It Works Here |
|---|---|---|
| Acrylics | Soft-scape transitions, atmospheric skies | Fast-drying paint “sets” once lifted, creating unique |
| Oils | Blending skin tones, creating ethereal glows | Workable time lets you feather strokes meticulously |
| Watercolors | Diffusing color blooms, botanical softening | Paper absorbs moisture for unpredictable, flowing edges |
| Gouache | Building seamless vignettes, matte textures | Paint lifts without muddying, preserving opacity |
Famous Artists Who Used Similar Techniques
Throughout art history, many masters have employed cloth-like blending methods:
- Leonardo da Vinci: Used rag wiping for atmospheric effects in his sfumato technique
- Rembrandt van Rijn: Applied cloths for soft skin transitions in portraits
- J.M.W. Turner: Used cloth and sponge techniques for dramatic sky effects
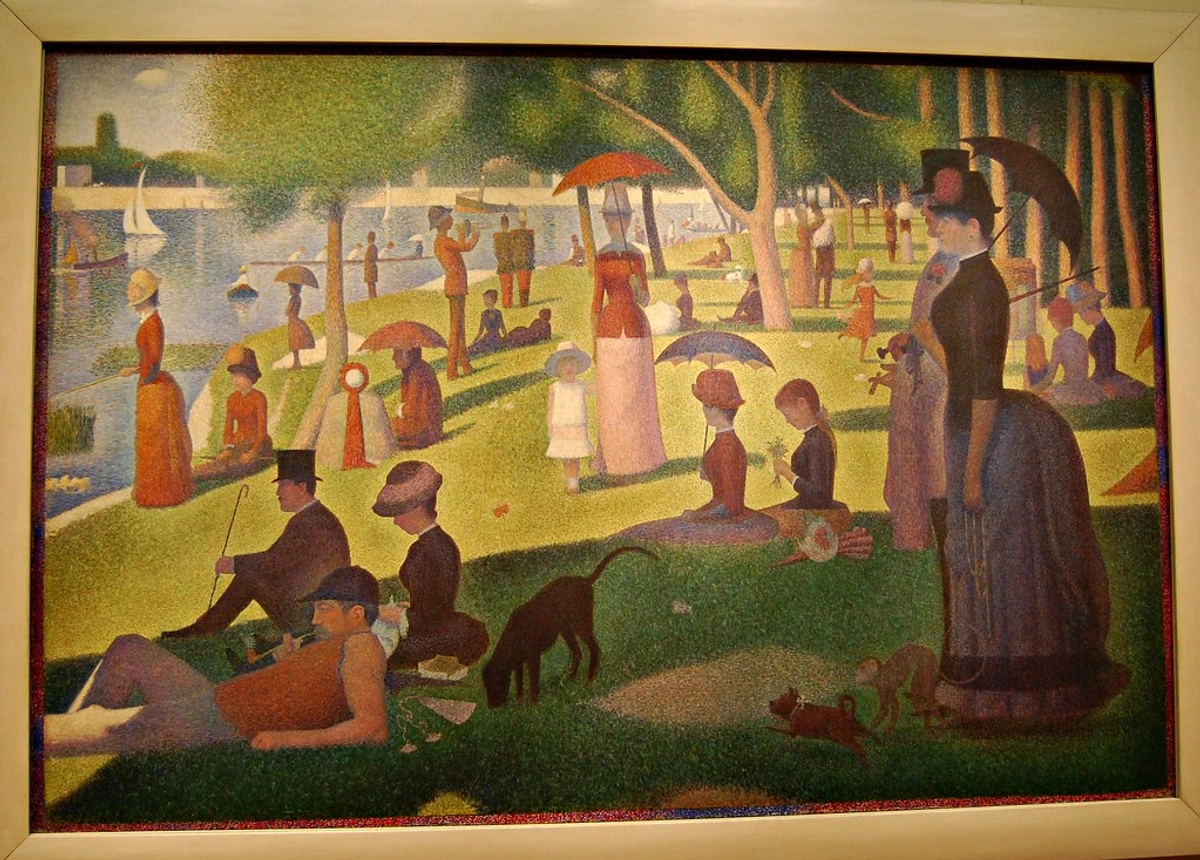
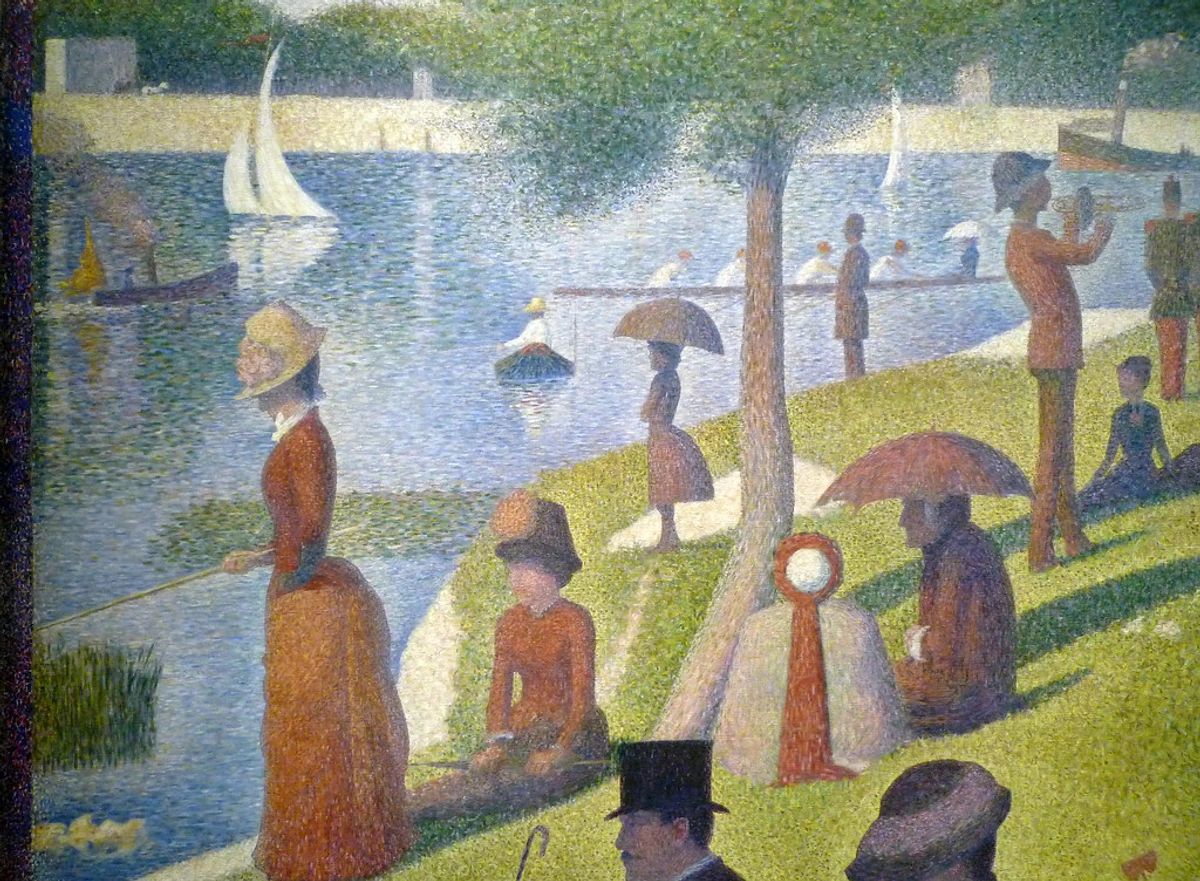
- Claude Monet: Employed similar methods for his impressionistic landscapes
- Jackson Pollock: Used cloth and other unconventional tools for drip painting
- Willem de Kooning: Worked with rags for expressive, gestural effects
- Gerhard Richter: Uses squeegee and cloth-like methods for his blurred paintings
- Anselm Kiefer: Employs cloth textures for his monumental mixed media works
Modern Applications and Innovations
Contemporary artists continue to innovate with this approach:
- Digital Adaptation: Translating traditional techniques to digital platforms
- Mixed Media Integration: Combining cloth methods with other media
- Large-scale Installation: Applying techniques to public art and murals
- Performance Art: Using cloth techniques in live artistic performances
- Collaborative Projects: Group works incorporating this technique
I’ve used it for everything from the hazy horizon in a landscape to the subtle transitions between colors in abstract marbling. Whenever you want to bend reality just enough to feel magical, that’s your cue.
Let’s Get Hands-On: A Damp Cloth Workflow
This method is forgiving, but a few steps will help you nail it consistently. I learned these through a lot of trial (and glorious error).
Step 1: Choose Your Wisper
Not all cloths are created equal. My favorites?
- 100% Cotton: Soft, absorbent, leaves minimal lint. Old t-shirts cut into squares? Perfect.
- Linen: For more texture—great for oils or thicker applications.
- Avoid synthetics—they shed fibers and repel moisture.
Step 2: The Goldilocks Principle (Moisture Level)
- Too dry: You’re just pushing paint around. No blending magic.
- Too wet: You’re lifting everything, creating unintentional blooms (unless that’s your goal!).
- Just right: Squeezed until damp-dry, like a wrung-out sponge. Should feel cool to the touch, not dripping.
Step 3: The Dance of Motion
- For Soft Edges: Dab lightly where colors meet. Use a swirling motion to diffuse.
- For Blending: Apply a stroke of paint, then immediately blot with the cloth in feathering strokes.
- For Texture: Press firmly and lift in quick, short bursts to create peaks or craters.
- For Gradient Effects: Use long, sweeping motions in one direction to create smooth tonal transitions
- For Organic Shapes: Use circular, figure-eight motions for natural, flowing forms
- For Precision Work: Fold cloth into smaller shapes for controlled, detailed applications
- For Atmospheric Effects: Use very light, barely-there touches with minimal moisture
Pressure and Speed Techniques
The combination of pressure and speed creates different effects:
- Light Pressure + Fast Motion: Creates atmospheric haze and soft clouds
- Medium Pressure + Medium Speed: Ideal for blending skin tones and soft transitions
- Heavy Pressure + Slow Motion: Removes paint and creates textured surfaces
- Varying Pressure: Creates interesting textural contrasts and depth
- Pulsing Motion: Quick in-and-out movements for sparkling, light effects
Step 4: The Lift-Back (When It Gets Away From You)
If you’ve blended too much? Let it dry. Scrape lightly with a palette knife, then reapply pigment, blending again. Patience pays off.
Studio Secrets: Where This Technique Changed My Game
One: Landscapes That Breathe
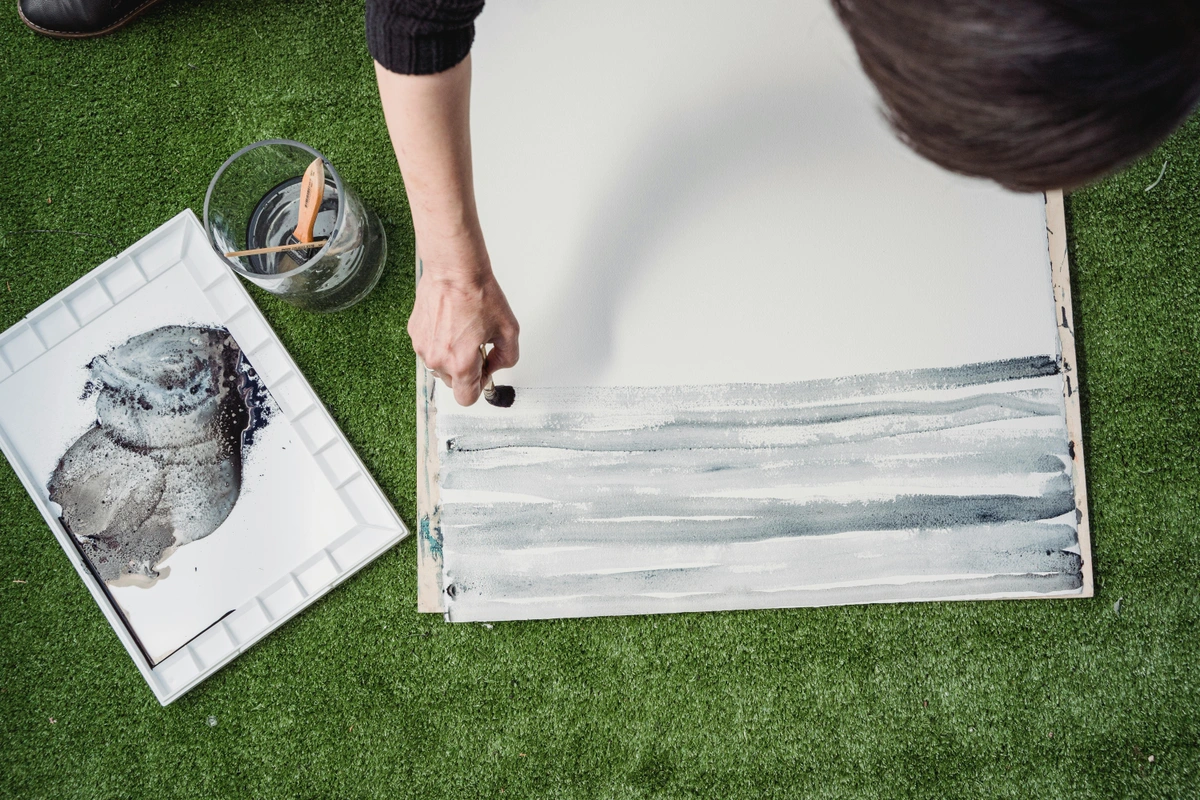
I once painted a stormy sea using only a damp cloth. I’d layer blues and grays aggressively, then press and drag the cloth across the surface to mimic wind-whipped foam. No brushes involved. The result? Movement that felt alive. You can see that approach in works like “Tempest”—it’s all about that raw, elemental energy.
Two: Portraits That Whisper
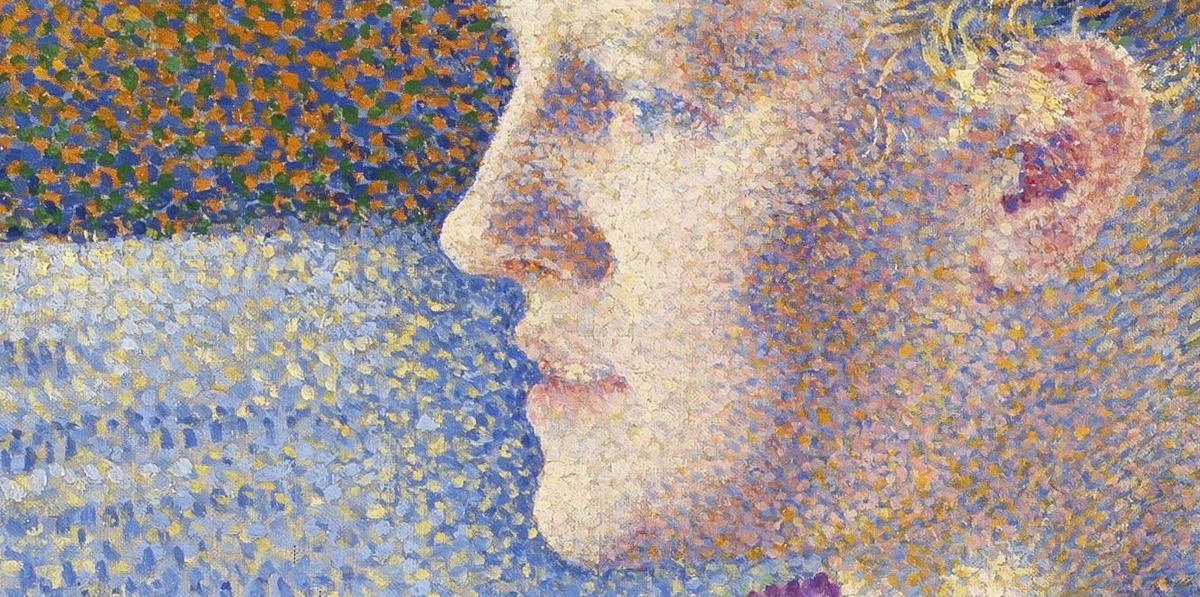
Skin tones can be brutal. Too much blending, and you lose dimension. Too little, and it looks painted. My trick? Let the colors dry slightly between dabs. The cloth blends while preserving the underlying brushwork, creating that luminous, human glow. It’s why pieces like “Silence” feel so intimate—like skin is breathing under the paint.
Three: Abstracts on the Edge
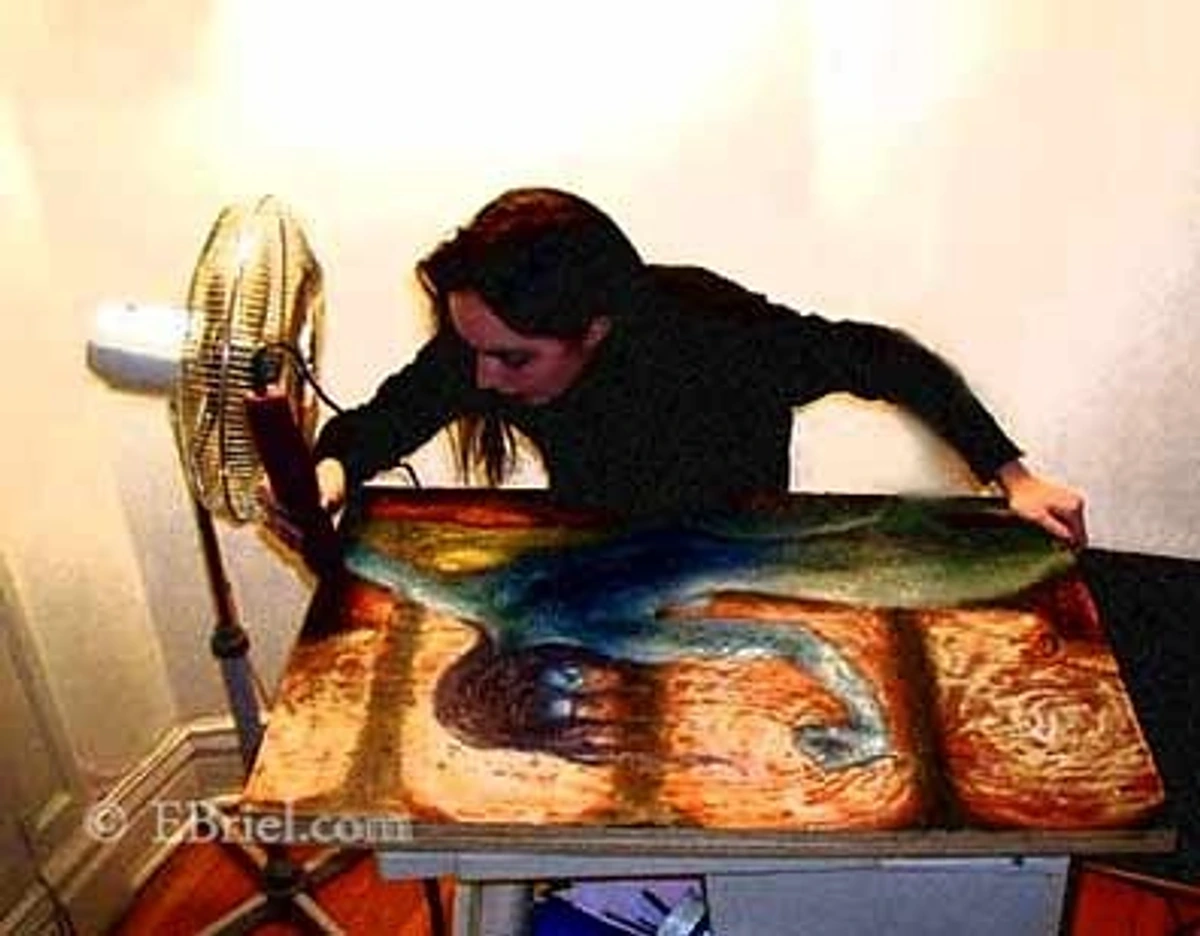
Chaos meets control. I’ll pour pigments, then use the cloth to “edit,” carving pathways and softening collisions. It’s a battle between intention and accident. My piece “Nexus” was born this way—all those swirling galaxies? Created by lifting and repositioning with damp cloths. Pure serendipity.
Watch Out: Common Traps to Dodge
- Linter Party: Washing cloths before use prevents fibers from embedding. Run them through a cycle—no exceptions.
- Over-Dampening: A cloth that’s too wet can create blooms that read as mistakes unless you own them.
- Color Contamination: Rinse cloths thoroughly between colors, unless you’re intentionally mixing. A blue-stained muddy cloth equals a muddy purple.
- Surface Damage: Rough surfaces (like canvas) can snag cloths. Test on scraps first. Smooth papers work best in watercolor.
Pro Tip: Experiment with Pressure
The pressure you apply is your volume knob. A gentle press blurs; a firm press lifts or removes. Practice on a spare canvas—turn a harsh line into a gradient in one swipe. It’s oddly therapeutic.
Mindset Matters: Embrace the Imperfect
Look, I’m not a robot in the studio. Some days, my discipline is shot, and I just want to play. The damp cloth? It’s my permission slip to be messy. It reminds me that art isn’t about straight lines and perfect execution—it’s about feeling. When I use it, I’m not painting; I’m coaxing. The pigment does what it wants, and I’m just the guide. That’s where the best work happens for me.
Frequently Asked Questions
1. Does this work for digital art?
Not directly, but the principle does! In Photoshop or Procreate, try smudging tools with low opacity or custom texture brushes to mimic that organic, hand-blended feel.
Digital Adaptation Techniques:
- Custom Brushes: Create brushes that simulate cloth texture and blending
- Layer Blending Modes: Use overlay, soft light, and other modes for natural transitions
- Opacity Control: Build up layers with reduced opacity for realistic blending
- Texture Overlays: Add subtle cloth textures for authentic feel
- Reference Studies: Study traditional damp cloth effects to inform digital approaches
2. How many cloths do I need?
Start with 3-4: one for each color family (reds/blues/greens/etc.), plus one for water/cleaning. Lint is sneaky—dedicated cloths prevent chaos.
Cloth Management System:
- Color Separation: Use cloths specifically for warm colors, cool colors, and neutrals
- Size Organization: Keep different sizes for different applications
- Rotation System: Rotate cloths to prevent overuse and wear
- Storage: Store clean cloths in airtight containers to prevent dust accumulation
- Labeling: Consider marking cloths for specific uses to avoid confusion
3. What’s the weirdest thing I’ve ever used this technique on?
A textile piece! I painted dyes onto silk, then used a damp silk cloth to diffuse them. It’s risky, but the color transitions were liquid-like. Art thrives where you least expect it.

4. Can “damp” mean just water?
Yes! For water-based paints, plain water works wonders. But with oils, mix a touch of Gamsol or solvent to the cloth for better blending. Safety first—ventilate!
5. How do I clean my cloths?
Acrylics/Impasto: Scrape excess, wash with soap. Oils: Soak in warm soapy water. Never let paint dry on them—rags are flammable if oily.
Comprehensive Cleaning Guide:
- Acrylics: Scrape off excess, soak in warm soapy water, wash as normal
- Oils: Use solvent for initial cleaning, then wash with soap and water
- Watercolors: Rinse immediately, wash with mild soap, air dry
- Gouache: Same as watercolors, but may require extra scrubbing for stubborn pigment
- Encaustic: Clean with warm water while wax is still warm
- Drying: Always dry cloths completely before storage to prevent mildew
- Disposal: Dispose of oily rags properly—they can spontaneously combust


Final Thought: Your Canvas Is a Conversation
The damp cloth taught me this: art isn’t a monologue. It’s a call-and-response between you, your tools, and your surface. When I press that fabric into the paint, I’m not just adding texture—I’m listening. I’m asking, What do you want to be? and the dampness whispers back. Maybe you’ll grip a brush too tightly sometimes. Maybe you’ll fight the paint. But when you let go and let a damp cloth guide you? That’s when the real magic unfolds. Go make something messy and beautiful.