How to Paint Sharp Edges in Art: The Ultimate Precision Guide
Master crisp paint lines with advanced masking techniques, brush control, and pro troubleshooting for flawless edges.

How to Paint Sharp Edges in Art: The Ultimate Precision Guide
I remember staring at a canvas for hours, sweat beading on my forehead, all because one wobbly line had ruined an entire abstract composition. Sound familiar? That razor-sharp edge between two vibrant colors—it’s the difference between a painting that whispers and one that shouts. Creating crisp lines isn’t about being a perfectionist. It’s about control, patience, and knowing the right tricks to bend paint to your will. Let’s dive into how you can master this foundational art technique once and for all.
Why Sharp Edges Actually Matter
Sure, we’ve all seen those mesmerizing watercolor washes and dreamy oil blends. But hard edges are the silent superheroes of composition. They:
- Animate your artwork by guiding the viewer’s eye
- Create dramatic contrast between elements (imagine a sharp red triangle piercing a blue sea)
- Establish structure in abstract work (geometry needs precision)
I once spent months on a series where every sharp line represented a memory. It felt surgical, but that discipline forced me to reconsider every brushstroke. You don’t need to be that intense, but understanding why edges matter will change your approach.
Beyond Tape: Core Concepts for Definitive Lines
Before we grab tools, let’s debunk some myths. "Sharp edges" isn’t one technique—it’s a toolbox. Here’s what you need to know:
Concept  | Description | Best For |
|---|---|---|
| Hard Edge | Distinct, abrupt color transition with no blending | Geometric abstraction, graphic styles |
| Soft Edge | Smooth gradient with visible mixing | Atmosphere, depth |
| Blended Edge | Short, subtle blending gradation | Realistic skin, shadows |
| Broken Edge | Intentional "skips" for texture | Rustic effects, stylization |
Think of it like sketching vs. vector art. Both are valid, but they serve different visual stories. Your job as an artist is to choose which narrative each edge tells.
The Precision Toolkit: What You’ll Actually Need
Forget buying 100 brushes. Here are the MVPs for edge control:
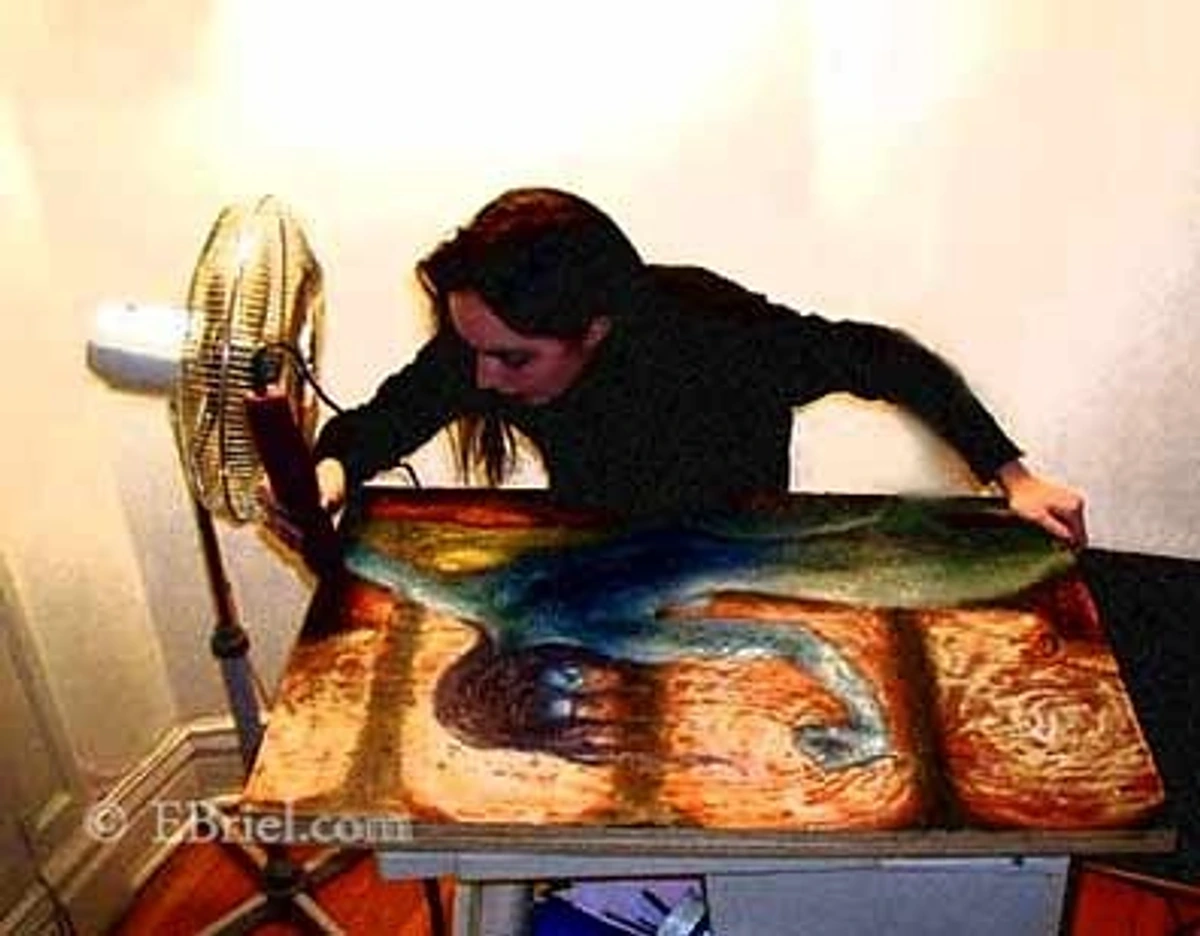
- Detail Brushes: Size 4/0 rounds for tight corners
- Angled Sable: For fluid strokes near edges
- Palette Knives: Create razor-thin lines with dried paint layers
- Painter’s Tape: Low-tack for sensitive surfaces (e.g., watercolor paper)
- Masking Fluid: Liquid latex for complex designs
My secret weapon? A damp, clean brush. Before a new stroke, I tap it on paper to wick away excess paint—it’s the difference between control and chaos.
How to Apply Masking Fluid Like a Pro
Yes, it smells like rubber cement. No, you shouldn’t use it like hairspray. Masking fluid is precision magic:
- Apply with dedicated tools (old brushes/splatter applicators)
- Always test on scrap paper first
- Let it fully dry (wait 30 mins!)
- Paint over it carefully
- Peel off gently with a rubber cement eraser
Pro Tip: Add a drop of dish soap to masking fluid to prevent crusting. I learned this when a prized tape refused to lift—it’s the tiny wins that count.
Step-by-Step Edge Mastery Techniques
Method 1: Drybrush Control Technique
Best for: Textured highlights and graphic lines
- Load minimal paint on a bristle brush
- Wipe excess on paper towel until barely damp
- Brush in one short stroke (don’t rework!)
- Clean brush immediately
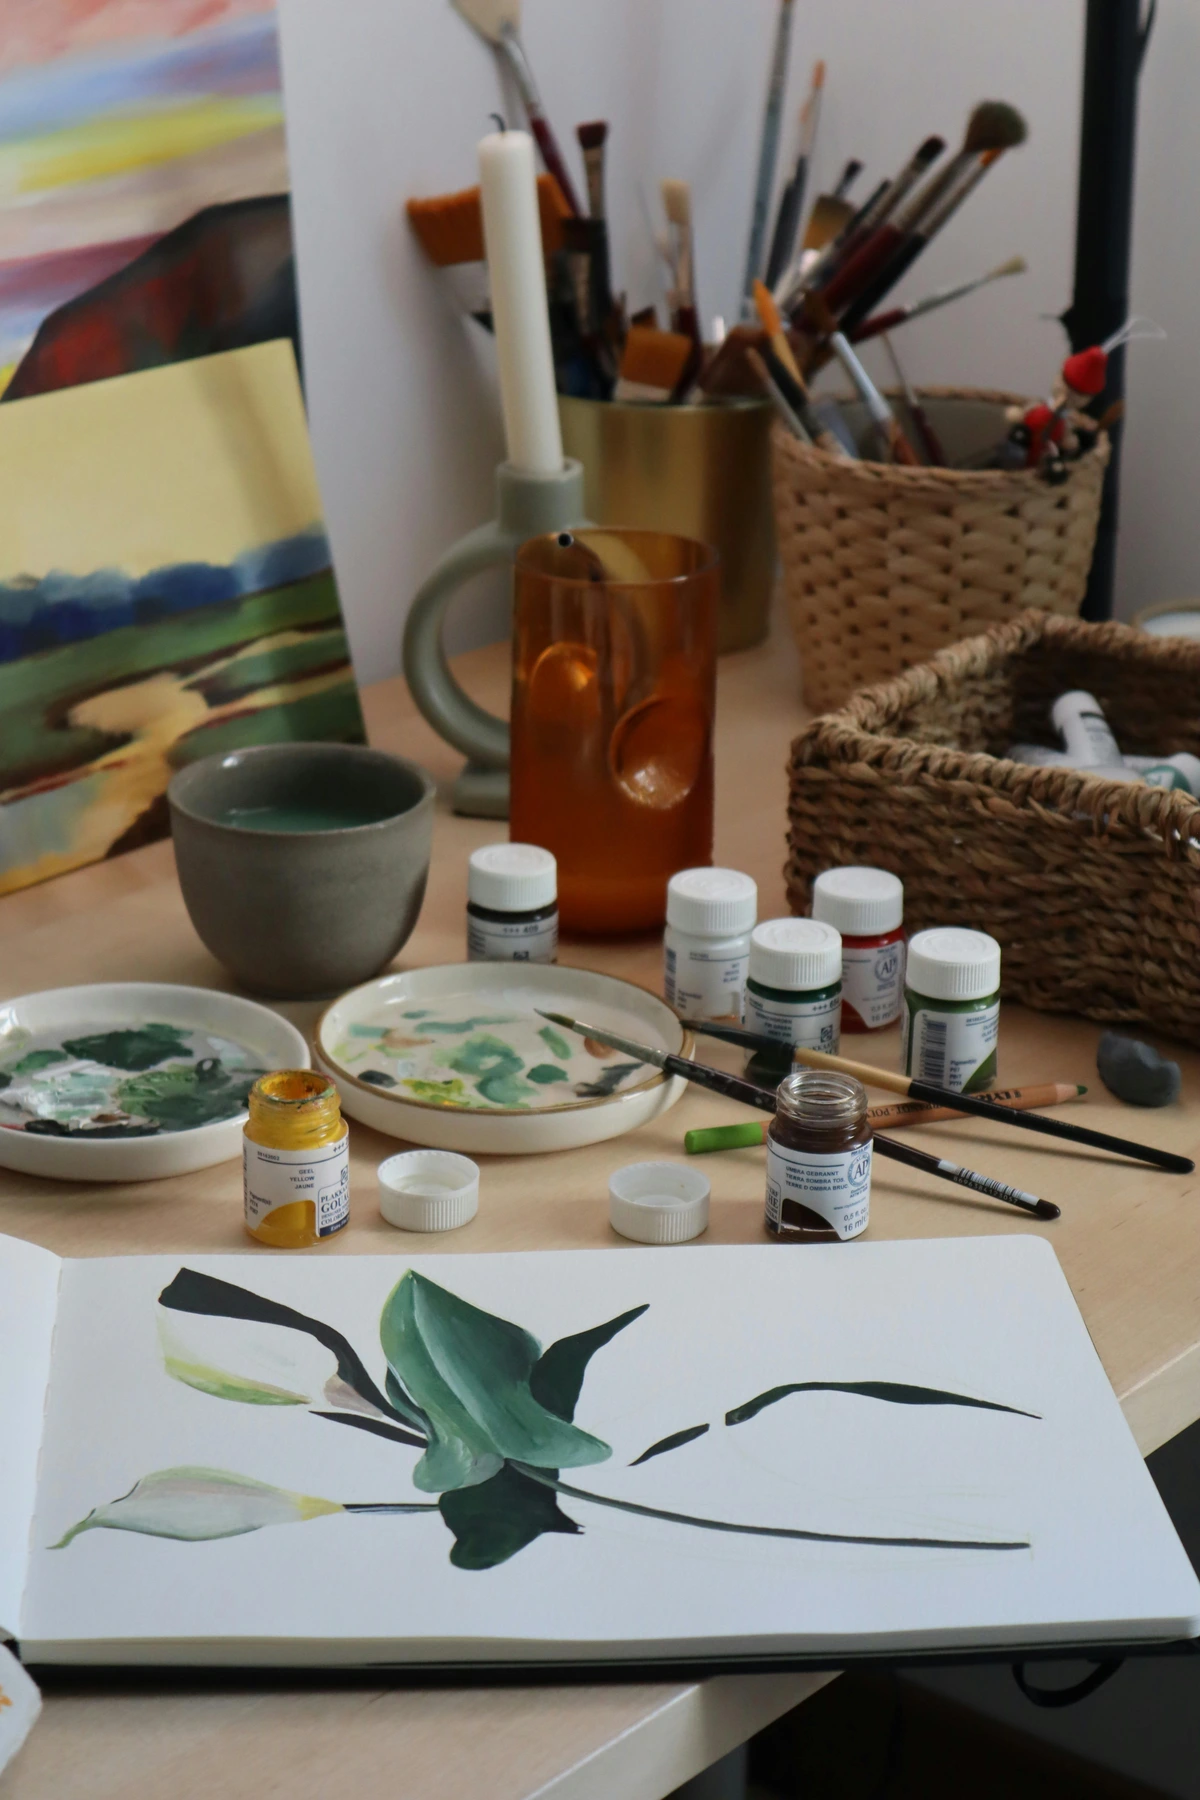
I mastered this while trying to emulate crumbling cityscapes. The key is letting the tooth of the canvas show through—less paint, more presence.
Credit: Unsplash, License: CC BY
Method 2: Layered Edge Building
Best for: Achieving laser-thin lines in acrylics
Layer | Purpose | Paint Consistency |
|---|---|---|
| Base | Bold color | Fluid but opaque |
| Detail | Sharper line | Heavy body/cream |
| Dry | Final refinement | Thick paste |
Paint your main shape. While still slightly tacky, add the detail line with a loaded brush. Let it dry, then scrape excess with a scalpel for surgical precision. It’s tedious but unbeatable for abstract compositions.
Color Theory and Edge Relationships
How Color Affects Edge Perception:
- High contrast colors create naturally sharper edges
- Similar colors benefit from deliberate edge definition
- Warm colors tend to advance (harder edges work well)
- Cool colors tend to recede (softer edges feel natural)
Edge-Color Combinations:
Color Relationship | Edge Treatment | Effect |
|---|---|---|
| Complementary | Sharp edges | Maximum tension |
| Analogous | Soft edges | Harmonious flow |
| Monochromatic | Varied edges | Subtle sophistication |
| Triadic | Mixed edges | Balanced energy |
Edge and Light Interaction
Light's Effect on Edges:
- Direct light emphasizes hard edges
- Diffused light softens all edges
- Backlighting creates halo effects around edges
- Side lighting reveals texture in edges
Creating Light Effects with Edges:
- Use hard edges for crisp shadows
- Create soft edges for gradual light transitions
- Combine both for realistic lighting
- Experiment with edge reversal for dramatic effects
When to Mask vs. When to Freehand
Masking works best when:
- You’re using watercolor or ink
- Creating repetitive patterns (e.g., grid systems)
- Protecting delicate washes
Freehand excels when:
- Working in impasto oil textures
- Painting expressive gestural lines
- Building layered abstract series
There’s no right answer—sometimes I freewheel, then mask the final details. Art is a conversation where you switch mid-sentence.
Troubleshooting the 15 Sharp Edge Demons
Common Edge Problems and Solutions
Problem | Cause | Solution |
|---|---|---|
| Bleeding under tape | Wet paint, tape left on too long | Press tape firmly, remove within 20 mins |
| "Gummy" masking fluid | Old product, humidity | Add ammonia, use within 6 months |
| Jagged brush strokes | Wrong brush angle, overloaded bristles | Use sable at 45°, thin paint with medium |
| Paint lifts on removal | Canvas not sealed, adhesive failure | Apply acrylic gesso first, test tape |
| Lines look rigid | Over-reliance on tools | Break intentional edges with texture |
| Feathered edges | Brush too wet, wrong pressure | Use dryer brush, consistent pressure |
| Blurred edges | Working too slowly | Work confidently, one stroke |
| Uneven edges | Inconsistent brush loading | Load brush uniformly, practice pressure |
| Paint beading | Surface contamination | Clean surface thoroughly, use gesso |
| Edge cracking | Paint too thick, fast drying | Thin paint, extend drying time |
| Color bleeding | Poor pigment strength | Use professional grade paints |
| Tape residue | Cheap tape, improper removal | Use artist tape, pull at 45° angle |
| Edge fraying | Canvas too rough | Use smoother surface, prepare properly |
| Sagging edges | Paint too fluid, gravity | Thicken paint, work horizontally |
| Fingerprint marks | Touching wet edges | Use gloves, work from sides |
Advanced Troubleshooting Techniques
For Persistent Bleeding:
- Apply two layers of tape with slight overlap
- Use burnishing tool to seal edges
- Consider liquid frisket for extra precision
For Lifting Paint Issues:
- Seal canvas with acrylic medium before painting
- Use isolation coat between layers
- Test adhesion on scrap piece first
For Creating Perfect Corners:
- Use corner masking tools or custom cut stencils
- Apply pressure with burnishing tool
- Consider small brush for final corner definition
Industry-Solutions: Professional Artist Secrets
Studio Environment Setup:
Factor | Optimal Conditions | Why It Matters |
|---|---|---|
| Temperature | 68-72°F (20-22°C) | Affects drying time and paint flow |
| Humidity | 40-60% | Prevents bloom, controls drying |
| Air Quality | No dust, fumes | Prevents contamination, health |
| Lighting | 5000K daylight bulbs | True color perception |
| Ventilation | Good air circulation | Prevents solvent buildup |
Advanced Brush Maintenance:
- Daily Cleaning: Rinse immediately after use
- Weekly Deep Clean: Use brush soap and conditioner
- Shape Restoration: Wrap in elastic band while drying
- Storage: Store upright or flat, never bristle-down
- Revival: For dried brushes, soak in Murphy's Oil Soap
Professional Tools Investment Guide:
Tool Category | Beginner Budget | Professional | Luxury |
|---|---|---|---|
| Brushes | $50-100 total | $200-500 | $1000+ |
| Tapes | $20-30 | $50-100 | Specialty imported |
| Knives | $30-50 | $100-200 | Handmade custom |
| Easels | $50-100 | $200-500 | $1000+ |
I used to think expensive tools were a scam. Then I invested in a good set of sable brushes. The difference? My edges became 10x more precise. Sometimes the investment really does pay off.
Preventive Maintenance for Sharp Edges
Daily Studio Practices:
- Always test your materials on a scrap piece before committing to your final work
- Keep your brushes in perfect condition—a damaged brush tip will ruin edges
- Control your environment—temperature and humidity affect drying times
- Work systematically—don't jump between wet and dry areas randomly
- Know when to stop—sometimes less is more, and overworking ruins good edges
- Maintain consistent lighting to see true colors and edge quality
- Use fresh paint—old paint separates and affects edge quality
- Clean your palette between sessions to prevent contamination
- Organize your tools so you can work efficiently without interruption
- Take breaks to maintain focus and precision
Weekly Maintenance Routine:
- Deep clean all brushes
- Check and replace worn tape
- Organize materials and supplies
- Test equipment functionality
- Review and organize reference materials
Monthly Studio Assessment:
- Evaluate environmental conditions
- Inspect storage systems
- Review tool effectiveness
- Assess material inventory
- Plan for equipment upgrades
Comprehensive Material Testing Protocol
Before Starting Any Project:
Material Type | Test Parameters | What to Look For |
|---|---|---|
| Paint | Coverage, opacity, drying time | Consistency, pigment strength |
| Brushes | Point retention, paint loading | Spring, no stray hairs |
| Surface | Absorption, texture | Even response, no buckling |
| Tape | Adhesion, clean removal | No residue, sharp lines |
| Mediums | Mixing compatibility | No separation, desired flow |
| Solvents | Evaporation rate, residue | Fast drying, no streaks |
| Varnishes | Clarity, yellowing, durability | Non-yellowing, even finish |
| Pigments | Lightfastness, mixing properties | Color stability, clean mixing |
Medium-Specific Testing Procedures
For Watercolor:
- Test on same paper as final piece
- Check for bloom and granularity
- Verify transparency levels
- Test masking fluid compatibility
For Acrylic:
- Test drying time at studio temperature
- Check for brush drag and leveling
- Verify opacity and coverage
- Test layer compatibility
For Oil:
- Test drying time with different mediums
- Check for yellowing potential
- Verify paint consistency and flow
- Test brush cleaning effectiveness
For Mixed Media:
- Test compatibility between all materials
- Check for proper adhesion
- Verify drying sequence
- Test for chemical reactions
Studio Environment Checklist:
- Temperature: Consistent 68-72°F (20-22°C)
- Humidity: 40-60% with hygrometer
- Lighting: Full spectrum, no glare
- Ventilation: Proper exhaust system
- Organization: Materials accessible and clean
Progressive Edge Building System:
- Foundation Layer: Base colors, full coverage
- Edge Definition: Mark boundaries, establish lines
- Detail Work: Add precision elements
- Refinement: Clean up imperfections
- Final Touches: Glazing, texturing
The "lifting paint" demon once stole two weeks of work for a new collection. Now I always seal canvases first—lesson learned the hard way. But honestly, I've found that embracing some imperfection often leads to more interesting work than absolute technical perfection.
Edge Inspiration Gallery
Historical Masterpieces:
- Vermeer's precise edges in "Girl with a Pearl Earring"
- Van Gogh's expressive broken edges in "Starry Night"
- Picasso's sharp geometric edges in "Les Demoiselles d'Avignon"
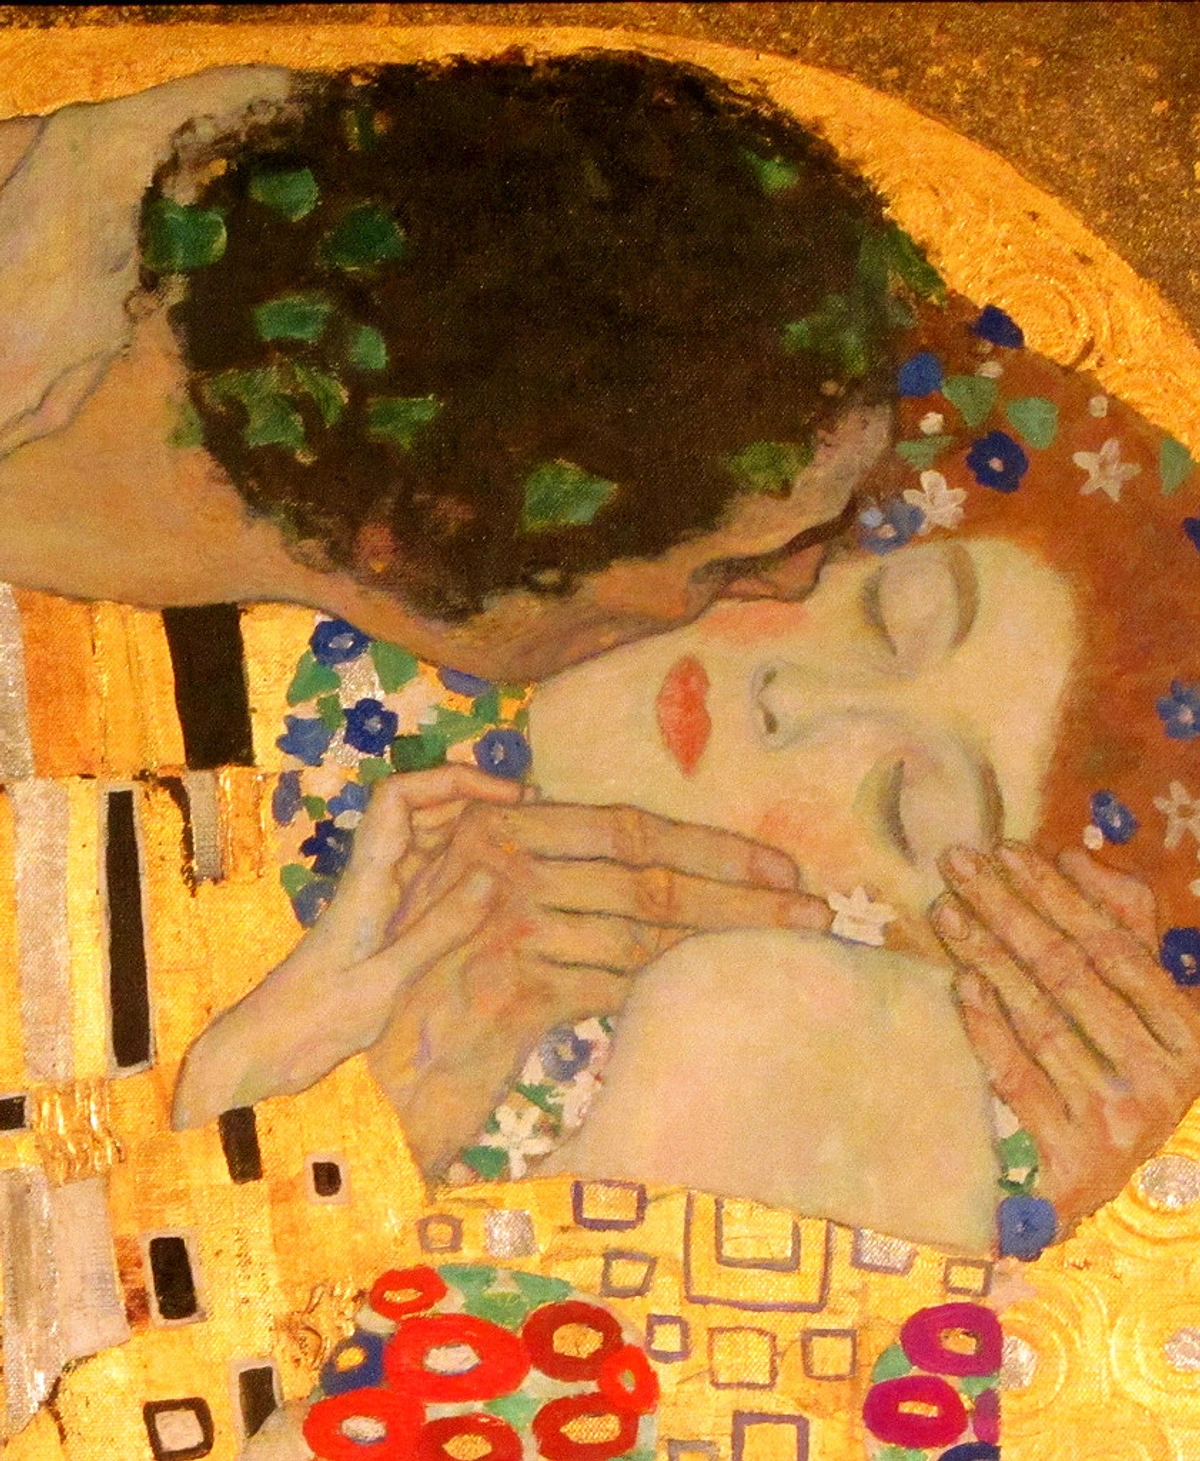
- Klimt's ornate decorative edges in "The Kiss"
Contemporary Examples:
- Abstract artists using varied edge treatments
- Street artists combining precision with spontaneity
- Digital artists creating impossible edge effects
- Mixed media artists integrating diverse edge techniques
Exercise: Edge Study Practice
- Choose a simple subject (apple, cup, etc.)
- Create four versions using different edge philosophies:
- All hard edges
- All soft edges
- Mixed edges (your choice)
- Extreme contrast (very hard vs very soft)
- Compare the emotional impact of each version
- Document your findings for future reference
Advanced Edge Combinations
Layered Edge Systems:
- Foundation: Soft, atmospheric edges
- Middle: Mixed hard and soft edges
- Foreground: Primarily hard edges
- Details: Ultra-precise edges
Color-Edge Relationships:
- Warm colors tend to advance (harder edges)
- Cool colors tend to recede (softer edges)
- Complementary colors create dynamic edge tension
- Analogous colors create harmonious edge transitions
Psychological Edge Effects:
- Sharp edges create tension and focus
- Soft edges create calm and atmosphere
- Jagged edges suggest anxiety or energy
- Smooth edges suggest peace and tranquility
Edge Quality Assessment Framework
Self-Critique Questions:
- Does this edge serve the composition's purpose?
- Is the variation intentional or accidental?
- Does the technical quality match the artistic intention?
- Would this edge work in different lighting conditions?
- Does it create the desired emotional response?
- Is the edge consistent with the overall style?
- Does the edge complement or compete with other elements?
- Is the technical execution flawless or intentionally flawed?
- Does the edge lead the viewer's eye effectively?
- Would this edge hold up to professional scrutiny?
Peer Review Process:
- Take photos under different lighting
- Get feedback from other artists
- Compare with reference works
- Identify areas for improvement
- Implement changes systematically
Professional Assessment Tools:
- High-resolution photography for detailed analysis
- Magnifying glass for microscopic edge examination
- Color analysis tools for pigment consistency
- Light testing under various conditions
- Durability testing for archival quality
Scoring System for Edge Quality:
Criteria | Score 1-5 | Assessment |
|---|---|---|
| Precision | 1-5 | Sharpness, accuracy |
| Consistency | 1-5 | Uniformity throughout |
| Intentionality | 1-5 | Purposeful variation |
| Technical Execution | 1-5 | Flawless application |
| Aesthetic Integration | 1-5 | Harmony with composition |
I keep a "before and after" journal of my edge techniques. It's amazing how much you learn when you can see your progress over time.
FAQ: Sharp Edges Answered
Q: Can I get sharp edges with cheap brushes? A: Absolutely. It’s about technique, not price. A $10 synthetic angled brush beats a $50 one if you know how to control paint load.
Q: Will masking fluid ruin my brushes? A: Yes. Always use cheap brushes or applicators dedicated solely to masking fluid. Clean immediately with soap once done.
Q: Which dries faster for sharp edges: acrylics or oils? A: Acrylics win hands-down. They set within minutes, allowing immediate layering. Oils require patience or drying mediums.
Q: How do I fix a blurry edge after drying? A: Don’t repaint over it! Scrape lightly with a palette knife on oil, or glaze with thin acrylic on old paintings. Fresh paint blends with mistakes.
Q: Should I tape canvas edges? A: Only if you’re framing. Professional artists leave edges raw for a gallery-ready look—buyers appreciate that honesty.
The Sharp Edge Mindset
Here’s a truth I’ve wrestled with for years: perfect edges aren’t the goal. It’s about intentionality. That slightly wobbly line? It might be what makes a piece feel human. The trick is knowing which edges need surgical precision and which can breathe. I still tape every canvas with the same nervous energy I felt in that first studio. But now, the confidence comes from knowing I’ve solved this puzzle before.
Now go make edges that make someone stop mid-scroll. You’ve got this.




Creative Edge Challenges and Exercises
Daily Edge Practice Ideas:
- Edge of the Day: Create one small painting focusing on a specific edge type
- Brush Limitation: Use only one brush type for an entire session
- Color Edge Study: Explore how different colors affect edge perception
- Texture Edge Experiment: Combine texture with edge definition
- Size Challenge: Paint the same subject in different sizes, noting edge changes
Monthly Edge Projects:
- Create a series exploring different edge philosophies
- Develop a signature edge technique
- Master a challenging edge type (like perfect circles)
- Create edge studies from master artworks
- Develop a personal edge vocabulary through experimentation
Edge Journaling:
- Document successful edge techniques
- Record edge mistakes and solutions
- Collect examples of inspiring edges
- Track your edge development over time
- Note emotional responses to different edge qualities
For more on my process, see the artist’s timeline or visit the Den Bosch museum. If you’re searching for tools without endless scrolling, check our curated print shop.