How to Start Drawing: Your Personal, No-Pressure Beginner's Guide
Ready to start drawing but feel intimidated? This expanded, personal guide walks you through essential supplies (including different mediums & paper!), setting up your space, simple techniques like value, negative space, proportion, and basic composition, mindset shifts, practical exercises with personal anecdotes, and tips to help you just make your first marks, embrace imperfection, and build a drawing habit.
How to Start Drawing: Your Personal, No-Pressure Beginner's Guide
Okay, let's talk about drawing. Maybe you've always wanted to try, or perhaps you doodled as a kid and the urge is back. But then you look at amazing artwork online or in a gallery, and that little voice whispers, "Yeah, but you could never do that." Sound familiar? It's the blank page staring back, the fear of not being 'good enough'. I get it. I've been there. I remember sitting in front of a pristine white sheet of paper, pencil in hand, utterly frozen by the sheer potential for failure. My first attempts often looked like a spider had walked through ink and then had a seizure on the page. Honestly, I once tried to draw my own hand and it looked less like a human appendage and more like a cluster of oddly shaped sausages. And honestly? That voice is a liar. Drawing isn't some magical talent only bestowed upon a chosen few. It's a skill. And like any skill, you can learn it. You just need to start.
This isn't going to be a dry, technical manual. Think of this as a chat with a friend who happens to spend a lot of time with pencils and paper. We'll cover the absolute basics, bust some myths, and hopefully, get you excited to just make some marks.
Why Even Bother Drawing?
Beyond creating something cool to hang on your wall (or give as a gift!), drawing is an incredible way to connect with the world and yourself. It forces you to really look at things. Not just glance, but observe shapes, shadows, textures. It's a form of mindfulness, a way to quiet the noisy world and just focus on the line you're making. It's also a fantastic way to process thoughts and emotions – sometimes putting a feeling into a sketch is easier than finding the words. (Ever tried art therapy exercises? Drawing is a big part of that!).
It's also a fundamental building block for pretty much any other visual art form. Think of sketching out compositions for paintings, planning sculptures, or even mapping out ideas for digital art. My own artist journey started with simple sketches. It's also just... fun. Pure, simple, messy fun. And honestly, in a world that often feels overwhelming, finding a simple, creative outlet like drawing feels more important than ever. It's a way to slow down, observe, and appreciate the small details around you. I remember once trying to draw a crumpled piece of paper and being amazed by the complexity of the shadows – it made me see 'trash' in a completely new light. It's why I believe why art is important on a fundamental level. Drawing can also be a powerful tool for visual note-taking or brainstorming ideas, helping you think creatively and organize complex thoughts in a non-linear way. Sometimes, a quick sketch can hold more information and feeling than a page of notes. I've used quick sketches myself to map out ideas for new series of paintings or even just to visualize a tricky problem I'm trying to solve – it's surprising how putting things down visually can untangle your thoughts.
Gathering Your Tools (It's Simpler Than You Think)
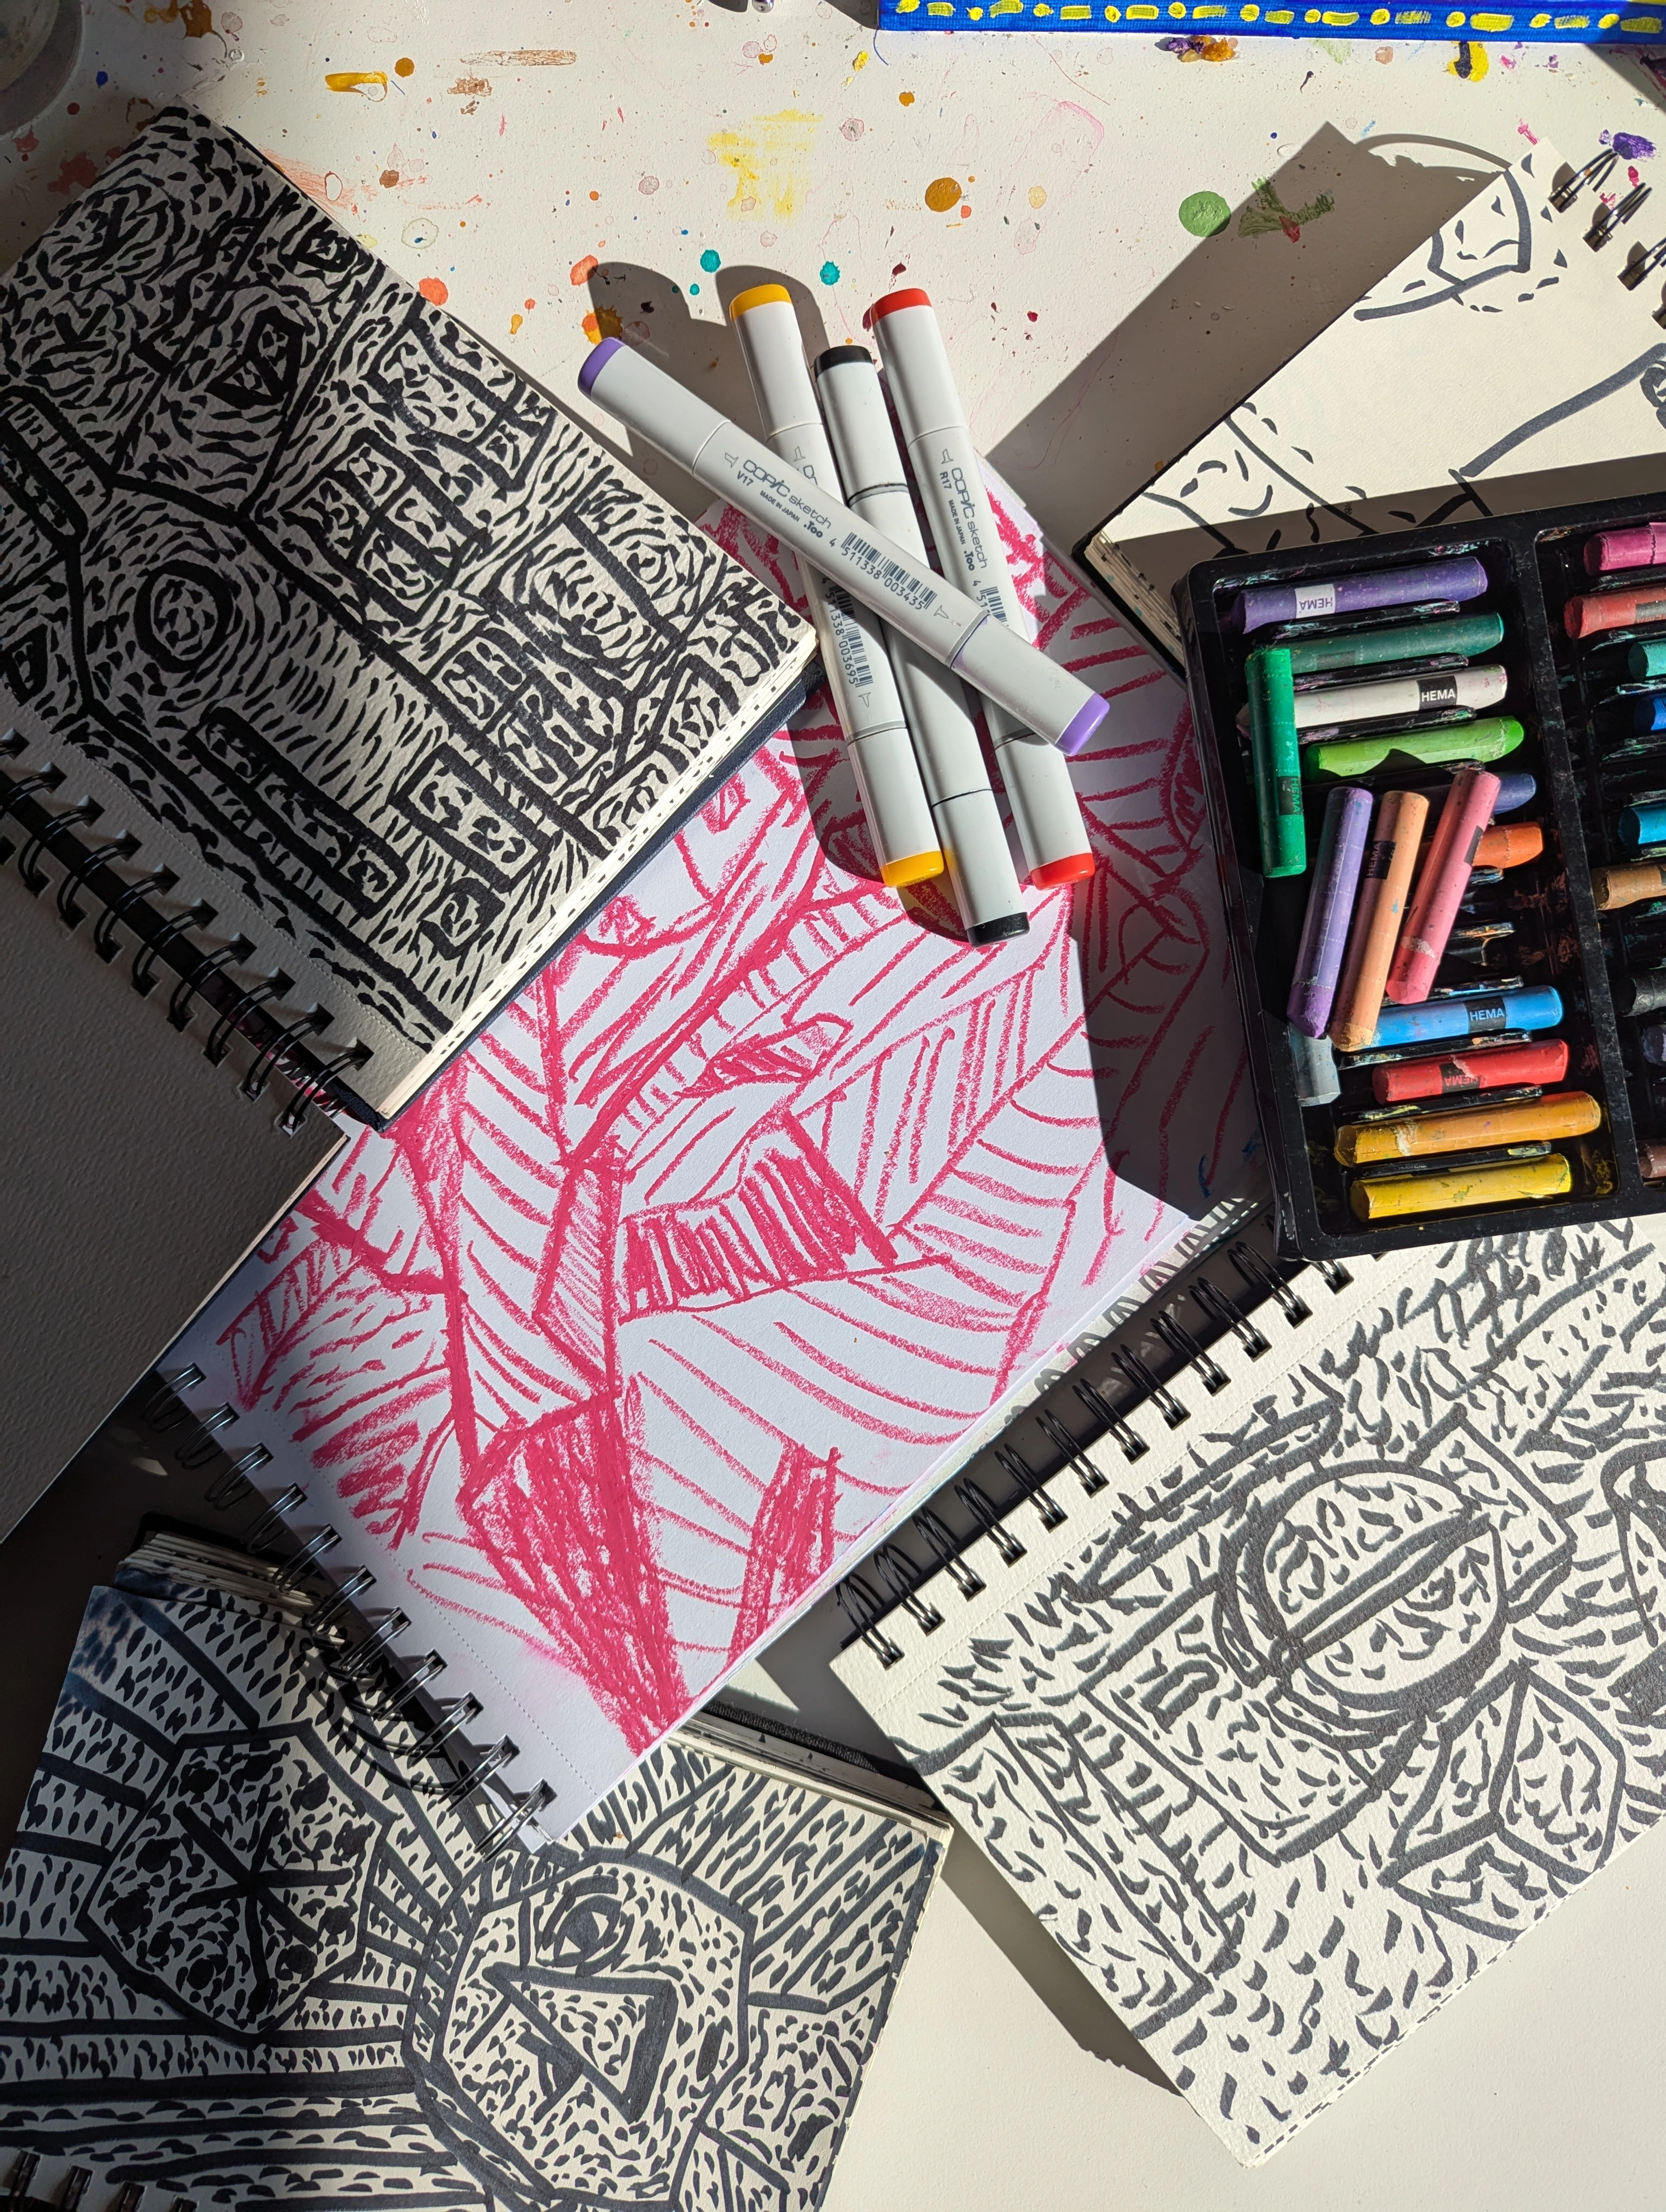
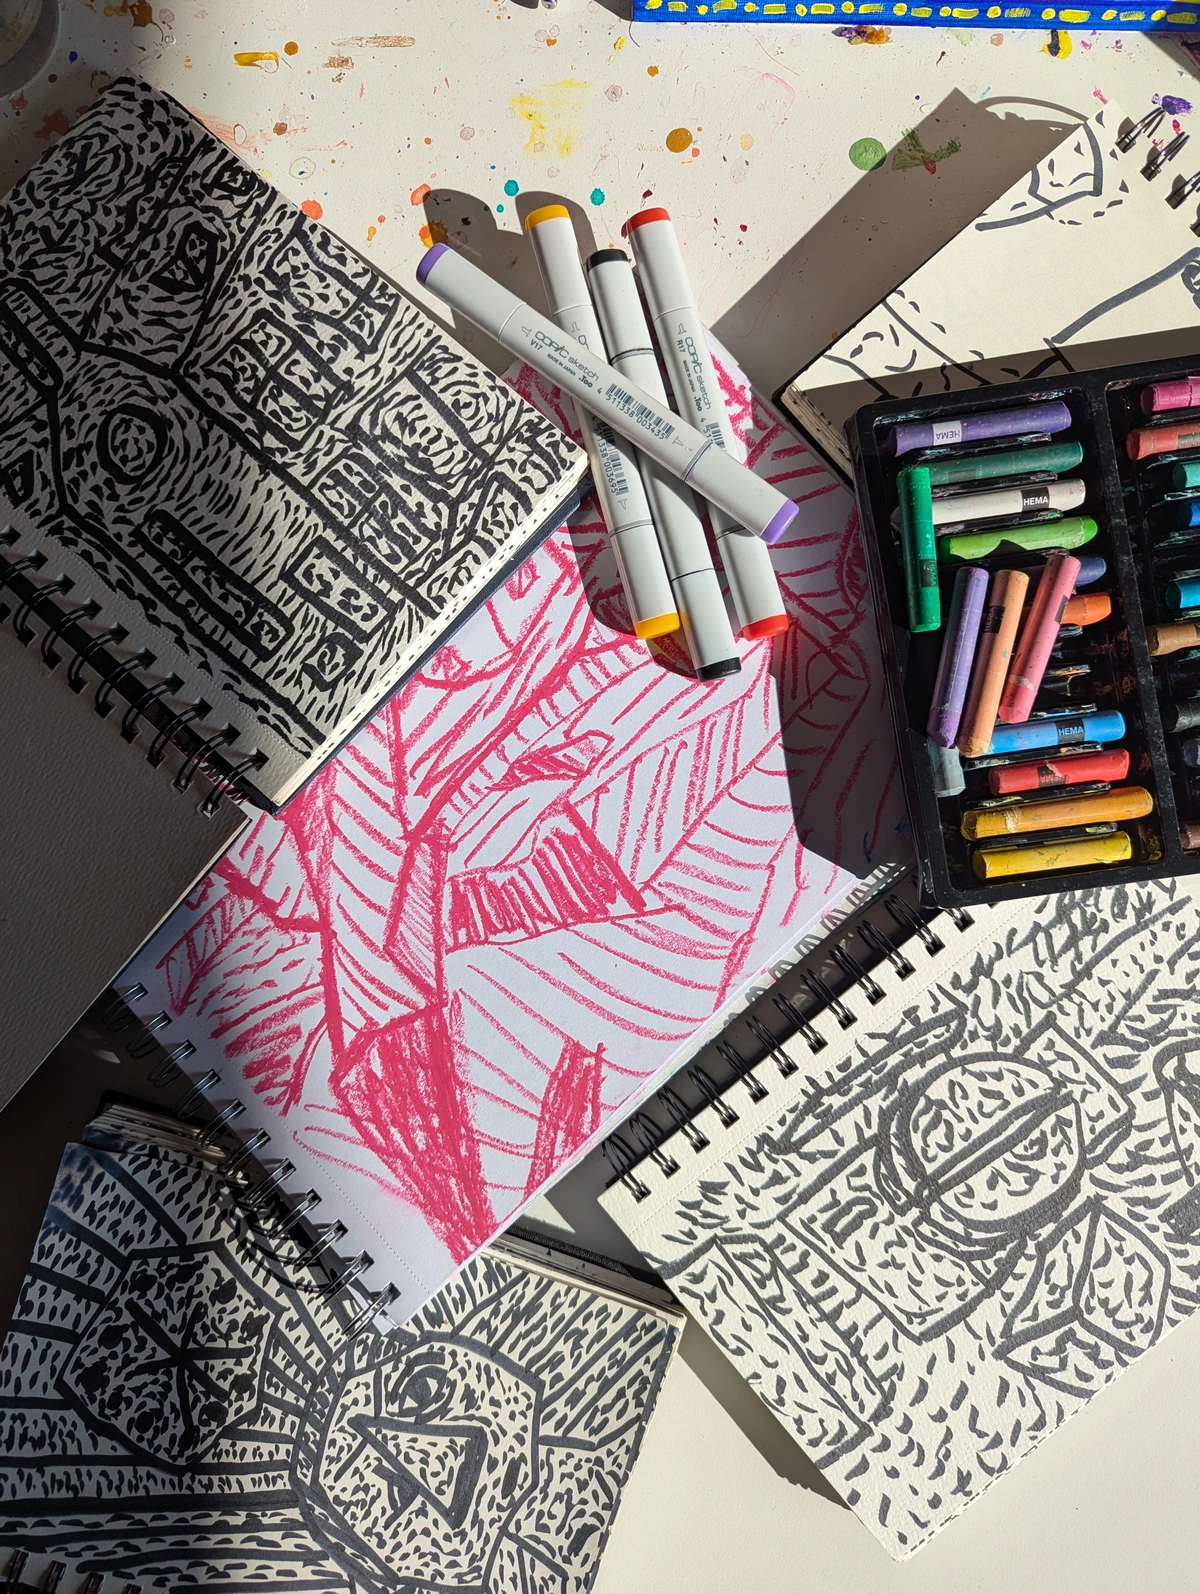
Forget fancy easels or expensive sets of a hundred colored pencils for now. Starting to draw should be accessible and low-cost. You probably have some of this stuff lying around already. Here's what I recommend for absolute beginners:
First, good lighting is crucial! Try to draw in a well-lit space so you can clearly see the values (lights and shadows) you're creating. It makes a huge difference in how you perceive form. Also, think about your physical space. Setting up a comfortable spot where you can sit or stand with good posture is important to avoid strain, especially if you get lost in drawing for a while. A simple table and chair will do, just make sure you're not hunching over too much.
- Pencils: Start with just a couple of graphite pencils. An HB is a good all-rounder for sketching and writing. A 2B or 4B will give you darker lines and softer shading. Think of H pencils as harder lead that stays sharp longer and makes lighter marks (good for outlines or technical drawing), while B pencils are softer, darker, and smudge more easily (great for shading). Don't worry about the whole range of H and B pencils yet. Just a few will do.
- Paper: A simple sketchpad or even just printer paper is fine to start. Don't buy expensive drawing paper until you've filled a few cheaper pads. The goal is to make marks without fear of 'wasting' good paper. Different paper surfaces (smooth vs. textured) will affect how your pencil marks look – paper with more 'tooth' (texture) grabs graphite differently, which is great for shading and creating varied textures, while smoother paper is better for fine lines and ink. You might also notice that thinner paper (like standard printer paper, around 75-90 gsm or 20 lb) can buckle or tear easily, especially with heavy erasing or shading. While cheap paper is great for practice, consider getting a slightly heavier sketchpad (100-120 gsm or 60-80 lb) if you find bleed-through or tearing frustrating. It holds up a bit better to enthusiastic mark-making and erasing, but still isn't so precious you're afraid to fill it up. Just get some paper you feel comfortable filling up.
- Eraser: A basic plastic eraser (sometimes called a vinyl eraser) works well. A kneaded eraser is also great for lifting graphite gently without smudging, but not essential initially. I still remember the first time I used a kneaded eraser – it felt like magic, like sculpting with rubber! Remember, your eraser is a tool for learning and exploring, not just fixing 'mistakes'. A little care goes a long way – keep your eraser clean by rubbing it on a scrap piece of paper.
- Sharpener: A simple manual pencil sharpener is all you need. Keep your pencils sharp for cleaner lines and finer details. Taking a moment to sharpen your pencil can even be a nice little ritual to get you in the drawing zone.
That's it. Seriously. A couple of pencils, some paper, an eraser, and a sharpener. You can get all of this for less than the cost of a fancy coffee. See? Not intimidating at all. I still have some of my first cheap supplies tucked away somewhere. They hold a certain... nostalgic wonkiness. Store your supplies neatly so they're easy to grab when inspiration strikes. I learned this the hard way after finding a favorite pencil snapped in half at the bottom of a messy drawer – a small tragedy! Also, consider simple things like storing paper flat to prevent warping or protecting pencil tips when carrying them around. I once ruined a perfectly sharpened pencil point by just tossing it into a bag with keys – a rookie mistake I won't make again!

Beyond the Pencil (Future Explorations)
While graphite is a fantastic starting point, the world of drawing mediums is vast and exciting! Once you're comfortable, you might explore:
- Charcoal: Creates rich blacks and soft, blendable tones. Messier than graphite but wonderful for expressive shading.
- Pen and Ink: Offers crisp, permanent lines. Great for building value through hatching and cross-hatching. Requires a different kind of commitment as marks are harder to erase.
- Colored Pencils: Allow you to add color to your drawings, building up layers for depth and vibrancy.
- Digital Drawing: Using a tablet and stylus opens up endless possibilities with different brushes, layers, and easy editing. It's a different feel but the fundamental principles of drawing still apply.
Don't feel pressured to try these right away, but know they're there when you're ready to expand your horizons. The basic skills you build with graphite – understanding line, shape, value, and form – are the foundation for working with any of these exciting mediums.
Your First Marks: Just Start Drawing!
The hardest part is often putting that first line down. So, let's make it easy. Don't try to draw a masterpiece. Try these simple, no-pressure exercises. Dedicate a full page (or even several pages!) to each one. The goal is mileage, not perfection. Think of these as warm-ups and explorations that build the foundation for understanding techniques.
- Scribble Warm-up: Before anything else, just scribble! Let your hand move freely across the page. Make loops, swirls, jagged lines. Don't try to draw anything specific. This is purely about loosening up your hand and mind and getting comfortable with the physical act of making marks. I found this one surprisingly freeing when I was starting out – it felt like permission to just make a mess. Just feel the pencil on the paper! I remember doing this and feeling a silly grin spread across my face – it was like being a kid again, just making noise with a pencil. It's okay if it looks like nothing, the point is just to get started.
- Line Practice: Fill a page with different types of lines. Straight lines, wavy lines, zigzags, circles, spirals. Try varying the pressure to see how the line changes (thick vs. thin, dark vs. light). Explore different qualities of lines – fast, slow, broken, continuous. How do they feel? What do they suggest? This isn't about perfection; it's about getting comfortable with the pencil and seeing what it can do. Every line is a discovery! I spent ages just drawing parallel lines, trying to get them evenly spaced, then intentionally making them wobbly. It sounds boring, but it taught me so much about control (and lack thereof!). Don't worry about making them perfect, just make lots of lines.
- Shape Exploration: Draw simple geometric shapes – squares, circles, triangles. Then try combining them. Draw organic shapes – blobs, curves, irregular forms. Fill pages with these. See how shapes interact when they overlap or sit next to each other. Shapes are the building blocks! I remember trying to draw a page full of circles and realizing how hard it is to make a perfect one freehand – it was a good lesson in embracing the imperfect wobble. Just fill the page with shapes!
- Contour Drawing (Blind or otherwise): Pick an object (your hand, a mug, a shoe). Look only at the object, not your paper, and draw the outline without lifting your pencil. This is called blind contour drawing and it's fantastic for training your eye to really see the edges and forms without the brain's tendency to rely on symbols. It forces pure observation. Try setting a timer for 1-5 minutes for these quick studies. Then try it looking at the paper sometimes – this allows for more control but still focuses on the outline. It's not about making a 'good' drawing, it's about training your observation skills. Train your eye to truly see! (Artists who mastered drawing hands spent a lot of time on this!) My first blind contour of my hand looked like a melted glove, but the act of only looking felt like unlocking a new way to process visual information. Give it a try, no one has to see it!
- Texture Studies: Find things with interesting textures – wood grain, fabric, crumpled paper, leaves. Try to replicate those textures using different pencil strokes (short lines, dots, scribbles). Again, focus on observing and experimenting. Look closely at how light and shadow play on the texture. Feel the texture through your pencil! I remember trying to draw the rough bark of a tree and being fascinated by how many different little marks it took to capture that feeling of roughness. Just experiment with different marks to capture the feeling of the surface.
- Draw Everyday Objects: Look around you. Pick the simplest object you see – a pen, a key, a bottle. Draw it. Don't worry if it looks wonky. The goal is just to translate what you see onto the paper. Try drawing the same object from different angles. Or even better, draw the same object multiple times on the same page or over several days. You'll be amazed how your observation and lines improve with repetition. Start with what's right there! My go-to was always my coffee mug. Drawing it from above, from the side, empty, full – it sounds simple, but it's a fantastic way to practice seeing form and perspective in a low-stakes way. Just pick something and draw it!
- Value Gradient: On a scrap piece of paper, draw a rectangle or a series of small squares. Practice shading from your lightest possible mark (barely touching the paper) to your darkest black (pressing firmly with a soft pencil). Try to create a smooth transition or distinct steps between values. This exercise helps you understand the range of tones your pencil can produce, from the lightest gray to the darkest black, and is fundamental for creating form and depth. Explore the spectrum of light and dark! Imagine a gradient bar, from bright white on one end to solid black on the other, with smooth shades of gray in between – that's your value scale. This is a core exercise you'll return to again and again. Just practice making different shades.
The point of these exercises is to remove the pressure of creating something 'good'. You're just exploring, experimenting, and getting mileage with your tools. Think of it like a musician practicing scales. Or maybe like learning to juggle – you drop the balls a lot at first, but you're still learning the motion. Remember to look more than you draw; observation is key! A good rule of thumb, especially when drawing from life, is to spend about 80% of your time observing your subject and only 20% actually making marks on the paper. Your eye is your most important tool.
Try this now: Draw the object closest to your non-drawing hand. Don't think, just draw the outline. See? You're doing it.
These initial exercises are your foundation. Once you're comfortable making marks and observing the world around you, you can start building on these skills with some basic techniques that will help you translate what you see into more convincing drawings.
Basic Techniques: Seeing Like an Artist
Once you're comfortable making marks, a few basic concepts can really open your eyes. You don't need to learn complex perspective or anatomy right away. Focus on a couple of fundamental concepts that will immediately improve your drawing. Think of these as tools for understanding the visual world, like learning the elements of art.
Holding Your Pencil
It might sound simple, but how you hold your pencil affects the marks you make. For detailed work and fine lines, you'll likely use a tripod grip, similar to how you write. For broader strokes, shading, and sketching, try an overhand grip, holding the pencil further back and using the side of the lead. Imagine holding a brush for painting a large area – it's a similar, looser grip. Experiment with both and see how they feel and what kind of lines they produce. There's no single 'right' way, just what works for the mark you want to make. I remember feeling awkward with the overhand grip at first, like I had no control, but forcing myself to use it for sketching really loosened up my style.
Building with Basic Forms
Understanding basic forms is like learning the alphabet of drawing. Everything you see, no matter how complex, can often be broken down into simple, fundamental forms: the cube, the sphere, the cylinder, and the cone. Learning to draw these basic shapes from different angles is crucial. Once you can render a convincing box or ball, you can start seeing how those shapes make up more complicated objects. A mug is a cylinder with a handle (maybe a curved cylinder or a torus shape). An apple is a sphere with some bumps. A house is mostly cubes and prisms. Practice drawing these basic forms, understanding their three-dimensionality. Even better, find actual objects around you that are roughly these shapes (a box, an orange, a can) and draw them from observation. Try a mini-exercise: Draw a simple box from three different angles on one page. Then try drawing a sphere and shading it to look round. I remember trying to draw a teapot and failing miserably until someone told me to see it as a sphere, a cylinder, and a few cones. Suddenly, it made sense! It's like seeing the hidden structure beneath the surface.
Value (Light and Shadow)
This is huge. Drawing isn't just about outlines; it's about how light hits objects and creates shadows. Look at an object and identify the light source – where is the light coming from? This will determine where the highlights (lightest areas) and shadows (darkest areas) fall, with mid-tones in between. Practice shading simple shapes (like a ball or a cube) to make them look three-dimensional. A great exercise is to create a simple value scale on a scrap piece of paper, drawing boxes or a gradient from pure white to your darkest black, to understand the range of tones your pencil can make. Imagine a gradient bar, from bright white on one end to solid black on the other, with smooth shades of gray in between – that's your value scale. It's like having a grayscale palette at your fingertips. You can use different techniques to create value:
- Hatching: Drawing parallel lines close together. The closer the lines, the darker the value. Think of it like drawing tiny fences.
- Cross-Hatching: Drawing layers of parallel lines that cross over each other, creating darker values where they intersect. Like drawing a grid of tiny fences.
- Blending: Using your finger, a blending stump, or a tissue to smooth out graphite marks, creating soft transitions in value.
Try a mini-exercise: Draw a simple circle and imagine a light source coming from the top left. Shade the circle to make it look like a 3D sphere, showing the highlight, mid-tones, and shadow. Understanding these basics, even just a little, helps you see the world in terms of form and light, which is fundamental to all visual art, whether you're aiming for realism or abstract art. It's like learning the grammar of visual language. You can even see how artists use light and shadow dramatically in their work.
Proportion and Measurement
Getting proportions right can be tricky, but it's essential for making objects look believable. Proportion is about the size of one part of an object relative to another part, or the size of one object relative to another. A simple technique is to use your pencil as a measuring tool. Hold your pencil out at arm's length, close one eye, and use the tip and your thumb to measure the height or width of a part of the object you're drawing. Then, compare that measurement to another part of the object. For example, how many 'pencil-lengths' tall is the mug compared to how many 'pencil-lengths' wide it is? Use this ratio to guide your drawing. It's not about being perfectly accurate, but about training your eye to see relationships between sizes. You can also use your pencil to measure angles – hold it up, align it with an angle you see in your subject, and then transfer that angle to your paper. Try a mini-exercise: Pick an object, measure its height and width with your pencil, and note the ratio. Then try drawing it, using your pencil to check your proportions and angles as you go. I remember trying to draw a figure and making the head way too big – using the pencil method helped me see the head was only about 1/8th of the total height, not 1/4th! It's a simple trick, but it really helps.
Different Types of Lines
Lines aren't just outlines! They can convey information, emotion, and movement. Beyond the varying pressure we talked about in the exercises, think about different line types:
- Contour Lines: Define the edges and forms of an object (what we practiced earlier). These are the outlines.
- Gesture Lines: Quick, loose lines that capture the movement, energy, and overall pose of a subject, often used for figure drawing warm-ups. Think of the feeling of the form.
- Structural Lines: Lines that help you build the underlying form of an object, like the lines you'd use to draw the basic cube, sphere, or cylinder before adding details. These are like the skeleton.
- Expressive Lines: Lines that convey emotion or feeling through their quality – jagged lines for tension, smooth curves for calmness, thick lines for weight, thin lines for delicacy. These add personality.
Try a mini-exercise: Draw the same simple object (like an apple or a shoe) three times. First, focus only on the contour lines. Second, try to capture its overall 'gesture' or feeling with quick, loose lines. Third, try to build it up using simple structural lines first, then adding contour. See how the different approaches feel and what they communicate.
The Power of Negative Space
Negative space is a clever trick your brain might resist at first, but it's incredibly effective. Sometimes, it's easier to draw the space around an object than the object itself. This is called drawing the negative space. For example, if you're drawing a chair, instead of focusing on the legs and seat, focus on the shapes of the empty spaces between the legs, under the seat, and around the backrest. Your brain is less likely to impose preconceived notions of what a chair should look like, and you'll draw the actual shapes you see, leading to a more accurate representation of the object's form and placement in space. It works because you're focusing on pure shape and relationship, bypassing the brain's tendency to label and simplify the object itself. You can also look at the negative space within an object, like the hole in a donut or the space inside a mug handle. It's like looking at the gaps in a fence to understand the shape of the fence posts. This concept really blew my mind when I first encountered it – it felt like unlocking a secret way of seeing. (Negative space is a powerful tool in all art!) Try a mini-exercise: Find a chair or a pair of scissors. Draw only the shapes of the empty space between the parts of the object. See how focusing on the 'nothing' helps you draw the 'something'?
Understanding Edges
Building on contour drawing and negative space, pay attention to edges. An edge isn't always a sharp, defined line. Sometimes it's soft, where one form curves away from the light, or implied, where two shapes meet but there's no distinct line. Observing the quality of edges helps make your drawings feel more realistic and three-dimensional. Try a mini-exercise: Draw a simple object like a mug or an apple. Draw it twice. The first time, focus on making all the edges sharp and defined. The second time, observe closely where the light hits and where shadows fall, and try to make the edges softer or less defined where the form gently turns away from the light. See how the different edge qualities affect the sense of form? It's a subtle but powerful difference.
Seeing Depth (Basic Perspective)
You don't need to master complex vanishing points yet, but understanding that things appear smaller the further away they are, and that parallel lines seem to converge in the distance, is key to creating a sense of depth. Just being aware of this helps you draw objects and scenes that feel more grounded and realistic. A simple exercise is to draw a box or cylinder placed on a table in front of you from different angles. Notice how the lines of the box appear to angle towards a point as it recedes, or how the circle of the cylinder's opening changes shape. This is basic perspective in action. Try a mini-exercise: Draw a long, straight road or a railway track disappearing into the distance. Notice how the sides seem to get closer together as they go further away. (Simple perspective drawing for beginners can be a fun next step!)
Basic Composition
Composition is simply how you arrange the elements (shapes, lines, values) on your page. Even for beginners, thinking about this can make a big difference. A simple concept is the Rule of Thirds: imagine dividing your page into a 3x3 grid (like a tic-tac-toe board). Placing your main subject or points of interest along these lines or at their intersections can create a more dynamic and pleasing arrangement than just plopping everything in the center. Another idea is using leading lines – lines in your drawing (like a path, a fence, or even implied lines) that guide the viewer's eye through the artwork. Thinking about composition is like arranging furniture in a room – you want it to feel balanced and inviting. Try a mini-exercise: Before you start a drawing, do a few tiny thumbnail sketches (maybe 1x1 inch) of the same subject, trying out different placements on the page. See which arrangement feels most interesting. (Art Composition is a whole topic to explore later!)
Try a mini-exercise combining several techniques: Set up a simple still life with 2-3 everyday objects (like a mug, an apple, and a book). Spend a few minutes just observing. Then, try drawing it, focusing on breaking the objects down into basic forms, looking at the negative space between them, and paying attention to how light creates values. Don't worry about perfection, just practice seeing and translating.

Befriending the Blank Page: Dealing with Fear and Frustration
That little voice saying "you're not good enough"? It's persistent. Every artist, from beginner to master, deals with it. Especially when you're trying new techniques and the results aren't what you hoped for. Here's how to push past it:
Embrace Imperfection: Your first drawings will look like a beginner drew them. That's okay! It's part of the process. Don't expect perfection. Celebrate the act of creating, not just the finished product. I still have sketchbooks full of truly terrible drawings from when I was learning. They're like little milestones of progress. I once tried to draw my cat sleeping and it ended up looking like a lumpy potato with ears. I kept it. Keeping all your early drawings, even the ones you dislike, is a powerful way to see how much progress you're making over time. It's not just about seeing the improvement in skill, but the evolution of your seeing and your relationship with the process itself – that internal shift is the real progress. And remember to celebrate the small wins – maybe you finally got that curve right, or your shading on a sphere looks halfway decent. Acknowledge those little victories!
Focus on Process, Not Product: Shift your mindset. You're not trying to create something gallery-worthy right now. You're learning, observing, and enjoying the process of making marks. The outcome is secondary.
Draw What You Love: If drawing a perfect apple feels like a chore, draw your weird-looking cat, or a cool pattern on your shirt, or something completely from your imagination. Drawing should be fun.
Draw Small and Quick: Don't commit to a huge, detailed drawing when you're feeling intimidated. Do quick, small sketches. Five minutes of drawing is better than zero minutes. Try timed drawing exercises (e.g., 1-minute gestures, 5-minute object studies) to encourage spontaneity and prevent overthinking.
Learn to Love Your Eraser: Mistakes are learning opportunities. Don't be afraid to erase and try again. Or just leave the 'mistakes' – sometimes they add character! My eraser is one of my most used tools, honestly. Taking care of your tools, like keeping your eraser clean, is a small way to connect with your practice.
Don't Compare (Especially to Pros): It's inspiring to see amazing art, but comparing your first wobbly lines to someone's polished masterpiece is unfair and demotivating. Compare your drawing today to your drawing yesterday. That's where you'll see progress. Instead of comparing, try analyzing the work of artists you admire – how do they use line? How do they handle value? What can you learn from them? You can even try copying master drawings (always with attribution and understanding it's for learning, not claiming as your own work) to learn directly from the greats. And remember, even the most famous sketch artists today started somewhere.
Draw from Memory or Imagination: Sometimes the pressure of drawing exactly what you see can be overwhelming. Give yourself permission to draw something purely from your head. It's a different kind of challenge, focusing on creativity and expression rather than accuracy, and can be a great way to bypass the inner critic. You can also try drawing something from memory after you've observed it closely – this helps solidify visual information in your mind.
Take Breaks: If you're feeling frustrated, step away. Go for a walk, make a cup of tea, look at something completely different. Sometimes all you need is a little distance to come back with fresh eyes.
Remember, drawing is a skill developed through practice. Just like learning to ride a bike or play an instrument, you'll stumble and make awkward attempts at first. That's normal. Keep going. The feeling of quiet focus and discovery you get when you're truly absorbed in making marks is a reward in itself.
Common Beginner Pitfalls (and How to Dodge Them)
Beyond the fear, there are a few common traps beginners fall into:
Pitfall | How to Dodge It |
|---|---|
| Trying to Draw Too Much Detail Too Soon | Start simple! Focus on the big shapes and values first, then add detail later. Break complex subjects down into basic forms. |
| Not Using References Effectively | Use photos or objects to understand shapes, light, and shadow, don't just blindly copy. Draw from life when possible. |
| Getting Discouraged by Lack of Realism | Realism takes years. Focus on understanding fundamentals (shapes, value, line) and enjoying the process, not perfect likeness. |
| Drawing Only What You Think You See | Practice contour drawing and negative space exercises to bypass symbols and draw the actual shapes and spaces you observe. |
| Not Drawing Regularly | Make it a habit! Even short, consistent sessions are more effective than infrequent long ones. Set small, achievable goals like 15 mins/day. |
| Not Finishing Drawings | It's okay! Not every drawing needs to be a finished piece. Sketchbooks are for exploration. Embrace the unfinished. |
It's also perfectly okay to use tracing paper or a lightbox as a learning tool initially! It can help you understand proportions and shapes without the pressure of getting them right freehand. Just remember its purpose is to learn, not to be the final product. Don't let these common hurdles stop you; they're just part of the learning curve.
Making Drawing a Habit
Consistency is key, even if it's just a little bit each day. It's like saving money – small, regular deposits add up to something significant over time. Or building muscle – short, consistent workouts are more effective than one massive session every month. Here are some ideas:
- Set Aside Time: Even 10-15 minutes a day can make a difference. Make it part of your routine, like brushing your teeth or having coffee. I try to do a quick sketch in my notebook while my coffee brews in the morning – it's a small, manageable chunk of time. Setting a small, achievable goal, like filling just one page in your sketchbook, can make starting less daunting. I used to tell myself I needed a whole hour, and then I'd never start. Lowering the bar to just 15 minutes made it feel possible, and often I'd keep going longer once I started.
- Keep Supplies Handy: Have a small sketchpad and pencil easily accessible – by your sofa, on your desk, in your bag. If it's easy to grab, you're more likely to use it.
- Create a Dedicated Space: It doesn't have to be a whole studio. Even just a corner of a table where your supplies live can signal to your brain that it's time to draw when you sit there. You might also find it helpful to create a specific atmosphere – put on some music you love, light a candle, or make a cup of tea. Make it a pleasant ritual.
- Sketch Your Day: Draw simple things you encounter – your breakfast, the view from a window, someone on the bus (subtly!). This integrates drawing into your life.
- Use Prompts: If you're stuck on what to draw, use prompts! Daily drawing challenges online, random object generators, or even just picking the first three words you see in a book can spark ideas.
- Keep a Sketchbook: Think of your sketchbook as a private playground. It's a space for experimentation, mistakes, quick ideas, and practice – free from the pressure of creating finished art. Fill it up! (Collecting drawings and sketches can be a rewarding practice in itself).
- Join a Community (Optional): Find local drawing groups or online communities. Sharing your work (when you're ready!) and seeing others' progress can be motivating.
My own practice often involves quick sketches in a notebook before I even think about larger pieces or buying art for my studio. It's the foundation.
Finding Inspiration Everywhere
What should you draw? The world is full of subjects! Look for things that genuinely interest you. It could be:
- Everyday Objects: The mundane can be fascinating when you really look at it. I once spent twenty minutes drawing a single, slightly bent paperclip and was surprised by how much detail there was. Specific, simple subjects like a single piece of fruit, a crumpled sock, a houseplant leaf, a fork, or a simple toy are great starting points for observation. I even found myself drawing the weird, tangled mess of charging cables behind my desk once – not pretty, but a great exercise in line and form!
- Nature: Plants, trees, landscapes, animals. Simple forms or complex details. (Art about nature is a whole genre for a reason!)
- People (Quick Sketches): Draw people in motion, capturing gestures quickly. Don't worry about faces.
- Photos: Use photos as reference, but try not to just copy. Focus on shapes, light, and shadow.
- Your Imagination: Doodle freely, see where your pencil takes you. Drawing from imagination is a fantastic way to explore your inner world without the pressure of external accuracy. You can even try drawing abstract concepts or things that aren't visual – like the feeling of a song, the texture of a memory, or the taste of your morning coffee. It pushes you to find new ways to make marks.
- Other Art: Visit galleries (like my museum in Den Bosch if you're ever nearby!) or look at art online. Analyze how artists you admire use lines, shapes, and value. This isn't about copying, but learning to see. Exploring different genres of art or types of artwork can spark ideas. You can also learn a lot by copying master drawings (again, for study purposes only, not to claim as your own) to understand their techniques and structure.
- Keep an Inspiration Journal: This can be a physical notebook or a digital file. Jot down ideas, make quick thumbnail sketches, collect images or photos that catch your eye. Reviewing it later can be a great way to kickstart a drawing session.
Inspiration is less about waiting for a lightning bolt and more about actively looking and being curious. Even in my contemporary art, the initial spark often comes from observing the world around me. Sometimes, just looking at art inspirations online is enough to get the pencil moving.
The Most Important Step: Just Begin
Seriously, that's it. Stop reading, grab a pencil and some paper, and make a mark. It doesn't matter what it is. A scribble, a line, a wonky circle. You've just started drawing. Welcome to the club. It's a lifelong journey of seeing, exploring, and creating, and the only requirement is that you begin. The fear might still whisper sometimes, but with each line you draw, your own voice gets a little louder, a little more confident. Embrace the wonkiness, celebrate the process, and enjoy the simple magic of making marks on a page. Drawing is a powerful form of personal expression and self-discovery, and it all starts with that first mark.
Happy drawing! Now go make some beautiful messes.


