How to Draw Hands: An Artist's Guide to Conquering the Challenge
Drawing hands is notoriously difficult for artists. Dive into why, learn specific lessons from masters like Leonardo and Dürer, and discover practical, actionable tips and exercises to conquer this artistic challenge with a personal, engaging guide.
The Artist's Nemesis: Why Drawing Hands is So Hard (And How to Conquer It)
Ah, hands. The bane of many an artist's existence. If you've ever tried to draw or paint a hand that looks like, well, a hand, you know the struggle is real. They can look like clumsy mittens, alien appendages, or just... wrong. For years, I'd find myself strategically hiding hands in pockets, behind backs, or just cropping them out of the frame entirely. It felt like a dirty secret, a confession whispered in the quiet corners of my studio (come see my studio sometime, maybe you'll spot the evidence!).
But why are these incredibly familiar, constantly used parts of our anatomy such a nightmare to render accurately and expressively? Let's dive into the beautiful, frustrating world of drawing hands.

The Many Challenges of the Humble Hand
Think about everything a hand does. It grasps, points, waves, holds, expresses emotion, shows age, tells stories of work and life. It's a complex structure of bones, muscles, tendons, and skin, capable of an infinite number of poses and gestures. Trying to capture that complexity is like trying to nail jelly to a wall – slippery and frustrating.
So, why are hands considered one of the hardest things to draw? It boils down to a few key areas, each presenting its own unique headache:
Anatomy and Structure
It's not just a flat shape; it has volume and form that changes dramatically with every slight bend of a finger or wrist. There are so many small bones! You don't need to be a doctor, but a basic understanding of the major bone groups – the carpals in the wrist, the metacarpals in the palm, and the phalanges in the fingers – and how they articulate is key. Knowing where the knuckles are, how the wrist bone connects, and the structure at the base of the thumb makes a huge difference. For instance, understanding the carpal arch helps you see the natural curve and volume of the palm, not just a flat surface. And recognizing how the extensor tendons on the back of the hand become visible when the fingers straighten adds crucial detail and realism. Getting the proportions right, understanding how they connect and move, is a lifelong study.
Beyond the bones and tendons, the hand is a marvel of muscle groups working in concert. The fleshy pads at the base of the thumb and little finger, known as the thenar and hypothenar eminences, are crucial for the hand's ability to cup, grasp, and manipulate objects. Understanding these muscle masses helps you see the underlying form and how it shifts with different actions. Think of the hand not just as a collection of sticks (bones) and strings (tendons), but as a dynamic, padded tool.
Movement & Gesture
Hands are rarely still. They are dynamic, expressive tools. Capturing the feeling of a gesture, the weight or lightness of an action, is just as important as getting the anatomy right. This is about capturing the action or intent of the hand, not just its static pose. This is where hands truly become storytellers, adding layers of meaning to a figure (like interpreting body language in portraits). Trying to capture a hand mid-wave or gently holding something requires observing and understanding the flow of movement. Capturing the weight and tension a hand conveys – the difference between a relaxed open palm and a tightly fisted hand – is vital for believability.
Perspective
Hands foreshorten like crazy. A hand reaching directly towards you looks completely different from a hand seen from the side or above. Mastering perspective is crucial, and hands are perhaps the ultimate test. Challenging angles like a hand seen from underneath or one reaching straight out can feel impossible at first. It's like trying to draw a coiled spring – all the complexity is compressed and distorted depending on your viewpoint.

Light and Shadow
The complex, undulating surface of the hand, with its knuckles, tendons, and fleshy pads, creates incredibly intricate patterns of light and shadow. Rendering these accurately is essential for conveying volume and form. A slight shift in lighting can completely change the look of a hand, and getting the values right is a constant challenge. It's like trying to map a tiny, ever-changing mountain range on your paper.
Variation
Hands aren't one-size-fits-all. They vary significantly based on age, gender, profession, and individual characteristics. A laborer's hand tells a different story than a pianist's hand. Capturing these subtle differences – the prominence of veins, the texture of the skin, the shape of the nails – adds another layer of complexity and character to your drawings.
Detail vs. Simplicity
You can get lost in the wrinkles, knuckles, and fingernails. But too much detail can make a hand look stiff or old. Finding the balance between detail and capturing the overall form and gesture is key. Knowing when to suggest a form with a few lines versus rendering every crease is a skill in itself.
It's enough to make you want to just paint abstract blobs, isn't it? (Though abstract art has its own complexities!)
Common Beginner Mistakes
Speaking from personal experience (and seeing countless student drawings!), beginners often fall into similar traps. Recognizing these can save you a lot of frustration:

- Sausage Fingers: Making fingers too uniform in length and thickness is a big one – they are all different! The middle finger is usually the longest, and fingers taper slightly.
- Flat Palms: Ignoring the underlying structure of the palm, treating it like a flat pad rather than a complex form with arches and pads, leads to stiff, lifeless hands.
- Incorrect Scale: Drawing hands too small or too large relative to the head or body is a classic issue. Getting the scale right is crucial for believable figures.
- Ignoring the Thumb: The thumb is a complex structure with its own set of bones and muscles, acting almost independently. Treating it as just another finger is a common pitfall. Ever felt like your thumb just won't cooperate? You're not alone.
- Stiff Poses: Avoiding dynamic poses and only drawing flat, open hands because movement feels too hard. Hands are expressive; embrace the gesture!
Learning from the Masters: Artists Who Conquered the Hand
Thankfully, we're not the first artists to grapple with this challenge. Throughout history, certain masters dedicated serious time and study to the hand, and their work offers incredible lessons and inspiration. Which famous artists were known for mastering drawing hands? Many, but let's look at a few and what we can learn from them specifically about hands.
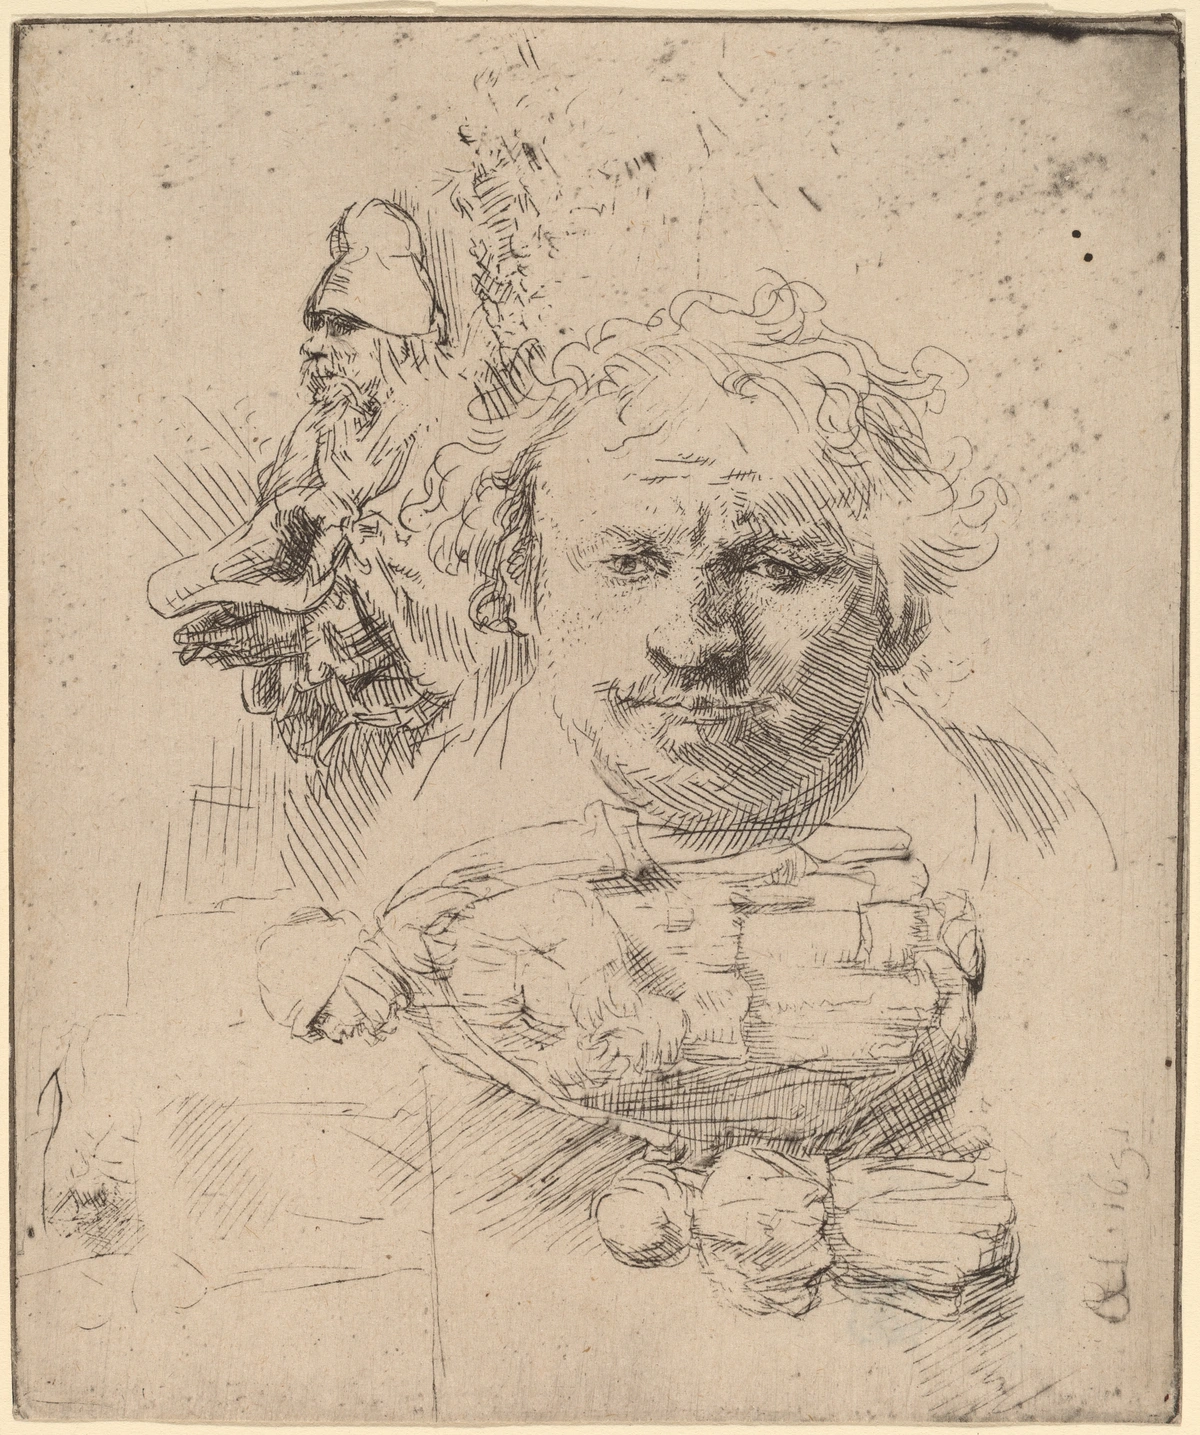
Leonardo da Vinci
Perhaps the ultimate student of anatomy, Leonardo's notebooks are filled with meticulous studies of hands in various poses. He understood the underlying structure and how it dictated form and movement. His painted hands, like those in the Mona Lisa or The Last Supper, are incredibly lifelike and expressive, conveying character and emotion with subtle shifts. The lesson here is the absolute importance of understanding the foundational anatomy before attempting to render the surface – a direct link to the 'Study Anatomy' tip later on.
Albrecht Dürer
Dürer's famous "Praying Hands" is a testament to his incredible skill and dedication to detail. It's a study, not a finished piece, showing the artist's process of observation and rendering. His hands are often highly detailed, capturing the texture of skin and the tension of muscles. Dürer teaches us the value of intense observation and dedicated study of the hand in isolation, reinforcing the 'Observe, Observe, Observe' principle.
Michelangelo
Michelangelo's hands are powerful, dynamic, and often monumental. Think of the iconic touch between God and Adam on the Sistine Chapel ceiling – pure gesture and energy conveyed through the form of the hands. He used hands to express divine power, human longing, and dramatic tension. From Michelangelo, we learn the power of dynamic form and using the hand's pose to convey narrative and emotion, directly supporting the 'Focus on Gesture First' tip.
Egon Schiele
Moving into Modernism, Schiele's hands are raw, angular, and intensely expressive. They are often distorted, reflecting the psychological state of his subjects. His hands are not just anatomical forms; they are extensions of the sitter's inner turmoil and vulnerability. (Explore more about modern artists and their unique approaches). Schiele shows us that expression and psychological depth can be prioritized over strict anatomical realism, using distortion intentionally – a fascinating counterpoint to the focus on realism, suggesting that understanding form allows for intentional deviation.

(While Picasso's hands aren't his most famous feature, his cubist approach to form reminds us that even complex subjects can be broken down into simpler shapes, as seen in this abstract figure. This principle applies to hands too!)
Conquering the Hand: Practical Tips & Exercises
Okay, so hands are hard. We get it. But how do we actually get better? Despite the difficulties and the intimidating examples of the masters, there are practical steps you can take. Here are a few things I've learned (and am still learning!) on my own artistic journey, along with some actionable exercises. These tips are the practical application of the principles we see in the masters' work.

Observe, Observe, Observe
This is the most important step. Look at your own hands. Look at the hands of people around you (maybe subtly, don't be creepy!). Notice how they hold things, how they rest, how they express emotion. Draw them constantly, from every angle. Your hands are always available models! I remember sitting on the train, trying to sketch the hands of the person across from me without being obvious – it felt like a spy mission, but it was invaluable practice.

- Exercise: Timed Gesture Studies. Set a timer for 30 seconds, 1 minute, and 5 minutes. Draw your hand in as many different poses as possible within those time limits. Focus only on the overall shape and gesture, not detail. This forces you to capture the essence quickly.
- Exercise: Hand Holding Objects. Draw your hand holding a variety of objects – a cup, a pencil, a phone, a piece of fruit. Pay attention to how the fingers wrap, the tension in the grip, and how the hand conforms to the object's shape.
Start Simple: Break it Down
Don't try to draw every knuckle and wrinkle at first. Think of the hand as a few basic shapes: a palm shape (like a paddle or a box) and cylinders or simplified wedge shapes for the fingers and thumb. Build the form from there. This is the best way for a beginner to practice drawing hands – simplify the complex structure into manageable forms. Just like a cubist painter might break down a figure (explore Cubism), you can break down a hand.
- Exercise: Box and Cylinder Hands. Draw hands using only boxes for the palm and cylinders for the fingers and thumb. Practice different poses, focusing on how these basic forms connect and overlap in space.
Study Anatomy (Just Enough)
You don't need to be a surgeon, but a basic understanding of where the bones are and how the major muscle groups work will make a huge difference. There are tons of great resources online and in books. Focus on the relationship between the bones, muscles, and the surface form. Understanding the carpal arch in the palm or how the extensor tendons affect the back of the hand can unlock a lot. Knowing the structure helps you understand why the surface looks the way it does. Think of the bones as the scaffolding, the muscles as the padding and movers, and the skin as the final layer that smooths and defines the form.

- Exercise: Draw the Bones. Find a simple diagram of hand bones (carpals, metacarpals, phalanges). Draw the bone structure of the hand in a few different poses. Then, lightly sketch the outer form over the bones to see the relationship.
Focus on Gesture First
Before getting bogged down in detail, capture the overall flow and energy of the hand's pose. Is it relaxed? Tense? Pointing forcefully? A strong gesture drawing provides a solid foundation. This is about the action – a hand reaching, gripping, or waving has a distinct energy you need to capture before adding structure. This is the Michelangelo approach! Pay attention to the weight and tension the hand is conveying. Is it holding something heavy, or delicately balancing something light? This subtle difference is communicated through the gesture and muscle tension.
- Exercise: Blind Contour Gesture. Without looking at your paper, draw the outline of your hand in a pose, focusing intensely on the feeling of the lines and curves as your eye follows the form. Do this quickly to capture the gesture.
Draw from Life (Yours or Others)
Photos are okay, but drawing from a real hand (yours or someone else's) forces you to understand the three-dimensional form in a way a flat image can't. You can rotate it, feel the bones, and see how the light falls. (Finding inspiration often comes from the world around you, including your own body!) Drawing from sculptures or anatomical models can also be incredibly helpful, as they provide a constant, tangible 3D reference.

- Exercise: Self-Portrait Hands. Draw your own hand in a mirror, focusing on the perspective and foreshortening. Try different angles, especially challenging ones like reaching towards the mirror. The mirror helps you see your hand as an external object, not just a familiar part of yourself.
Use References and Props
Don't be afraid to use references! Look at photos, anatomical diagrams, or even use your own hand in a mirror. Simple props can also help. A wire armature hand model can be posed in complex ways, or you can even start by tracing your own hand to understand basic proportions and the relationship between the palm and fingers.
- Exercise: Drawing Hands with Tools. Draw your hand holding various artist's tools – a paintbrush, a pencil, a palette knife, a charcoal stick. Pay close attention to how the fingers grip and the subtle tension required for control. This is great practice for drawing hands in the context of creating art.
Draw Hands in Context
Hands don't exist in a vacuum. They are attached to wrists and arms. Practice drawing the hand as it connects to the rest of the figure. This helps with getting the scale right and understanding how the hand functions as part of the whole body. Sometimes, focusing on the wrist and forearm first can make the hand feel less intimidating.
Practice Specific Hand Types and Poses
Instead of just drawing random hands, try focusing on specific types. Draw a relaxed hand, a fisted hand, a hand holding a cup, a hand pointing, or hands clasped together. Each pose presents unique challenges and helps you understand how the structure changes. This targeted practice can be very effective. Also, pay attention to variation – draw hands of different ages, shapes, and sizes to understand how these characteristics affect the form.
- Exercise: Focus on Age. Find reference photos of hands from different age groups (child, young adult, elderly). Draw them side-by-side, paying attention to the differences in proportions, skin texture, visible tendons/veins, and bone structure.
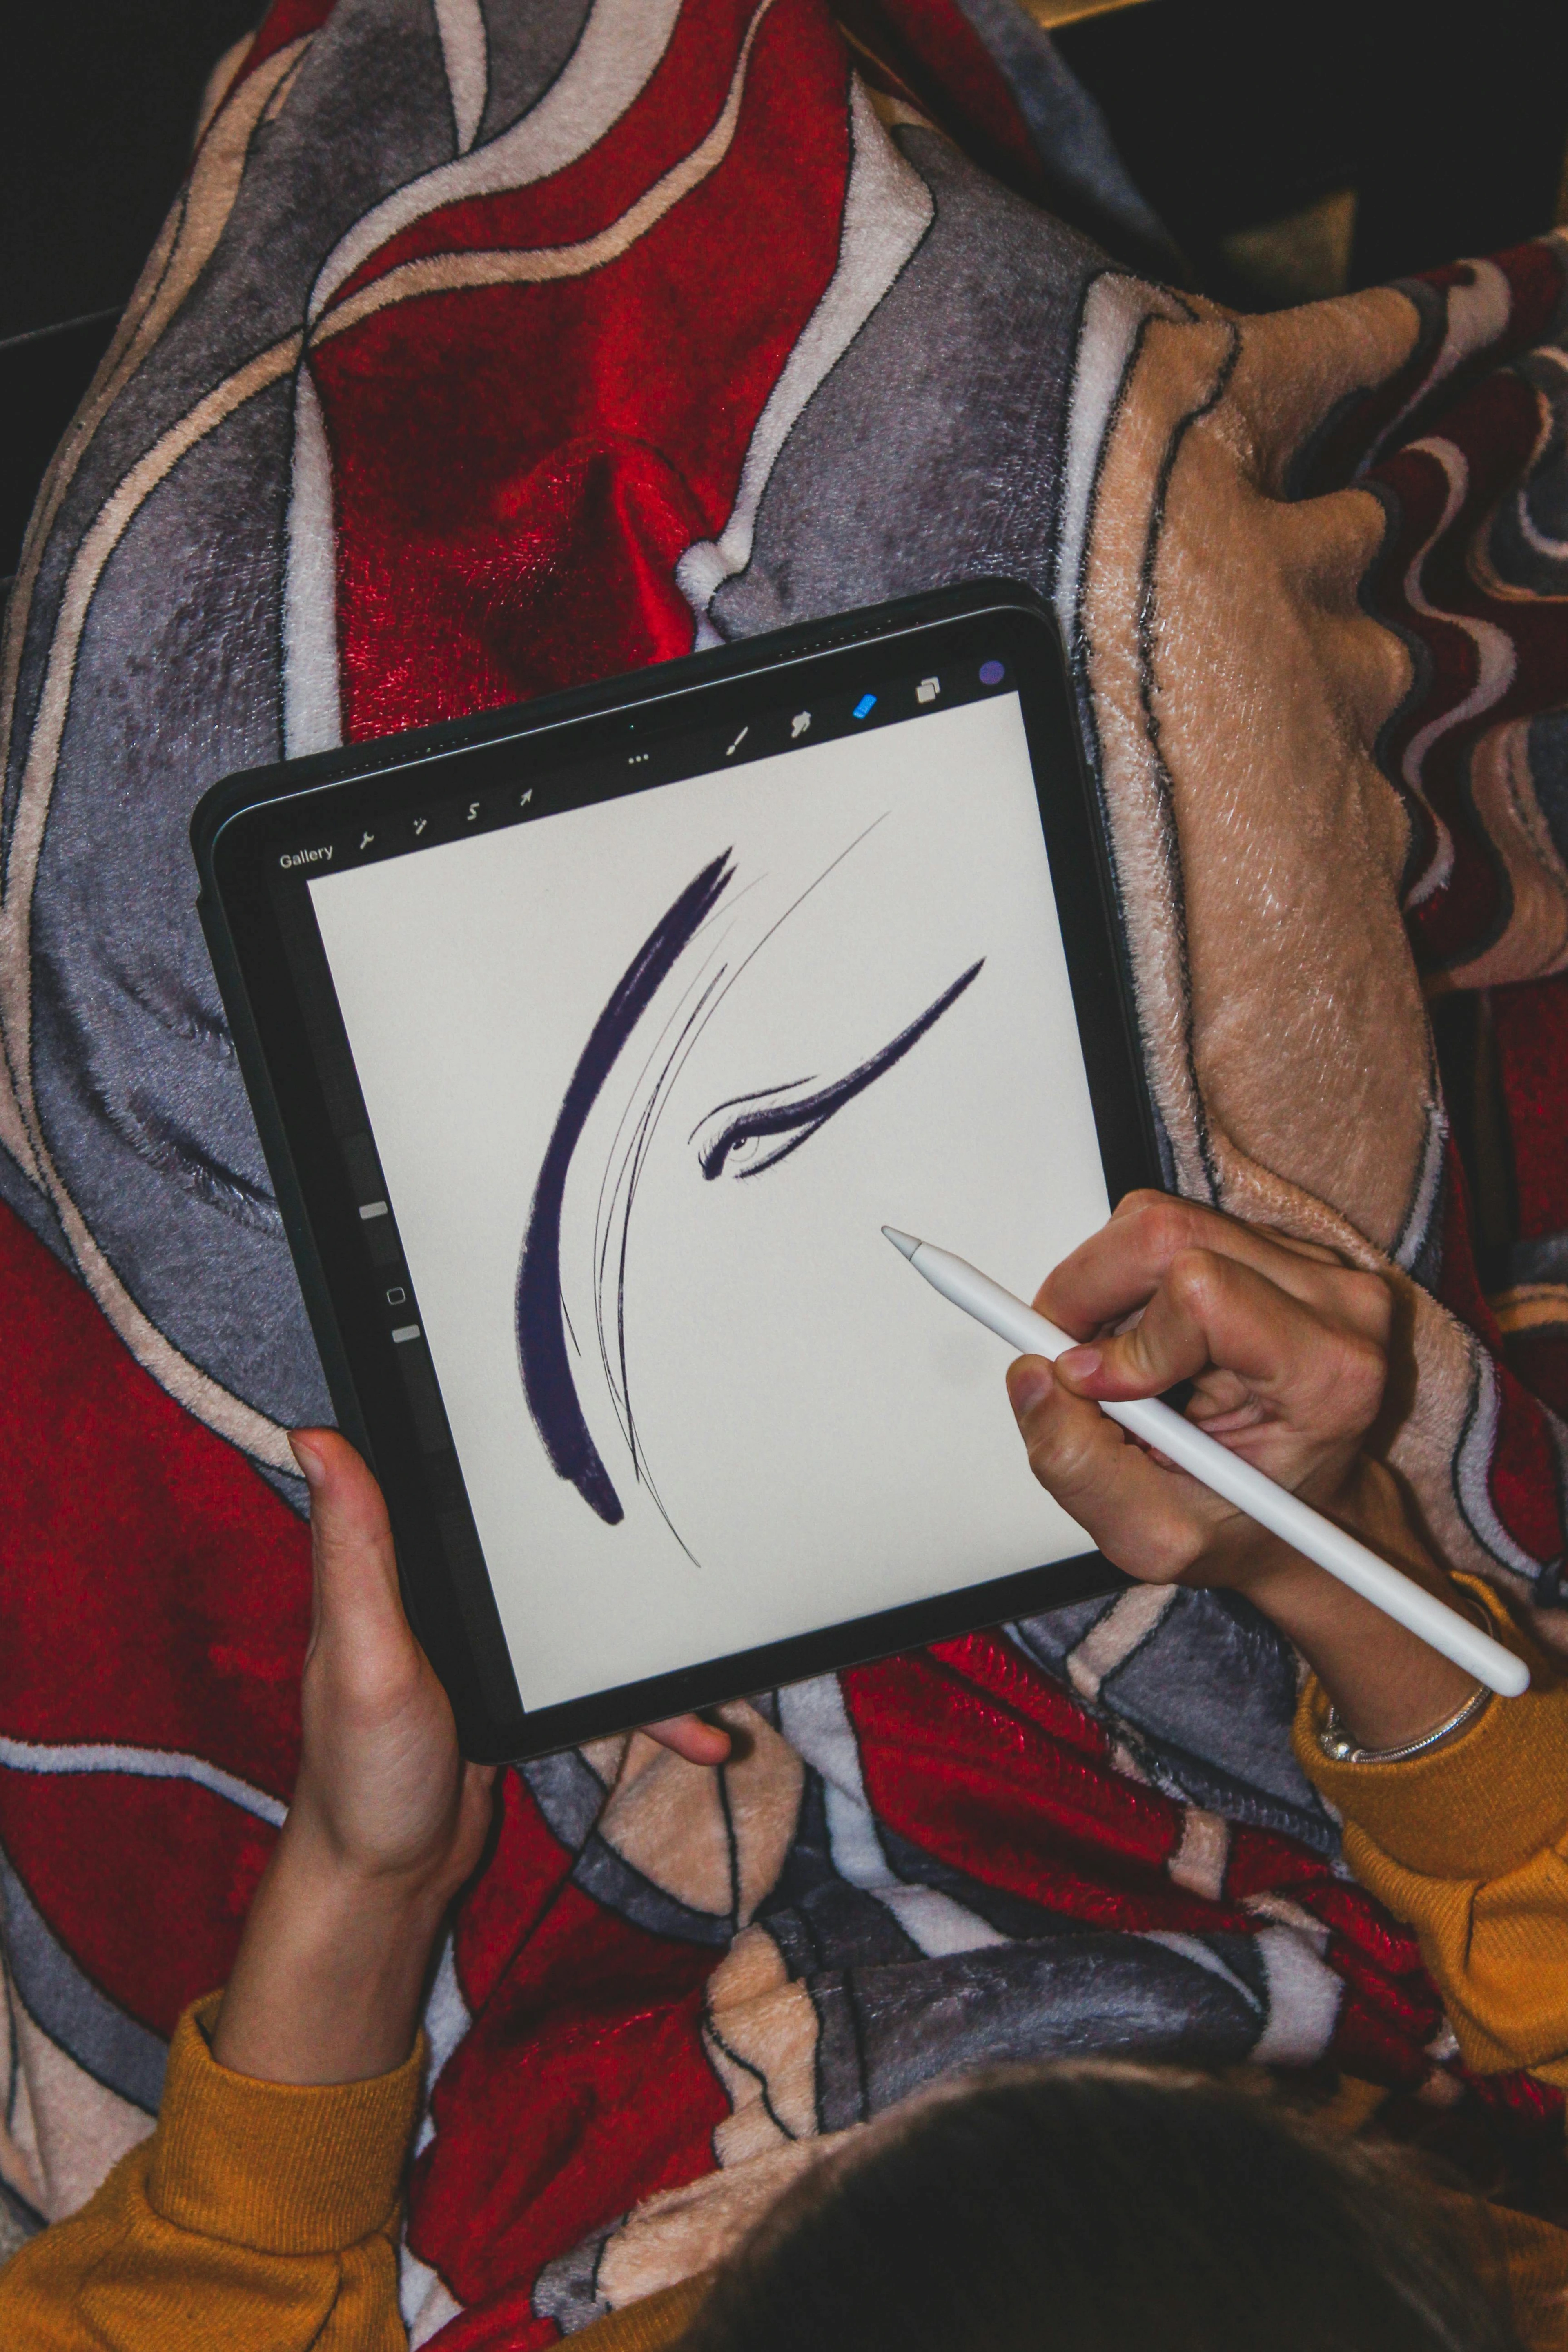
Consider Materials and Style
The tools you use can influence how you approach drawing hands. Pencil is great for detailed studies, charcoal for capturing gesture and form quickly, and pen for linework. Think about the level of detail your desired style requires. A quick sketch might only need a few lines to suggest a hand, while a realistic portrait demands careful rendering of form and texture. Understanding anatomy and gesture is fundamental, but how you apply that knowledge varies. Schiele's distorted hands, for example, still rely on an underlying understanding of form to be expressive, not just random.

(Even mixing paint involves hands! They're everywhere in the creative process, reminding us they are tools as much as subjects.)
Embrace the Mistakes
You will draw weird-looking hands. Everyone does! It's part of the process. Don't get discouraged. Just keep practicing. Every awkward hand drawing is a step towards a better one. I have sketchbooks filled with truly bizarre hand attempts – some look like rubber gloves filled with walnuts! It's okay. It's how you learn.

Understanding Hands Helps Even in Abstract Art
Even if your final art is stylized or abstract, understanding the underlying structure and movement of hands can inform your work. Knowing how a hand could move or what its basic form is allows you to make intentional choices about distortion or simplification, rather than just guessing. It gives your abstract forms a sense of underlying reality, much like my own abstract work often draws from observed forms before transforming them (check out my abstract work for inspiration on letting loose!). The discipline of studying something complex like hands, even if you don't render them realistically in the end, trains your eye and mind in fundamental principles of form, volume, and movement that are applicable across all styles.
The Hand, Unveiled
Drawing hands might always present a unique challenge, but it's also incredibly rewarding. When you finally capture that perfect gesture, that subtle curve, that sense of life and movement, it feels like a small victory. It's a reminder that even the most familiar things can hold infinite complexity and beauty when you take the time to truly see them.
So, next time you're sketching, don't shy away from the hands. Embrace the challenge, learn from the greats, and remember that every wobbly finger is just part of the journey. Keep observing, keep simplifying, keep studying anatomy, and keep practicing those exercises. You've got this. And hey, if all else fails, remember that even imperfectly rendered hands can be incredibly expressive and full of character.