Ultimate Archival Canvas Priming Guide: Lasting Art & Vibrant Colors
Master canvas priming for archival longevity & vibrant art. Learn gesso types, canvas prep, expert techniques & troubleshooting for lasting masterpieces.

Mastering the Canvas: Your Ultimate Archival Priming Guide for Lasting Art
Imagine spending hours, days, even weeks pouring your soul onto a canvas, only for it to crack, yellow, or lose its vibrancy years down the line. It's a heartbreaking thought, isn't it? As artists, we invest not just our time and talent, but a piece of ourselves into every stroke. Skipping the crucial step of priming a raw surface is like building a magnificent house on a shaky foundation. It might look glorious initially, but its longevity is tragically compromised.
I've been there, staring at a beautiful, fresh piece of stretched cotton, tempted to just dive in with a glob of Cadmium Red, thinking, "Surely it won't matter that much." And I've also been there when those early, rushed works started to look dull, or worse, developed cracks because I underestimated the prep. From one impatient artist to another, this is one of the biggest, most common, and most easily avoidable mistakes you can make. It's a lesson I learned the hard way, witnessing my own rushed pieces lose their vibrancy far too soon. The truth is, priming feels unglamorous, I get it. It’s the art equivalent of doing your taxes or flossing; you know you should do it, but the exciting part—the actual painting—is calling your name.
Yet, it's the absolutely essential first chapter of your painting’s story. It sets the stage for everything that comes after, ensuring not just longevity and vibrancy, but also a glorious, responsive surface that feels like your brush is gliding on ice. So, if you're looking for a no-nonsense, practical, and truly authoritative guide to preparing your canvas from start to finish—including choosing the right materials, understanding different canvas weaves, and applying gesso like a pro for archival quality—you've found it. After years of experimenting with countless canvases and mediums, I've refined a process I believe is a gold standard. Grab a coffee, put on some music, and let's get through this together. This isn't just a chore; it's the first physical connection you make with a new piece, a moment of meditation before the creative storm. It's the quiet satisfaction of a job well done.
The Unseen Foundation: Why Priming is Non-Negotiable
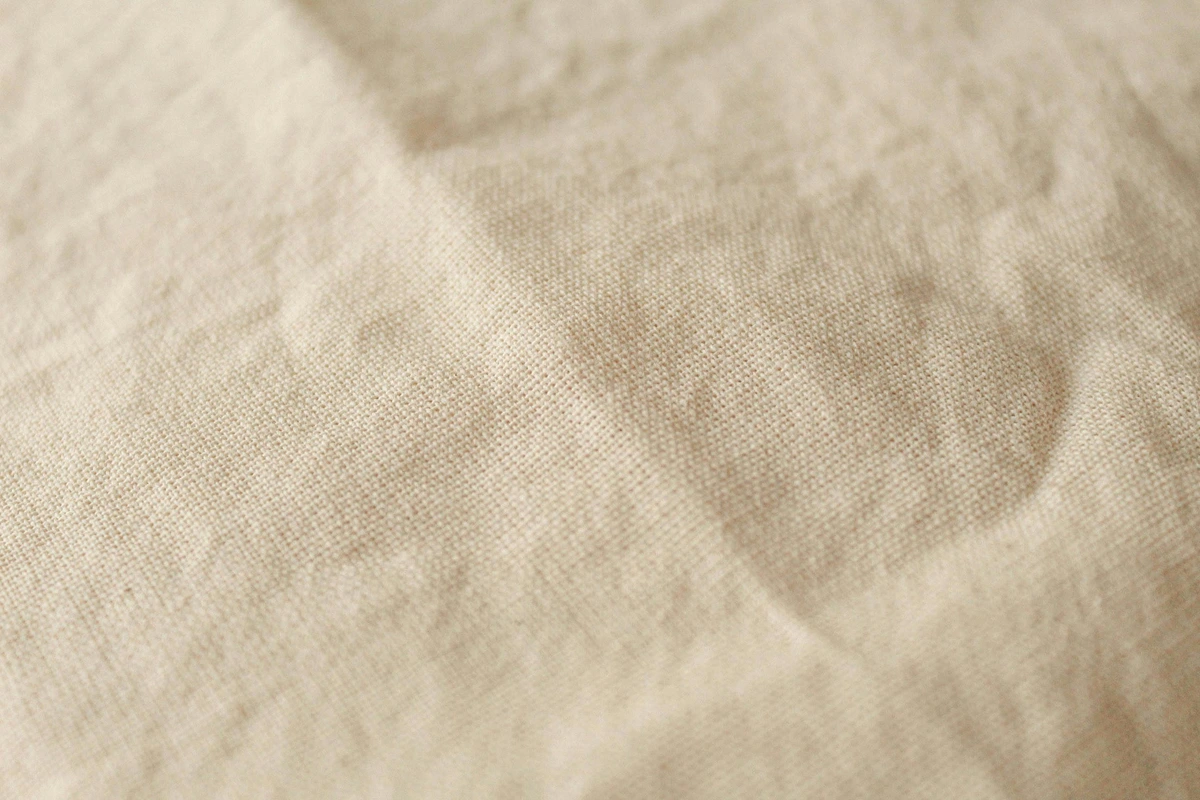
So why can't we just slap paint onto that raw fabric? A raw, unprimed canvas (your artistic support) is a thirsty thing. Imagine a parched desert landscape, desperate for any moisture, and your expensive paint is that oasis. If you've ever painted directly on raw what is raw canvas for painting, you know it will literally drink your expensive paint, soaking it deep into the fibers. This not only wastes paint and money, but it also leaves your colors looking dull and lifeless, almost as if they're being swallowed by the material itself.
Historically, artists first applied a 'sizing' – like rabbit skin glue – to seal the canvas fibers. This was a separate step, purely to create a barrier and prevent the canvas from reacting with subsequent layers. Our ancestors, from the Dutch Masters to Renaissance painters, were incredibly resourceful, though I doubt many of us would reach for rabbit skin glue today. Not only due to ethical concerns, but also because its inherent rigidity, while fine for traditional wooden panels, can lead to cracking on flexible supports like canvas over time. Only after sizing would traditional primers be applied. Today, modern acrylic gesso simplifies things considerably by combining both functions, but the core principles remain. Priming, usually with gesso, does a few critical things, working in concert to protect and enhance your artwork. It’s an investment in your artwork's future, safeguarding it from degradation due to environmental factors like humidity fluctuations, temperature changes, and even offering limited protection from UV exposure, which can weaken fibers and pigments. Think of your canvas like a skin; priming is like applying a robust, protective layer that allows it to breathe but keeps the damaging elements out:
- It Seals the Surface & Protects the Canvas: This is perhaps the most fundamental job. Gesso creates a non-absorbent barrier between your paint and the canvas fibers (whether it's cotton or what is the best canvas for oil painting linen). This means the paint sits right on top, retaining its true color and brilliance. Without this seal, paint can severely deteriorate the natural fibers over time. For oil painters, oil paints contain drying oils that undergo complex oxidation and polymerization as they cure. Over many decades, these oils can chemically react with, and essentially 'rot' or hydrolyze, the natural cellulose fibers of cotton or linen. This interaction weakens the very fabric of your artwork, leaving it brittle, discolored, and prone to decay, often manifesting as dark stains seeping through the back or eventually causing the canvas to disintegrate.For acrylic painters, it prevents something called Support Induced Discoloration (SID). This is where impurities, primarily lignins (complex organic compounds found in plant fibers like cotton and linen), leach from the canvas into the paint film. Lignins are part of the cell walls in plant materials, and when exposed to moisture (like that in acrylic paint) and time, they break down and release soluble, yellow-brown compounds. Imagine a tea bag releasing its color into hot water; that's similar to what happens when lignins leach into your vibrant whites and lighter colors, compromising the archival integrity of your work. This means your pristine whites might slowly develop an unsightly yellow tint over time – a heartbreak I wouldn't wish on anyone. The pH balance of your primer can also play a crucial role here, as an acidic ground can accelerate this degradation. A truly archival gesso aims for a neutral to slightly alkaline pH.
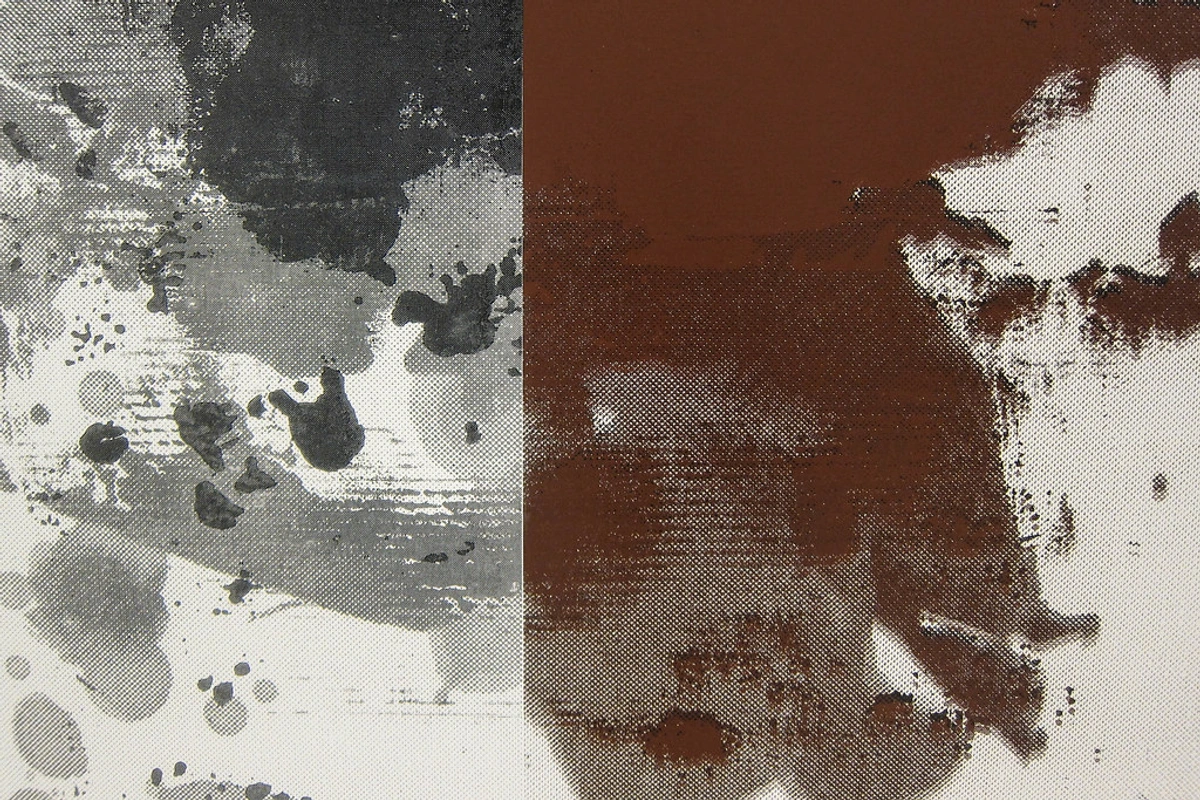
- It Provides 'Tooth': Gesso has a fine, gritty texture – we call this "tooth." It gives your paint something to grab onto, which is crucial for the longevity of your work. Think of it like tiny hooks or microscopic mountain ranges for your pigments, providing mechanical adhesion. Different levels of tooth can be desired: a finer tooth for detailed work with thin paint layers and minimal brush marks, or a slightly rougher texture for impasto techniques or heavy acrylics that benefit from extra grip. Without adequate tooth, paint, especially flexible acrylics, could potentially peel off or delaminate over time. The weave of your canvas also plays a role here; a tightly woven linen with a high thread count might inherently offer more subtle tooth than a looser, coarser cotton duck, influencing how much gesso is needed to achieve your desired surface feel.
- It Creates a Uniform Ground: A properly primed canvas gives you a consistent, often bright white surface to start on, making your colors pop. This neutral ground provides a consistent base for color mixing and ensures your hues are perceived accurately. Of course, you can also use black or colored gesso for different effects, setting a unique tone from the very first stroke and influencing the luminosity or depth of your subsequent layers! A well-chosen ground (the prepared surface on which you paint) is as important as any color on your palette.
If you want to dive deeper into the science of it, I'd suggest reading up on what gesso is in painting and the eternal debate of gesso vs. primer: what's the difference for artists. For specific preparation guides, you might also find these helpful: how to prepare a canvas for acrylic painting and how to prepare a canvas for oil painting.
Decoding Your Canvas: Weaves, Materials, and Their Primer Needs
Before we even talk about gesso, let's talk about the unsung hero: your canvas itself. Not all canvases are created equal, and understanding their inherent qualities is the first step in choosing the right priming strategy. After all, you wouldn't use the same foundation for a delicate watercolor as you would for a heavy impasto oil painting, right? The support you choose plays a huge role in the final look, feel, and archival quality of your finished piece. For an optimal experience, always ensure your raw canvas is free from loose fibers or 'flocking'—a gentle wipe with a tack cloth or a very light initial sanding can help. Before you even stretch it, hold the raw canvas up to the light. Look for inconsistent weaves, minor tears, or thin spots. A uniform, tightly woven fabric starts you off on the right foot.
Cotton Canvas: The Versatile Workhorse
Cotton duck canvas is the most common and affordable choice. It's generally less expensive than linen, has a softer, more absorbent texture, and comes in various weights and weaves. A plain weave is typical, giving it a somewhat bumpy, organic texture. While versatile, it's also more prone to sagging over time and less durable than linen, particularly in larger sizes. For an excellent experience, consider a medium-weight (around 10-12 oz) cotton duck. If you're new to stretching, it's a skill worth learning. Check out this guide on how to stretch a canvas for painting or how to stretch a canvas on stretcher bars.
Linen Canvas: The Archival Champion
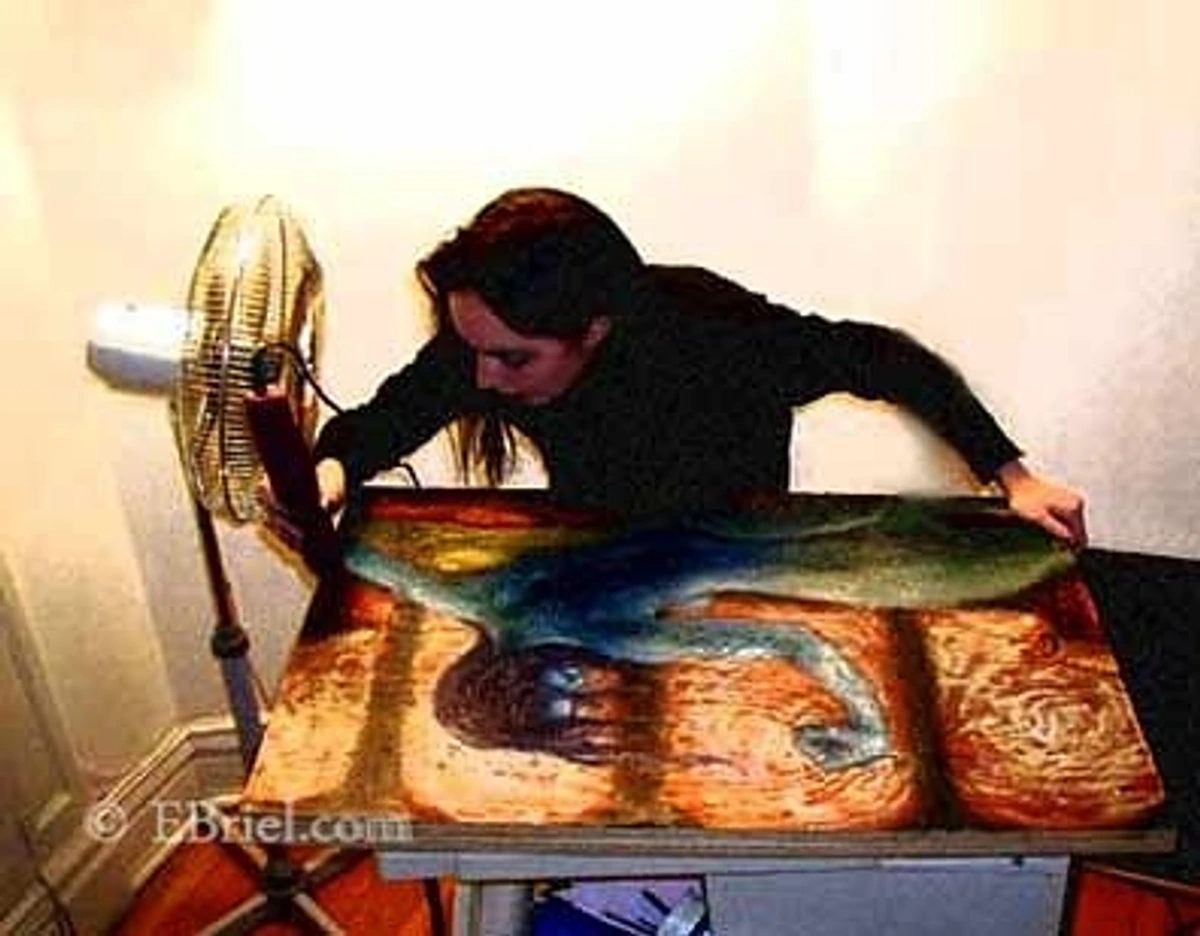
Linen, made from flax fibers, is the gold standard for professional artists and those seeking maximum archival quality. It's significantly stronger, more stable, and less prone to stretching or contracting than cotton. Linen fibers are naturally oilier, making them inherently more resistant to decay. It also boasts a finer, more uniform weave. While a plain weave is common, you'll also find twill weave (distinct diagonal lines, offering subtle texture and great strength) and herringbone weave (a V-shaped pattern, combining strength with a unique visual texture) that produce a smoother surface, which many artists prefer for detailed work. However, linen is also considerably more expensive. My personal preference leans towards a finely woven linen for critical works, as it often requires less gesso to achieve a sublime surface.

Beyond Canvas: Panels and Synthetics
While this guide focuses on canvas, it’s worth noting that other supports require priming too! Wood panels (like birch or MDF) offer a perfectly rigid, smooth surface for painting and require a robust gesso application to seal the wood, preventing wood acids (like tannins) from leaching into your paint. Cradled panels (wood panels with a supportive frame on the back) provide extra stability, especially for larger works. For the ultimate in flatness and archival stability, some artists opt for Aluminum Composite Material (ACM) panels, which are incredibly smooth, rigid, and impervious to moisture, though they require a gesso specifically formulated for non-absorbent surfaces to ensure optimal adhesion.
Synthetic canvases, made from polyester or other man-made fibers, offer extreme durability and resistance to environmental changes. These might include polyester blends, which are exceptionally stable and resistant to humidity, or even specially treated paper that mimics canvas. While great for outdoor or large-scale works and less prone to sagging, their non-absorbent nature can sometimes require a specific gesso formulation for optimal adhesion or to counter issues like static cling. Always ensure any pre-primed synthetic canvas has adequate tooth for your chosen medium. Ultimately, the choice of support, like so much in art, is a deeply personal one, guided by your aesthetic goals, budget, and archival aspirations. My advice: experiment!
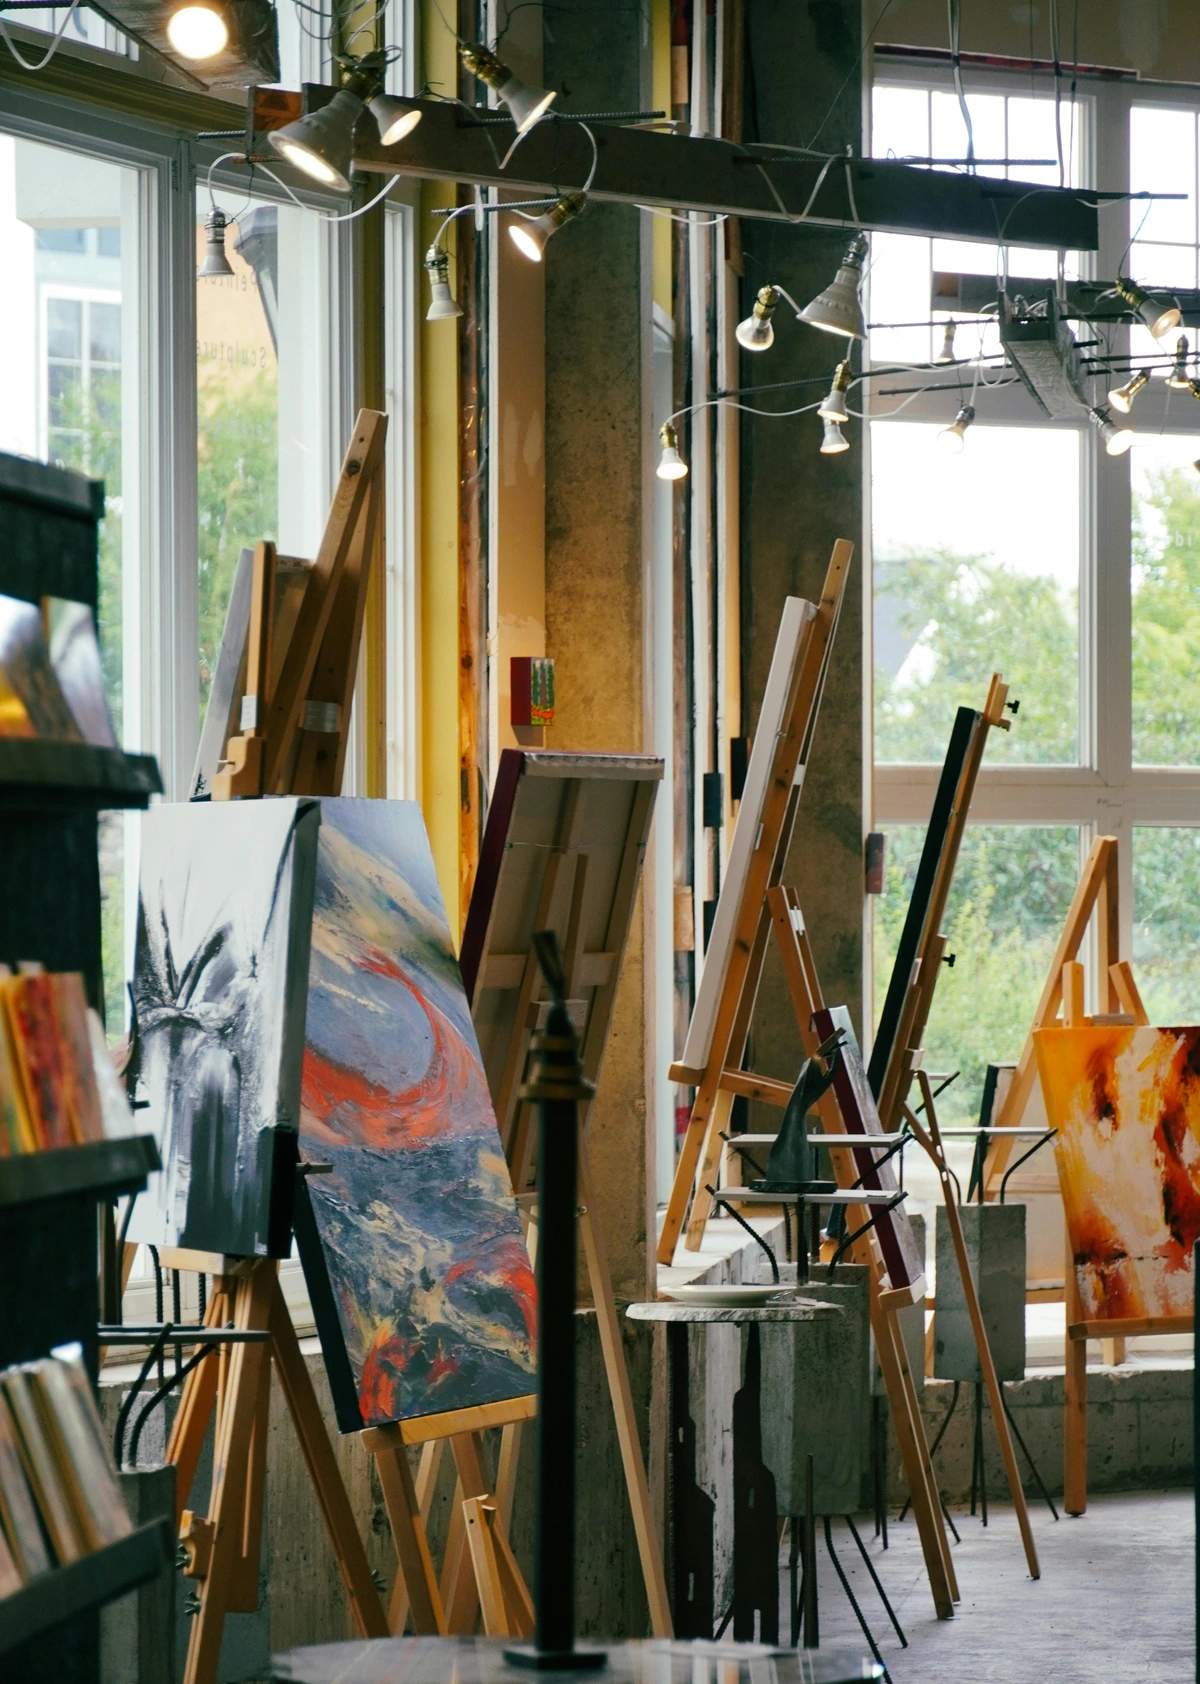
Choosing Your Support: A Quick Guide
Feature  | Cotton Canvas | Linen Canvas | Wood Panel (e.g., Birch) | Synthetic Canvas (e.g., Polyester) | Priming Recommendations |
|---|---|---|---|---|---|
| Cost | Affordable | High | Mid-Range to High | Mid-Range | Varies |
| Durability | Good, but can sag | Excellent, highly stable | Excellent, very rigid | Excellent, resists environmental changes | Essential |
| Texture | Softer, more textured (plain weave) | Finer, smoother (twill/herringbone weave) | Ultra-smooth (unless textured gesso used) | Smooth, uniform | Customizable |
| Best For | Student work, practice, general use | Professional artists, large works, archival | Detailed work, smooth finishes, small works | Outdoor art, humid climates, large flexible work | Depends on medium & desired finish |
| Sizing Need | Critical (to prevent SID/degradation) | Critical (to prevent SID/degradation) | Critical (to prevent acid leaching) | Recommended for adhesion & stability | Acrylic gesso combines sizing & priming |
| Gesso Coats | 2-4 coats for smooth finish | 2-3 coats for smooth finish | 3-5 coats for optimal seal & smoothness | 2-3 coats for adhesion & tooth | Adjust for desired tooth & opacity |
Gesso Unpacked: Choosing Your Archival Ground
"Gesso" literally means "chalk" in Italian, and historically referred to a mix of animal glue, chalk, and white pigment used on rigid wooden panels. Today, the term is broadly used for primers that create an absorbent, textured ground for painting. The binder is what makes the big difference, dictating its properties and suitable uses. Let's break down the options, because choosing the right ground (the prepared surface on which you paint) is as important as any color on your palette. Remember, a well-chosen primer ensures your art has the best chance at longevity and vibrancy. I learned early on that a poor choice here can literally make or break a painting.
Acrylic Gesso: The Modern Workhorse
This is what 99% of artists use today, and for good reason. The binder is an acrylic polymer, making it incredibly flexible, fast-drying, non-toxic, and easily cleanable with water (it's water-based). It creates an excellent, slightly absorbent surface with good tooth, perfect for acrylic paints. When I say "slightly absorbent," I mean it's porous enough to allow the acrylic paint to key into its surface for excellent adhesion, but not so absorbent that it drinks the color like raw canvas. This balance is crucial for vibrant colors.
Crucially, you can also use acrylic gesso as a ground for oil painting. The acrylic seals the canvas effectively, preventing the corrosive oils from directly contacting the fibers, and its flexibility is a huge advantage for canvas supports that naturally expand and contract with humidity. The toothy surface is ideal for oil to adhere to. It's the most versatile option by far, making it suitable for artists who work in multiple mediums or are just starting out. You can also explore how to apply gesso to canvas a beginners guide.
Oil Primer: The Traditionalist's Choice
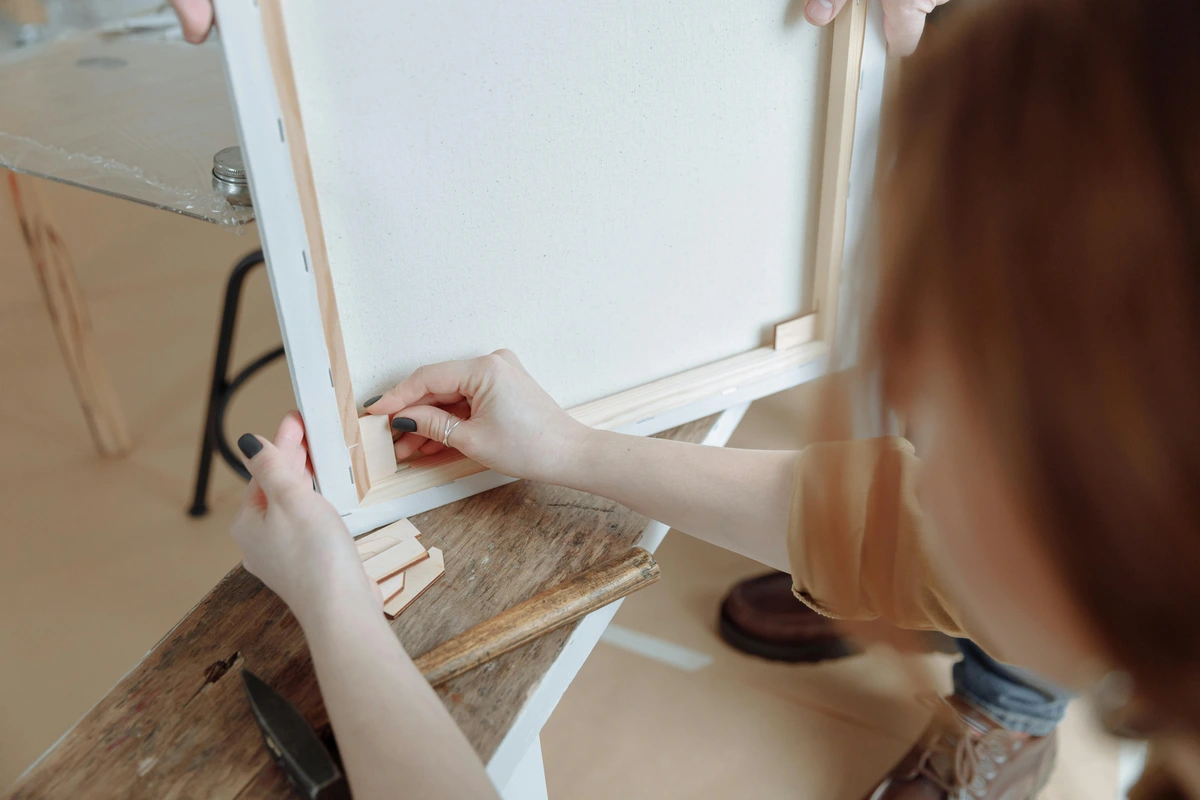
This primer uses an oil-based binder (meaning it's solvent-based). It's meant only for oil painters. Trust me on this one, folks, never, ever paint with acrylics over an oil-based primer; it's like trying to stick a post-it note to a greased pig – it just won't hold! Oil primers typically dry much slower, often taking days or even weeks to fully cure, and require solvents like mineral spirits or turpentine for cleanup. Historically, some traditional oil primers contained lead white, prized for its opacity and fast drying (though toxic). Modern oil primers are formulated with safer pigments like titanium white (for opacity and brightness) and zinc white (for whiteness and hardness) but still require good ventilation and careful handling, as the VOCs (Volatile Organic Compounds) from solvents can pose respiratory risks with prolonged exposure. Some oil purists swear by it for the unique way it absorbs the initial layers of oil paint and its historical authenticity, arguing it creates a more sympathetic surface for oil painting, sometimes forming a stronger, more integrated bond with subsequent oil layers, though this can come at the cost of less flexibility than acrylic gesso.
If you're an oil painter exploring traditional methods, understanding the 'fat over lean' rule (applying paint with more oil content over layers with less oil content) is essential for this primer, as it relates directly to archival permanence and preventing cracking. This is also important when considering how to choose the right canvas for acrylic vs. oil.
Specialty Gessos & Primers: Tailoring Your Surface
Modern gesso formulations offer an incredible range of choices, allowing you to fine-tune your surface to your exact artistic vision. Whether you want to preserve the canvas's natural look or create a velvety, absorbent ground, there's a specialty primer for you.
- Clear Gesso: For when you want the texture or natural color of your raw canvas or panel to show through but still need that protective barrier and tooth. It's essentially gesso without the white pigment, a great choice if you appreciate the natural tone of your canvas and want it to contribute to the final aesthetic of your piece. It's fantastic for mixed media works where the original support is part of the art.
- Black or Colored Gesso: Great for creating dramatic effects or establishing a specific mood from the start. Painting light colors over a dark ground can create a luminous depth, increase contrast, and save you from having to mix dark base tones yourself. It also subtly influences the perception of subsequent colors, making certain hues appear more saturated or vibrant. I've seen artists achieve breathtaking atmospheric effects using a dark ground, allowing the light to emerge from the canvas itself.
- Absorbent Ground: A specialized acrylic primer that, as the name suggests, creates a highly absorbent, matte surface. Ideal for techniques like dry brushing with pastels, creating watercolor-like washes with acrylics where you want the paint to sink in for a soft, matte effect (rather than sitting on top), or for use with gouache or even some inks. I've seen artists achieve incredible atmospheric effects, delicate optical blending, and layered washes that truly mimic traditional watercolor on paper, but on canvas, with these grounds. It's a game-changer for a painter who loves matte finishes and soft transitions.
- Traditional Sizing (Rabbit Skin Glue/Hide Glue): Less common now due to ethical concerns, its extreme rigidity (which, as mentioned, can lead to cracking on flexible supports), and the availability of modern alternatives. Historically used primarily to seal linen canvases and rigid panels for oil painting before applying a lead white oil primer. Definitely not in my toolkit for modern canvas painting, as modern acrylic gesso offers superior flexibility and archival properties for canvas. Plus, who wants to deal with the smell and messy preparation when there are such excellent alternatives?
- Primers for Other Mediums & Supports: While this article focuses on canvas for acrylics and oils, specialized primers exist for a myriad of other mediums and surfaces. For instance, sanded pastel grounds give pastels extra grip, primers for wood panels prevent wood acids (tannins) from leaching into paint, and even some metals can be primed for painting. Always check the manufacturer's recommendations for your specific medium and support.
Pre-Primed Canvases: Convenience vs. Archival Quality
The convenience of grabbing a canvas ready to go is tempting, I know. However, many commercially pre-primed canvases, especially student-grade ones, only have a single, thin coat of gesso. For true archival quality and optimal performance, I always recommend applying at least two more coats myself. You can usually tell a lower-quality pre-primed canvas by its overly smooth, almost slick surface, or if you can still clearly see the canvas weave through the primer—it means the fibers aren't properly sealed. Always feel it; a good primer has noticeable tooth. The fabric quality can also vary wildly; often, these are basic cotton duck, which is fine, but not comparable to fine linen. You might also find this guide helpful for choosing your essential painting supplies for beginners or generally the best art supplies for beginners.
Quick Comparison Table: Gesso and Primer Types
Feature | Acrylic Gesso | Oil Primer | Clear Gesso | Absorbent Ground |
|---|---|---|---|---|
| Use With | Acrylics & Oils | Oils ONLY | Acrylics & Oils | Watercolor, Acrylics, Pastels, Gouache, Inks |
| Drying Time | Fast (1-2 hours) | Slow (24+ hours to weeks) | Fast (1-2 hours) | Fast (1-2 hours) |
| Cleanup | Soap and Water | Mineral Spirits / Turpentine | Soap and Water | Soap and Water |
| Flexibility | Highly Flexible | Less Flexible (can crack if not on rigid) | Highly Flexible | Flexible (but matte surface) |
| Binder Type | Acrylic Polymer (Water-based) | Oil-based (Solvent-based) | Acrylic Polymer (Water-based) | Acrylic Polymer (Water-based) |
| Pigments | Titanium dioxide, calcium carb. | Titanium white, zinc white, lead white (historical) | None (transparent) | Titanium dioxide, silicates (matte effect) |
| Best For | Almost everyone, versatile | Oil painting purists, traditionalists | Retaining canvas color/texture | Matte, thirsty surfaces, washes |
| Adhesion | Excellent | Excellent | Excellent | Good (for specific matte techniques) |
Your Priming Arsenal: Gathering the Right Tools
You don’t need a fancy lab setup. Here’s my go-to list of supplies. It's simple stuff, but having it all ready before you start makes the process so much smoother. Trust me, I once forgot my drop cloth and spent an hour cleaning gesso off my studio floor – a lesson learned the hard way! And for heaven's sake, have a separate container for mixing your gesso and another with clean water for rinsing. I once tried to thin my gesso with the same water I was cleaning my brushes in. Spoiler: it didn't end well.
Make sure your workspace is well-ventilated, especially when working with any solvent-based products or if you're sensitive to odors. And before we dive into the steps, remember that storing your raw canvas correctly—flat or rolled, protected from dust and moisture—is the first step in ensuring a pristine surface for priming. If you're using a roll, a slightly curled canvas can be gently flattened by reverse-rolling or weighting it for a day or two before stretching.
Here's what you'll need:
- Your Chosen Canvas: Either pre-stretched or a roll you’ve stretched yourself. If it's a roll, be sure to store it properly—flat or rolled, protected from dust and moisture. For an optimal experience, always ensure your canvas is free from loose fibers or 'flocking'—a gentle wipe with a tack cloth (a slightly sticky, lint-free cloth designed to pick up fine dust) or a very light initial sanding can help. You might also consider guides like how to stretch a canvas on stretcher bars and what are stretcher bars for canvas.
- Gesso: Your primer of choice. We've discussed the types above, but remember, quality matters here. Artist-grade gesso typically has a higher concentration of acrylic polymer binder and finer pigments compared to student-grade versions, leading to better flexibility, adhesion, and archival stability. Inferior gesso can crack or peel over time, especially if applied too thickly or without proper flexibility.
- Applicators (Brushes/Rollers/Squeegees):
- Wide, Flat Brush: A 2-3 inch hardware store brush works great for spreading gesso quickly and evenly. Even better is a dedicated synthetic-bristle gesso brush. Why synthetic? Because these bristles (often made of stiff nylon or resilient polyester) are generally more durable for handling the thick, abrasive nature of gesso, resisting fraying and maintaining their shape much better than natural bristles.
- Paint Roller: For truly massive canvases, many artists swear by a paint roller for rapid, even coverage and a uniform texture. Just make sure it's a foam or short-nap roller suitable for smooth finishes.
- Squeegee: You can even use a squeegee for an ultra-thin, smooth application on rigid panels, though it's less common for flexible canvases.
- Fine-Grit Sandpaper: Around 220-grit is perfect. Don't go any coarser, or you'll create deep gouges that are difficult to fill and can damage the canvas fibers. We're aiming for smoothness, not abrasion. For exceptionally rough raw canvas, you might start with a very light pass of 180-grit before the first gesso coat to knock down major imperfections, then switch to 220-grit for subsequent coats.
- Containers:
- A Container with Water: Essential for thinning acrylic gesso to the right consistency and, crucially, for cleaning your brush immediately after use. Have a separate one for rinsing!
- Disposable Palettes or Trays: Old plastic containers, disposable paper palettes, or even just a plastic plate work great for pouring out and mixing your gesso. Easy cleanup is the name of the game here.
- Cleaning Supplies:
- A Drop Cloth: Trust me on this. Gesso gets everywhere. It's a small investment that saves a lot of clean-up time and frustration.
- Clean Rags or Paper Towels: Keep these handy for wiping excess gesso from your brush or quickly dealing with drips and spills. A few seconds can save a lot of scrubbing.
- Patience: Non-negotiable, sorry. This isn't a race, it's a foundation.
The Priming Ritual: A Step-by-Step Path to Perfection
Think of this priming ritual not as a chore, but as a meditation, much like a chef meticulously prepping their mise en place before creating a culinary masterpiece, or a musician carefully tuning their instrument before a performance. It's the moment where you connect with your surface, preparing it to hold your artistic vision for generations. You've got your gear, you've chosen your gesso. Let's make some magic – or at least, lay a solid, archival foundation for it.
What to Expect: The Ideal Primed Surface
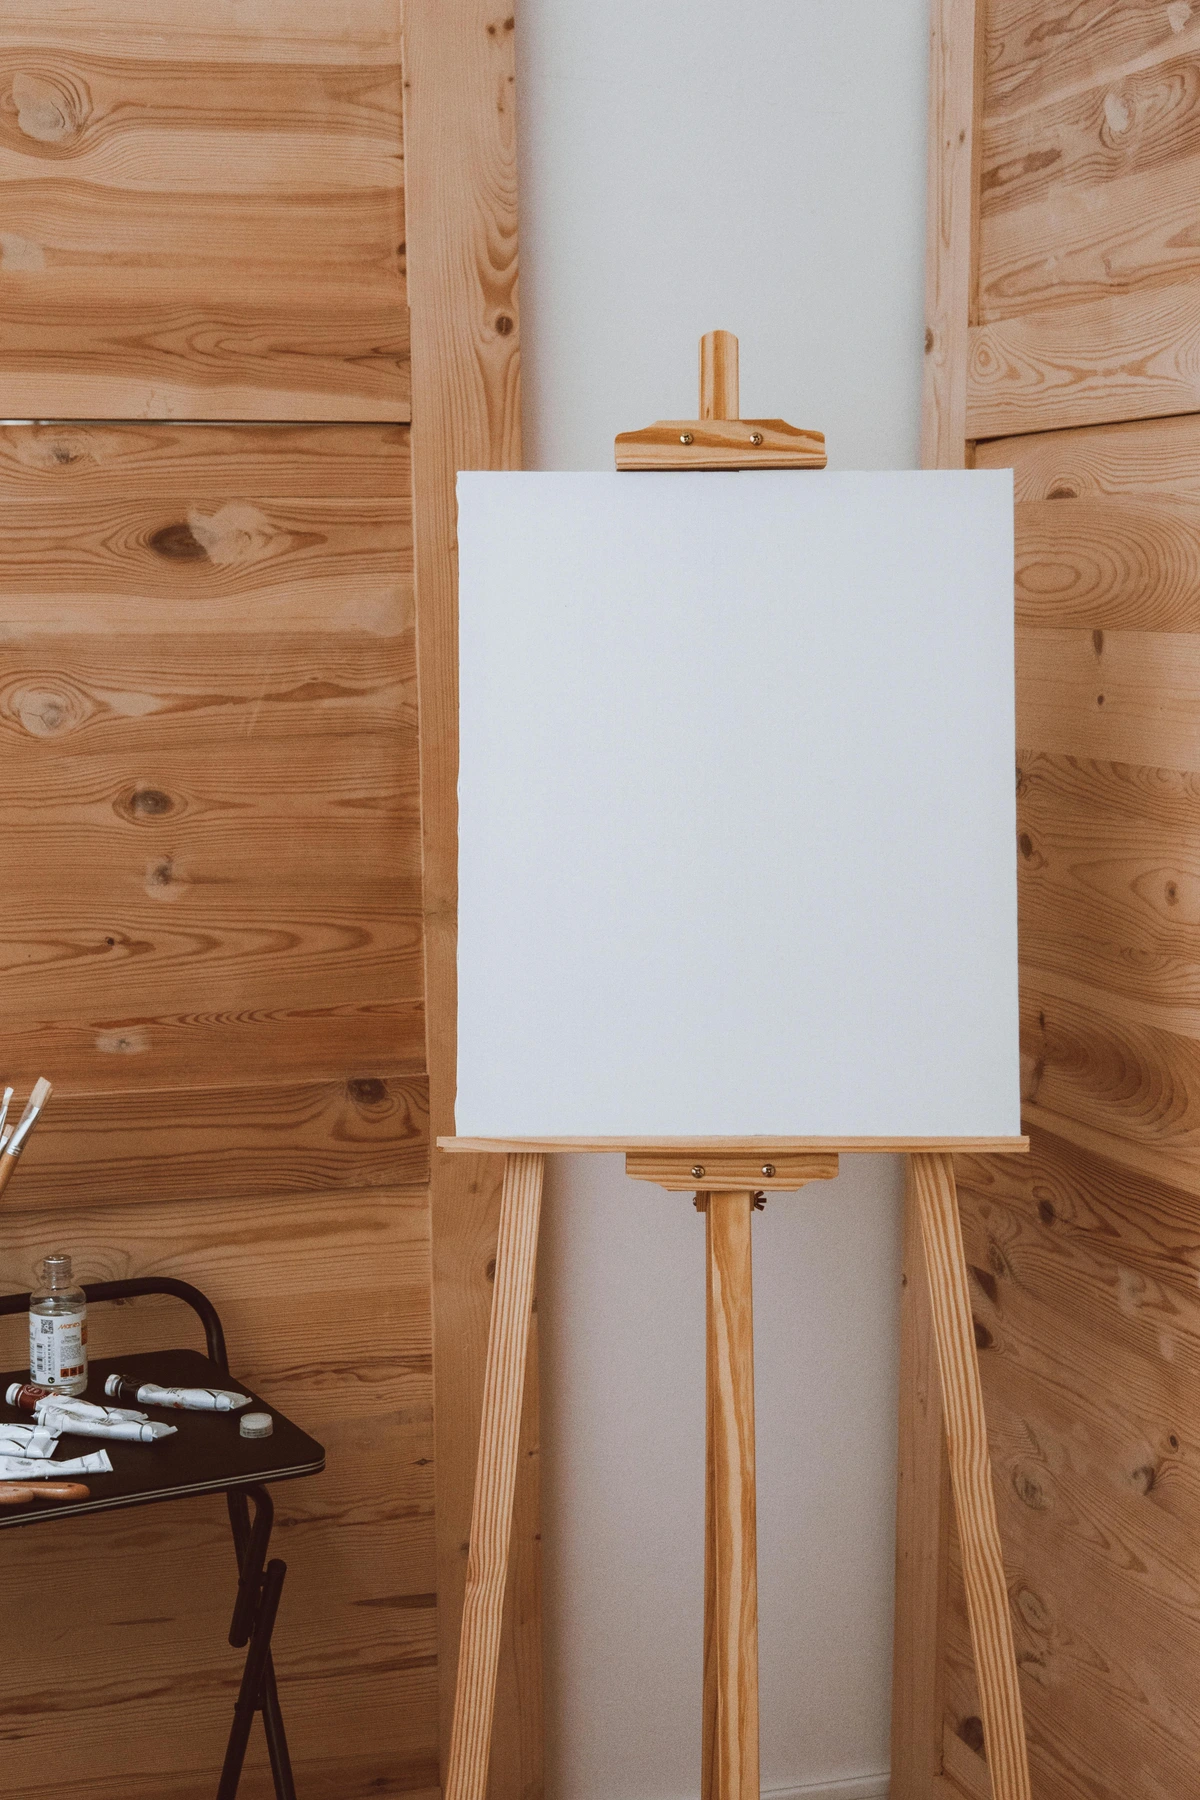
Before we dive in, let's talk about the goal. A well-primed surface should feel relatively smooth, but with a subtle, consistent tooth that your paint can grip. It should have a uniform color (usually bright white, unless you've chosen a colored gesso), free from streaks, drips, or visible canvas fibers poking through. When you run your hand over it, it should feel consistent, taut, and ready—a quiet invitation to begin. Tap it lightly; it should have a crisp, drum-like resonance, not a dull thud. This consistency is crucial for achieving predictable color mixing, fluid brushwork, and the vibrant life of your finished piece. You're aiming for a clean slate, a surface that both accepts and holds your paint with unwavering grace.
Step 1: Get Your Space Ready (and Inspect Your Canvas!)
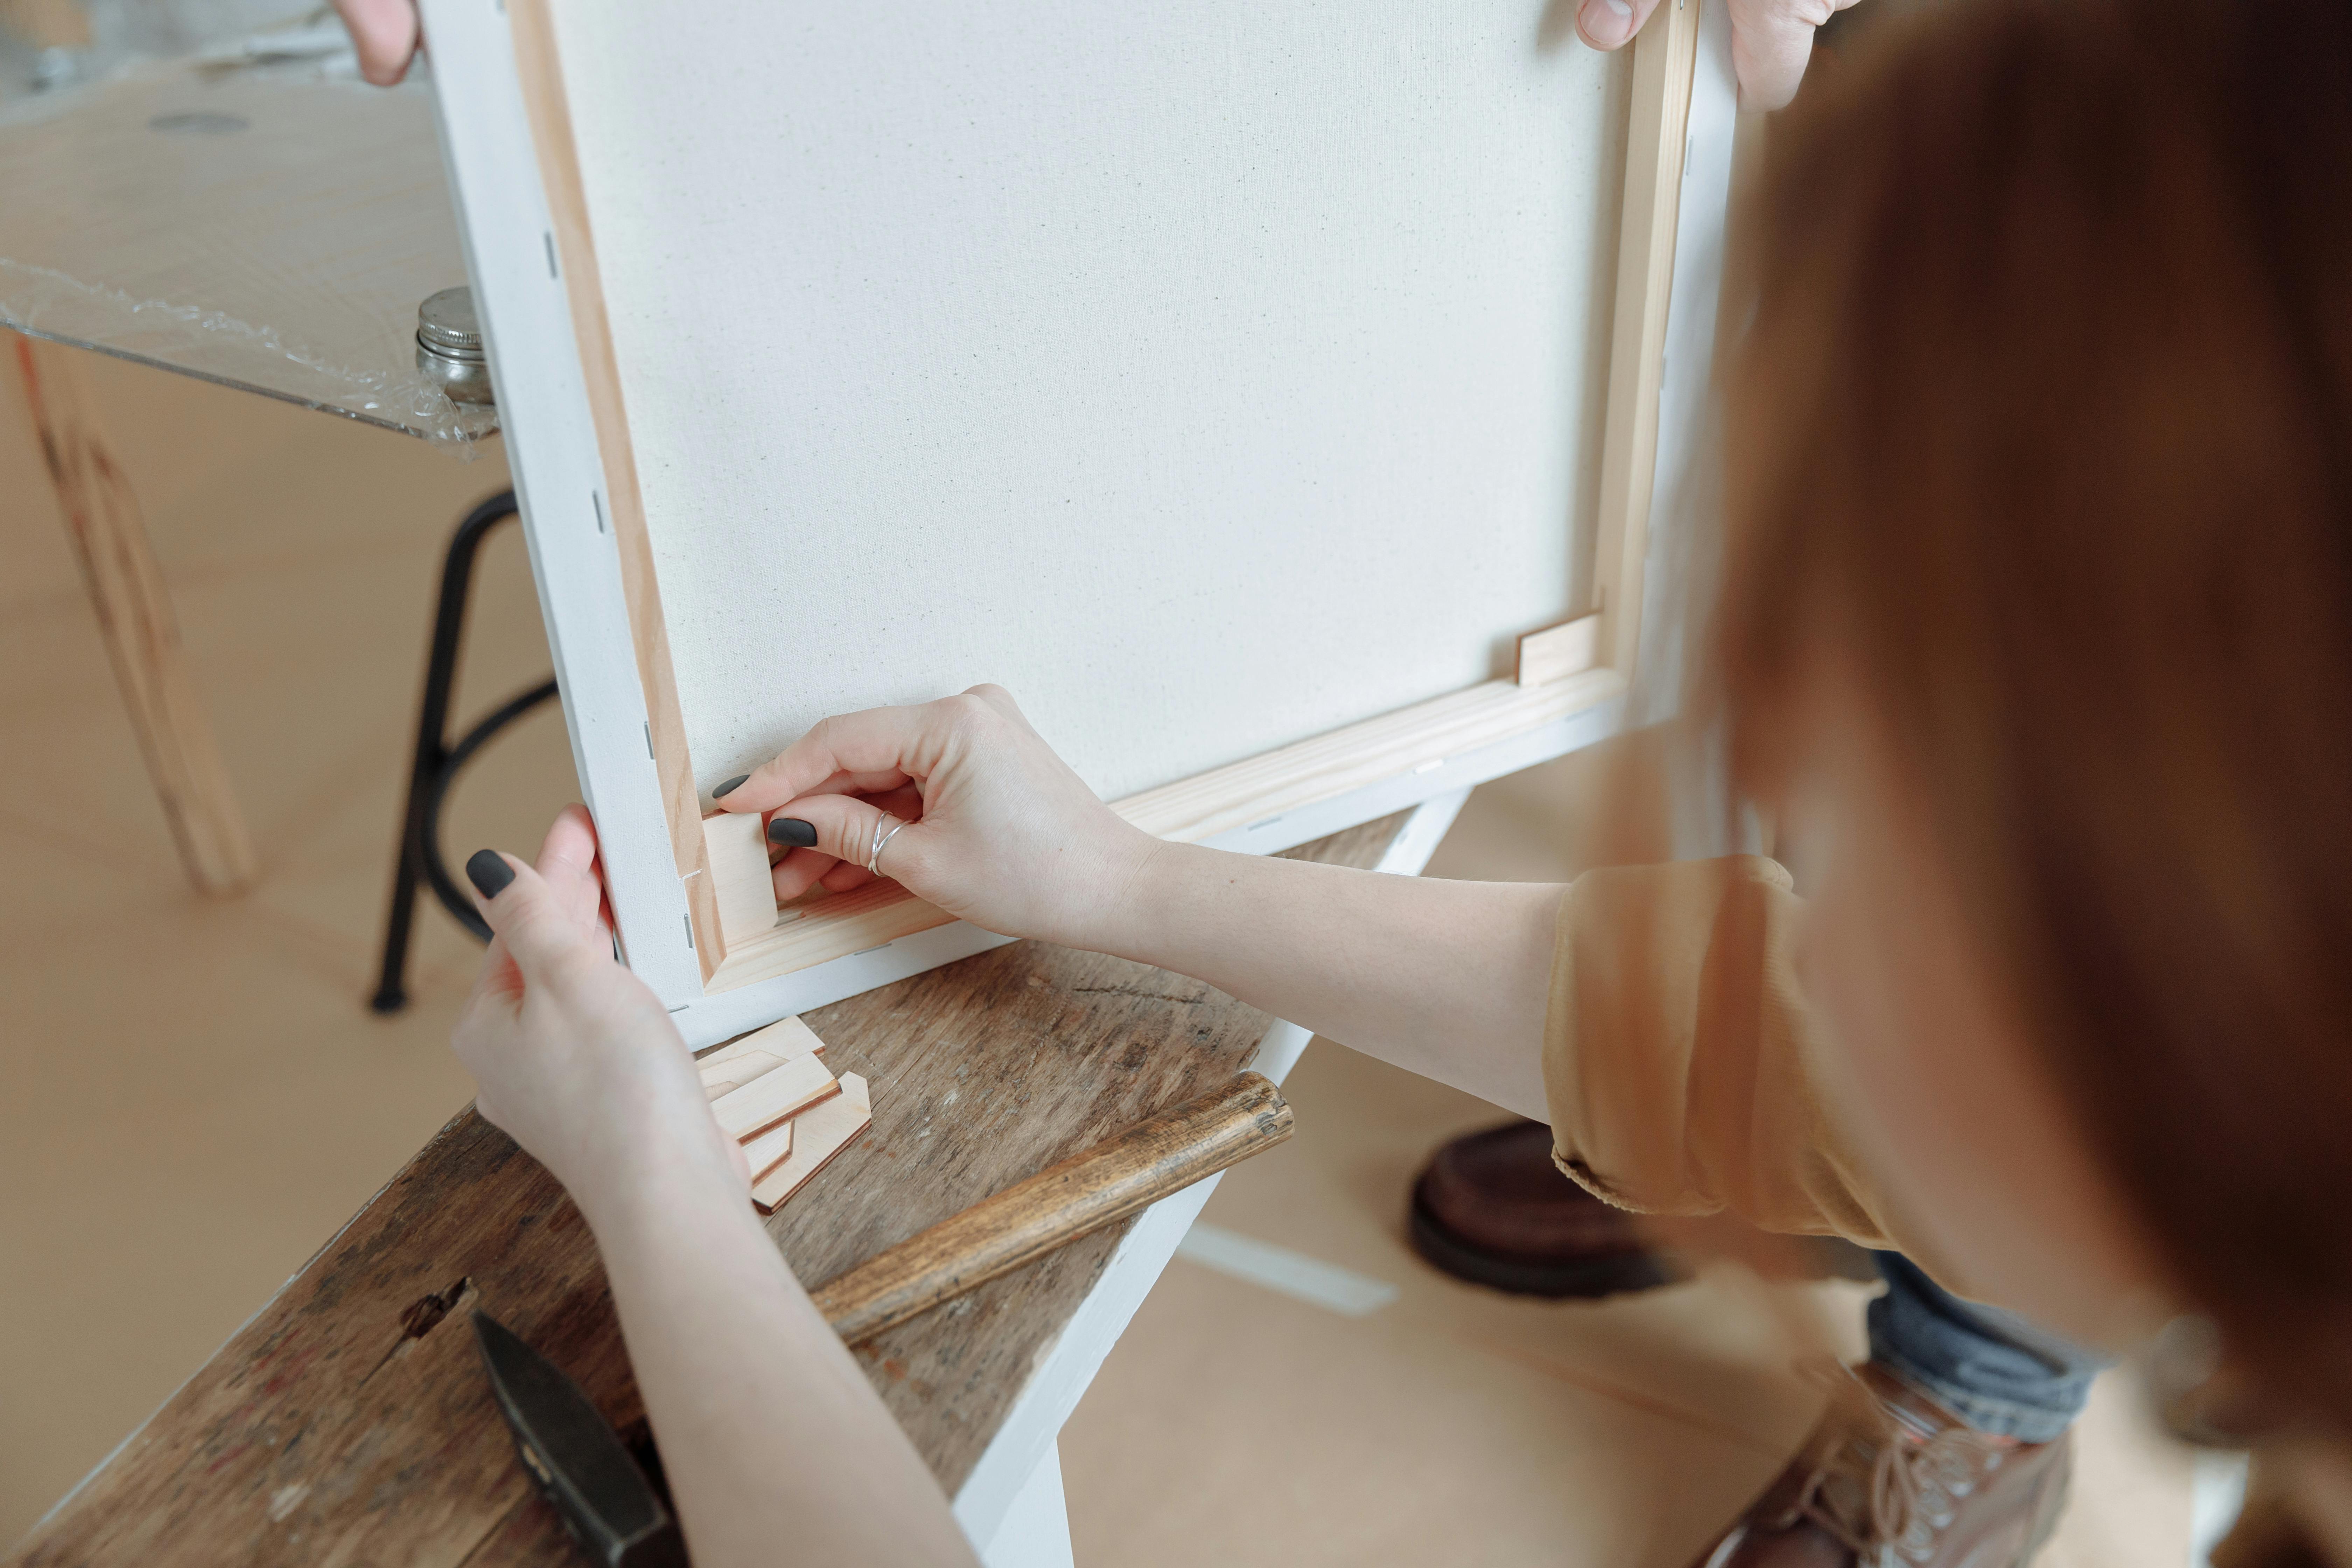
Lay down your trusty drop cloth. Seriously, don't skip this; I speak from experience. Now, before you even think about gesso, give your canvas a thorough inspection. Hold it up to a light source if it's unstretched. Check for any small tears, imperfections in the weave, or inconsistent tension if it's already stretched. Sometimes raw canvas can 'flock' or 'pill' – tiny fibers lift up, creating an uneven surface. For exceptionally rough canvases, a very light initial sanding with 180-grit sandpaper before applying any gesso can knock down major nubs, followed by a thorough wiping with a tack cloth to remove all dust. Ensure it's stretched taut; a light spritz of water on the back and letting it dry can often tighten it up. I also recommend a small test prime if you're using a new batch of raw canvas: stretch a small scrap and apply a coat of gesso to ensure there are no unexpected reactions or excessive absorption.
Step 2: The First Thin Coat – Laying the Groundwork
Stir your gesso thoroughly. Don't shake it—you'll create air bubbles that will ruin your smooth finish. If your acrylic gesso is really thick, you can thin it with a little water; I aim for the consistency of heavy cream or good quality yogurt. When it drips off your stirring stick, it should flow like a smooth ribbon that quickly disappears back into the main body of gesso, not cling like thick honey or run like water. Too thick, and it'll be hard to spread evenly and might even crack; too thin, and you'll need a dozen coats to get proper coverage and archival protection. Remember, "thin" here means a well-spread, even layer, not a watery, translucent one.

Dip your wide brush in and apply a thin, even coat across the entire canvas. Work in one direction only, with decisive, even strokes. For this first coat, let's say you brush everything horizontally, from left to right. Apply it like you mean it, ensuring the gesso is worked into the weave, not just skimming the surface. The goal is to fill the microscopic valleys and bond with the fibers, creating a true seal and a unified surface. Don't try to get full coverage on this first pass; thin is always better than thick. Trust your intuition here; it should feel like you're gently coaxing the gesso into every fiber.
Step 3: The Waiting Game (Drying Patience is Key!)
Let it dry completely. Don't rush this. It should be bone dry, meaning dry to the touch, with no cool or tacky spots, and the white should appear uniformly opaque. A good trick to check for complete dryness is to gently press your fingernail into an inconspicuous corner; if it leaves an imprint or feels cool, it needs more time. Depending on your climate (humidity slows drying!) and gesso thickness, this could be an hour or a few hours. I usually use this time to sketch out ideas for the painting, clean other brushes, or grab another coffee – anything to keep my hands off the wet gesso! Remember, patience now prevents cracking and delamination later. Think of it like baking a cake; you can't rush the cooling process, or it'll fall apart.
Step 4: The Gentle Sanding – Smoothing the Way
Once it's bone dry, take your fine-grit sandpaper (220-grit, remember?) and lightly sand the entire surface. You're not trying to remove the gesso, just to knock down any tiny bumps from the canvas weave or your brushstrokes. I like to sand in small, overlapping circular motions, covering the entire surface evenly. Remember, you're caressing it, not attacking it. Going too coarse will tear fibers and create an even rougher, damaged surface. The goal is smoothness that welcomes your brush. When you're done, wipe away all the white dust with a slightly damp, lint-free cloth or a tack cloth and let that dry for a few minutes. This step is what truly elevates a decent prime job to a professional one; it's the secret sauce for that 'gliding on ice' feeling I mentioned earlier.
Step 5: The Second Coat & Beyond – Building Strength
Applying the Second Coat
Now, apply another thin layer of gesso, but this time, brush in the opposite direction. If you went horizontal on the first coat, go vertical on this one. This cross-hatching technique builds a stronger, more even surface and helps eliminate visible brushstrokes, creating a more robust, interlocking layer of primer that truly seals and protects. This criss-cross application ensures maximum coverage and minimizes weak spots in the ground, a little bit like weaving a stronger fabric for your paint.
The Ideal Number of Coats: Customizing Your Surface
Let it dry completely (Step 3), then sand it again (Step 4). How many coats should you apply? This is a question I get asked all the time, and it truly depends on the surface you desire and your chosen medium. There's no single magic number, but here’s a guide:
- 1 coat: This will leave a very textured surface, letting much of the canvas weave show through. It's okay for very expressive, thick-paint applications where the raw texture is part of your artistic vision. However, for oil paints, it offers minimal protection against the corrosive properties of drying oils, so I generally don't recommend only one coat for archival oil works.
- 2-3 coats: This is my usual go-to, providing an excellent all-purpose surface. You get a beautiful balance of smoothness with just a hint of canvas texture. It’s the sweet spot for most acrylic and oil work, offering superb archival protection and a responsive surface. Many pre-primed canvases benefit immensely from just two additional coats from you.
- 4+ coats: If you're aiming for an ultra-smooth, almost panel-like surface, ideal for detailed portraiture, high-realism, or techniques requiring minimal canvas texture, you'll want four or even five thin coats. The key here is meticulous sanding gently between each one. A truly panel-like surface will feel almost like polished wood, and when you tap it, it will have a distinct, solid thud rather than a canvas-like drum. This meticulous layering creates that incredibly smooth, almost frictionless glide for your brush, inviting intricate detail.
The number of coats also depends on your gesso; thicker, artist-grade gesso might achieve sufficient opacity and tooth in fewer coats than a thinner, student-grade version to achieve the same coverage and protection. Always remember to clean any sanded canvas with a tack cloth before the next gesso application to ensure optimum adhesion and a dust-free finish.
Quick Tips for Troubleshooting Your Priming Process
Even with the best intentions, things can go a little sideways. Don't worry, I've seen it all, and most issues are fixable:
- Visible Brushstrokes: If your gesso is too thick, or you're pressing too hard, you'll see brushstrokes. Try thinning your gesso slightly and using lighter, more even pressure. Sanding diligently between coats is also key. Consistency is crucial.
- Uneven Coverage/Thin Spots: This usually means your gesso was too thin, or you didn't apply enough pressure to work it into the weave. Ensure a consistent, heavy cream consistency and methodical, overlapping application.
- Bubbles: Stir your gesso, don't shake it! If you see bubbles, gently brush over them before the gesso dries. If they've already dried, you'll need to sand them down carefully.
- Gesso Drying Too Fast/Slow: Adjust your environment. Too much airflow (like a fan directly on it) can dry it too fast, potentially leading to cracking if layers are too thick. High humidity can slow it down considerably. Experiment with small batches to find what works best for your studio climate.
- Sticky Gesso: This often happens in humid environments or if the gesso hasn't fully cured. Ensure adequate drying time between coats and proper ventilation. Sometimes, a very fine sanding (e.g., 400-grit) can help remove the tackiness, followed by a clean wipe.
- Gesso Cracking: This is usually due to applying gesso too thickly, especially acrylic gesso that needs to remain flexible, or trying to force-dry it too quickly with heat. Poor quality gesso with insufficient binder can also be a culprit. Always apply thin layers and allow them to air-dry naturally.
FAQ: Unraveling Common Priming Puzzles
Alright, you've done the work, you've absorbed the knowledge. But I know you've probably got a few lingering questions that often pop up in my workshops. Let's tackle some of these common puzzles together, because sometimes, it's the little things that cause the most doubt.
Do I really have to sand between coats?
This is a classic question, and my answer is a resounding yes, if you're aiming for a professional, beautiful surface. You don't have to, especially if you prefer a very textured finish where the canvas weave is prominent. But if you want a smooth, responsive surface that makes your brush glide and your paints pop, then absolutely. Sanding knocks down tiny bumps from the canvas weave or your brushstrokes that would otherwise interfere with fluid application and can create imperfections in subsequent layers. It ensures excellent paint adhesion and is what truly separates a decent prime job from a great one. Think of it as polishing your canvas to welcome your creative flow.
Can I use house paint primer instead of gesso?
No. Please don't. I know the temptation for cost savings is strong, but house primer is designed for very different purposes and often includes chemicals not meant for fine art. It's formulated to be absorbed into porous surfaces like wood or drywall, and its binder systems and pigments are not chosen for archival art performance. Critically, these chemicals can cause yellowing, cracking, or even actively degrade your expensive paints and the canvas itself over time. House paints can contain high levels of volatile organic compounds (VOCs) that off-gas over years, plasticizers that remain overly flexible and tacky, and mildewcides that are unnecessary and potentially harmful to your artwork. It's like trying to run a marathon in flip-flops – technically possible, but definitely not advisable for peak performance or longevity. Stick to artist-grade materials – your artwork's future (and your peace of mind) depends on it.

Can you paint on raw canvas without priming?
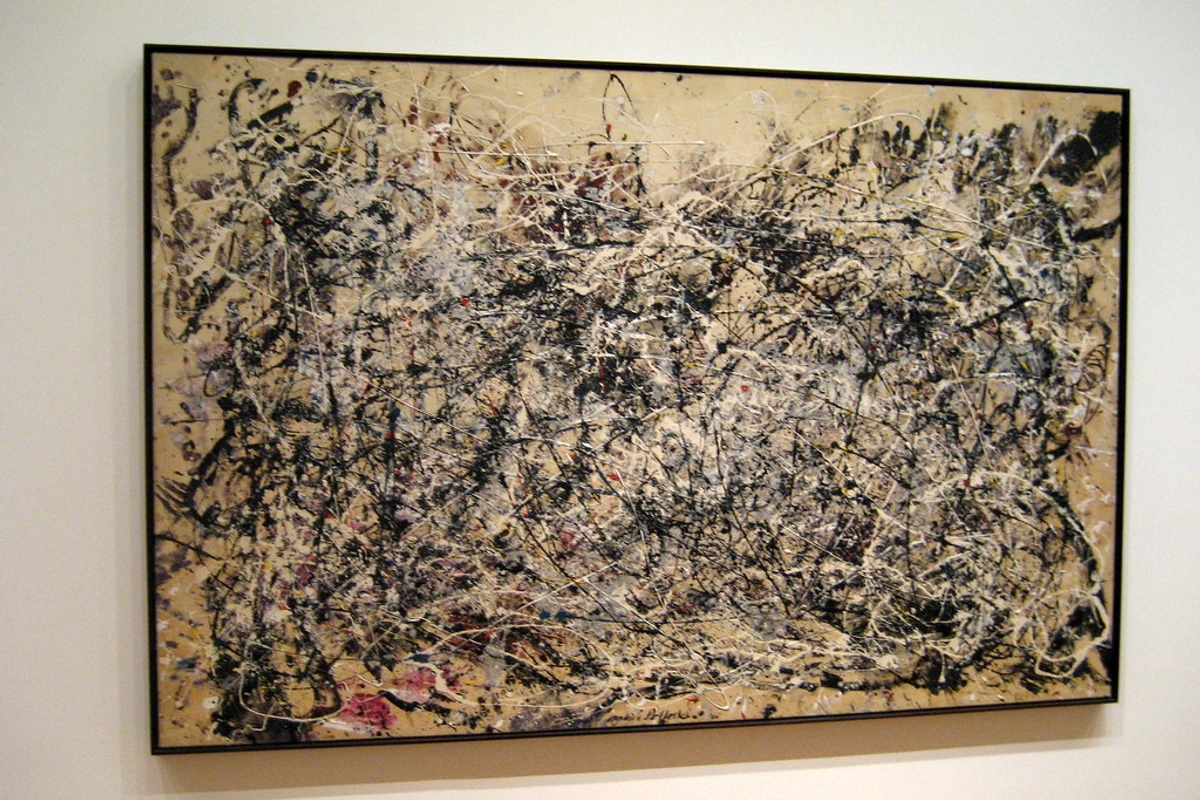
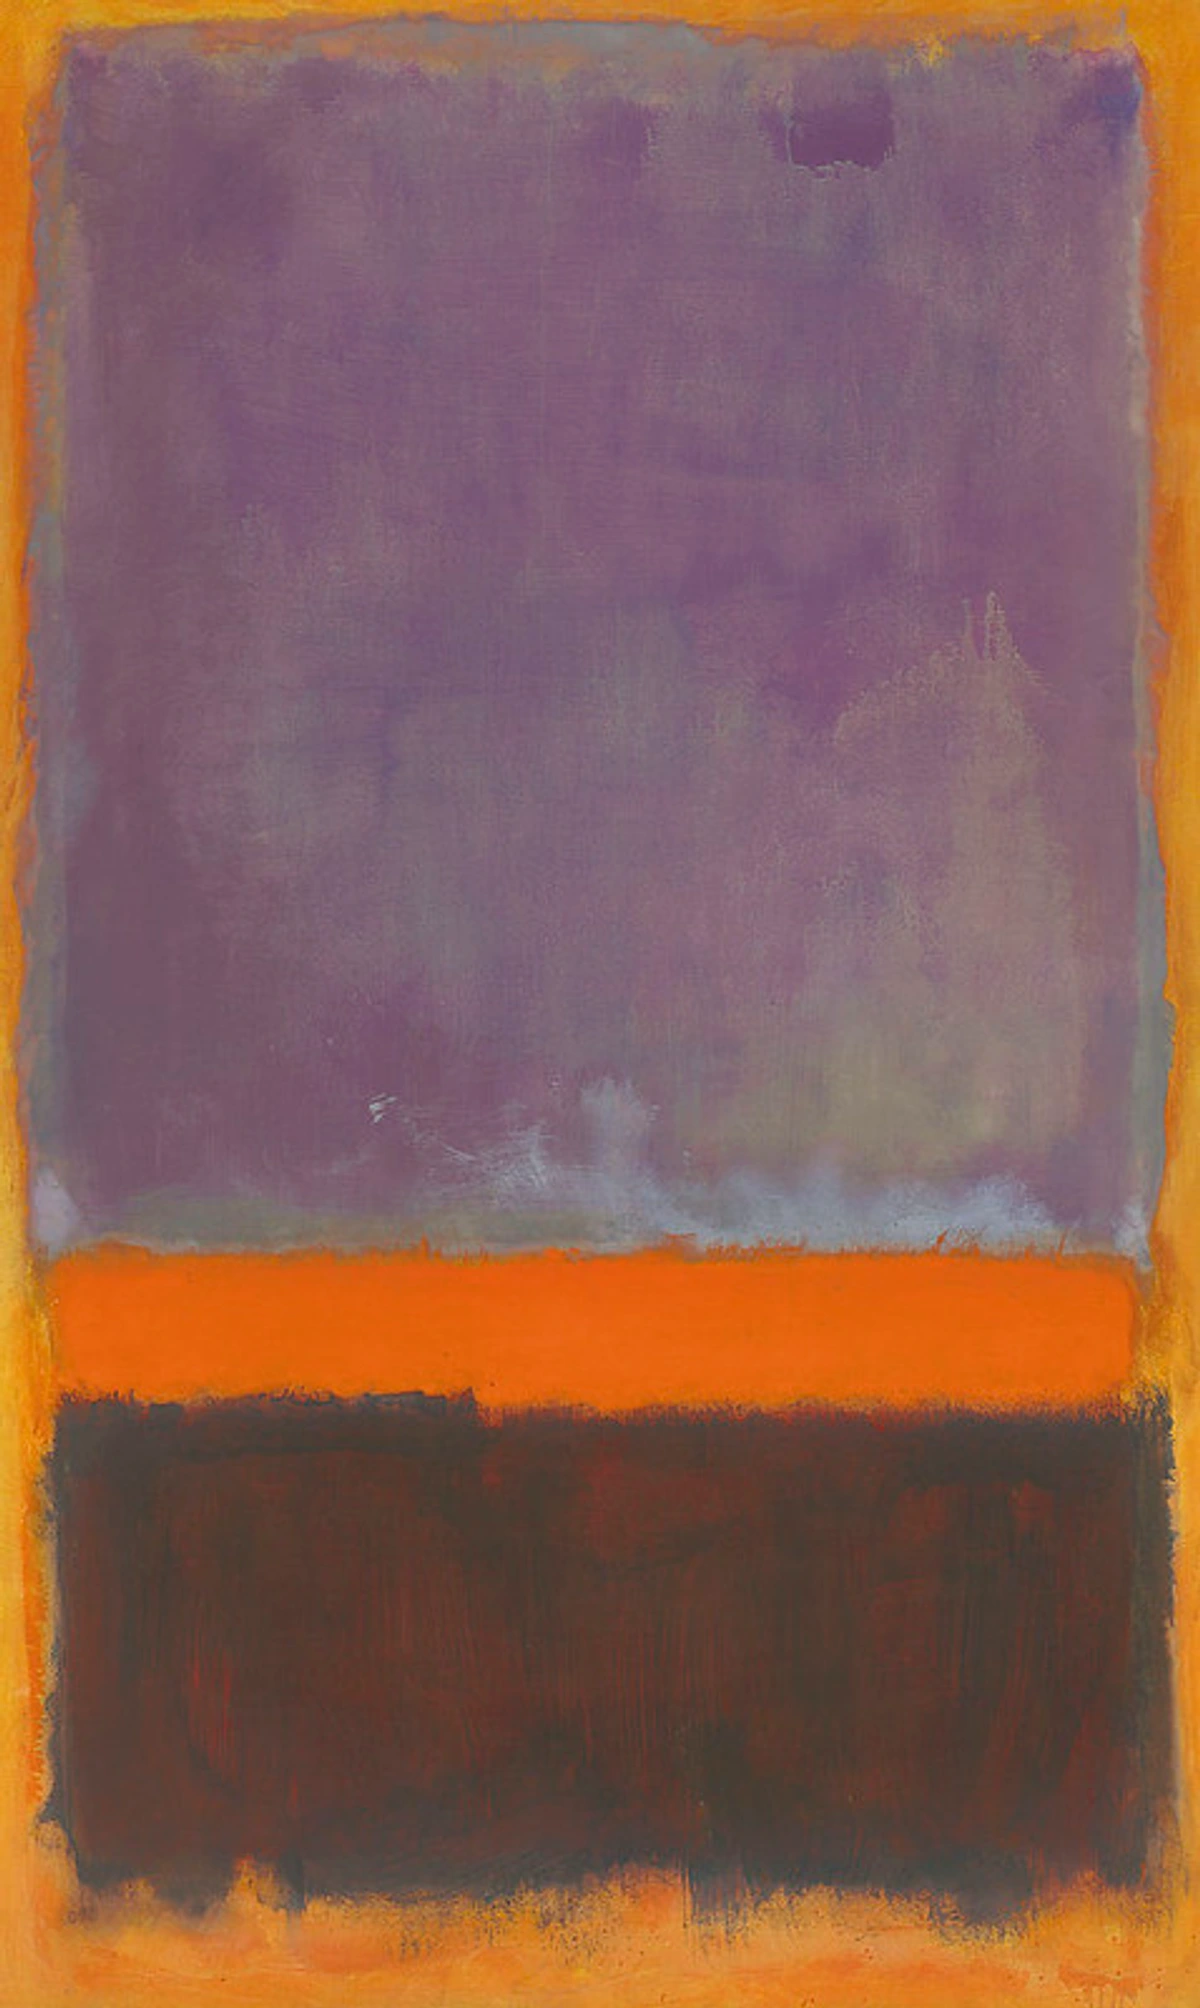
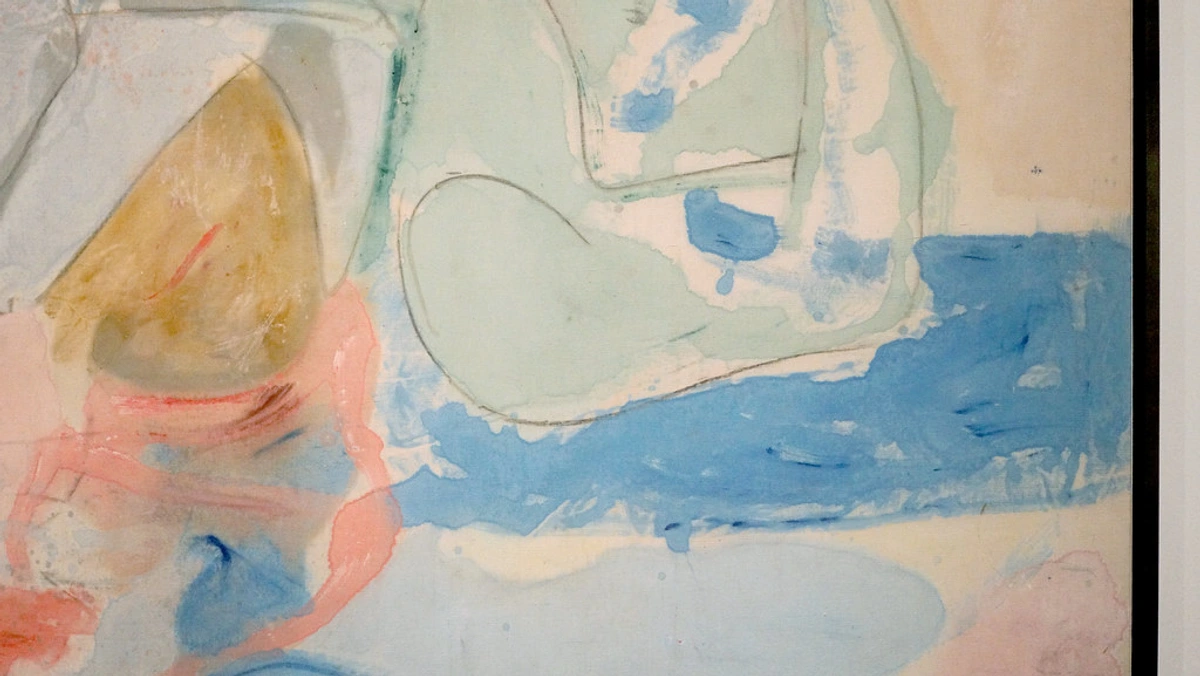
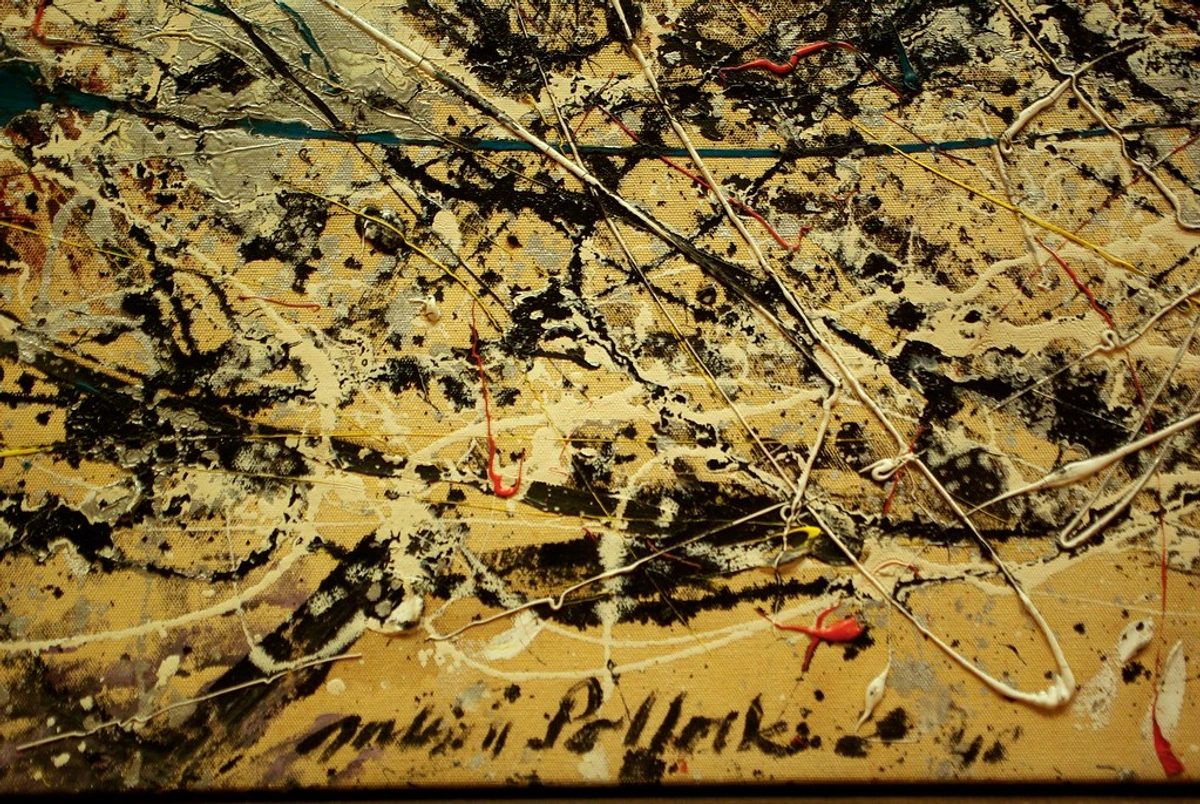
Yes, you absolutely can! This is called staining or working on unprimed canvas. Some famous artists, particularly in Abstract Expressionism and Color Field painting, did this to great effect. Jackson Pollock often worked on unprimed canvas, letting the paint soak directly into the fibers to create unique textural effects and a strong connection to the support. Helen Frankenthaler also famously pioneered her "soak-stain" technique. However, it's a very specific artistic choice with significant archival considerations. For oil painters, painting directly on raw canvas is a huge risk for the longevity of the canvas itself. Oil paint contains oils that, over time, can chemically react with and essentially 'rot' the natural cellulose fibers of cotton or linen due to acidic degradation. This breaks down the very fabric of your artwork, leaving it brittle, discolored, and prone to decay. While acrylics don't cause this same chemical degradation, an unprimed canvas with acrylics can still lead to issues: the paint film might be less flexible than the canvas over time, leading to cracking, and the absorption can still mute colors and invite Support Induced Discoloration (SID). The paint will soak in, creating a softer, often more integrated look, but you lose the vibrancy and control you get with a primed surface, and you risk the artwork's long-term survival. This choice, primed vs unprimed canvas, which to choose, is a fundamental one for many artists, but should be made with a full understanding of the consequences.
Can I prime over an old painting?
Yes, you absolutely can! This is a great way to reuse canvases and save on materials, something I've done many times when an old piece just wasn't working out. Just ensure the surface of the old painting is clean, dry, and most importantly, fully cured and stable. If the old paint has a very glossy finish (e.g., heavy varnish or thick, cured oil paint), I recommend a light degreasing with a mild detergent solution (rinse thoroughly!) or a gentle sanding with 180-grit paper followed by 220-grit to create some tooth before applying 2-3 new coats of gesso. Think of it as hitting the reset button on your surface, ready for a fresh start, a phoenix rising from its own ashes!
Should I document my priming process?
For serious artists and those concerned with archival quality and provenance (the history of ownership and creation of an artwork), yes! A simple note on the back of the canvas or stretcher bars (or on an accompanying archival label) with the date, gesso type, and number of coats can add significant value and insight. It’s part of your painting’s story, after all. I always keep a studio notebook with these details for my major works. Conservators and collectors alike will thank you for the foresight – it’s a mark of true professionalism.
Can I make my own gesso?
While traditional gesso recipes (using animal glues like rabbit skin or hide glue with chalk/gypsum and pigment) exist, modern acrylic gesso is formulated for convenience, flexibility, and longevity, especially for flexible supports like canvas. Traditional gesso, often called "Italian gesso," is very rigid and historically applied to rigid wood panels, not flexible canvas, making it highly prone to cracking on canvas. Unless you're deeply committed to historical methods and understand the potential archival compromises for flexible supports, I'd generally recommend sticking with high-quality commercial acrylic gesso. Honestly, the time saved and the superior archival properties of modern gesso are worth the investment. If you are adventurous, a guide like how to make your own gesso a diy guide for artists can provide a starting point.











Beyond the Foundation: Your Art Awaits
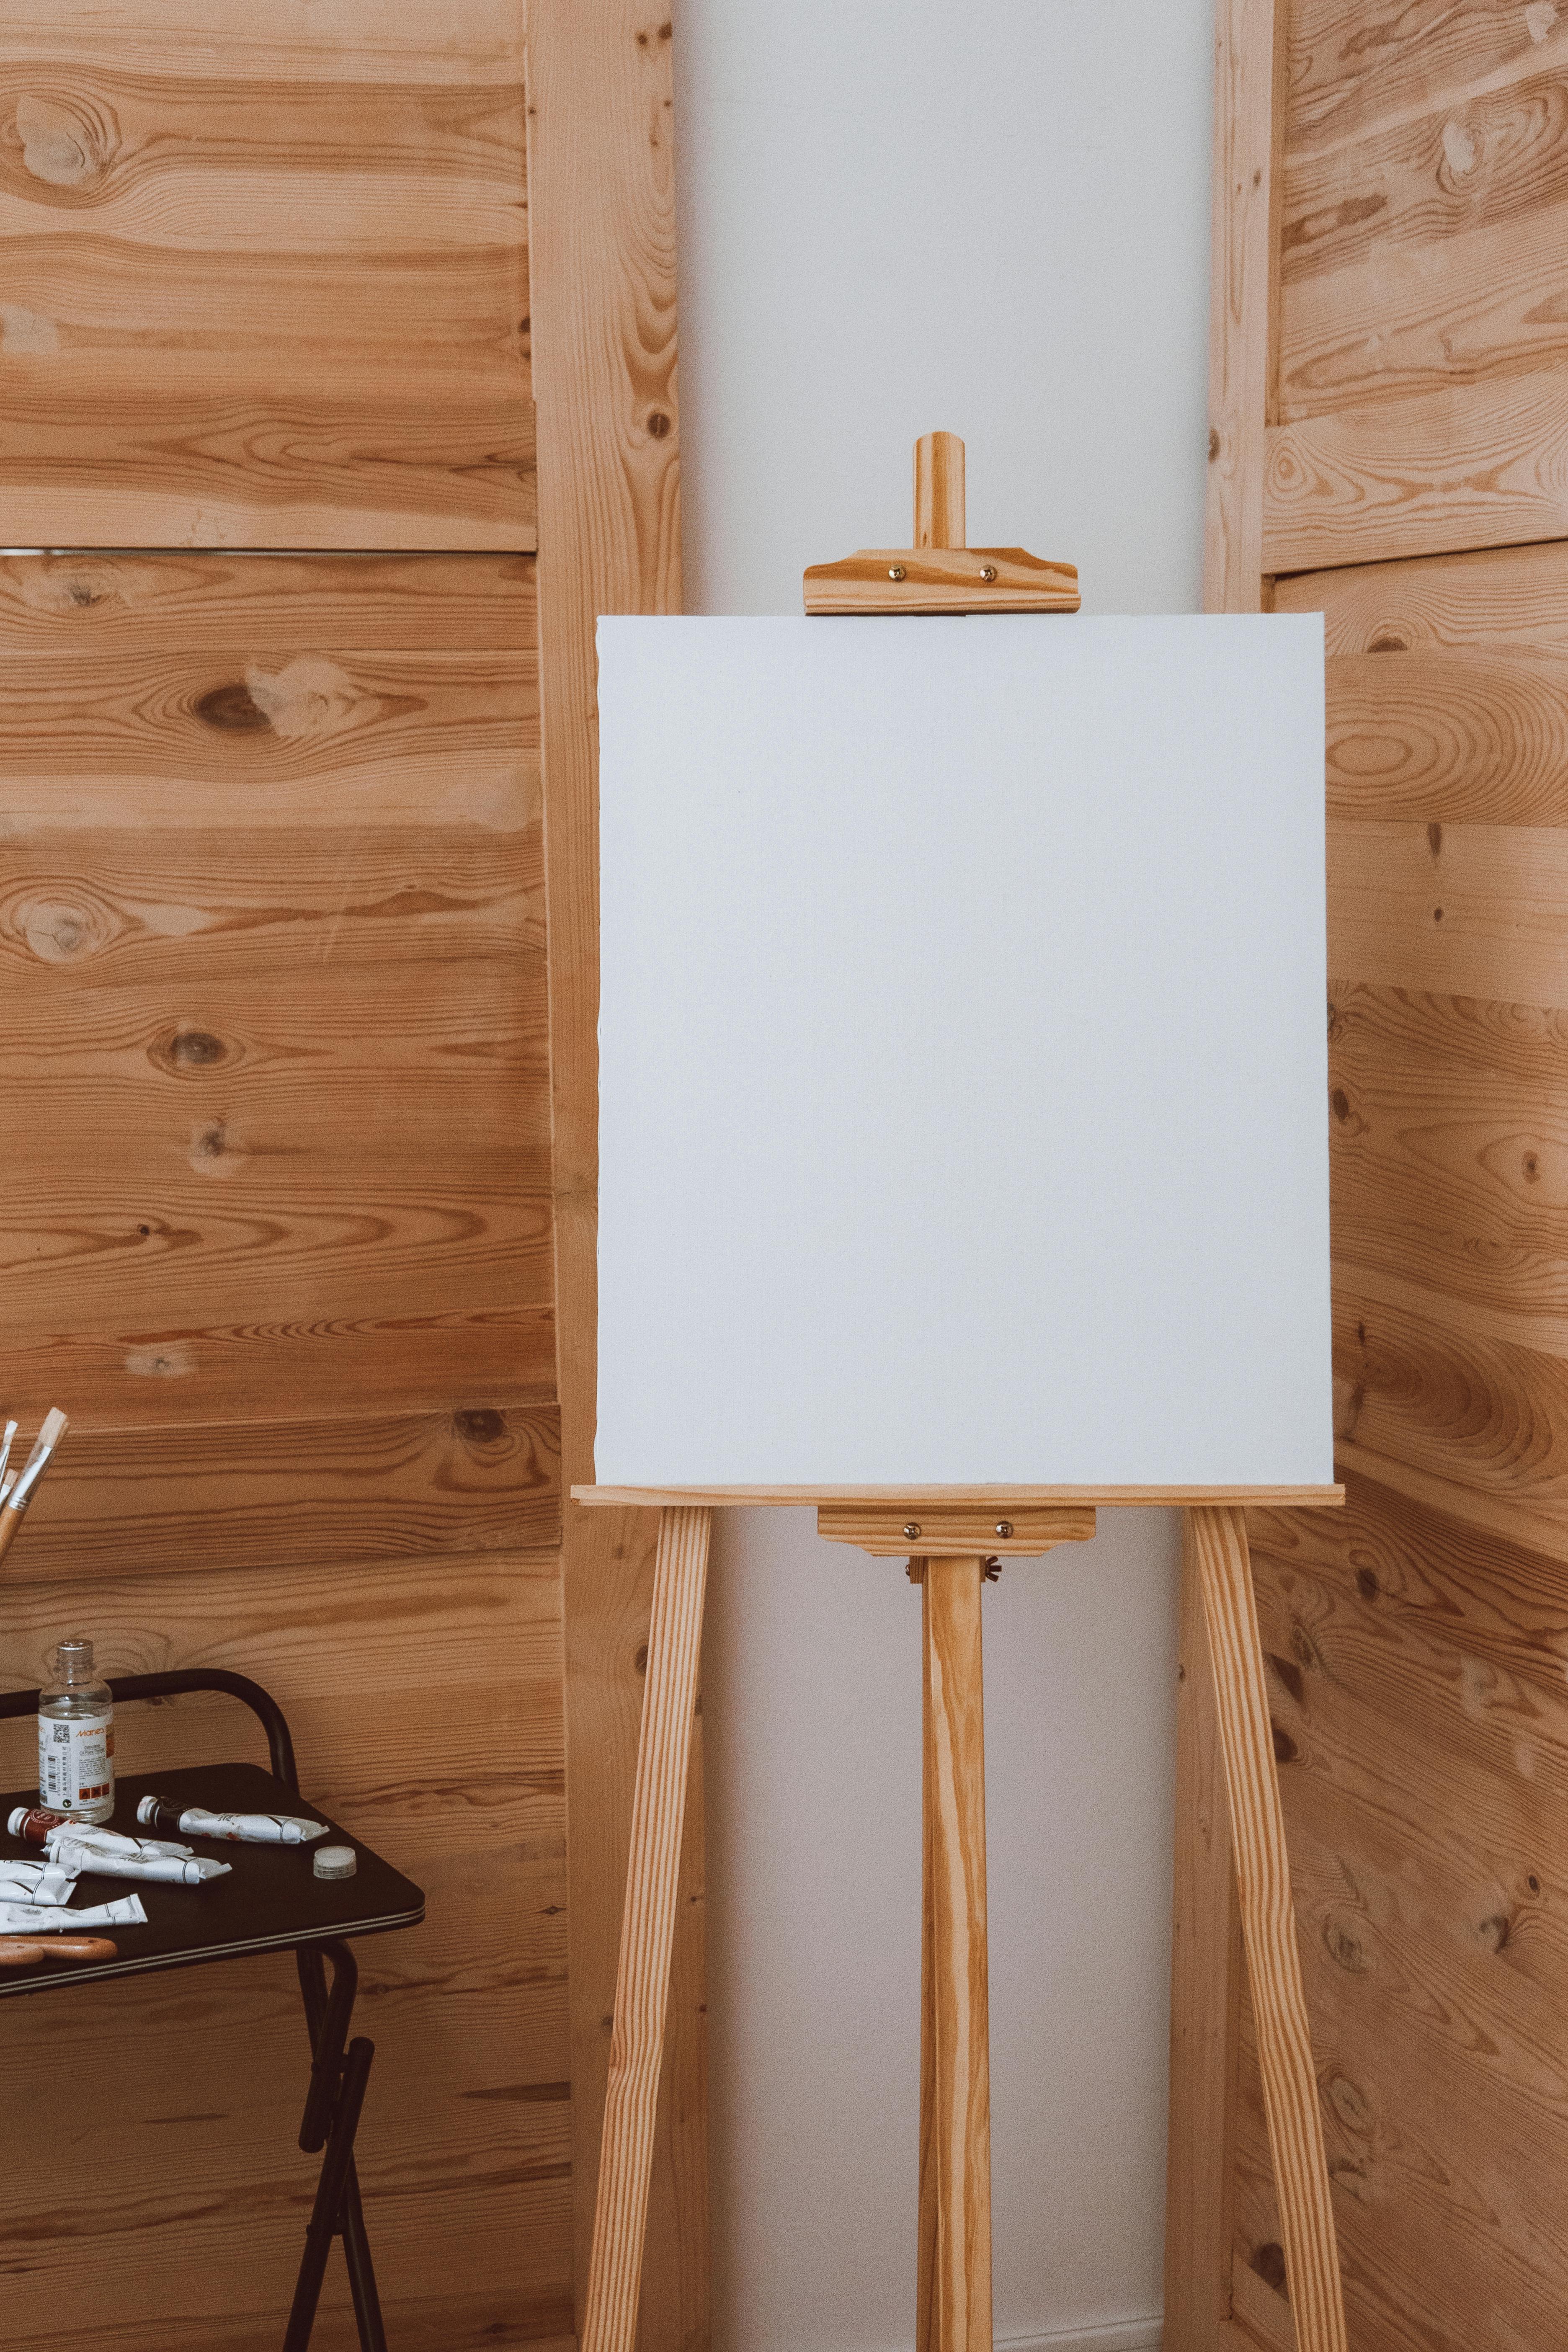
There you have it. Your canvas is now a perfect, pristine surface, just waiting for your ideas. Run your hand over it. Feel that smoothness, that subtle tooth? That's the feeling of preparation, of a solid foundation meticulously laid. It's the quiet satisfaction of a job well done, the feeling of anticipation as you realize this perfectly prepared ground is just waiting for the first whisper of your brush, ready to make your artistic vision a vibrant reality. This prep work isn't a chore; it's a ritual, a profound first step in the creative process.
This meticulously prepared surface is ready for anything you throw at it, ensuring that your colors sing and your artwork stands the test of time, perhaps even inspiring generations to come. Now, go make something beautiful on it – perhaps even a piece that will one day find a home in a collector's space, or even in a museum like [/den-bosch-museum]!
If you’re ever curious about my own artistic journey, feel free to explore my latest creations at [/buy] or check out my artistic timeline at [/timeline].