The Gentle Art of Hanging Art: How to Adorn Your Walls Without Sacrificing Safety
Learn professional techniques to hang artwork confidently, preserving your walls and beloved pieces. A comprehensive guide for renters, homeowners, and art enthusiasts.

The Gentle Art of Hanging Art: How to Adorn Your Walls Without Sacrificing Safety
There’s this peculiar moment of paralysis we all face when standing before a bare wall with a beautiful piece in hand. That mix of excitement and terror? Will this ruin my security deposit? Will the frame shatter if I breathe wrong? I’ve been there—staring at a hammer like it’s a loaded weapon, wondering if maybe my abstract print should just lean against the fireplace forever. (Spoiler: It shouldn’t.)
Hanging art shouldn’t require bravery. Yet between confusing hardware, mysteriously labeled wall anchors, and that inexplicable fear of creating "the crookedest hole in the entire neighborhood," it’s become this taboo DIY. Not today. Today, we’ll unpack how to display your art with confidence—because that vibrant abstract deserves to shine, not gather dust behind a sofa out of fear.
Why Hang Art (Fearlessly)? Art Isn’t Just Decoration
Before we dive into the "how," let’s talk "why." Your walls are like a personal gallery, and hanging art is like curating an exhibition. But more than aesthetics:
- Protection from damage: Proper hanging prevents falls that could damage both your artwork and whatever lies below. Weight distribution matters—those flimsy wire-and-hook combos can turn a favorite print into a projectile.
- Preservation: Correct hanging shields art from UV light fading, dust accumulation, and accidental bumps. Your investment deserves longevity.
- Psychological impact: Studies show art reduces stress. A well-placed piece can transform a room’s energy without renovations.
Still feeling hesitant? Good. That caution means you’ll do this right.

Museums and Professional Installation
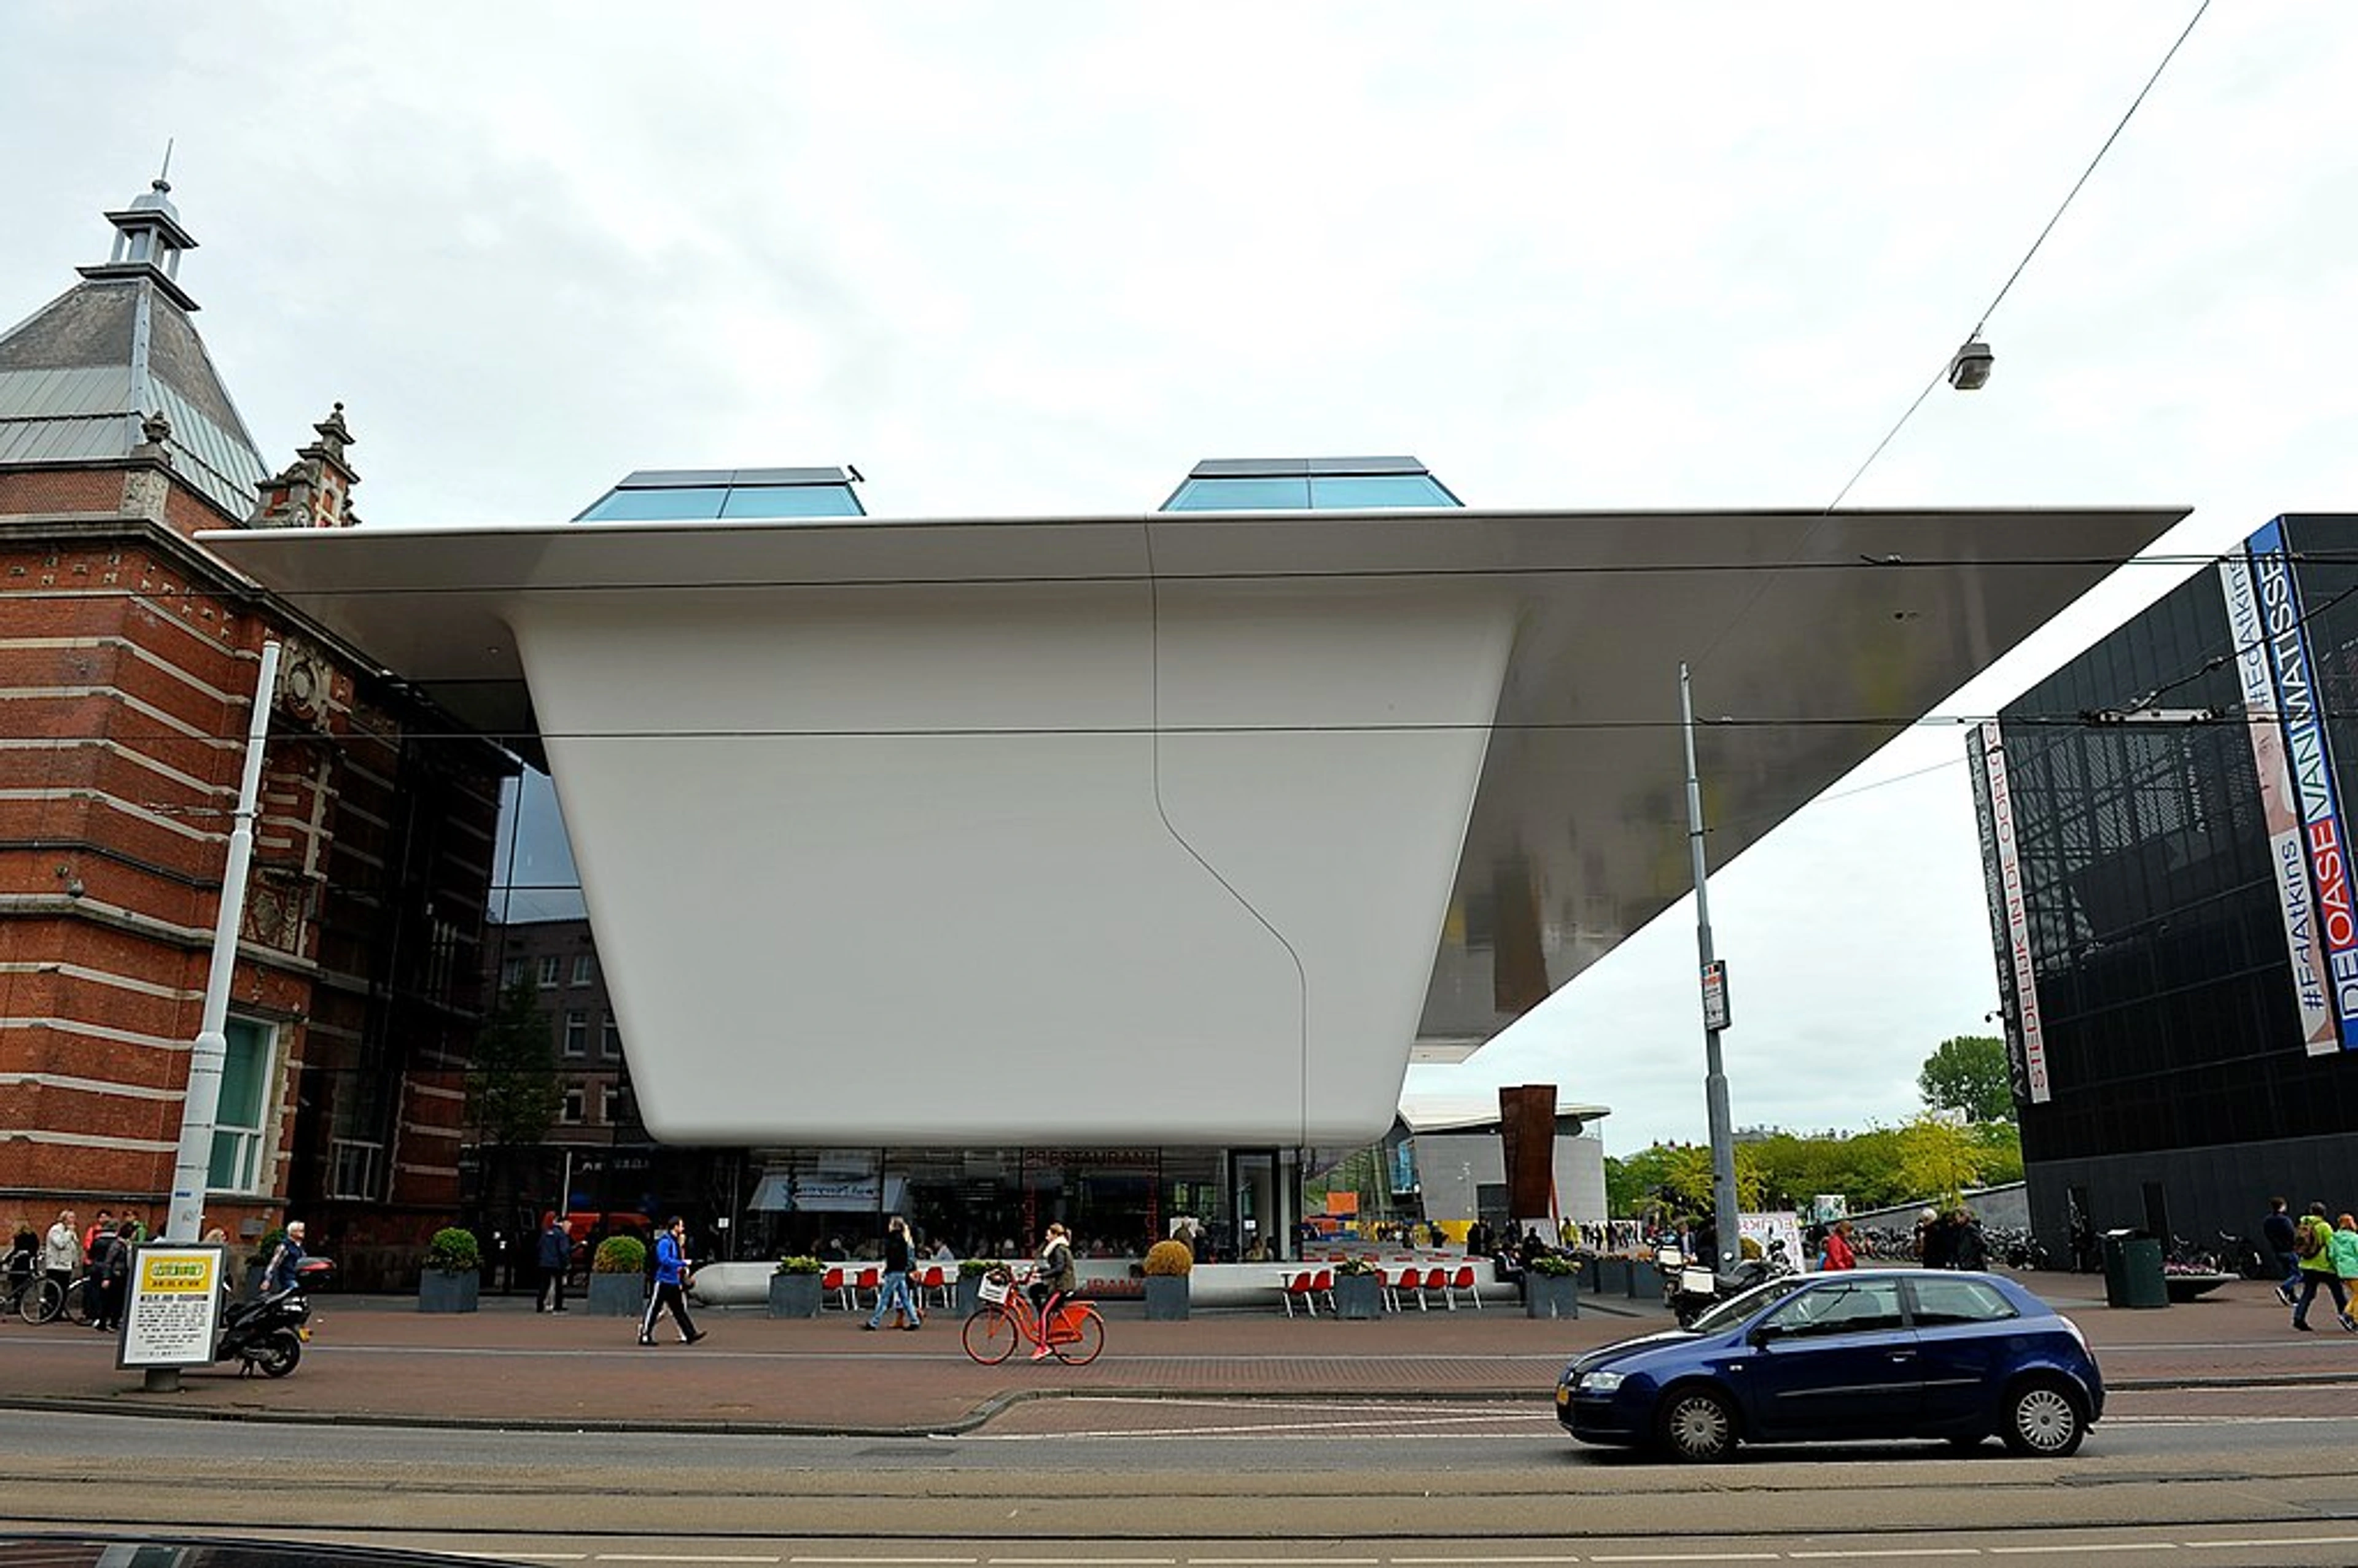
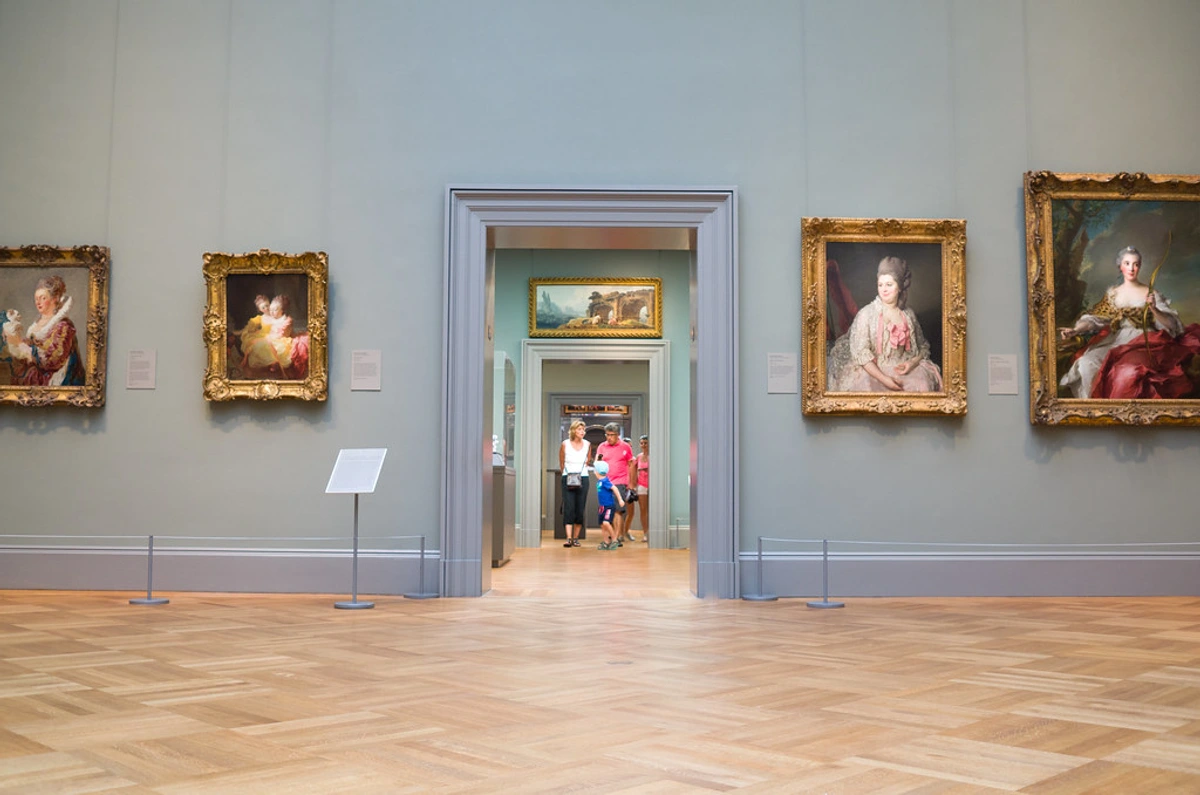
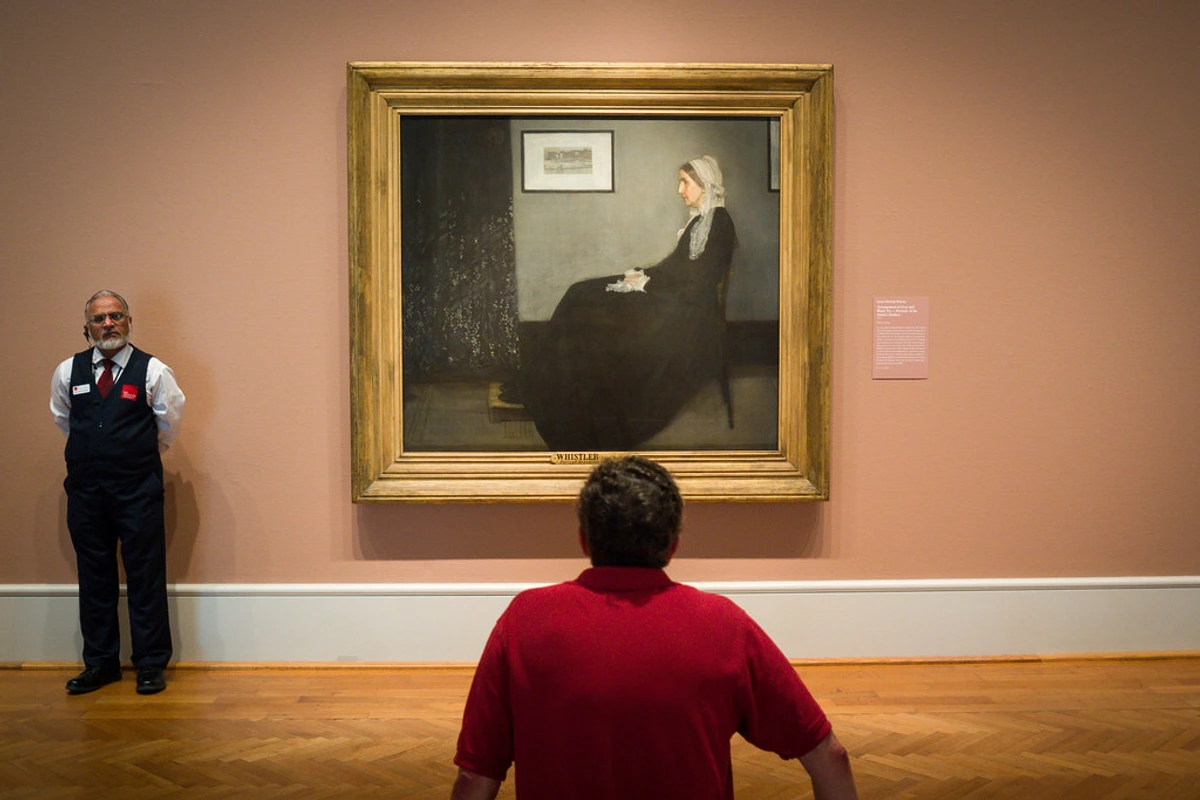
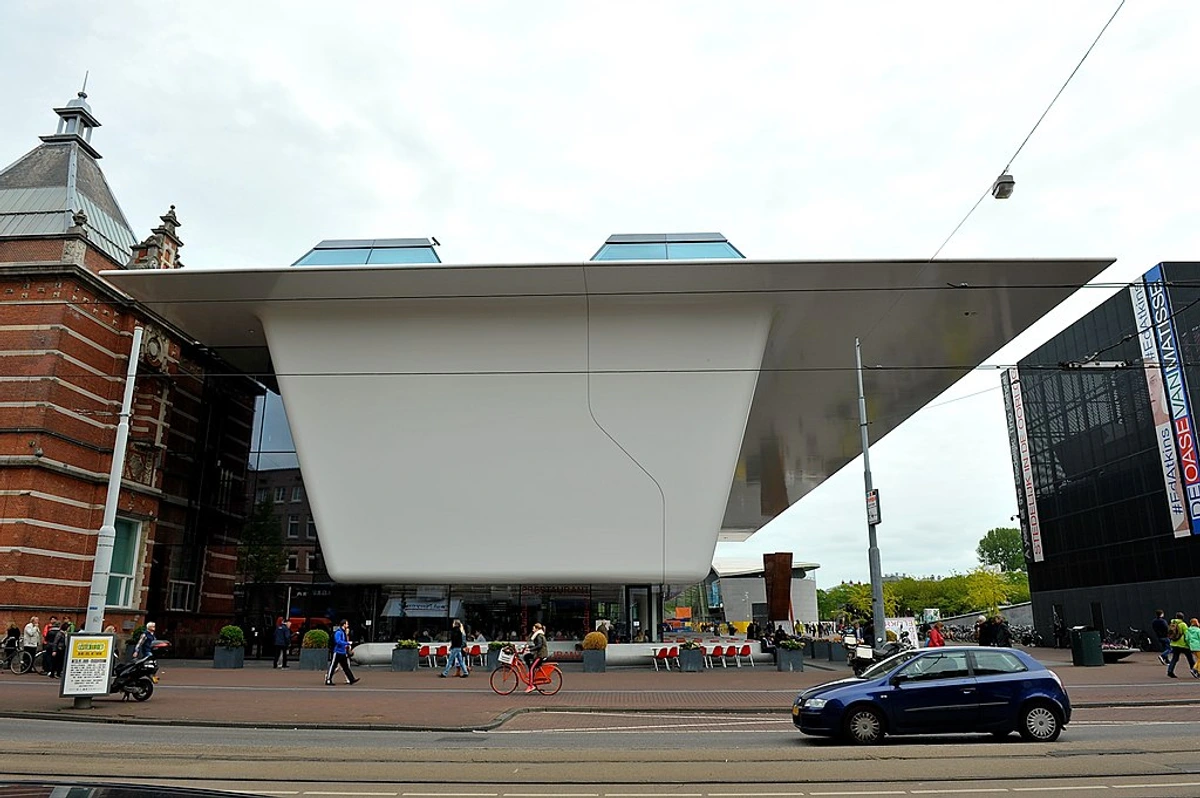
Museums like Gemeentemuseum Den Haag set the gold standard for art installation. Professional curators spend years perfecting techniques that ensure both safety and aesthetic perfection. While you don't need museum-level equipment for home hanging, understanding their approach can inspire your own installations. Notice how they consider lighting, viewing angles, and spatial relationships—all factors you can apply to your own space.
What You’ll Actually Need: Your No-Stress Toolkit
Forget dragging out the whole toolbox. For most standard-sized art (under 20 lbs/9kg), keep it simple:
Tool  | Why It Matters |
|---|---|
| Pencil & Level | Marks precise spots; ensures horizontal/vertical alignment (no more squinting from 10 feet away) |
| Measuring Tape | For centering and spacing collections (nothing says "chaos" like mismatched heights) |
| Stud Finder (optional) | Essential for heavy pieces; studs provide secure anchors for maximum safety |
| Appropriate Anchors | Choose based on wall type (drywall, brick, plaster) and art weight (more later!) |
| Hammer or Drill | For insertion—don’t use a drill on brick unless you love dust clouds and regret |
| Picture Wire or Sawtooth Hangers | Wire for balance distribution; sawtooth for lightweight pieces |
| Wall Anchors/Screws | Your best friend when there’s no stud to grab onto |
I once tried to skip the stud finder for a canvas. It’s now holding up my neighbor’s toolbox instead. Don’t be me.
The Golden Rules: Measurement & Level Math
Most people eyeball it. Most people end up with holes they have to spackle. Let’s avoid that.
Step 1: Eye-Level is King
For a solitary piece, hang it so its center is 57–60 inches (145–152 cm) above the floor. This matches average eye height and creates balance. Grouped pieces? Use the same rule for the collection’s visual center.

Step 2: The Wall Whisperer Trick
Before marking, hold the art up against the wall with your free hand. Step back. Does it feel right? That gut check matters more than math—but trust the math afterward.
I call this the "15-second rule." Stand in the doorway of the room, look at the piece, and count to 15. Does your eye naturally go there? Does it feel like it belongs, or does it look like it's just floating there awkwardly? Sometimes our brains pick up on spacing issues that our conscious minds haven't registered yet.
Advanced Placement Considerations
Room Function Matters: A piece in a dining room should be placed where people can comfortably view it while seated, not where they'd have to crane their necks. In a hallway, art should work with the flow of movement—don't place it where people might bump into it while carrying laundry.
Furniture Relationship: When hanging art above furniture, leave 6-12 inches of space between the top of the furniture and the bottom of the artwork. This creates visual connection without crowding. For sofas, the artwork should be about 2/3 the width of the sofa for proper proportion.
Ceiling Height Adaptations: In rooms with high ceilings (10+ feet), you can hang art higher without it feeling disconnected. Consider creating a "gallery wall" that extends up the wall to utilize the vertical space effectively. In rooms with low ceilings (under 8 feet), hang art slightly lower to maintain a sense of spaciousness.

Step 3: The Bracket Method (Zero Wallholes!)
For renters or perfectionists, French cleats or rail systems create a floating effect without touching walls. Think of it like Lego for art—attach cleats to both the frame and wall, then slot them together. Secure, reversible, and no spackle scars. Brilliant.

French Cleat Deep Dive
French cleats are essentially two pieces of wood cut at complementary 45-degree angles. The wall-mounted piece is secured with screws into studs or heavy anchors, while the art-mounted piece has the complementary angle that allows it to hang securely.
Weight Capacity: A properly installed French cleat system can hold surprisingly heavy pieces—up to 100+ pounds depending on the wood thickness and anchor quality.
Installation Tips:
- Always use a miter saw for precise 45-degree cuts
- Secure the wall cleat into studs whenever possible
- For drywall without studs, use heavy-duty toggle bolts
- Consider adding small rubber bumpers to prevent the art from sliding
Let me break this down because I wish someone had explained it to me when I first tried this:
- Measure your cleat: The wall cleat should be slightly longer than the art cleat (usually 1-2 inches)
- Attach to art first: Install the art-side cleat to the back of your frame, centered horizontally
- Install wall cleat: Securely fasten the wall cleat to studs or with appropriate anchors
- Hang and adjust: Slot the art cleat onto the wall cleat—most systems allow for small adjustments
The beauty of French cleats? They can hold surprisingly heavy pieces (up to 100 lbs or more depending on the system) and you can slide art left or right for perfect positioning without re-drilling.
Rail Systems: The Gallery Professional's Choice
For those who want to change their art display frequently, rail systems are the ultimate solution. These metal or wooden rails mount horizontally to walls and allow you to hang various artworks using adjustable hooks.

Benefits:
- Easy to rearrange without new holes
- Can hold multiple pieces of varying weights
- Professional gallery aesthetic
- Expandable as your collection grows
Popular Systems:
- Hang-it-All: Modular aluminum system with endless configurations
- Tate Systems: Used by actual museums, very high-end
- IKEA RIKTIG: Budget-friendly option for smaller pieces
Installation requires securing the rail into studs, but after that, you're free to create and recreate your gallery walls to your heart's content.
Anchors Away! Choosing Wall-Friendly Hardware
The Physics of Hanging: Understanding Load Distribution
Before we dive into specific anchors, let's understand the basic physics. When you hang art, you're not just dealing with the artwork's weight—you're managing the dynamic load. This includes the weight of the frame, the hanging hardware, and even the slight movement that occurs when someone bumps into the artwork accidentally.
A 20-pound painting doesn't just exert 20 pounds of downward force. When hung on a wire, that weight creates tension that can be magnified at the anchor points. This is why professionals always "over-engineer"—using anchors rated for far more weight than the actual artwork.
Anchor Selection Guide by Application
Here’s where most confusion lives. What goes where? Let’s break it down:
Wall Type | Anchor/Screw Solution | Pro Tip |
|---|---|---|
| Drywall | Toggle Bolts or Molly Bolts that expand behind the wall | Test by gently tugging after insertion. If it moves, find a stud or try a larger anchor |
| Plaster | Plastic Wall Anchors (self-boring) only. Drilling directly into plaster = fine powder and tears | Avoid heavy art here if possible. Seriously. |
| Brick/Concrete | Concrete Screws (expansion anchors like sleeve anchors) | Pre-drill holes, but don’t hammer—it can crack bricks. Patience wins. |
| Wood Studs | Drywall Screws (heavy-duty) going directly into the wood | Studs are every DIY’s best friend. Use them. |
Quick confession: I once used a plastic anchor in plaster with an oversized canvas. The result? A 3-inch hole and a very confused cat. Studs exist for a reason.
The Stud Finder: Your Best Investment
If you're serious about art hanging, a good stud finder is worth every penny. Here's what to look for:
Magnetic Stud Finders:
- Simple and inexpensive
- Find nails and screws in studs
- Limited accuracy but better than nothing
Electronic Stud Finders:
- Detect density changes behind drywall
- Can find center of studs more accurately
- Some models detect live wires (safety feature)
- Expect to pay $20-100 for quality
Advanced Features to Consider:
- Deep scanning (finds studs behind multiple drywall layers)
- Stud edge detection (precise placement)
- AC wire detection (prevents drilling into electrical)
- Laser level integration
Pro Tip: Always verify stud locations with a few light taps—stud finders can sometimes give false positives, especially near electrical outlets or plumbing.
Heavy Art & Valuables: Treat Them Like Treasure
The 50-Pound Rule: When to Call Professionals
Anything over 50 pounds? It's time to seriously consider professional installation. I'm not saying you can't do it yourself—you absolutely can—but you need to understand the stakes. A falling painting isn't just about damage to the artwork; it's about potential injury to people or pets below, and significant damage to your floors, furniture, or even structural elements.
Professional Installation Considerations:
- Cost: Typically $100-500 depending on weight and complexity
- Insurance: Most professionals carry liability insurance
- Warranty: Often includes follow-up adjustments and repairs
- Specialized Equipment: They have tools you probably don't own
- Experience: They've hung hundreds of pieces, including yours
Weight Distribution Engineering
For heavy pieces, single-point hanging is dangerous. Always use two points of support—this isn't optional, it's essential for safety.
D-Ring Placement:
- Install D-rings 1/4 of the way down from the top edges
- This creates a stable triangle with the hanging point
- Prevents the artwork from twisting or tilting
- Distributes weight evenly across both sides
Wire Configuration:
- Use picture wire rated for at least 4x the artwork's weight
- Create a slight "V" shape with the wire between D-rings
- Leave some slack (1-2 inches) for movement
- Never use chains or ropes—they can stretch or corrode
Safety Hardware Additions:
- Security Chains: Additional chains connecting artwork to wall anchors
- Anti-Tilt Devices: Prevent artwork from swinging outward
- Earthquake Bolts: For seismic zones, essential for safety
- Museum Putty: Corner-mounted for earthquake protection
For originals or pieces over 30 lbs (13.6kg):

- Always use two points of support. Wire alone can twist; D-rings provide stability.
- D-ring Placement: Attach them 1/4 of the way down from the top edges. This distributes weight evenly and prevents tilt.
- Museum Putty: For priceless pieces (or cats who think "art" means "jenga towers"), a dab of removable putty on each corner adds earthquake protection without visible hardware.
- UV Filtering: Avoid direct sunlight. If your room gets harsh light, consider anti-glare glass or UV-coated acrylic for prints.
Alternative Solutions: Renters, Renters, Renters!
The Renter's Dilemma: Beauty vs. Security Deposits
If you're renting, you understand the unique challenge of wanting to personalize your space without jeopardizing your security deposit. The good news? Modern solutions have made this easier than ever. Here's your complete guide to damage-free art hanging:
Command Strips: The Modern Miracle
Heavy-Duty Command Strips have revolutionized renter-friendly hanging. But not all command strips are created equal:
Strip Type | Weight Capacity | Best For |
|---|---|---|
| Picture Hanging Strips | 4-16 lbs | Standard framed prints and lightweight art |
| Large Picture Hanging Strips | 16-32 lbs | Heavier frames and medium-sized canvases |
| Outdoor Command Strips | Up to 50 lbs | Exterior use and extremely heavy indoor pieces |
| Specialty Strips | Varies | Specific surfaces like tile, glass, or metal |
Pro Command Strip Tips:
- Surface Preparation: Walls must be clean, dry, and smooth. Painted walls work best; textured walls may not hold well.
- Weight Distribution: Use multiple strips for heavier pieces—distribute weight evenly.
- Removal Technique: Pull slowly and straight down, not outward, to avoid wall damage.
- Reusability: Some command strips can be reused if you let them rest for an hour after removal.
The 30-Second Rule: Command strips need 30 minutes to set before hanging artwork. Plan accordingly and don't test the bond too soon.
Drilling holes terrifying? You’ve got options:

- Command Strips: Seriously. Use picture-hanging Command strips (the heavy-duty kind) for frames under 16 lbs (7.3kg). They’ll hold and come off cleanly—spackle-free.
- Adhesive Picture Rails: Screw a thin rail into wall studs, then use hooks to hang art. Like a gallery track system but DIY-friendly.
- ** leaned Art:** A valid choice! Lean larger pieces against walls. Just ensure stability—nothing should be precariously angled near walkways.
- 3D Wall Shelves: Create depth without hanging. Floating shelves can lean art or hold sculptures, adding texture without holes.
FAQ: Your Most Pressing Questions Answered
The Comprehensive Art Hanging FAQ
We've covered the basics, but I know you have more questions. Let's tackle the real-world scenarios that keep people up at night:
**Q: What if I accidentally use the wrong anchor?
A: Don’t panic. Remove it slowly, patch the hole with spackle, sand lightly, and try a heavier-duty type. Pro tip: Keep spare anchors on hand—I have a jar of "oops" anchors that’ve saved me more than once.
**Q: How do I hang a gallery wall without going insane?
A: Start by laying everything on the floor. Trace outlines, mark hooks, and measure centers. Use a template (cut paper to match frame sizes) to arrange on the wall. Paper tape it up, step back, and live with it for a day before committing.
The Ultimate Gallery Wall System
Planning Phase:
- Gather Your Collection: Lay all pieces on the floor first
- Create Templates: Cut paper to exact frame sizes
- Arrange Templates: Try different layouts on the floor
- Mark Key Points: Identify center points and hanging locations
- Measure Twice: Take exact measurements for each template position
Installation Phase:
- Start with Center Piece: Hang your largest or most important piece first
- Work Outward: Add pieces systematically from the center
- Check Level Constantly: Use laser level for precision
- Maintain Consistent Spacing: Usually 2-4 inches between pieces
- Step Back Frequently: View from room entrance to assess flow
Gallery Wall Styles:
- Grid Pattern: Formal, geometric, great for modern spaces
- Salon Style: Overlapping pieces, traditional gallery feel
- Cluster: Organic grouping, works well with varied sizes
- Linear: Horizontal or vertical arrangement, minimalist
- Themed: Pieces that share color, style, or subject matter
Pro Gallery Tip: Use picture hanging wire with D-rings even for lightweight pieces. This allows for minor adjustments without removing the entire piece from the wall.
**Q: Can I hang art over a radiator?
A: Try not to. Heat warps wood frames, and paint can crack from temperature swings. Choose a cooler wall. If you must, use a spacer (like felt dots) to create airflow.
Environmental Danger Zones to Avoid:
- HVAC Vents: Direct airflow can cause temperature fluctuations
- Windows: UV light fades colors, temperature varies with weather
- Fireplaces: Heat damage and soot accumulation
- Bathrooms: Humidity can damage paper and wood
- Kitchens: Grease and steam can damage artwork
- High-Traffic Areas: Risk of accidental bumps and damage
**Q: What about hanging art in bathrooms specifically?
A:** Only with precautions:
- Sealed Artwork: Use acrylic or under glass
- Humidity Control: Ensure bathroom is well-ventilated
- Placement: Avoid direct shower spray and steam
- Material Choice: Metal frames work better than wood
- Maintenance: Check regularly for moisture damage
Bathroom Art Ideas:
- Waterproof Prints: Special coated papers designed for bathrooms
- Tile Art: Ceramic pieces that can be mounted directly
- Metal Art: Naturally resistant to humidity
- Glass-encased Pieces: Maximum protection
- Small Scale: Easier to place and maintain
**Q: What about those fancy invisible hanging systems?
A:** Brands like Hang-it-All or Tru-View Frames use tension-based systems where clips or wires are hidden from view. They’re fantastic for minimalists but cost more than brackets. Worth it if clean lines matter most.
Outdoor Art Installation Considerations
The Kroller-Muller Museum showcases how art can be integrated into both indoor and outdoor spaces. When considering outdoor art hanging, special considerations apply:
- Weather Resistance: Materials must withstand temperature changes and moisture
- UV Protection: Sunlight can fade and damage artwork
- Wind Load: Additional anchoring may be necessary
- Material Compatibility: Outdoor-rated hardware and fasteners
- Maintenance: Regular cleaning and inspection requirements
Even for indoor art near windows, these outdoor principles can inform your installation choices.

**Q: What’s the deal with NFTs and digital art?
A:** Physical displaying of digital art—especially blockchain pieces—is still evolving. Most platforms are skeptical about real-world permanence and environmental impact. For now, if you own digital art, consider high-quality prints or UV-coated canvases to bypass hardware altogether.

**Q: Is it okay to hang art in the bathroom?
A:** Only if it’s sealed properly (acrylic or under glass) and out of direct steam spray. Humidity = mold and warping. Maybe save the watercolors for the living room.
The Final Hammer Blow: Trust Your Instincts
At the end of the day, hanging art is about celebrating life through color and form. It’s not about perfection—it’s about making your space uniquely yours. That crooked hole? Can be patched. That misplaced wire? Can be adjusted. That moment when you step back and it just clicks? Priceless. So grab your level, measure carefully, and hang that bold abstract with pride. Your wall—and the art—will thank you.
Want to explore the kind of art that transforms spaces? Discover collections that bring joy without compromise at our gallery, or visit us in Den Bosch to experience color come alive here. For the curious mind, peek into how passion evolves through time.
Additional Resources for the Art Enthusiast
Tools and Supplies:
- Stud Finder Recommendations: Bosch, Zircon, and Stanley all offer reliable models
- Anchor Kits: Look for multi-packs containing various anchor types
- Picture Wire: Choose stainless steel for maximum durability
- Level Options: Stanley FATMAX and Stabila are professional favorites
- Spackle and Repair Kits: Minwax and DAP offer reliable options
Further Reading:
- "The Art of Hanging Art" by David Airey
- "Picture Perfect Home" by Donna Schroeder
- "Wall Decor: Ideas & Projects" by Better Homes and Gardens
- Online tutorials from museums and galleries
- YouTube channels dedicated to picture hanging techniques
Community and Inspiration:
- Instagram accounts showcasing gallery walls and installations
- Pinterest boards for art arrangement inspiration
- Local art communities and workshops
- Museum installation blogs and behind-the-scenes content
Maintenance and Care:
- Monthly Checks: Inspect hardware for loosening
- Seasonal Adjustments: Consider humidity changes in different seasons
- Cleaning: Use appropriate methods for different art types
- Environmental Monitoring: Watch for temperature and humidity extremes




P.S. If all else fails, just lean it. Art doesn’t need grand gestures—it just needs to be seen. 🎨