
The Art of Hanging Art: A Beginner's Guide to Command Strips
Learn how to hang art securely without nails using Command Strips. This step-by-step guide covers everything from weight limits to wall types, ensuring your precious artwork stays perfectly positioned.

The Art of Hanging Art: A Beginner's Guide to Command Strips
I’ll never forget the day I tried to hang a limited-edition print using only a hammer and sheer optimism. The result? A wall that looked like it’d gone a few rounds with a heavyweight contender. Two holes and a lot of frustration later, I discovered a miracle solution for those of us who rent homes, change decor constantly, or just hate patching drywall: Command Strips. Today, we’re diving deep into how these little adhesive wonders can transform your art-hanging anxiety into smooth sailing.
Why Command Strips Are a Game-Changer
Imagine being able to rearrange your living room gallery without touching up paint. Or switching your seasonal artwork in minutes. Command Strips are essentially removable adhesive anchors that use tensile strength instead of nails to hold artwork in place. They’re like the unsung heroes of interior design – simple yet revolutionary.
The magic lies in their dual-strip system:
- Adhesive strip: Sticks to both your wall and artwork
- Pull-tab strip: Lets you release tension when you remove them
What makes this special? Unlike permanent mounting methods, Strips distribute weight evenly and release cleanly when needed. Of course, they have limitations (we’ll cover those), but for most contemporary art – particularly colorful prints and moderate-sized pieces – they’re perfect.
Your Command Strip Hanging Toolkit
Before we dive into the process, let’s assemble your toolkit:
Tool  | Why You Need It |
|---|---|
| Picture Hanging Strips | Choose sizes matched to your artwork's weight (see our sizing guide below) |
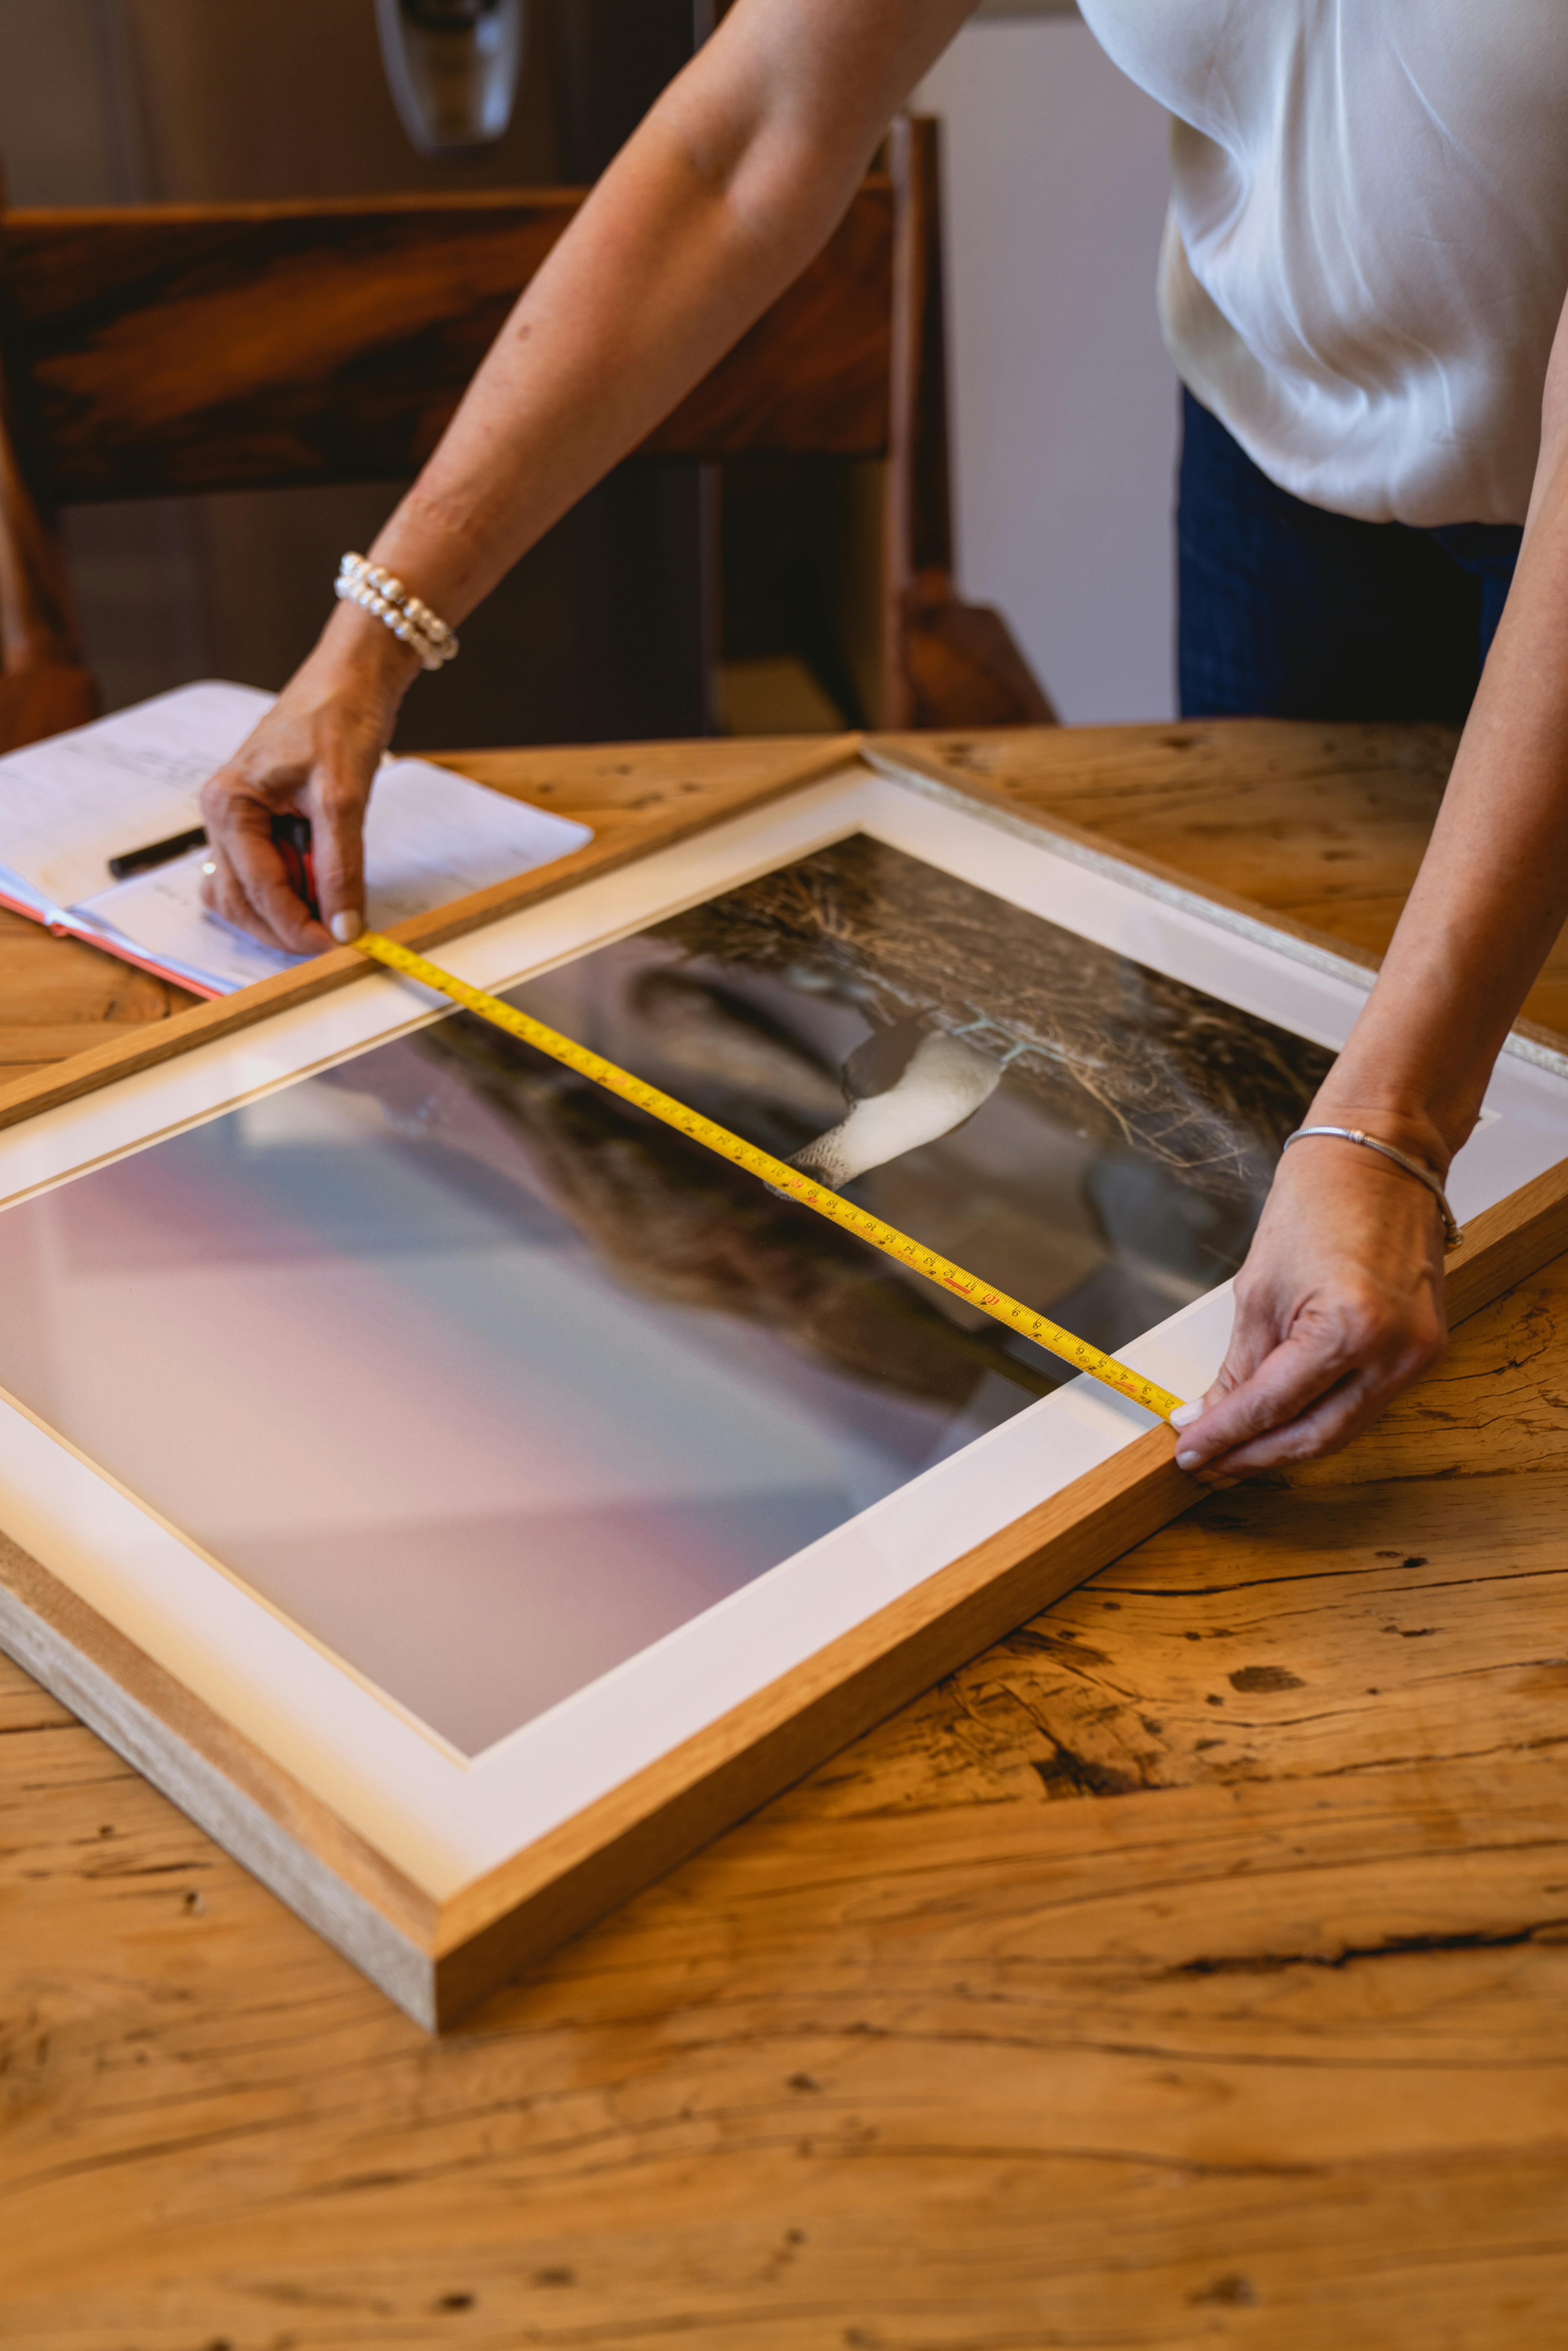
| Level | Critical for achieving that perfect horizontal alignment |
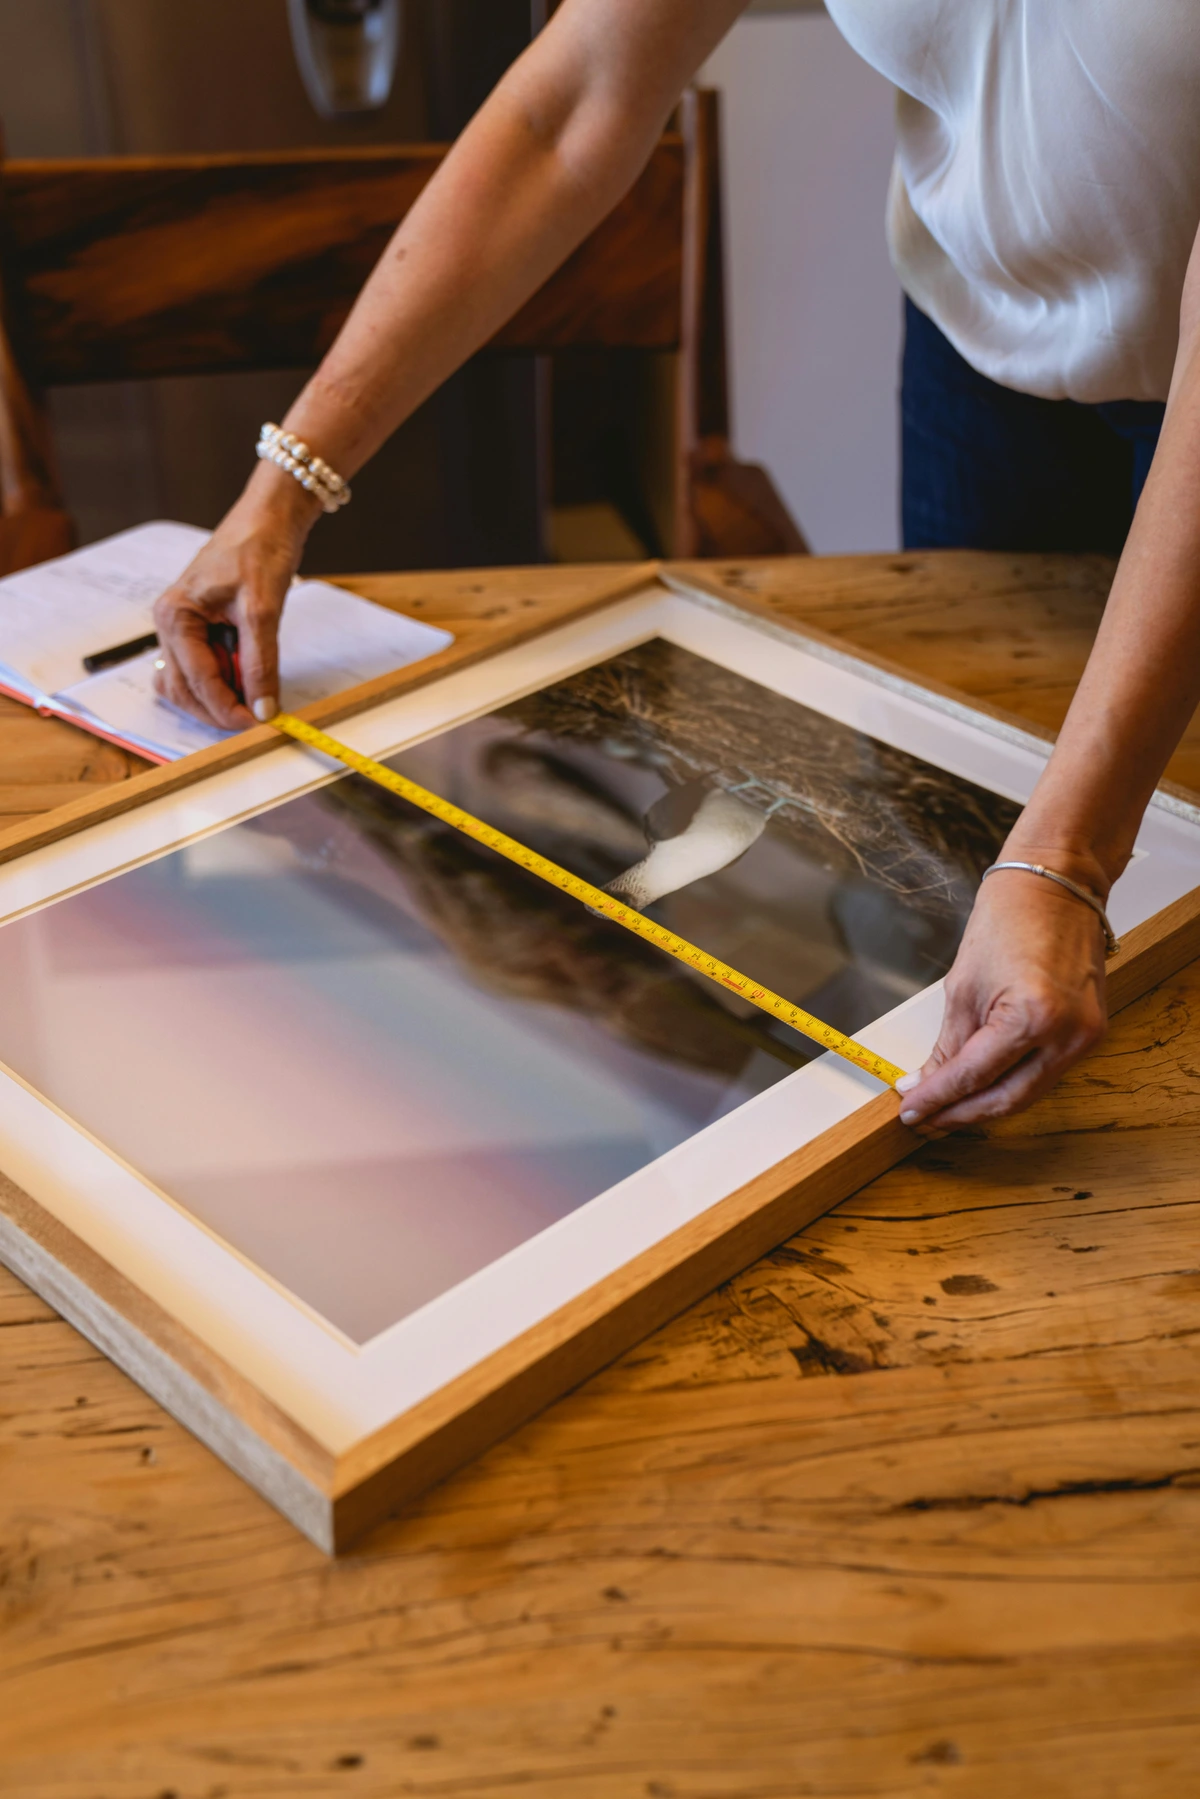
| Tape Measure | For precise placement spacing |
| Pencil | For light markings on walls |
| Clean Microfiber Cloth | Essential for wall/frame prep |
| Isopropyl Alcohol (70%+) | The secret to removing dust and oils for optimal adhesion |

Frequently Asked Questions About Command Strips
Q: How long do Command Strips last once applied? A: When applied properly and not overloaded, Command Strips can hold artwork securely for many months to years. The adhesive bond actually strengthens over time as it fully cures.
Q: Can I use Command Strips on wallpaper? A: It depends on the wallpaper type. They work best on smooth, non-textured wallpapers. Always test in an inconspicuous area first, and avoid using them on heavily textured or embossed wallpapers.
Q: What's the heaviest item I can hang with Command Strips? A: The largest XL strips can hold up to 24 pounds per pair. For anything heavier, consider using Command Strips as supplemental support alongside traditional hanging methods.
Q: Will Command Strips remove paint when I take them down? A: When removed properly using the pull tab method, they typically won't remove paint from properly cured painted surfaces (at least 30 days old). Glossy paints may be more susceptible.
Q: Can I reuse Command Strips? A: Yes! Most Command Strips can be reused multiple times. Clean both the wall-side and artwork-side adhesive with isopropyl alcohol, let them dry completely, and apply fresh strips for optimal adhesion.
Q: Do Command Strips work on textured walls? A: They can work on lightly textured walls, but you'll need more strips to account for the reduced contact area. Heavily textured walls may require alternative hanging methods.
Q: How soon after painting can I use Command Strips? A: Wait at least 30 days after painting to ensure the paint is fully cured. Fresh paint contains solvents that can interfere with proper adhesive bonding.
Q: Are Command Strips safe for use around children and pets? A: They're generally safe, but position artwork high enough to be out of reach of children and pets. Use extra strips in high-traffic areas or homes with curious animals.
Q: Can I use Command Strips outdoors? A: Regular Command Strips aren't designed for permanent outdoor use. There are weather-resistant outdoor strips available, but even these should be used in sheltered areas and checked regularly.
Q: What should I do if my artwork falls? A: First, check both the artwork and wall for damage. Clean any adhesive residue from both surfaces with alcohol, let them dry completely, and reapply fresh strips. If the damage is significant, consider professional repair.
Step 30: Final Thoughts and Next Steps
Command Strips have revolutionized how we hang artwork, making it possible to enjoy beautiful displays without the fear of damaging walls or the commitment of permanent installations. By following these comprehensive steps and understanding the science behind how they work, you can confidently hang artwork of almost any size and weight safely and securely.
Your Action Plan:
- Assess your current artwork collection
- Gather your toolkit with proper strip sizes
- Prepare your surfaces meticulously
- Apply strips with proper technique and curing time
- Hang and enjoy your beautifully displayed art
The key to success is patience and attention to detail. Take your time with each step, and you'll be rewarded with artwork that stays securely in place while allowing you the freedom to change and evolve your displays as your taste and collection grow. Happy hanging!

Step 29: Comparison with Other Removable Methods
Method | Adhesive Strength | Surface Safety | Reusability | Cost | Best For |
|---|---|---|---|---|---|
| Command Strips | High | Excellent | High | Medium | Most artwork types |
| Adhesive Putty | Low | Good | Medium | Low | Very lightweight items |
| Removable Hooks | Medium | Good | Low | Low | Temporary displays |
| Velcro Strips | Medium | Good | High | High | Frequent rearrangement |
| Museum Putty | Low | Excellent | Low | Medium | Fragile items |
Each method has its place in your hanging toolkit, but Command Strips generally offer the best combination of strength, safety, and versatility for most art-hanging applications.
Step 28: Future Trends in Removable Hanging
The future of removable hanging solutions includes:
- Smart strips with weight sensors
- Biodegradable adhesive formulations
- Enhanced weather resistance for outdoor use
- Improved compatibility with emerging wall materials
- Integration with smart home systems for automated display management
As technology advances, we can expect even more reliable, versatile, and environmentally friendly solutions for hanging artwork without permanent damage.
Step 27: Historical Context and Evolution
Command Strips were first introduced in the 1990s as a revolutionary solution for hanging pictures without damaging walls. The technology has evolved significantly since then, with improved adhesives, weight capacities, and specialized formulations for different surfaces and applications.
The original concept came from 3M scientists who were looking for ways to create strong, removable bonds that wouldn't damage surfaces when removed. This innovation has transformed how millions of people hang artwork, making it accessible to renters, apartment dwellers, and anyone who wants flexibility in their home decor.

Step 26: Artwork Size and Strip Calculations
Formula: For larger artworks, calculate the number of strips needed by dividing total weight by individual strip capacity, then add 50% for safety margin.
Example: A 12 lb canvas with large strips (16 lb capacity each):
- Basic calculation: 12 lbs ÷ 16 lbs = 0.75 pairs needed
- With safety margin: 0.75 × 1.5 = 1.125 pairs
- Round up to 2 pairs (4 individual strips)
This ensures you have adequate support even if the weight distribution isn't perfectly even.
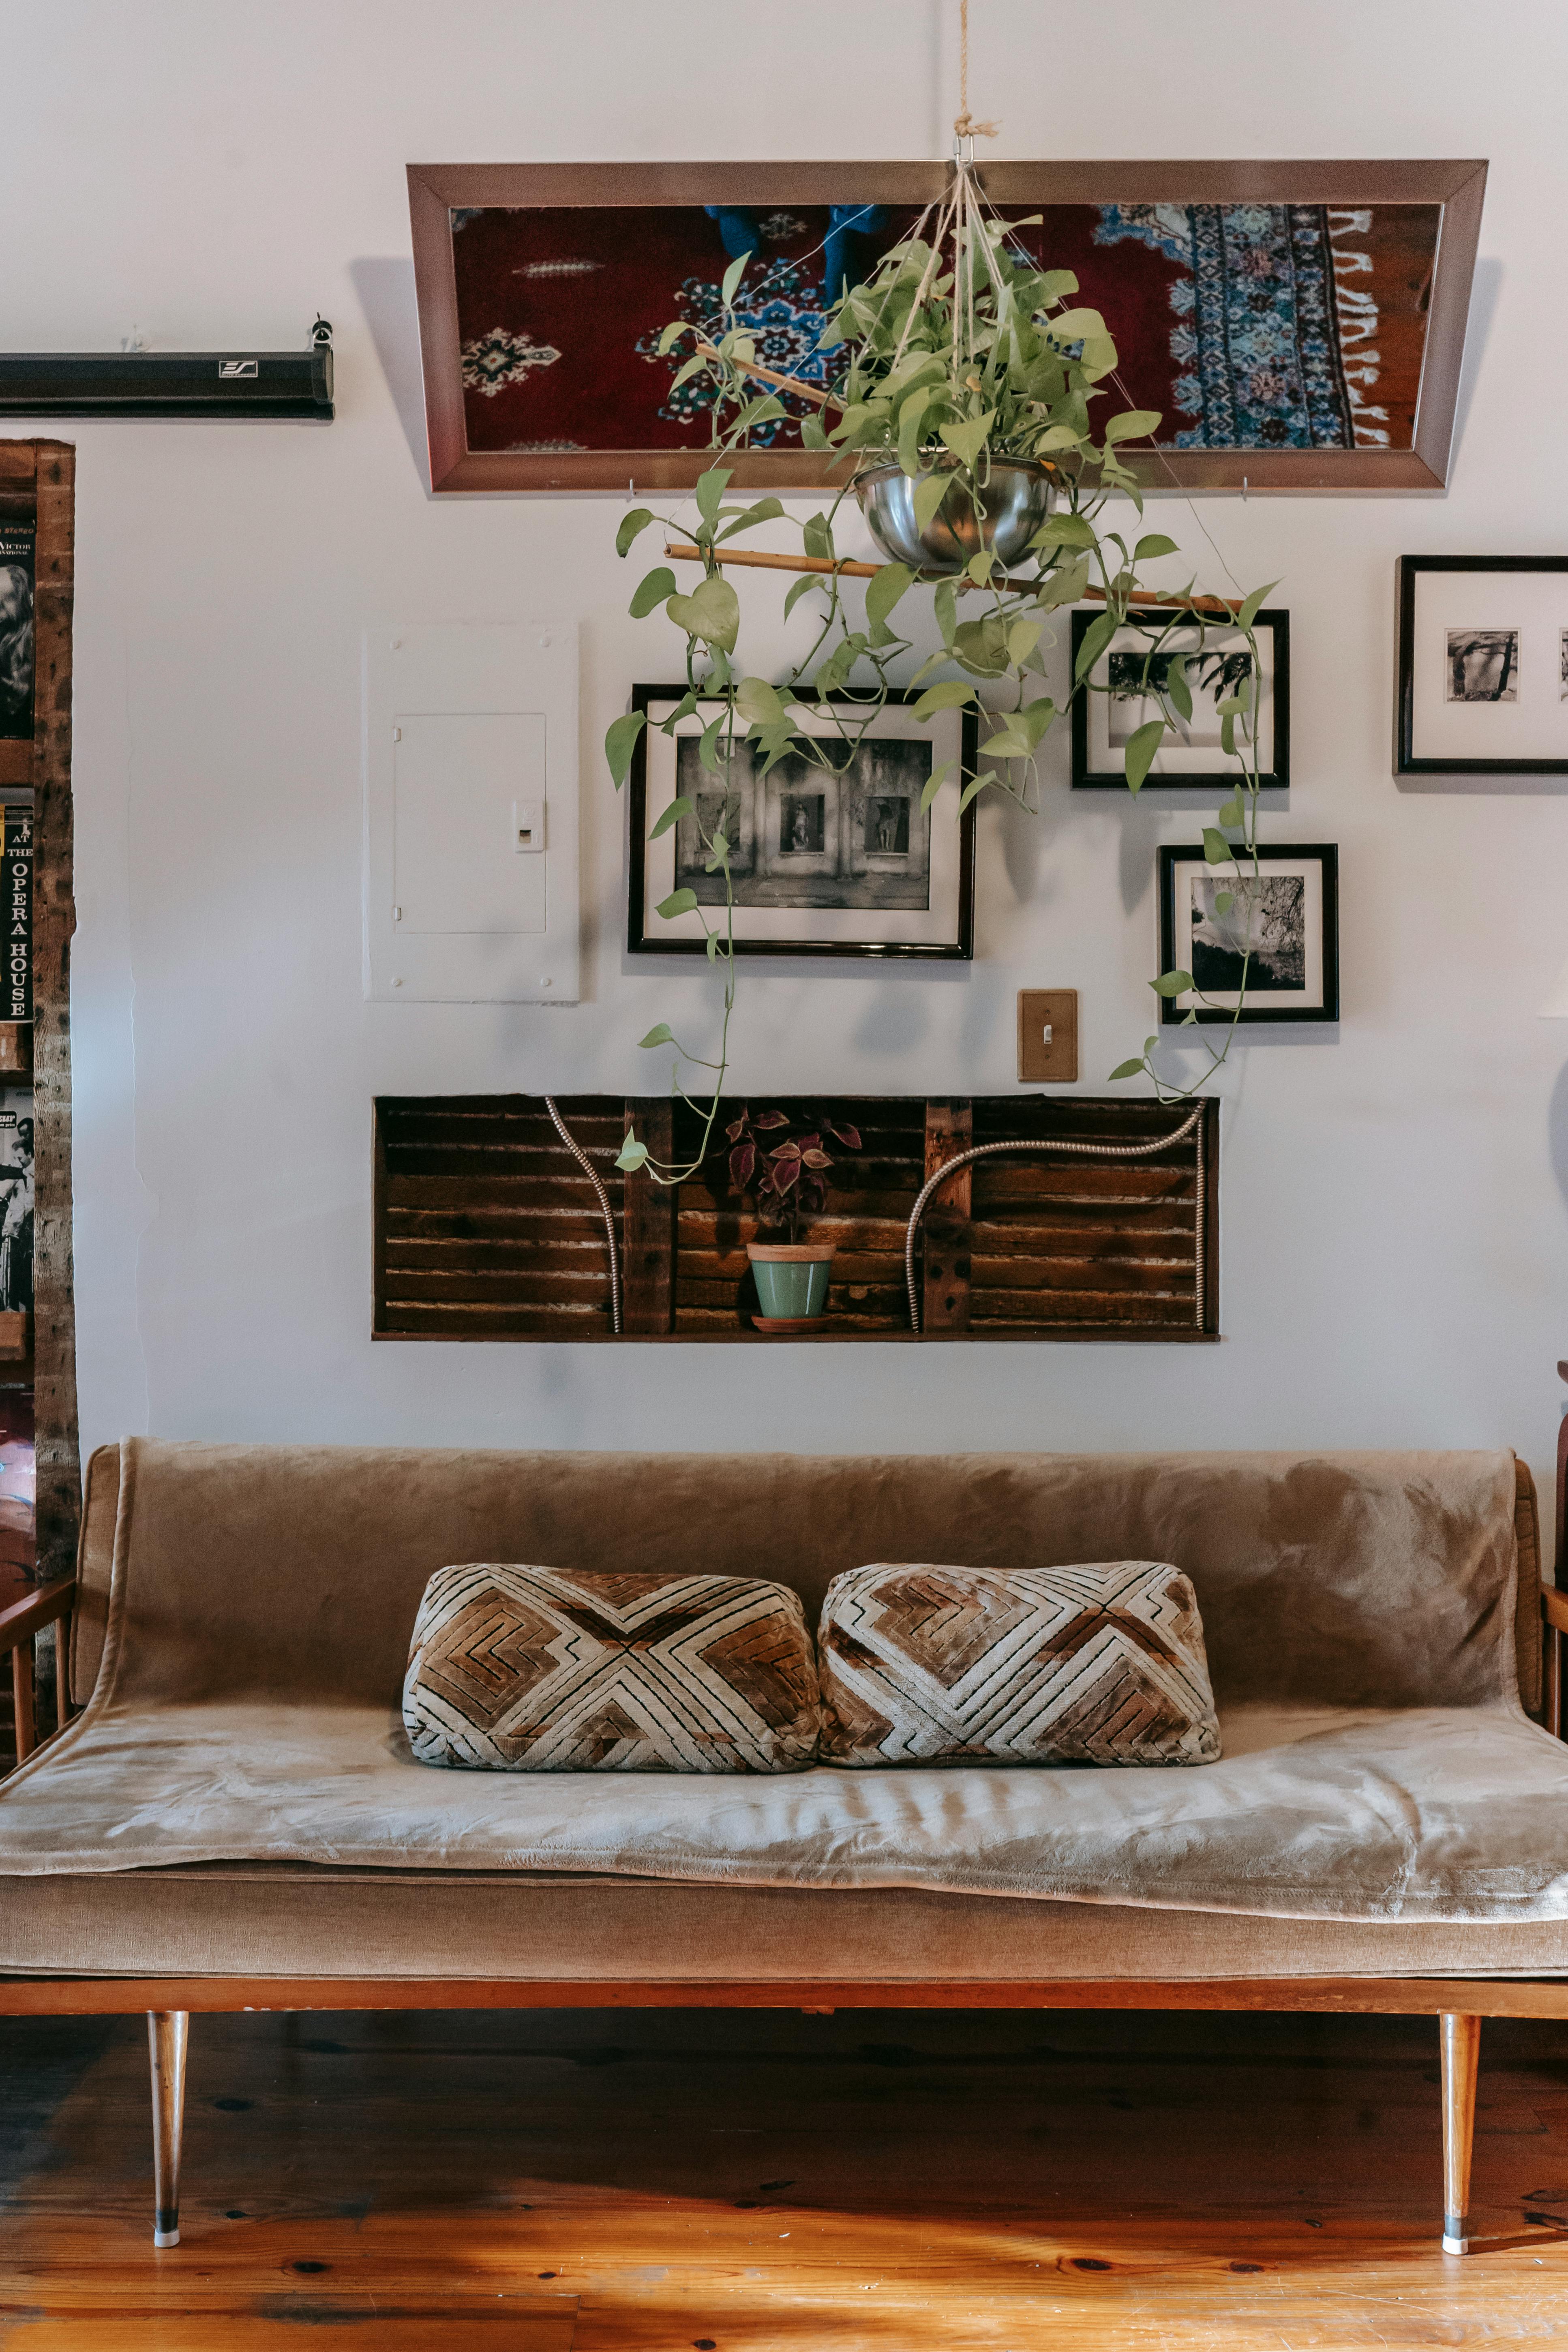
Step 25: Creating Gallery Walls with Command Strips
Planning Phase:
- Arrange artwork on the floor first to find your composition
- Take photos of your arrangement for reference
- Measure the total space and individual pieces
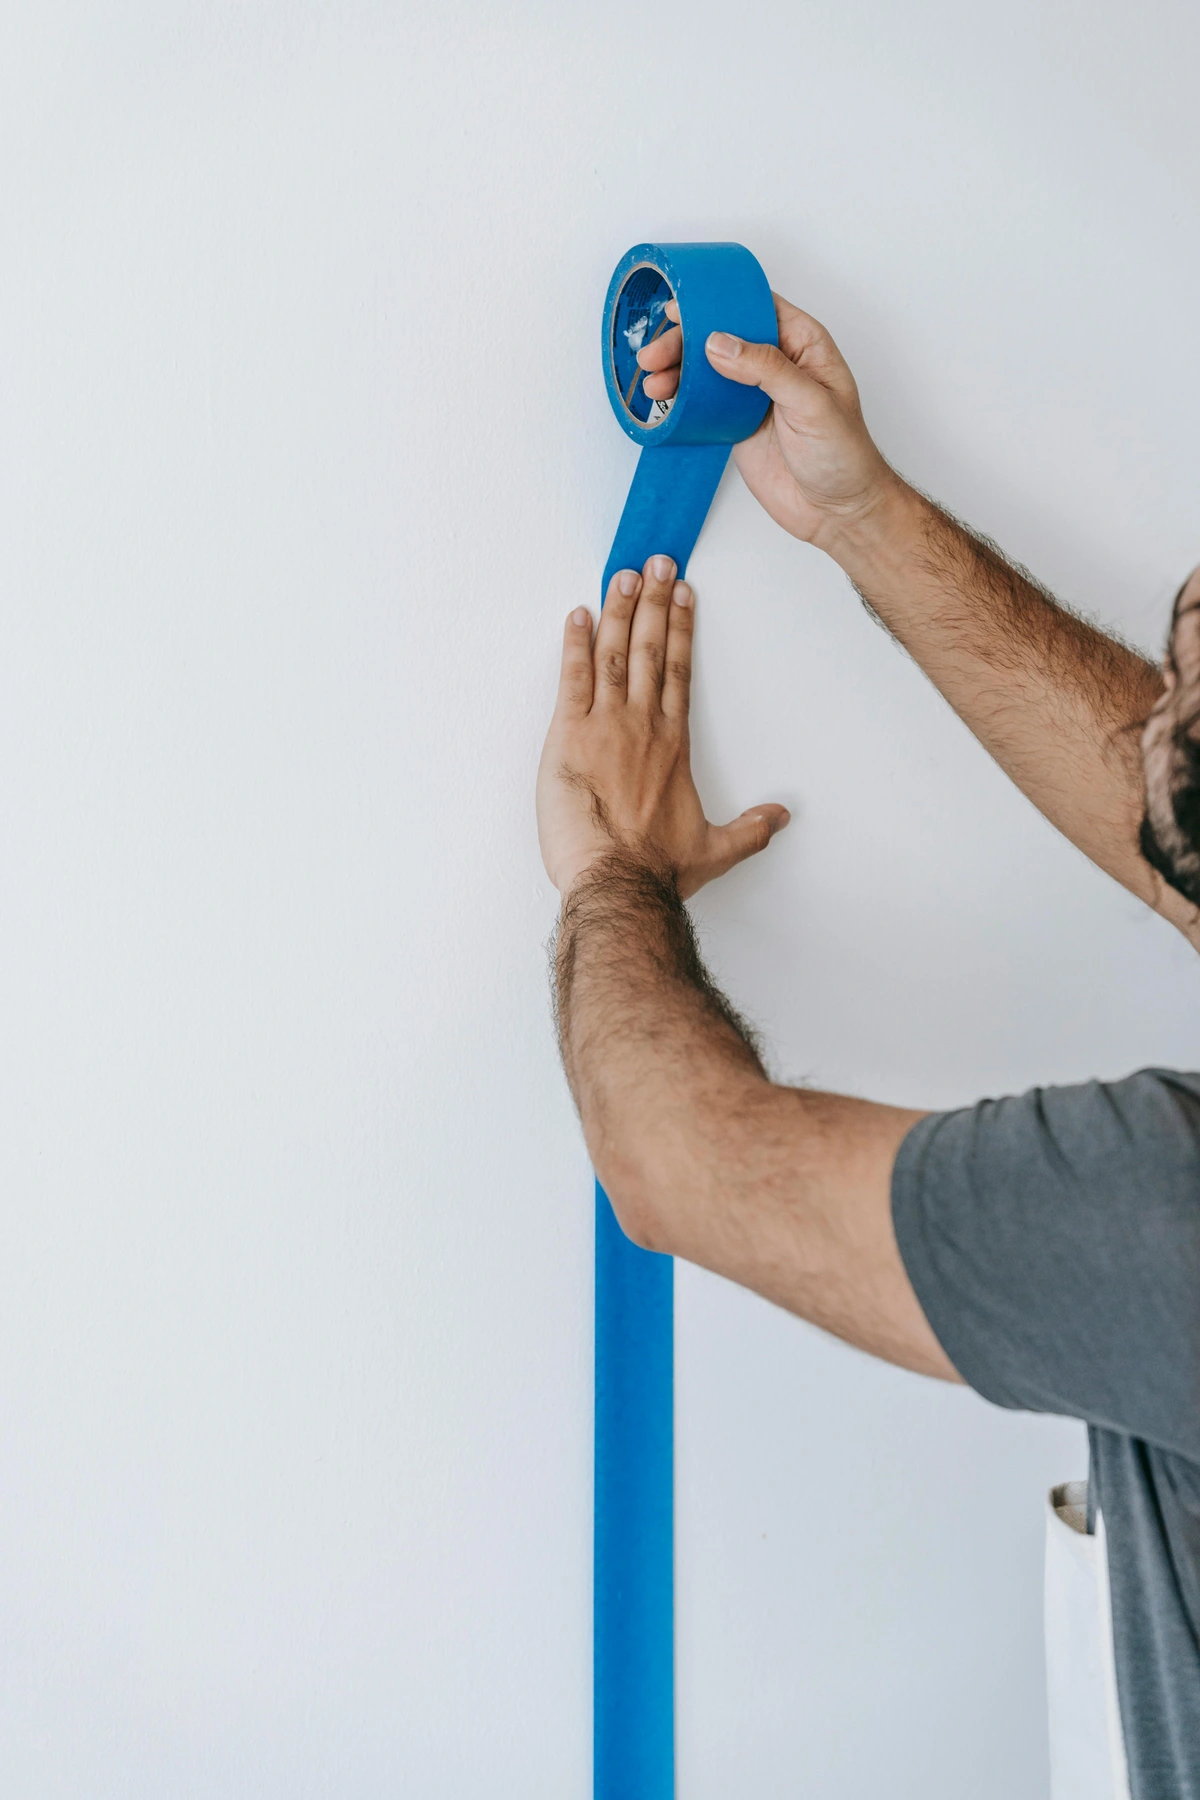
- Mark wall positions lightly with painter's tape
Installation Phase:
- Start with the largest or most central piece
- Work outward, using a level for each piece
- Leave consistent spacing between artworks (2-4 inches typically)
- Step back frequently to assess the overall composition
Maintenance: Check gallery walls monthly for any signs of movement, especially in high-traffic areas or during seasonal humidity changes.
Step 24: Best Practices for Different Rooms
Living Rooms: Use larger strips for heavy furniture art and position at eye level for optimal viewing.
Bedrooms: Smaller strips work well for personal artwork; position higher to avoid bumping during sleep.
Kitchens: Avoid areas with direct steam or heat; use weather-resistant strips if near cooking areas.
Bathrooms: Only use in dry areas away from showers; choose strips rated for high humidity if necessary.
Children's Rooms: Position artwork high and out of reach; use extra strips for security.
Step 23: Warranty and Support
Most Command Strip products come with satisfaction guarantees. If you experience issues:
- Save your receipt and packaging
- Contact the manufacturer's customer service
- Document the problem with photos
- Follow their recommended troubleshooting steps
Many companies offer replacement products or refunds when strips fail under normal use conditions, providing additional peace of mind for your installations.

Step 22: Professional Installation Services
While Command Strips are designed for DIY installation, some professional art hanging services specialize in removable mounting solutions. Consider hiring a professional for:
- Valuable or irreplaceable artwork
- Complex gallery wall installations
- Hard-to-reach locations
- Commercial spaces with strict appearance requirements
Professional services typically charge $50-200 per installation depending on complexity and artwork value, but can provide peace of mind for precious pieces.
Step 21: International Considerations
Metric vs Imperial: Be aware of weight measurement differences when purchasing strips internationally – 1 kg = 2.2 lbs.
Product Availability: Command Strips may have different names or formulations in different countries – research local equivalents.
Wall Types: Different regions may have different common wall materials and paint types that affect strip performance.
Climate Differences: Tropical or extremely dry climates may require different strip selection or application techniques.
Step 20: Future-Proofing Your Displays
Climate Considerations: In areas with extreme temperature or humidity changes, check your artwork displays seasonally and add strips if needed as conditions change.
Technology Integration: Consider smart hanging solutions that can alert you if artwork becomes unstable or falls.
Sustainable Practices: Reuse strips whenever possible and dispose of them properly according to local recycling guidelines.
Evolving Collections: Plan your hanging strategy to accommodate growing or changing art collections, using removable systems that allow for easy reconfiguration.
Step 19: Emergency Situations
Artwork Falls: If a piece falls, assess damage first. Check both the artwork and wall for damage. Clean any residue and reapply fresh strips.
Strip Failure: If strips fail, don't panic. This usually happens due to insufficient surface preparation or hanging too soon. Clean surfaces and try again with proper curing time.
Emergency Removal: If you need to remove artwork quickly (like for maintenance or repairs), use a hair dryer to soften adhesive and pull tabs slowly.
Weight Distribution Issues: If artwork seems unstable, add strips incrementally, testing stability after each addition until it feels secure.
Step 18: Time-Saving Hacks
Pre-Apply Strips: Apply strips to your frames ahead of time and store them, so you're ready to hang new artwork instantly.
Create a Template: For frequently hung pieces, create a paper template of the frame back to mark strip positions quickly.
Bulk Buying: Purchase strips in bulk when on sale to save money and always have them on hand when inspiration strikes.
Seasonal Kits: Prepare seasonal hanging kits with pre-cleaned frames and pre-applied strips for quick changes between holidays or seasons.
Tool Organization: Keep all hanging tools in a dedicated bag or box so you're never searching for a level or tape measure when you need it most.
Step 17: Common Myths and Misconceptions
Myth: "Command Strips can't hold heavy artwork." Reality: With proper strip selection and application, they can hold up to 24 pounds securely when used correctly.
Myth: "They'll damage your walls when you remove them." Reality: When removed properly using the pull tab method, they leave minimal to no residue and don't damage most painted surfaces.
Myth: "You can only use them once." Reality: Most Command Strips can be reused multiple times if cleaned properly between uses.
Myth: "They work on any surface." Reality: They don't work well on oiled surfaces, some wallpapers, or heavily textured walls without special considerations.
Step 16: Professional Tips and Tricks
The 30-Second Rule: Always press strips firmly for a full 30 seconds – this is the most critical step for proper adhesion.
The 1-Hour Cure: Never hang artwork immediately after applying strips. Let them cure for at least one hour, preferably longer for heavier pieces.
The 24-Hour Wait: For maximum security, wait 24 hours before moving or adjusting artwork. This allows the adhesive to reach its full strength.
The Hair Dryer Trick: If strips won't release easily, use a hair dryer on warm for 30 seconds to soften the adhesive.
The Level-First Method: Always use a level to mark your hanging position before applying strips to ensure perfect alignment.
Step 15: Specialized Art Considerations
Framed Glass Art: Requires extra strips because the glass adds weight and creates a smooth surface. Use strips specifically designed for glass or add 25% more capacity to your calculation.
Textured Canvases: The uneven surface can reduce contact area. Use more strips than you would for a smooth canvas and press each strip firmly into the texture.
Mirrors: Always use mirror-specific strips or add extra weight capacity. The reflective surface can sometimes affect adhesion.
Unframed Artwork: For canvas wraps or posters without frames, create a hanging system by attaching strips to a wooden backing board first, then hanging the board with artwork attached.
Sculptural Pieces: For three-dimensional art, use strips around the perimeter and test stability from multiple angles before final placement.
Step 14: Different Strip Types and Their Applications
Strip Type | Best For | Weight Capacity | Special Features |
|---|---|---|---|
| Small Picture Hanging Strips | Lightweight prints, photos, posters | Up to 3 lbs | Ideal for dorm rooms and temporary displays |
| Medium Picture Hanging Strips | Standard framed artwork, canvas | Up to 6 lbs | Most versatile for home use |
| Large Picture Hanging Strips | Heavy frames, large prints | Up to 16 lbs | Extra security for valuable pieces |
| XL Picture Hanging Strips | Very heavy artwork, mirrors | Up to 24 lbs | Maximum weight capacity |
| Clear Strips | Glass displays, acrylic art | Standard weights | Invisible mounting solution |
| Outdoor Strips | Temporary outdoor displays | Varies | Weather-resistant adhesive |
Choosing the right strip type is crucial for success. When in doubt, always go with the next size up rather than trying to save a few dollars by using strips that are barely adequate for your artwork's weight.

Step 13: Environmental and Safety Considerations
VOC Levels: Command Strips have low VOC (Volatile Organic Compound) emissions, making them relatively safe for indoor use in well-ventilated areas.
Child Safety: When hanging artwork in children's rooms, position pieces high enough to be out of reach and consider using multiple strips for added security.
Pet Considerations: Be mindful that curious pets might bump into or attempt to scratch at artwork, potentially causing it to fall. Use extra strips in pet-friendly households.
Allergies: While generally safe, those with severe chemical sensitivities should test strips in a well-ventilated area first and consider wearing gloves during installation.
Step 12: Real-World Examples and Case Studies
Small Print Gallery: A client used medium Command Strips to hang six 8x10 inch prints in a bedroom. The strips were placed in pairs, one at each top corner, allowing for easy rearrangement as the homeowner's art collection grew.
Large Canvas Installation: For a 24x36 inch canvas, we used four large strips (two pairs) positioned symmetrically. The artwork has remained securely in place for over two years in a living room with daily activity.
Seasonal Display: A restaurant owner uses Command Strips to change out seasonal artwork every few months, allowing for fresh decor without damaging the walls or requiring professional installation each time.
Step 11: Cost Comparison and Value Analysis
Method | Cost | Damage Risk | Time Investment | Reusability |
|---|---|---|---|---|
| Command Strips | $5-20 per project | Minimal | Medium | High |
| Nails/Screws | $2-5 per hook | High (holes) | Low | None |
| Adhesive Putty | $3-8 per pack | Low | Low | Medium |
| Picture Rail | $50-200+ installation | None | High | Very High |
While Command Strips have a higher upfront cost than traditional methods, their reusability and damage-free nature make them incredibly cost-effective over time, especially for renters or those who frequently update their decor.
Step 10: Maintenance and Long-Term Care
Regular Checks: Every few months, gently check that your artwork is still secure, especially in areas with temperature or humidity changes.
Cleaning: Dust artwork regularly to prevent buildup that could affect balance or cause issues with the strips.
Relocation: If moving artwork to a different location, clean both the wall and frame surfaces again before reapplying strips for optimal adhesion.
Storage: When not in use, store Command Strips in their original packaging to protect the adhesive from dust and contaminants.
Step 9: Seasonal and Special Considerations
Humidity: In very humid environments, allow extra curing time and consider using weather-resistant strips.
Temperature Extremes: Avoid hanging in extreme temperatures (below 50°F or above 100°F) as this can affect adhesive performance.
High-Traffic Areas: For hallways or entryways, use additional strips and position artwork at heights where it's less likely to be bumped.
Outdoor Use: While not recommended for permanent outdoor installations, Command Strips can work temporarily for patio decorations in sheltered areas.
Step 8: Advanced Techniques for Complex Setups
Gallery Walls: For multiple pieces, arrange them on the floor first to get your composition right, then hang them systematically from the top down.
Uneven Surfaces: For wavy walls or textured surfaces, use extra strips and consider adding small shims behind the frame to create more contact area.
Heavy Items: For artwork over 20 pounds, use Command Strips as supplemental support alongside traditional hanging methods for added safety.
Three-Dimensional Art: For sculptures or protruding pieces, use additional strips around the perimeter and test stability thoroughly before final placement.
Step 7: Troubleshooting Common Issues
Problem | Solution |
|---|---|
| Artwork keeps slipping | Add more strips; ensure surfaces are completely clean and dry |
| Uneven hanging | Use level; check that strips are applied parallel to frame edge |
| Adhesive won't stick | Clean surfaces with alcohol; avoid oil-based cleaners |
| Strips pulling paint | Wait 30+ days after painting; use smaller strips for delicate walls |
| Artwork too heavy | Use larger strips; consider adding extra support points |
Remember, patience is key. The most successful Command Strip installations are those where you take the time to prepare properly and follow each step carefully.
Step 6: Removing and Reusing Strips
When it's time to change your artwork:
- Grab the pull tab at a 180-degree angle (flat against wall)
- Pull slowly and steadily – don't jerk!
- If strips resist, use a hair dryer on warm for 30 seconds
- Gently pry remaining adhesive with a putty knife if needed
Good News: Most Command Strips can be reused! Just clean both the wall-side adhesive and the artwork-side adhesive with alcohol, let them dry completely, and apply fresh strips. I've successfully reused strips multiple times for temporary displays and seasonal artwork changes.
Step 5: Final Touches and Safety Checks
Once your artwork is hanging, give it a final inspection:
- Use level to ensure perfect horizontal alignment
- Gently wiggle artwork to test stability
- Step back and view from different angles
- Remove pencil marks with a clean cloth
Wait at least 24 hours before moving or adjusting the artwork. This allows the adhesive to reach its maximum bond strength. For heavier pieces or in high-traffic areas, consider adding extra strips as a safety precaution.

Step 4: Position and Hang Your Artwork
Now for the moment of truth:
- Remove the backing from the wall-side adhesive
- Carefully position artwork on wall (use level to check alignment)
- Press firmly starting from the center and working outward
- Use painter's tape to hold artwork in place while you adjust
- Remove tape and press all strips again for 30 seconds
Pro Tip: For precise positioning, measure where the top center of your artwork should go, mark it lightly with a pencil, then align your strips accordingly. This ensures perfect placement on the first try.
Step 1: Assess Your Artwork
First things first – honestly evaluate your piece. Is it:
- A lightweight poster or paper print? (Small/Medium Strips)
- A heavy canvas or framed artwork? (Large/XL Strips)
- Glass or acrylic? (Requires special handling – see Considerations section)
- Mirrored surface? (Needs special adhesive considerations)
- Textured canvas? (May require additional strips due to uneven weight distribution)
Common mistake: Using too few strips. Always err on the side of more support.
Weight Guidelines:
- Small Strips: Up to 3 lbs (1.4 kg) per pair
- Medium Strips: Up to 6 lbs (2.7 kg) per pair
- Large Strips: Up to 16 lbs (7.3 kg) per pair
- XL Strips: Up to 24 lbs (10.9 kg) per pair
When in doubt, add an extra pair of strips. Remember that you're not just supporting the artwork itself – you're also accounting for the weight of the frame, any glass/acrylic covering, and potential air currents that could create movement.
Step 2: Prepare Surfaces
This is where most people slip up. Dirt, dust, or oils on either the wall or artwork frame will compromise adhesion. Take your time:
- Wipe wall area with alcohol-saturated cloth
- Clean back of frame thoroughly
- Let air dry completely (critical!)
Surface-Specific Considerations:
Wall Type | Preparation Method |
|---|---|
| Painted Drywall | Wipe with alcohol, ensure paint is fully cured (at least 30 days) |
| Glossy Paint | May require cleaning with a mild soap solution first |
| Wallpaper | Test in inconspicuous area; avoid on heavily textured wallpaper |
| Tile/Glass | Clean thoroughly with alcohol; avoid on unglazed ceramic |
| Textured Walls | Use more strips to account for uneven surface area |






Pro Tip: Never use furniture polish or oil-based cleaners on surfaces where you'll apply Command Strips. These leave residues that can prevent proper adhesion and lead to artwork falling unexpectedly.
Step 3: Apply Strips to Artwork
Here’s the proper technique:
- Peel adhesive backing from Command Strips
- Attach strips to frame’s back corners, ensuring they’re parallel to the top edge
- Press firmly for 30 seconds (seriously – count it out)
- Let strips