Stop Ruining Your Art: The Ultimate Guide to the Best Painter's Tape for Artists
Your only task is to fix the technical issues listed in `VIOLATIONS_LIST`. You are strictly forbidden from making any other changes.
Stop Ruining Your Art: The Ultimate Guide to the Best Painter's Tape for Artists
You've been there. That moment when you peel back the tape, heart pounding with anticipation, only to reveal a jagged, bleeding mess. It’s a special kind of frustration, the kind that makes you question your tools, your technique, maybe even your entire artistic journey. I know that feeling intimately. After one too many ruined canvases, I stopped blaming the tape and started a deep, some might say obsessive, dive into why it fails.
This guide is the result of those years of trial, error, and meticulous research. It's not just a list of products; it's a battle-tested methodology for achieving perfect, clean lines every single time. We'll strip away the myths and get to the core of what makes painter's tape work, from the science of its adhesive to the finesse of its application.
The Critical Role of Tape in Artistic Confidence
Before we go any further, it’s worth pausing to consider why this seemingly humble material carries such emotional weight for artists. It isn’t just about clean lines; it’s about creative confidence—or, rather, the loss of it. Every time a tape bleeds or rips a fragile surface, it’s a small violation of creative trust. It forces you out of the "flow state" and back into the tedious world of troubleshooting and damage control.
I've learned that tape is an invisible partner in the studio. A good one becomes an extension of your intention, allowing you to execute a bold compositional idea without a second thought. A bad one is a constant source of low-level anxiety, making you tentative when you should be decisive. It's the "creative glue" in more ways than one.
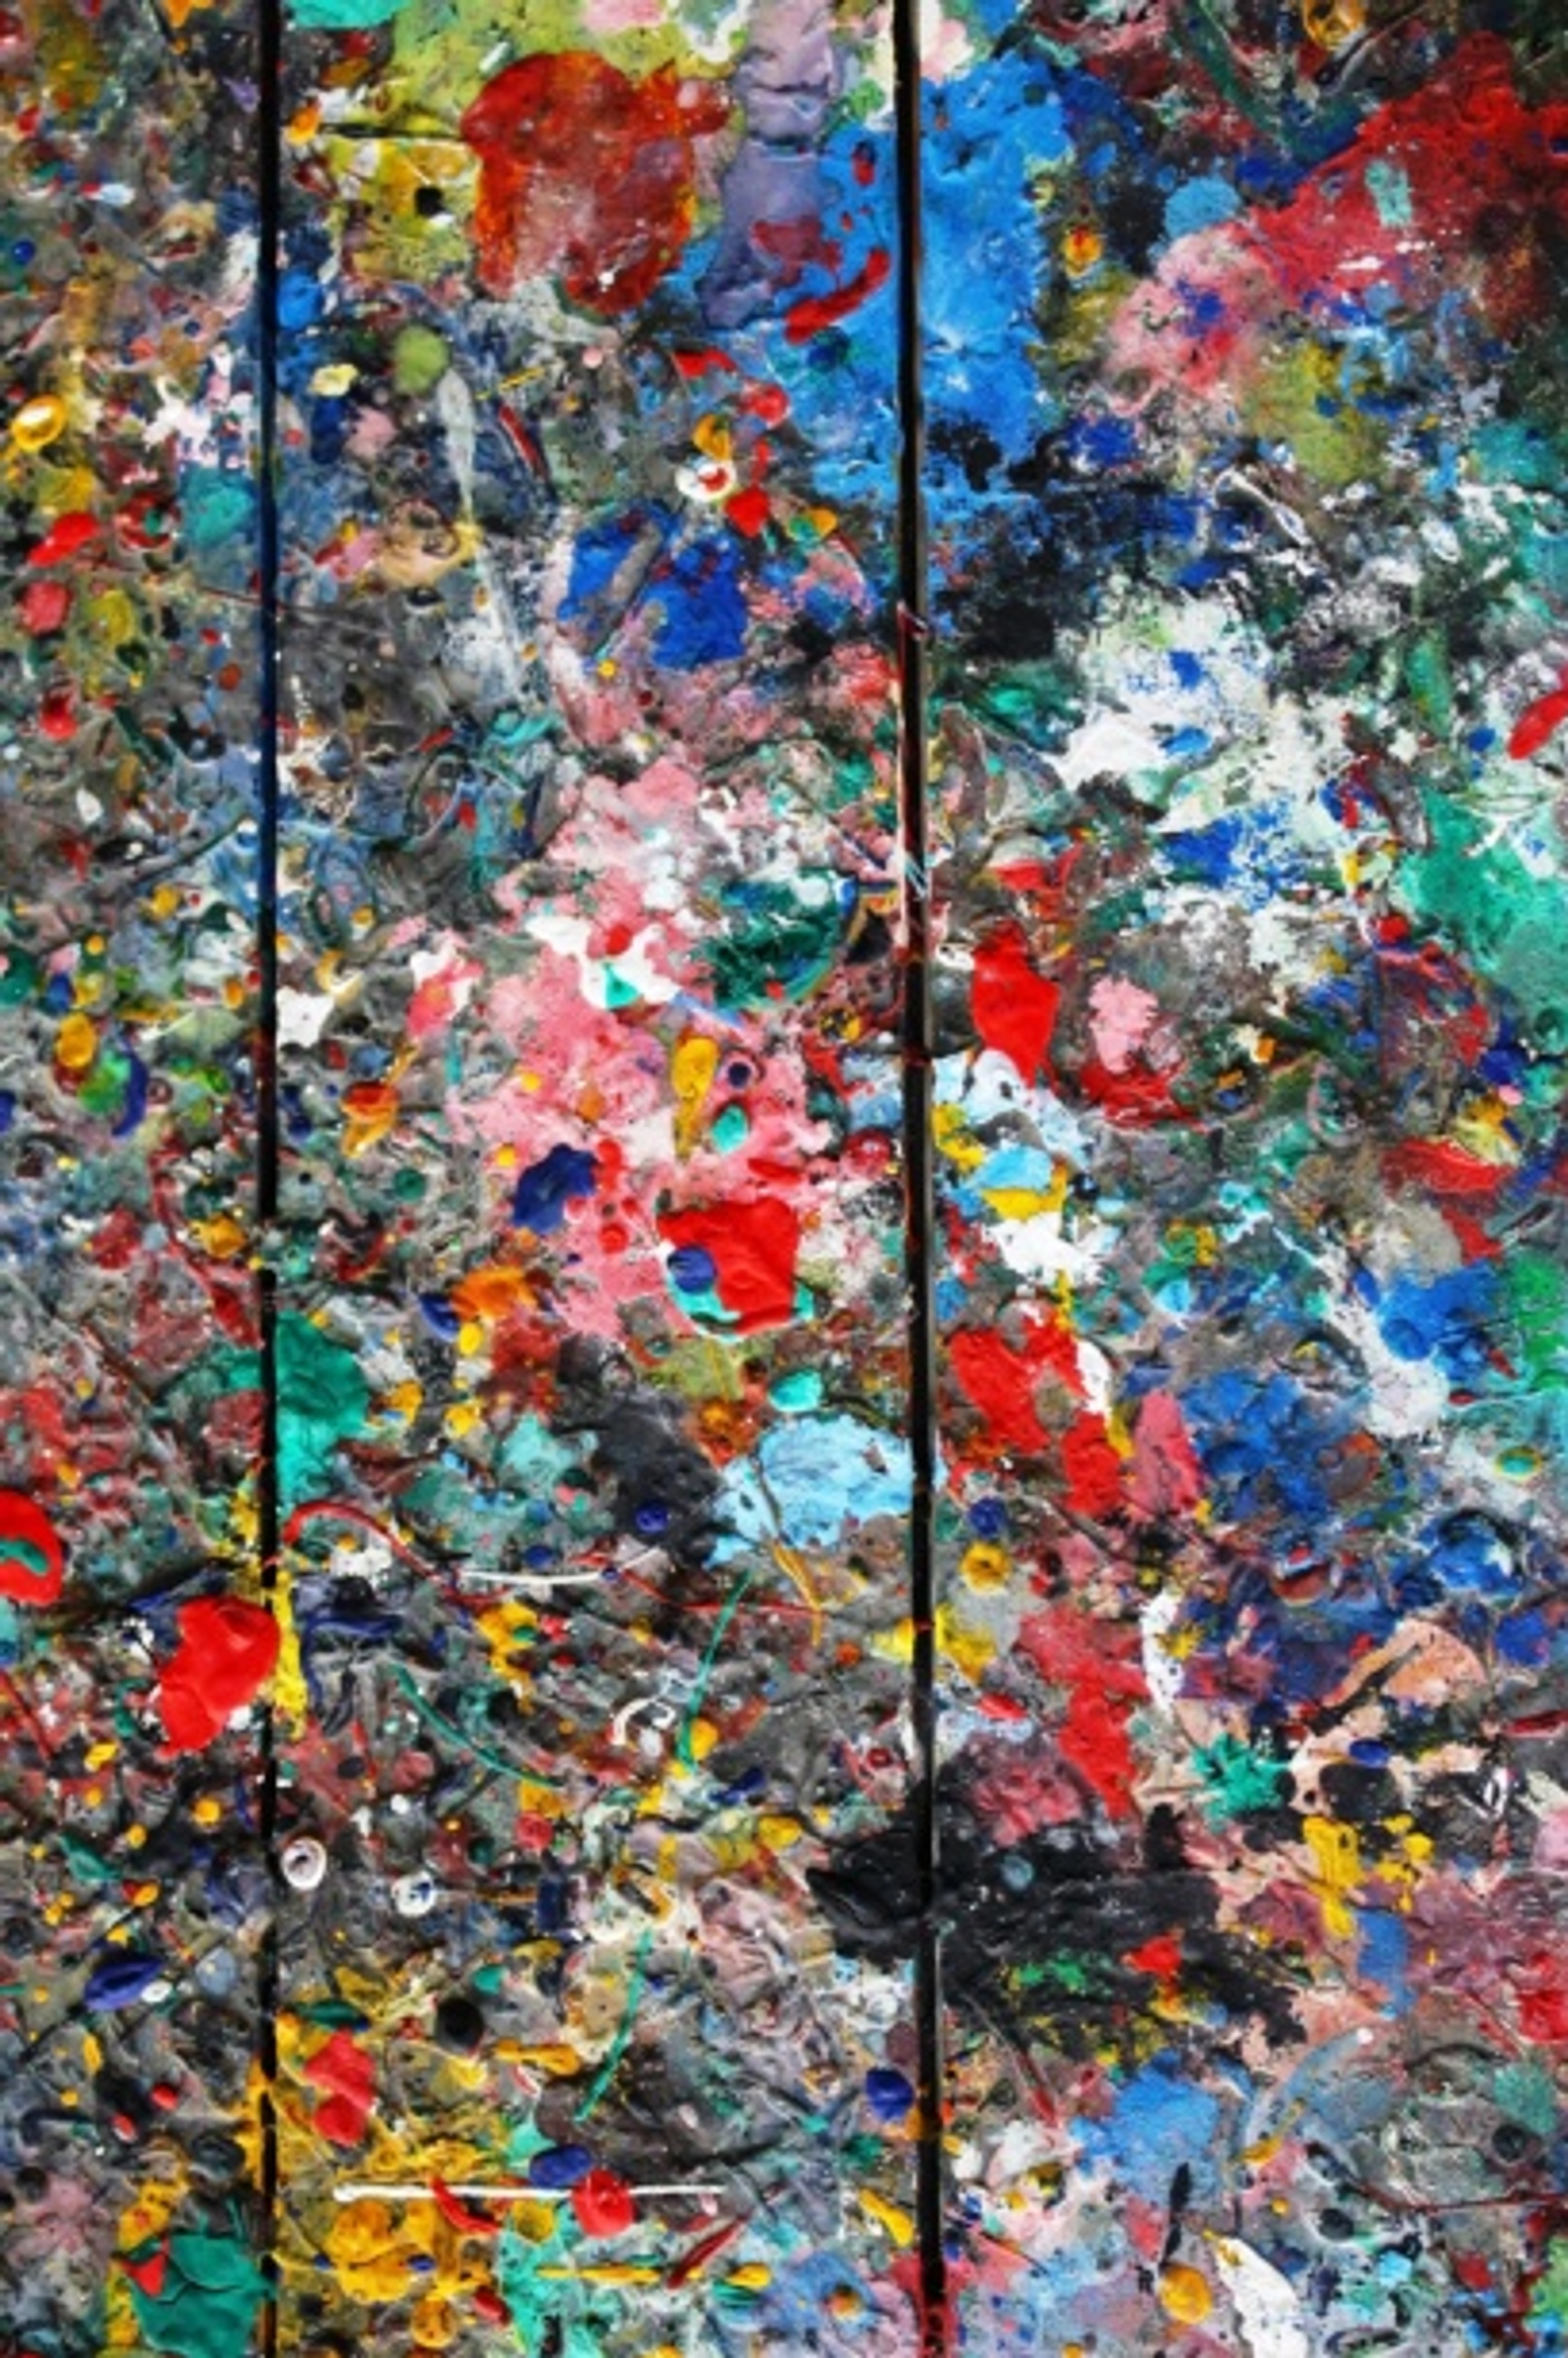
This guide isn’t just about minimizing failure; it’s about understanding the profound psychological relationship we have with our tools. When you trust your tape, you grant yourself permission to experiment, to be spontaneous, and to risk those big, ambitious gestures that make your work unique. In my own practice, mastering this single tool gave me a newfound sense of freedom. Those sharp, intentional lines in my abstract pieces became more than just edges—they became statements of confidence.
But this guide isn't just about avoiding disaster. It's about unlocking potential. When you trust your tape, you free your mind. Think of painter's tape as a precision instrument. Using the right one, in the right way, is the difference between a piece that feels professional and one that looks hesitant. It's about maintaining your creative rhythm and having the confidence to execute a bold idea without fear of a technical mishap. Let's get into it.
The Science of the Seal: Understanding Low-Tack Adhesion
Before we get to the brands, let's talk about the science. The magic phrase is low-tack adhesion. This simply means the tape is engineered to stick just enough—it holds its position but peels away without a fight.
The secret lies in the adhesive formula, a precise blend of polymers designed for controlled release. Standard masking tape uses a tenacious natural rubber resin, an aggressive adhesive designed to grip and hold permanently. Painter's tape, in contrast, uses a more forgiving synthetic rubber or, more commonly today, an advanced acrylic copolymer. The brilliance of this acrylic formula is its balanced surface energy. It’s designed to wet the surface just enough to form a seal without over-penetrating, a bit like a well-trained sheepdog that herds the flock without ever nipping a single sheep. This isn't just a weaker glue; it's a sophisticated material engineered to form a secure bond with the surface without deeply penetrating its pores. It achieves this through a critical difference: creep. Natural rubber adhesive has a high creep potential; under pressure, it slowly oozes into every microscopic pore of your paper. The synthetic adhesives are engineered to resist this, forming a stable bond on the surface that lets go cleanly.
This choice of adhesive is a direct response to the problem of surface energy. High-energy surfaces (like glass or metal) are easier for adhesives to wet out and stick to. Low-energy surfaces (like plastic or treated paper) are trickier. The acrylic adhesives are specifically formulated to work across a wider range of surface energies, which is why a single "blue tape" can work reasonably well on both primed canvas and wood. Think of it this way: standard tape glues itself into the paper's fibers, while painter's tape creates a clean seal on top of them. The difference is like a desperate, crushing handshake versus a firm, confident one that knows when to let go. I remember once, in a rush, I grabbed an unknown roll of house-brand 'painter's tape' from a discount bin. I shrugged, thinking 'tape is tape.' When I peeled it off a delicate watercolor experiment, the gentle fibers of my 300gsm paper came with it. That was the day I learned that not all low-tack is created equal. I had to start over.
Another crucial element is the crepe paper backing. That slightly wrinkled, stretchy texture isn't a flaw; it's a feature. It allows the tape to conform to textured surfaces like a rough watercolor paper or canvas weave, eliminating tiny bridges where paint can sneak underneath.
What About Residue? The Silent Studio Killer
Adhesive residue is the ghost of tape past—an unwelcome surprise that shows up weeks after you thought your work was finished. It's caused by a breakdown of the adhesive matrix. This can be triggered by heat, UV light, or, most commonly, leaving the tape on long past its recommended window. The polymers in the adhesive slowly cross-link and cure, transitioning from a temporary bond to a semi-permanent, gummy mess. It's the single greatest argument against the "set it and forget it" mentality. If you've ever had to painstakingly remove residue with a gum eraser or, heaven forbid, a solvent, you know the sheer frustration it brings.
I've found this happens most often when working in a hot studio or leaving a piece in direct sunlight. The heat accelerates the curing process of the adhesive dramatically. The "14-day" rule on the package feels rigid, but environmental factors can slash that safe window to a fraction. This is why my personal rule is so much more conservative: for any piece I care about, the tape comes off within 24 hours. This conformability is a key metric. A highly conformable tape presses into the weave, filling the microscopic valleys that paint wants to flow into. A less conformable tape (like drafting film) is for smooth surfaces only; on canvas, it sits on the peaks, leaving a treacherous valley for paint to bleed into.
Here's the part I find endlessly interesting: the relationship between the tape's backing and its adhesive. A crepe paper backing is mildly absorbent, and this quality can actually provide a little bit of resilience. It can wick away tiny amounts of moisture from your brush, helping to keep the seal dry. This isn't a major factor, but in the microscopic world where bleeding happens, every little bit counts. Some automotive tapes, which need to resist fluids and solvents, use a plastic film backing that provides zero absorbency but much higher chemical resistance. It's a trade-off. For our purposes—mostly water and acrylic mediums—the good old crepe paper backing is a beautifully balanced solution.
When the Chemistry Goes Wrong: Tape and Different Paints
This is where the science really starts to matter. The chemistry of your paint medium and your tape's adhesive are in a constant, invisible dialogue. If you ignore it, the results can be disastrous.
With oils, the danger comes from solvents. Turpentine, mineral spirits, or even the natural solvents already in your paint can dissolve the adhesive on contact, turning it into a sticky, unmanageable gum that smears across your work in a nightmare of contamination.
With acrylics, the danger is mechanical. The emulsion shrinks as it dries. If you leave the tape on while it shrinks, the paint film can bond to the tape's surface, and when you peel it, the film cracks or lifts away in jagged chunks.
With watercolor, the danger is capillary action. Water wants to travel into every tiny gap—and if your burnishing wasn't perfect, that microscopic gap becomes a highway for a bloom of unwanted color.
Each medium demands a specific partnership with the right tape. They're not interchangeable. It's the single biggest mistake I see artists make, assuming all tapes will behave the same across all paints. It's a chemical and mechanical relationship that you ignore at your own peril.
The Contenders: A Painter's Tape Breakdown
For the past few years, I've embarked on a mission to test as many tapes as I could get my hands on. I transformed my studio into a bizarre laboratory, with canvases and watercolor blocks serving as test subjects. Some were disasters that made me want to start the whole piece over, a few were surprisingly good, but most fall into distinct categories that serve a specific purpose. Choosing the right category is 90% of the battle—the rest is just technique. Let's get to know the players.
Let's pause here for a moment. Do you see a pattern? Each tape is a specialized tool, not a one-size-fits-all solution. The blue tape is a general contractor, the green tape is a restorer, and the drafting tape is an architect. Trying to switch their roles is inviting failure. It's a simple rule, but it's the most important one to remember.
1. The Gold Standard: 3M Blue Painter's Tape (3M 2080 / 2087)
This is the tape most people picture, and for good reason. For most acrylic and latex painting, it's the perfect balance of performance and safety. I have a roll of this on my easel at all times. It's the "daily driver" of the art studio—reliable, strong, and forgiving enough for most tasks without requiring you to walk on eggshells. If you're new to this, start here. It'll build your confidence. It's your gateway drug to the world of art-making.
It's worth noting the model numbers. 3M 2080 is the classic blue tape. 3M 2087 is the "Edge Lock" variant, which features a slightly more aggressive adhesive and a unique backing designed to prevent paint bleed even more effectively. If you've ever had issues with standard blue, seeking out the 2087 specifically can be a game-changer.
- Performance: It offers a robust adhesion that masters most surfaces—wood, canvas, primed board. It holds firm, creating a reliable seal. The real magic is its decent removal window (a claimed 14 days), but I'd urge you not to test that limit on a piece you care about. I treat all tape as if it needs to come off within 24-48 hours; it's a far safer habit.
- Best For: Think big. Blocking off large areas, creating geometric compositions, and general studio work. It's your go-to for building up layers in an abstract piece or protecting the edges of a canvas while you paint the sides. It's not a specialist, but it's a phenomenal generalist.
- The Catch: On very smooth or delicate surfaces, it can be too aggressive, sometimes even tearing the top layer of a gessoed panel if you're not careful. Never leave it on beyond the 14-day removal window, as the adhesive can cure and become difficult to remove. I treat this number with deep suspicion. In my experience, your real-world safe window is closer to 24-48 hours before the risk of residue or a difficult peel starts to increase. Its UV resistance is also minimal, so don't use it for any art intended for prolonged outdoor exposure.
- Pro Tip: Never scavenge old tape from a previous project. Humidity, dust, and time degrade its ability to seal. Using a fresh piece from a new roll is a non-negotiable practice for professional results. Think of each strip as a single-use tool, not a reusable one.
2. The Guardian: 3M Green Painter's Tape (3M 2090)
If the blue tape is a reliable workhorse, the green tape, typically the 3M 2090 series, is a specialist surgeon. Its adhesion is much lower and gentler, making it essential for delicate work. I reach for this tape when I'm working on paper. The thought of using blue tape on a 300gsm watercolor paper makes me nervous, but the green tape feels like a safe bet. It's the specialist you call in when the work demands a gentle touch. This tape has exceptional conformability, allowing it to hug the peaks and valleys of a textured paper without putting undue stress on the surface. It's the tape of choice for protecting pastel or charcoal work, where any kind of aggressive lift would mean a trip back to the drawing board.
- Performance: It's the undisputed champion for delicate surfaces, offering maximum protection with minimal risk. It won't tear the fibers of your expensive paper or lift a delicate underpainting. The trade-off? Its gentleness can be a liability on very textured or non-porous surfaces where it might not seal as aggressively as its blue cousin. It requires more finesse from the user.
- Best For: Watercolor, gouache, soft pastel or charcoal protection, and any easily damaged paper.
- A Tale of Two Greens (and a Purple): Here's where it gets interesting. Most people don't know there are different grades within the same color family. 3M's standard 'Green Painter's Tape' is what I've discussed above. But they also make a 'Purple Painter's Tape' (3M 2080). This is the true specialist for delicate surfaces like faux finishes and can be safer on paper than standard green. It has an even lower-tack adhesive. It's a great option if you find the regular green is still too strong for your chosen paper. Some brands also use green for a higher-tack, all-weather formula, so the color isn't a universal law. Always double-check the specific use case and adhesion rating on the label. Don't assume all green is gentle.
- Pro Tip: Because it's less aggressive, burnishing isn't just recommended—it's mandatory. You have to compensate for its gentle nature with perfect technique. A credit card or a dedicated plastic burnisher is your best friend here, coaxing every last micron of the tape into contact with the paper. I'll often use a clean, dry rag over the burnisher for this delicate tape. It protects the tape's surface from scratches and distributes the pressure just a little more gently, which can make all the difference on soft pastel or charcoal. Here's a printmaker's secret I swear by: breathe lightly on the tape's edge after you apply it. The tiny amount of warmth and moisture can slightly relax the adhesive, making it more pliable and willing to conform to a rough surface before you even start burnishing. It's like giving the tape a little warm-up. These tapes are formulated for archival purposes, meaning they have been chemically treated to be acid-free, pH-neutral, and lignin-free. In the world of conservation-grade framing, this is non-negotiable. It prevents the adhesive discoloring your artwork over decades. For our day-to-day use, it means its use of non-reactive adhesives makes it incredibly clean and less likely to leave any residue whatsoever. It's the difference between a material designed for a week and one designed for a century.
- Performance: It provides incredibly sharp edges. It's engineered for works on paper with inks, markers, or airbrush. This tape is meant to be a temporary barrier on a perfectly smooth surface; it doesn't have the conformability for textured canvas. The edge it produces is so clean it can feel like it was drawn with a knife. There are two main types: pure white artist tape (typically with a crepe backing) and translucent, glossy drafting film. The film is often preferred for airbrush and marker work as its smoother surface creates an even more impenetrable seal.
- Best For: Crisp lines for ink work, airbrushing, and detailed mixed-media pieces where precision is non-negotiable.
- The Catch: It's expensive and not meant for heavy paint. A thick impasto layer will ooze under the edge. Its low-adhesion make it unsuitable for any surface with significant texture, as it will fail to seal the valleys.
- Pro Tip: Brands like 3M Scotch Drafting Tape or Lineco Artist's Tape are staples. I keep a roll for creating registration marks for multi-layer prints or for any time I need a line that has absolutely zero ambiguity. It's not for slathering on paint, but for the moments when a pencil line just isn't enough. I've also used it to temporarily affix a sheet of tracing paper to my canvas for a quick transfer—its weak grip is its strength here, too. It is also indispensable for hinging mats to a backing board in framing. I learned a clever hack from a fellow artist who uses this tape for "stop-out" fluid in ink drawings. You can mask a tiny area, apply the stop-out with a brush, and immediately peel the tape. The stop-out dries perfectly flush with the paper surface, and the tape prevents any of the fluid from wicking where you don't want it to be.
The Ultimate Painter's Tape Comparison
This table summarizes my real-world experience, rating each tape relative to the others.
Tape Type | Adhesion (1-5) | Bleed Resistance (1-5) | Surface Safety (1-5) | Conformability (1-5) | Best For Mediums | Cost / Value (1-5) | Key Characteristics |
|---|---|---|---|---|---|---|---|
| 3M Blue Painter's Tape | 4 | 5 | 3 | 4 | Acrylics, Latex, General Work | 5 | The workhorse. Great all-rounder. |
| 3M Green Painter's Tape | 2 | 4 | 5 | 5 | Watercolor, Gouache, Delicate Surfaces, Pastel | 4 | The guardian. Ultra-gentle. |
| White Artist's/Drafting Tape | 3 (on smooth surfaces) | 2 (for heavy paint) | 5 | 2 (on rough surfaces) | Pen & Ink, Airbrush, Printmaking | 2 | The surgeon. Not for textured surfaces. |
| Generic/Low-Cost Blue Tape | 3 | 2 | 2 | 3 | General carpentry, low-risk tasks | 4 | A roll of the dice. Often lower tack & bleed resistance. |
| FrogTape (Yellow, Multi-Surface) | 3 | 5 | 3 | 4 | Acrylics, especially on walls | 3 | The specialist. Features a 'paint-blocking' technology. |
| T-Rex (Purple) | 5 | 3 | 2 | 3 | Rough outdoor surfaces | 3 | The brute. High-tack for exterior work. Not for art. |
| Pro Tapes (Orange She-Mask) | 2 | 5 | 5 | 4 | Automotive, but also watercolor, varnish | 3 | The hidden gem. Low-tack, very clean removal. |
| Curling Tape (Blue painter's tape for paper) | 2 | 4 | 5 | 3 | Bookbinding, papercraft | 3 | Repositionable, super-low tack. |
| UV-Resistant/Outdoor Painter's Tape | 3-4 | 4 | 2-3 | 3 | Latex on outdoor projects | 2-3 | Resists sun. Adhesive may cure over time, higher risk of residue. |
| FrogTape (Green, Delicate Surface) | 2 | 4 | 5 | 4 | Watercolor, Faux Finishes, Delicate Papers | 3 | The boutique choice. Similar to 3M Green, excellent on paper. |
| 3M Fine Line Tape (Yellow/Blue) | 1-2 | 5 | 4 | 3 | Automotive pinstriping, crisp curves | 2 | Ultra-flexible. For complex curves, but can be tricky to find. |
| Washi Tape | 1 | 1 | 4 | 4 | Card making, journaling, washi art | 5 | Decorative only. Adhesion is poor and unreliable. Never use for painting. |
A Note on Conformability: This metric is huge. It measures how well the tape conforms to textured surfaces like canvas or a rough watercolor paper. A highly conformable tape (blue/green) presses into the weave, filling the microscopic valleys that paint wants to flow into. A less conformable tape (drafting) is for smooth surfaces only; on canvas, it sits on the peaks, leaving a treacherous valley for paint to bleed into.
Application is Everything: How to Get a Perfect Line, Every Time
Even the best tape will fail with poor technique. A flawless result is a confluence of the right material and honed skill. Here is my foolproof, step-by-step process for a guaranteed clean edge, refined from years of mistakes I'd rather forget. The difference between a pro and an amateur often isn't the tape they use, but the 60 seconds of focused attention they give to these steps before the first drop of paint even hits the brush.
I call this the "Pre-Flight Checklist" in my head. It's a ritual. Because if you skip one of these steps, you're not just risking a mistake; you're inviting it. The goal here is to eliminate the variables—to control everything you possibly can before you release the creative, uncontrollable parts.
- Surface Prep is Non-Negotiable: Your surface must be utterly clean, dry, and dust-free. Any tiny specks will create a gap for paint to flow into. This is a step everyone skips, and it's the first reason for failure. If you're taping over paint, it also needs to be fully cured. Sealing a piece that's even slightly soft is a catastrophic gamble. A quick wipe with a dry cloth or a light dusting with a clean, dry brush is a must. Don't just look at it—feel it.
- Burnish, Burnish, Burnish: After you lay the tape down, don't just pat it. Use a burnisher (a credit card, the back of a spoon, etc.) and apply firm, consistent pressure along the entire edge, especially the edge you're painting against. You are physically forcing the tape to seal. I see too many people just tap it down with their fingers—it's not enough. This is the single most important step. It should make a faint "squeaking" sound as you go. For long runs, I'll often use a J-roller—the same kind used for applying contact paper—to ensure perfectly even pressure across the whole width of the tape.
- Seal the Edge (The Secret Weapon): This is a pro tip from a master printmaker. After burnishing, take a tiny amount of the base color you're taping over and paint a thin line along the tape's edge. Let it dry completely. This seals any microscopic gaps, so your new color can't bleed under. Essentially, you're creating a dam with the same color as the riverbed, making it invisible. I first tried this on a painting that had already bled once, and I was ready to call it a loss. Sealing the edge before the second attempt saved the entire piece. This technique works because the small amount of paint dries in those tiny gaps under the tape, forming a physical plug. Whether you use a small brush or even a cotton swab to dab it on, you have to be meticulous. A hair dryer on a cool setting can speed this step up, but don't get it too hot or you risk loosening the tape's adhesive.
When NOT to Seal the Edge
There is a specific situation where sealing the edge can actually make things worse: highly absorbent surfaces like raw canvas or unprimed paper. Here, your sealing coat will wick under the tape along with the paint you're trying to stop. In that case, your best defense is to use a medium-bodied paint and rely entirely on perfect burnishing and a controlled application.
- Paint Away from the Edge: When applying paint, always brush or roll from the tape edge and onto the open surface. Going over it repeatedly with a loaded brush pushes paint into the seam through hydraulic pressure. Build your color gradually with deliberate strokes that move away from the barrier. It feels counter-intuitive at first, but it makes a huge difference. It's also crucial to pay attention to your brush. If the bristles are too stiff or you're too aggressive, they can actually act as tiny levers, lifting the edge of the tape just enough for paint to get underneath. When accuracy is everything, use the softest brush you can get away with.
- The Cardinal Rule: Peel While Wet (For Acrylics): Peel the tape off while the final layer of paint is still slightly damp to the touch. If you wait for it to cure completely, it can form a film over the tape edge and crack or peel with it, creating a ragged line. Peel at a 45-degree angle, slowly and steadily, pulling back on itself. This is a moment of focus, not haste. This technique prevents the dried paint from creating a brittle 'skin' that wants to pull away with the tape. By peeling when it's still flexible, you ensure the film breaks cleanly at the tape's edge and stays put on the canvas. I can't tell you how many times I've been impatient and waited for a section to dry 'just a little more.' Don't be like me. The slightly damp peel for acrylics is the single most important habit you can build to guarantee a clean line.
This wet-peel rule is specific to acrylic emulsions and latex. The reason it works is that the paint film is still a coherent, flexible sheet. As it dries, it shrinks and tries to pull away from the tape anyway, but if it's bonded to the tape surface, it will rip. When you peel it wet, you're separating the two before that strong bond is formed.
Beyond Canvas: The Painter's Tape Multi-Tool
Tape isn't just for masking. Its true power lies in its versatility as a studio multi-tool. Once you see it not just as a line-maker but as a temporary bond, a protector, and a creative constraint, your studio practice will change. Honestly, I sometimes think I use tape more often for things that have nothing to do with painting. It's a ceaselessly adaptable material that solves a hundred little problems in the studio every day.
2. As a Creative Tool
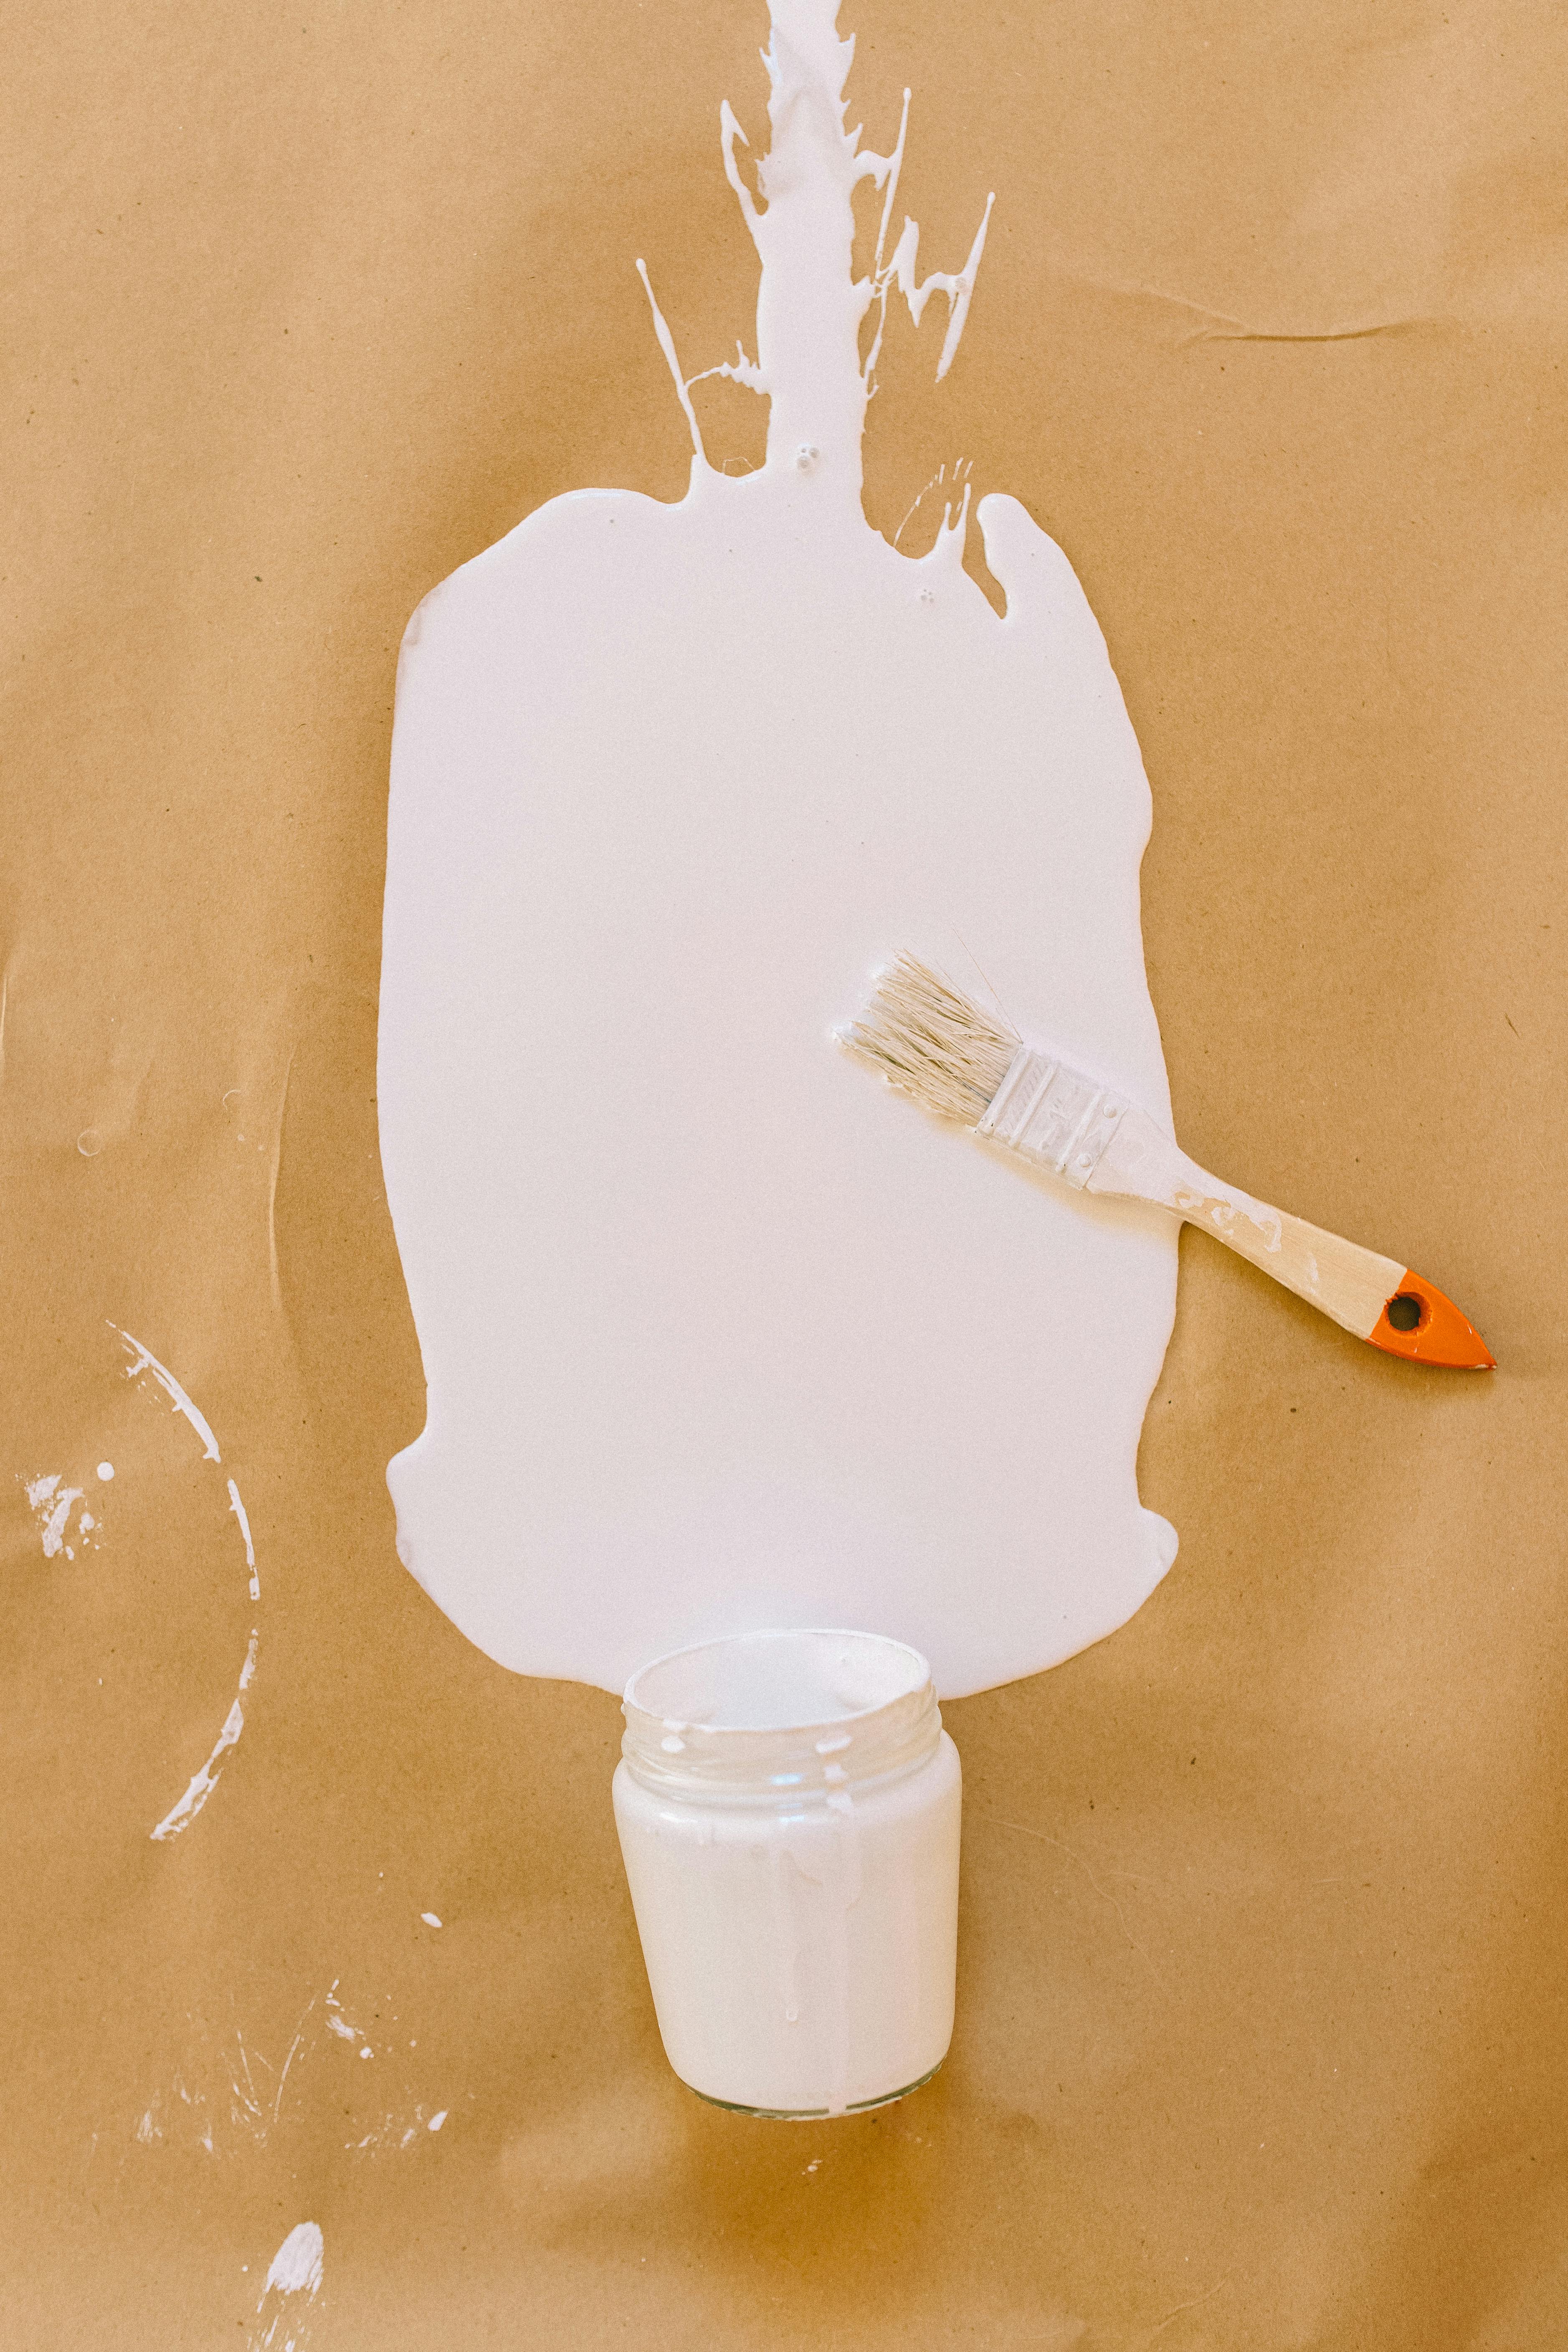
- Instant, Disposable Palettes: This changed my life. Tape a large sheet of wax paper or freezer paper (shiny side up) to your palette. When you're done, you don't clean it—you just peel the whole sheet off, leaving a perfectly clean surface underneath. It's a huge time-saver on days when you don't want to do dishes. It also works for protecting your palette while using spray paints or other messy mediums. The "shiny side up" is key here; it creates a perfectly smooth, non-stick surface that allows you to mix colors without fear of your expensive paints being absorbed.
- Damage-Free Hanging: A small piece of tape folded into a loop (a "monkey hook") on the back of a lightweight panel or canvas creates a perfect, non-marring hook to hang it on your studio wall. It lets you live with a piece and observe it without committing a single hole to the wall. It's how I "audition" my paintings before they're ready for a proper wire. For heavier pieces, you can reinforce this by creating a cross-hatch pattern with two or three layers of tape.
3. In Framing and Presentation
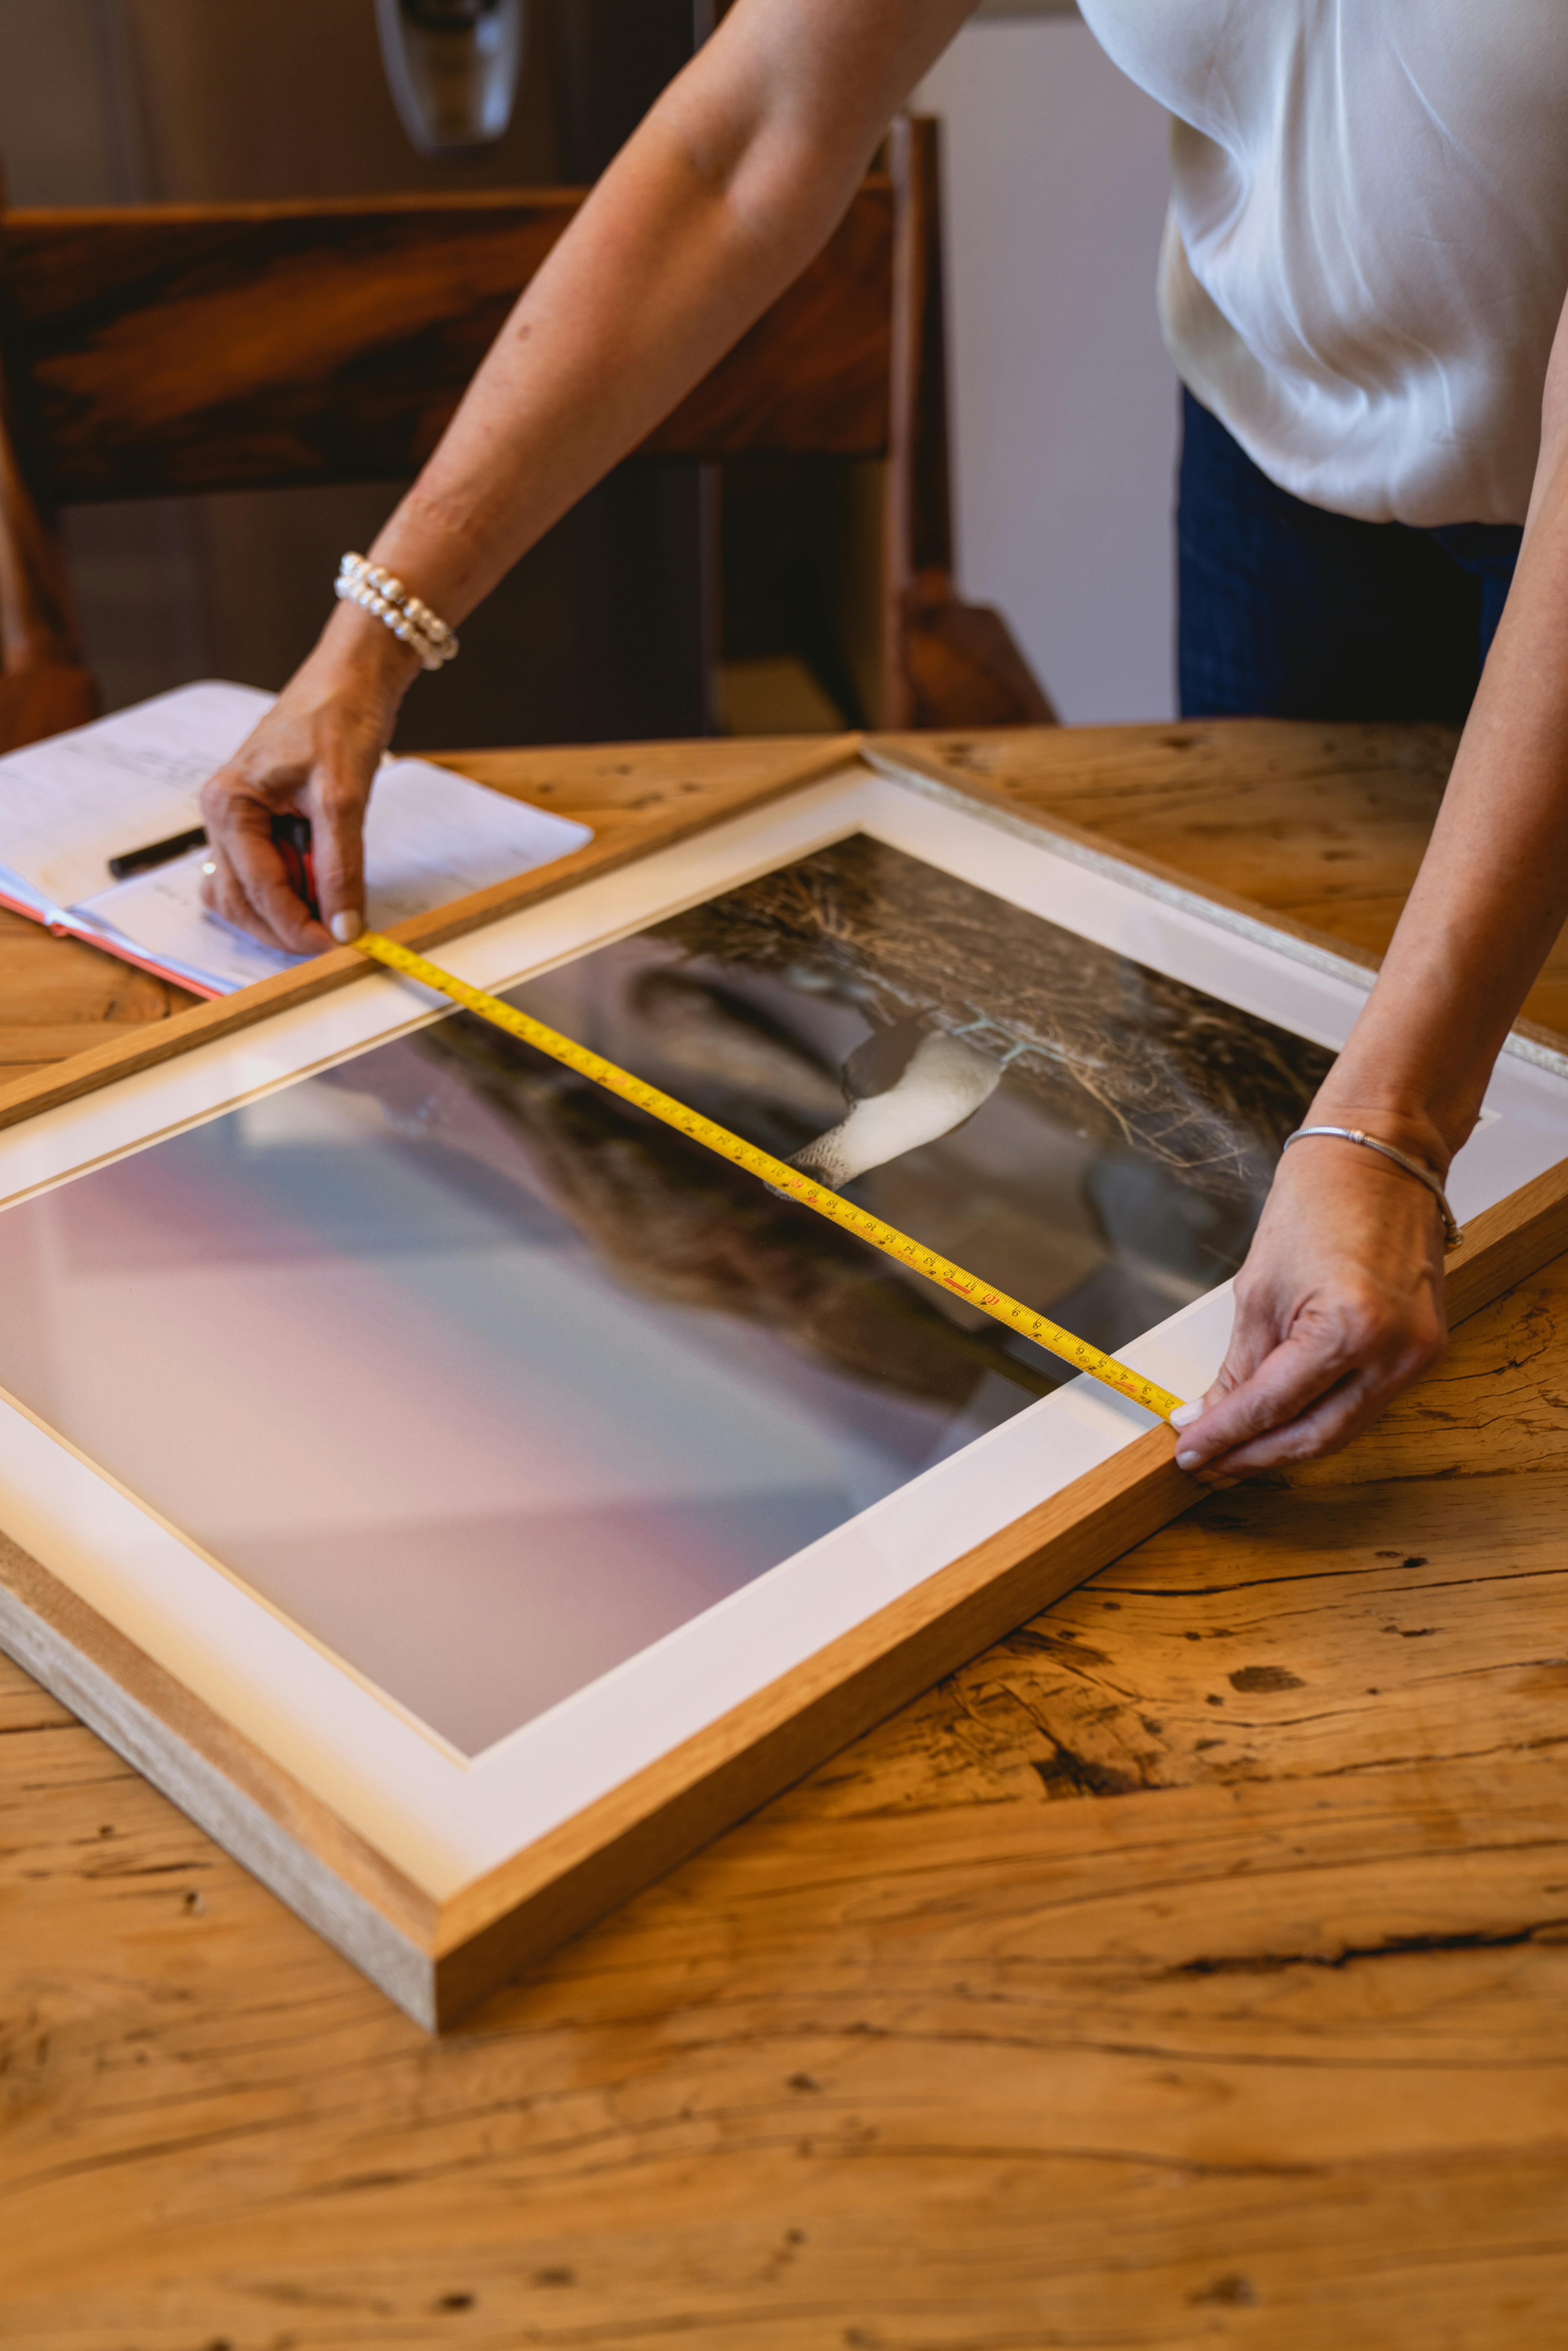
- Framing and Matting Precision: This is for the perfectionists. Use a delicate tape like the artist's tape to create a 'hinge' to attach a matboard to a backing board. It's an archival-safe way to assemble a presentation without any adhesives touching your art. I also use it to protect the face of a canvas with a border while I paint the edges, and for holding fragile charcoal or soft pastel drawings in place while I work. Acid-free artist tape is specifically designed not to yellow or damage paper over time, making it the only choice for this application.
- Custom Stencils: Overlap strips of tape on a cutting mat and cut freehand with a craft knife to create custom, reusable stencils for patterns or hard-edged shapes. The low-tack adhesive means you can stick it, paint, peel it, and use it again a few times without it losing its hold. You can even use a craft knife to score directly onto the tape while it's on the canvas, creating geometric shapes with incredible precision. This is how I create a lot of the repetitive patterns in my work. The ability to use a single stencil multiple times allows for a level of consistency that would be impossible to achieve freehand.
- Emergency Brush Rest: In the heat of painting, your brush needs a place to rest without the bristles splaying. Wrap a strip of tape, sticky side out, around the handle of your water cup or the edge of your easel. It creates a perfect, ready-to-use temporary holder for your brush.
- Creative Restraint: In my own abstract work, tape is often a tool for 'creative restraint.' When a piece feels overwhelmingly chaotic, I'll use tape to introduce a hard, geometric line. Suddenly, that line becomes a new boundary to work within. It corrals the chaos. It creates a problem to solve. And that, for me, is when the most interesting creative decisions start to happen.
Tactical Tape Selection: A Medium-by-Medium Strategy Guide
Your choice of tape should be as intentional as your choice of pigment. Using blue tape for watercolor is like trying to carve a turkey with a chainsaw—it might work, but you're risking a lot of collateral damage. Let's get tactical about this. This is where we translate all that theory into practical, actionable situations that you face every day in the studio.

Acrylics and Mixed Media
For most applications, the 3M Blue Painter's Tape is your workhorse. It's the default. If your project spans multiple days, do not leave the tape on. Remove and re-apply fresh tape each day. It's tedious, but it's the only way to guarantee a clean lift. I've learned this the hard way, trying to save time on a multi-day abstract piece and ending up with a line that was, to put it mildly, 'impressionistic' rather than crisp. The time you save leaving tape on overnight, you will spend tenfold trying to fix a bleed or residue issue. If your surface includes friable media like pastels or charcoal, you have to switch. The gentle 3M Green Painter's Tape is your only safe bet, applied with an even more delicate touch.

Watercolor
Watercolor demands the gentlest touch. The 3M Green Painter's Tape is the undisputed champion. On heavily textured cold-press or rough paper, burnishing every millimeter is non-negotiable. There's a helpful trick: breathe on the tape's edge after you apply it. The light moisture and warmth can relax the adhesive just enough to make it more pliable, helping it to conform to that rough texture before you even start burnishing. Apply your washes with care to avoid creating pools that sit directly against the tape edge; capillary action is not your friend here. And here's the golden rule: let the paint dry completely—bone dry—before you even think about removing the tape. Peeling it wet is the fastest way to smudge your beautiful clean line. Rushing this final step has caused me more frustration than I care to admit. Because a watercolor wash can wick deep into the paper fibers, peeling a fully dry tape generally results in no issues with lifting. It's a much more forgiving process in that regard, as long as your initial seal was good.

Gouache
Gouache behaves like a strange hybrid. It's opaque like acrylic, but it can be re-wet like watercolor. This makes the drying state absolutely critical. If you are applying a new layer over a fully dried, non-activated layer, you can generally follow the watercolor rule and peel when it's bone dry. However, if you are actively wetting and blending into previous layers, you must treat it like acrylic and peel while the final layer is only slightly damp. The risk is pulling up the underlying layer if you peel while it's too wet. My rule of thumb is to peel when it's just past the 'wet sheen' but long before it feels dry to the touch.
Oils and Alkyds
This is a high-wire act. The 'peel while wet' rule for acrylics becomes 'peel before it's even touch-dry.' The chemistry here is unforgiving. Remove the tape within an hour or two of application. If you leave it until the next day, you risk it becoming permanently embedded in the drying paint film. Crucially, ensure the layer you are taping over is fully cured—not just touch-dry, but chemically set for days or even weeks. One final, critical tip with oils: never use solvent thinners near the tape edge. The turpentine or Gamsol can dissolve the tape's adhesive, causing a gummy, sticky disaster that's nearly impossible to clean without ruining the paint layer. It's perhaps the biggest danger with tape and oil painting. The solvents in your fresh paint can re-activate the tape's adhesive, leading to a gummy, sticky mess and potential lifting of the underlying layers. I've seen it happen; it's not pretty. Alkyd-based mediums dry faster and are more forgiving, but an early peel is still the price of a crisp line.
Spray Paint and Airbrush
This is a different animal. The challenge with aerosolized paint is high pressure and very fine particles. The best tape for this is a fine line tape, often used in automotive work for pinstriping. It has a highly conformable plastic backing that withstands higher pressures without lifting. The thin profile also reduces the amount of paint that can build up on the tape edge itself.
Application is everything here. I often perform a 'two-stage' masking. First, I lay down the fine line tape precisely where I want my edge. Then, I cover a much larger surrounding area with a less expensive, standard masking paper or plastic film, butting it right up against the fine line tape. This saves money and protects your entire surface from overspray, while ensuring the critical edge is held by the most precise tool available.
Frequently Asked Questions (FAQ)
Q: I have some regular tan masking tape. Can I just use that? A: You can, but it's the artistic equivalent of using a sledgehammer to crack a walnut. That tan tape is designed to stick permanently to a wall so a contractor can spray it and forget it. The aggressive, natural-rubber adhesive is almost guaranteed to damage your delicate paper or canvas, leaving a sticky residue or tearing tiny fibers from the surface. It's a shortcut that almost always ends in frustration. Believe me, I have the ruined preliminary sketch to prove it. The adhesive is designed to be permanent, not temporary, and over time it can cross-link chemically, becoming part of whatever it's stuck to.
Q: I followed all the steps, but my paint still bled under the tape. What did I do wrong? A: 99% of the time, it's a microscopic failure at the tape-to-surface interface. You likely didn't burnish with enough pressure, the surface was too textured for that specific tape to conform, or your paint was too watery and thin. A thick, buttery acrylic is less likely to bleed than a watery wash, because the viscosity itself acts as a barrier. It's a common mistake to thin paint too much for a crisp line, thinking it will give you a smoother coat. For masking, the opposite is true. You want the viscosity of your paint to be on your side. Check your paint consistency—it's a surprisingly common culprit. Another sneaky culprit I've discovered: bristles pushing paint underneath. If your brush is too stiff or you're applying too much pressure, a single bristle can act like a tiny lever, creating a brief gap for liquid paint to flow into. The solution? A softer brush, less pressure, and thinner layers. Finally, your surface itself can be to blame. If you're working on raw canvas or a very absorbent ground, the paint can wick sideways under the tape, pulled by the dry fibers. In these cases, doing a pre-seal with the base color is absolutely essential.
Q: How long can I safely leave painter's tape on?
A: The manufacturer will say 14 days for Blue, 21+ for Green. I say that's a dangerous game. Art is not house painting. A drying paint film, temperature fluctuations, and humidity can change the equation. My rule is simple: as soon as the paint is dry enough to peel without smudging, get the tape off. Leaving it on for days, even within the 'window,' invites problems. Fresh is always best. Humidity is the hidden enemy here. In a very humid environment, the adhesive can absorb moisture from the air and the paint, breaking down slightly and becoming much more likely to leave a residue. In a very dry environment, that window might be slightly longer, but it's not a risk worth taking. I learned this lesson on a large multi-day abstract piece where I was trying to save time. The 48-hour-old tape came off fine, but the 6-day-old tape on another section had started to cure, leaving a faint but stubborn ghost of residue that took hours to carefully lift with a gum eraser and a lot of patience.
Q: I peeled off my tape and now there's a sticky residue on my painting. Can I fix it? A: This is usually caused by exposure to excessive heat, solvents (especially with oils), or simply a bad batch from the manufacturer. It's a nightmare scenario. Start gently. Try the gum eraser 'trick': gently dab (don't rub) a clean white polymer eraser over the residue. It can ball up the adhesive without using any liquids. For a more aggressive approach, a very gentle solution of dish soap and water on a clean cloth might work. For tougher jobs, a specialized, non-polar solvent like Bestine (heptane) on a Q-tip can work, but this is a last resort. Always, always test any cleaning agent on an inconspicuous corner first. The cure can be worse than the disease. If you're dealing with an oil painting, specialist art conservators may use saliva on a Q-tip. It sounds bizarre, but the enzymes can sometimes break down the adhesive without damaging the paint film. It remains a desperate, last-ditch effort.
Q: What about masking fluid vs. tape? When should I use one over the other? A: This is an excellent question because they solve different problems. Masking fluid is a liquid latex you paint on. It's fantastic for complex, organic shapes, tiny details, and protecting fine lines or splatters that would be impossible to tape around. However, it can be tricky. If your paper is too fragile, removing it can tear the surface. It can also dry into the paper fibers, becoming permanent if left on too long. Painter's tape is for straight lines, geometric shapes, and masking large, simple areas. It's faster to apply for broad strokes but impossible to use for intricate detail. My rule is simple: if I can draw the shape with a ruler, I use tape. If I need to draw it with a fine brush, I use masking fluid. Often, I'll use them on the same piece—tape for the big background blocks, masking fluid for the delicate foreground elements.
Q: Can I re-use a piece of painter's tape?
A: No. Once applied and removed, its ability to create a reliable seal is gone. For perfect results, always use a fresh piece of tape. Its edges will have picked up microscopic dust, and the adhesive will have started to cure from contact with the air and surface, ruining its effectiveness. It's a false economy that never pays off. The act of peeling it stretches the backing and distort the adhesive layer in a way that can never be fully reversed, leaving you with a compromised tool.
Q: What's the deal with washi tape? Can I use it for painting? A: I'm going to be blunt here: never, ever use washi tape for actual painting. I see this come up a lot in online art communities, and it's a recipe for disappointment. Washi tape is a decorative paper tape. It's designed to be cute, to be written on, and to be easily removable from things like planner pages and scrapbooks. Its adhesive is extremely weak and inconsistent. It lacks the conformability to seal a paint edge, and its decorative nature means the paper backing is often not designed to resist moisture. If you try to use it for anything other than decoration, you will experience catastrophic, soul-crushing bleed. It belongs in your journal, not on your canvas.
Q: The tape worked perfectly, but it pulled up some of my painting when I removed it. What went wrong? A: This means the bond between the underlying paint and the canvas was weaker than the tape's adhesion. This is a sign of a problem under the tape. The most common causes are the underlying paint not being fully cured, a brittle or 'powdery' ground that has poor adhesion, or leaving the tape on so long that the adhesive cures into a death grip. It's a tough lesson, but it reveals a weakness in your painting's structure. To be honest, this also happens if you use too much retarding medium in your base coat—it can prevent the paint from ever forming a truly strong film, making it vulnerable to being peeled away. To prevent this, make sure each layer is touch-dry and, ideally, fully cured before taping over it. Using a well-prepared gesso ground is crucial for good adhesion, preventing this heartbreaking situation.
A Painter's Tape Checklist: Your Pre-Flight Before You Mask
Think of this as your pre-flight checklist before a critical mission. Each check is a potential point of failure. A checklist like this one, simple as it is, has saved me from more mistakes than any other single tool.
- Surface: Is my surface completely clean, bone-dry, and free of any dust or debris?
- Paint Layer: If I'm taping over paint, is it fully and completely cured?
- Tape Choice: Have I chosen the right tape for my medium and surface type? (Green for delicate, Blue for general, Drafting for ink.)
- Burnisher: Do I have my burnishing tool ready?
- Peel Strategy: Do I have a plan? (Wet peel for acrylics, dry peel for watercolor, immediate peel for oils.)
- Mindset: Am I focused enough for this task, or am I rushing?
If you can check all these boxes, you're ready to get a truly perfect line. This mental shift—from viewing tape as a simple tool to understanding it as a complex, chemically-aware material—is what separates frustrating failures from professional, repeatable success.
I want to end with a thought that might seem strange. The quest for the perfect, clean line is about more than just technical perfection. In my own work, I've found that mastering techniques like this frees you from the tyranny of the technical. When you're confident your tape won't fail, you stop worrying about the "how" and start focusing entirely on the "why." The line becomes a compositional element, a tool of intent, rather than a potential disaster you're constantly trying to avoid.
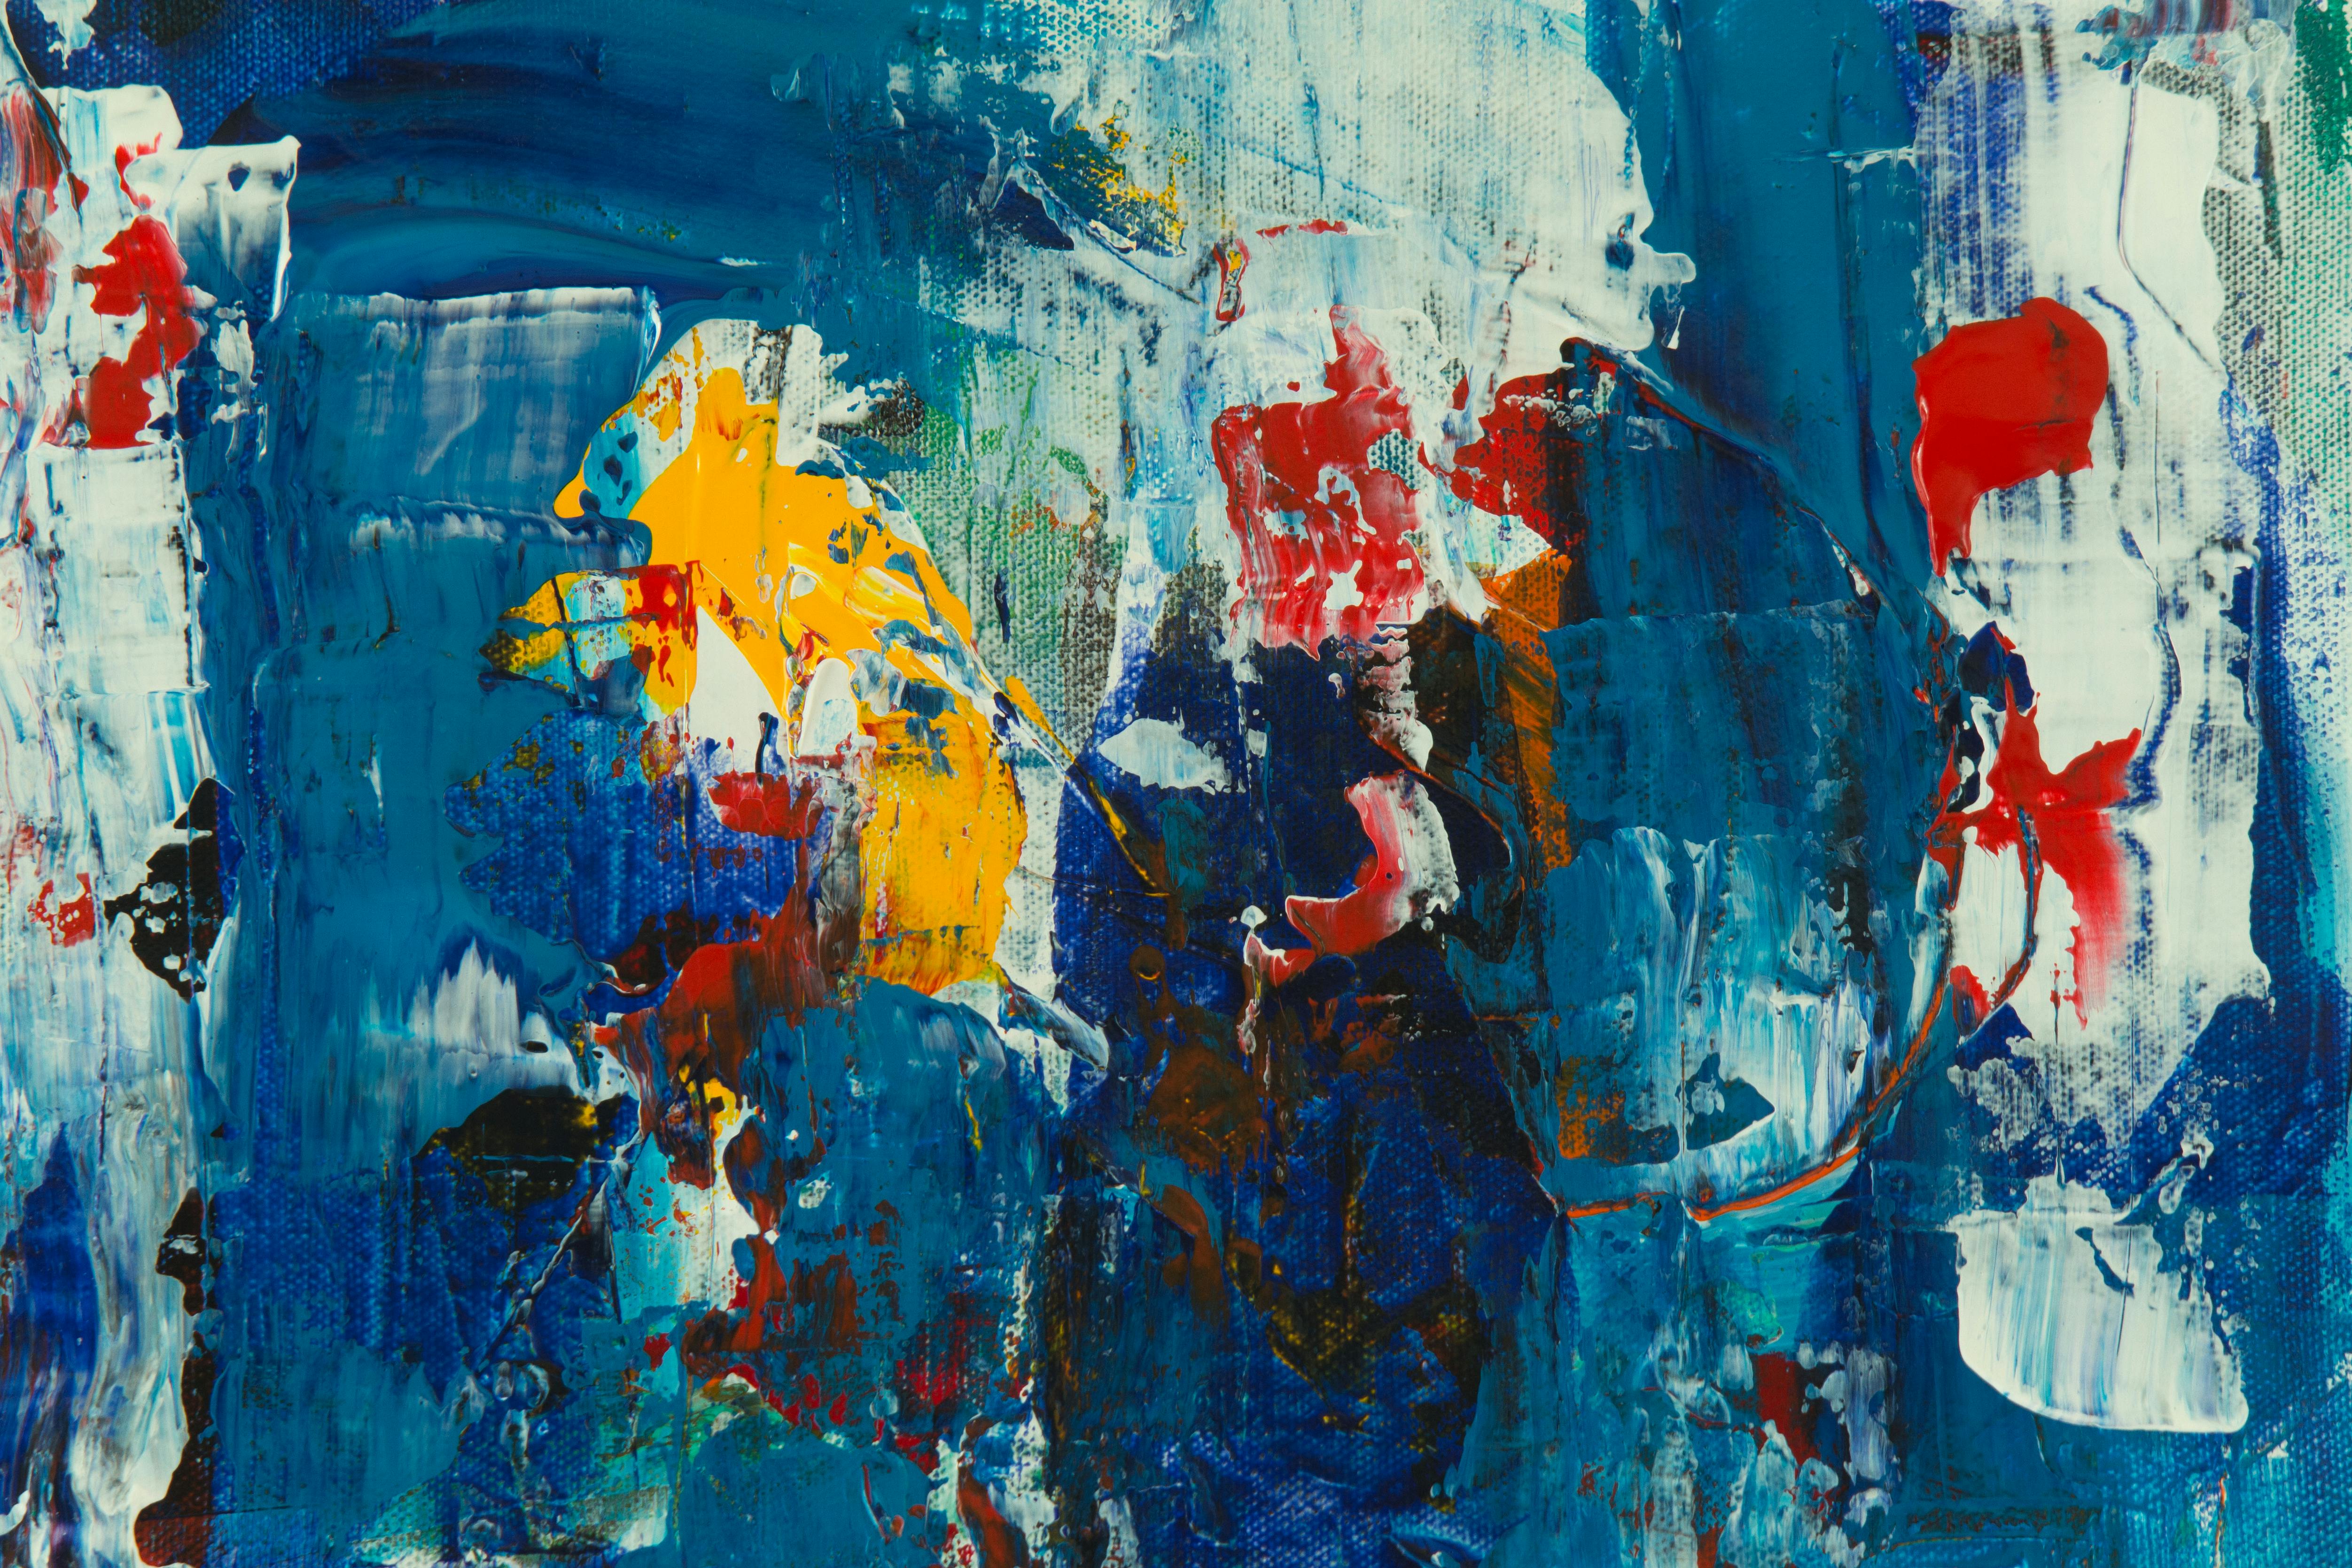
It's about transforming hesitancy into boldness. A clean, straight line in a field of gestural abstraction can be one of the most powerful statements you make. It's the contrast between the controlled and the wild, the planned and the spontaneous. These seemingly minor studio skills are the foundation upon which a confident, personal artistic voice is built.
This article was a labor of love and countless hours of experimentation. If you've found it helpful, feel free to share it with a fellow artist who wrestles with the same frustrations. We're all in this together, learning from our materials and from each other. And if you want to see how I put all this into practice, you can explore my latest work here.
Building Your Tape Arsenal: A Practical, Budget-Conscious Guide
So, you're convinced. You want to do this right. But staring at the vast selection in a hardware store or online can be paralyzing. You don't need to buy one of everything. Here's a practical, phased approach to building a tape collection that won't break the bank.

The Starter Kit (For Beginners)
- 1 Roll of 3M Blue Painter's Tape (2080): This is your foundation. It will handle 80% of your acrylic and general studio needs. It's versatile, forgiving, and will teach you the fundamentals of burnishing and peeling.
- 1 Roll of 3M Green Painter's Tape (2090): Your entry into the world of delicate surfaces. Essential from day one if you plan to work on paper.
With just these two rolls, you are equipped for almost any basic project. They are the unglamorous but utterly essential workhorses of the art world.
The Expansion Pack (For the Committed Hobbyist)
Once you've built your confidence and know you're in this for the long haul, add these.

- 1 Roll of White Artist's/Drafting Tape: This is your gateway to precision. It unlocks inking, printmaking registration, and archival framing. It's the tool you reach for when "good enough" isn't good enough.
- 1 Roll of FrogTape (Yellow): If you ever work on walls—even just painting a background for a mural or a photo shoot—this is the tape you want. Its paint-blocking technology is genuinely impressive. It's a specialist, but it's the best at what it does.
The Professional Studio
This is for those who make their living from their art or are pursuing it with serious, professional intent. These are niche tools that solve very specific, high-stakes problems.
- Automotive Fine Line Tape: For airbrushing, spray paint work, or any project requiring a perfect, flexible curve.
- Pro Tapes (Orange She-Mask): You've moved beyond general-purpose tapes and want the absolute best for specific applications. It's the tape you use when a client is paying you for a perfect result.
Thinking this way—growing your toolkit in stages as your skill and needs grow—takes the pressure off. You don't need a $200 collection of tapes to start. You just need the right one for the job you're doing right now. Start with the Starter Kit. Master those two. The rest will follow naturally as your ambition grows.