What is Painter's Tape for Art Projects? Unlock Sharp Lines & Crisp Composition
Unlock the secrets of painter's tape. Learn about different tape types, from delicate washi to heavy-duty masking, and master their use in watercolor, acrylic, and mixed-media projects.

What Is Painter's Tape? The Artist's Definitive Guide to Perfect Lines, Protection, and Possibility
Have you ever stared at a blank canvas, not with fear, but with crisp, clean ambition? Not the messy, emotional kind, but the kind where you can almost see the perfect geometric shapes and razor-sharp lines you're about to create? That specific, architectural vision almost never involves a paintbrush alone. It involves a much more humble hero: painter's tape.
I'm willing to bet you've used it wrong at least once. Maybe you left it on too long and it tore your paper. Maybe paint seeped under the edges, ruining that perfect line you were so proud of. Or perhaps you've avoided it altogether, thinking it's just for house painting, not 'real art.' If any of this sounds familiar, you're in exactly the right place.
I’m talking about the roll of papery tape that turns a trembling hand into a precision instrument. It’s the secret tool that separates the controlled chaos of a masterful abstract piece from a simple mess. It allows you to carve light into darkness, to build clean edges where none existed, and to create negative space that feels as intentional as the stroke of a pen. If you've ever wondered how artists achieve those stunning, straight-edged patterns or preserve pristine white spaces in a riot of color, you've unknowingly been admiring the work of this simple adhesive.
In the simplest terms, painter's tape is a type of masking tape specifically designed to be safe for painted surfaces. But that definition doesn't even begin to scratch the surface. To true artists, it’s not just a tool; it's a collaborator. It’s a partner in creating the un-creatable, enabling techniques that would be nearly impossible to achieve freehand.
Why Does It Feel Like Magic? Deconstructing the Tool
Before we dive into the specifics, let me share something that happened in my studio last month. I was working on a large abstract canvas, building up layers of translucent color. I wanted to create a series of perfectly straight, intersecting lines that seemed to float above the more chaotic background. I reached for my trusty roll of blue painter's tape, applied it, painted over it, and when I peeled it away... disaster. The paint had bled underneath in several spots, creating fuzzy, unacceptable edges. The tape I'd been using for years, the tape I trusted implicitly, had betrayed me.
Except it hadn't. I had betrayed myself by not understanding that not all painter's tapes are created equal, and different surfaces demand different strategies. That frustrating afternoon sent me down a rabbit hole of research and experimentation, and what I discovered completely changed how I approach this 'simple' tool.
At its core, the magic of painter's tape boils down to its unique construction, engineered to solve the very problems that make standard tapes a nightmare for artists.
Think of it like this: regular household tape is designed to stick. Hard. Its adhesive is aggressive, meant to hold things together for the long haul. When you pull that off a delicate surface like paper or a canvas, it's like a tiny demolition crew tearing away fibers, leaving a sticky residue, or even pulling up the underlying layer of paint you wanted to keep.
Painter's tape is engineered with precisely controlled properties that address every weakness of standard tape:
- Gentle Adhesive: The adhesive is formulated to create a strong enough bond to prevent paint from seeping underneath, but it releases cleanly without damaging the surface. This is often referred to as low-tack or removable adhesive. The chemistry behind this is fascinating—manufacturers use specific polymers that remain pliable and don't cross-link aggressively with surfaces, allowing for clean removal.
- Crepe Paper Backing: Unlike the smooth plastic backing of regular tape, painter's tape uses a slightly textured crepe paper. This serves two purposes: first, it allows the tape to conform easily to uneven surfaces (like textured canvas or bumpy walls), and second, the paper fibers prevent the adhesive from bonding too aggressively with the surface. The crepe texture also makes the tape easy to tear by hand, which is incredibly convenient when you're in the flow of creating. The crepe paper also provides excellent dimensional stability, preventing the tape from stretching or distorting during application and removal.
- Clean Removal Window: Here's the crucial part most people miss. That gentle adhesive has a specific time window—usually up to 14 days for most brands—during which it maintains its easy-release properties. Leave it on too long, exposed to sunlight and temperature changes, and the adhesive can cure and bond more permanently, making removal a nightmare. (I learned this the hard way on a mural project that stretched longer than planned.)
The Painter's Tape Family: A Guide to Types and Their Personalities
Walking into an art supply store or hardware store can feel overwhelming when you're faced with an entire wall of blue, green, yellow, and pink tape rolls. They're not just different colors for aesthetic reasons—each color usually indicates a different level of adhesion and intended use. Let me break down the most common types you'll encounter.
Blue Tape: The Reliable All-Rounder
This is the classic, the workhorse, the one most people picture when they think of painter's tape. The 3M Blue Painter's Tape (often called 'ScotchBlue') or its equivalents from other brands.
- Adhesion Level: Medium
- Best For: General purpose masking on most painted surfaces, paper, canvas, and walls. It's what I use for about 70% of my studio work.
- Clean Removal: Up to 14 days
- The Personality: It's like that friend who's always dependable but not particularly specialized in anything. Great for everyday use.
Green Tape: The Heavy-Duty Protector
Usually labeled as 'Tough-Mask' or something similar, green tape has a stronger adhesive designed for more demanding situations.
- Adhesion Level: Medium-High
- Best For: Textured surfaces, outdoor projects, or when you need longer-term protection (up to 21-30 days). It's also better for rougher surfaces where blue tape might not seal properly.
- Clean Removal: Up to 21-30 days, depending on the brand
- The Personality: The friend you call when you need serious help moving furniture. Strong, reliable, but you need to be a bit more careful with delicate surfaces.
Yellow Tape: The Delicate Touch
This is often called 'Delicate Surface' tape and has the gentlest adhesive of the bunch. It's specifically formulated with a modified acrylic adhesive that provides just enough tack to prevent paint bleed while ensuring clean removal from the most fragile surfaces.
- Adhesion Level: Low (typically 15-20 oz/in peel adhesion)
- Best For: Fresh paint (less than 24 hours old), delicate papers, watercolor paper, fragile surfaces, tracing paper, rice paper, and artwork where you absolutely cannot risk any damage
- Clean Removal: Up to 7-14 days
- The Personality: The friend who's incredibly gentle and thoughtful but might not be strong enough for heavy lifting. Perfect for sensitive situations.
- Special Features: Often contains UV inhibitors to prevent yellowing and degradation when used on light-sensitive papers
Purple Tape: The Surface-Specific Specialist
A newer addition to the family, purple tape is specifically formulated with advanced polymer technology for certain challenging surfaces. 3M's Purple 2080EL series, for example, features enhanced conformability that makes it ideal for textured surfaces where standard tape might fail.
- Adhesion Level: Variable (usually medium, around 25-30 oz/in peel adhesion)
- Best For: Fresh latex paint (within 24 hours), lightly textured surfaces, multi-surface applications, and tricky surfaces that other tapes struggle with
- Clean Removal: Up to 21 days (some premium versions)
- The Personality: The specialist friend who knows everything about one very specific topic. You don't need them often, but when you do, they're invaluable.
- Special Features: Often features "no-ghosting" technology that prevents adhesive transfer even on fresh paint
Other Colors and Specialties
You might also encounter:
- Orange/Red Tape: Usually indicates an even stronger adhesive for extreme conditions or longer-term projects
- White/Multi-Day Tape: Some brands use white tape for extended clean removal windows (30+ days)
- Fine Line Tape: Thinner widths (1/4 inch or less) specifically designed for detailed work and curves
Painter's Tape Comparison Table
Tape Type  | Color | Adhesion | Best For | Clean Removal | Surface Safety |
|---|---|---|---|---|---|
| All-Purpose | Blue | Medium | Most surfaces, general art projects | 14 days | Good |
| Tough/Durable | Green | Medium-High | Textured surfaces, outdoor work | 21-30 days | Good (use caution on delicate) |
| Delicate Surface | Yellow | Low | Fresh paint, fragile papers | 7-14 days | Excellent |
| Surface-Specific | Purple | Variable | Fresh latex, difficult surfaces | 14 days | Good |
| Specialty/Heavy-Duty | Orange/Red | High | Extreme conditions, long-term | 30+ days | Caution required |
Here's the thing that took me years to learn: the right tape for the job can mean the difference between success and starting over. That disaster I mentioned earlier? It happened because I used blue tape on a canvas with heavy texture and multiple layers of thick paint. I should have used green tape, or better yet, I should have used a different technique entirely.
Painter's Tape for Different Artistic Mediums
Different mediums present different challenges and opportunities for painter's tape. What works for acrylics might not work for watercolors, and what's perfect for canvas could be disastrous for paper.
Acrylic Painting: The Forgiving Friend
Acrylics are probably the most forgiving medium when it comes to using painter's tape because they dry quickly and create a durable surface.
- Best Tape: Blue or green tape, depending on surface texture
- Timing: You can usually remove tape within 30 minutes to an hour of painting, once the acrylic is touch-dry
- Special Considerations: Acrylics can create a slight skin that might peel with the tape if you wait too long. I prefer to remove tape when the paint is about 90% dry—still slightly cool to the touch but not wet
- Pro Tip: If you're building up multiple layers, let each layer dry completely and consider using fresh tape for each masking session to ensure the cleanest lines
Watercolor: The Delicate Dance
Watercolor is where most people run into trouble with painter's tape. The liquid nature of watercolor means it's more likely to bleed under edges, and paper is more delicate than canvas.
- Best Tape: Yellow (delicate surface) tape is your best friend here
- Surface Preparation: This is critical. Make sure your paper is securely stretched or taped down to prevent buckling. Some artists prefer to wet their tape slightly before applying to watercolor paper, but I've found this can sometimes make bleeding worse
- Burnishing: Be extra thorough with burnishing the edges on watercolor paper. Use a bone folder or the back of a spoon for maximum contact
- Paint Consistency: Use less water in your paint near taped edges. Thicker paint is less likely to wick under the tape than very wet, diluted paint
- Common Mistake: Pulling the tape while the paper is still damp. Wait until everything is bone dry, even if that means waiting overnight
Oil Painting: The Patient Approach
Oils are tricky because they take so long to dry. You can't just mask and paint in one session unless you're working alla prima (wet-on-wet).
- Best Tape: Blue tape for initial layers; you might need green for longer-term projects
- Timing: You'll be working in sessions separated by days or weeks. Apply tape, paint, then remove tape while the paint is still wet or within a few hours. Waiting for oils to dry completely with tape in place is asking for trouble
- Surface Consideration: Make sure your gesso or underpainting is thoroughly cured (at least a week old) before applying tape. Fresh oil paint layers can be pulled up by tape adhesive
- Fat Over Lean: Remember the fundamental rule of oil painting. If you're building layers over masked areas, make sure each subsequent layer has more oil content than the one beneath it
Mixed Media and Experimental Approaches
This is where you can get really creative. I've used painter's tape successfully with:
- Ink: Both waterproof and water-soluble inks work well with tape, though you need to be mindful of the drying time
- Spray Paint: Excellent for creating stencil-like effects, but be aware that spray paint can be absorbed by the tape backing, potentially causing bleeding
- Collage: Use tape to temporarily hold collage elements while you arrange your composition
- Texture Pastes: Apply tape, spread texture paste or modeling paste up to the edge, let it dry, then remove tape for clean-edged textured areas
Digital Art Application
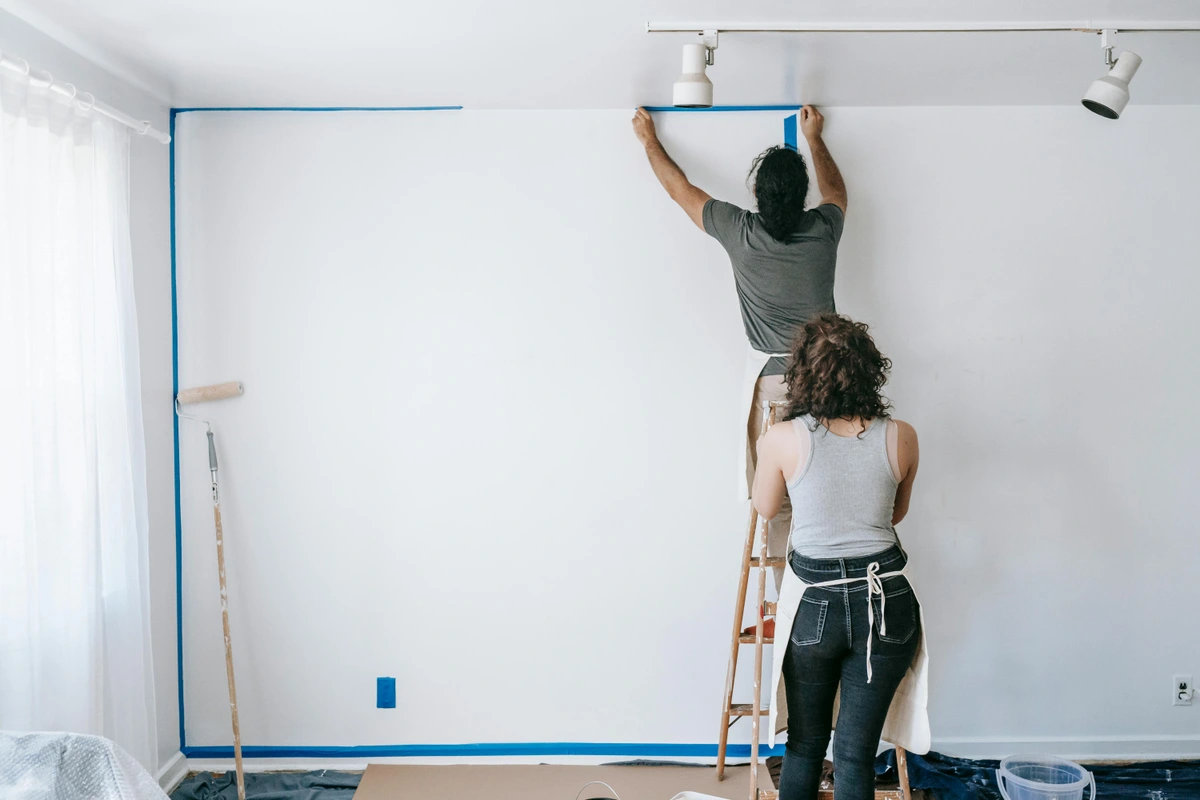
Yes, painter's tape even has applications in digital art! I use it to mark off safe areas on my tablet or to create physical guides when I'm working on a lightbox. It's also useful for marking registration points when you're combining physical and digital elements.
Advanced Techniques and Professional Secrets
Now we're getting into the good stuff—the techniques that separate the hobbyists from the professionals, the little tricks that can make or break a piece. These aren't found in most instruction manuals, but they're the kind of knowledge that comes from countless hours in the studio, learning from both successes and failures. What makes these techniques "advanced" isn't complexity—it's understanding the underlying principles deeply enough to adapt them creatively. Once you grasp the science behind adhesion, paint behavior, and surface interaction, you can invent your own techniques.
I remember working on a large diptych for a gallery show a few years back. The piece required twenty-seven separate tape applications over three weeks, each layer building on the last. Halfway through, I developed a technique for creating graduated transparency effects using differential tape removal timing that completely changed how I approach layering. It's these kinds of discoveries—born from necessity and refined through repetition—that I want to share with you.
The Burnishing Secret: Engineering Perfect Adhesion
I mentioned burnishing earlier, but it's so important it deserves its own section. Burnishing is the single most important step for preventing paint bleed. Here's how the pros do it:
Think of burnishing not as just "pressing down" but as engineering molecular contact between the tape's adhesive and your surface. The goal is to create what adhesive scientists call "intimate contact"—a complete bond where no micro-gaps exist for paint to penetrate.
- Tool Selection: While you can use your fingernail, I prefer a bone folder, a credit card, or even a specialized burnishing tool. The key is something with a smooth, firm edge.
- The Technique: Apply firm, even pressure along the entire edge of the tape. Don't just do it once—go over it multiple times, working from the center of the tape toward the edges.
- The Angle Matters: Hold your burnishing tool at a slight angle (about 30-45 degrees) and really press that tape edge down. You should be able to see the tape conforming perfectly to the surface texture.
- Temperature Trick: If you're working on a very textured surface, some artists swear by warming the tape slightly with a hair dryer before applying and burnishing. The warmth makes the adhesive more pliable and helps it conform better to uneven surfaces.
Preventing Paint Bleed: The Holy Grail
Even with perfect burnishing, you can still get bleed. Here are the advanced techniques to prevent it:
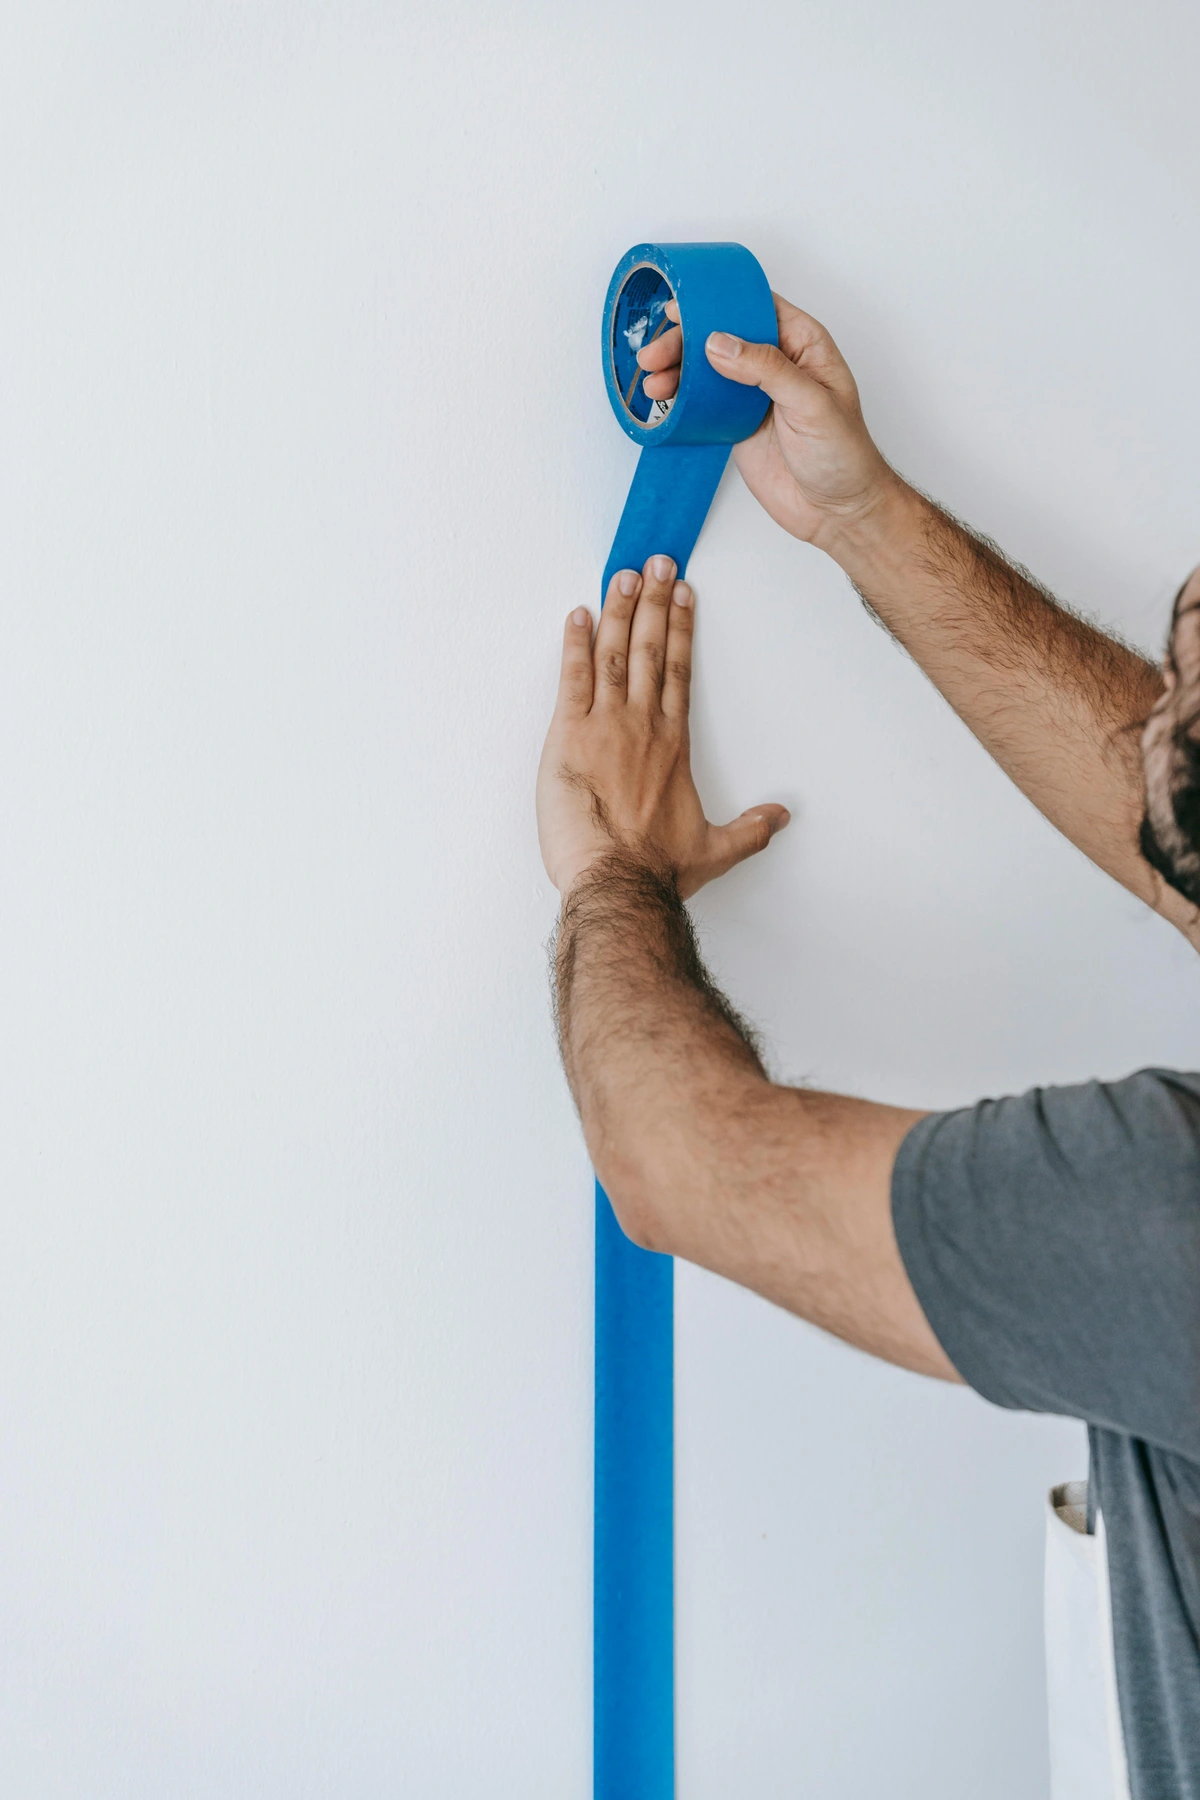
Method 1: The Base Coat Seal (The "Pre-Seal Protocol")
This is my go-to method for problematic surfaces. After applying and burnishing your tape, apply a thin coat of the base color or medium first. If you're masking white paper, apply a thin coat of clear water or matte medium. If you're working over an existing color, apply a thin coat of that same color along the tape edge. This seals the edge with a clear or matching medium that won't show if it bleeds slightly, and it creates a barrier that your actual paint color can't penetrate.
The science behind this: When you apply the base coat seal, any paint that bleeds under the tape is the same color as your base, making the bleed invisible. Additionally, this first layer forms a gasket-like seal that subsequent paint layers cannot penetrate. I've used this technique on everything from delicate rice paper to heavily textured concrete walls with near-perfect results.
Method 2: The Thermal Activation Protocol
After burnishing your tape, hit the edges with a hair dryer on medium heat for 10-15 seconds. This slightly activates the adhesive and can help create a better seal, especially on textured surfaces. Just be careful not to overheat the tape, which can make it stretch or the adhesive too fluid.
Temperature matters: Most acrylic adhesives have a "glass transition temperature" where they become optimally fluid—usually around 120-140°F (49-60°C). A hairdryer on medium typically reaches this range. The heat temporarily lowers the adhesive's viscosity, allowing it to flow into surface irregularities that would otherwise trap air pockets where paint could bleed.
Method 3: Multiple Thin Coats vs. One Thick Coat
This is fundamental but worth emphasizing: multiple thin coats will always give you better results than one thick coat. Thick paint is heavy, viscous, and more likely to find its way under tape edges through gravity and capillary action. Thin paint is lighter and less likely to bleed.
Creating Custom Edges and Effects
Painter's tape doesn't have to mean straight lines. With a little creativity, you can create all sorts of custom effects that would be impossible to achieve freehand. The key insight here is that tape isn't just for blocking paint—it's a tool for shaping paint behavior. When you view tape this way, entirely new creative possibilities open up:
Technique 1: Precision Curves and Organic Shapes
Yes, you can use painter's tape for curves! The trick is to use fine line tape (the thinner varieties) and cut it into short sections. Apply these short sections end-to-end, slightly overlapping, to create smooth curves. It's time-consuming but gives you much more control than trying to bend wide tape.
I developed a method I call "sectional curve building" for this: Cut 1-2 inch sections of 1/4" tape, tear one edge slightly to create a less harsh line, then apply them overlapping by about 1/4 of their length. The tear creates a more organic transition between sections, eliminating the harsh corners you'd get from straight cuts. This technique works brilliantly for creating flowing, calligraphic-style lines in abstract compositions.
Technique 2: Controlled Edge Texturing
Instead of removing tape cleanly, sometimes I'll deliberately pull it off at different angles or speeds to create interesting edge textures. Pulling slowly can create a slightly feathered edge. Pulling quickly can create sharper edges. Experiment with this on test surfaces first.
The physics of this fascinates me: When you peel tape slowly, you're essentially performing a controlled fracture of the paint film. The paint at the edge experiences tensile stress over a longer duration, causing it to stretch and tear irregularly. Fast removal creates a cleaner fracture line. By varying your peel speed and angle (30°, 45°, 60°, or even 90°), you can create at least a dozen distinct edge qualities from the same paint and tape combination. I keep a "peel sample journal" in my studio with different speed/angle combinations labeled for reference.
Multi-Directional Lines:
Don't limit yourself to horizontal and vertical lines. Diagonal lines, intersecting patterns, herringbone effects—all of these are possible with careful planning and application of tape.
The Removal Technique
How you remove tape is just as important as how you apply it:
- Timing: As mentioned earlier, remove tape when paint is touch-dry to slightly wet. Never wait until it's fully cured unless you absolutely have to.
- Angle: Pull the tape back on itself at a 45-degree angle or more acute. Never pull straight up away from the surface.
- Speed: For most applications, a steady, medium-speed pull works best. Too fast and you might tear paper or create static that attracts dust. Too slow and you might stretch the tape, potentially pulling paint with it.
- If It Sticks: If tape is difficult to remove, don't force it. Use a hair dryer to warm the adhesive slightly, or carefully score along the edge with a craft knife before removing.
Studio Setup and Organization
A few practical tips that will save you time and frustration:
- Tape Dispenser: Get a good tape dispenser or create a system for keeping your tape organized and accessible. There's nothing more frustrating than trying to find the end of a roll while your paint is drying.
- Pre-Cutting: For complex compositions, I pre-cut pieces of tape and stick them to the edge of my work table or a clean piece of glass, ready to apply when needed.
- Quality Investment: Don't cheap out on tape. The difference between a $3 roll and a $8 roll is often the difference between success and failure. 3M, FrogTape, and Shurtape are generally reliable brands.
- Test First: Always test your tape on a scrap piece of your actual surface before committing to your final piece.
Common Problems and Their Solutions
Even with all the right techniques, things can still go wrong. Here's how to troubleshoot common issues:
Problem: Paint Bleeding Under Tape
- Root Causes: Insufficient burnishing, paint too thin/thick, surface texture too aggressive, wrong tape type, environmental factors (high humidity), capillary action dynamics, surface energy mismatches
- Solutions:
- Apply a base coat seal first using the Pre-Seal Protocol (see above)—this creates a polymer seal that fills micro-gaps
- Use higher quality tape with better no-bleed technology (the PaintBlock in FrogTape actually creates a gel barrier through latex coagulation chemistry)
- Burnish more thoroughly—spend 30-45 seconds per linear foot using progressive pressure technique (start light, increase gradually)
- Use thinner paint coats (multiple thin layers beat one thick layer) to reduce hydrostatic pressure
- Consider switching to green or purple tape if surface is textured—higher tack creates better surface conformation
- Apply the Thermal Activation Protocol (hair dryer technique) to lower adhesive viscosity and improve surface wetting
- Work in lower humidity conditions (above 70% RH significantly increases bleed risk due to water-mediated capillary action)
- Try the "Double Burnish Method" described earlier, which mechanically seals then chemically seals the interface
Problem: Tape Tearing Paper or Previous Paint Layers
- Root Causes: Adhesion too strong for surface, paint not fully cured, tape left on too long, surface contamination preventing proper paint adhesion, adhesive cure beyond safe window
- Solutions:
- Use delicate surface (yellow) tape—the only safe choice for fragile surfaces
- Remove tape sooner (while paint is still slightly wet but not liquid—the "tacky dry" stage is ideal)
- Make sure underlying layers are fully cured (24 hours minimum for acrylics, weeks/months for oils)
- Warm adhesive with hair dryer before removal (reduces peel force by up to 40%)
- Score along tape edge with a craft knife through the paint film only
- Degrease surface before initial painting (oily residue weakens paint-to-surface bond)
- Never use green/orange tape on delicate papers or thin paint films
- If damage occurs, immediately press the lifted area back down and allow to dry before attempting further removal
Problem: Adhesive Residue Left Behind
- Solutions:
- You left the tape on too long—it's likely past its clean removal window
- Remove residue gently with a rubber cement pickup or kneaded eraser
- For stubborn residue, test a tiny amount of rubbing alcohol on an inconspicuous area first
- Prevention is better than cure: remove tape within the recommended window
Problem: Uneven Lines or Gaps
- Solutions:
- You may not have burnished evenly—pay special attention to corners and edges
- The surface might have texture that prevents a good seal—consider using green tape
- There might be gaps between tape strips—overlap them slightly rather than butting them edge-to-edge
Painter's Tape in Professional Practice
In professional practice, painter's tape isn't just for individual artworks. It's used for:
- Edition Making: Creating consistent borders on prints or multiples
- Commission Work: Ensuring specific dimensions or clean edges required by clients
- Mural Work: Creating large-scale geometric patterns or precise elements in wall paintings
- Studio Organization: Labeling paints, marking canvases, organizing materials
- Presentation: Creating clean mats or borders for display or photography
The key insight I want to leave you with is this: painter's tape isn't about constraining your creativity—it's about giving you the control to execute your vision with precision. It's the difference between hoping for a good result and planning for one.
Tools and Materials: Building Your Tape Toolkit
Creating a comprehensive tape toolkit is like assembling a fine instrument collection—each tool has a specific purpose and performs best when matched to the right task. I've spent years refining my toolkit, and what follows is the distillation of that experience into practical recommendations.
Now that you understand the techniques, let's talk about the actual tools and materials you'll need to build a comprehensive tape toolkit that can handle any creative challenge.
Essential Tape Widths
Painter's tape comes in various widths, and having multiple options gives you tremendous flexibility:
- 1/4 inch (6mm): The precision tool. Perfect for fine lines, delicate details, and tight curves. I use this for creating intricate patterns or small geometric elements.
- 1/2 inch (12mm): A good middle ground. Useful for medium-width lines and general detail work.
- 3/4 inch (19mm): The sweet spot for most art applications. Wide enough to provide good coverage and easy handling, narrow enough for precise work.
- 1 inch (25mm): The workhorse. Great for covering larger areas, creating bold geometric shapes, and general masking.
- 1.5-2 inches (38-50mm): For large area coverage and bold statements. When you need to protect large sections of your composition or create big, powerful geometric shapes.
Pro Tip: You can create custom widths by partially overlapping wider tape or using a craft knife and straight edge to cut narrower strips from wider tape. Just be sure to cut on a protected surface so you don't damage your work table.
Complementary Tools and Materials
While tape is the star, these supporting tools make all the difference:
- Burnishing Tools:
- Bone folder (my personal favorite)
- Credit card or plastic card
- Clay shaper or silicone color shaper
- Spoon (for curved surfaces)
- Surface Preparation:
- Clean, lint-free cloths for surface prep
- Isopropyl alcohol for degreasing surfaces
- Soft pencil for light marking
- Ruler or straight edge for precision
- Application Tools:
- Craft knife for cutting tape or removing stuck sections
- Tweezers for positioning small tape pieces
- Scissors dedicated to tape (adhesive will gum up regular scissors)
- Removal Tools:
- Hair dryer for warming adhesive
- Rubber cement pickup for removing residue
- Soft eraser for gentle residue removal
Setting Up Your Tape Station
Organization is key to efficient workflow. Here's how I organize my tape station:
- Vertical Storage: Store tape rolls vertically in a container (I use an old coffee can or dedicated tape dispenser). This prevents the rolls from getting crushed and makes them easy to access.
- Label Everything: Use a marker to label the end of each roll with the date you opened it. Adhesive does degrade over time, and this helps you know which rolls are freshest.
- Temperature Control: Store tape in a cool, dry place. Heat and humidity can affect the adhesive properties.
- Quick Access: Keep your most-used widths and types within arm's reach of your primary workspace.
Painter's Tape Maintenance and Care
Yes, even tape needs proper care and maintenance:
- Freshness Matters: Adhesive does degrade over time, especially once the roll is opened. If you notice your tape isn't sticking as well or leaving more residue, it's probably time to replace it. I mark the purchase date on every roll with a permanent marker—tape older than 18 months gets demoted to "practice work only."
- Seal After Use: Fold over the end of the tape when you're done using it to prevent dust from collecting on the adhesive. I use the "L-fold" method: fold the last half-inch back on itself at a 45-degree angle, creating a little tab that's easy to find and grab next time.
- Climate Control: Extreme temperatures can affect tape performance. Don't store tape in hot cars or damp basements. Ideal storage is 65-75°F (18-24°C) at 40-50% relative humidity.
- Quality Check: Always do a quick test on a scrap piece of your working surface before committing tape to your actual artwork. I keep a collection of test panels—scraps of canvas, watercolor paper, wood panels—specifically for testing tape adhesion and paint compatibility.
- UV Protection: Store tape away from direct sunlight. UV exposure can cause the adhesive to yellow and become brittle within weeks.
Budget Considerations: Cost vs. Value Analysis
Let's talk money. Good tape isn't cheap, but buying smart can save you money. I learned this lesson the hard way during my first large-scale mural project. I bought cheap generic tape to "save money" and ended up repainting entire sections three times due to bleed issues. The $40 I "saved" on tape cost me over $200 in additional labor and materials.
The economics of tape purchasing follows what I call the "quality pyramid":

- Buy in Bulk (Strategically): If you use a lot of a particular type, buying larger quantities or multi-packs can reduce the cost per foot significantly. I calculated that buying 3M Blue tape in 12-roll cases saves me 35% per roll compared to individual purchases. But only buy bulk for your most-used types.
- Match Quality to Need: Not every project requires the most expensive tape. Use basic blue tape for practice pieces or less critical work, and save the premium tapes for final pieces. I use a "three-tier system": economy tape for sketching/composition testing, mid-range for studies and learning pieces, premium for gallery work and commissions.
- Off-Brand vs. Name Brand: There are good off-brand alternatives to major names like 3M, but test them thoroughly first. The savings aren't worth it if they damage your work. I conducted a 6-month test comparing 8 different tape brands, and while some off-brands performed adequately on smooth surfaces, only the premium brands (3M, FrogTape) delivered consistent results across all surface types.
- Calculate Cost Per Project: For commissioned work, include tape cost in your materials estimate—typically $5-15 per piece depending on complexity. High-complexity geometric pieces might consume $30-50 in tape alone.
- The "Hidden Cost" of Cheap Tape: Factor in time spent fixing bleed lines, redoing sections, or dealing with adhesive residue. At my hourly studio rate, even 30 minutes spent fixing tape-related issues costs more than the difference between cheap and premium tape for an entire project.
My Personal Recommendation: I keep a stock of 3M Blue Painter's Tape in multiple widths, FrogTape for difficult surfaces, and a roll of yellow delicate surface tape for paper projects. This covers about 95% of my needs.
Historical Context and Artistic Precedents: From Frisket to FrogTape
Painter's tape as we know it is a relatively recent invention (3M introduced the first version in the 1920s), but the need for precise masking in art goes back centuries. Understanding this history gives you deeper appreciation for the tool and connects you to a lineage of artists who faced the same fundamental challenge: how do you create perfect boundaries in an imperfect medium?
I find it fascinating that artists have been solving the precision problem for literally thousands of years. The cave painters at Lascaux used their hands as stencils. Ancient Egyptian artists used string dipped in pigment to create straight lines on tomb walls. Medieval manuscript illuminators developed sophisticated masking techniques using wax and gum arabic. We're just the latest generation in a very long line of problem-solvers.
Before Modern Tape: The Pre-Adhesive Era
Artists throughout history used various techniques to achieve clean edges and precise lines:
- Frisket: A masking material used in watercolor painting, typically made from rubber cement or liquid latex that could be painted on and peeled off. The word comes from the French "frisquette," referring to a thin paper frame. I've experimented with traditional frisket recipes using natural rubber and turpentine—the smell alone makes you appreciate modern alternatives.
- Stencils: Cut templates made from paper, cardboard, or metal that allowed artists to paint precise shapes repeatedly. The Japanese katazome stencil tradition, using handmade washi paper treated with persimmon tannin, represents perhaps the most sophisticated pre-industrial stencil technology.
- Straight Edges and Shields: Using rulers, t-squares, and custom-cut shields made from cardboard or metal to protect areas while painting. The French Académie des Beaux-Arts in the 19th century had specialized brass shields called "cache-lumière" (light-hiders) for creating precise light effects.
- Painter's Putty or Glazing Putty: Used to create seals around areas to be protected. Historical recipes often included linseed oil, whiting (chalk), and sometimes beeswax or resin.
- Wax Resist: In encaustic and some watercolor traditions, artists used melted wax applied with brushes or tools to create areas that would resist subsequent paint applications—a technique still used today in batik fabric art.
These methods were time-consuming, often messy, and relatively imprecise compared to modern painter's tape. The invention of pressure-sensitive adhesive tapes revolutionized how artists could approach precision work. The transition from laborious manual techniques to instant adhesive masking represented a democratization of precision—suddenly artists without years of specialized training could achieve line quality that previously required master-level brush control.
The Tape Revolution: From Automotive Shop to Artist's Studio
The development of the first masking tape by 3M in 1925 (initially for automotive painting) and the later refinement into painter's-specific tapes opened up entirely new possibilities for artists. Suddenly, creating complex geometric compositions became significantly more accessible.
The story of how masking tape was invented is actually quite fascinating and speaks to the serendipity of innovation. In 1925, a 3M lab technician named Richard Drew was testing sandpaper samples at an automotive body shop when he noticed workers having trouble creating clean two-tone paint jobs. They were using surgical tape and newspaper, but when they removed the tape, it either pulled up paint or left adhesive residue. Drew went back to his lab and, after much experimentation, created the world's first pressure-sensitive masking tape using cabinetmaker's glue spread on crepe paper.
The original tape had adhesive only on the edges—the center strip remained non-adhesive! It wasn't until customer feedback (and some frustration) that 3M developed fully-adhesive masking tape. By the 1930s, they had refined the formula for painter's-specific applications, and what we now know as "painter's tape" was born.
By the 1960s, artists were adopting these commercial products for studio use. The emergence of hard-edge painting and geometric abstraction as major movements created the perfect aesthetic environment for tape-based techniques. Artists like Frank Stella could execute their precise geometric visions without having to develop the superhuman brush control that would have been required in previous eras.
Artists Who Mastered Hard-Edged Precision: A Visual Tradition
Several art movements and individual artists are particularly associated with the precise, hard-edged aesthetic that painter's tape facilitates. What's interesting is that most of these artists developed their techniques before modern painter's tape was widely available, making their achievements even more remarkable. Their work proves that the desire for precision predates the tools for easy precision—and understanding their methods can deepen your appreciation for both historical technique and modern convenience:
I've spent countless hours in museums studying how these artists achieved their precision—sometimes literally crawling on the floor to examine brushstrokes at eye level. What becomes clear is that precision has always been a central concern for certain types of artistic expression.
- Geometric Abstraction: Artists like Piet Mondrian, Kasimir Malevich, and the De Stijl movement created compositions based on precise geometric relationships. Mondrian's quest for "universal harmony" through right angles and primary colors represents perhaps the purest expression of geometric precision. His painstaking technique involved applying thin strips of paper as guides, painting up to them, letting the paint dry, then moving the guides—a process that could take weeks for a single composition.
- Hard-Edge Painting: The mid-20th century movement including artists like Ellsworth Kelly, Frank Stella, and Kenneth Noland, who emphasized sharp, clean edges and flat areas of color.
- Op Art: Artists like Bridget Riley and Victor Vasarely used precise geometric patterns to create optical effects, often requiring clean, sharp lines to achieve the desired visual impact. Riley's early black-and-white works were executed with such precision that viewers reported physical sensations of movement and vibration—effects that would be impossible without absolutely perfect line quality. She developed elaborate systems using rulers, compasses, and hours of meticulous measurement to achieve these effects freehand.
- Contemporary Geometric Artists: Modern artists like Sarah Morris, Julian Stanczak, and many others continue this tradition, often using painter's tape as an essential tool for their precise compositions.
What's fascinating is that while these historical artists achieved their results through painstaking manual techniques, today's artists can achieve similar precision much more efficiently thanks to modern painter's tape. It democratizes precision, making it accessible to artists at all skill levels and working in all kinds of spaces (not just professional studios with specialized equipment).
The Tape as Democratizing Tool: Precision for the People
This is what I find most exciting about painter's tape: it's a democratizing tool. Before modern masking materials, achieving precision required years of practice, specialized knowledge, or expensive equipment. Now, any artist with a roll of tape and some basic technique can create work that requires the kind of precision that was once the exclusive domain of master craftspeople.
I witnessed this democratization firsthand when I started teaching community art classes a few years ago. Students who had been painting for only a few months were creating compositions with line quality that would have taken professional artists decades to master in previous generations. One student, a retired nurse in her 60s who had never painted before, created a geometric abstract piece in her second class that had the technical precision of a professional hard-edge painter. When she peeled away that first piece of tape and saw the perfect line underneath, the look on her face—pure wonder mixed with empowerment—captured exactly what this tool means for artistic accessibility.
It's not cheating to use tape. Let me say that again: using painter's tape is not cheating. It's using the right tool for the job, just like using a ruler to draw a straight line or a compass to draw a perfect circle. The creativity isn't in whether you can paint a straight line freehand—it's in the composition, color choices, and overall vision for the piece.
Some of the most innovative contemporary art being made today embraces the aesthetic possibilities that tools like painter's tape make possible. The clean lines, precise geometric shapes, and sophisticated negative space work that define much of contemporary abstract art would be incredibly difficult (and in some cases impossible) to achieve without these tools.
Rather than seeing tape as a crutch, see it as a creative amplifier—a tool that expands rather than restricts your creative possibilities.
Beyond the Basics: Painter's Tape in Action
Okay, so you know the types and understand different mediums. Big deal. Anyone can read a label. What makes this truly powerful is understanding how to wield these different tapes as creative tools. Let's dive into specific techniques that will transform how you approach composition and precision in your work.
A painter once told me, "Tape is either your master or your servant—the difference is in your understanding." At the time, I thought it was just a catchy line. But after fifteen years of working with this material, I realize he was absolutely right. The artists who struggle with tape are trying to impose their will on it. The artists who succeed understand what tape wants to do naturally and channel that behavior toward their creative vision.
What follows are not just techniques, but ways of thinking—approaches that consider both the physics of the materials and the poetry of the artistic vision.
Technique 1: Creating Crisp Geometric Abstraction
This is what most people think of when they imagine painter's tape in art. You're creating hard-edged, geometric shapes within your composition. Think Piet Mondrian's compositions or the bold abstractions of Frank Stella.
The Process:
- Surface Preparation: Start with a completely dry surface. If you're working on canvas, make sure any gesso or underpainting is fully cured (at least 24-48 hours).
- Plan Your Lines: Lightly sketch or mentally map where you want your tape lines to go. I often use a light pencil or even just visualize the composition first.
- Apply and Burnish: Apply your chosen tape (blue for smooth surfaces, green for textured). Here's the crucial step most people skip: use a credit card, bone folder, or your fingernail to burnish (firmly rub) along the edges of the tape. This ensures maximum contact and helps prevent bleeding.
- Paint Application: Apply your paint in thin, even layers rather than one thick coat. Multiple thin coats are less likely to seep under the edges than one heavy application. Let each coat become touch-dry before applying the next.
- Timing is Everything: Remove the tape while the final coat is still slightly wet to touch-dry. This is counterintuitive but crucial. If you wait until the paint is fully dry, you risk peeling some of the paint away with the tape, creating a ragged edge.
- The Peel: Pull the tape back on itself at a 45-degree angle (or even more acute), not straight up. This gives you the cleanest possible line.
Pro Tip: If you're creating multiple colors next to each other, work from lightest to darkest if possible. It's easier to cover up a small amount of dark paint bleeding under tape than it is to cover light paint.
Technique 2: Negative Space Preservation
Sometimes the most powerful statement is what you don't paint. Painter's tape is brilliant for preserving areas of white paper or canvas, creating contrast and focus in your composition. This is especially powerful in abstract art where the interplay between positive and negative space creates visual tension.
The Process:
- Define Your Whites: Identify the areas you want to keep paint-free.
- Overlap for Security: When applying tape, overlap strips slightly rather than trying to butt them perfectly edge-to-edge. This creates a more secure seal and prevents small gaps where paint can sneak through.
- Paint Boldly: Once your negative space is protected, you can paint around it with complete freedom, using techniques like splattering, pouring, or aggressive brushwork that would otherwise destroy those crisp edges.
- The Big Reveal: When you peel away the tape, you'll reveal those pristine white spaces that create such powerful contrast against your more expressive painted areas.
I love using this technique when I want to create the illusion that a chaotic, energetic paint application happened to perfectly frame a specific shape. It creates a beautiful tension between control and chaos.
Technique 3: Layered Composition Building
This is where painter's tape becomes a truly sophisticated tool for building complex, multi-layered compositions. You're essentially working in reverse, protecting each successive layer while you work on others.
The Process:
- First Layer: Apply your base colors or background elements and let them dry completely.
- Protect and Add: Apply tape to protect areas you want to preserve from the first layer, then paint your second layer over everything.
- Reveal and Repeat: Remove the tape, let everything dry, then re-apply tape to protect different areas before adding your third layer.
- Continue Building: You can repeat this process as many times as you want, building up incredibly complex compositions with clean edges and preserved colors from multiple layers.
This technique is how you create those stunning pieces where it looks like different colored geometric shapes are floating at different depths within the composition. It's time-consuming but incredibly rewarding.
Technique 4: Mixed Media and Collage Integration
Painter's tape isn't just for paint! You can use it as a temporary adhesive for collage elements, or to mask off areas while you work with other media.
Uses:
- Ink and Watercolor: Create crisp borders for ink washes or watercolor applications
- Spray Paint: Mask off areas when using spray paint for stencil-like effects
- Pastels and Charcoal: Protect areas from smudging while you work on other sections
- Collage: Temporarily hold collage elements in place while you test compositions, then swap them out or commit with permanent adhesive
- Edge Seal Technology: Quality painter's tape features what's called a 'no-bleed' edge—a slightly modified adhesive composition along the edges that creates a tighter seal against the surface. This is the critical difference between a crisp line and a fuzzy one. low-tack adhesion.
- Wavy Edge Technology: Look closely at the edge of quality painter's tape under light, and you'll see it's not perfectly straight. These microscopic waves allow the adhesive to conform more closely to textured surfaces like canvas, creating a better seal.
- Crepe Paper Backing: Unlike the smooth plastic backing of packing tape, painter's tape uses a slightly textured, crepe paper backing. This material is flexible yet strong, and it's designed to be easily torn by hand without leaving frayed edges.
- UV Resistance: High-quality painter's tape is often UV-resistant, meaning it won't degrade or become brittle when exposed to sunlight during outdoor projects or when working near windows.
The result? You can apply it with confidence, paint right up to its edge, and peel it away days later to reveal a line so sharp it looks like it was cut with a laser.
But here's what most people don't realize: that 'magic' isn't magic at all. It's precision engineering. The adhesive strength is carefully calibrated—measured in ounces per inch of peel strength—to be strong enough to resist paint bleed, but weak enough to release cleanly. Manufacturers literally test this on thousands of surfaces to get the formula just right.
A Guide to the Tape Aisle: Understanding Painter's Tape Types
Walking into an art supply store or hardware store can feel overwhelming. There are dozens of tapes claiming to be 'the best' for painting. But once you understand the coding system, it all becomes much clearer.
The most important thing to look for is the numbered rating system. You'll see products labeled 'Delicate Surface,' 'Multi-Surface,' or 'Edge-Lock,' but the numbers tell the real story.
The Day Rating System Explained
Understanding the numbered rating system is crucial for selecting the right tape. These numbers aren't arbitrary—they represent specific adhesive formulations with different polymer chemistries designed for specific applications:
Rating | Color Coding | Adhesion Level | Best For | How Long to Leave On |
|---|---|---|---|---|
| #2060 (Blue) | Blue | Light | Fresh paint (24hr+), delicate papers, untreated canvas | Up to 14 days |
| #2080 (Purple) | Purple | Light | Multiple surfaces, moderate sealing needs, general art projects | Up to 21 days |
| #2090 (Green) | Green | Medium | Rough surfaces, longer projects, stronger hold required | Up to 30 days |
| #2040 (Orange) | Orange | Medium-Heavy | Outdoor projects, textured walls, heavy-bodied paints | Up to 45 days |
| #2140 (Red) | Red | Heavy-Duty | Extreme conditions, industrial applications (rare for artists) | 60+ days |
Wait, did I just say you need to think about how long the tape stays on? Absolutely. One of the biggest mistakes artists make is leaving tape on for weeks, only to find it's bonded permanently to their work.
Here's the rule of thumb: The lower the number, the gentler the tape. For most canvas work and paper art, I almost always reach for the blue (#2060) or purple (#2080) varieties. They're like the reliable friends who help you out but know when to leave gracefully.
Specialized Tapes for Specialized Problems
Beyond the numbered system, you'll encounter tapes designed for very specific purposes:
- Fine Line Tape (1/8", 1/4" widths): These narrow tapes are perfect for detail work, creating thin geometric lines, or working in small areas of your composition where standard 1-inch tape would be too bulky.
- FrogTape (Yellow or Green): This isn't just a brand name—it's a technology. FrogTape has a patented PaintBlock technology that actually reacts withlatex paint to form a gel barrier at the tape's edge, creating what's essentially a microscopic dam against paint bleed. It's revolutionary for achieving perfect lines with minimal effort, though I find it works best on smooth surfaces.
- Washi/Japanese Paper Tape: Made from natural fibers like hemp or bamboo, this tape is incredibly gentle and has a beautiful, slightly translucent quality. It's perfect for collage work, mixed media projects, or creating textured borders. Since it's made from paper fibers, it can sometimes tear if you're not careful, but that organic quality is part of its charm.
- Gaffer Tape (Cloth-Backed): While not technically painter's tape, gaffer tape deserves mention for mixed-media artists. It's incredibly strong, leaves minimal residue compared to duct tape, and comes in various colors. I use it for masking off large areas quickly or creating bold geometric shapes in street art projects, but you'd never use it on a finished painted surface you care about.
The Artist's Arsenal: When and How to Use Painter's Tape
Now that you know what you're working with, let's talk about how to wield these tools effectively. Painter's tape isn't just for making straight lines—it's a fundamental technique for achieving specific artistic effects that would be nearly impossible freehand.
Creating Negative Space with Surgical Precision
One of my favorite techniques is using tape to create dynamic negative space. Instead of painting around an area and hoping for clean edges, I'll often tape off sections to preserve them completely.
Let me walk you through a typical workflow:
- Plan Your Composition: Before any tape touches the surface, I sketch lightly with a pencil or even just visualize where I want my preserved areas to be. Are they geometric shapes? Organic curves? Irregular patterns?
- Tape Application: Using the appropriate tape (blue for most situations), I carefully lay down the tape to create my negative space zones. Here's the crucial part: I burnish the edges. That means I take a credit card, a bone folder, or even just my fingernail and rub firmly along the tape's edge for 15-30 seconds. This ensures maximum contact with the surface and minimizes paint bleed.
- Paint Application: I paint right over the tape without fear. I'll often do multiple layers, letting each dry before applying the next. The tape acts as a temporary shield.
- The Big Reveal: This is the moment of truth. I wait until the paint is touch-dry (at least a few hours, sometimes overnight), then slowly peel the tape back on itself at a 45-degree angle. That angle is important—pulling straight up can sometimes cause the paint film to lift with the tape.
The result? Shapes so clean they look like they were always meant to be there. I've used this technique countless times in my abstract works, creating everything from sharp geometric contrasts to preserving intricate patterns that would be impossible to paint around.
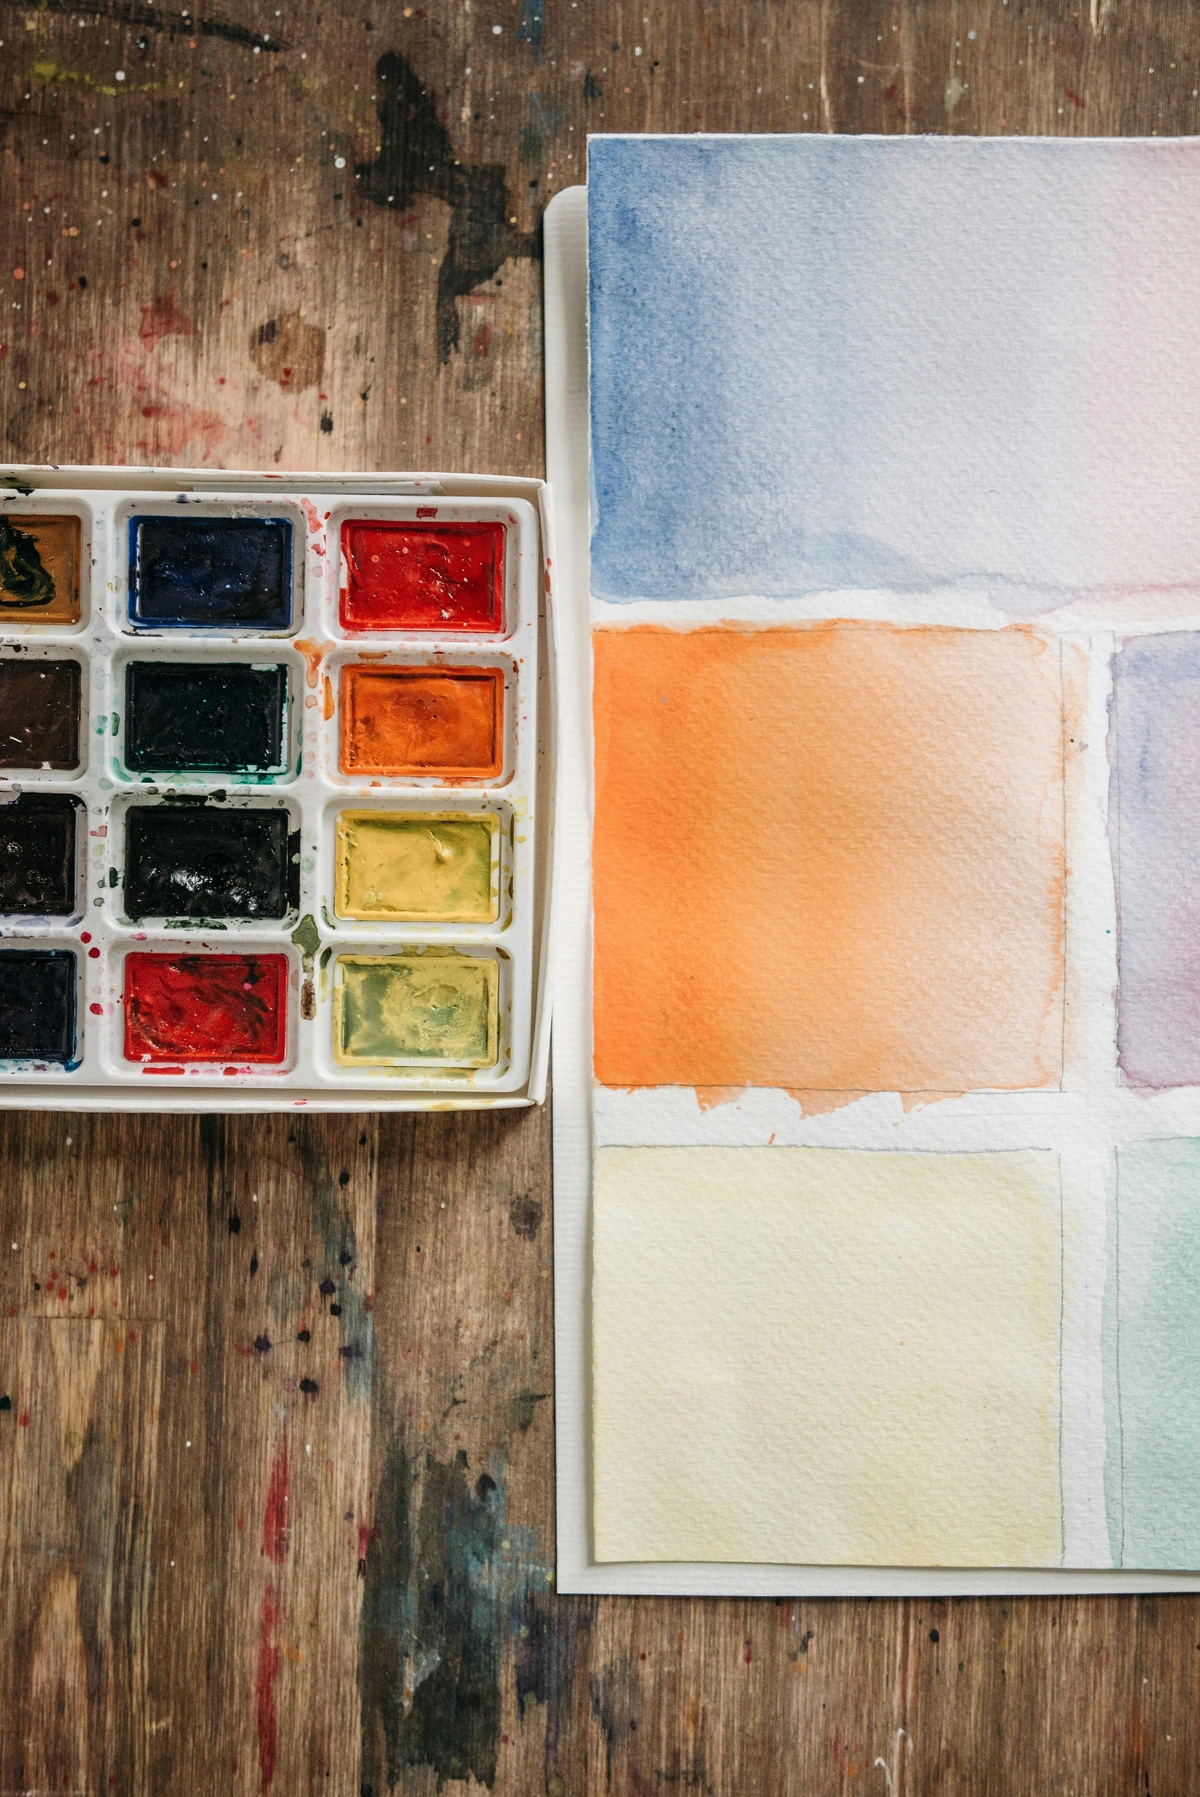
Layering Colors with Taped Barriers
Perhaps the most sophisticated use of painter's tape is creating multi-layered compositions where each color field has its own distinct shape and boundary. This technique requires patience and planning, but the results can be extraordinary.
Imagine you want to create a composition with three overlapping color fields—a deep blue rectangle, a vibrant orange circle, and a soft green triangle. Here's how you'd approach it:
First Layer (Blue Rectangle):
- Tape off the area where you don't want blue paint while leaving the rectangle shape exposed.
- Paint your blue layer and let it dry completely (24 hours minimum for acrylics).
- Carefully remove the tape.
Second Layer (Orange Circle):
- Now tape around the perimeter of where you want your orange circle. This tape will go over some of the dry blue paint.
- Apply your orange paint, let it dry completely.
- Remove this tape layer.
Third Layer (Green Triangle):
- Tape for your third color, overlapping the previous two layers.
- Paint, dry, and remove.
This process of layering, drying, and re-taping is fundamental to achieving complex geometric abstractions where colors don't mix or bleed into each other. I've spent entire weeks on a single piece, adding one taped layer per day, building up a composition that has the precision of architectural drafting but the soul of abstract expressionism.
Creating Texture and Dimension
Here's a technique that might seem counterintuitive: using tape not just to block paint, but to create texture. This represents a fundamental shift in thinking—from tape as a masking tool to tape as a texture-generation tool. When you make this mental leap, entirely new creative possibilities emerge:
The Tape Lifting Technique: Apply tape to a painted surface that's not quite dry (about 50-70% dry). When you peel it away, it will pull up microscopic amounts of semi-dry paint, creating a subtly textured edge that has an organic, almost distressed quality. This works particularly well with heavy-body acrylics or impasto techniques where the paint has real physical dimension.
Tape as a Stencil: Instead of using tape just to preserve what's underneath, use it as a removable stencil. Apply tape, paint over it heavily, then immediately remove the tape while the paint is still wet. This creates a clean 'reverse' shape where the paint is thicker at the edges. It's a fantastic way to add depth and interest to flat color fields.
Surface Matters: Adapting Your Tape Strategy
One of the biggest variables in tape success is the surface you're working on. The same tape that gives you perfect lines on smooth masonite might fail completely on a heavily textured canvas.
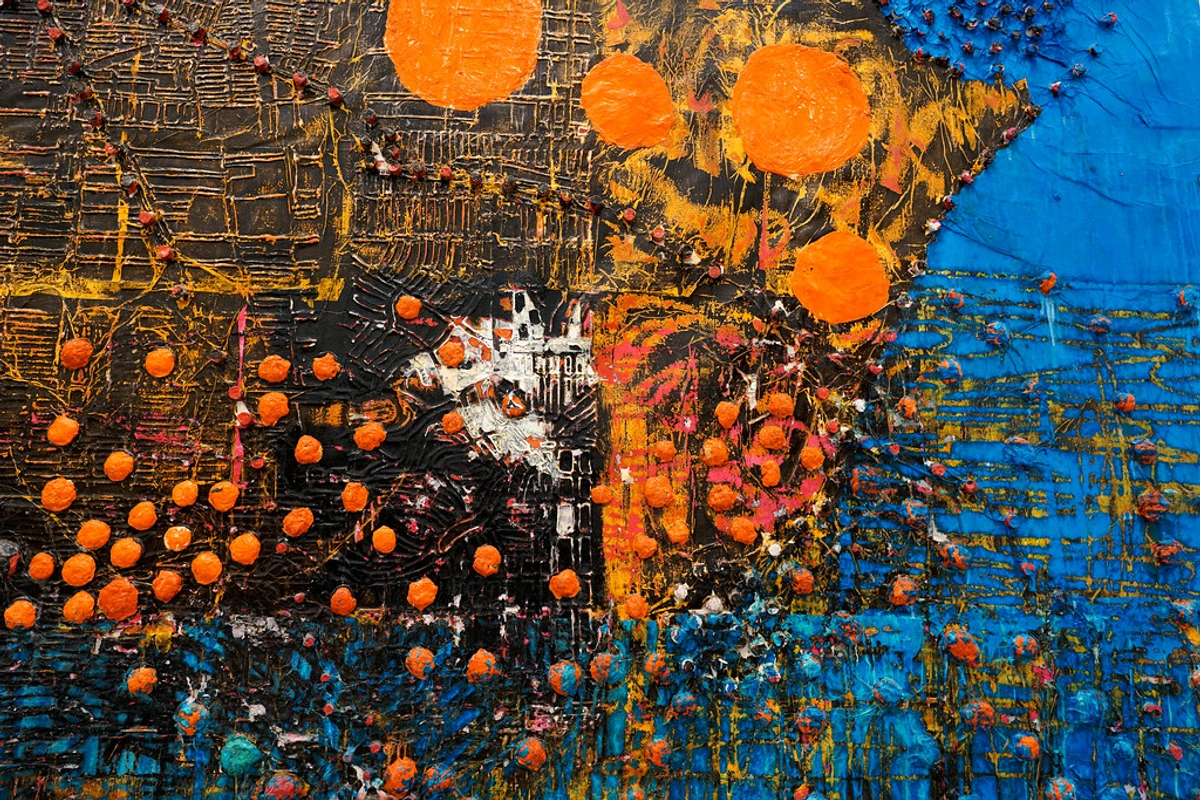
Working on Different Canvases
Surface Type | Best Tape Choice | Technique Notes | Common Pitfalls |
|---|---|---|---|
| Smooth Primed Canvas | Blue (#2060) or Purple (#2080) | Easiest surface for clean lines. Standard burnishing works perfectly. | None, really. This is beginner-friendly. |
| Linen Canvas (Medium Texture) | Purple (#2080) with extra burnishing | The natural texture of linen requires more pressure when applying tape. | Paint can creep into the weave if not thoroughly burnished. |
| Heavy-Texture/Impasto Underlayer | None—avoid tape if possible | Consider masking fluid or freehand techniques instead. | Tape cannot conform to extreme texture, guaranteed bleed. |
| Untreated/Gessoed Wood Panel | Blue (#2060) for smooth, Green (#2090) for rough | Test on scrap first. Sand between coats for best results. | Tape can pull up wood fibers on untreated surfaces. |
| Watercolor Paper (Cold Press) | Blue (#2060), applied very gently | Use minimal pressure to avoid damaging paper surface. | Rough paper texture makes perfect lines nearly impossible. |
| Watercolor Paper (Hot Press) | Blue (#2060) | Smooth surface takes tape beautifully, similar to smooth canvas. | Tape removal can sometimes tear paper fibers if paper is too wet. |
The Paint Medium Variable
The type of paint you use dramatically affects your tape strategy. This is where many artists get frustrated—they'll have success with acrylics, then try the same technique with oils and end up with a mess.
Acrylics: Acrylics are the most tape-friendly medium. They dry quickly, form a flexible film, and release cleanly from tape. You can typically remove tape from acrylic paint within a few hours of application.
Oils: This is where you need patience. Oil paint can remain soft for days, weeks, or even months. If you apply tape to oil paint that hasn't fully cured (which can take 6-12 months for some paints), you risk pulling up the entire layer when you remove the tape.
For oil painters, the rule is simple but strict: Only use tape on oil paintings that you know have fully cured, or use it to mask off areas before you begin painting. Never apply tape to fresh oil layers.
Watercolor/Gouache: Water-based media require a completely different approach. You apply tape to dry paper before painting, then paint over it. The challenge isn't pulling up paint—it's preventing the tape from allowing water to bleed underneath. I find that applying tape, then painting a thin 'barrier' line of clear water along the tape edge and letting it dry before applying color can help seal the edge.
Pro Techniques: Elevating Your Tape Game
After years of working with tape, I've collected a toolbox of techniques that go beyond the basic 'tape and paint' approach. These are the methods that can take your work from good to gallery-quality. What makes these "pro" techniques isn't just their effectiveness—it's understanding the underlying physics and chemistry that make them work. When you know why something works, you can adapt it to any situation.
The Double-Burnish Method for Perfect Lines
If you're struggling with paint bleed under your tape, this technique can be a game-changer. Instead of just burnishing once after applying tape, do it twice:
- First Burnish: Apply your tape and burnish thoroughly with a credit card or burnishing tool.
- Paint Your Seal Coat: Mix a small amount of your base color (or clear medium for acrylics) with a drop of water to thin it slightly. Using a small brush, paint this thin mixture along the tape edge. The goal is to create a seal that penetrates any microscopic gaps between tape and surface.
- Let Dry Completely: This seal coat dries in minutes since it's so thin.
- Paint Your Main Layers: Now apply your regular paint layers. Because the edge is pre-sealed, you'll get dramatically less bleed.
I use this technique religiously when working on commissioned pieces where there's no room for error. It adds about 10-15 minutes per tape application, but the results speak for themselves.
Creating Organic Shapes with Torn Tape
Who says tape is only for straight lines? By tearing your tape before application, you can create beautiful, organic, irregular edges that have a completely different feel than hard geometric lines.
The Technique:
- Tear several strips of tape into irregular shapes. Don't use scissors—tear by hand to get truly organic edges.
- Apply these torn pieces to your surface, slightly overlapping them to create larger complex shapes.
- Paint over as usual.
- When you remove the tape, you'll have edges that look naturally irregular, almost like water erosion or organic growth patterns.
This technique works particularly well in abstract landscapes or when you want to suggest natural forms without being explicit about them.
Tape Gradients and Ombre Effects
Creating smooth gradients with tape might seem impossible, but there's a technique that gives you remarkable control:
The Progressive Masking Method:
- Paint your entire gradient freehand first, from light to dark.
- Let it dry completely.
- Now apply tape strips horizontally across your gradient, leaving the lightest area exposed.
- Mix a slightly darker version of your mid-tone and paint it over the entire exposed area.
- Remove tape, let dry, then re-tape leaving more of the gradient exposed.
- Continue this process, progressively darkening successive layers while preserving your lightest areas with tape.
Each layer adds depth and richness to the gradient. It's time-consuming—this might take a full day of layering—but the result is a gradient with incredible depth and no visible brushstrokes.
Negative Painting with Tape
This is one of my favorite advanced techniques. Instead of painting positive shapes, you use tape to preserve areas while painting negative space around them.
The Process:
- Identify the shapes you want to emphasize (let's say, three circles).
- Tape off everything except those three circles.
- Paint your first negative space layer—perhaps a dark background.
- Let dry, remove tape, then re-tape to preserve the circles plus some surrounding area.
- Paint your second negative layer—maybe a medium tone.
- Continue this process until you have multiple layers of negative space creating dimension around your primary shapes.
The final result has an almost holographic quality, with your main shapes seemingly glowing against multiple layers of progressively darker negative space.
Removing Tape Without Tears (Literally)
Even with perfect technique, sometimes tape removal can be tricky. Here are my field-tested methods for dealing with common problems:
Problem: Tape won't peel off easily.
- Solution: Use a hairdryer on low heat for 30 seconds along the tape edge. The gentle warmth softens the adhesive and makes removal much easier without damaging the paint.
Problem: Tape is taking paint with it.
- Solution: Score along the tape edge VERY LIGHTLY with a craft knife. This cuts the paint film and prevents it from pulling up beyond the score line. Use extreme caution—you only want to cut through the paint, not the canvas.
Problem: Adhesive residue left behind.
- Solution: Never use chemical solvents on fresh paint. Instead, use the 'lift and press' method with a clean piece of tape—repeatedly press and lift the residue with fresh tape until it's gone (this works through adhesive transfer physics: the fresh tape's adhesive is stronger than the cured residue's bond to the surface). For stubborn residue, a drop of baby oil on a cotton swab can work (the oil plasticizes the adhesive), but test on a hidden area first.
Problem: Paint bled under the edge despite burnishing.
- Solution: Wait until everything is bone dry, then use a small artist's knife or razor blade to carefully scrape away the bleed. Work at a shallow angle and use very light pressure. If the bleed is extensive, you might need to paint over it with the original base color and start again.
The Tape-Friendly Studio: Setting Yourself Up for Success
Having the right workspace setup can make a huge difference in your tape work quality and efficiency. Over the years, I've developed a checklist of tools and practices that make complex tape projects much more manageable.
Essential Tape Tools
Beyond just the tape itself, these tools should be in every artist's arsenal:
- Burnishing Tool: While a credit card works in a pinch, dedicated burnishing tools (often called 'bone folders' or 'tape burnishers') have the perfect edge shape and rigidity. They're like $3 and last forever.
- Tape Dispenser with Cutter: This might seem like a luxury, but if you do a lot of tape work, having a dispenser that cuts cleanly and holds multiple widths saves enormous time and frustration.
- Small Craft Knife/Razor Blade: For precision work, removing bleed, and making tiny corrections, a sharp blade is essential. I prefer safety craft knives with retractable blades.
- Magnifying Lamp or Headband Magnifier: For detailed work or when working with fine-line tape (1/8" or 1/4"), being able to see what you're doing clearly is crucial. These are surprisingly affordable now.
- T-Square or Triangle (for large work): When you need truly straight lines across large canvases, a plastic T-square can help you lay tape perfectly parallel to canvas edges.
Organizing Your Tape Collection
If you're like me, you'll end up with a drawer full of half-used tape rolls. Here's my system for keeping them organized and usable:
- Label Everything: When you open a new roll, write the date on the inside of the core with a permanent marker. Tape loses its effectiveness over time (usually 12-18 months for optimal performance), and this helps you track how old your supply is.
- Store Flat and Sealed: Keep tape rolls in a drawer lying flat, not standing on edge. Better yet, store them in ziplock bags with the air pressed out. This prevents dust accumulation and keeps the adhesive fresh.
- Sort by Width AND Type: I have separate containers for 1/8", 1/4", 1/2", and 1" tapes, and within those, I separate by adhesion level (blue, purple, green).
- The 'End Tab' System: When you're done using a piece of tape, never just let the end flap loose. Fold over the last 1/2 inch of tape to create a little 'tab'—it makes the next use so much easier to start.
Creating a Tape Station
For large projects with many tape applications, I set up a dedicated 'tape station' near my easel:
- A cutting mat or self-healing mat on a side table
- A dispenser with my primary tape loaded
- A small trash receptacle for tape scraps (you go through a lot)
- A burnishing tool on a string so I don't lose it
- A small notebook for tracking which layers I've applied
This might sound overly organized, but when you're on day 12 of a complex layered piece and can't remember which areas are taped for which color, having systems becomes crucial.
Beyond the Canvas: Unexpected Uses for Painter's Tape
While we've focused on traditional painting applications, painter's tape is incredibly versatile throughout the artistic process. Here are some unconventional uses that might spark ideas:
Mathematical and Proportional Systems
Painter's tape can serve as a physical tool for implementing mathematical concepts in your art. I've used tape to explore:
- Golden Ratio Applications: Mark golden ratio points (approximately 1:1.618) on canvas edges to position key compositional elements
- Rule of Thirds Grid: Create temporary 3x3 grids for landscape and portrait composition planning
- Fibonacci Spiral Mapping: Use tape sections to plot Fibonacci spiral curves for organic composition layouts
- Sacred Geometry: Construct complex geometric patterns like Metatron's Cube or Flower of Life designs for spiritual/inspired artwork
- Dynamic Symmetry: Use diagonally-placed tape to explore dynamic symmetry principles favored by classical painters and illustrators
Color Field Testing and Optical Mixing
Create precise test zones for exploring color relationships that would be impossible to evaluate mentally:
- Simultaneous Contrast Zones: Test how the same color appears radically different when placed against different backgrounds
- Optical Mixing Grids: Create Josef Albers-style grids to explore how small adjacent color areas mix optically at distance
- Gradient Analysis: Mask off progressive zones to test custom gradients and transition effects
- Value Studies: Create precise black-to-white value scales to test composition in grayscale before committing to color
Studio Organization and Planning
- Wall Layout Planning: Before starting a large composition, I often lay out the major shapes and lines with tape directly on my studio wall. It's like having a full-scale sketch that I can adjust by simply re-positioning tape. I can live with a composition for days, making micro-adjustments before ever touching canvas.
- Color Testing Zones: Create small 'frames' on canvas or paper with tape and test different color combinations within each frame. You get to see how colors interact in the actual environment they'll be used in.
- Palette Organization: Use small pieces of tape to label paint colors on your palette or to create barriers between different color families.
Mixed Media and Collage Applications
- Temporary Adhesive: When creating collage compositions, tape (especially washi tape) can temporarily hold elements in place while you test layouts. You can lift and reposition without damage.
- Tearing Guide: Place tape along a line where you want to create a controlled tear in paper. The tape reinforces the paper fibers, creating a clean tear along the tape edge.
- Resist for Inks/Dyes: Painter's tape works as an excellent resist for liquid inks, fabric dyes, or even coffee staining techniques in art journaling.
The Learning Process
- Grid Drawing Aid: Create temporary grids on reference photos or drawings with tape to help with proportions when transferring images.
- Composition Analysis: When studying great paintings (either in books or at museums), laying strips of tape over reproductions to analyze the underlying geometric structures can reveal compositional secrets you'd otherwise miss.
I even know artists who use painter's tape to create temporary frames on walls to help visualize how different artworks will look in a space before committing to hanging hardware.
Common Mistakes and How to Avoid Them
Over the years, I've made every mistake possible with painter's tape. I've had tape pull up entire sections of wet paint, I've left it on so long it became permanent, and I've created more frustrating bleed lines than I care to remember. Here are the most common pitfalls and how to dodge them.
The Seven Deadly Sins of Tape Use
1. Impatience (Not Waiting for Paint to Dry) This is the number one killer of clean lines. If you pull tape off wet paint, you'll get ragged, torn edges instead of crisp lines.
- The Fix: Wait longer than you think necessary. For acrylics under normal conditions, minimum 2-4 hours. For oils, you're looking at weeks or months. When in doubt, err on the side of waiting.
2. Greed (Leaving Tape on Too Long) The opposite problem. High-quality painter's tape is designed to release easily for up to 14-30 days (depending on type). Beyond that, the adhesive begins to cure and bond permanently.
- The Fix: If you know a project will take longer than a month, either work in sections or use a different approach entirely. Never assume tape is 'set it and forget it.'
3. Rushing (Insufficient Burnishing) Laying down tape isn't enough. Those edges need to be pressed down thoroughly to seal against paint bleed.
- The Fix: Spend 15-30 seconds per linear foot of tape, really working the burnishing tool along the edge with firm pressure. If your arm isn't a little tired, you're not doing it thoroughly enough.
4. Wrong Tape for the Job Using green or orange tape (high adhesion) on delicate watercolor paper or fresh acrylic paintings is asking for trouble.
- The Fix: Match your tape to both your surface and your paint. When in doubt, go gentler (lower number). You can always use gentle tape on a tough job, but you can't use aggressive tape on a delicate one.
5. Surface Preparation Neglect Applying tape to dusty, oily, or damp surfaces guarantees poor adhesion and bleed.
- The Fix: Wipe down your surface with a clean, dry cloth before applying tape. If the surface feels at all oily or contaminated, clean with rubbing alcohol and let dry completely.
6. The Wrong Angle of Attack (Removal Technique) Pulling tape straight up (90 degrees) puts maximum stress on the paint film and can cause cracking or lifting. Pulling too slowly can cause the tape to tear.
- The Fix: Pull tape back on itself at a 45-degree angle, moving at a steady but brisk pace. Think of it like removing a band-aid—one smooth motion rather than hesitant tugging.
7. Cheap Tape Syndrome Not all painter's tape is created equal. The dollar-store variety might look the same, but the adhesive formulation and paper quality are vastly inferior.
- The Fix: Buy quality tape from reputable art supply or hardware brands. The few dollars you save on cheap tape will be spent ten times over in frustration and ruined work. Trust me on this one.
Reading Between the Lines: Troubleshooting Guide
Sometimes despite your best efforts, things go wrong. Here's a quick reference for diagnosing and fixing common tape failures:
Paint Bleed: The Ultimate Frustration
Symptom: Paint has crept under the tape edge, creating a fuzzy line instead of a sharp one.
Likely Causes & Solutions:
- Cause: Insufficient burnishing → Solution: More thorough burnishing, consider double-burnish method
- Cause: Too-thin paint consistency → Solution: Thicken your paint slightly or apply in thinner layers
- Cause: Textured surface → Solution: Use tape with better conformability (higher number) or accept some bleed as texture
- Cause: Temperature/humidity extremes → Solution: Work in climate-controlled environment if possible
After-the-Fact Fix: Let paint dry completely, then carefully scrape away bleed with a razor blade held at shallow angle.
Tape Won't Stick Properly
Symptom: Tape won't adhere to surface, keeps lifting or won't lay flat.
Likely Causes & Solutions:
- Cause: Dirty/oily surface → Solution: Clean surface with rubbing alcohol
- Cause: High humidity → Solution: Work in drier conditions or use dehumidifier
- Cause: Old/expired tape → Solution: Replace with fresh tape roll
- Cause: Wrong tape for surface → Solution: Try different adhesion level
Tape Removes Paint When Peeled
Symptom: When removing tape, it takes layers of paint with it, sometimes down to the bare surface.
Likely Causes & Solutions:
- Cause: Paint wasn't fully dry/cured → Solution: Wait much longer before removing tape
- Cause: Poor adhesion between paint layers → Solution: Ensure proper surface preparation between coats
- Cause: Tape too aggressive for surface → Solution: Use gentler tape (lower number)
- Cause: Painted over uncured oil layers → Solution: Wait for full cure (6+ months for oils)
Salvage Strategy: Score along tape edge with craft knife before removal to cut paint film.
Adhesive Residue Left Behind
Symptom: After removing tape, sticky residue remains on the painted surface.
Likely Causes & Solutions:
- Cause: Tape left on too long → Solution: Remove tape within recommended time frame
- Cause: Heat exposure → Solution: Store artwork in moderate temperature
- Cause: Cheap/low-quality tape → Solution: Use better quality tape
Removal Methods (in order of gentleness):
- Lift with fresh tape (press and lift repeatedly)
- Rub gently with clean finger (body heat can soften adhesive)
- Dab with baby oil on cotton swab (test first!)
- Specialized adhesive removers (absolute last resort)
The Economics of Quality: Building Your Tape Budget
I want to address something practical that often doesn't get discussed: the cost of quality tape work. Good painter's tape isn't cheap—a quality 1-inch roll might cost $8-12—and complex projects can easily consume multiple rolls.
Cost vs. Quality Analysis
Here's a breakdown of what you're actually paying for:
Tape Quality Level | Price per Roll (1") | Best Use Case | Cost per Project | Why It Matters |
|---|---|---|---|---|
| Economy/Generic | $2-4 | Practice, temporary work, students | Low | Not reliable for finished work, high failure rate |
| Mid-Range (3M Blue, FrogTape) | $6-10 | Most professional work, reliable results | Medium | Consistent quality, good for 90% of applications |
| Premium/Professional | $12-18 | Commissioned pieces, irreplaceable work | High | Maximum reliability, archival quality, perfect for high-stakes projects |
| Specialty (Fine line, UV resistant) | $10-20 | Specific techniques, outdoor work | Varies | Unique properties you can't get elsewhere |
Making Tape Last: Economy Techniques
For those working on tight budgets (which, let's be honest, is most artists starting out), here are strategies for maximizing your tape investment:
1. The 'Minimum Effective Dose' Approach Instead of taping entire areas, use shorter strips strategically placed at critical points. For instance, if you're creating a geometric shape, tape only the corners precisely, then use cheaper masking paper for the long stretches.
2. Reuse When Possible For certain applications (like creating texture with the tape-lifting technique), you can sometimes reuse the same piece of tape 2-3 times before the adhesive is spent. The edges won't be as sharp, but for texture work, that's often irrelevant.
3. Buy in Bulk (Carefully) Multi-roll packs often offer better per-roll pricing, but only if you're confident you'll use the tape within its shelf life (12-18 months for optimal performance). Never buy more than you can reasonably use.
4. Match Quality to Purpose Use your best (most expensive) tape only for final layers or critical applications. Use mid-range tape for everything else. It's like having good china for special occasions and everyday dishes for regular use.
The Hidden Costs of Cheap Tape
What many artists don't factor in is the time cost of dealing with tape failures. If you spend $4 less on tape but then spend two hours fixing bleed lines or, worse, have to scrap a $200 canvas, you haven't saved money—you've lost it.
I learned this the hard way early in my career: I bought cheap tape for a large commissioned piece, had major bleed issues across multiple panels, and ended up repainting sections three times. Those extra hours of labor cost me far more than premium tape would have.
The Artist's Rule: Buy the best tape you can reasonably afford, and factor tape into your project budgets just like you would paint or canvas.
Beyond the Roll: Alternative and Complementary Tools
While this article focuses on painter's tape, it's worth knowing about other masking and precision tools that work alongside or instead of tape in certain situations.
Masking Fluids and Liquid Frisket
These are liquid latex compounds that you paint onto surfaces, let dry, then paint over. When you're done, you peel or rub them away.
When to Use Instead of Tape:
- Complex organic shapes that would be impossible to tape
- Very small, detailed areas
- Textured surfaces where tape won't adhere properly
- Watercolor techniques where you need to preserve tiny white areas
Limitations:
- Can't create perfectly sharp edges like tape can
- Can stain papers if left on too long
- Require special applicators or brushes (that will be ruined for other uses)
- More expensive per application than tape
Masking Film and Contact Paper
Self-adhesive vinyl films that come in rolls, similar to massive rolls of tape. You cut shapes from the film, apply to your surface, paint over, then peel away.
When to Use Instead of Tape:
- Large area masking (much more efficient than many strips of tape)
- Creating complex shapes that would require lots of tape piecing
- Outdoor murals where tape might fail in weather
Limitations:
- More expensive than tape
- Can be tricky to work with on curved surfaces
- May leave more residue than quality painter's tape
Stencils (Reusable vs. Disposable)
Pre-cut templates made from various materials (mylar, cardboard, vinyl) that you hold or tape in place while painting.

When Stencils Beat Tape:
- When you want to repeat the exact same shape multiple times
- For very detailed graphic elements
- When speed is essential (once stencil is made)
Making Your Own Tape Stencils: I often create temporary stencils by applying tape to a cutting mat, cutting out my desired shape with a craft knife, then transferring the 'tape stencil' to my surface. It gives you custom shapes with tape's clean edges.
Rulers, Straight Edges, and Cutting Guides
Sometimes the most direct path to a straight line isn't tape at all, but careful use of rulers and steady brushwork.
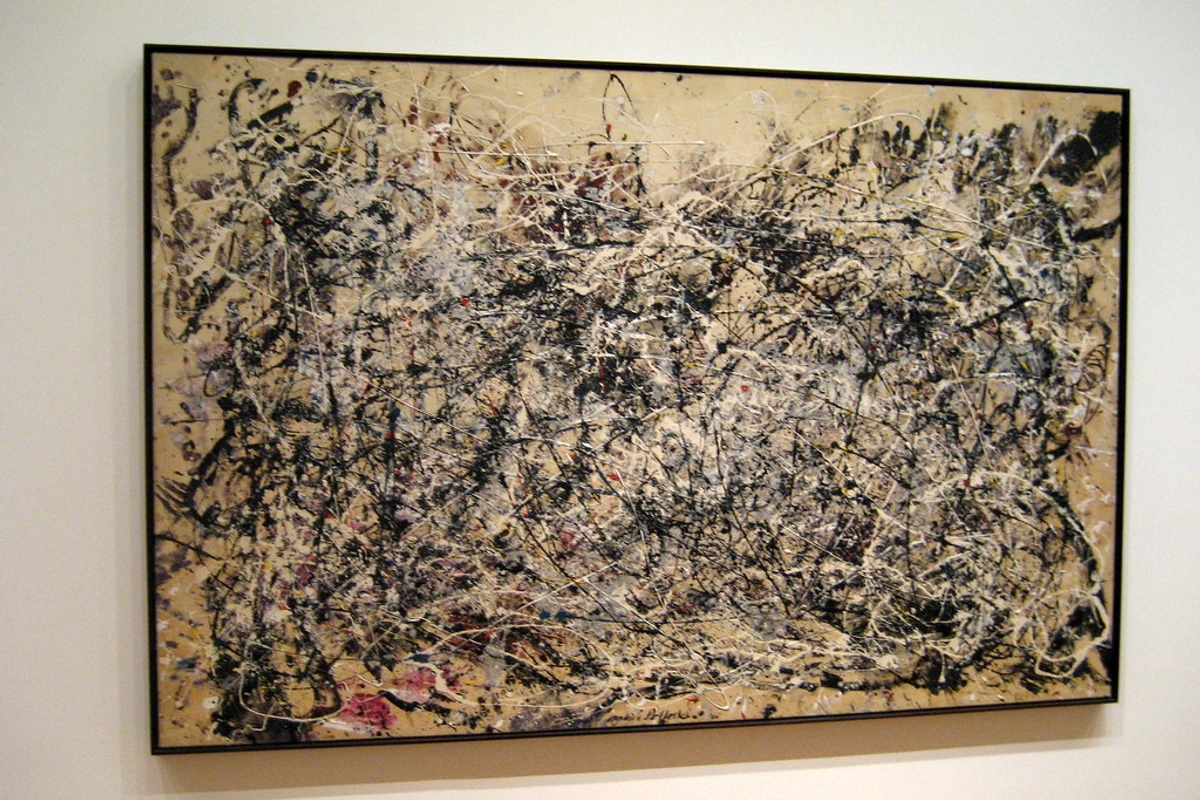
When Freehand + Guide Works Better:
- Single straight lines that would waste a lot of tape
- When working with media that shouldn't have tape applied (like wet oils)
- Quick sketches and studies where precision isn't worth the setup time
I keep a collection of metal rulers (12", 24", and 36") and a few plastic triangles specifically for this purpose. The metal edges are thin enough that you can paint right up against them without the paint bleeding underneath if your brush isn't overloaded.
Digital Alternatives and Planning Tools
In the planning stages, digital tools can help you visualize tape strategies before committing physically. This hybrid digital-physical approach is how many contemporary artists work—using technology to solve problems before they touch materials. It's not "cheating" any more than an architect using CAD before building.
I sometimes use basic photo editing software to overlay translucent colored shapes over a photo of my canvas or paper, simulating which areas I might tape off. It helps me catch compositional issues before I've wasted time and materials on the real thing.
Apps like Procreate on iPad are fantastic for this—you can sketch your composition, then use digital layers to test different tape placements and color choices.
The key insight is this: Painter's tape is one tool in a larger toolkit. The most skilled artists know when to use tape, when to use alternatives, and when to embrace the imperfect beauty of freehand work.
The Tape Philosophy: Why Precision Matters in Art
There's an interesting tension in the art world regarding tools like painter's tape. Some purists argue that if you can't create clean lines freehand, you're not a 'real' artist. I used to worry about this perspective, feeling like I was somehow cheating by using tape.
Here's what I've learned after two decades of making art: there's no such thing as cheating, only effective problem-solving. This perspective shift changes everything. When you understand that every tool from a brush to a camera to a straight line is simply a means to execute vision, you realize the creative act isn't in the tool itself—it's in the choices you make about where, when, how, and why to use it.
Precision as Expression
Consider architecture. No one criticizes Frank Lloyd Wright for using rulers and compasses. In fact, the precision of his geometric designs is precisely what makes them powerful. The same principle applies to visual art.
When I use painter's tape to create razor-sharp geometric shapes in an abstract composition, I'm not avoiding skill—I'm employing a different kind of skill. I'm making intentional decisions about exactly where each edge should fall, how colors should interact at boundaries, and what role negative space plays in the overall composition.
The tape doesn't make the creative decisions. I do. The tape simply allows me to execute those decisions with the precision my vision demands.

The Personal Aesthetic Choice
Whether to use tape—and how extensively—is ultimately an aesthetic decision that defines part of your artistic voice. Some artists thrive on the organic, gestural quality of freehand work. Others (like me, much of the time) are fascinated by the dialogue between strict geometry and organic expression.
Many of my best pieces involve both: freehand, gestural areas of color and texture that flow around precisely taped geometric forms. The contrast between these approaches creates visual tension and interest that wouldn't exist if the entire piece were one or the other.
Historical Precedent
Artists have been using masking and stenciling techniques for centuries. The cave paintings at Lascaux show evidence of early stenciling. Renaissance artists used various masking techniques to create precise patterns and borders. The Precisionist movement of the early 20th century (artists like Charles Demuth and Charles Sheeler) made mechanical precision central to their artistic vision.
The point is this: using tools to achieve precision isn't modern 'cheating'—it's part of a long artistic tradition of using whatever means necessary to execute a vision.
The Confidence Factor
Perhaps most importantly, having reliable techniques like proper tape usage in your toolkit builds confidence. When you know you can execute a complex geometric composition without worrying about wobbly edges, you're more likely to attempt ambitious projects.
Confidence doesn't make art good—plenty of confident artists make terrible work—but lack of confidence will absolutely prevent you from attempting the work that might become great.
Tools like painter's tape remove technical anxiety so you can focus on the more important questions: What am I trying to express? What composition best serves that expression? How do these colors and shapes communicate my intention?
That, ultimately, is why I'm such an advocate for mastering this seemingly simple tool. It's not about the tape—it's about everything the tape enables you to express.
FAQ: Your Painter's Tape Questions Answered
Throughout my years of teaching and creating, certain questions about painter's tape come up again and again. Here are the answers to the most common ones.
How long can I leave painter's tape on before it damages my painting?
This is probably the #1 question I get, and the answer depends heavily on the tape type and conditions:
- Blue painter's tape (#2060): Up to 14 days under ideal conditions (room temperature, normal humidity)
- Purple painter's tape (#2080): Up to 21 days
- Green/Orange painter's tape (#2090/#2040): 30-45 days
- All tapes: Remove immediately after painting is the safest approach
The real answer: As soon as your paint is touch-dry and you can safely handle the work, remove the tape. Leaving tape on for 'just a few more days to be safe' is actually less safe. The adhesive continues to cure and bond over time.
Can I reuse painter's tape to save money?
Technically yes, but practically no—at least not for achieving sharp lines. Once you remove painter's tape, several things happen that make it unsuitable for reuse on finished work:
- The adhesive picks up dust, fibers, and paint particles
- The crepe paper backing can stretch or tear slightly
- The adhesive loses some of its initial tack
I occasionally reuse tape for non-critical applications like masking off edges during varnishing or creating temporary studio organization systems, but never for finished work where line quality matters.
Why does my tape still let paint bleed through even when I burnish thoroughly?
Paint bleed has multiple potential causes beyond just insufficient burnishing:
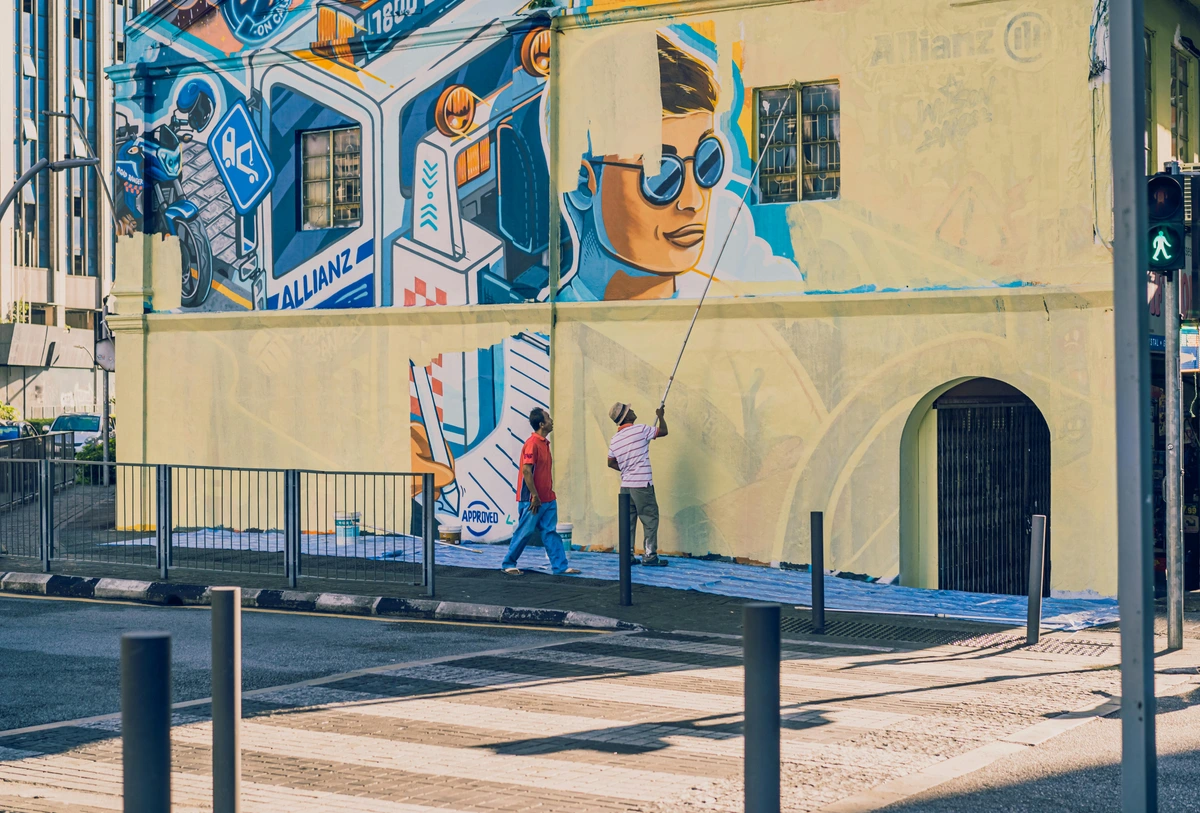
- Your paint is too thin: If paint has the consistency of water, it will find its way under even perfectly applied tape. Try thickening your paint slightly with a medium or using less water.
- Your surface is too textured: Heavy canvas weave or textured panels create microscopic valleys that tape can't fully seal. In these cases, you may need to accept some texture in your lines or adjust your technique.
- You're applying too much paint pressure: Pressing too hard with your brush can force paint under the tape edge. Use a lighter touch and multiple thin layers rather than one heavy application.
- Wrong tape for the surface: Some surfaces need more conformable tape (higher numbers) to seal properly against their texture.
Is painter's tape archival? Will it damage my painting over time?
This is a crucial question for artists creating work meant to last. Here's what we know:
Short answer: High-quality painter's tape (like 3M blue or FrogTape) is generally considered safe for archival work when used properly and removed within recommended time frames.
Long answer: The archival quality depends on several factors:
- Proper application and removal: Tape left on too long or removed improperly can definitely cause damage
- Surface preparation: Clean, properly primed surfaces are less likely to have problems
- Paint adhesion: If your paint layers aren't well-adhered to begin with, tape removal can exacerbate pre-existing problems
- Environmental conditions: Extreme temperature or humidity during or after application can affect both tape and paint
For maximum archival safety, I recommend:
- Using the gentlest tape suitable for your application (usually blue #2060)
- Removing tape as soon as paint is thoroughly dry
- Testing your tape on a sample piece first if you're concerned
- Documenting which tape you used in your materials list
Can I use painter's tape with oil paints?
Yes, but with very important caveats:
The Golden Rule: Only apply tape to oil paint that has fully cured, which can take 6-12 months depending on paint thickness and environmental conditions.
The Practical Approach:
- Mask before painting: If you need clean lines in oil, mask off areas before you apply paint, then remove tape while the paint is still wet (within hours, not days)
- Wait for full cure: If you need to add elements to a dry oil painting, wait many months for full cure, test tape on a hidden area first, then proceed with caution
- Consider alternatives: For oil painters, masking fluid or careful freehand work with rulers is often safer than tape on partially-cured layers
I've seen too many oil paintings damaged by well-intentioned tape applications. When in doubt, wait longer than you think necessary.
What's the difference between painter's tape and washi tape?
While both are used in art, they're quite different tools:
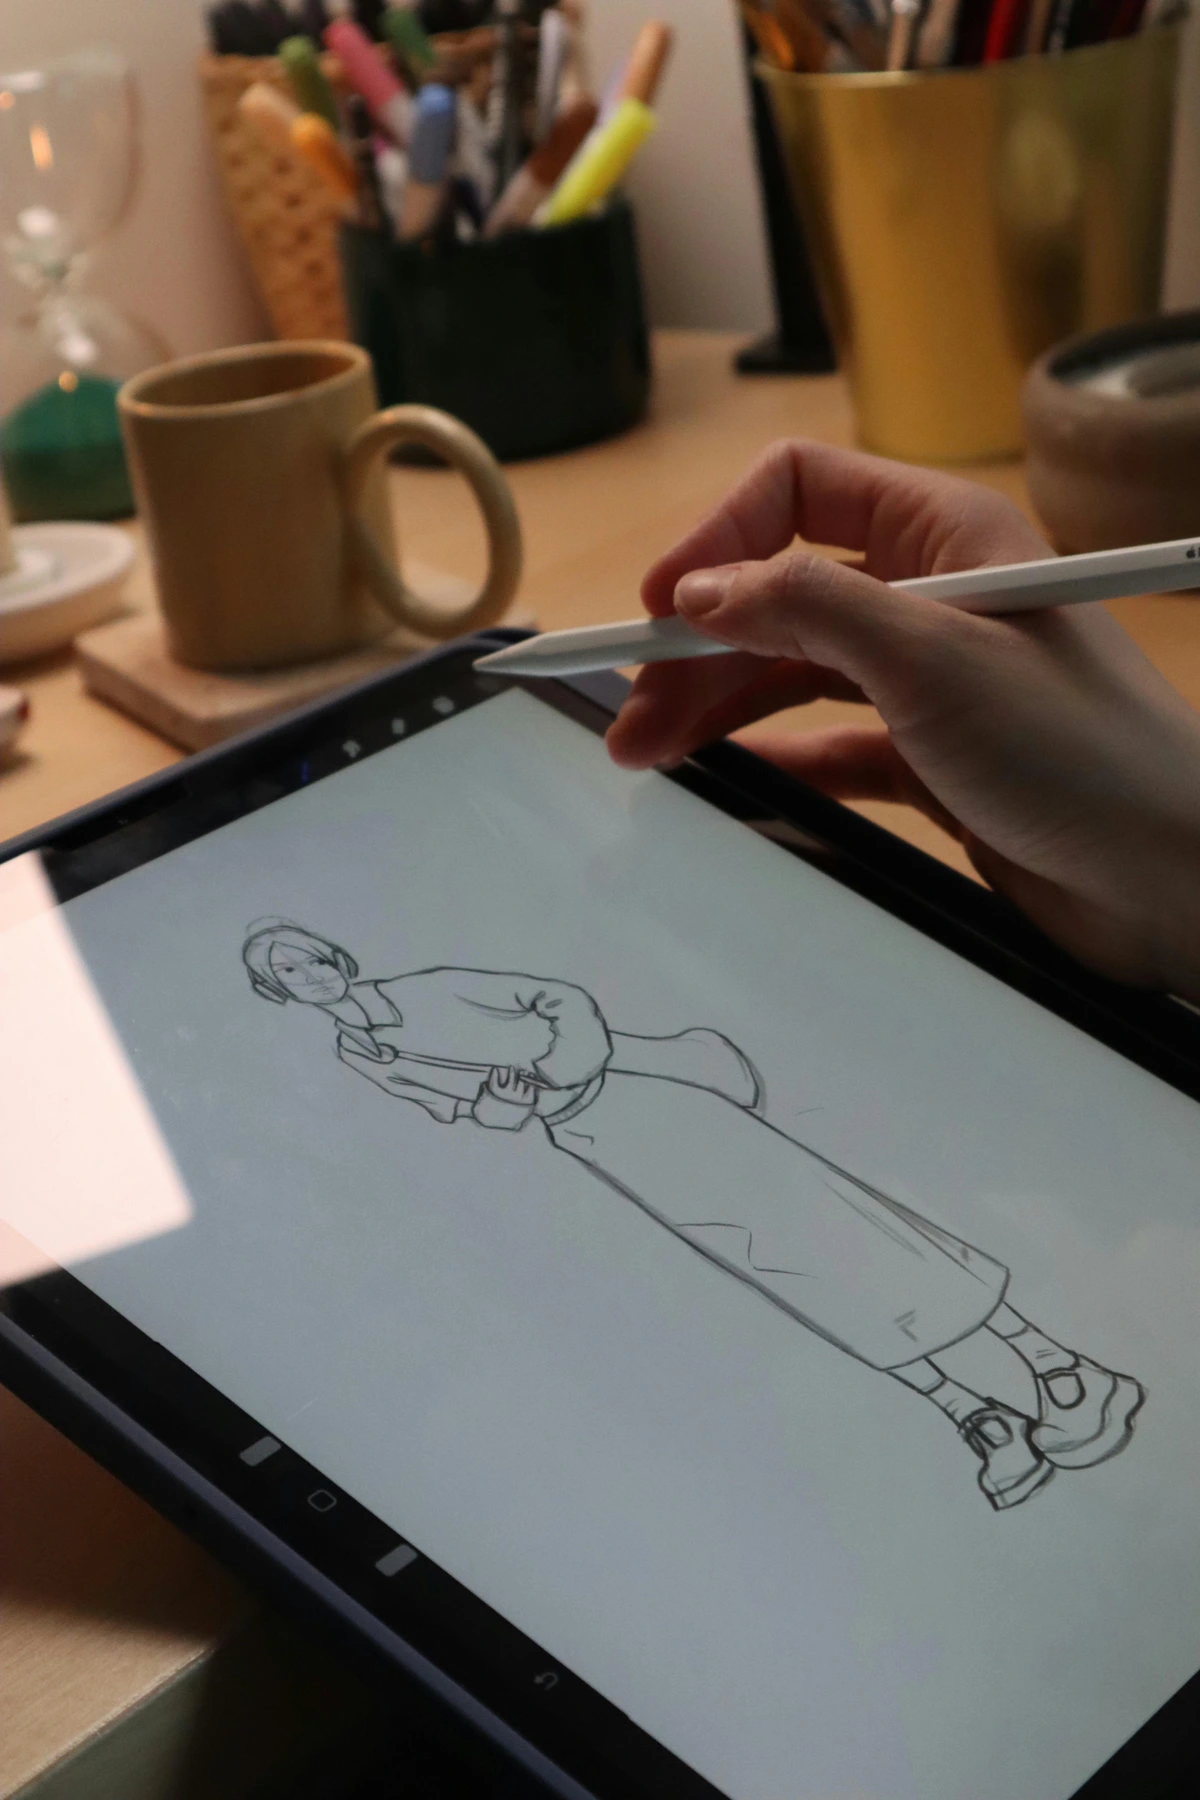
Painter's tape:
- Designed for paint masking
- Clean removal from surfaces
- Typically comes in limited colors (blue, green, purple)
- Adhesive strength calibrated for paint resistance
- Removed after painting
Washi tape:
- Made from natural fibers (hemp, bamboo)
- Often decorative with many colors/patterns
- Gentle adhesive, sometimes repositionable
- Often left on the artwork as a design element
- Better for collage, journaling, decorative applications
Can you use washi tape for painting? Generally no—the adhesive isn't strong enough to resist paint bleed. Can you use painter's tape in collage? Yes, though washi tape is usually more attractive if you're leaving it visible.
How do I store painter's tape to make it last longer?
Proper storage dramatically extends tape life:
- Keep it sealed: Store rolls in ziplock bags with air pressed out
- Store flat: Keep rolls lying flat rather than standing on edge
- Cool and dry: Avoid extreme temperatures and humidity
- Out of sunlight: UV exposure degrades both adhesive and backing
- Label as you go: Note the purchase date on the roll so you know how old it is
Shelf life: Even with perfect storage, tape is optimal for about 12-18 months. After that, the adhesive begins to degrade. Old tape will have less tack and may leave more residue.
Can I use painter's tape on walls for murals?
Absolutely—painter's tape was originally designed for wall painting. However, murals present some unique challenges:

- Surface preparation is critical: Walls are rarely as clean or perfectly prepared as artist canvas. Clean thoroughly with TSP substitute or degreaser first.
- Choose the right adhesion level:
- Freshly painted walls: Blue tape (#2060)
- Older paint or uncertain surface: Purple tape (#2080)
- Rough texture or exterior: Green/orange tape (#2090/#2040)
- Account for weather: If painting exterior murals, consider temperature and humidity. Tape adhesion decreases in cold weather.
- Work in sections: For large murals, tape and paint sections rather than taping the entire wall at once. This prevents tape from being exposed to weather for extended periods.
- Use the 45-degree removal angle: This is especially important on walls where you're dealing with larger tape areas.
Many professional mural artists I know use a combination of tape for precision elements and freehand work for larger areas to balance efficiency with accuracy.
What do I do if tape won't stick to my surface?
If tape won't adhere properly, you've got a surface preparation issue. Try these solutions in order:
- Clean the surface: Dirt, dust, oil, or wax will prevent adhesion. Clean with rubbing alcohol and let dry completely.
- Increase surface tooth: On very smooth surfaces (like some sealed papers or plastics), the surface may be too slick. Light sanding with very fine sandpaper can help.
- Try different tape: Some surfaces need more aggressive adhesive. Move up one level (blue to purple, purple to green).
- Check environmental conditions: High humidity or very cold temperatures drastically reduce tape tack. Work in climate-controlled conditions if possible.
- Reduce surface moisture: If you've recently applied water-based medium or paint, the surface may still be releasing moisture. Wait longer.
- Consider if the surface is tape-compatible: Some surfaces (like certain plastics or heavily textured materials) may never take tape well. In these cases, consider alternative masking methods.
How do I get perfect corners with painter's tape?
Clean 90-degree corners require a specific technique:
The Professional Method:
- Apply your first tape strip, extending it about 2 inches beyond where you want the corner
- Burnish thoroughly
- Apply your second tape strip perpendicular to the first, overlapping it and also extending 2 inches beyond the corner
- Use a sharp craft knife to cut through both layers of tape exactly at the corner point
- Remove the excess tape strips (the parts you cut off)
- Burnish the corner area again
- Paint as usual
This creates a perfect butt joint at the corner without any overlap that could cause paint buildup or uneven lines.
The 'Good Enough' Method:
- Apply first tape strip up to (but not past) the corner
- Burnish
- Apply second tape strip, slightly overlapping the first at the corner
- Press the overlap area especially firmly
- Paint and remove
This method is faster but may show a slight thickness variation at the corner where tapes overlap.
Finding Your Tape: A Resource Guide
Once you understand the principles and techniques of using painter's tape, you'll want to know where to find the best materials. Here's my compilation of reliable sources and recommendations developed over years of testing different products across various applications and environments.
Recommended Brands and Products
Not all tape is created equal, and branding matters. After testing dozens of products over the years, here are the brands I consistently recommend:
Premium Tier (For Important Work)
- 3M ScotchBlue Original Painter's Tape: The gold standard. Consistent quality, excellent adhesive control, widely available. Look for the blue roll (#2060 equivalent) for most art applications.
- FrogTape Delicate Surface (Yellow): Excellent PaintBlock technology, great for smooth surfaces. The yellow version is gentler than their green multi-surface.
- Shurtape P227 Fine Line Tape: If you need narrow width (1/8"), this is the most reliable fine-line tape I've found.
Professional Tier (Daily Studio Work)
- 3M ScotchBlue Multi-Surface (Purple): Slightly more aggressive than original blue, good for textured surfaces.
- Duck Clean Release Painter's Tape: Very similar to 3M blue, sometimes slightly more affordable.
- Pro Tapes Pro-Gaff: While technically gaffer tape, their fine-line version works excellently for some applications.
Budget Tier (Practice and Learning)
- Scotch Painter's Tape: 3M's economy line, more readily available in smaller quantities.
- Generic hardware store brands: Functional but less consistent. Okay for practice work.
Where to Buy: Art Supply vs. Hardware Store
Art Supply Stores:
- Pros: Staff usually understands artist needs, can access specialty widths, often have higher quality selection
- Cons: Higher prices, limited selection compared to hardware stores
- When to shop: When you need fine-line tape, washi tape, or want expert advice
Hardware Stores:
- Pros: Much better selection, bulk options, competitive pricing, frequent sales
- Cons: Staff may not understand art applications, overwhelming array of choices
- When to shop: For standard width tape (1/2", 3/4", 1") in bulk quantities
Online Retailers:
- Pros: Best selection including specialty products, often best pricing, reviews available
- Cons: Can't inspect product first, shipping costs for heavy items
- When to shop: When buying in bulk or seeking specific hard-to-find products
Geographic Availability
Different regions have different product availability:
North America: 3M ScotchBlue line is ubiquitous and reliable. FrogTape widely available. Good selection in both art and hardware stores.
Europe: Tesa and 3M are the dominant brands. 'Crepe paper masking tape' is the typical terminology. Widths may be in metric (e.g., 25mm instead of 1").
Asia: Washi tape culture is strong, excellent for decorative applications. Japanese brands like MT and Nichiban are high quality. May need to search harder for traditional painter's tape.
Australia/New Zealand: Good availability of international brands, though sometimes at higher prices due to shipping.
The International Artist Rule: If you can't find your preferred brand locally, the numbered adhesion system (blue/purple/green) is fairly universal. Match the color/code rather than brand name.
Buying in Bulk: When It Makes Sense
For artists doing large quantities of tape work (murals, frequent production work, teaching), buying in bulk can provide significant savings:
Economies of Scale:
- Individual roll: $8-12
- 6-pack: usually $40-50 ($6.67-8.33 per roll)
- Case (12-24 rolls): $60-120 ($5-10 per roll)
The Storage Consideration: Only buy bulk if you can:
- Store properly (cool, dry, sealed)
- Use within 12-18 months
- Have proper variety (not just one width or adhesion level)
Bulk Buying Strategy: I buy my most-used tape (3M blue, 1") by the case, then supplement with smaller quantities of specialty tapes as needed.
Alternative and Specialty Sources
Sometimes the best tape comes from unexpected places:


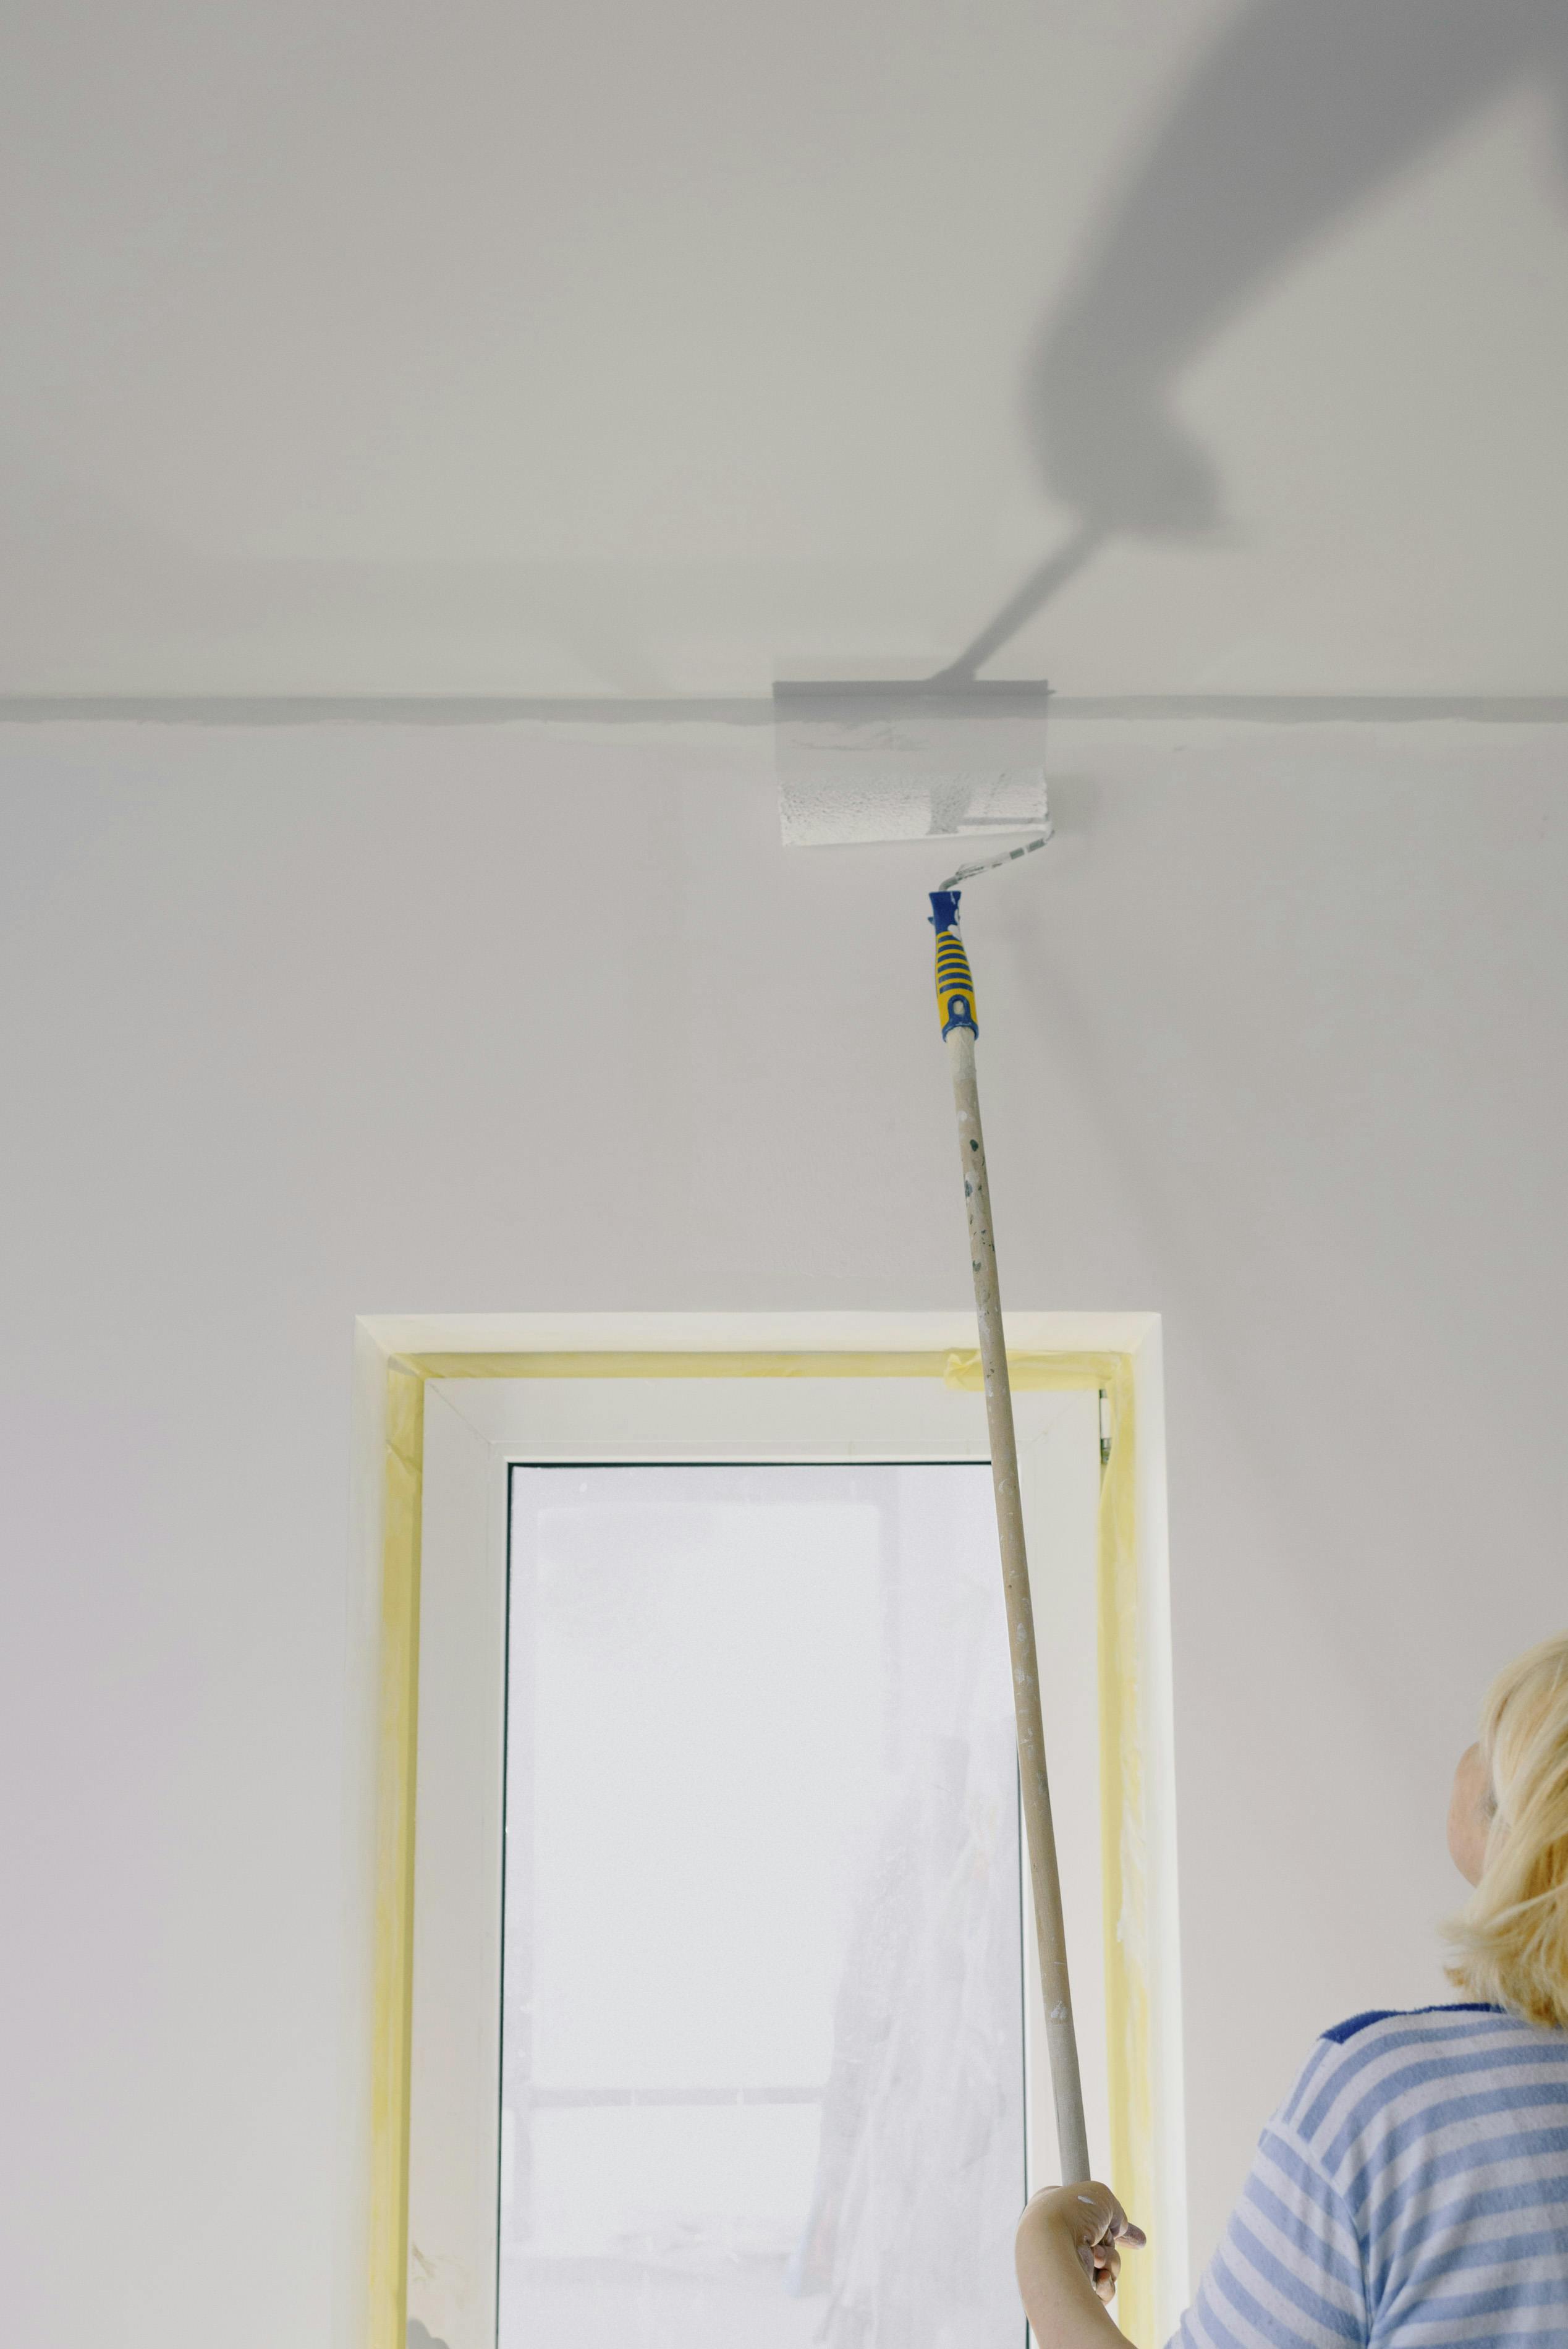

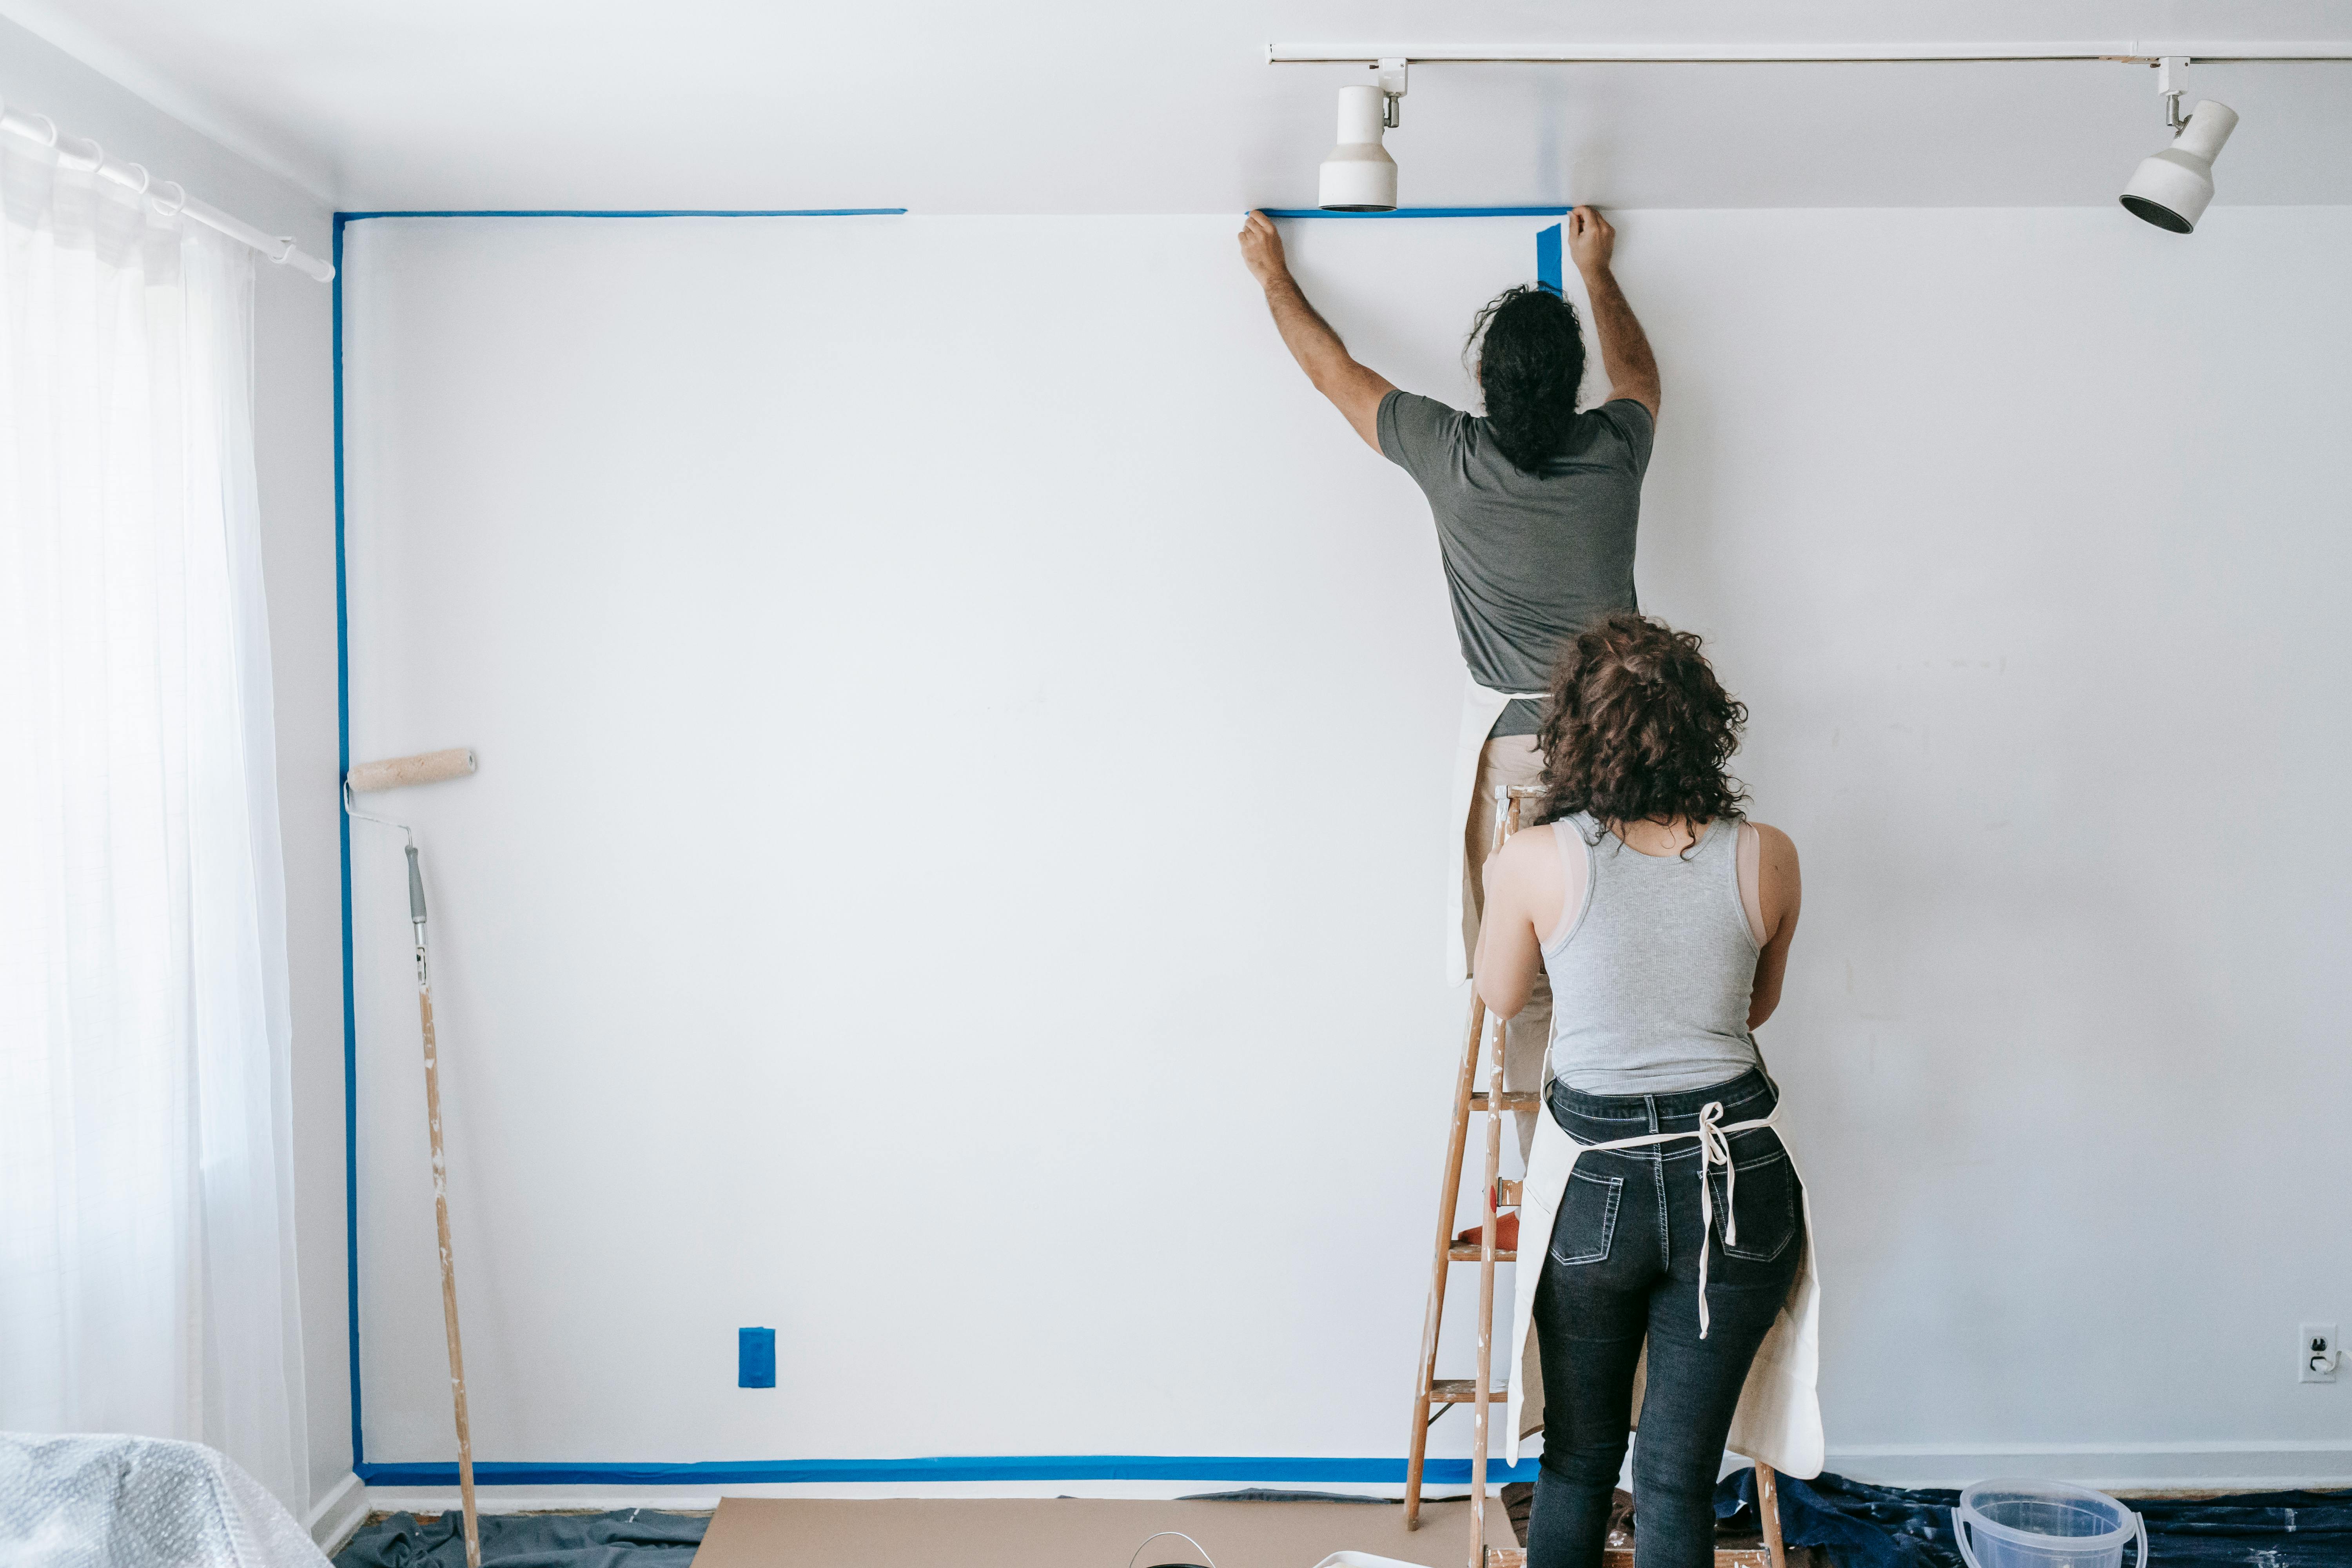
















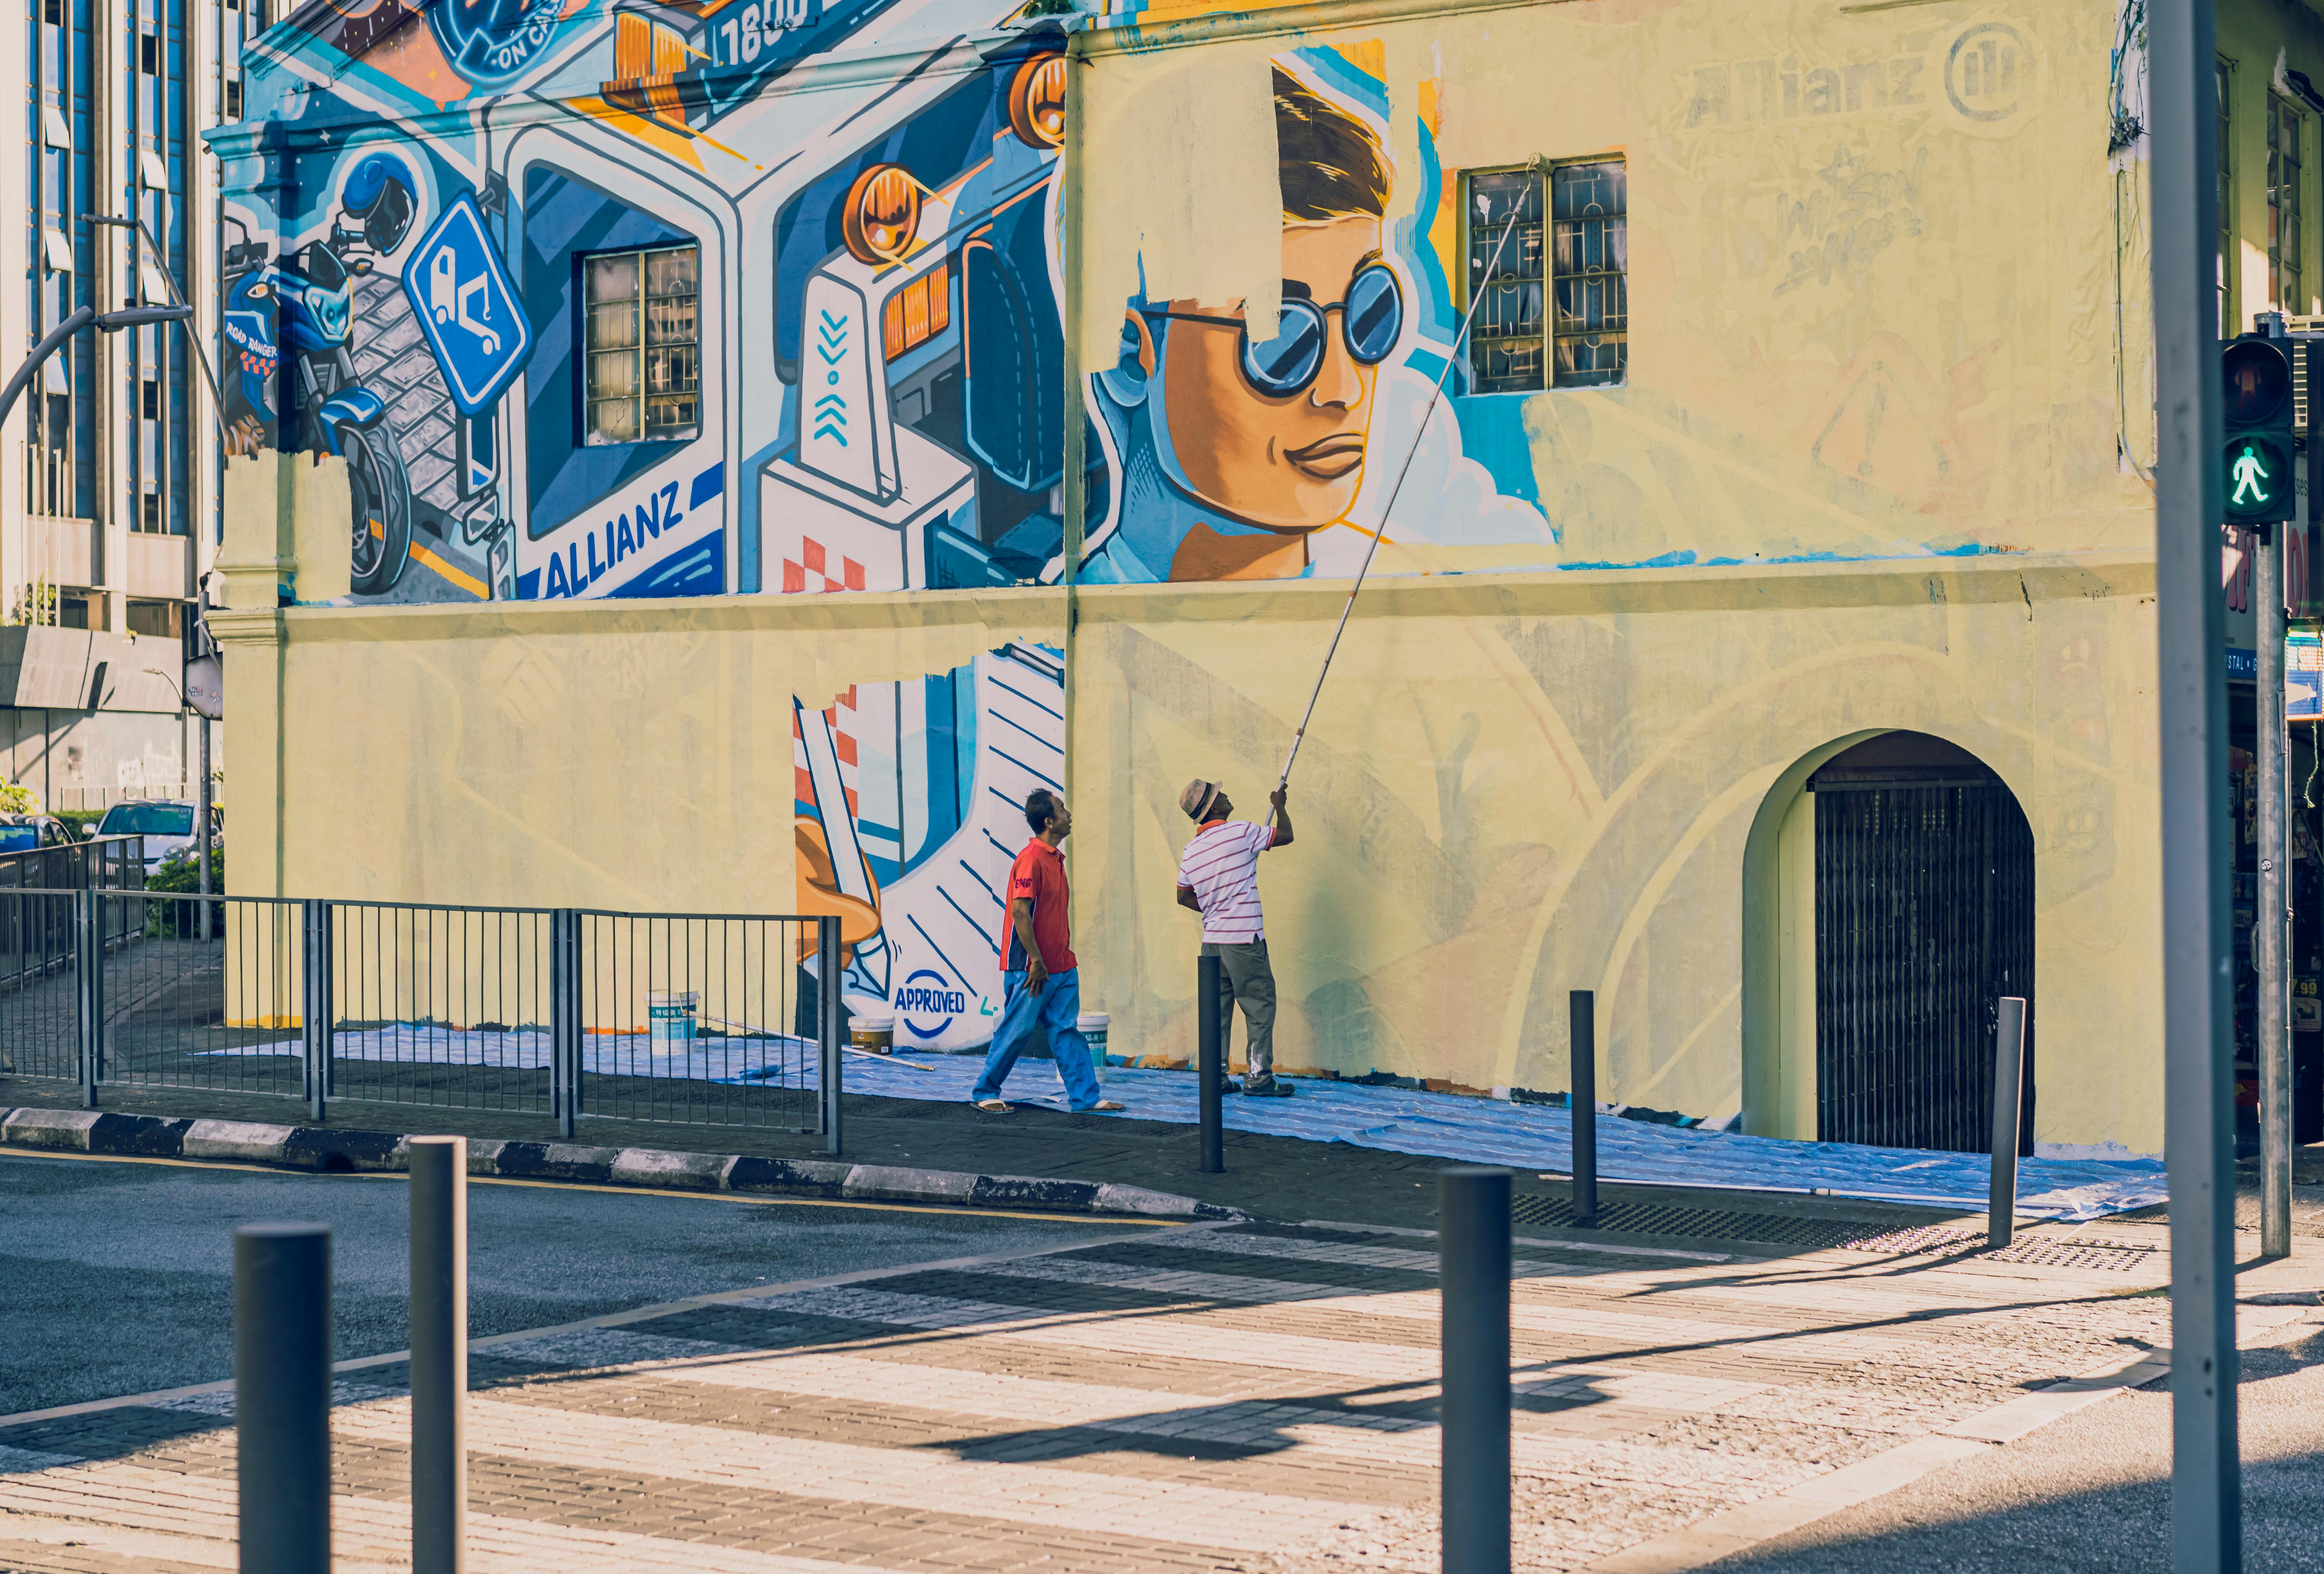



Automotive Supply Stores: Car painters use incredibly high-quality fine-line tape. It's often more expensive but perfect for detail work.
Screen Printing Suppliers: Great for specialty adhesives and unusual widths.
Industrial Suppliers (McMaster-Carr, Grainger, etc.): If you need something very specific (like high-temperature resistant tape), industrial suppliers have options regular retailers don't carry.
The bottom line on sourcing: Start with the major brands available locally, experiment to find what works for your specific applications, then consider bulk purchasing once you know what you need. Don't overthink it early on—any quality blue painter's tape from a reputable brand will serve you well while you're learning the fundamentals.
Conclusion: The Line Between Tool and Talent
As I sit here in my studio, surrounded by half-finished canvases with geometric tape patterns still visible, I'm struck by how much this simple tool has transformed not just my work, but my understanding of what's possible in painting.
Painter's tape represents something profound about the artistic process: the beautiful marriage of planning and spontaneity, precision and expression, control and surrender. It's a tool that doesn't replace skill but rather enables different kinds of skill to emerge.
What started as a humble tool for keeping paint off trim has become, in the hands of artists, something far more significant. It's a bridge between the vision in our minds and the reality on canvas. It's a way to achieve effects that literally wouldn't be possible any other way. And perhaps most importantly, it's a confidence-builder that encourages us to attempt ambitious compositions we might otherwise avoid.
The artists who dismiss tape as 'cheating' are missing the point entirely. Using painter's tape effectively requires its own set of skills—understanding adhesion, mastering burnishing techniques, developing patience for layering, learning when to use which type of tape for which surface.
But beyond the technical skills, tape teaches us something about artistic vision: that having a clear plan doesn't diminish creativity any more than an architect's blueprint diminishes a building's beauty. Sometimes the most expressive work comes from the tension between carefully planned elements and freely executed passages.
My advice to any artist considering tape work is simple: try it. Start with basic geometric exercises. Learn the fundamentals of proper application and removal. Make your mistakes on practice pieces. Develop your patience. And most importantly, don't let anyone—including your own internal critic—tell you that using this tool somehow makes you less of an artist.
The goal isn't to become dependent on tape, but to add it to your toolkit alongside brushes, palette knives, fingers, rags, and every other tool artists use to translate vision into form. Like any tool, it's most powerful when you understand both its capabilities and its limitations.
So the next time you're standing in front of a canvas, imagining perfect geometric shapes intersecting with organic fields of color, don't limit yourself to what you can achieve freehand. Reach for that roll of blue tape. Plan your composition. Apply it with care. Paint with confidence. And then, in that satisfying moment when you peel it away to reveal a line so sharp it almost hums, remember that you're participating in a long tradition of artists who understood that having the right tools doesn't diminish creativity—it unleashes it.
Because ultimately, the tape doesn't make the art. You do. The tape just helps you make it exactly as you envisioned.
Ready to put these techniques into practice? Browse our collection of geometric abstract artworks where many of these tape techniques were used to create precise, dynamic compositions that balance careful planning with expressive freedom. Explore Geometric Abstracts
Interested in learning more about artistic techniques and tools? Visit our comprehensive guide to negative space in abstract art or read our case study on transforming spaces with vibrant abstract pieces.
Want to dive deeper into art history and technique? Explore our timeline of artistic movements and discover how tools and techniques have evolved across different periods. View Art History Timeline