
Stretcher Bars: The Unsung Heroes of Your Painting
Ever wonder about the wooden frame behind a canvas? I'll break down what stretcher bars are, why they're crucial, and how to choose the right ones for your art.

Stretcher Bars: The Unsung Heroes of Your Painting
I remember the first time I bought a rolled-up canvas. The sheer anticipation! I was picturing this enormous, vibrant piece, alive with color and texture. I finally got it home, unrolled it across my studio floor, and then… a record scratch. It was just a floppy piece of fabric, utterly devoid of form. How on earth was this supposed to become the grand statement I envisioned, let alone hang proudly on a wall? That’s when I had my slightly embarrassing, but utterly crucial, lightbulb moment about stretcher bars.
You’ve probably seen them countless times without truly seeing them. They’re the unassuming wooden (or sometimes aluminum) framework that a canvas is stretched over – the silent skeleton providing a painting its very structure. It's easy to dismiss them as merely "the wood part," but I've come to realize that choosing the right stretcher bars is as foundational to a lasting artwork as carefully selecting your pigments. They might not possess the glamour of a vibrant tube of paint, but without their steadfast support, your budding masterpiece is, well, just a glorified dishcloth, waiting patiently for a frame to give it purpose.
So, let’s peel back the layers and talk about these unsung heroes. What are they, exactly? Why should you, as an artist or collector, genuinely care about their specifics? And, perhaps most importantly, how do you navigate the often-overlooked pitfalls that can lead to a saggy, sad-looking, or even warped painting down the line?
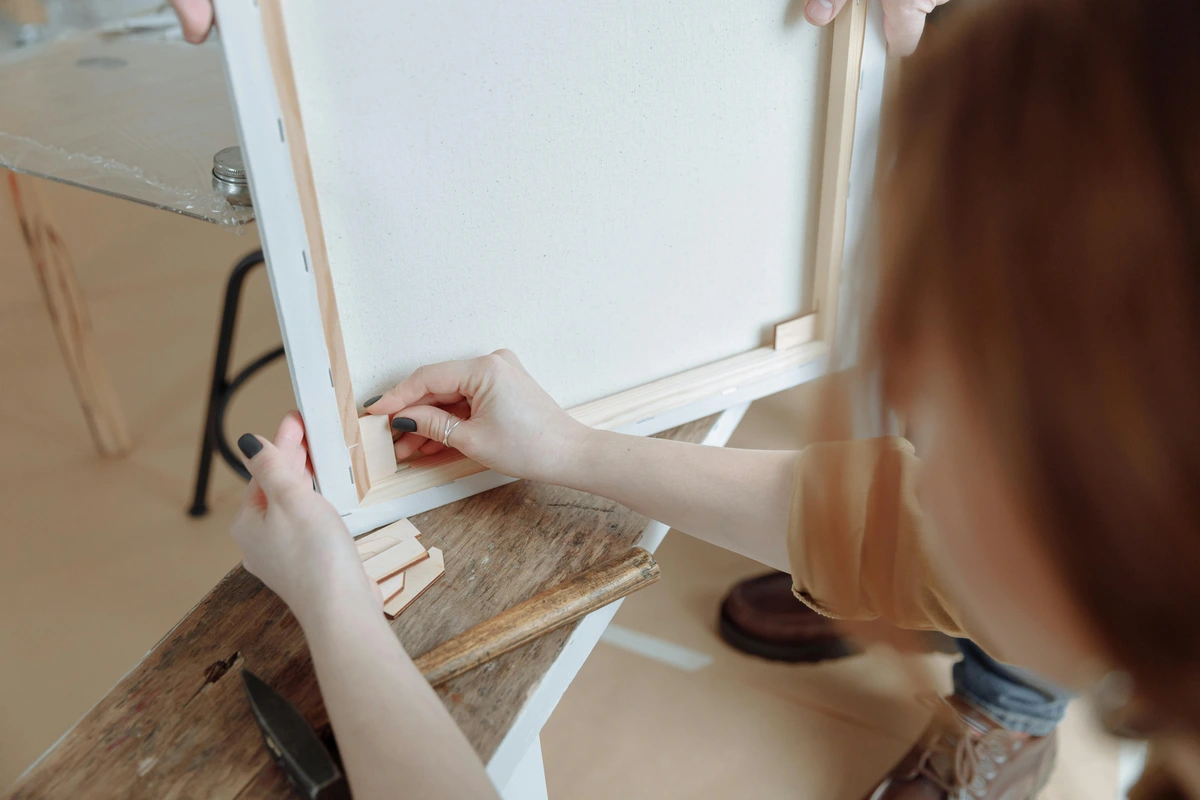
What Exactly Are We Talking About? (Stretcher Bars vs. Strainer Bars)
At its core, a stretcher bar is a marvel of subtle engineering: a precisely milled piece of kiln-dried wood (or occasionally aluminum) featuring a unique, purposeful profile. You typically acquire them in pairs of two different lengths – say, two 20-inch and two 24-inch bars – to construct a rectangular or square frame. The absolute defining characteristic, the one that truly sets it apart and makes all the difference for a lasting artwork, is its slightly raised outer edge. You might hear this called a 'beveled' or 'rounded' edge, and it is, quite frankly, pure genius. This seemingly minor detail ensures that your taut canvas makes contact only with the very outermost rim of the bar, allowing the main body of the fabric to float, suspended just above the internal frame. This incredibly clever design is a guardian against what I've heartbreakingly seen happen to other artists' work: unsightly lines, ridges, or even the ghost-like impression of the internal wooden frame subtly showing through on the painting surface over time. For me, that raised edge is simply non-negotiable for achieving true archival quality and that clean, professional aesthetic we all strive for.
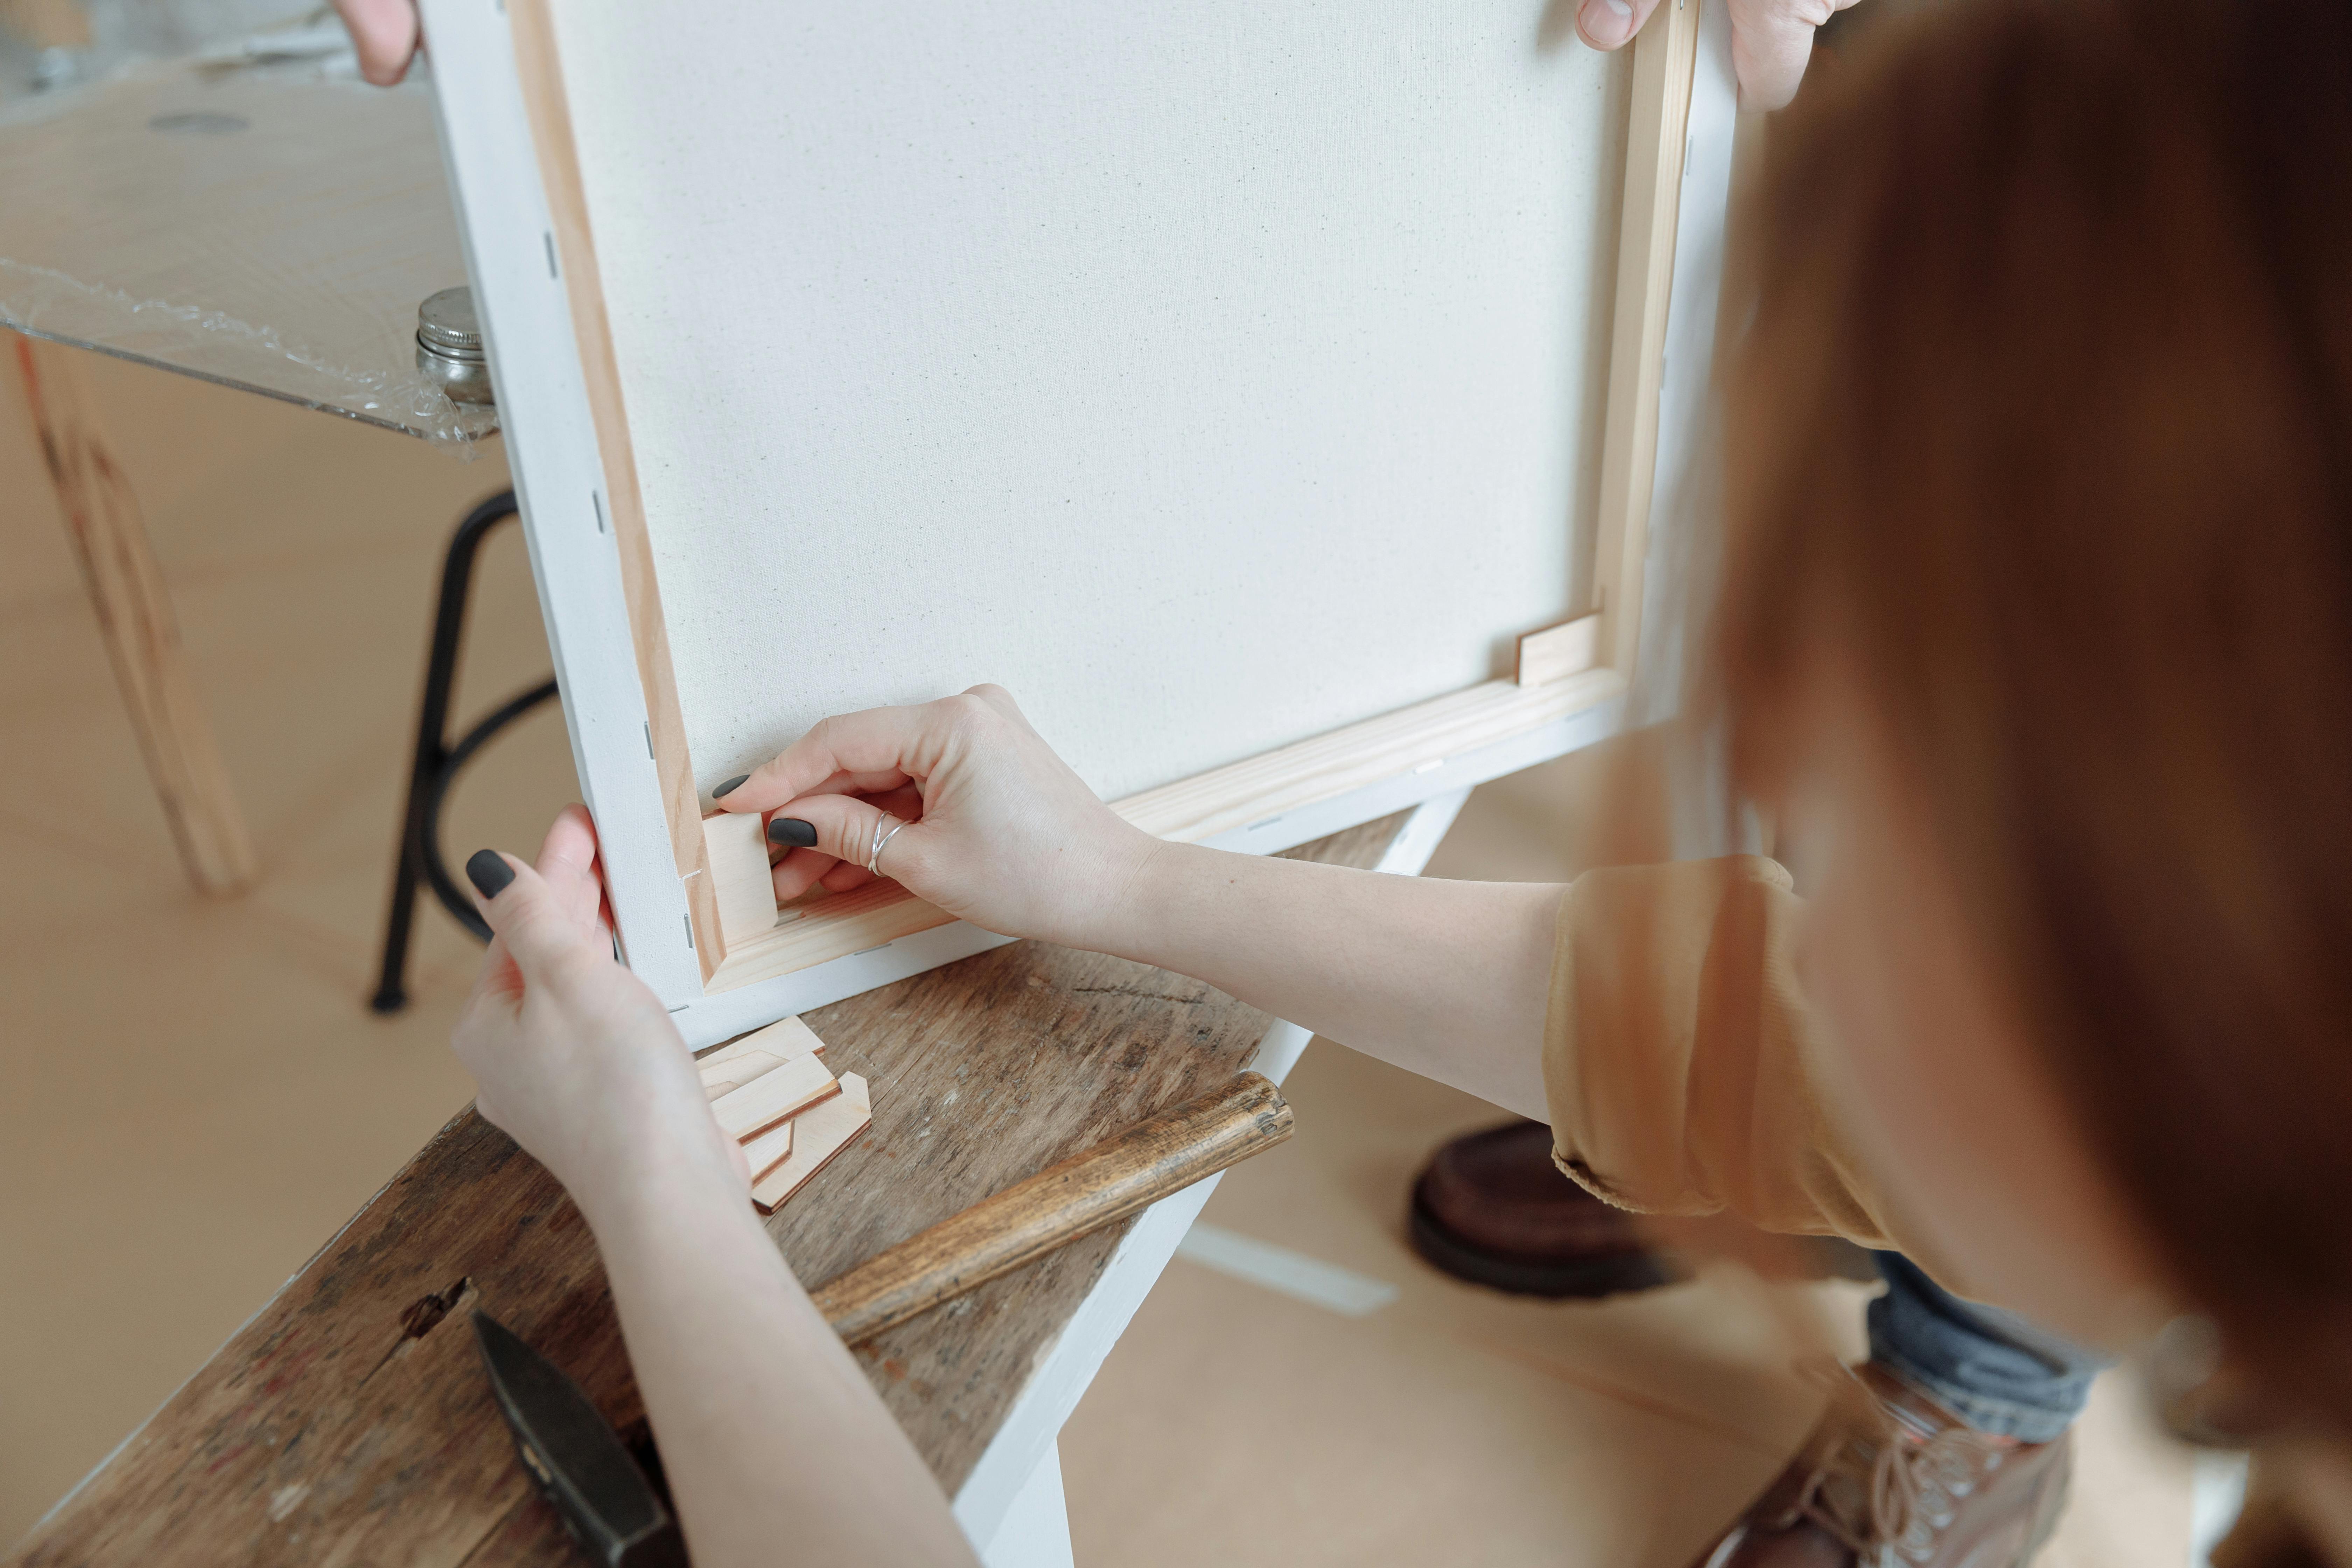
Stretcher bars are designed for ingenious, interlocking corner joints, typically a simple miter joint (a 45-degree angle cut on each bar that fits together) or a sturdy finger joint (interlocking 'fingers' of wood). For higher-end, professional bars, you might even encounter mortise-and-tenon joints, offering even greater strength and precision and often reinforced with dowels or specialized hardware. The beauty of these joints is that they usually don't require glue or nails for assembly, allowing for easy, tool-free fitting. This flexibility is absolutely crucial because, as we’ll discuss in detail, the frame needs to have a tiny bit of play, allowing for subtle expansion or re-tensioning over time. Without this inherent flexibility, you're setting yourself up for future headaches, including irreversible sagging, especially as the canvas naturally reacts to its environment.
Now, here's a distinction often lost on beginners – and it’s a lesson I really wish someone had hammered home for me early on: the crucial difference between a stretcher bar and a strainer bar. While both serve as wooden frames for canvas, a strainer bar is fundamentally missing those special interlocking corner joints and and, critically, the unique raised outer edge that lifts the canvas. Strainers are typically glued or nailed rigidly at the corners, forming a permanent, unyielding, and non-adjustable frame. For very small, rigid panels or extremely specific, temporary applications, they might seem adequate. But for any artwork you intend to last, anything that needs to subtly respond to environmental shifts or the natural movement of canvas, stretcher bars are the only viable option. Strainers, by their very design, offer absolutely no mechanism to re-tension a sagging canvas, effectively sealing its fate to a lifetime of slackness and potential disfigurement. I made that costly mistake once on a larger, otherwise beautiful piece, and the resulting slack canvas was a constant, irritating reminder of my initial oversight. Learn from my folly: choose adjustability.

| Feature | Stretcher Bars | Strainer Bars |
| : | :--- | :--- |
| Corner Joints | Interlocking (miter, finger, mortise-and-tenon); allow for expansion/re-tensioning with keys | Rigidly glued or nailed; no adjustability or re-tensioning |
| Profile | Raised outer edge (beveled/rounded) to prevent canvas contact; float the canvas | Flat profile; canvas may contact inner edge, creating 'ghost lines' |
| Adjustability | Designed to be re-keyed/re-tensioned; adapts to environmental changes | Non-adjustable; permanent, prone to irreversible sagging |
| Wood Quality | Often kiln-dried for stability; less prone to warping | Can be non-kiln-dried, more prone to warping/twisting |
| Longevity | Excellent; supports canvas integrity and paint film over time | Limited; prone to irreversible sagging and potential paint cracking |
| Best Use | All canvas paintings, especially for archival quality, larger sizes, and professional presentation | Small, rigid panels; temporary displays; non-critical studies where longevity isn't a concern |
Think of it this way: the canvas is the skin, and the stretcher bars are the bones – but bones that can subtly adjust and adapt, maintaining vitality. Without the bones, the skin has no form, and without adjustable bones, the skin inevitably loses its vitality over time. Simple, right? But as you can already tell, the rabbit hole goes a little deeper, especially when we consider the science of tension.
The Art and Science of Tension: Why It’s Everything
When we talk about canvas and stretcher bars, we're ultimately talking about tension. A perfectly tensioned canvas is a joy to behold and to work on – taut, responsive, like a well-tuned drum. Give it a gentle tap, and it should offer a satisfying thump or a slight bounce back. This isn't just about aesthetics; it's fundamental to the creation and preservation of your art. Without proper tension, your canvas becomes a floppy, unresponsive surface, a source of endless frustration. I've been there, trying to lay down a smooth wash on a canvas that moved with every brushstroke – it’s like trying to paint on a trampoline!
Here’s a deeper look into why tension is absolutely critical:

- It creates a perfect painting surface: Imagine trying to write a letter on a wrinkled napkin. Frustrating, right? A tight canvas offers a flat, firm, and responsive surface that gives consistent feedback to your brush, palette knife, or any other tool. This consistency is vital for achieving controlled marks, smooth gradients, and sharp details. A loose canvas can lead to uneven paint application, pooling, and a general lack of control that can utterly derail your artistic vision. This is especially true for mediums like acrylics and oils where smooth application is often desired.
- It prevents sagging and buckling over time: Canvases are fabric – usually cotton, linen, or synthetic blends – and like all fabrics, they are hygroscopic, meaning they react to changes in humidity and temperature by expanding and contracting. A properly constructed stretcher bar frame, with its adjustable corner joints, allows the canvas to 'breathe' and, crucially, allows you to re-tension it if it starts to sag. This is a game-changer for the longevity of your work. Without this ability, your painting could develop unsightly ripples, wrinkles, or even become permanently distorted. This 'give and take' is part of the living nature of a stretched artwork.
- It provides unparalleled structural integrity: Beyond just the canvas surface, the frame itself keeps the artwork perfectly square and flat, preventing warping, twisting, or bowing. This is especially paramount for larger pieces, where the sheer surface area of the canvas exerts significant force on the frame. A strong, stable frame ensures your artwork maintains its intended form, resisting the gravitational pull and environmental pressures that conspire to deform it over decades. Without this, your grand vision could literally start to collapse on itself.
- Minimizes cracking in paint layers: While many factors contribute to cracking (mediums, application, drying times), a consistently taut surface reduces stress on the paint film. If a canvas sags and then tightens repeatedly, the movement can put undue strain on dried, brittle paint layers, accelerating the formation of cracks, especially in older or impasto works. This is particularly critical for oil paintings, which can become quite brittle over many years.
- Professional Presentation: A drum-tight canvas simply looks more professional and finished. It communicates care and attention to detail, enhancing the perceived value and quality of your finished piece.
- Ease of Framing: A square, stable canvas with consistent tension is far easier to fit into a decorative frame, ensuring a seamless and elegant presentation.
If you're interested in the hands-on process of transforming a raw piece of fabric into a perfectly taut painting surface, which I personally find incredibly meditative and deeply satisfying, you should definitely read my comprehensive guide on how to stretch a canvas on stretcher bars.
Tension: A Quick Benefits Summary
| Benefit | Impact on Artwork | Why It Matters |
A Brief History: From Wood Panels to Flexible Canvas
Before the glorious era of stretched canvases, artists were quite literally stuck with rigid surfaces: heavy wooden panels, sprawling frescoes on walls, or even delicate copper sheets. These offered unwavering stability, sure, but imagine trying to transport a grand altarpiece across Europe when it's literally a solid slab of wood! They were cumbersome, often prohibitively heavy, and severely limited in size. The game-changer began to emerge around the Renaissance, when canvas started gaining serious traction as a primary support. Its lighter weight, remarkable portability (it could be rolled up!), and ability to accommodate much larger compositions made it an instant favorite for ambitious artists, particularly in Venice where maritime trade made canvas readily available.
Initially, early canvases weren't much better off than a modern dishcloth; they were often just tacked or glued to simple, rigid wooden frames – essentially the direct ancestors of what we now call strainer bars. The problem quickly became apparent: these early setups offered virtually no adjustability for tension. As canvases aged, reacted to changes in humidity, or simply bore the weight of heavy paint, they would inevitably sag, buckle, and generally look quite sad. This lack of control over tension was a constant battle for artists and patrons alike, often leading to deterioration of valuable artworks.
But necessity, as they say, is the mother of invention. The slow but utterly significant evolution towards the modern stretcher bar, with its ingenious interlocking, expandable corner joints and that all-important beveled edge, truly revolutionized the art world. This innovation wasn't born overnight; it was a gradual refinement driven by practical necessity and artistic innovation, influenced by centuries of woodworking and engineering advancements. Suddenly, artists could work on monumental scales with the assurance that they could maintain the structural integrity of their work over time. It transformed the canvas from a mere temporary skin into a dynamic, long-lasting support system, capable of withstanding the rigors of time and environment. For me, it’s a fascinating reminder that even the most seemingly mundane art supplies have a rich history, born out of practical necessity and artistic innovation, continually evolving to meet the demands of artistic expression.
A Quick Field Guide to Stretcher Bar Types: Making Informed Choices
Not all stretcher bars are created equal. You'll generally run into two main categories, and the choice you make really depends on the scale of your work and your budget.
Standard vs. Professional Grade: A Detailed Comparison for the Right Choice
Choosing between standard and professional-grade stretcher bars isn't just about budget; it's about the longevity, stability, and ultimate presentation of your artwork. Here's a detailed comparison to help you decide:
Feature  | Standard (Economy) Bars | Professional (Heavy-Duty) Bars |
|---|---|---|
| Profile Depth | Typically thinner, around 3/4" (1.8 cm) to 1" (2.5 cm) | Thicker, ranging from 1.5" (3.8 cm) to 2.5" (6.3 cm) or even more for monumental works. |
| Wood Quality | Often softer woods, frequently pine, which can sometimes be knotty or less consistently milled. More prone to warping, twisting, or bowing over time, especially with fluctuating humidity. | Usually crafted from kiln-dried, stable woods like fir, basswood, spruce, or even laminated multi-ply options. These are selected for their superior stability, consistent grain, and resistance to environmental stress. Often knot-free. |
| Construction | Simpler, sometimes less precise miter or finger joints. May offer limited or no effective re-tensioning capability beyond initial stretching. | Precision-milled corner joints (miter, finger, or advanced mortise-and-tenon) for a perfectly tight, square fit. Specifically designed with slots for easy and effective insertion of keys/wedges, crucial for long-term tension maintenance. Includes provisions for internal bracing on larger sizes. |
| Structural Support | Generally lacks provisions for internal bracing (cross braces or corner braces), which limits the maximum stable size and increases warp risk for larger canvases. | Almost always features pre-drilled holes or precisely routed slots for easy integration of cross braces and corner braces, which become absolutely essential for canvases exceeding dimensions like 24x30 inches (60x75 cm). |
| Weight | Lighter due to thinner profiles and less dense wood. Easier to handle for smaller pieces. | Heavier, thanks to thicker profiles and denser, more stable wood. This added weight contributes significantly to the overall stability and presence of the artwork. |
| Longevity & Archival Quality | Acceptable for studies, temporary works, or pieces that will be fully framed to provide external support. Shorter intended lifespan. | Excellent for long-term preservation, gallery display, and investment-grade artwork. Designed to maintain structural integrity and canvas tension for decades, even centuries, with proper care. |
| Best For | Smaller works, quick studies, practice canvases, or pieces where the sides will be completely covered by a traditional frame. Ideal for beginners or experimental phases. | Large-scale paintings, gallery exhibitions, museum-bound work, and any artwork where professional presentation, stability, and enduring quality are paramount. Absolutely essential for a professional gallery wrap. |
| Cost | More affordable, making them a good entry point for students or artists with high production rates for studies. | A more significant investment, reflecting the superior materials, precision milling, and enhanced durability engineered for the artwork's long-term health. |
I started, like many, with standard bars, and for smaller canvases (say, anything under 20x24 inches), they're absolutely fine. They get the job done for quick studies or pieces destined for a tight frame. But that lesson about scale? Oh, I learned it the hard way. I once had a pretty ambitious 36x48 inch painting, stretched on what I thought were 'good enough' standard bars, start to twist and bow like a pretzel after a few months in my studio. It wasn't a good look – the canvas rippled, the paint cracked in places, and frankly, it compromised the entire integrity of the painting. That's when I truly understood that once you venture beyond a certain size, investing in professional-grade bars isn't a luxury; it's a non-negotiable necessity for the long-term health and reputation of your artwork. It’s an investment that pays dividends in peace of mind, the enduring quality of your creation, and avoids those heartbreaking "pretzel-art" moments.
Cross Braces and Support Systems: The Unseen Reinforcement for Large Canvases
As your artistic ambition (and canvas size) grows, a simple four-sided frame, no matter how well-constructed, quickly becomes insufficient to prevent the insidious forces of warping, bowing, or twisting. This is precisely where cross braces (sometimes called stretcher bar braces or stretcher bar supports) and corner braces come into their own. Think of them as the internal scaffolding, the hidden steel beams of your painting. These are additional wooden bars designed to fit securely into precisely cut slots on the main stretcher bars, running across the width or length of the frame. They act like internal buttresses, providing absolutely crucial support and meticulously maintaining the frame's squareness and rigidity against internal canvas tension and external environmental pressures.
- Single Cross Braces: These are typically used for canvases where one side exceeds around 24-30 inches (60-75 cm). A single brace runs across the middle of the shorter dimension, essentially bisecting the frame. It acts as a crucial barrier against the natural tendency of longer bars to bow inwards or outwards under tension and environmental changes.
- Double Cross Braces (or 'H' Brace / Full Cross Brace): For even larger works, typically exceeding 40-60 inches (100-150 cm) on one or both sides, a single brace is no longer sufficient. Here, two braces forming an 'H' shape (for rectangular canvases) or a full cross in the center (for square canvases) become absolutely essential. This creates a highly stable, rigid grid-like structure that evenly distributes tension across the entire canvas and aggressively prevents internal stress points, keeping the frame perfectly flat and square over its lifetime.
- Corner Braces/Reinforcements: These are smaller, often triangular or L-shaped, pieces of wood or metal that fit into the inner corners of the frame, augmenting the existing miter or finger joints. While less common on standard bars, they provide significant additional stability, particularly preventing racking (the frame losing its perfect 90-degree angles and becoming a parallelogram). They are an excellent addition for any valuable or large work where absolute squareness is critical.
Choosing whether to use braces, and what type, is a critical decision that directly impacts the longevity and stability of larger paintings. Don't skimp here; a warped frame can ruin an otherwise magnificent work. It's a small detail that makes a monumental difference.
Gallery Wrap vs. Standard Wrap: Presentation and Aesthetic Impact
This distinction isn't about the stretcher bar's core function in holding tension, but rather its depth, which profoundly impacts how you choose to present your finished painting. It’s fundamentally an aesthetic decision: will your artwork live within a traditional frame, or will it stand alone, commanding attention with its sculptural presence? This is where the choice of stretcher bar depth truly influences the perceived nature of the artwork itself.
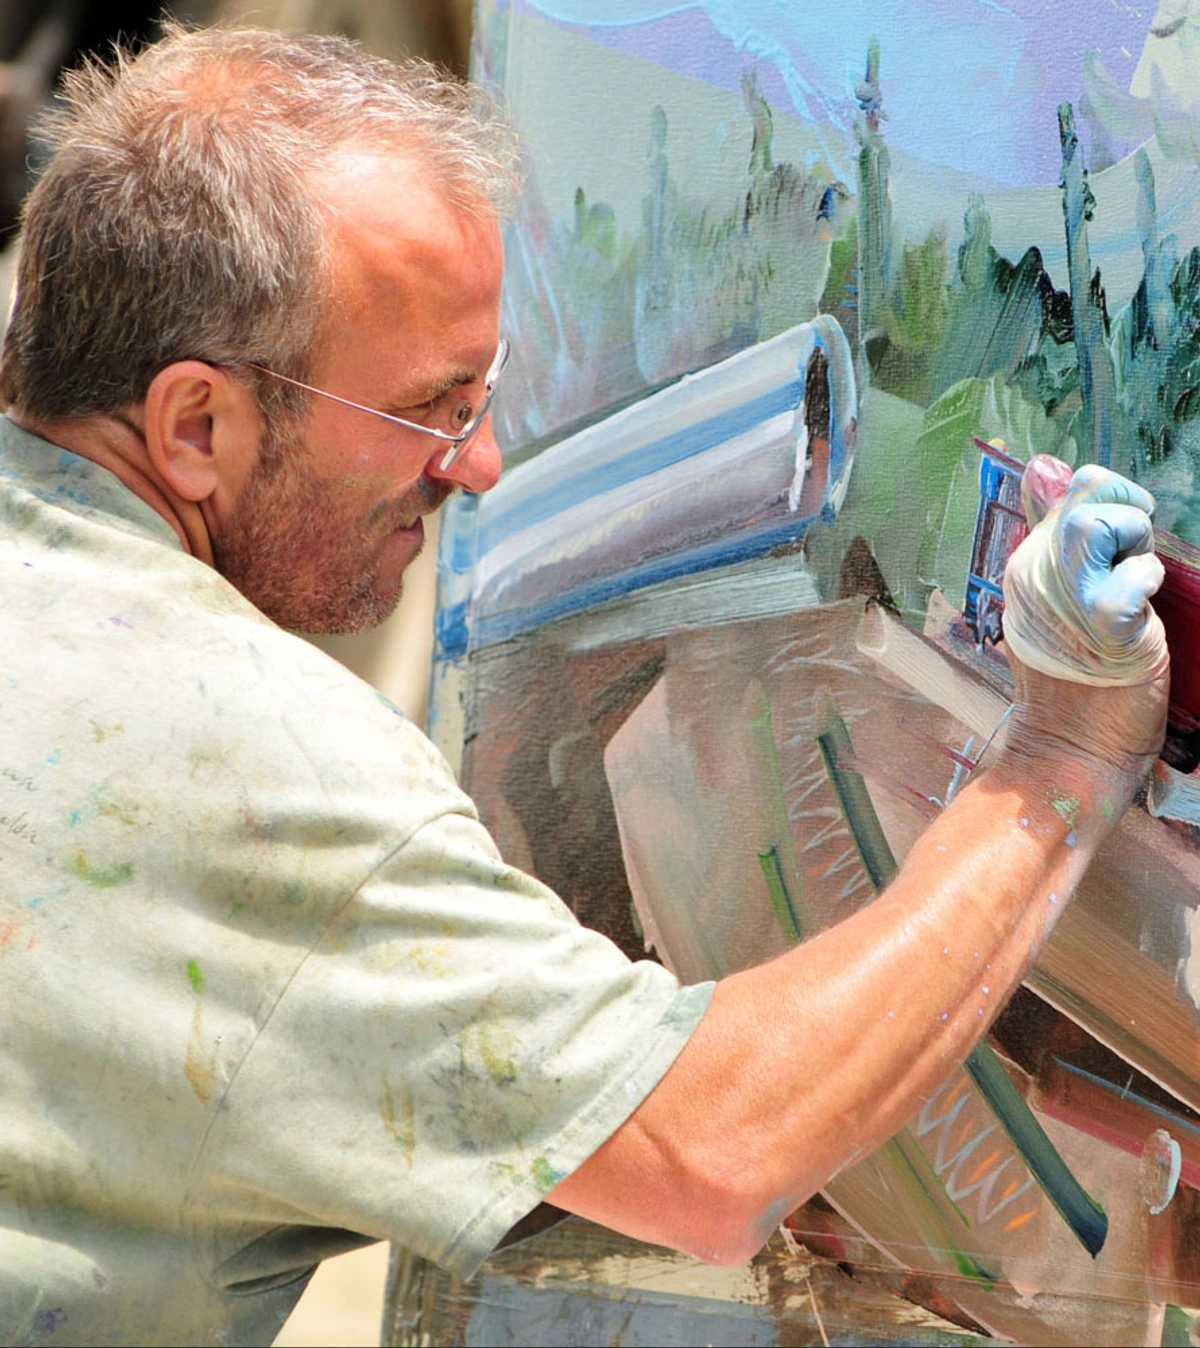
- Standard Wrap (Thin Profile): This refers to using the thinner profile bars (typically around 3/4" to 1" deep). With a standard wrap, the canvas is stretched over the frame, and the staples or tacks holding it taut are applied along the outer edges of the sides of the stretcher bars. Because these staples and the folded canvas edges are visible, paintings stretched this way are almost always intended to be framed. A traditional frame neatly conceals these raw edges, completing the artwork's presentation and offering another layer of protection. This creates a more traditional, almost two-dimensional feel, where the painting sits closer to the wall, and the focus remains entirely on the image itself. This can be ideal for classical subjects, intimate portraits, or when you want the frame to define the boundary of the artwork without distraction. If you're planning to frame your work, this is a perfectly practical and economical choice. You can learn more about framing options in my guide on how to frame a canvas painting.
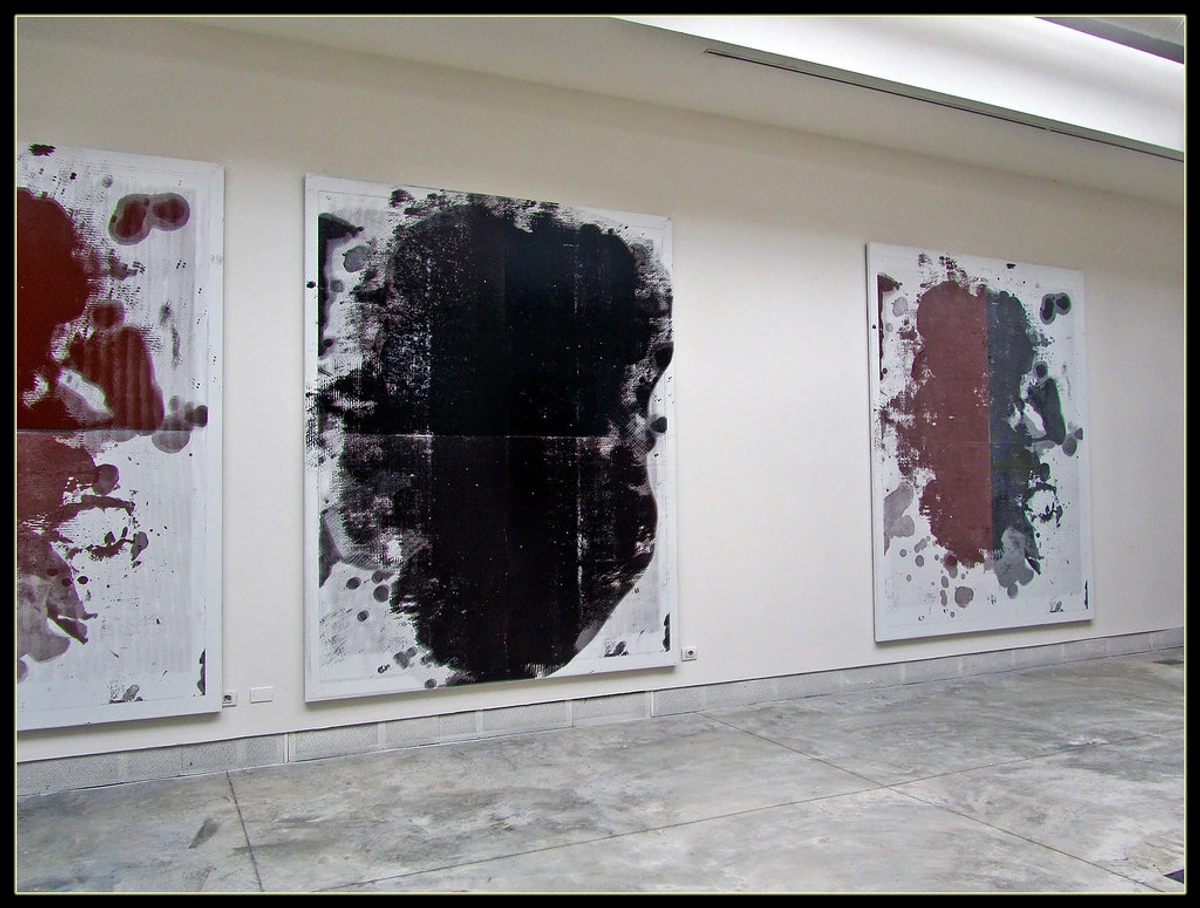
- Gallery Wrap (Deep Profile): This is where the thicker, more substantial professional-style bars (1.5" or deeper) truly shine. The canvas is meticulously wrapped all the way around the stretcher bar frame, pulled taut, and then stapled or tacked exclusively on the back of the bars, completely out of sight. This creates a clean, deep, and often sculptural edge that you can choose to leave raw, paint a solid color, or even extend your artwork onto. The primary advantage of a gallery wrap is that it allows the artwork to be hung directly on a wall without a frame, offering a modern, minimalist, and often more contemporary look. The depth itself adds a certain gravitas and presence to the piece, making it feel more like an object than just a flat image. It literally projects further from the wall, casting a subtle shadow that adds to its perceived weight and importance. The painted sides of a gallery-wrapped canvas become an extension of the artwork, drawing the viewer's eye around the piece and creating a more immersive experience. This depth can enhance contemporary, abstract, or minimalist works, allowing the painting to exist as a statement piece without the need for an external frame. Many of my own works, which you can explore in my online store, are done on gallery-wrapped canvases. I personally love how the painting can extend around the sides, making it a more three-dimensional object that interacts subtly with the space it inhabits.
Feature | Standard Wrap | Gallery Wrap |
|---|---|---|
| Stretcher Bar Depth | Thin (approx. 3/4" - 1") | Deep (approx. 1.5" - 2.5"+) |
| Staple Placement | On the sides of the bars (visible) | On the back of the bars (hidden) |
| Edges | Raw canvas/staples visible; almost always framed | Clean, finished edge; can be left unframed, often painted |
| Aesthetic | Traditional, two-dimensional feel; frame defines boundary | Modern, sculptural, object-like presence; artwork projects from wall |
| Presentation | Designed primarily for traditional framing | Can be hung framed or unframed; sides become an integral part of the art |
| Protection | Relies heavily on external frame for protection | Depth offers inherent protection for paint surface, but still benefits from careful handling |
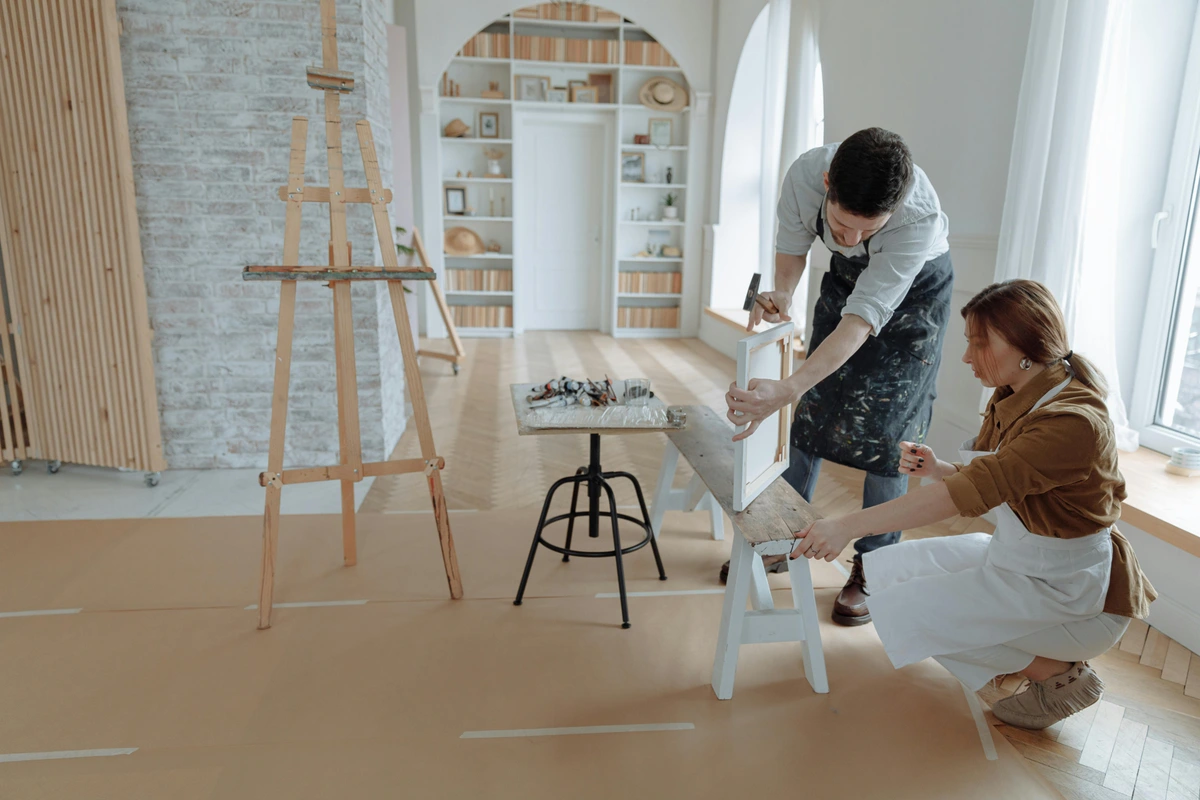
Canvas Materials & Types: What Goes On Your Stretcher Bars?
While we've been deep-diving into the "bones" of your painting, it's crucial to also understand the "skin"—the canvas itself. The type of canvas you choose, and its preparation, profoundly impacts your artistic process and the final outcome. It's not just a generic fabric; each material brings its own characteristics to the party.
Natural Fibers: Time-Tested Favorites
- Cotton Canvas: This is by far the most popular and economical choice, especially for beginners and students. It's readily available, stretches easily, and provides a consistent surface. Most "canvas" you encounter will be cotton duck, named for its tight weave. While versatile, lower-grade cotton can sometimes lose tension over time or be more susceptible to environmental changes if not properly prepared. I personally love cotton for experimentation, it's forgiving and a great starting point.
- Linen Canvas: Considered the gold standard by many professional artists and institutions for its archival quality and strength. Linen fibers are longer, stronger, and more resistant to rot and atmospheric changes than cotton. It has a beautiful, natural texture and retains tension exceptionally well, making it ideal for large, valuable, or heirloom pieces. The downside? It's significantly more expensive and can be a bit trickier to stretch due to its inherent stiffness. But for a truly enduring piece, linen is often my go-to.
Synthetic & Blended Canvases: Modern Innovations
- Synthetic Canvases (e.g., Polyester): These are gaining popularity for their extreme durability, resistance to moisture and mildew, and consistent tension. They don't absorb water or stretch like natural fibers, making them incredibly stable. This can be a huge advantage in humid environments or for outdoor installations.
- Blended Canvases: Many manufacturers offer cotton-linen blends, attempting to combine the best qualities of both: the affordability and ease of stretching of cotton, with some of the strength and stability of linen. They can be a great middle-ground option.
Raw vs. Primed Canvas: The Preparation Stage
- Raw Canvas: This is exactly what it sounds like – untreated fabric directly off the roll. Choosing raw canvas gives you ultimate control over your surface preparation. You can size it (to protect the fibers from oil paint acids) and then prime it with exactly the number and type of gesso layers you desire. This is my preferred method for serious works, as I can tailor the absorbency and texture precisely to my painting style. You can learn more in my guides on how to prepare a canvas for acrylic painting and how to prepare a canvas for oil painting.
- Pre-Primed Canvas: Most artists, especially beginners, opt for pre-primed canvas. This means the canvas has already been sized and coated with gesso, making it ready to paint straight out of the package. It's incredibly convenient, but you lose some control over the final surface. The quality of pre-primed canvases varies widely, so choose reputable brands for important works.
Understanding these different types of canvas is like understanding the different qualities of paper for a writer – each offers a unique experience and impacts the final creation. It's another layer of thoughtful decision-making that goes into building truly lasting art. If you're pondering the foundational differences between various supports, my article on how to choose the right canvas for acrylic vs. oil dives even deeper.
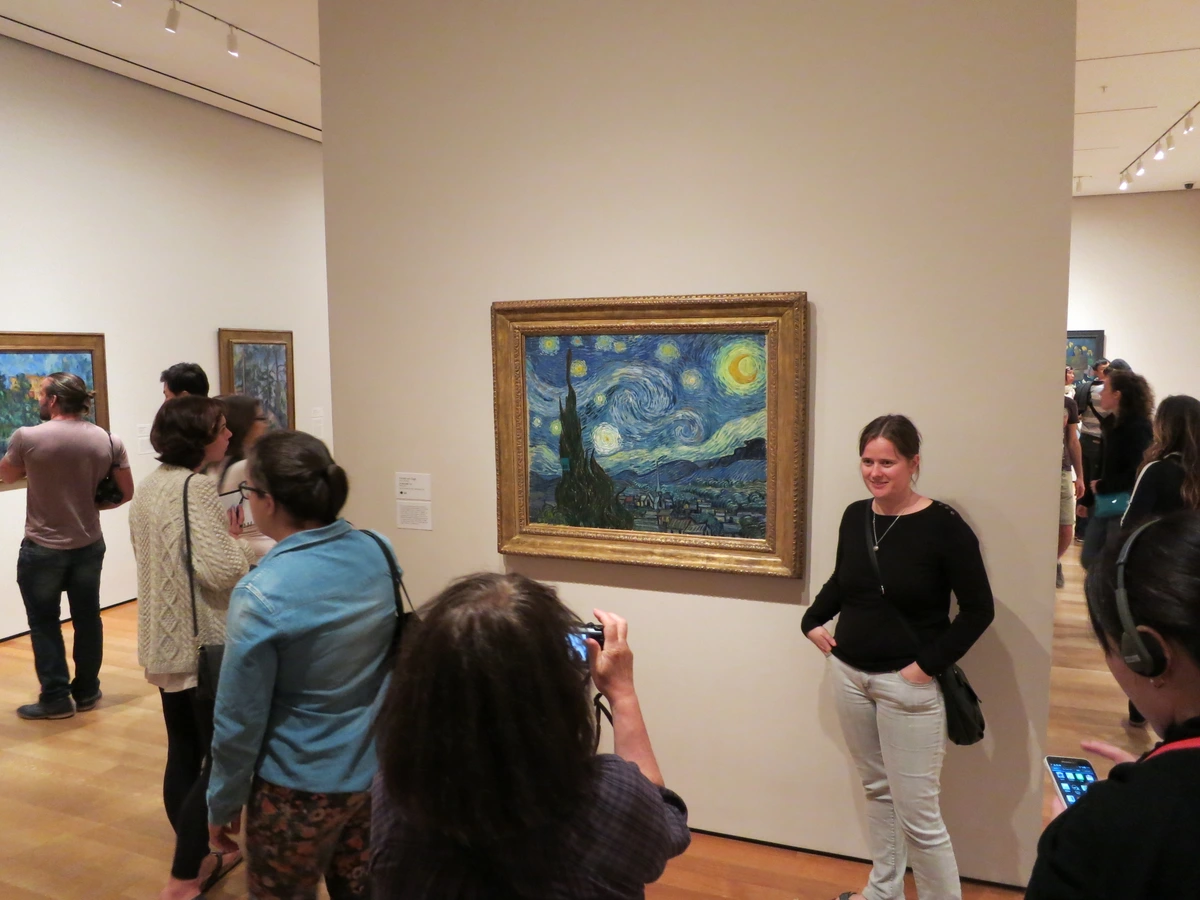
Assembling Your Stretcher Bar Frame: A Step-by-Step Guide
Putting together a stretcher bar frame is one of those deeply satisfying, almost meditative processes that gives you a genuine, tangible connection to the very foundation of your artwork. It’s not some arcane woodworking ritual; you don't need a fully equipped workshop, just a few basic tools and a bit of focused patience. Honestly, I find it quite therapeutic, a moment of quiet construction before the chaos of creation begins. Here’s how I typically approach it to ensure a perfectly square and sturdy base:

Essential Tools:
- Rubber Mallet: Crucial for gently tapping the bars together without damaging the wood or creating unsightly dents. A standard hammer is often too harsh.
- Framing Square / Carpenter's Square: To ensure your frame has perfectly 90-degree corners. This is non-negotiable for a professional finish; even a slight deviation will become glaringly obvious once the canvas is stretched.
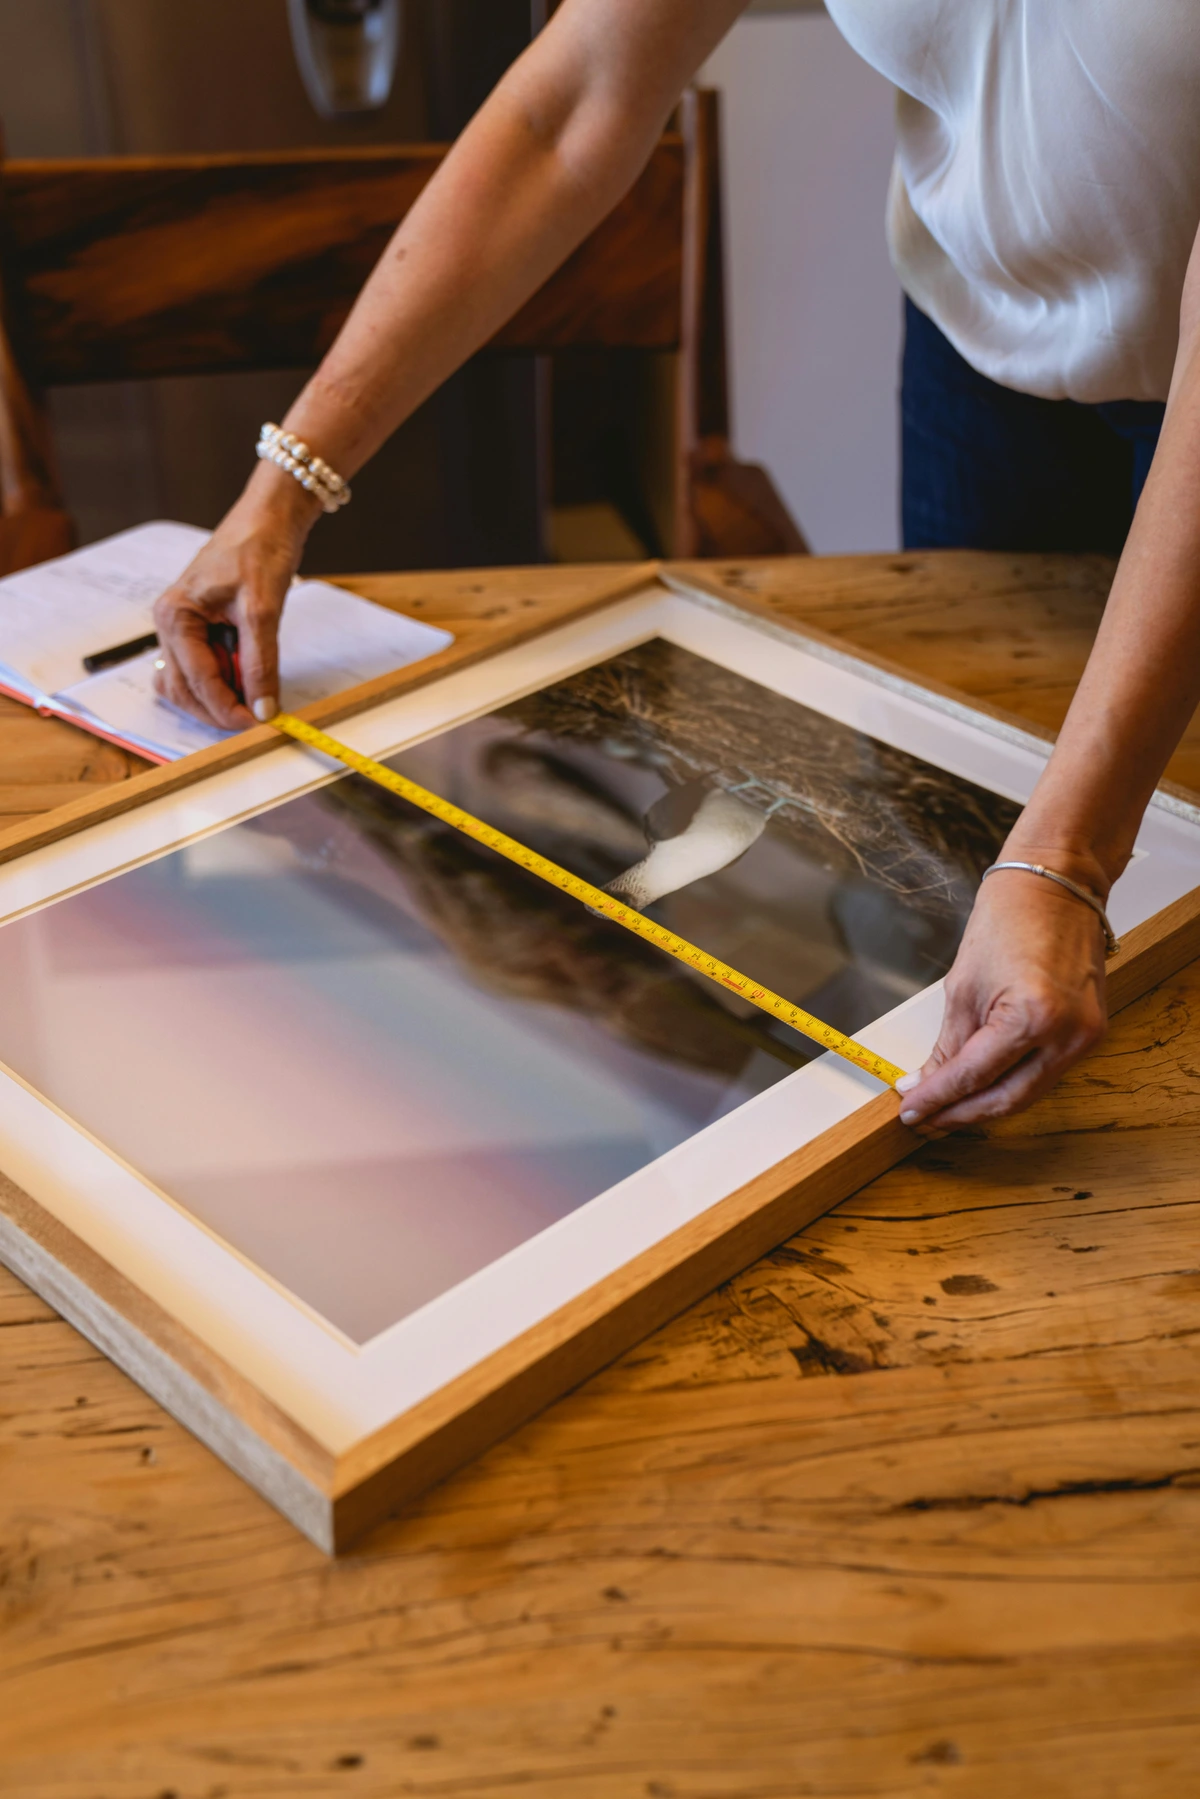
- Measuring Tape: For double-checking dimensions and, critically, for verifying that your frame is perfectly square by measuring diagonals.
- Optional: Wood Glue: While not strictly necessary for most stretcher bars (especially those with robust interlocking joints), a tiny dab of high-quality wood glue in the joints can add extra rigidity for very large works or those intended for extreme longevity where future re-keying is less likely. However, be aware this largely removes the ability to adjust or re-tension the canvas with keys later, so use it judiciously and only for specific applications.
The Assembly Process: Steps for a Perfectly Square Frame
- Lay Out Your Bars Systematically: On a clean, perfectly flat, and stable surface (your studio floor or a large workbench works well), arrange your four stretcher bars into the desired rectangular or square shape. Before joining, take a moment to ensure the raised outer edges are all facing upwards – this is the side the canvas will ultimately touch. This is a common oversight that's easy to correct at this stage, but a pain to fix later.
- Align the Joints with Care: Gently bring two adjacent bars together, carefully aligning their mitered or finger joints. You’ll notice they fit together snugly, often with a slight friction fit. Make sure the 'fingers' or angled cuts are fully engaged before tapping.
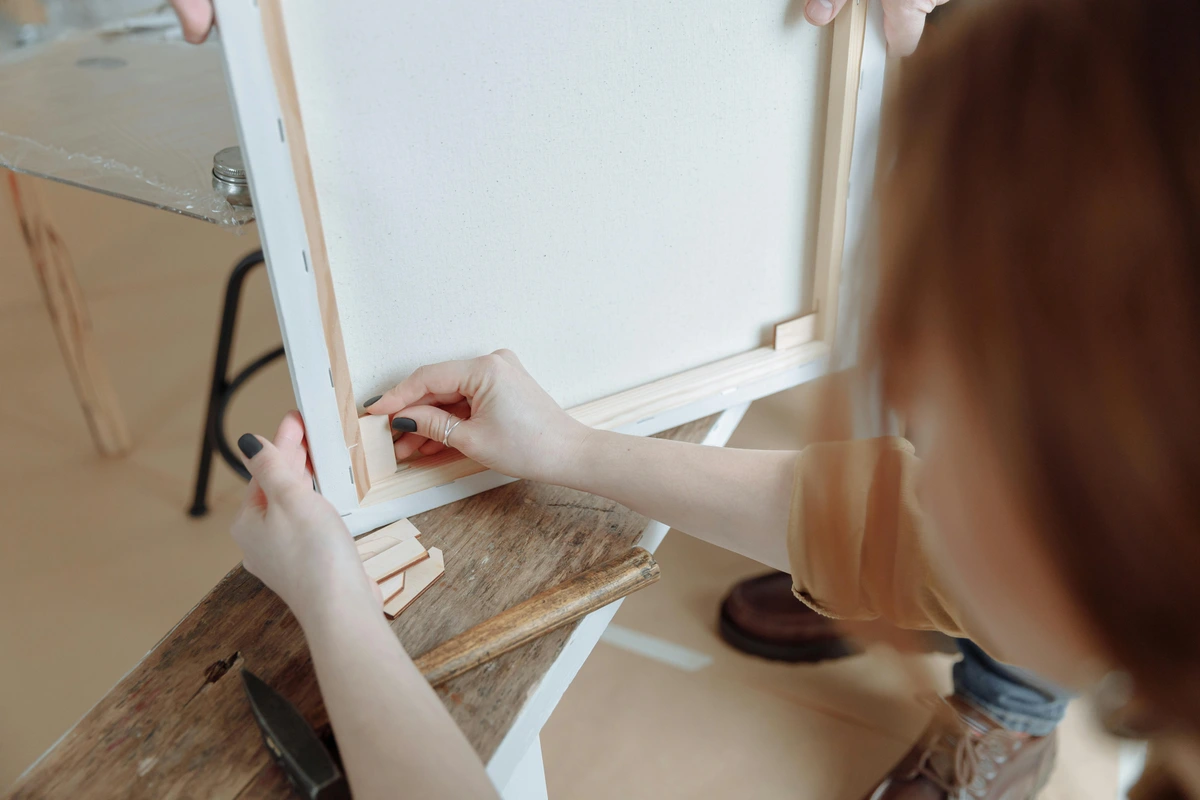
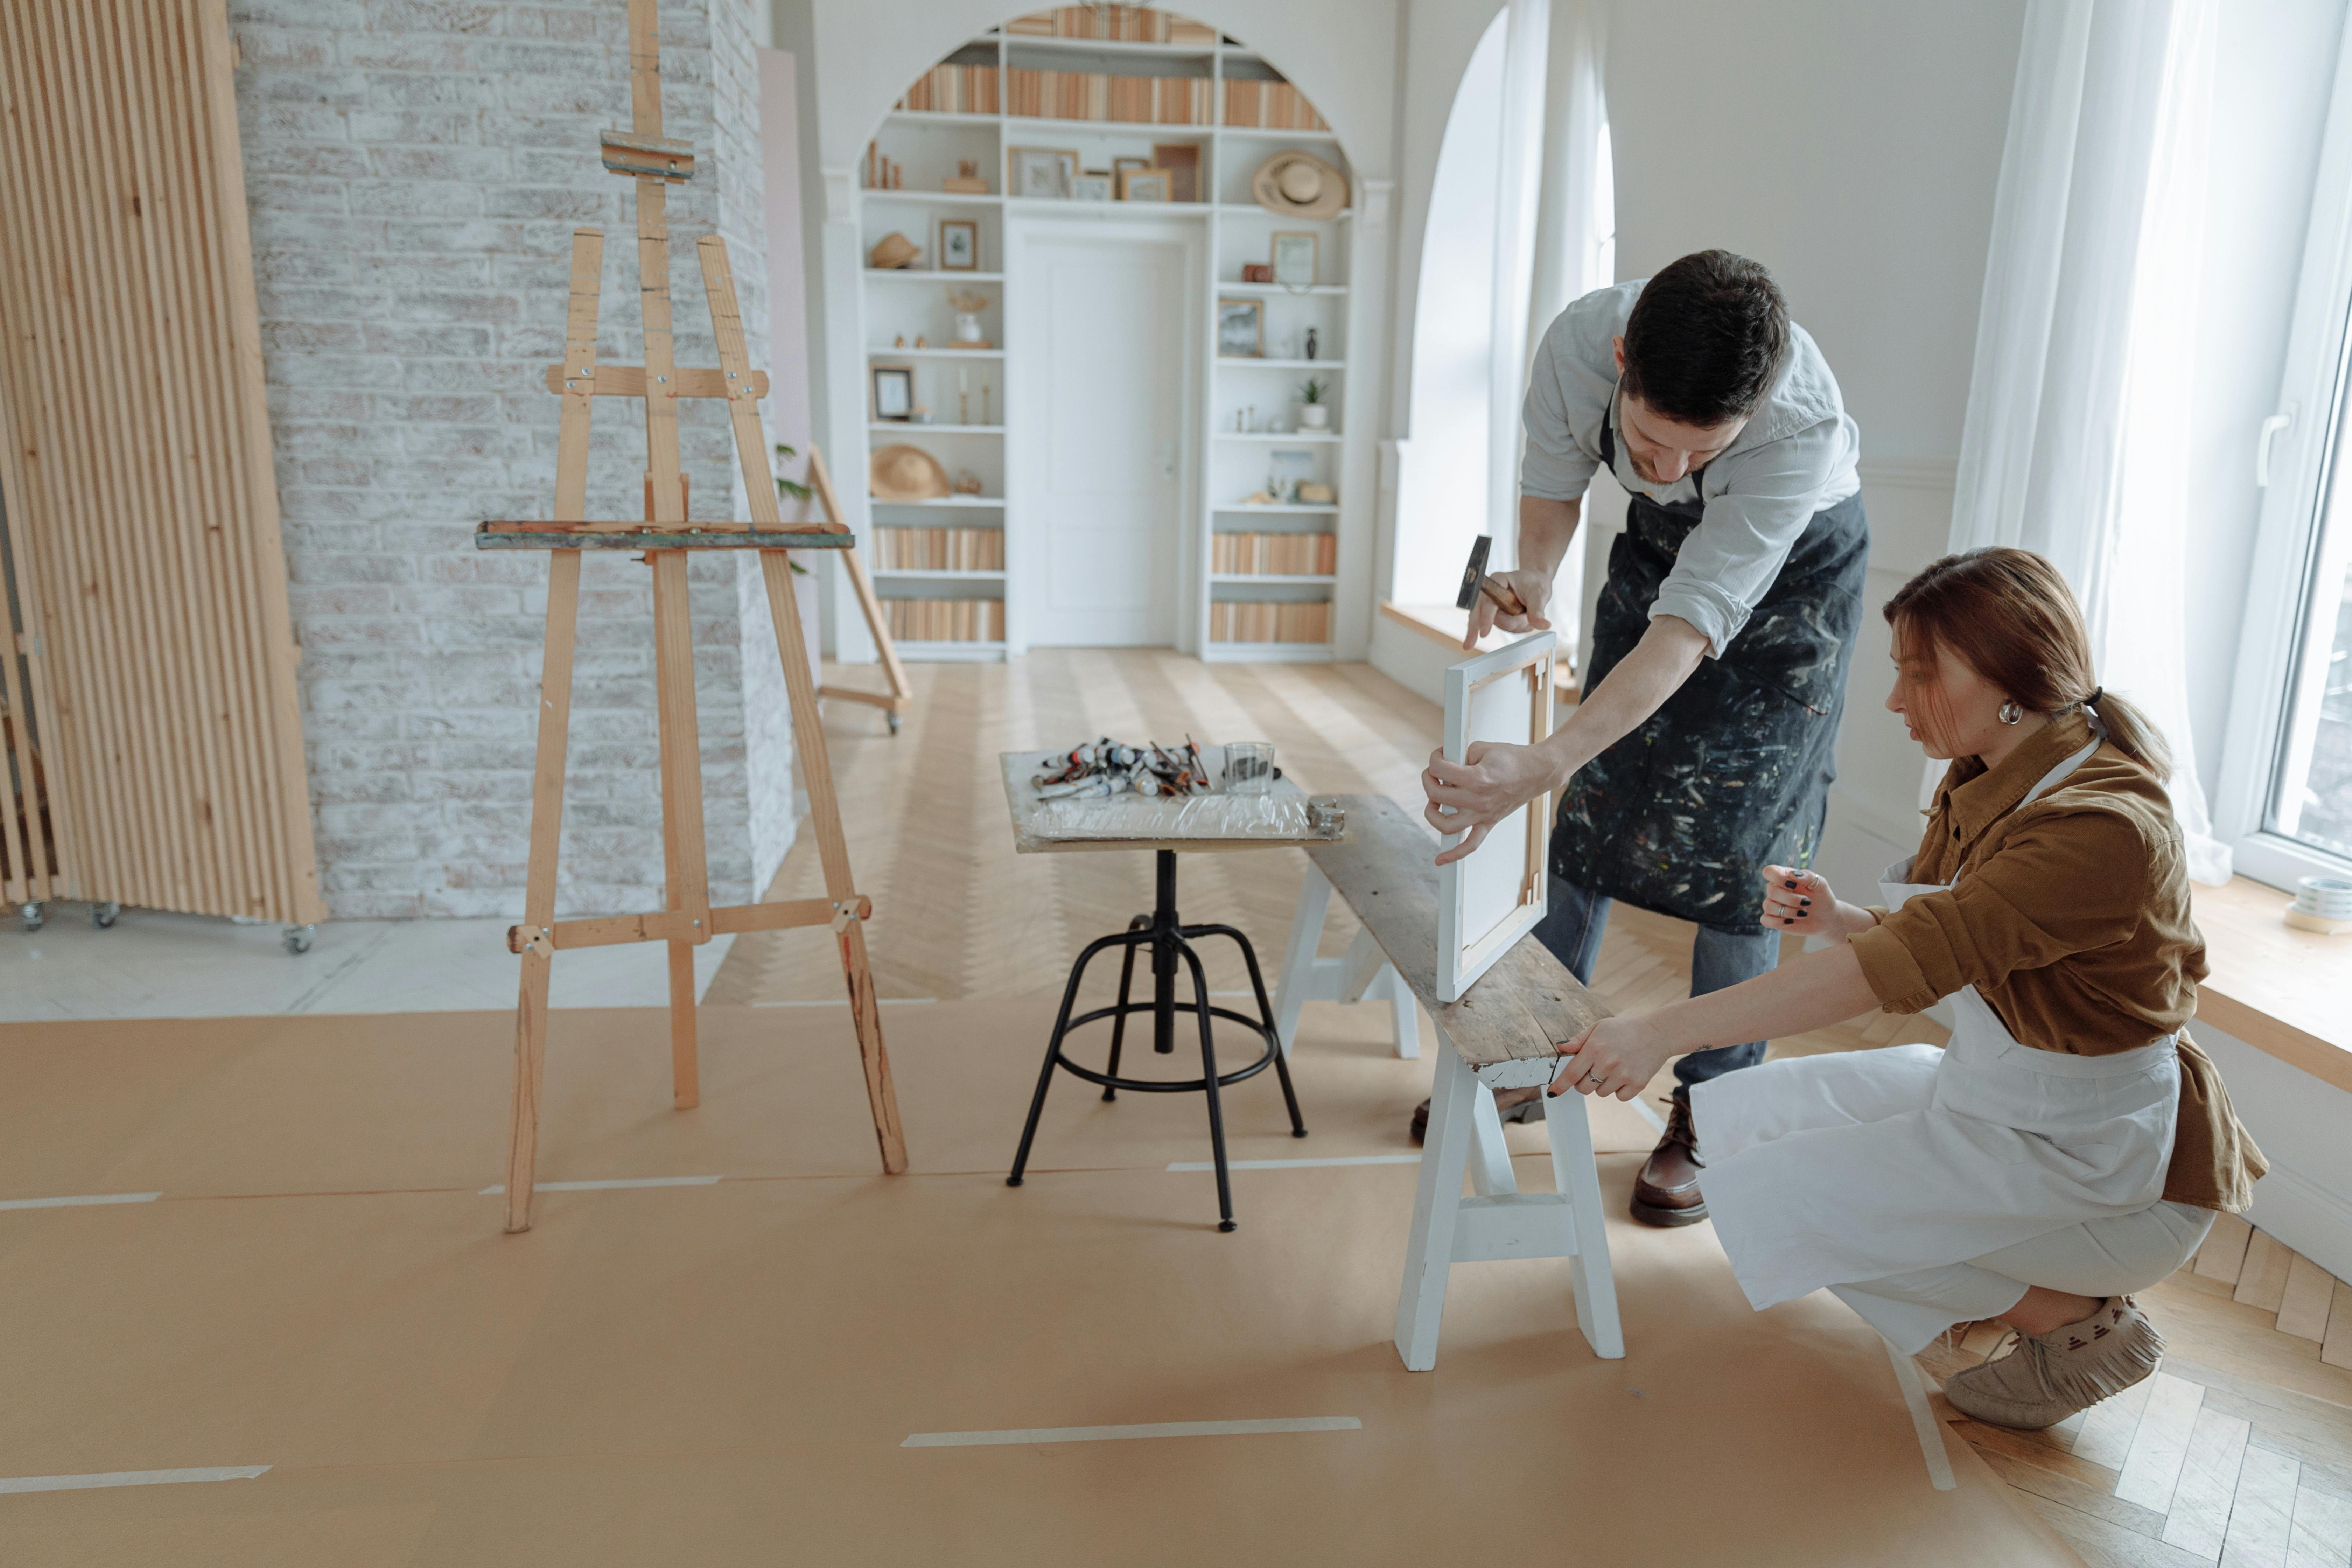
- Tap into Place Evenly: Using your rubber mallet, gently tap the outer end of each bar towards the center of the joint until it is fully seated and tight. You should feel and hear a solid connection. Repeat this for all four corners, working your way around the frame. Don't force it with heavy blows; a steady, gentle, and rhythmic tapping motion is key to avoid splintering the wood. The goal is a firm, seamless joint.
- Check for Squareness Meticulously: This is perhaps the most critical step for the integrity of your artwork. Using your framing square, check all four corners to ensure they are at a perfect 90-degree angle. If a corner is slightly off, you can gently tap the frame on the opposite diagonal (pushing the longer diagonal inward or pulling the shorter diagonal outward) until it squares up. Don't rush this – a perfectly square frame is essential for a well-stretched canvas, proper presentation, and easy framing down the line. A non-square frame will lead to a distorted canvas, guaranteed.
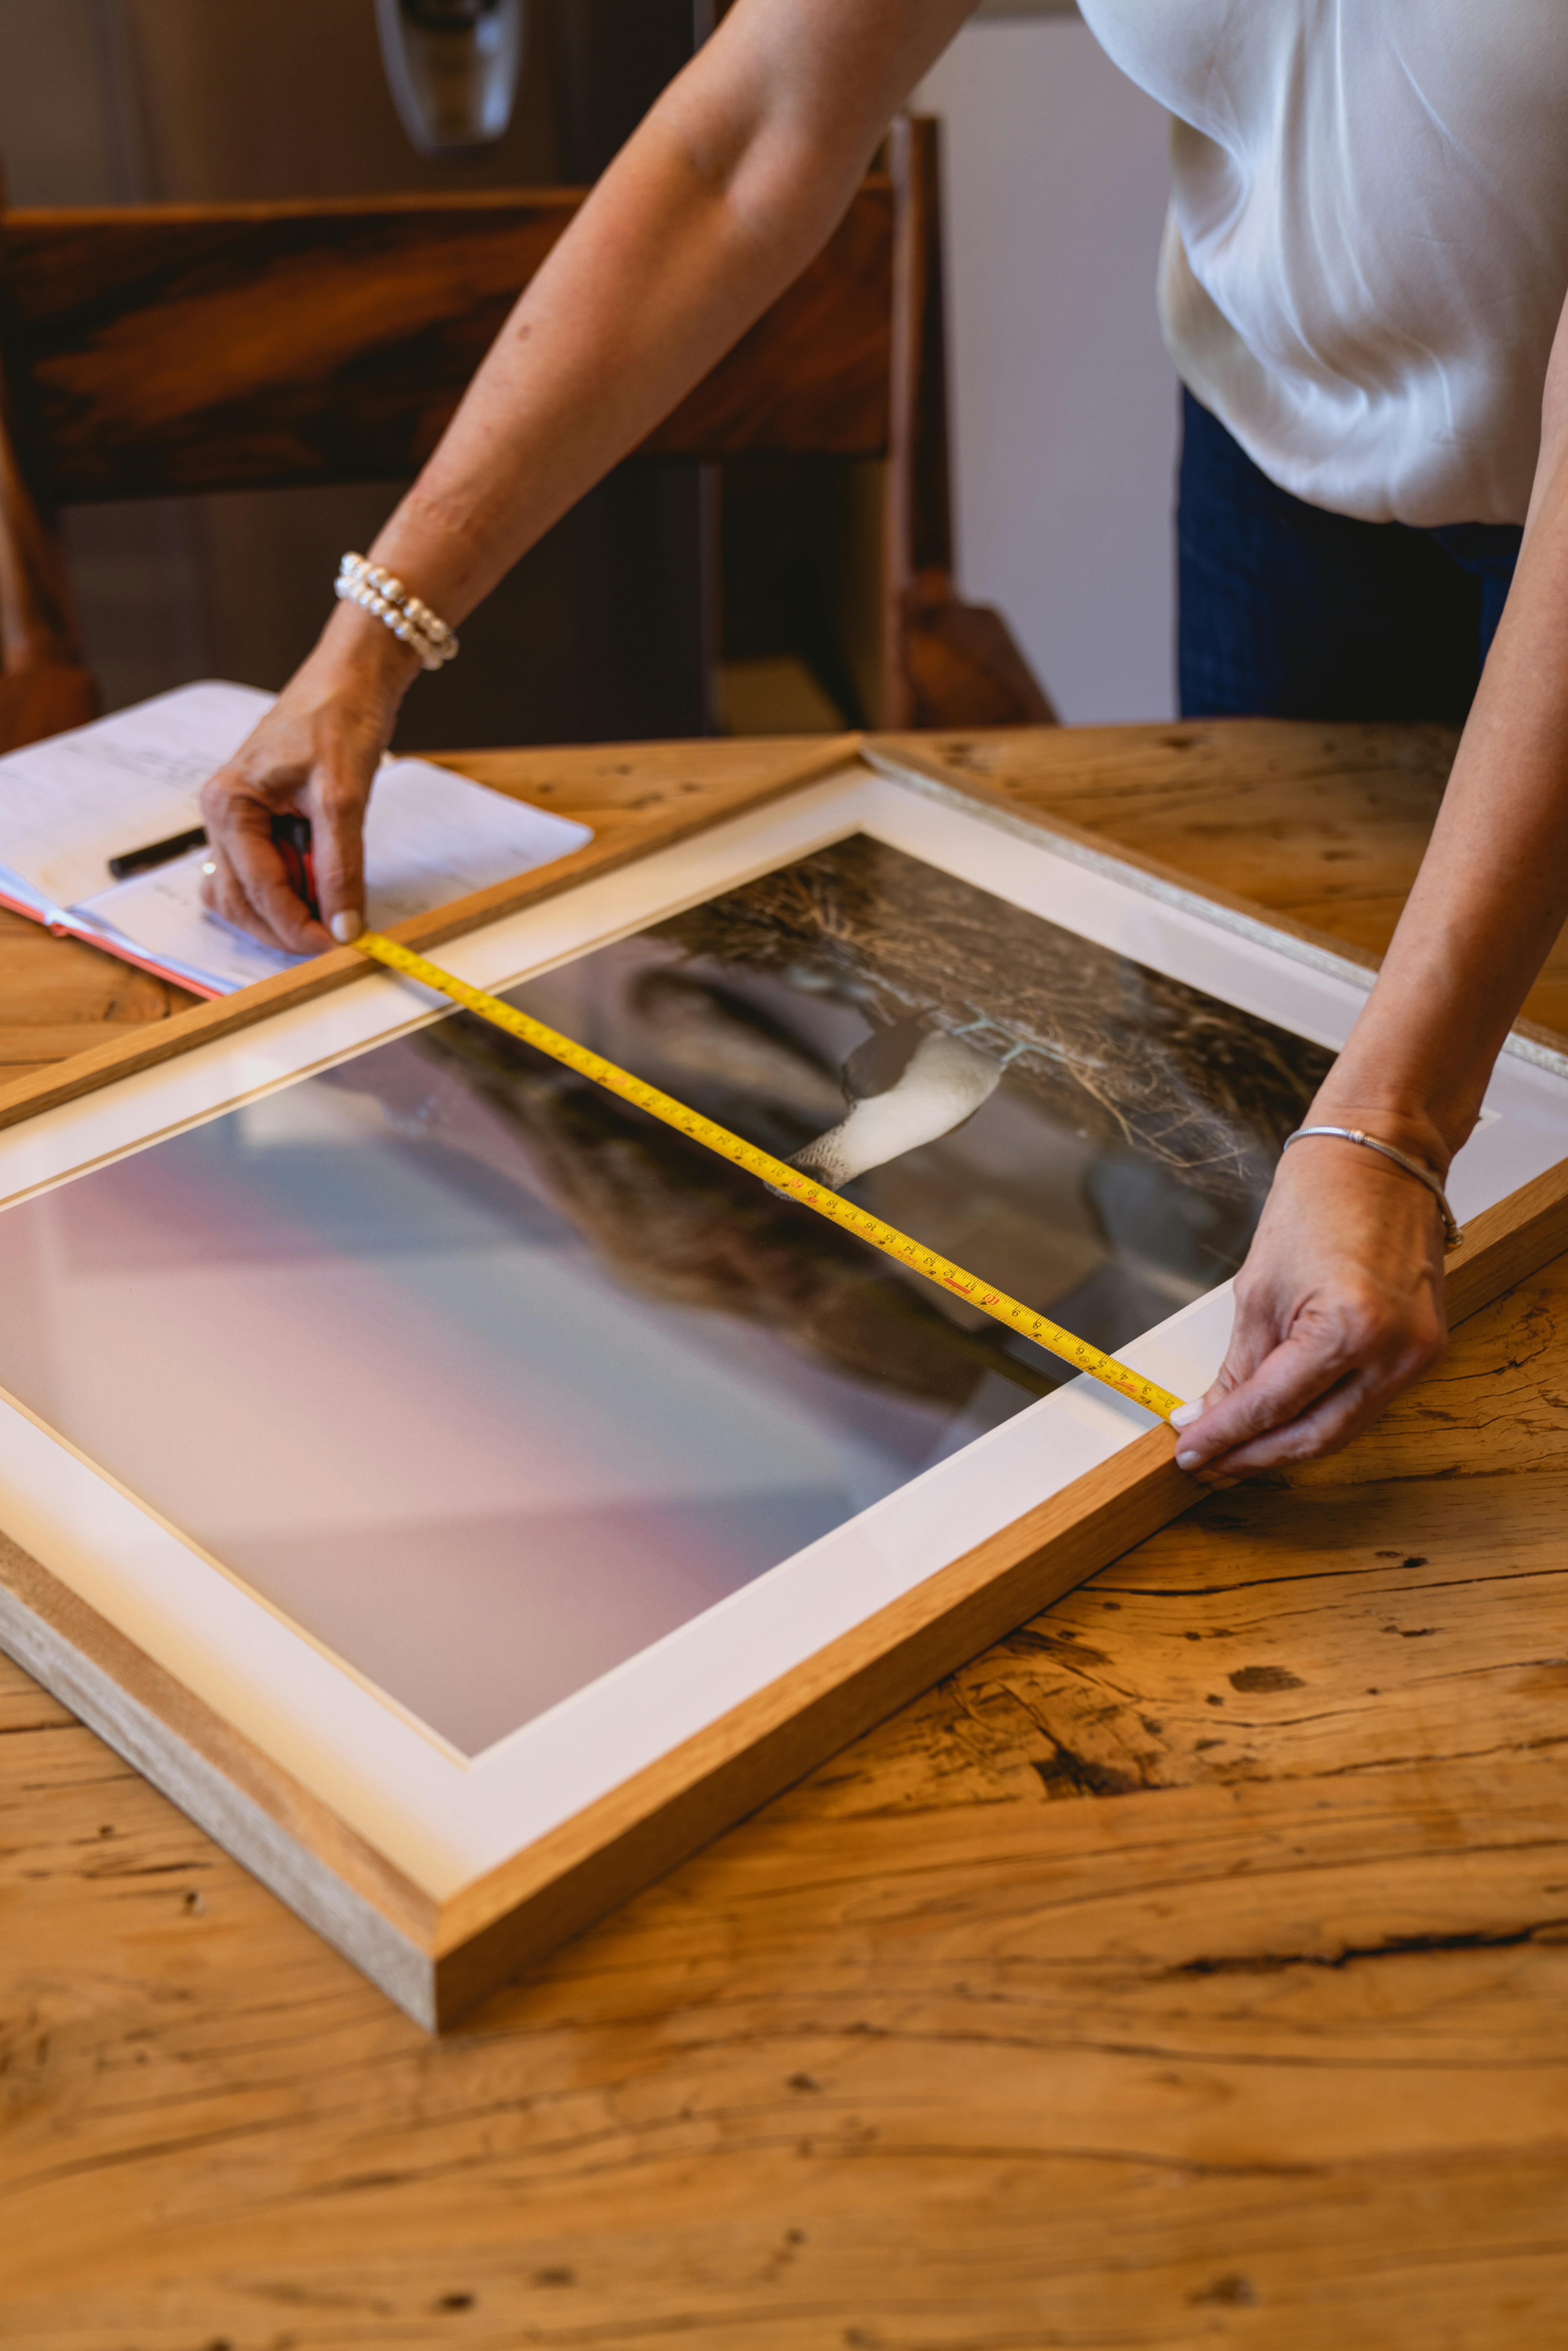
- Measure Diagonals as a Final Verification: As a final, foolproof check for squareness, measure the distance between opposite corners (diagonally). These two diagonal measurements should be exactly the same. If they aren’t, your frame isn’t perfectly square, and you'll need to make minor adjustments by gently nudging or tapping until they match. This ensures your canvas will hang straight and your painting won't have a subtle parallelogram lean, which is far more common than you might think.
Once assembled, you have a solid, adjustable foundation for your canvas. It's a small act, but one that sets the stage for everything that follows, providing the silent assurance that your artwork is built on solid ground.

A Note on Materials and Environmental Considerations
When you're choosing stretcher bars, you’ll primarily encounter various types of wood, with pine and fir being the most common contenders, largely due to their availability and cost-effectiveness. However, and this is a big "however," not all wood is created equal. For me, kiln-dried wood is the undisputed gold standard, and I wouldn't recommend anything less for serious work. Why? Because the kiln-drying process meticulously removes most of the inherent moisture content from the wood, making it significantly more stable. This means it’s far less prone to the infuriating trifecta of warping, twisting, or bowing as it ages or as environmental conditions inevitably fluctuate. When wood retains too much moisture, it behaves like a living thing, constantly expanding and contracting with changes in humidity, and that subtle, incessant movement is the absolute enemy of a perfectly taut, stable canvas.
Beyond the ubiquitous pine and fir, you'll also find stretcher bars crafted from:
Beyond pine and fir, you'll also find stretcher bars made from:
- Basswood: A lightweight, stable wood known for its fine grain and resistance to warping. It's often preferred for professional-grade bars, offering a good balance of strength and lightness.
- Spruce: Similar to pine and fir but often with a more consistent grain, making it slightly more stable.
- Poplar/Maple: Less common but sometimes used for custom or higher-end bars, offering excellent stability and strength, albeit at a higher cost.
For absolutely enormous canvases, particularly those destined for high-humidity environments or for traveling exhibitions where extreme stability is paramount, some artists (and museums) opt for aluminum bars. These are incredibly strong, perfectly stable, and impervious to moisture fluctuations. The trade-off? They are significantly more expensive and, to me personally, they lack the inherent warmth and organic feel of wood. But for monumental works where structural integrity is the absolute top priority, aluminum becomes a very practical, if less romantic, choice.

When considering materials, I'm also increasingly thinking about sustainability. Look for suppliers who source their wood responsibly, perhaps from sustainably managed forests or who use reclaimed wood where possible. As artists, we often use a lot of resources, so any step towards more ethical and environmentally conscious practices is a step in the right direction. It's not always easy, but asking questions and supporting responsible suppliers is a good start.
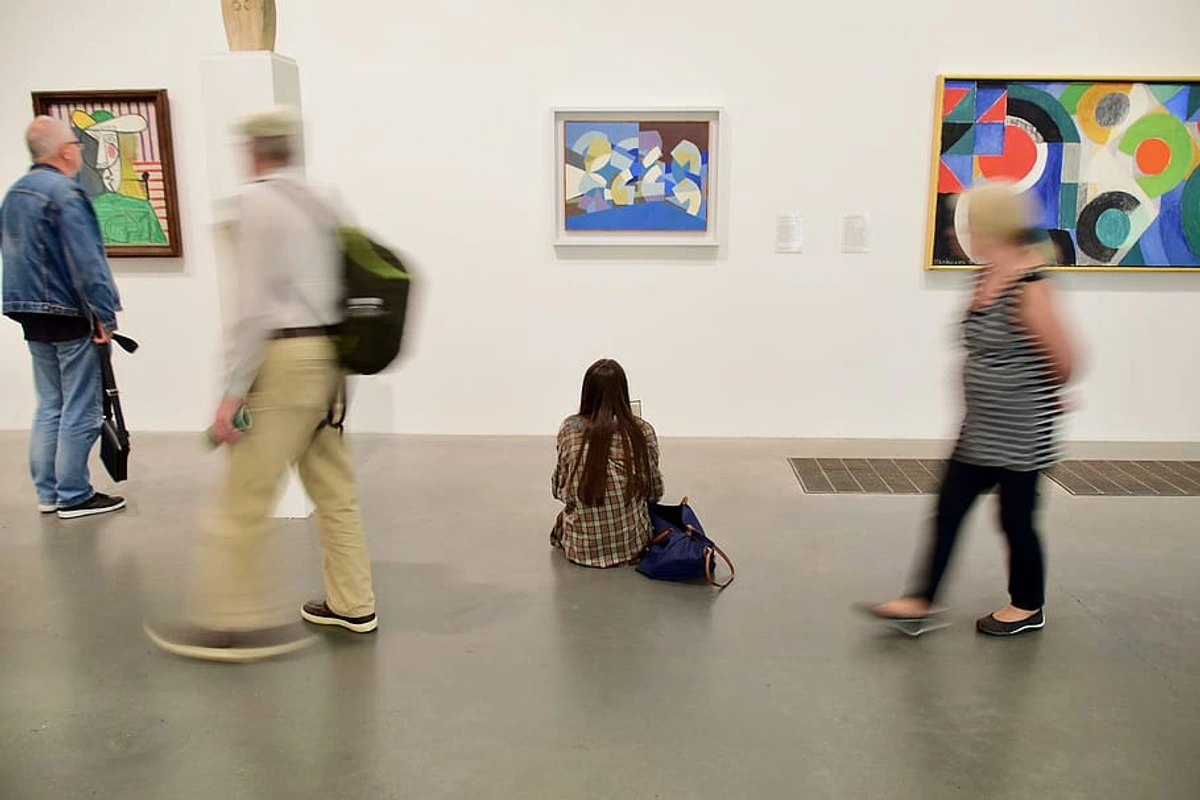
Once you have your canvas stretched over your chosen stretcher bars, the next crucial step is often priming it. Getting that surface just right – smooth, absorbent, and perfectly ready for paint – is a whole art in itself, and it’s a process that can dramatically affect the vibrancy, texture, and longevity of your pigments. This preparation step sets the stage for how your paint will interact with the canvas. You can learn much more about that in my comprehensive guides on how to prepare a canvas for acrylic painting, how to prepare a canvas for oil painting, and specifically delving into what gesso is and how to apply gesso to canvas: a beginner's guide. Each medium has its own specific priming requirements, and understanding these can elevate your painting practice considerably.
Essential Tools for Stretching Your Canvas
Before we dive into the actual techniques, let’s quickly gather our arsenal. While the assembly of the frame requires minimal tools, the act of stretching the canvas itself benefits greatly from a few key items. Having these ready will make the process much smoother and ensure a professional result:
- Canvas Pliers: These are purpose-built pliers with a wide, textured jaw that provides excellent grip without damaging the canvas fibers. They allow you to pull the canvas taut with consistent, even pressure, which is nearly impossible to achieve with just your hands. For me, these are non-negotiable for anything beyond a very small study.
- Staple Gun (Heavy-Duty): While some traditionalists use tacks and a hammer, a heavy-duty staple gun is a modern artist's best friend. It significantly speeds up the process and provides a very secure, consistent attachment. Invest in a good quality one that uses sturdy staples. Electric or pneumatic options are fantastic for those stretching many large canvases.
- Staple Remover: Because mistakes happen, or because you might want to re-stretch a canvas, a good staple remover is invaluable. It lets you extract staples cleanly without tearing the canvas or damaging the stretcher bars.
- Measuring Tape or Ruler: Essential for ensuring your canvas is centered on the frame and for measuring distances between staples for an even stretch.
- Utility Knife or Scissors: For cleanly trimming excess canvas once it's stretched.
- Corner Wedges/Keys (if not already with bars): As discussed earlier, these are critical for re-tensioning. Ensure you have them on hand!
Having these tools, just like having the right brush for a specific stroke, empowers you to take control of your canvas preparation, leading to a much more satisfying and durable artwork.

Canvas Stretching Techniques: A Quick Overview
While this entire article has focused on the critical role of the stretcher bars themselves, we can't ignore the art of actually getting that canvas onto the frame. Stretching a canvas is a skill that combines precise tension, careful alignment, and honestly, for me, a bit of meditative rhythm. There isn't just one single 'right' way to do it, but rather a few common, effective approaches. My personal comprehensive guide, how to stretch a canvas on stretcher bars, dives deep into this, but here’s a quick overview of the popular techniques:

- Traditional Corner-to-Corner Method: This classic technique involves stapling the canvas at the center of each side, then working your way out towards the corners, alternating sides to ensure even tension. The corners are folded and stapled last, creating a neat finish.
- Modern Power Stapling: Many artists now use heavy-duty staple guns, which can expedite the process, especially for larger canvases. The principle of even tension and alternating sides remains the same.
- Pre-Primed vs. Raw Canvas: You can buy canvas that's already primed, which saves a step. However, some artists prefer to stretch raw canvas and then apply their own gesso, allowing for greater control over the surface and absorbency.
Regardless of the method, the goal is always that drum-tight surface. Remember, the stretcher bars provide the framework, but your skill in stretching brings that framework to life. For a full deep dive, my guide on how to stretch a canvas on stretcher bars covers everything you need to know.
Choosing the Right Stretcher Bar for Your Medium and Style: A Strategic Decision
It might sound overly granular, another detail to add to your ever-growing mental checklist, but the type of stretcher bar you choose can actually, quite profoundly, influence your artistic process and the final outcome of your work. This isn't just a technical specification; it's a strategic decision deeply tied to your chosen medium, your artistic style, and even the emotional intent of your piece. Here are a few things I meticulously consider before committing to a set of bars:
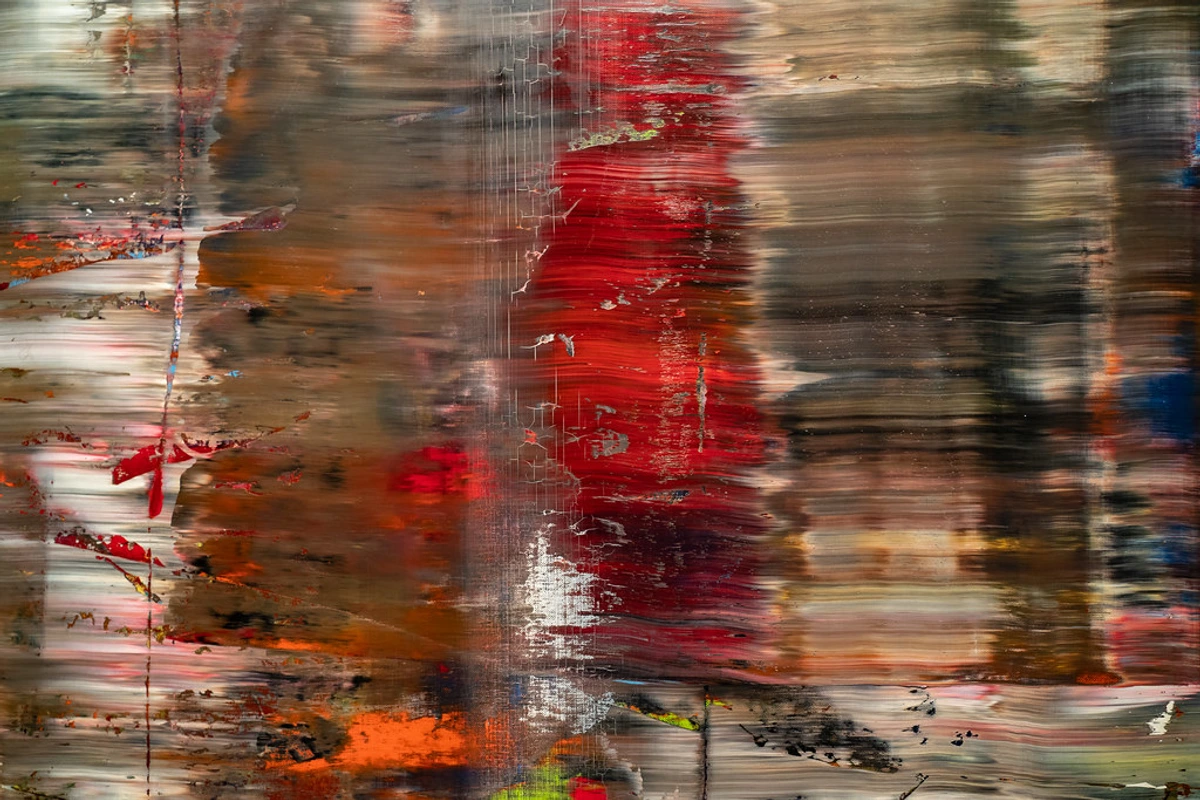
- Heavy Impasto or Mixed Media: If you're working with thick layers of paint, heavy gels, or incorporating dense mixed media elements, you'll want the most robust support possible. Professional-grade, thicker bars with cross braces are essential to prevent bowing under the weight and stress of the materials. Thin bars will simply not cope.
- Fluid Acrylics or Stains: For very fluid techniques where gravity plays a role (think pouring or staining), a perfectly flat, warp-resistant surface is paramount. Kiln-dried, stable wood is key, as any subtle twist in the frame can lead to uneven flow and pooling.
- Large-Scale Works: This almost always calls for professional-grade bars with full bracing. The sheer size of the canvas means more material reacting to the environment, and a stronger skeletal structure is non-negotiable.
- Subtle Linework or Delicate Details: A consistently taut surface is crucial for precise brushwork. Even a slight give in the canvas can make fine detail work frustratingly difficult.
- Exhibition vs. Study Work: For gallery-bound pieces or those you intend to sell, always err on the side of professional-grade for longevity and presentation. For quick studies or experimental pieces, standard bars are perfectly acceptable.
Thinking about your materials and how they interact with their support is part of developing a truly mindful artistic practice. It’s another layer of control you can exert over your vision.
Advanced Considerations for Collectors: Preserving Your Stretched Canvas Art
Advanced Considerations for Collectors and Archival Preservation
For collectors, or artists creating work intended for long-term preservation, understanding the environmental factors affecting stretched canvases is absolutely paramount. Your choice of stretcher bars and their proper assembly are the first line of defense, but they operate within a larger ecosystem of care and consideration:
- Climate Control: The biggest enemy of a taut, stable canvas is fluctuating humidity and temperature. Ideally, artworks should be kept in environments with stable relative humidity (around 45-55%) and temperature (68-72°F or 20-22°C). Rapid and dramatic shifts can cause canvas fibers and the wooden frame to continually expand and contract. This constant movement leads directly to sagging, puts immense stress on delicate paint layers, and can even contribute to the gradual warping or racking of the wooden frame over many years. This is precisely where the inherent adjustability of quality stretcher bars truly shines, allowing for periodic re-tensioning if environmental controls aren't perfect or during seasonal shifts. Investing in a hygrometer for your display or storage space is a simple yet effective tool.
- Storage: If storing unstretched canvases (perhaps prior to stretching or for future projects), always keep them rolled on sturdy, acid-free tubes, never folded (which creates irreversible creases), and protected from dust, light, and pests. Stretched canvases should ideally be stored vertically on purpose-built racks, separated by acid-free foam core or corrugated plastic sheets to prevent abrasion and transfer of pigment. Never lean canvases directly against each other or against rough surfaces. For long-term storage of valuable works, a dedicated, professional climate-controlled art storage facility is the gold standard.
- Handling: This cannot be stressed enough: always handle stretched canvases by the stretcher bars themselves, never by the canvas surface. This avoids accidental punctures, creases, or the transfer of oils, dirt, and acids from your hands onto the artwork. When moving larger works, always enlist the help of a second person and approach doorways or narrow passages sideways, rotating the canvas as needed.
- Backing Boards: For added protection against dust accumulation, localized humidity fluctuations from the wall, and accidental punctures from the rear, a rigid backing board (e.g., acid-free foam core or archival corrugated plastic) can be attached to the back of the stretcher bars. This effectively creates a microclimate around the canvas and offers a crucial physical barrier. For works that will be unframed, a backing board also gives a more finished, professional look to the reverse of the piece.
These considerations might seem excessive for a casual painter, but for anyone serious about the longevity and archival quality of an artwork, they become absolutely integral to responsible custodianship. After all, the ultimate goal is for these works to be appreciated and preserved for generations, not just for a fleeting moment.
Glossary of Stretcher Bar Terms: A Quick Reference
Navigating the world of stretcher bars, canvas, and painting supports can sometimes feel like learning a new language. To help you keep all the key terms straight, here's a quick glossary of the essential vocabulary we've covered – consider this your personal lexicon for building lasting art:
- Stretcher Bar: A precisely milled wooden (or aluminum) bar with a raised outer edge and interlocking, expandable corner joints, specifically designed to create an adjustable, re-tensionable frame for canvas, crucial for longevity.
- Strainer Bar: A rigid wooden frame, typically glued or nailed rigidly at the corners, fundamentally lacking the raised edge and adjustability of a stretcher bar. Generally not recommended for archival work due to its inability to respond to canvas movement.
- Beveled Edge/Raised Edge: The critical, slightly raised outer profile of a stretcher bar that ensures the canvas makes contact only with the outermost rim, preventing the main body of the fabric from touching the internal frame and thus eliminating unsightly 'ghost lines' or ridges.
- Miter Joint: A common, simple, and effective corner joint formed by cutting two pieces of wood at a 45-degree angle to fit together seamlessly at a 90-degree angle, allowing for easy assembly and keying.
- Finger Joint: An interlocking joint created by cutting a series of complementary 'fingers' or teeth into two pieces of wood that interlock for superior strength and stability, often found in higher-quality bars.
- Mortise-and-Tenon Joint: A robust, traditional woodworking joint where a 'tenon' (a projecting piece) from one bar fits snugly into a 'mortise' (a hole or slot) in another. This offers exceptional strength and precision, often reserved for professional-grade bars.
- Keys/Wedges: Small, typically wooden, triangular inserts designed to be gently tapped into the pre-cut slots in the inner corners of stretcher bars. Their purpose is to slightly expand the frame, re-tensioning a sagging canvas and restoring its tautness.
- Cross Brace/Stretcher Bar Brace: An additional wooden bar that fits into precisely cut slots across the interior of a large stretcher frame. Its essential function is to prevent bowing, twisting, and to maintain the frame's squareness and structural integrity under tension.
- Corner Brace: Smaller, often L-shaped or triangular, reinforcements fitted into the inner corners of a stretcher frame, augmenting the existing joints. They provide significant additional rigidity and are crucial for preventing racking (where the frame loses its perfect 90-degree angles and becomes a parallelogram).
- Standard Wrap: Refers to a canvas stretched over thinner profile stretcher bars (approx. 3/4"-1" deep), with staples typically applied along the sides of the bars. These are usually intended for framing, as the staples are visible.
- Gallery Wrap: Refers to a canvas stretched over deeper profile stretcher bars (1.5" or deeper), with staples meticulously hidden on the back of the bars. This allows the artwork to be hung unframed, presenting a clean, contemporary, and often sculptural edge.
- Kiln-Dried Wood: Wood that has undergone a controlled drying process in a kiln to significantly reduce its moisture content. This makes the wood considerably more stable and less prone to warping, twisting, or bowing due to humidity fluctuations.
- Hygroscopic: The inherent property of a material (such as wood and natural canvas fibers) to absorb and release moisture from the surrounding air. This process causes the material to expand when humid and contract when dry, directly impacting canvas tension.
- Gesso: A primer (most commonly acrylic polymer-based for modern canvases) applied to canvas or other painting surfaces. Its purpose is to prepare the surface by creating an even, non-absorbent, and toothy ground that accepts paint well, protecting the canvas fibers and enhancing paint vibrancy.
- Canvas Pliers: Specialized tools with wide, textured jaws designed specifically to grip and pull canvas taut during the stretching process. They allow for even and consistent tensioning, which is difficult to achieve by hand.
- Racking: The deformation of a rectangular or square frame into a parallelogram, losing its perfect 90-degree angles. This is often prevented by robust corner joints and bracing.
- Sizing: A preparatory layer applied to raw canvas (usually before gesso) to seal the fibers, protect them from oil paint acids, and reduce the absorbency of the canvas.
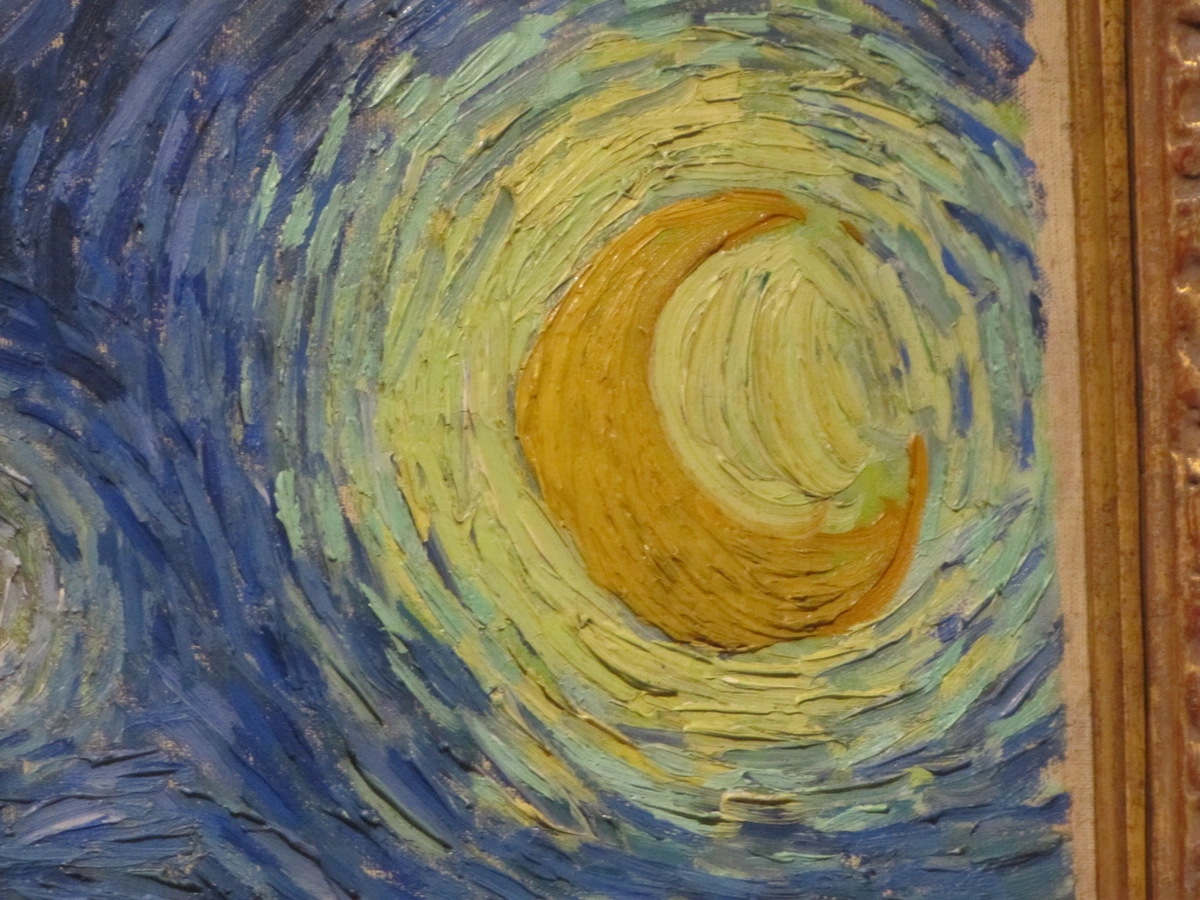
- Impasto: A painting technique where paint is laid on thickly enough that brushstrokes are visible, often creating texture. This technique puts additional stress and weight on the canvas, requiring robust stretcher bar support.
This glossary should serve as a handy reference as you continue your journey through the rich landscape of art creation and appreciation, empowering you with the precise language to discuss the foundational elements of your craft.
FAQ: Your Stretcher Bar Questions Answered
I get asked these all the time, so let's clear them up.
What about pre-stretched canvases?
Ah, the convenience factor! Pre-stretched canvases are incredibly popular, especially for beginners or those working on studies. They come ready to paint, saving you the step of stretching. However, like anything, there's a spectrum of quality. Economy pre-stretched canvases often use standard-grade, less stable wood for the bars, and the canvas itself might be a lower-quality cotton duck that's machine-stretched to an acceptable, but not always drum-tight, tension. The problem here is that the staples are often very visible, and the frame might not be perfectly square. Also, the canvas might sag relatively quickly without much option for re-tensioning.
Professional-grade pre-stretched canvases, on the other hand, are often stretched over professional-grade, kiln-dried stretcher bars and can be quite good. They're typically hand-stretched, offering better tension and a more consistent surface. For many artists, the time saved is worth the extra cost. My advice? For practice, go with economy. For anything you plan to sell or keep long-term, either stretch your own or invest in higher-quality pre-stretched options from reputable art suppliers. It’s all about understanding the compromise you're making.
What are stretcher bar keys (or wedges) and how do I use them?
Ah, these little wooden triangles are a stroke of low-tech genius, and honestly, they're often overlooked by beginners! They're called keys or wedges, and they are absolutely crucial for maintaining the long-term tension of your canvas. Remember how I mentioned that a good stretcher bar frame needs to have a tiny bit of play, allowing it to subtly expand? These keys are exactly for that purpose.
If, over time, your canvas starts to sag – which it almost inevitably will due to humidity fluctuations, temperature changes, or simply the weight of accumulated paint – you can gently tap these keys into the pre-cut slots found in the inside corners of your stretcher bar frame. This action subtly pushes the bars slightly further apart, re-tightening the canvas and miraculously restoring that beautiful, drum-tight tension. The trick is to do this gradually and evenly, tapping each key a tiny bit at a time, working your way around all four corners until the desired tension is achieved. Avoid hammering them in too forcefully, as this can over-tension the canvas or even crack the wood.
They're not just for show; they are a critical, active component for maintaining the archival quality and aesthetic perfection of your stretched artwork. Seriously, do not throw them away! I always recommend taping them securely to the back of your canvas (perhaps in a small envelope) or storing them safely in your studio toolkit; you will need them eventually. Learning how to properly use them is a small skill that pays huge dividends in the longevity and presentation of your work, transforming a floppy canvas back into a taut, responsive surface, ready to be admired for decades to come.

Can I use stretcher bars for murals or very large installations?
This is a fantastic question that pushes the boundaries of traditional painting! For truly monumental works, like large-scale murals or intricate installations, standard stretcher bars (even professional-grade) might not be sufficient on their own. For these projects, artists often collaborate with fabricators or use specialized, heavy-duty stretcher systems. These might involve:
- Modular Systems: Bars that connect in a way that allows for easy assembly and disassembly, crucial for transport and installation of enormous pieces.
- Aluminum Frames: As briefly mentioned, aluminum is incredibly strong and stable, often preferred for extremely large works or those destined for outdoor or high-humidity environments.
- Engineered Bracing: Beyond standard cross braces, these systems might incorporate metal tensioners, adjustable turnbuckles, or elaborate internal grid structures to ensure perfect flatness and stability over vast areas.
- Site-Specific Construction: Sometimes, for a permanent installation, the frame might even be custom-built on-site, directly integrated into the architectural structure.
So, yes, stretcher bars can be adapted for massive scales, but it moves beyond off-the-shelf solutions into specialized engineering. It’s a testament to their fundamental design that the core principles scale up, even if the materials and construction become far more complex.
Custom vs. Standard Stretcher Bars: When to Choose?
Most artists, myself included, wisely start with readily available standard-sized stretcher bars. They are economical, convenient, and perfectly suited for the most common canvas dimensions you'll encounter. They get the job done efficiently for daily studio practice. However, as your work evolves, as your vision expands (literally, sometimes!), you might find yourself needing a non-standard size, a particularly unique aspect ratio, or a very specific depth or profile that simply isn't available off the shelf. This is precisely where custom stretcher bars truly shine.
With custom bars, you can order them to any precise dimension, often benefiting from specialized wood choices or even entirely bespoke bracing systems designed for truly monumental works or those with unusual geometries.

- Standard Bars:
- Pros: Affordable, widely available at most art supply stores, easy to replace if damaged, and perfect for common canvas dimensions.
- Cons: Limited range of sizes and depths, generally less precise milling compared to custom options, and the wood quality might be less consistent than premium custom choices. Not ideal for very large or uniquely shaped works.
- Custom Bars:
- Pros: Literally any size or shape imaginable, often featuring superior wood quality (e.g., furniture-grade hardwoods, specialized laminates) and incredibly precise milling for a perfect fit. They are ideal for realizing very specific artistic visions, for challenging dimensions, or for creating multi-panel installations that require absolute precision.
- Cons: Significantly more expensive due to the individualized labor and materials, and typically involve longer lead times for fabrication.
I’ve found custom bars absolutely invaluable for specific installations, for commissions designed for particular architectural spaces, or when I want to push a unique compositional idea. For everyday studio work and most exhibition pieces, standard sizes usually suffice, but it’s incredibly liberating to know those custom options are there when you need them to realize a truly ambitious and unique vision.
- Standard Bars: Pros: Affordable, widely available, easy to replace. Cons: Limited sizes, may not be as precisely milled as custom options.
- Custom Bars: Pros: Any size imaginable, often superior wood quality and precision milling, ideal for specific artistic visions or challenging dimensions. Cons: Significantly more expensive, longer lead times.
I’ve found custom bars invaluable for specific installations or pieces designed for particular spaces. For everyday studio work, standard sizes usually suffice, but it’s liberating to know custom options are there when you need them to realize an ambitious vision.
What about humidity and temperature monitoring for my art?
Given how much we've talked about the destructive power of environmental fluctuations, it's only natural to wonder how to actively monitor and mitigate these risks! For serious collectors, or for artists committed to the longevity of their work, investing in a good quality hygrometer/thermometer is a simple yet powerful step – your artwork's environmental health monitor, if you will.

- Why it matters: These devices provide real-time, accurate readings of both relative humidity (RH) and temperature in your studio, gallery, or storage space. Knowing these levels allows you to identify periods of high fluctuation, which are the most damaging to organic materials like wood and canvas. Constant expansion and contraction significantly stress both the canvas fibers and the paint film, leading to premature aging and damage.
- Ideal Ranges for Art Preservation: Aim for a consistent relative humidity between 45-55% and a stable temperature of 68-72°F (20-22°C). Minor, gradual deviations are usually manageable, but rapid and dramatic swings (e.g., from a dry winter interior to a humid summer day, or placing art near a heat vent) are what wreak havoc on artworks. Consistency is the goal.
- Simple Solutions for Mitigation: For minor issues in a contained space, a small room humidifier or dehumidifier can make a world of difference. Even something as basic as keeping windows closed on very humid days, or ensuring artworks are not in direct drafts, can help significantly. For larger collections or gallery settings, professional climate control systems are ideal and often a necessity.
- The Power of Observation: Beyond the numbers, simply observing your artwork and its environment regularly is key. Are canvases sagging more noticeably in summer? Does the frame feel more rigid or loose during certain seasons? These observations, combined with data from your hygrometer, empower you to take proactive steps, such as re-tensioning with keys or adjusting environmental controls. Your intuition, coupled with data, is your best ally.
Think of it as the environmental health check for your art. It's about being informed and taking intelligent, preventative action rather than waiting for problems to emerge – a critical component of responsible art custodianship.
Can I reuse stretcher bars?
Absolutely! And let me tell you, this is one of the great unsung joys of working with stretcher bars – their inherent reusability is a fantastic way to save money, reduce waste, and give a second life to a perfectly good frame. If you have a painting you're no longer happy with, or if a piece didn't quite turn out as planned (it happens to all of us!), you can carefully remove the staples from the back of the canvas, peel off the old fabric, and then stretch a brand new piece of canvas onto the exact same bars. It’s like getting a fresh start, a blank slate for new ideas!
A few pro tips for reusing:
- Inspect Thoroughly: Before committing a new canvas, give the old bars a good, critical inspection. Are they perfectly square? Are there any warps, bows, or cracks? Are the joints still snug? If they're structurally sound, they're good to go. If they're compromised, you risk ruining a new piece of artwork.
- Cleanliness is Key: Ensure there are no lingering bits of old canvas, glue, or dried paint on the edges or in the joints. A clean surface ensures a smooth, even stretch for the new canvas.
- A Gentle Removal: Take your time removing old staples. A proper staple remover (like the kind used for upholstery) is a lifesaver here, preventing tears to the old canvas (if you want to save it) and protecting the wood.
It’s an incredibly eco-friendly and economically smart approach that allows for endless experimentation without constantly buying new frames. Plus, I find the process of stripping down an old canvas quite therapeutic, a physical act of letting go to make space for the new. Plus, the process of removing the old canvas can be quite therapeutic, a physical act of letting go.

How do environmental factors affect canvases and stretcher bars?
I touched on this briefly, but it's worth reiterating: the environment is a living, breathing entity that constantly interacts with your artwork. Humidity and temperature fluctuations are the arch-nemeses of stretched canvases. Wood is hygroscopic, meaning it absorbs and releases moisture from the air. When humidity is high, the wood and canvas swell; when it's low, they contract. This constant movement puts stress on the canvas fibers and the paint film, leading to sagging, ripples, and, over long periods, can even contribute to cracking in older, more brittle paint. The same goes for temperature changes, which cause materials to expand and contract. This is why maintaining a stable environment for your artwork – ideally consistent humidity and temperature – is so crucial for its long-term preservation. Your stretcher bars, with their ability to be re-tensioned, are designed to combat these forces, but they can only do so much if the environmental conditions are extreme or constantly shifting. Think of it as a constant, subtle tug-of-war between your art and the elements.
What is the difference between canvas rolls and pre-stretched canvases?
This is a fundamental choice you'll face when acquiring canvas! It boils down to convenience versus control, and I've found there's a place for both in my studio, depending on the project and my artistic intent. Let's explore the distinctions:
Feature | Canvas Rolls (Raw or Primed) | Pre-Stretched Canvases |
|---|---|---|
| Form | Fabric sold in large rolls (by yard/meter) | Canvas already stretched and stapled onto stretcher bars |
| Preparation Required | Requires cutting, assembling stretcher bars, stretching, and potentially priming/sizing | Ready to paint straight out of the package |
| Control over Materials | Ultimate control over canvas type, weave, stretcher bar quality, and priming | Less control over canvas, bar quality, and tension (unless high-end) |
| Cost-Effectiveness | Often more economical per square inch, especially for large volumes | Can be more expensive per square inch; convenience premium |
| Flexibility | Highly flexible for custom sizes, shapes, and bespoke preparations | Limited to manufacturer's standard sizes and configurations |
| Learning Curve | Requires learning stretching and priming skills | Minimal learning curve, immediate painting access |
| Archival Quality Potential | Highest potential, as all components can be chosen for longevity | Varies widely; economy grades may have limited archival life |
| Best For | Professional artists, custom projects, large works, specific surface needs, eco-conscious artists | Beginners, studies, quick projects, workshops, convenience |
My advice? Start with pre-stretched for convenience and learning the basics of painting, but as you grow as an artist, definitely explore stretching your own from a roll. The control it gives you over every aspect of your painting's foundation is invaluable, and there's a deep satisfaction in crafting your own perfect painting surface, tailored precisely to your vision. It's a skill that truly elevates your artistic practice.
Do I need stretcher bars for canvas boards or panels?
Nope, not at all. This is a common question, and it highlights an important distinction in the world of art supports! Canvas boards or panels are a different breed altogether; they are essentially a piece of canvas (or sometimes linen) that has been factory-glued onto a rigid backing, like cardboard, MDF (medium-density fiberboard), or hardboard. Because they already have that stiff, unyielding backing, they are ready to use as-is and explicitly do not require any stretching. You simply paint directly on their surface, making them incredibly convenient.
This inherent convenience is precisely why many beginners, or artists working on studies and sketches, start with them – they're portable, generally more affordable, and remove a whole step from the preparation process. However, they do have a distinctly different feel than a traditional stretched canvas. The rigid support means there's no 'give' or subtle bounce when you apply pressure with your brush or palette knife, which can profoundly influence your brushwork, how the paint sits on the surface, and even the gestural quality of your marks. Some artists genuinely prefer that absolute solidity, finding it ideal for very precise work or scraping techniques, while others, like me, often miss the subtle springiness and responsiveness of a traditionally stretched canvas. The choice between a solid panel and a flexible stretched canvas isn't just about cost or convenience; it's a creative decision that impacts your tactile experience as an artist and the expressive qualities of your artwork. If you want to delve deeper into various substrate options, my article on canvas vs. paper for acrylic painting also touches on some of these considerations.
What are common problems with stretched canvases (and how to fix them)?
Even with the highest quality stretcher bars and the most meticulous stretching technique, issues can (and often do) arise over time. Canvas is a living material, responsive to its environment and the stresses of its life as an artwork. Here are some of the most common problems I've encountered with stretched canvases, and my general approach to troubleshooting them – because every artwork deserves a fighting chance:
- Sagging Canvas: This is the most frequent issue. The canvas loses its drum-tight tension and feels loose or shows ripples. Fix: This is precisely what those little wooden keys are for! Gently tap them into the corner slots to expand the frame slightly and re-tension the canvas. Do this gradually and evenly around all corners.
- Warping or Bowing: The entire frame begins to curve inwards or outwards, often noticeable along the longer sides. Fix: This usually indicates poor wood quality (not kiln-dried), insufficient bracing for the size, or extreme environmental fluctuations. For minor warps, careful re-tensioning with keys might help, or adding a cross brace if there isn't one. For severe warping, the bars might need to be replaced.
- Ripples or Bulges (not general sagging): Localized imperfections in the canvas. Fix: Often due to uneven stretching initially. For minor ripples, re-tensioning can sometimes pull them out. For persistent bulges, carefully re-stapling that section of the canvas might be necessary, ensuring even tension.
- Loose Corners: The mitered or finger joints at the corners become loose, causing the frame to lose its squareness. Fix: This might require gently tapping the corner back together with a mallet. If they consistently come loose, a tiny drop of wood glue (used sparingly) on the inside of the joint can secure it, but remember this removes the future ability to re-key that corner.
- Canvas Tear or Puncture: The most devastating! Fix: This is a professional conservation issue for valuable works. For studies, a small tear can sometimes be patched from behind with archival canvas or linen and appropriate conservation adhesive, but it will always be visible.
Prevention is always better than cure, which brings us back to choosing quality stretcher bars and knowing how to stretch your canvas properly in the first place.
How do I care for my stretched canvas artwork after it's finished?
Excellent question! Creating the artwork is only half the battle; ensuring its longevity is the other, equally important half. Proper care for your stretched canvas is crucial for preserving your artistic legacy.
- Maintain Stable Environment: As we've discussed extensively, try to keep your artwork in an environment with stable humidity (45-55% RH) and temperature (68-72°F or 20-22°C). Avoid hanging works directly above radiators, fireplaces, or in direct sunlight, which can cause rapid fluctuations and UV damage.
- Gentle Cleaning: For dust, use a very soft, clean, dry brush (like a wide, soft fan brush) or a gentle puff of air. Never use water, solvents, or abrasive cloths on the painted surface unless you are a trained conservator.
- Avoid Physical Contact: Refrain from touching the canvas surface directly. Oils from hands can degrade paint over time. When moving or handling, always hold by the stretcher bars.
- Framing (Optional but Recommended): While gallery wraps look stunning unframed, a good frame offers an additional layer of physical protection against bumps, scratches, and environmental dust. Ensure the frame doesn't press against the canvas surface. You can explore options in how to frame a canvas painting.
- Re-tensioning with Keys: Periodically check the tension of your canvas. If it feels loose or shows ripples, gently tap in your stretcher bar keys (wedges) to restore tension (see FAQ below for more on this!).
- Backing Boards: Consider adding an archival backing board to the rear of your frame to protect against dust, punctures, and localized humidity changes from the wall.
Think of it as ongoing, gentle stewardship. Your artwork has a life, and your care ensures it's a long and healthy one.
How do I choose the right size?
Choosing the right size of stretcher bars is, thankfully, pretty straightforward, but there are a couple of nuances I've learned to pay close attention to. Stretcher bars are always sold by their individual length, not as a complete frame kit (though some brands offer bundles). So, if you're aiming to create a 16x20 inch painting, for example, you’ll need to purchase two 16-inch bars and two 20-inch bars. They are specifically designed to fit together, creating an exterior frame that measures exactly those dimensions. It might sound obvious, but trust me, I've seen beginners accidentally buy a single length and then try to cut them down, which almost never results in a perfectly square or stable frame!
A couple of pro-tips for getting your sizing just right:
- Measure Accurately, Twice: If you're using pre-cut canvas, or if you have a very specific vision for your dimensions, measure everything carefully. We all know the old carpenter's adage: "measure twice, cut once." In this case, it’s more like "measure twice, buy once, and get it right."
- Consider Aspect Ratio: Beyond just the raw dimensions, think about the visual impact of your chosen aspect ratio. A 1:1 ratio (a perfect square) often feels balanced and contemporary. A 3:4 or 4:5 ratio is a classic, timeless proportion. Longer, more panoramic ratios (e.g., 1:2 or 1:3) can create a dramatic, expansive, or even cinematic feel. The aspect ratio is an early compositional decision that influences the entire aesthetic of the piece. I often spend time sketching out different ratios to see which best serves the subject matter.
- Account for Canvas Wrap: Remember to factor in the extra canvas needed to wrap around the bars! For a standard wrap, you'll need about 1/2 to 3/4 inches extra on each side. For a gallery wrap (especially deeper bars), you'll need significantly more – typically 2 to 3 inches beyond the edge of the bar on each side to ensure you can staple cleanly on the back.
- Bracing Needs for Larger Sizes: This is critical. As a general rule of thumb, if any side of your desired canvas is over 24-30 inches (around 60-75 cm), you should be thinking about adding a cross brace for enhanced stability. If both sides are large, or if it’s truly monumental, you'll need multiple braces to prevent warping and bowing. Don't just consider the outer dimensions; always think about the internal structural requirements as well. It’s always better to over-brace than to under-brace – trust me on this, I've had warped nightmares!
A couple of pro-tips for sizing:
- Measure Accurately: If you're using pre-cut canvas or have a specific vision, measure carefully. Remember the phrase: "measure twice, cut once" (or in this case, "buy once, get it right").
- Consider Aspect Ratio: Think about the visual impact of your chosen dimensions. A 1:1 ratio (square) feels balanced, a 3:4 or 4:5 ratio is classic, and longer, more panoramic ratios (e.g., 1:2 or 1:3) create a dramatic, expansive feel. The aspect ratio is an early compositional decision that influences the entire piece.
- Bracing Needs for Larger Sizes: As a general rule of thumb, if any side of your desired canvas is over 24-30 inches (around 60-75 cm), you should be thinking about a cross brace for added stability. If both sides are large, or if it’s truly monumental, you'll need multiple braces to prevent warping. Don't just consider the outer dimensions, but the internal structural requirements as well. It’s better to over-brace than to under-brace, trust me on this.
Framing Options for Your Stretched Canvas: A Final Touch
Once your masterpiece is stretched, painted, and properly cured, you might find yourself pondering its final presentation: to frame or not to frame? This isn't merely an aesthetic choice; it's a decision that can enhance, protect, and redefine how your artwork interacts with its environment.
Understanding the Choices
- Traditional Framing: For canvases on standard (thinner) stretcher bars, a traditional frame is almost always the go-to. It neatly covers the visible staples and raw edges of the canvas, providing a polished, finished look. Frames can range from simple, minimalist mouldings to ornate, gilded designs, complementing various art styles and interior decors. They also offer a crucial layer of physical protection against bumps, dust, and environmental wear.
- Floater Frames: These are my personal favorite for gallery-wrapped canvases or for any contemporary artwork where you want the canvas to "float" within the frame, creating a subtle shadow line that emphasizes the artwork's depth without obscuring its edges. The canvas sits within the frame, but a small gap is left between the canvas and the inner edge of the frame, allowing the entire composition, including the painted sides, to be seen. This enhances the artwork's object-like quality and provides a sophisticated, modern presentation.
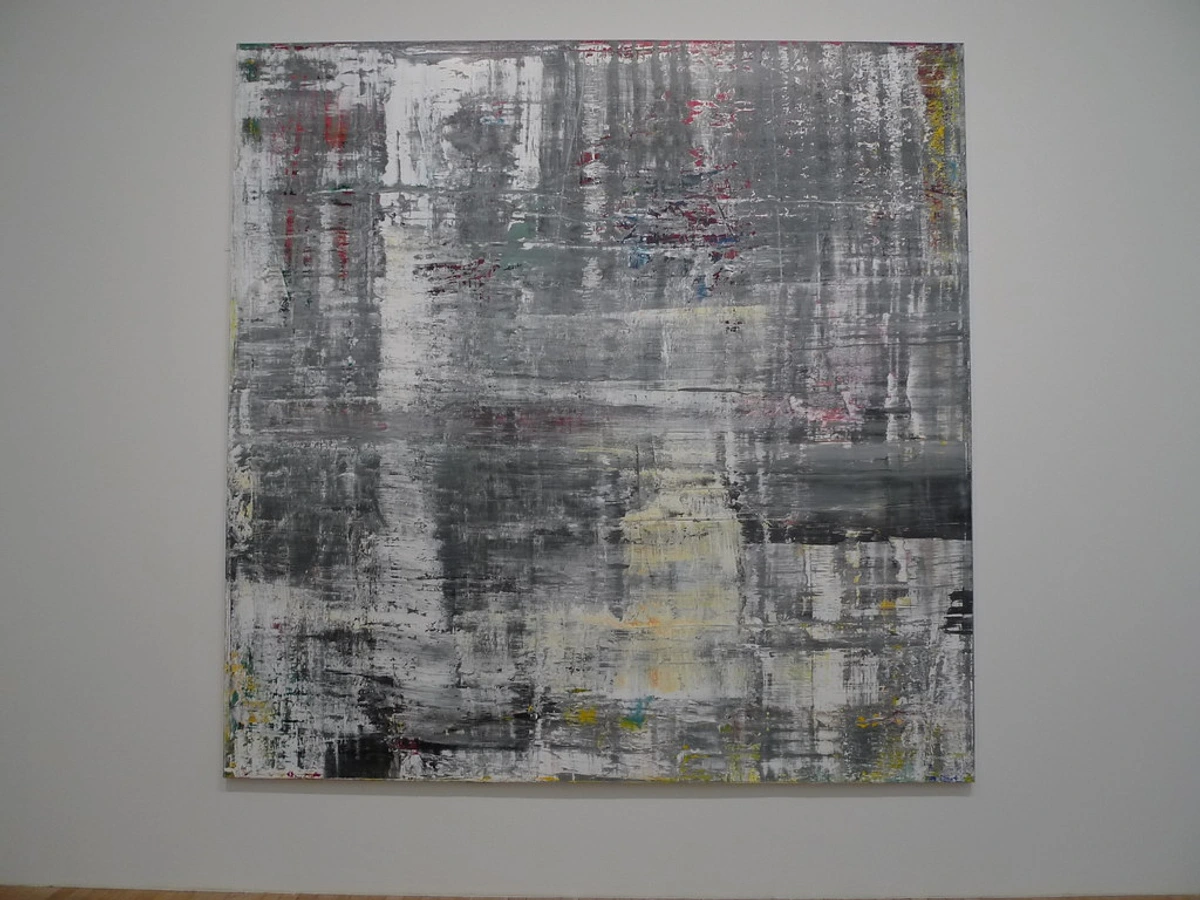
- Unframed (Gallery Wrap): As we discussed with Gallery Wrap canvases, opting for deep stretcher bars allows your artwork to hang directly on the wall, unframed. The neatly stapled edges on the back create a clean, contemporary profile. This minimalist approach allows the artwork itself to be the sole focus, projecting from the wall and becoming a sculptural element in the room. This is often ideal for abstract, large-scale, or expressive pieces where the artist intends for the sides to be an extension of the painting.
Why Frame?
Beyond aesthetics, framing offers significant benefits:
- Protection: A frame acts as a barrier, protecting the canvas edges and surface from accidental damage during handling, transport, and display.
- Enhanced Presentation: It defines the artwork's boundaries, draws the viewer's eye inward, and can elevate the perceived value and professionalism of the piece.
- Integration: A well-chosen frame can integrate the artwork seamlessly into a room's decor, tying together colors, textures, and styles.
Choosing the right frame is truly the final act of composition for many paintings. It’s an opportunity to underscore your artistic intent and ensure your work is presented in its best possible light, ready to be enjoyed for years to come. For a more comprehensive exploration of this vital step, dive into my guide on how to frame a canvas painting.













Conclusion: The Quiet Foundation of Enduring Art — Your Masterpiece Deserves It
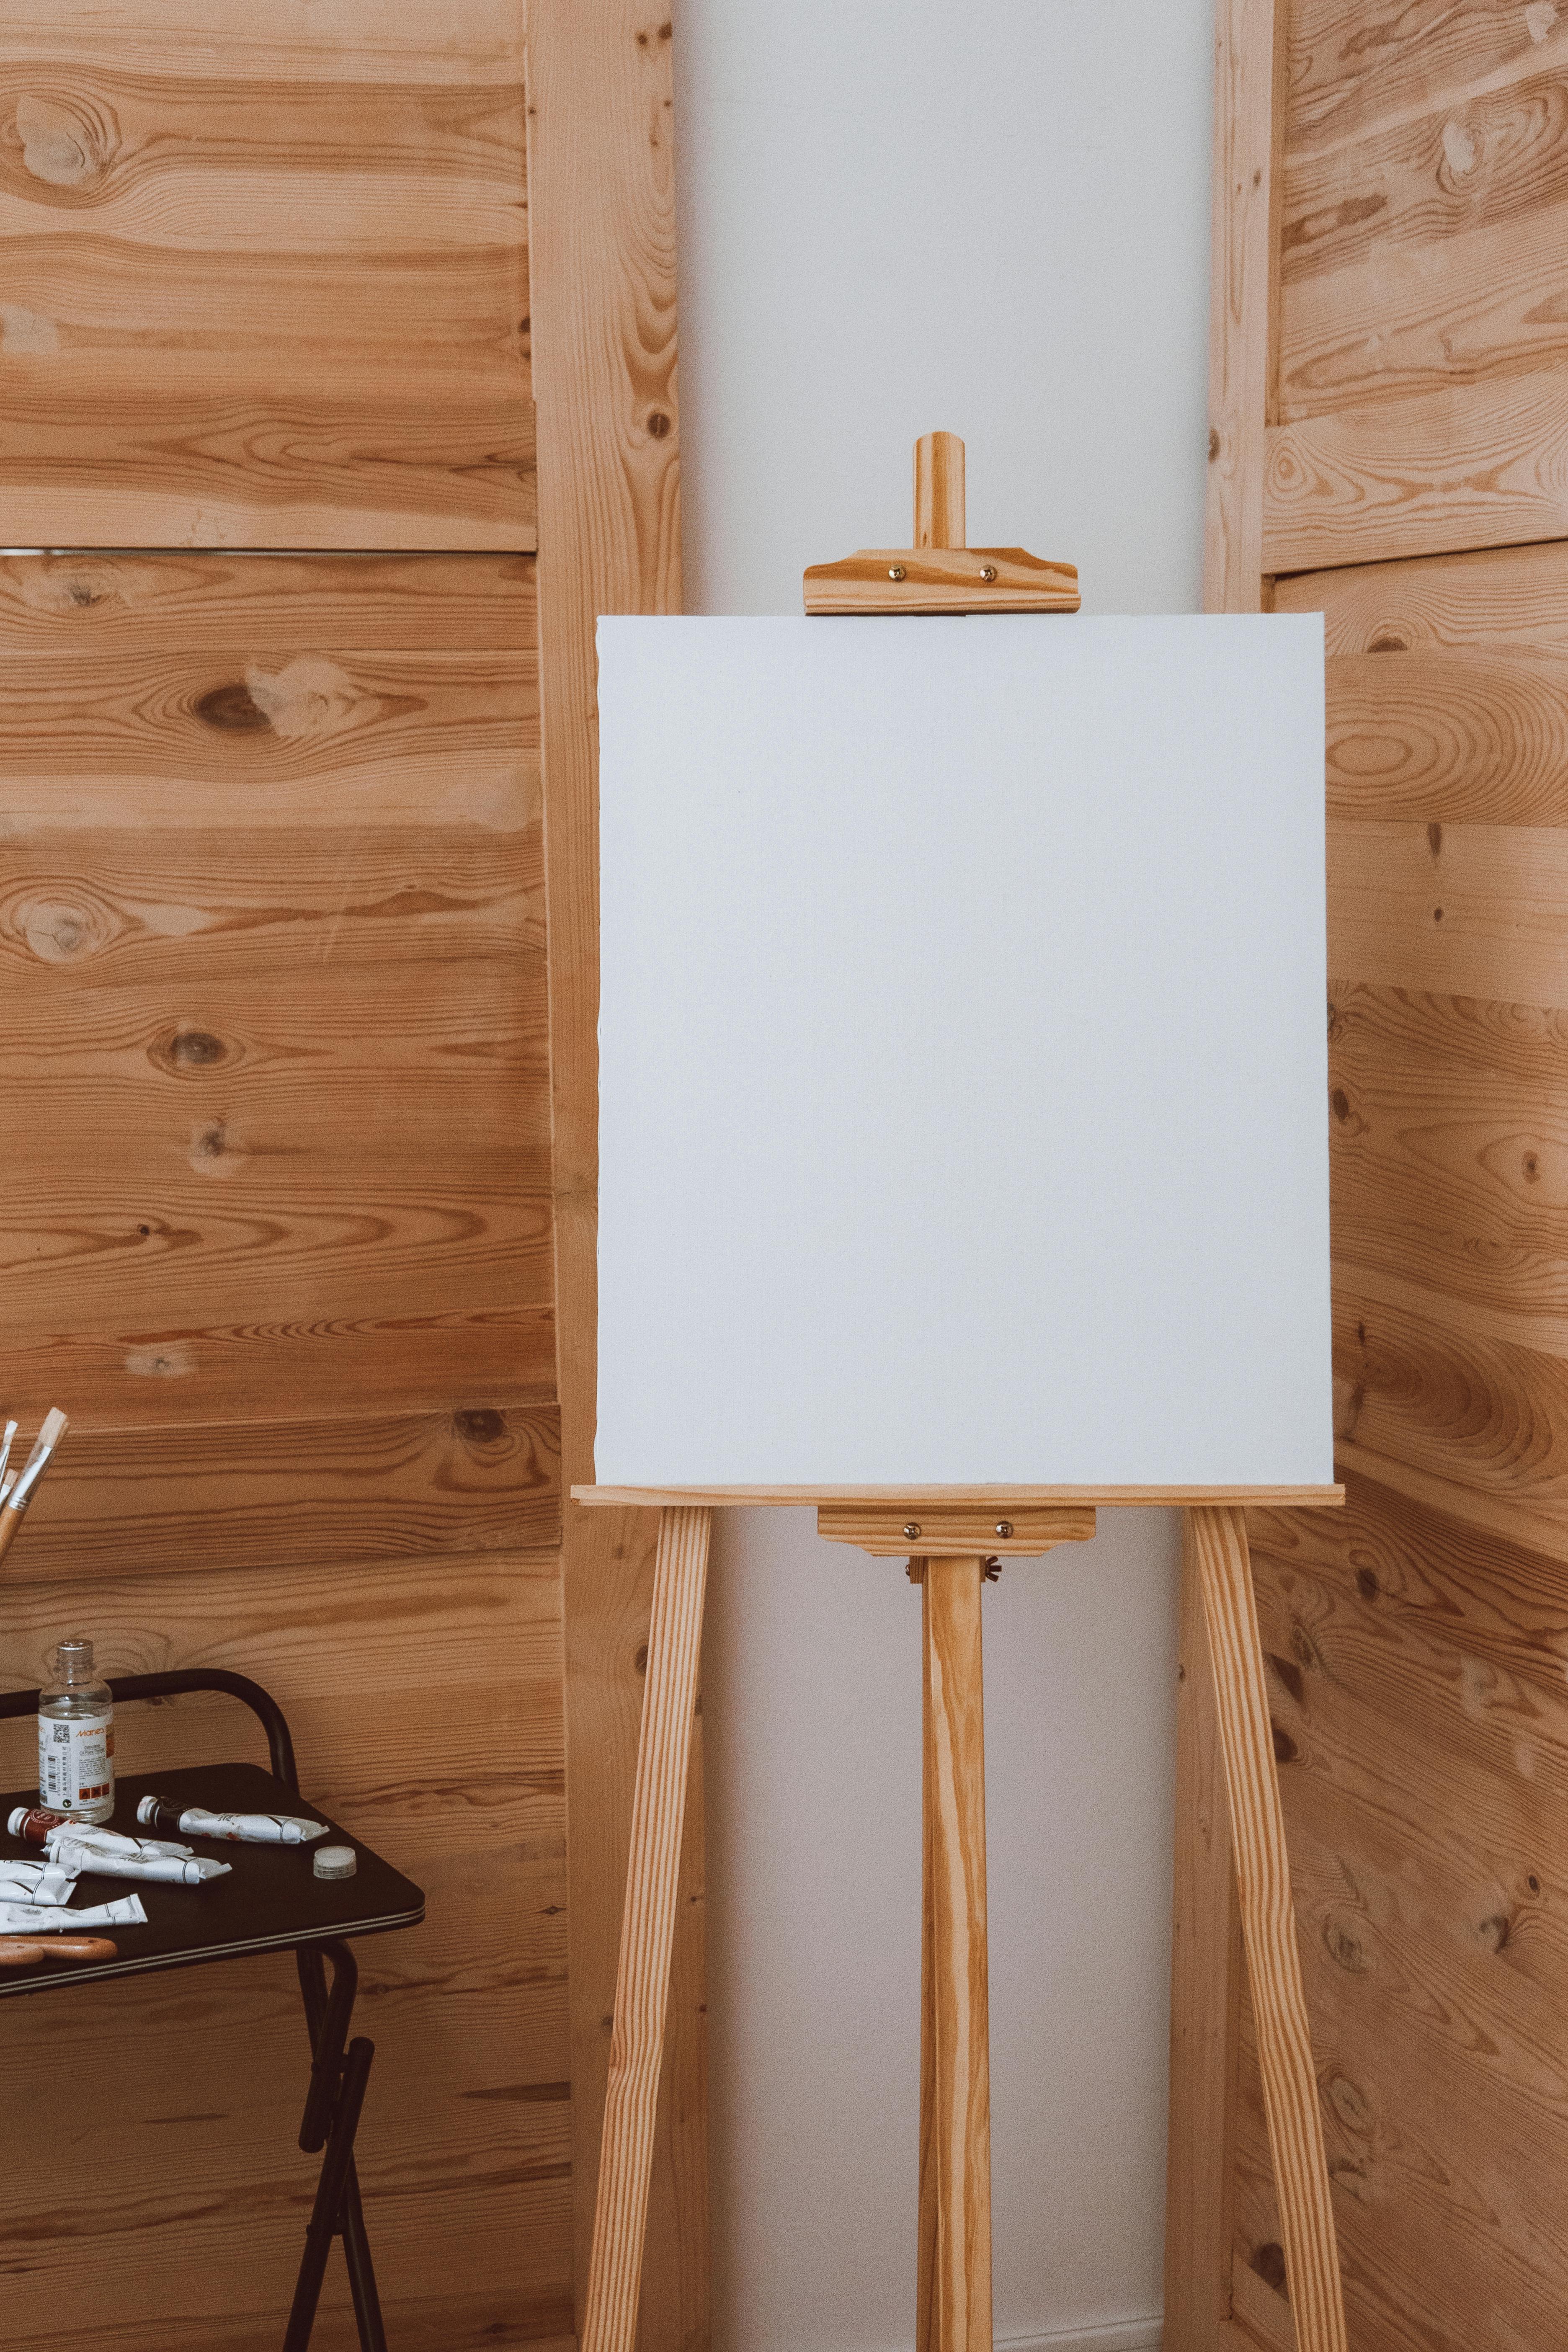
So, we've peeled back all the layers, explored the intricacies, and perhaps, even dispelled the myth of the "boring" stretcher bar. What began as a floppy piece of fabric finds its magnificent form and enduring strength through this humble, behind-the-scenes component. Stretcher bars are, without a doubt, the silent guardians, the unsung heroes that give your painting its essential structure, its lasting form, and ultimately, its longevity.
For me, paying meticulous attention to them at the very start of your artistic process isn't just a mere technical requirement; it's a profound act of deep respect for the artwork you're about to create, for the hours of passion you'll pour into it, and for the legacy it will carry into the future. It's the quiet, sturdy foundation upon which all the chaotic, colorful, and utterly magical moments of art-making truly happen.
Investing a little extra time and thought at this foundational stage brings a profound, quiet satisfaction. It’s the peace of mind that comes from knowing your art is not just beautiful and expressive, but truly built to last. It's a commitment to permanence in a fleeting world, a testament to the care you put into every single stroke.
Now, with this comprehensive understanding, you're not just buying wood; you're investing in the future of your art. Go forth, create, and build your masterpieces on foundations that will stand the test of time. And if you're curious to see how these foundations support my own vibrant and expressive abstract work, I invite you to explore my online store.