
The Ultimate DIY Guide to Custom Picture Frames: Crafting Your Masterpiece
Craft stunning custom picture frames for any art! This ultimate DIY guide covers design principles, wood selection, essential tools, step-by-step building, advanced techniques, and archival considerations for prints, canvases, and unique artworks.

The Ultimate DIY Guide to Custom Picture Frames: Craft Your Masterpiece for Any Art
I remember staring at a new, vibrant print of my own work once, knowing it needed just the right frame. My wallet, however, was whispering, "maybe next year." That's when the thought hit me: why not build it myself? What followed was a journey of sawdust, a few (okay, more than a few) mis-cuts, and a lot of head-scratching. But eventually, there was the pure joy of a perfectly fitted, handmade frame. That feeling of transforming raw wood into a custom display for something I created, or something I deeply cherish, is a unique kind of magic. And you know what? It’s truly not as daunting as it sounds. This isn't about being a master carpenter; it’s about taking a small leap of faith and gaining an immense sense of accomplishment and creative mindfulness. This guide will walk you through every step, from selecting materials to the final hanging, proving that a beautifully framed piece is well within your reach. Let’s get your art the presentation it deserves – a presentation built by your hands.
Your Custom Framing Journey: A Roadmap to Success
Think of this as your blueprint for success. We’ll cover:
- Safety First (Seriously!): Essential precautions for working with tools and materials.
- Why DIY Framing?: The compelling reasons to craft your own frames, from cost savings to the sheer joy of creation.
- Designing Your Frame: Principles for choosing a frame that truly complements your art and space, including color, proportion, and the magic of matting.
- Gathering Your Materials & Tools: A comprehensive list of what you'll need, including different wood types, finishes, protective glazing options, and tips on sourcing.
- Building Your Frame: Step-by-Step: Detailed instructions from meticulous measuring and cutting to assembly, finishing, and artwork installation.
- Framing Different Art Mediums: Special considerations for canvases, works on paper, photographs, pastels, and even 3D objects, with an emphasis on archival principles.
- Beyond the Basics: Advanced Techniques & Frame Styles: Tips to elevate your framing skills, including specialized joints and decorative elements.
- Hanging Hardware & Installation: Ensuring your masterpiece is securely and beautifully displayed on your wall.
- Common Framing Mistakes to Avoid: Learning from common pitfalls to save you time and heartache.
- Maintaining Your Custom Frame: Tips for keeping your handmade frames pristine for years to come.
- When to Consider Professional Framing Services: Understanding when the experts are needed.
- Frequently Asked Questions (FAQ): Quick answers to common queries.
Now, let's start with what you absolutely need to prioritize: your safety.
1. Safety First (Seriously!)
Okay, deep breath for the serious stuff. I know, it sounds like a lecture. But please, always wear safety glasses when cutting wood, especially with power tools. I once had a tiny wood chip fly surprisingly far and hit me, thankfully around my eye – that was my wake-up call. Hearing protection is a smart idea for noisy machinery, and a dust mask is crucial when sanding, particularly with fine wood dust (which can be a respiratory irritant, especially with hardwoods or MDF). Keep your workspace clean and free of clutter. And when handling glass, be extra cautious or wear sturdy gloves – saw dust is one thing; a trip to the emergency room is another. A small accident can derail your entire project, or worse, cause serious injury. Your art is important, but your fingers are more so! Prioritize your well-being throughout this rewarding process. Also, ensure your tools are well-maintained; sharp blades are safer and make cleaner cuts than dull ones. Taking a moment to inspect your saw blade or router bit before use can prevent costly mistakes and injuries.
2. Why Embrace the DIY Route for Your Art Frame?
Now that we’ve covered safety, let's get into the compelling 'why.' When I first considered building a frame, it felt like an enormous undertaking. Visions of complex machinery and perfect angles danced in my head, but the reality is much more accessible. For me, the decision came down to a few key points, and I bet you might feel the same:
The Freedom of Customization
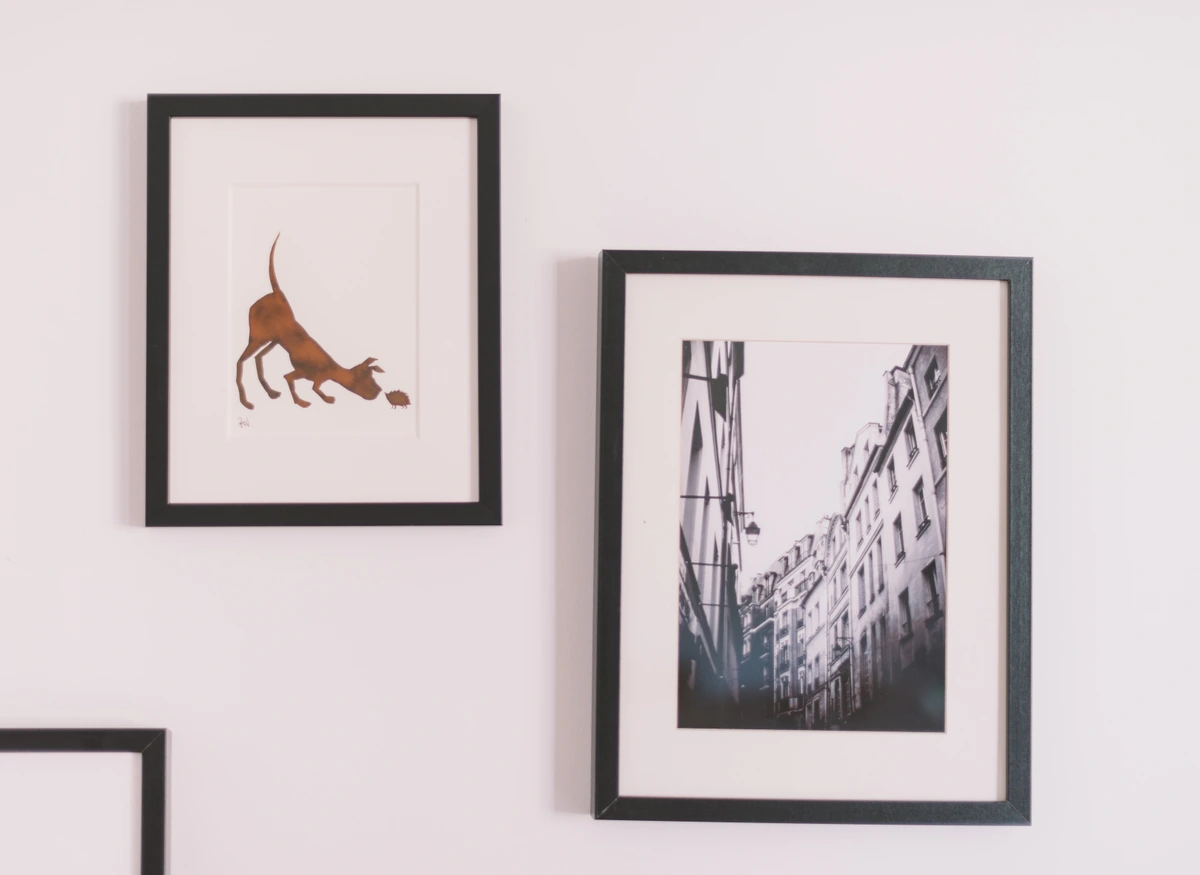
There's nothing quite like designing a frame that perfectly complements your artwork. You get to choose the wood, the profile (the cross-section shape of the molding), the finish, the matting – every single detail. It's like adding another layer of artistic expression, a little secret handshake between you and your creation. This is especially true for those unique pieces that don't fit standard frame sizes, or for when you have a specific vision in mind that the local frame shop just can't quite capture. It's about taking your creative control one step further, ensuring the presentation is as personal as the art itself.
Cost Savings
And let's be pragmatic for a moment: custom framing can be expensive. By sourcing your own materials and investing a bit of your time, you can significantly reduce the cost. I've personally saved hundreds of dollars by framing my own pieces, allowing me to invest more in new art (perhaps even some of my own collection pieces to frame!) or for other art supplies. It's a win-win in my book, allowing you to expand your art collection or invest in your craft without breaking the bank. Think of it as an investment in your artistic independence.
Environmental Benefits
Beyond the personal and financial perks, there's also an eco-conscious angle to DIY framing. Opting to build your own frame opens up opportunities to use reclaimed wood, repurpose old furniture pieces, or salvage materials that might otherwise end up in a landfill. It's a fantastic way to give materials a second life, adding character and a unique story to your frame while reducing your environmental footprint. Think of it as a form of artistic upcycling, giving new purpose to forgotten treasures!
The Sheer Joy and Therapy of Creation
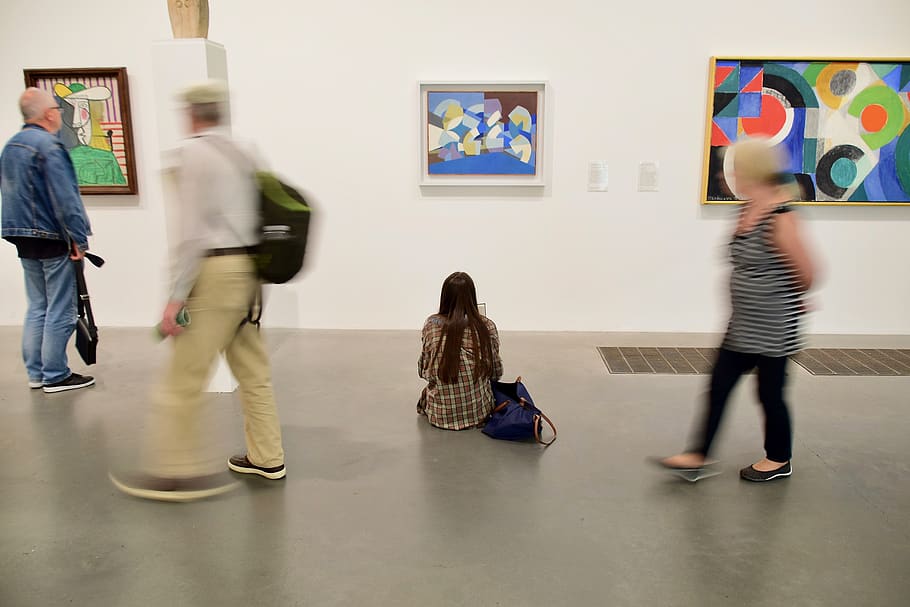
And then there’s the pride. Every time I walk past a piece of art in a frame I built, there’s a quiet hum of satisfaction. It’s more than just a frame; it’s a testament to a skill learned, a challenge overcome. It connects you even deeper to the artwork itself, creating a story beyond the canvas or print. For me, the focused work of cutting, sanding, and joining wood becomes a kind of meditation, a way to quiet the busy mind and immerse myself in the tactile process of making. The smell of sawdust, the feel of smooth wood under my fingertips, the rhythmic sound of a saw – it all comes together. It's a bit like what I imagine those wonderful artists in a bustling art studio feel when creating. It's a wonderful antidote to screen time, a chance to work with your hands and see tangible results, providing a real sense of accomplishment and creative mindfulness.
The Educational Journey: Building New Skills
Beyond the tangible frame, the DIY route offers an invaluable journey of learning. You'll pick up woodworking basics, understand geometry in a practical way, and hone your precision. Each project is a chance to refine your technique, troubleshoot unexpected problems, and grow your confidence. It's a truly rewarding skill to add to your creative toolkit.
3. Designing Your Frame: Principles for a Perfect Match
Once you're convinced of the benefits and committed to safety, the next exciting step is to envision the perfect frame for your art. Before we dive into the nuts and bolts, let's talk about the art of framing. Think of the frame not just as a border, but as a visual conversation partner for your art, subtly guiding the viewer's gaze and making the piece sing, not shout. This is where your creative vision truly comes into play.
Understanding Frame-Artwork Harmony
- Consider the Artwork's Style: Is it a vibrant, abstract piece or a minimalist landscape? A sleek, simple frame often complements modern, bold art, allowing the artwork to shine. For a more traditional or intricate piece, a classic or even ornate frame might be suitable. For my own abstract pieces, I often lean towards simple profiles that don't compete with the art's energy. A rustic, distressed frame might feel perfectly at home with folk art, while a gilded frame enhances a classical portrait.
- Evaluate Color & Tone: The frame's color should either harmonize or subtly contrast with the artwork. Often, picking up a subtle color from the artwork itself, or using a neutral tone, works best. Think about how a warm wooden frame can enhance earthy tones, or a cool grey frame can make blues and greens pop. What mood do you want to evoke? I've found that sometimes, a bold, contrasting frame can even inject new life into an otherwise muted piece. Consider the basic principles of color theory: complementary colors (opposites on the color wheel) offer high contrast and vibrancy, while analogous colors (next to each other) provide harmony and flow. Neutrals (whites, greys, blacks, browns) are almost always a safe bet, allowing the artwork to take center stage.
- Proportion is Key (Visual Weight): The width of the visible frame material (often called the casing or face width) should feel balanced with the size and visual weight of the artwork. A delicate frame might get lost around a large canvas, while an overly bulky frame can swallow a small print. There's no hard rule, but generally, larger artworks can handle wider frames. A common guideline is that the visible frame's width should be between 1/8 and 1/4 of the artwork's shortest side, but ultimately, trust your eye. A 2-inch wide frame on a 10x12 inch artwork might be too much, but on a 24x36 inch piece, it could be perfect. It’s all about visual balance. Also consider the frame's profile – a thick, deep profile will have more visual weight than a thin, shallow one, even if the face width is the same.
- Room Aesthetic: While the artwork comes first, consider the room where the framed piece will hang. A rustic wooden frame might feel out of place in a very contemporary, minimalist setting, and vice-versa. The frame acts as a bridge between the art and its environment, much like a well-chosen piece for a dining room or bathroom needs to fit its surroundings. It's a delicate balance, but one worth considering.
Matting: The Crucial Breathing Room
If you're framing a print, photograph, or watercolor (any art on paper), matting is often indispensable. It creates a vital space between the artwork and the glass, preventing moisture and sticking, which can cause irreparable damage. Beyond protection, a mat also serves several aesthetic functions:
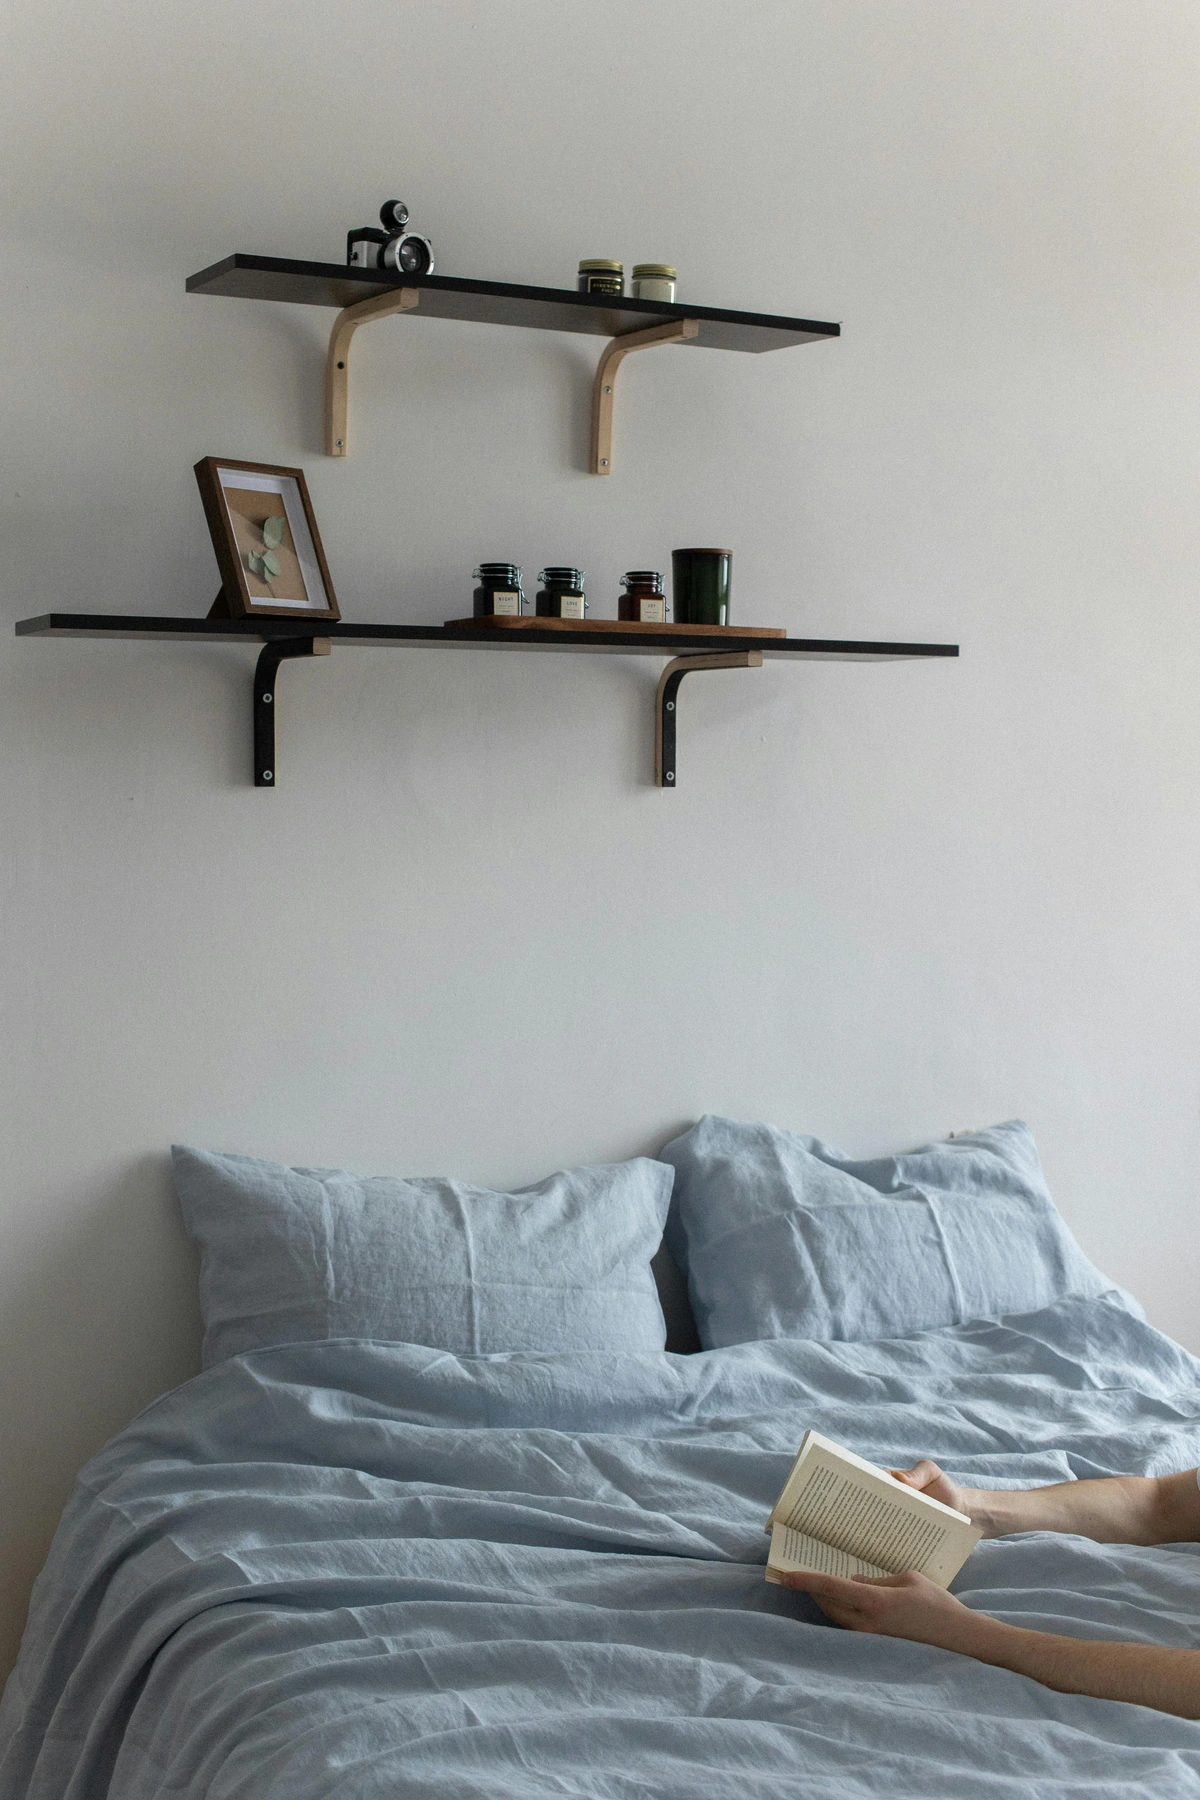
- Visual Break: It provides a neutral zone that allows the eye to rest and prevents the frame from visually crowding the artwork.
- Enhanced Focus: A well-chosen mat draws the viewer's eye inward, directly to the art.
- Scale & Proportion: Matting can visually enlarge a small piece, making it feel more substantial within a larger frame.
When choosing a mat color, consider the most subtle color in your artwork, or opt for a neutral tone that won't compete. White or off-white is almost always a safe and elegant choice. For my own vibrant pieces, a generously wide white mat often provides that crucial calm breathing space, allowing the colors to truly pop without overwhelming the viewer.
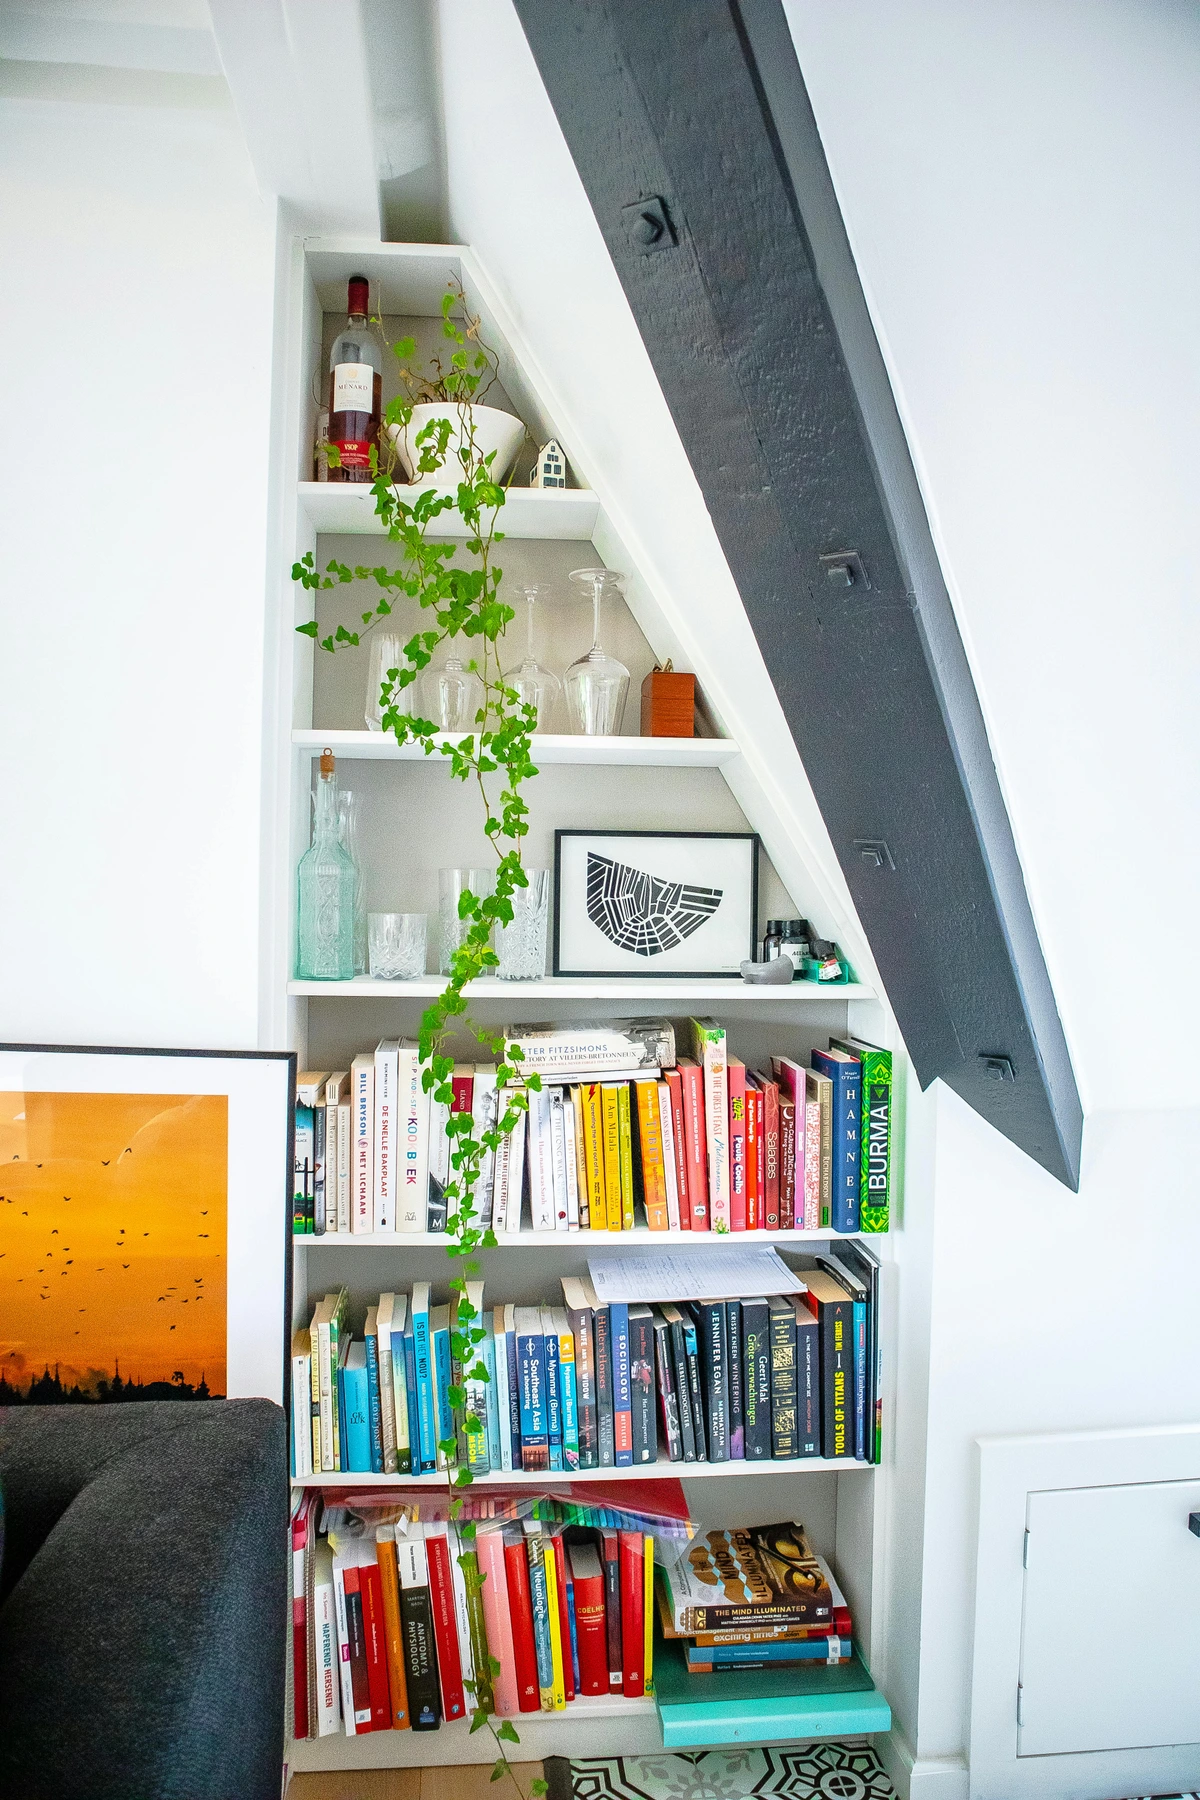
To determine ideal mat widths, many framers use a visual balance where the top and side mat borders are equal, and the bottom border is slightly wider (often 10-20% wider). This creates a sense of grounding and prevents the artwork from appearing to 'fall' within the frame. The visible portion of the artwork through the mat opening is called the window reveal, and ensuring it's consistent and perfectly centered is key for a professional look. A typical starting point for mat width on a medium-sized piece might be 2-3 inches on the top and sides, and 2.5-3.5 inches on the bottom.
To calculate the outer dimensions of your mat board, you'll need your artwork's dimensions and your desired mat widths. Always remember that the mat opening itself will be slightly smaller than your artwork (typically 1/8 inch on each side) to prevent the art from slipping through. Always double-check your math before cutting!
Measurement  | Artwork Dimension | Top/Side Mat Width | Bottom Mat Width | Mat Board Calculation | Resulting Mat Board Dimensions |
|---|---|---|---|---|---|
| Artwork Width | 8 inches | 2 inches | N/A | 8 + (2*2) = 12 (width) | 12" x 16.5" |
| Artwork Height | 12 inches | 2 inches | 2.5 inches | 12 + 2 + 2.5 = 16.5 (height) |
This would mean you need a mat board that is 12 inches wide by 16.5 inches high, with an opening cut for your 8x12 artwork, centered with the specified mat widths. Always double-check your math before cutting!
4. Gathering Your Materials & Tools for Framing Success
With your design vision clear, it's time to gather the essential elements that will bring your frame to life. My first attempt involved a lot of frantic trips to the hardware store. Learn from my slight disorganization, and gather everything you need upfront! Remember, safety first – your well-being is paramount when working with tools.
Essential Tools (The Non-Negotiables)
Measuring & Marking
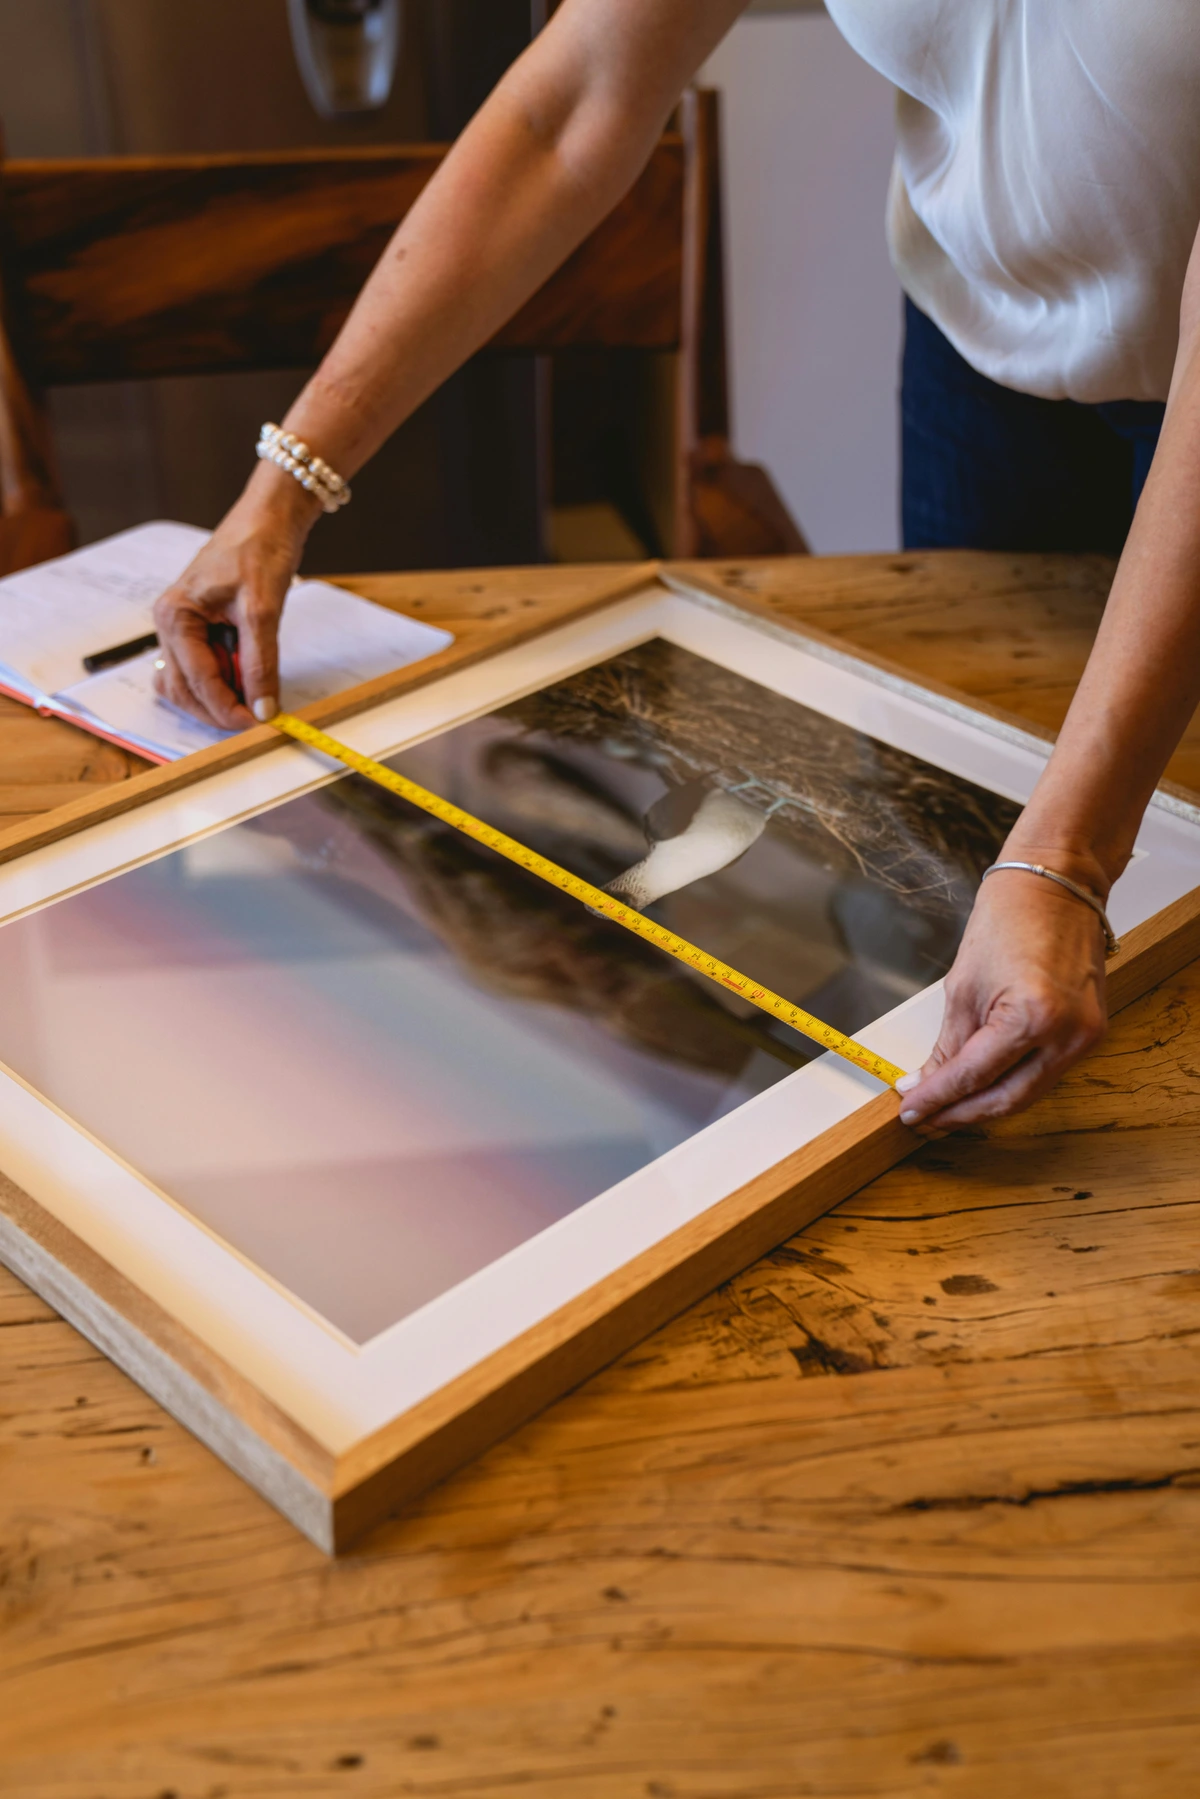
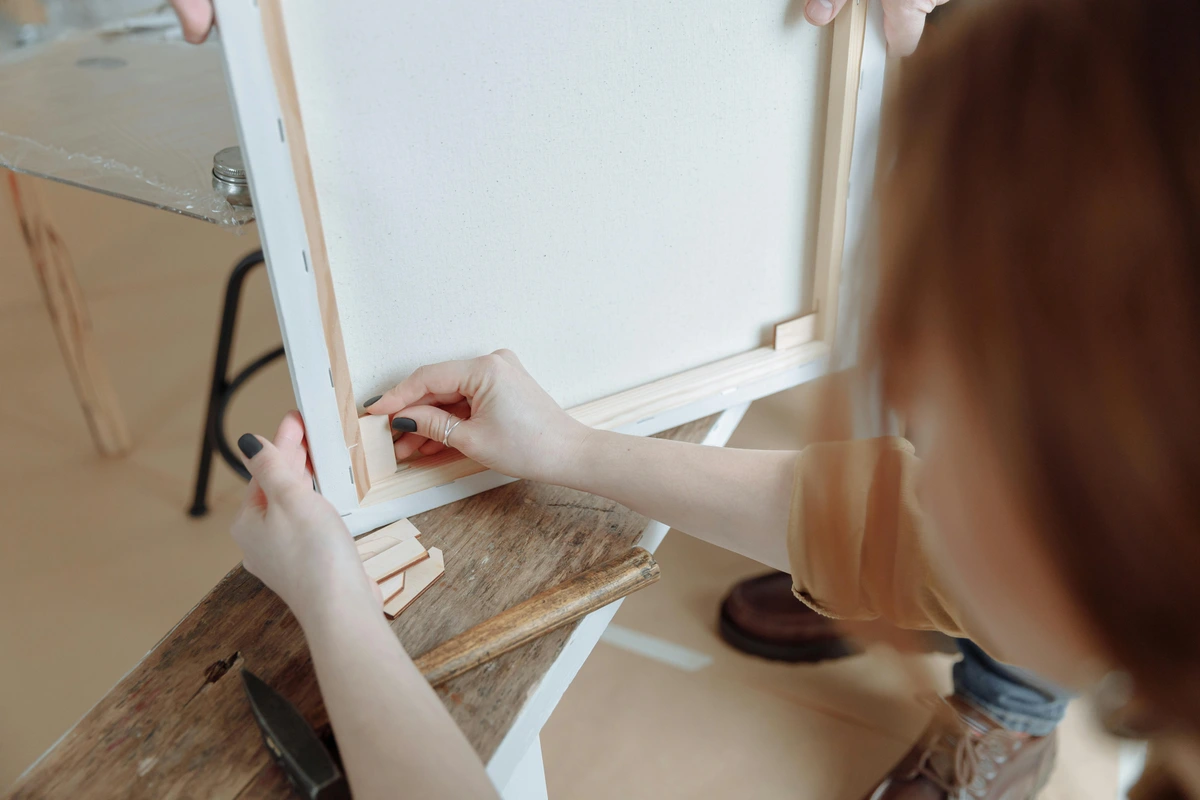
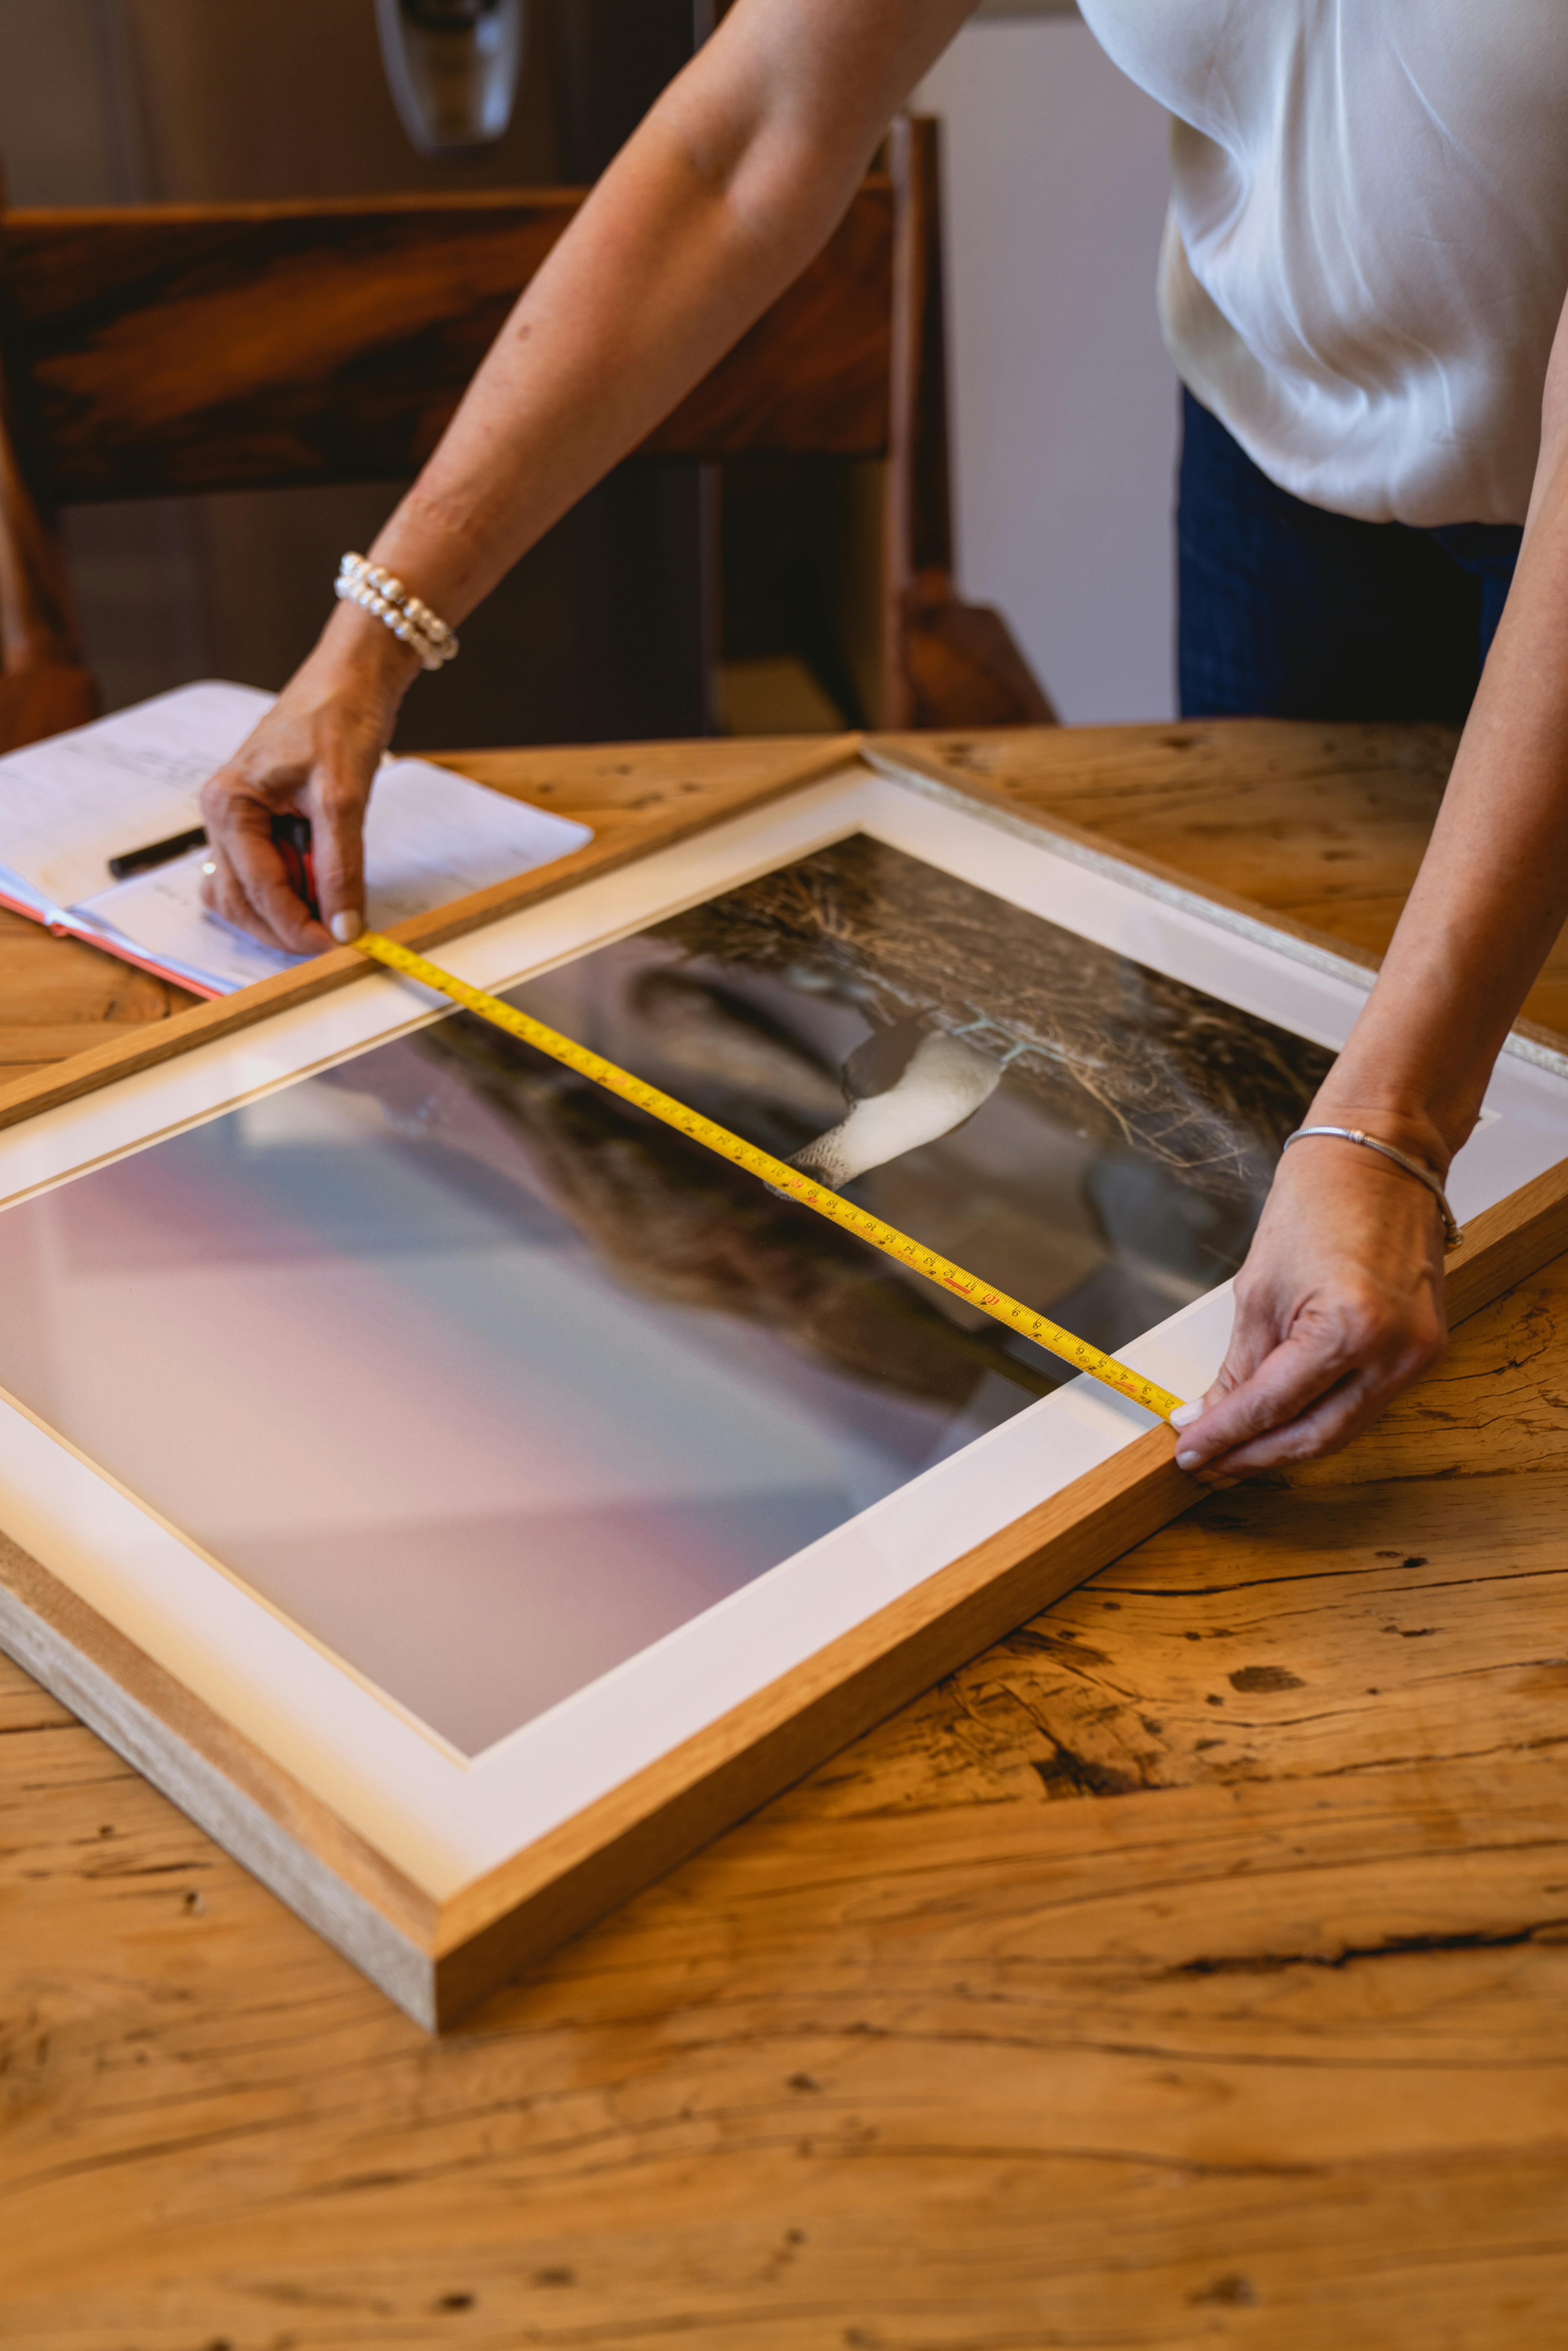
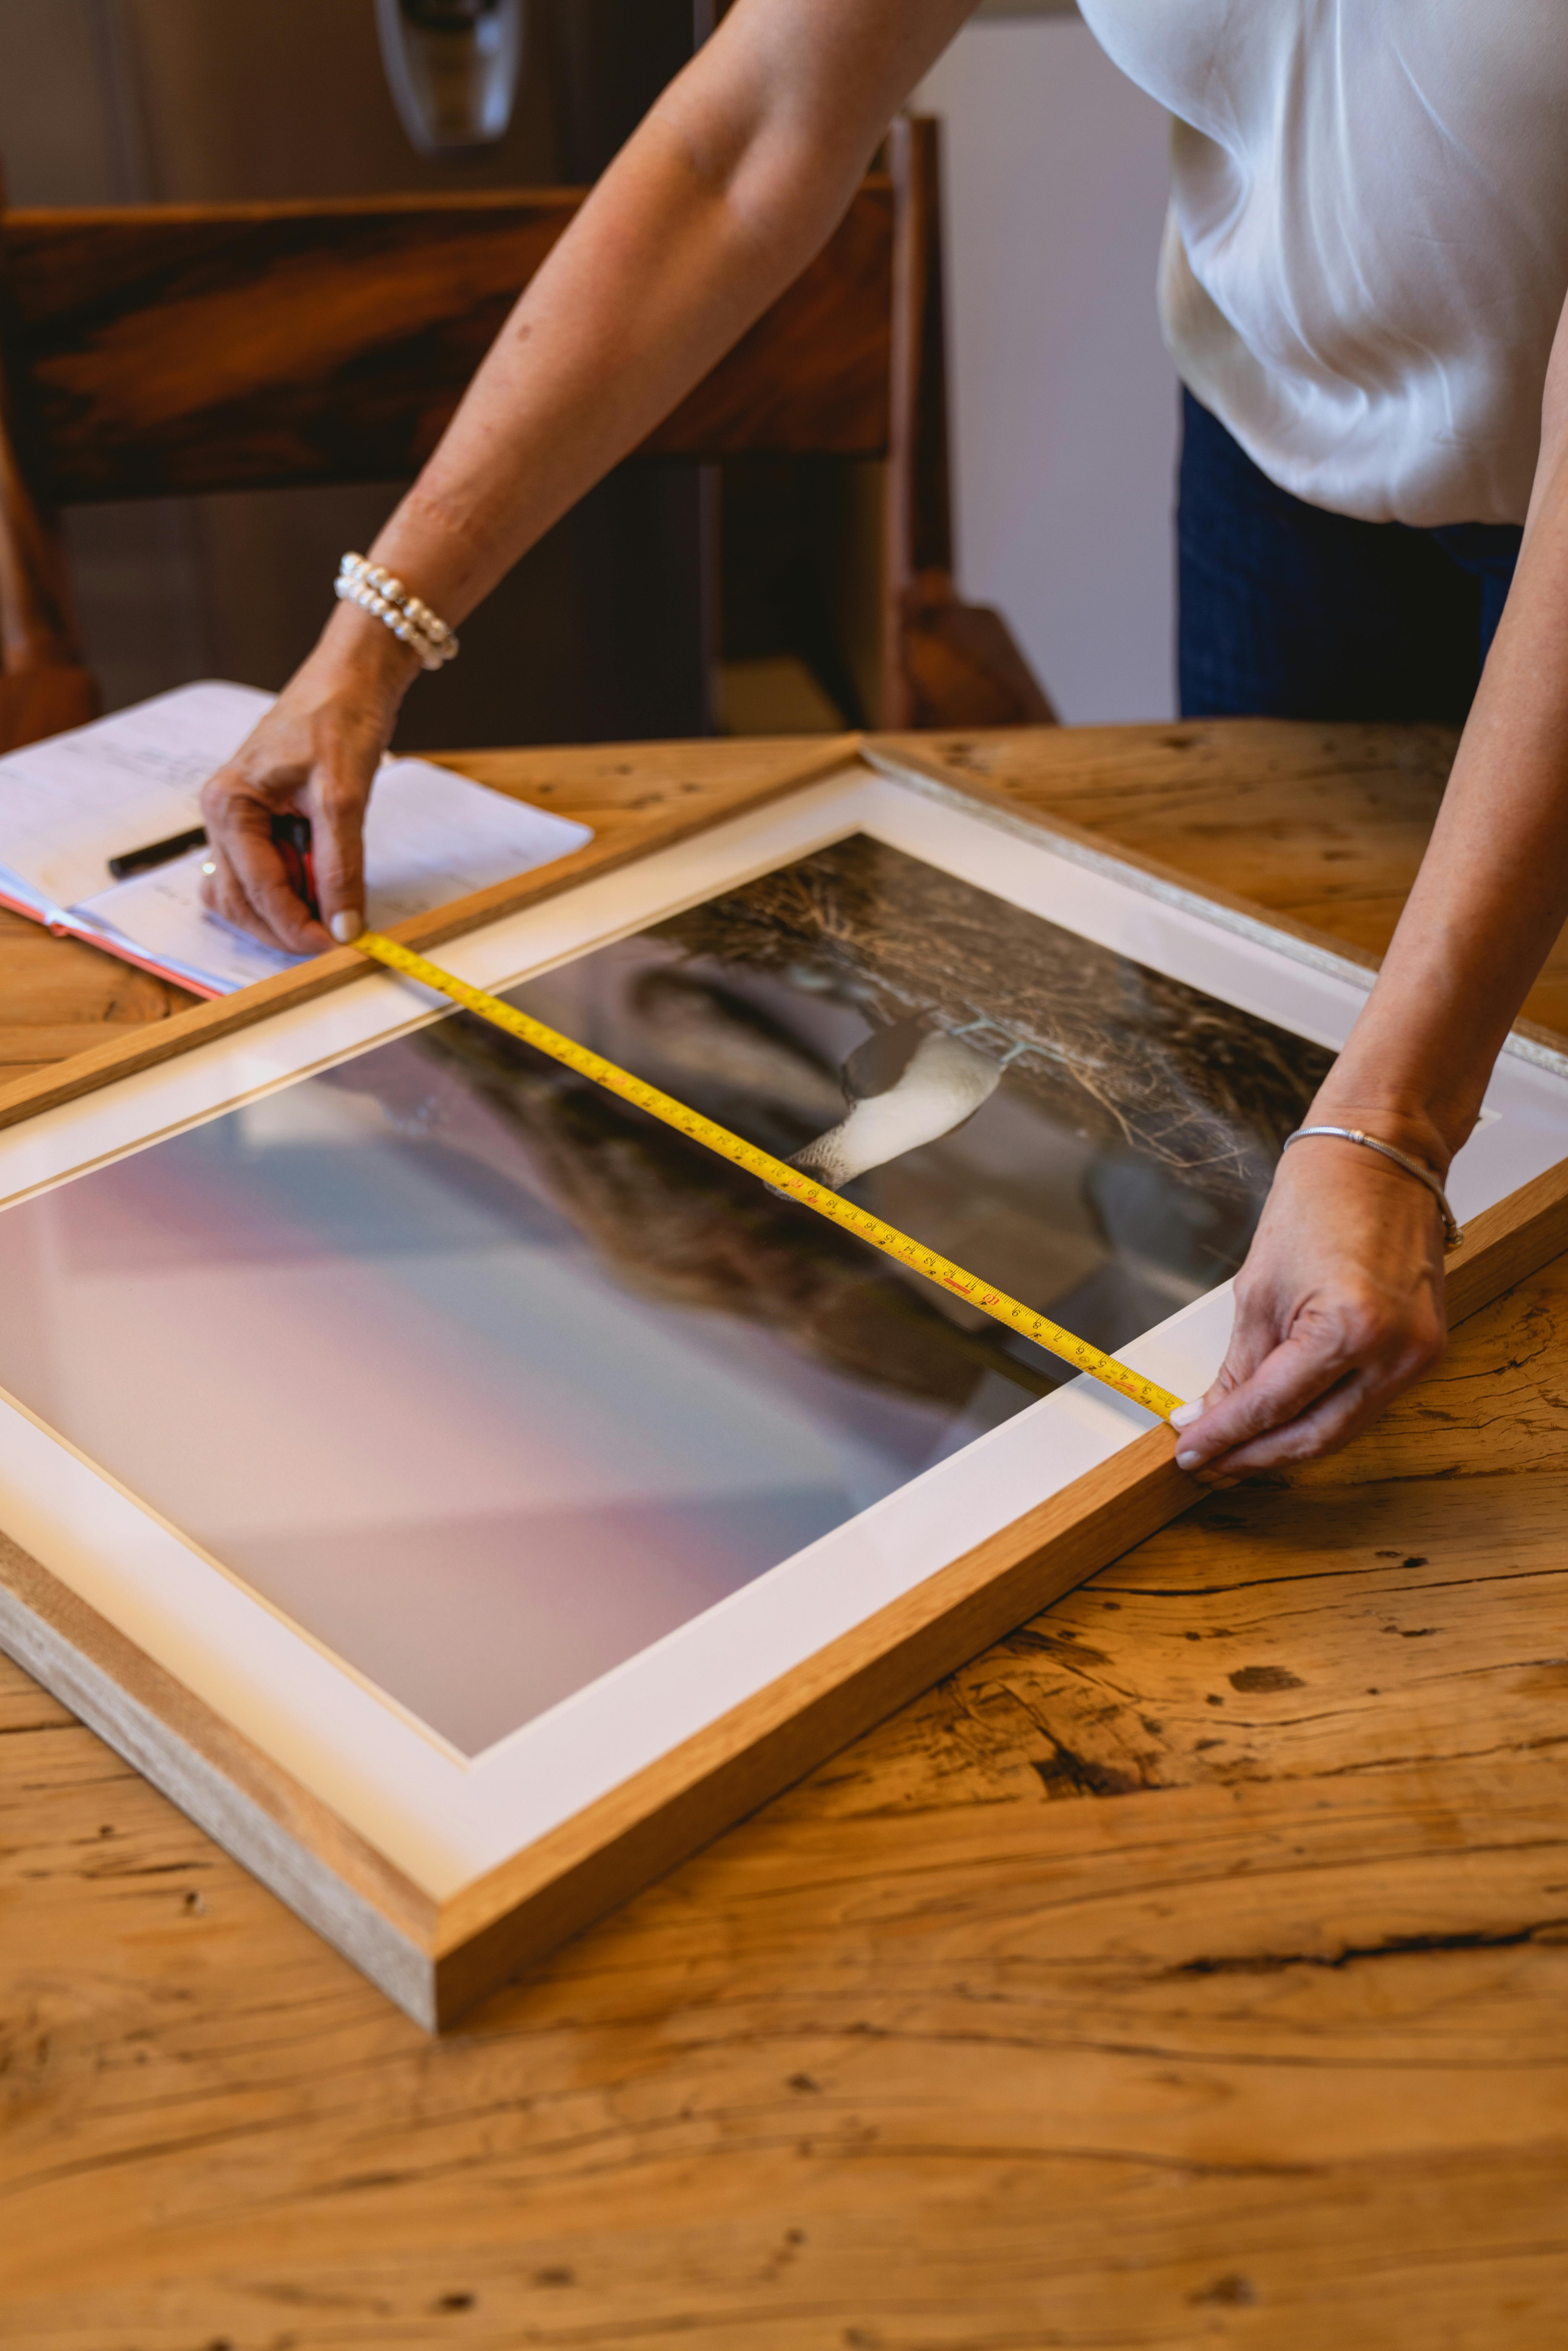
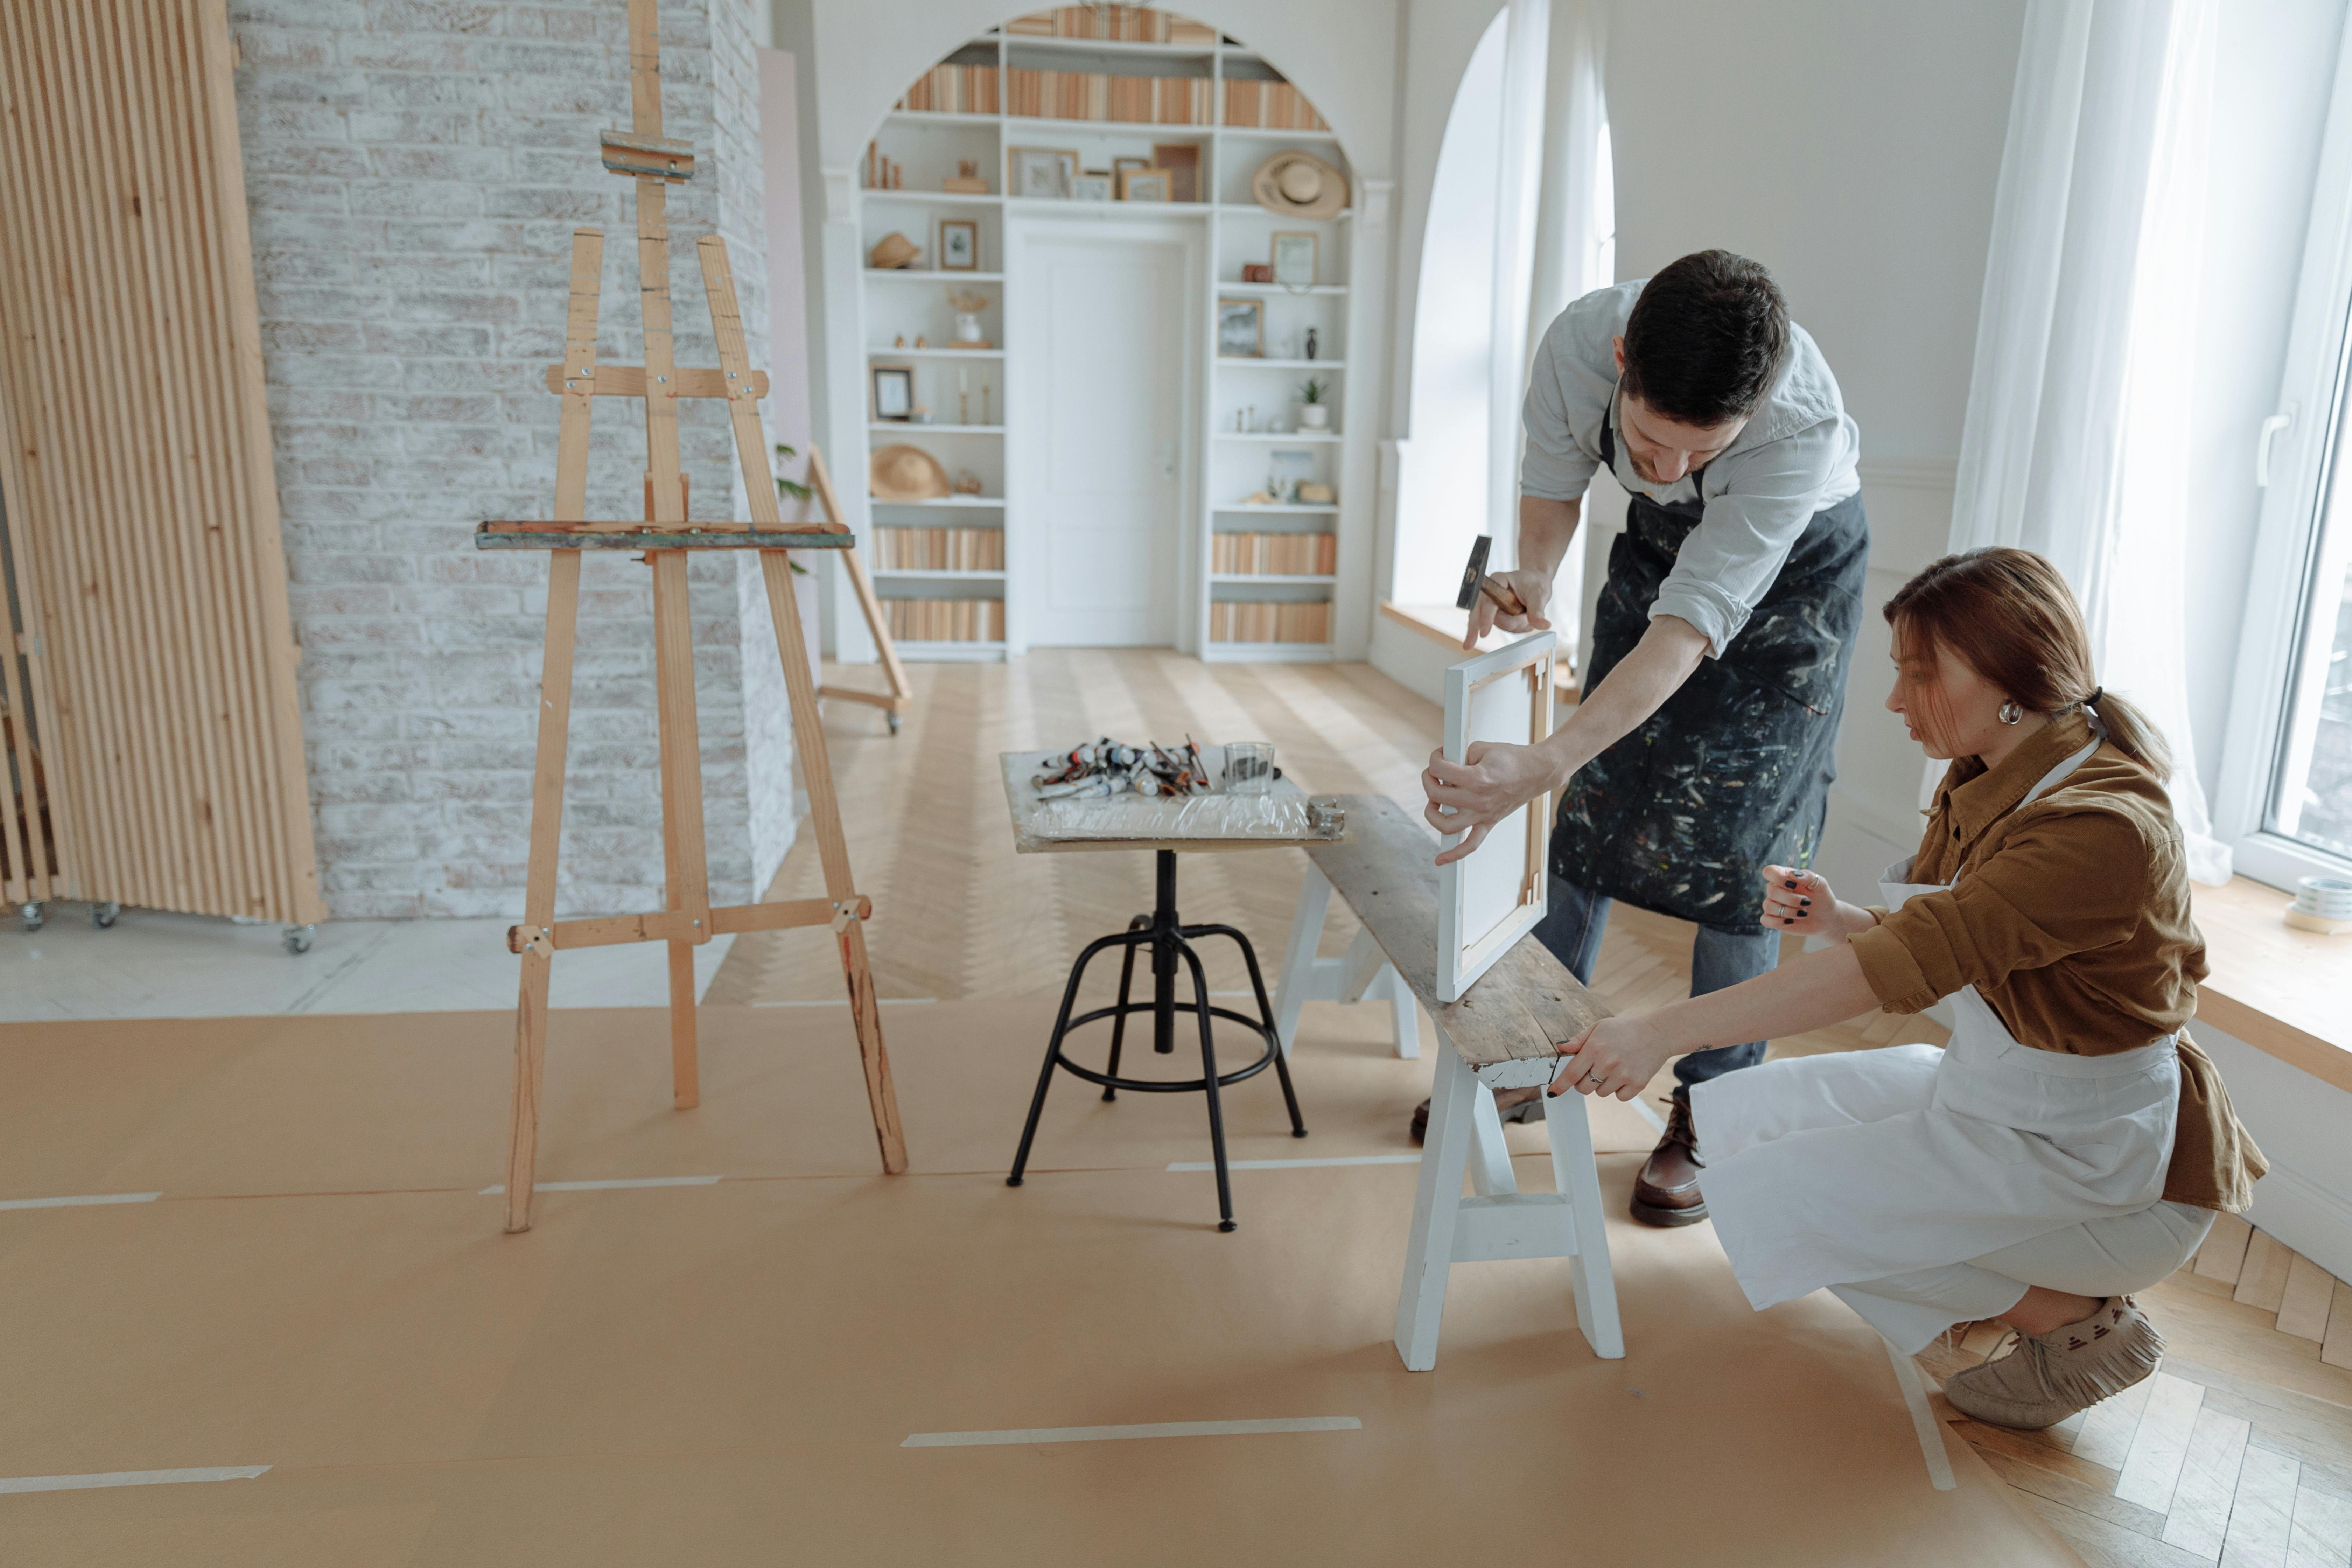
- Measuring Tape & Ruler: Precision is absolutely key here. A good steel tape measure and a reliable ruler are non-negotiable for accurate measurements. I find a carpenter's square invaluable for making sure everything is truly straight and that your corners will be a perfect 90 degrees. It's moments like this when you really appreciate exact measurements, like the person in this image clearly does. My tape measure and I have a love-hate relationship, but when it's accurate, it's a beautiful thing.
Cutting & Shaping
- Miter Saw (or Miter Box & Hand Saw): For those crucial 45-degree angle cuts that make your corners meet seamlessly to form a perfect 90-degree angle. A power miter saw (like a compound miter saw) makes it quick and easy, offering unparalleled accuracy, but a hand miter box with a good saw works perfectly well, especially for smaller projects or if you're just starting out. I've used both, and while the power saw is faster, the hand saw gives you a more 'craftsman' feel and can be surprisingly meditative. Look for a hand saw with fine teeth for cleaner cuts.
Assembly
- Wood Glue: Good quality wood glue is the backbone of your frame's structural integrity. Seriously, don't skimp here – a strong bond is essential for a lasting frame. I've learned the hard way that a little extra glue quality goes a long way. Titebond III is a popular, strong, and waterproof choice for general woodworking.
- Clamps: Corner clamps or strap clamps are essential for holding your frame pieces together tightly while the glue dries. I always think I have enough clamps, and then I inevitably need one more. They ensure your corners stay perfectly aligned and prevent shifting. A good set of clamps is a framer's best friend.
- Brad Nailer (or Hammer & Small Nails/Panel Pins): For added structural integrity after gluing. A brad nailer (powered by air compressor or battery) is fast and leaves minimal holes, making touch-ups easy. However, a hammer and small panel pins (tiny nails with small heads) work just fine for reinforcing corners. Some even use specialized frame joining tools like V-nails (small metal wedges inserted into the miter joint from the back) for a very strong, clean joint. For a beginner, nails are usually sufficient to reinforce the miter joints, especially if the glue is strong.
Finishing Prep
- Sandpaper: Various grits (from coarse 80-120 for initial shaping to fine 180-220+ for smoothing, and even 320+ for super-fine finishing) for smoothing out the wood before finishing. A smooth surface is crucial for a professional-looking finish. Your fingertips will tell you when it's ready. Don't underestimate the power of thorough sanding!
Essential Materials (What You'll Be Working With)
- Wood Stock (Molding/Profile): This is where your personal style truly comes in! You can buy pre-milled molding specifically for frames (often found at specialty woodworking stores or online), or just use simple pine, oak, or even reclaimed wood strips. When choosing wood stock, look for pieces that are straight, free of major knots or defects, and have a consistent profile (cross-section). Crucially, ensure it has a rabbet (a recessed groove on the back inner edge) deep enough to accommodate your artwork, mat, backing, and any glass. The casing or face width is the visible width of the frame when looking at it from the front. Common profiles are often 1-3 inches wide and can be made from various wood types. For me, sometimes something really simple allows the art to shine.A quick note on wood movement: wood naturally expands and contracts with changes in humidity. For frames, especially wider ones, this movement can cause joints to open over time. Choosing stable wood types (like quarter-sawn lumber) or allowing wood to acclimate to your environment (the room where the frame will be displayed) for a few days before cutting can help minimize this. Aim for a stable moisture content between 6-8% for indoor projects; a simple moisture meter can help you check this. Always inspect your wood carefully for straightness and any warping before purchasing and cutting.
Wood Type | Ease of Use | Workability | Grain | Cost | Durability | Aesthetic & Working Notes | Ideal Finishes |
|---|---|---|---|---|---|---|---|
| Pine | Easiest | Very forgiving | Pronounced, soft | Low | Moderate | Light, takes paint/stain well. Soft grain can splinter if not cut sharply. Ideal for beginners and painted finishes. Easy to find at most hardware stores. | Paint, light stains, clear coat |
| Poplar | Easy | Forgiving | Fine, even | Low | Moderate | Similar to pine but slightly harder, very stable, takes paint exceptionally well. Can have green/purple streaks that need priming if painting. Great for painted frames. | Paint, solid stains |
| Basswood | Easy | Very forgiving | Very fine, even | Low-Mod | Moderate | Very fine, even grain, lightweight, excellent for carving. Soft. | Paint, light stains, natural oils/waxes |
| Oak | More challenging | Moderate | Prominent, open | Mod to High | High | Prominent, open grain, classic, substantial. Requires sharp tools. Beautiful with clear finishes/stains. Very durable and resistant to dents. | Stains (gel stains work well on open grain), clear varnish/polyurethane |
| Maple | More challenging | Moderate | Fine, even | Mod to High | High | Fine, even grain, modern, takes stain evenly (pre-condition often needed to prevent blotchiness). Very dense and durable. Creates a sleek, contemporary look. | Clear varnish/polyurethane, light stains (with pre-conditioner), natural oils |
| Cherry | More challenging | Moderate | Fine, straight | High | High | Beautiful natural reddish-brown color that darkens with age to a rich patina. Fine, straight grain. Can be prone to blotching with stains if not conditioned. | Clear varnish/polyurethane, natural oils/waxes (to allow natural darkening), light stains |
| Walnut | More challenging | Moderate | Straight, open | High | Very High | Rich, dark color, elegant, luxurious. Often chosen for its natural beauty. Takes oil finishes wonderfully, bringing out its deep tones. A premium choice for a sophisticated aesthetic. | Natural oils (linseed, tung), clear varnish/polyurethane (to preserve natural color) |
| Reclaimed Wood | Varies | Varies | Varies | Low to Moderate | Varies | Unique, rustic, characterful, eco-friendly. Requires careful inspection for hidden nails/screws and may need extra sanding/filling. Great for adding story. Consider the original wood type for workability. A fantastic choice for a truly unique, one-of-a-kind frame. | Oils, waxes, light stains, or simply a clear protective coat to preserve existing character. (Avoid heavy paints if you want the wood's story to show) |
- Backing Material: Foam core (acid-free is best for preservation), mat board, or even thin plywood to hold your artwork firmly in place. Foam core is light and acid-free, making it a popular choice. For canvases, a simple board can suffice, while paper-based artworks benefit from acid-free options like archival foam core or museum board to prevent long-term damage. You might also consider archival corrugated board for larger pieces that need rigidity without excessive weight.
- Picture Frame Turn Buttons or Flexi-points: Small metal clips or flexible tabs used to secure the backing and artwork in the frame, allowing for easy removal if needed. Flexi-points are often preferred for their cleaner look and ease of use with a special tool. Alternatively, simple brad nails can be used on the back edge, bent over to hold the backing in place.
- Hanging Hardware: D-rings, picture wire, and wall hangers. Make sure they can support the weight of your finished frame and artwork. Don't risk your masterpiece falling! We'll cover this in more detail later.
Optional but Highly Recommended Materials & Tools
- Glass or Acrylic (Plexiglas): For protecting paper-based artwork from dust, moisture, and UV light. Acrylic is lighter and shatter-resistant, making it ideal for larger pieces or where safety is a concern, though it can scratch more easily and attract dust due to static. Anti-reflective options are available for both glass and acrylic, minimizing glare and enhancing the viewer's experience, especially in well-lit spaces. When purchasing, ensure it's cut to your exact window reveal (the size of the opening created by the mat or frame lip).
Feature | Glass | Acrylic (Plexiglas) | Notes |
|---|---|---|---|
| Clarity | Excellent, superior optical clarity | Excellent, but can have slight static cling | Standard glass can have a green tint; opt for "white glass" for truer colors. |
| Weight | Heavier, potentially cumbersome for large frames | Significantly lighter | Important for large pieces and wall integrity. |
| Durability | Fragile, prone to shattering | Shatter-resistant, more robust | Ideal for children's rooms or high-traffic areas. |
| UV Protection | Standard minimal; UV glass (e.g., Conservation Clear) available | Excellent UV protection available (e.g., Optium Museum Acrylic) | Crucial for preserving colors and preventing fading over time. |
| Scratch Res. | High | Lower, scratches more easily | Handle acrylic with extra care; specialized scratch-resistant coatings exist. |
| Static Cling | Low | Can attract dust due to static | Requires anti-static cleaning solutions and microfiber cloths. |
| Ease of Cleaning | Standard glass cleaner (spray on cloth) | Specialized acrylic cleaner (ammonia-free) | Ammonia-based cleaners can damage acrylic. |
| Cost | Generally less expensive for standard types | Can be more expensive for museum-grade | Investment in protection vs. budget. |
- Mat Cutter: A specialized tool that allows for perfectly clean, bevel-cut edges on your mat board. A good investment if you plan to frame a lot of paper-based art. For occasional use, a craft knife and a straight edge can work, but the results won't be as professional. For truly precise cuts, a dedicated mat cutter is a game-changer.
- Finishing Supplies: Wood stain, paint, varnish, wax, or oil. Whatever look you're going for! I've spent hours deciding on just the right varnish or paint. The choice of finish dramatically impacts the final aesthetic and protection.
- Metal Frame Stock: For a sleek, modern, or industrial look, aluminum or steel frame molding can be an excellent alternative to wood. While it often requires specialized tools for cutting and joining (or buying pre-cut kits), metal frames offer exceptional durability and a very clean aesthetic. Consider this for contemporary pieces or when wood's natural properties might not fit the desired style.
- Specialty Woodworking Tools (Optional): For those looking to dive deeper, a router with a rabbeting bit can create custom rabbets or profiles, and a biscuit joiner (or plate joiner) can cut slots for small wooden biscuits to create incredibly strong and perfectly aligned miter joints. These are certainly not required for beginners, but they are fantastic tools to add to your arsenal as your skills grow.
5. Building Your Frame: The Essential Step-by-Step Guide
Alright, deep breath. We're going to tackle this together. Remember, the goal is progress, not perfection on your first try. My early frames had character, let's just say that. The satisfaction of seeing raw materials become a finished piece is truly rewarding.

Step 1: Measure Your Artwork (Meticulously!)
This is perhaps the most critical step, the foundation upon which your entire frame rests. Measure the exact width and height of your artwork. For a traditional frame, your frame's inner opening (the space defined by the inside edges of your molding) needs to be ever so slightly larger than your artwork – usually about an 1/8th of an inch on each side (so, 1/4 inch overall for both width and height). This small allowance is crucial to prevent the artwork from buckling or being difficult to insert. Write down your measurements, double-check them, and then maybe ask someone else to quickly check them too. I've been burned by mis-measurements more times than I care to admit! Precision here saves immense heartache later.
- Example: For a canvas that is exactly 16 inches wide by 20 inches high:
- Desired Frame Opening Width: 16 inches + 1/4 inch = 16 1/4 inches
- Desired Frame Opening Height: 20 inches + 1/4 inch = 20 1/4 inches
If you're building a floating frame for canvas art, the measurements will be different, focusing on creating a uniform gap around the canvas, so be sure to check that guide.
Step 2: Calculating and Precision Cutting Your Frame Stock
Now for the fun part: cutting wood! This is where your measurements from Step 1 truly come into play. Remember that rabbet (the groove on the back of the frame where the artwork sits)? Its depth dictates how much space you have behind your artwork. For a traditional frame, the inner opening (where the artwork sits) will be slightly larger than the artwork itself.

Let's break down the cutting calculation, which can be the trickiest part for beginners. Think of this as your secret formula to perfectly fitting corners:
- Artwork Dimensions (from Step 1):
- Artwork Width:
Aw - Artwork Height:
Ah
- Desired Frame Opening Allowance (per side): Typically 1/8 inch. So, for total allowance, add
2 * 1/8 = 1/4 inchto each dimension. - Calculate Inner Frame Opening: This is the length of the frame's inside edge where your art will sit.
- Desired Inner Width (
Iw):Aw + 1/4 inch - Desired Inner Height (
Ih):Ah + 1/4 inch
- Measure your Molding's Casing (Face Width): This is the visible width of the frame material itself, from the front. Let's call it
C. - Calculate Overall Outer Edge Length for Cutting: This is the total length of the longest side of each miter-cut piece. You need to add
2 * Cto your inner dimensions because the casing width extends beyond the inner opening on both sides of each frame piece. (Imagine the frame's visible front edge: it wraps around your artwork, extending 'C' inches on each side.)- Outer Length for Horizontal Pieces (
OLh):Iw + (2 * C) - Outer Length for Vertical Pieces (
OLv):Ah + (2 * C)
Example Calculation (for 16x20 artwork, and 1-inch casing 'C'):
Measurement | Value | Calculation | Resulting Length |
|---|---|---|---|
| Artwork Width (Aw) | 16 inches | ||
| Artwork Height (Ah) | 20 inches | ||
| Desired Allowance | + 1/4 inch | ||
| Inner Width (Iw) | 16 + 0.25 | 16.25 inches | |
| Inner Height (Ih) | 20 + 0.25 | 20.25 inches | |
| Casing (C) | 1 inch | ||
| Outer Length (OLh) | 16.25 + (2 * 1) | 18.25 inches (for top/bottom pieces) | |
| Outer Length (OLv) | 20.25 + (2 * 1) | 22.25 inches (for side pieces) |
Now, position your wood in the miter saw (or miter box) and make your 45-degree angle cuts. You'll be cutting:
- Two pieces for the top and bottom rails, each with an outer edge length of 18.25 inches.
- Two pieces for the side stiles, each with an outer edge length of 22.25 inches.
Crucially: Ensure the longer edge of each piece is on the outside of the frame, forming the outer perimeter, while the shorter edge forms the inner opening. Always do a test cut on a scrap piece of wood first, just to make sure the angle is truly 45 degrees. It's a small step that saves a lot of heartache and wasted wood. Even a fraction of a degree off can lead to gaps that are difficult to fix.
- Accounting for Rabbet Depth: The rabbet is the groove on the back, inner edge of your frame molding where the artwork, mat, glass, and backing will sit. Its depth is absolutely critical. Before cutting, you must ensure your chosen molding's rabbet is deep enough to accommodate all your layers:
(Glass/Acrylic thickness) + (Mat Board thickness) + (Artwork thickness) + (Backing Board thickness). If your rabbet isn't deep enough, your materials will protrude from the back of the frame, making it impossible to secure them properly. Measure your materials' combined thickness and compare it to the rabbet depth to confirm fit. This is a common oversight that can ruin an otherwise perfect frame.
Step 3: Test Fit and Initial Sanding
Once your pieces are cut, it's time for a dry fit. Lay out your four cut pieces on a flat surface and push them together to form a rectangle. Are the corners tight? Are there any gaps? This is your last chance for minor adjustments. If you notice small discrepancies, a light sanding on the ends can often fix minor imperfections, ensuring a truly flush fit. I've salvaged a few seemingly ruined corners with this trick! This is also the time to do any initial sanding of the wood surfaces to ensure they're smooth and ready for finishing. Getting those surfaces perfect now will save you a lot of effort later. Feel the wood – you're looking for silkiness, not roughness. Address any major defects or splinters now, too.
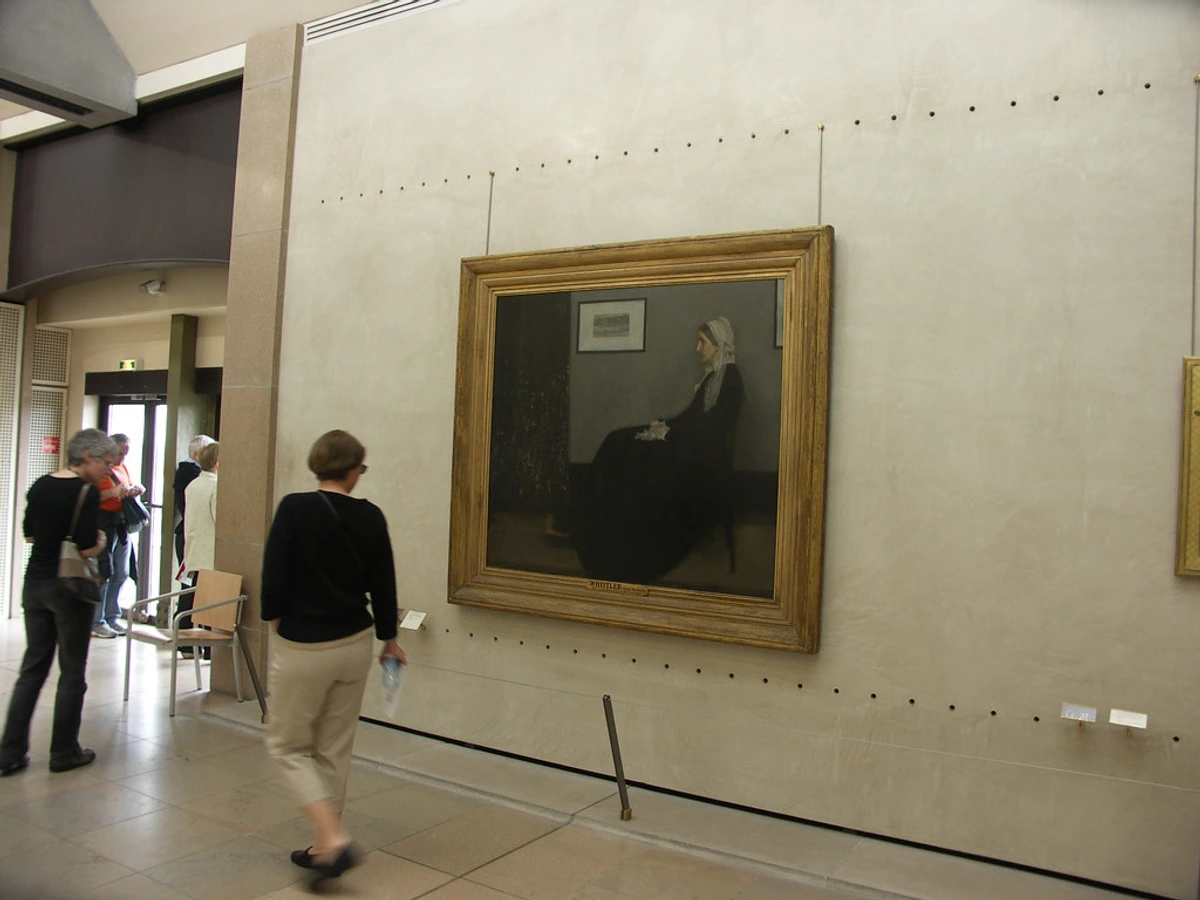
Step 4: Assemble the Frame
This is the moment of truth – bringing your individual pieces into a cohesive whole! The satisfaction when those corners finally meet perfectly? Immense.
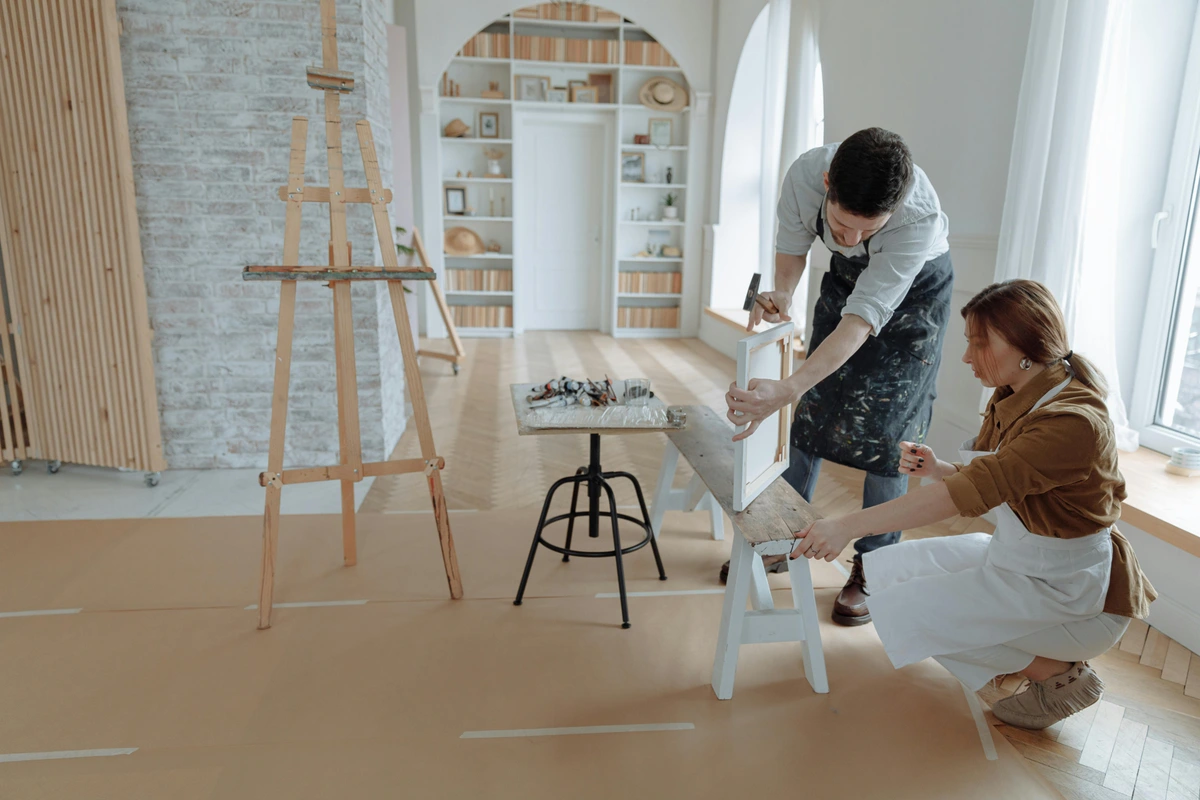
- Apply Glue: Run a thin, even bead of good quality wood glue along one of the 45-degree cut edges of a piece. Don't overdo it; excess glue will squeeze out and can be tricky to clean up later, potentially impacting your finish. I always try to imagine the wood just kissing the glue, not swimming in it. One time, I applied far too much, and it took forever to clean up, staining the wood in the process.
- Join Corners: Carefully bring two pieces together, forming a corner. Repeat for all four corners. I usually assemble two L-shaped sections first, let them set for a few minutes to get tacky, then join those two halves. This approach gives you more control and reduces the chance of things shifting.
- Clamp: Use your clamps (corner clamps, strap clamps, or even strong painter's tape for very light frames) to hold the corners tightly together. Apply even pressure. Wipe away any excess glue that squeezes out with a damp cloth immediately. Dried glue is a pain to remove and can affect how stain absorbs, creating an uneven finish. Ensure your corners are perfectly flush before the glue sets.
- Reinforce (Optional but Recommended): While the glue is still slightly wet (but the frame is stable), use your brad nailer (or hammer and small nails) to drive a few nails into each corner. Aim for the center of the adjoining piece, going across the miter joint for added strength. For truly robust joints, especially on larger frames, consider adding biscuits or dowels during assembly. These small wooden inserts dramatically increase the surface area for glue adhesion, creating a much stronger mechanical bond. More advanced options include specialized frame joining machines that insert V-nails (also called underpinning fasteners) into the miter joint, creating incredibly strong, clean connections.
- Dry Time: Let the frame dry completely according to your wood glue's instructions. Patience is a virtue here; rushing this step can lead to a flimsy frame. Seriously, walk away and do something else for a few hours (or overnight). I've learned that good things come to those who wait... and let their glue dry completely.
Step 5: Finish Your Frame
This is where your frame truly comes to life and takes on its unique personality. I find this stage almost as meditative as painting itself! This is where you bring your artistic touch to the frame itself.
- Final Sanding: Once the glue is dry, do a final, thorough sanding with fine-grit sandpaper (220 grit is often a good choice, moving up to 320 or 400 for an extra smooth finish). Pay special attention to the corners and any rough spots. The smoother the wood, the better and more even your finish will look. Run your hand over it – it should feel as smooth as a polished stone. Don't skip this!
- Clean: Wipe down the frame with a tack cloth or a slightly damp cloth to remove all sawdust. Any dust left behind will show up in your finish, creating imperfections and looking unprofessional. A clean surface is a happy surface.
- Apply Finish: Now's the time for your chosen finish – whether it's a rich wood stain, a bold coat of paint, or a protective varnish. Apply it according to the product's instructions. I often layer a few coats for depth and durability. Remember to allow ample drying time between coats and light sanding if recommended. You could even go for something really ornate and gilded like this mirror frame for inspiration on elaborate decorative finishes! The choice of finish allows you to truly harmonize the frame with the artwork's aesthetic, perhaps picking up a subtle color or complementing its texture.
Types of Wood Finishes and Their Application
Choosing and applying the right finish is like the final brushstroke on your frame – it brings everything together and protects your hard work. Here’s a deeper dive into common options and how to apply them for a professional look.
Stains
- Purpose: Penetrate the wood to enhance its natural grain and color, offering translucent color. Great for bringing out the beauty of oak or walnut. They don't provide much protection on their own.
- Application: Ensure wood is sanded smooth (up to 220 grit) and free of dust. Apply stain evenly with a brush or cloth, working with the grain. Allow it to penetrate for a few minutes, then wipe off excess. Test on a scrap piece first! Multiple coats can deepen the color. Always follow with a protective topcoat.
Paints
- Purpose: Opaque, offering full color coverage. Excellent for matching decor or creating a bold statement, especially for modern or abstract art. Completely covers the wood grain.
- Application: Sand wood smoothly (150-180 grit). Apply a primer first for better adhesion and a more even color, especially on softwoods like pine. Apply thin, even coats of paint with a brush or sprayer, allowing each coat to dry completely. Lightly sand between coats with fine-grit sandpaper (220+) for a super smooth finish. Finish with a clear topcoat for durability.
Varnishes/Polyurethanes
- Purpose: Clear protective topcoats that provide durability and varying sheen levels (matte, satin, gloss). Essential for protecting stains, paints, or bare wood from moisture, scratches, and UV damage. Polyurethane is particularly durable. They typically have higher VOC (Volatile Organic Compound) content, so ensure good ventilation or opt for water-based, low-VOC alternatives.
- Application: Ensure the surface is clean and dry. Apply thin, even coats with a good quality brush, foam brush, or sprayer, working with the grain. Avoid drips and bubbles. Lightly sand between coats (220-320 grit) to ensure good adhesion for the next layer and a smoother final feel. Remove dust thoroughly before each subsequent coat. You might want to explore articles like How to Varnish an Oil Painting: A Step-by-Step Guide or How to Varnish an Acrylic Painting for insights into protective finishes.
Waxes/Oils
- Purpose: Offer a natural, hand-rubbed look with a soft sheen, enhancing the wood's natural feel. They penetrate the wood rather than forming a film on top. Provide less protection than varnish but are easy to apply and repair. Ideal for enhancing the natural beauty of hardwoods like walnut or oak. Generally lower in VOCs than traditional varnishes.
- Application: Apply a thin layer with a clean cloth, rubbing it into the wood. Allow it to soak in, then buff off the excess with a clean, soft cloth. Multiple coats will build up more protection and sheen. This is a wonderfully tactile finish, connecting you to the wood itself.
Choosing the Right Finish for Your Wood Type
Different woods respond differently to finishes:
- Open-Grain Woods (e.g., Oak, Ash): Stains penetrate deeply and accentuate the grain. Gel stains can help achieve a more even color. Oils and waxes bring out their natural texture beautifully.
- Closed-Grain Woods (e.g., Maple, Cherry, Pine, Poplar, Basswood): These can sometimes blotch with traditional stains. Using a pre-conditioner before staining is highly recommended for even color. They take paint and clear coats very well, resulting in a smooth, consistent surface.
- Reclaimed Wood: Due to varying absorption and previous finishes, reclaimed wood can be unpredictable. Often, a simple clear oil or wax finish is best to let the wood's inherent character shine through without competing. Or, if painting, a good primer is essential. Embrace the imperfections; they tell a story!
Step 6: Install the Artwork (Carefully!)
Once your frame is beautifully finished and completely dry, it's time to bring your artwork to life within its new abode. This is the grand unveiling!
- Clean Everything: Make sure your artwork, mat (if using), glass/acrylic (if using), and the inside of your frame are absolutely free of dust and smudges. I use a microfiber cloth and compressed air for this. Nothing is more annoying than framing a piece only to find a rogue dust bunny trapped inside. That little fuzz ball will mock you from behind the glass forever.
- Layer Components: Starting from the back of the frame, place your glass or acrylic (if using), then your mat (if using), then your artwork. On top of that, place your backing board. Ensure everything is centered and straight. For matting, remember it's not just decorative; it creates an essential air gap between your artwork and the glass, protecting it from moisture and sticking. It also draws the eye inward, enhancing the visual appeal. When choosing a mat color, pick one that complements, rather than competes with, your artwork. Often, a neutral white or off-white mat is best, with a width that feels balanced to the artwork's size, allowing the art to truly breathe. Pay attention to the window reveal here – the precise opening that reveals your artwork. You want this to be clean, consistent, and perfectly aligned. Use acid-free photo corners or linen tape to secure your artwork to the backing board (or the mat board itself if it's not a float mount). Never use regular adhesive tape, which can damage the artwork over time.
Layer Order (Front to Back) | Component | Purpose |
|---|---|---|
| 1 (Front) | Glass/Acrylic (Optional) | Protection from dust, moisture, UV light |
| 2 | Mat Board (Optional) | Creates aesthetic border, air gap, and draws eye inward. Must be acid-free for paper art. |
| 3 | Artwork | Your masterpiece! |
| 4 (Back) | Backing Board | Provides rigidity, holds artwork securely. Must be acid-free for paper art. |
- Secure: Use your picture frame turn buttons or flexi-points to hold everything securely in place. Distribute them evenly around the back of the frame to ensure even pressure. This prevents shifting and keeps your art snug.
6. Framing Different Art Mediums: Special Considerations
Not all art is created equal, and neither are its framing needs. Tailoring your approach to the medium ensures longevity and optimal presentation. Think of it as giving each piece of art the specific home it needs to thrive for years to come – much like finding the right storage solution for your collection.
Oil & Acrylic Paintings on Canvas
- No Glass! This is perhaps the most crucial rule. Oil and acrylic paintings need to breathe and are typically varnished for protection (see our guides on how to varnish an oil painting or how to varnish an acrylic painting). This varnish layer protects the paint surface from dust, UV light, and minor abrasions. Glass can trap moisture against the canvas and isn't usually necessary for these types of artworks, and in some cases, can even be detrimental to its long-term preservation.
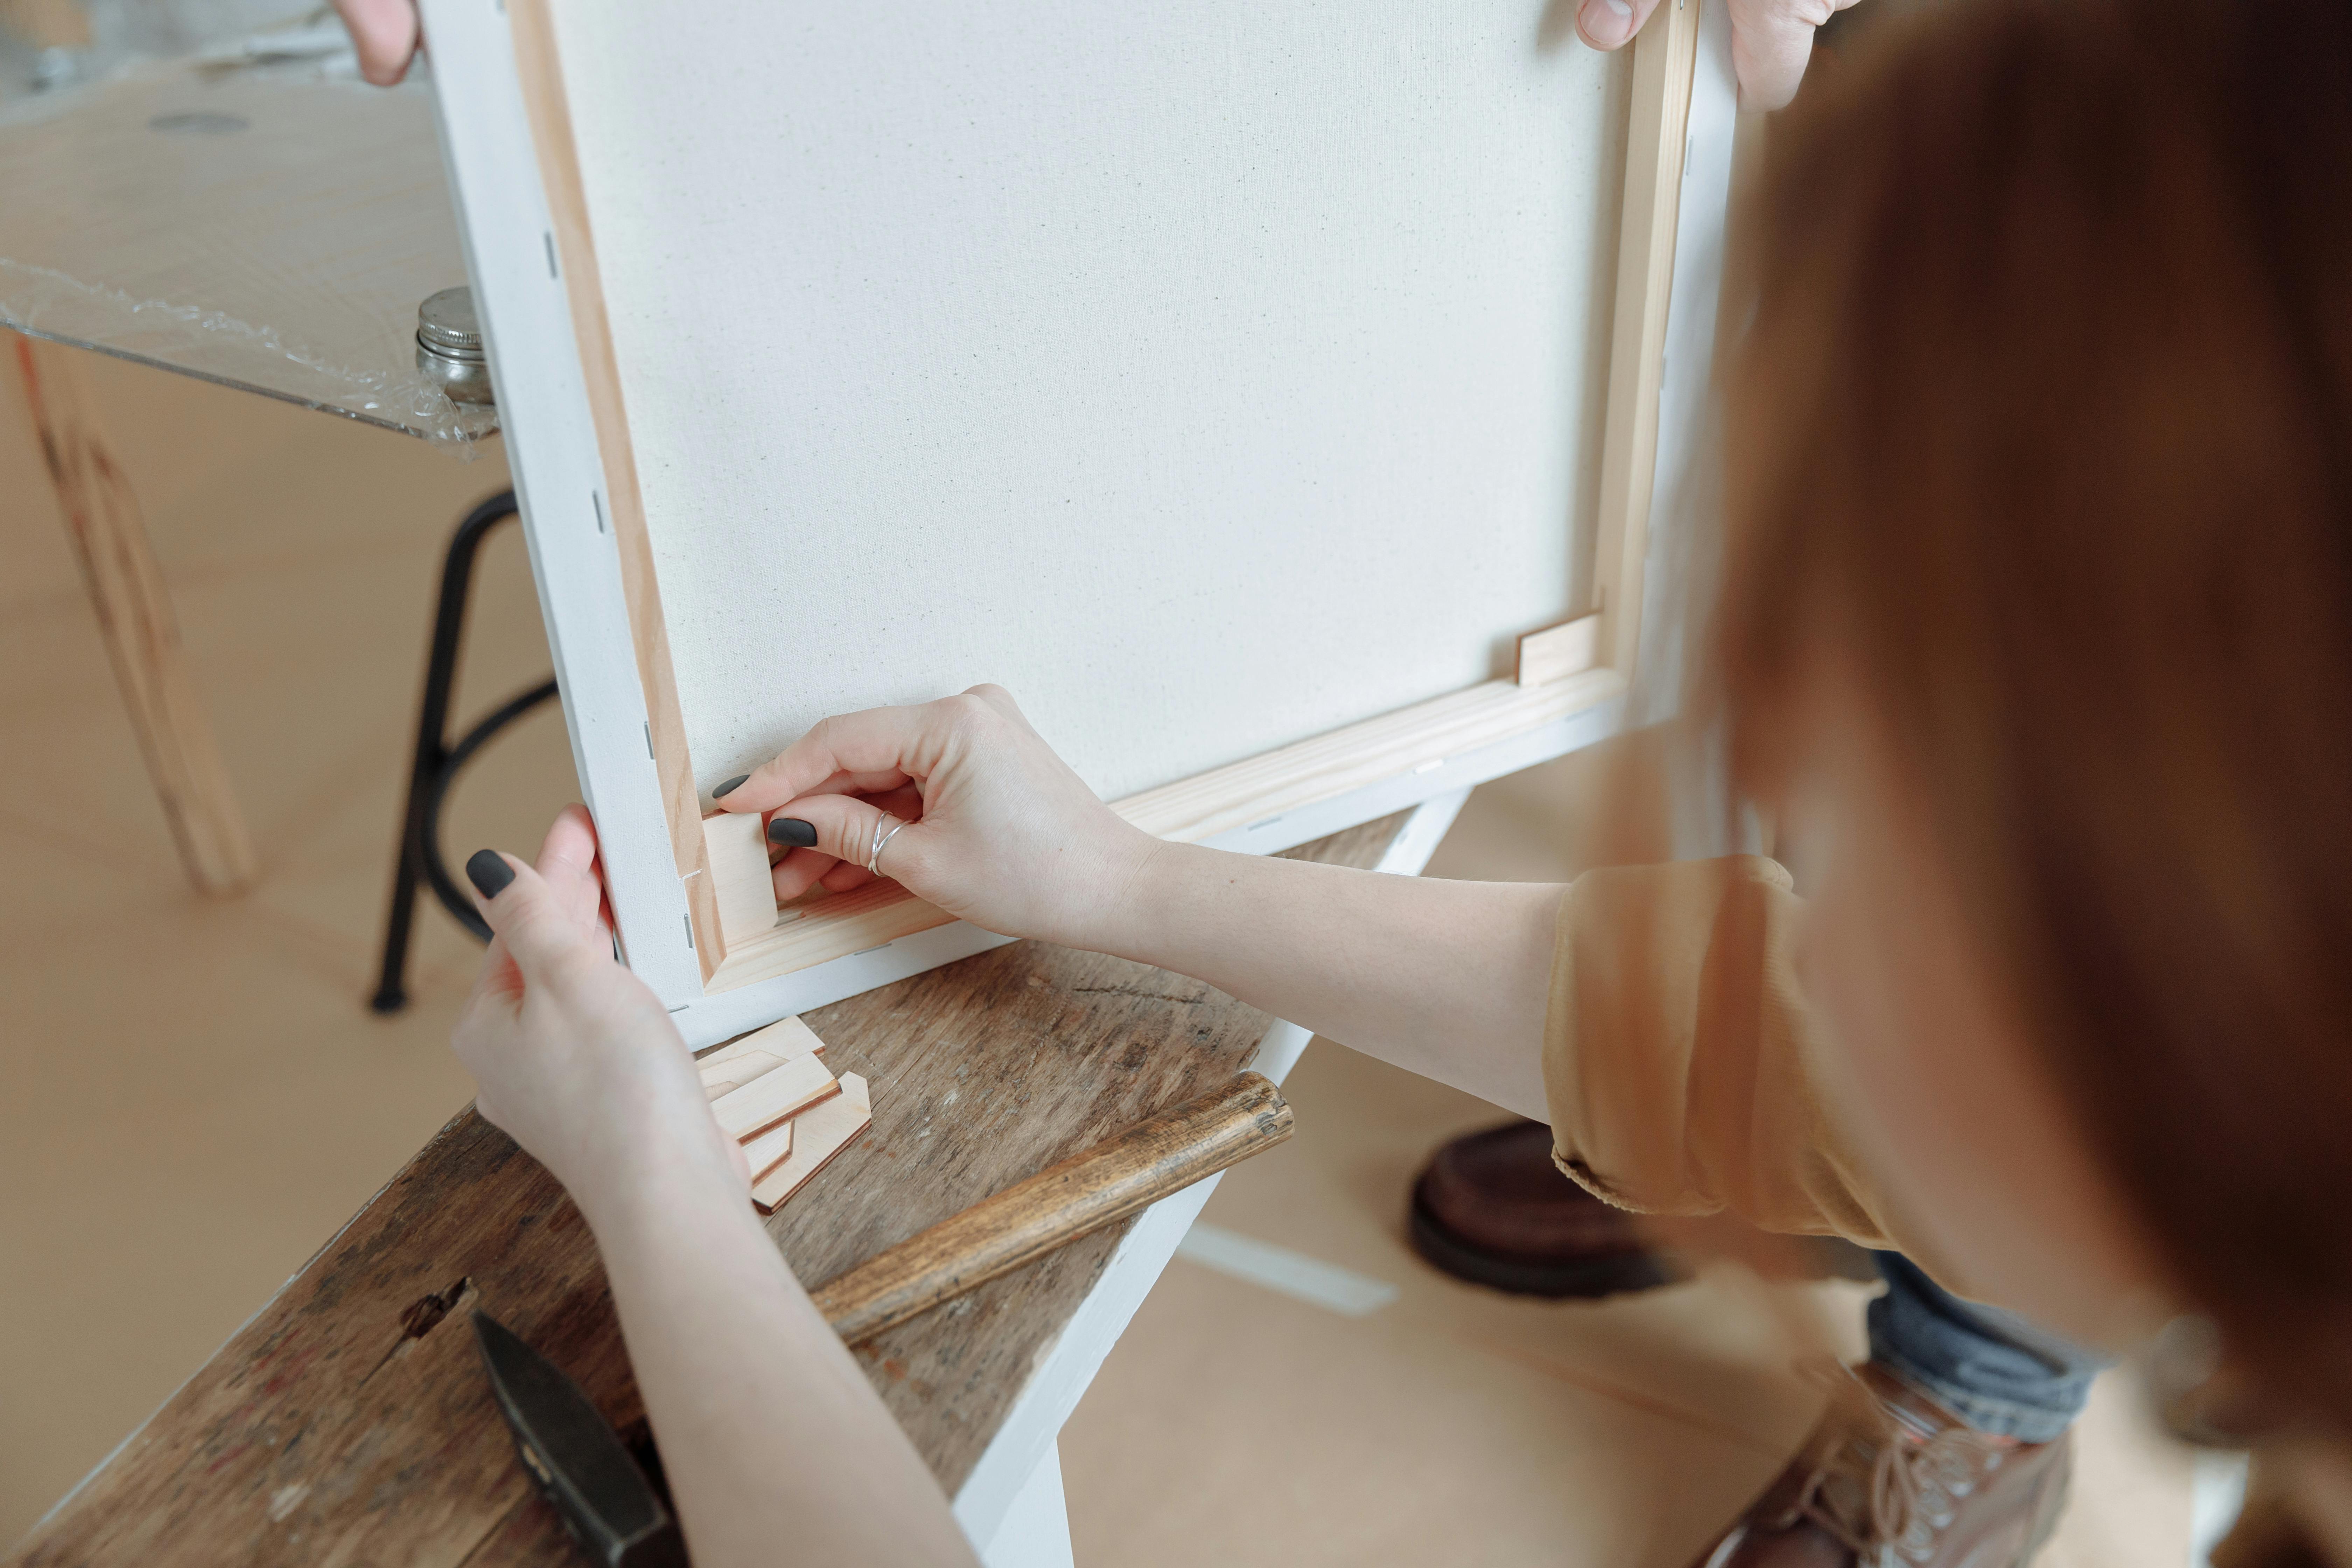
- Stretcher Bars: Most canvas paintings are already stretched on wooden stretcher bars. The frame you build will surround these stretcher bars. Differentiate between a standard stretched canvas (stapled on the sides, often visible) and a gallery-wrapped canvas (stapled on the back, allowing for painted edges). For gallery-wrapped canvases, a floating frame for canvas art is an exceptionally popular and elegant choice.
- Floating Frames: Floating frames for canvas art are exceptionally popular for contemporary canvas pieces. They create a small, uniform gap around the canvas, making it appear to float within the frame, showcasing the edges of the canvas itself. This is often my preferred method for my own abstract works, as it adds a clean, gallery-like finish without distracting from the artwork's intensity.
Watercolors & Works on Paper (Prints, Drawings)
- Archival Materials are Paramount: These are highly susceptible to damage from acidity. Always use acid-free and lignin-free matting and backing board (e.g., museum board, archival foam core). Even your mounting method needs to be acid-free; use acid-free photo corners or Japanese paper hinges with archival paste/tape. Never use regular adhesive tape, which can damage the artwork over time.
- Matting & Air Gap: A mat is almost always essential. It creates a vital air gap between the artwork and the glass, preventing the artwork from sticking or suffering moisture damage. The window reveal (the opening cut in the mat) should be perfectly clean and slightly smaller than your artwork, usually by about 1/8 inch on each side, to prevent it from slipping through. You can cut mats manually with a craft knife and a straight edge, but for professional, clean bevels, a dedicated mat cutter is recommended.
- UV-Protective Glazing: Use UV-protective glass or acrylic (e.g., museum glass, conservation clear glass, or Optium Museum Acrylic) to prevent fading from light exposure. I've sadly seen beautiful watercolors lose their vibrancy over time due to a lack of UV protection.
Photographs (Especially Valuable or Archival Prints)
- Protection: Photographs are highly susceptible to fading from UV light and damage from acidic materials. Use UV-protective glass or acrylic (preferably museum-grade with 99% UV blocking) to prevent discoloration and fading over time. Look for options like "Conservation Clear" glass or "Optium Museum Acrylic."
- Materials: Always use archival (acid-free and lignin-free) matting and backing board (e.g., museum board or archival foam core). This prevents chemical migration that can cause yellowing or foxing on the print. Use acid-free photo corners or linen tape to hinge the photograph to the mat or backing, ensuring it can expand and contract slightly with humidity changes.
- Handling: Always handle photographs by the edges, wearing cotton gloves if possible, to avoid fingerprints and oils.
Pastels/Charcoals
- Fragility: These delicate mediums are prone to smudging and shedding pigment. It's essential to use matting or deep spacers to create a generous air gap (at least 1/4 inch, preferably more) between the artwork surface and the glass. This prevents the pigment from transferring to the glass. Some framers even line the inside of the rabbet with velvet to trap stray dust.
- Sealing: While some artists use fixatives to stabilize pigment (workable fixatives during creation, final fixatives for finished pieces), a professional framing approach focuses on isolation from the glass. The air gap is paramount. Always handle framed pastels carefully, keeping them upright to prevent pigment from shifting.
Mixed Media
- Unique Challenges: These pieces can combine various materials, textures, and even 3D elements, presenting unique challenges. The key is to ensure nothing is compressed or damaged by the frame or glazing.
- Custom Spacers/Deep Frames: You'll likely need to create custom spacers or build a deeper frame to accommodate any raised elements. The aim is to protect without flattening or touching the fragile components.
- Specialized Glazing: Depending on the materials, UV-protective and anti-reflective glazing may be crucial.
Sculptures & 3D Objects (Shadow Boxes)
- Shadow Boxes: For 3D objects, memorabilia, or small sculptures, a shadow box allows you to create depth. This involves building a deeper frame with internal spacers to create space between the backing and the glass, providing a display window for your cherished items. Imagine framing a cherished seashell collection or a tiny abstract sculpture. Calculating the necessary depth is crucial; measure the deepest part of your object and add at least 1/8 inch for clearance.
- Mounting: Objects must be mounted securely but non-invasively, typically by stitching with archival thread, using clear monofilament, or adhering to an inert backing with archival adhesive. Never use methods that could damage the object over time.
- Inert Materials: Ensure all internal materials (backing, mounting boards, adhesives) are archival and inert to prevent chemical reactions with your objects.
Textile Art (Embroidery, Quilts, Tapestries)
- Specialized Mounting: Textiles are often mounted by stretching and stitching them to an acid-free fabric-wrapped board. Avoid glues or tapes that could stain or damage the fibers. The goal is to present the textile smoothly without tension or distortion. For larger or antique textiles, professional conservation mounting is usually recommended.
- Deep Frames & Spacers: Use a deep frame or spacers to ensure the textile does not press against the glass. An air gap is essential for breathability and to prevent any transfer of fibers or moisture to the glazing.
- UV Protection: Textiles can be very susceptible to fading from UV light. UV-protective glazing is highly recommended to preserve colors.
7. Beyond the Basics: Advanced Techniques & Frame Styles
Once you've mastered the fundamentals, the world of custom framing opens up even further. Here are a few ideas to explore for adding extra flair and strength to your projects, pushing your creative boundaries.

Joinery Techniques for Enhanced Strength & Aesthetics
While glue and nails are a great start, exploring different joinery types can significantly improve the strength and visual appeal of your frames.
Joinery Type | Description | Strength | Appearance | Difficulty |
|---|---|---|---|---|
| Butt Joint (with nails) | Two pieces joined end-to-end at 90 degrees. Simplest, but weakest. | Low | Visible end grain | Easy |
| Miter Joint (glued/nailed) | Two pieces cut at 45 degrees, joined to form 90. Classic frame joint. | Moderate | Clean corner, no end grain | Medium |
| Splined Miter Joint | Miter joint reinforced with thin wooden strips (splines) inserted across the joint. | High | Can be decorative (contrasting wood) | Advanced |
| Biscuit Joint | Miter joint reinforced with small, football-shaped wooden biscuits. | High | Invisible (internal) | Advanced |
| Dowelled Miter Joint | Miter joint reinforced with round wooden dowels inserted. | High | Invisible (internal) | Advanced |
- Splined Miter Joints: Instead of just glue and nails, you can cut thin slots (known as kerfs) across the miter joint on the outer edge of the frame. Small wooden splines (thin strips of wood) are then glued into these slots. These add incredible strength and can also be decorative if you use a contrasting wood for the splines. It's a sophisticated way to add both durability and visual interest. I once built a large, heavy frame that felt a bit flimsy until I added splines – it transformed into a rock-solid piece, and the contrasting walnut splines against a maple frame looked stunning. This requires a router table with a miter sled or a table saw jig to cut the kerfs precisely across the assembled miter joints.
Decorative Elements & Advanced Styles
- Adding Fillets: A fillet (pronounced "fill-it") is a small, decorative inner molding that sits between the mat and the artwork, or between two mats. It adds an extra touch of elegance and depth, often in a metallic or contrasting color, drawing the eye even more subtly to the artwork's core. Think of it as a mini-frame within a frame. Fillets are typically cut with a miter saw, just like the main frame, and then glued directly onto the back of the mat opening or into the frame rabbet.
- Creating Shadow Boxes: As discussed in our medium-specific section, a shadow box is a frame designed with significant depth to display three-dimensional objects. They transform a frame into a miniature stage for cherished items. This involves constructing a frame with deeper side walls (or adding a deep inner liner to a standard frame) and using spacers to hold the glass away from the objects.
- Floating Frames for Canvas: As mentioned earlier, a floating frame for canvas art creates the illusion that the canvas is floating within the frame, with a small, uniform gap around its edges. This contemporary style is fantastic for modern oil or acrylic paintings, as it highlights the canvas edges and provides a clean, gallery-like presentation without needing glass. The frame is built slightly larger than the canvas, and small wooden blocks are screwed into the inside of the frame's rabbet, which then hold the canvas from behind.
- Artisan & Found Object Frames: Don't limit yourself to traditional wood molding. Consider repurposing interesting materials like driftwood, old architectural salvage, or even specially prepared branches. These can add a truly unique, story-rich character to your art, particularly if the artwork itself has an organic or rustic feel. Think outside the box for a truly original presentation. This involves carefully selecting and preparing your found objects, and often requires custom joinery or mounting methods.
- Gilding or Distressing: These are decorative finishing techniques that can dramatically alter the aesthetic of a frame. Gilding involves applying gold, silver, or other metallic leaf to create a luxurious, ornate finish, reminiscent of classical art. Distressing involves intentionally aging the frame's appearance through techniques like sanding through paint, adding faux wormholes, or applying antique glazes, giving it a vintage or rustic charm. Both can add incredible character and depth.
8. Hanging Hardware & Installation
Last but not least, give your masterpiece a way to greet the world! Choosing the right hardware is essential for safety and a professional display. This section will walk you through the options, but remember, the wall anchor is just as important as the frame hardware itself!
Types of Hanging Hardware
- D-Rings: These are metal D-shaped rings attached to a small plate, screwed directly into the back of your frame. They are versatile and widely used. For light to medium frames, a single screw is often sufficient. For heavier frames, use D-rings with two screw holes for added security. Always attach them to the vertical sides of the frame, roughly 1/4 to 1/3 down from the top edge.
- Picture Wire: Once D-rings are attached, picture wire (braided steel wire is common) is threaded through them. The loop created by the wire is what hangs on your wall hook. Choose wire that is rated for at least double the weight of your framed piece. Always twist the ends of the wire securely around the main length (at least 3-4 twists) to prevent slippage. Ensure there are no sharp edges. Test the strength of the wire and the D-rings with a gentle tug before hanging.
- Sawtooth Hangers: These are metal strips with serrated teeth, typically used for very small and lightweight frames. They screw directly into the top center of the frame's back. While easy to install, they are not ideal for larger or heavier artworks as they can put stress on one point and may not hang perfectly level.
- Strap Hangers / Heavy-Duty D-Rings: For large or heavy frames (over 20-30 lbs), these offer superior support. Strap hangers are longer plates with multiple screw holes, distributing the weight over a larger area of the frame. Heavy-duty D-rings often come with thicker metal and larger screw plates. Always use the appropriate number and length of screws.
- French Cleat: An excellent, robust solution for very heavy frames, or for frames you want to sit perfectly flush against the wall. A French cleat consists of two interlocking strips of wood or metal, each cut at a 45-degree angle. One strip is securely attached to the wall (angled up), and the other to the back of the frame (angled down), allowing the frame to simply drop into place and lock. Installation requires precise leveling, but the result is incredibly strong and stable.
- Security Hangers: For public spaces or if you want extra protection against theft or accidental removal, security hangers are an excellent choice. These often involve special clips or key-lock systems that secure the frame to the wall, requiring a special tool to remove it.
Matching Hardware to Frame Weight
Frame Weight | Recommended Hardware | Notes |
|---|---|---|
| Up to 10 lbs | Sawtooth hanger, Small D-rings + wire | Sawtooth is quick; D-rings + wire offer more flexibility for leveling. |
| 10-20 lbs | Medium D-rings + wire | Use D-rings with two screw holes. |
| 20-50 lbs | Heavy-duty D-rings + strong wire | Consider multiple D-rings or strap hangers for wider frames to distribute weight. |
| 50+ lbs | Strap hangers, French cleat, Security hardware | A French cleat is excellent for very heavy, flush-mounted frames. |
Important Considerations
- Wall Anchoring: No matter how good your frame hardware, it's only as strong as your wall anchor. For hanging in drywall, use appropriate drywall anchors (plastic conical, toggle bolts, self-drilling) that are rated for the weight of your frame. Always try to hit a wall stud if possible for maximum security. I've seen too many beautiful frames crash because of inadequate wall anchors – don't let yours be one of them! Also, consider the type of wall: plaster, brick, or concrete will require different anchors than drywall.
- Leveling: When using D-rings and wire, the wire should form a gentle curve at the top, allowing you to adjust the frame slightly to ensure it hangs perfectly level. For sawtooth hangers or French cleats, meticulous measurement and installation are key for level hanging.
And there you have it! A beautiful, custom-built frame, ready to display your art. Just imagine it, enhancing a long, narrow hallway or perfectly placed above a fireplace.
9. Common Framing Mistakes to Avoid (Learn from My Mis-Cuts!)
I've made my fair share of mistakes on this framing journey, so let me save you some head-scratching and wasted wood. Avoiding these common pitfalls will make your DIY experience much smoother:
- Inaccurate Measurements (Step 1): This is the cardinal sin of framing. A slight error in width or height will lead to gaps or an ill-fitting frame. I once spent an entire evening trying to force a print into a frame that was just 1/16th of an inch too small – it was infuriating. Measure, re-measure, and then measure again. My motto? "Measure twice, cut once, then measure again just to be safe."
- Not Accounting for the Rabbet (Step 2): Forgetting the rabbet's depth means your artwork, mat, and backing might not fit, or sit too proud/deep in the frame. Always check if your chosen molding has a sufficient rabbet for all your layers before you buy. I've had to return wood because of this oversight more times than I care to admit.
- Imprecise Miter Cuts (Step 2): If your 45-degree angles aren't exact, your corners won't meet cleanly, leaving unsightly gaps. Take your time, calibrate your saw, and do test cuts on scrap wood. Even a half-degree off can be noticeable! I've been humbled by small, persistent gaps that seemed to mock my efforts.
- Skipping the Dry Fit (Step 3): Never glue before a dry fit! This allows you to spot issues before they become permanent problems. It's your last-ditch effort to make minor adjustments to ensure tight joints. Skipping this is like painting without sketching first – you're just asking for trouble.
- Insufficient Sanding (Step 3 & 5): Rough wood will lead to an unprofessional finish that shows every imperfection. Spend the time to sand progressively through grits, ensuring a silky-smooth surface for your chosen stain or paint. Your efforts here will pay off visually. I once rushed this and ended up with a perpetually bumpy finish that annoyed me every time I looked at it.
- Using Too Much or Too Little Glue (Step 4): Too much glue creates messy squeeze-out that's hard to clean and can affect finishes. Too little glue leads to weak joints. A thin, even bead is all you need, and ensure you clamp properly to distribute it. I've had frames fall apart and frames that looked like they were attacked by a glue monster.
- Rushing Drying Time (Step 4 & 5): Impatience is the enemy of strong joints and durable finishes. Give your glue and finish ample time to cure fully. A rushed frame is a flimsy frame with a compromised aesthetic. Seriously, go make some coffee or read a book. I've tried to speed things up, and it almost always ends in a re-do.
- Not Cleaning Glass/Artwork Thoroughly (Step 6): That rogue dust bunny will mock you from behind the glass forever. Clean all components meticulously (artwork, mat, glass, inside of frame) before final assembly. Compressed air is your friend here. I still have a frame with a tiny hair I missed – it's a constant, tiny reminder to be more thorough.
- Inadequate Hanging Hardware (Step 8): Using hardware that can't support the weight of your framed piece is an accident waiting to happen. Always choose hardware rated for the total weight of your frame, glass, artwork, and backing. A falling frame is a heartbreaking frame. I once had a small frame slip off its hook – thankfully no damage, but it was a scary moment! Also, ensure your wall anchor is appropriate for your wall type (drywall, plaster, stud) – the frame hardware is only as strong as its attachment to the wall!
10. Maintaining Your Custom Frame
Your handmade frame deserves to stay pristine. Here are a few tips for ongoing care, ensuring your masterpiece continues to shine for years to come.
- Dusting: Regularly dust your frame with a soft, dry microfiber cloth. Avoid feather dusters which can just move dust around. A gentle touch is all it needs.
- Cleaning: For wooden frames, a slightly damp cloth can be used for occasional cleaning, followed by a dry buff. Avoid harsh chemical cleaners, especially on finished surfaces, as they can strip or damage the finish. For glass, use a standard glass cleaner, spraying it onto a cloth first, not directly onto the glass (to avoid seepage under the frame and potential damage to the artwork or mat). For acrylic, use a specialized acrylic cleaner and a very soft cloth, as it scratches more easily and can be damaged by ammonia-based cleaners. Remember, dust is the enemy!
- Minor Repairs: Small nicks or scratches on a painted or stained frame can often be touched up with a small brush and matching paint/stain. For deeper damage, consider seeking professional advice or embrace the 'patina' of a well-loved handmade item. Every little imperfection tells a story, but sometimes a small touch-up can make a big difference.
- Environmental Control: Avoid hanging frames in direct sunlight, near heat sources (radiators, fireplaces), or in areas of high humidity (bathrooms), as these can cause fading, warping, or mold growth. Stable temperature and humidity are key for long-term preservation, especially for delicate artworks on paper. Remember, artworks are particularly vulnerable to UV light (leading to fading), humidity fluctuations (causing warping, buckling, or mold), and dust/pollutants (which can degrade surfaces over time). Your frame acts as the first line of defense!
11. When to Consider Professional Framing Services
While this guide empowers you to frame many pieces yourself, it's also important to know when to call in the experts. For certain artworks, professional framing is a wise investment:
- Highly Valuable or Irreplaceable Art: If you have an original masterpiece, a very valuable limited edition print, or an irreplaceable family heirloom, a professional conservator or framer can provide specialized archival materials and techniques that ensure maximum long-term protection. This is about safeguarding an investment, both financial and sentimental.
- Complex or Very Large Pieces: Extremely large artworks, multi-object shadow boxes, or pieces with unusual shapes can be challenging for the DIYer. Professionals have the tools, space, and experience for these more complex projects.
- Specialized Mounting: Certain delicate textiles, fragile documents, or objects requiring specific conservation-grade mounting techniques (like float mounting delicate paper to show deckled edges) are best handled by those with specialized training.
- Time Constraints: If you simply don't have the time or patience for a particular project, a professional framer can deliver high-quality results efficiently.
Remember, a professional framer isn't just about cutting wood; they're about conservation and presentation expertise. It's a valuable resource for when your DIY skills reach their limits, or when the value of the piece demands expert handling.
12. Frequently Asked Questions (FAQ)
Here are answers to some common questions you might have as you embark on your framing journey:
Q1: What's the best type of wood for a beginner?
I'd definitely recommend pine or poplar. They're readily available, relatively inexpensive, and soft enough to be easy to cut, sand, and join. Pine is very forgiving, and poplar takes paint exceptionally well. Their forgiving nature makes them ideal for your first few projects. Plus, if you mess up, it's not a huge financial loss.
Q2: What if I don't have a miter saw? Can I still build a frame?
Absolutely! While a power miter saw speeds things up, you can achieve excellent results with a good quality miter box and hand saw. Just take your time, ensure your wood is clamped securely in the miter box, and use a saw with fine teeth for cleaner cuts. Precision with a hand saw is entirely achievable with patience. My own first frames were all done with a hand saw and they hold up beautifully to this day!

Q3: How long does it typically take to build a picture frame?
It really varies depending on your experience, the complexity of the frame, and your tools. For a simple frame, I'd say budgeting anywhere from 2-4 hours for cutting and assembly (not including glue drying time), and another 2-3 hours for sanding and finishing. The most time-consuming part is often waiting for glue and finish to dry – patience truly is a virtue here! Don't try to rush perfection; it will only lead to frustration.
Q4: What if my wood warps after I cut it?
Wood movement due to humidity changes is a common challenge. To minimize this, always allow your wood stock to acclimate to your indoor environment for several days before cutting. Store it flat. If a piece warps slightly, sometimes strategic clamping during assembly or using more robust joinery (like splines) can mitigate it. For significant warping, it might be best to cut a new piece from better-acclimated stock, as forcing warped wood rarely yields a professional result.








Q5: What's the difference between a mat and a mount?
Often, these terms are used interchangeably, but generally: a mat (or mat board) is the windowed border material that sits on top of the artwork, separating it from the glass and providing aesthetic breathing room. A mount (or mounting board/backing board) is the rigid material that sits behind the artwork, providing support and rigidity. Both should ideally be acid-free and lignin-free for archival preservation.
Q6: Can I frame a mirror myself?
Yes, absolutely! The process for framing a mirror is very similar to framing artwork. You'll need to measure the mirror accurately, cut your frame stock, assemble and finish the frame, and then secure the mirror into the rabbet using specialized mirror clips or a strong adhesive designed for mirrors, followed by a sturdy backing board. Just be extra careful when handling large sheets of glass or mirror; safety gloves are a must!
Q7: How do I frame a diploma or certificate?
Framing a diploma or certificate is very popular! The key is archival preservation. Always use acid-free mat board and backing board to prevent yellowing or degradation of the document over time. Use acid-free photo corners or strips of Japanese paper hinges to secure the document, never tape directly to it. A mat is highly recommended to create an air gap between the diploma and the glass, and UV-protective glass or acrylic is essential to prevent fading of ink and paper. This will ensure your achievement remains pristine for decades.
My Final Thoughts on Framing
It’s funny, isn't it? Something as seemingly simple as a picture frame can hold so much significance. Building one isn't just about enclosing a piece of art; it’s about creating a protective embrace, a statement, and a deeply personal connection to the piece. It’s a journey, a craft, and honestly, a whole lot of fun. The tactile satisfaction of transforming raw wood into a beautiful display, the smell of sawdust, the thrill of a perfect miter joint – these are the moments that truly make the process worth it. And when you're done, standing back and admiring your handiwork, there's a unique satisfaction that store-bought frames just can't quite deliver. It's a quiet hum of pride, a testament not just to your creativity, but to your dedication in giving your art the presentation it truly deserves. Building a frame imbues the artwork with more of your story, making the connection between creator, art, and admirer even richer.
So, give it a try. Start with a small print or a cherished photograph. Your walls, your art, and perhaps even your wallet, will thank you. If you embark on this journey, I'd love to hear about your experience or see your creations – perhaps share them on social media and tag a local museum or artistic community! And if you're looking for art that deserves such a personal, handcrafted touch, remember to explore my timeline for a glimpse into my artistic evolution and discover vibrant, abstract pieces in my collection. Who knows, maybe one of them will inspire your next framing project!