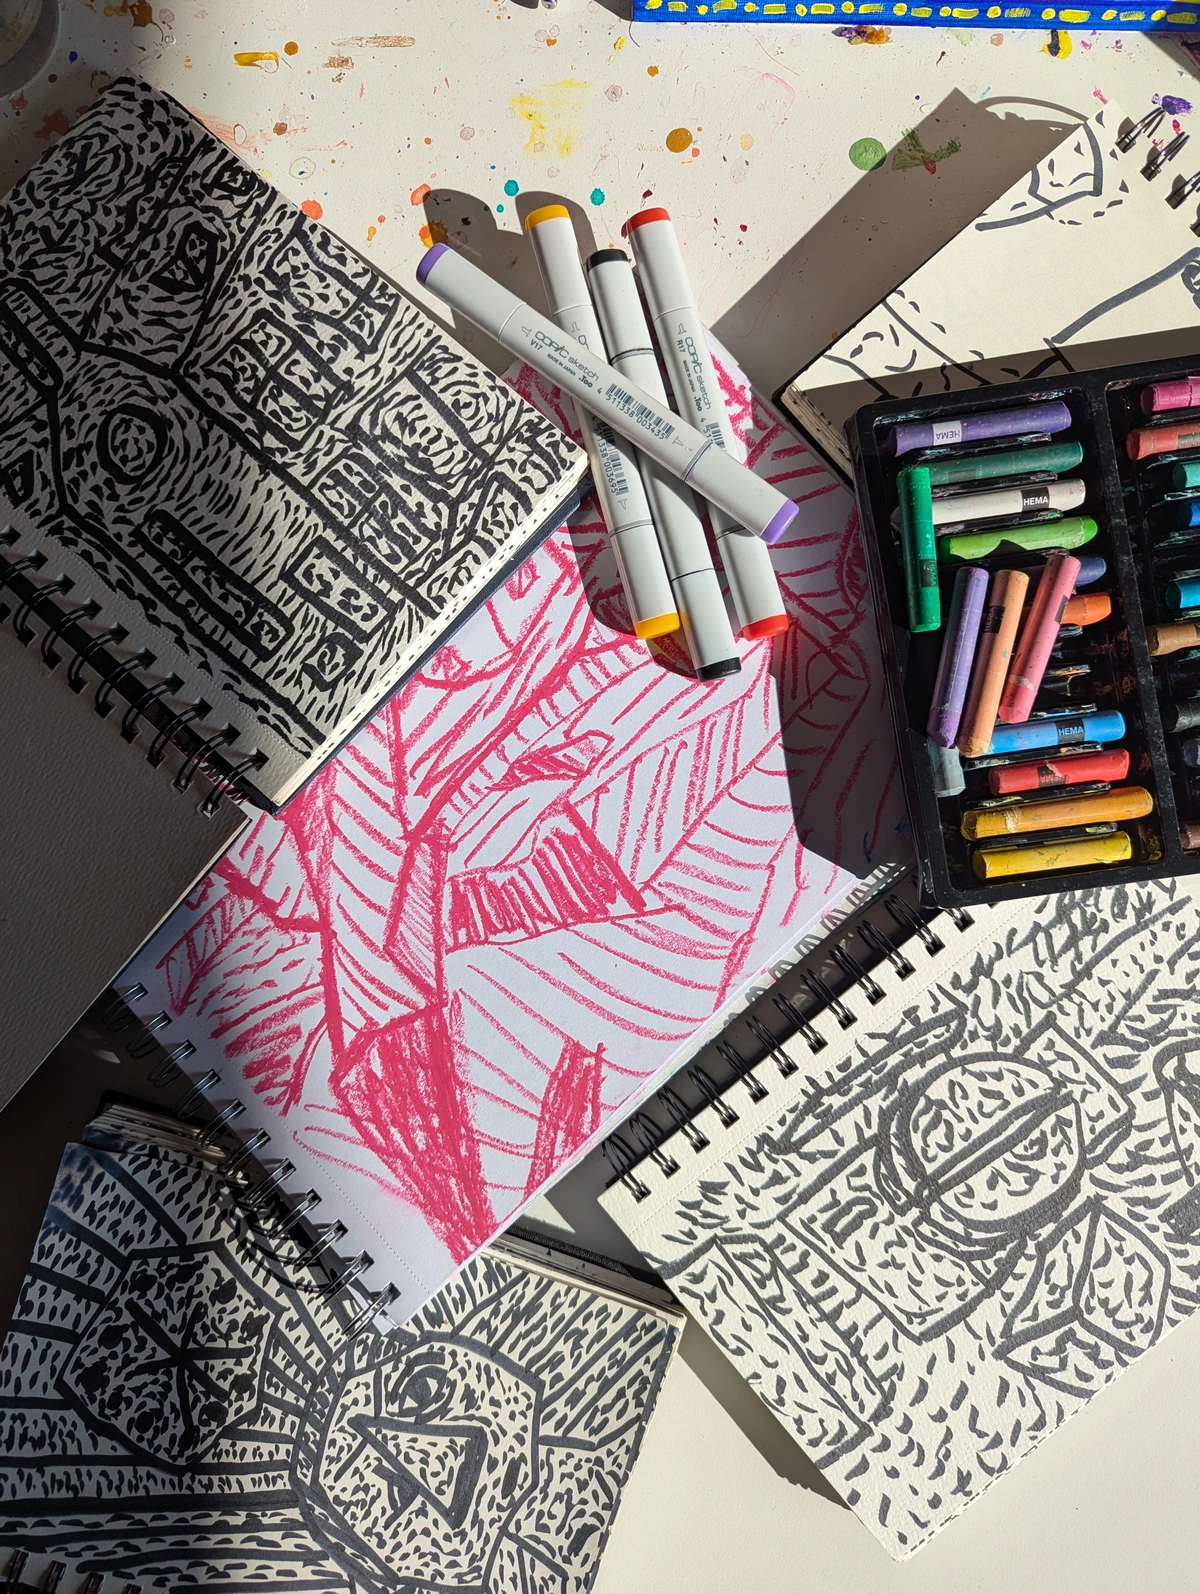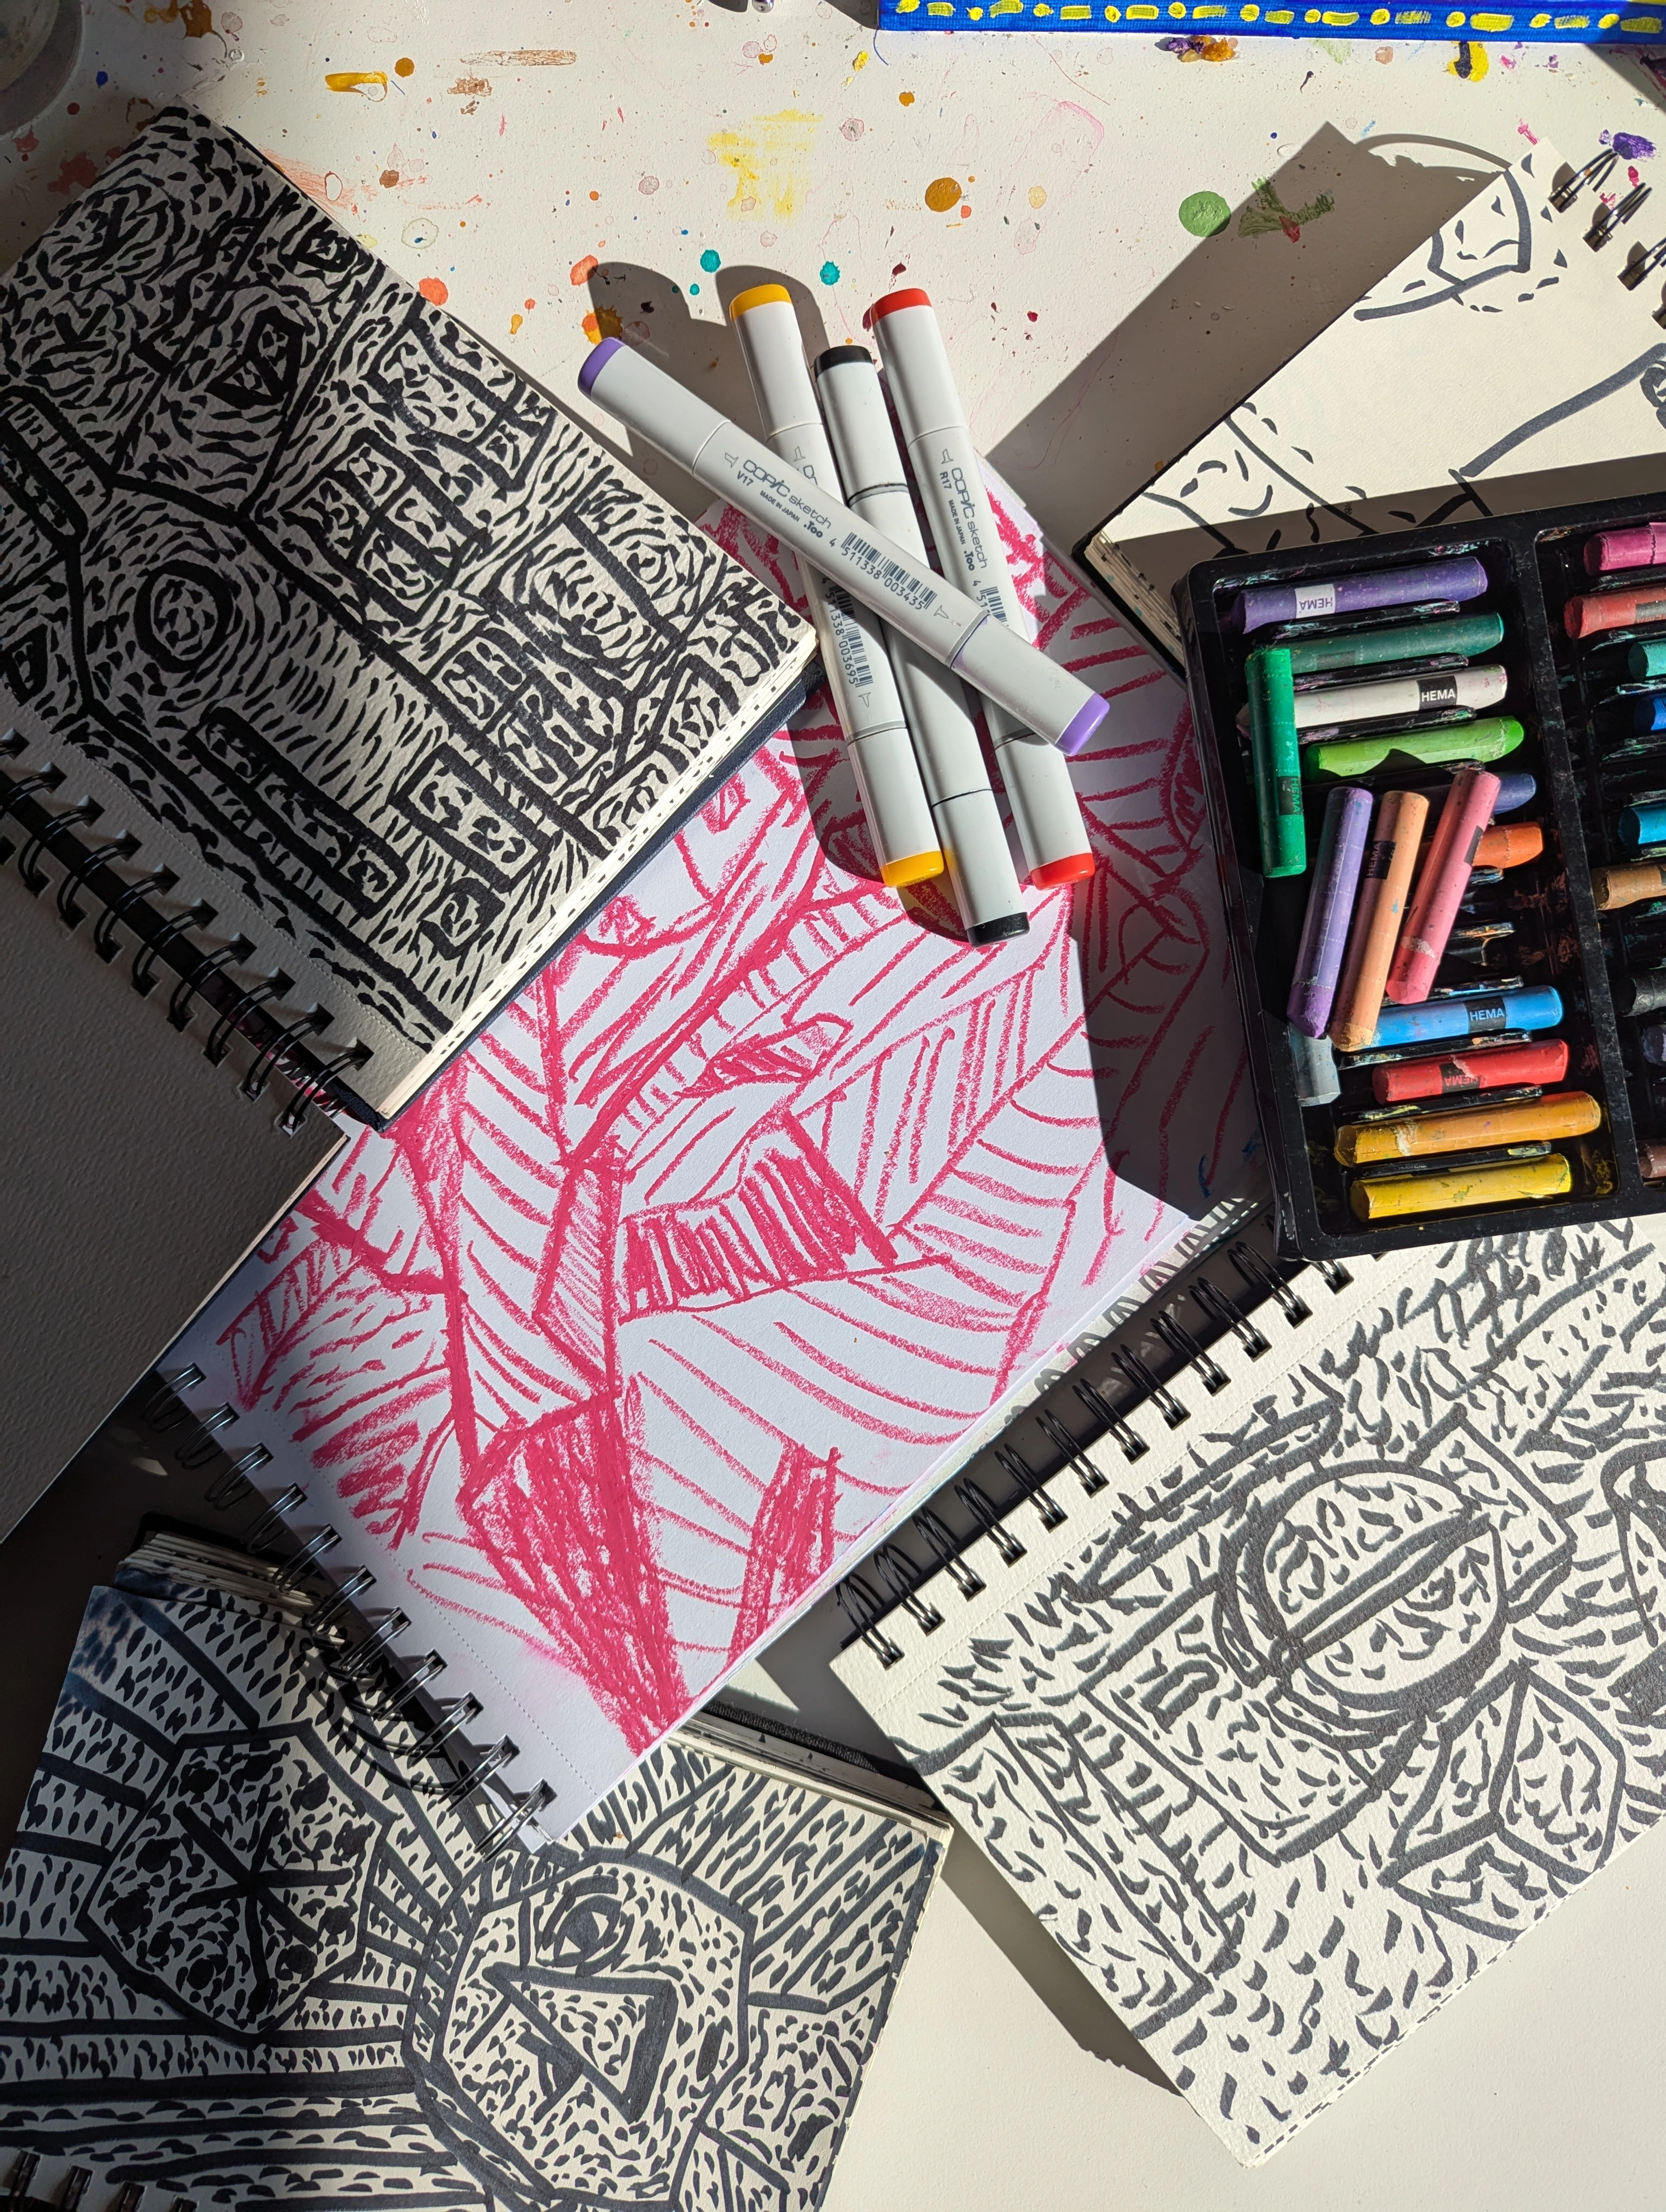
Various acrylic markers and sketches on a surface, demonstrating the versatility of acrylic pens for detailing.

Mastering Acrylics: Your Ultimate Beginner's Guide to Paint Sets, Tools & Mindset

Overwhelmed by acrylics? This artist's guide helps you choose the best beginner paint sets, essential tools, mediums, and a fearless mindset. Start your vibrant art journey with confidence.
By Zen Dageraad

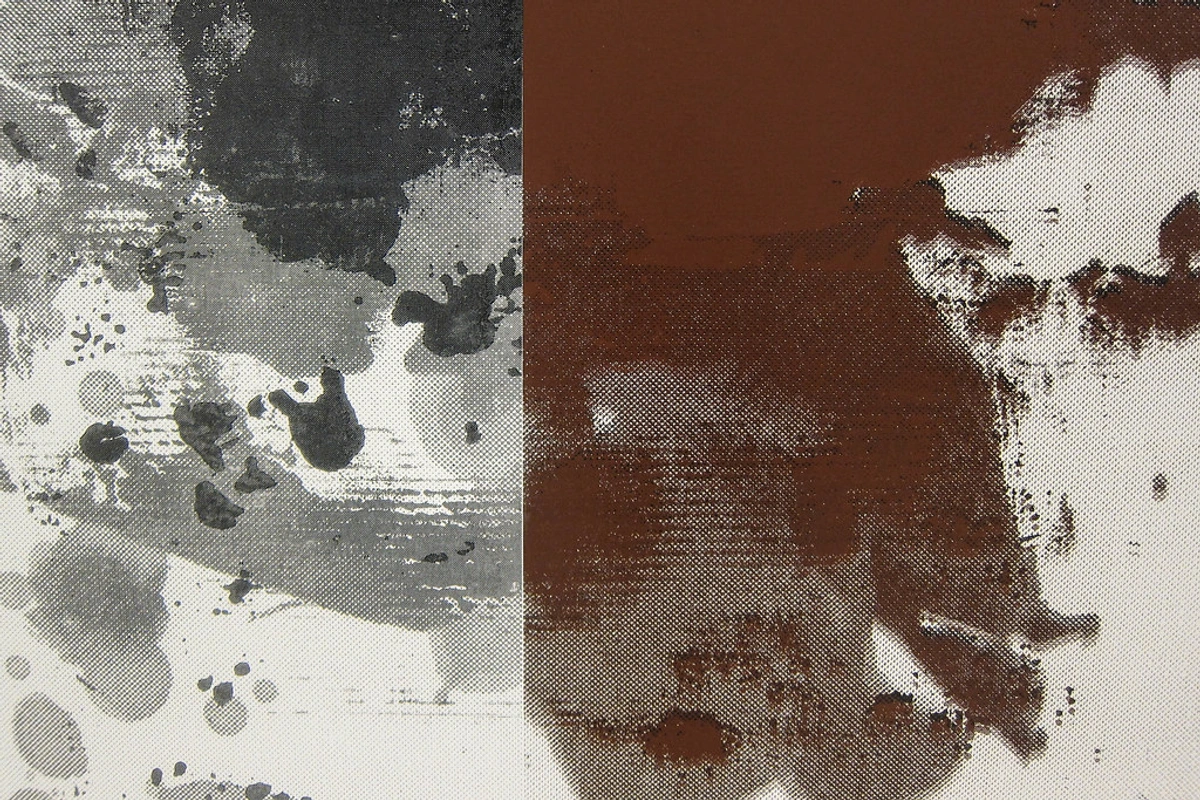
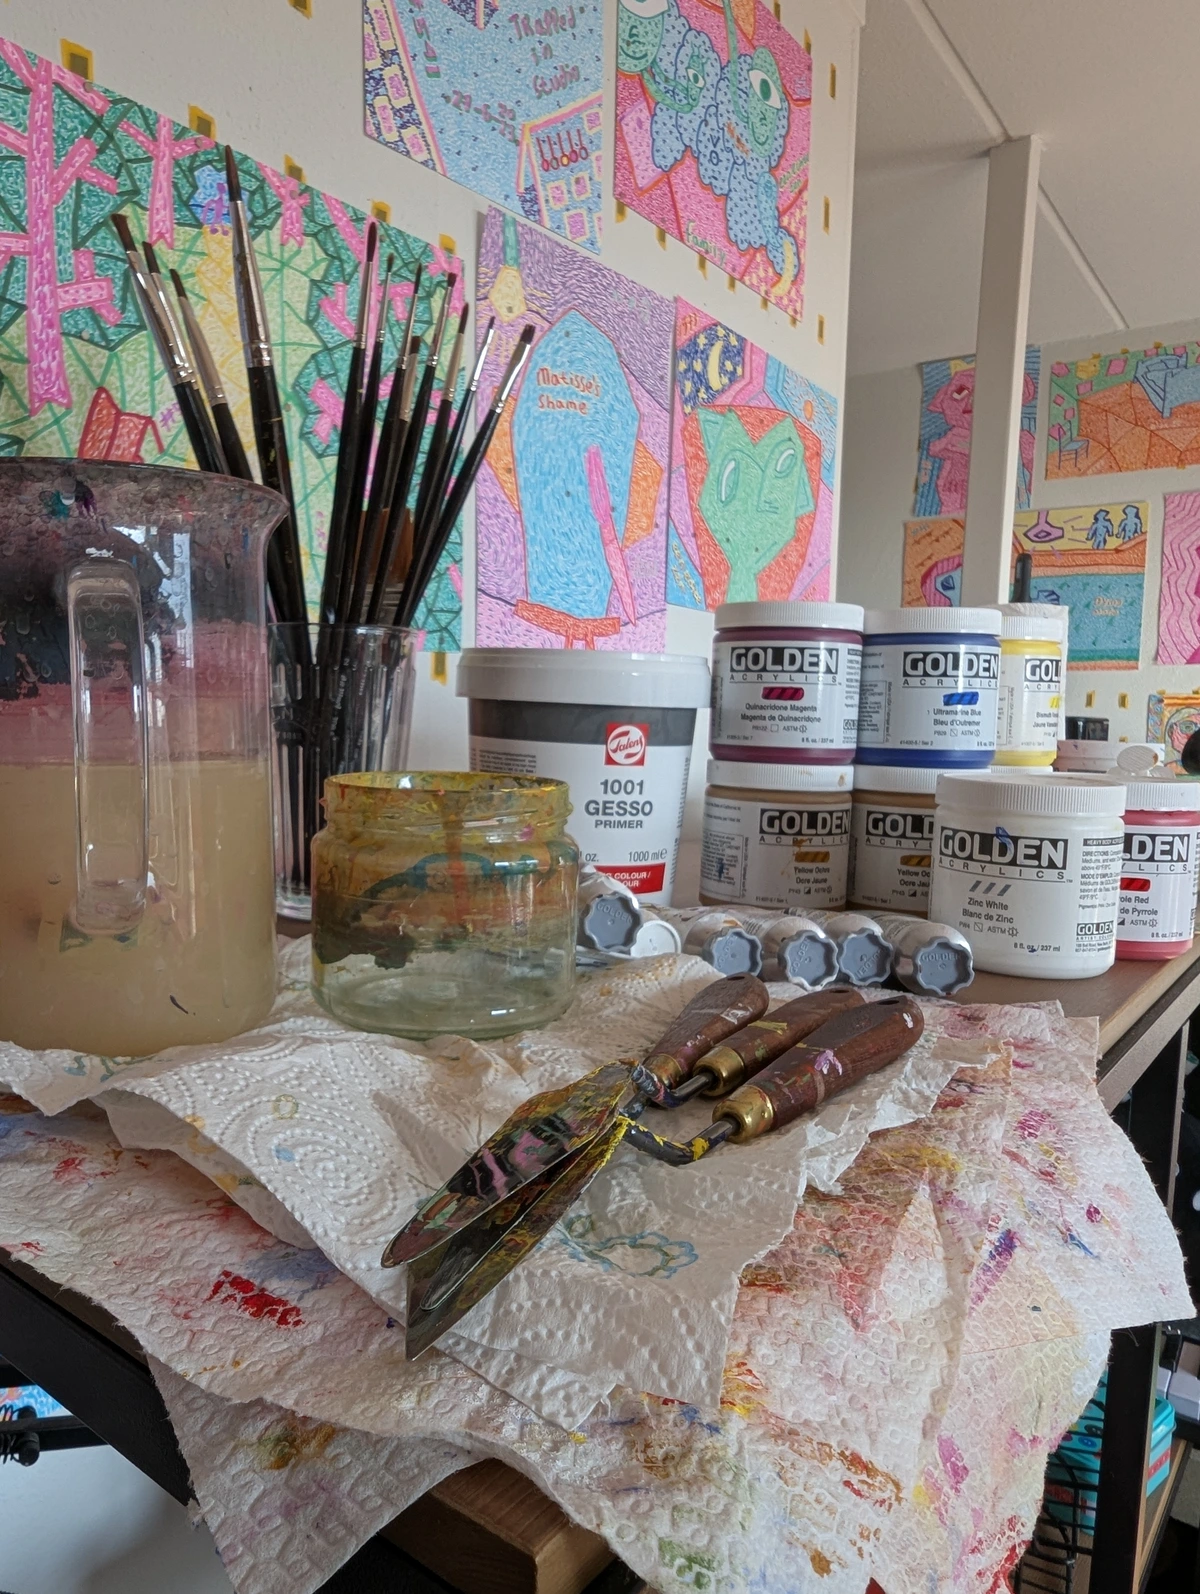
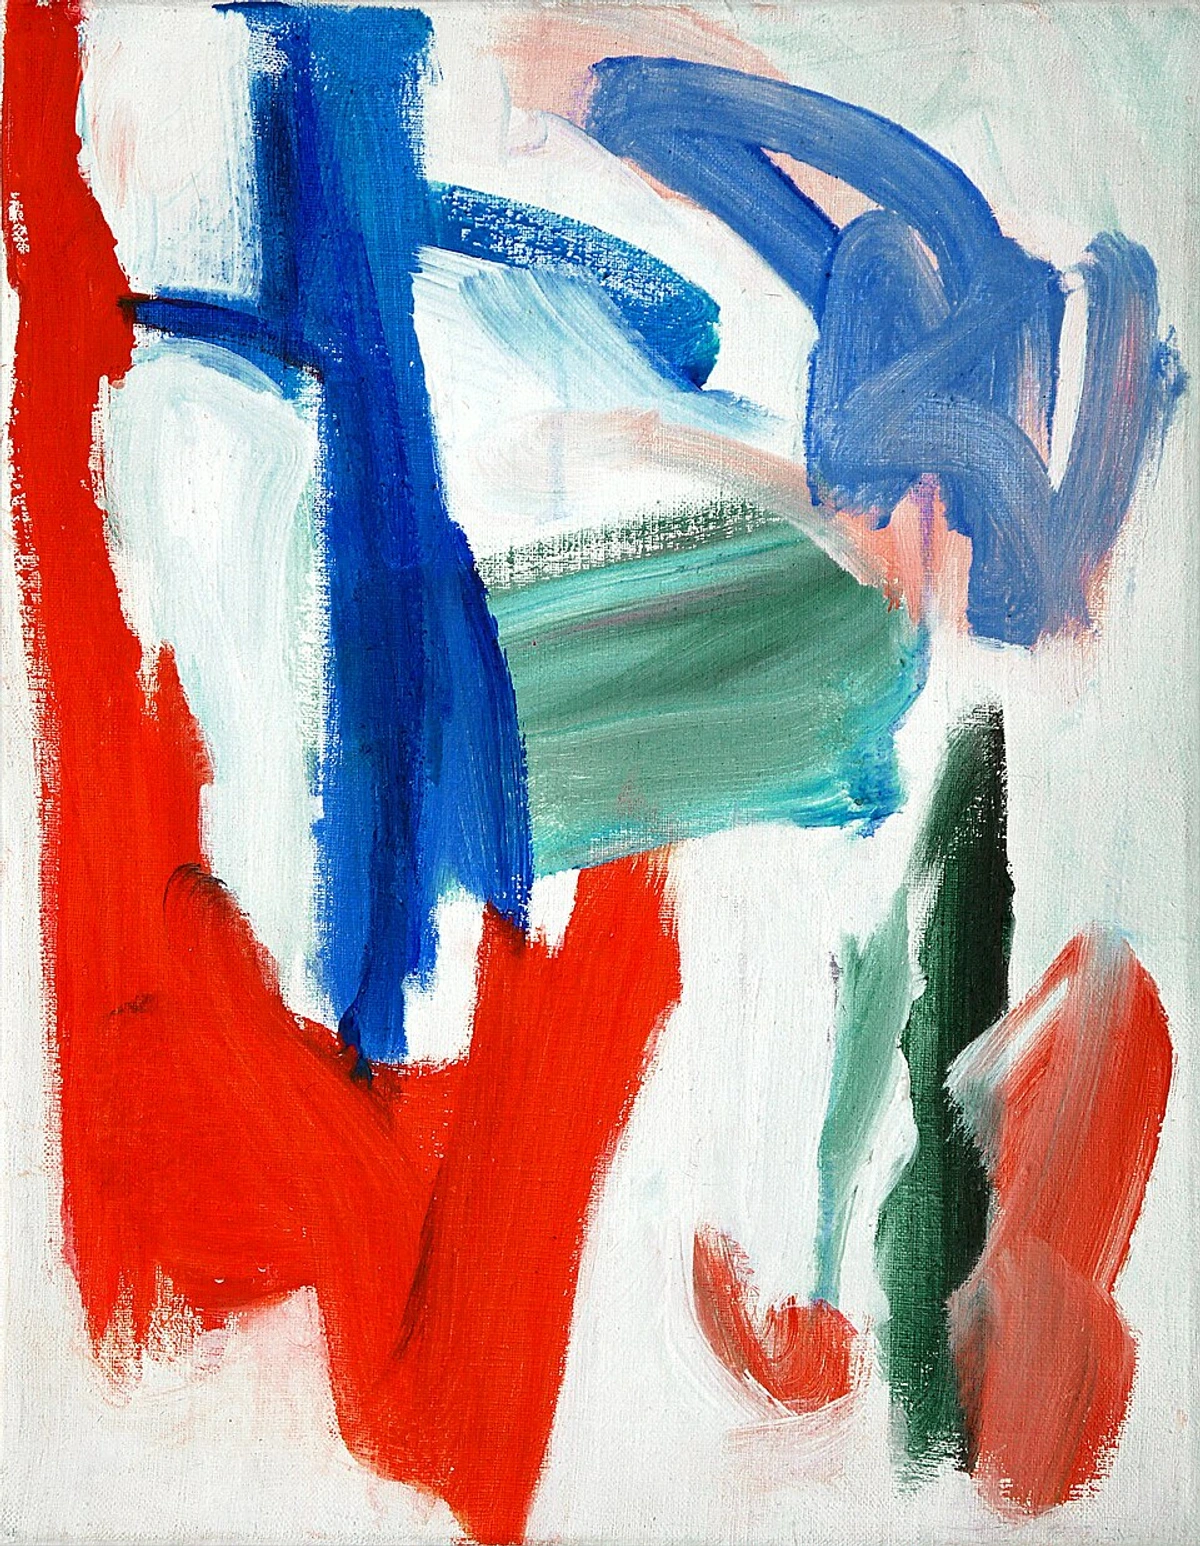
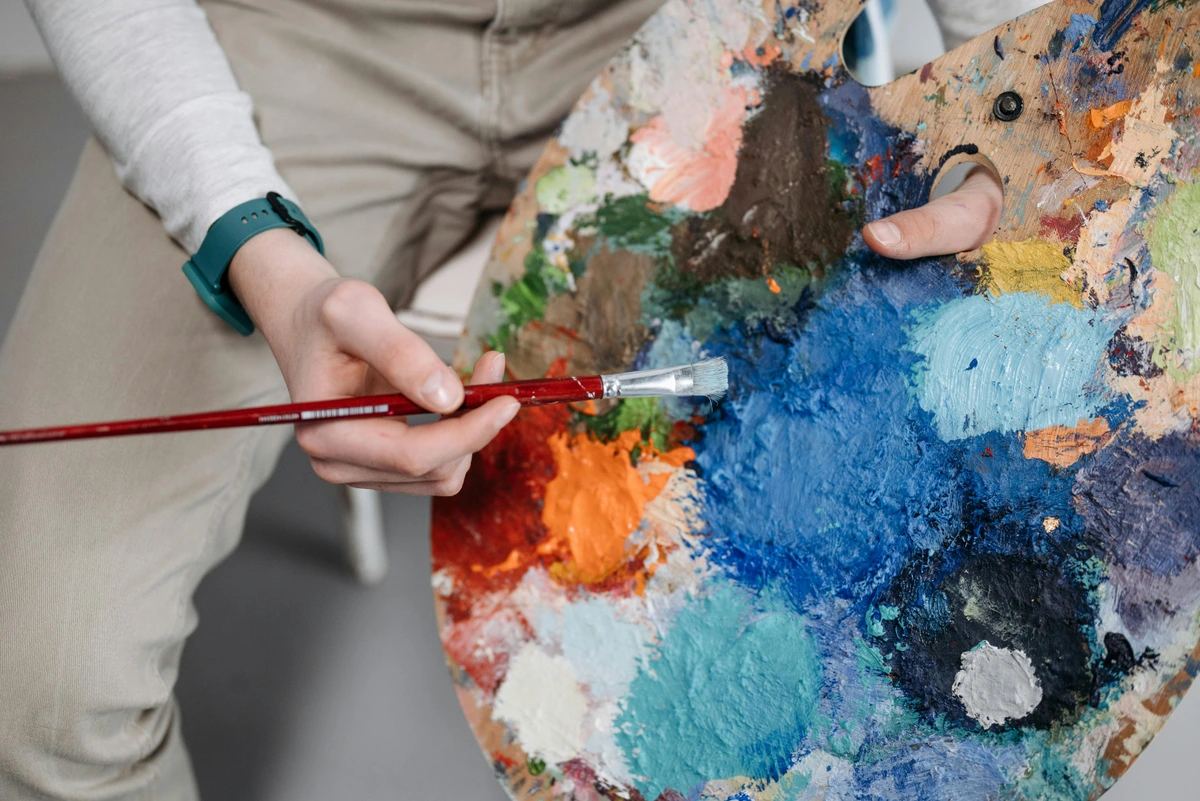
Mastering Acrylics: Your Ultimate Beginner's Guide to Paint Sets, Tools & MindsetI remember my first encounter with acrylic paints. It was chaotic, exhilarating, and frankly, a bit overwhelming. Staring at rows upon rows of tubes, sets, and brands, my mind raced. "Do I need the 'professional' grade? What's 'heavy body'? Why are there so many shades of blue?" (And honestly, "Will I even like this?") If you're nodding along, feeling that familiar pang of beginner's anxiety, you're in the right place. This isn't just a review; it's a conversation from one artist (who still makes plenty of mistakes, trust me) to another, sharing what I wish I'd known when I first dipped my brush into the vibrant world of acrylics. My goal here is to guide you through selecting your very first acrylic paint set, making that initial leap less daunting and more enjoyable. Together, we'll dive deep into my top recommendations for paints, the essential tools you'll actually use, helpful mediums to expand your creative toolkit, and perhaps most crucially, how to cultivate a mindset that embraces the creative journey, not just the finished product. Consider this your roadmap to not just paint sets, but also the crucial companions and the right mindset to actually enjoy the process and truly unleash your inner artist.Abstract painting with bold, gestural brushstrokes showcasing the versatility of acrylics. credit, licence---## Why Acrylics, Anyway? My Love-Hate Relationship with This Versatile MediumHonestly, acrylics felt like a compromise at first. Everyone romanticized oils, and watercolors seemed so delicate and sophisticated. But acrylics? They were the workhorse. They dry fast—a blessing when you're impatient and a curse when you're trying to blend seamlessly. I once tried to blend a sunset on a humid day, only to realize my beautiful gradients were turning into patchy stripes before my eyes. That was a curse moment. It's like trying to smooth wet cement on a hot day; you think you have time, and then poof, it's set, and you're left with a texture you didn't quite intend. Or imagine trying to blend a calm, serene sky, only for the edges to harden into awkward lines, mocking your efforts at smoothness. On the flip side, I've had moments where that quick drying time was a blessing, like when I had to pack up my studio in a hurry and wished my oils would dry as fast. They're water-soluble, which means cleanup is a breeze (though my studio often looks like a paint factory exploded, regardless). And they're incredibly versatile; you can make them look like watercolors, oils, or create bold, textured abstract pieces, which, if you've seen my art for sale, you'll know I lean towards. Perhaps it's that very versatility that makes choosing a first set feel so daunting, but it's also why they're such a rewarding medium for beginners.What's even more fascinating is that at their core, acrylics are essentially plastic in a liquid form—a polymer emulsion that encapsulates pigments. Think of the polymer emulsion as the "secret sauce" that holds all the color particles together, giving acrylics their fast-drying, flexible, and durable qualities. This modern marvel truly took off after WWII, driven by breakthroughs in polymer chemistry. Its roots, however, stretch back further, with early acrylic polymers, like those developed by Rohm and Haas in the early 20th century, initially used for industrial coatings and architectural applications. These innovations eventually paved the way for the incredible paints we use today, making art more accessible and offering artists new freedoms from traditional oils, not just through their rapid drying and easy cleanup, but also by eliminating the need for toxic solvents.This era also saw the parallel development of various acrylic mediums—gels, pastes, and fluid additives—that could radically alter paint consistency, transparency, and texture. This explosion of versatility, both in paint and accompanying mediums, further cemented acrylics as a groundbreaking medium, perfectly suited for the experimental spirit of contemporary art, and certainly for the abstract pieces I love to create. Beyond just polymer chemistry, the advent of synthetic pigments played a crucial role, allowing for a wider, more stable, and more affordable color palette than ever before. For instance, while ancient artists relied on rare earth pigments or laborious grinding of minerals, modern acrylics can offer vibrant, consistent versions of these and entirely new colors through synthetic processes. The introduction of pigments like Phthalo Blue and Cadmium Yellow (in their synthetic or stabilized forms for acrylics) revolutionized palettes, offering artists unprecedented vibrancy and stability. This explosion of color and freedom allowed artists like Jackson Pollock to redefine painting with his energetic drips and pours, or Gerhard Richter to explore abstract textures with his squeegees, showcasing the medium's incredible adaptability and paving the way for today's contemporary abstract art. And let's be honest, compared to the often-toxic solvents needed for oil paints, water cleanup is a huge plus for both your health and the environment.Now, a quick thought on the environmental side: while incredibly versatile, acrylics are plastic-based. This means proper disposal of paint water and leftover paint is crucial to avoid microplastic pollution. I always let my paint water settle and dispose of the solid residue in the trash, never down the drain. It's a small habit, but every little bit helps us artists be more mindful of our footprint, not just in terms of plastics but also the energy involved in producing these amazing modern materials. The history of this medium is actually quite fascinating, evolving from industrial applications into the artistic staple it is today. If you're curious about that journey, you might enjoy learning about the history of acrylics. For me, the beauty of acrylics is their forgiving nature for a beginner. You can paint over mistakes, build layers, and experiment without much commitment.---## What I Look For in a Beginner Acrylic Set (And What You Should Too)Okay, so you're ready to jump in. But what makes a "good" beginner set? Over the years, I've learned that it's not about the most expensive, nor the one with the most tubes. It's about a balance of quality, usability, and value. Here are the things I'd tell my younger self to prioritize, the bedrock principles for a satisfying start to your acrylic journey.### Pigment Quality & Color VibrancyThis is where your paint truly shines (or doesn't). Cheap paints can be frustratingly translucent and dull. Trust me, I've been there, scraping away at a canvas trying to get a rich color, only to find myself using half a tube just for one decent opaque layer. This often happens because budget paints use more fillers (like chalk or clay—think of it like adding extra flour to make a thinner sauce go further) and extenders (substances that bulk up the paint without adding color) relative to the pure pigment and binder (the acrylic polymer emulsion itself). These additives don't just dilute the intensity; they can also make the paint feel chalkier, less smooth, and difficult to blend, hindering your brushwork because the paint texture itself is fighting you. I remember the frustration of trying to get a rich, deep color, only to find myself piling on layer after layer, only for it to dry chalky and lifeless. It felt like I was fighting the paint more than creating with it!Look for sets that boast good lightfastness (meaning the colors won't fade quickly when exposed to light over time) and a decent pigment load. When you see terms like ASTM I or II, these are lightfastness ratings from the American Society for Testing and Materials, indicating excellent or very good resistance to fading, respectively. This is particularly crucial if you ever plan to sell your art, as archival quality ensures your work maintains its vibrancy for decades. You don't need professional-grade pigments right out of the gate, but student-grade paints that still boast good pigment load are a sweet spot. Professional paints have a much higher pigment load because they use fewer fillers and binders, concentrating the pure color. This directly translates to superior coverage, intensity, and vibrancy—it's like the difference between a rich, concentrated espresso and a watery, weak tea; a little goes a long way and your colors truly pop. Beyond just opacity, a higher pigment load also allows for more subtle and nuanced tonal shifts when mixing, and creates richer, more luminous glazes because there's more pure color to interact with light. Trust me, trying to achieve a vibrant palette with watery, chalky colors is a sure path to creative frustration. Speaking of vibrant palettes, I've shared some of my thoughts on my approach to color mixing if you're curious about taking colors to the next level.Artist's hands holding a paint palette, mixing vibrant acrylic colors with a paintbrush. credit, licence### Color Range & Essential HuesIt's tempting to grab the 72-color mega-set, isn't it? Resist the urge. I know, all those colors look so appealing, but trust me, you'll end up with a dozen tubes you never touch, and the real learning happens elsewhere. A smaller, well-chosen set of 6-12 colors is actually more beneficial. Why? Because it forces you to learn how to mix. And color mixing, my friend, is where the magic happens. For example, understanding how to mix a vibrant lime green from a cool yellow and a warm blue, or how a touch of yellow can make a blue feel warmer, introduces you to the concept of color temperature. Imagine mixing a warm Ultramarine Blue with a warm Cadmium Yellow; you'll likely get a rich, slightly earthy green. Now, try mixing a cool Phthalo Blue with a cool Lemon Yellow; you'll achieve a brighter, more vivid, almost emerald green. Having both warm and cool primaries (e.g., a fiery Cadmium Red (warm) and a deep Alizarin Crimson (cool); or a vibrant Lemon Yellow (cool) and a rich Cadmium Yellow (warm); or an Ultramarine Blue (warm) and a Phthalo Blue (cool)) in your palette is a game-changer because it allows you to create a much broader, more nuanced range of secondary and tertiary colors. You'll avoid muddy mixes more easily and achieve richer greens, purples, and oranges. You'll also learn the power of complementary colors—colors opposite each other on the color wheel (like red and green, blue and orange, yellow and purple). Mixing small amounts of complements can create beautiful neutrals, but too much can quickly lead to muddy colors (a common beginner pitfall!). And speaking of mixing, remember that colors aren't just about hue (the pure color, like red or blue) and saturation (how intense or dull it is), but also about value—how light or dark a color is. Mixing white lightens value, and mixing black (sparingly, I always say!) darkens it, creating a whole new dimension of possibilities. In student-grade paints, you're often getting a "hue" (a color imitation using a mix of cheaper pigments to look like a more expensive pure pigment). For example, a "Cadmium Yellow Hue" won't contain actual Cadmium, but rather a blend of other pigments like Diarylide Yellow and Titanium Dioxide to mimic its appearance. Think of "hue" as the paint cleverly pretending to be a more expensive, pure pigment. This is perfectly fine for learning and mixing, though professional paints will offer truer single pigments with superior lightfastness and archival qualities, especially important for work intended for sale. A good beginner set should include:* Red, Blue, Yellow (your primaries)* White (essential for lightening and mixing)* Black (for darkening, though I prefer mixing my own darks)* Maybe a couple of secondary colors (Green, Orange, Purple) or earth tones (Burnt Sienna, Raw Umber).Understanding the relationships between these colors is fundamental. I delve much deeper into this in my guide to using secondary and tertiary colors and generally, color theory in abstract art. You'll thank yourself later for starting small and learning to mix.### Value for MoneyArt supplies can get expensive, fast. For a beginner, the goal is to find a set that offers decent quality without requiring you to take out a second mortgage. You're experimenting, learning, and possibly even making a glorious mess—you don't need to break the bank for that. I always look for reputable student-grade brands that offer larger tubes for the price. Think about the cost per milliliter, not just the sticker price of the set. Typically, student-grade acrylics range from $2-$5 per tube, while professional-grade can easily jump to $8-$20+ per tube. To identify reputable student-grade brands, a quick online search for reviews, checking for brands commonly recommended by art educators, or even looking for basic ASTM certifications for lightfastness can be helpful. Often, paint tubes will explicitly state "Student Grade" or a specific "Series" number (e.g., Series 1 or 2) indicating a more budget-friendly option. Professional-grade paints, by contrast, often have multiple "Series" numbers (e.g., Series 1-7) where higher numbers denote more expensive or rarer pigments. The key difference is often that professional-grade paints prioritize single, pure pigments (e.g., actual Cadmium Yellow) for maximum lightfastness and intensity, whereas student-grade paints frequently use blends of cheaper pigments to create "hues" that mimic those expensive colors, impacting the overall tube price. It's an investment in your creative journey, a crucial step, but remember, every master started somewhere humble. (And be warned, collecting art supplies can become an addiction faster than you'd think, draining your wallet faster than you can say "new brush!").A cluttered artist's workbench, filled with acrylic paints, brushes, and various art supplies. credit, licence### Ease of Use & ConsistencySome paints are chunky, some are too liquidy, and some just don't want to play nice with water. A good beginner acrylic should have a smooth, creamy, or buttery consistency that's easy to mix, spread, and dilute. It should also dry predictably. You want to focus on learning techniques, not fighting with stubborn paint. I vividly recall one frustrating afternoon trying to blend a smooth background, only for the paint to dry almost instantly and clump up, leaving me with a textured mess I didn't intend. A good consistency, combined with an understanding of drying times, makes it easier to practice basic brushstrokes (which, by the way, are crucial—check out basic brushstrokes for acrylic painting for some fundamentals). And remember, the binder—the acrylic polymer emulsion—is the backbone of your paint. While different binders can offer slight variations in flexibility or adhesion, the core function remains to hold those beautiful pigments together and ensure your paint sticks to the canvas.---## My Top Picks: The Acrylic Paint Sets I'd Recommend to My Younger SelfNow that we've armed ourselves with the knowledge of what makes a great beginner set, let's dive into some specific recommendations that embody these qualities and will genuinely help you on your artistic journey. After years of trial and error (and more than a few wasted tubes), here are my go-to recommendations for beginners. Remember, these are my personal takes, and what works for me might be slightly different for you, but they're solid starting points that align with the criteria we just discussed.| Option | Pros | Cons | My Take || :----- | :--- | :--- | :------ || Reeves Acrylics | Inexpensive, decent color range, good for experimentation. | Lower pigment load, can be chalky, multiple layers for opacity. | Your 'no-fear entry point' – the kind of paint I'd recommend if all you want to do is get messy and see what happens, without worrying about wasting a single precious drop. || Liquitex BASICS or Winsor & Newton Galeria | Good quality/price balance, better vibrancy/opacity, great for layering. | Still student-grade, not extreme lightfastness or ultra-fine pigments. | Your 'solid, satisfying upgrade' – this is where painting starts to feel real, where your colors truly sing, and your blending efforts actually pay off. || Small Golden Open or Heavy Body Sets | Incredible pigment quality, smooth consistency, excellent lightfastness, professional feel (Open for extended drying). | Significantly more expensive, might feel intimidating to "waste." | Your 'taste of the pros' – a glimpse into what truly high-quality paint feels like, offering a visceral understanding of the difference in pigment, texture, and blendability that can deeply inspire your journey. |### Option 1: The "No-Brainer" Starter - Reeves AcrylicsIf you're looking for an ultra-affordable way to just start without thinking too much, Reeves is often the answer. They're widely available, come in decent sets, and are very budget-friendly.* Pros: Inexpensive, decent color range in sets, good for pure experimentation and learning how acrylics behave. Excellent for large abstract washes or simply getting comfortable with the medium.* Cons: Pigment load isn't fantastic; you'll need multiple layers for opacity. Colors can be a bit chalky.* My Take: This is your 'no-fear entry point' – the kind of paint I'd recommend if all you want to do is get messy and see what happens, without worrying about wasting a single precious drop. It's how I started, and honestly, no regrets. It allowed me to explore without fear of wasting expensive materials.### Option 2: The "Step-Up" Set - Liquitex BASICS or Winsor & Newton GaleriaOnce you've confirmed you actually like painting with acrylics, and you're ready for a slight upgrade in quality without hitting professional price points, these brands are excellent. They offer a noticeably better pigment load and smoother consistency.* Pros: Good balance of quality and price, better color vibrancy and opacity than ultra-budget options, excellent for learning proper layering, detailed work, and seamless blending.* Cons: Still student-grade, so don't expect extreme lightfastness or ultra-fine pigments.* My Take: This is your 'solid, satisfying upgrade' – this is where painting starts to feel real, where your colors truly sing, and your blending efforts actually pay off. The colors are more satisfying, they blend better, and you'll get less frustrated with needing endless layers. I still keep some of these around for underpainting or when I need a specific color in bulk. For more thoughts on advanced brands, I have a whole article reviewing the best acrylic paint brands for professional artists if you eventually get there.### Option 3: The "Curious Explorer" Set - Small Sets of Golden Open or Heavy BodyOkay, this might sound counter-intuitive for a beginner, but hear me out. If you're serious about seeing what good acrylics feel like, without buying a huge set, grab a small set (6-8 tubes) of a professional brand like Golden, especially their Open (extended drying time) or Heavy Body lines. This isn't about doing full paintings with them initially, but about understanding the difference.* Pros: Incredible pigment quality, smooth consistency, excellent lightfastness, and a truly professional feel. Golden Open, in particular, has an extended drying time, which can be fantastic for beginners struggling with blending or experimenting with glazing.* Cons: Significantly more expensive, might feel intimidating to "waste."* My Take: This is your 'taste of the pros' – a glimpse into what truly high-quality paint feels like, offering a visceral understanding of the difference in pigment, texture, and blendability that can deeply inspire your journey. It can be incredibly motivating to see what good quality materials can do, even if you revert to student grade for daily practice. It's like driving a luxury car for an hour – you understand the difference, even if you can't afford it daily. (I remember the first time I used a Golden Heavy Body red; the intensity and coverage were mind-blowing compared to what I was used to. It made me realize the potential I was missing!)Detail of an abstract painting with bold, expressive brushstrokes, showcasing textural possibilities of heavy body acrylics. credit, licence---## Beyond the Paint: Essential Tools and Acrylic MediumsA paint set is just the beginning. You'll need a few other essential tools and supplies to get going. Don't worry, you don't need to outfit a full professional studio just yet. While the paint is the star, you'll need a few supporting actors, your trusty sidekicks, to bring your vision to life.### Essential Tools* Brushes: A decent set with a few different shapes (flat, round, filbert) and sizes. Flat brushes are excellent for bold strokes, clean edges, and covering large areas quickly. Round brushes are your go-to for fine lines, details, and controlled curves. Filbert brushes, with their soft, rounded edge, are a dream for blending and creating smoother transitions. Don't go for the cheapest plastic ones; invest a little here. Good brushes make a huge difference – I once tried to paint a detailed piece with a flimsy, cheap brush and it felt like trying to write a letter with a wet noodle. And please, please, please learn how to clean them! It's an art in itself. I've covered the basics in cleaning and caring for your paint brushes. I've definitely sacrificed a few good brushes to the paint gods by neglecting this step!* Palette Knife: Often overlooked by beginners, a palette knife isn't just for mixing colors (though it excels at that, keeping your brushes cleaner and saving them from early demise by preventing bristles from getting clogged and damaged). It's also fantastic for adding texture, applying thick paint, or even scraping off mistakes. Seriously, it's like an extra hand that doesn't mind getting completely caked in paint. Get a plastic or metal one with a comfortable handle.* Canvas/Surface: Start with acrylic paper or canvas boards. They're cheaper than stretched canvases and perfect for practice—trust me, you'll go through a lot in the beginning! When you do move to canvas, remember there's a whole world of choice, and it really matters. Understanding the tooth—the texture and absorbency of your surface—is key. A surface with a good tooth provides grip for your paint, allowing for better layering and richer textures. I've even dedicated an entire article to this in choosing the right canvas for acrylic vs oil.* Palette: Anything non-porous. A ceramic plate, a plastic lid, even a sheet of wax paper. Don't overthink it.* Water Containers: Two is ideal: one for initial rinse, one for cleaner water. Old yogurt pots work wonders.* Rags/Paper Towels: Essential for wiping brushes and cleaning up inevitable spills.Close-up of tubes of acrylic paint, brushes, and palette knives on an artist's table, ready for use. credit, licence### Basic Acrylic Mediums to ExploreOnce you get comfortable with paint and water, you'll discover acrylic mediums—liquids or gels that alter the paint's properties. Think of them as your secret weapons to level up your paint's capabilities. And always remember, just like paints, choose mediums from reputable brands that also specify archival quality, especially if your art is destined for sale or long-term display. The term "archival quality" essentially means the medium is formulated to resist deterioration, fading, and yellowing over time, helping your artwork last for decades. They're fantastic for expanding your creative options:* Gel Mediums: These increase transparency, add body, and create texture. Think of them as essentially colorless acrylic paint. When you hear about "glazing mediums," these are often simply fluid gel mediums specifically formulated for creating transparent, luminous layers, though many standard gel mediums can also be used for glazing. For example, mix a touch of fluid gel medium with a vibrant red paint to create a translucent crimson glaze over a dried yellow base; the yellow will shine through, achieving a rich, luminous orange without needing to mix a new color. They're perfect for impasto effects where you want thick, sculptural brushstrokes.* Flow Improvers (or Fluid Mediums): These reduce viscosity, making paint flow more smoothly for washes or staining. Unlike just adding water, flow improvers maintain the integrity of the acrylic binder, preventing the paint from becoming chalky or losing its adhesive qualities, meaning your colors remain vibrant and adhere well. Think of them for achieving watercolor-like effects without compromising paint quality.* Retarders: These slow down drying time, giving you more time to blend and manipulate the paint, which can be a lifesaver for impatient beginners (like my younger self) trying to achieve seamless gradients. This is similar to how Open Acrylics (like Golden Open, mentioned earlier) are formulated, but retarders are additives you mix into your regular acrylic paints.Finally, for those who love experimentation, consider exploring acrylic inks. They are highly fluid, intensely pigmented, and dry quickly, perfect for vibrant washes, calligraphy, or mixed media, offering another accessible entry point into the versatility of acrylics. And if you're ever ready to add serious dimension to your work, look into texture mediums like pumice gel, molding paste, glass bead gel, or sand gel, which allow you to sculpt and build surfaces right on your canvas, creating amazing tactile effects. Just be mindful of over-mixing mediums; adding too much can sometimes dilute the pigment excessively or alter the paint's intended properties and archival quality.Finally, once your masterpiece is complete and fully dry, consider a layer of acrylic varnish. This isn't just for a shiny finish; varnish protects your artwork from UV damage, dust, and environmental wear, crucial for the longevity of any piece, especially if you ever intend for it to hang in a gallery or a buyer's home. And on a practical note, always ensure good ventilation in your studio, especially when using mediums, varnishes, or sprays, as some products can emit fumes.---## Cultivating a Fearless Mindset: My Thoughts for BeginnersSo, what's truly holding you back from diving headfirst into the glorious mess of acrylics? When I first started, I was so focused on making "good" art that I stifled a lot of my natural creativity. Don't do that to yourself. This isn't just about paint; it's about setting yourself up for joy, not frustration. Here are a few things I learned the hard way.* Embrace the Mess (and the Stain on Your Favorite Jeans): Art is often messy. Your hands will get paint on them. Your clothes might, too. It's part of the process, and frankly, a badge of honor. I've ruined more shirts than I can count, but each one tells a story of creative abandon. Let go of the need for pristine perfection in your workspace; it's a studio, not a surgical suite! I once worried endlessly about keeping my palette clean, only to realize that a messy, well-used palette is a sign of an active, joyful artist – and it tells a story of all the colors you've played with!* Experiment Fearlessly: This is your time to play. Mix colors you think won't work. Paint with your fingers. Try different surfaces. There are no rules, especially when you're learning. My own artistic timeline is filled with wild experiments, some failures, and many happy accidents.* It's Okay to Make "Ugly" Art: Seriously. Not every painting needs to be a masterpiece. The point is to learn, to enjoy, and to discover your voice. Some of my most valuable lessons came from paintings I immediately wanted to throw away. I once spent an entire afternoon on a piece, convinced it was utter garbage, only to revisit it weeks later with fresh eyes and see the potential for a new direction, transforming a perceived failure into a springboard for innovation.* Don't Compare: Your journey is unique. Don't scroll Instagram and feel deflated by others' finished works. Focus on your progress, your enjoyment. Your first steps don't have to look like someone else's hundredth.### Common Beginner Lessons Learned (The Hard Way)Here are some of the "aha!" moments and technical pitfalls I wish someone had warned me about (and, let's be honest, that I've stumbled into more than once myself!), so you don't have to!* Don't Fight the Clock: Embrace Drying Times & Open Time: Acrylics dry fast! I learned the hard way that if you keep brushing over paint that's already started to set, you'll get clumpy, dull patches and lose that vibrant punch. It’s like trying to perfectly smooth out a half-set cake frosting – a recipe for frustration. The quick drying time means working too slowly, especially when trying to blend, can lead to frustrating, patchy results. I remember trying to get a perfect gradient on a large canvas, only to realize the first half was already tacky before I even started the second, creating an unintentional line right through my 'seamless' blend. My advice? Put a few dollops of different acrylic types on your palette and simply observe how long each stays workable. You'll quickly notice the difference and learn to adjust your pace! Learn to work swiftly and in layers, or embrace a retarder.* Not Using a Stay-Wet Palette or Misting Bottle: This ties directly into the drying time issue. Acrylics dry quickly on your palette, too! Investing in a simple stay-wet palette or keeping a small misting bottle handy will save you a lot of wasted paint and blending headaches. (Seriously, I've watched entire dollops of paint dry before I could even pick up a brush, and that's just wasteful!)* Water is Your Friend, but Not Your Only Friend (and don't drown the binder!): If your paint feels stiff or drags, don't force it. A little water or a flow improver can make a world of difference in application. But be careful with too much water (generally more than 30%): it can actually break down the acrylic polymer binder, which is the 'glue' that holds your pigments together and makes the paint adhere to the surface. When diluted too much, the binder can't properly link together, leading to a weaker, less flexible paint film that's prone to cracking, poor adhesion, and a chalky, dull finish over time. Essentially, your vibrant colors become tinted dust that won't last. I once spent an hour fighting with thick paint, convinced it was just me, only to realize a single drop of water or the right medium would have saved me so much frustration and a ruined brush.* Don't Skip the Gesso (especially for serious work): While not always essential, priming canvases (especially raw canvas or cheap pre-primed ones) with gesso can create a much smoother, more vibrant painting surface that absorbs paint more evenly. Gesso creates a consistent 'tooth' or texture on the surface, which gives the paint something to grip onto, allowing for better layering, richer colors, and preventing the canvas from 'sucking' too much binder out of your paint. This makes a surprising difference in how your colors pop, and crucially, ensures your artwork has better longevity and archival quality—something any artist aiming to create lasting pieces, or even sell them, needs to consider.Starting out can feel like navigating a maze, but remember these lessons are part of the journey. Every artist, no matter how seasoned, has faced these challenges and grown from them.What's one fear you have about starting with acrylics that you can let go of today?---## Frequently Asked Questions (FAQ)### How many colors do I really need in my first set?That's a great question! Honestly, I've found that 6-12 well-chosen colors are perfect. A red, blue, yellow, white, black, and a couple of earth tones will allow you to mix an incredible array of hues. Learning to mix from primaries is a foundational skill that will serve you well.### Can I mix different brands of acrylic paints?Absolutely! Most acrylic paints are compatible with each other, regardless of brand, as long as they are all acrylics. The main differences will be in consistency and pigment load, which might require some adjustment in your technique and perhaps alter drying times slightly, but go ahead and experiment! Don't be afraid to combine your student-grade staples with a few tubes of a professional brand.### What surfaces can I paint acrylics on?Acrylics are incredibly versatile! You can paint on almost any non-oily surface. An "oily surface" refers to anything that has natural oils (like unprimed wood that's particularly resinous) or has been treated with oil-based products (e.g., oil paint, oil pastels, furniture polish) that could prevent proper adhesion of the acrylic paint. Common choices for beginners include acrylic paper, canvas boards, stretched canvas, and wood panels. The "tooth" of a surface refers to its texture and absorbency; a canvas with a good tooth provides grip for the paint, allowing for richer textures and better layering, while a smoother surface might be better for fine details. For surfaces like some types of plastic, metal, or even very absorbent wood, it's often best to use a specific primer first to ensure good adhesion and durability. Otherwise, your paint might flake off or soak in unevenly, which is not what we want!### What's the difference between heavy body, soft body, and fluid acrylics?This is a common point of confusion! Heavy body acrylics are thick, buttery, and hold brushstrokes well, similar to oil paints, ideal for impasto techniques and adding texture. For beginners, they offer good coverage and a tangible feel. Soft body acrylics have a smoother, more fluid consistency than heavy body, making them easier to blend and spread for general painting and smoother applications. Fluid acrylics have a more liquid, ink-like consistency, ideal for pouring, glazing, and fine details, offering watercolor-like effects. The binder (the acrylic polymer emulsion) is essentially the same across these types; it's the viscosity that differs. For beginners, a medium-consistency heavy body or a soft body is often a good starting point, as they are versatile.### What's the difference between student-grade and professional-grade acrylic paints?Student-grade paints are designed for learning and practice. They're more affordable because they often contain more fillers and a lower pigment load, meaning colors might be less vibrant, opaque, and lightfast. Professional-grade paints, on the other hand, have a much higher concentration of pure pigment, superior lightfastness, and a more refined binder, resulting in richer, more vibrant, and archival colors. While pricier, a little goes a long way, and they offer a noticeable difference in performance.### What about acrylic markers or pens?Acrylic markers and pens are fantastic! They contain acrylic paint in a highly fluid form, delivered through a marker nib or pen tip. They're excellent for precise lines, lettering, urban sketching, or adding details over dried acrylic paintings. Many artists find them an accessible and less messy entry point, or a great complement to traditional tube acrylics.Various acrylic markers and sketches on a surface, demonstrating the versatility of acrylic pens for detailing. credit, licence### What is gesso and why is it important?Gesso is a primer used to prepare surfaces for painting. It creates a slightly absorbent, uniformly textured surface (the 'tooth') that allows paint to adhere better and prevents it from soaking into the canvas or paper too quickly. It also protects your canvas from potential acid damage from the paint over time, contributing to the archival quality of your artwork. For acrylics, you can use acrylic gesso, which is flexible and fast-drying. Think of it as creating the perfect foundation for your painting, ensuring your colors pop and your artwork lasts.### How do I clean my brushes properly?This is so important! Rinse them immediately after use. Use warm water and mild soap (like dish soap or a dedicated brush cleaner). Gently work the soap into the bristles, rinse, and repeat until no paint comes out. Reshape the bristles to their original form and let them dry flat or brush-side up. Never leave them soaking bristles-down! A clean brush is a happy brush (and a lasting one!). Seriously, I have a whole article dedicated to cleaning and caring for your paint brushes.### What's the difference between acrylics and gouache?Both acrylics and gouache are water-based paints, but they have distinct properties. Acrylics dry quickly, are permanent and waterproof once dry, and can be used thinly like watercolors or thickly like oils. Gouache, on the other hand, is an opaque watercolor. It dries to a matte, velvety finish, but it remains re-workable with water even after drying. This means you can reactivate dried gouache on your palette or even on your artwork. While acrylics offer unparalleled versatility in terms of permanence and layering, gouache is loved for its flat, matte color and ease of blending when wet, making it popular for illustration and design where reworkability is desired.---So there you have it. My slightly rambling, very personal guide to picking your first acrylic paint set. The most important thing, I believe, is to just start. Don't let the vastness of choice paralyze you; that's often just creative procrastination in disguise. Pick a set, grab some paper, and make some marks. It's a journey, not a race. Every brushstroke, every experiment, and every glorious mess is a part of your evolving story, building toward a rich body of work. And who knows, maybe one day your unique vision will find its way into a piece for sale, perhaps even inspiring someone else's artistic journey, just as I hope mine does for you. I'm still learning and evolving as an artist myself, and I find immense joy in that continuous process of discovery. Just start, and let the colors lead the way. It's truly a joy to create, regardless of the outcome, and I promise, the more you explore, the more your unique artistic voice will emerge, shaping a truly rich body of work that continues to evolve. So, what are you waiting for? What's that first fearless brushstroke going to look like?