
Hanging Art on Lath & Plaster Walls: The Ultimate Drama-Free Guide
Conquer historic lath & plaster walls with confidence! This master guide offers expert tools, techniques, and troubleshooting for securely hanging any art, transforming anxieties into triumphs for your historic home.
Hanging Art on Lath and Plaster Walls: The Ultimate Drama-Free Master Guide for Historic Homes
That beautiful blank space on your historic wall – it calls for art, doesn't it? But the wall itself? It might be whispering warnings of dust, damage, and dramatic collapses. Oh, lath and plaster walls! Just uttering those words can still send a shiver down my spine, even after years of wrestling with them. I get it. I really do. I’ve been there, staring at a beautiful piece of art, then at my wall, then back at the art, wondering if I’d accidentally stumbled into an ancient riddle rather than a decorating project. I remember one early attempt – a small watercolor I was convinced would be a breeze – ended with a plaster crater the size of a dinner plate and a cascade of dust. So yeah, it always feels like a high-stakes game of 'will it hold, or will my entire wall crumble into a dusty abyss?' And believe me, I've had my share of dust and disappointment. Consider this your friendly heads-up – lath and plaster has its own rules of engagement!
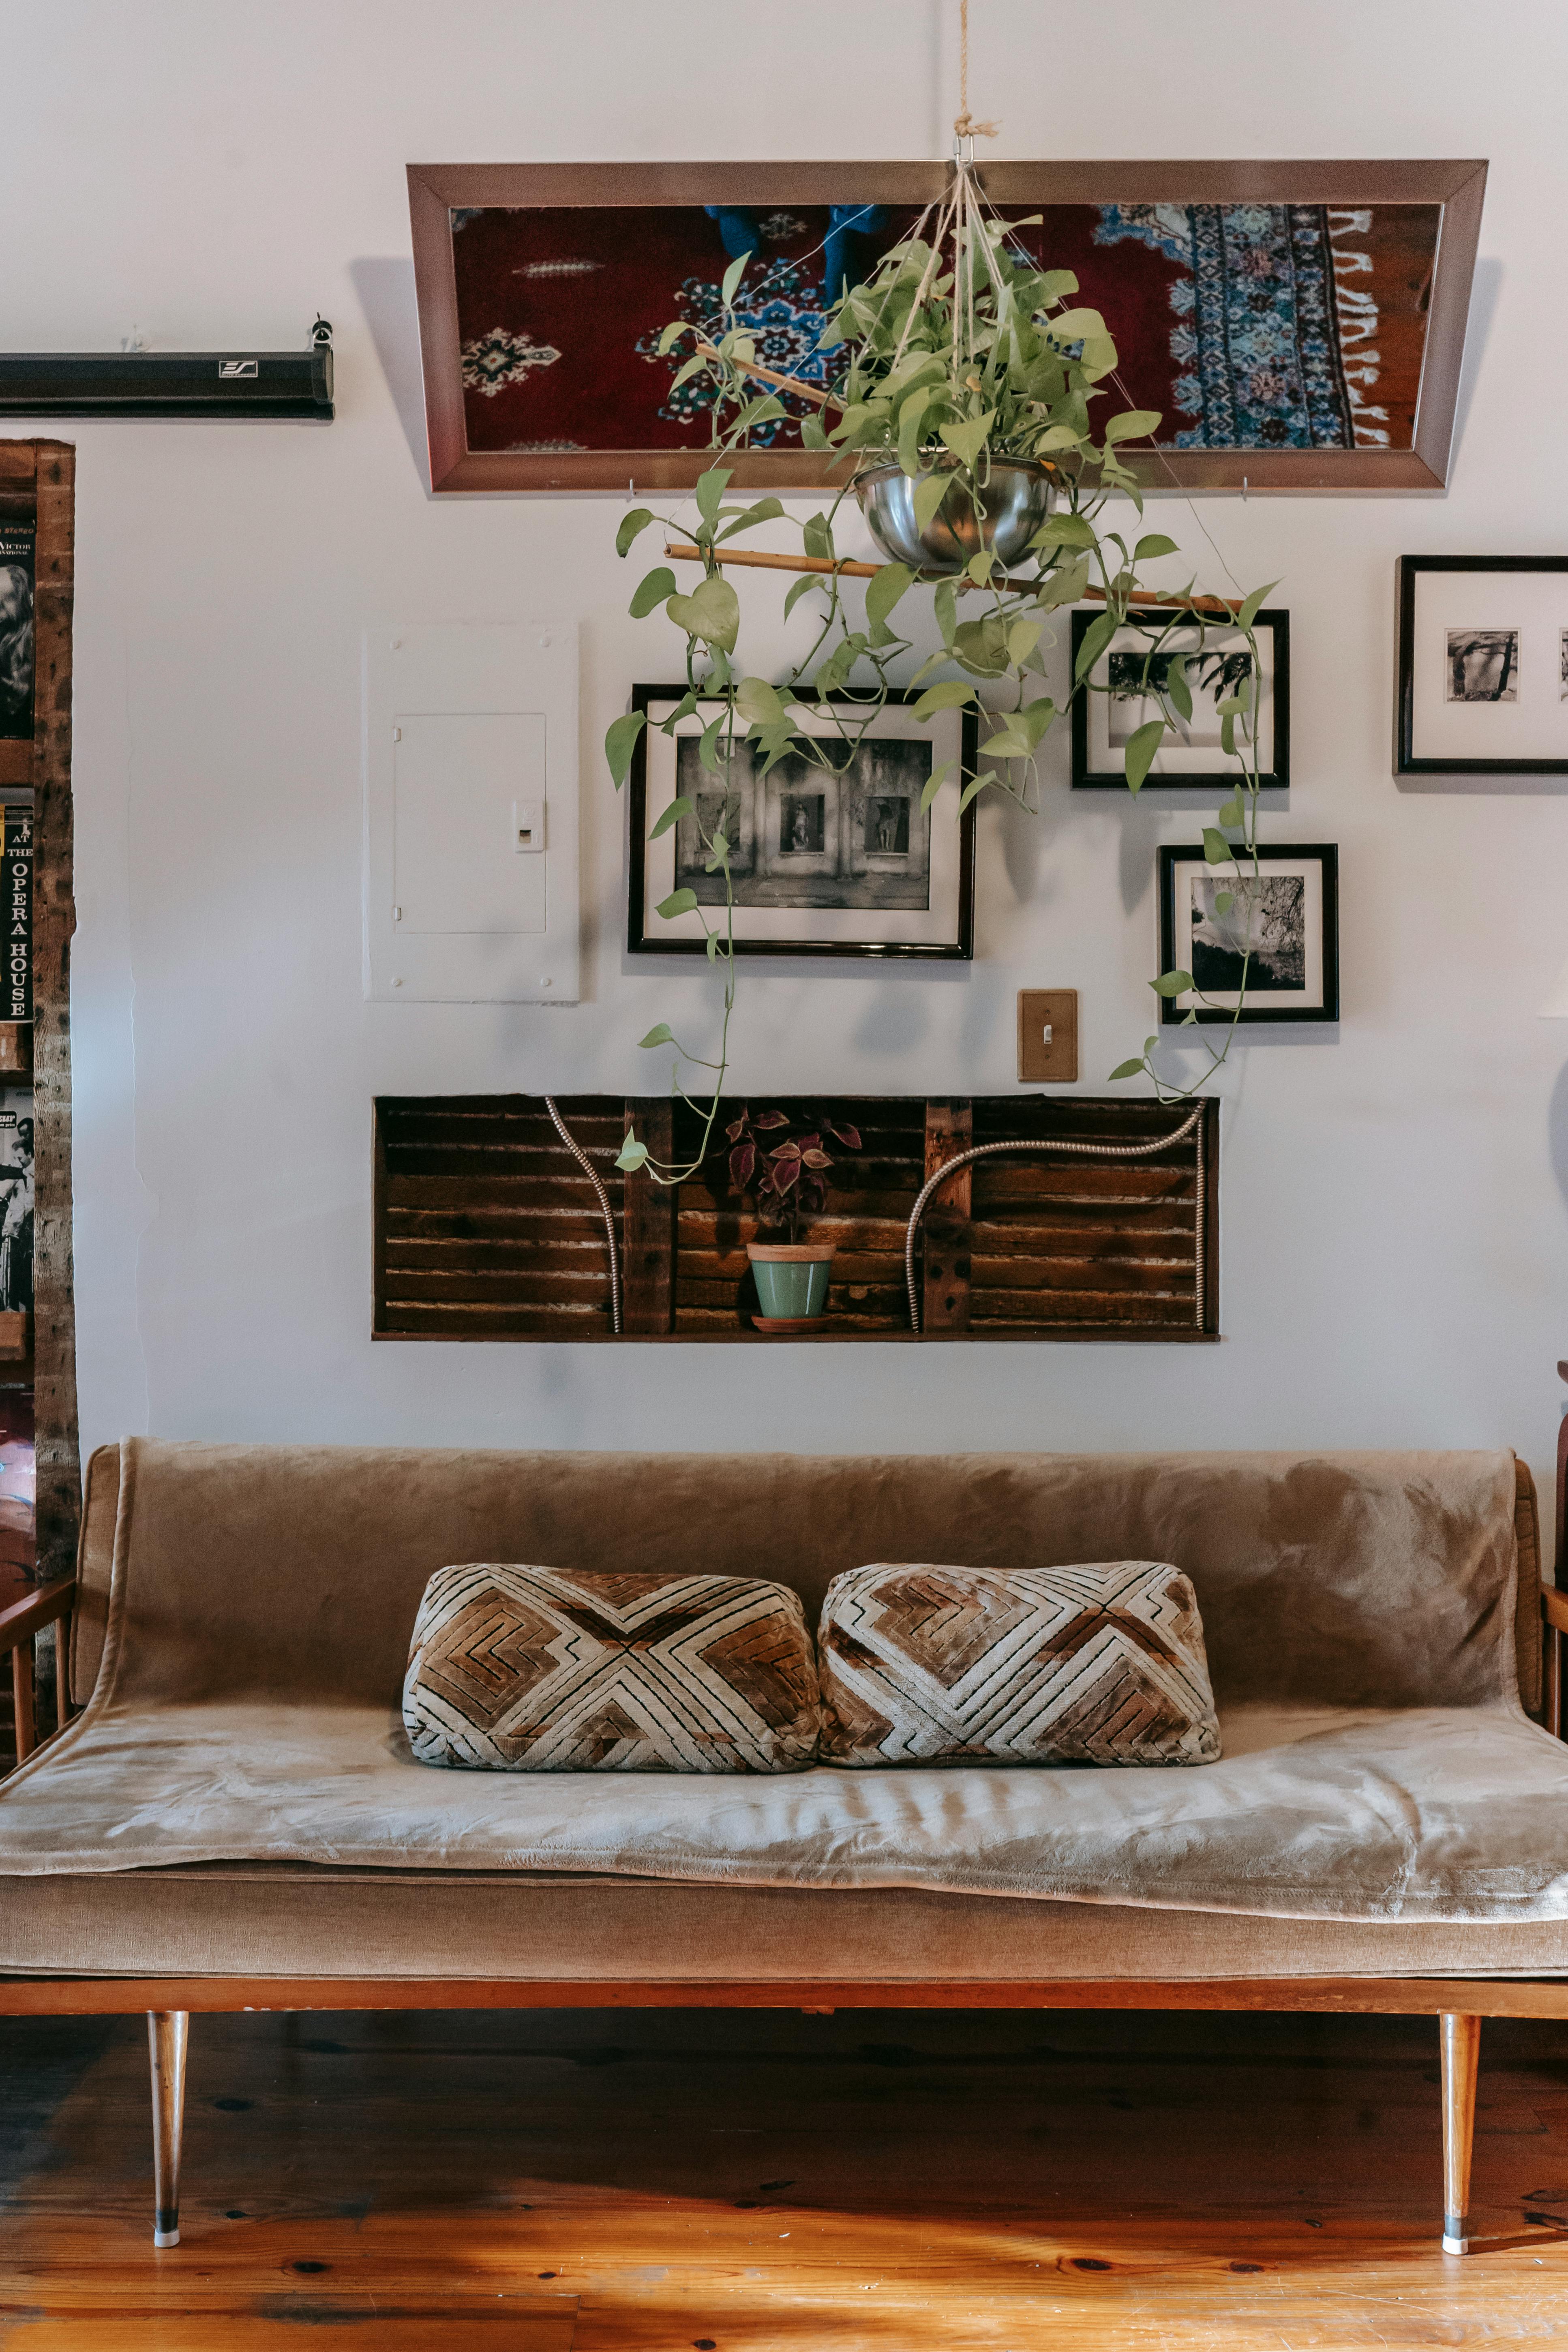
But here’s the wonderful thing: those old, often charmingly imperfect walls? They're brimming with character, telling the story of a home that has stood the test of time. They offer superior sound dampening and a solid, dignified feel that drywall often lacks. These are the walls that whisper stories of generations, making them sought after for their architectural significance and inherent charm, often becoming the focal point of historic preservation efforts. And they absolutely deserve to be adorned with art, just as much as any pristine drywall canvas. There's a beautiful, almost organic rhythm to the slight undulations and textured depth of lath and plaster that can truly complement the texture and narrative of contemporary art. These walls don't just support art; they dialogue with it, adding an extra layer of character and history to your chosen pieces. You just need a different playbook, a bit of patience, and maybe a gentle pep talk (which I'm more than happy to provide). Forget everything you thought you knew about hanging art on modern walls; we're stepping into a different era, with a set of specific, time-honored techniques and tools designed to respect these unique surfaces. This guide will equip you with the confidence and know-how to hang art securely and beautifully on your charmingly imperfect lath and plaster walls, transforming your decorating anxieties into triumphs, showcasing your beloved art in perfect harmony with your home's unique character. A drama-free experience, I promise.
A Deep Dive: What Exactly Are Lath and Plaster Walls?
Before we even think about poking holes, it’s really helpful to understand the intricate beast we’re actually dealing with. When I first encountered them, I just thought, "Oh, old walls." But there's a fascinating and surprisingly ingenious construction method behind them, a true testament to historical craftsmanship. This ingenious construction method dates back centuries, becoming the gold standard from the late 18th to mid-20th century. Before the quick convenience of drywall, plaster was chosen for its durability, impressive sound insulation, and a natural ability to 'breathe,' regulating humidity better than modern materials. Building codes often specified its thickness and composition, aiming for a robustness that we still appreciate today. It was a craft, not just a construction, with skilled plasterers laying layers that would stand for generations, sometimes even offering a degree of fire resistance. My great-grandmother always used to say, "They don't make 'em like they used to," and when it comes to these walls, she wasn't wrong.
Imagine thin strips of wood, usually rough-sawn pine or oak, called lath, nailed horizontally across wall studs, with small gaps (about 1/4 to 3/8 inch) in between. Sometimes, in earlier constructions or specific areas, you might even encounter metal lath, though wood is far more common for residential walls. Then, plaster—a mix of lime, sand, and often fibrous binders like horsehair or straw (yes, really!)—was applied in layers over these laths. The first 'scratch coat' was pressed firmly into the gaps, squeezing through to the back side and forming a mushroom-shaped 'key' that locked the plaster onto the lath. This 'keying' action is crucial; think of these keys like tiny, plaster hands reaching through the gaps to grip the lath – the more keys, the stronger the hold. Without those keys, the plaster simply won't stay put. This rough layer was often intentionally scored to provide an even better mechanical bond for the next layer. Subsequent coats, like the 'brown coat' for leveling and smoothing imperfections, and the final 'finish coat' for a smooth, aesthetically pleasing surface, were then applied.
While early applications typically used lime plaster (a durable, flexible, and slower-curing material that could self-heal minor cracks, making it more forgiving to minor movement), from the early to mid-20th century, gypsum-based plasters sometimes replaced lime for faster curing times and easier application. Gypsum plaster can sometimes be slightly more brittle and prone to cracking than its lime predecessor, but the fundamental lath-and-key principle remained. Understanding this underlying structure is your main ally, regardless of the plaster's exact composition.

Why does this matter for us, the art hangers? Well, those wooden laths are your best friends, offering a more solid anchor point than just the plaster alone. If you can hit a lath, you're halfway to success. But if you miss the lath and hit only the brittle, aged plaster between them, you're in for a crumbly, dusty mess, and an unstable anchor. This is precisely how you end up with plaster dust raining down on your carefully arranged living room, and worse, a damaged wall and a potentially fallen piece of art. Over time, factors like humidity and temperature fluctuations can cause the wood laths to expand and contract, weakening the plaster's bond. Structural settling can also make the plaster even more fragile, leading to minor hairline cracks or even detachment from the lath in places (what we call 'de-keying'). This 'de-keying' is the loss of the crucial bond, meaning those 'plaster hands' have let go of the lath. You might notice slight bulges in the wall, a subtle sagging, or even hear a crunching sound when gently pressed, indicating that those crucial keys have broken away. And if you're tempted to use a standard nail on brittle, aged plaster without proper technique, you might end up with a small crater where a simple picture hook should have gone, a lesson I’ve learned more times than I care to admit. It’s the kind of thing that makes you want to throw your hammer across the room, but we're aiming for drama-free, remember?
This labor-intensive construction method gradually gave way to drywall (gypsum board) starting in the mid-20th century, primarily because drywall was cheaper, faster to install, and offered better fire resistance. But the character, superior sound-deadening qualities, and unique texture of lath and plaster are often preferred in historic homes, making them a beautiful, textured canvas for your art. It’s crucial to remember that this is distinct from plaster applied directly over brick or masonry, which has different anchoring requirements – if you suspect your walls are plaster over masonry, my guides on how to hang art on brick walls or how to hang art on concrete walls will be more helpful.
Common Lath & Plaster Wall Issues (and how they affect your plans)
So, what are the potential headaches lurking within these beautiful old walls? Now that we understand the intricate construction of these walls, it's important to acknowledge that time and environmental factors can lead to specific issues that directly impact how we hang art. Before you even grab a tool, take a good, honest look at your wall. Lath and plaster, while robust, can develop issues over time that impact art hanging. Knowing what you're up against can save you a lot of grief – and your art from a dramatic fall:
- Sagging or Loose Plaster (De-keying): If you gently press on the wall and feel it give, hear a hollow thud that sounds distinctly different from the normal lath-to-lath gap (which is usually a slightly less hollow but still resonant sound), or even see a slight bulge or subtle sagging in the wall, the plaster might be de-keyed or detached from the lath. This can be caused by vibrations, general settling, or often, water damage. This area offers zero reliable anchoring. You'll need to either avoid it entirely or consider professional repair before hanging anything. Professional repair can involve injecting special adhesives to re-bond the plaster to the lath or, in severe cases, section replacement. This is usually necessary for widespread damage or if the plaster is actively detaching, as DIY attempts can often exacerbate the problem without the right expertise and materials. Trying to hang art here is like building on quicksand – doomed to fail.
- Existing Cracks: Hairline cracks are common and often cosmetic, a badge of honor for an old home. But wider, radiating cracks (especially those wider than 1/8 inch), particularly around windows, doors, or corners, could indicate structural movement. Cracks that seem to follow the grid pattern of the lath are often superficial, but those that cut across multiple areas or expand over time warrant more concern. Hanging heavy art directly into compromised plaster near these cracks is a definite no-go. The wall's telling you it's already under stress.
- Moisture Damage: Often insidious, moisture damage can be a silent destroyer of plaster integrity. Leaks, condensation, or prolonged high humidity can weaken the bond between plaster and lath, leading to crumbling, discoloration, and increased fragility. You might also notice a musty smell, softened areas, or even efflorescence (white, powdery salt deposits) on the surface after a wet area has dried, indicating past moisture problems. If you notice any of these signs, investigate the source of moisture immediately. Hanging art on moisture-compromised plaster is like building on quicksand; it’s bound to fail, often taking a significant chunk of the wall with it. Address the moisture issue first, then consider professional plaster repair.
- Previous Repairs: Old patching jobs, especially those done with drywall compound on top of plaster, can be less stable and unpredictable. Drywall compound has different expansion and contraction rates than plaster and often doesn't adhere as strongly, making these areas weaker. Always test the area if it looks like a repair has been made. I've found these spots to be particularly tricky – they're often softer or more brittle than the surrounding original plaster, and you never quite know what you're drilling into.
- Multiple Layers of Old Paint: Over decades, historic walls accumulate many layers of paint. These layers, especially if they weren't properly prepared between coats, can become brittle, flaky, surprisingly thick, and even 'gum up' your drill bits. This makes drilling more prone to spalling (large chips breaking off) and can sometimes interfere with the adhesion of surface-mounted hooks or even the expansion of anchors. It’s like trying to drill through a stack of old potato chips – the surface will flake and crumble around the drill bit, leaving an unsightly mess. Oh, the joys of historic charm!
Essential Tools & Materials: Arming Yourself for Success
With a clear understanding of these potential pitfalls, we can now prepare ourselves with the right equipment to tackle them head-on. Look, I'm all for minimalist living, but there are certain jobs where the right tools aren't just helpful, they're non-negotiable. Trying to hang heavy art on lath and plaster with a bent coat hanger is a recipe for disaster (and potentially a trip to the den-bosch-museum to look at unbroken art). Trust me, I once tried to 'make do' with a regular nail for a medium-sized frame, convinced I had a solid spot. The ensuing dust cloud and subsequent plaster crater taught me a valuable lesson. Here’s what I've learned makes the biggest difference – think of this as your essential toolkit for conquering old walls.
A Crucial Safety Note: Lead Paint, Asbestos & Hidden Hazards
If your historic home has many layers of old paint, especially if it predates 1978, there’s a risk of lead paint. Disturbing it can release toxic dust. In rare instances, asbestos fibers might have been mixed into the plaster itself, particularly in homes built between the 1920s and 1980s, primarily for fire resistance or insulation. And always, always be mindful of electrical wiring and plumbing pipes, especially near outlets, switches, and water fixtures. An advanced stud finder can sometimes detect these, but general caution and awareness of where such systems typically run are paramount.
If you're concerned about disturbing these materials or systems (especially if you plan extensive drilling), it's always best to consult with a professional who can assess and advise on safe practices, including testing and abatement. Better safe than sorry when it comes to your health and home's historical integrity. When dealing with old plaster, a good quality dust mask (N95 or better) is a must, regardless of other concerns, just to protect your lungs from the fine, pervasive plaster dust. I still recall finding a thin film of plaster dust on my toothbrushes days after a particularly messy job – it gets everywhere.
- Stud Finder (The Right Kind): Not just any stud finder, but preferably a deep-scanning electronic stud finder or one with a metal scan mode. Standard stud finders can struggle with the density and thickness of plaster (which can be up to an inch or more deep), and the presence of wooden lath can also interfere with their sensors, often giving false readings or missing studs entirely. A deep-scanning model can penetrate this thickness to accurately locate the wooden studs behind the lath. The metal scan mode can sometimes detect the old nails holding the lath to the studs, giving you a crucial clue. Finding a stud is like finding gold in these old walls – it's your ultimate, most reliable anchor point. Pro-Tip: If your electronic stud finder is struggling, try using a strong rare-earth magnet. Slowly drag it across the wall; it will often pull right to the hidden lath nails, indicating a lath and likely a stud behind it.
- Drill with Masonry Bits: Yes, masonry bits. This isn't drywall; plaster is incredibly hard, dense, and abrasive (thanks to its sand content), not like wood or soft gypsum. Regular wood bits will dull quickly, generate excessive heat, and almost certainly chip or crack the plaster. Start with a smaller pilot hole (e.g., 1/16th inch), then gradually increase if needed. This minimizes stress on the plaster and ensures a clean cut. Crucial: Always use a new, sharp masonry bit. A dull bit is more likely to cause chipping and frustration, and trust me, you don't need more of that.
- Blue Painter’s Tape: A simple strip of this over where you plan to drill or nail can significantly reduce chipping and cracking, a process known as spalling, which can leave unsightly divots and require more extensive repairs. It's like a tiny insurance policy for your wall, providing a clean edge and containing the initial impact. Don't skip this; it's saved me countless touch-ups. I learned this the hard way after a particularly jagged hole that looked like a battle wound.
- Appropriate Anchors/Hangers: This is where the real magic happens, tailored to the weight of your piece. We'll dive into specifics in the next section, but think beyond basic nails. Trying to make a flimsy anchor hold a heavy piece is a recipe for disaster. I've seen walls that look like a cheese grater from repeated attempts with the wrong hardware.
- Level and Tape Measure: Absolutely vital for making sure your art isn't asking any existential questions about its crooked existence.
- Dust Sheet/Vacuum: Because plaster dust gets everywhere. And I mean everywhere. Prepare for a little archaeological excavation, and trust me, you'll thank yourself for laying down that sheet. I once found plaster dust in my teacup a week later; it's a special kind of pervasive!
For the absolute minimum for a lightweight piece, if you're feeling adventurous and confident in your lath-finding skills, a good quality picture nail and a hammer can work, but always with caution and ideally, a tiny pilot hole. However, for anything with real value or weight, the full toolkit is non-negotiable.
The Strategy: Hanging Art Based on Weight
This isn't a one-size-fits-all situation. The weight of your art dictates the method. It’s the difference between gently placing a feather and trying to hoist a piano with a shoelace. Always check the weight rating on any anchor you use and err on the side of caution. My guiding principle for lath and plaster is always: assume delicacy, then reinforce with purpose. Remember, the effectiveness of any anchor also depends heavily on the condition of the plaster itself; a degraded, brittle section might not hold even the best anchor. This is where patience and a good dose of realism come into play.

The Gentle Touch: For Lightweight Art (Up to 5 lbs / 2.3 kg)
For smaller, lighter frames, like a small framed botanical print, a collection of unframed sketches mounted on archival board, or a delicate framed print, you might get away with something simple. My preferred method, even for lightweight pieces, is to aim for a lath. If you gently tap the wall, you'll hear a solid 'thud' over a lath and a hollower sound over the gaps between them. Once you find a lath:

- Blue Tape: Apply a small piece of painter’s tape where you plan to insert the nail or hook. This is your first line of defense against spalling.
- Pilot Hole (Optional but Recommended): Using a tiny 1/16th inch masonry drill bit, create a small pilot hole. This prevents the plaster from cracking and provides a clean entry point. Trust me, it's worth the extra few seconds.
- Picture Hook or Nail: Insert a good quality, angled picture hook or a thin finish nail. The angle helps distribute the weight and provides more grip into the lath. Make sure it's firmly seated. Pro-Tip: If you're using a simple nail, try to angle it slightly downwards. This makes it less likely to pull straight out and offers better shear strength (resistance to forces parallel to the wall) into the lath.
Finding the Sweet Spot: For Medium Weight Art (5-20 lbs / 2.3-9 kg)
This is where specialized anchors come into play. You're almost certainly dealing with a void behind the plaster if you don't hit a stud, and a basic nail simply won't cut it. Trying to hang a piece like this without the right anchor is just asking for it to take a dramatic dive (and ruin your floor in the process). Examples here might include a medium-sized framed print with a mat, a mirror with a lighter frame, or an acrylic on canvas up to 24x36 inches with a simple gallery wrap.
- Toggle Bolts/Butterfly Anchors: These are fantastic for hollow walls and offer exceptional holding power. They work beautifully with lath and plaster because their wings clamp securely onto the interior surface of the plaster and lath. You drill a larger pilot hole (usually 1/2 inch or 5/8 inch), push the collapsed toggle through, and then a spring-loaded wing or toggle expands behind the lath/plaster, clamping firmly onto the wall. Brands like Toggler Snaptoggles are widely praised for their robust design and ease of installation. Just make sure the toggle can fit through your drilled hole and that you follow the manufacturer's instructions carefully. While very strong, in extremely brittle or crumbly plaster, even toggle bolts can sometimes allow for slight movement if the clamping surface isn't perfectly solid, so always test before committing your prized piece. I remember wrestling with my first toggle bolt, convinced it was a medieval torture device, but once I got the hang of it, the security it offered was unparalleled.
- Self-Drilling Plaster Anchors (Specifically designed for plaster): Some anchors are made with a wider, aggressive thread that can grip plaster better than standard drywall anchors. These are often easier to install than toggle bolts, as they don't require pre-drilling a large hole, but might not hold as much weight. Always check the weight rating; for example, specific designs like a spiral-thread plaster anchor can offer good grip. They're typically rated for 10-25 lbs, making them ideal for many medium-sized pieces. Just be careful not to overtighten them, as this can still crack older plaster. If the plaster is too degraded, these anchors will just spin, indicating you need a different spot or repair.
Anchoring Your Masterpieces: For Heavy Art (20+ lbs / 9 kg)
For anything substantial—a large canvas from my art collection, a substantial framed oil painting with a heavy wooden frame, a large antique mirror, a weighty sculpture, or a large, multi-panel artwork—you absolutely, unequivocally, must find a stud. Don't even think about relying solely on plaster for these pieces; the risk is too high. This is where your deep-scanning stud finder becomes your best friend. Studs are typically 16 or 24 inches on center (meaning the distance from the center of one stud to the center of the next), though in older homes, this spacing can be less consistent (sometimes 18" or 20", or even custom spacing), so thorough scanning is key. If you can locate one, you've found your non-negotiable anchor:

- Locate the Stud: Use your stud finder. Once you think you’ve found it, double-check by gently tapping or even drilling a tiny pilot hole (using a small wood bit, not masonry, if you're confirming the wood) to confirm you hit solid wood, not just a denser patch of plaster. You're looking for solid wood, not empty space. If your stud finder struggles, try finding an electrical outlet or light switch – these are almost always attached to a stud, and you can measure 16 or 24 inches horizontally from there to estimate stud locations. Patience is key here. I've spent frustrating minutes scanning, only to find the stud right next to where I was convinced it should be. It's a detective game, for sure!
- Pilot Hole: Drill a pilot hole slightly smaller than the screw you plan to use. Crucially, use a wood drill bit here, not a masonry bit. This prevents splitting the wood stud and makes driving the screw easier.
- Heavy-Duty Picture Hanger/Screw: Use a robust screw (e.g., a wood screw or lag screw) directly into the stud. For really heavy items, consider using two screws into two different studs if the art's dimensions allow, or a specialized heavy-duty picture hanger that screws securely into the stud. Screws driven into studs provide excellent shear strength, meaning they resist forces parallel to the wall, which is essential for heavy, hanging objects. This is superior to anchors that primarily rely on tensile strength (pulling directly out from the wall). If you're wrestling with something truly weighty, my guide on how to hang a heavy painting offers even more dedicated advice. For extremely valuable or heavy pieces (over 50 lbs), especially if stud placement is awkward, I always recommend consulting a professional art installer. This is not just for expertise but also for liability and often, insurance purposes. Options like French cleats can also distribute weight across multiple studs if necessary, providing exceptional stability for very large or heavy items, but these are more complex installations and might be overkill for most home applications.
Consider also if you can use alternatives like a floor easel or a sturdy piece of furniture to lean your heavier art against, especially if you're a renter or simply want to avoid more holes. Sometimes, the best solution is the simplest one that avoids damaging your beautiful historic walls.
Hanging Hardware Comparison for Lath & Plaster
Hardware Type | Ideal For | Pros | Cons | Typical Installation Difficulty | Ideal Wall Condition | Notes |
|---|---|---|---|---|---|---|
| Picture Hooks & Nails (into lath) | Lightweight art (up to 5 lbs / 2.3 kg) | Simple, small hole, traditional | Only works if you hit a lath, can still chip plaster if not careful | Easy to Moderate | Solid lath, healthy plaster | Always use blue tape, consider a small pilot hole with a masonry bit. Angle nail slightly downwards for better hold. |
| Toggle Bolts / Butterfly Anchors | Medium to Heavy art (5-50 lbs / 2.3-22 kg+) | Very strong hold, expands securely behind wall, clamps to lath/plaster | Requires larger pilot hole, can be tricky to install, sometimes the toggle doesn't fully open | Moderate to Difficult | Hollow cavity behind plaster/lath with sufficient depth | Check weight rating carefully, ensure toggle fits through drilled hole. Great for securing against the lath/plaster. Test gently for stability. |
| Self-Drilling Plaster Anchors | Light to Medium art (5-20 lbs / 2.3-9 kg) | Easier to install than toggle bolts, good grip in plaster | Not as strong as toggle bolts for heavy items, can still damage plaster if overtightened | Easy to Moderate | Healthy plaster, no large voids immediately behind | Specifically designed for plaster, read instructions. Test an inconspicuous area first. Effectiveness depends on plaster condition. Do not overtighten, or it will just spin. |
| Screws into Studs | Heavy art & Mirrors (20-100+ lbs / 9-45+ kg) | Extremely strong, most secure and reliable method, no plaster stress | Requires accurate stud finding, limits placement to stud locations | Moderate (due to stud finding) | Solid wood stud behind plaster | Your absolute go-to for anything valuable or weighty. Use a pilot hole with a wood bit to prevent splitting. Stud spacing can vary in older homes. Provides excellent shear strength. |
| French Cleats | Very heavy, large art & mirrors (50-200+ lbs / 22-90+ kg) | Distributes weight across multiple studs, exceptionally secure, allows for easy leveling after installation | Requires precise installation, visible rail if not hidden by art, usually two components | Difficult | Multiple studs, healthy plaster (for cleat base) | Best for professional installations or very large, valuable pieces. Often requires finding 2+ studs for maximum security. Distributes weight over a much larger area. |
My Step-by-Step Approach: A (Relatively) Crack-Free Experience
Alright, let’s walk through this like we're doing it together. This is my general go-to process for a medium-to-heavy piece on these temperamental walls, designed to minimize drama and maximize security. Here’s a quick overview of the battlefield strategy:
- Plan Your Placement (Meticulously)
- Scan for Trouble (and Studs)
- Tape It Up (Your Wall's Insurance Policy)
- Drill Your Pilot Hole (Slow and Steady)
- Insert Your Anchor (if not using a stud)
- Screw in Your Hanger (The Final Fasten)
- Hang Your Art (Victory Lap!)
Now, for the detailed march through each step:
- Plan Your Placement (Meticulously): Seriously, take your time. Use paper templates cut to the size of your art, a pencil, and a level. You can even use a projector to cast the image on the wall, which is a surprisingly effective trick. Mark your hanging points precisely with a light pencil mark. I find that living with the paper template for a day or two helps me confirm the placement before making any holes. It's a small investment of time that saves huge headaches.
- Scan for Trouble (and Studs): Use your deep-scanning stud finder. Identify studs if possible. Always be aware of potential electrical wires or plumbing, especially near outlets, switches, or water fixtures – if your stud finder has a live wire detection mode, use it! Listen carefully when tapping – the subtle difference in sound can tell you a lot. Pro-Tip: If your stud finder gives ambiguous results, try using a strong rare-earth magnet to locate the old lath nails. They'll often pull the magnet right to them, indicating a lath, and potentially a stud behind it. This is where your inner detective comes out!
- Tape It Up (Your Wall's Insurance Policy): Place a small piece of blue painter’s tape over your marked hanging spot. This provides a clean edge and helps prevent plaster from spalling (chipping off in large chunks) when you drill or tap. This simple step can save you so much grief. I once skipped this for a 'quick' job and immediately regretted the jagged hole.
- Drill Your Pilot Hole (Slow and Steady): Using your drill and a sharp masonry bit, drill a pilot hole slightly smaller than your chosen screw or anchor, and only as deep as necessary for your chosen fastener to get a solid grip, whether in the lath, behind the plaster, or into a stud. Be firm but gentle, letting the drill do the work; applying too much pressure can cause radiating cracks. The aim is to cut cleanly, not force. If you hit a stud, you’ll feel solid resistance – switch to a slightly larger wood bit if you're going deep into the stud for a screw. Remember, slow and steady wins the race here. My mantra: listen to the wall; it will tell you what it needs.
- Insert Your Anchor (if not using a stud): If you are not drilling into a stud, this is where you'll insert your chosen anchor. If you're using a toggle bolt, follow the manufacturer's instructions carefully. Push the toggle through the hole until the wings expand behind the wall. Pull it back slightly to ensure it's seated firmly against the interior surface of the plaster and lath. If using a plaster-specific self-drilling anchor, screw it in carefully until it's flush with the wall surface. Don't overtighten; you'll feel it grab. If it just spins, you've likely hit an empty void, or the plaster is too degraded – time to patch and choose a new spot. This is the moment I hold my breath, hoping for that satisfying 'snug' feeling.
- Screw in Your Hanger (The Final Fasten): Screw your chosen picture hanger or screw into the anchor or directly into the stud. Ensure it’s secure and can easily bear the weight. Give it a gentle tug to test the stability before hanging your art. You wouldn't drive a car without testing the brakes, would you? This is your final check before the big reveal.
- Hang Your Art (Victory Lap!): Gently hang your art. Take a step back. Admire your handiwork. Seriously, you just conquered lath and plaster! Give yourself a pat on the back – it’s a genuine triumph. The feeling of seeing a beloved piece finally grace a historic wall, knowing it's secure, is incredibly satisfying, especially when you consider the challenges you've overcome. Perhaps a vibrant abstract piece now takes pride of place?
Troubleshooting & Triumphs: What to Do When Things Go Sideways (or Right!)
- The Dreaded Crack: It happens. Even with all precautions, sometimes plaster just... cracks. That sharp "pop!" sound can be disheartening. For minor, hairline cracks (usually less than 1/8 inch wide and not expanding), joint compound or spackle can often do the trick, blending in once sanded and painted. But for anything significant (wider than 1/8 inch, radiating from a stress point, or actively expanding), or if the plaster feels spongy or detached, it might be time for a patching compound specifically designed for plaster, which often contains fibers for better bonding. If the cracks are widespread or appear to be structural, or if the plaster is actively de-keying, consulting a professional plaster repair specialist is highly recommended to prevent further damage and ensure structural integrity. This is not just about aesthetics; it's about preserving your home's historical fabric. I once had a tiny crack blossom into a spiderweb, a true testament to the wall's delicate nature.
- Repairing Spalling: If you do get spalling (those frustrating chunks of plaster breaking off around your drill hole), don't despair. First, carefully chip away any loose or crumbling plaster to create a stable edge. Clean the area thoroughly. Then, depending on the size of the crater, you'll apply either joint compound for small chips or a plaster repair compound for larger, deeper areas. Build it up in thin layers, allowing each to dry, then sand smooth and prime before painting. It's a bit of a dance, but very doable. Think of it as a small artistic repair job!
- What if you accidentally drill too deep or the hole is too wide? Don't panic! For slightly oversized holes, you might be able to step up to a slightly larger anchor or screw if it's still appropriate for the weight. If the hole is significantly too large for any suitable anchor, you'll need to patch the hole with plaster repair compound, let it dry completely, and then choose a new spot nearby or re-drill into the patched area once fully cured. Sometimes, if you've gone too deep but hit a stud, simply using a longer screw that can still get a good purchase into the stud can save the day. It’s all part of the learning curve, and I've definitely learned these lessons firsthand.
- Dust, Glorious Dust: Old plaster is dry and crumbly. I've said it before, and I'll say it again: Put down a sheet. Have a vacuum cleaner ready. Don't say I didn't warn you. It's truly a fine, pervasive dust that seems to defy the laws of physics, making its way into every nook and cranny. My worst experience involved finding a thin film of it on my toothbrushes days later!
- Feeling Unsure? Don't be afraid to test the holding power before hanging your prize possession. Give the anchor a gentle tug or try to hang something of similar weight but less value first (a bag of flour, perhaps?). If it feels solid, you're likely good to go. If not, reassess. Better safe than sorry, right? If you find yourself consistently encountering fragile, crumbly plaster that refuses to hold any anchor, or if you're dealing with very valuable, heavy art, it's wise to consider calling a professional art installer or a plaster repair specialist. Their expertise can save you headaches, damage, and potentially a lot of money.
- Bowed or Uneven Walls: It’s a reality of old homes! If your art is flush against the wall but appears crooked, the wall itself might be subtly uneven. You can sometimes use very thin shims (small wedges of wood or plastic) behind the bottom corners of the frame to adjust its angle and make it appear level. Alternatively, embracing the slight imperfections is part of living in a historic home's charm! I like to think of them as the wall's unique topography, a silent testament to its long history.
- The Joy of Success: When that piece of art finally hangs perfectly, level and secure, on a wall that once seemed unconquerable? That's a triumph. It feels a bit like magic, honestly, a perfect blend of patience and smart technique. Celebrate it! I still get a little thrill every time I stand back and admire a piece perfectly placed on one of these beautiful, challenging old walls. It’s a small victory in the ongoing saga of home ownership.

Frequently Asked Questions About Lath and Plaster Walls
Here are answers to some of the most common questions we hear about tackling lath and plaster walls – because, let's be honest, they're always a topic of conversation in old homes!
Q: How can I find studs reliably in lath and plaster?
A: This is the million-dollar question, and frankly, it's often more art than science! Standard stud finders can struggle with the density and thickness of plaster (which can be up to an inch or more deep), and the presence of wooden lath can also interfere with their sensors, often giving false readings or missing studs entirely. A deep-scanning electronic stud finder or, even better, one that detects metal (for the old lath nails) is designed to penetrate these thicker, denser materials more effectively. The metal scan mode can often pick up the old square-cut nails holding the lath to the studs, providing a crucial clue. You can also use a strong rare-earth magnet, slowly dragging it across the wall until you feel a distinct pull – this indicates a lath nail and thus the presence of a stud behind it. Tapping the wall gently and listening for a solid 'thud' versus a hollower sound can also help, as studs usually sound less hollow than areas between laths. Patience and multiple scans are key. Sometimes, the most reliable method is to find an outlet or light switch (where studs are usually present) and measure 16 or 24 inches horizontally from there. Always remember that stud spacing can be inconsistent in older homes (sometimes 18" or 20", or even varying wildly), so don't rely solely on the 16 or 24-inch rule without verification. It's a detective game, for sure!

Q: What if I can't find any studs at all in a particular area, but need to hang something moderately heavy?
A: This is a common conundrum! If a stud remains elusive, your best bet for medium-heavy items (say, 10-30 lbs) is to use robust toggle bolts (like the Snaptoggle type) that can span across the lath and plaster. These distribute the weight over a larger surface area on the back of the wall and create a secure clamp. For heavier pieces (30+ lbs) where no stud can be found, you have to seriously consider alternatives: leaning the art on a sturdy piece of furniture, using a floor easel, or investing in professional art installation. Professionals often have specialized tools for detecting hidden framing or can install French cleats that, even without multiple studs, can be engineered to distribute weight more effectively across the lath and plaster system. Don't compromise; if the wall feels flimsy or anchors don't hold, it's safer to rethink the placement or seek expert help. It's simply not worth the risk of damaging your art or your historic wall.
Q: Can I use adhesive strips or command hooks on lath and plaster walls?
A: I generally advise strongly against it, especially for anything other than the very lightest, purely temporary items (think a feather, not even a small photo frame!). Lath and plaster walls often have uneven or textured surfaces, and the paint can be old, brittle, and flaky. The primary issue is that the rough, porous, or aged surface of plaster often doesn't provide the perfectly smooth, clean, and strong adhesion point that these products require. Adhesive strips might peel off the paint or even a thin layer of plaster when removed, leaving more significant damage and requiring more extensive repairs than a small, properly drilled nail hole would have. It's just not worth the risk, in my opinion, if you care about your wall's longevity and appearance. A small, clean hole is always preferable to a large patch where the paint and plaster have been torn away.
Q: Is there a way to hang art without drilling any holes?
A: For lath and plaster, options are limited if you want true security on the wall itself. If your home has traditional picture rail moulding (a decorative wooden strip installed high on the wall, often near the ceiling), you can use picture rail hooks and chains/wires to hang art without putting holes in the plaster. This is a fantastic, period-appropriate solution! If you don't have it, installing it is an option, though it's a bigger project. However, if your goal is zero holes directly in the wall and no picture rail, your choices are quite restricted beyond leaning art on furniture, using floor easels, or mounting shelves specifically designed to sit on the floor. You're trying to defy gravity on a surface that prefers a good, solid anchor, and that's a tough battle to win without some form of secure attachment.
Q: What's the biggest mistake people make when hanging art on lath and plaster?
A: Oh, without a doubt, it's assuming it's like drywall and just hammering in a nail or using a flimsy anchor in brittle plaster. The other big one is impatience. Rushing the process, not planning, or not using the right tools almost always leads to a bigger repair job than necessary. Lath and plaster demands respect and a specific approach. It's a dialogue with the wall, not a monologue. I've learned that taking an extra five minutes to plan and use the right pilot hole can save hours of patching and frustration. That, and forgetting to put down a dust sheet – that's a mistake you only make once!
Q: How do I repair a hole or crack in a lath and plaster wall?
A: For small nail holes or minor chips, a little joint compound or spackle applied with a putty knife, sanded smooth once dry, and then painted will usually suffice. For larger holes (e.g., from a failed anchor) or significant cracks (wider than 1/8 inch or actively expanding), you might need a patching plaster compound, which often contains fibers (similar to the original horsehair) to help it bond and provide flexibility. Clean out any loose debris, dampen the area slightly to aid adhesion, apply the patching compound in layers, smooth, sand, and paint. It's a skill that improves with practice! Assessing the type and severity of the crack is key; a minor cosmetic crack is different from a structural one, which might require professional assessment and possibly re-keying or structural reinforcement. Don't be afraid to patch, it's a rite of passage for old home owners.
Q: How can I tell if my walls are lath and plaster vs. plaster over brick/masonry?
A: Good question! It's important because the hanging methods differ significantly. The easiest way is to gently tap the wall. Lath and plaster will often have a varied sound – solid over the lath, hollower between. If it's plaster directly over brick or masonry, it will sound consistently solid and dense everywhere. You can also carefully remove a switch plate or outlet cover and peek inside; if you see thin wood strips, it's lath and plaster. If you see solid masonry, that's your answer. For hanging art on masonry, check out my guide on how to hang art on brick walls or how to hang art on concrete walls.
Q: What are the risks of hanging art on lath and plaster if I don't hit a stud or use an appropriate anchor?
A: The primary risks are a cascading failure resulting in significant damage to your wall and, heartbreakingly, to your cherished art. Without a proper anchor, a heavy piece can pull loose, causing a large chunk of plaster to spall off, leaving a significant, unsightly, and difficult-to-repair crater. Your art could then fall, potentially breaking the frame, glass, or damaging the artwork itself. It's a recipe for costly repairs and heartbreaking artistic casualties. I've heard too many stories of cherished pieces taking an unexpected dive, sometimes just days after hanging. Don't let it happen to yours. This is why patience and the right tools are so crucial.
Q: What if the plaster itself is too weak for any anchor?
A: If you've tried different anchors and methods, and the plaster consistently crumbles, or the wall feels spongy and detached from the lath over a wide area (beyond a small spot), it's a strong indicator that the plaster itself is too weak or de-keyed to provide a reliable anchor. In such cases, the safest and most responsible course of action is to stop trying to hang anything in that area. You'll need to either entirely avoid hanging art on that section of the wall or consult with a plaster repair specialist. They can assess the damage and recommend options, which might range from targeted re-keying to full section replacement. While an investment, a professional repair ensures the long-term integrity of your historic walls and means you won't be constantly worrying about your art crashing down.
Q: How can the unique character of lath and plaster walls enhance my art?
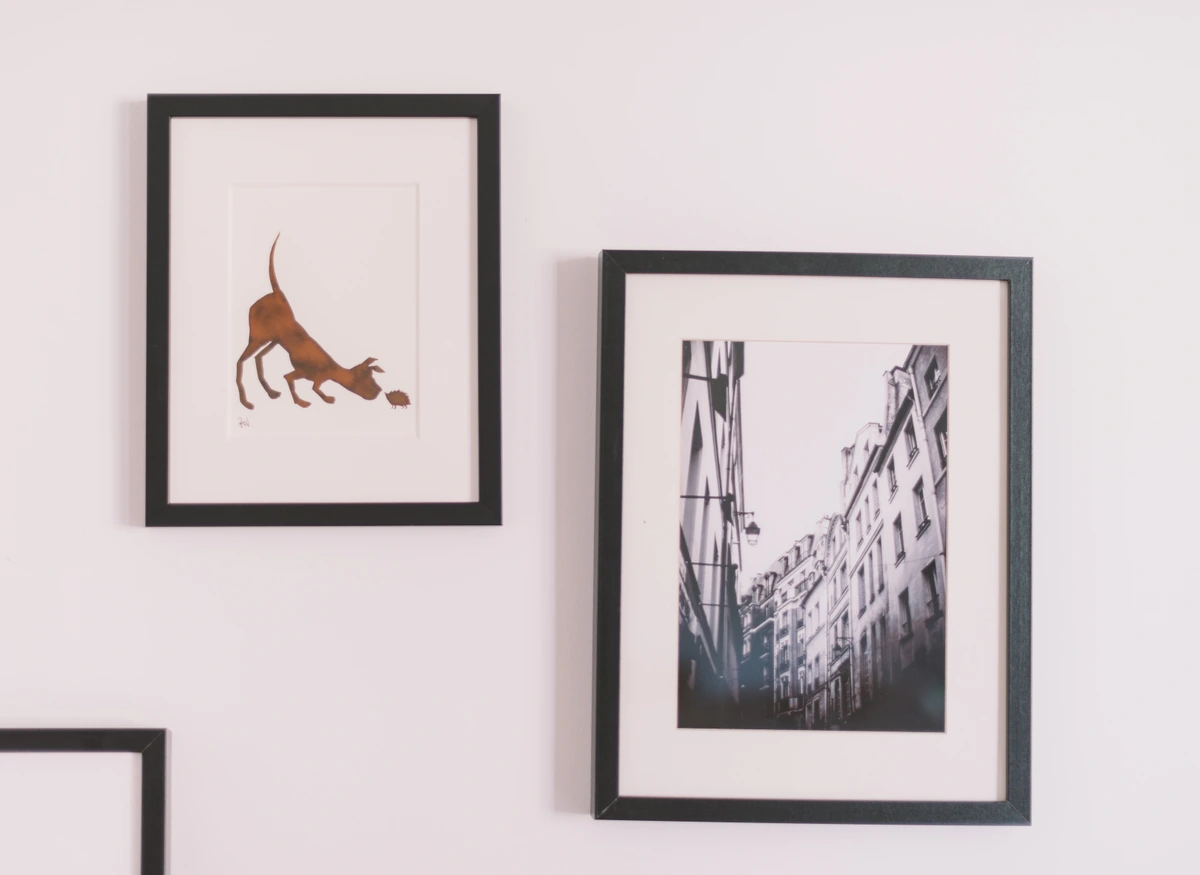
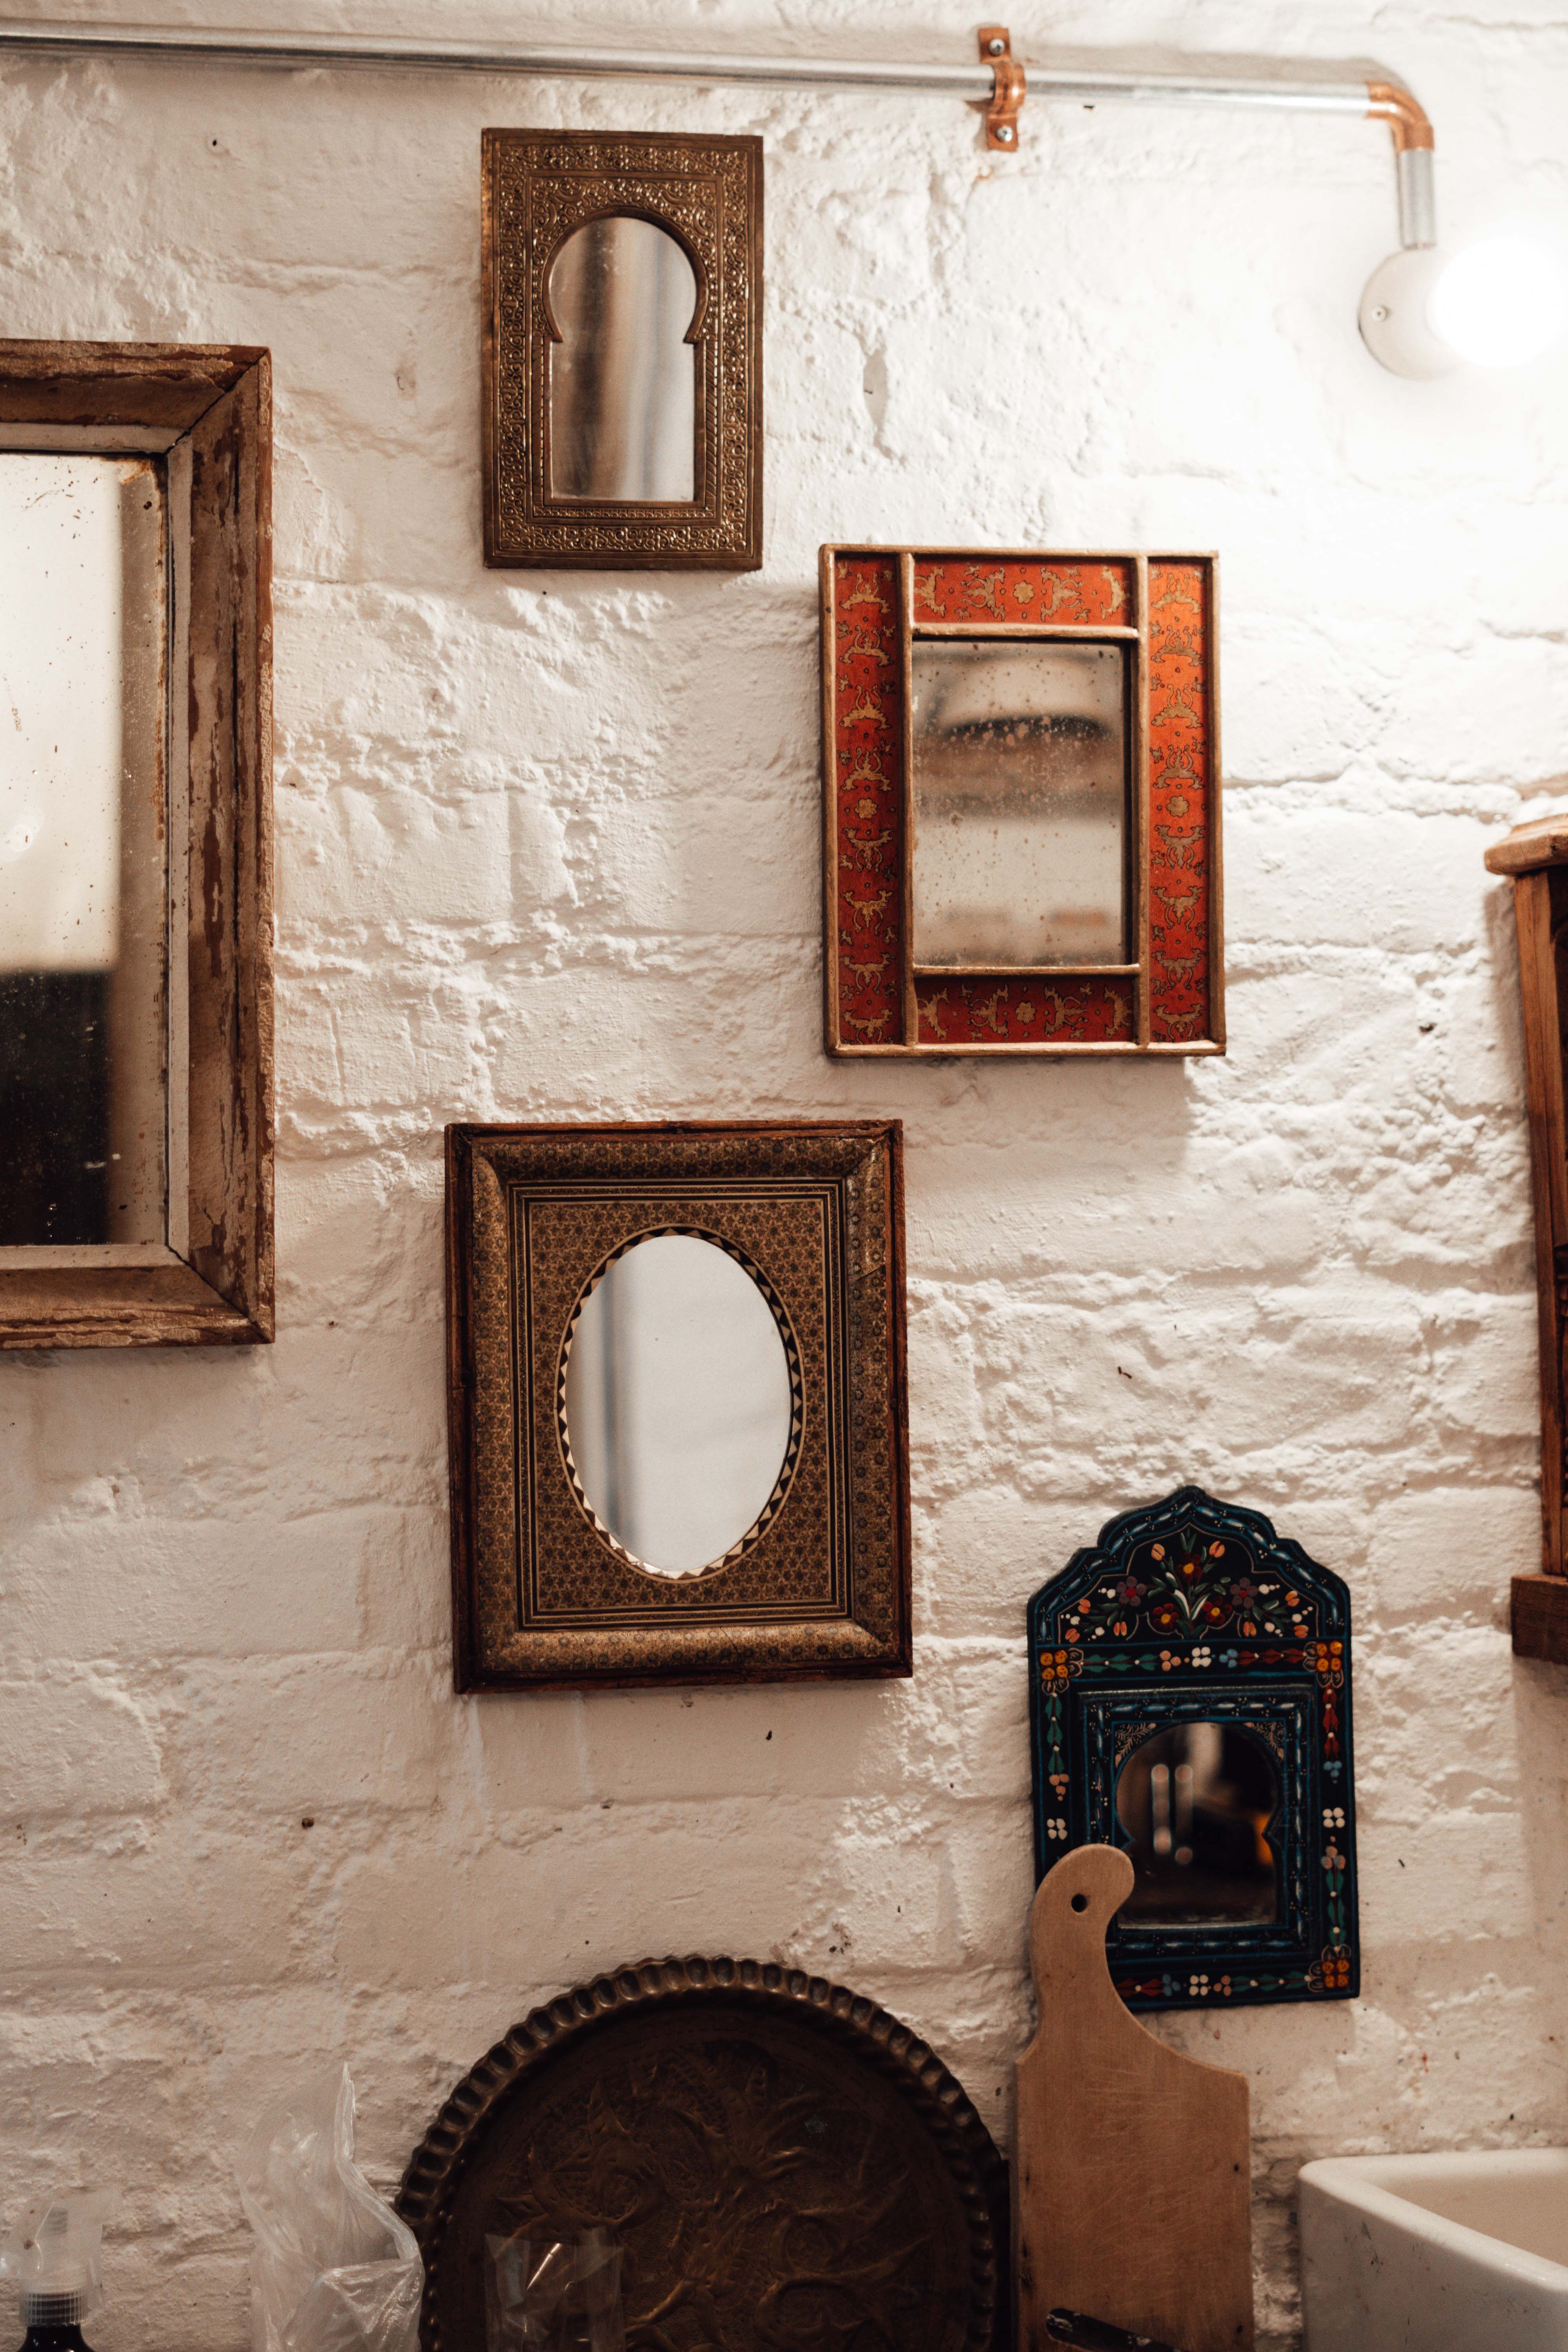
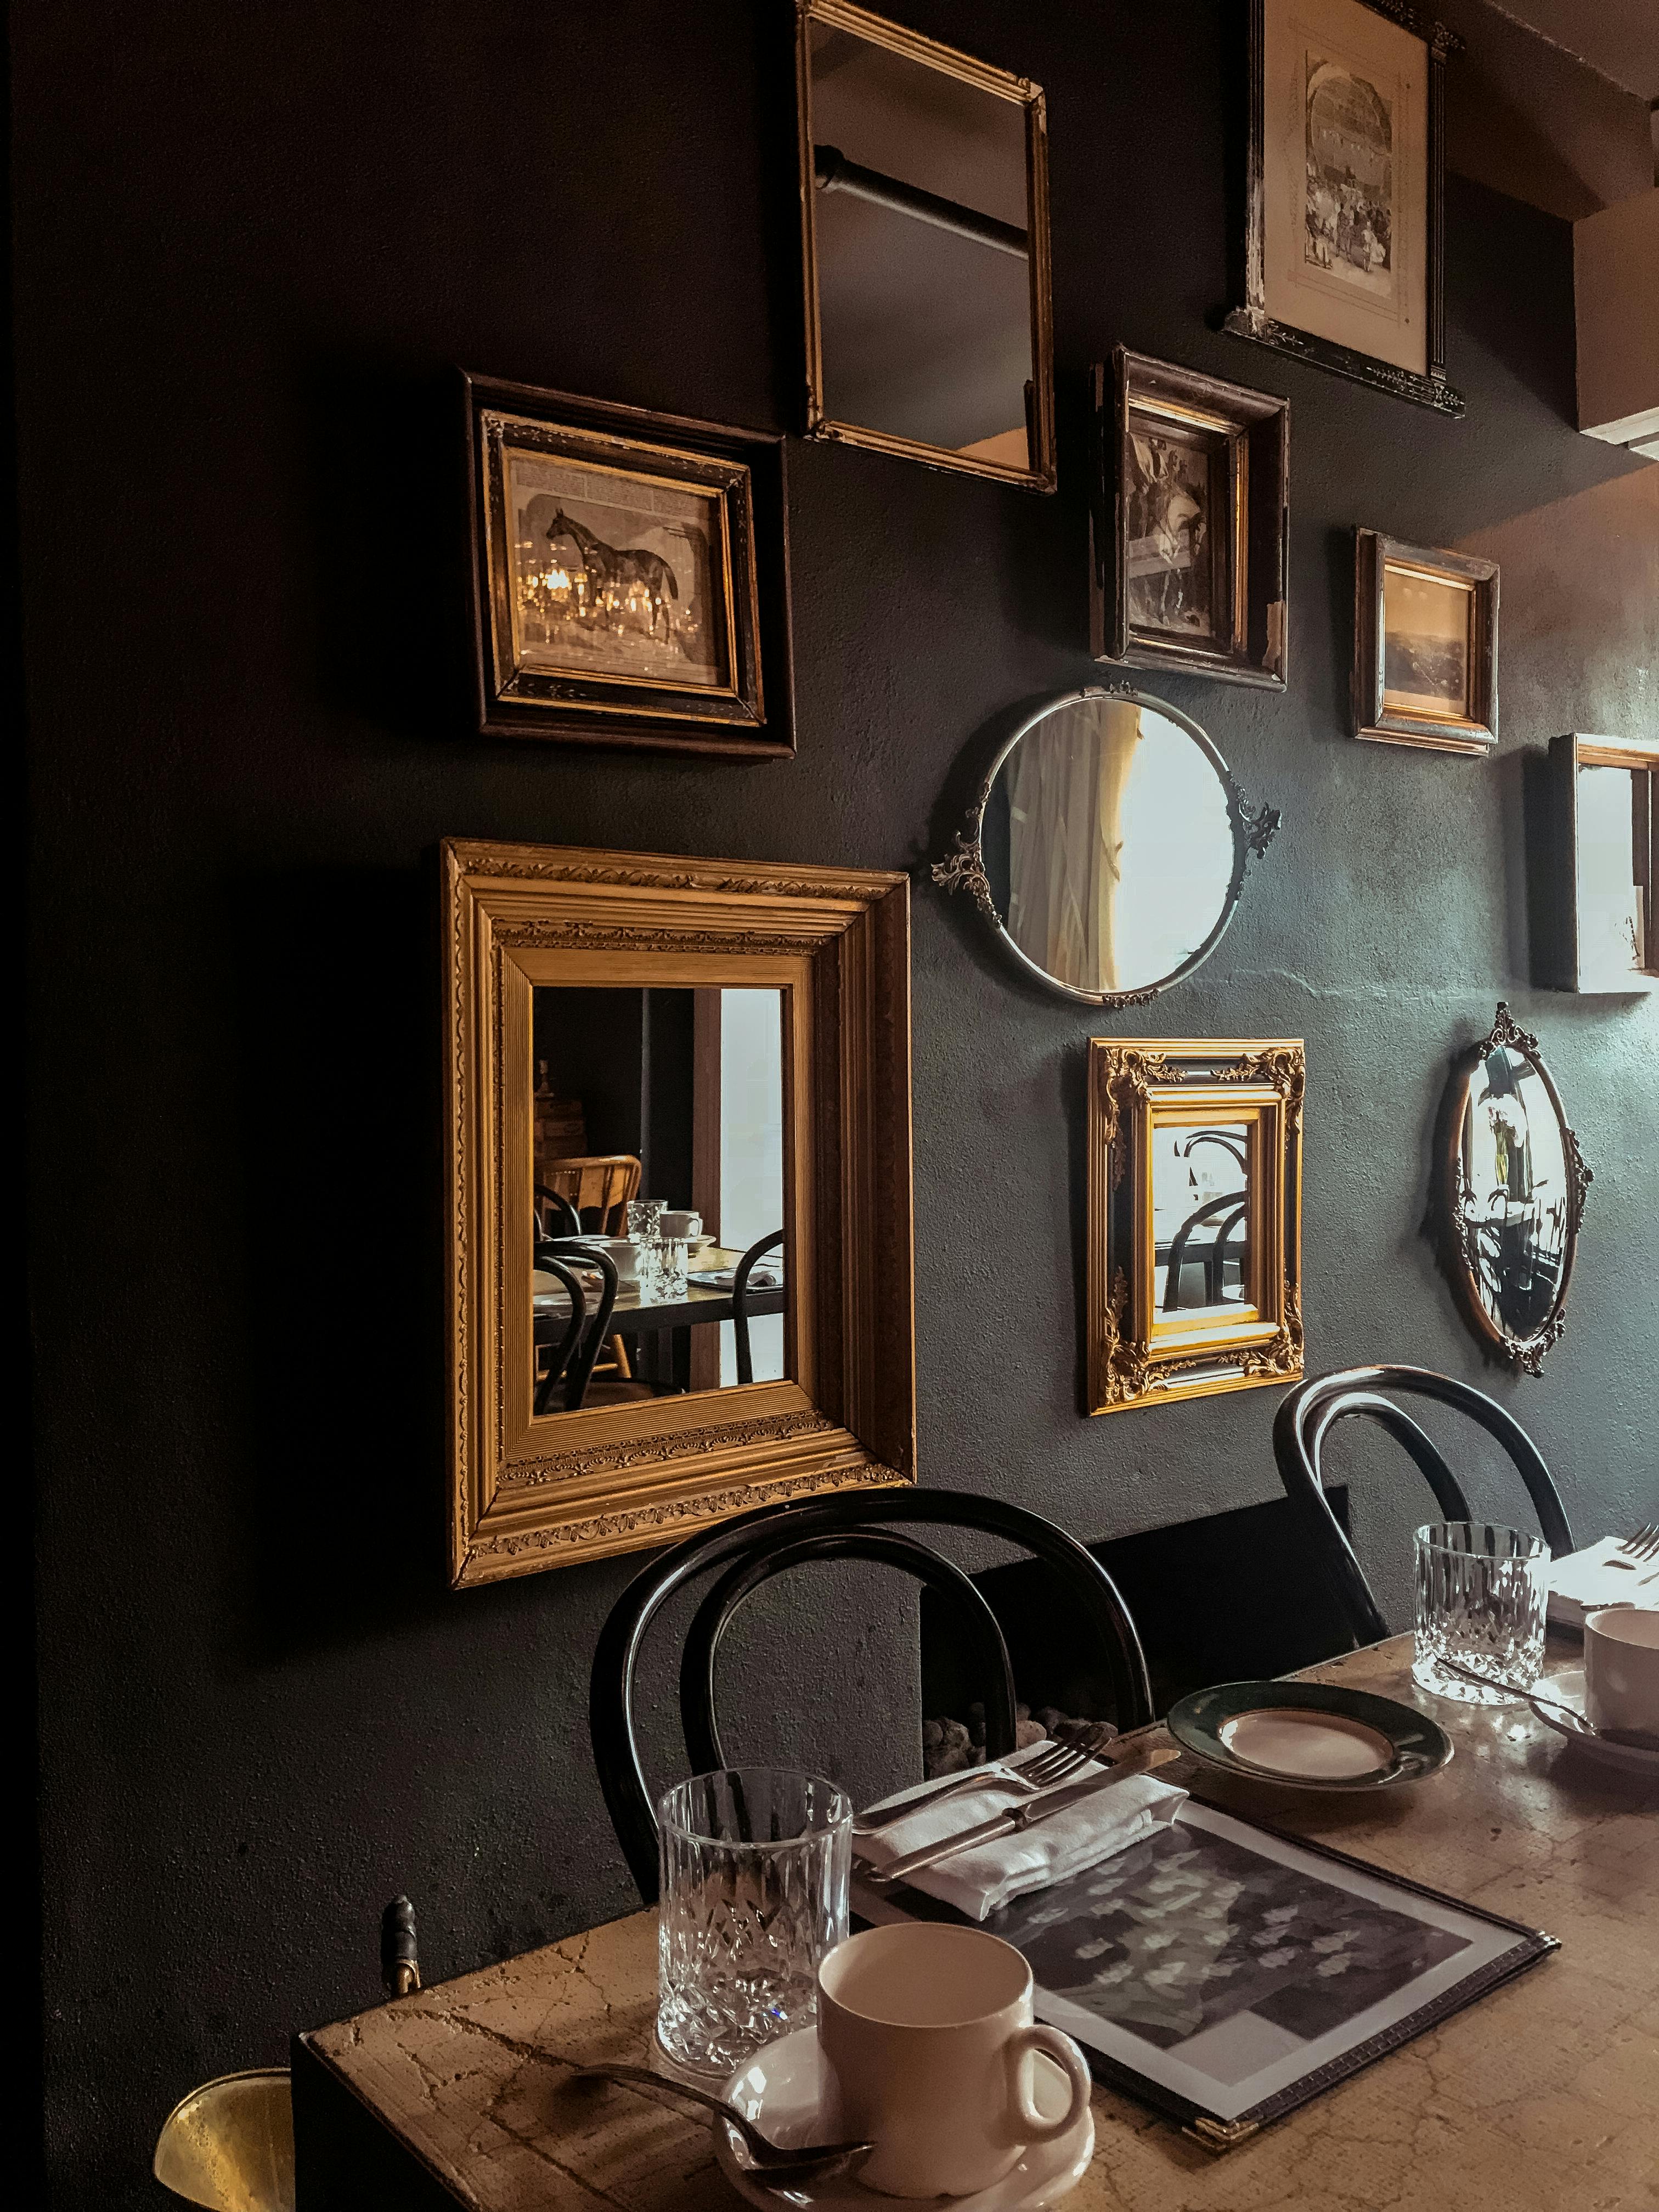
A: I love this question! The subtle undulations, imperfections, and textured depth of lath and plaster walls can provide a wonderfully organic and rich backdrop for art, especially contemporary or abstract pieces. Unlike the stark flatness of drywall, these older walls have a story and a tactile quality that can make the art feel more integrated into the home's history. A vibrant, abstract art piece can truly pop against a slightly uneven, softly painted plaster surface, creating a dynamic interplay between old and new. Think of it as a collaboration between the architect of the past and the artist of today, where the wall itself becomes part of the art's narrative, adding a layer of authenticity and depth that a modern, perfectly smooth surface simply can't replicate. It adds a certain je ne sais quoi to the display, if you ask me.
Related Topics & Further Reading
To continue your journey of understanding your home's unique surfaces and confidently displaying your art, explore these related guides:
Conclusion: Your Walls, Your Gallery
See? It's not so daunting, is it? Hanging art on lath and plaster walls truly becomes a manageable task once you understand their quirks and arm yourself with the right knowledge and tools. It's a bit more involved than drywall, certainly, but the payoff is immense: transforming an old house into a personal gallery filled with pieces you love, where the art harmonizes with the unique texture and history of the walls themselves. It's about turning those initial anxieties into a genuine triumph, creating a drama-free experience where your art and your home's character beautifully intertwine. So go forth, be brave, and fill those characterful walls with your chosen treasures. Your home, your art – it’s a beautiful combination, an investment in both your space and your spirit. And if you're looking for unique pieces to fill those newly conquered walls, remember to buy directly from artists who pour their heart into their creations, bringing new stories to these historic backdrops. Happy hanging! This guide is your trusted companion on that journey.
