My Personal Guide: How to Stretch a Canvas for Painting
Ever tried stretching your own canvas? I'll walk you through my process, sharing practical tips and the joy of preparing your perfect surface for painting, step-by-step.
My Personal Dive into Stretching Canvas: A Foundation for Your Art
You know, there's something incredibly grounding about preparing your own materials. For a long time, I just bought pre-stretched canvases. Convenient, sure, but I always felt a tiny bit disconnected from the very foundation of my work. It felt like... I was outsourcing a fundamental step in the creative process, and my canvases, well, sometimes they just didn't feel right. A little too loose here, a bit wobbly there. Sound familiar?
That's when I decided, "Enough is enough!" I wanted to understand the canvas from its very inception, to feel the fabric yield under my hands, to get that satisfying thwack of a perfectly taut surface. And let me tell you, it's a game-changer. It’s not just about saving a few bucks (though that's a nice bonus, especially if you're like me and go through canvas like it's going out of style!), it’s about control, quality, and a deeper connection to your art. Plus, the sheer satisfaction of painting on a canvas you stretched yourself? Priceless.
Why Even Bother? My Take on the Homemade Canvas
Honestly, when I first considered stretching my own canvas, I thought, "Is this really worth my time?" My studio is already a delightful (some might say chaotic) blend of paint, brushes, and half-finished ideas. Adding another step seemed daunting. But here's what I quickly learned:
- Quality You Can Trust: You pick the canvas, you pick the stretcher bars. No more mystery materials or dodgy tension. You control everything, ensuring a surface that will truly last. I remember one time, a pre-stretched canvas literally warped on me mid-painting – never again!
- Customization is King (or Queen): Ever needed a specific size that just doesn't exist in stores? Or perhaps an unusual shape? Stretching your own canvas opens up a world of possibilities. My creative journey from concept to canvas often involves unusual dimensions, and stretching my own is the only way to get exactly what I envision. It's about taking the reins, not just on the art itself, but on the very surface that brings it to life. This level of control, for me, amplifies the sense of truly owning the creative process from start to finish.
- The Zen of the Process: There's a meditative rhythm to it. The careful measuring, the focused pulling, the satisfying click of the stapler. It forces me to slow down before the chaos of color begins. It's almost like a warm-up act for my intuitive painting.
- Cost-Effectiveness (Eventually): Buying raw canvas in bulk and a stack of stretcher bars can seem like an upfront investment, but trust me, over time, it's significantly cheaper than buying pre-stretched canvases. Especially for larger pieces.
Understanding Your Canvas Fabric: More Than Just a Cloth
Before we even think about staplers and pliers, let's talk about the star of the show: the canvas itself. It's not just a piece of fabric; it's the skin of your painting, and choosing the right one can make a surprising difference to your process and the final artwork.
- Cotton Duck Canvas: This is my go-to workhorse. It's affordable, widely available, and comes in various weights. 'Duck' refers to its tightly woven plain weave, making it durable. It has a medium texture, which I find versatile for a lot of my intuitive painting. It's a great starting point for beginners.
- Linen Canvas: Ah, linen. The connoisseur's choice! It's stronger, finer, and much more durable than cotton, with a beautiful subtle texture. It's known for its archival qualities, meaning it's less likely to sag or become brittle over time. If you're planning a masterpiece that you want to last for generations, linen is your friend. The downside? It's significantly more expensive, but sometimes, for those really special pieces, it's worth the splurge.
- Primed vs. Unprimed: You'll find both options. Unprimed canvas is raw fabric, absorbent, and will need sizing and gesso. Primed canvas already has a layer (or layers) of gesso applied, making it ready to paint on. I often buy unprimed because it's more economical and gives me complete control over the priming process, allowing me to customize the surface for specific effects or exploring texture.
Your Toolkit for Tautness: What I Keep Handy
Alright, let's talk gear. You don't need a fancy workshop, but a few key items will make your life a whole lot easier. Think of it as preparing your battlefield before the artistic skirmish begins!
- Stretcher Bars: These are the wooden frames your canvas will be stretched over. They usually come in pairs, with mitered edges that slot together. I always go for kiln-dried wood to minimize warping, because nobody wants a wonky frame a few months down the line. You'll find them in various profiles – slim, medium, and heavy-duty. For smaller works, slimmer bars are fine, but for anything over 24 inches (60 cm) on a side, I lean towards a sturdier profile to prevent bowing. Also, keep an eye out for bars with a slight 'lip' or 'beveled edge' on the outer side; this ensures your canvas doesn't rest directly against the inner edge of the wood, which can create an imprint over time.
- Raw Canvas Fabric: Linen or cotton, primed or unprimed – the choice is yours! I often use unprimed cotton duck canvas because it’s economical and takes gesso beautifully. If you want to dive deeper into the types of surfaces, check out a definitive guide to paint types for artists.
- Staple Gun & Staples: A good quality, comfortable staple gun is non-negotiable. Don't skimp here; your hands will thank you. I prefer T50 staples, about 1/4" to 3/8" long.
- Canvas Pliers: Oh, these are a lifesaver! They give you the grip and leverage you need to pull the canvas really taut. My fingers appreciate them immensely.
- Measuring Tape/Ruler & Pencil: Precision matters, folks. A wonky canvas is a sad canvas.
- Heavy-Duty Scissors or Utility Knife: For clean cuts.
- Corner Clamps (Optional but Recommended): These help keep your stretcher bars perfectly square while you assemble them.
- Rubber Mallet (Optional): Handy for gently tapping the stretcher bars into place.
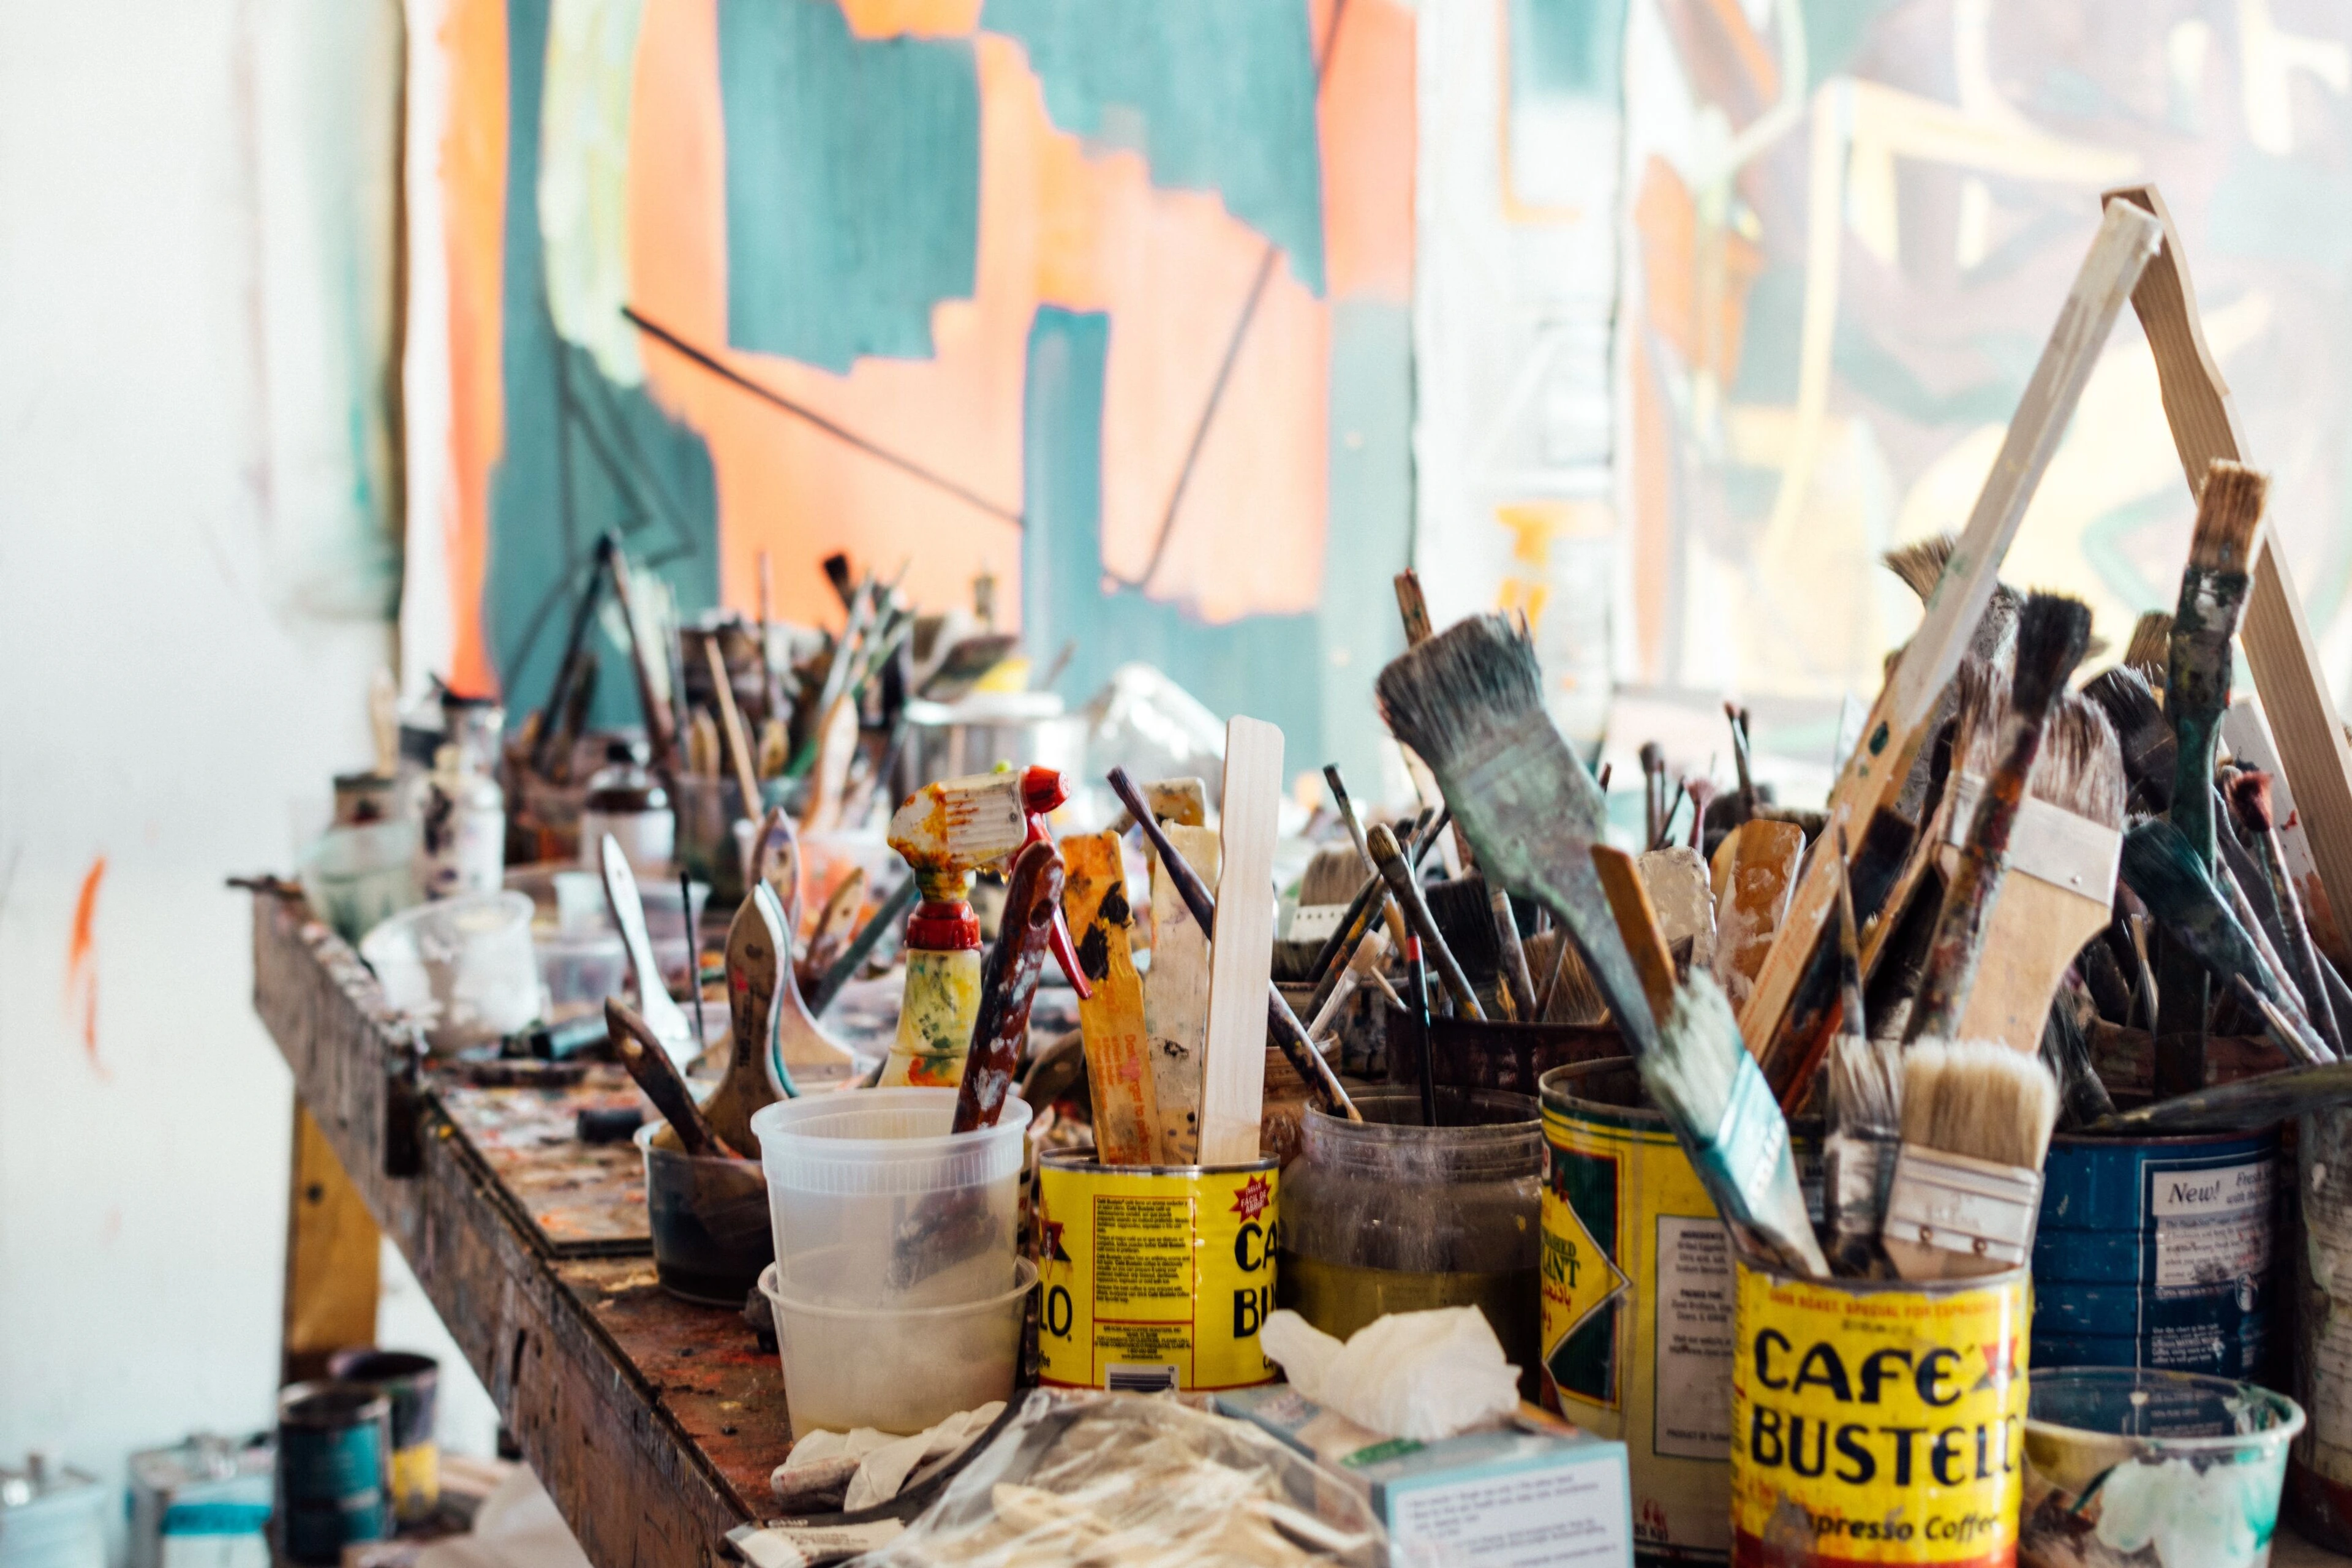
https://images.pexels.com/photos/6731909/pexels-photo-6731909.jpeg, https://creativecommons.org/public-domain/
My Step-by-Step Canvas Stretching Ritual (It's not as scary as it sounds!)
Okay, deep breath! This is where the magic happens. I like to think of it as a dance between patience and precision.
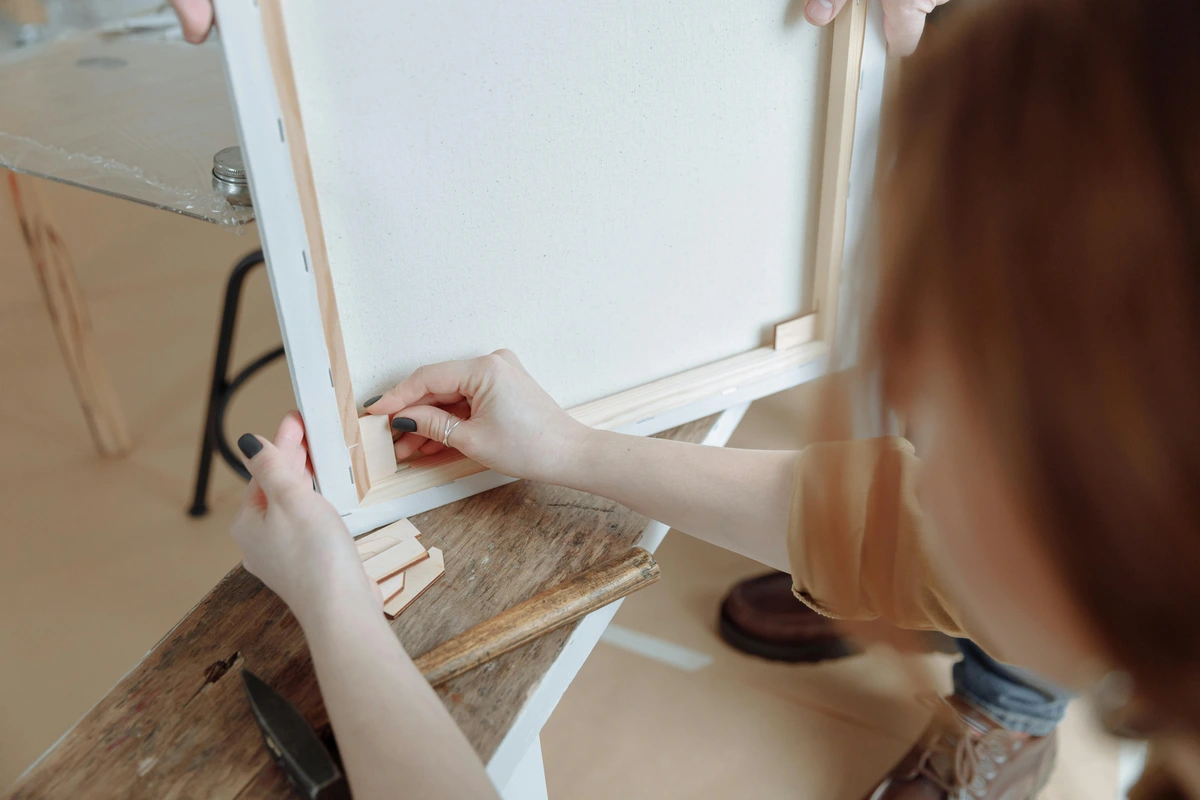
1. Assembling the Stretcher Bars: The Foundation
First things first, get those stretcher bars together. They usually slot pretty easily, but sometimes a gentle tap with a rubber mallet helps them sit flush. Use your corner clamps to ensure everything is perfectly square – this is crucial, otherwise, your painting will end up looking like a rhomboid, and nobody wants that! Once square, I often put a single staple into each corner on the back of the frame to hold it firm while I'm stretching.
2. Cutting Your Canvas: Measure Twice, Cut Once (My Golden Rule!)
Lay your raw canvas face down on a clean, flat surface. Place your assembled frame on top. Now, this is important: you need enough overlap to wrap around the back of the frame and still have room to staple. I usually aim for about 2-3 inches (5-7.5 cm) of excess canvas on each side. Mark your cutting lines with a pencil, then cut cleanly with your scissors or utility knife. No ragged edges, please!
Sizing Your Canvas: The Often-Skipped, Yet Crucial Step
Alright, before we even think about gesso, there's a step many beginners (and even some seasoned artists who swear by pre-primed canvases!) overlook: sizing. If you're using raw canvas and especially if you're painting with oils, this is your canvas's protective shield. Sizing, usually a thin layer of rabbit skin glue or an acrylic polymer medium, creates a barrier between your paint and the canvas fibers. Why bother? Oil paints, over time, can cause the canvas fibers to rot. Sizing prevents this, protecting your artwork's longevity. For acrylics, it's less critical for protection but still helps create a smoother, less absorbent surface. Think of it as putting on a base coat before your primer – it's about giving your art the best possible start. Apply it evenly, let it dry thoroughly, and then you're ready for the next big step: priming.
3. The First Side: Finding Your Center
Place your canvas fabric face down, then center your frame on top. Now, pick one side – any side. Start stapling from the very center of that side outwards, placing staples about 2 inches (5 cm) apart. Only staple about 3/4 of the way to each corner for now. You're just anchoring it. Don't pull too hard yet.
4. The Opposite Side: The First Big Pull
Move directly to the opposite side of the frame. This is where the canvas pliers come in! Grab the canvas firmly about 2-3 inches (5-7.5 cm) from the center, pull hard away from the frame to create tension, and then staple it down, again working outwards from the center. You'll feel the canvas start to get taut. Continue stapling towards the corners, matching the tension you created on the first side. This cross-pulling technique is what really gets that drum-tight surface.
5. The Remaining Sides: Even Tension is Key
Repeat the process for the remaining two sides. Always work from the center outwards, pulling firmly with your canvas pliers. The goal here is even tension across the entire surface. This is where my patience sometimes wears thin, but I remind myself that a well-stretched canvas is a joy to paint on. Take your time, step back, and look at the surface. Are there any loose spots? Pull again!
6. The Corners: The Art of the Fold
This is often where people get a little intimidated, but it's simpler than it looks. Think of it like wrapping a present.
- First, pull the corner fabric directly outwards and staple it to the side of the stretcher bar, about 1/2 inch (1.25 cm) in from the actual corner.
- Then, take the remaining excess fabric on either side of the corner and fold it neatly over, creating a crisp mitered edge.
- Pull these folds taut and staple them securely to the back of the frame. You want flat, clean corners, not bulky lumps.
7. The Final Check: Drum Roll, Please!
Once all sides are stapled and corners are folded, gently tap the canvas with your fingers. It should sound like a drum. If it's saggy anywhere, you might need to carefully remove some staples in that area, re-pull, and re-staple. Sometimes, if I'm really struggling with a particularly stubborn sag, a quick spritz of water on the back of the canvas can help it tighten as it dries (but be careful not to overspray!).
The Gallery Wrap: A Professional Finish
For those who want a truly professional, ready-to-hang look without a frame, the gallery wrap is your friend. This technique involves stretching the canvas so the staples are only on the back of the stretcher bars, leaving the sides of the canvas clean and paintable. It's not much different from the standard method, but it requires a bit more precision with your corner folds to ensure the fabric wraps around cleanly and continues the image (or a solid color) seamlessly. When I create a gallery wrap, I often extend my painting around the sides of the canvas – it makes the artwork feel like it's truly emerging from the wall.
Priming Your Masterpiece (A Quick Detour)
Now that your canvas is beautifully taut, you might be tempted to jump straight to painting. And hey, sometimes I do! But often, especially with unprimed canvas, I'll add a layer or two of gesso. This not only protects the canvas from the acids in your paint but also gives you a lovely, even surface to work on.
Think of gesso as the perfect primer, preparing your surface for the journey ahead. You've got options too!
- Acrylic Gesso: The most common type, suitable for both acrylics and oils. It dries quickly and is super versatile. You can thin it with water or apply it thickly for more texture.
- Oil Gesso: Specifically formulated for oil paints, it provides a different kind of tooth and absorbency. It typically takes longer to dry.
- Clear, Black, or Colored Gesso: Don't feel confined to white! Clear gesso lets the raw canvas peek through, black gesso creates dramatic effects, and colored gesso gives you a toned ground to start with – a fantastic way to influence the mood of your painting from the first stroke.
I usually apply two to three thin, even coats, letting each dry completely and sometimes giving it a light sand in between for a super smooth finish. Want to know more about best acrylic mediums? Or maybe exploring texture? Priming is where you can start thinking about those surface qualities.

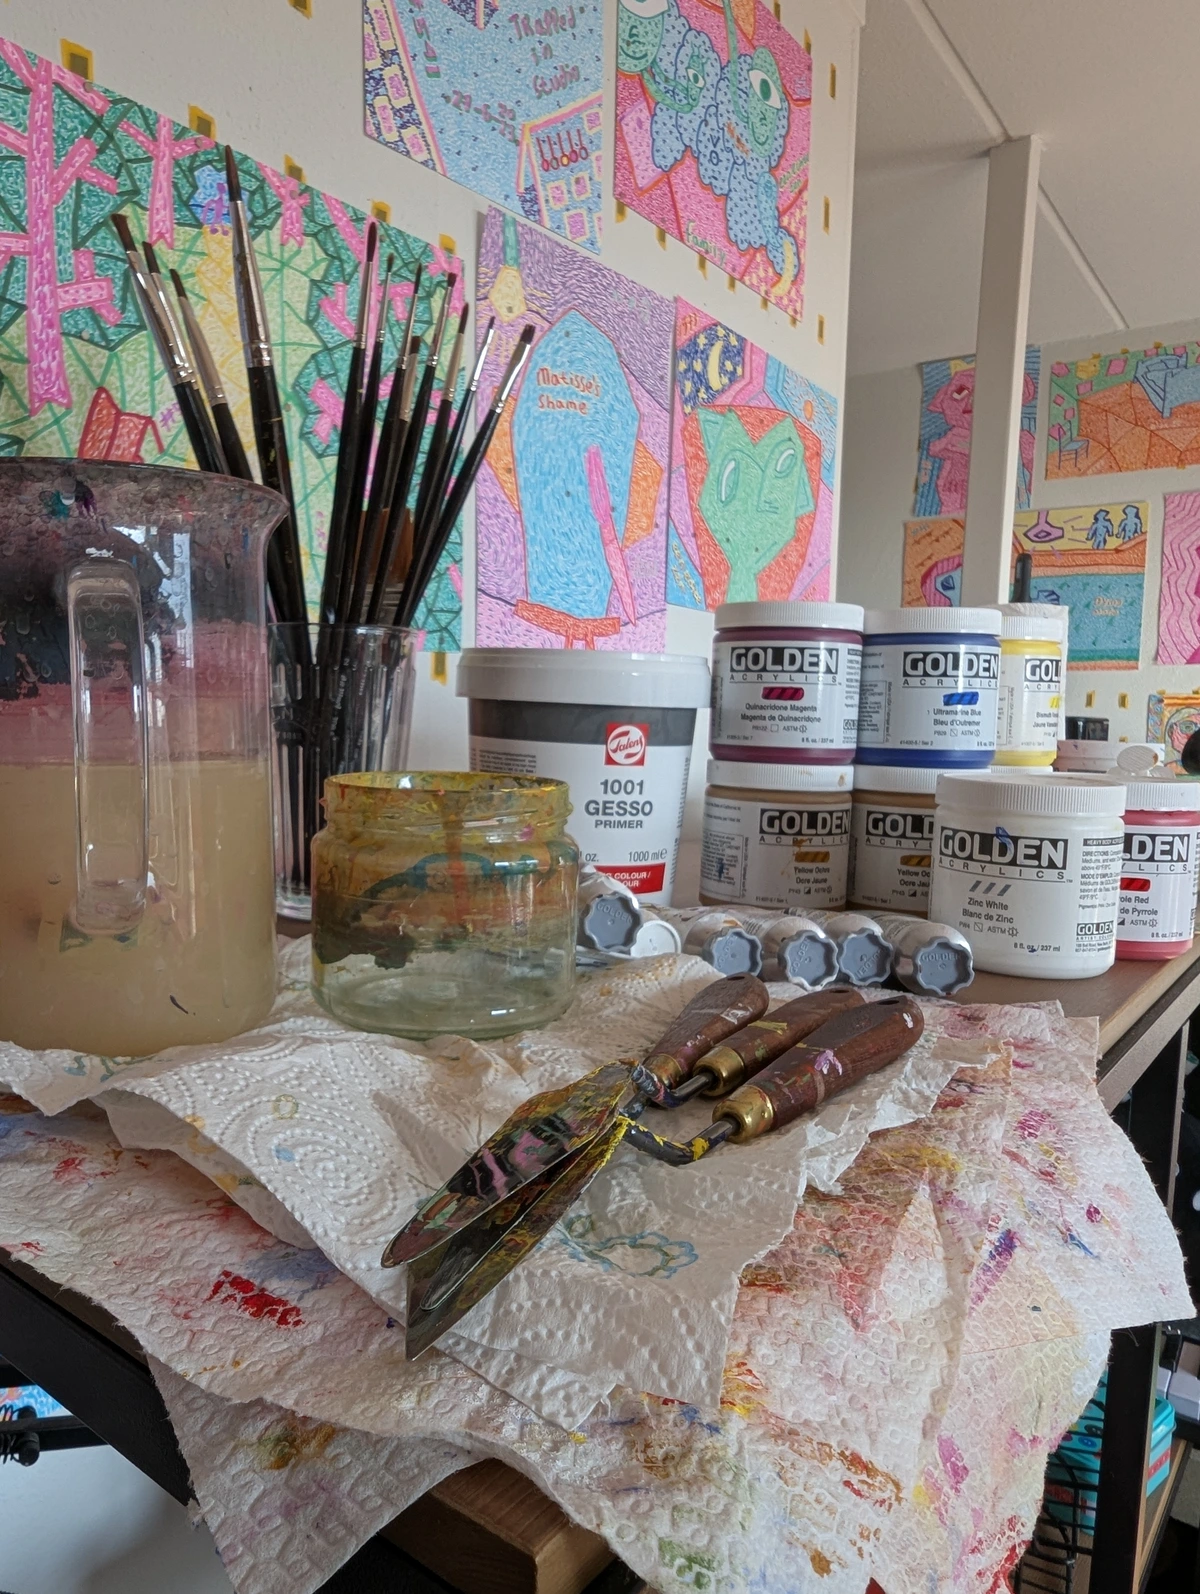
https://freerangestock.com/photos/177284/artists-workspace-filled-with-paint-brushes-and-supplies.html, https://creativecommons.org/public-domain/cc0/
Troubleshooting Corner: When Things Don't Go as Planned (Because they rarely do!)
Let's be real, no one gets it perfect the first time. I certainly didn't!
- Saggy Spots: This is the most common culprit. It usually means uneven tension. The fix? Identify the saggy area, carefully remove the staples around it, re-pull with your pliers, and re-staple. Sometimes, a light mist of water on the back, as mentioned, can work wonders as the canvas dries and contracts.
- Warped Frame: If your stretcher bars weren't perfectly square to begin with, or if you pulled way too hard on one side, your frame might warp. This is harder to fix. Prevention is key: always check for squareness during assembly and try to maintain even tension.
- Canvas Tears: Ouch! This happens. If it's a small tear, you might be able to patch it from the back with a piece of canvas and some archival glue before re-gessoing. For larger tears, you might need to cut out the section and re-stretch that area, or for severe damage, it might be time for a new canvas. It's a bummer, but it's part of the learning curve!
- Bubbling or Wrinkles After Drying: Sometimes, after the gesso or paint dries, you notice small bubbles or wrinkles. This can be due to uneven application of gesso, or sometimes the canvas reacting to humidity. Lightly sanding and applying another thin, even coat of gesso can sometimes smooth it out. For stubborn wrinkles, a very light spritz of water on the back of the canvas might help it contract and tighten.
- Too Many Staples: Don't go overboard! You need enough to secure it, but hundreds of staples just make life harder if you ever need to re-stretch or repair. About 2 inches (5 cm) apart is generally fine.
FAQs: Quick Answers to Your Canvas Stretching Quandaries
Q: Can I stretch canvas without special pliers?
A: You can, but it's much harder to get proper tension with just your hands. Your fingers will get tired, and you'll likely end up with a less-than-perfectly taut surface. I highly recommend investing in canvas pliers. They're not expensive and make a huge difference.
Q: What's the difference between cotton and linen canvas?
A: Cotton canvas is generally more affordable and readily available. It has a medium texture. Linen is finer, stronger, and more durable, making it ideal for large, permanent works, but it's also more expensive. I use both depending on the project.
Q: How much overlap do I really need for stapling?
A: I aim for 2-3 inches (5-7.5 cm) on each side. This gives you enough material to grab with your pliers and wrap around the back of the frame securely. Any less, and you're fighting for grip.
Q: Can I re-stretch an old canvas?
A: Absolutely! If the canvas itself is still in good condition, you can carefully remove the old staples, clean the canvas (if needed), and re-stretch it onto new or existing stretcher bars. It's a great way to recycle materials and give a new life to a forgotten piece, or just practice your stretching skills without wasting new material.
Q: How do I clean a stretched canvas?
A: For a raw or gessoed canvas before painting, a soft brush or a dry cloth can remove dust. Once painted, cleaning depends on the medium. For most acrylics, a soft, damp cloth can gently wipe away surface dust. For oils, wait until the paint is fully cured (which can take months or even years!) and then use a soft, dry brush or a very slightly damp cloth. Always test a small, inconspicuous area first and avoid harsh chemicals.
Q: Do I have to gesso a raw canvas?
A: While you can paint directly on raw canvas (some artists prefer the absorbency and natural look), gesso provides a barrier that protects the canvas fibers from the acids in paint, especially acrylics and oils, and creates a smoother, less absorbent surface for your paint to sit on. It also helps with the longevity of your artwork. For more on how artists use color or the psychology of color, having a good surface is a must.
Wrapping It Up: The Art of the Handmade Foundation
So there you have it – my somewhat rambling but (hopefully) helpful guide to stretching your own canvas. It might seem like a chore at first, another item on the artist's never-ending to-do list, but I promise you, it transforms into something more. It's a quiet moment, a foundational act of creation that sets the stage for everything else. It connects you to the tradition of art-making in a tangible way, deepening your understanding of the materials and the artistic journey itself.
When I look at my finished pieces, knowing I prepared the very surface they live on, from selecting the wood and canvas to the careful stretching and priming, there's an extra layer of pride, a deeper sense of ownership. It's a small victory, yes, but it builds confidence and reminds me that every detail matters in the journey of art. This connection to the very foundation of your work can infuse your painting with an intention and authenticity that is palpable. Perhaps it's this attention to detail that eventually leads to a piece that finds its way into someone's home, or even a cherished spot in a collection. You can see some of the canvases I've lovingly stretched and painted over the years in my online shop or learn more about my journey on my timeline.
Give it a try. Get your hands dirty. Feel the canvas, embrace the process, and build your art from the ground up. You might just find a new favorite ritual – a grounding, satisfying prelude to the vibrant chaos of creation.


