
Why Your Paintings Crack: The Ultimate Guide to Prevention & Preservation
That gut-wrenching moment when your art cracks? Demystify craquelure in oil & acrylics. This ultimate guide covers material science, environmental control, and expert techniques to prevent paint film failure, ensuring your art endures. Learn practical strategies for lasting art.
Why Your Paintings Crack: The Ultimate Guide to Prevention & Preservation
That gut-wrenching moment. You pull out an old painting, one you poured your soul into, only to find it covered in a fine web of cracks. It feels like a betrayal by the very materials you trust. I’ve been there, stomach dropping as I rediscovered a canvas years after it was finished, looking like a dried-up riverbed. What did I do wrong? Was it the paint? The canvas? The chaotic temperature swings of my first studio (which, let's be honest, was really just a glorified shed)?
It turns out, it was a bit of all of the above. Paint film cracking, or craquelure if you want to use the conservator's term, isn't some random act of artistic chaos. It’s physics. It's chemistry. And the good news? Once you understand the why, the how-to-prevent-it becomes second nature. Think of it like this: if you understand the anatomy of a bridge, you know how to build one that won't collapse. This is everything I’ve learned—the hard way, mostly—about keeping your paint exactly where it's supposed to be: intact on the canvas. It's about ensuring your creative vision endures, not just for you, but for future admirers. In this comprehensive guide, we'll break down the science behind why paint cracks, explore the environmental factors that contribute, and equip you with practical strategies to prevent it, so your art can stand the test of time.
The Unseen Forces: Why Paint Films Fail (The Science Simplified)
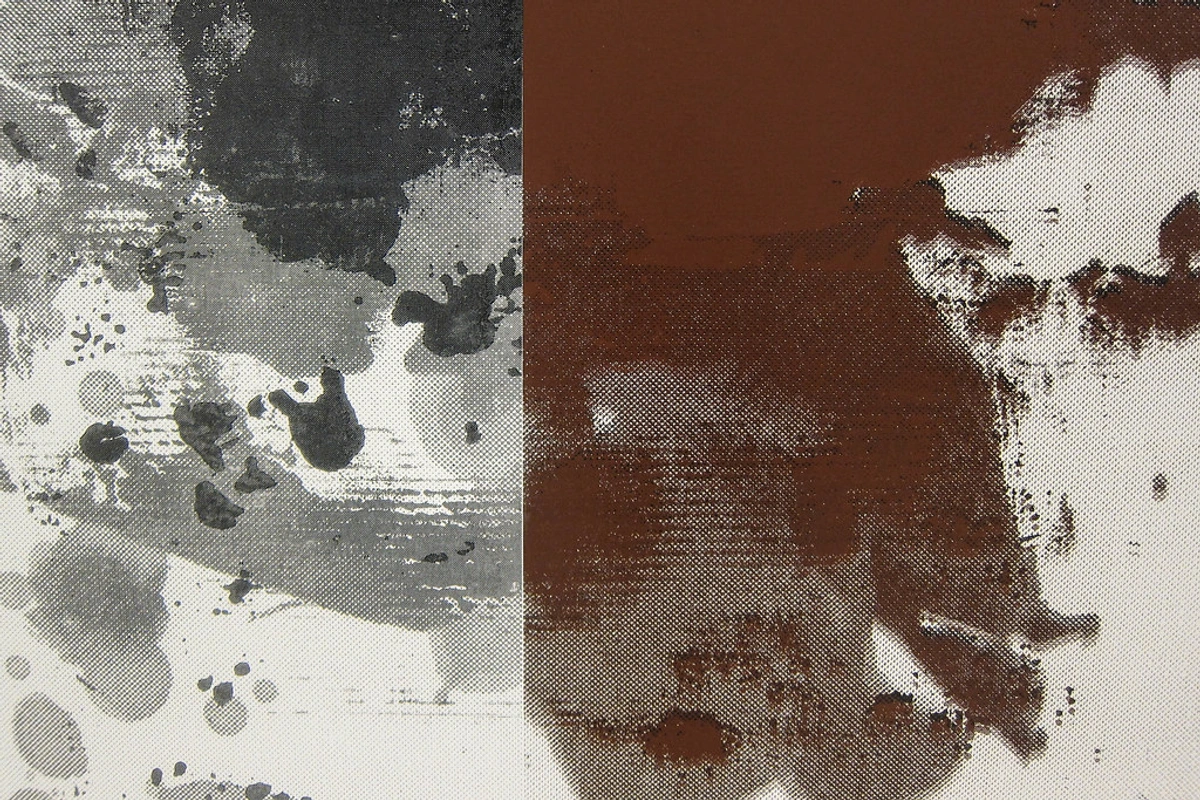
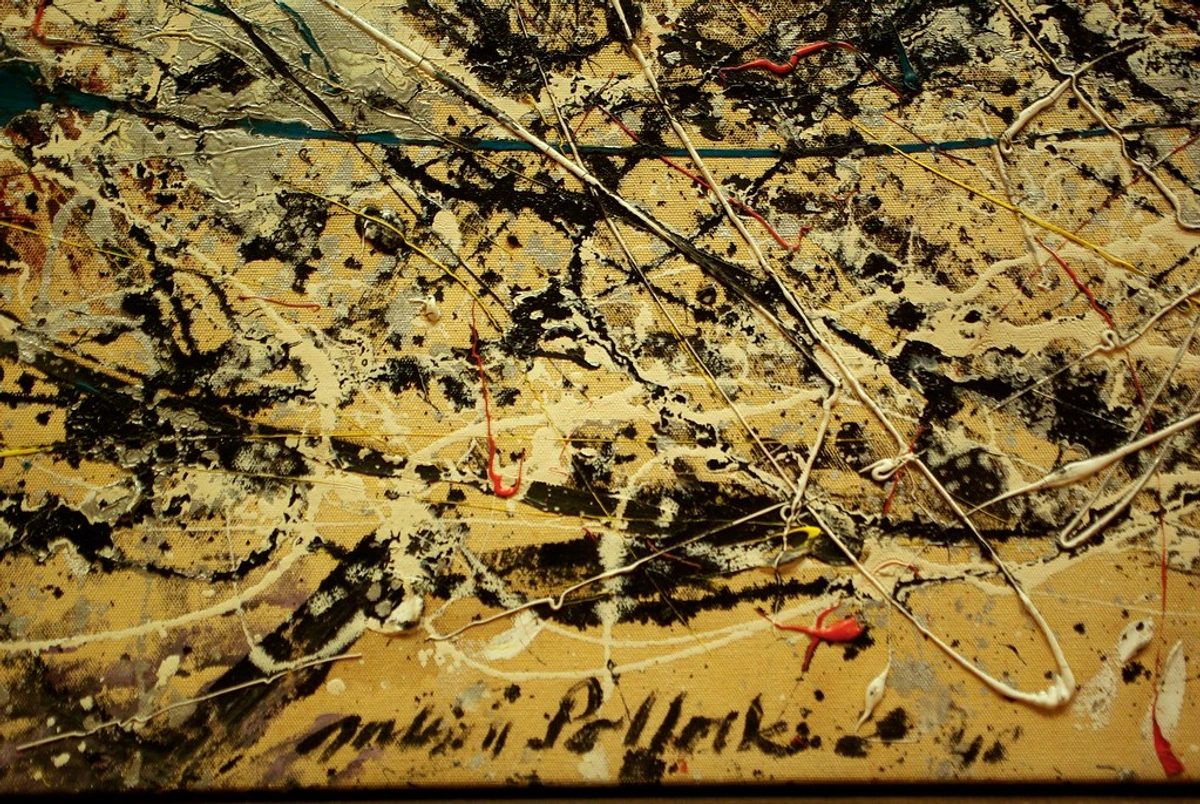
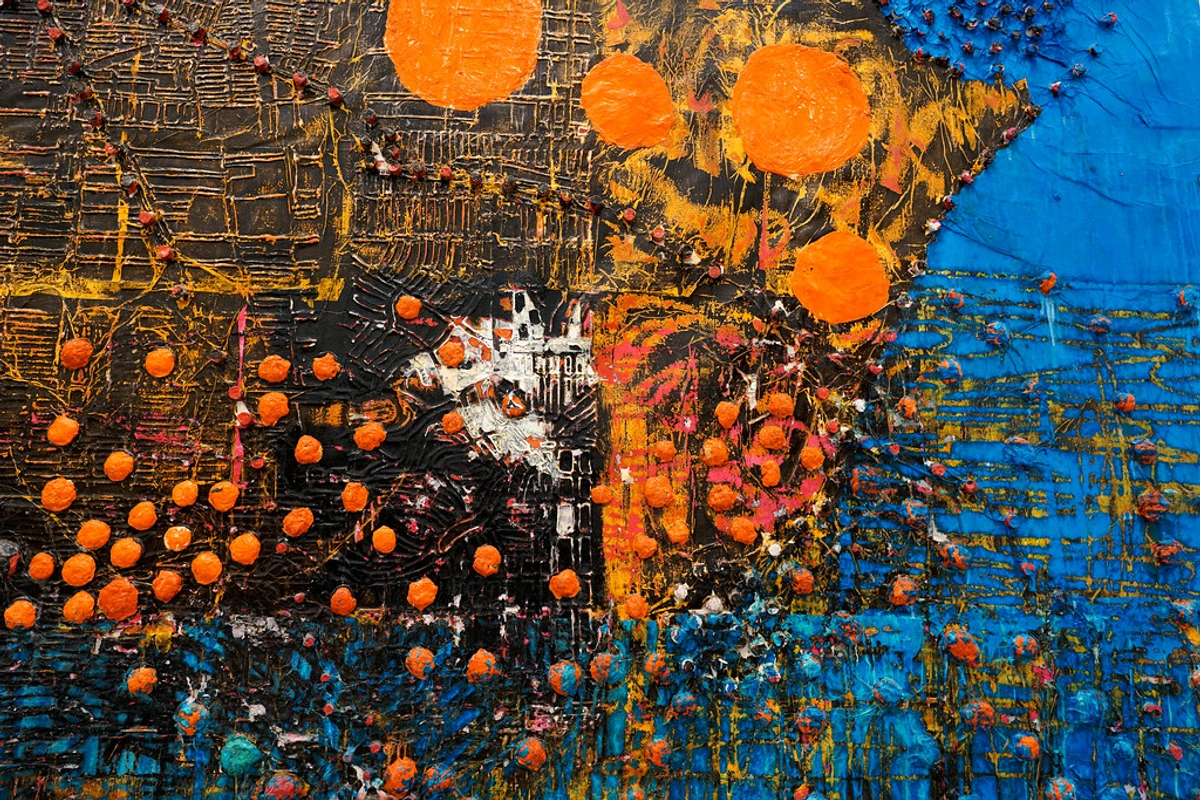
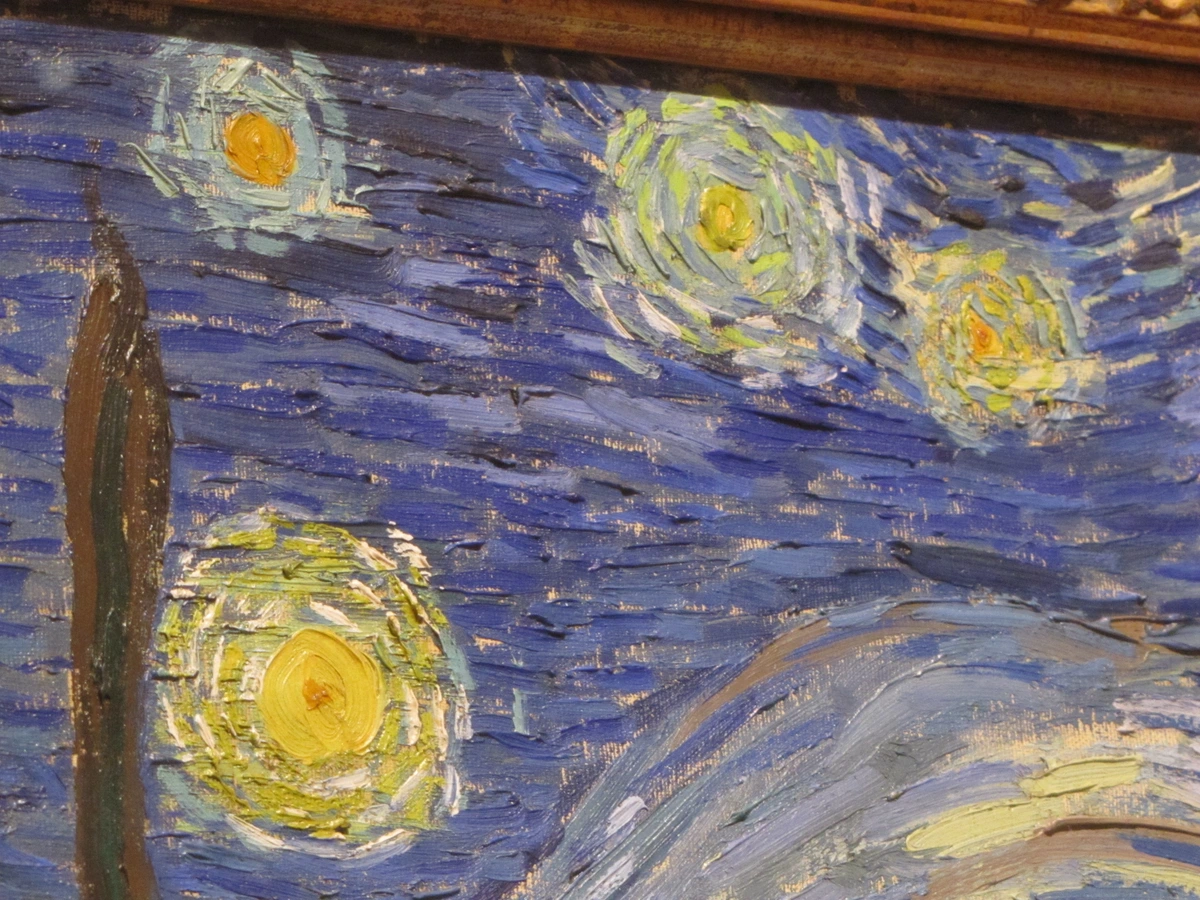
At its core, paint cracking is about stress. The paint film is under tension, and when that tension becomes too much for it to handle, it breaks. Imagine stretching a rubber band too far. Snap. That's your paint layer. This isn't just a modern problem; artists have battled with it for centuries. Even the Old Masters grappled with materials that would later crack, leaving behind intricate networks on their masterpieces that, while sometimes adding a sense of age, were largely unintended. For instance, rigid tempera paint, popular in the Renaissance, often developed fine cracks when applied over more flexible wooden panels or canvas supports, or when subjected to slight structural movement. Fresco paintings, drying directly into plaster, faced different challenges; if the plaster cracked, so did the paint. Over time, as materials science advanced, we've gained a much deeper understanding of these complex interactions, shifting from simple observation to a precise understanding of the material's integrity.

What is Film Integrity?
This stress comes from a few key culprits, impacting the paint's overall film integrity – its ability to remain whole and cohesive, to withstand internal and external forces without breaking or delaminating. Think of it as the structural backbone of your painting, needing to be robust enough to handle the subtle shifts and strains of existence. It's about the paint's molecular structure holding together – the intricate polymer chain interactions in acrylics or the cross-linking (forming of strong chemical bonds) of oil molecules during oxidation.
Key Culprits in Paint Film Failure
Let's break down the main reasons your paint might decide to throw a fit and crack.
- Support Movement (The 'Shifting Foundation' Nightmare): Your canvas or panel isn't a static object. It moves. A poorly stretched canvas can sag and ripple, stressing the paint film on top of it. Wood panels, while more rigid, can still warp and move significantly with humidity changes. This movement is often anisotropic, meaning it expands and contracts differently along its grain than across it. Why? Because wood is made of elongated cellulose fibers that absorb and release moisture unevenly. Think of it as a bunch of tiny straws. When they soak up water, they expand more in width than in length. MDF, being engineered wood, offers good dimensional stability but can swell if exposed to moisture. Plywood is more stable than solid wood due to its cross-grain construction but can still warp. Solid wood panels, with their distinct grain orientation, are generally the most prone to significant movement (cupping, bowing) with humidity shifts. Even metal supports (like copper or aluminum) can expand and contract with temperature, albeit less dramatically than wood, requiring careful priming for adhesion. You can learn more about this in my guide on how to stretch a canvas on stretcher bars or by exploring what are stretcher bars for canvas. Ensuring your support is stable and prepared is foundational. It's like building on bedrock, not shifting sand.
- Flexibility Mismatch (The 'Glass on Jelly' Problem): Different layers of paint (and the canvas itself, known as the support) expand and contract at different rates with changes in temperature and humidity, and as they cure. If a rigid, inflexible layer is on top of a more flexible one, it’s going to crack under the strain as the underlying layer continues to move and cure (oxidize for oils, polymerize for acrylics). This is the whole basis for the famous "fat over lean" rule in oil painting, which we'll dissect in a moment. Different types of pigments can also affect this; their particle size, shape, and oil absorption rate (how much oil binder they need to form a cohesive paste) can influence how much binder is needed and how dense and flexible the final film is. Highly absorbent pigments like Ultramarine Blue can sometimes lead to weaker films if the binder is insufficient, while pigments with high oil absorption, like lead white or certain earth pigments (e.g., Sienna, Umber), often create more flexible films. Cadmium pigments, for instance, are known for creating quite stable films. It's a delicate chemical dance of intermolecular forces and polymer chain interactions.
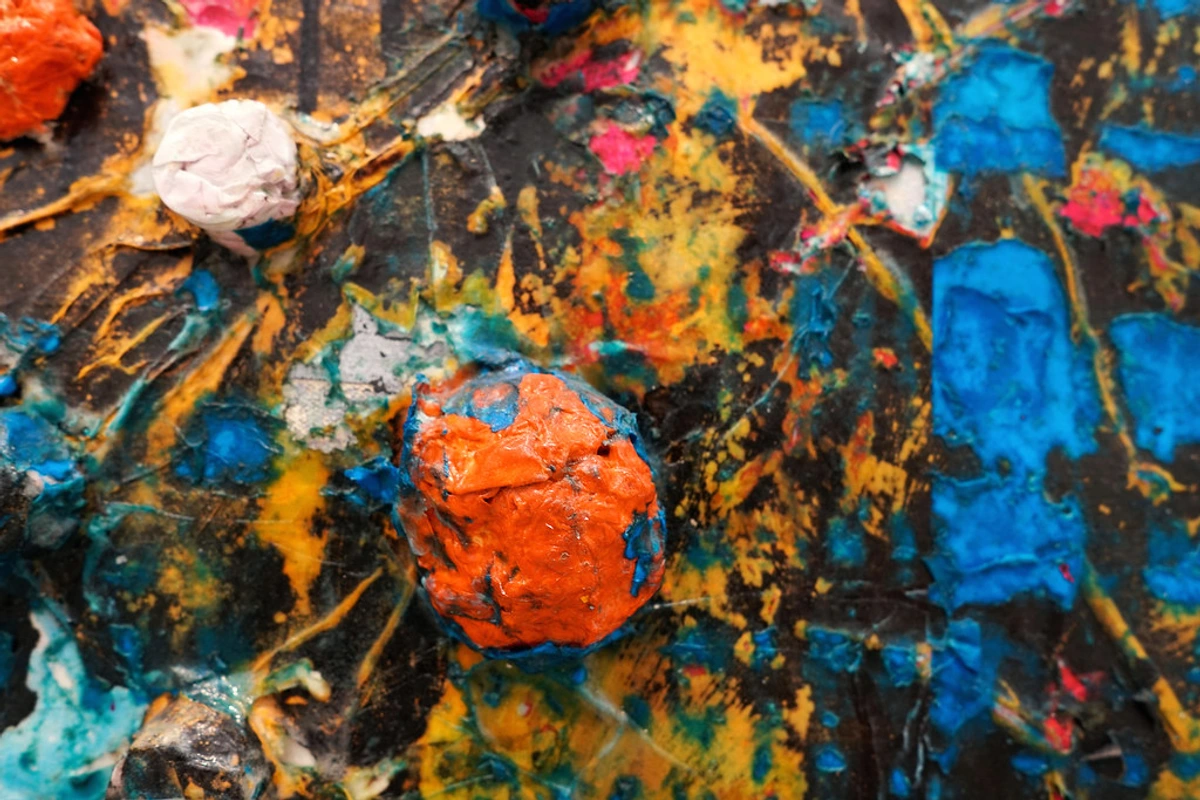
- Shrinkage (The 'Desert Floor' Effect): As paint dries, it shrinks. For acrylics, this is primarily due to water evaporation, causing acrylic polymer particles to coalesce (pull closer together and fuse) and form a dense film. For oils, solvents evaporate, and the oil molecules undergo a slow oxidation process, cross-linking and forming a denser, hardened film. If the top layer of paint dries and shrinks much faster than the layer beneath it, it will pull apart and crack. Think of dry, parched earth pulling apart over moist soil, or a dessert crust cracking as the filling underneath settles. This is particularly common in acrylics if thick layers aren't allowed to dry thoroughly from the inside out, leading to what artists often call crazing – a network of very fine, shallow surface cracks. My friend once got impatient with a super thick acrylic pour, and it ended up looking like a map of a forgotten planet, all fine fissures.
Cause of Cracking | Description | Common Impact | Visual Appearance | Prevention Strategy |
|---|---|---|---|---|
| Support Movement | Instability/flexibility of canvas/panel. | Random cracks, delamination. | Irregular patterns, localized lifting/flaking. | Stable stretcher bars/panels; control environment. |
| Flexibility Mismatch | Rigid layer over flexible layer; differing expansion/contraction. | Deep cracks, alligatoring. | Wide, irregular cracks; sometimes scale-like (alligatoring). | Follow "fat over lean"; use appropriate mediums. |
| Shrinkage (Crazing) | Top layer dries/shrinks faster than underlying layer. | Surface crazing, fine cracks. | Fine, shallow, spiderweb-like cracks. | Apply paint in controlled layers, allow adequate drying. |
Environmental Factors: The Silent Saboteurs
Beyond your direct painting technique, your studio and display environment plays a huge role. Drastic and rapid fluctuations in temperature and humidity are the enemy of stable artwork. The canvas, the wooden stretcher bars, and the paint layers all expand and contract in response to these changes. If they do it too quickly or too often – for instance, a 10°C (18°F) temperature swing or a 20% relative humidity change over a few hours – it creates immense stress that leads to cracks. Think of a constant tug-of-war on your painting's molecular structure. Low humidity can make paint films brittle, while high humidity can cause supports to swell, creating pressure. It’s a delicate balance. I once left a canvas in a perpetually damp basement for a few weeks, and when I brought it back up, I could almost feel the tension it had absorbed. It wasn't cracked yet, but it was clearly unhappy.
Extreme cold can make paint films brittle, while extreme heat can accelerate drying unevenly. Damp conditions can lead to mold and also cause expansion in canvases and panels, putting stress on the paint. For long-term preservation, proper art storage is just as critical as proper painting technique. My general advice: aim for a stable temperature between 18-24°C (65-75°F) and a relative humidity between 40-60%. Tools like hygrometers and thermometers can help you monitor these conditions. Explore solutions for art storage solutions for collectors. Remember, even the most expertly painted piece can succumb to a hostile environment.
The Fix: Maintaining a Stable Environment
Try to store and create your work in a stable environment. Avoid drafty attics, damp basements, or hanging a freshly finished piece right above a radiator. Consistency is key. Even after a painting is dry, archival framing and controlled display environments can significantly mitigate environmental stress over time, protecting your work for generations. Look for acid-free materials in your framing and storage solutions to avoid long-term degradation that can compromise paint film stability. Why acid-free? Because acidic conditions accelerate the breakdown of organic materials like canvas fibers and paint binders. For oil paint, this means a process called hydrolysis, where water molecules break the ester bonds in the oil binder, essentially fast-forwarding the aging process and making the film brittle. For acrylics, while generally more stable, prolonged acidic conditions can still affect the polymer chains over centuries. It's like prematurely decaying the glue that holds everything together. Your studio is your painting's first defense against cracking – make it a sanctuary.

Your Studio's Battleground: Practical Culprits and Prevention
Now that we understand the fundamental science and environmental factors behind why paint cracks, let's dive into the practical culprits we encounter in our studios. I like to think of this as a detective's checklist. When I see cracking, I run through these potential suspects to figure out the cause. More importantly, I keep these in mind before I even start painting to prevent the crime from ever happening. Are you starting your masterpiece on the most stable foundation possible?
1. Improper Surface Preparation
This is ground zero. Starting on a surface that’s too absorbent or isn't properly sealed is asking for trouble. An unprimed canvas will suck the binder—the acrylic polymer or oil that holds the pigment together—right out of your first paint layers, leaving the pigment weak, brittle, and prone to cracking. I learned this the hard way when a whole section of a piece I was so proud of just disappeared into the canvas, leaving behind a chalky, fragile mess. It was like painting on a sponge, and the paint just gave up the ghost. This lack of a proper ground directly impacts the paint's film integrity by preventing adequate adhesion and cohesion of the pigment particles.

The Fix: Always Prime Your Surface
Always, always prime your surface. A few good coats of gesso create a stable, non-absorbent ground for your paint to adhere to. It gives the paint a fighting chance by providing a uniform, stable interface. Not only does it protect the canvas from the acids in oil paint, but it also creates a consistent surface tension, reducing differential drying issues. If you're new to this, my beginner's guide on how to apply gesso is a great place to start, or dive deeper into how to prime raw canvas. Also consider how to prepare a canvas for acrylic painting specifically, or the choice between primed vs unprimed canvas. This choice also impacts how to choose the right canvas for acrylic vs oil. Using high-quality, acid-free primers is a small investment for massive long-term benefits. For oil painting, traditional oil-based primers or rabbit skin glue sizing followed by an oil ground offer excellent stability, while for acrylics, an acrylic gesso is ideal. Think of it as painting on a solid, well-prepared wall versus a crumbling plaster surface.
2. The "Fat Over Lean" Rule (For Oil Painters)
This is the big one for oil painters. It sounds like something from a weird diet plan, but it's the golden rule of paint stability. If you ignore it, it's like building a house on quicksand, or trying to balance a rigid sheet of glass on a wobbly plate of jelly. You’re asking for structural failure.
- Lean Paint: Has less oil (binder). It's either straight from the tube or thinned with a solvent like turpentine or mineral spirits. It's less flexible and dries faster (because the solvent evaporates quickly). You can think of it as the stiff, fast-drying foundation.
- Fat Paint: Has more oil (binder). This is paint mixed with an oil medium like linseed oil, poppy oil, walnut oil, or an alkyd medium. It's more flexible and dries much slower. This is the more pliable, slow-drying topcoat.
The Fix: Always Paint Fat Over Lean
You must always paint fat over lean. Your first layers should be lean, and subsequent layers should get progressively fatter (have more oil). Why? Because lean layers dry and harden faster. If you paint a lean, fast-drying, rigid layer on top of a fat, slow-drying, flexible layer, the top rigid layer will crack as the more flexible, still-curing layer underneath continues to shift, expand, and contract. It's a recipe for disaster where the top layer has no give, and the bottom layer is still restless, creating immense differential tension. This is crucial for the long-term film integrity of your painting. Consider this rule when exploring different paint types for artists and their drying properties. Even when using alternative thinning agents like walnut oil or stand oil, the principle of increasing flexibility and oil content with each successive layer holds true. Ignoring this rule is probably the most common cause of deep cracking in oil paintings, what we call alligatoring – wide, irregular cracks resembling reptile skin.

Layer Type | Composition (Binder Content) | Drying Speed | Flexibility (when dry) | Common Mediums (Examples) |
|---|---|---|---|---|
| 1 (Lean) | Paint + Solvent (minimal oil) | Fast | Low | Turpentine, Mineral Spirits |
| 2 (Medium) | Paint + a little oil medium (e.g., up to 10-20% by volume) | Medium | Medium | Linseed oil (sparingly), Alkyd medium, Walnut Oil (sparingly) |
| 3 (Fat) | Paint + more oil medium (e.g., 20%+ by volume) | Slow | High | Linseed oil, Poppy oil, Walnut oil, Stand Oil |
3. Too Much Water or Solvent (For All Paints)
Whether you're using acrylics or oils, thinning your paint too much with plain water or excessive solvent is a fast track to cracking. Why? Because you're severely diluting the binder—the acrylic polymer or oil that holds the pigment together and makes it stick to the surface. With too little binder, the dried paint film is just a weak, brittle layer of pigment waiting to crumble, like a sandcastle with no water. It lacks the cohesive strength to form a durable film.
For oils, adding water directly is particularly problematic as it can create an unstable emulsion (oil and water, as we know, don't mix well!), leading to paint that never fully cures or that cracks and flakes prematurely. It literally interferes with the oxidation process that allows oil paint to harden into a stable film. For acrylics, while water is the primary diluent, using too much tap water can introduce impurities like minerals, chlorine, or varying pH levels that may compromise the film over time; distilled water is a safer bet if you must thin significantly. While exact ratios are hard to give due to variations in paint brands and pigments, a good rule of thumb is to avoid thinning more than 10-20% with pure solvent/water for your initial layers, and always opt for a dedicated medium for significant thinning. Seriously, don't be tempted to skip the medium – it's a small investment for massive stability. I once got impatient and thought, "A little more water won't hurt," only to see my vibrant washes turn into a brittle mess months later. Learn from my mistakes! Always remember, the binder is the glue of your painting; dilute it too much, and the glue loses its stick.
The Fix: Use Dedicated Mediums for Thinning
If you want to make your paint more fluid, use a dedicated medium instead of just water or solvent. For acrylics, use an acrylic flow improver or fluid medium (you can explore best acrylic mediums for abstract artists for ideas). These mediums maintain the polymer integrity. For oils, use an appropriate oil medium like linseed oil, poppy oil, or an alkyd medium, which enhances flow and maintains film integrity. You'll find a medium for every desired effect, from glazing to impasto, all designed to support the paint film's long-term health. Consider my guide on what are painting mediums a beginners guide for more insights.
4. Thick, Heavy Applications (Impasto) & Aggressive Brushwork
I love a good, chunky, textured passage in a painting. But applying impasto (very thick paint) incorrectly can cause issues. The drying mechanisms of acrylics and oils react differently here, and even your approach with a brush or palette knife can introduce stress.
- Acrylics (The 'Skinning' Problem): Acrylics dry from the outside in as water evaporates. A very thick glob of acrylic paint can form a skin on the surface while the inside is still wet. As the inside eventually dries, shrinks, and loses its water content, it can cause the outer, already rigid skin to crack or craze (a network of very fine, shallow surface cracks). It’s like a dessert that looks done on the outside but is still gooey in the middle, and then the gooey part shrinks, pulling the crust apart. To facilitate even drying, apply impasto in manageable layers, or even 'peek' at the underside if possible. Using translucent mediums can help visualize internal drying. Building up impasto in acrylics requires patience and the right mediums like heavy gel or modeling paste.
- Oils (The Slow Cure Conundrum): Oil paints cure through a slow oxidation process, which happens from the top down to some extent. A thick application of oil paint can remain wet and unstable underneath a seemingly dry surface for months, or even years. This long, uneven drying process leads to significant stress and deep cracking (sometimes called alligatoring if the cracks are large and irregular, resembling reptile skin) as layers settle at vastly different rates. The internal tensions become too great for the film to hold itself together. Alkyd paints, on the other hand, incorporate synthetic resins that accelerate drying, reducing this risk in thick applications, but still require proper layering. I've had pieces I thought were fully dry only to discover they were still 'alive' years later, a humbling and frustrating experience.
- Brushwork & Application Technique: Even without excessive thickness, overly aggressive or inconsistent brushwork can introduce stresses. Dragging a stiff brush through paint that's already partially dry, or applying paint in highly varied thicknesses within a single layer, can create differential tensions that predispose the film to crack. Mastering what is a palette knife and how to use it can help you apply paint more consistently and deliberately.
The Fix: Build Layers and Use Impasto Mediums
If you're going for extreme texture, build it up in thinner layers, letting each one dry adequately. Or, even better, use a dedicated impasto or gel medium. These are designed to add bulk and texture without compromising the stability of the paint film (check out my Liquitex Basics acrylic paint review for some accessible options, or explore exploring texture: my favorite techniques for adding depth to abstract paintings). Applying paint to a surface that is too hot or too cold can also cause stress during drying, so maintain a consistent studio temperature. Remember, even with modern mediums, patience is your secret ingredient, especially for impasto. Don't rush a good thing!
Paint Type | Drying Mechanism | Risk Factors for Cracking in Thick Layers | Visual Cracking Type | Prevention Strategy |
|---|---|---|---|---|
| Acrylic | Water evaporation (outside-in) | Surface skinning, internal shrinkage | Crazing (fine, shallow) | Build in thinner layers, use acrylic impasto gels, ensure full drying. |
| Oil | Slow oxidation (top-down) | Uneven curing, long internal wetness | Alligatoring (deep, wide) | Follow "fat over lean," allow ample drying between layers, use alkyd mediums. |
The Alchemy of Art: Pigments, Additives, and the Unseen Hand
Beyond the binder, the very pigments themselves and any additives can influence film stability. Some pigments, due to their particle size, shape, or chemical composition, inherently form more brittle or flexible films, even when mixed with the same binder. For instance, finely ground pigments tend to create denser, sometimes more rigid films with fewer voids, while coarsely ground pigments can create a film with more internal voids, potentially making it weaker. Understanding these nuances can inform your material choices.
For example, traditional lead white is known for forming exceptionally flexible and durable paint films due to its unique chemical interaction with oil, contributing to its historical popularity. The lead atoms actually participate in the polymerization (cross-linking) of the oil, forming a highly robust and elastic network. In contrast, some modern synthetic organic pigments, while offering incredible vibrancy, can sometimes form more brittle films if not properly formulated with sufficient binder. It's a complex interplay of the pigment's molecular structure, its oil absorption rate, and its interaction with the binder. Pigments with crystalline structures can sometimes introduce points of weakness within the film, while amorphous pigments might integrate more seamlessly. This is why sticking to reputable, artist-grade paint brands, which meticulously balance these factors, is always a good idea.
Additives and Film Integrity
Commercial paints often contain various additives to improve workability, shelf life, or specific visual effects. Flow improvers, matting agents, dispersants, and stabilizers are common. While generally beneficial, excessive or incompatible additives can sometimes compromise the long-term film integrity. For example:
- Matting Agents (e.g., Silica): Too much can lead to a more porous, brittle film that is more susceptible to cracking and abrasion. The silica particles interrupt the continuous polymer network of the binder, creating internal points of weakness.
- Flow Improvers/Leveling Agents: While improving brushability, an overabundance can reduce the film's tensile strength by interfering with polymer coalescence or binder cross-linking. This means the paint won't form as strong a bond with itself, making it more prone to pulling apart.
- Dispersants: Ensure pigments are evenly distributed, but excessive amounts can sometimes weaken the binder-pigment bond by creating a barrier layer, leading to delamination or reduced cohesion within the film.
- Extenders/Fillers: Used to modify texture or opacity, but high ratios can dilute the binder and make the film less durable, as there's less binder per pigment particle to hold everything together. It's like having too much sand and not enough cement in your concrete mix.
Always trust reputable brands and understand the composition of what you're using. When experimenting, test new materials thoroughly before committing them to a significant piece. Your painting's future literally depends on these tiny, unseen components.
Glazing, Varnishing, and the Final Touches
The final layers of your painting, including glazes and varnishes, play a crucial role in its longevity and film integrity. While not direct causes of initial cracking (the underlying issues discussed above are usually the primary culprits), improper application or incompatible materials in these stages can exacerbate existing issues or even create new ones over time. A glaze, particularly an oil-based one, must adhere to the fat over lean principle to prevent cracking beneath the surface. Using an overly lean glaze on a fat layer, for example, is a recipe for disaster.
The Role of Varnish
Varnish is a protective topcoat, not a structural fix. It shields the painting from dirt, UV light, and minor abrasions. While it can help even out the final tensions in a dried paint film and provide a buffer against humidity swings, it won't prevent cracking caused by poor technique underneath (like painting lean over fat) or fundamental material instability. Applying varnish too soon, before the paint layers are fully cured (especially for oils, which can take six months to a year or more, depending on thickness and pigment), can trap solvents and inhibit proper drying, leading to delamination or cracking. Over-varnishing, or using a varnish that is too rigid for a flexible paint film, can also lead to stress cracks as the painting naturally expands and contracts. Always ensure your varnish is compatible with your paint type and applied only when the artwork is fully dry. My guide on how to varnish an oil painting offers detailed instructions.

Intentional Craquelure: A Historical Aside
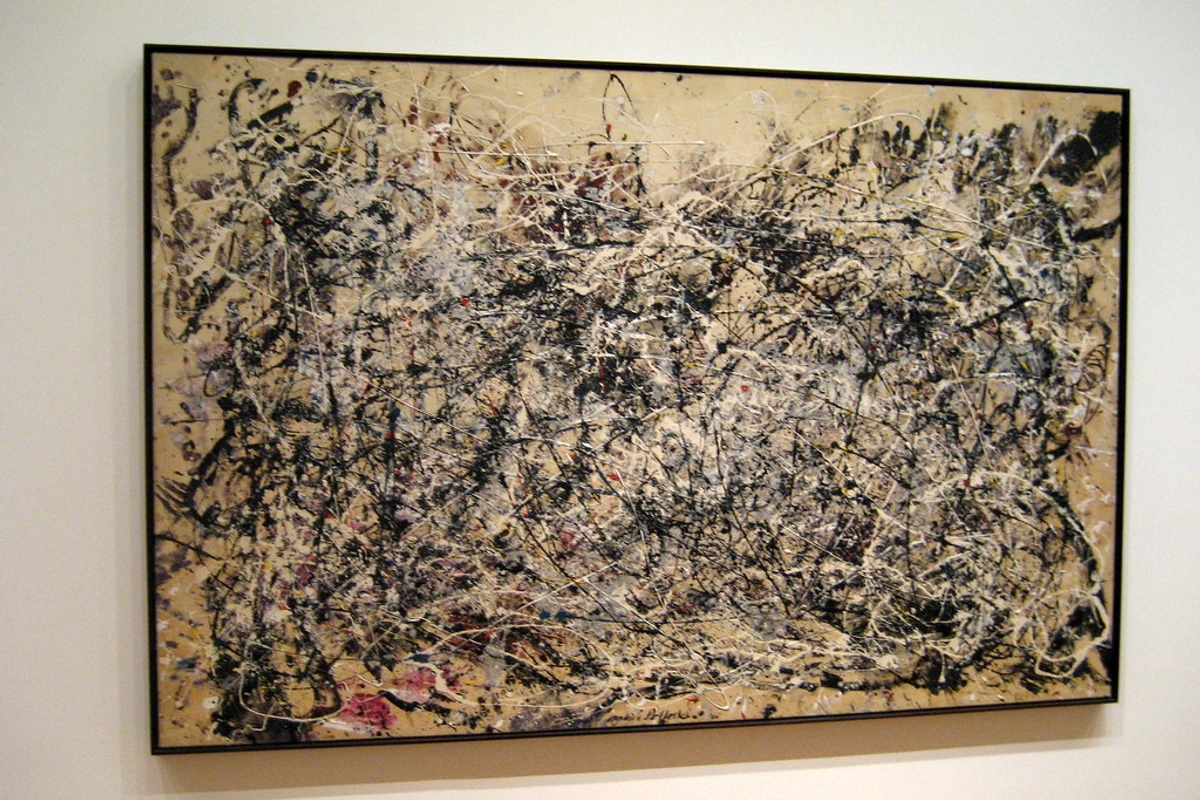
While this article focuses on preventing cracks, it's worth noting that craquelure has sometimes been intentionally created or emulated for aesthetic purposes throughout art history. In certain decorative arts (like verre églomisé or specific furniture finishes) or restoration techniques, artificial craquelure might be introduced to make a piece appear aged or to match a historical style. However, this is a highly specialized craft, distinct from the structural integrity issues we've discussed. For fine art intended for longevity, the goal remains prevention, ensuring the cracks you see are not a betrayal, but perhaps, a happy accident of nature – if any appear at all.
Frequently Asked Questions (FAQ)
Q: Why are my acrylic paintings cracking when they dry?
A: This is often due to applying acrylics too thickly in a single layer, causing the surface to dry faster than the interior (the 'skinning' effect), leading to shrinking and cracking as the internal moisture evaporates. It's like a thin skin forming over a still-wet core that then pulls the skin apart as it dries. Over-thinning with plain water (especially tap water, which can contain impurities like minerals and chlorine that compromise film integrity), particularly in very dry or hot environments, can also dilute the essential binder too much, resulting in a weak, brittle paint film that lacks cohesion. Using a dedicated acrylic medium for thinning or building up thick layers gradually can prevent this. Remember that patience is a medium unto itself. What a great problem to have: too much enthusiasm! But even great art needs a stable foundation to last.

Q: Can I fix a painting that has already cracked?
A: This is a tough one, and my stomach drops every time I see it. For minor surface crazing or very small cracks that haven't flaked, a good coat of archival varnish can sometimes consolidate the surface and prevent further flaking, acting as a protective barrier. However, for significant, deep cracks (like alligatoring), or areas where paint has begun to lift or flake, it's really a job for a professional art conservator. Attempting DIY fixes for severe damage is rarely permanent and can sometimes make things much worse, introducing incompatible materials, causing irreversible damage, or diminishing the artwork's long-term value and artistic integrity. For most of us, prevention is a million times easier than a cure! Professional conservators use specialized techniques such as consolidation (re-adhering paint fragments) and filling (replacing lost paint), which require expert knowledge and materials.
Q: What are the signs of paint cracking, and what do they look like?
A: The most obvious sign is visible lines or fissures in the paint surface. These can vary greatly:
- Craquelure/Hairline Cracks: These are very fine, often shallow, spiderweb-like cracks, typically appearing in acrylics (often called crazing) or in older paintings. They can be subtle and follow the natural drying pattern, sometimes even being seen as a desirable sign of age in historical works. Crazing is generally less severe and usually confined to the surface layers.
- Deep Cracks: These penetrate through multiple paint layers and can indicate more serious structural problems, like fat over lean issues or extreme support movement. They often appear more irregular and wider than hairline cracks, sometimes accompanied by a visible separation.
- Alligatoring: This is a specific type of deep cracking where the surface resembles the scaly pattern of alligator skin. It often occurs when a fast-drying, rigid top layer is applied over a slow-drying, flexible, or uncured layer, typically in oils, creating significant differential tension. It's a visually dramatic form of paint film failure.
- Flaking/Lifting: This is the most severe stage, where cracked paint is actually separating from the layer beneath or from the support. This indicates a complete failure of adhesion and film integrity, and often requires urgent professional intervention. It's the point where your painting is literally falling apart.

Q: How long do I really need to wait between layers for oil painting?
A: Patience, my friend, is your best (and cheapest) medium here. The classic advice is to wait until the layer is "touch dry," meaning it doesn't feel tacky when you gently press your knuckle into an inconspicuous area. But this can vary wildly based on the paint (some pigments dry faster), the medium you used (alkyds accelerate drying, poppy oil slows it down), and your environment. A thin, lean layer might be ready for the next coat in a day or two. A thick, fat layer might need a week, a month, or even more. If it's still soft or impressionable, wait longer. Rushing this step is a prime cause of internal tension and later cracking. There's no single answer, only careful observation and a bit of a trust fall into the process. My personal rule is: when in doubt, wait another day. You can't rush the slow magic of oil paint oxidation!

Q: Does varnish prevent cracking?
A: Varnish is a protective topcoat, not a structural fix. It shields the painting from dirt, UV light, and minor abrasions. While it can help even out the final tensions in a dried paint film and provide a buffer against humidity swings, it won't prevent cracking caused by poor technique underneath (like painting lean over fat) or fundamental material instability. It's the last line of defense, the final seal of care, but it's not the foundation. Think of it as a great rain jacket – it protects the outer layer, but it won't fix a leaky roof underneath. The structural integrity must be built from the ground up, with an eye on archival materials from the first stroke.
Q: Are some pigments more prone to cracking than others, irrespective of application technique?
A: Yes, absolutely. Beyond the binder, the inherent properties of certain pigments can influence a paint film's flexibility and long-term stability. Some pigments, due to their particle structure (e.g., highly crystalline vs. amorphous), oil absorption rate, or even chemical reactivity, can create films that are inherently more brittle or, conversely, more flexible. For example, traditional lead white is renowned for forming exceptionally flexible films due to its unique interaction with oil. In contrast, some modern synthetic organic pigments, especially if formulated with insufficient binder or if their particles are unusually brittle, might create weaker films. It's a complex interplay, and reputable paint manufacturers work diligently to balance these properties for stability. When in doubt, research the specific properties of your chosen pigments or stick to well-established, artist-grade paints that prioritize archival quality. This isn't just about color, it's about the very backbone of your paint.
Q: Are pre-primed canvases always sufficient, or should I re-prime them?
A: Pre-primed canvases from reputable brands are generally suitable for most applications, especially for students and beginners. They provide a decent, uniform surface. However, for artists seeking maximum archival quality, specific texture, or for very demanding techniques, adding one or two extra coats of a high-quality acrylic gesso (for acrylics) or an oil-based primer (for oils) can significantly improve the surface. This allows you to tailor the absorbency and tooth to your preference, ensuring optimal adhesion and creating a stronger, more stable foundation for your paint layers. It's an extra step that can make a big difference in the longevity of your work, especially if you're dealing with very absorbent raw canvases or want to ensure a truly impermeable barrier for oil paints. Think of it as an extra layer of insurance for your masterpiece.
A Final Thought: Painting for Longevity
Learning to prevent paint from cracking isn't about restricting your process with a bunch of boring rules. It’s the opposite. It's about understanding your materials so deeply that you can push them to their limits without fear. It's about finding freedom within a framework of knowledge, ensuring your creative vision endures. For me, that's what makes creating art so deeply satisfying – knowing that the effort put into understanding the craft protects the soul poured into the canvas.
By thinking about your support, your layers, and your environment (the three pillars of prevention!), you’re not just making a painting; you’re building an object that is designed to last. You're showing respect for your own work and for the person who might one day hang it on their wall, perhaps even admiring it centuries from now. It's about understanding the core pillars of prevention: choosing the right materials, mastering your application techniques, and nurturing a stable environment for your art to thrive. And that, to me, is a fundamental part of the artistic process—the final brushstroke of care that ensures your vision endures. For more insights into creating art that truly lasts, explore further on Zenmuseum or consider collecting a piece of art designed to last a lifetime, view my art for sale.