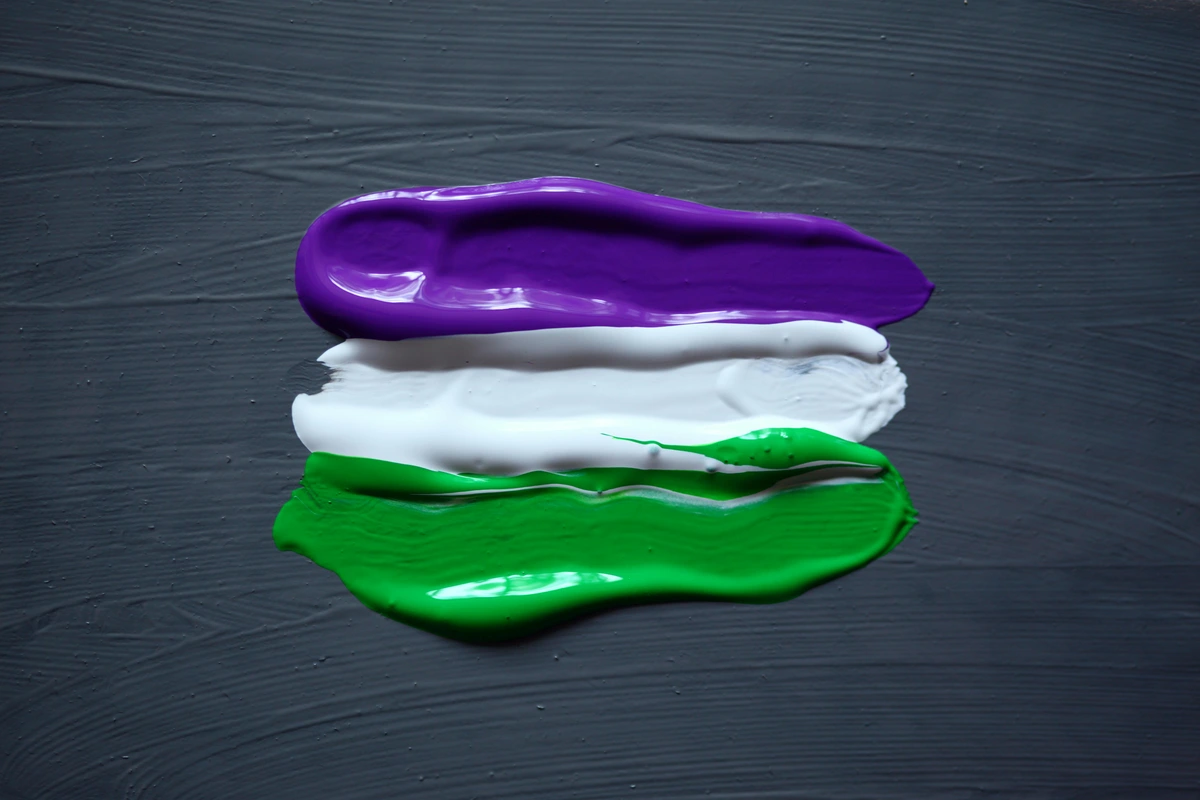
Creating Art: The Ultimate Guide to Surroundings & Studio Setup
A comprehensive guide to optimizing your creative environment, including studio setup, lighting, organization, and creating the perfect surroundings for artistic inspiration.
Creating Art: The Ultimate Guide to Surroundings & Studio Setup
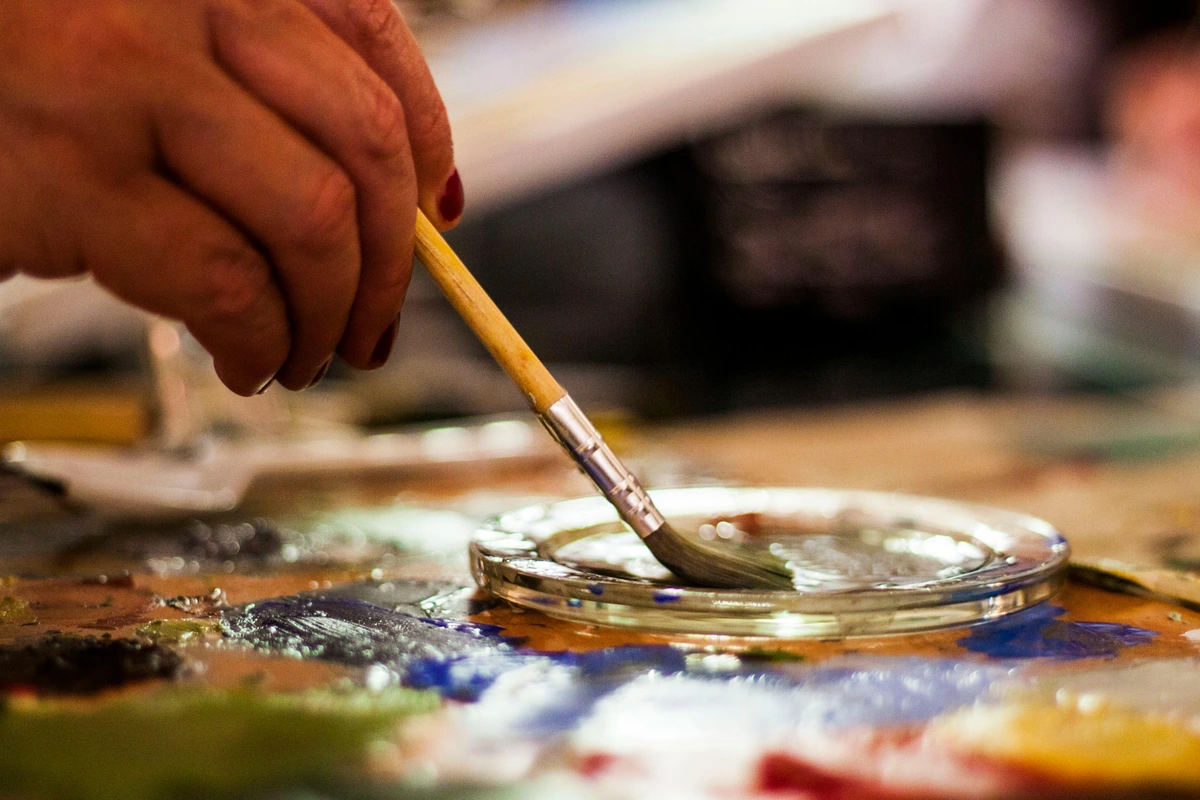
Creating art is a deeply personal and transformative experience. The environment in which you create can significantly influence your creative process and output. Whether you're a seasoned artist or just starting, the right studio setup can make all the difference. In this comprehensive guide, we'll explore how to optimize your workspace for maximum inspiration and productivity.
Art is not just about the final piece; it's about the journey of creation. The space where you create can either hinder or enhance this journey. A well-thought-out studio setup can inspire creativity, improve focus, and make the entire process more enjoyable. From lighting to organization, every detail matters.
I remember the first time I tried to set up a proper studio space. It was a mess—literally. Paints everywhere, brushes lost under piles of sketchbooks, and lighting that made everything look like a dimly lit cave. I thought creativity was just about the art itself, but I quickly learned that the space around you plays a huge role in how you create. That’s why I’m here to share everything I’ve learned about crafting the perfect surroundings for making art.
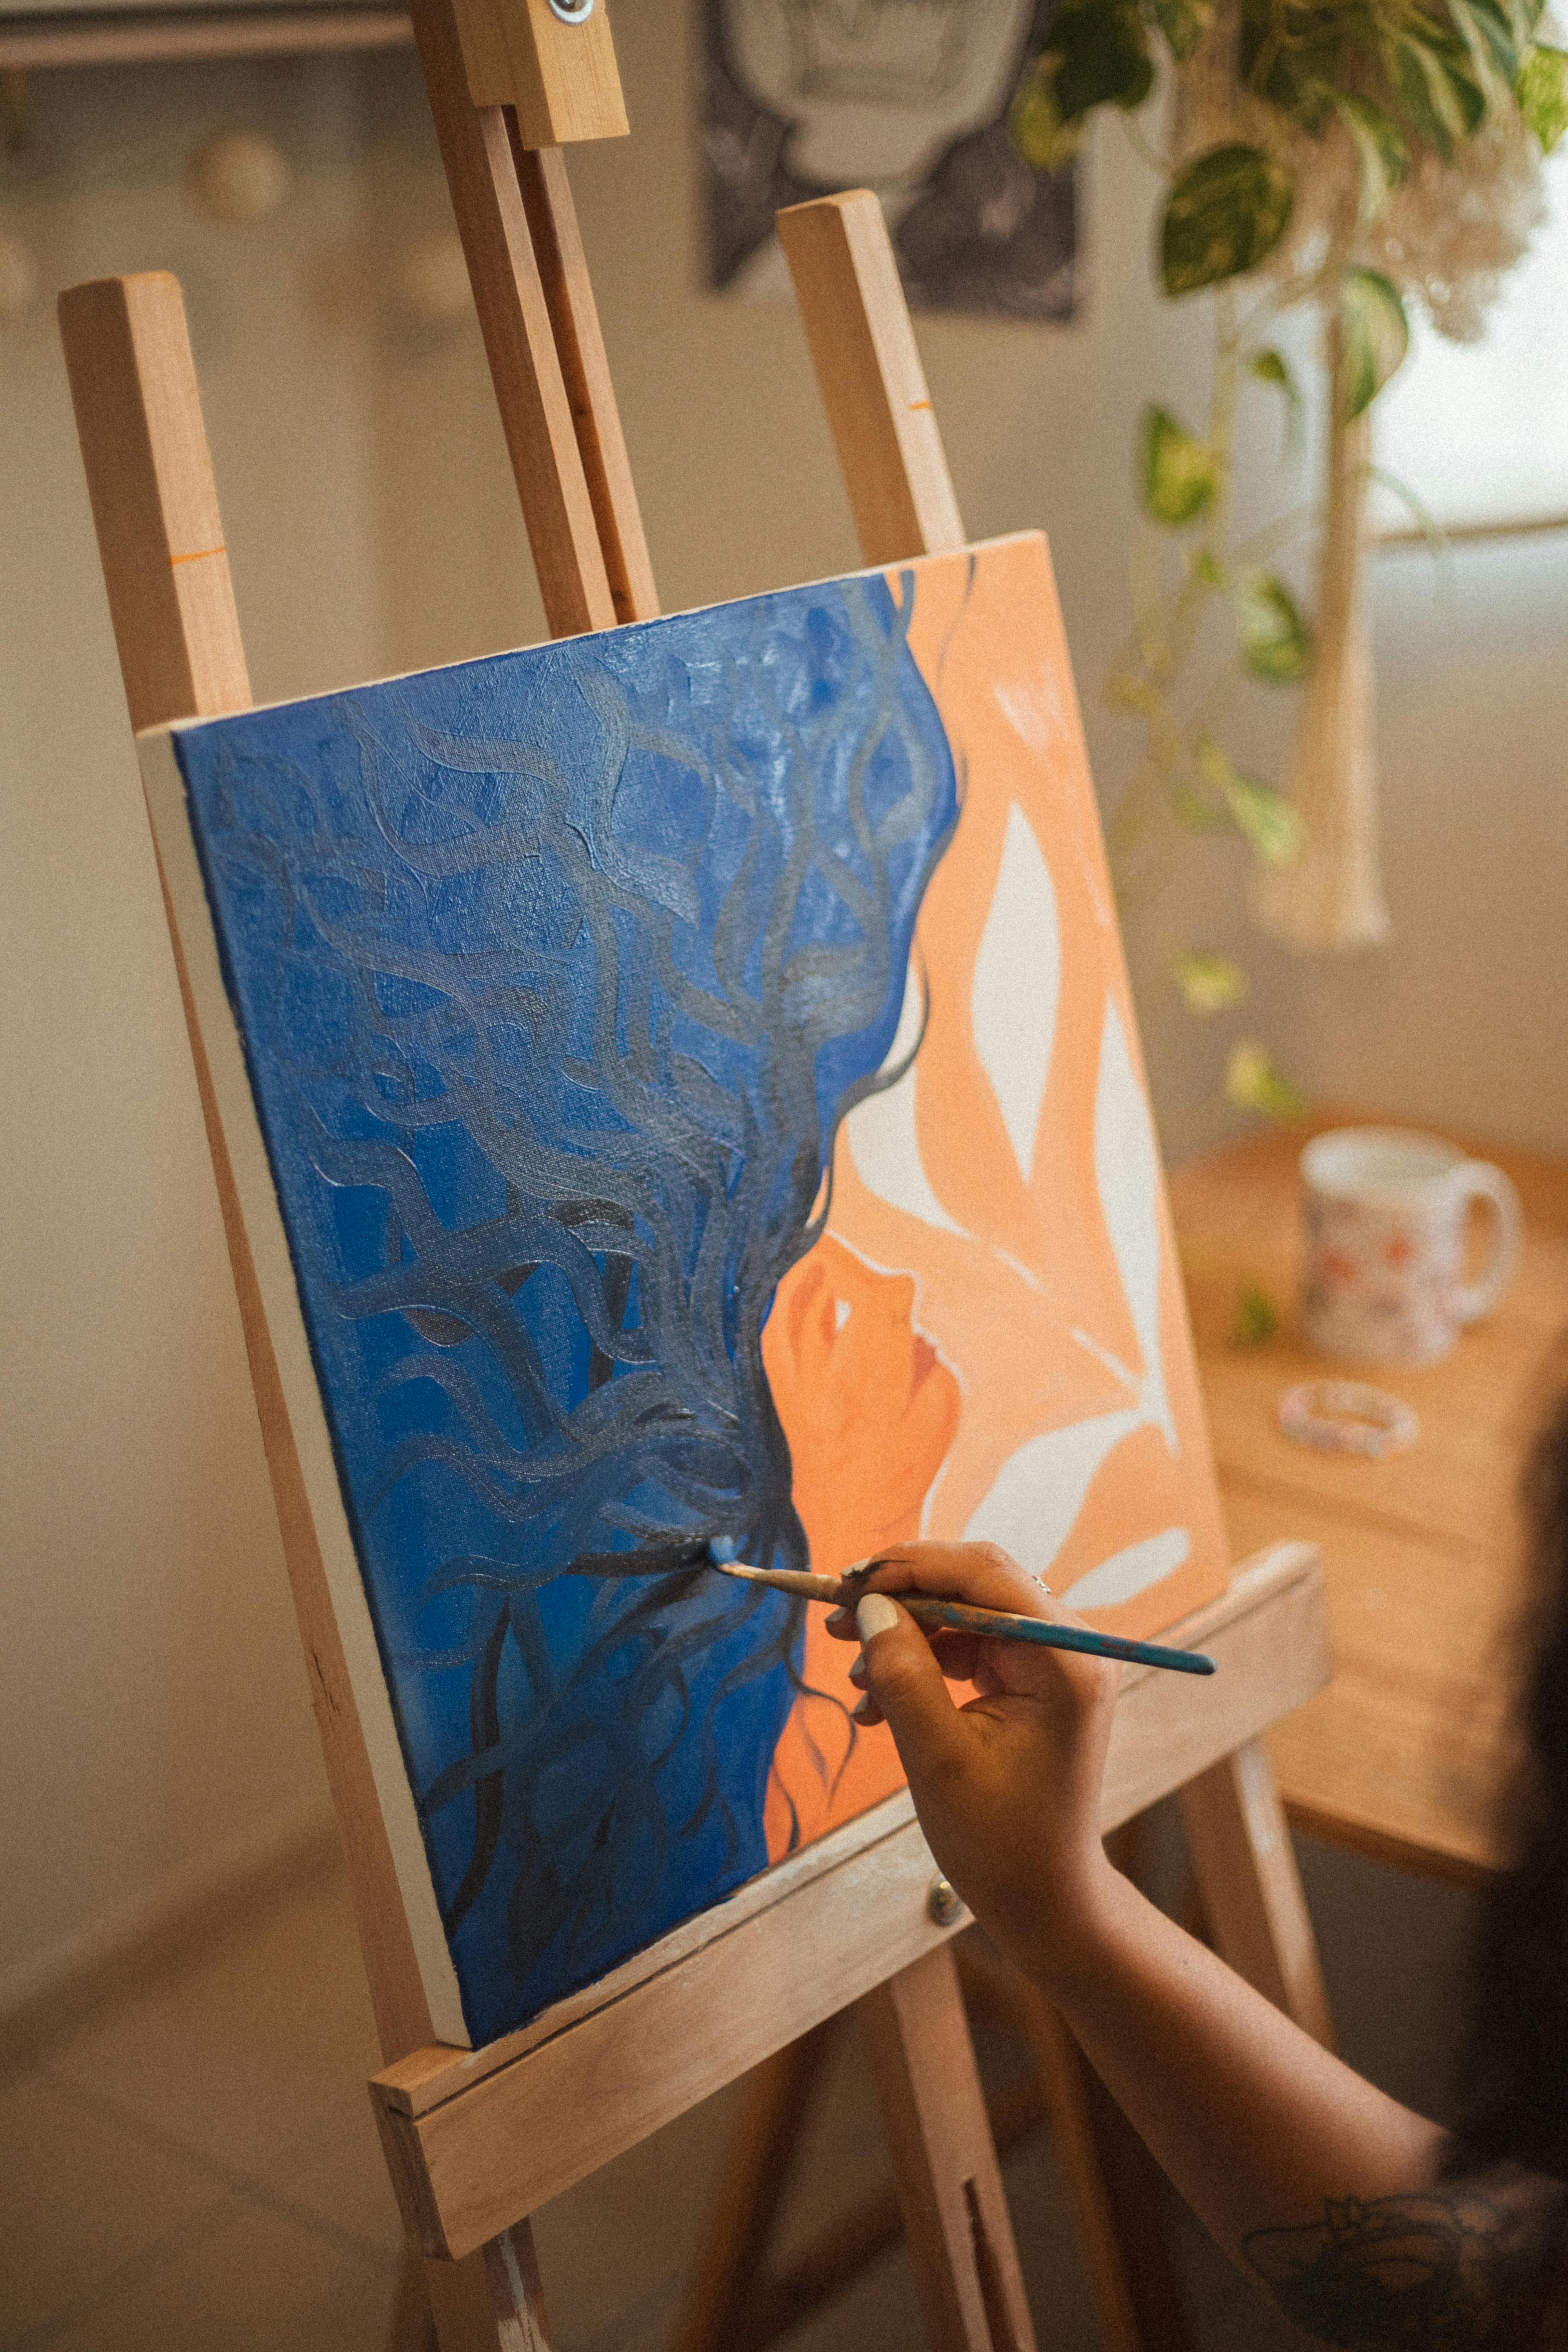
Creating art is a journey, and your studio is your sanctuary. It's where ideas come to life, and where you can experiment, make mistakes, and grow as an artist. The right setup can make this journey smoother and more enjoyable.
Creating art is not just about the tools or the techniques; it’s about the environment that nurtures your creativity. Whether you’re a seasoned artist or just starting, the right studio setup can transform your creative process. In this guide, we’ll explore how to optimize your workspace for maximum inspiration and productivity.
Your studio is more than just a workspace; it's a reflection of your artistic journey. It's where you can express yourself freely and explore new ideas. The right environment can inspire you to push your boundaries and create something truly unique.
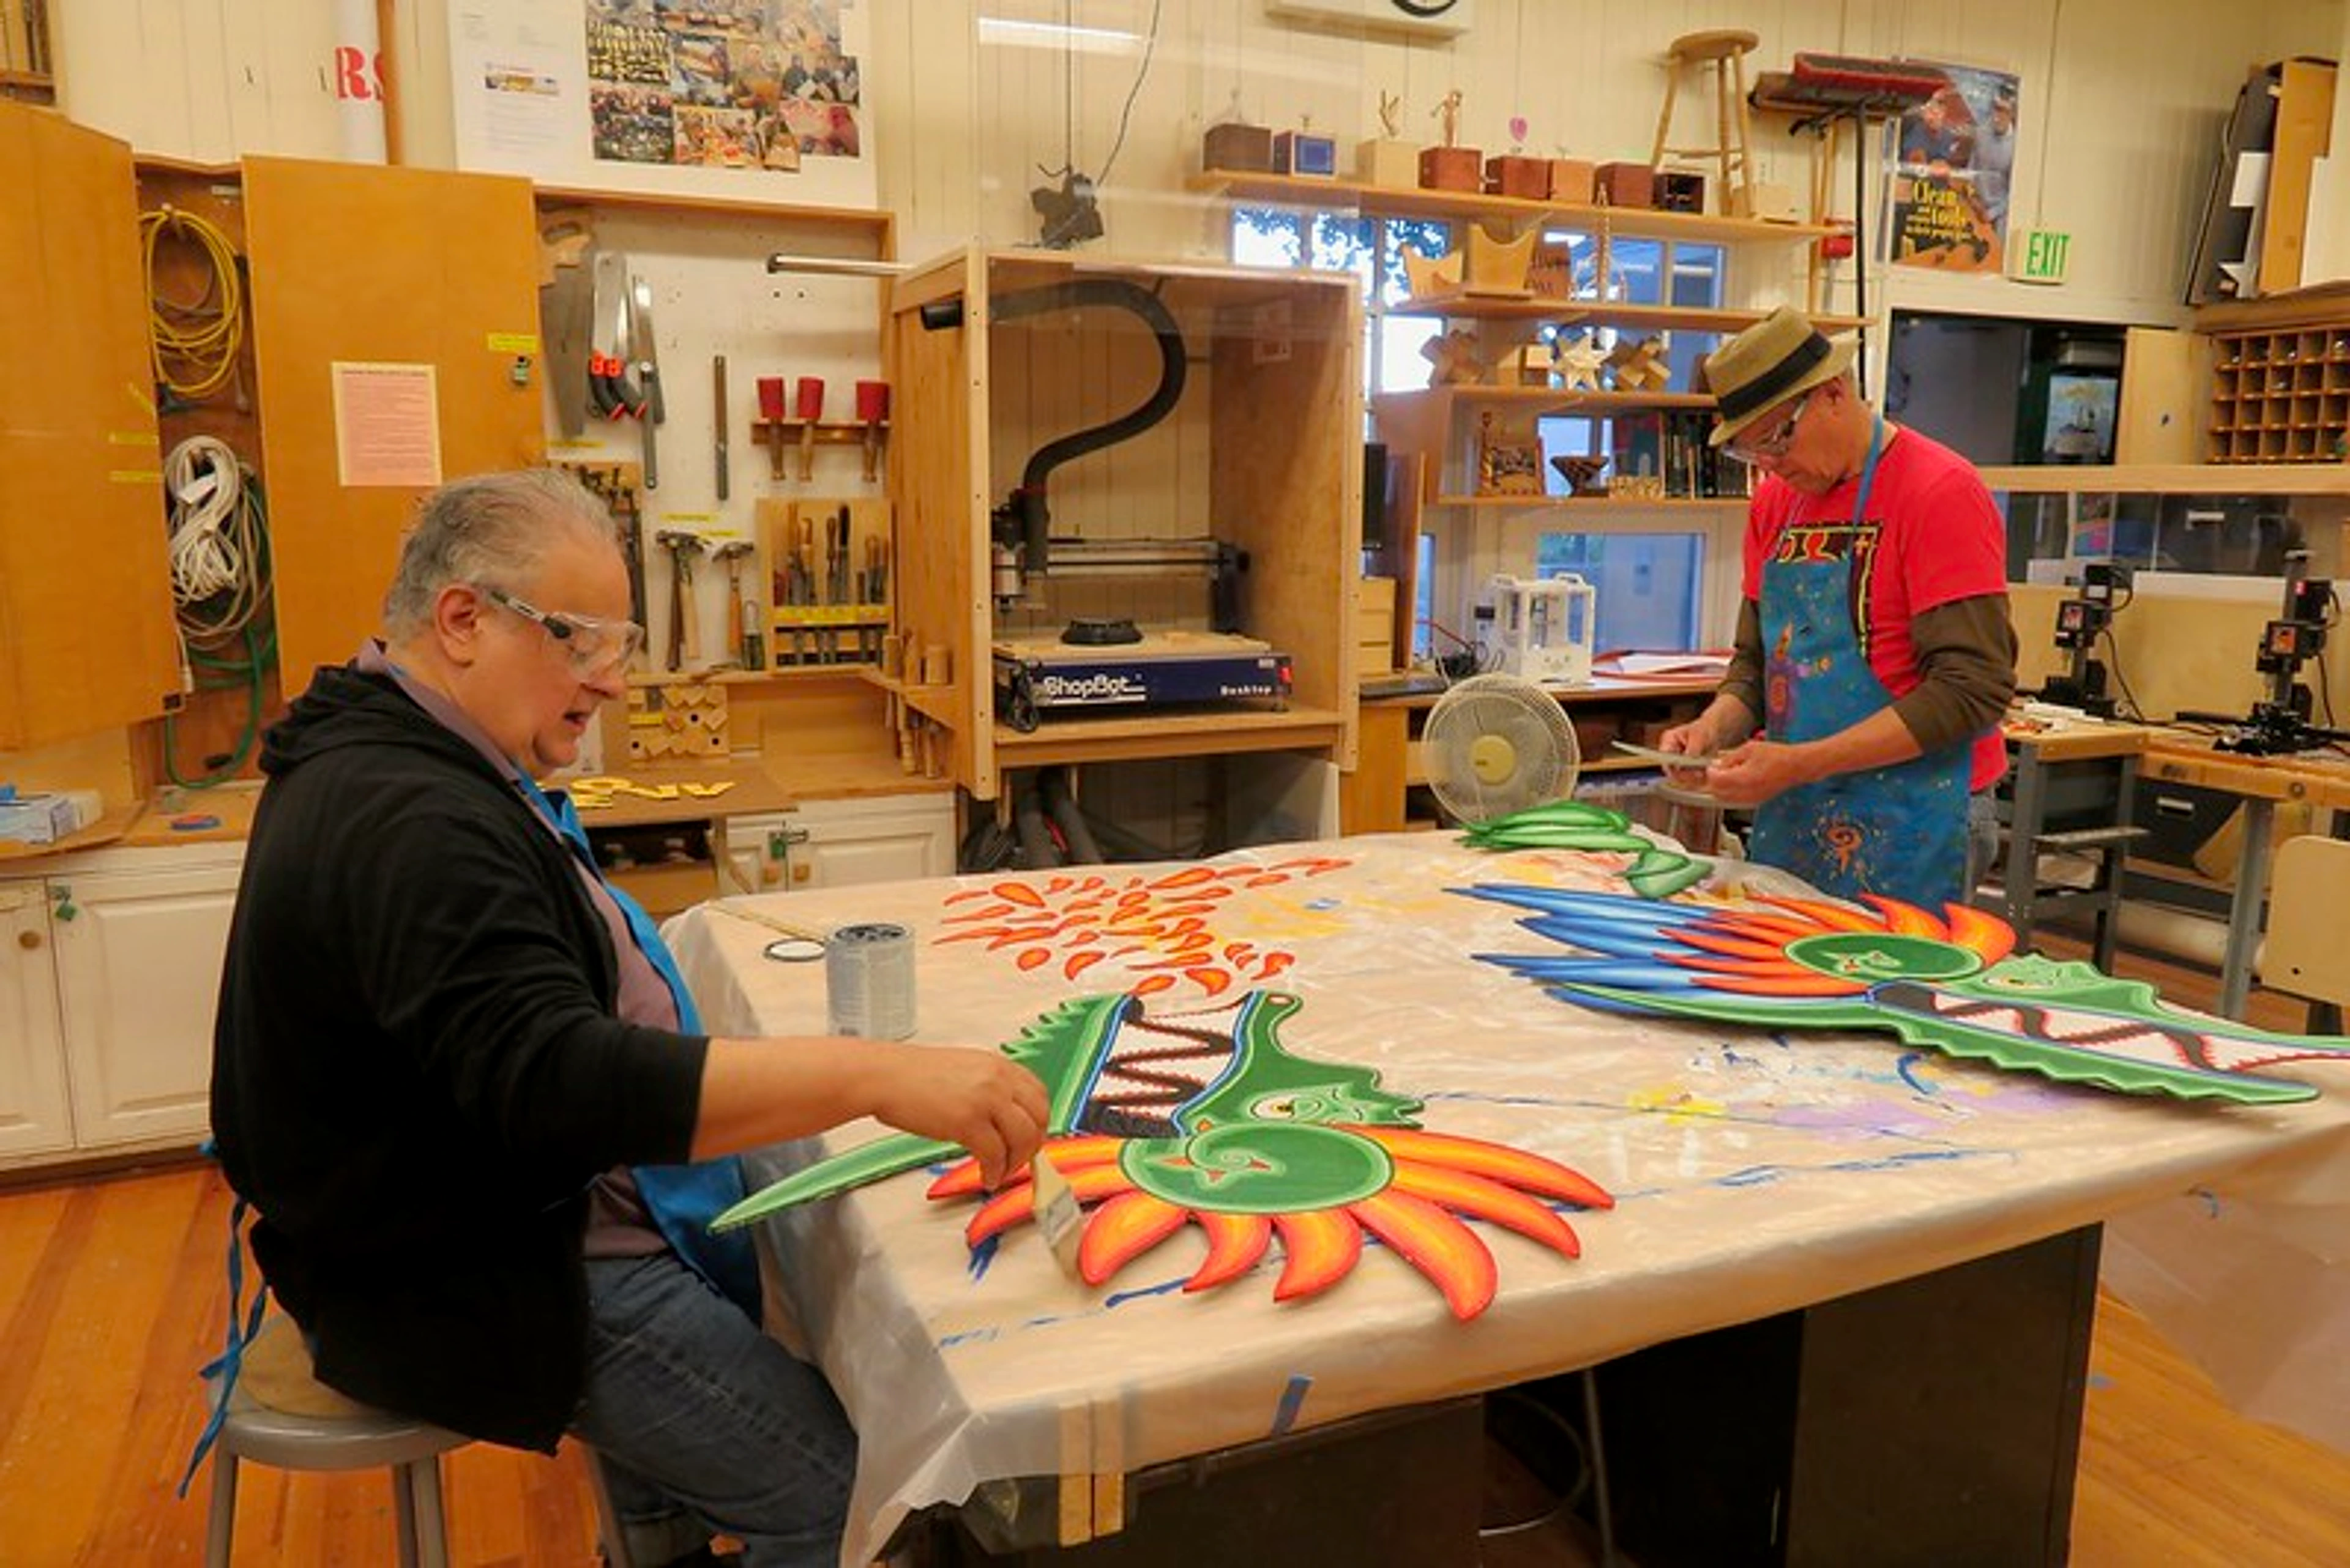
The Evolution of Studio Spaces
Studio spaces have evolved significantly over the centuries. From the grand ateliers of the Renaissance to the minimalist home studios of today, the concept of a creative workspace has always been central to artistic practice. Understanding this evolution can provide valuable insights into how to design your own studio.
Historically, artists like Leonardo da Vinci and Michelangelo worked in large, communal studios where apprentices learned alongside masters. These spaces were often filled with natural light and organized to facilitate collaboration and learning. Today, artists have the flexibility to design studios that cater to their unique needs and preferences, whether it's a shared workspace, a home studio, or a digital setup.
Why Your Studio Setup Matters
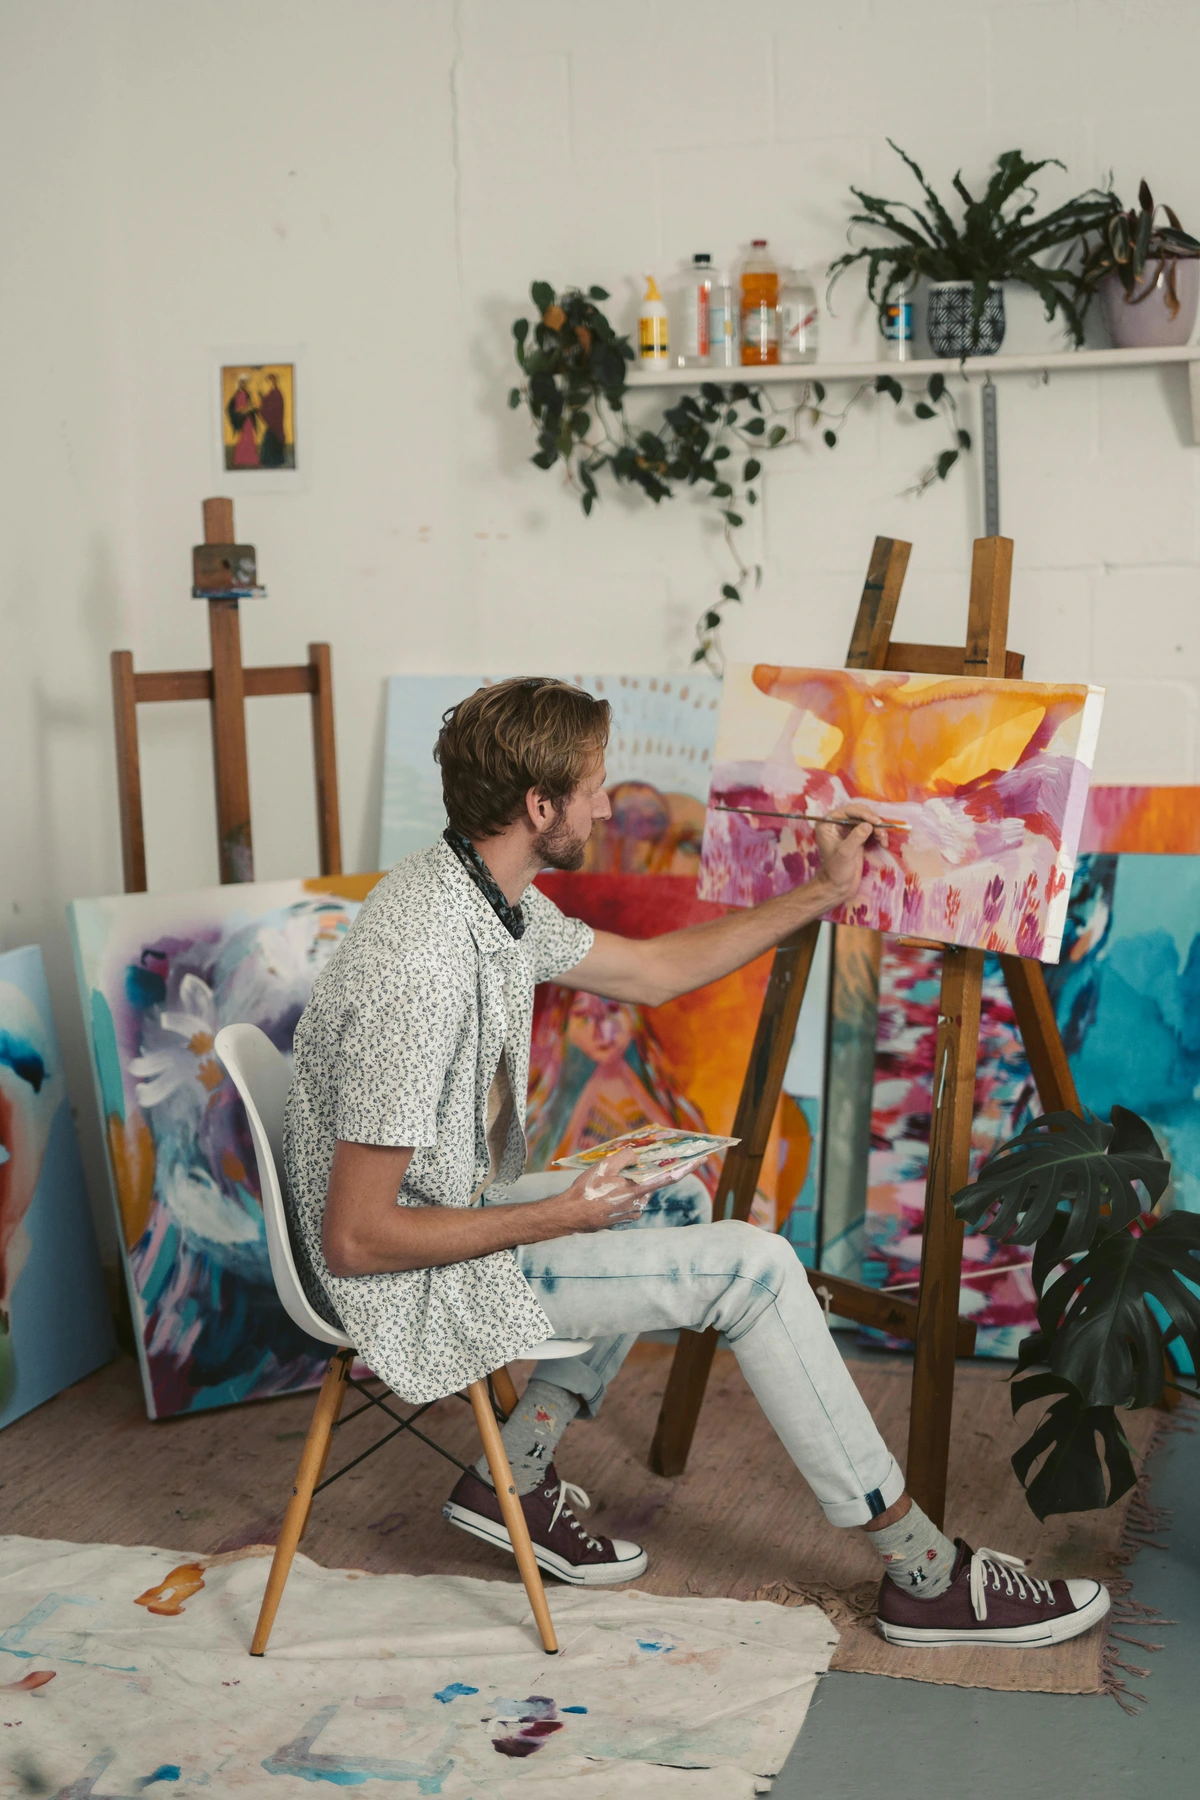
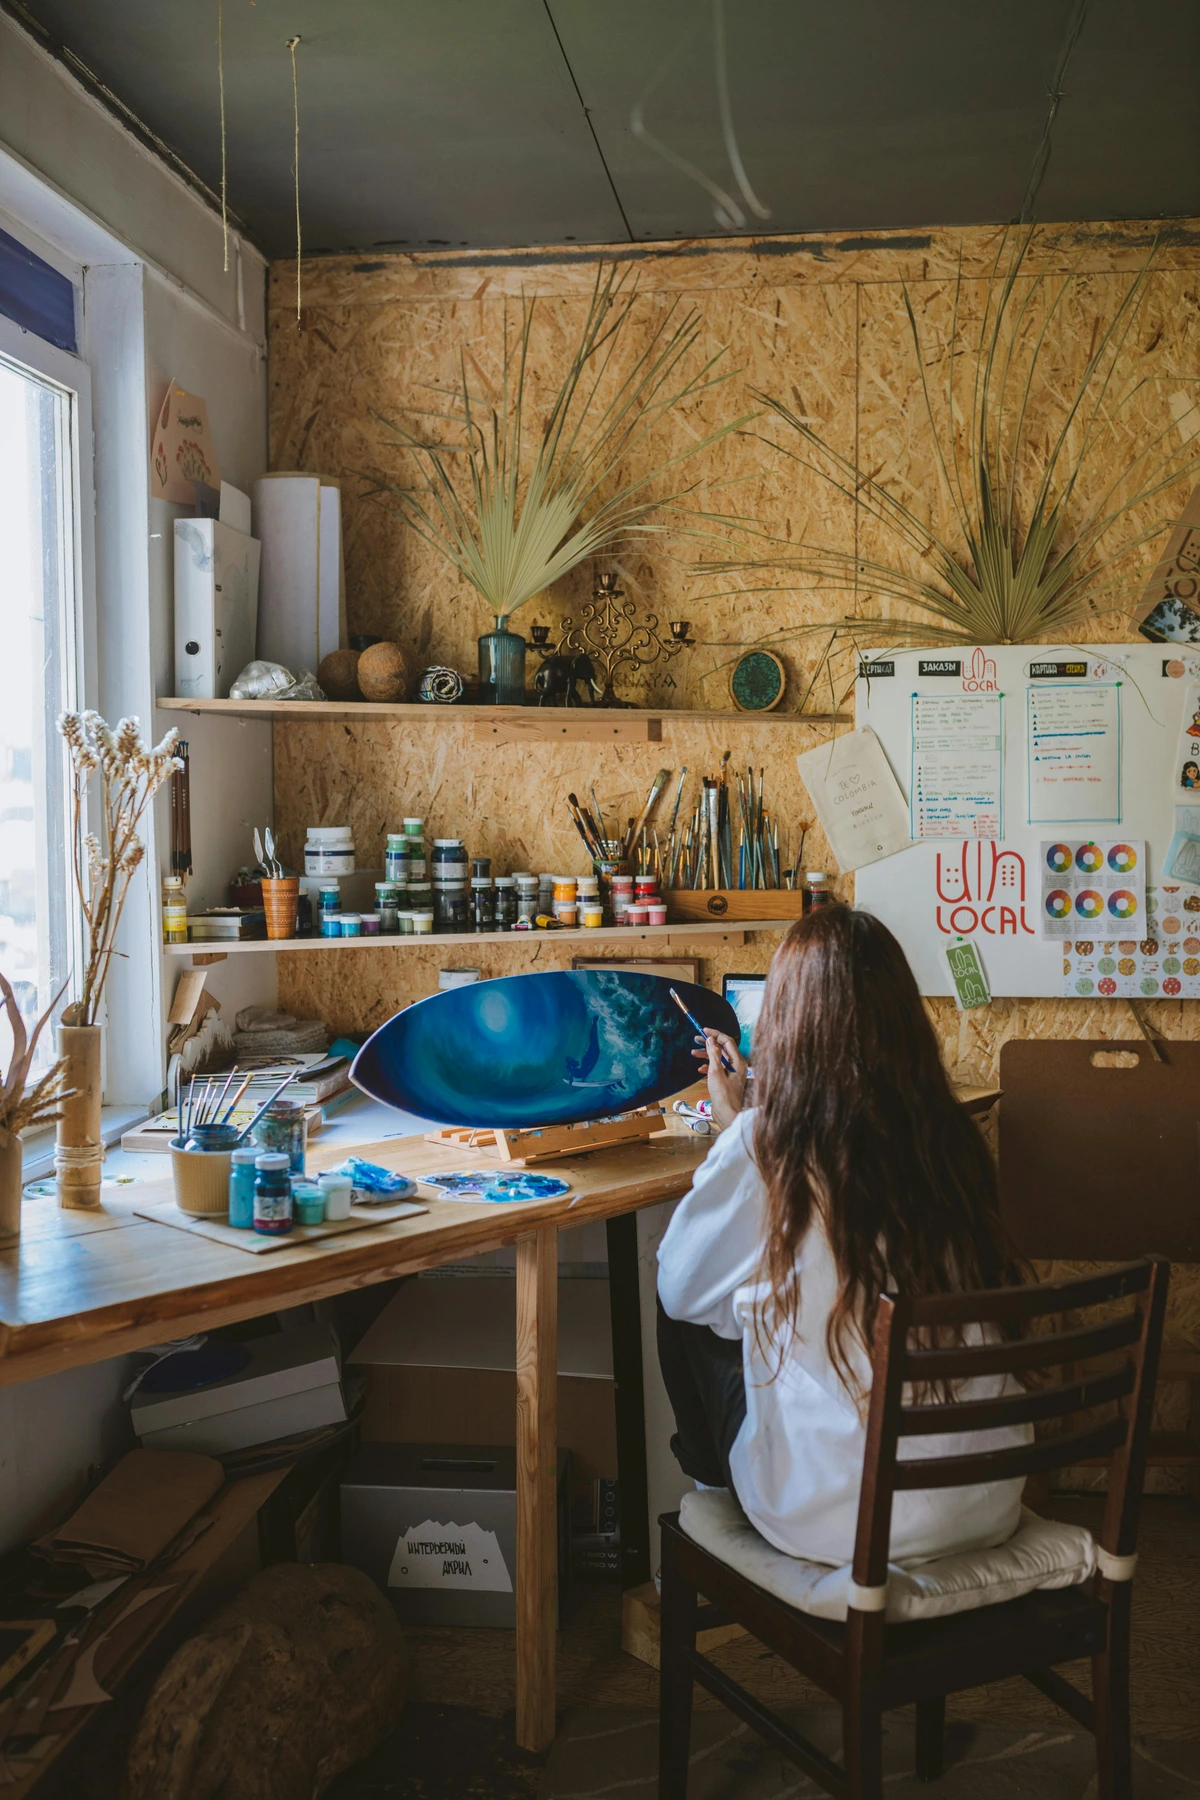
Your studio isn’t just a place to work; it’s a sanctuary where ideas come to life. A well-organized, inspiring space can make the difference between a productive day and one where you stare at a blank canvas, feeling stuck. Think of it like this: if your workspace is chaotic, your mind will follow. But if it’s organized, inviting, and tailored to your needs, you’ll find yourself slipping into that creative flow effortlessly.
A well-designed studio can also enhance your mental well-being. It provides a sense of control and ownership over your creative process, which can be incredibly empowering. Whether you're painting, sculpting, or working digitally, your studio should be a place where you feel motivated and inspired to create.

The Psychology of Creative Spaces
There’s actual science behind this. Studies show that your environment directly impacts your mood, focus, and creativity. A cluttered space can lead to mental clutter, while a clean, well-lit area can boost your productivity and even your happiness. I’m not saying you need a spotless studio—some chaos can be inspiring—but there’s a balance to strike.
The way your studio is set up can also affect your emotional state. Colors, lighting, and even the arrangement of furniture can influence your mood and creativity. For example, warm colors like red and orange can evoke energy and passion, while cool colors like blue and green can create a calming effect.
Additionally, the presence of natural elements, such as plants or natural light, can significantly enhance your creative environment. These elements can reduce stress and increase feelings of well-being, making it easier to focus and create.
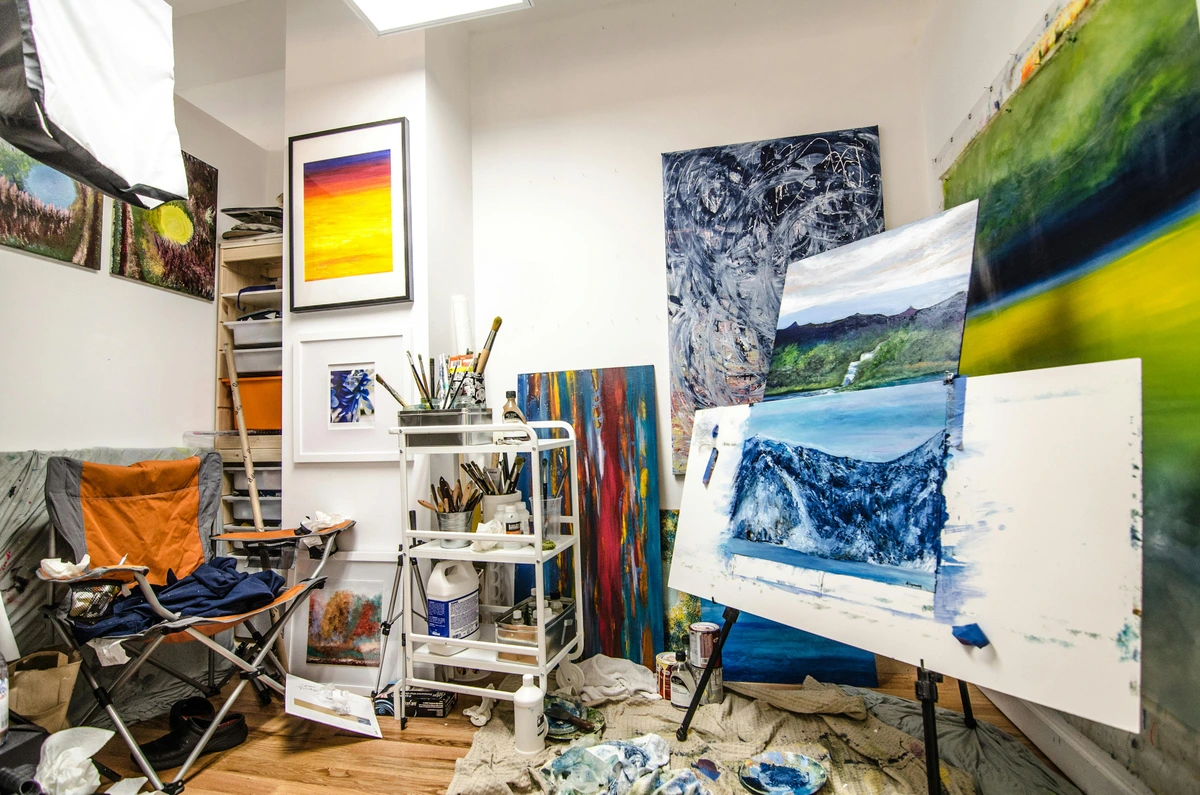
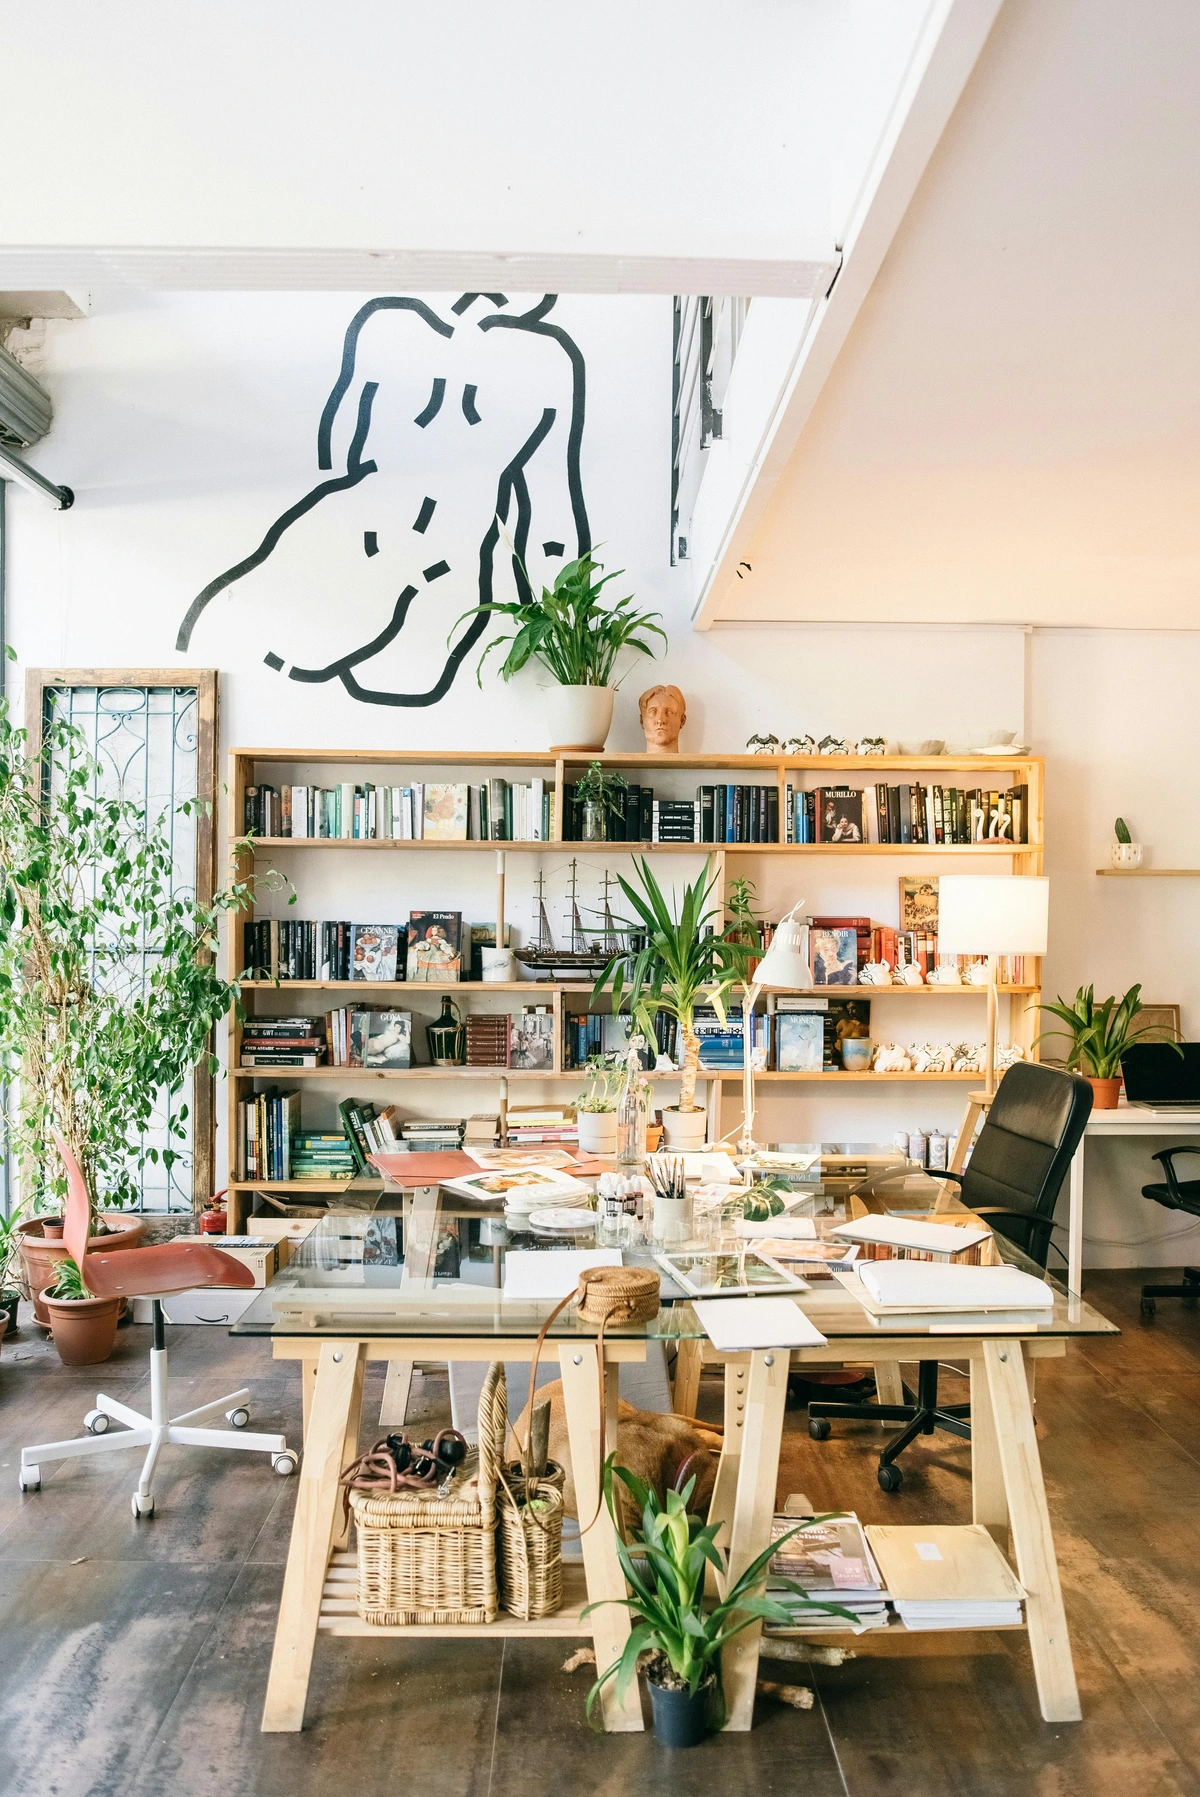
Key Elements of a Great Studio
So, what makes a studio great? It’s not just about having the right tools (though that helps). It’s about creating a space that feels like yours—a place where you can experiment, make mistakes, and let your creativity run wild. Here are the key elements to consider:

- Lighting: Natural light is ideal, but if that’s not possible, invest in good artificial lighting.
- Organization: Keep your tools and materials within easy reach but not in the way.
- Comfort: A comfortable chair, a sturdy table, and maybe even some music or plants to set the mood.
- Inspiration: Surround yourself with things that inspire you—art books, posters, or even a mood board.
- Ventilation: Ensure your studio is well-ventilated, especially if you're working with materials that produce fumes.
- Sound: Consider the acoustics of your space. Some artists prefer silence, while others thrive with background music or ambient sounds.
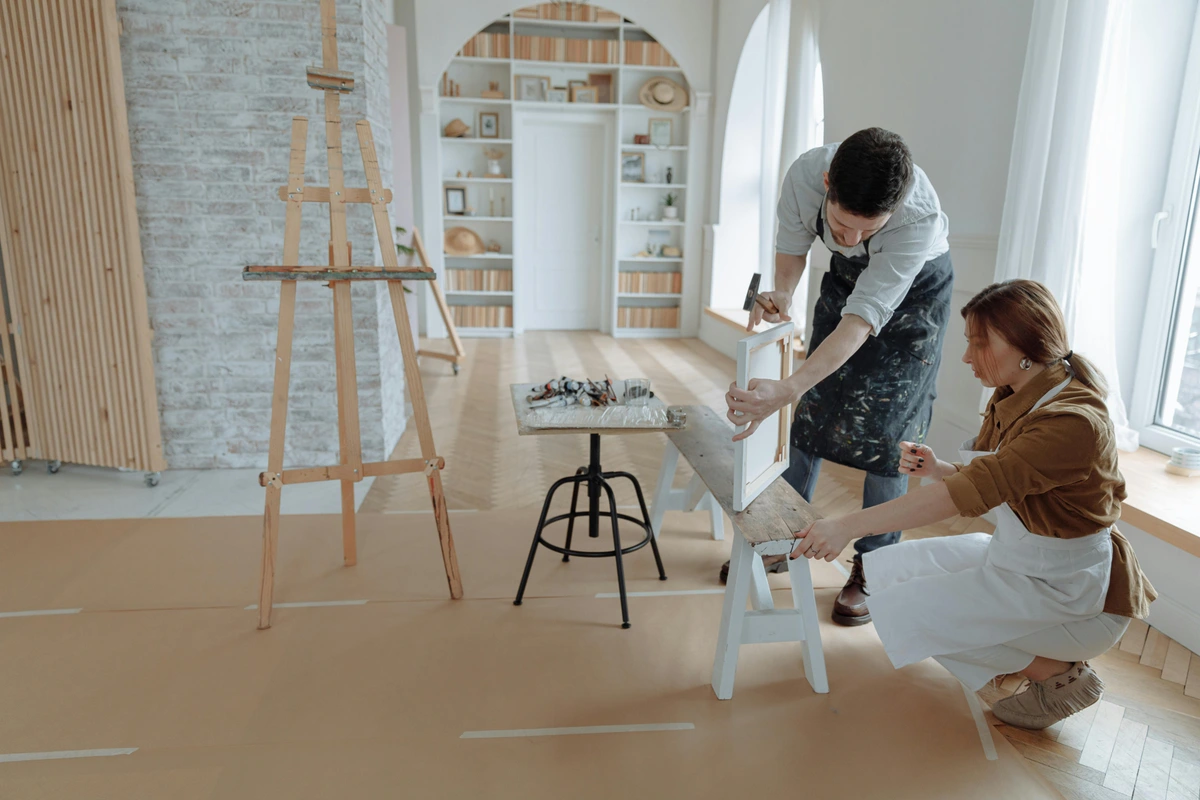
Step-by-Step Studio Setup
Setting up your studio is an exciting process, but it requires careful planning. Here’s a step-by-step guide to help you create the perfect workspace.
Before diving into the setup, take some time to visualize your ideal studio. What does it look like? What kind of atmosphere do you want to create? Having a clear vision will guide your decisions and make the process more enjoyable.
Step 0: Define Your Creative Goals
Before you start setting up your studio, it's essential to define your creative goals. What kind of art do you want to create? What materials and tools will you need? Understanding your artistic vision will help you design a studio that supports your goals and inspires your creativity.
Step 1: Choose Your Space
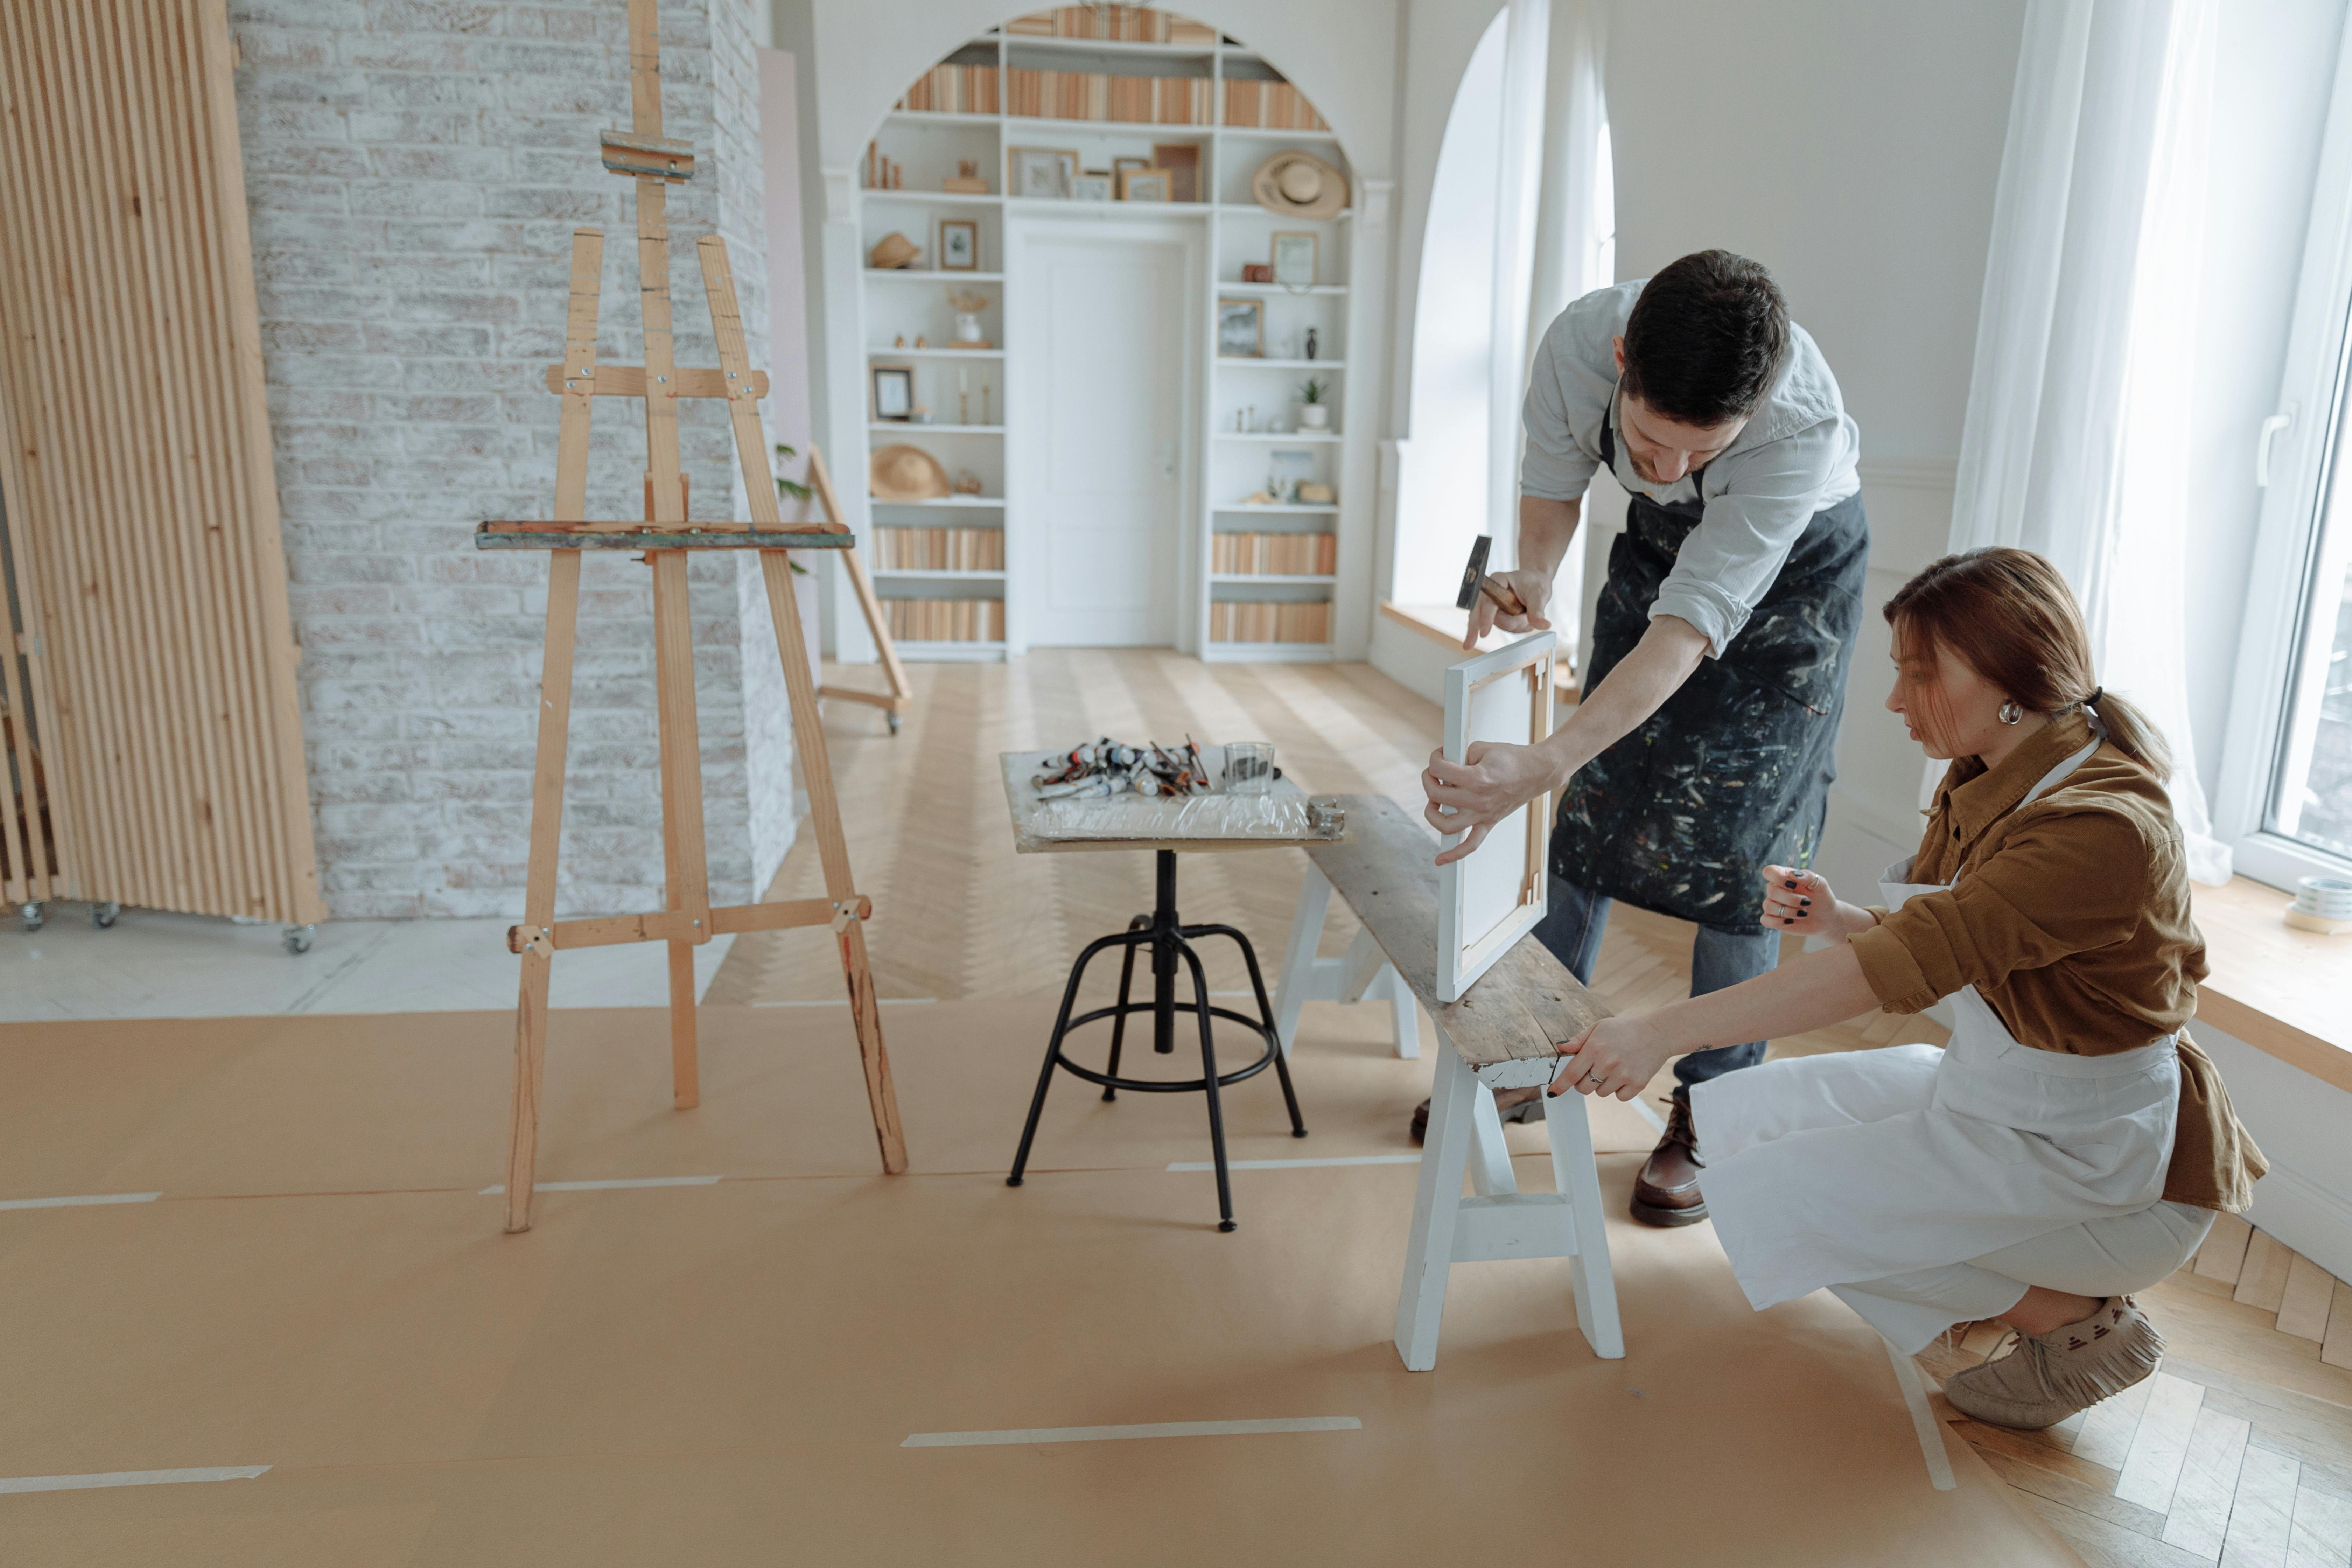
Not everyone has the luxury of a dedicated studio room, and that’s okay. Your studio could be a corner of your living room, a spare bedroom, or even a well-organized desk. The key is to claim that space as your own. I’ve worked in tiny apartments where my “studio” was a folding table in the kitchen. It wasn’t ideal, but it was mine, and that made all the difference.
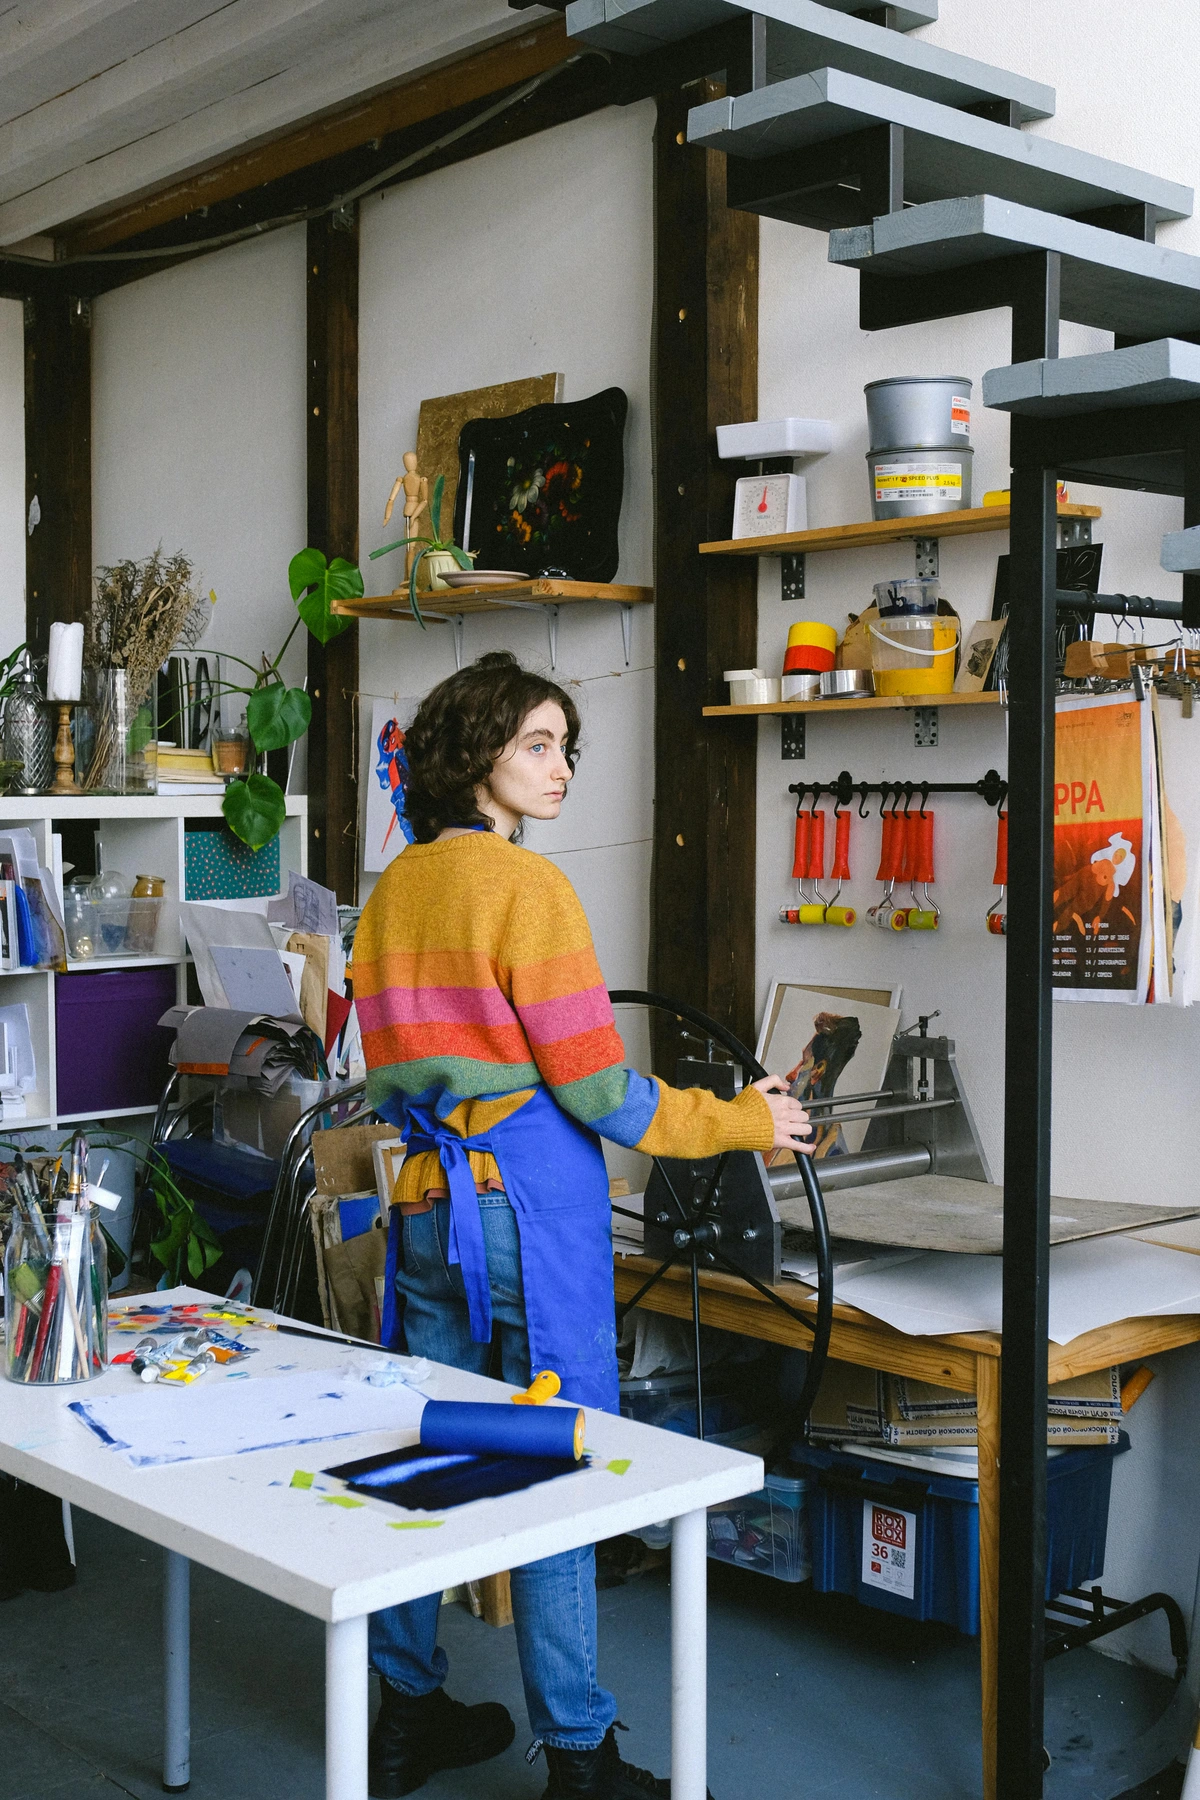
When choosing your space, consider factors like natural light, noise levels, and accessibility. You want a place where you can focus and feel comfortable. If you're sharing your space with others, make sure to set boundaries and communicate your needs.

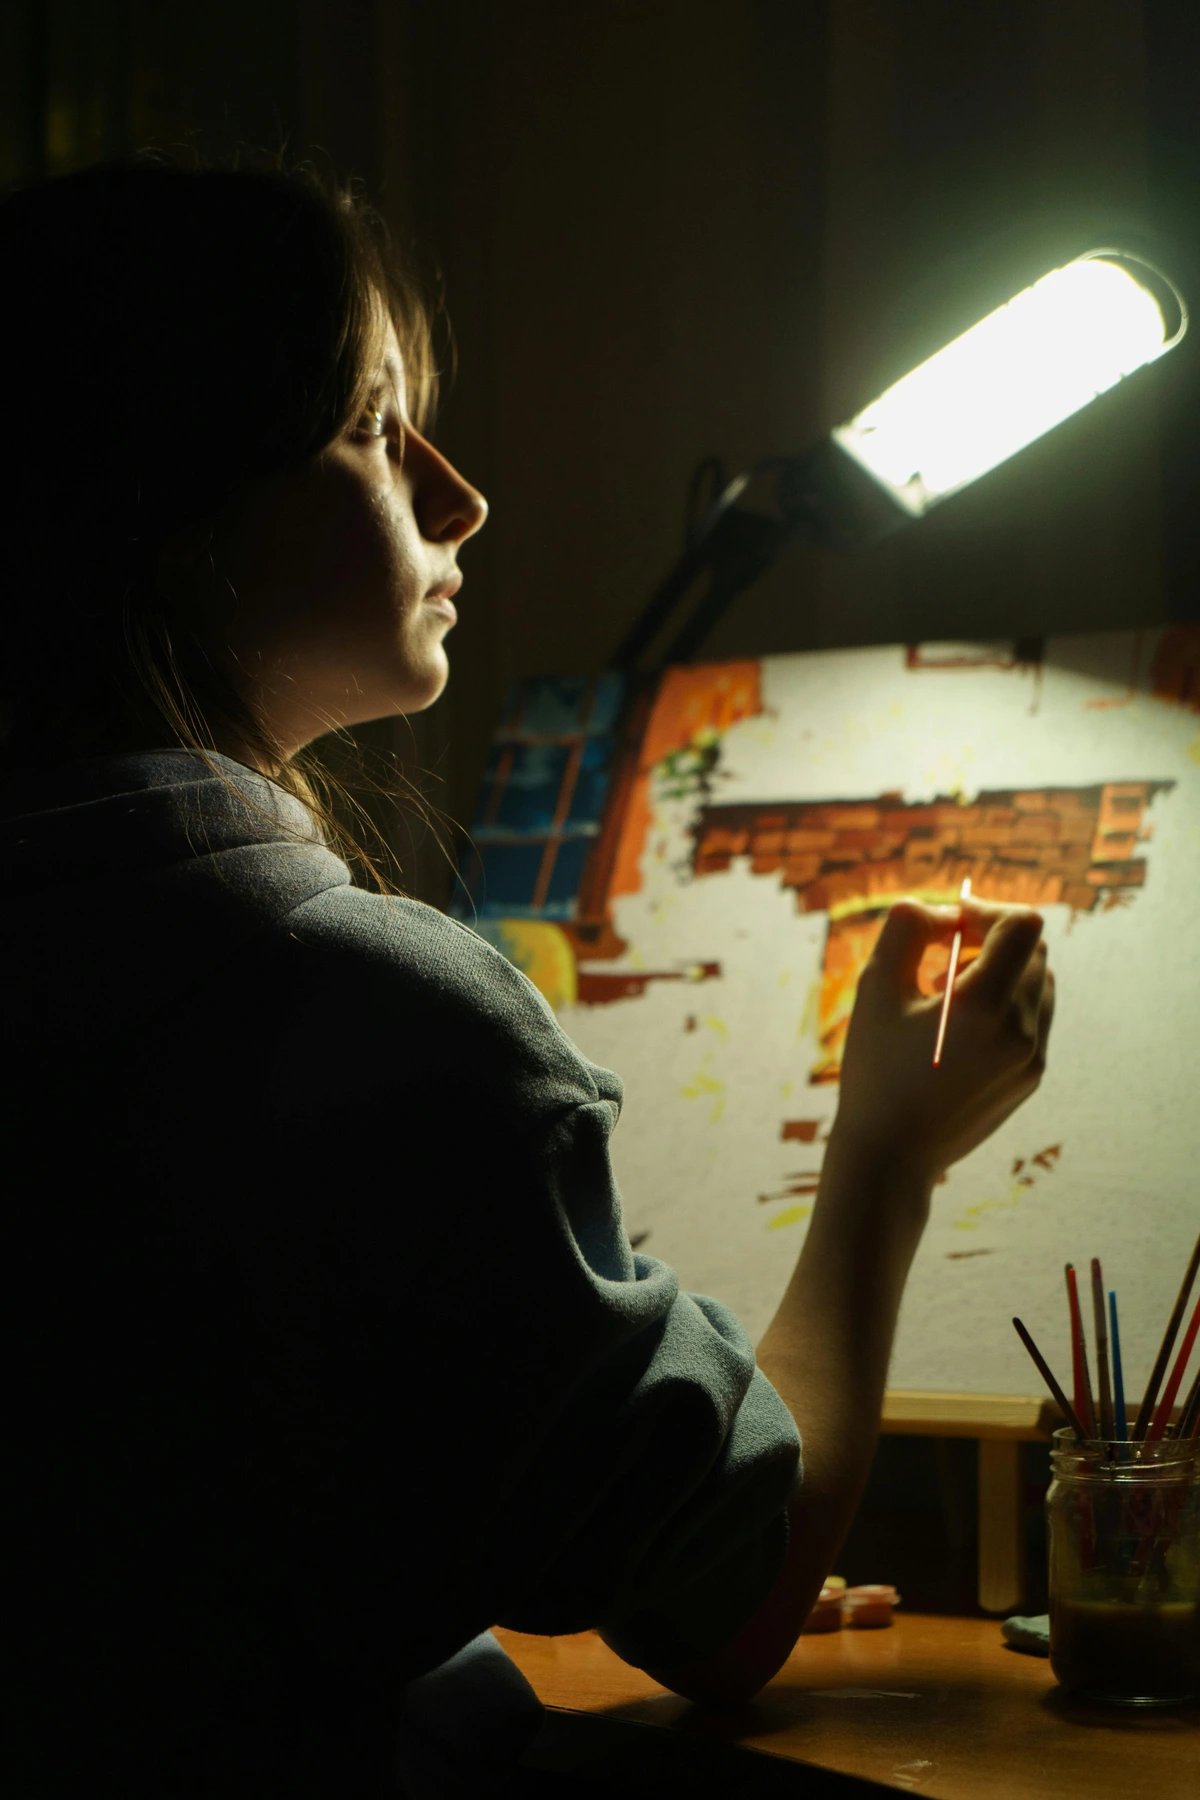
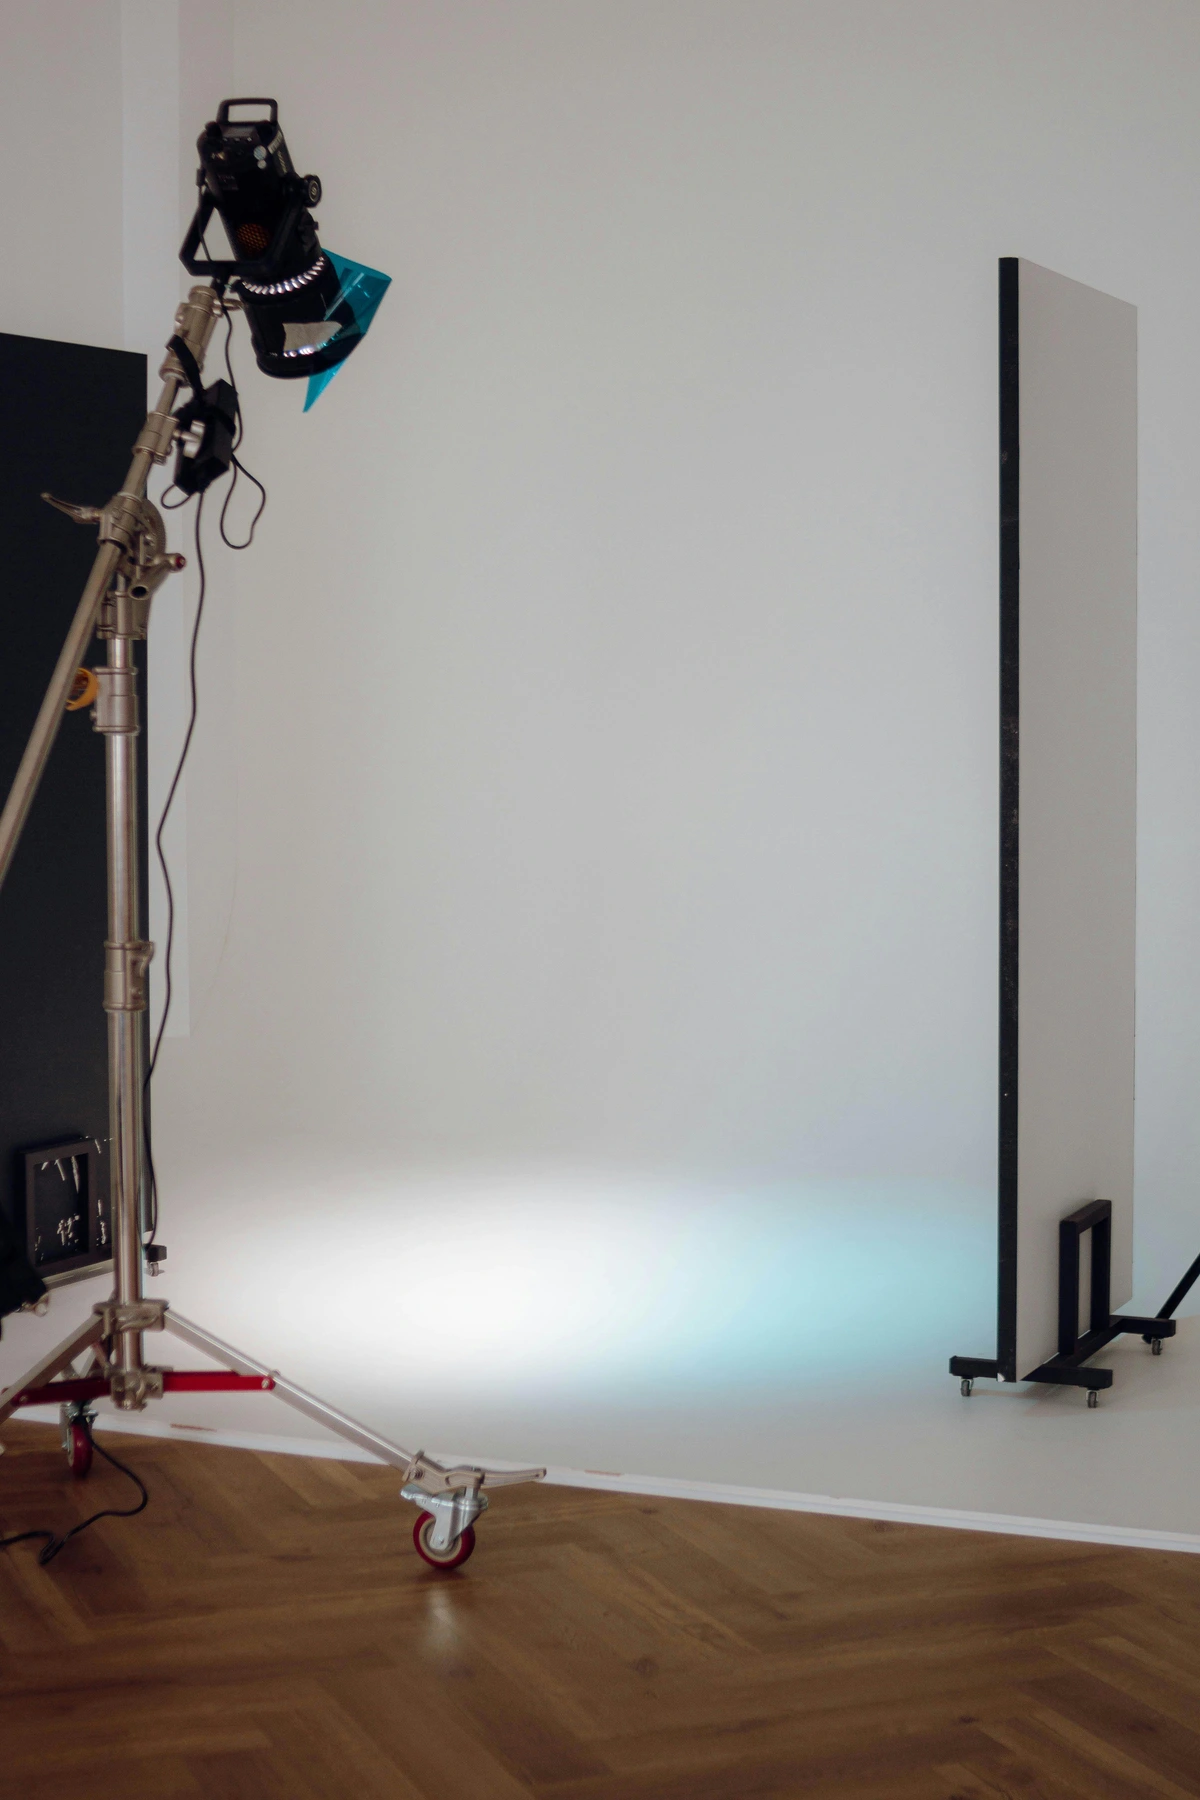
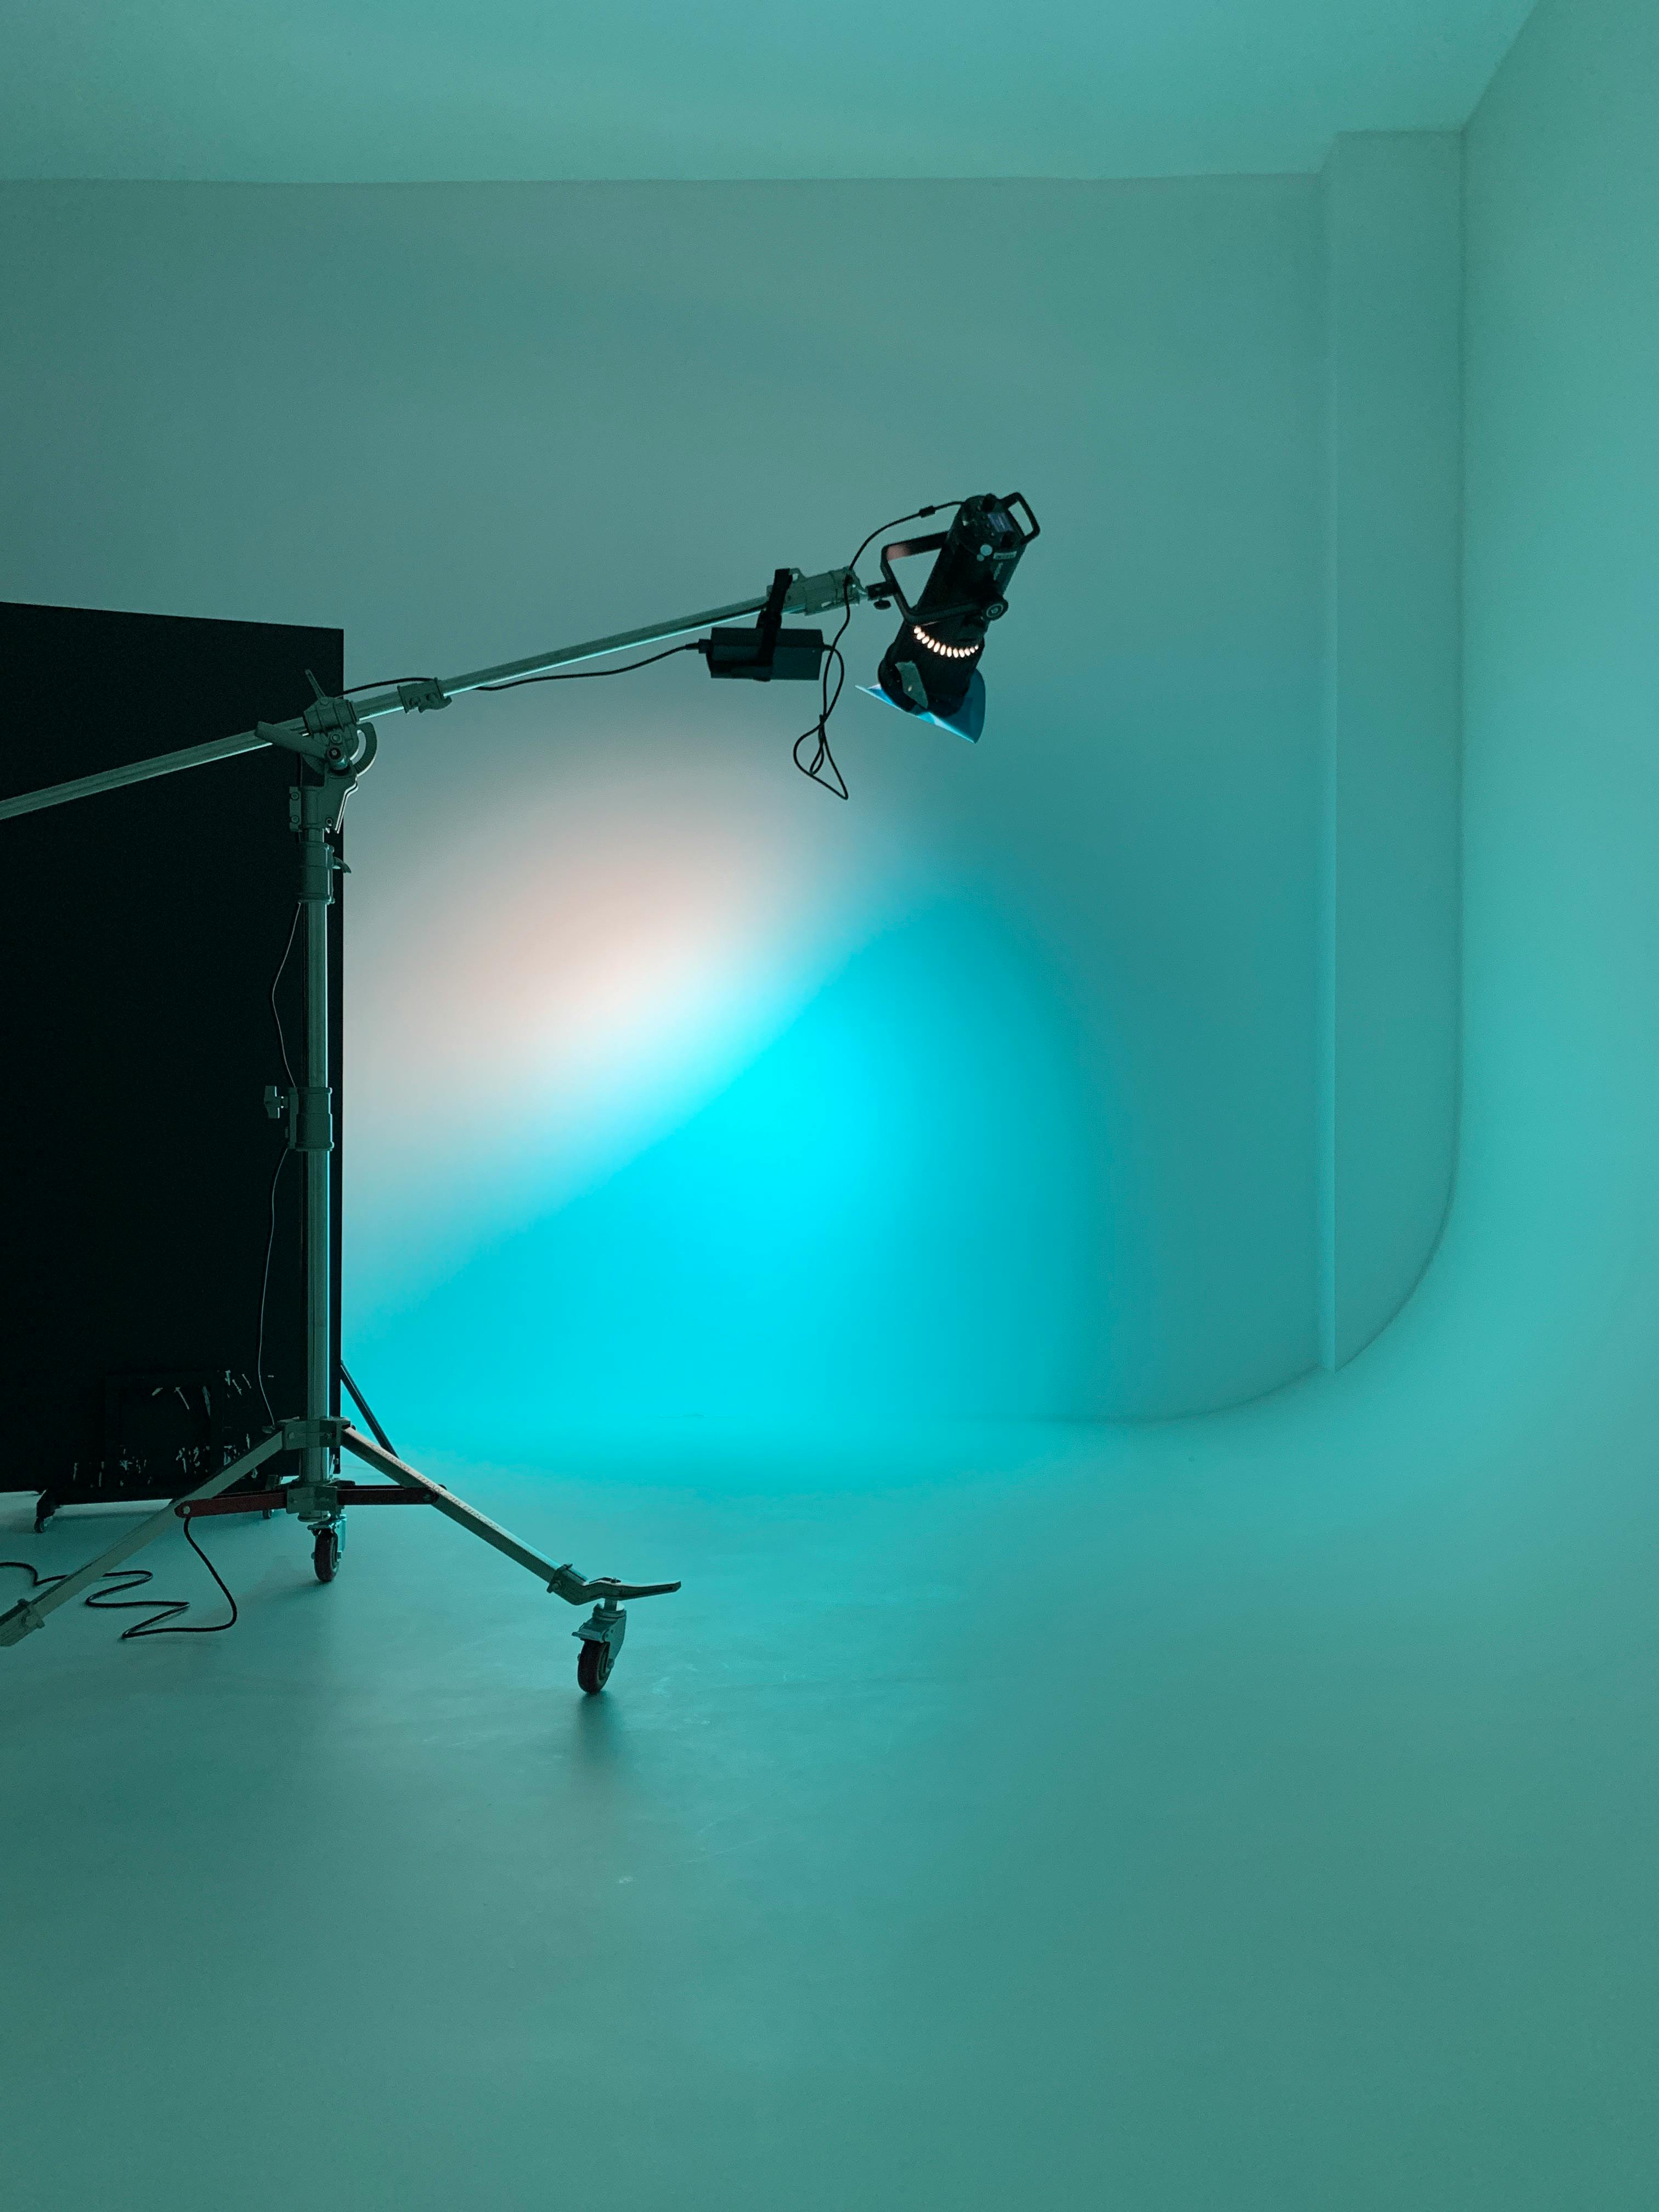
Step 2: Lighting
Lighting is everything. Natural light is the best—it’s free, it’s flattering, and it changes throughout the day, giving you different moods to work with. If natural light isn’t an option, look for LED lights that mimic daylight. Avoid harsh fluorescent lights; they can distort colors and strain your eyes.
The direction of light is also important. North-facing windows provide consistent, diffused light, which is ideal for artists. If you're using artificial lighting, position your lights to minimize shadows and glare on your workspace.
Here’s a quick table to help you choose the right lighting:

Light Type | Pros | Cons |
|---|---|---|
| Natural Light | Free, dynamic, flattering | Dependent on weather/time |
| LED Daylight Bulbs | Mimics natural light, energy-efficient | Can be expensive upfront |
| Fluorescent Lights | Bright, widely available | Harsh, can distort colors |
Additional Lighting Considerations:
- Color Temperature: Choose bulbs with a color temperature that matches your artistic needs.
- Dimmable Lights: Allow you to adjust brightness based on your project.
- Task Lighting: Focused lighting for detailed work.
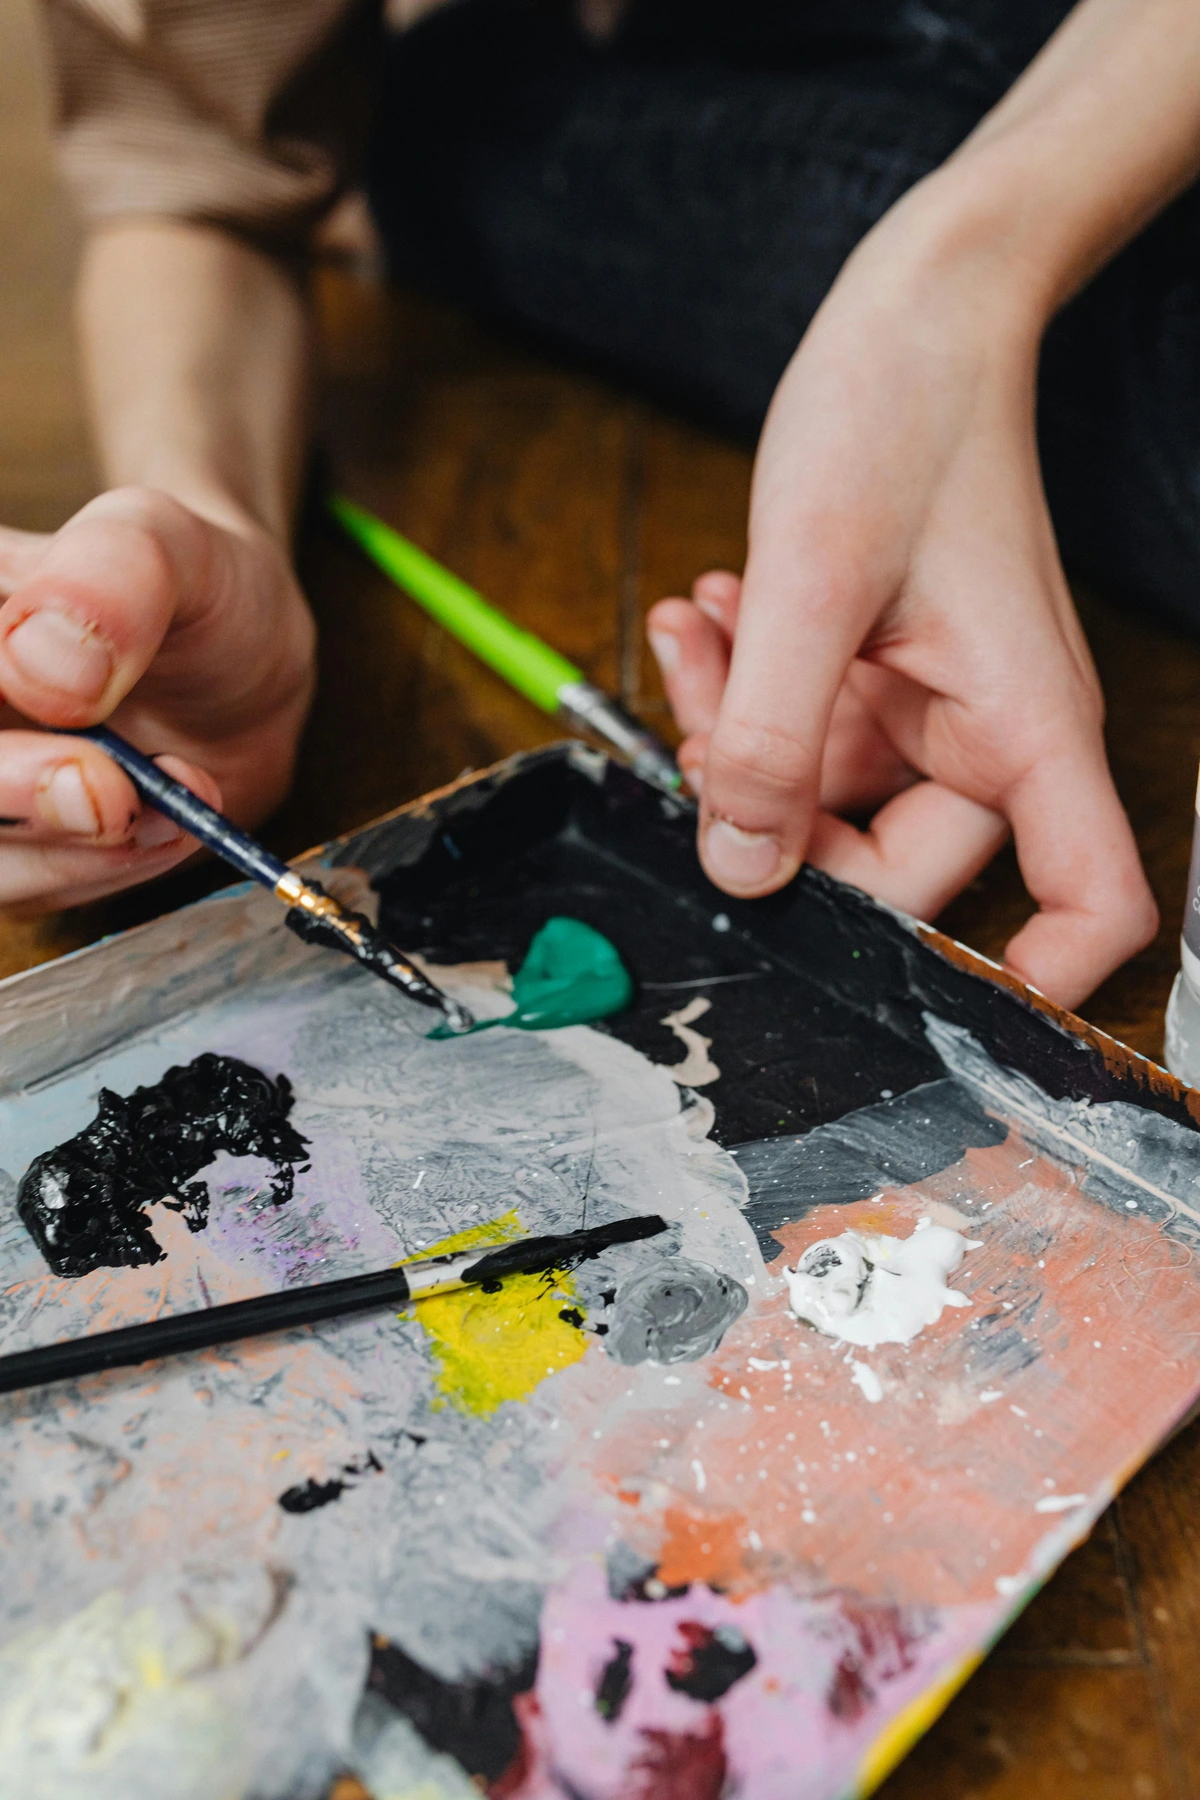
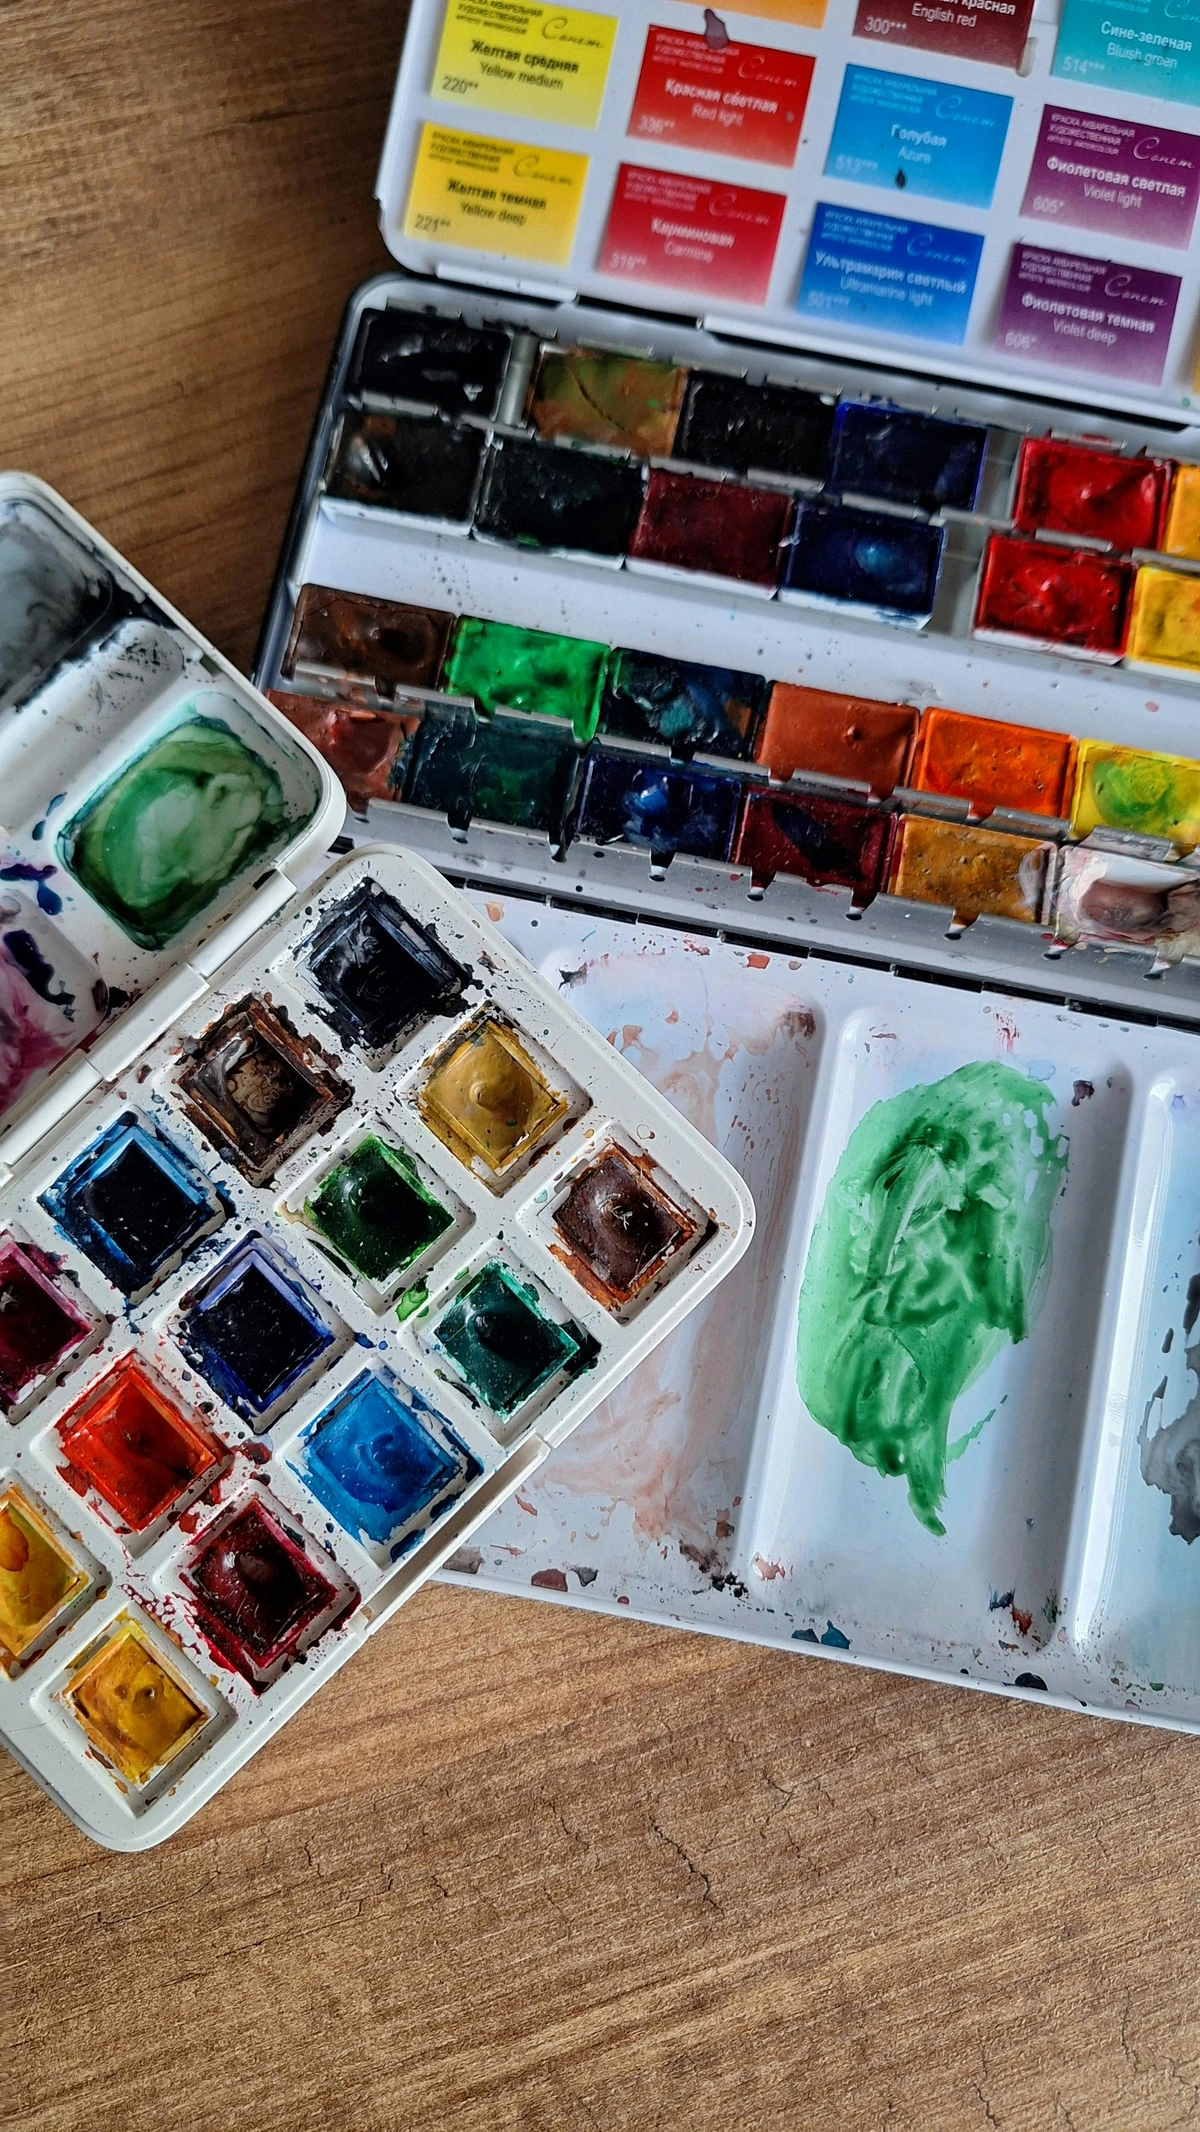
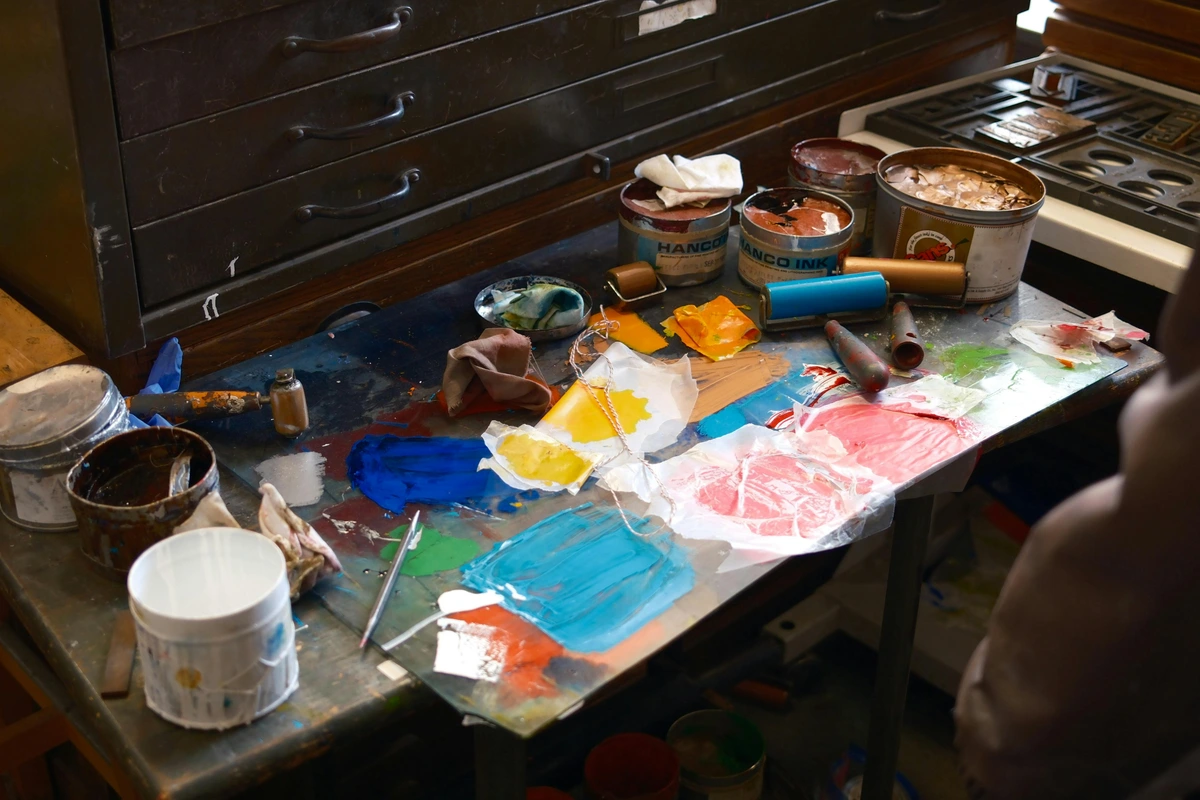
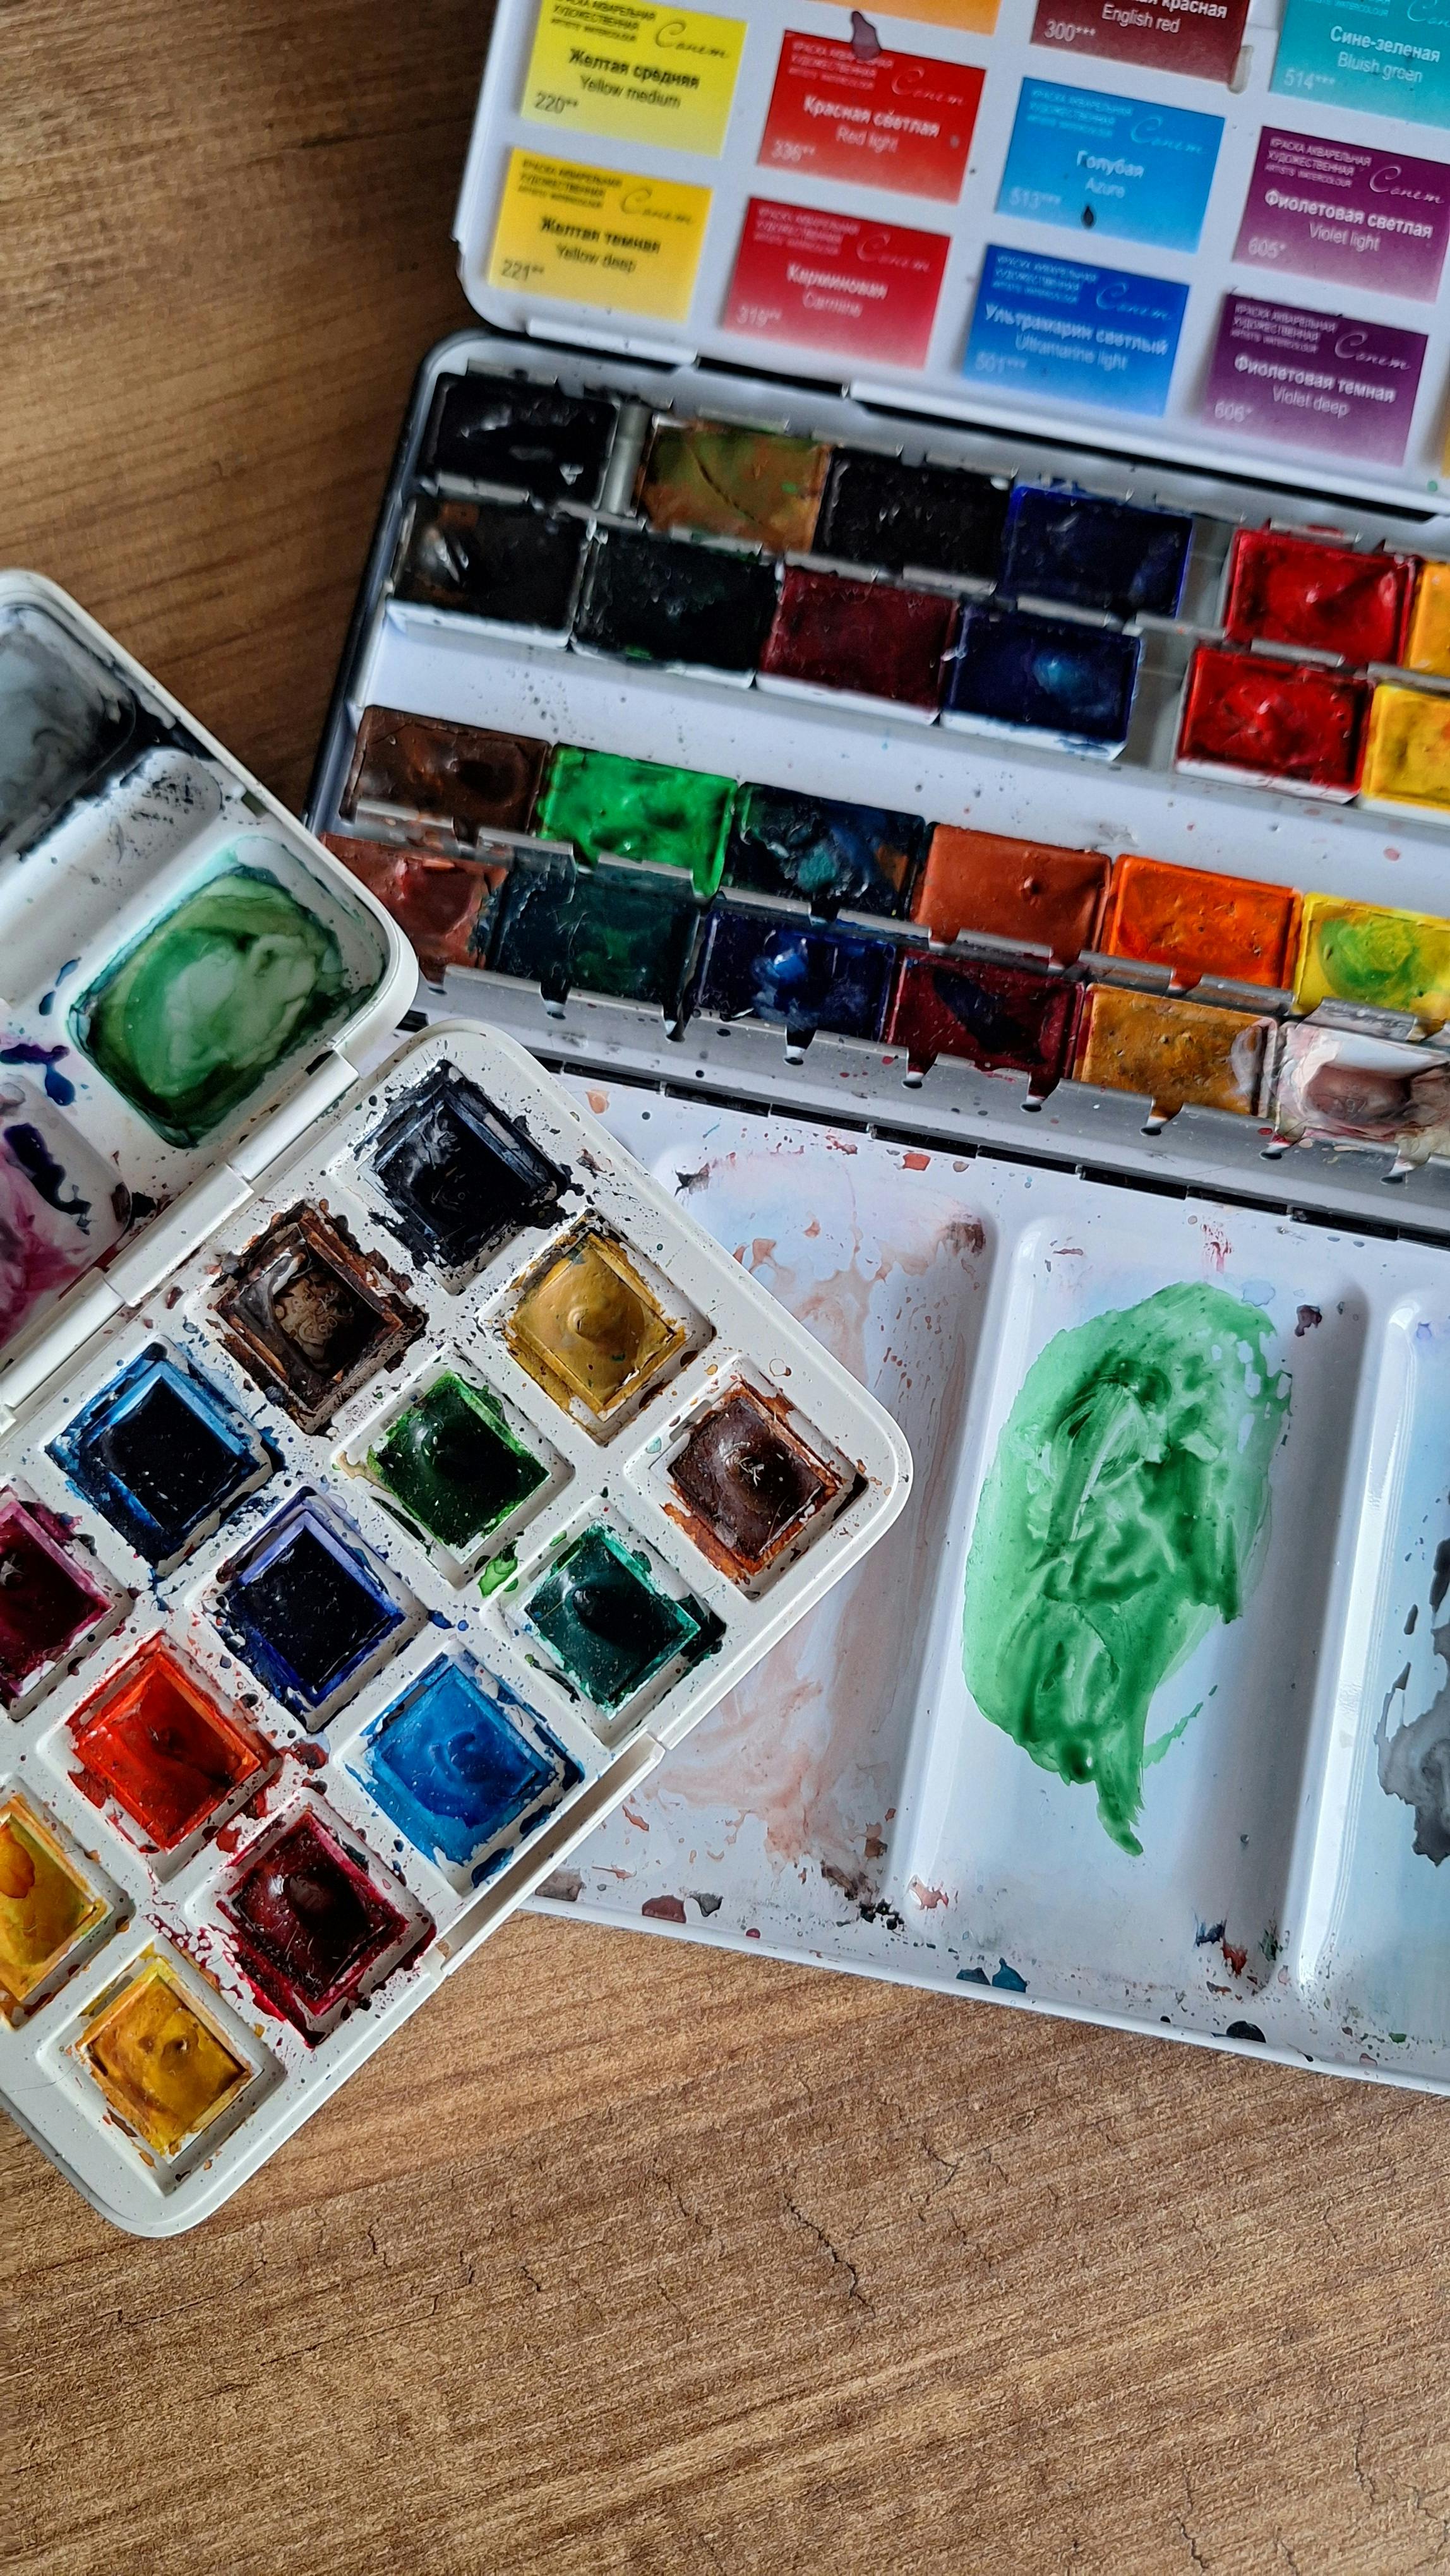
Step 3: Organize Your Tools
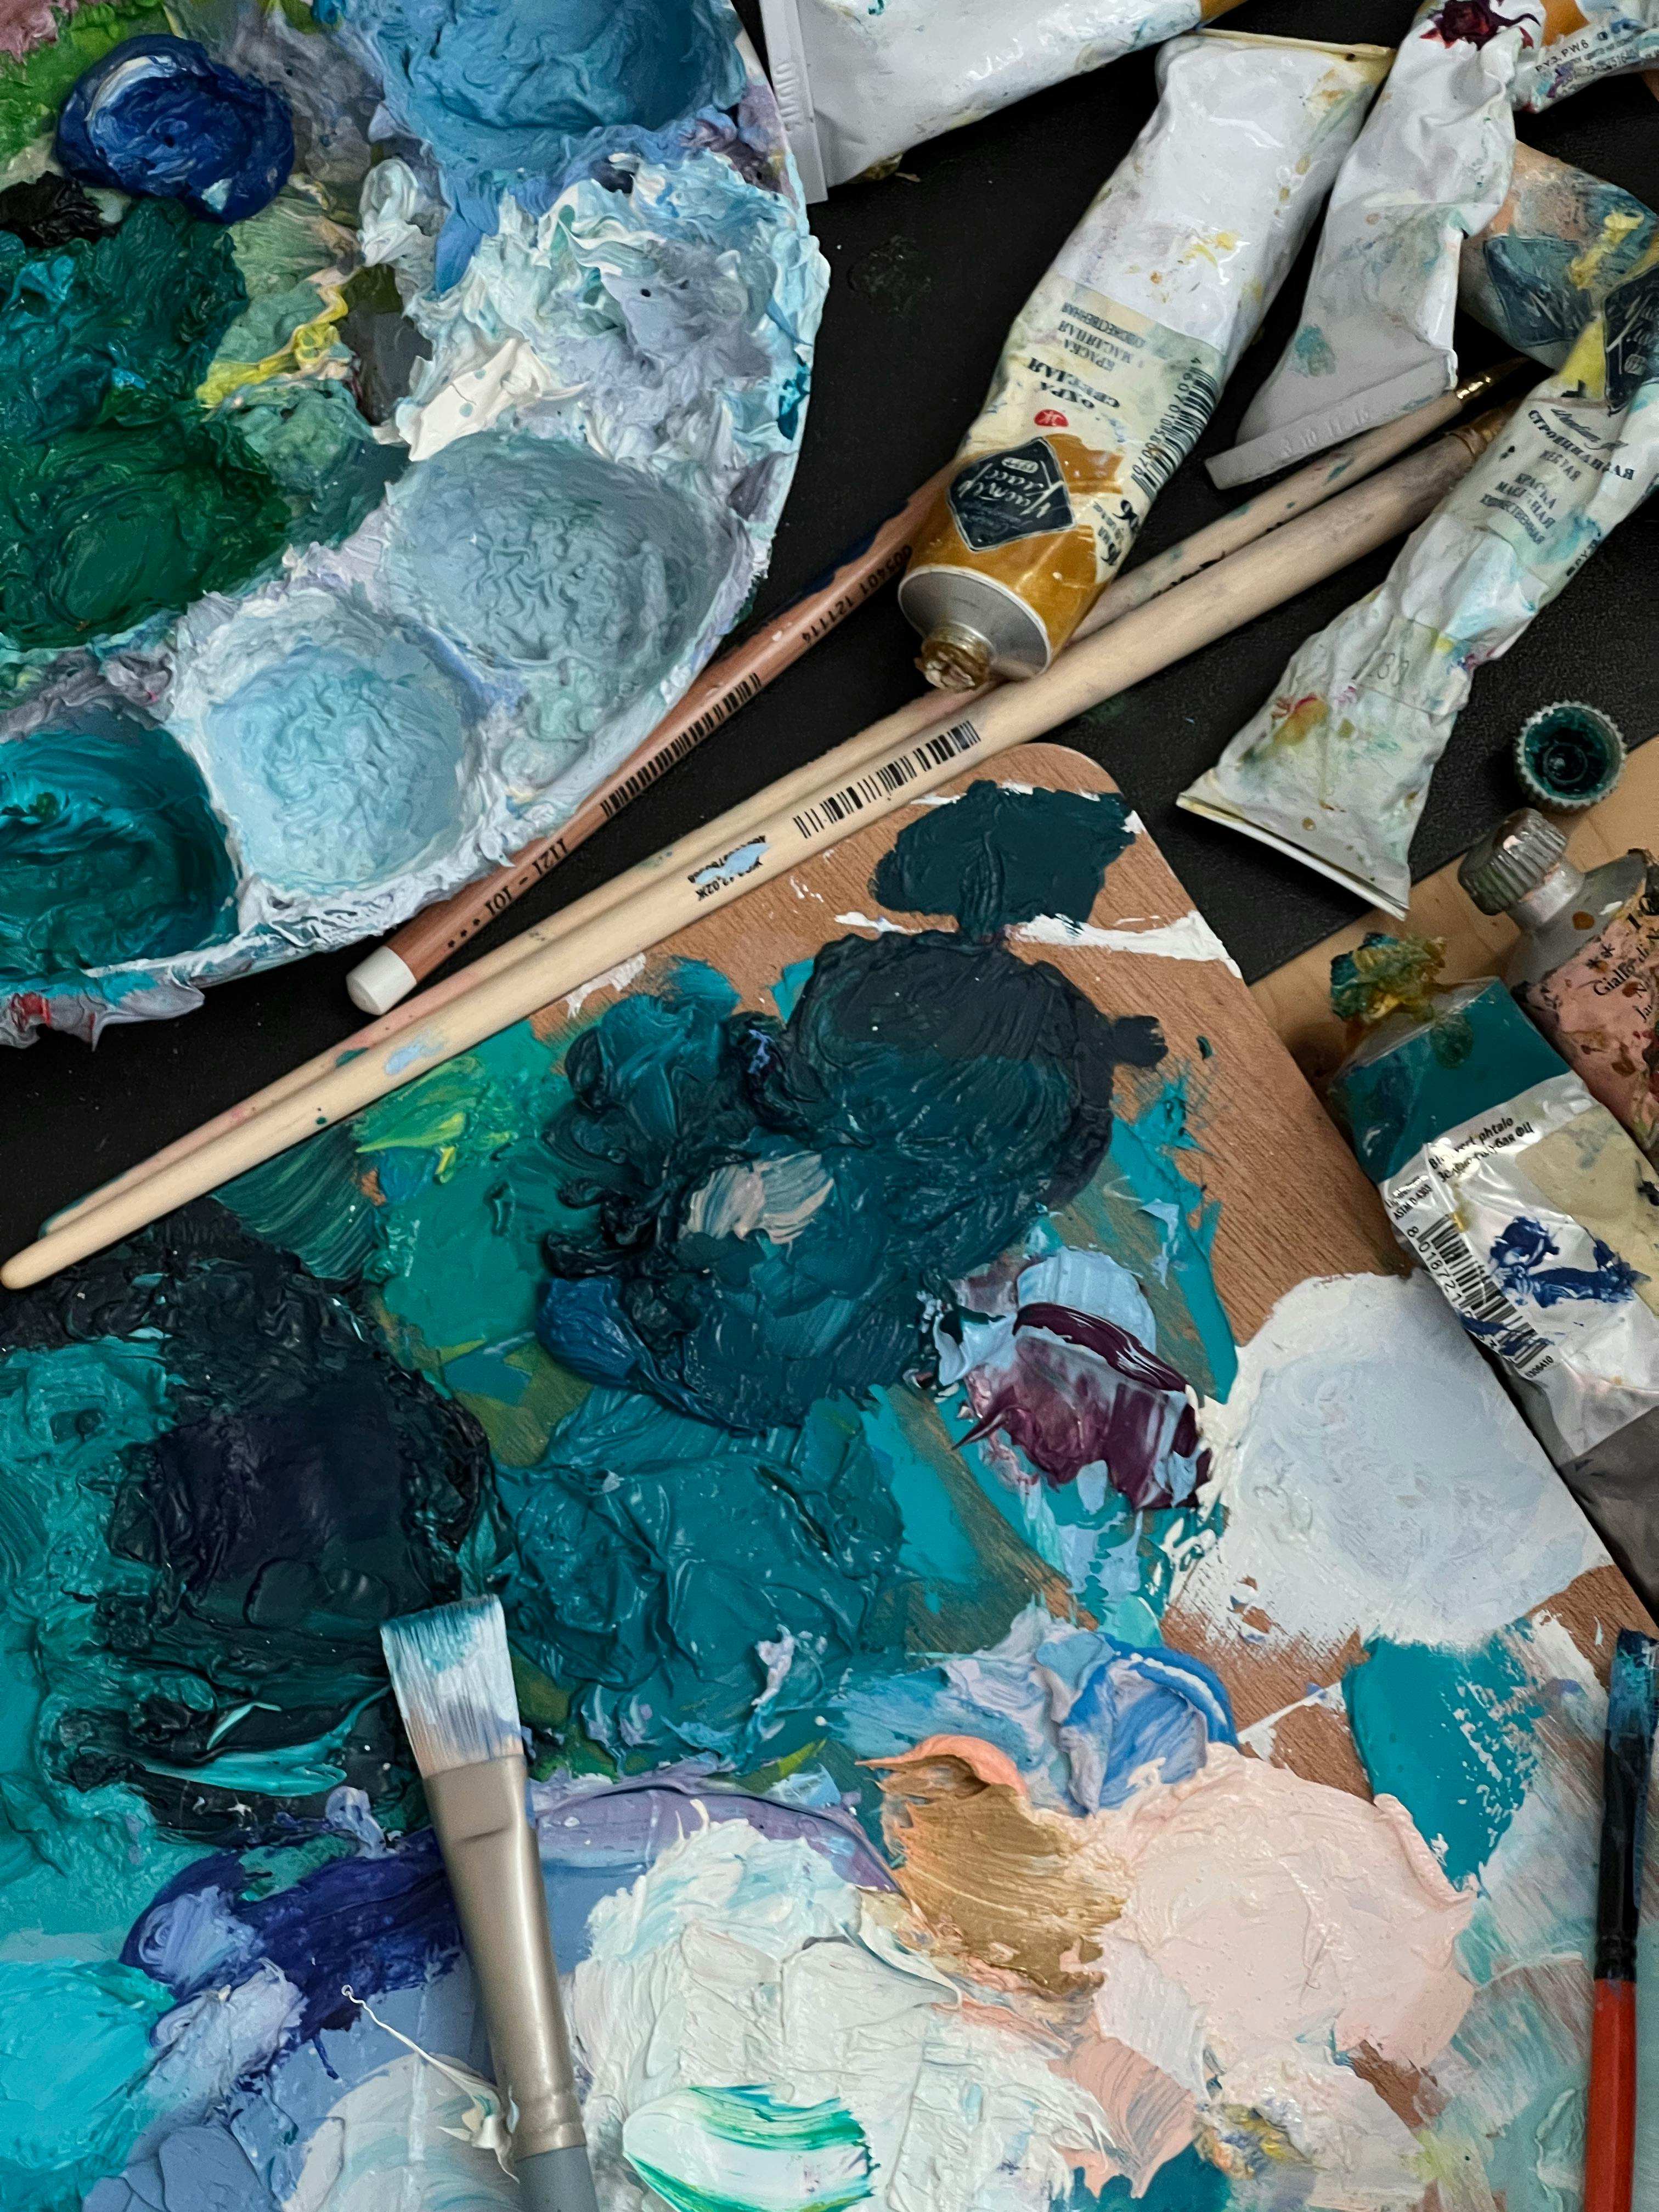
Organization is where most of us struggle. I know I’ve spent more time looking for a specific brush than actually painting. The trick is to keep things accessible but not in the way. Here’s how I do it:
Start by decluttering your workspace. Remove any items that you don't use regularly. This will free up space and make it easier to organize the essentials. Consider using storage solutions like drawers, bins, and shelves to keep your tools and materials organized.
- Use drawers or bins for small items like brushes, pencils, and erasers.
- Hang larger tools like rulers or palettes on a pegboard.
- Keep frequently used items within arm’s reach.
- Label storage containers to quickly find what you need.
- Use vertical space with shelves or wall-mounted storage.
Organization Tips:
- Declutter Regularly: Remove items you no longer use.
- Create Zones: Designate areas for different activities (e.g., painting, sketching, digital work).
- Use Mobile Storage: Wheeled carts or trolleys can help move supplies around easily.
Step 4: Comfort is Key
You’re going to spend a lot of time in your studio, so make sure it’s comfortable. Invest in a good chair—your back will thank you. If you’re standing, consider an anti-fatigue mat. And don’t forget about the little things, like a cozy rug or a small fan to keep the air moving.
Comfort also extends to the temperature and humidity levels in your studio. Ensure your space is well-ventilated and at a comfortable temperature. If you're working with materials that produce fumes, consider using an air purifier or opening windows to improve air quality.
Ergonomic Considerations:
- Chair: Choose a chair with good lumbar support.
- Desk Height: Ensure your desk is at a comfortable height for your work.
- Breaks: Take regular breaks to stretch and rest your eyes.
Creating a Comfortable Atmosphere:
- Temperature Control: Keep your studio at a comfortable temperature.
- Noise Levels: Use noise-canceling headphones or soft background music.
- Personal Touches: Add items that make you feel at home, like a favorite mug or a cozy blanket.
Step 5: Add Personal Touches
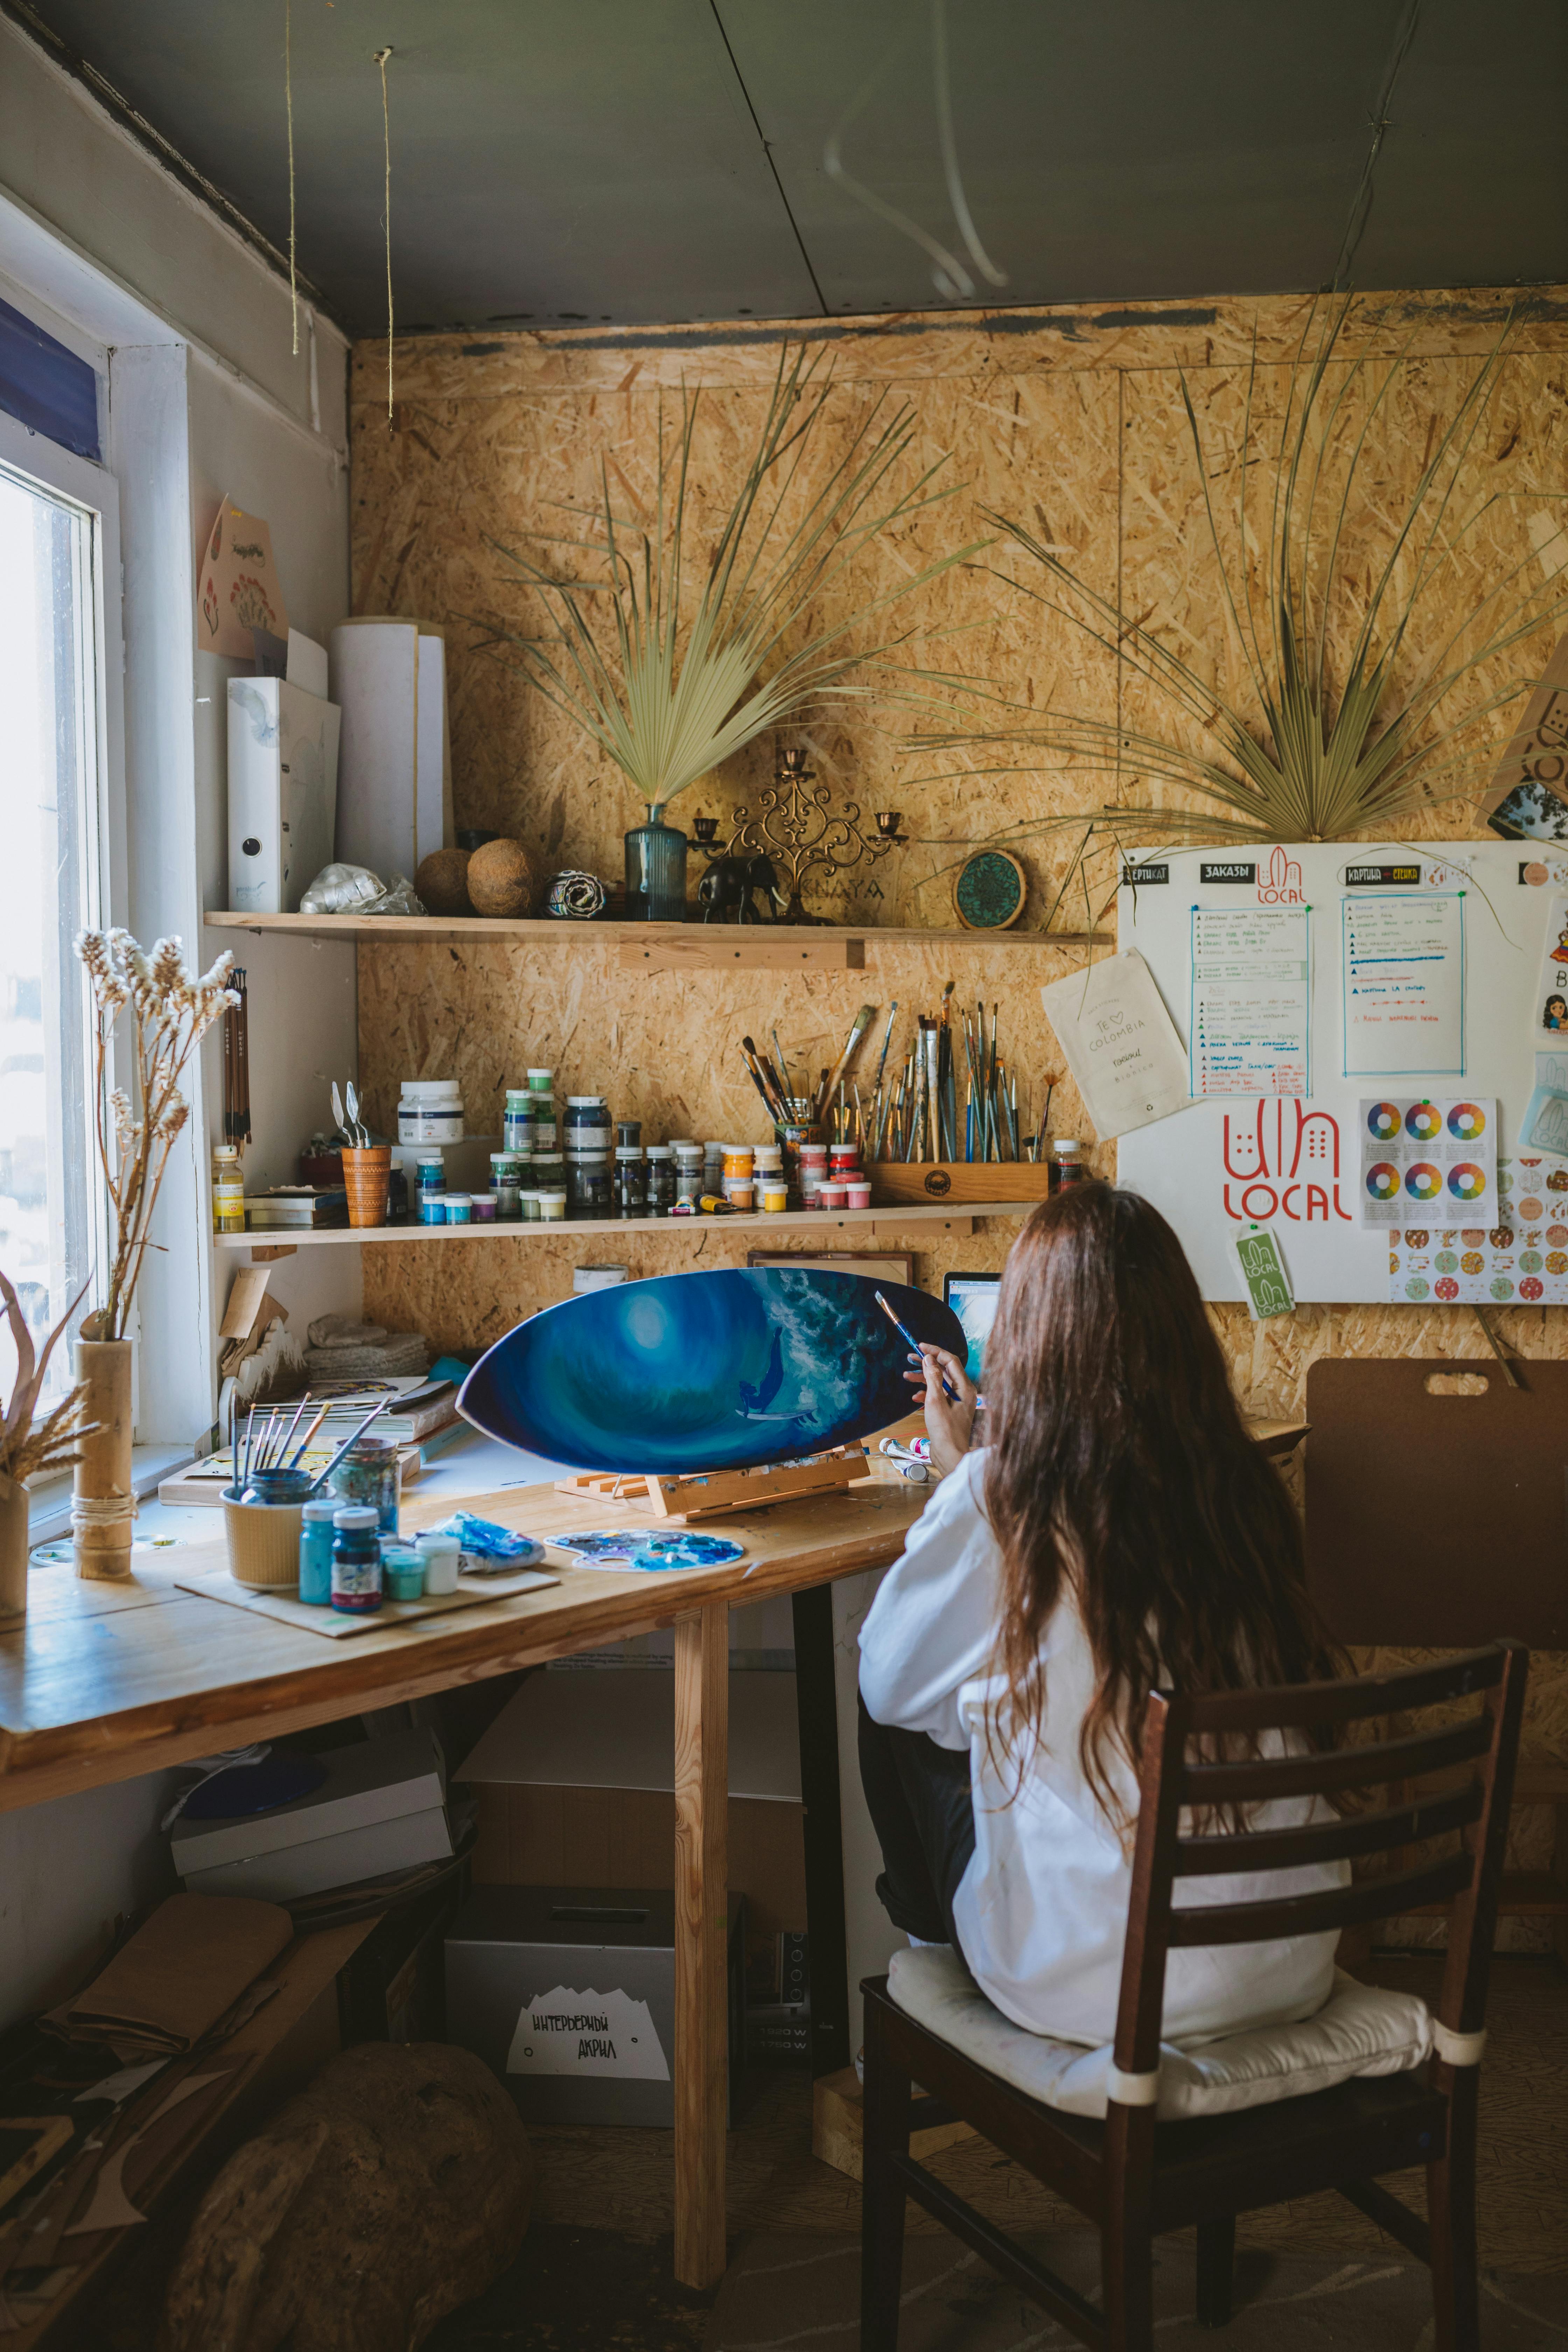
This is where your studio becomes yours. Hang up artwork that inspires you, add some plants for a touch of nature, or play music that gets you in the zone. I have a small shelf with trinkets I’ve collected over the years—each one has a story, and they remind me why I love creating art.
Personal touches can also include items that reflect your personality and interests. Whether it's a favorite quote, a collection of vintage cameras, or a cozy blanket, these elements can make your studio feel like a true sanctuary.
Ideas for Personalizing Your Studio:
- Artwork: Display pieces that inspire you.
- Plants: Add greenery to improve air quality and mood.
- Music: Create playlists that match your creative mood.
- Memorabilia: Include items that hold personal significance.
- Lighting: Use decorative lighting to create a warm and inviting atmosphere.
Creating a Mood Board: A mood board is a great way to visualize your artistic goals and inspirations. Include images, colors, textures, and quotes that resonate with you. It’s a dynamic tool that can evolve as your artistic journey progresses.
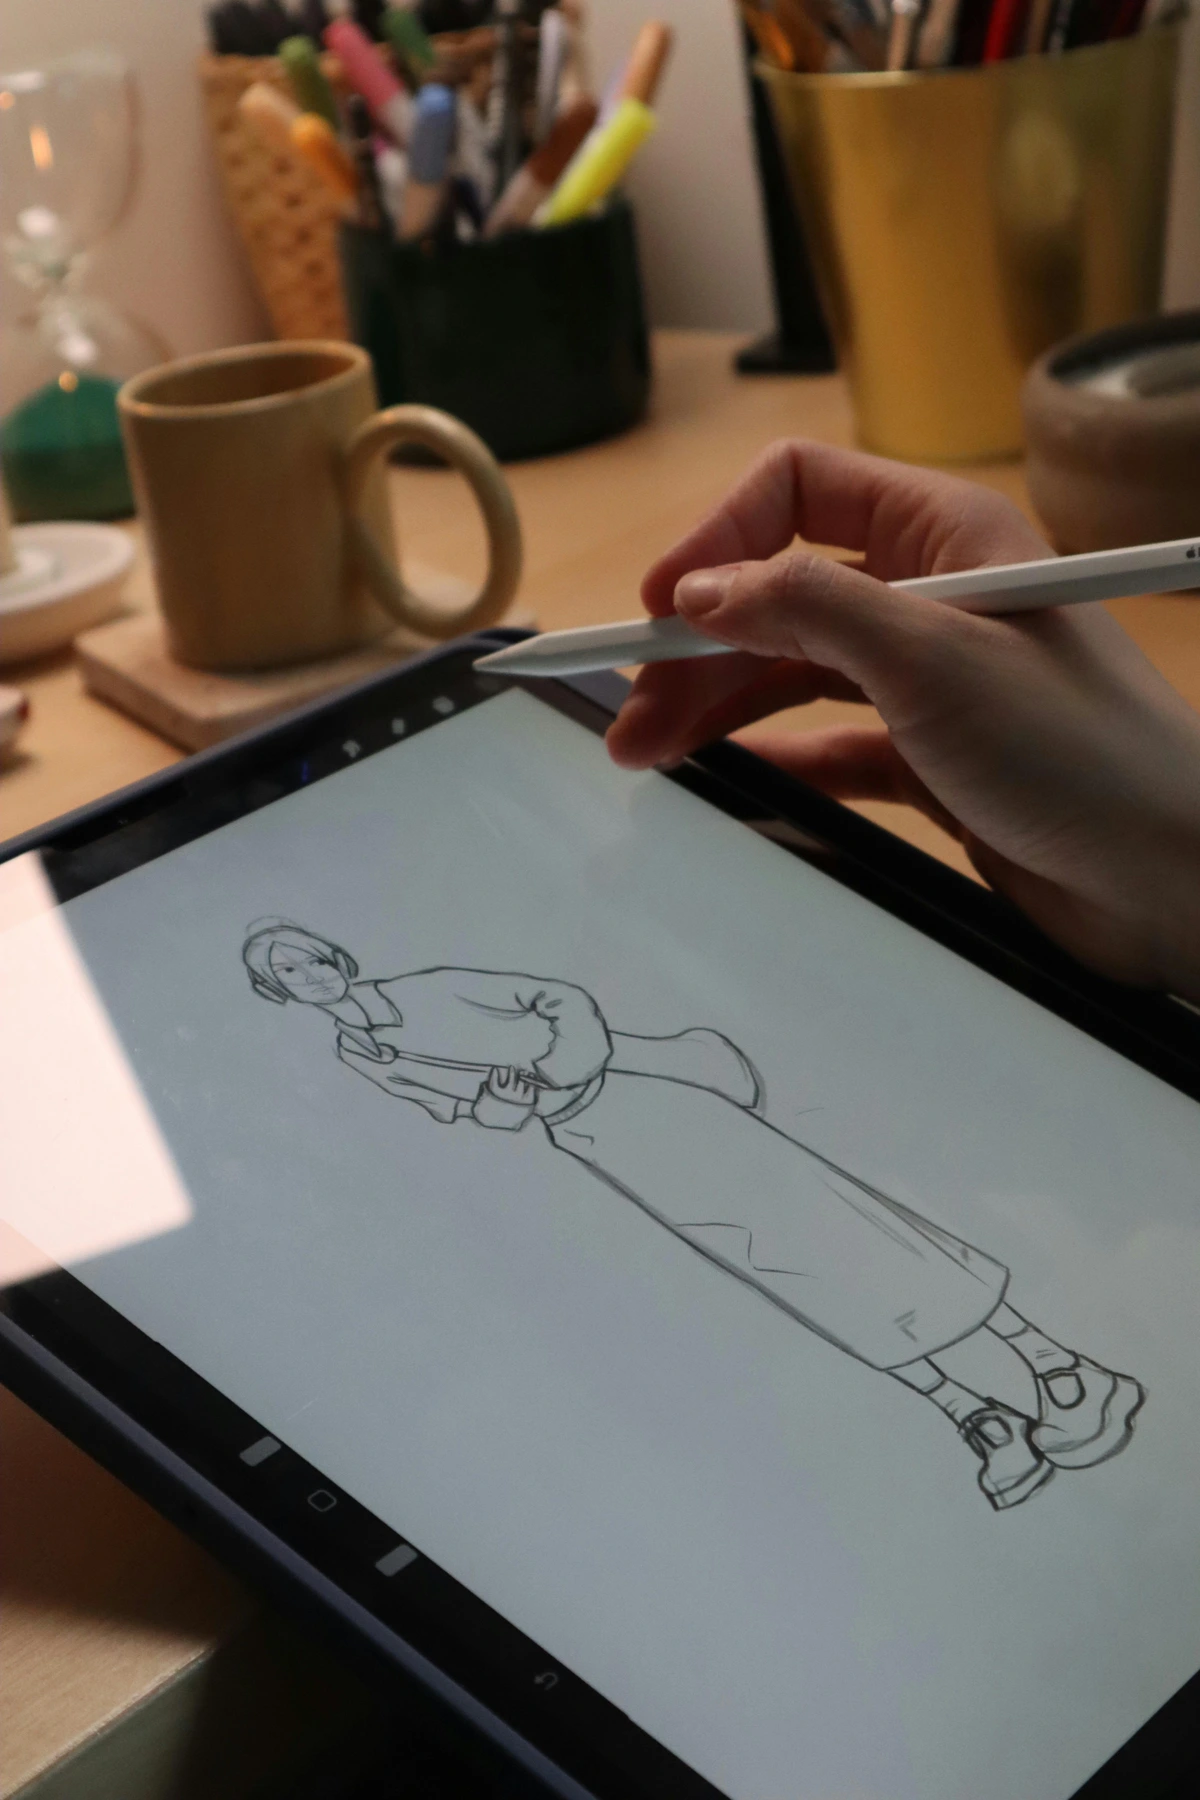
Incorporating Technology: Consider integrating technology into your studio to enhance your creative process. This could include digital tools, software, or even smart lighting systems that allow you to customize your workspace with ease.
Common Mistakes to Avoid
Setting up your studio is an exciting process, but it’s easy to make mistakes along the way. Here are some common pitfalls to avoid.
One of the biggest mistakes artists make is trying to create a perfect studio right from the start. Remember, your studio is a work in progress. It will evolve as you grow as an artist. Focus on creating a functional and inspiring space, and don't be afraid to make changes as needed.
Overcomplicating Your Setup
It’s easy to get caught up in having the “perfect” studio with all the latest gadgets. But here’s the truth: you don’t need everything right away. Start with the basics and build from there. I’ve seen artists with minimal setups create incredible work, while others with top-of-the-line equipment struggle to get started.
Another common mistake is overcrowding your studio with too many tools and materials. This can lead to clutter and make it difficult to focus. Instead, focus on the essentials and gradually add new items as you need them.
Tips for Simplifying Your Setup:
- Focus on Essentials: Identify the tools you use most and prioritize them.
- Gradual Upgrades: Add new equipment as you need it.
- Avoid Trends: Don’t feel pressured to buy the latest gadgets if they don’t serve your needs.

Ignoring Ergonomics
Your health matters. If you’re hunched over a tiny desk for hours, you’re going to end up with a sore back and a cramped neck. Pay attention to your posture and the height of your workspace. Adjustable tables and chairs can be a game-changer.
Ergonomics also includes the placement of your tools and materials. Ensure that everything is within easy reach to avoid unnecessary strain. Consider using ergonomic tools and accessories, such as cushioned grips for your brushes or a footrest for added comfort.
Ergonomic Solutions:
- Adjustable Furniture: Invest in furniture that can be adjusted to your needs.
- Posture Awareness: Regularly check your posture and make adjustments.
- Stretching: Incorporate stretching exercises into your routine to prevent strain.
Neglecting Inspiration
Your studio should be a place that sparks creativity, not just a functional workspace. If you’re feeling uninspired, take a step back and ask yourself: What’s missing? Maybe it’s a new piece of art on the wall, a different playlist, or even just opening the window for some fresh air.
Inspiration can also come from outside your studio. Take breaks to explore nature, visit art galleries, or engage in other creative activities. These experiences can provide fresh perspectives and ideas for your work.
Ways to Stay Inspired:
- Change Your Environment: Rearrange your studio or add new elements.
- Explore New Mediums: Experiment with different art forms to spark creativity.
- Connect with Other Artists: Join communities or attend workshops to share ideas.
- Travel: Visit new places to gain fresh perspectives and inspiration.
- Reading: Explore books, articles, and blogs related to your artistic interests.

FAQ
Here are some frequently asked questions about setting up your studio.

If you have any other questions or need further guidance, feel free to reach out. Setting up your studio is a personal journey, and there's no one-size-fits-all solution. Experiment, explore, and find what works best for you.

What’s the best lighting for a studio?
Natural light is ideal, but if that’s not possible, LED daylight bulbs are a great alternative. Avoid fluorescent lights—they can distort colors and strain your eyes.
When choosing artificial lighting, look for bulbs with a high Color Rendering Index (CRI) to ensure accurate color representation. Dimmable lights can also be useful for adjusting the brightness based on your project.
Additional Lighting Tips:
- Positioning: Place lights to avoid glare on your workspace.
- Color Accuracy: Use bulbs with a high Color Rendering Index (CRI) for accurate color representation.
- Layered Lighting: Combine ambient, task, and accent lighting for a balanced setup.
How do I organize a small studio space?
Use vertical space! Pegboards, shelves, and wall-mounted storage can help you maximize a small area. Keep only the essentials on your workspace and store the rest nearby.
Consider using multi-functional furniture, such as a desk with built-in storage or a foldable table. This can help you save space and keep your studio organized. Regularly declutter and reorganize to maintain a functional workspace.

Small Space Organization Ideas:
- Multi-Functional Furniture: Use furniture that serves multiple purposes.
- Foldable Workspaces: Consider foldable desks or tables to save space.
- Under-Desk Storage: Utilize the space under your desk for storage.

Do I need expensive equipment to create good art?
Absolutely not. Some of the best art is created with simple tools. Focus on what you have and how you can use it creatively. Upgrade as you go, but don’t let a lack of fancy equipment hold you back.
Many artists start with basic materials and gradually invest in higher-quality tools as they develop their skills. The key is to focus on your creativity and technique, rather than the cost of your equipment.
Budget-Friendly Art Supplies:
- DIY Tools: Make your own tools or repurpose household items.
- Second-Hand Equipment: Look for used equipment in good condition.
- Basic Materials: Start with basic materials and expand as you grow.
How can I make my studio more inspiring?
Surround yourself with things that motivate you—art books, posters, plants, or even a mood board. Personal touches make a big difference.
Consider adding elements that reflect your personality and interests. Whether it's a favorite quote, a collection of vintage cameras, or a cozy blanket, these items can make your studio feel like a true sanctuary. Experiment with different layouts and decorations to find what inspires you the most.
Inspiration Boosters:
- Art Books: Keep a collection of books that inspire your work.
- Nature Elements: Incorporate natural elements like plants or stones.
- Music and Sound: Use music or ambient sounds to set the mood.

What’s the most important thing in a studio setup?
Comfort and functionality. Your studio should be a place where you can work for hours without feeling strained or distracted. Everything else is secondary.
A well-designed studio should support your creative process and make it easier for you to focus on your work. Whether it's a comfortable chair, good lighting, or an inspiring atmosphere, prioritize the elements that enhance your creativity and productivity.
Final Tips for a Perfect Studio:
- Regular Updates: Continuously update and improve your studio.
- Feedback: Ask for feedback from other artists or friends.
- Enjoy the Process: Remember, your studio is a reflection of your creative journey.
Conclusion
Creating the perfect studio setup is a journey, not a destination. It’s about finding what works for you, experimenting, and making adjustments along the way. Remember, your studio is a reflection of your creative process—it should evolve as you do.
And if you’re looking for more inspiration, check out some of the artwork available here. Or, if you’re ever in Den Bosch, visit the museum to see how other artists have set up their spaces. Happy creating!