Oil Painting: A Personal Journey Through Techniques & Materials
Embark on a unique journey through oil painting with this deeply personal guide. Explore essential materials, foundational techniques, and historical context, infused with introspective thoughts and subtle humor from an artist's perspective.
Oil Painting: A Personal Journey Through Techniques, Materials, and Legacy
For me, oil painting isn't just a medium; it's a conversation, a challenge, and sometimes, a glorious mess. It's a dance with pigment and light that has captivated artists for centuries, and still, every time I pick up a brush, I feel a fresh sense of wonder. This guide isn't just about the 'what' and 'how' of oil painting; it's about the 'why' – the personal connection, the quiet satisfaction, and the unexpected insights you gain along the way.
The Enduring Appeal and My Own Fascination
I often wonder what it was like for those early painters in the 15th century when oil paint first appeared on the scene, making the stiffer tempera feel almost… antique. Its slow drying time must have felt like a revelation, offering space to breathe, to blend, to truly sculpt light and shadow on the canvas. It's this very quality that still enthralls me today – the ability to push paint around, to create those seamless transitions, and to build up colors that feel as deep and luminous as forgotten jewels. It allows for a kind of realism, yes, but also a profound emotional depth that feels uniquely oil. Just look at the subtle shifts in tone in a Rembrandt portrait, or the vibrant, almost breathing quality of a Titian – they weren't just painting faces; they were capturing souls. That enduring vibrancy? It’s why my studio, and countless others, still smell faintly of linseed oil.
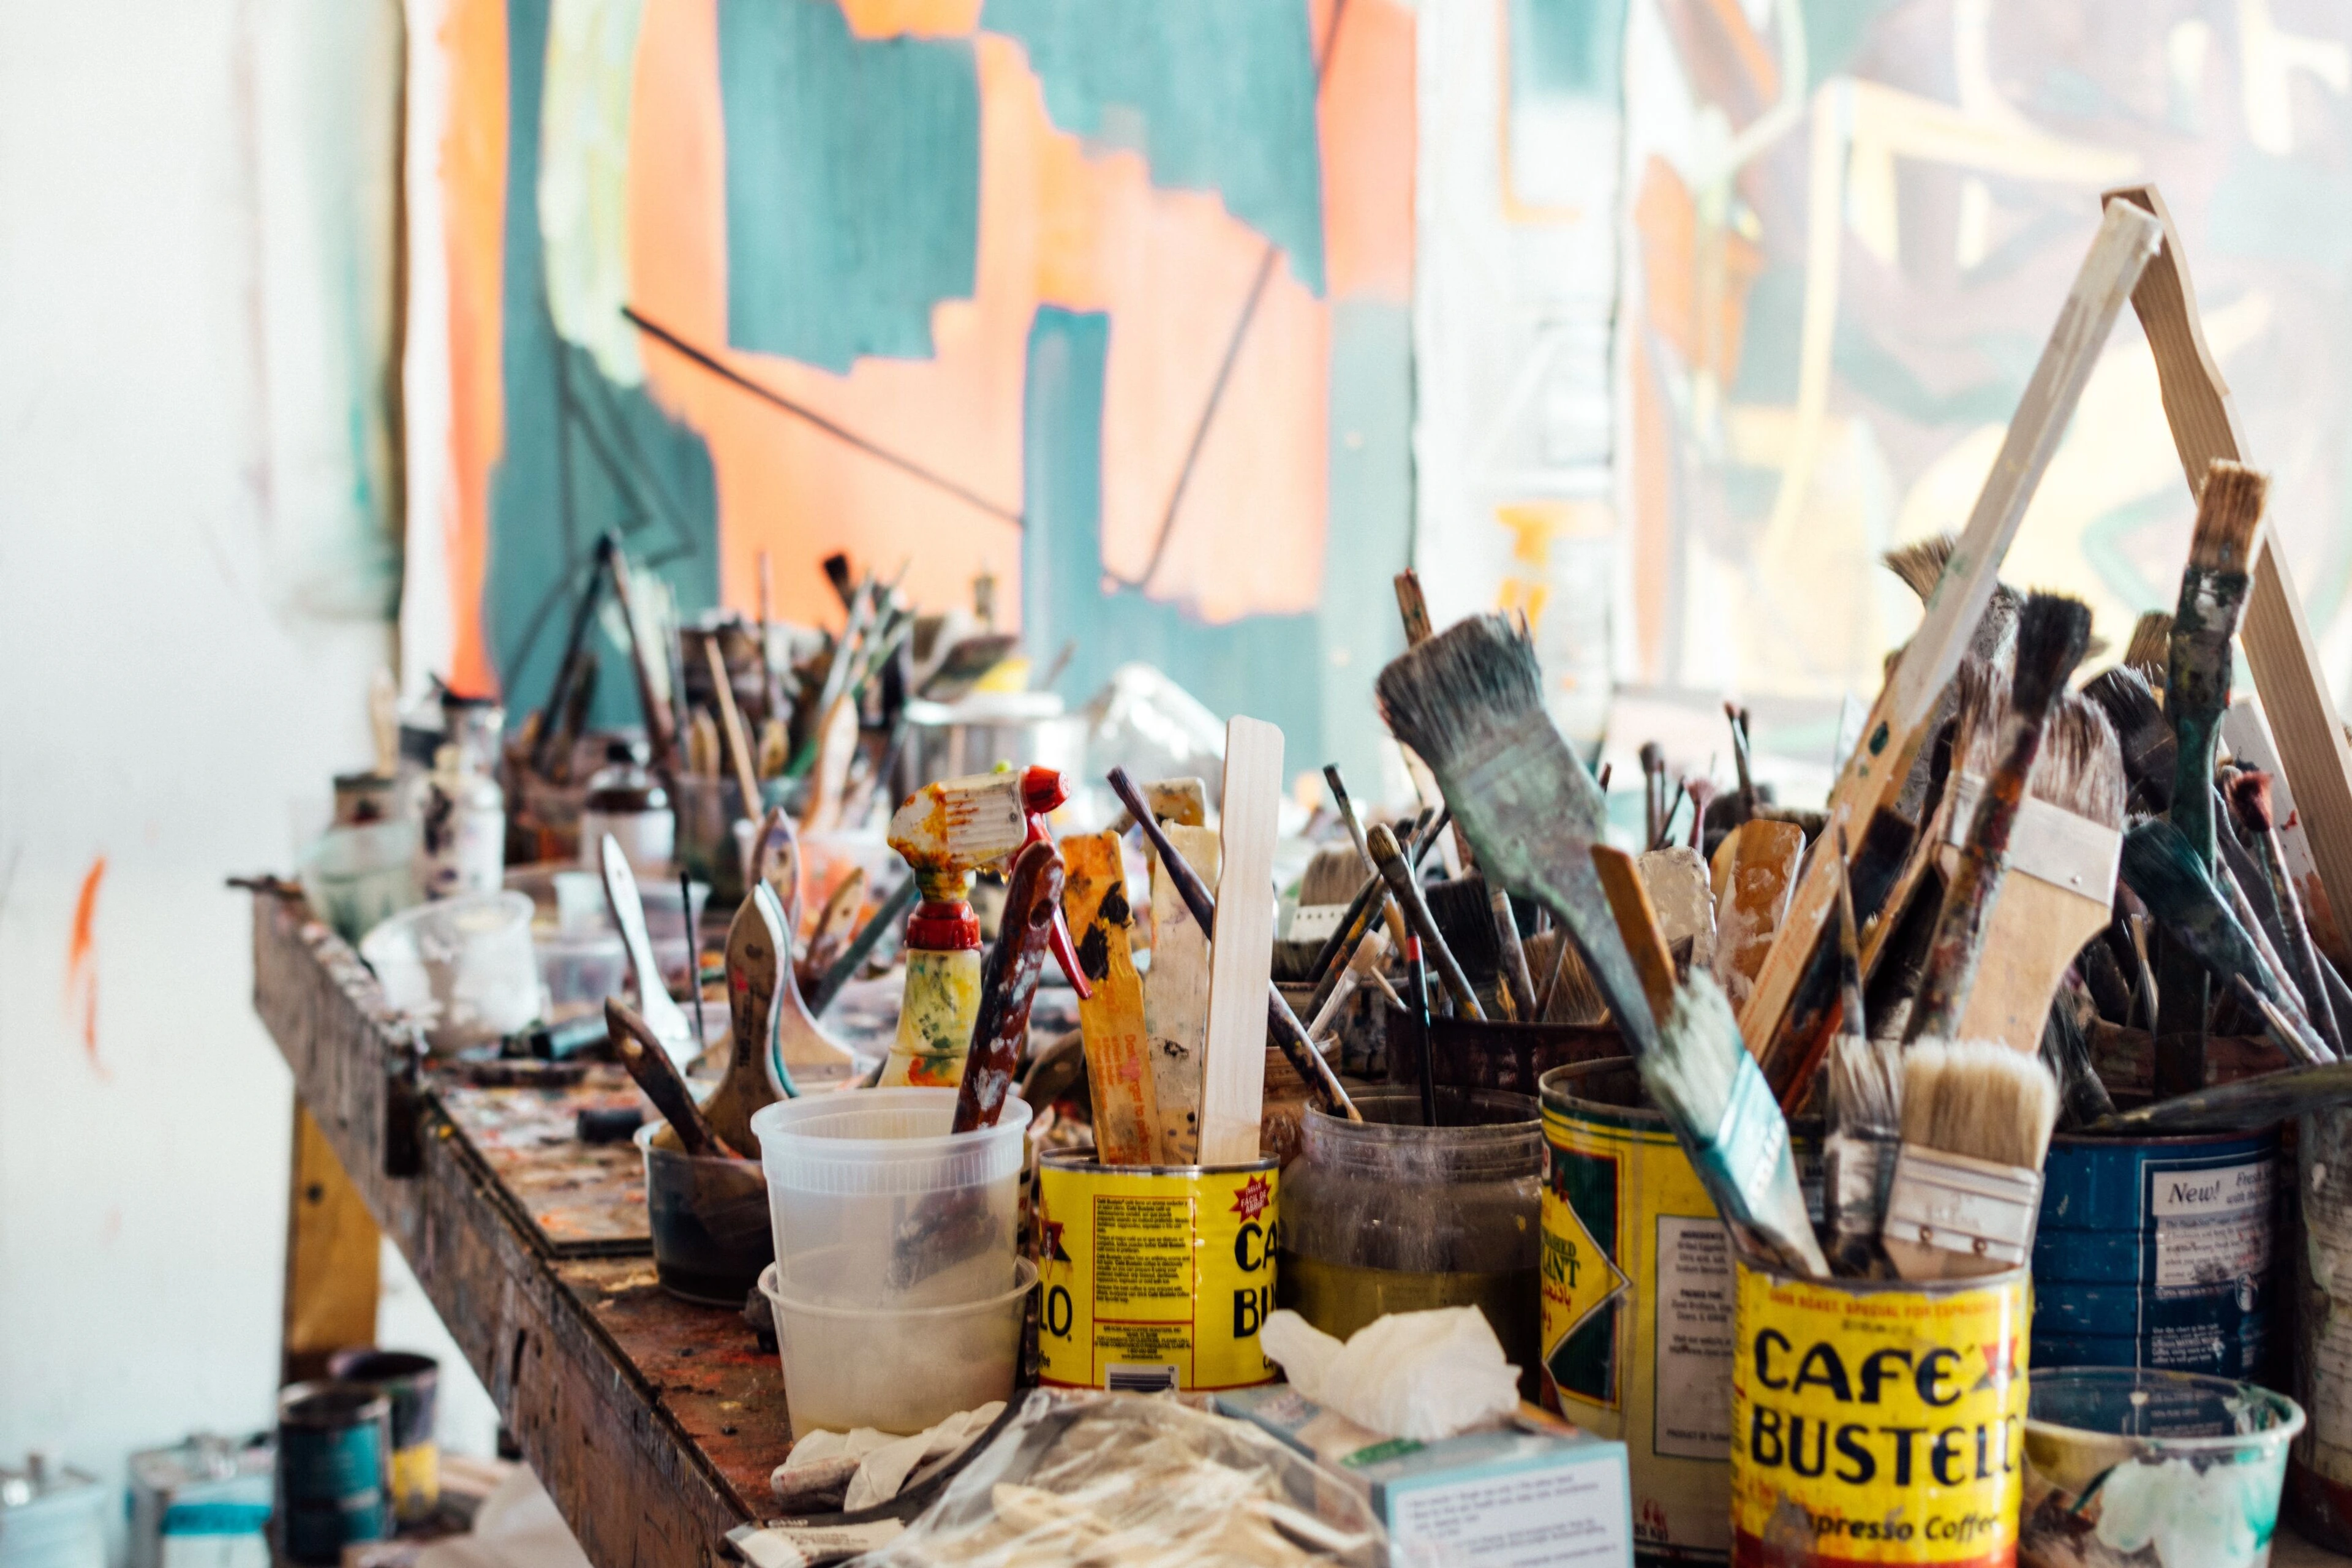
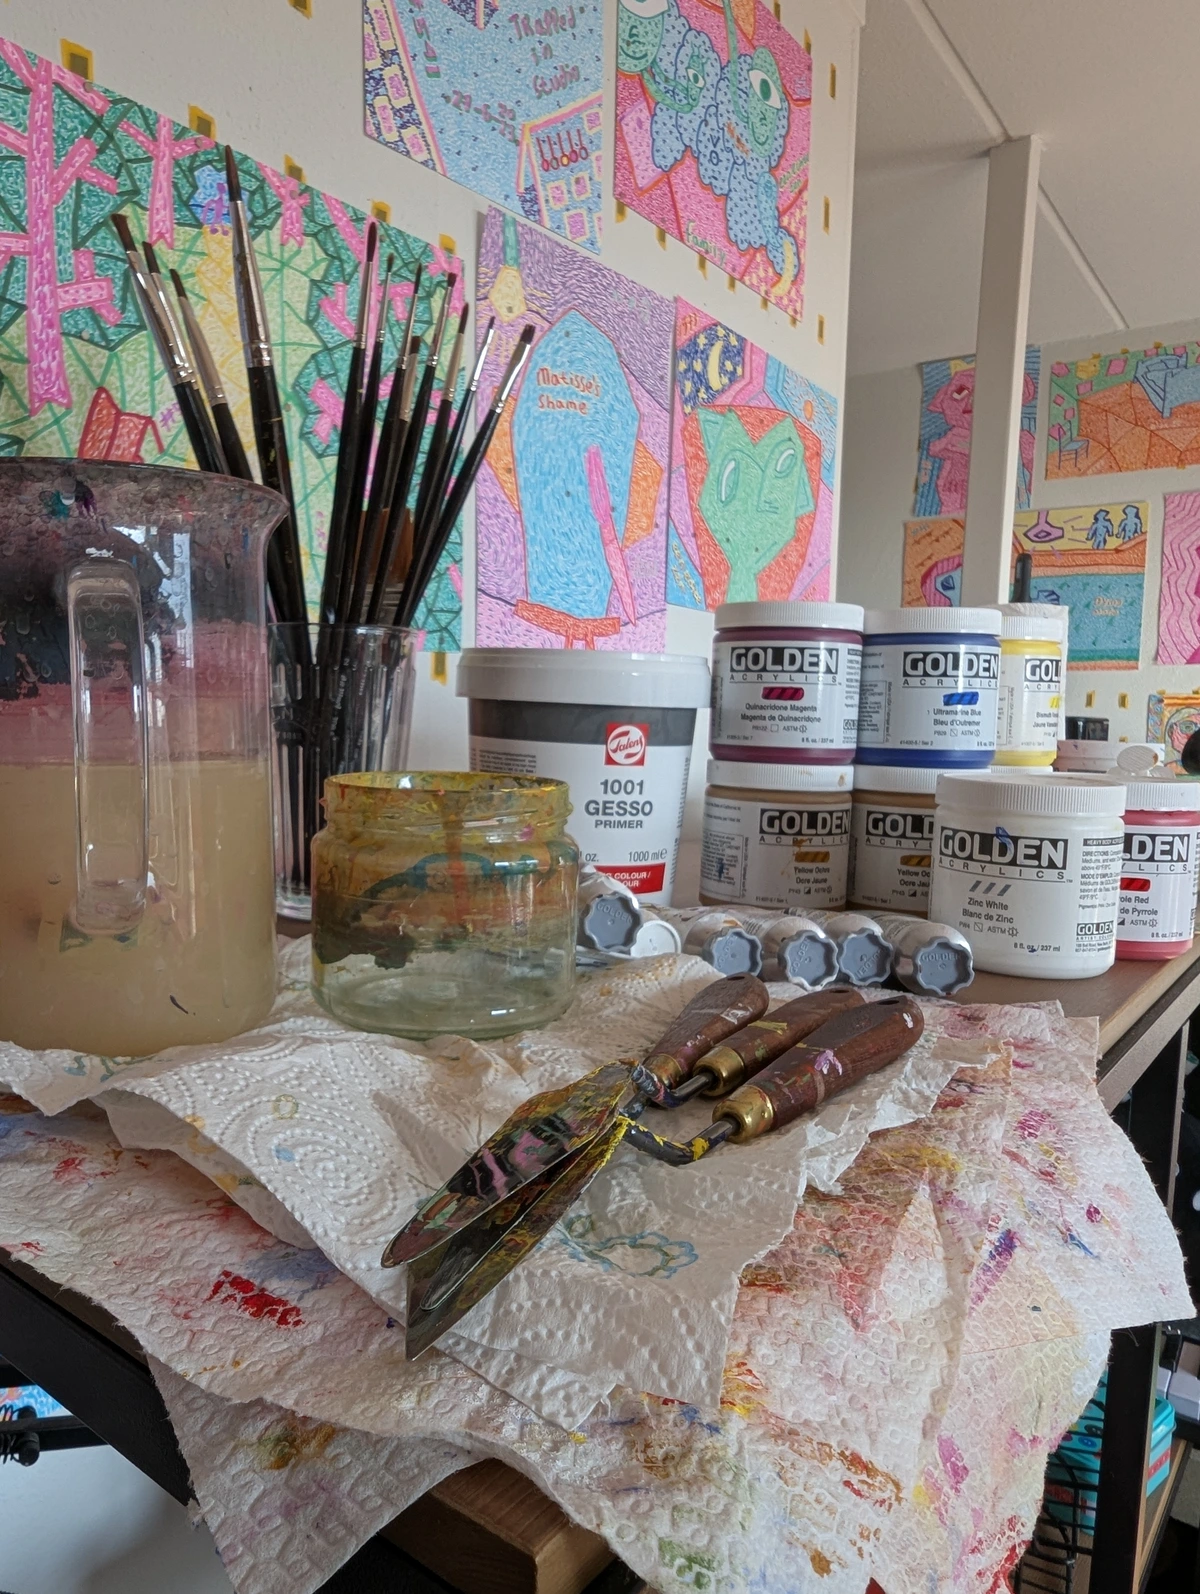
Essential Materials: My Tools, My Companions
Starting with oil painting feels a bit like preparing for an expedition; you need the right gear. Each material isn't just a component; it's a collaborator, influencing everything from the initial stroke to the final, finished piece and how it will stand the test of time.
Oil Paints
At their heart, oil paints are finely ground pigments suspended in a drying oil. It's simple, yet profound. My choice of drying oil makes a huge difference, almost like choosing a personality for your paint. Linseed oil, a classic, gives a strong film and dries relatively fast, but be warned, it has a tendency to yellow a bit over time – something I've learned to account for, especially in my whites. Poppy oil is my go-to for those light, delicate colors where I absolutely want no yellowing, though it dries much slower and creates a weaker film. Walnut oil strikes a nice balance, drying slower than linseed but with less yellowing. And then there's safflower oil, similar to poppy, very slow drying and non-yellowing, which I often reserve for those pristine whites and ethereal blues.
I've curated my palette over years – a collection of primary and secondary hues, those wonderfully grounding earth tones, and the indispensable black and white. It's amazing how much of the rainbow you can mix from a handful of tubes. And believe me, the quality matters. Student-grade paints are fine for practice, but for true vibrancy and archival stability, I always lean towards professional-grade paints with their high pigment concentration. It's an investment, but a worthwhile one.
Mediums
Mediums are like secret potions for your paint. Blended with oil paints, they can change everything – consistency, transparency, drying time, and finish. Their judicious use allows me to tweak the paint to match exactly what I envision.
Medium Type | Primary Function | Key Characteristics |
|---|---|---|
| Linseed Oil | Increases flow, gloss; slows drying | Common, strong film, can yellow |
| Turpentine/OMS | Thins paint, cleans brushes, fast-evaporating | Turpentine: Strong odor, natural solvent; OMS: Low odor, petroleum-based |
| Liquin/Alkyd Mediums | Speeds drying, adds fluidity, improves durability | Synthetic resin-based, popular for faster work; a lifesaver when I'm in a hurry or want to build up layers quickly |
| Damar Varnish | Final protective layer, adds gloss | Traditional, natural resin, removable for conservation |
| Cold Wax Medium | Adds matte finish, body, texture, increases translucency | Wax-based, creates unique tactile surfaces and a lovely, subtle sheen |
Brushes and Palette Knives
My brush collection has grown to a point where I sometimes wonder if the brushes are painting me, rather than the other way around! They come in a dizzying array of shapes – round for fine lines, flat for bold strokes, filbert for soft edges – and bristle types. Hog hair for that glorious impasto, sable for the most delicate details, and synthetics for their versatility. And then there are palette knives, those wonderfully flexible blades invaluable for mixing colors on the palette, or for literally sculpting thick passages of paint and creating textures directly on the canvas. They force a different kind of spontaneity, which I love.

Surfaces
My canvas, my panel, my paper – these are the foundations of my painted worlds. Traditionally, stretched canvas (linen or cotton) is a favorite, offering a lovely give and tooth. Rigid wood panels, like masonite or birch, give a smooth, unyielding surface, perfect when I'm chasing ultra-fine details. And sometimes, for quick studies or experiments, specially prepared paper is wonderfully freeing. Whatever I choose, one thing is non-negotiable: priming it with gesso. This white acrylic or traditional glue-based ground creates that stable, non-absorbent barrier, protecting my support from the oil's inherent acidity and giving the paint something beautiful to grip onto. It's the unsung hero, really.
Solvents and Cleaning Supplies
Ah, solvents – the necessary evil. Turpentine or odorless mineral spirits (OMS) thin my paints and clean my brushes, and frankly, my studio floor sometimes. But their fumes are no joke. I've learned (sometimes the hard way!) that adequate ventilation is not just a recommendation; it's a lifeline. Nobody wants to feel lightheaded when they're trying to capture a delicate hue! And then there are the complementary cleaning supplies – artist's brush soap, rags – vital for keeping my tools happy and my workspace (mostly) tidy.

Mastering Color Theory: My Ongoing Love Affair with Hues
Color theory, for me, isn't just a set of rules; it's the language of emotion, the symphony of my palette. It's the difference between a painting that just exists and one that truly sings. By understanding how colors talk to each other, I can mix anything I dream of and make my art truly feel something.
Basic Color Relationships
- Primary Colors: Red, yellow, and blue. These are the foundational parents, from which all other colors spring. Simple, yet powerful.
- Secondary Colors: Orange, green, and violet. Born from mixing two primaries. My personal challenge is always trying to mix the perfect secondary, an exercise in patience and perception.
- Complementary Colors: These are the firecrackers of the color wheel – colors opposite each other (like red and green, blue and orange, yellow and violet). When placed next to each other, they don't just contrast; they practically vibrate with visual energy. But mix them? They calm each other down, producing beautifully earthy grays or browns, perfect for those quiet, subtle moments. It's a paradox I adore.
- Analogous Colors: Three colors snuggled up next to each other on the color wheel (think blue, blue-green, and green). These are my go-to for creating a sense of harmony, tranquility, and a gentle, flowing mood in my work.
By consciously (or sometimes, unconsciously, just following my gut) applying these relationships, I ensure my palettes feel cohesive, and my color choices serve the deeper emotional narrative of my piece. If you're as fascinated by color as I am, you might love exploring how artists truly wield these concepts in How Artists Use Color or delving into The Definitive Guide to Understanding Color Theory in Abstract Art.
Foundational Compositional Principles: The Unseen Choreography
Composition is the backbone of any painting, the silent choreographer that guides your eye and creates a sense of balance and intrigue. With oil paint's incredible versatility – its ability to create soft edges, strong contrasts, and rich textures – I find it an ideal medium for really leaning into these principles. It's about more than just placing elements; it's about telling a visual story.
- The Rule of Thirds: I often find myself mentally dividing my canvas into nine equal sections, not because it's a rigid rule, but because it just feels right. Placing key elements along these invisible lines or at their intersections almost always creates a more dynamic and engaging arrangement than simply centering everything. It's a subtle nudge for the eye.
- Balance: Achieving visual balance is about distributing the 'weight' within the painting. Sometimes it's symmetrical, offering a formal, stable feeling. More often, for me, it's asymmetrical – a dynamic, sometimes off-kilter balance that feels more human, more interesting.
- Focal Point: Every painting benefits from a clear focal point, that one spot that immediately grabs your attention. It can be through a splash of contrasting color, an explosion of detail, or simply its placement. It's where I want your eye to land first, before it begins its journey through the rest of the work.
- Leading Lines: I love using lines – real or implied – to draw your eye through the artwork, creating movement and depth. It's like a visual arrow, gently guiding you through the narrative.
Understanding these principles, further detailed in The Definitive Guide to Understanding Composition in Abstract Art, allows me to construct visually powerful narratives that resonate with the viewer.
Fundamental Oil Painting Techniques: My Toolkit of Expression
Mastering oil painting means getting to know its many languages. Each technique offers unique possibilities for expression, a different way to speak through paint.
1. Alla Prima (Wet-on-Wet)
Alla Prima, Italian for "at once," is where the magic happens, or sometimes, the glorious mess! It involves completing a painting in a single session while all the paint layers are still wet. This technique demands spontaneity, bold brushstrokes, and quick decisions – it’s a bit like trying to conduct an orchestra while it’s still tuning up, but oh, the energy! I often use it for quick studies, portraits, or landscapes where I want to capture a fleeting impression and a raw, immediate feel.
2. Glazing
Glazing is pure poetry. It's the application of thin, transparent layers of paint over a dried underpainting or previous, opaque layers. Each subsequent glaze subtly alters the color and tone beneath it, building extraordinary luminosity, depth, and richness. This technique, a hallmark of Old Masters, allows for meticulous control over light and shadow, creating that incredible jewel-like quality that makes me just want to stare for hours.
3. Impasto
Impasto? This is where paint gets to be paint. Applying it thickly, often with a brush or palette knife, so that the brushstrokes or tool marks are distinctly visible and create a palpable texture on the surface. It’s like the painting itself is stepping out of the canvas, reflecting light in unique ways and conveying such a powerful sense of energy and immediacy. Vincent van Gogh knew what he was doing, didn't he? Sometimes I feel like I'm wrestling with the canvas, but in the best possible way. For a deeper dive into this delightful struggle, explore What is Impasto Painting.
4. Underpainting and Grisaille
Underpainting is my skeleton. It establishes the tonal values, forms, and composition in monochrome or a limited color palette before I even think about introducing full color. This preliminary stage provides such a robust structural integrity, ensuring the painting's underlying form is sound. Grisaille is a specific form of underpainting that's all shades of gray or a single muted color, serving as a detailed foundational map for subsequent glazes. It's like painting a beautiful black and white photograph, and then gently adding color over it, without losing that intricate tonal work.
5. Scumbling
Scumbling is a whisper of paint. It involves lightly dragging an opaque or semi-opaque layer over a textured surface or a dried layer, allowing glimpses of the underlying color or texture to show through unevenly. This creates a soft, hazy, or broken color effect, adding atmospheric quality, implying texture, or subtly modifying solid areas of color. It's how I create those gentle veils of color or the illusion of distance.
6. Sgraffito
Sgraffito, from the Italian "to scratch," is wonderfully direct. It involves scratching through wet layers of paint with a tool – often the non-brush end of a brush, a palette knife, or a dedicated sgraffito tool – to reveal the underlying color or surface. It's so effective for creating sharp lines, fine details, or distinct textures within a painting. If you're curious about how else to make a painting feel tactile, The Definitive Guide to Understanding Texture in Art is a great read.
Historical Context and Evolution: A Painter's Legacy
The story of oil painting is, in many ways, the story of Western art itself. When artists like Jan van Eyck in the 15th century first truly harnessed the medium, it was revolutionary. The slow drying time wasn't just a technical advantage; it was an invitation to an entirely new level of detail, to luminous effects built through patient glazing, and to a realism that could truly capture the human form and spirit. It allowed for a fidelity that was previously unimaginable, and that, for me, is awe-inspiring.
From the Renaissance masters like Leonardo da Vinci and Titian, whose portraits feel alive, to Rembrandt's dramatic chiaroscuro and Vermeer's delicate interior scenes of the Dutch Golden Age, oil painting was the undisputed choice for masterpieces. It adapted, too, to the radical shifts of the Impressionists, who used its blendability and rich color to chase fleeting light and atmosphere, and later, to the raw expression of Post-Impressionism and early Modern art. Oil paint has continuously evolved, mirroring and facilitating every major artistic movement. When I reflect on this journey, I realize I'm part of a continuum, a living history. For a deeper exploration of this incredible lineage, you should read The History of Oil Painting: From Ancient Pigments to Modern Masterpieces.
Contemporary Applications and My Creative Present
Even today, in a world full of digital art and new media, oil paint holds its preeminent position. Contemporary artists, myself included, continue to push its boundaries, marrying traditional methods with new expressive territories. I see it everywhere – from hyper-realistic renditions that make you do a double-take, to purely abstract explorations where the paint's texture tells the story. The inherent qualities of oils – their slow drying time, blendability, and textural versatility – make them incredibly suited for diverse contemporary movements, whether it's the meticulous detail of photorealism or the raw energy of abstract expressionism.
If you're interested in seeing how these timeless techniques manifest in today's art world, a visit to a modern art institution, perhaps even the artist's museum in 's-Hertogenbosch, can be incredibly inspiring. I often find myself thinking about the countless artists whose journeys, like mine, span years of practice and experimentation – a timeline of creative development that never truly ends. And of course, the beauty of this medium means that many contemporary oil paintings, from classical realism to abstract expressionism, are readily for sale online, waiting to find their new homes. For more on pushing artistic boundaries, The Definitive Guide to Mixed Media in Abstract Art offers a fascinating perspective.

Practical Considerations: My Studio Life
Beyond the theory and the magic, there’s the gritty reality of the studio. Practical considerations are just as crucial for a fulfilling (and safe!) artistic practice.
Setting Up a Workspace
My studio is a testament to organized chaos – a place where paint splatters are considered badges of honor and the easel is my trusty steed. But truly, a well-organized and adequately ventilated workspace is paramount. Good lighting is non-negotiable, a sturdy easel essential, and dedicated areas for mixing paints and cleaning tools make all the difference. As I said before, proper ventilation isn't merely a recommendation; it's a necessity, especially when I'm working with solvents, to disperse fumes and ensure I can think straight enough to actually paint!

Safety Precautions
Let's be honest, some of these pigments and solvents have a bit of a bite, so I've learned (the hard way, sometimes!) to treat them with respect. Artists must always prioritize safety. That means working in a well-ventilated area, avoiding the ingestion of paint (seriously, no licking brushes!), and using protective gloves to prevent skin contact, especially with certain pigments. Responsible disposal of waste materials is also essential – both for my own health and for the environment. It's about being a mindful painter.
Brush Care and Cleaning
Diligent brush care is critical for extending the life of my valuable tools. Let's just say my sink has seen more paint than a Jackson Pollock retrospective! I always clean brushes immediately after use: first, wipe off excess paint with a rag, then rinse in a jar of solvent, followed by a thorough wash with warm water and artist's brush soap or a mild detergent. Then, reshape the bristles before allowing them to air dry flat or upright with bristles facing up, never resting on their ferrules. Neglecting this step, especially allowing paint to dry in the bristles, can permanently damage them – a heartbreak I try to avoid at all costs. For more detailed insights, Cleaning and Caring for Your Paint Brushes is a fantastic resource.
Troubleshooting Common Oil Painting Problems: My Learning Curve
Even after years, I still encounter challenges. That's part of the journey, I suppose. Understanding common issues and their solutions has significantly improved my artistic process, saving me from many a frustrated sigh.
- Muddy Colors: Ah, the dreaded muddy colors! This usually happens when I've been a bit too enthusiastic with my mixing, or when I've tried to rush things and worked with too many wet layers simultaneously. My go-to fix? Step away, allow layers to dry, and remember to use a limited, clean palette. And of course, the "fat over lean" mantra – it's not just a rule, it's a lifesaver!
- Cracking and Delamination: This is almost always a result of violating the "fat over lean" rule (applying a faster-drying, less flexible layer over a slower-drying, more flexible one). The solution is simple in principle, harder in practice: ensure each subsequent layer contains more oil and/or is more flexible. Think of it like building a house – the foundation needs to be stable and dry before you add the flexible roof.
- Slow Drying: Factors include high humidity, cold temperatures, thick paint application, or the use of slow-drying oils (like poppy or safflower). My trick? Using alkyd mediums, or simply painting in a warmer, drier environment. Sometimes, patience truly is the only medium.
Frequently Asked Questions (FAQ): The Things We All Wonder
We all have questions when we start (and continue!) painting. Here are some of the most common ones I hear, and my thoughts on them.
Q: How long does oil paint take to dry?
A: This is the million-dollar question, isn't it? It's like asking how long a good story takes to unfold – it depends! A thin wash might be touch-dry in a few days, but a thick, juicy impasto layer? That's a commitment, my friend, potentially weeks or even months. Full curing, where the paint film is completely hardened, can take six months to a year, or even longer for very thick applications. Patience is truly a virtue in oil painting.
Q: Can different brands of oil paint be mixed?
A: Generally, yes, thank goodness! Most professional-grade oil paints are formulated to be compatible, as they share similar pigment-to-oil ratios. However, some artists (myself included, sometimes!) prefer to maintain consistency by sticking to one brand for their particular texture and drying time. It's always advisable to test new combinations on a scrap surface first, just to observe their behavior. Better safe than sorry, I always say.
Q: What is the "fat over lean" rule?
A: Ah, the "fat over lean" rule! This is the golden rule, the secret handshake of oil painters! Think of it like building a sturdy house: you start with a solid, less flexible foundation (leaner paint, which means more solvent, less oil) and build up with increasingly flexible layers (fatter paint, meaning more oil, less solvent). This flexibility differential ensures that upper layers, which dry slower and remain elastic longer, don't crack or delaminate as they dry over potentially still-drying, less flexible lower layers. It's all about preventing cracks and ensuring your masterpiece stands the test of time, not just a few weeks.
Q: How are oil painting brushes cleaned?
A: To properly clean oil brushes, first, I wipe off any excess paint thoroughly with a rag. Next, I rinse them in a jar filled with solvent (like turpentine or odorless mineral spirits) until most of the paint is removed. Then, I wash the bristles thoroughly in warm water using artist's brush soap or a mild detergent. I keep rinsing until the water runs clear, gently reshape the bristles to their original form, and allow them to air dry flat or standing upright with the bristles pointing upwards to prevent moisture from damaging the ferrule. A clean brush is a happy brush!
Q: What are the best surfaces for oil painting?
A: The choice really depends on what kind of adventure you're after! Stretched canvas (cotton or linen) is the most traditional and popular, offering flexibility and a lovely texture. Wood panels (like masonite or birch) provide a rigid, smooth, and incredibly durable surface – ideal for detailed work or if archival stability is a top priority for your legacy. Specially prepared paper designed for oils offers an affordable and portable option, which I often use for quick studies or to test out ideas without commitment. Regardless of the surface, it absolutely must always be properly primed with gesso to create a stable, non-absorbent ground that protects the support and ensures optimal paint adhesion and longevity. No shortcuts here!
Developing Your Personal Style: The Voice Within
Beyond techniques and materials, the truly fulfilling part of oil painting is finding your voice. My journey has been one of constant experimentation, embracing mistakes, and learning to listen to what the paint wants to do. It’s about not being afraid to mix that odd color, to try that strange brushstroke, or to paint a subject in a way no one else has. Your personal style isn't something you find; it's something you develop through countless hours of play and quiet introspection in the studio. It’s the unique fingerprint you leave on the canvas, a reflection of your inner world. Embrace the process, embrace the mess, and trust your instincts. The most compelling art always comes from a place of authenticity.
Conclusion: My Ever-Unfolding Story with Oil
Oil painting, for me, remains a powerful and profoundly expressive medium, continuously offering boundless opportunities for creativity and technical mastery. From understanding the tactile qualities of its materials to the nuanced application of its diverse techniques, this journey into oil painting is one of continuous discovery and profound satisfaction. This guide, infused with my own reflections and experiences, is meant as a companion – an authoritative starting point for artists seeking to explore or deepen their engagement with this timeless art form. So, pick up a brush, mix some color, and let your own unique story unfold on the canvas. The conversation awaits.


