Hang Art Smarter: Flexible Systems, Pro Lighting & Art Preservation
Conquer art hanging dread! Explore modern, flexible systems (rails, adhesives, magnets), master professional lighting techniques, and learn essential preservation tips for a dynamic, damage-free gallery.

Hang Art Smarter: A Quirky Guide to Modern Art Hanging Systems for Your Home
Okay, confession time. For years, my relationship with hanging art was... complicated. It involved a lot of guesswork, a surprising amount of profanity (usually when the level wasn't quite right), and an inevitable constellation of tiny, abandoned nail holes that eventually morphed into a sort of abstract, accidental wall art themselves. I mean, who hasn't stared at a blank wall, art piece in hand, and felt that existential dread of making the 'wrong' hole? It's a real fear, isn't it? And I know I'm not alone in this struggle; the fear of making that 'wrong' hole is a universal art-lover's anxiety. The thought of permanently scarring your pristine wall, only to find the piece looks better two inches to the left, or even worse, in a different room entirely. My internal monologue usually goes something like, "Is this the one? Is this its forever home? What if I regret it?"
It's not just about the holes, though, is it? It's the commitment. The idea that once that picture is up, it's up. Moving it feels like a small act of rebellion against the universe, or at least against your landlord. And if you're like me, someone who enjoys rearranging furniture more than is strictly healthy (my poor cat often gets confused by the sudden shifts in her favourite napping spots), that fixed nature of traditional art hanging just doesn't vibe with the fluid energy of a modern home. There had to be a way to display art, experiment with layouts, and change my mind without needing a spackle knife and a paint can every other week. So, I started looking around, because honestly, there had to be a better way. It was during this desperate search that I stumbled upon what felt like a secret society of art lovers – those discerning collectors, museum professionals, and design-forward individuals who had already cracked the code, discovering various modern art hanging systems that offer both flexibility and flair. I’m here to share those game-changers and help you pick the perfect solution for your own evolving sanctuary, whether you're eyeing innovative new methods or sticking to the tried-and-true classics. Ready to transform your walls from static backdrops to dynamic canvases? Join me as we explore the game-changing modern systems, delve into the art of illumination, revisit the reliable classics, and ultimately, help you curate a space that truly reflects your evolving taste and protects your walls from unnecessary modification.
The Game Changers: Modern Systems for the Flexible Home
My search led me down a rabbit hole of innovation, revealing systems that have completely transformed how I approach displaying my art collection. Let's dive into the options that have truly liberated my walls (and my sanity).
Picture Rail Systems: The Elegant Railway for Your Art
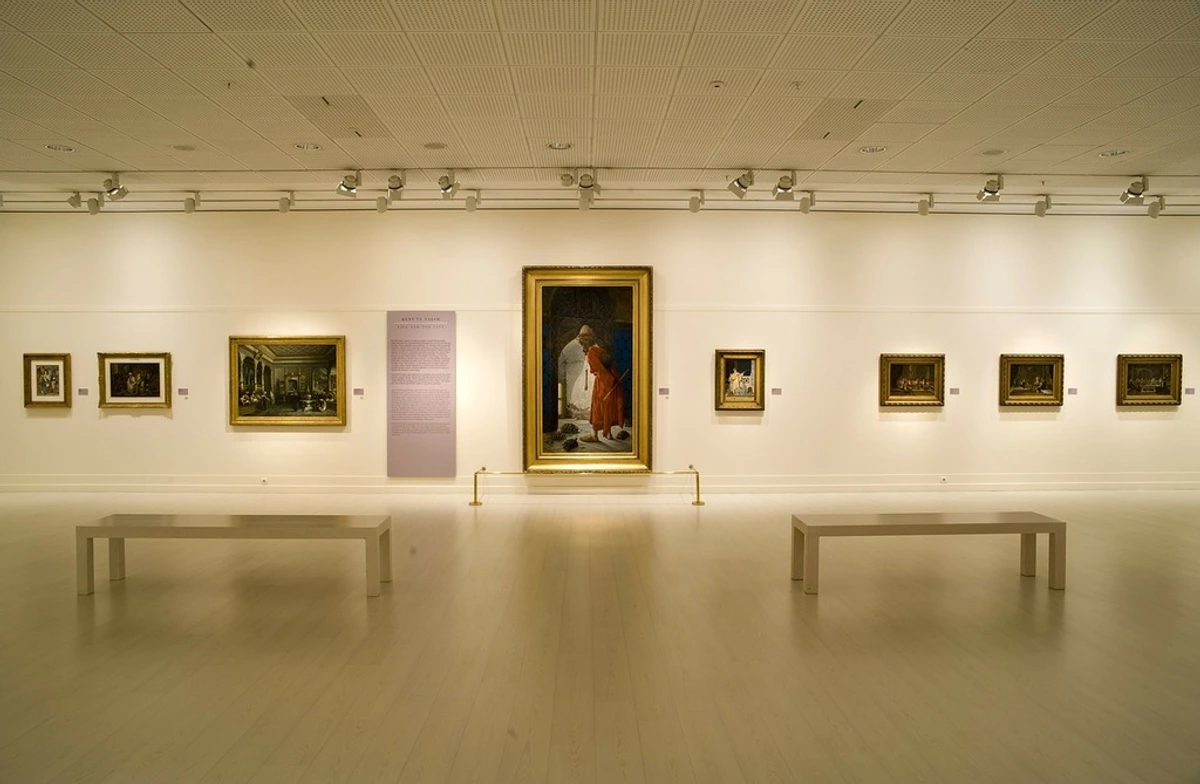
First up, and probably the biggest revelation for me, are picture rail systems. These discreet tracks run along the top of your wall, almost blending into the ceiling line, providing a flexible framework. From these rails, you can hang art using various types of hardware: S-hooks (classic, simple loops for lighter frames), adjustable picture hooks (offering easy vertical adjustments for individual pieces), or cable systems (sleek, minimalist wires or rods, often made of perlon or steel, that connect to the rail and have adjustable hooks at the bottom for your artwork). Each option offers different aesthetics and weight capacities, truly transforming your walls into a dynamic gallery. It's like a tiny, elegant railway for your art. Need to move a piece? Slide it along. Want to adjust height? Easy peasy. No new holes! I saw one of these in a friend's super chic minimalist apartment and I swear, it was a revelation. It suddenly made sense why museums do it this way.
A Timeless Tradition: The History of Picture Rails
In fact, these systems aren't new at all; they've been a staple in galleries and museums for centuries, a silent code passed down by those "in the know." Their origins trace back to Victorian homes protecting ornate plasterwork, and even further to grand European salons displaying changing collections. Ancient civilizations used simpler rails for tapestries and scrolls, proving the timeless desire for flexible, wall-preserving display. It’s like these systems have been whispering their wisdom through the ages, and we’re finally listening again. Their longevity is a testament to their brilliance – proving that some of the best solutions stand the test of time. Could you imagine a life without the constant patching and repainting? It's a dream. For me, discovering picture rails was that "aha!" moment, realizing I could finally create a dynamic gallery wall without the fear of commitment. The takeaway? Picture rails offer unparalleled flexibility and a timeless gallery aesthetic, safeguarding your walls and your sanity in one elegant sweep.
Adhesive Hanging Solutions: The Temporary Lover (with Commitment Issues)
While picture rail systems offer a permanent yet flexible solution for the long haul, sometimes you need something even less invasive, something that allows for spontaneous changes without a single drill bit. That’s where the less permanent, but equally brilliant, adhesive hanging solutions come into play. Think of those super-strong strips that promise to hold your art securely, then peel off cleanly without taking a chunk of your drywall with them. My first encounter with these was, shall we say, a learning experience. Let's just say the 'peel off cleanly' part required a bit of finesse I didn't possess at 2 AM trying to re-hang a slightly crooked print, which then, of course, took a microscopic but infuriating piece of paint with it. "Just read the instructions!" my inner voice screamed, but alas, 2 AM me had other priorities.
The magic behind these often lies in advanced polymer technology, specifically clever pressure-sensitive adhesives. Imagine microscopic, mushroom-shaped stems or tiny, obedient ninjas – they grip with all their might when pressed to a clean surface, creating a strong mechanical bond. But with a gentle stretch parallel to the wall, you actually change the adhesive's structure, weakening those bonds and allowing it to release cleanly without a fuss. It’s genius, provided you treat them with respect (and read the instructions!). But with a bit of practice (and actually reading the instructions, imagine that), brands like Command Strips have become my go-to for lighter pieces or when I'm just testing a layout.
Pro-Tip: Always clean the wall surface thoroughly with rubbing alcohol and let it dry before applying any adhesive. This seemingly small step makes a huge difference in bond strength and clean removal!
And let's be real, while they promise a clean peel, delicate wallpaper, heavily textured surfaces (like stucco or rough plaster), or even older, poorly primed walls might still put up a fight. Textured surfaces are particularly tricky because the adhesive can't make full, even contact across the entire surface. This lack of uniform adhesion significantly weakens the bond, making it less secure and increasing the risk of damage upon removal as it pulls unevenly. And for delicate wallpapers or older paint, the gentle tug required for removal might just be too much, leading to tears or peels. Always err on the side of caution: test in an inconspicuous spot, and if your walls are particularly precious, maybe these are best saved for smaller, less permanent accents. They're perfect for a rental, too, if you're not ready for a full commitment, allowing you to create stunning displays when collecting art for small apartments: maximizing impact in limited spaces without landlord woes. These are truly liberating for the commitment-phobe in all of us. Have you ever tried to redecorate a whole room just because one picture frame was a few millimeters off? I have. So, for the commitment-phobe or the renter, adhesives are a liberating choice for lighter pieces and dynamic, temporary displays.
Magnetic Hanging Systems: Magic Meets Modern Art
And for the truly innovative, magnetic hanging systems are popping up more and more. These usually involve a small, strong magnet attached to the wall, often hidden, that grips a corresponding magnet on the back of your artwork. It’s particularly cool for unframed prints, metal art, or even lightweight decorative objects and small wall shelves, giving them a sleek, floating look. It's like magic, but with science!
Even if your art isn't inherently magnetic, a small metal plate or discreetly attached magnet on the back can turn it into a candidate for these futuristic displays. The wall-mounted magnets can be attached in various ways: screw-mounted magnets offer the most robust and permanent hold, ideal for heavier pieces or high-traffic areas, but require drilling. Alternatively, adhesive-backed magnets provide a temporary, damage-free solution for lighter artworks, perfect for renters or frequent re-arrangers, though their holding power is less than screw-mounted options. And some are even designed to be embedded directly into the wall during construction (more on that later!). Imagine, for instance, a dynamic gallery wall where you can effortlessly swap out smaller prints weekly, curating a fresh mood for your space. Or how about showcasing a rotating series of your favorite seasonal artworks, or even integrating mixed-media pieces with metallic elements, or perhaps textiles with hidden magnetic fasteners? The thought of just snapping a piece onto the wall feels incredibly futuristic, like something straight out of a sci-fi movie. Imagine the possibilities for dynamic displays that change with a whim, or effortlessly incorporating new pieces from artists like myself (check out my abstract artworks for sale if you're curious). Doesn't that just spark your inner interior designer? Magnetic systems are the sleek, futuristic choice for creating effortlessly changeable and visually intriguing displays.
A minor practical note here: while generally safe, exercise a tiny bit of caution if you're placing magnetic systems very close to highly sensitive electronic devices. In most home art display scenarios, this is a non-issue, but it’s always good to be aware.
Integrated Wall Systems: The Ultimate Seamless Statement
For those planning a renovation, or if you're lucky enough to be designing a new home, there are even integrated wall systems where the hanging mechanisms are built right into the wall itself, completely invisible until you need them. We're talking recessed channels, hidden tracks, or even magnetic strips embedded directly into the drywall during construction. Now, that's dedication to a gallery-worthy look!
It's a bigger undertaking, for sure, requiring foresight and a construction crew, but the seamless aesthetic is undeniable. These are the ultimate discreet luxury, often conceived during the initial blueprints of a new home or a major renovation. Architects and interior designers specializing in minimalist, high-end contemporary, or even smart home-integrated spaces, often incorporate such bespoke solutions to achieve truly pristine displays. Think of the seamless, almost invisible aesthetics favored by practices like Vincent Van Duysen, known for his refined minimalism, or the meticulous detail seen in projects by Foster + Partners. They achieve a level of visual purity where the art appears to float effortlessly, becoming an integral part of the architectural vision rather than an add-on. The beauty of these systems isn't limited to art; imagine hidden shelving units that appear to float, or even flush-mounted screens that seamlessly retract when not in use. The challenge, of course, isn't just the upfront cost; consider the complexity if you ever need to reconfigure a wall, or the specialized skills and potential wall demolition required to repair a hidden mechanism years down the line. It's a significant commitment, yes, but for that ultimate, pristine, museum-level aesthetic, it's undeniably hard to beat. It's the kind of subtle luxury that would make any art collector swoon. If I were designing my dream studio, you bet I'd be looking into these for a truly pristine display for my larger works. Integrated systems offer the pinnacle of a seamless, gallery-worthy display, though they demand significant foresight and investment.
The Art of Illumination: How to Light Your Masterpiece
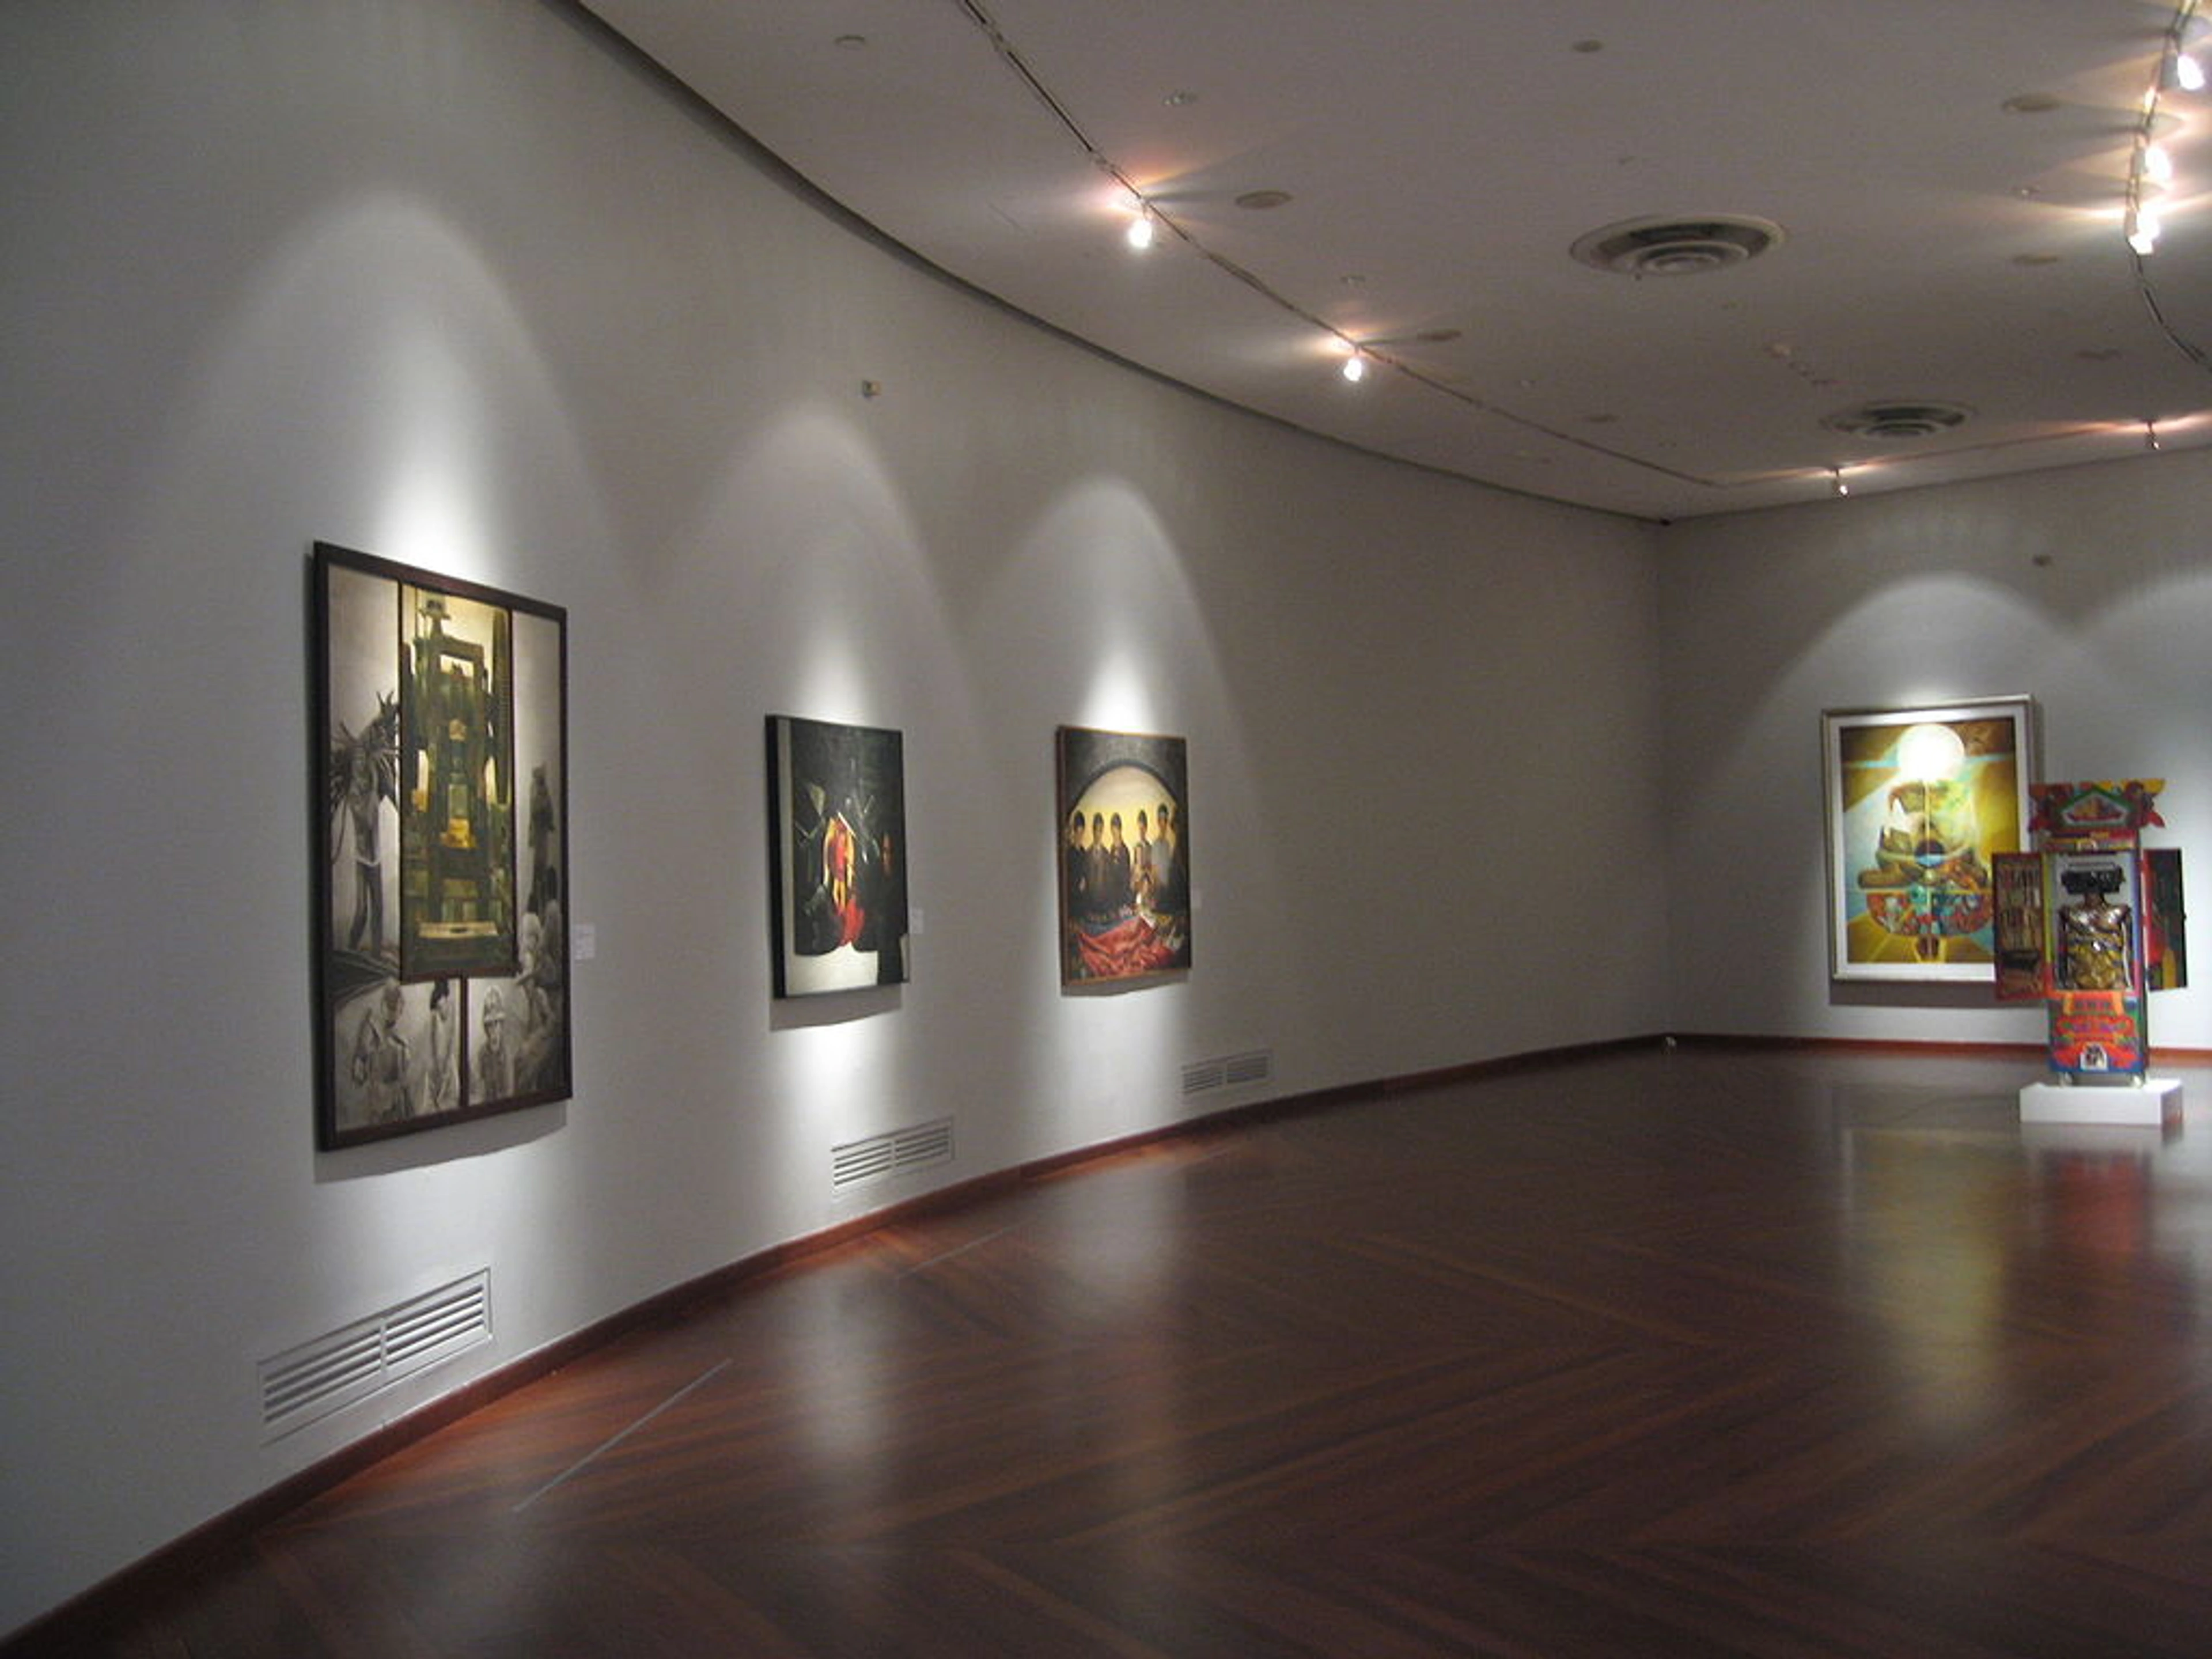
Once your art is securely on the wall, and you've decided on its perfect placement, we move to the next act of display: ensuring it's seen in its best light. You know, putting a painting on a wall is only half the story. The other, equally crucial half? Lighting it. Seriously, I've seen amazing art fall flat because of poor lighting, and a well-lit piece? It just sings! For me, lighting is where the real magic happens – that little je ne sais quoi that makes a piece truly sing and reveals its hidden depths! It's like finding the perfect spotlight for your art's grand performance, bringing out every texture and nuance.
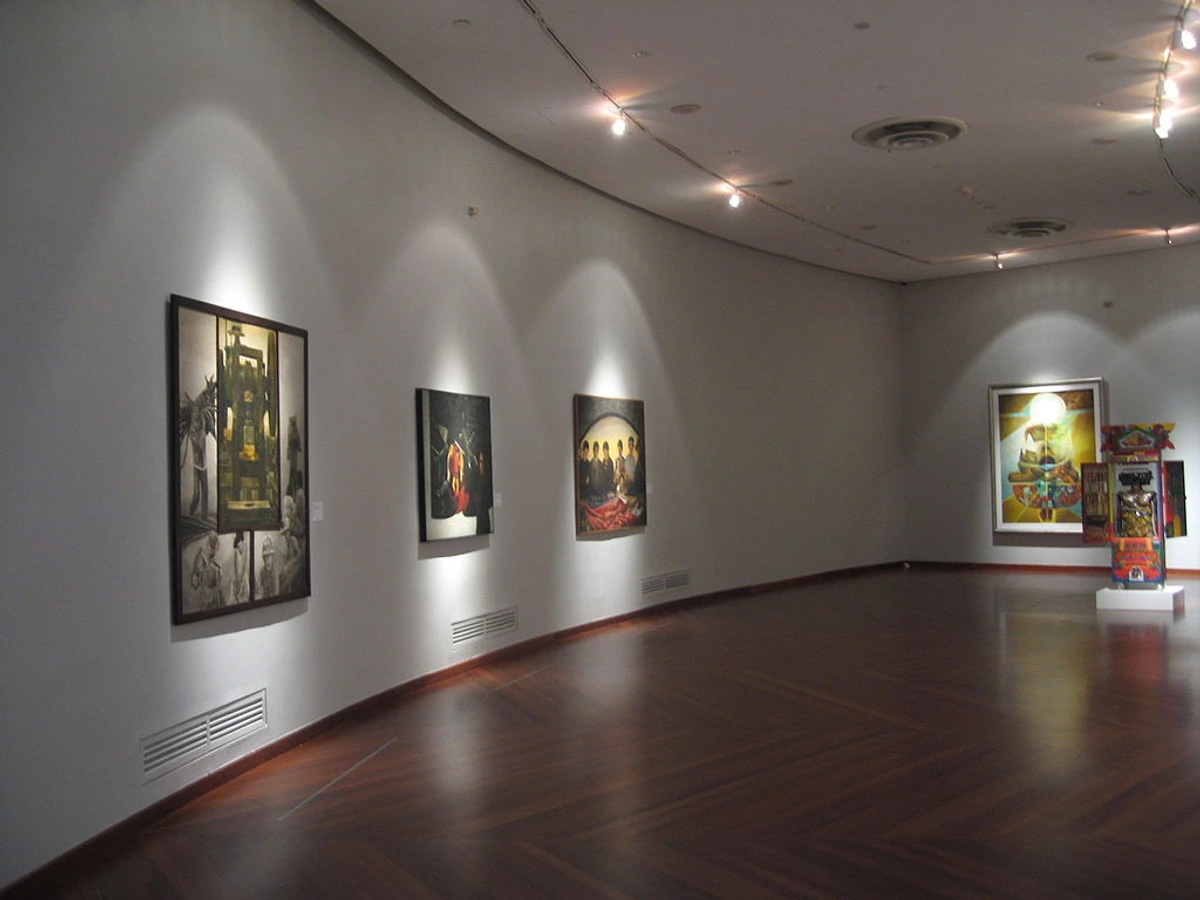
- Track Lighting & Spotlights: These are your best friends for adjustable, focused light. Mounted on the ceiling, track lighting allows you to position individual spotlights precisely onto each artwork. This flexibility means you can adapt your lighting as your art collection evolves, ensuring every piece gets its moment in the spotlight (pun intended!).
- Avoiding Hot Spots & Glare: While aiming for brightness, be mindful of creating "hot spots" – overly bright areas that cause glare or distract from the art. The goal is even illumination that enhances, not overwhelms. Angle lights carefully and consider diffusion filters if needed.
- Picture Lights: Those elegant, often brass or black, fixtures that attach directly to the top of a picture frame? Those are dedicated picture lights. They provide a soft, even wash of light across the artwork, reducing glare and revealing every detail. They’re a classic for a reason, perfect for creating a sophisticated, gallery-like feel.
- Ambient Lighting & Layering: Don't forget the big picture! Your overall room lighting, or ambient light, forms the canvas for your art display. Consider layering your lighting: combine general room illumination with accent lighting from spotlights or picture lights to create depth and visual interest. Natural light is amazing, of course, but controlling it (think UV-filtering blinds) is key to protecting your art from fading over time.
But perhaps the most crucial light tip: protect your art from the harsh realities of direct sunlight. Those beautiful rays carry UV, which is basically kryptonite for pigments, causing fading over time. Consider UV-filtering blinds or, for framed pieces, UV-protective glass or acrylic. And a little secret? The temperature of your light matters too. This is measured in Kelvin (K). Think of it like this: warm white light (2700K-3000K) has a yellowish glow, similar to a cozy sunset, and can enhance the richness of warm-toned paintings (think reds, oranges, earthy browns), making them feel inviting and cozy. Cooler white light (3500K-4500K), which appears more bluish-white, is like the crisp light of midday, and might bring out the sharpness in blues and greens, giving a more contemporary or vibrant feel, especially good for modern abstract pieces or photography. It's a bit like arranging furniture; you want multiple sources working in harmony.
Beyond temperature, consider the Color Rendering Index (CRI). This measures how accurately a light source reveals the true colors of an object compared to natural daylight. Think of CRI like this: imagine trying to pick out paint swatches under dim, yellow garage light versus bright, natural sun. A low CRI light will make colors appear muted, dull, or even distorted, like a photograph taken with bad flash. A high CRI (90+) light, however, ensures your artwork's colors look as vivid and true to life as the artist intended, revealing every subtle nuance and brushstroke. It’s your art's personal stylist, ensuring its hues look their absolute best. A high CRI is essential for art lighting, making a good display truly captivating.
Ultimately, the right lighting isn't just about brightness; it's about revealing the soul of the artwork, making it an undeniable focal point in your home.
Beyond the Hang: Preserving Your Art
Making sure your art is hung securely is one thing, but making sure it lasts for generations is another entirely. This is where art preservation comes into play, a silent guardian for your cherished pieces, and it’s something to consider even when choosing how to hang. Think of it as investing in the long-term health and value of your art collection.
- The UV Enemy: Direct sunlight is beautiful, but for art, it's a slow destroyer. The ultraviolet (UV) rays can cause pigments to fade, paper to yellow, and even some materials to become brittle over time. Always consider UV-filtering window treatments or, for framed pieces, use UV-protective glass or acrylic. Position art away from direct sun exposure whenever possible.
- Humidity's Hidden Hand: Fluctuations in humidity can wreak havoc on artworks. High humidity can encourage mold growth and warping of wood frames or canvas, while very low humidity can cause cracking. Aim for a stable environment, ideally between 45-55% relative humidity. Avoid hanging delicate pieces in bathrooms or directly above heat sources or fireplaces.
- Temperature Stability: Extreme temperature changes, especially when coupled with humidity shifts, can also stress art materials. Maintaining a consistent room temperature helps prevent expansion and contraction that can lead to damage. Think of your home as a cozy museum for your art, where conditions are carefully managed.
- Pest Patrol: Believe it or not, tiny invaders can pose a threat. Avoid hanging art too close to areas prone to insects (like windowsills where dust can accumulate or near food preparation areas). Regular, gentle dusting around and behind your artworks can deter pests and keep your pieces looking pristine.
Taking these proactive steps ensures that the art you love today will be enjoyed by future generations, preserving both its aesthetic beauty and its potential resale value for the future.
A Nod to the Classics: Traditional Art Hanging Hardware
While modern systems offer incredible flexibility, it's also worth revisiting the tried-and-true methods that have graced walls for generations. Because sometimes, the old ways are the best ways, especially for those pieces with a forever spot on your wall. I remember one particularly stubborn nail that refused to go in straight, leading to a rather lopsided picture and a lot of muttered curses – a stark reminder of why we appreciate modern solutions for their ease! Traditional art hanging hardware includes your standard nails, picture hooks, screws, and various wall anchors (drywall anchors, toggle bolts for plaster, masonry anchors for brick or concrete). These are still perfectly viable, especially for pieces you know will stay put for a long time. They're often the most budget-friendly, but they come with the aforementioned commitment: a permanent hole, and the need for patching and repainting if you ever decide to move things. They're the workhorses, reliable but less flexible, forming the baseline against which all modern innovations are measured. When I talk about traditional hanging, I'm thinking about:
- D-rings and Wire: Often found on the back of heavier framed artworks, D-rings (small metal loops) are attached to the frame, and a strong picture wire is strung between them. This wire then hooks onto a wall hook. It's a very secure method.
- Sawtooth Hangers: These small, jagged metal strips are commonly used for lighter, smaller frames. A single nail or screw through one of the 'teeth' holds the frame in place. Great for quick, easy hanging, but less forgiving if you need precise leveling.
- Keyhole Hangers: Recessed into the back of an object, these allow the artwork to sit flush against the wall, hanging directly on a screw head. They provide a very clean look but require incredibly precise measurement for placement.
- French Cleats (or Z-Bar Hangers): These consist of two interlocking pieces, one attached to the wall and one to the artwork. They create an incredibly strong, flush mount, ideal for very heavy mirrors, headboards, or large, substantial artworks. While essentially a traditional method, their robust nature bridges the gap to modern heavy-duty solutions.
For hollow walls like drywall, you'll need toggle bolts or drywall anchors that expand behind the sheet to create a secure hold – because drywall itself is essentially gypsum plaster and can't bear much weight alone. Plaster walls, often plaster over lath, are a bit more delicate and usually benefit from specialized plaster anchors that reduce cracking, or by locating the wooden lath for a direct screw. And for solid brick or concrete, you're looking at masonry anchors and a heavy-duty hammer drill – definitely a job for a confident DIYer or a pro. No matter the wall type, remember that selecting the right size screw or anchor for the weight of your artwork is absolutely crucial. Seriously, it's just as important as selecting the right type! A tiny nail for a hefty frame is an accident waiting to happen, potentially damaging both your art and your wall. Don't let your art suffer from an inadequate anchor! Traditional hardware is robust and budget-friendly for permanent installations, though it requires a commitment to wall modification.
Your Sanctuary, Your Rules: How to Pick the Right System for Your Art
Alright, so you're intrigued. But how do you pick the right system for your sanctuary? It's not a one-size-fits-all kind of deal, unfortunately. My abstract pieces can sometimes be surprisingly heavy, all those layers of paint, you know? Like that large blue abstract I once struggled with – it looked light as air, but felt like I was lifting a small car. Or perhaps it had a hidden narrative element, which, of course, adds to the physical weight too! Here’s what I’ve learned to consider.
- The Weight and Size of Your Art: This is paramount. A tiny postcard print is one thing; a hefty canvas or a sculptural art piece weighing 20+ pounds is another entirely. Always check the weight limits of any system. For lighter pieces (under 5 lbs), adhesive strips or smaller magnets often suffice. For medium to heavy pieces (5-50 lbs), robust picture rails or secure anchors with screws are a must. For very heavy items, think French cleats or specialized gallery hardware. Please, for the love of your floor (and your artwork), check them.
- Your Wall Type: Drywall is forgiving, but hollow. Plaster can be tricky and prone to cracking. Brick or concrete usually needs special masonry anchors and a hammer drill. Wallpapered walls might not be suitable for adhesive strips unless you're prepared for potential damage upon removal. Textured surfaces can also reduce the efficacy of adhesives. Knowing what you're drilling (or sticking) into is half the battle.
- Flexibility Desired: Do you want to rearrange every week (like me)? Or is this art going up for the next decade? The more you plan to move things around, the more a rail system or strong adhesive strips will appeal. Magnetic systems offer ultimate flexibility for swapping out smaller pieces. Integrated systems offer ultimate flexibility after installation but require planning upfront.
- Aesthetics: Visible or Invisible? Some systems are designed to be completely discreet, almost disappearing into the wall, while others, like certain picture rails or even traditional hooks, become part of the room's architectural detail. What's your vibe? Do you want a clean, floating look, or do you appreciate the visible mechanics of a classic gallery?
- Budget: Like anything, there's a spectrum. Simple adhesive strips are pocket-friendly (a few dollars for a pack). Quality picture rail systems can range from tens to hundreds of dollars per linear foot, plus installation. Integrated wall systems, being part of construction, are typically the most significant investment, costing potentially thousands. But think of it as an investment in your sanity, your beautiful art, and the dynamic potential of your art collection.
- Environment of the Room: A high-traffic hallway might call for more robust, less easily dislodged solutions than a quiet reading nook. Areas prone to humidity, like a bathroom (though I wouldn't recommend hanging delicate art there anyway!), might affect the long-term efficacy of adhesive strips.
- Longevity and Resale Value of the Artwork: For your most cherished pieces, or those you plan to hold onto for years, systems that offer gentle handling and easy removal are key to preserving their value and condition. Museum-quality rail systems, for instance, offer both security and gentle handling over decades, protecting your investment far better than a hastily nailed hook. This long-term security and evidence of proper care can also be a significant factor favored by insurance companies or art appraisers when assessing valuable collections, influencing their valuation and potential coverage. It's certainly how I consider displaying my own work to ensure its longevity.
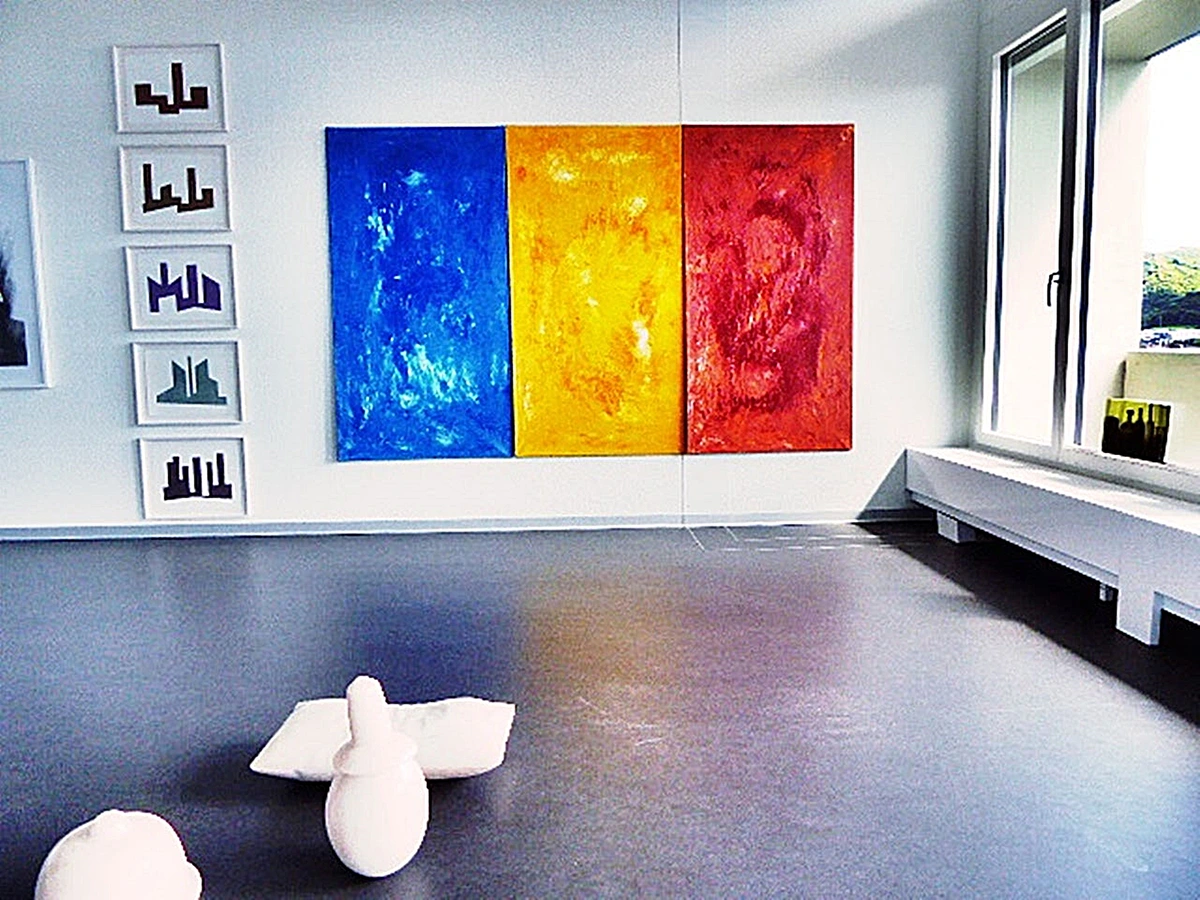
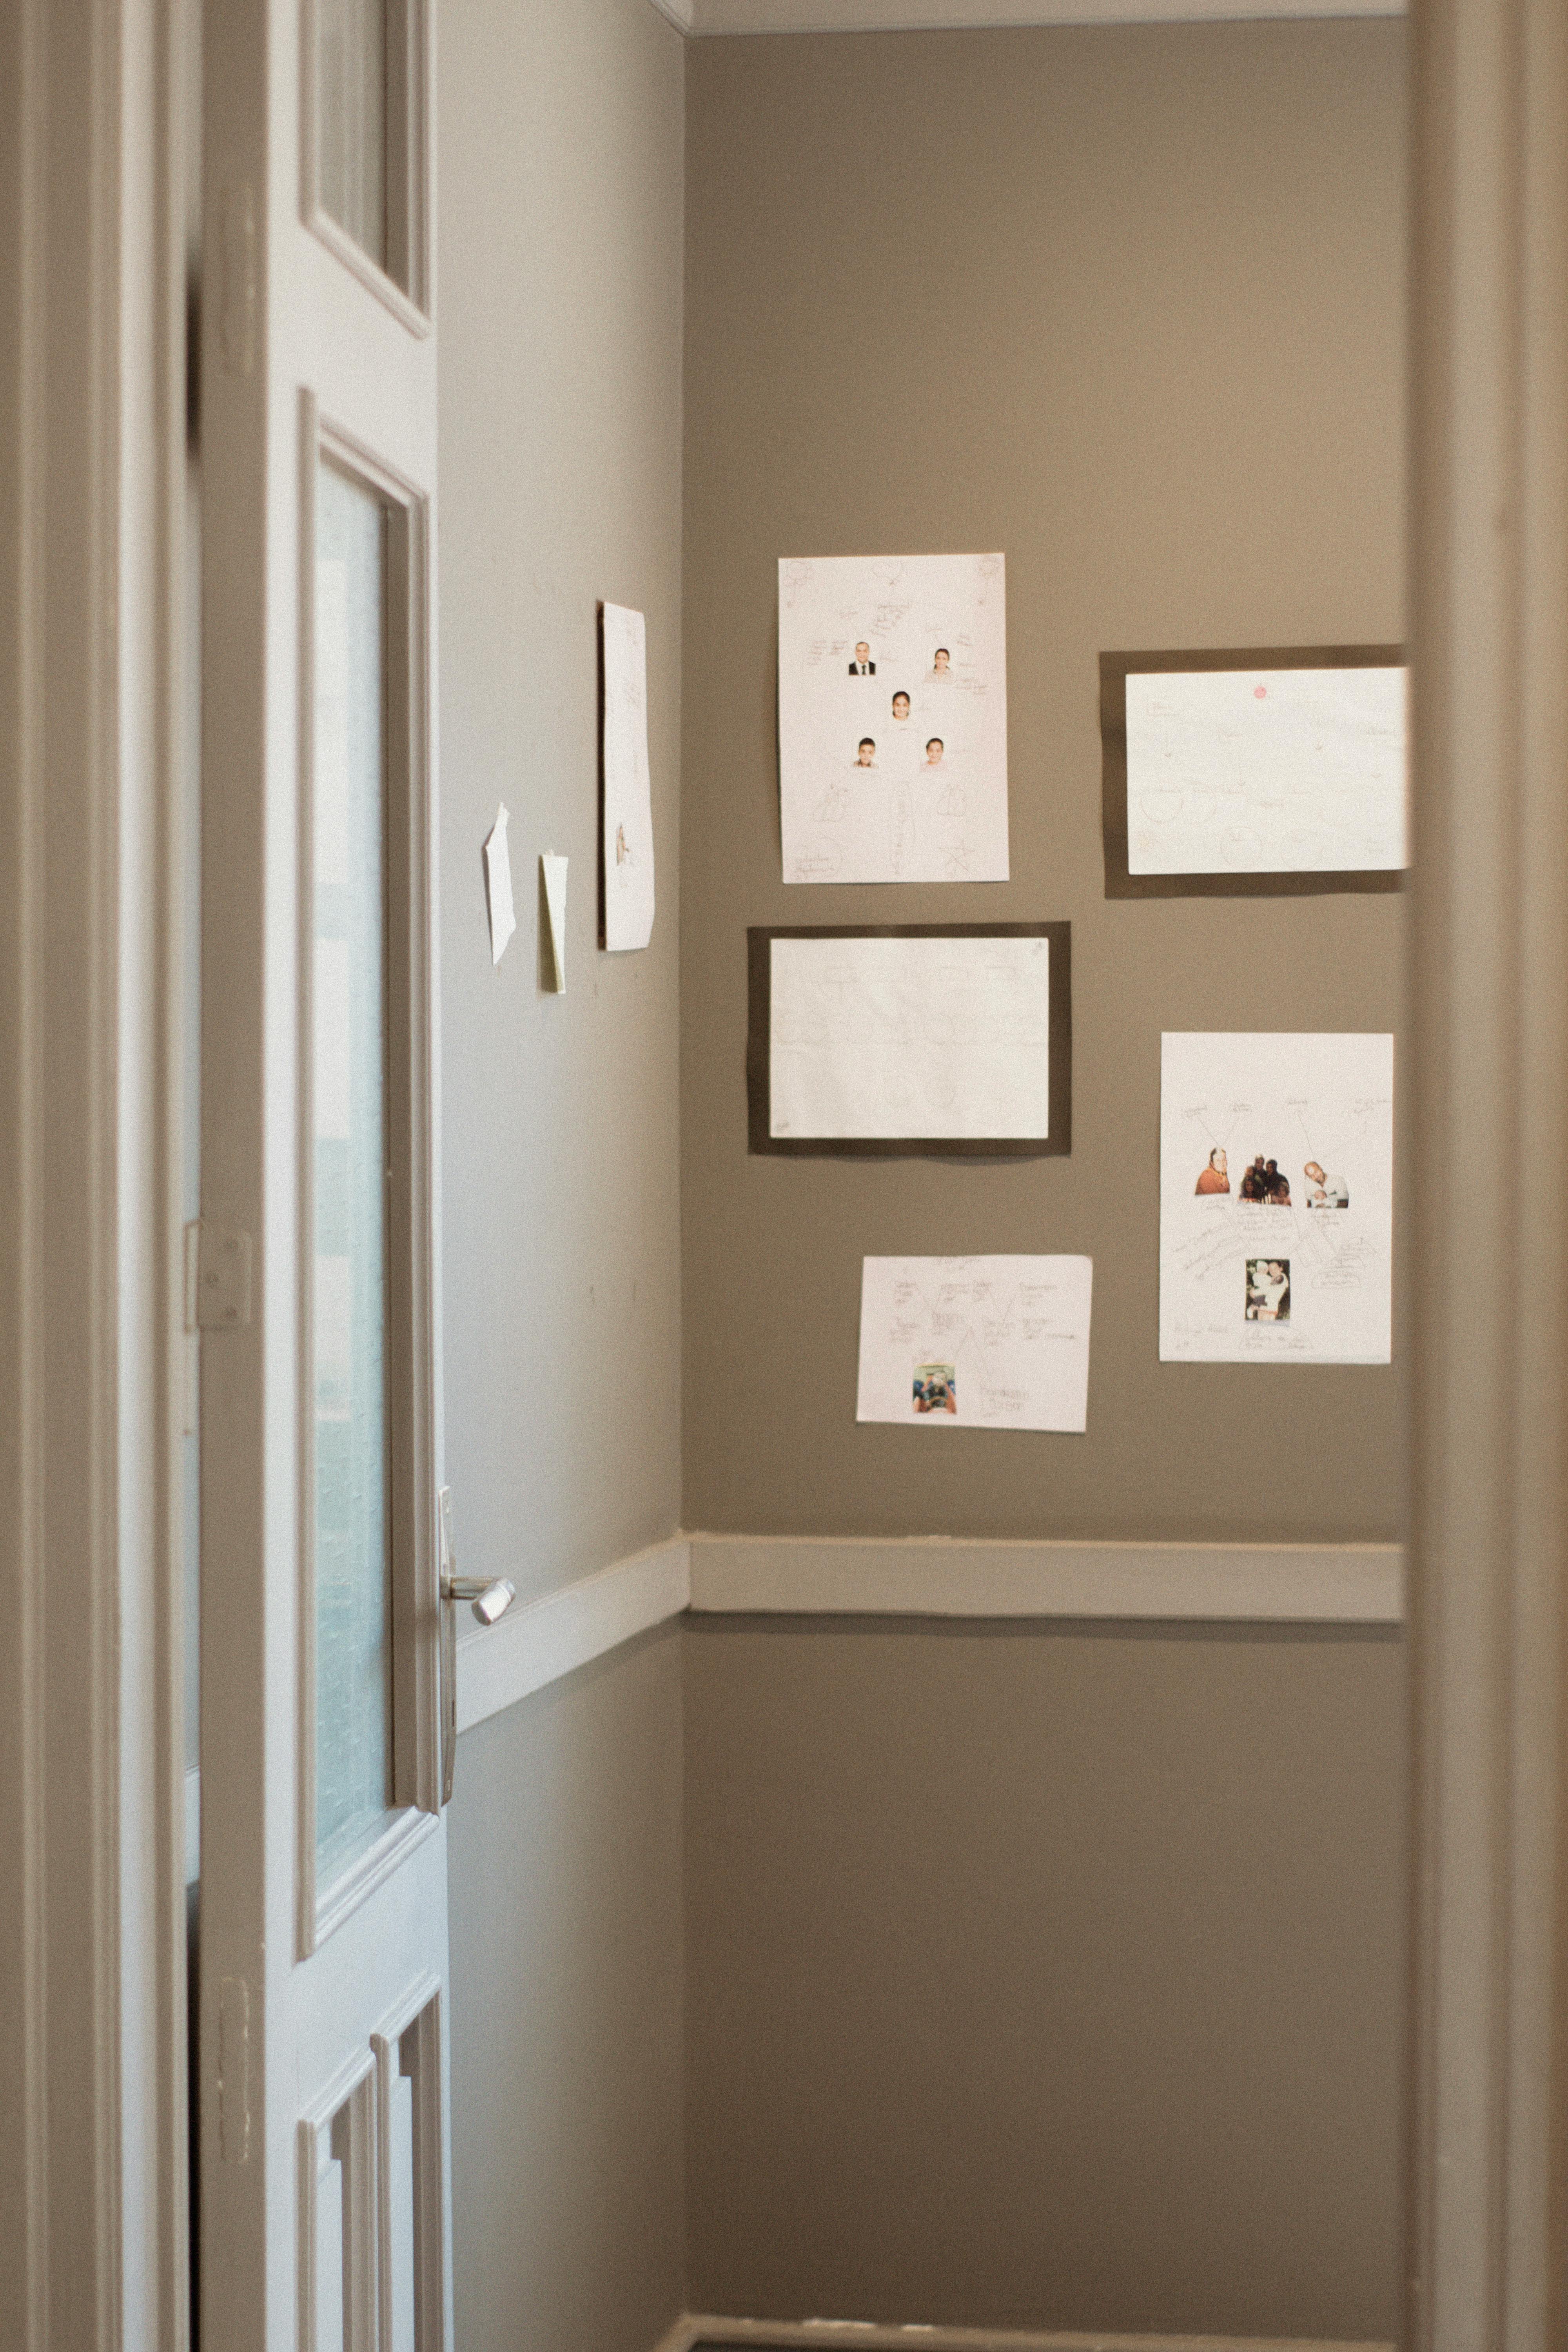
- Gallery Wall Composition: Are you aiming for a perfectly symmetrical grid, a free-form salon style, or something that evolves with your mood? Modern systems, particularly picture rails and magnetic setups, are ideal for experimenting with grouping, playing with negative space, and creating visual rhythm without a single new hole. To visualize before you commit, consider using gallery wall design apps (like Art Placer or iArtview) or even simply cutting out paper templates of your artworks and arranging them on the wall with painter's tape. These tools take the guesswork out of composition. You can even find art hanging kits that bundle various hooks, wires, and levels, simplifying the process for common gallery wall layouts, making them a fantastic starting point for beginners.
- Scale and Proportion: Beyond just the physical size of the art, consider its visual impact relative to the wall space and the room as a whole. A small piece might get lost on a vast wall, while an oversized canvas could overwhelm a cozy nook. Think about the negative space around the artwork – it’s just as important as the piece itself in defining its presence.
For any system involving drilling into walls, particularly for picture rails or integrated systems, a crucial safety step is to check for electrical wires and plumbing pipes using a stud finder with multi-scanning capabilities. Trust me, an unexpected shock or flood is not the kind of drama you want with your art display.
Now, let’s simplify with a quick overview:
Consideration  | Description | Ideal System Examples |
|---|---|---|
| Weight & Size | Crucial for safety and system choice. From lightweight prints to heavy canvases or sculptures. | Adhesives (light), Picture Rails/Ankers (medium-heavy), French Cleats (very heavy) |
| Wall Type | Drywall, plaster, brick, concrete, wallpapered, textured. Each requires specific hardware or caution. | Adhesives (smooth drywall, caution on wallpaper), Rails/Ankers (studs for all types), Masonry Ankers (brick/concrete) |
| Flexibility | How often do you want to rearrange? High flexibility allows frequent changes; low flexibility implies long-term placement. | Picture Rails, Magnetic Systems, Adhesives (high); Traditional Hooks, Integrated Systems (low after install) |
| Aesthetics | Do you prefer hidden hardware for a floating look, or is visible hardware part of the design? | Integrated, Hidden Magnets (invisible); Picture Rails, Traditional Hooks (visible as design elements) |
| Budget | Costs vary significantly, from inexpensive temporary solutions to major construction investments. | Adhesives (low); Traditional Hardware (low-medium); Picture Rails, Magnetic Systems (medium); Integrated Systems (high) |
| Environment | Room traffic, humidity, direct sunlight exposure. Affects system robustness and art preservation. | Robust systems for high traffic; UV protection for sunlight exposure; humidity can affect adhesives. |
| Longevity & Resale Value | How important is long-term preservation and easy, stress-free handling for valuable or delicate pieces? | Museum-quality rail systems (high preservation); Traditional hooks (less flexible handling) |
| Gallery Wall Composition | Planning for grouped displays, negative space, and evolving layouts. | Picture Rails, Magnetic Systems, Art Hanging Kits (great for flexibility) |
| Scale & Proportion | Considering the artwork's visual impact relative to the wall and room size. | (Influences choice, not specific system type) |
Knowing Your Limits (and When to Call for Backup)
While many modern art hanging systems boast DIY-friendliness, it's crucial to understand when to call in the pros.
- Adhesive Strips: Generally, 100% DIY. Just clean your surface, follow instructions religiously, and you're good. No tools needed beyond a level.
- Magnetic Systems: Often DIY for lighter pieces. Requires careful placement of wall magnets, possibly with small screws or strong adhesives. A drill might be needed depending on the system.
- Picture Rail Systems: Can be DIY for the handy individual. Requires measuring, drilling pilot holes, and screwing the track into wall studs (or using appropriate anchors). A stud finder, drill, level, and measuring tape are essential. For longer runs or heavier art, a professional ensures structural integrity and a perfectly level installation.
- Integrated Wall Systems: Almost exclusively professional installation, as they involve modifying the wall structure during construction or renovation. This is best left to contractors and specialized installers.
- When to Call a Pro (Seriously): If you're dealing with a very large, extremely heavy piece of art (think over 75 lbs), or if your wall construction is unusual (like an old lath and plaster wall in a historic building where studs are hard to find), or if you simply don't feel confident with power tools and precise measurements – that's when a professional art installer becomes not just helpful, but essential. They have the right tools, experience, and often, the insurance, to ensure your precious pieces are hung safely and securely, regardless of the challenges.
Always assess your comfort level with tools and your understanding of your wall's construction. There's no shame in seeking professional help, especially for valuable art or complex installations. My own art hanging journey, including learning to display pieces at my museum in 's-Hertogenbosch, has taught me the value of both careful DIY and expert assistance.

My Takeaway: Simple Starts, Grand Visions
If you were to ask me, the 'coffee shop conversationalist' and occasional art hanger, I'd say start simple. For smaller, lighter pieces, or for places you know you'll rearrange, those good quality adhesive strips are a dream. They truly liberate you from the commitment phobia of permanent fixtures.
I remember years ago, trying to hang a particularly large and unwieldy abstract piece of mine, thinking I could just 'wing it' with a couple of nails. What followed was a comical (in hindsight) ballet of wobbling ladders and near-disasters. I mean, my cat even hid under the couch, clearly judging my amateur hour performance. That's when the true value of a robust picture rail system clicked for me – it turned what could have been a permanent headache into an enjoyable, evolving display. It’s truly liberating. My own abstract works, with their layered textures and often subtle dimensionality, can sometimes be deceptively heavy, so I’ve learned to truly appreciate systems that offer both strength and flexibility.
For anything a bit more substantial, or if you're looking to create a proper gallery wall that evolves, a picture rail system is worth the investment. It makes experimenting with the art of display: how to light and position abstract art for maximum impact so much easier, and you'll thank yourself every time you decide to swap out a piece without patching and repainting. Seriously, imagine a life without spackle! A dream, right? To create truly captivating displays, remember it's not just about the hang; consider grouping artworks, playing with negative space, and yes, mastering the art of lighting to make each piece shine its brightest. A thoughtfully composed gallery wall tells a richer story, a visual symphony of your taste. So, my advice? If you're just starting, grab some quality adhesive strips for those experimental spots. You'll gain confidence and then be ready for those grander visions.
And speaking of dreams, when you find that perfect piece for your wall, whether it's one of my vibrant abstract artworks for sale or something else that speaks to your soul, choosing the right way to display it is just as important as choosing the art itself. It's about giving your art the platform it deserves, letting it shine, and allowing your home to be a dynamic, ever-evolving canvas of your personal story. So go ahead, experiment, and let your walls tell your story with flair and flexibility!
Frequently Asked Questions About Modern Art Hanging Systems
- Are these systems safe for valuable art? Yes, absolutely, if installed correctly and chosen appropriately for the art's weight. Always follow manufacturer guidelines. For very heavy or exceptionally valuable pieces, it's always wise to consult with a professional installer or conservator.
- Can I install them myself? Many adhesive and lighter rail systems are designed for DIY installation. More complex integrated systems or very heavy art installations might require professional help, particularly if you're not comfortable with tools or drilling into specific wall types. Always, always, always read the product instructions thoroughly before beginning any DIY project.
- Do they damage walls? Good quality adhesives are designed for clean removal, but proper surface prep and careful peeling are crucial. On delicate surfaces like old paint or textured wallpaper, there's a higher risk of damage because the adhesive can't make full contact or the surface itself is too fragile. Textured surfaces like stucco or certain wallpapers can present an issue because the adhesive cannot make full, even contact, leading to weaker bonds and a higher risk of damage upon removal as it pulls at the irregular surface. I always recommend testing an adhesive strip in a small, inconspicuous area first, just to be sure it plays nice with your specific wall finish. Rail systems involve initial drilling, but then protect your walls from subsequent holes.
- What about rental properties? Adhesive strips are often the best choice for renters, as they allow for easy removal without leaving marks. Always check your lease agreement regarding wall modifications, but generally, these are landlord-friendly options. Picture rail systems might be an option if your landlord approves (as they involve drilling), offering a long-term, flexible solution.
- How do I hang very large or extremely heavy artwork? For substantial pieces that exceed standard weight limits (often above 50 lbs), specialized solutions are required. This typically involves robust cleat systems (French cleat or Z-bar hangers), heavy-duty picture rails designed for gallery use, or direct anchoring into wall studs with specialized hardware. Consulting a professional art installer is highly recommended for these larger pieces to ensure safety and proper load distribution.
- Do modern art hanging systems require maintenance? Generally, low maintenance. For picture rail systems, occasional dusting of the tracks and checking the wires/cables for any signs of wear (fraying, kinks) is good practice, especially if you frequently move art. Adhesive strips and magnetic systems typically require no ongoing maintenance once installed correctly.
- How do these systems help create a gallery wall? Modern hanging systems are perfect for creating dynamic gallery walls! Picture rail systems allow you to easily adjust, add, or remove pieces without new holes. Magnetic systems offer unparalleled flexibility for constantly curating smaller items. Even robust adhesive strips enable temporary, evolving layouts. They all liberate you from the 'fixed' nature of traditional hanging, making it fun to experiment with compositions, negative space, and a mix of art collection pieces.
- What if my artwork has an irregular shape or an unusual frame? For irregularly shaped art or pieces with unique frames, traditional D-rings and wires can be adapted. For floating or sculptural pieces, magnetic systems (if the art has metal components or can have magnets discreetly attached) or specialized wall mounts designed for objects might be necessary. Sometimes, a custom framing solution that incorporates hanging hardware directly, or a bespoke pedestal for a sculptural art piece, is the best approach. Don't be afraid to think outside the traditional frame!




Ultimately, how we display art in our homes is a reflection of ourselves. It's about creating a space that feels personal, dynamic, and inspiring. Modern art hanging systems aren't just practical tools; they're enablers of creativity and flexibility. They free us from the fear of commitment, letting our walls breathe and our art evolve with us. So go on, embrace the innovation, and turn your home into the ever-changing gallery it was always meant to be. Your walls (and your sanity) will thank you for it, and who knows, maybe you'll even start a timeline of your art hanging adventures, just like I document my artistic journey on my timeline.