
The Ultimate Guide: Damage-Free Art Hanging Methods for Any Wall
Unlock artistic freedom! This ultimate guide explores damage-free art hanging: leaning art, adhesive strips, and picture rails. Preserve your walls, liberate your style, and transform your space.

The Ultimate Guide to Hanging Art Without Nails: Damage-Free Walls, Liberated Style
I know the feeling. You've just discovered that breathtaking piece—a vibrant, abstract canvas that speaks to your soul, maybe even something from my own collection at /buy—and you can picture it perfectly in that bare spot above the sofa. But then, the cold, hard reality hits you: the hammer, the nails, the inevitable Swiss cheese effect on your drywall, and the looming threat of a lost security deposit. For too long, the thought of putting a permanent mark on a wall has paralyzed us, making decorating feel more like a high-stakes gamble than an act of creative expression. This guide is my testament to reclaiming our walls and unlocking true decorative freedom, offering you a complete roadmap to displaying your cherished art without a single nail hole.
I remember one particularly frustrating afternoon, a large, beautiful framed print leaning precariously against a wall, while I paced, utterly stumped. I had just finished painting the room a perfect shade of muted sage, and the idea of puncturing that pristine surface was unbearable. What if I changed my mind about the placement next month? What if I moved? The stakes felt too high, especially in rental properties where even a tiny nail hole can feel like a cardinal sin. It's like the walls themselves whisper, "Don't touch me!" and we listen, leaving our spaces feeling less like a home and more like a temporary holding cell for furniture. This definitive guide will walk you through every damage-free method, from the surprisingly robust to the elegantly effortless, ensuring your artwork stays secure and your walls remain pristine, ready for your next creative whim.
For centuries, art display often implied permanence. Think of the elaborate frescoes in Roman villas, the weighty tapestries in medieval castles, or the meticulously planned gallery walls of Renaissance palaces where art was meant to stay put for generations. Even in more recent history, during the Victorian era, heavy, gilded frames were typically secured with robust picture hooks screwed directly into lath and plaster, designed to hold for decades. It was a statement of lasting taste and unwavering commitment. But here's the thing: our lives aren't static. Our tastes evolve, our homes shift, and our desire for fresh perspectives is constant. A home without art is just a structure; art breathes life into a space, reflecting who we are and who we're becoming. This quest for fluidity led me down a path to master the art of damage-free display, and it has been nothing short of liberating. It’s a game-changer not just for renters, but for homeowners who value their walls, for indecisive decorators who love to rearrange, and for anyone who prefers to skip the stud finder and the spackle.

First Things First: Essential Prep for Damage-Free Hanging
Before you even think about peeling a sticky tab or leaning a canvas, a little preparation will save you immense heartache (and potentially expensive repairs). Trust me, I've learned the hard way that skipping these initial steps is a recipe for disaster. These moments of mindfulness are what ensure your art stays securely in place and your walls remain exactly as you found them.
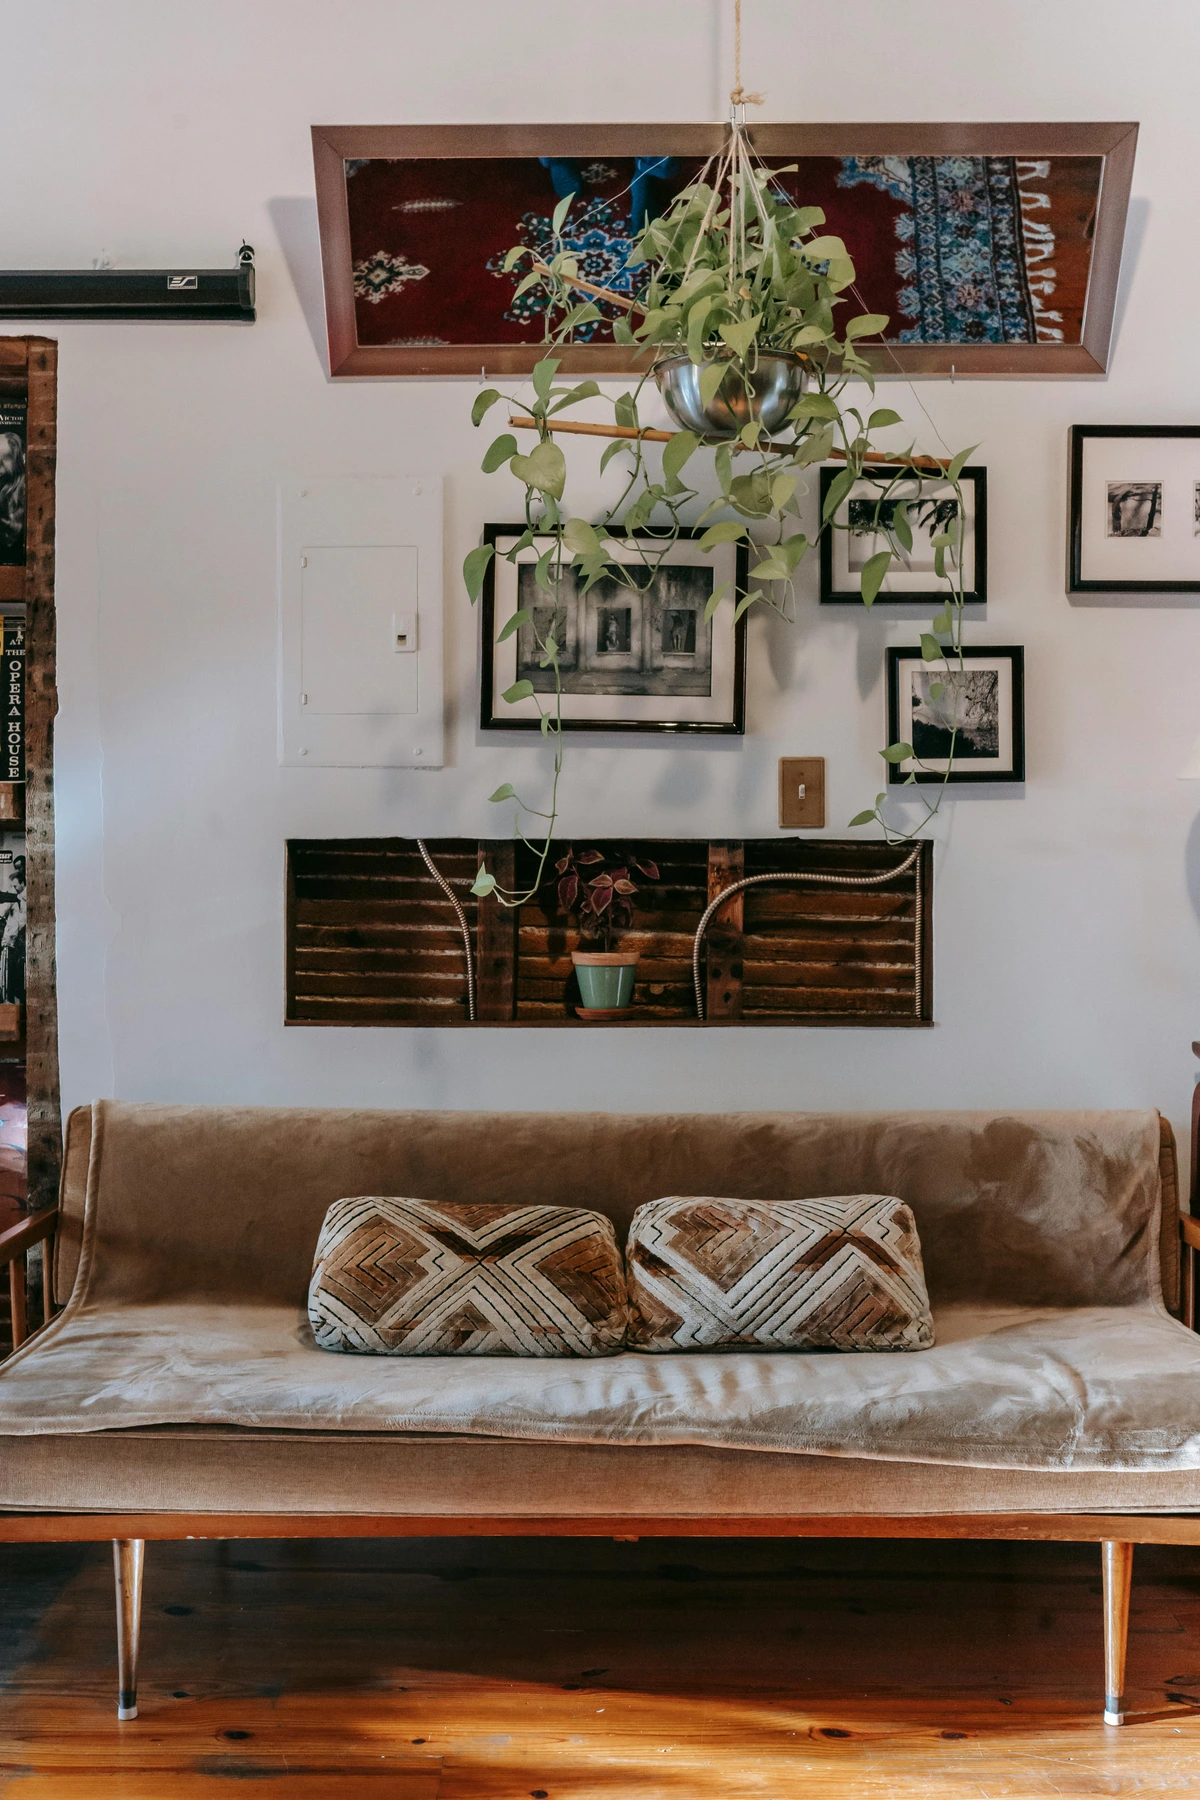
- Weigh Your Artwork, Precisely: This step is absolutely non-negotiable. Guessing the weight of your art is like guessing the expiration date on milk – it might seem fine, but you're asking for trouble. I once tried to eyeball the weight of a particularly robust, ornate mirror, convinced it was 'light enough.' The resulting crash (thankfully only damaging the mirror, not the wall, but still!) was a stark reminder of why scales exist. Use a kitchen or bathroom scale to get the exact weight of your framed piece. Every adhesive product has a strict weight limit, and exceeding it guarantees a fall. For context: 4 lbs (1.8 kg) is roughly the weight of a heavy coffee table book or a small bag of sugar, 12 lbs (5.4 kg) is like a laptop or a gallon of milk, while 16 lbs (7.2 kg) is comparable to a small bowling ball or a medium-sized houseplant. Art is often lighter than you think, but it's always better to know for sure. If you suspect you have a particularly heavy painting or a heavy mirror, nail-free options might not be suitable, or you'll need significantly more strips than you initially estimate. A simple rule of thumb for estimating unframed canvas weight is 0.5-1 lb per square foot (0.2-0.45 kg per 0.09 square meter), but a scale is always best.
- Clean Your Surface, Meticulously: Most nail-free solutions rely on a strong adhesive bond. Adhesives, however, are mortal enemies with dust, grease, and grime. A quick swipe with a dry cloth isn’t enough. Instead, grab a clean, lint-free cloth and some isopropyl rubbing alcohol. This wonder liquid evaporates quickly, leaving behind a perfectly clean, residue-free surface. Unlike many household cleaners, it won't leave a slippery film that interferes with adhesion. Think of it this way: adhesives work by forming a mechanical bond with the tiny imperfections on your wall surface – essentially 'grabbing on' to the microscopic nooks and crannies. If those imperfections are clogged with invisible gunk, the adhesive can't properly 'grab on.' Let the area dry completely before proceeding.
- Plan Your Layout, Diligently: Resist the urge to eyeball it. Figuring out your composition beforehand saves you from unnecessary repositioning, wasted adhesive, and potential damage. Lay your pieces out on the floor, or, for a truly precise approach, cut out paper templates of your frames and tape them to the wall using painter's tape until you're absolutely happy with the arrangement. This is a crucial step in understanding how to arrange pictures on a wall for the best effect. For larger installations, like a gallery wall, I've spent hours adjusting paper cutouts, and it's always time well spent. Remember, it's easier to move paper than a newly affixed piece of art.
The All-Stars of Nail-Free Hanging: Methods for Every Artwork & Wall
Okay, prep work is done. With your walls prepped and your artwork measured, you're ready to explore the surprisingly diverse world of damage-free hanging solutions. Now for the fun part: getting that art up on the wall, no hammer required. These are my go-to methods for transforming a blank canvas into a soulful space that reflects your evolving taste. We'll explore two main approaches: passive hanging, where art leans against a surface, and active hanging, where it's secured directly to the wall with a hidden solution. What kind of artistic freedom are you ready to embrace today?
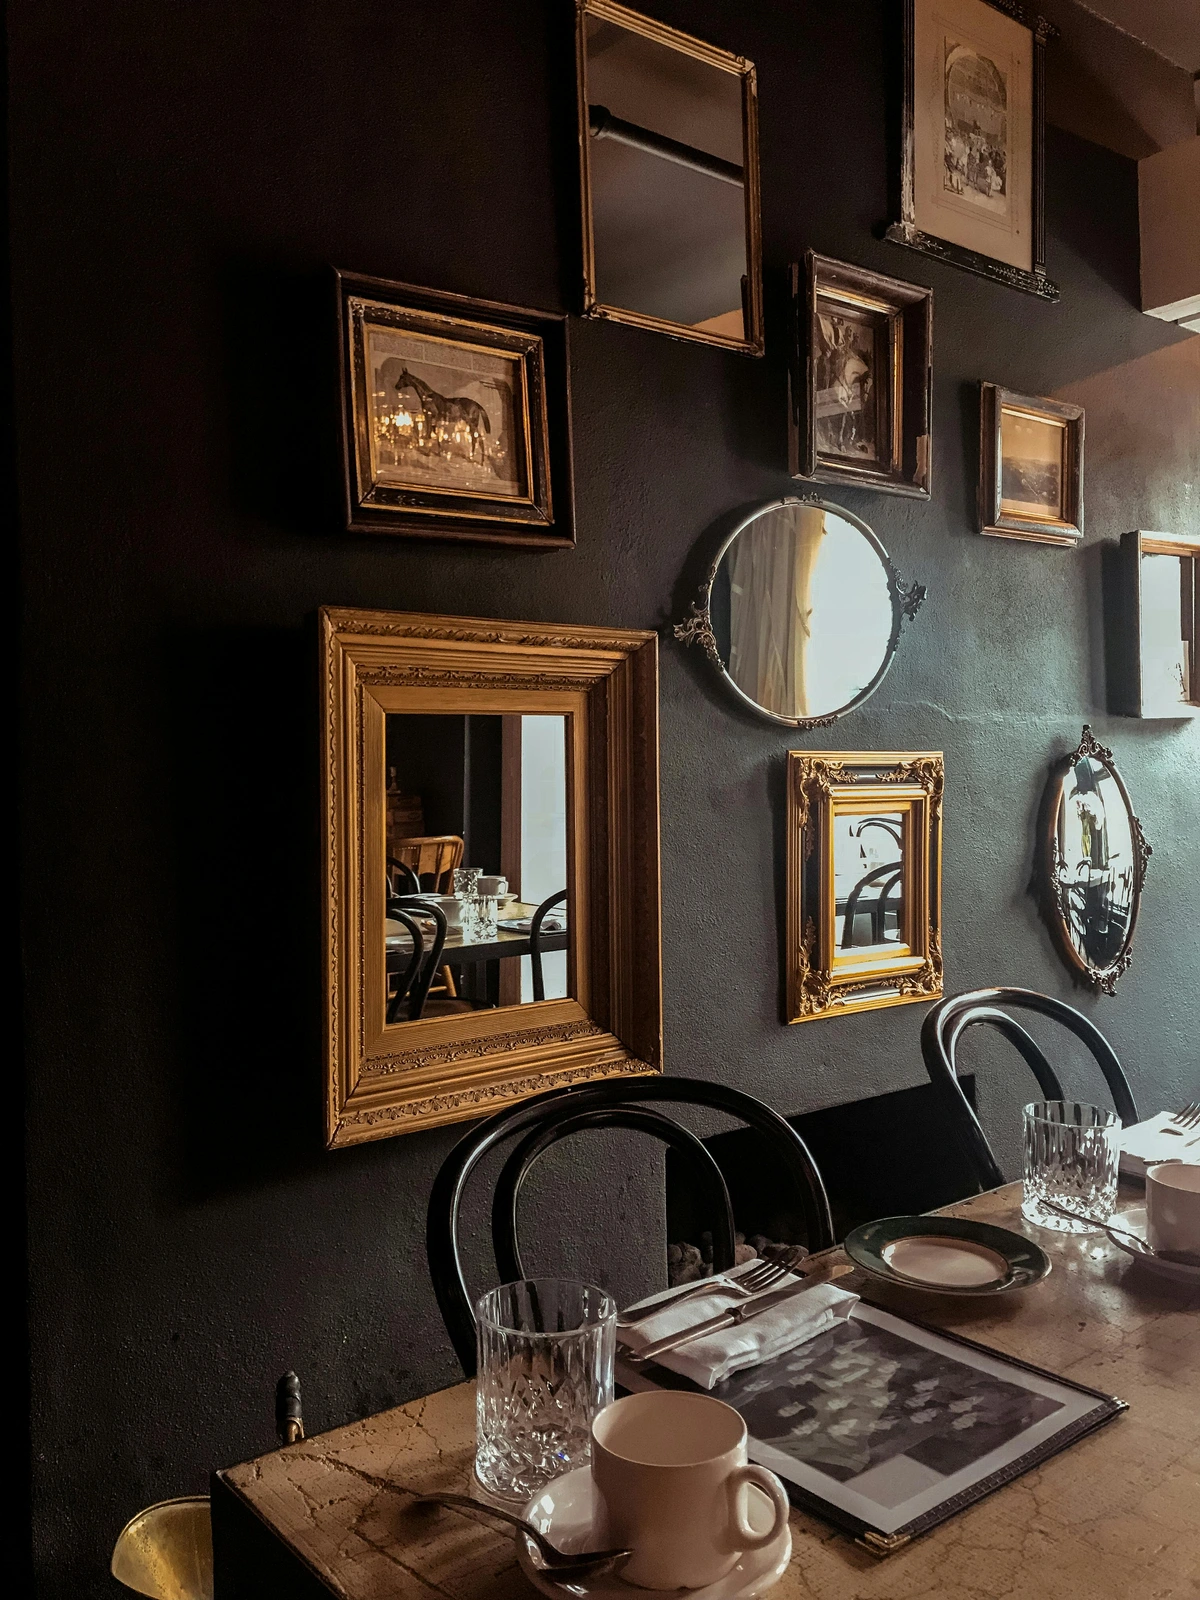
1. Leaning Art (The Effortlessly Chic & Flexible Method)
Who says art has to hang? One of the most stylish and utterly damage-free ways to display art requires zero adhesive, zero holes, and zero stress. Just lean it! This passive hanging method instantly infuses your space with a relaxed, curated, and slightly bohemian vibe. It suggests you're a connoisseur constantly moving things around, embracing change and fluidity in your decor—because, let's be honest, who doesn't love to rearrange? It's also fantastic for layering pieces of different sizes and styles, creating depth and visual interest without the pressure of perfect alignment. This approach embodies how to decorate your home with a sense of playful artistry, making your space feel alive and responsive to your mood. I particularly love how leaning art allows me to casually swap out pieces from my collection, instantly giving a room a fresh energy without committing to a single arrangement. For very large or irregularly shaped pieces, or if floor space is limited, you could even consider a decorative easel or an art stand, which offers similar flexibility without touching the wall.
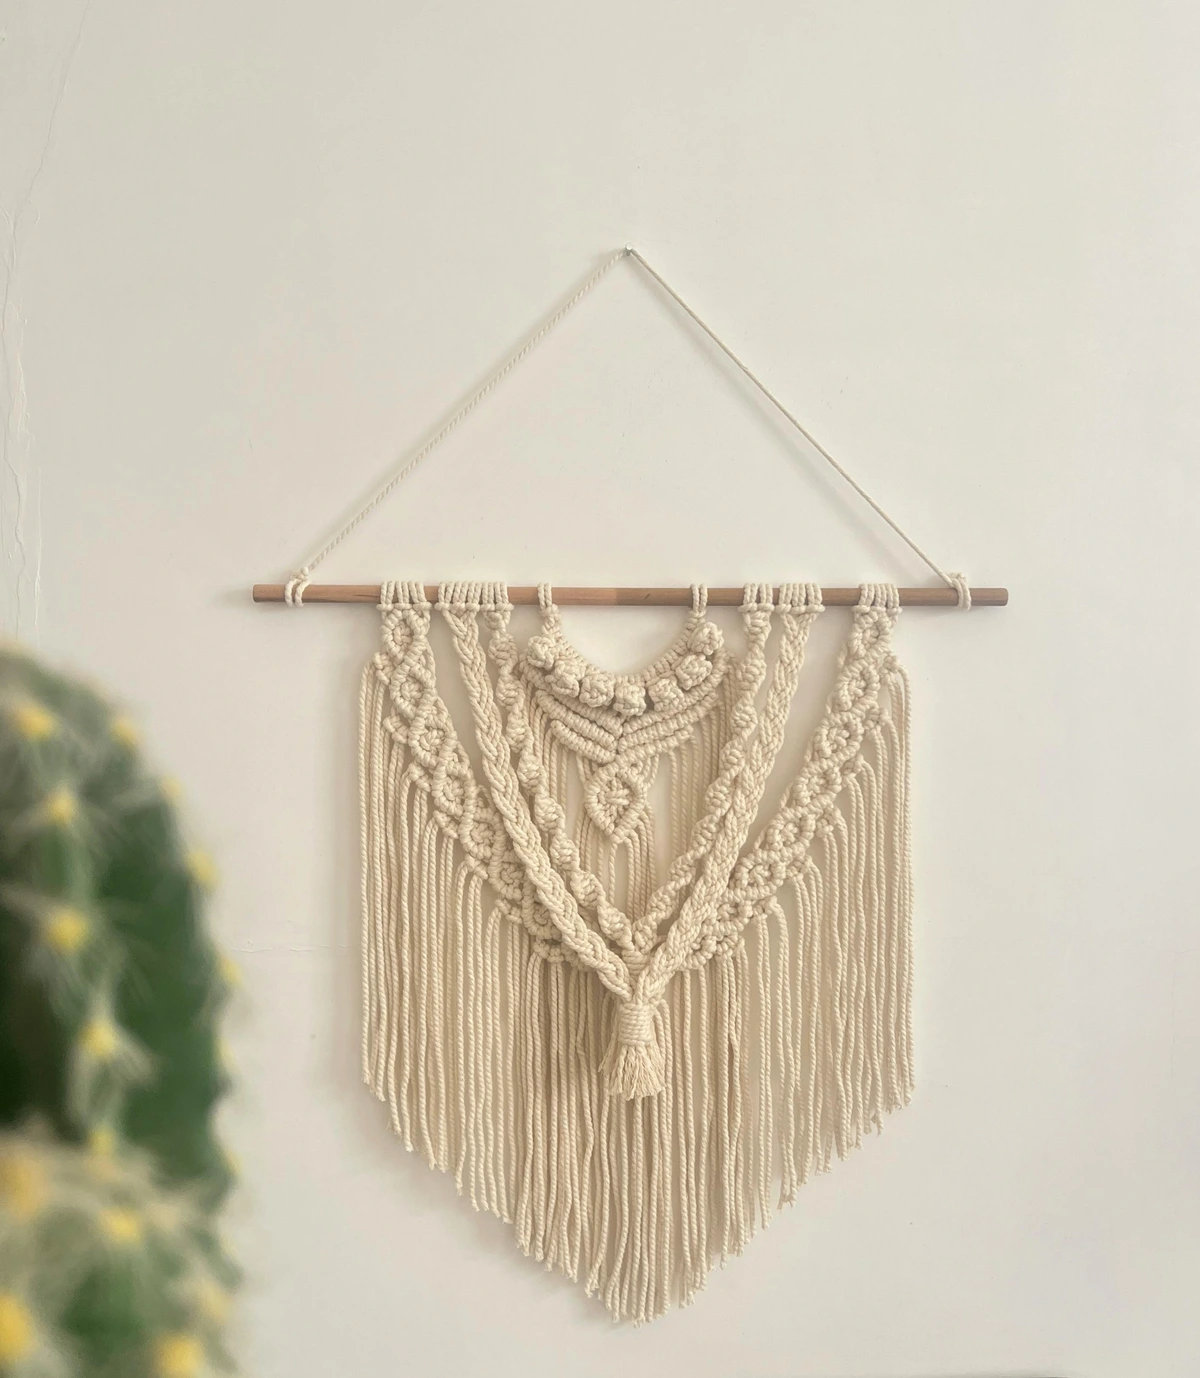
Great places to lean art:
- On a mantelpiece or fireplace: A classic, elegant spot for a framed piece or a sculptural element. It's a fantastic way for how to decorate your home without making a single hole.
- Atop a bookshelf or credenza: An excellent opportunity for how to display art on a bookshelf, mixing in books, plants, and other decorative objects.
- On floating shelves: Ideal for creating dynamic, multi-level displays that you can change with ease.
- Even on the floor: For very large, impactful pieces, leaning against a wall makes a bold, architectural statement, instantly adding gravitas to a room, especially if you're exploring how to decorate your home.
For added security, especially if you have pets, curious children, or live in an earthquake-prone area, consider a small dab of museum putty on the bottom corners. This pliable, non-staining material adheres gently to both the frame and the surface, providing just enough friction to prevent sliding or tipping without any permanent bond. It acts as a subtle anchor, a small but mighty guardian for your leaning art. For your more precious pieces, or if you're concerned about potential frame scratches, adding small felt pads to the back bottom corners of the frame can also prevent any contact marks on your wall.
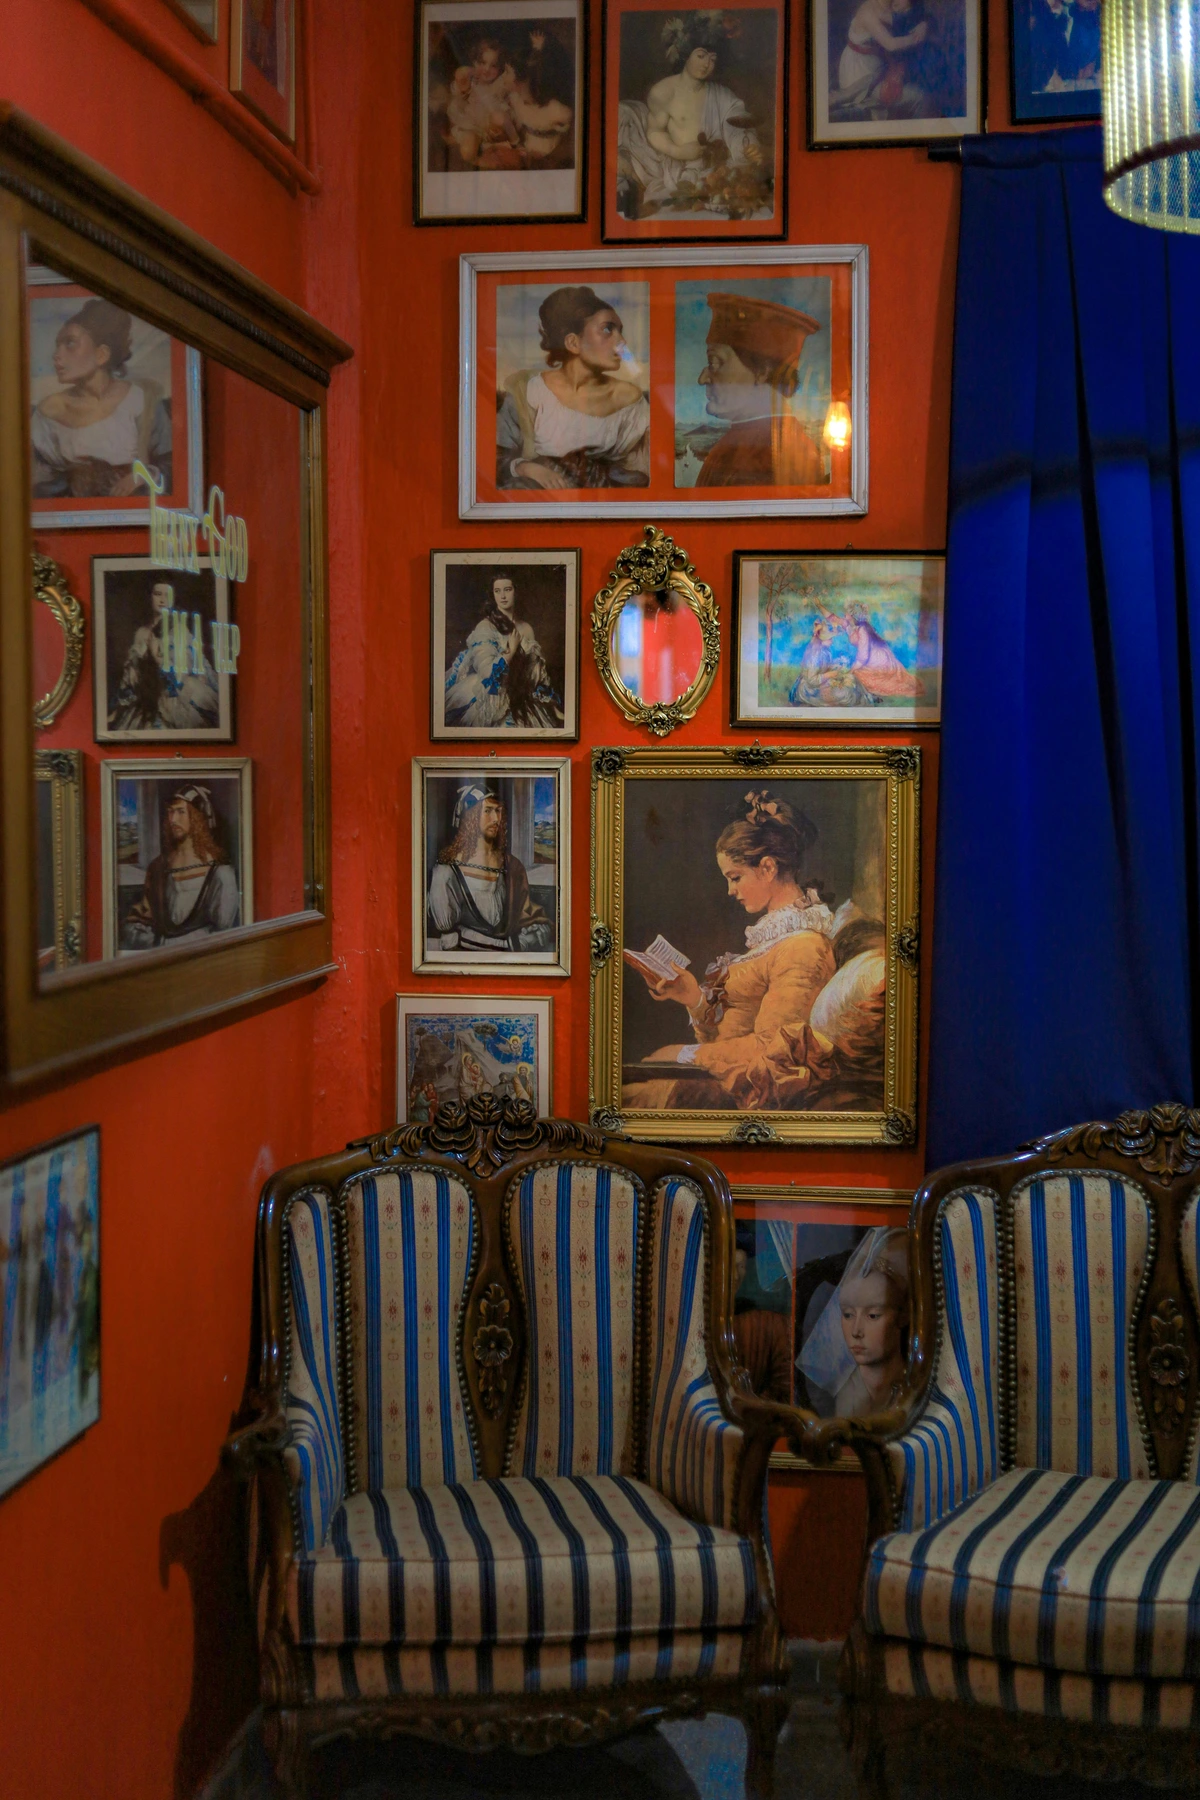
2. Adhesive Strips and Hooks (The Undisputed MVP of Active Hanging)
These are, without a doubt, the undisputed champions of active hanging. Brands like Command have become household names for a reason: they work. These ingenious systems typically consist of two interlocking strips (a bit like Velcro) that create a surprisingly strong bond, yet can be stretched to release cleanly from the wall without a trace. The adhesive itself is usually based on a rubber-resin or acrylic polymer formulation, designed to be pressure-sensitive and have a high shear strength (resisting sliding) but a low peel strength when stretched – that's the magic! I've found them incredibly versatile, coming in various sizes and weight capacities – from tiny hooks perfect for fairy lights or a string of family photos to hefty strips capable of holding a surprisingly large framed print, perhaps even a vibrant abstract piece from my collection. They hide completely behind your frame, rendering them invisible, and if you accidentally place a frame slightly crooked, you can often gently separate the strips and readjust without removing the adhesive from the wall entirely. This adjustability is a lifesaver for perfectionists (like me!).
The Golden Rule: Follow the Instructions! (Seriously, I've learned this the hard way.)
- Weight limits are sacred. If the package says 4 lbs (1.8 kg), it means 4 lbs. Do not test this boundary. For heavier pieces, always use multiple pairs of strips, distributing the weight evenly across the top and sides of the frame. This isn't a suggestion; it's a non-negotiable safety measure. Skimping here is a direct invitation for your art to take an unexpected dive. Believe me, I once thought one extra strip would be 'plenty' for a slightly overweight frame... it was not. That small act of laziness cost me a week of regret and a dent in my perfectly polished floor. The universe, it seems, takes weight limits very seriously.
- Surface matters, immensely. These strips perform best on smooth, properly cured paint on drywall. What does "cured paint" mean? It's not just dry to the touch; it's fully hardened and no longer off-gassing volatile organic compounds (VOCs) – those subtle chemicals released as paint dries and hardens. This vital process can take several weeks to a month, depending on the paint type (latex vs. oil-based), humidity levels, and ventilation. Applying strips to uncured paint is a major risk, as the paint itself hasn't formed a strong, stable bond with the wall, making it highly susceptible to peeling upon removal. Think of it like trying to stick tape to wet glue, or setting a heavy block on freshly poured, uncured concrete – the bond is compromised from the start.How to test if your paint is truly cured:
- The Fingernail Test: In an inconspicuous spot, gently press your fingernail into the paint. If it leaves an indentation easily, like pressing into soft butter, it's not ready. It needs time to firm up, like a block of cheddar cheese.
- The Painter's Tape Test: Apply a small piece of painter's tape to a hidden area for 24 hours, then slowly remove it. If any paint lifts, the wall needs more time.
- Beyond Smooth Drywall: The Texture & Finish Trap: Adhesive strips can also struggle with highly textured walls, where the adhesive has insufficient flat surface to grip. Common textures include orange peel (a slight bumpy texture resembling an orange peel), knockdown (a flattened stucco look), skip trowel (swirling, uneven patterns), sand swirl (fine grit mixed into paint for a soft texture), or popcorn ceilings (lumpy, spray-on texture). On these surfaces, the adhesive's contact area is drastically reduced, leading to a weak bond, as the adhesive simply can't "grab" enough surface area. Similarly, paint finish plays a role: high-gloss or semi-gloss paints tend to be smoother and can provide better adhesion, while very matte or chalky paints might be more porous or fragile, potentially leading to issues. They are also generally not recommended for delicate wallpaper or very old, crumbly plaster, or improperly primed surfaces. If you have tricky walls, you might need a different plan for hanging art on a brick wall, lath and plaster, or even certain types of drywall that aren't perfectly smooth or have a porous finish. Even slightly uneven walls can pose an issue; while some flexibility exists, a significant curve or dip can prevent full adhesive contact, making leaning or rail systems more reliable.
- Proper removal is the secret sauce. This is where most people go wrong, leading to damaged walls. I've been guilty of it myself, impatience getting the better of me. To remove a strip cleanly, hold the top of the strip gently with one hand and pull the tab straight down, slowly and steadily, stretching it along the wall. The key is to stretch parallel to the wall's surface, not away from it. Continue stretching until the strip releases from the wall. Never pull it outwards, away from the wall, or rip it off quickly—that's precisely how paint comes with it! This controlled, parallel stretching causes the adhesive to detach cleanly. While there's always a minuscule risk if your paint is old, peeling, or poorly applied, proper technique drastically minimizes this.
Strip Type  | Max Weight (approx.) | Best For & Limitations | Surface Suitability | Removal Difficulty | Reusability | Pros | Cons |
|---|---|---|---|---|---|---|---|
| Small Strips | 4 lbs (1.8 kg) | Small photo frames, unframed prints, lightweight décor. Not for humid areas. | Smooth, fully cured painted drywall | Easy (with care) | No | Very versatile for light items; easy to hide. | Low weight capacity; not for humidity; requires cured paint. |
| Medium Strips | 12 lbs (5.4 kg) | Standard sized frames, canvases, small mirrors. Use multiple for items nearing the limit. | Smooth, fully cured painted drywall | Easy (with care) | No | Good capacity for common frames; adjustability. | Still requires careful surface prep & removal; not for heavy items. |
| Large Strips | 16 lbs (7.2 kg) | Larger frames, gallery wall pieces, notice boards. Not for highly textured/delicate walls. | Smooth, fully cured painted drywall | Moderate (requires careful stretching) | No | Best for heavier framed pieces among adhesive options. | Riskier removal if rushed; not for all wall types; strict weight adherence. |
| Canvas Hangers | 3-5 lbs (1.3-2.2 kg) | Unframed stretched canvases, foam board art. Specifically designed for canvas edges. | Smooth, fully cured painted drywall | Easy (with care) | No | Custom fit for canvases; often invisible. | Limited to specific item types (canvases); lower weight capacity. |
| Water-Resistant Hooks | 3-7 lbs (1.3-3.2 kg) | Bathrooms, kitchens, high humidity areas. | Smooth tile, painted drywall, wood (check product details) | Easy (with care) | No | Designed for moisture resistance; good for functional hooks. | Lower weight capacity; may not be suitable for all art forms; visible hooks. |
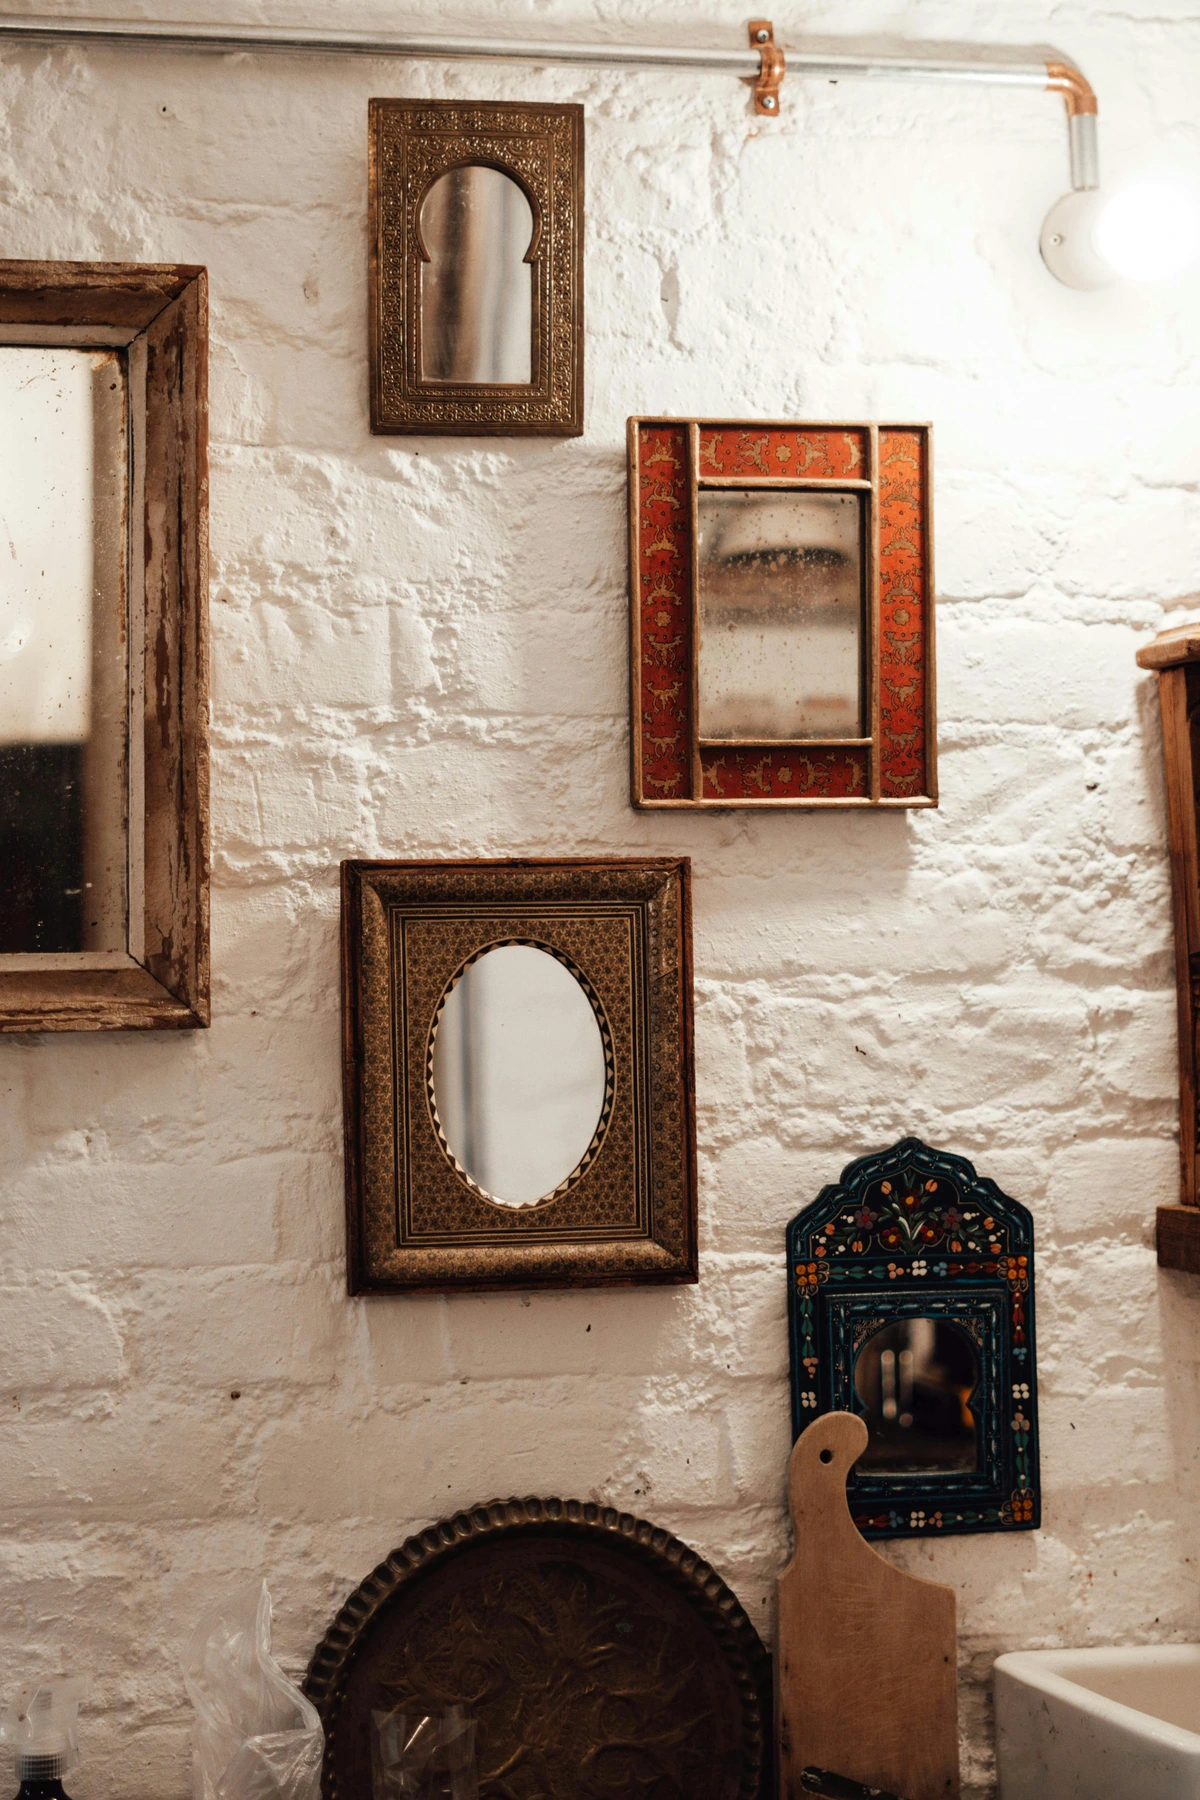
3. Adhesive Putty & Washi Tape (For the Lightweights & Temporary Displays)
Remember that blue or white sticky tack from your school days? This is its sophisticated, more reliable cousin. Adhesive putty is fantastic for ultra-lightweight items like posters, postcards, children's drawings, or ephemeral paper crafts. It's incredibly simple to use: just tear off a small piece, knead it to warm it up (this activates its adhesive properties, forming a pressure-sensitive adhesive bond), and stick it firmly to the corners or back of your item. It’s perfect for creating a casual, evolving gallery of unframed prints and photos, like a personal mood board directly on your wall, or for quick-displaying school projects.
Beyond the common brands, specialized art-specific putties (often found in art supply stores) are formulated to be less prone to leaving oily residues. They typically achieve this by using more stable polymer binders and less volatile plasticizers compared to cheaper, generic varieties whose plasticizers can migrate out over time, causing stains. These are definitely worth the small extra investment for anything you care about.

The catch? Over time, especially with cheaper varieties, some putties can leave a slight oily residue on the wall or the back of your paper. While art-specific brands are better, it’s still best reserved for items you don't consider precious heirlooms. Always do a small test in an inconspicuous spot first, particularly on delicate wallpaper or matte painted surfaces. For temporary items, it's a fantastic, low-commitment choice that allows for endless creative shifts. You can even find heavy-duty double-sided mounting tapes, but proceed with extreme caution as these often have very aggressive adhesives that can easily damage paint or wallpaper upon removal. For more comprehensive guidance, check out our detailed article on how to hang art on wallpaper.
Washi tape, that delightful decorative paper tape, is another ultra-low-commitment option. For unframed prints, posters, or postcards, colorful washi tape offers a playful, easily removable way to create instant displays. Its low-tack adhesive is generally safe for most smooth surfaces, leaving no residue, and the tape itself adds a decorative element! I've used it for temporary holiday decorations, to quickly put up inspiring quotes in my studio, or even to create fun, geometric patterns directly on the wall around a simple print, transforming it into a temporary 'frame.' It's particularly fantastic for kids' art in their bedrooms, allowing them to participate in changing their decor safely. You can even layer lightweight Command hooks and connect them with decorative strings or wires to hang multiple small, unframed items, creating a unique, modular display that is both damage-free and visually interesting. What creative, temporary display is calling your name?
4. Picture Rail Systems (The Elegant & Permanent 'No-Hole' Solution)
If you own your home (or have a very understanding landlord!) and love to rotate your art collection frequently, a picture rail system is a brilliant, long-term investment. This isn't technically "nail-free" for the initial setup, as it requires some drilling to secure the rail itself, but once installed, it offers infinite art hanging without ever making another hole in your wall surface. Think of it as a permanent art-hanging infrastructure, perfect for a dynamic gallery that evolves with your taste (perhaps even displaying art from /den-bosch-museum!).
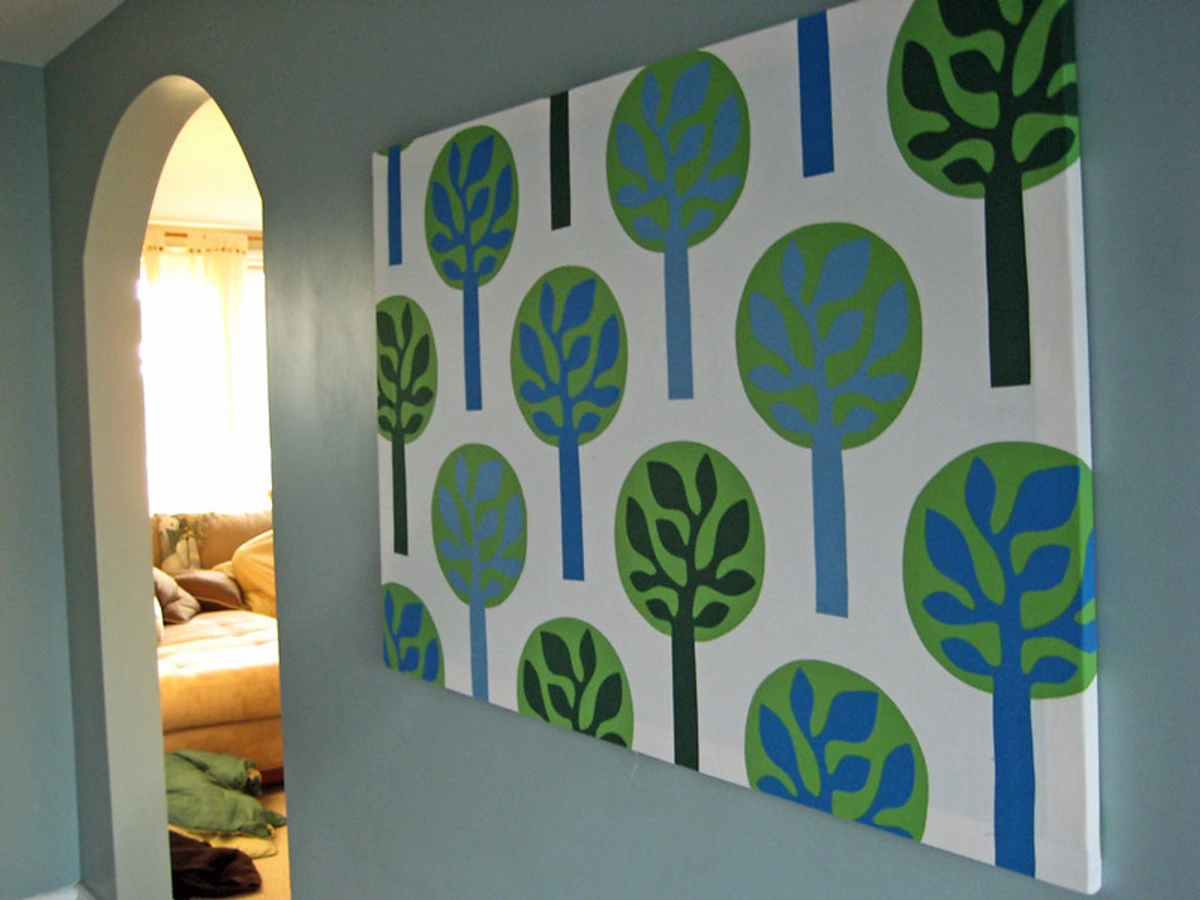
A picture rail is a specialized molding that runs along the top of your walls, often found in older or more traditional homes (think Victorian or Edwardian architecture), though modern, sleek, and minimalist versions are also widely available. These include J-rails (simple, track-like aluminum channels) and gallery track systems (more robust, often with concealed fixings). Your art hangs from clear cords (often transparent nylon), delicate wires (typically steel), or metal rods that hook onto the rail. The beauty lies in its flexibility: you can slide hooks horizontally, adjust hanging heights vertically, and swap out entire pieces within minutes. Different types of hooks (e.g., traditional S-hooks, spring-loaded hooks, security hooks) and wires (thin picture wire for light frames, heavier gauge steel for larger pieces) are available to match artwork weight and style. It’s the ultimate ‘one-and-done’ solution for dynamic display, allowing you to continually refresh your space with minimal effort and preserving your wall integrity for decades. Picture rail systems come in various materials, from classic wood (which can be painted to match your trim) to contemporary aluminum, integrating seamlessly with diverse interior design aesthetics. I personally adore the timeless elegance and practical freedom they offer, transforming your wall into an ever-changing architectural canvas.

DIY vs. Professional Installation for Picture Rails:
- DIY: Installation typically involves measuring, leveling, and screwing the rail into wall studs or using appropriate heavy-duty anchors. While it's a feasible DIY project for those comfortable with basic tools, common pitfalls include not finding studs (always use a reliable stud finder!), imperfect leveling (a laser level is your best friend here), or using inadequate anchors (toggle bolts for hollow walls if studs aren't an option, though always prefer stud mounting). For a standard room (e.g., 12x12 feet / 3.6x3.6 meters), anticipate a range of €50-€150 for basic J-rail materials (aluminum rail, hooks, wires) and €150-€300+ for more ornate wooden rails or robust gallery track systems.
- Professional: Hiring a handyman ensures a perfect, secure installation, especially for longer runs or tricky wall materials. Installation costs for a professional might add another €100-€300. The long-term flexibility, preservation of your walls, and ease of changing art are, in my opinion, priceless. For a more traditional look, you can even find rails that match existing crown molding, blending in beautifully. How often do you want to change your display?
What NOT to Hang Without Nails (and When to Call in the Pros)
While nail-free options are truly fantastic, they do have their limits. Knowing these boundaries is crucial to avoid damage to your cherished art, your walls, or even yourself. I've learned the hard way that sometimes, a little extra security is not just worth it – it's absolutely necessary. My advice comes from experience: if there's any doubt, err on the side of caution. I once tried to hang a vintage wooden sign that felt "light enough" with several adhesive strips, only to find it crashed down a week later, leaving a dent in the floor. My heart sank, and I vowed never to gamble with weight again. The potential for irreversible damage to a beloved piece of art or a treasured family photo is simply not worth the risk of a shortcut.
Item Type / Condition | Nail-Free Method Compatibility | Recommended Alternative | Key Risk / Consideration |
|---|---|---|---|
| Excessively Heavy Items (over 15-20 lbs / 7-9 kg) | Generally NOT recommended for adhesive strips. Leaning with museum putty might work for some very stable pieces. | Traditional Hanging (stud-mounted hooks, heavy-duty anchors) or Professional Installation. | High risk of detachment and severe damage. These items can cause costly wall repairs, destroy the artwork, or even lead to serious injury if they fall unexpectedly. Adhesives are not designed for such sustained, high loads. |
| Irreplaceable / High-Value Art | NOT for adhesive-based methods for permanent display. Leaning with museum putty offers some security but isn't foolproof. | Professional Art Installer, Picture Rail System, or secure traditional hanging. | Unacceptable risk of irreversible damage. Adhesive failure, even rare, can lead to scuffs, tears, or frame breaks on priceless pieces. Paint damage upon removal can also affect property value or require costly restoration. |
| Art in High-Traffic Areas (hallways, kids' rooms, near doors) | Leaning (with museum putty for stability) or Picture Rail System is preferred. Adhesive strips are vulnerable. | Traditional Hanging (nails/anchors) or secure leaning on sturdy furniture. | Prone to accidental impacts and detachment. Bumps from passersby, playful children, or pets can easily dislodge adhesive-mounted art, leading to frequent falls and potential hazards. |
| Textured / Delicate Wall Surfaces (e.g., popcorn ceilings, old crumbly plaster, delicate or old wallpaper, uneven walls, improperly primed surfaces) | Generally NOT recommended for adhesive-based methods. | Leaning Art, Picture Rail System, or specialized hardware (e.g., brick hooks, toggle bolts). | Poor adhesion and high removal damage risk. Adhesives require a smooth, stable surface to bond effectively. Textured or delicate walls offer insufficient grip and are highly susceptible to peeling, tearing, or crumbling upon removal, causing significant damage. |
| Areas with Extreme Temperature / Humidity Fluctuations (e.g., unventilated bathrooms, attics, near fireplaces) | Standard adhesives NOT recommended. Look for specialized 'water-resistant' strips but use with extreme caution and regular checks. | Leaning Art, Picture Rail System, or traditional hanging with appropriate hardware. | Adhesive bond degradation. Extreme moisture (humidity) makes adhesives gummy and weakens their grip, while extreme heat or cold can make them brittle. Both scenarios lead to compromised adhesion and eventual detachment, often without warning. |
| Very Large, Unframed Canvases (e.g., large abstract pieces) | Most adhesive options are not ideal due to size/flexibility. Canvas hangers work for smaller, light unframed pieces, but large ones need edge support. | Picture Rail System (with appropriate hooks/wires), or Traditional Hanging (using specialized canvas hangers/straps into studs). | Risk of sagging, warping, or detachment. Large unframed canvases are often flexible and can sag without rigid support, or the adhesive may fail to hold the tension evenly across the edges, causing the canvas to distort or fall. |
| Thin, Flimsy Frames / Items with Unusual Center of Gravity | NOT recommended for most adhesive strips as they require a rigid, stable backing. | Traditional Hanging (if frame can support it), Leaning Art (with museum putty and careful placement). | Risk of warping the frame itself or unexpected detachment. Adhesives bond to the surface, and if the item itself lacks structural integrity or balance, the bond may not prevent the item from deforming or twisting off. |
For genuinely heavy, irreplaceable, or delicate items, embracing traditional hanging methods with appropriate wall anchors is often the safest and most stress-free approach. Don't be afraid to call in a professional if you're unsure—it's an investment in the safety of your art and the integrity of your home.

Choosing the Right Method: A Quick Decision Guide
With so many excellent nail-free options, how do you pick the best one for your specific piece and space? Here's a quick guide to help you decide:
Artwork Type | Wall Surface | Desired Permanence | Best Method(s) | Pros | Cons |
|---|---|---|---|---|---|
| Posters, postcards, unframed prints (under 1 lb/0.5 kg) | Smooth, painted drywall; smooth wallpaper (test first) | Very temporary, frequent changes | Adhesive Putty, Washi Tape | Highly flexible, no wall damage (if used correctly), adds decorative element (washi). | Can leave residue (cheap putty), low weight capacity, not for humid areas. |
| Small, lightweight frames (under 4 lbs/1.8 kg) | Smooth, properly cured painted drywall | Temporary to semi-permanent | Small Adhesive Strips, Museum Putty (for leaning) | Invisible hanging, easy to apply and remove (strips), stable (putty for leaning). | Strict weight limits, requires cured paint, not for all surfaces. |
| Standard frames, canvases (4-12 lbs/1.8-5.4 kg) | Smooth, properly cured painted drywall | Semi-permanent | Medium Adhesive Strips | Good capacity for most standard art, hidden behind art, adjustability. | Requires careful removal, not for textured or delicate walls, strict paint curing needed. |
| Larger frames, gallery pieces (12-16 lbs/5.4-7.2 kg) | Smooth, properly cured painted drywall | Semi-permanent | Large Adhesive Strips (multiple pairs) | Highest weight capacity among adhesives for framed art, distributes weight well. | Demands meticulous application & removal, greater risk on imperfect surfaces, not for textured walls. |
| Any size, any weight (as long as it can stand securely), including very large unframed canvases | Any stable surface (floor, shelf, credenza, mantel), or decorative easel/art stand | Highly flexible, changeable | Leaning Art (with museum putty for security) | Absolutely no wall damage, effortlessly chic, easy to rearrange, versatile. | Less secure against bumps, requires floor/furniture space or an easel, can gather dust more easily. |
| Rotating collection, homeowner investment | Drywall (with studs for rail installation) | Permanent rail, infinite flexibility for art | Picture Rail System (J-rails, Gallery Track) | Ultimate flexibility for rearranging art without new holes, classic or modern aesthetic, wall preservation. | High initial installation effort (drilling), higher upfront cost, may not suit all aesthetics without planning. |
| Very heavy mirrors, irreplaceable originals (over 16-20 lbs/7-9 kg) | Any wall (with studs/appropriate anchors) | Permanent, maximum security | Traditional Hanging (nails/anchors) or Professional Installation | Maximum security, peace of mind, suitable for all weights and values. | Requires drilling into walls, permanent holes, less flexibility for rearrangement. |
Frequently Asked Questions (FAQ)
Q: Will adhesive strips definitely not damage my paint?
A: When used strictly according to instructions—especially for proper removal—they are very unlikely to damage properly cured paint on smooth drywall. The absolute key is to pull the tab straight down, slowly and steadily, stretching it along the wall, parallel to the surface, not away from it. Never pull it outwards, away from the wall. If your paint is old, peeling, or was applied poorly (e.g., without proper primer, or too thinly), or if the wall surface is textured or porous, there's always a small inherent risk. The type of paint also plays a role: latex paints are generally more forgiving than some oil-based enamels or very delicate matte finishes, but a well-adhered primer beneath any paint is always a plus. As I mentioned earlier, a brief test in an inconspicuous spot (like the fingernail test or painter's tape test) is always a good idea if you're concerned. The science of adhesion is wonderfully tricky!

Q: Can I use nail-free methods on wallpaper?
A: I would be extremely careful here. Most adhesive strip manufacturers specifically advise against using them on wallpaper because the adhesive can bond more strongly to the paper itself than the paper does to the wall, leading to tearing upon removal. Even if the wallpaper appears robust, the risk is high. Wallpaper adhesive layers can be weaker than the strip's bond, leading to irreparable damage. If you absolutely must, test in a very inconspicuous spot first, like behind a piece of furniture, and even then, proceed with extreme caution. Generally, for wallpaper, leaning art or a picture rail system (installed above the wallpaper if possible) are far safer bets. A better guide on this is our detailed article on how to hang art on wallpaper.
Q: What about heavy items like mirrors?
A: For genuinely heavy items, especially mirrors (which often carry significant weight due to glass), I personally wouldn't rely solely on adhesive solutions for permanent hanging. The risk of detachment and potential damage to the mirror, your floor, or anyone nearby is simply too high. Leaning a mirror is a great, stylish option for heavier pieces, or you can check out our specialized guide on how to hang a heavy mirror, which usually involves more traditional, secure methods like stud-mounted hooks and specialized hardware. When in doubt, call a pro.

Q: How do I remove stubborn adhesive residue if it gets left behind?
A: If a sticky residue is left after removing a strip or putty, don't panic! For most surfaces, a gentle wipe with isopropyl rubbing alcohol (the same stuff you used for prep!) on a clean cloth can work wonders. For more stubborn marks, products like Goo Gone or similar citrus-based adhesive removers are specifically designed to break down adhesive bonds. Always test these products in an inconspicuous spot first, especially on delicate paint finishes. Apply a small amount to a cloth, gently rub the residue in a circular motion, then wipe clean with a damp cloth and dry. Avoid harsh abrasive cleaners or excessive scrubbing, as this can damage the paint.






Q: Are there nail-free options for brick or concrete walls?
A: Yes, absolutely! For these tough, unforgiving surfaces, you can find specialized hooks with hardened steel pins. These pins tap into the mortar joints (for brick) or directly into concrete with just a hammer, creating a tiny, almost invisible pinprick hole rather than requiring a large drill bit and anchor. They offer a surprisingly secure hold for many framed items by essentially wedging into the dense material. These aren't adhesive-based, but they're a minimal-damage alternative to traditional drilling. We have whole guides on how to hang art on concrete walls and another on how to hang art on a brick wall.

Q: Does humidity or temperature affect adhesive performance?
A: Absolutely. This is a critical factor often overlooked. High humidity (e.g., in bathrooms, unventilated kitchens, basements) or extreme temperature fluctuations (near fireplaces, drafty windows, attics, garages) can significantly reduce the efficacy of many standard adhesive strips and putties over time. Moisture causes adhesives to lose their grip and become gummy, while extreme heat or cold can make them brittle. Both scenarios lead to compromised adhesion and eventual detachment, often without warning. For these challenging environments, always look for products specifically rated for "bathroom use" or "high humidity" – some brands offer specialized strips with water-resistant adhesives that can withstand more demanding conditions. Even then, I’d exercise caution and regularly check the adhesion, as the long-term integrity can still be compromised.
Q: What if my walls are slightly curved or uneven?
A: Ah, the subtle challenges of older homes or imperfect renovations! While adhesive strips ideally need a perfectly flat surface for maximum bond, slightly curved or uneven walls can significantly reduce their effectiveness because they prevent full surface contact for the adhesive. For these situations, I generally lean towards leaning art as your safest and most stylish option. A decorative easel or an art stand works wonderfully, as does leaning against sturdy furniture (always use museum putty for stability, though!). If you're set on active hanging, a picture rail system is often the next best choice, as it relies on structural mounting points (studs) rather than surface adhesion, allowing the art to hang freely and conform to the wall's slight imperfections without direct contact. Avoid adhesive strips on noticeably uneven surfaces; it's a battle the strips will almost certainly lose.
The Future of Damage-Free Display & Your Artistic Freedom
The world of art display is constantly evolving, much like art itself. Imagine a future where walls are pre-equipped with invisible, integrated magnetic tracks, or where smart adhesives monitor environmental conditions and self-correct their grip. We might see widespread use of 3D printing for bespoke, damage-free hanging solutions, or advanced material science leading to strips that are endlessly reusable and biodegradable. While the realm of digital art, including NFTs (though I'm often quite skeptical of its long-term viability as a truly 'physical' art form, to be honest), has introduced new ways to own art, the physical display of screens and digital frames still benefits from these damage-free methods for integration into our homes.
For me, the most profound aspect of mastering damage-free hanging isn't just about preserving walls; it's about unlocking a deeper level of artistic freedom. It allows us to view our homes as dynamic canvases, constantly evolving expressions of our inner lives and shifting inspirations. You can experiment, rearrange, and refresh your space without hesitation, letting your art collection (perhaps a vibrant abstract piece you found at /buy or an intriguing work you discovered at /den-bosch-museum) truly live and breathe with you. So go forth, adorn your walls with confidence, and let your space reflect the beautiful, ever-changing artist that you are. I'm genuinely curious to hear about your own adventures in damage-free hanging! What's the most surprising thing you've managed to hang without nails? Did you discover any unique uses for washi tape or museum putty? Share your stories, triumphs, and cautionary tales in the comments below – let's build this resource together!