How to Hang a Painting: The Ultimate Guide to Perfect Placement
Learn my foolproof method for hanging art like a pro! This comprehensive guide covers everything from choosing height to selecting hardware for any wall type.

# The Ultimate Guide to Hanging Art: Mastering Placement, Hardware, and Style
Honestly, I remember the first time I tried to hang a significant piece of [art](/finder/page/history-of-art-guide). It involved a lot of guesswork, a few too many nail holes (oops!), and a slightly crooked final result that quietly drove me mad for weeks. It felt like such a high-stakes moment, that commitment of making a mark on the wall. But over time, I've learned a thing or two, and I'm here to tell you that hanging art perfectly isn't some mystical skill. It's a process, and a surprisingly satisfying one at that, once you know a few tricks. Let's make your art feel truly at home, giving it the display it deserves.
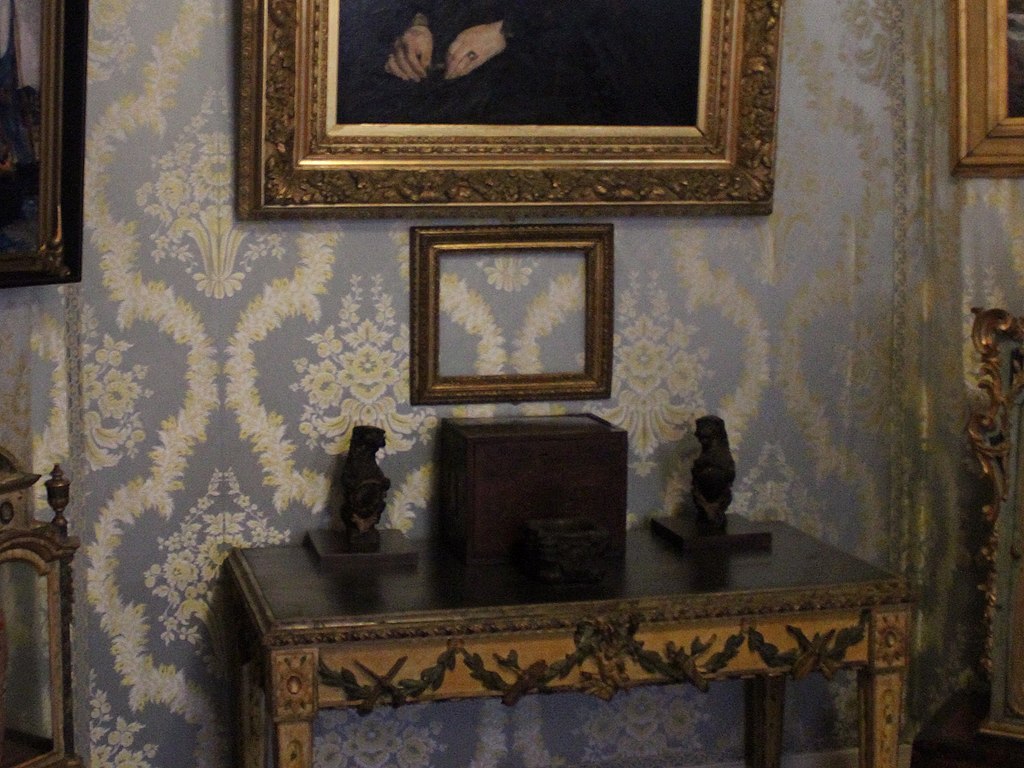
[credit](https://commons.wikimedia.org/wiki/File:Fenway_Court_Interior_22_%28cropped%29.jpg),
[licence](https://creativecommons.org/licenses/by-sa/4.0/deed.en)
In this comprehensive guide, I'll walk you through every step, from the crucial pre-hanging preparations to the final, precise placement that makes your art truly shine. Whether you're hanging a delicate print or a weighty canvas, getting it right transforms not just the artwork, but the entire feel of your room.

[credit](https://commons.wikimedia.org/wiki/File:Singapore_Art_Museum_14.JPG),
[licence](https://creativecommons.org/licenses/by-sa/3.0/deed.en)
## Table of Contents
1. The Art of Preparation: Don't Skip This!
* Gathering Your Tools
* Understanding Your Wall
* Safety First: Before You Drill or Hammer
* Choosing the Right Hardware
2. Finding the Sweet Spot: Placement & Height
* The Golden Rule: Eye Level
* Considering Furniture & Room Dynamics
* Gallery Walls & Groupings: Creating Visual Impact
* Lighting Considerations for Your Art
3. The Actual Hanging Process: Step-by-Step
* Measuring & Marking Your Spot
* Installing Your Chosen Hardware
* Properly Wiring Your Art (for secure hanging)
* The Final Hang: Securing Your Art
4. Troubleshooting Common Hanging Mistakes
* Crooked Art
* Wall Damage: When Things Go Wrong
* Art Falling: Prevention and What to Do
5. Beyond the Basics: Advanced Hanging Techniques
* Security Hardware
* Hanging on Tricky Surfaces (Tile, Glass, Uneven Walls)
* Picture Rail Systems
6. Maintaining Your Hung Art
* Cleaning & Dusting
* Environmental Factors
* Handling & Storage for [Long-Term Preservation](/finder/page/how-to-frame-a-canvas-painting)
7. Choosing Art for Your Space
* Living Room
* Bedroom
* Home Office
* Dining Room
* Kitchen
* Nursery
* Small Spaces ([Powder Room](/finder/page/decorating-with-art-in-a-powder-room-maximizing-impact-in-small-spaces))
* Staircases & Hallways
8. Frequently Asked Questions (FAQ)
9. Conclusion: Your Art, Perfectly Placed
## The Art of Preparation: Don't Skip This!
I know, I know, when you get a new piece of art, all you want to do is get it up on the wall *now*. But trust me, a little preparation goes a long way in preventing those dreaded extra holes or, even worse, a beloved painting crashing to the floor. Rushing this step is a mistake I've learned not to repeat.
### Gathering Your Tools
Before you even think about lifting that hammer, let's get organized. You don't need a professional workshop, but a few key items will make all the difference, truly making the process smoother and far less prone to those "oops" moments I mentioned earlier. Think of this as your essential hanging kit. I keep most of these in a small toolbox dedicated just to home decor tasks, because a dedicated space for my art tools just makes me feel more legitimate, even if it's just for hanging.
| Tool | Purpose | Pro Tip |
| :---------------------- | :--------------------------------------------------------------------- | :----------------------------------------------------------------------- |
| **Tape Measure** | For precise height and centering measurements. | Don't forget to measure the wire on the back of your art! |
| **Pencil** | To mark your drill/nail spots. | Use a light hand; dark marks are harder to erase. |
| **Level** | Absolutely crucial for straight art (my pet peeve is crooked art!). | A small torpedo level is often easiest to handle with art. |
| **Hammer** | For nails, obviously. | Choose a lightweight hammer for smaller nails to prevent over-driving. |
| **Drill (optional)** | For anchors or heavier pieces. | Always use the correct drill bit size for your anchors. |
| **Stud Finder** | To locate studs and avoid electrical/plumbing (a lifesaver, truly). | Run it horizontally first, then vertically to confirm. |
| **Assorted Hardware** | Nails, picture hooks, wall anchors – more on this below! | Have a variety on hand; you never know what the wall will demand. |
| **Painter's Tape** | Great for marking positions or creating templates for gallery walls. | Use it to create paper templates for complex arrangements. |
| **D-rings or Picture Wire** | For a more secure hang, especially for heavier pieces. | Ensure wire is taut and securely twisted. |
| **Rubber Bumpers (optional)** | To protect walls and keep art level. | Apply to the bottom corners to prevent tilting and scuff marks. |
| **Command Strips (optional)** | For lighter pieces or temporary arrangements without wall damage. | Follow instructions meticulously for proper adhesion and removal. |
| **Utility Knife** | For cutting paper templates or opening packages. | A fresh blade makes all the difference for clean cuts. |
| **Screwdriver Set** | For wall anchors that require a screw, or adjusting frame hardware. | Have both Phillips and flathead sizes ready. |
| **Spackle & Putty Knife** | For filling in those inevitable
### Choosing the Right Hardware
This is where "assorted hardware" from our tool list comes into play, and where many beginners get tripped up. Don't worry, it's not rocket science, but it *is* crucial for ensuring your art stays put and your wall stays intact. I've certainly made the mistake of thinking one size fits all, only to have a lightweight nail try to support a surprisingly [heavy mirror](/finder/page/how-to-hang-a-heavy-mirror). The key here is matching the hardware to both the weight of your artwork and the type of wall you're working with.
#### Nails & Picture Hooks
* **Small Nails:** Best for very light items (under 5 lbs) on drywall. They leave minimal holes.
* **Standard Picture Hooks:** These are my go-to for most pieces under 20-30 lbs. They have a small nail that goes in at an angle, leveraging the wall's strength. They come in various weight ratings, so check the package!
* **Heavy-Duty Picture Hooks:** For items up to 50-100 lbs, these often use two or three smaller nails.
#### Wall Anchors
For anything heavier, or if you're not hitting a stud, anchors are your best friend.
* **Plastic Expansion Anchors:** For light to medium weight items (up to 20 lbs) in drywall. You drill a pilot hole, insert the anchor, and then drive a screw into it.
* **Toggle Bolts/Molly Bolts:** These are fantastic for medium to heavy items (20-100 lbs) in drywall or hollow walls. They expand behind the wall for a super strong hold. They can be a bit trickier to install, often requiring a larger pilot hole.
* **Self-Drilling Drywall Anchors:** My personal favorite for convenience for items up to 50 lbs. You simply screw them directly into the drywall; no pilot hole needed (usually).
#### Concrete & Brick Anchors
If you're dealing with masonry, standard methods won't cut it. You'll need a hammer drill and specialized masonry anchors or screws. Trust me, trying to force a regular nail into brick is a losing battle I've personally fought and lost.
### Safety First: Before You Drill or Hammer
Before you make any permanent marks or holes, let's talk safety. This isn't just about protecting your artwork, but also yourself and your home. There are invisible dangers lurking behind your walls that you absolutely want to avoid. I once almost drilled into a water pipe, and let me tell you, that was a wake-up call!
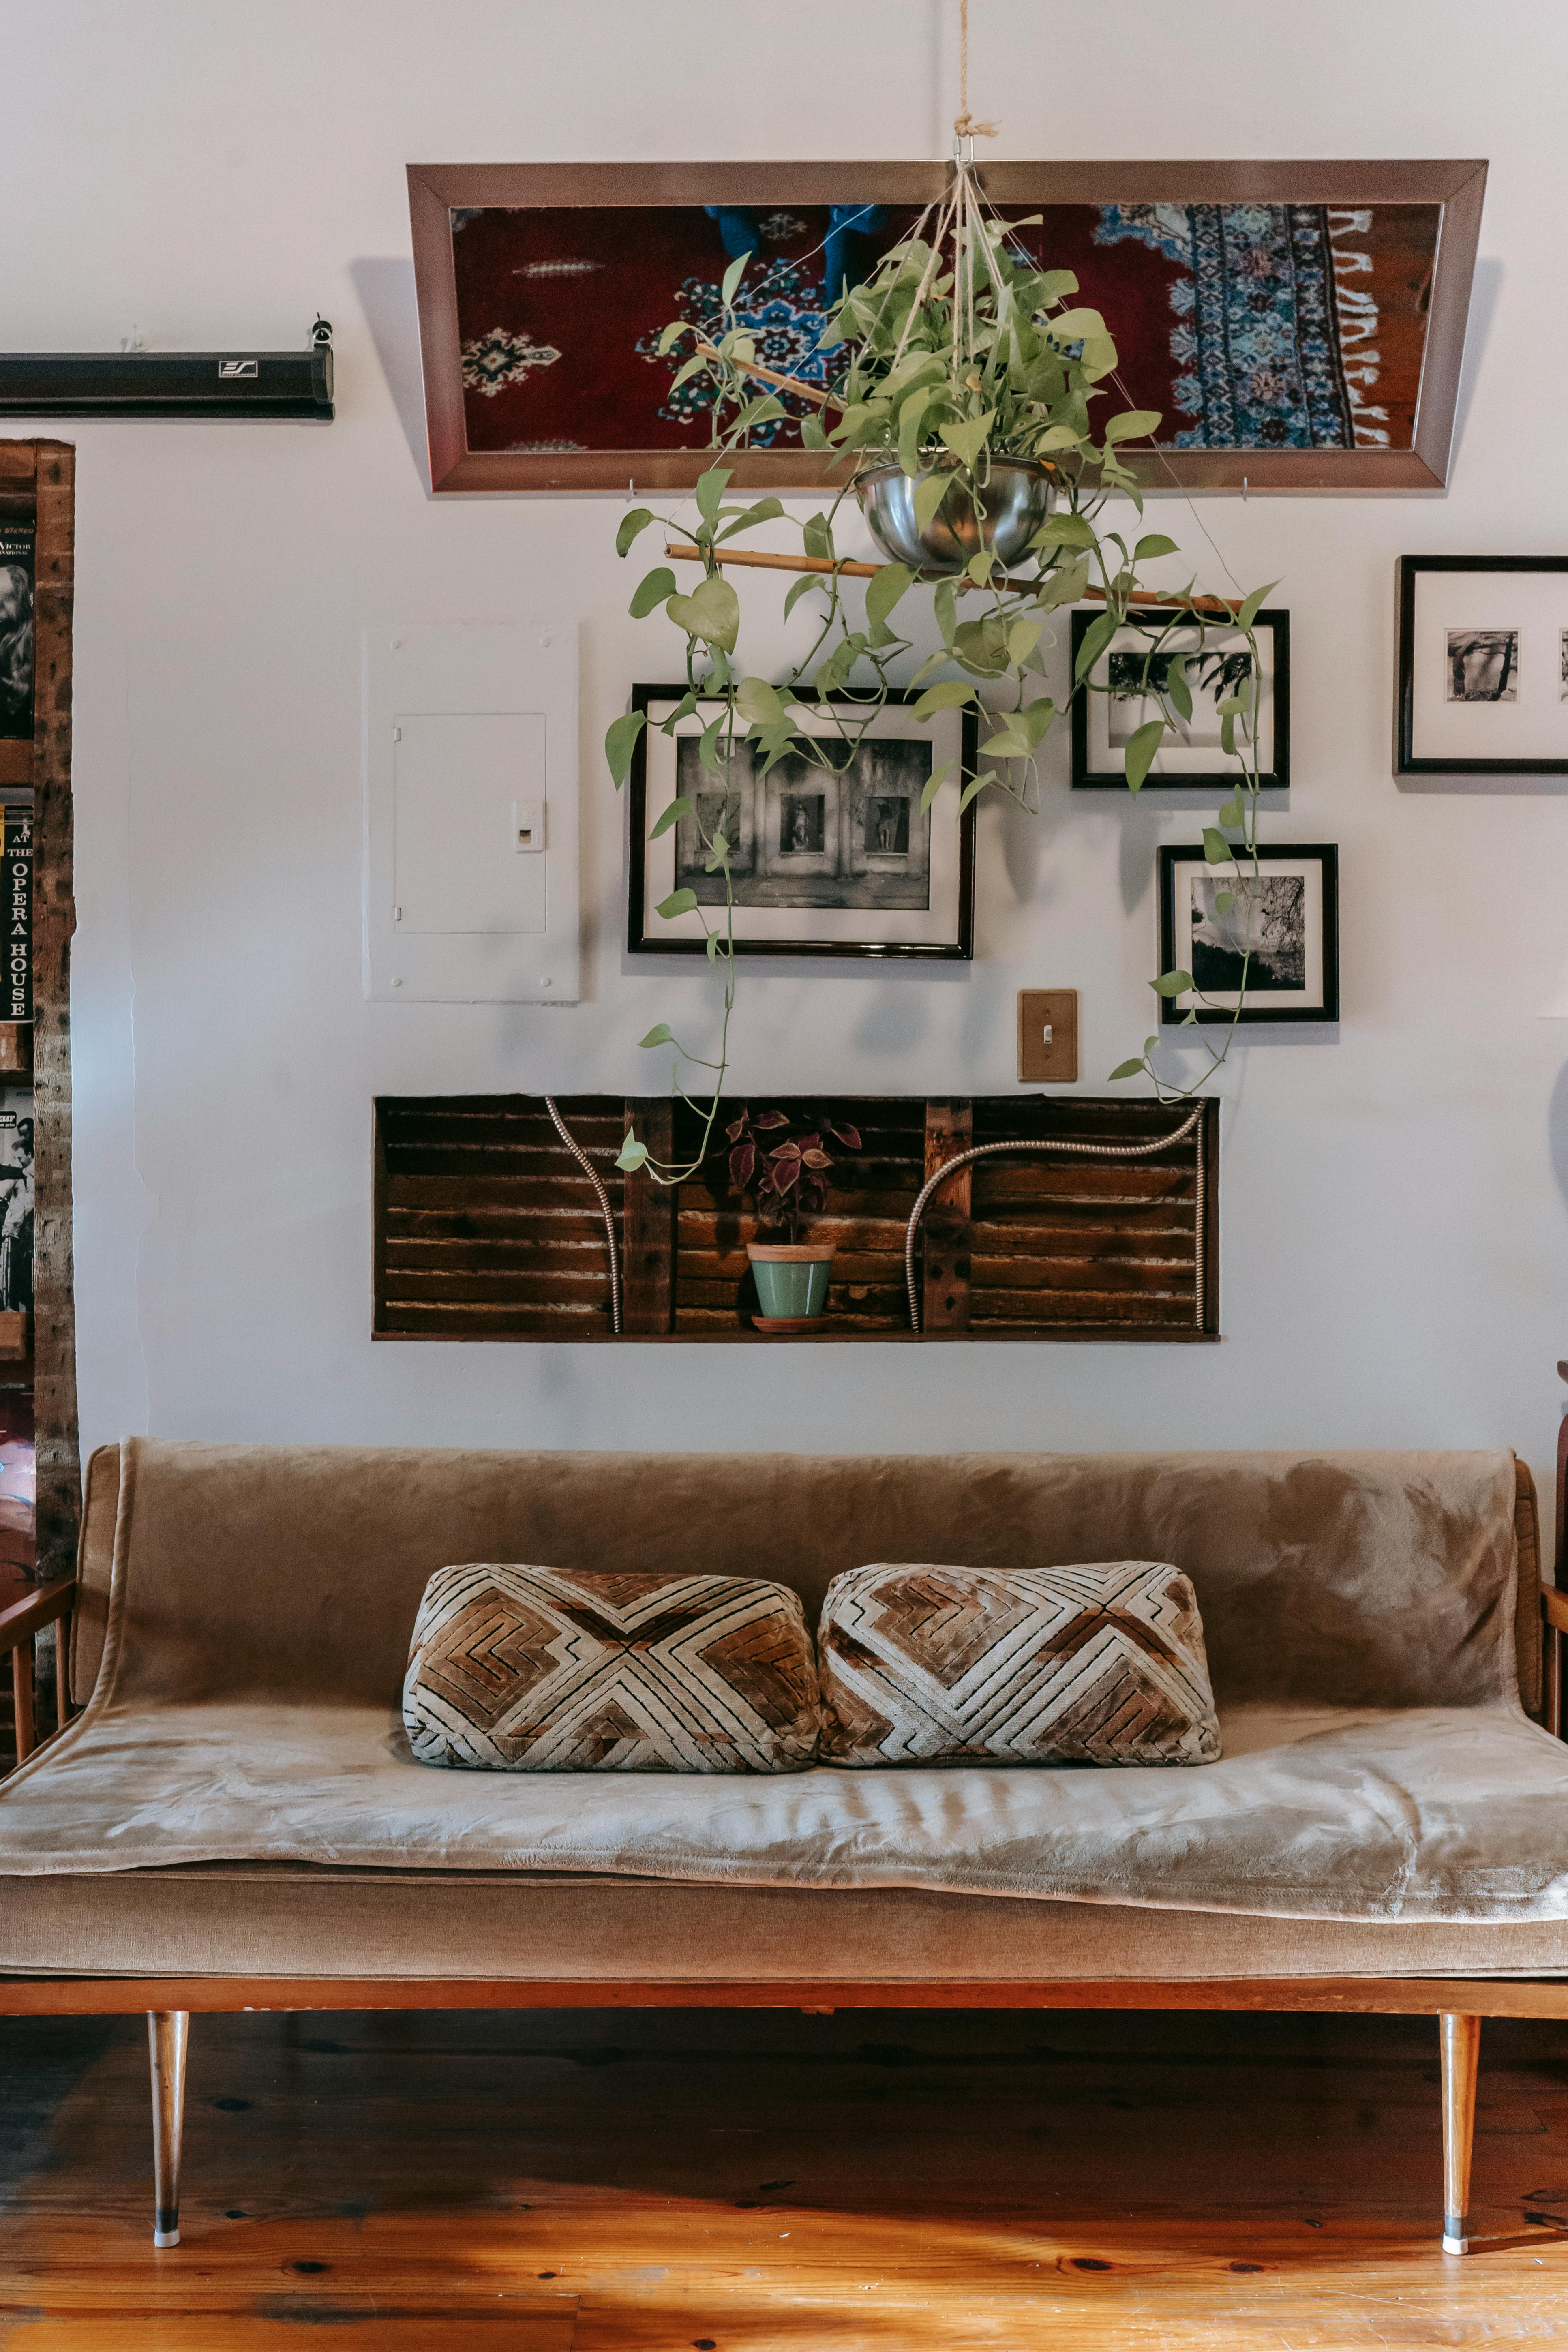
[credit](https://images.pexels.com/photos/5824517/pexels-photo-5824517.jpeg),
[licence](https://creativecommons.org/public-domain/)
* **Electrical Wires:** These are everywhere, especially around outlets and light switches. Always use a stud finder with electrical detection.
* **Plumbing Pipes:** Often found in bathrooms, kitchens, and utility walls. Again, a good stud finder can help, but extreme caution is advised.
* **Gas Lines:** Less common, but a critical hazard. If you're unsure, consult a professional.
Always use your **stud finder** religiously. It's not just for finding studs (which provide the strongest hold), but also for detecting those hidden wires and pipes. Mark their locations with painter's tape or pencil so you know where *not* to drill. When in doubt, always err on the side of caution. No painting is worth a burst pipe or an electrical short!
### Understanding Your Wall
This is perhaps the most crucial pre-hanging step. Different walls require different approaches, and frankly, ignoring this step is a recipe for disaster. Is it **drywall**? **Plaster**? **Brick**? **Concrete**? Knowing this will dictate the kind of hardware you need and prevent those frustrating moments. I once tried to hammer a tiny picture nail into a [concrete wall](/finder/page/how-to-hang-art-on-concrete-walls) – didn't go well, let's just say I quickly learned my lesson about matching the tool to the task! Each wall type has its own personality, and you need to speak its language.
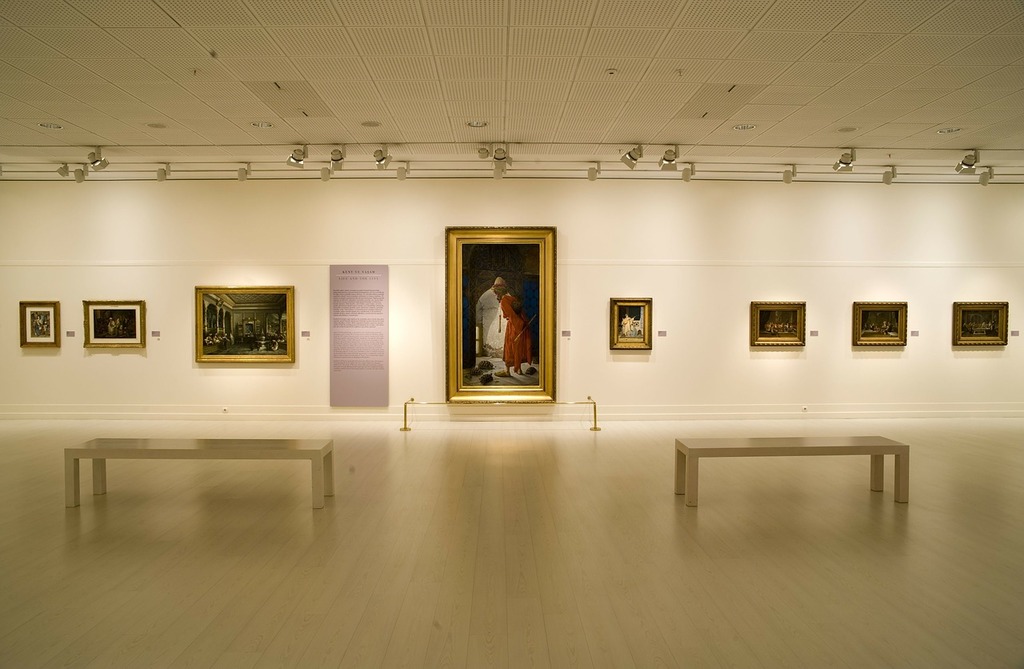
[credit](https://itoldya420.getarchive.net/media/art-paintings-gallery-architecture-buildings-a87061?action=download&size=1024),
[licence](https://creativecommons.org/public-domain/cc0/)
### Identifying Wall Types
Before you can choose the right hardware, you need to know what kind of wall you're dealing with. A quick tap can often tell you a lot!
* **Drywall:** This is the most common interior wall in modern homes. It sounds hollow when you tap it. Made of gypsum plaster pressed between sheets of paper, it's relatively easy to penetrate but needs anchors for anything beyond light objects if you're not hitting a stud.
* **Plaster and Lath:** Common in older homes, this wall type is much denser and sounds solid when tapped. It's made of layers of plaster applied over narrow strips of wood (lath). It can be brittle, so pre-drilling pilot holes is essential, and specialized plaster anchors are recommended for heavier items.
* **Brick/Concrete:** These are very hard and solid. Tapping them will produce a very solid sound with no give. Hanging anything on these requires a hammer drill and masonry-specific anchors or screws. Do not try to use regular nails or screws – you'll just bend them and frustrate yourself.
### Wall Type vs. Hardware Recommendations
To make things easy, here’s a quick guide to pairing your wall with the right hanging solution:
| Wall Type | Light Artwork (<10 lbs) | Medium Artwork (10-30 lbs) | Heavy Artwork (>30 lbs) | Pro Tip |
| :-------------- | :------------------------------- | :----------------------------------- | :------------------------------------------- | :------------------------------------------------------------------------ |
| **Drywall** | Small picture nail, Command Strips | Standard picture hook, Drywall anchor | Toggle bolt, Molly bolt, Stud mounting | Always try to hit a stud for the strongest hold. |
| **Plaster** | Small picture nail (pre-drill) | Plaster hook (pre-drill) | Toggle bolt (pre-drill large pilot hole) | Plaster can crack; drill slowly and carefully. |
| **Brick/Concrete** | Masonry nail (small, rare use) | Masonry screw (pre-drill) | Masonry anchors, Tapcon screws (with hammer drill) | Specialized tools are non-negotiable for masonry. |
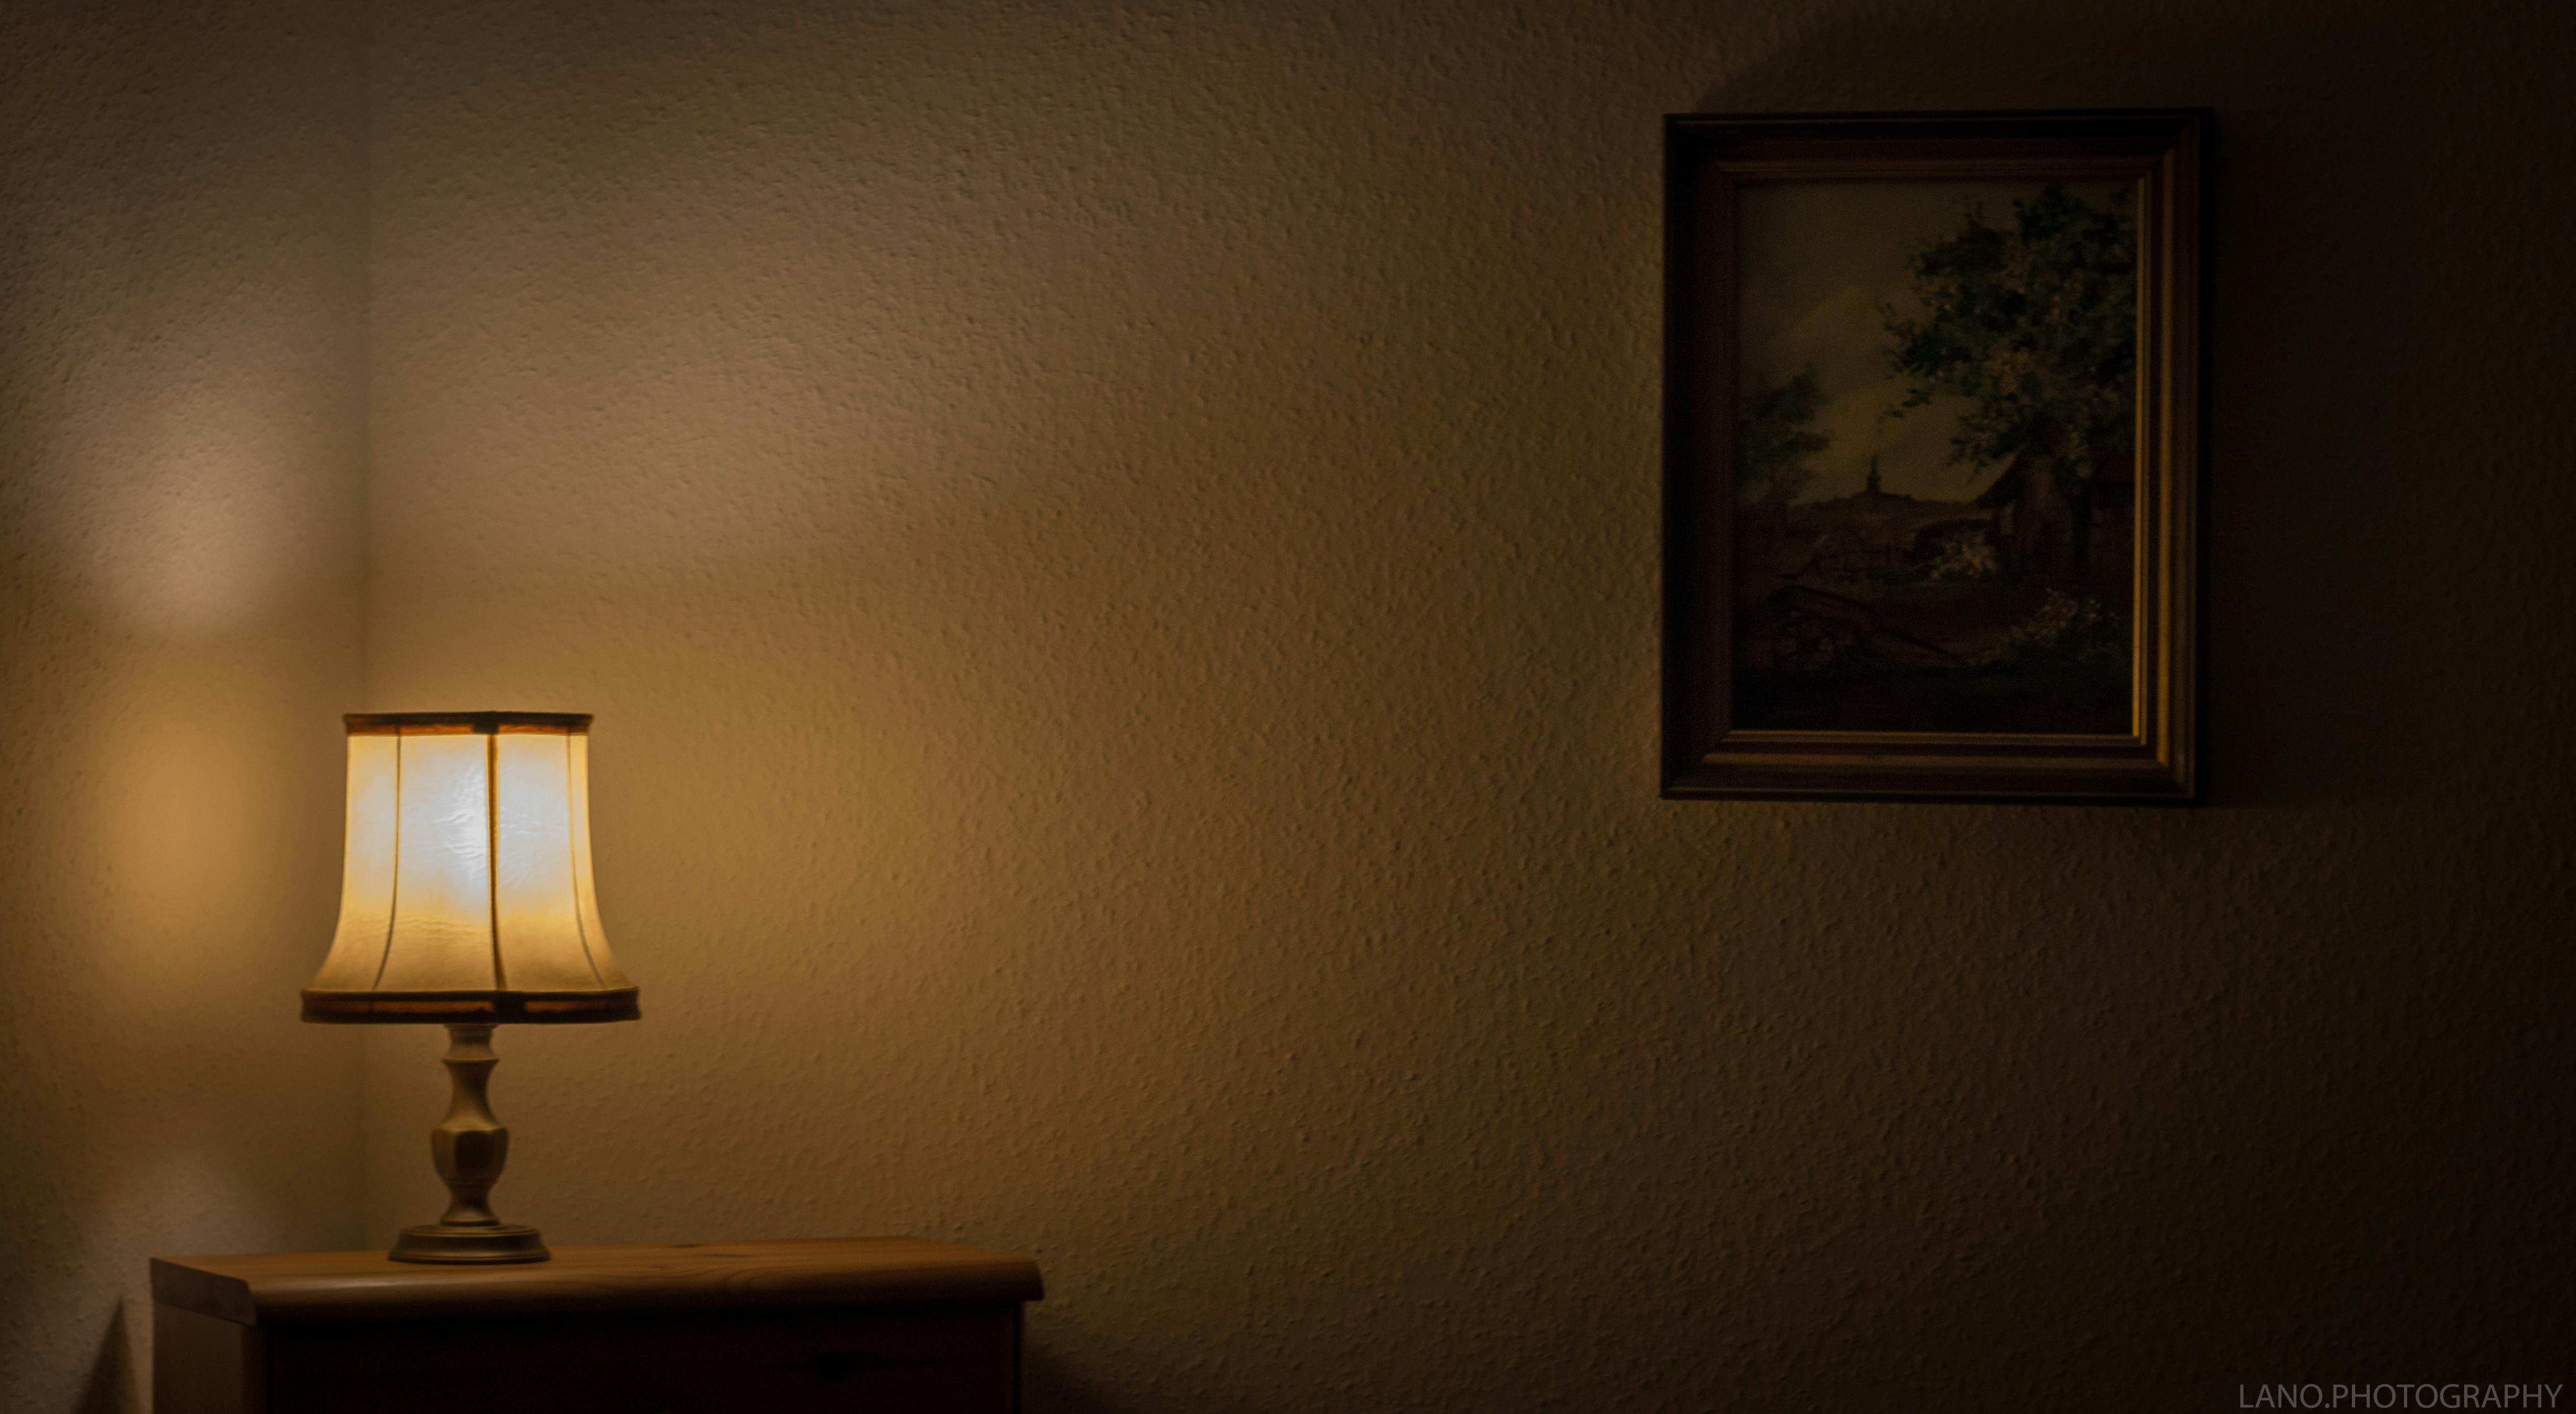
[credit](https://images.pexels.com/photos/242827/pexels-photo-242827.jpeg),
[licence](https://creativecommons.org/public-domain/)
## Finding the Sweet Spot: Placement & Height
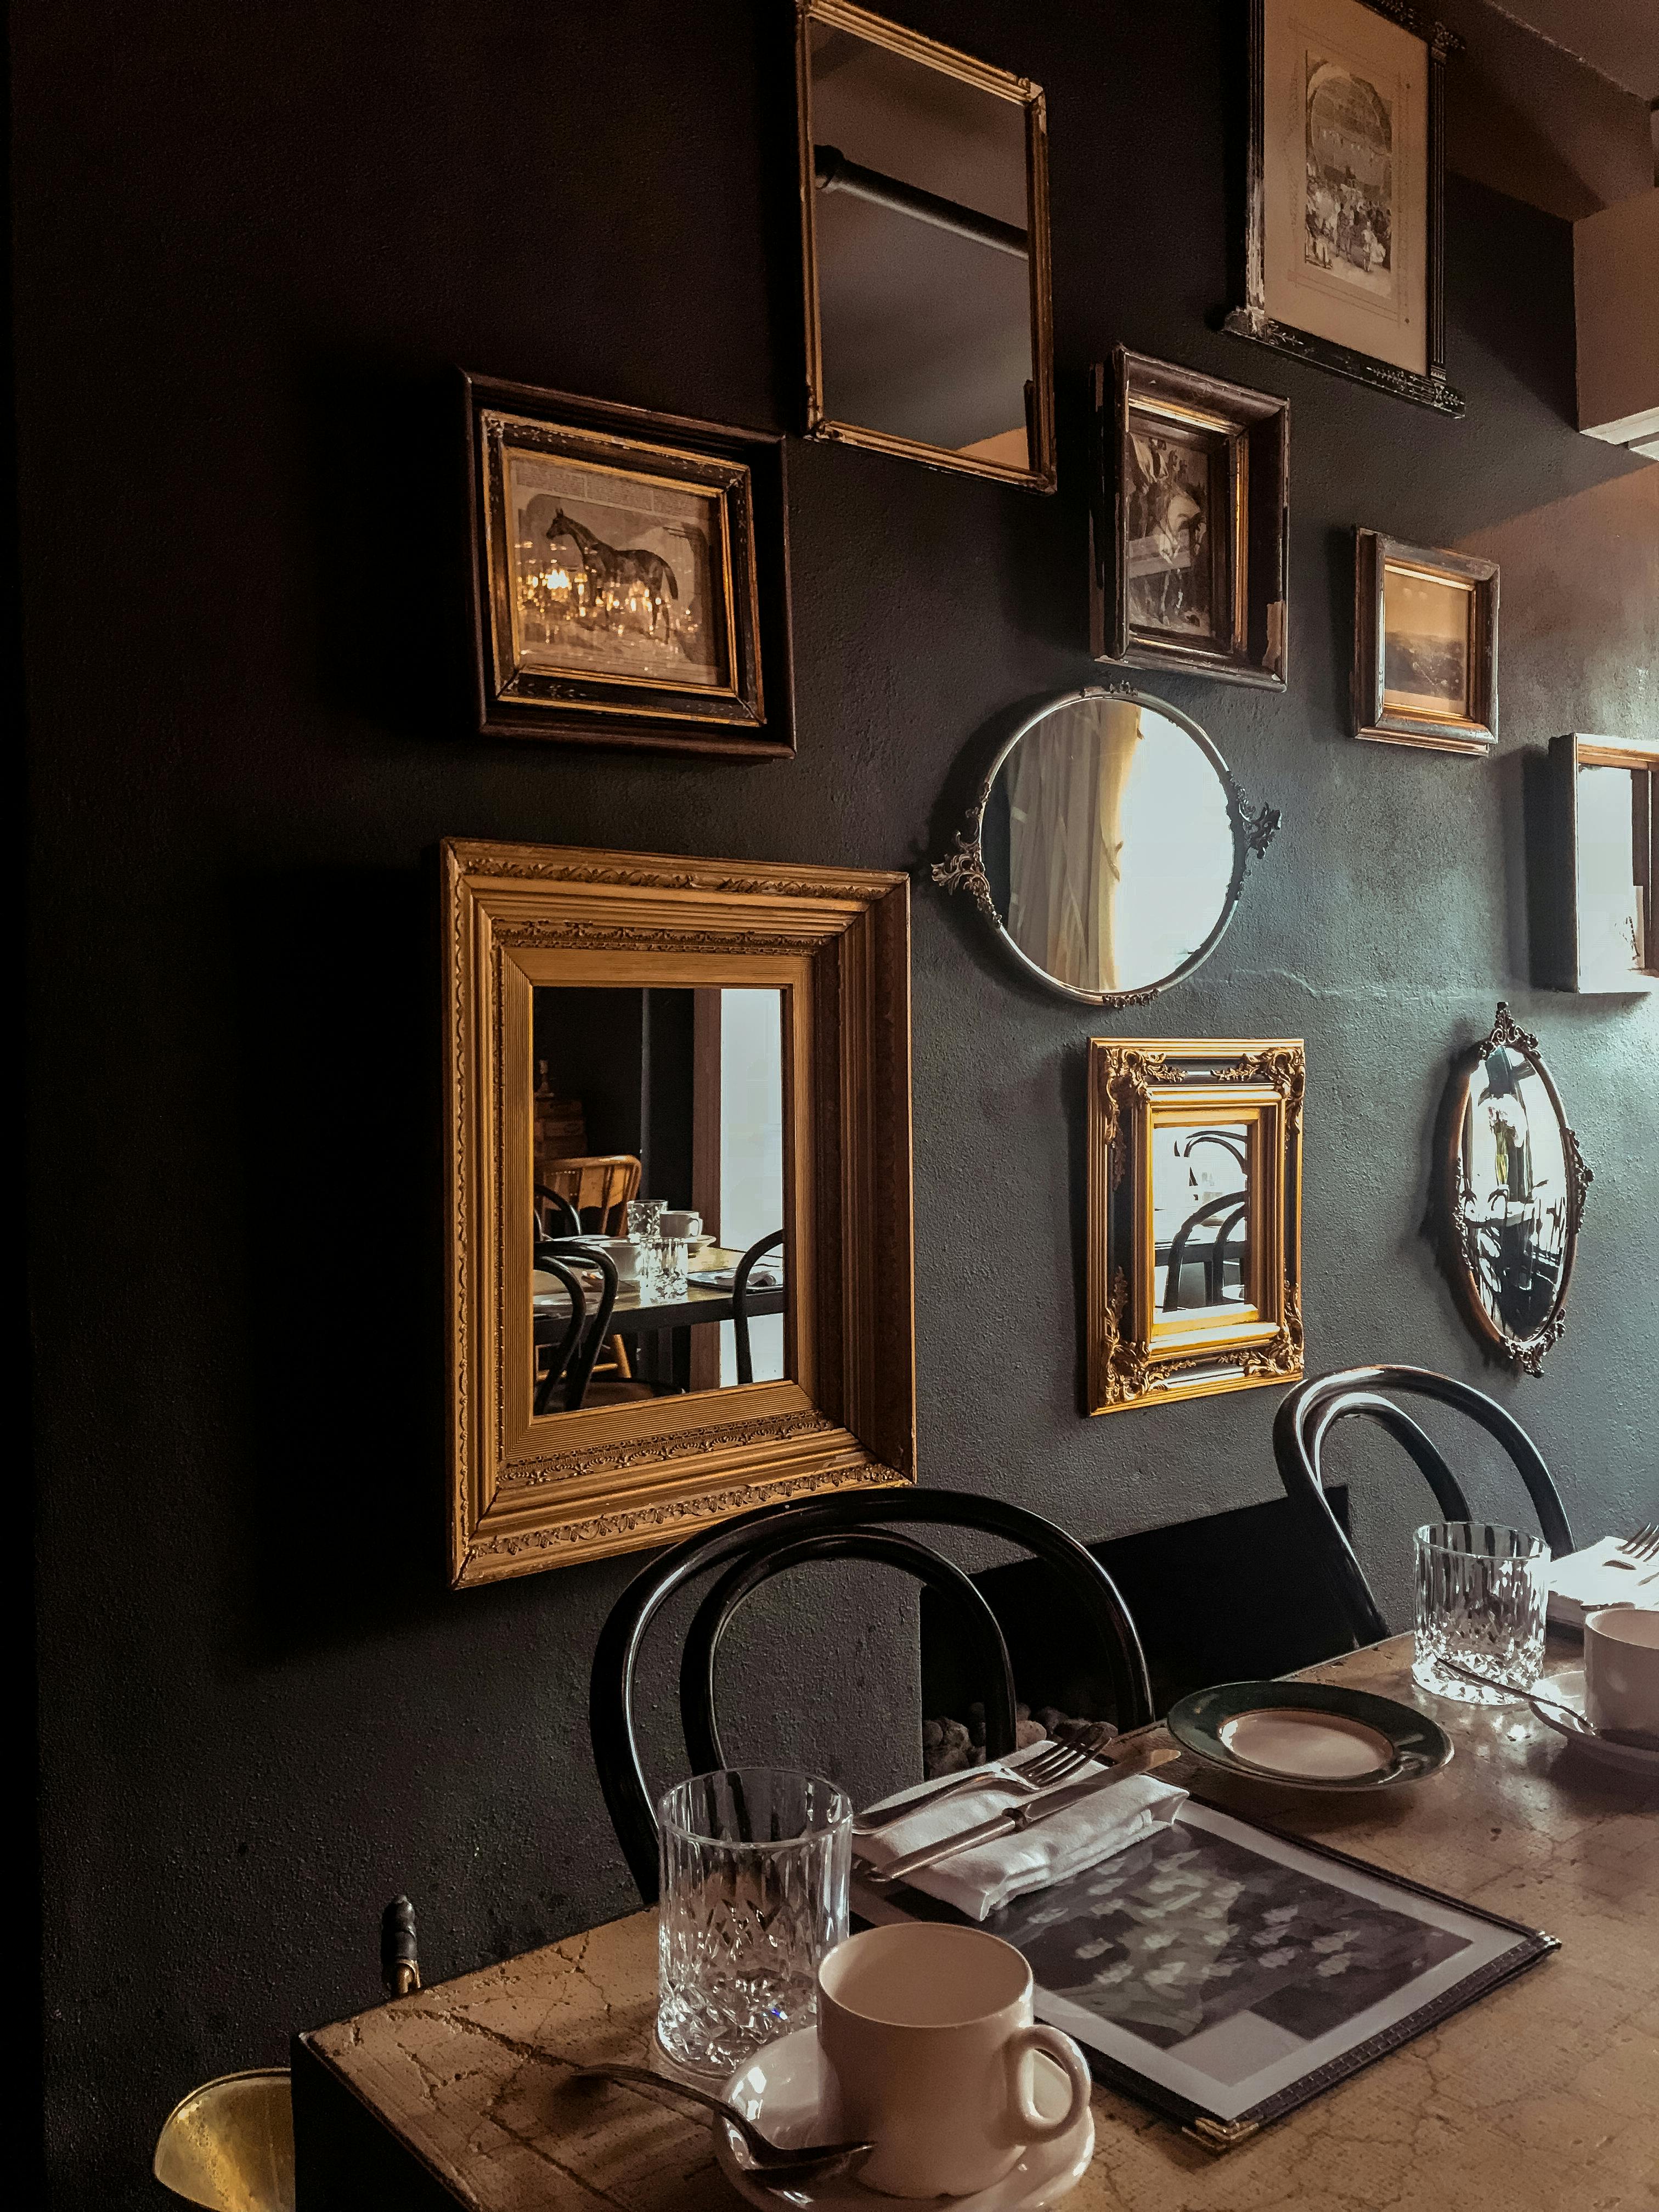
This is where the magic happens, transforming a mere wall into a curated display. It's not just about getting it *on* the wall, it's about getting it *right*, creating a visual impact that elevates your entire space. I've seen beautifully framed art completely lost because of poor placement, and conversely, a simple print become a focal point just by being strategically hung. This step is less about tools and more about intuition and a few clever guidelines.
[credit](https://images.pexels.com/photos/2442904/pexels-photo-2442904.jpeg),
[licence](https://creativecommons.org/public-domain/)
### The Golden Rule: Eye Level
My absolute go-to for hanging art is the **57-inch rule**. This interior design standard suggests that the center of your artwork (or the center of an art grouping) should be 57 inches (145 cm) from the floor. Why 57 inches? It's roughly the average eye-level height in [museums](/finder/page/best-museums) and galleries, creating a natural, comfortable viewing experience.
Of course, rules are meant to be bent, or at least understood in context. This "eye-level" isn't rigid, especially in spaces with very high ceilings or when hanging over furniture.
### Considering Furniture & Room Dynamics
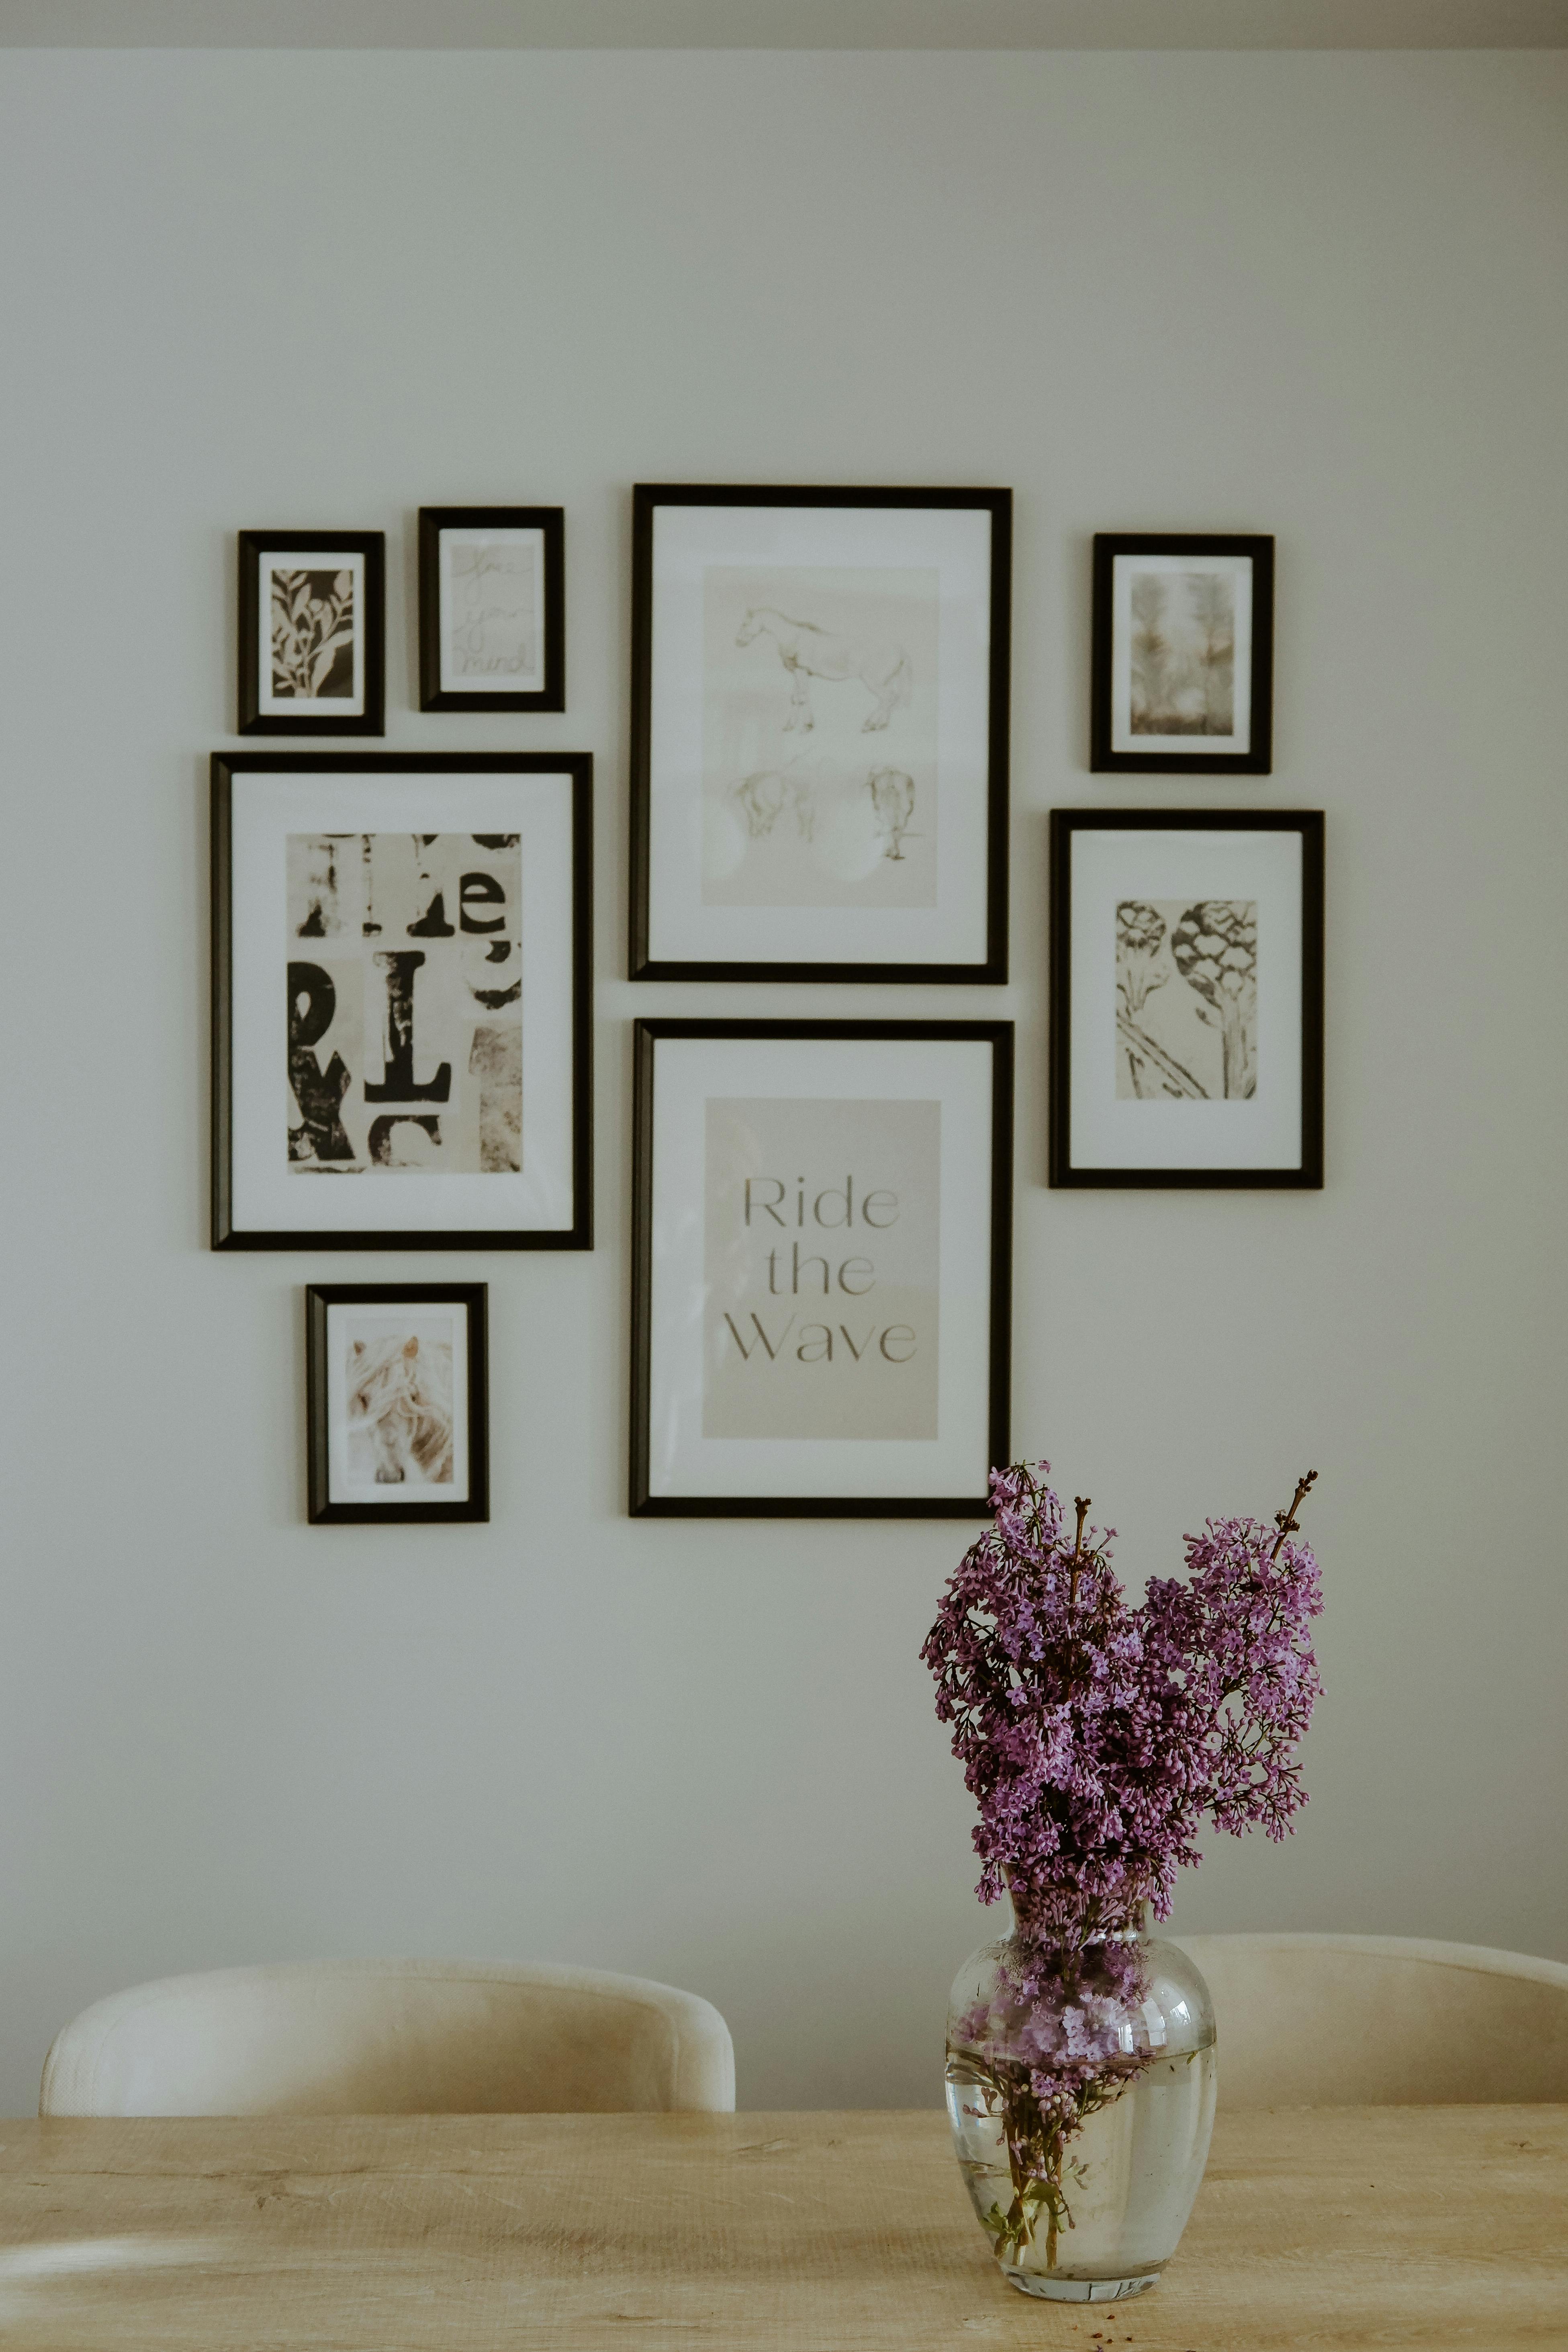
Art should always relate to its surroundings, not float aimlessly on a wall. This is a common mistake I see – art hung too high, looking disconnected from the sofa below it.
[credit](https://images.pexels.com/photos/16614531/pexels-photo-16614531/free-photo-of-dining-roman-with-bunch-of-lavender-in-vase.jpeg),
[licence](https://creativecommons.org/public-domain/)
* **Above a Sofa or Headboard:** Aim for the bottom of the frame to be 6-12 inches (15-30 cm) above the top of the furniture. This creates a cohesive grouping. If the art is too small, it will look like it's "drowning" in the space.
* **Over a [Console Table](/finder/page/how-to-choose-art-for-above-a-console-table) or Mantelpiece:** Similar to sofas, leave about 6-12 inches of space. Consider the width too; the art should ideally be 2/3 to 3/4 the width of the furniture below it.
* **In a Hallway or Empty Wall:** This is where the 57-inch rule truly shines. Use painter's tape to mark the center point of where you *think* the art should go, then step back and evaluate.
* **High Ceilings:** If you have grand, soaring ceilings, you might be tempted to hang art higher. Resist this urge for single pieces. While the overall room feels tall, your art still needs to relate to the human scale. For a single piece, stick to eye level. For multiple pieces or very large installations, you can go higher, but ensure the *entire grouping* still has a comfortable relationship with the space. For more on maximizing impact in such spaces, check out our guide on [/finder/page/maximizing-impact-choosing-art-for-high-ceilings].
### Gallery Walls & Groupings: Creating Visual Impact
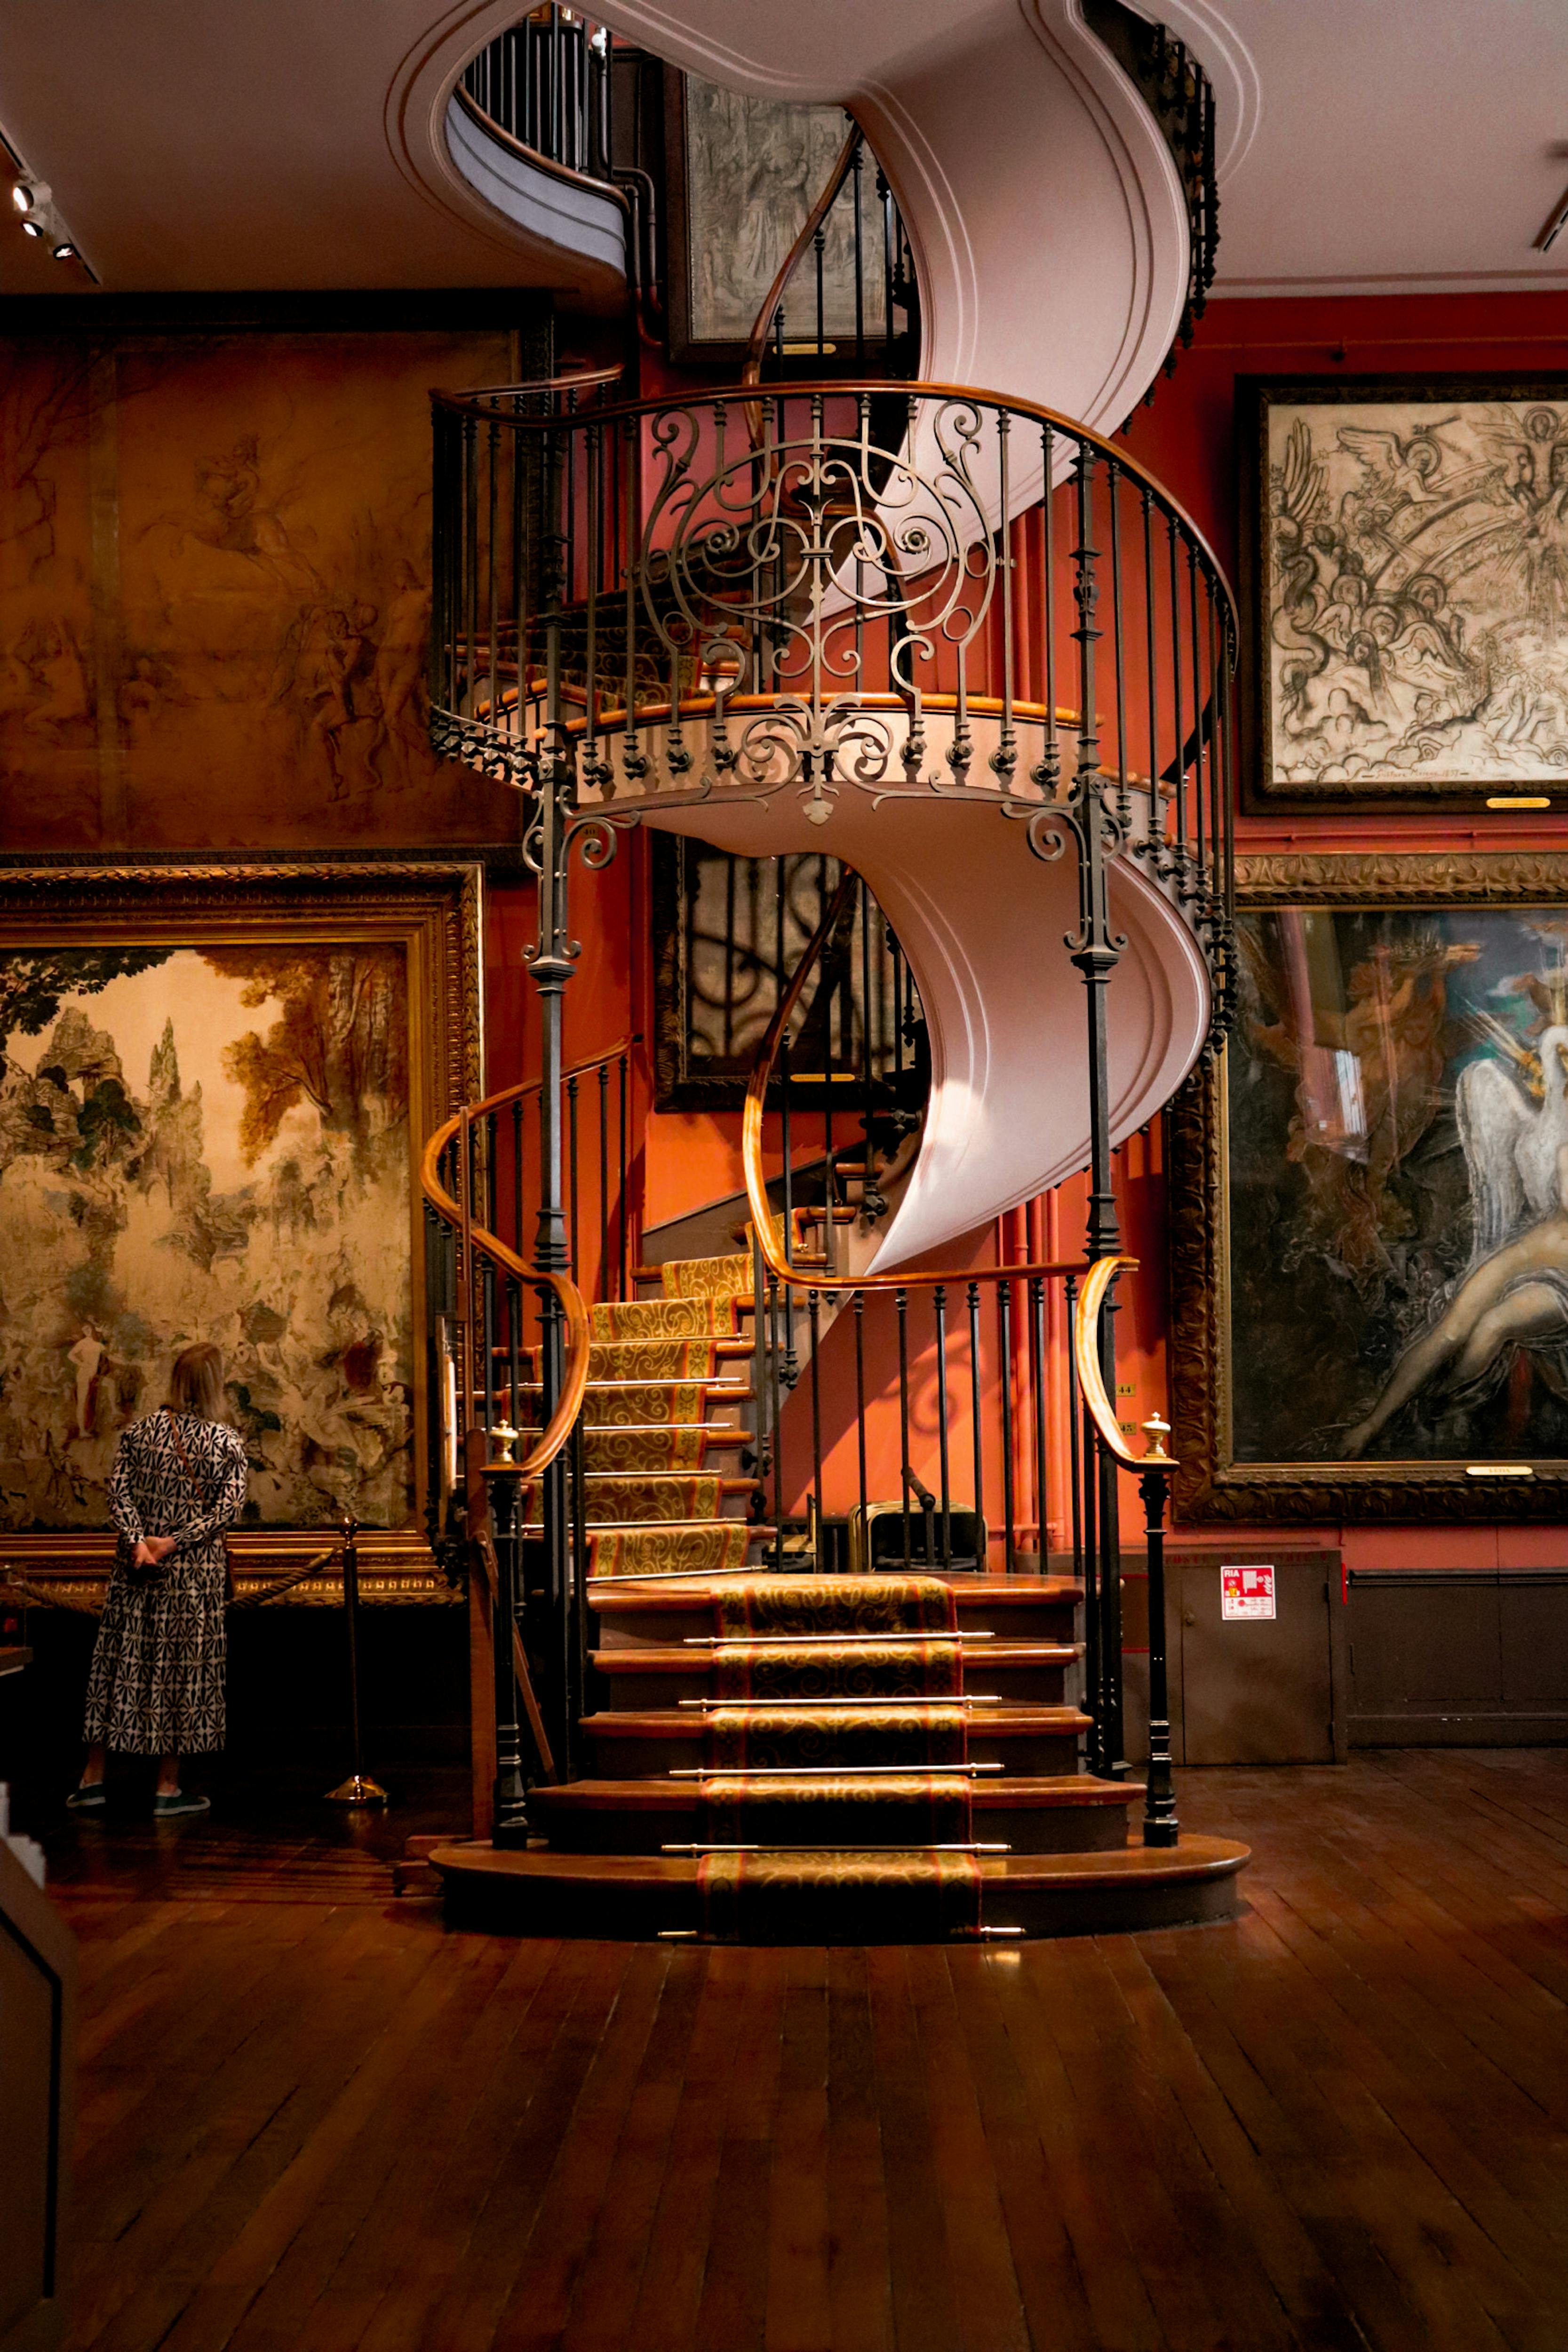
Gallery walls are a fantastic way to display multiple pieces and add personality to a space, but they can be intimidating. The secret? Planning! I used to just start hammering, and the result was always a chaotic mess. Now, I lay everything out on the floor first.
#### Tips for a Dynamic Gallery Wall:
* **Plan on the Floor:** Arrange your art on the floor first to visualize the layout. Take a photo!
* **Use Templates:** Cut out paper templates the size of each frame and tape them to the wall. This lets you adjust endlessly without making holes.
* **Maintain Consistent Spacing:** A general rule is 2-4 inches (5-10 cm) between frames. This creates a cohesive look.
* **Anchor Point:** Start with a central piece, or group around a focal point.
* **Mix & Match:** Don't be afraid to combine different frame styles, sizes, and even mediums for an eclectic look. For more in-depth guidance, explore our article on [/finder/page/curating-a-gallery-wall-with-abstract-art:-tips-for-a-dynamic-display].
| [Gallery Wall](/finder/page/what-is-a-gallery-wall) Style | Description | Best For |
| :----------------- | :----------------------------------------------------------------------- | :------------------------------------------------------------------ |
| **Grid** | Symmetrically arranged, even spacing, same-sized frames. | Formal spaces, minimalist aesthetics, cohesive collections. |
| **Organic/Salon** | Eclectic mix of sizes and frames, clustered, often with a central anchor. | Boho, eclectic, maximalist styles, varied art collections. |
| **Linear** | Art hung in a single horizontal or vertical line. | Hallways, narrow walls, above long furniture. |
[credit](https://images.pexels.com/photos/18631400/pexels-photo-18631400.jpeg?cs=srgb&dl=pexels-celine-3776818-18631400.jpg&fm=jpg),
[licence](https://creativecommons.org/public-domain/)
### Lighting Considerations for Your Art
You've spent time selecting the perfect art and finding its sweet spot on the wall. Don't let poor lighting diminish its impact! Good lighting can transform how a piece is perceived, highlighting textures, colors, and details. Bad lighting can create glare, cast shadows, or even damage your art over time.
* **Natural Light:** While beautiful, direct sunlight can fade artwork. Avoid hanging valuable pieces in direct sun.
* **Accent Lighting:** Picture lights, track lighting, or recessed lighting can specifically illuminate your art. Aim for a beam angle that minimizes glare.
* **Color Temperature:** Warm white light (2700K-3000K) is generally preferred for art, as it enhances colors without washing them out.
* **LED vs. Halogen:** LEDs are energy-efficient and emit very little UV light or heat, making them safer for art than older halogen bulbs.
For a deeper dive into making your art truly pop with the right illumination, check out our dedicated guide: [/finder/page/the-art-of-display:-how-to-light-and-position-abstract-art-for-maximum-impact].

[credit](https://www.pexels.com/photo/paintings-hanging-in-a-corner-19460384/),
[licence](https://creativecommons.org/public-domain/)
## The Actual Hanging Process: Step-by-Step
Alright, we've done our homework. We've gathered the tools, understood the wall, chosen the hardware, and found the perfect spot. Now for the moment of truth: putting art on the wall. This is where precision pays off, and I promise, a little patience here will save you a lot of frustration later (and potentially some patching compound!).
[credit](https://images.pexels.com/photos/8784734/pexels-photo-8784734.jpeg),
[licence](https://creativecommons.org/public-domain/)
### Measuring & Marking Your Spot
This is arguably the most critical step for a straight hang. Don't rush it!

[credit](https://images.pexels.com/photos/10599803/pexels-photo-10599803.jpeg),
[licence](https://creativecommons.org/public-domain/)
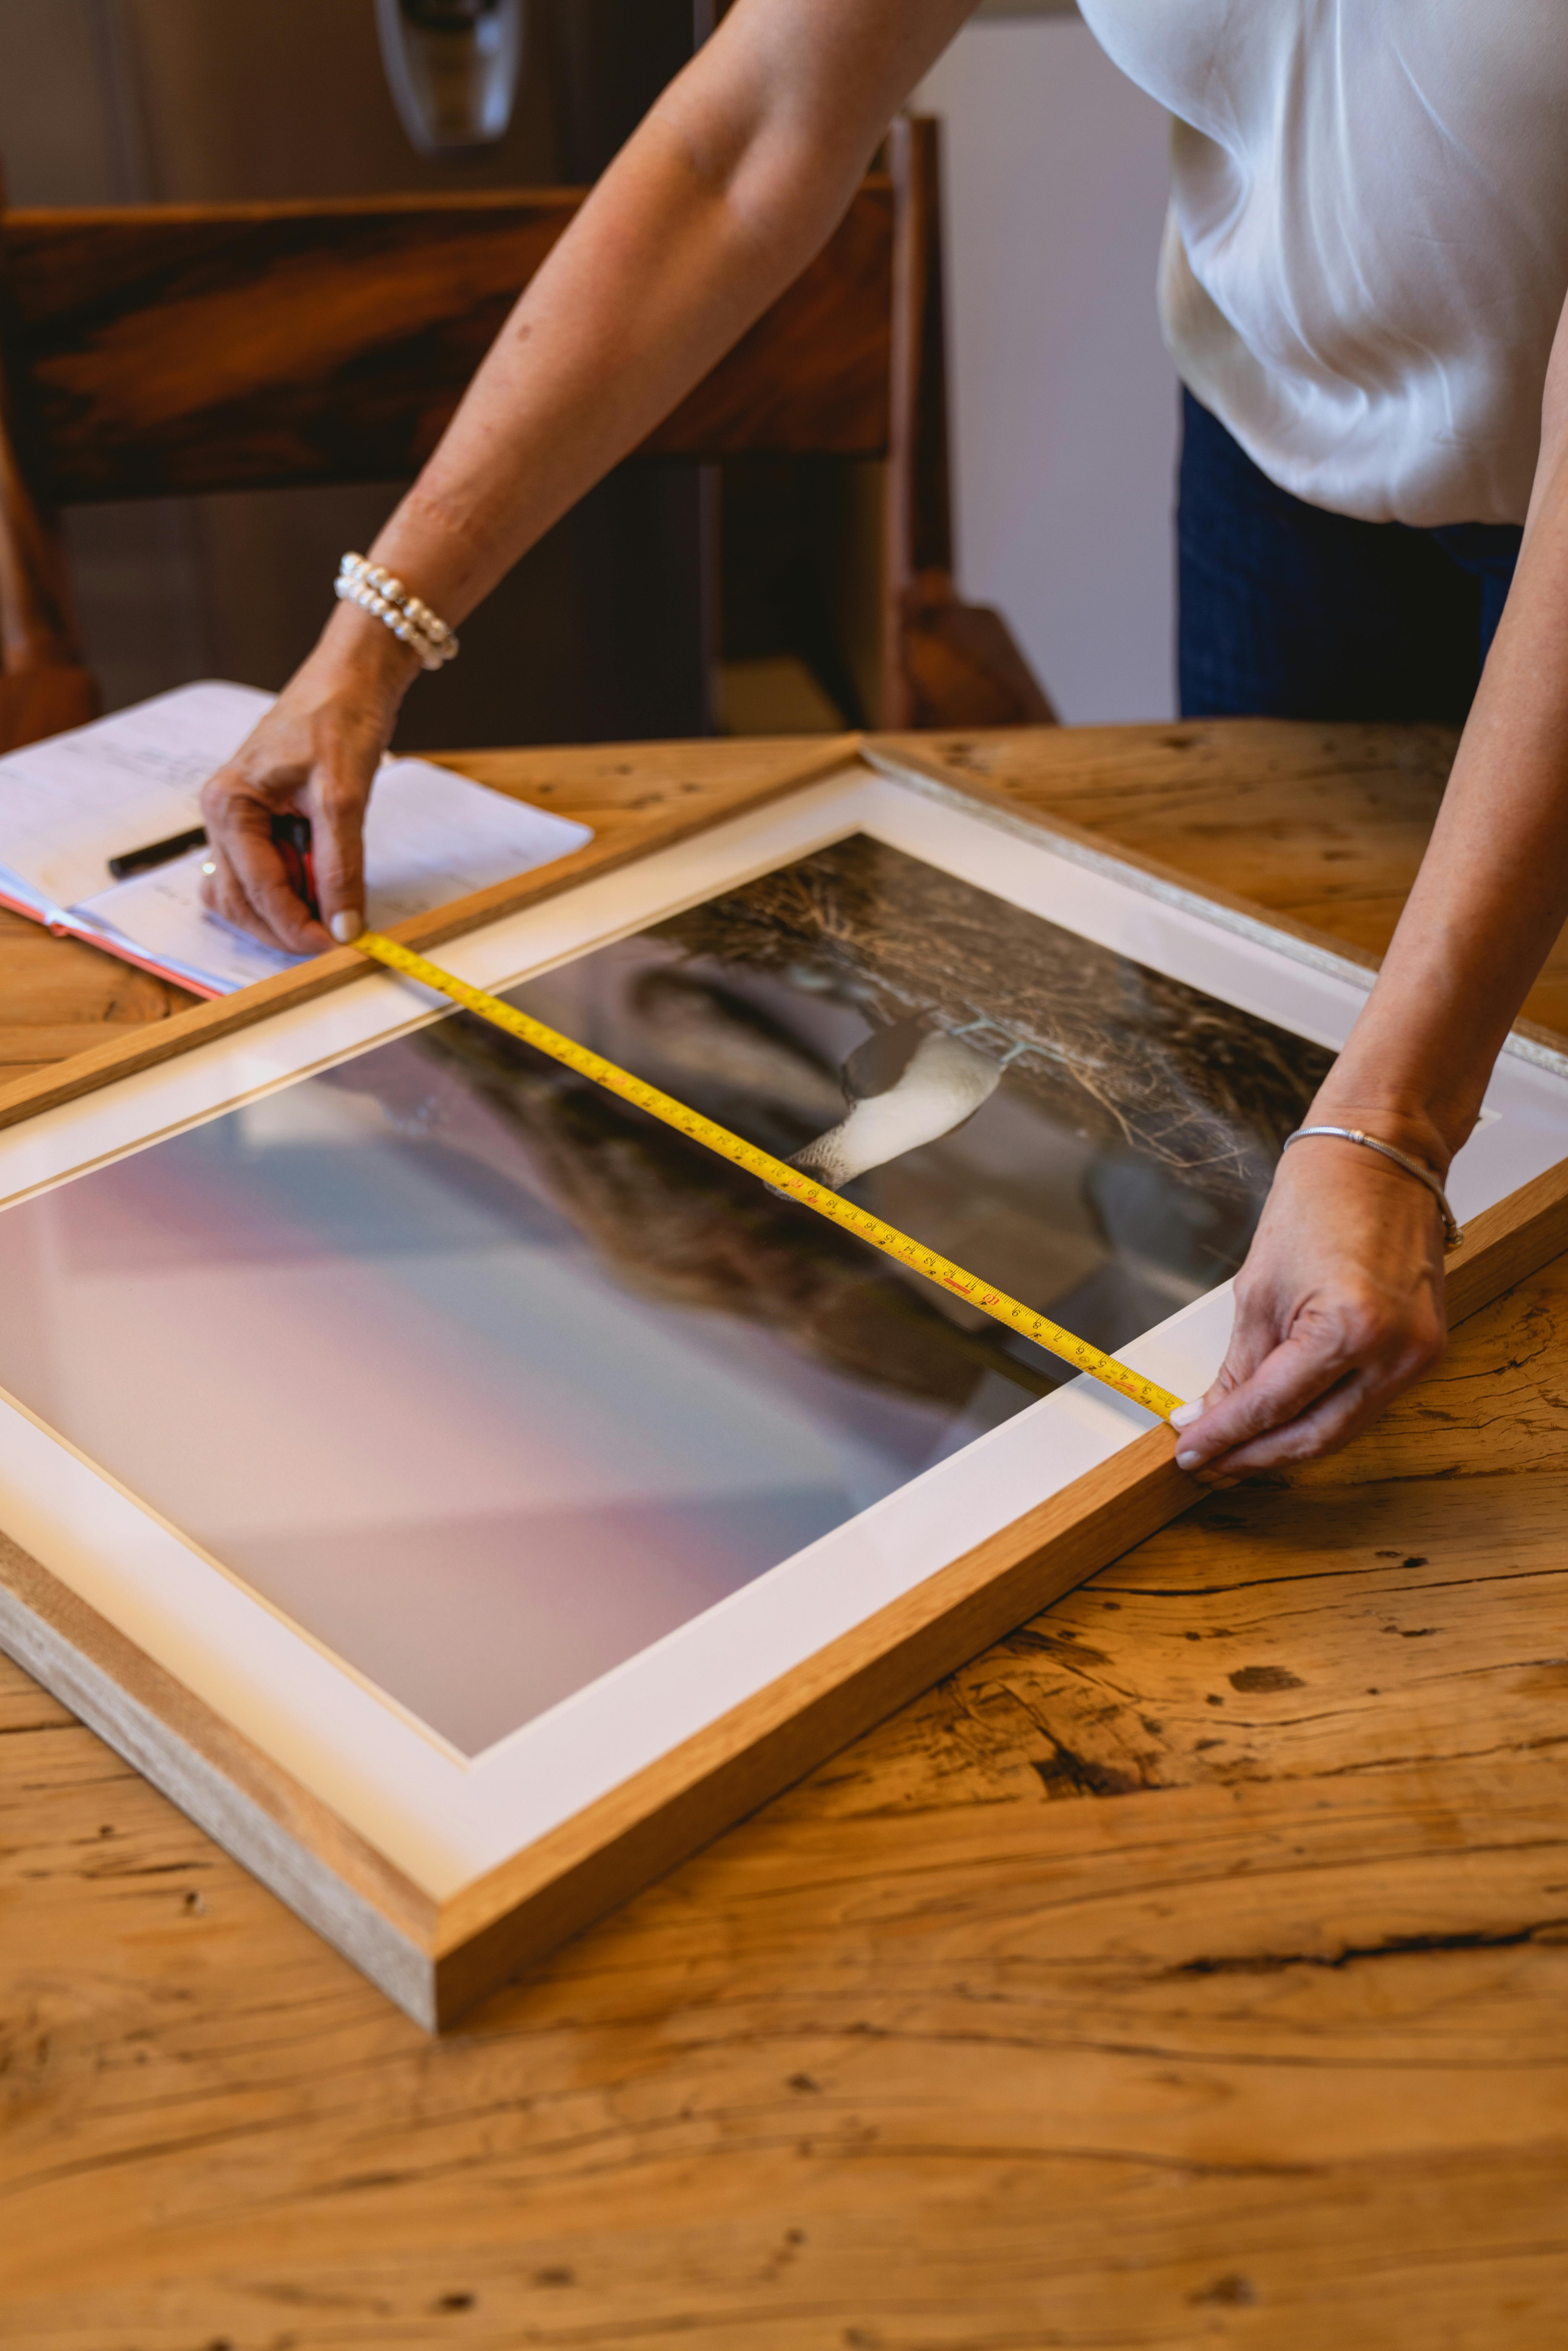
1. **Measure the Art:** On the back of your artwork, measure the distance from the top of the frame to where the hanging wire/hook will rest on your wall hardware. This is your "drop measurement."
2. **Determine Art Center:** For the 57-inch rule, measure up 57 inches from the floor (or your desired center height) and lightly mark it with a pencil.
3. **Mark the Hardware Spot:** From your art's desired center mark, measure *up* by half of your art's height, then measure *down* by your "drop measurement." This final mark is where your nail or screw will go. For example, if your art is 20 inches tall, half is 10 inches. If your drop measurement is 2 inches, you'd go up 10 from the 57-inch center, then down 2 inches.
4. **Level Check:** Hold your art up to the wall, or use painter's tape to simulate its position, and use your level to ensure it's straight before marking your final drill/nail point.
5. **Double Check:** Step back, look from different angles. Does it *feel* right? Trust your gut here.
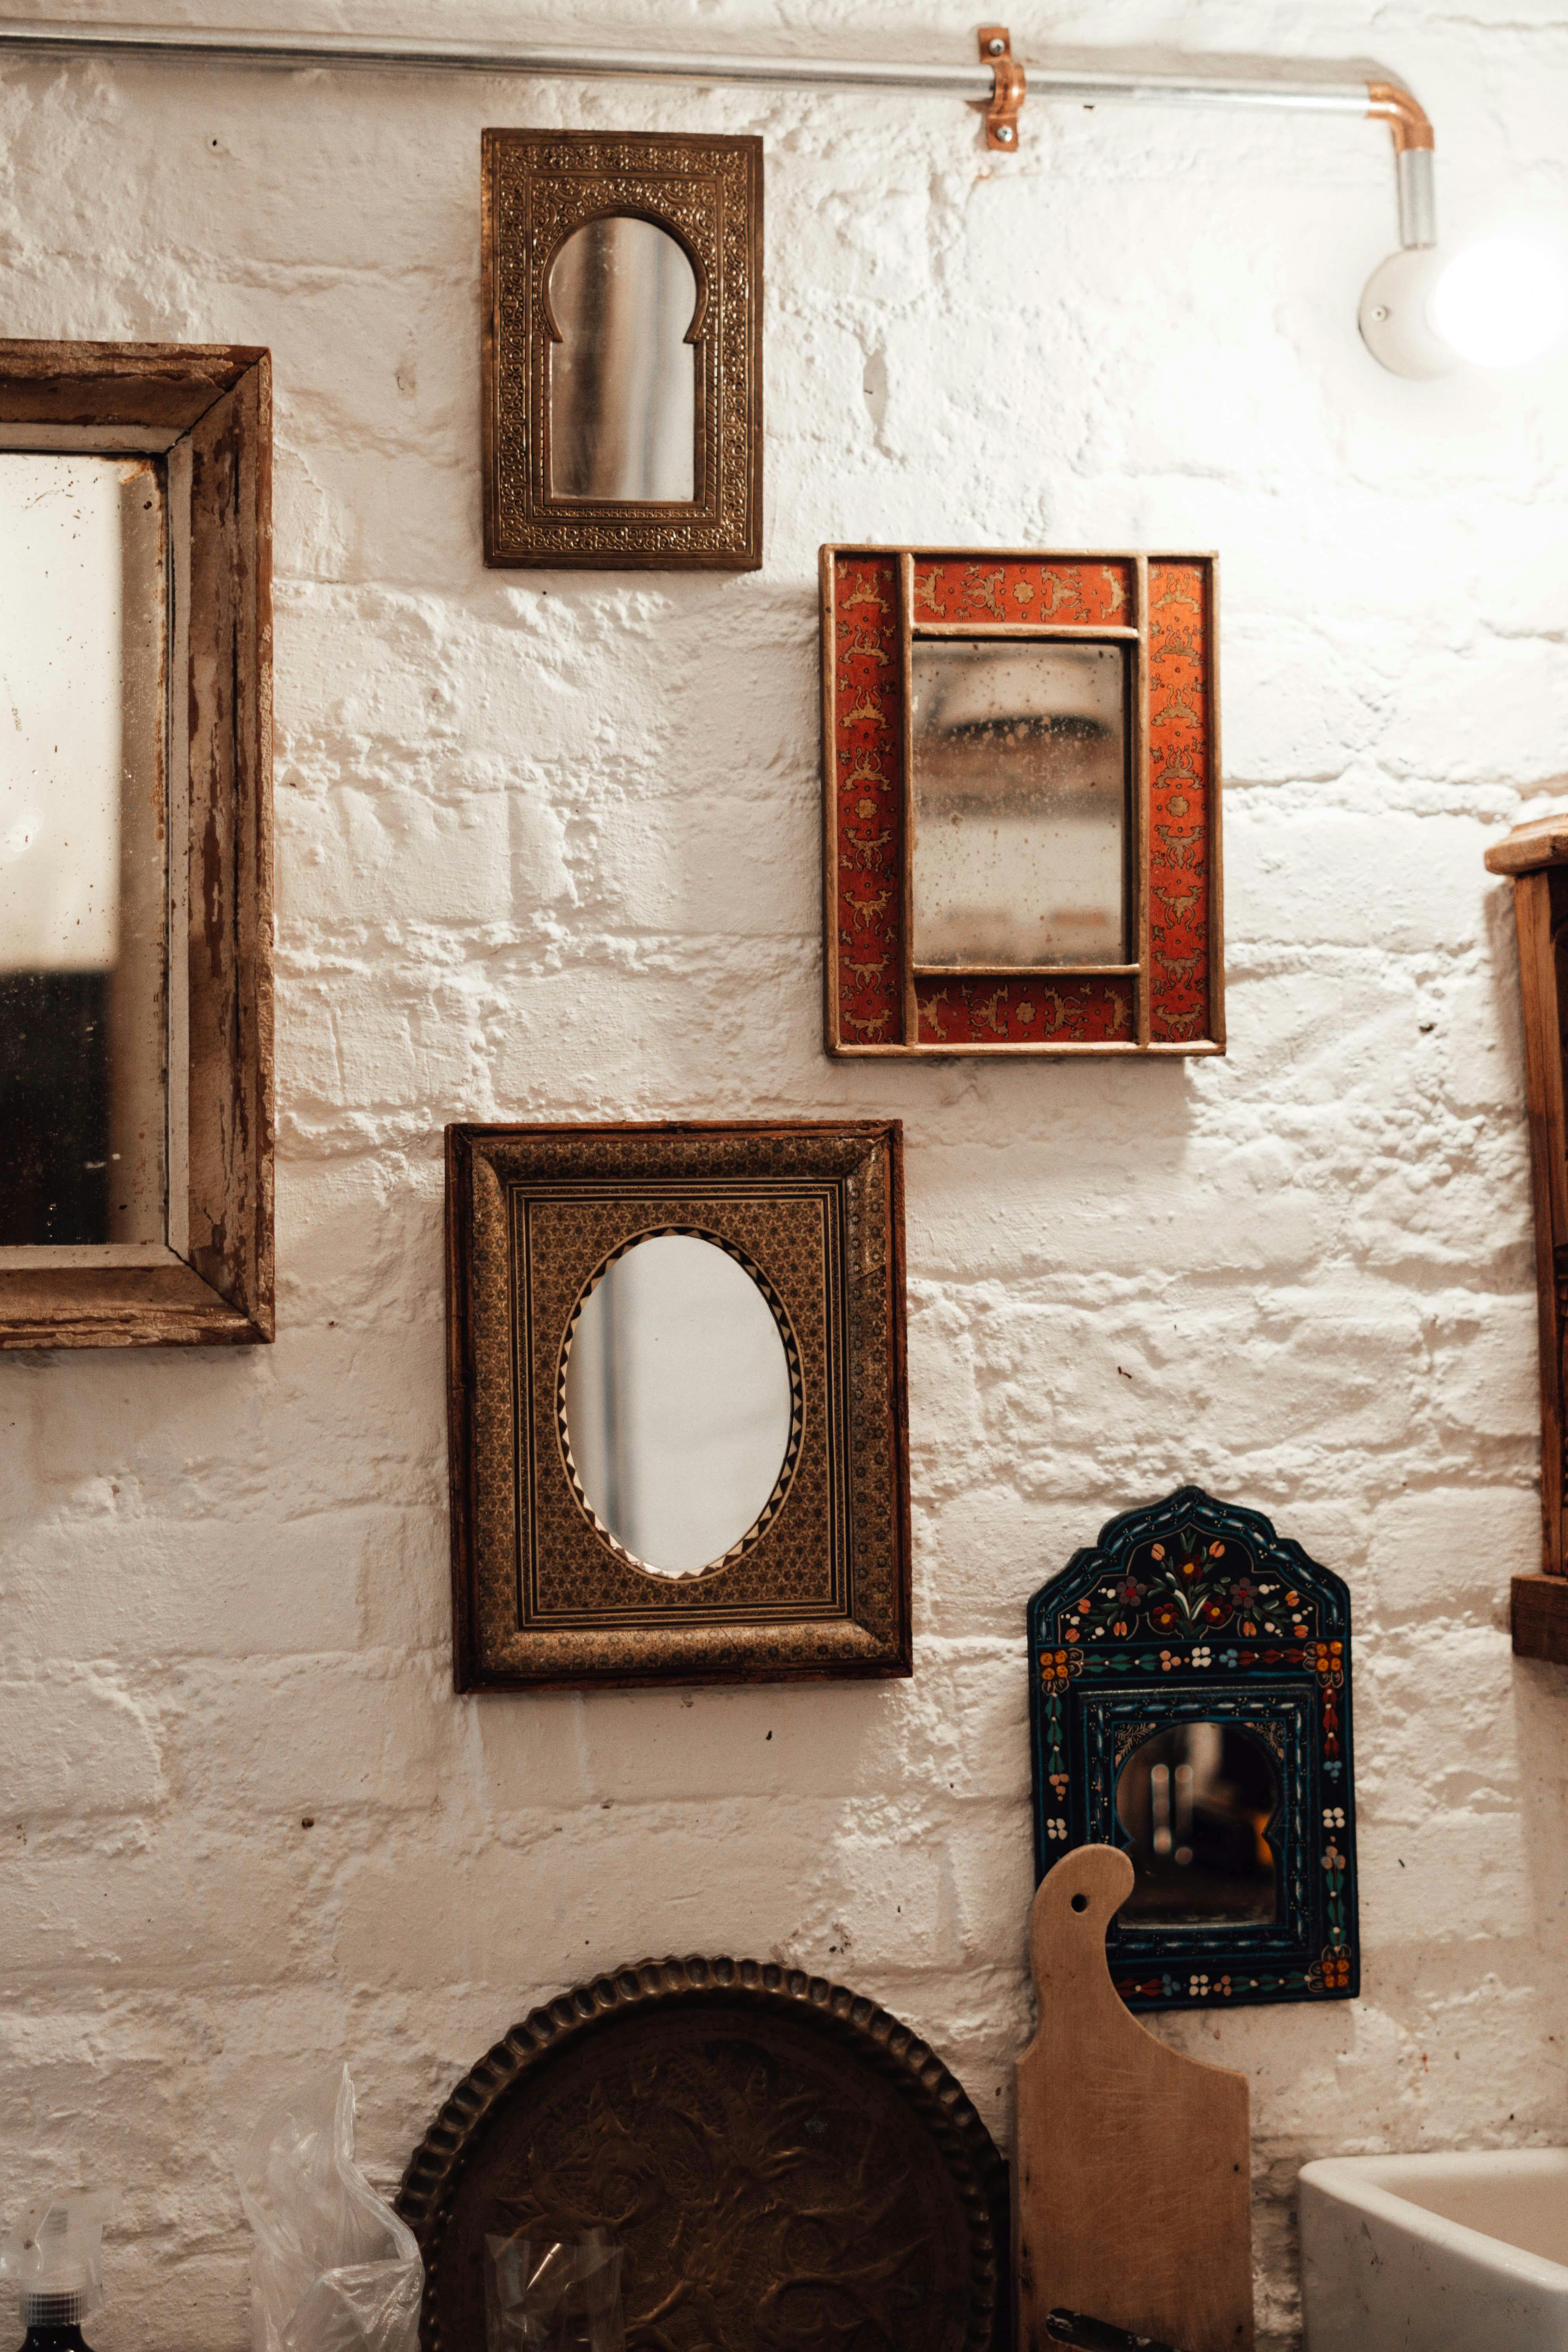
### Installing Your Chosen Hardware
This step will vary slightly depending on the hardware you picked based on your wall type and art weight.
[credit](https://images.pexels.com/photos/6842189/pexels-photo-6842189.jpeg),
[licence](https://creativecommons.org/public-domain/)
* **For Nails/Picture Hooks:** Gently tap the nail in at a slight downward angle. Don't drive it all the way in immediately; leave a tiny bit exposed to adjust.
* **For Drywall Anchors:** If self-drilling, simply screw it in. If it requires a pilot hole, drill that first, insert the anchor, then drive your screw.
* **For Toggle/Molly Bolts:** Drill the required pilot hole, push the toggle through until it expands behind the wall, then tighten the screw.
Always follow the manufacturer's instructions for the specific hardware you're using. They know their stuff!
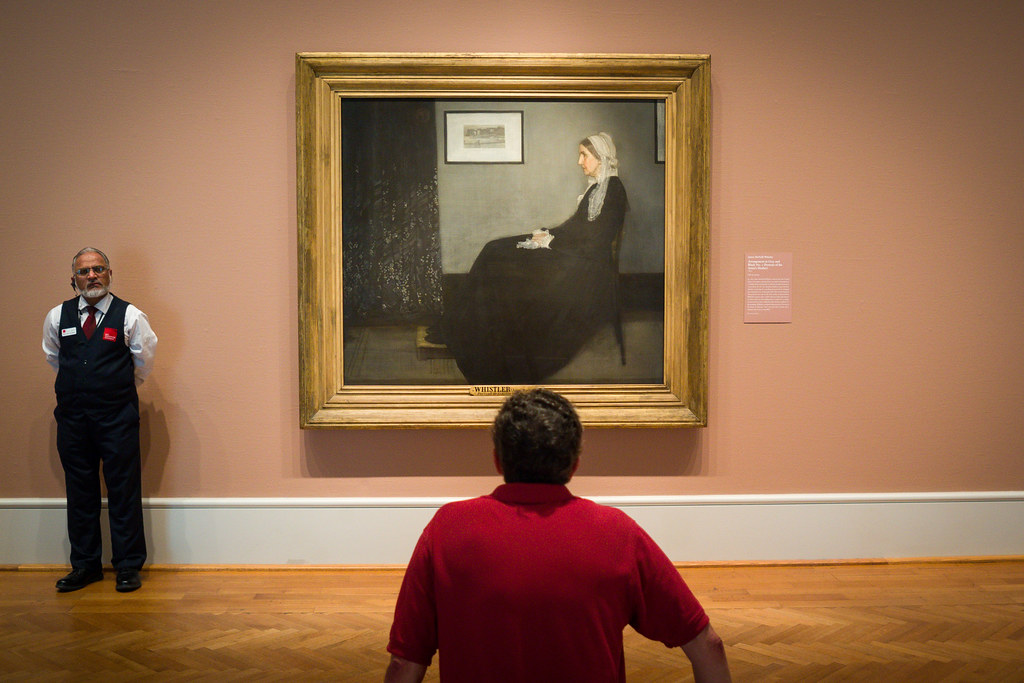
### The Final Hang: Securing Your Art
With your hardware securely in place, it’s time for the grand finale!
[credit](https://live.staticflickr.com/3944/33635040030_e622bb80f7_b.jpg),
[licence](https://creativecommons.org/licenses/by/2.0/)
1. **Carefully Lift:** Hold your artwork by the frame, ensuring a firm grip.
2. **Engage Hardware:** Gently lower the wire or D-rings onto the hook or screw. Listen for that satisfying click or feel it seat properly.
3. **Level One Last Time:** Use your level to make any final, tiny adjustments. Sometimes it just takes a feather-light touch.
4. **Add Bumpers:** If you have them, stick rubber bumpers to the bottom corners on the back of the frame. This prevents tilting and protects your wall from scuffs.
And there you have it! A perfectly hung piece of art. Take a moment to admire your handiwork. It's a surprisingly rewarding feeling, isn't it?
## Troubleshooting Common Hanging Mistakes
Even the pros have their moments, and believe me, I've had my share of "what just happened?!" episodes. Here's how to deal with the common hiccups.

[credit](https://images.pexels.com/photos/14493083/pexels-photo-14493083.jpeg),
[licence](https://creativecommons.org/public-domain/)
### Crooked Art
This is probably the most frequent complaint. You hung it, stepped back, and... it's just *slightly* off.
* **Minor Adjustments:** Sometimes, it's just the wire settling. Gently adjust it. If you used picture wire, ensure it's taut across the hook.
* **Uneven Hooks:** If using two hooks, they might be slightly off. You might need to adjust one of them or use a single, strong hook for lighter pieces.
* **Rubber Bumpers:** These are a lifesaver! Stick them to the bottom corners of the frame (or even slightly thicker ones on the lower corner if one side consistently sags) to keep the art flat against the wall and prevent tilting.
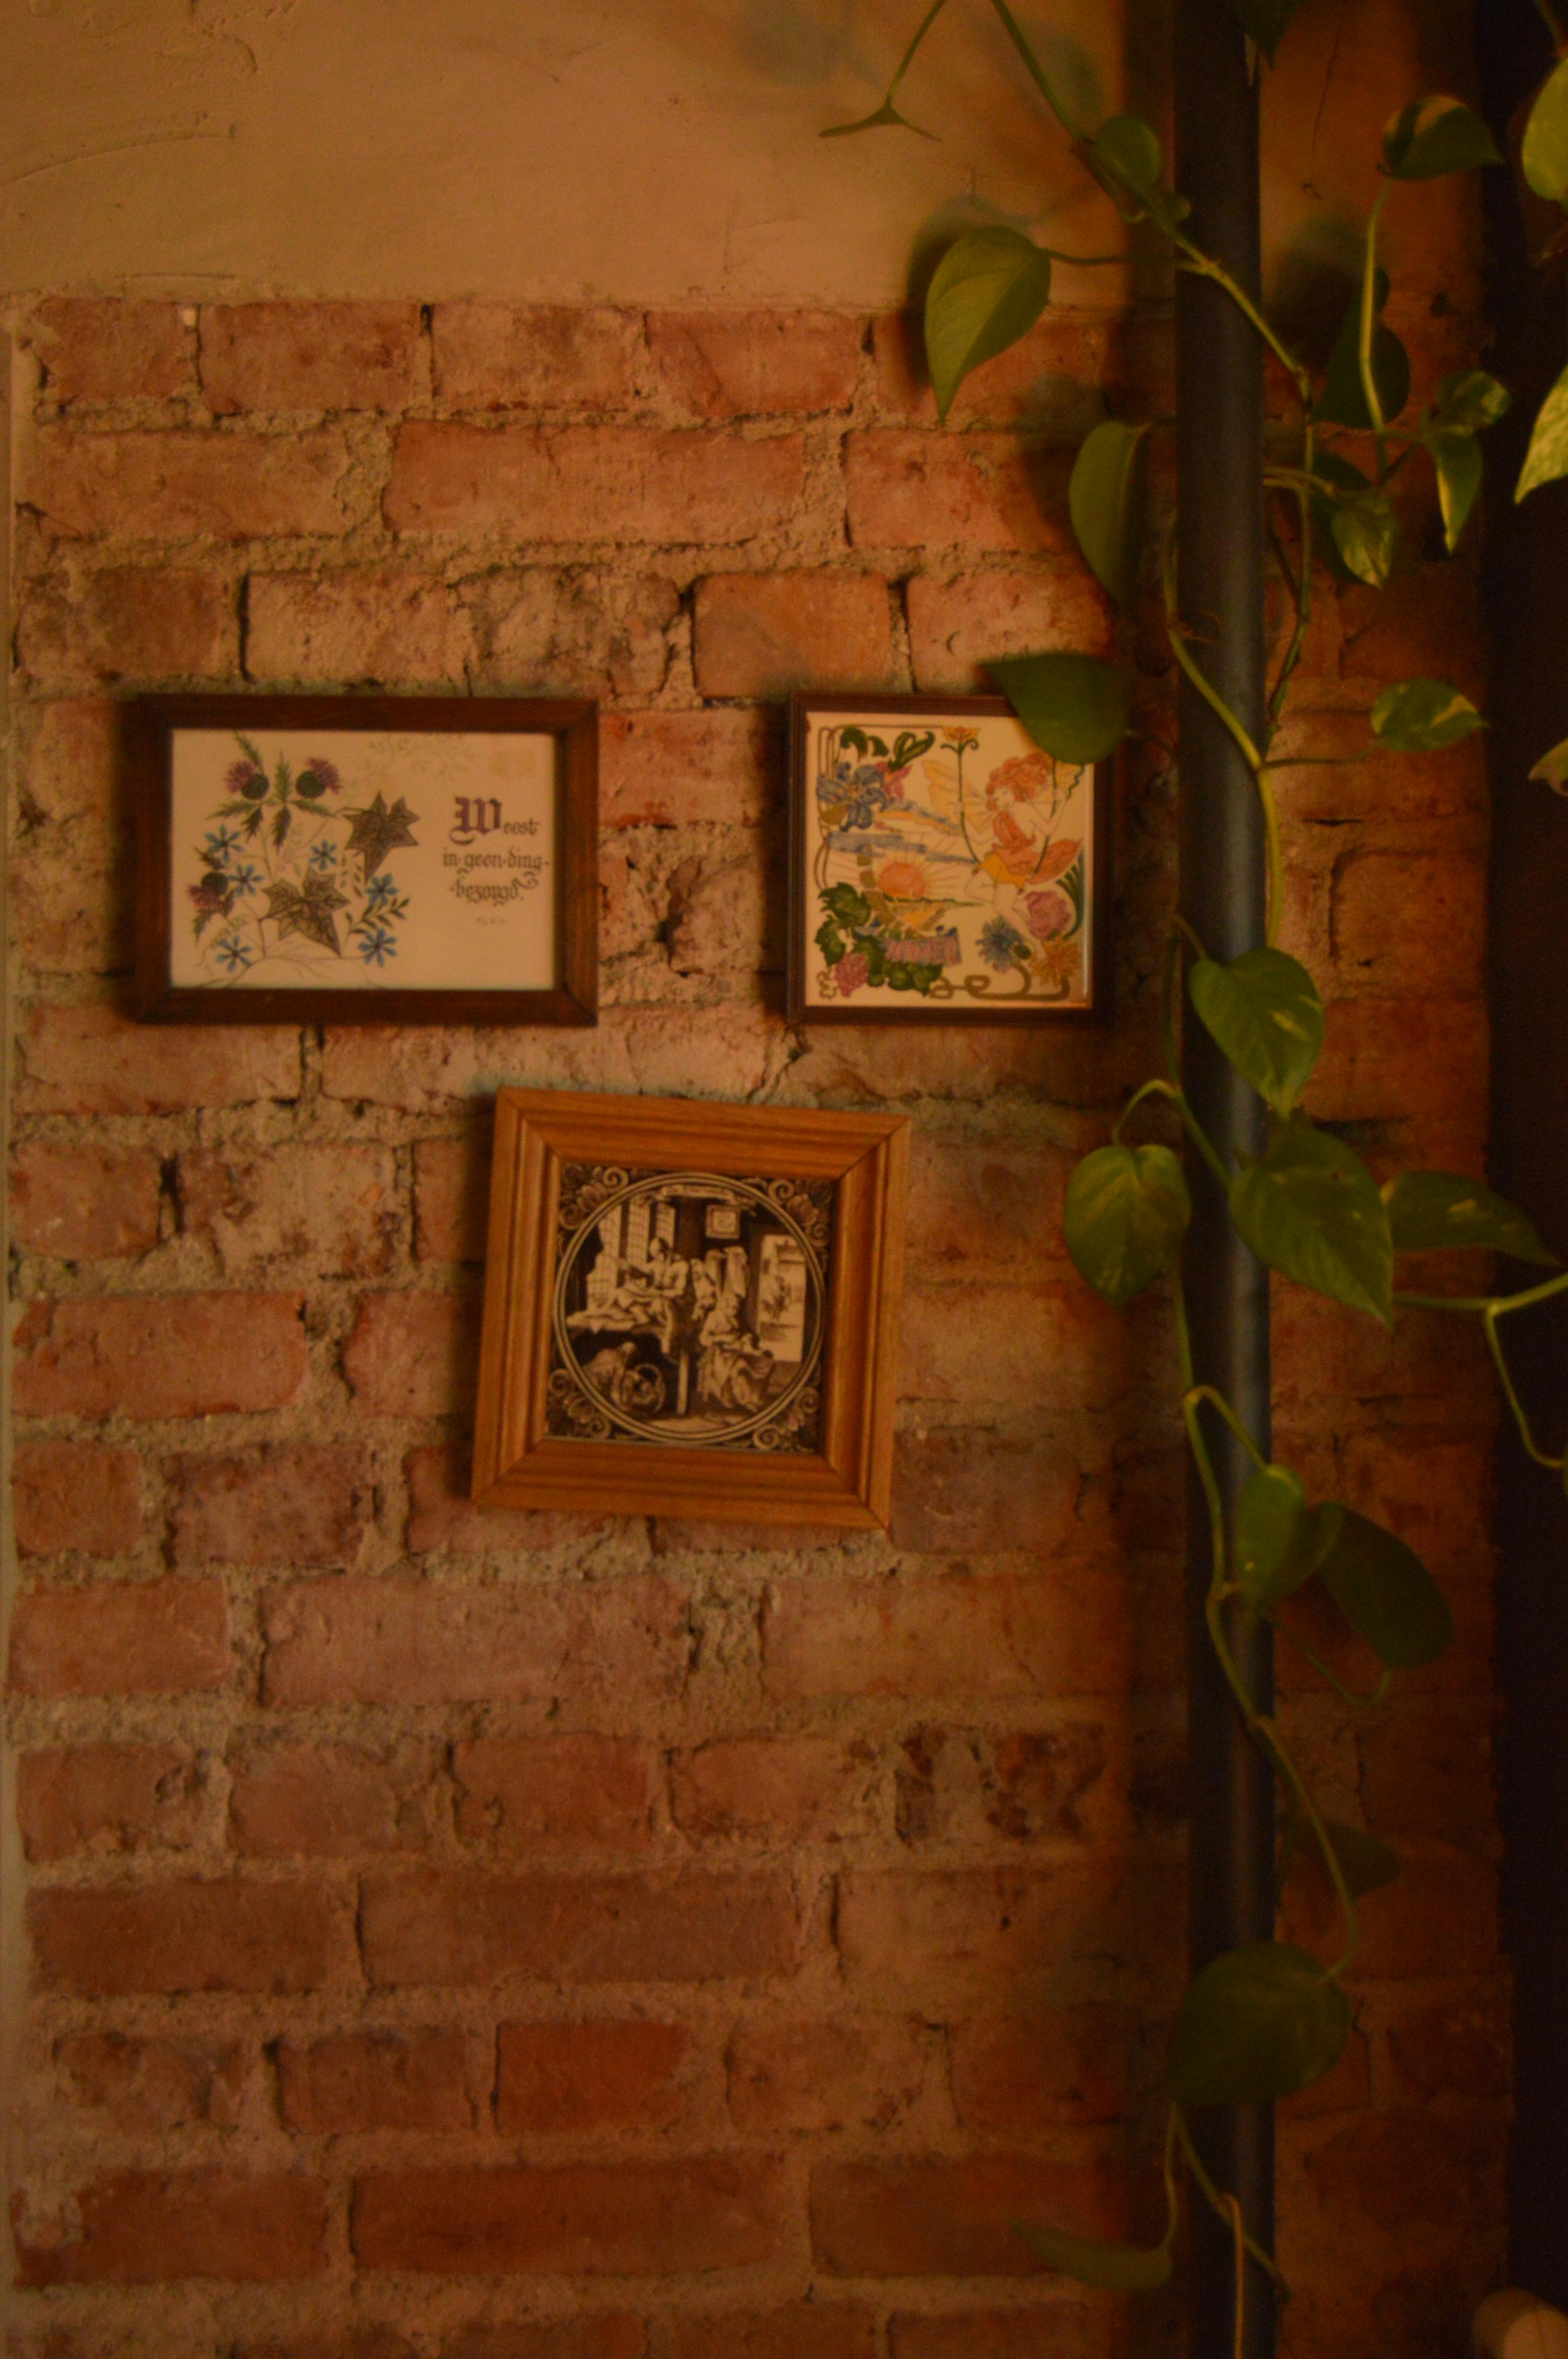
### Wall Damage: When Things Go Wrong
Don't panic! A small mistake isn't the end of the world.
[credit](https://images.pexels.com/photos/18318322/pexels-photo-18318322/free-photo-of-art-deco-painting-on-brick-wall.jpeg),
[licence](https://creativecommons.org/public-domain/)
* **Extra Nail Holes:** For small holes, a dab of spackle or even white toothpaste can do the trick in a pinch. Smooth it with your finger, let it dry, and touch up with paint if needed.
* **Larger Holes (from anchors):** These will require proper drywall patching compound. Cut away any loose paper, fill with spackle, sand smooth when dry, and then paint.
* **Cracked Plaster:** This is trickier. For small cracks, plaster patch kits are available. For larger damage, you might need a professional.
### Art Falling: Prevention and What to Do
The dreaded crash! If your art has taken a tumble, first, check the art for damage. Then, assess the wall.
* **Prevention:** The best cure is prevention. Use the right hardware for the art's weight and wall type. Always test the hardware's security before hanging the art. If it feels flimsy, it probably is.
* **Re-evaluating Hardware:** If it fell, the hardware was likely insufficient. Upgrade to heavier-duty hooks or anchors. Always aim for redundancy or overkill when it comes to weight bearing.
* **Stud Mounting:** For very heavy pieces, drilling directly into a wall stud provides the most secure hold. Always use a stud finder!
## Beyond the Basics: Advanced Hanging Techniques
Once you've mastered the fundamentals, you might find yourself eyeing more ambitious installations.
[credit](https://www.flickr.com/photos/fiveblondes/2488269660/),
[licence](https://creativecommons.org/licenses/by-nc-sa/2.0/)
### Security Hardware
For valuable or heavy artwork, especially in high-traffic areas, security hardware offers peace of mind. These often involve special clips or screws that lock the art to the wall, preventing accidental falls or theft. They're common in commercial [galleries](/finder/page/best-galleries) and can be a good investment for your cherished pieces.
### Hanging on Tricky Surfaces
* **Uneven Walls:** Older homes often have walls that aren't perfectly flat. Use slightly longer screws and washers to create a stable mounting point, or strategically place rubber bumpers to compensate for the unevenness.
* **Corners:** A single piece in a corner is tough. Consider creating a [gallery wall](/finder/page/what-is-a-gallery-wall) that wraps around the corner, or use specialized corner shelving.
* **Ceilings:** For true large-scale installations or sculptures, ceiling mounts might be necessary, but this is definitely a job for a professional.
### Picture Rail Systems
A classic alternative, particularly for older homes or renters, is a [picture rail system](/finder/page/how-to-hang-art-without-nails). These are moldings installed near the ceiling from which art hangs on chains or cords. They allow for easy rearrangement without making new holes in your walls. I love their old-world charm and the flexibility they offer.
[credit](https://images.pexels.com/photos/20390765/pexels-photo-20390765/free-photo-of-modern-living-room-design.jpeg),
[licence](https://creativecommons.org/public-domain/)
## Maintaining Your Hung Art
Your art is up, it looks fantastic, but the job isn't quite done. A little ongoing care will keep your pieces looking their best for years to come.
### Cleaning & Dusting
* **Frames:** Dust frames regularly with a soft, dry cloth. For more stubborn grime, a slightly damp cloth with mild soap can work, but avoid getting moisture on the artwork itself.
* **Glass/Acrylic:** Use a lint-free cloth and a mild glass cleaner (ammonia-free for acrylic to prevent hazing). Spray cleaner onto the cloth, not directly onto the art, to prevent drips from seeping under the frame.
* **Canvases:** For unframed or unglazed canvases, a very soft, clean brush (like a makeup brush) can gently remove surface dust. Avoid any moisture or rubbing.
### Environmental Factors
* **Humidity:** Extreme humidity fluctuations can damage artwork, causing canvases to warp or paper to buckle. Maintain a stable indoor environment (ideally 40-50% relative humidity).
* **Temperature:** Similar to humidity, extreme temperature changes are bad for art. Avoid hanging art near radiators, air conditioning units, or fireplaces.
* **Light Exposure:** As mentioned earlier, direct sunlight can fade pigments over time. Consider UV-filtering glass for framed pieces in bright areas.
### Re-hanging & Moving
* **Document Everything:** Take photos of your current art arrangements before you move or redecorate. It's a fantastic reference!
* **Safe Removal:** When taking art down, support it from the bottom and gently lift it off the hook. Don't yank.
* **Storage:** If storing art, especially for a move, wrap it carefully in archival materials and ensure it's protected from impact and environmental changes. For more comprehensive art storage solutions, consider reading our guide on [/finder/page/art-storage-solutions-for-collectors].
## Choosing Art for Your Space
Now that you're a master at hanging, let's talk about what to hang! The art itself is, after all, the star of the show. Choosing the right piece can transform a room, evoke emotion, or simply bring joy.
I often think about how a piece resonates with the overall mood I want to create. Is it a vibrant, energetic abstract piece, or something more serene and contemplative? Your space, your personality, and your existing decor should all play a role in this exciting decision.
[credit](https://images.pexels.com/photos/2087708/pexels-photo-2087708.jpeg),
[licence](https://creativecommons.org/public-domain/)
* **Living Room:** This is often the heart of the home, a place for conversation and relaxation. Large, impactful pieces or a well-curated gallery wall can work wonders here. For specific ideas, check out our insights on [/finder/page/choosing-art-for-your-living-room].
* **Bedroom:** Opt for calming and personal pieces. [Abstract art](/finder/page/what-is-abstract-art), especially in soothing tones, can create a tranquil retreat.
* **Dining Room:** This is a great place for conversation starters or pieces that reflect your entertaining style.
* **Kitchen:** Durable and cleanable art is key here. Consider pieces under glass or acrylic. For more specific kitchen decor ideas, explore [/finder/page/how-to-decorate-a-kitchen].
* **Small Spaces (like a Powder Room):** Don't be afraid to go bold! A single, striking piece can make a big statement. We have a guide on [/finder/page/decorating-with-art-in-a-powder-room-maximizing-impact-in-limited-spaces].
Remember, art is deeply personal. Choose what you love, what speaks to you, and what makes your space feel like *yours*. Whether it's a bold abstract expression of emotion or a subtle landscape, if it brings you joy, you've found the right piece. And if you're looking for unique, [contemporary art](/finder/page/contemporary-art-meaning) to fill those perfectly hung spaces, I encourage you to explore the pieces available directly from me, Zen Dageraad Visser, at [/buy]. Or learn more about my journey as an artist by viewing my [/timeline].
## Frequently Asked Questions (FAQ)
### Q: What is the ideal height to hang a painting?
**A:** The general rule of thumb is to hang the center of your artwork 57 inches (145 cm) from the floor. This aligns with average eye level in galleries and museums. When hanging above furniture, allow 6-12 inches between the bottom of the frame and the top of the furniture.
### Q: How do I hang heavy art without a stud?
**A:** For heavy art without a stud, use strong wall anchors specifically designed for heavy loads, such as toggle bolts or molly bolts. These expand behind the wall to provide a secure grip. Always check the weight rating of your chosen hardware.
### Q: Can I use Command Strips for all types of art?
**A:** Command Strips are excellent for lighter pieces, typically under 10-15 lbs, and are great for temporary displays or renters who want to avoid wall damage. However, for heavier or more valuable artwork, traditional picture hooks, anchors, or stud mounting are recommended for greater security. Always adhere strictly to the product's weight guidelines.
### Q: How do I create a gallery wall that looks cohesive?
**A:** Start by planning your layout on the floor. Use paper templates cut to the size of your frames and tape them to the wall to finalize your arrangement. Maintain consistent spacing (2-4 inches is a good starting point) between frames. You can mix and match frame styles and art, but try to find a unifying element like color palette or theme.
### Q: How can I prevent my artwork from tilting on the wall?
**A:** Rubber bumpers (small adhesive felt or silicone dots) applied to the bottom corners on the back of your frame will help keep the art flat against the wall and prevent tilting. Ensure your hanging hardware is securely installed and the wire (if used) is taut.
### Q: What's the best way to clean my framed artwork?
**A:** For framed art under glass or acrylic, dust the frame with a soft, dry cloth. For the glass, spray an ammonia-free cleaner onto a lint-free cloth and then gently wipe the glass; avoid spraying directly onto the glass to prevent drips from seeping under the frame. For unframed canvases, use a very soft, clean brush to gently dust the surface.
## Conclusion: Your Art, Perfectly Placed
And there we have it – a comprehensive journey from contemplating a blank wall to admiring your perfectly placed art. Hanging a painting isn't just a chore; it's an act of intention, a way to curate your environment and express your personal aesthetic. With the right tools, knowledge, and a dash of confidence, you're now equipped to tackle any art-hanging challenge. So go forth, measure twice, hang once, and let your walls tell your story.

[credit](https://images.pexels.com/photos/16820437/pexels-photo-16820437/free-photo-of-a-handmade-macrame-hanging-on-the-wall.jpeg),
[licence](https://creativecommons.org/public-domain/)
Happy hanging! Don't forget to check out more insights on [decorating your home](/finder/page/decorating-your-home) and how to choose art for a room.