Mastering the Dream: Drawing Tips Inspired by Odilon Redon
Explore Odilon Redon's unique techniques and learn how to incorporate his dream-like, symbolic style into your own drawings. A comprehensive guide for artists seeking to capture the mysterious and ethereal.
Mastering the Dream: Drawing Tips Inspired by Odilon Redon
Odilon Redon's art is a gateway to the subconscious, a realm where reality and imagination intertwine. His works, characterized by their ethereal quality and symbolic depth, have captivated artists and art enthusiasts for generations. If you've ever wanted to infuse your drawings with the same dream-like allure, this guide will walk you through the techniques, mindset, and materials that can help you achieve that unique Redon-esque style.
Odilon Redon's art is not just about technique; it's about tapping into the subconscious and allowing your imagination to guide your hand. His ability to blend reality with fantasy, to evoke emotion through symbolism, and to create a sense of mystery and intrigue is what makes his art so enduring. By incorporating his techniques and mindset into your own drawings, you can create art that is both mysterious and captivating.
I remember the first time I saw Odilon Redon's work. It was like stepping into a dream—one of those vivid, half-remembered dreams that lingers long after you wake up. His drawings, with their soft edges and haunting imagery, have a way of pulling you into another world. If you've ever wanted to capture that same ethereal quality in your own art, you're in the right place. Let's dive into the techniques and mindset that can help you channel Redon's unique style.
Redon's work is deeply personal and often explores themes of the subconscious, the unknown, and the mystical. His ability to blend reality with fantasy, to evoke emotion through symbolism, and to create a sense of mystery and intrigue is what makes his art so enduring. By incorporating his techniques and mindset into your own drawings, you can create art that is both mysterious and captivating.
Who Was Odilon Redon?
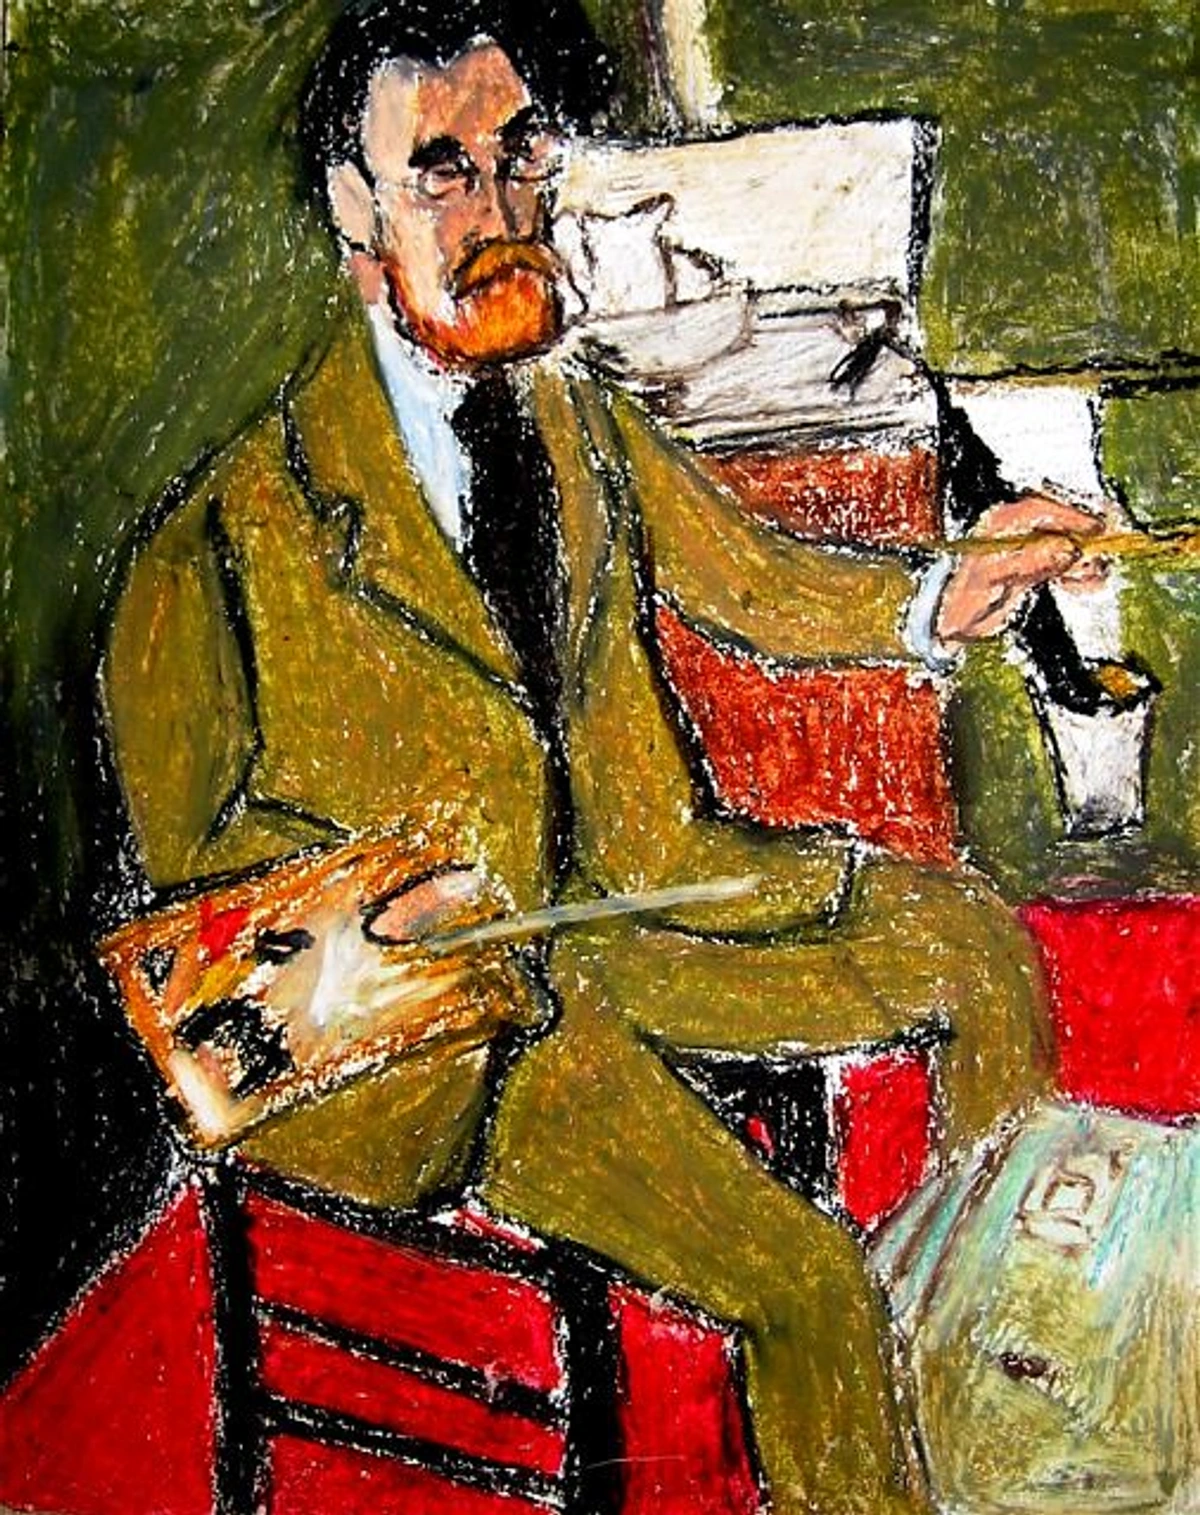
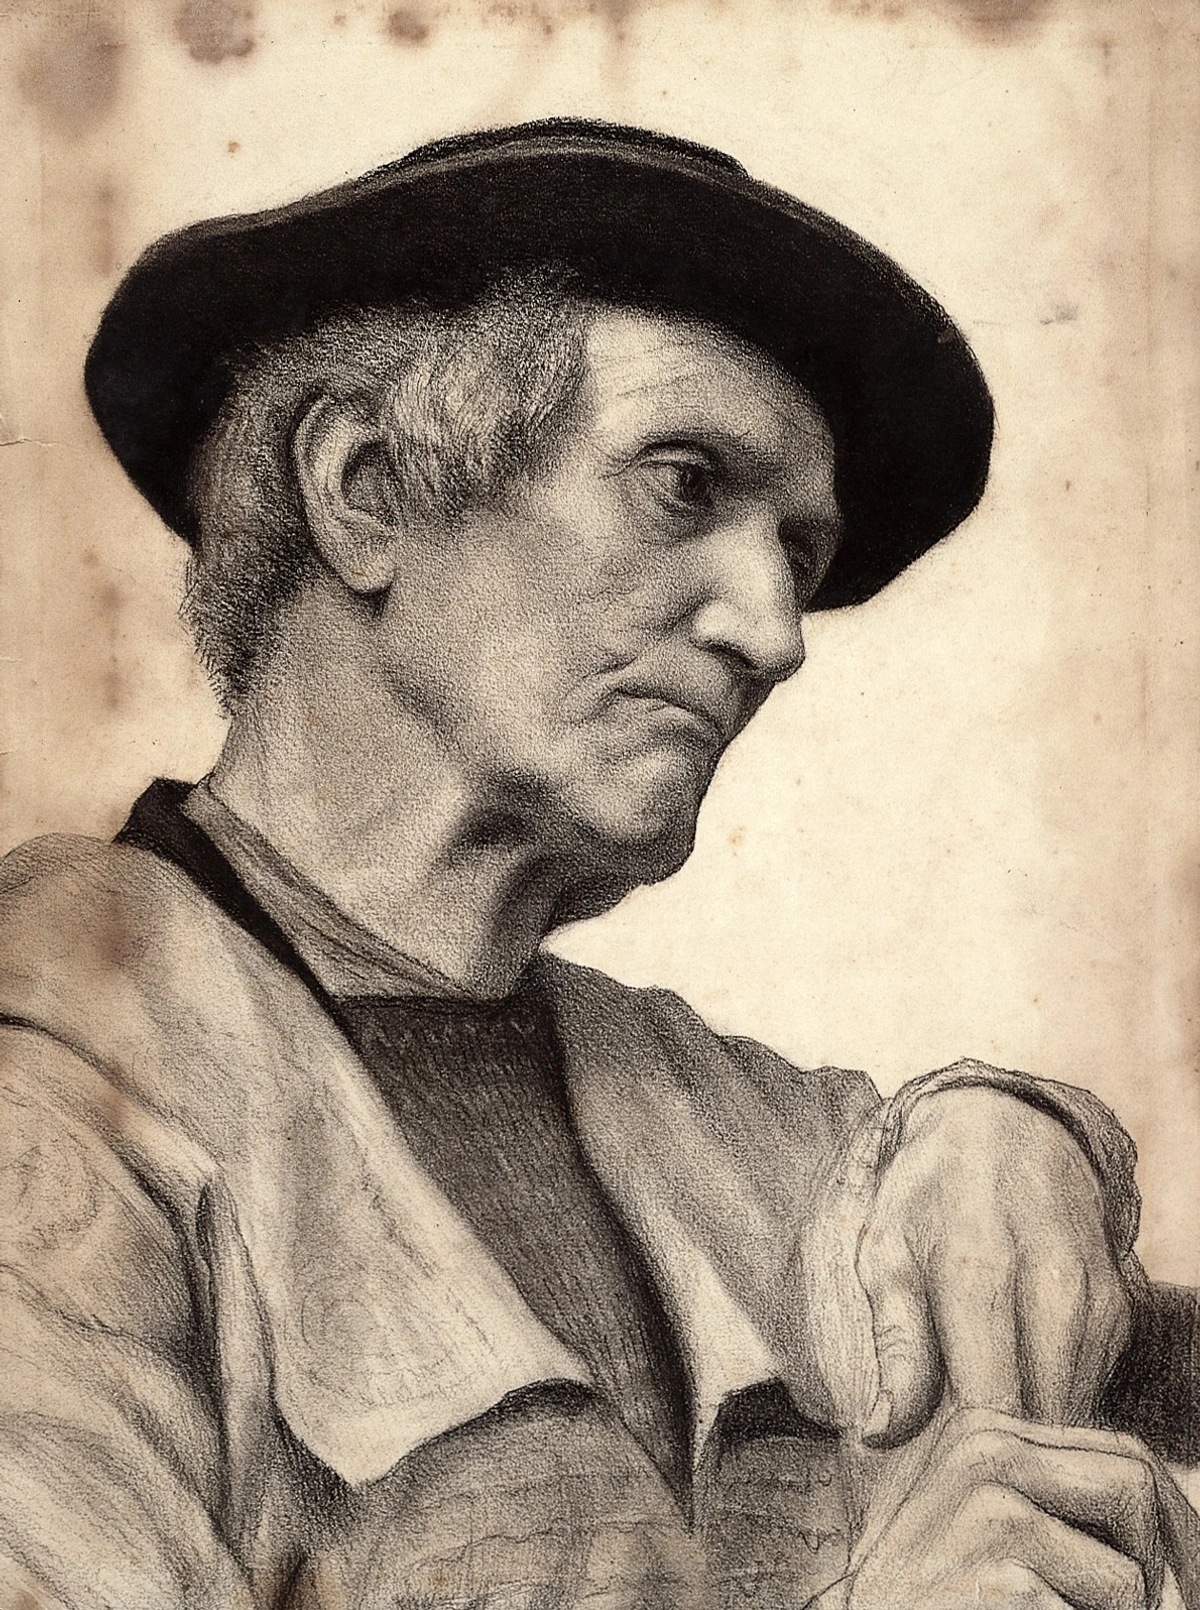
Odilon Redon (1840–1916) was a French artist whose work transcended traditional boundaries, blending elements of symbolism, surrealism, and fantasy. Primarily working in charcoal, lithography, and pastels, Redon created images that seemed to emerge from the depths of the subconscious. His art is a bridge between the tangible and the imagined, offering a rich source of inspiration for artists seeking to explore the mysterious and the surreal.
Odilon Redon (1840–1916) was a French artist known for his symbolic and dream-like works. He worked primarily in charcoal, lithography, and pastels, creating images that often felt like they were plucked straight from the subconscious. His art bridges the gap between the real and the imagined, making it a rich source of inspiration for artists looking to explore the mysterious and the surreal.
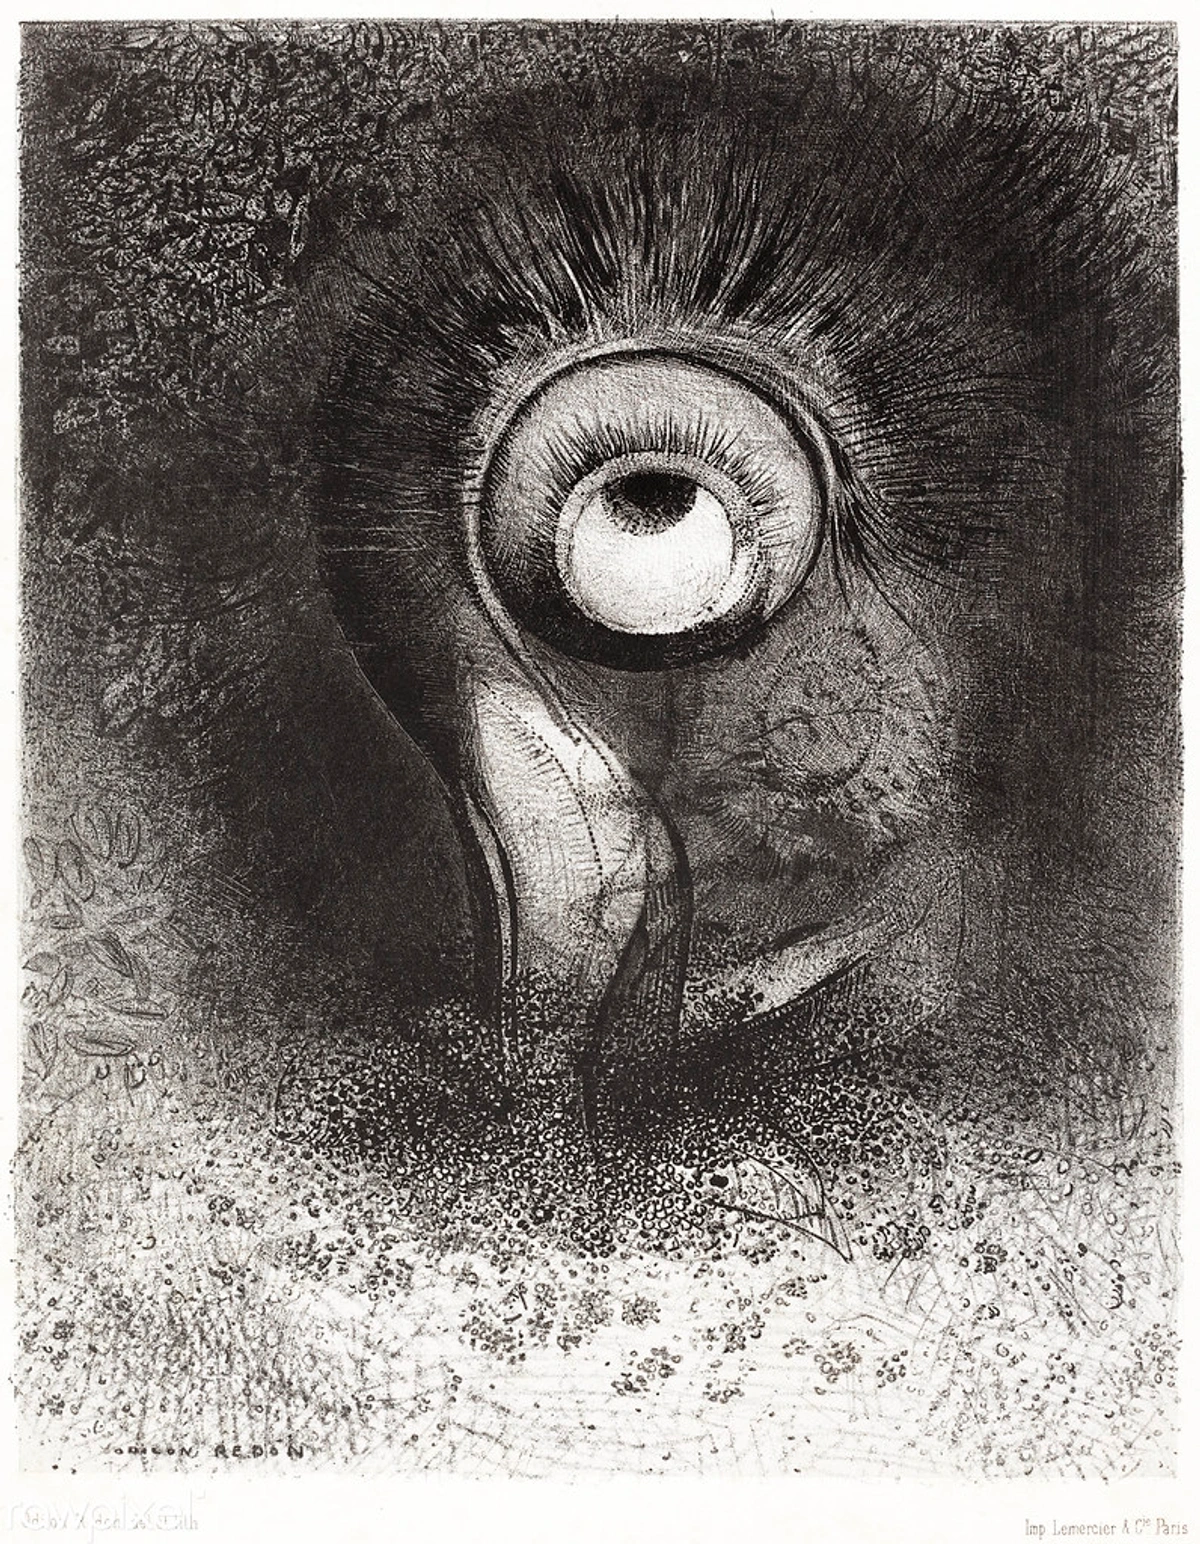
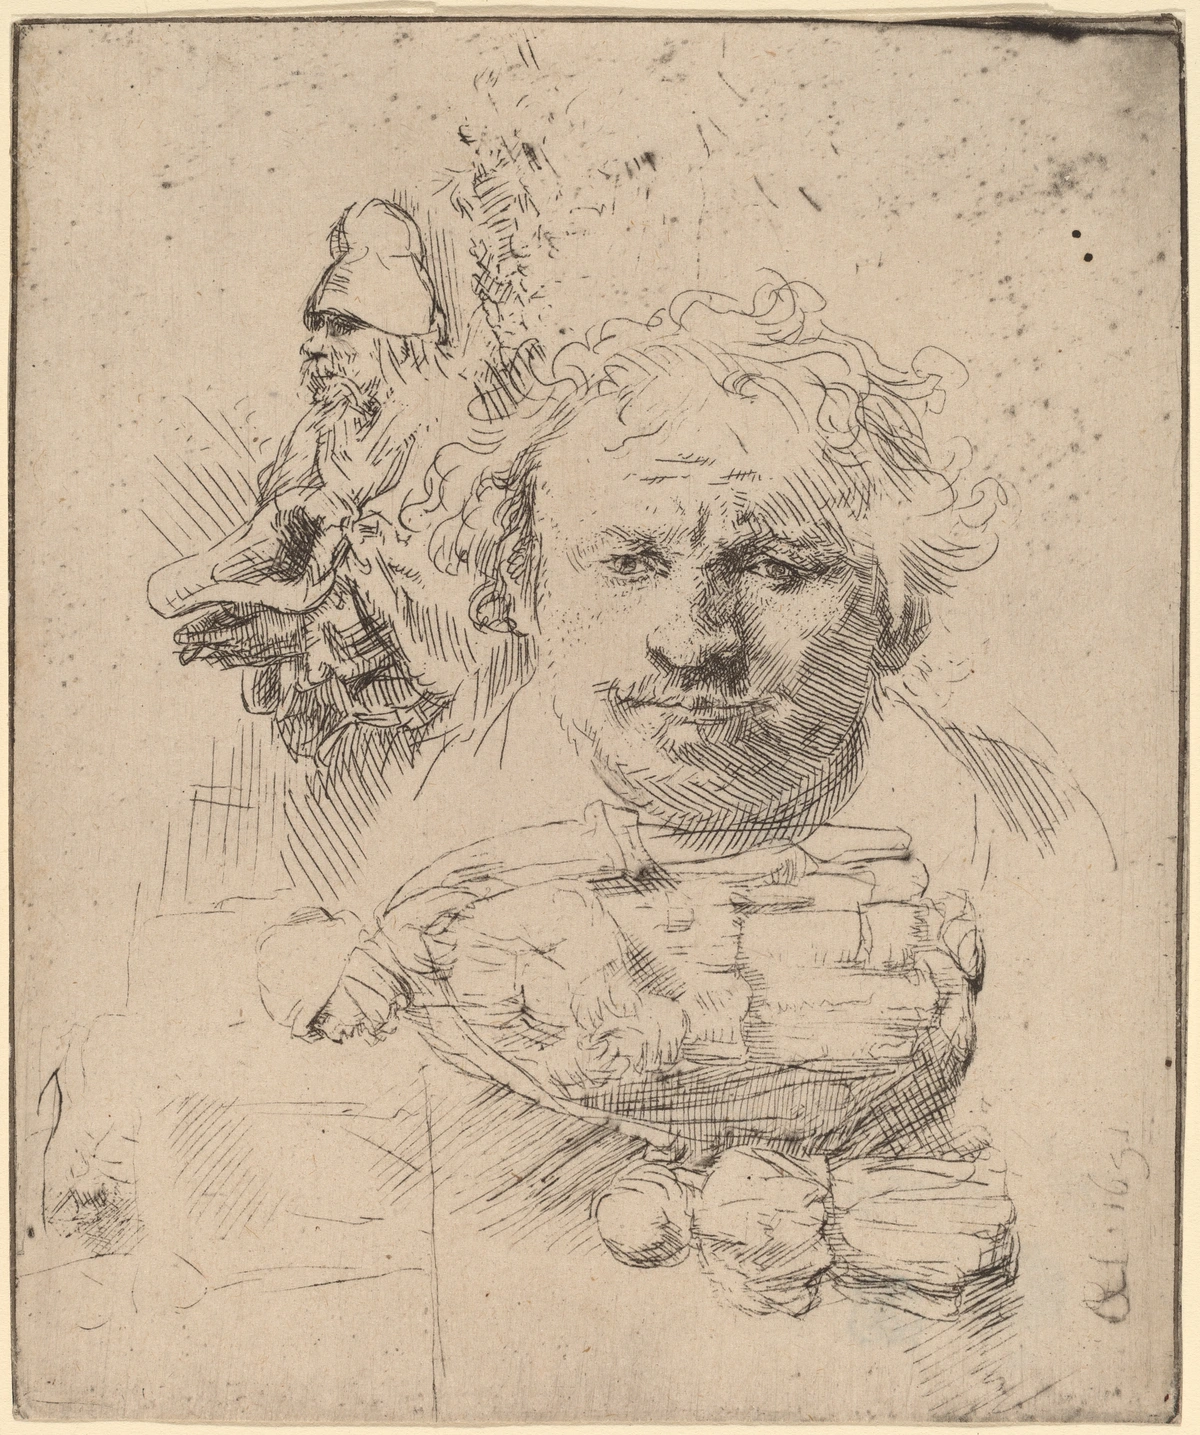
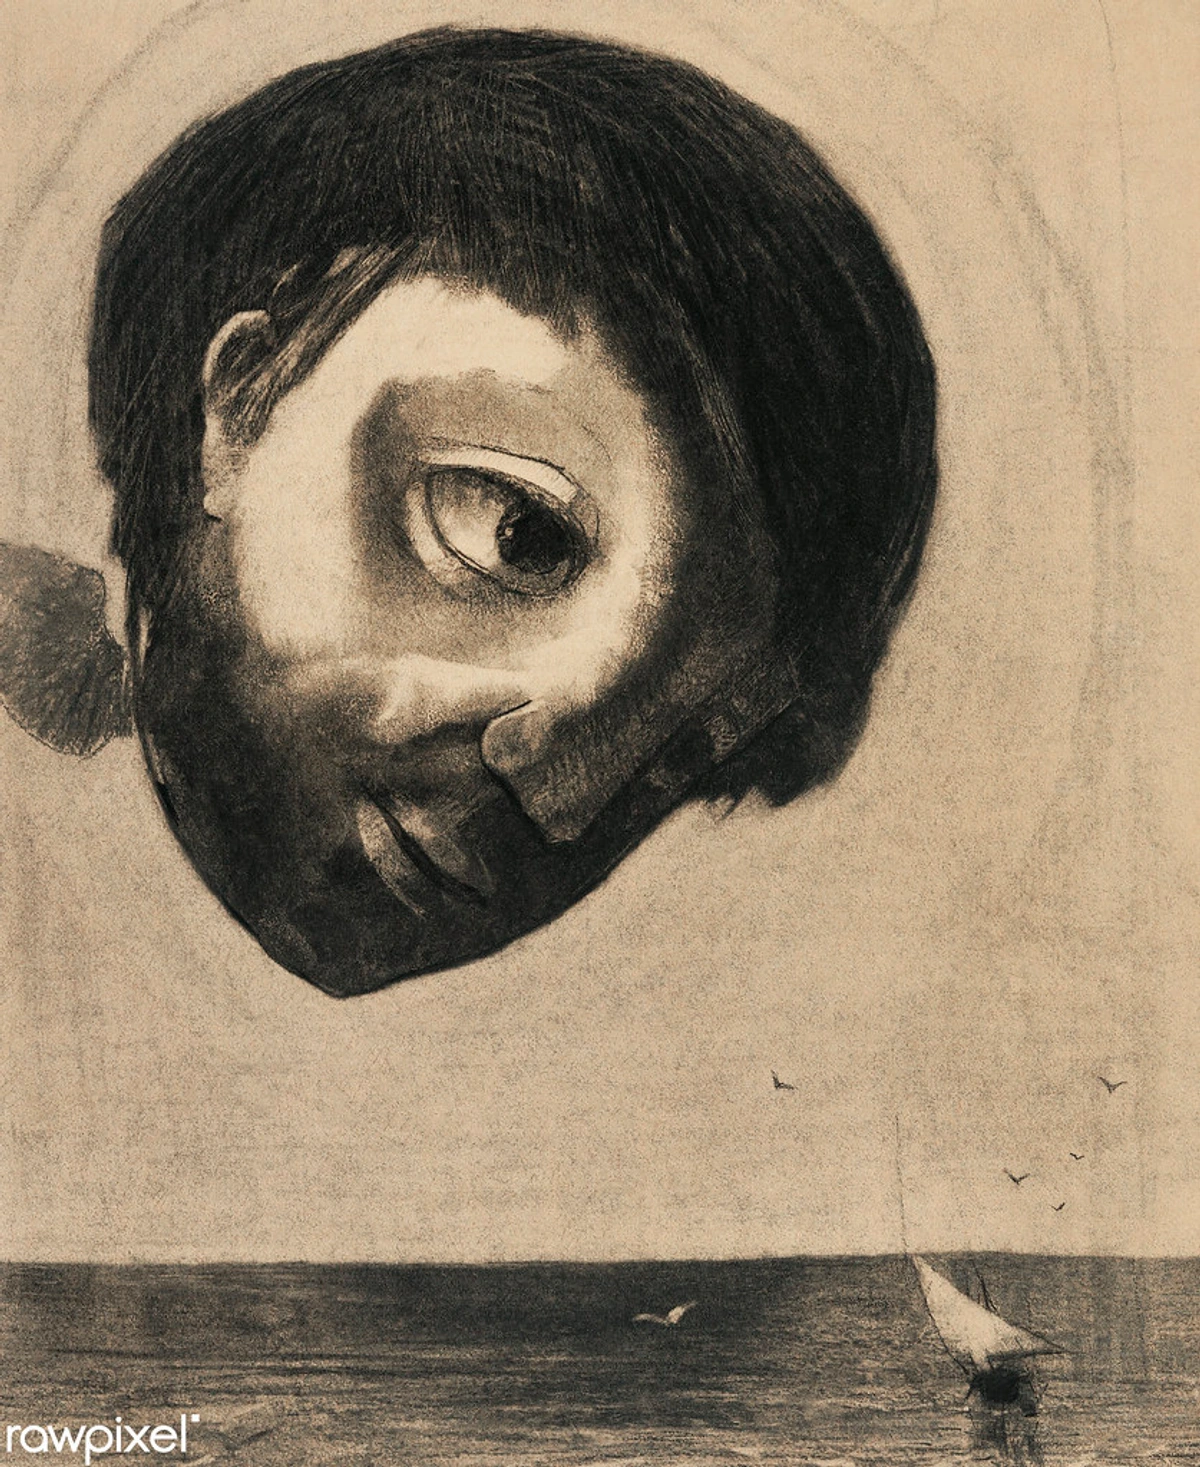
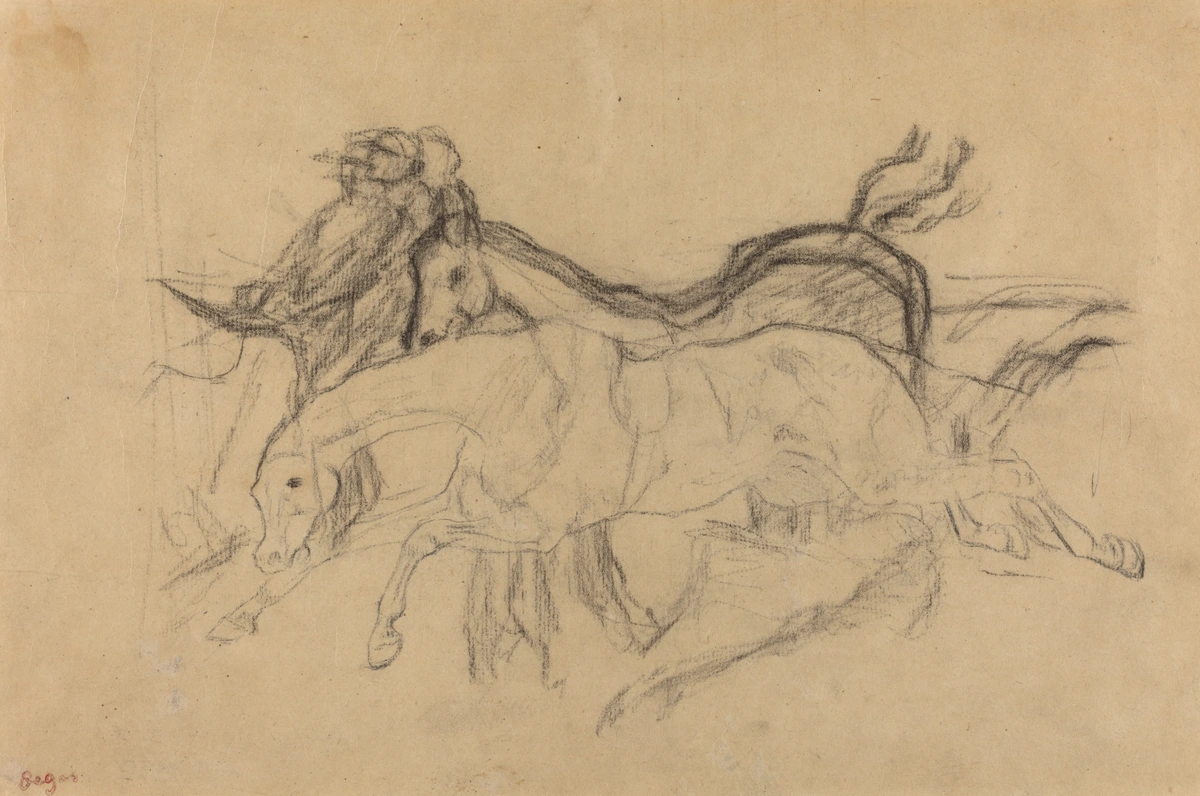
This iconic piece by Redon exemplifies his ability to evoke a sense of mystery and introspection through minimalist yet powerful imagery. His work often invites viewers to pause and reflect, drawing them into a meditative state where the boundaries between reality and imagination blur.
Key Techniques in Redon's Drawings
Redon's artistic process was as unique as his imagery. By mastering his techniques, you can begin to infuse your own work with the same dream-like quality. Below, we explore the core methods he employed and how you can adapt them to your practice.
Redon's approach to art was deeply personal and experimental. He often worked in solitude, allowing his imagination to guide his hand. This section will delve into the specific techniques he used, from his choice of materials to his methods of creating depth and mystery in his drawings.
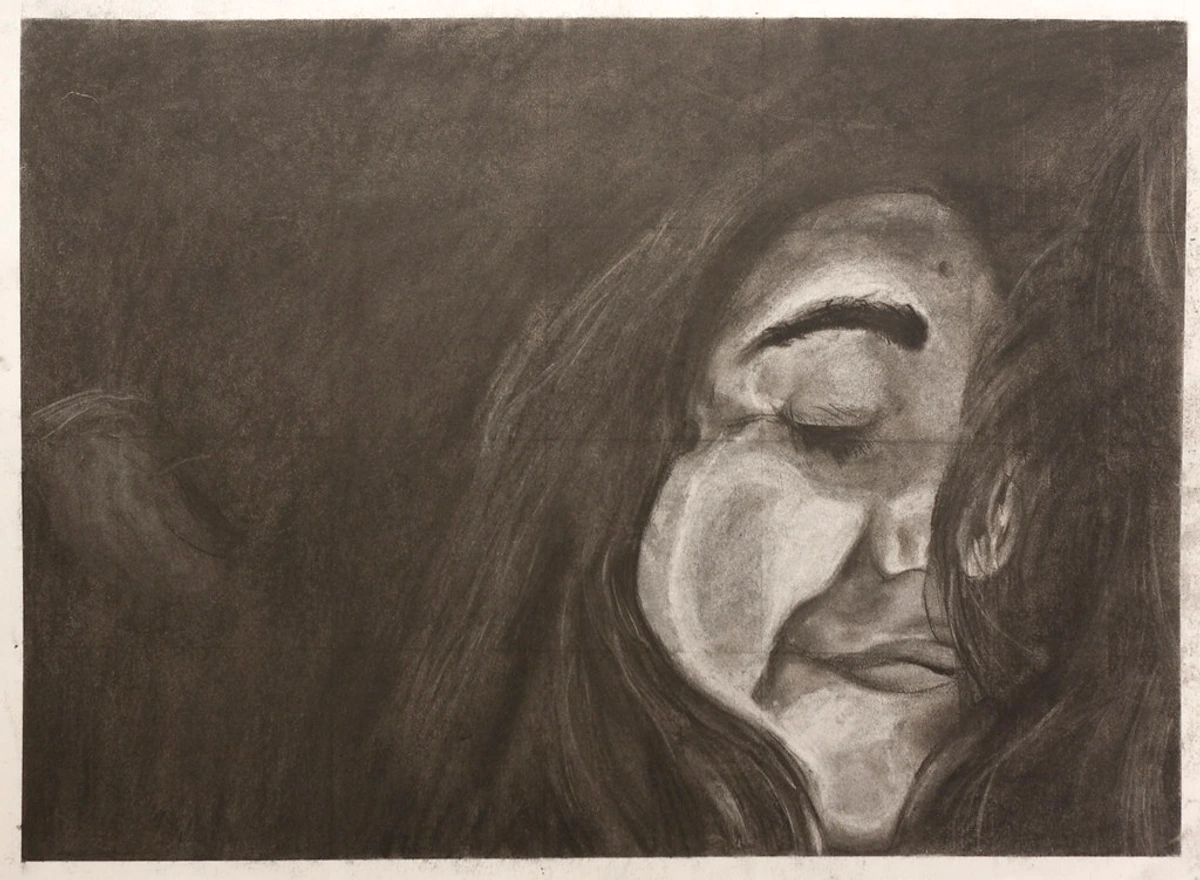
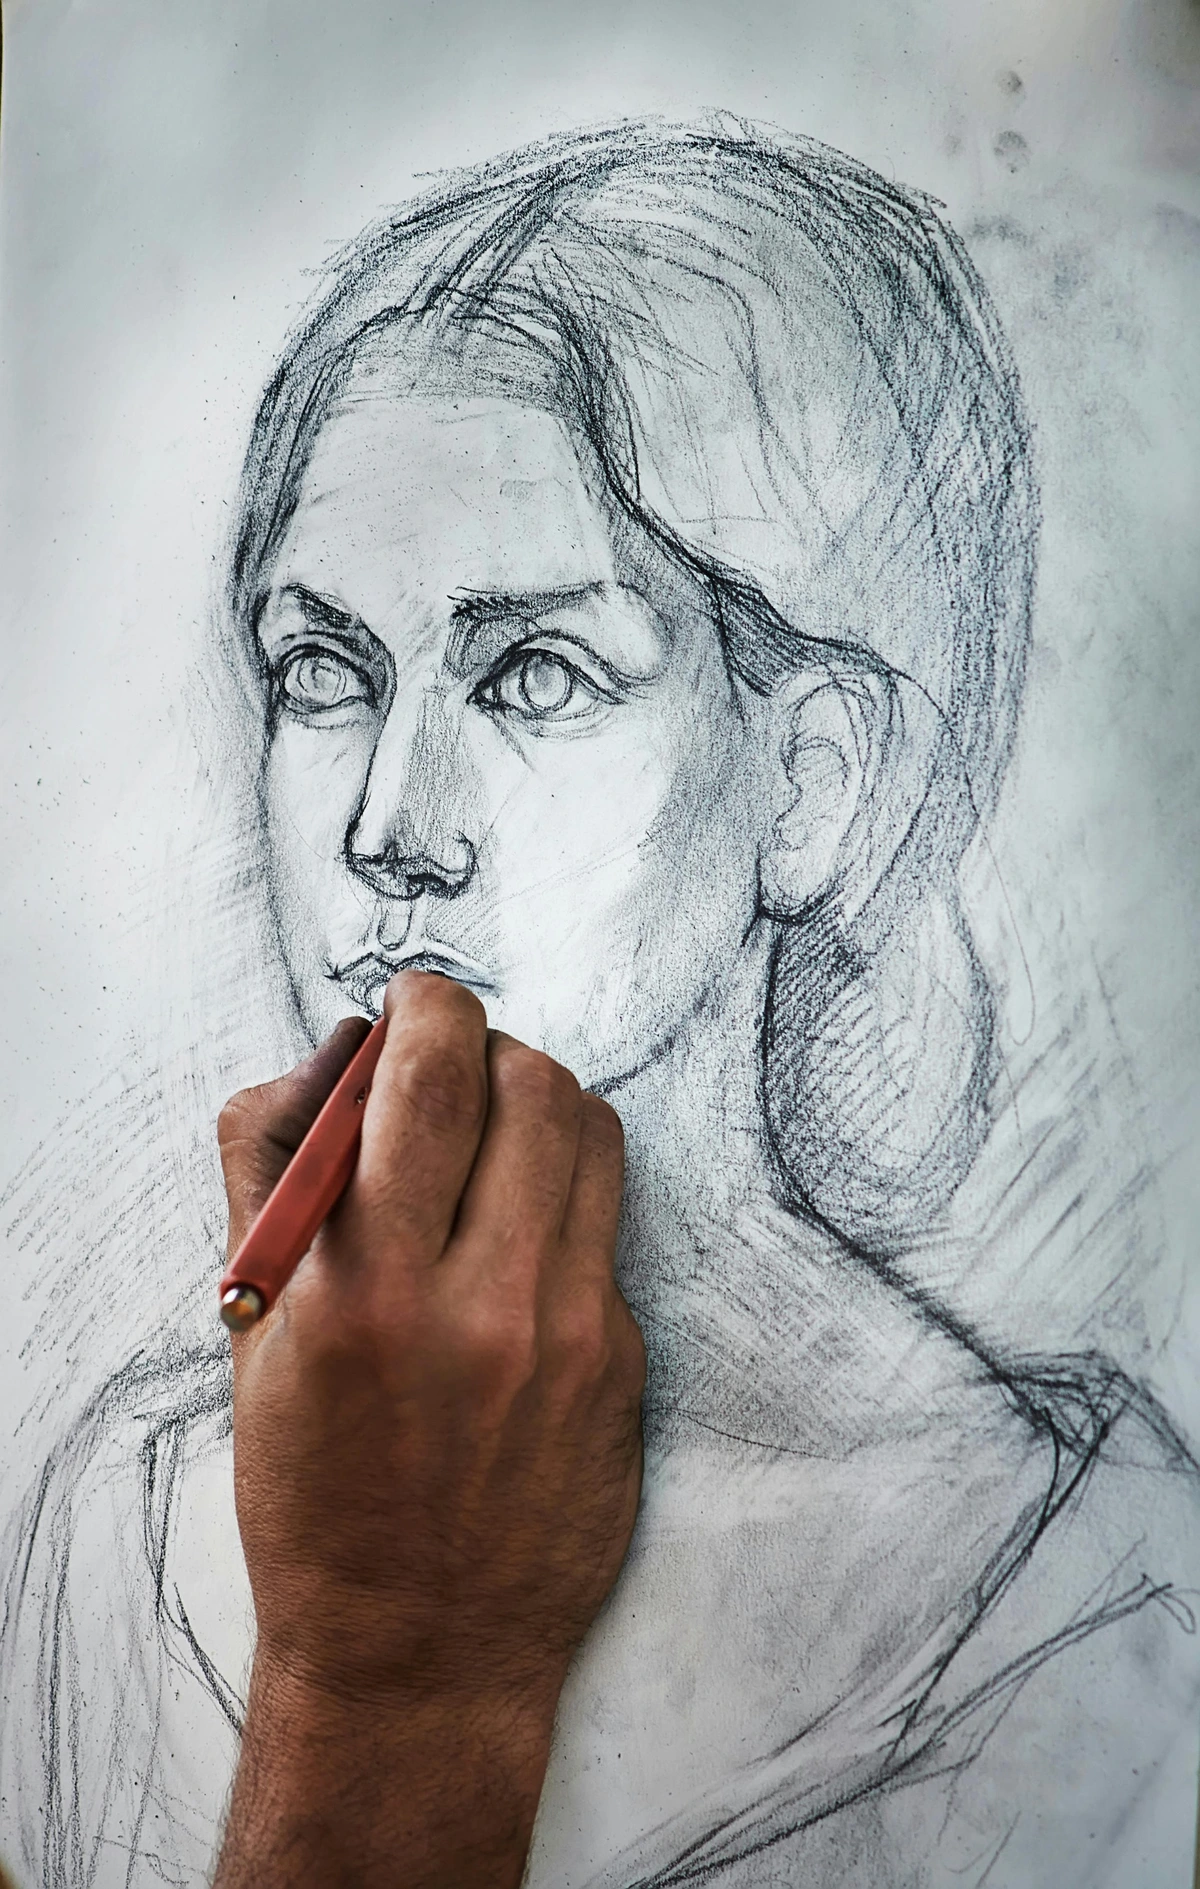
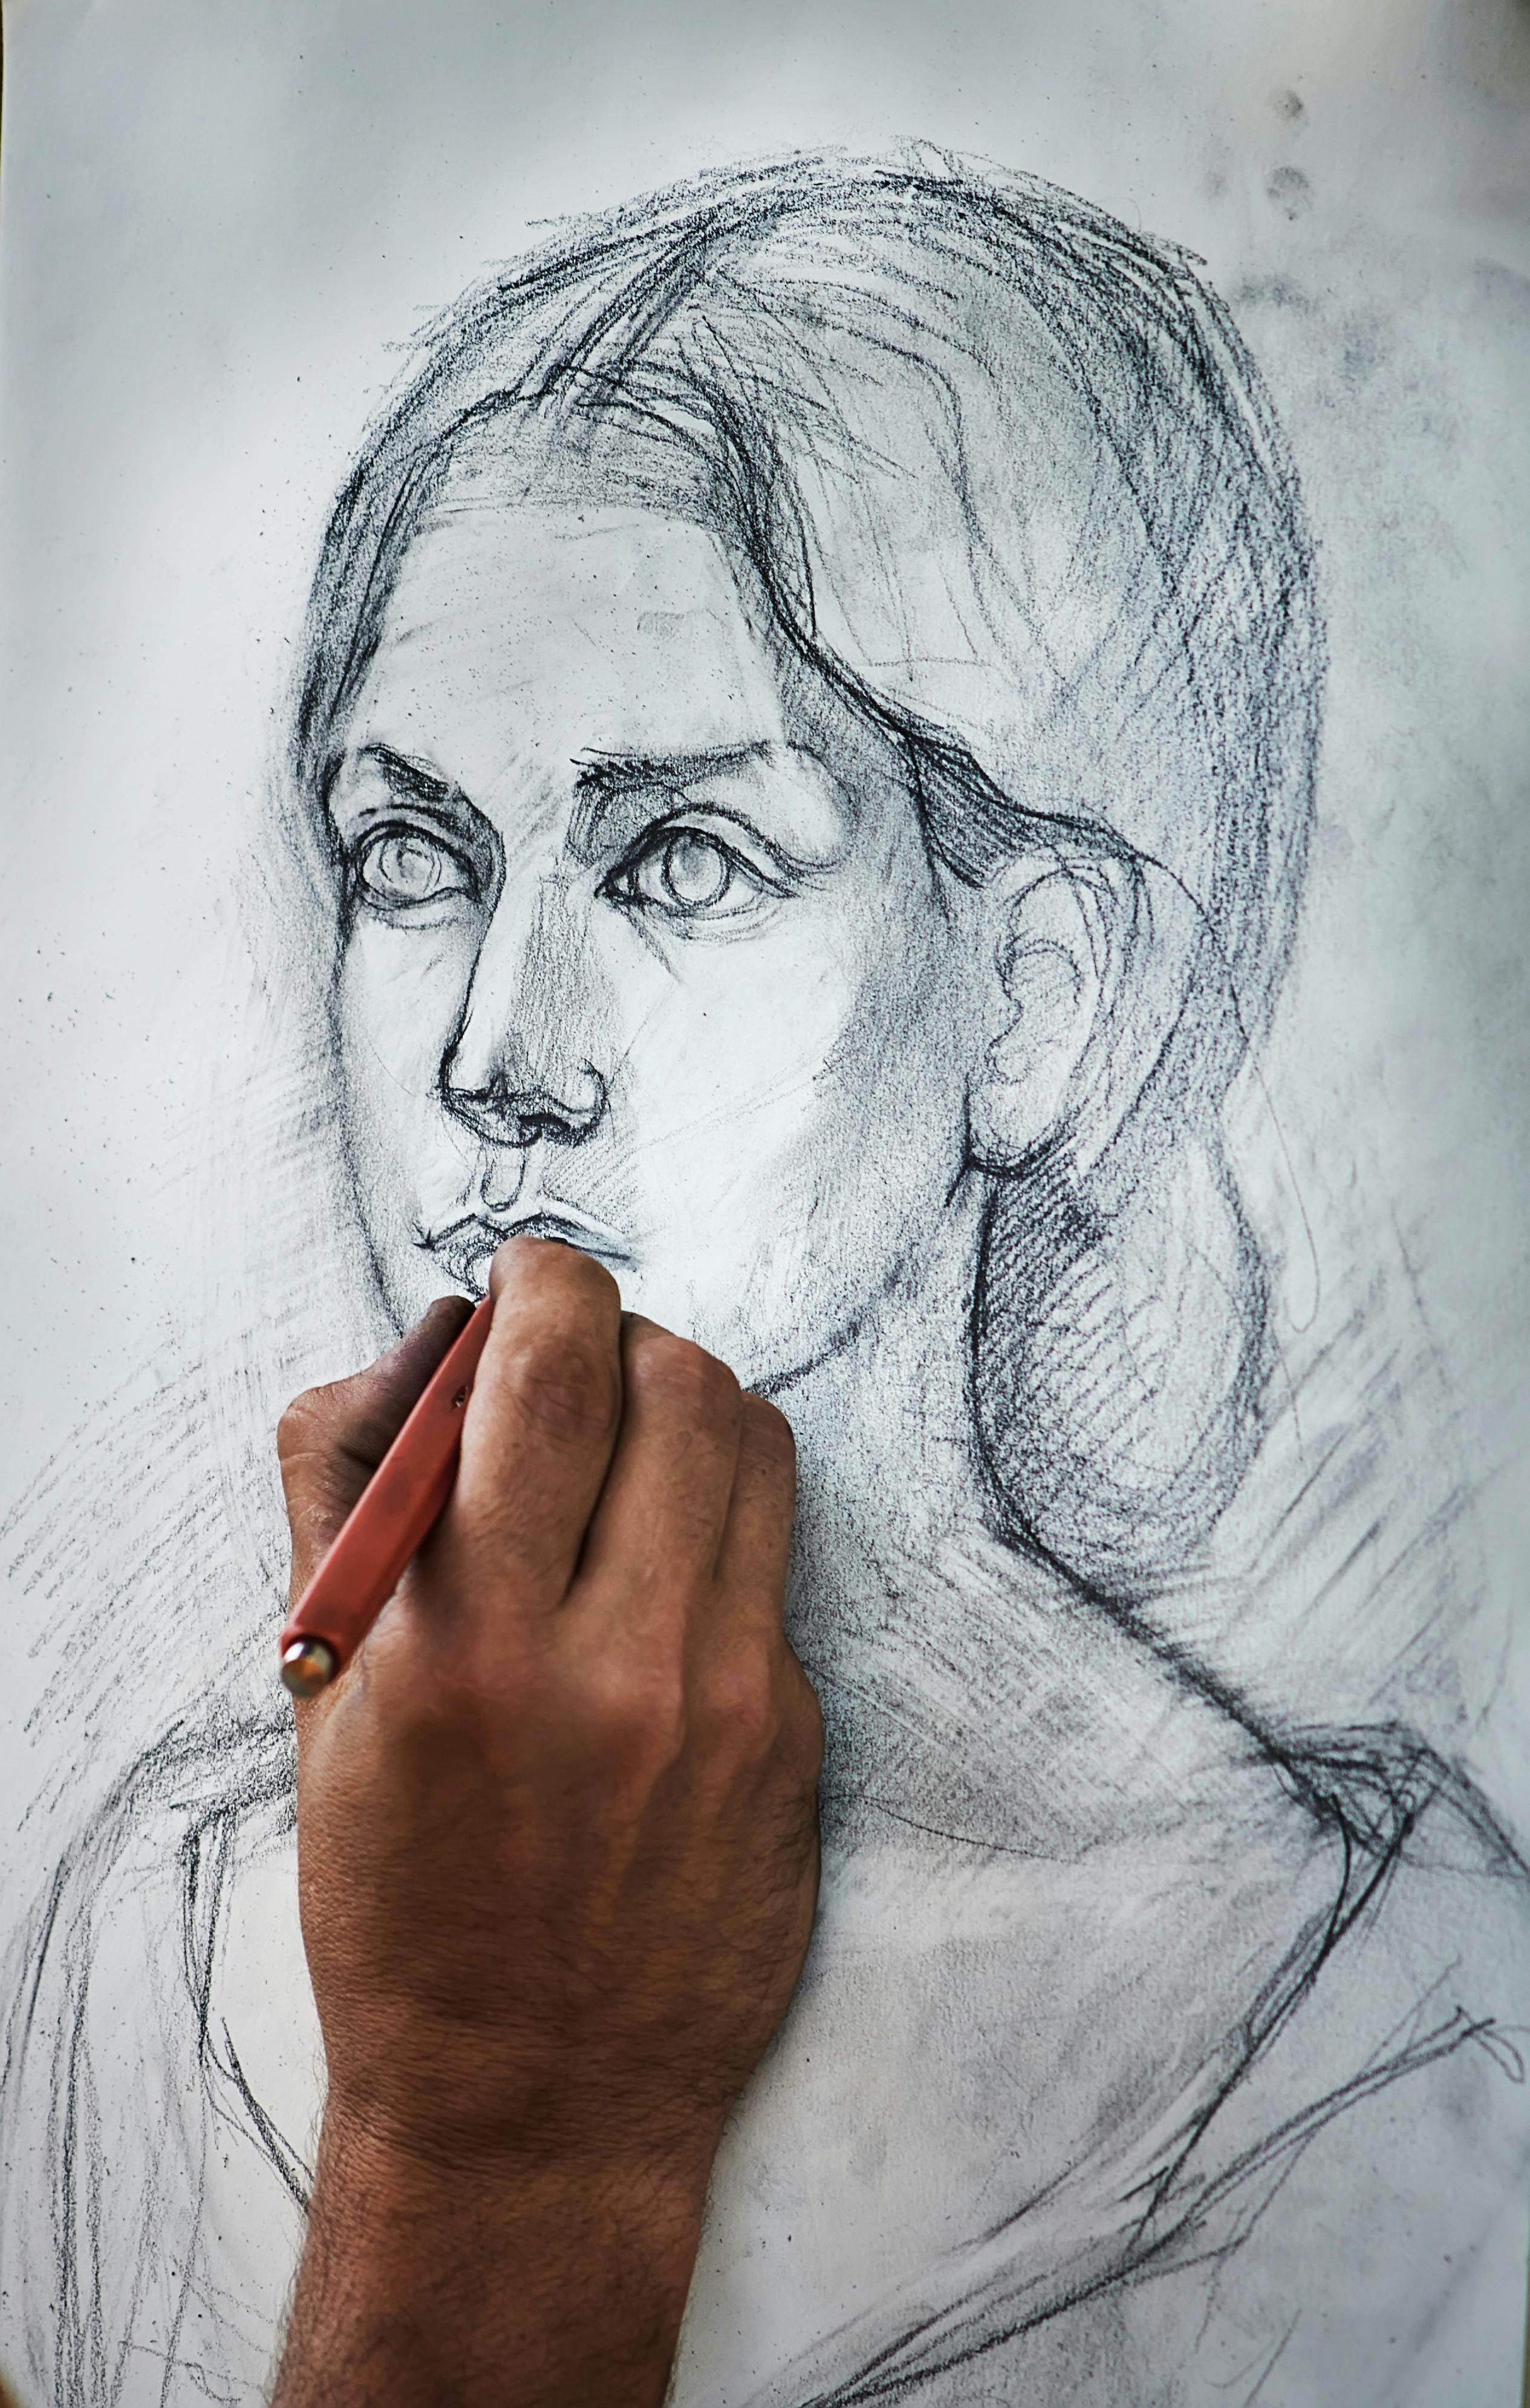
Charcoal Work
Charcoal was Redon's medium of choice for creating his signature dreamy atmosphere. Its versatility allows for a wide range of tones and textures, from deep blacks to soft grays, making it ideal for evoking a sense of mystery and depth.
Charcoal is a forgiving medium, allowing artists to easily blend, erase, and layer their work. This flexibility makes it perfect for experimenting with different techniques and achieving a variety of effects, from bold, dramatic lines to soft, ethereal shadows.
Tips for Using Charcoal Like Redon:
- Layering: Begin with light, feathery strokes to outline your composition. Gradually build up darker layers to create depth and contrast, allowing the image to emerge organically.
- Blending: Use your fingers, a blending stump, or even a piece of cloth to soften edges and create seamless transitions between tones. This technique is essential for achieving the ethereal quality Redon is known for.
- Erasing: An eraser isn't just for correcting mistakes—it's a tool for creating highlights and textures. Redon often used it to lift out areas of light, adding a ghostly, almost translucent quality to his drawings.
- Experiment with Pressure: Vary the pressure you apply with your charcoal to create a range of effects, from bold, dramatic lines to soft, barely-there shadows.
- Exploring Textures: Use charcoal to experiment with different textures. Whether it's the roughness of tree bark or the softness of a cloud, charcoal can capture a wide range of textures that add depth to your drawings.
- Negative Space: Pay attention to the negative space in your composition. Redon often used negative space to create a sense of balance and harmony in his drawings.
Table: Charcoal Techniques and Their Effects
Technique | Description | Effect |
|---|---|---|
| Layering | Gradually building up layers of charcoal | Creates depth and contrast |
| Blending | Softening edges with fingers or tools | Ethereal, dream-like quality |
| Erasing | Lifting out highlights with an eraser | Ghostly, translucent areas |
| Pressure Variation | Applying different pressures | Range of dramatic to subtle lines |
| Texture Exploration | Experimenting with textures | Adds depth and realism |
| Negative Space | Using empty spaces effectively | Balance and harmony |
Soft Pastel Applications
While charcoal was Redon's go-to for monochromatic works, his pastel pieces are equally captivating. Pastels allow for rich, saturated colors that can be blended and layered to create a luminous, almost glowing effect. This medium is perfect for artists looking to add a splash of color to their dream-like compositions.
Pastels offer a unique blend of vibrancy and softness, making them ideal for creating dream-like atmospheres. Their ability to layer and blend seamlessly allows artists to achieve a sense of depth and luminosity that is hard to replicate with other mediums.

Tips for Using Pastels Like Redon:
- Color Layering: Start with a base layer of color and gradually build up additional layers. This technique allows you to create depth and richness, making your colors appear more vibrant and dynamic.
- Blending: Use your fingers, a blending tool, or even a soft brush to mix colors directly on the paper. This can create smooth gradients and soft edges, enhancing the dream-like quality of your work.
- Fixative: Always use a fixative spray to set your pastel work and prevent smudging. Redon relied on fixative to preserve the delicate layers of his pastel pieces, ensuring their longevity.
- Paper Choice: Opt for textured pastel paper to help the pigments adhere better and create more interesting effects as you layer and blend.
- Experiment with Color Combinations: Don't be afraid to experiment with unusual color combinations. Redon often used unexpected colors to create a sense of mystery and intrigue in his work.
Table: Pastel Techniques and Their Effects
Technique | Description | Effect |
|---|---|---|
| Color Layering | Building up layers of pastel colors | Depth and vibrancy |
| Blending | Mixing colors with fingers or tools | Smooth gradients and soft edges |
| Fixative | Using spray to set pastel work | Preserves layers and prevents smudging |
| Paper Choice | Using textured pastel paper | Better pigment adhesion and effects |
| Color Combinations | Experimenting with unusual colors | Mystery and intrigue |
Creating Mysterious Imagery
One of the most compelling aspects of Redon's work is its ability to evoke a sense of mystery and intrigue. His imagery often feels like a glimpse into another world, one filled with symbolism and hidden meanings. To achieve a similar effect in your own work, consider the following techniques:
Mystery in art is not just about what is shown but also about what is left to the imagination. Redon's work often invites viewers to interpret and explore, creating a sense of curiosity and wonder.
Tips for Creating Mysterious Imagery:
- Symbolism: Incorporate symbolic elements into your drawings. Think about what different objects, creatures, or even colors might represent. For example, a floating eye could symbolize perception or surveillance, while a butterfly might represent transformation or fleeting beauty.
- Dream Journal: Keep a dream journal to record your own dreams and use them as inspiration for your art. Redon often drew from his dreams, and this practice can help you tap into your subconscious and uncover unique, personal imagery.
- Literary and Mythological Influences: Explore literature and mythology for inspiration. Redon was deeply influenced by the works of Edgar Allan Poe and Gustave Flaubert, as well as ancient myths. These sources can provide a wealth of symbolic and narrative ideas.
- Experiment: Don't be afraid to experiment with different techniques and materials. Redon was known for his innovative approach to art, and you should feel free to explore and push the boundaries of your own work. Try combining unexpected materials or techniques to create something truly unique.
- Ambiguity: Leave some elements of your drawing open to interpretation. A sense of ambiguity can make your work more intriguing and thought-provoking, inviting viewers to bring their own meanings to the piece.
- Use of Light and Shadow: Experiment with light and shadow to create a sense of depth and mystery. The interplay of light and dark can evoke emotions and draw viewers into your work.
- Composition: Pay attention to the composition of your drawing. A well-balanced composition can enhance the sense of mystery and intrigue, guiding the viewer's eye through the artwork.
Table: Techniques for Creating Mystery in Art
Technique | Description | Effect |
|---|---|---|
| Symbolism | Using symbolic elements | Adds layers of meaning |
| Dream Journal | Recording dreams for inspiration | Personal and unique imagery |
| Literary Influences | Drawing from literature and myths | Rich narrative and symbolic ideas |
| Experimentation | Trying new techniques and materials | Innovative and unique art |
| Ambiguity | Leaving elements open to interpretation | Intriguing and thought-provoking |
| Light and Shadow | Using light and shadow effectively | Depth and emotional impact |
| Composition | Balancing elements in the artwork | Guides the viewer's eye |
Step-by-Step Guide to Drawing Like Redon
Ready to dive into the world of dream-like drawings? Follow this step-by-step guide to create your own Redon-inspired masterpiece. Whether you're a beginner or an experienced artist, these steps will help you capture the essence of Redon's unique style.
Drawing like Redon is not just about replicating his techniques; it's about embracing his mindset. Allow yourself to explore the unknown, experiment with new ideas, and let your imagination guide your hand.
Preparing Your Mindset
Before you begin, take a moment to prepare your mindset. Drawing like Redon requires more than just technical skill—it requires a willingness to explore the unknown and embrace the subconscious. Spend a few minutes reflecting on your subject and what it means to you. This mental preparation will help you create a more meaningful and evocative piece.

Consider setting the mood for your drawing session. Play some soft music, light a candle, or create a quiet space where you can focus and let your imagination flow freely.

Step 1: Gather Your Materials
Before you begin, make sure you have all the necessary materials on hand. Having the right tools will make the process smoother and more enjoyable.
Investing in high-quality materials can make a significant difference in your artwork. While it's not necessary to have the most expensive supplies, choosing materials that suit your style and preferences can enhance your creative process.
Investing in high-quality materials can make a significant difference in your artwork. While it's not necessary to have the most expensive supplies, choosing materials that suit your style and preferences can enhance your creative process.

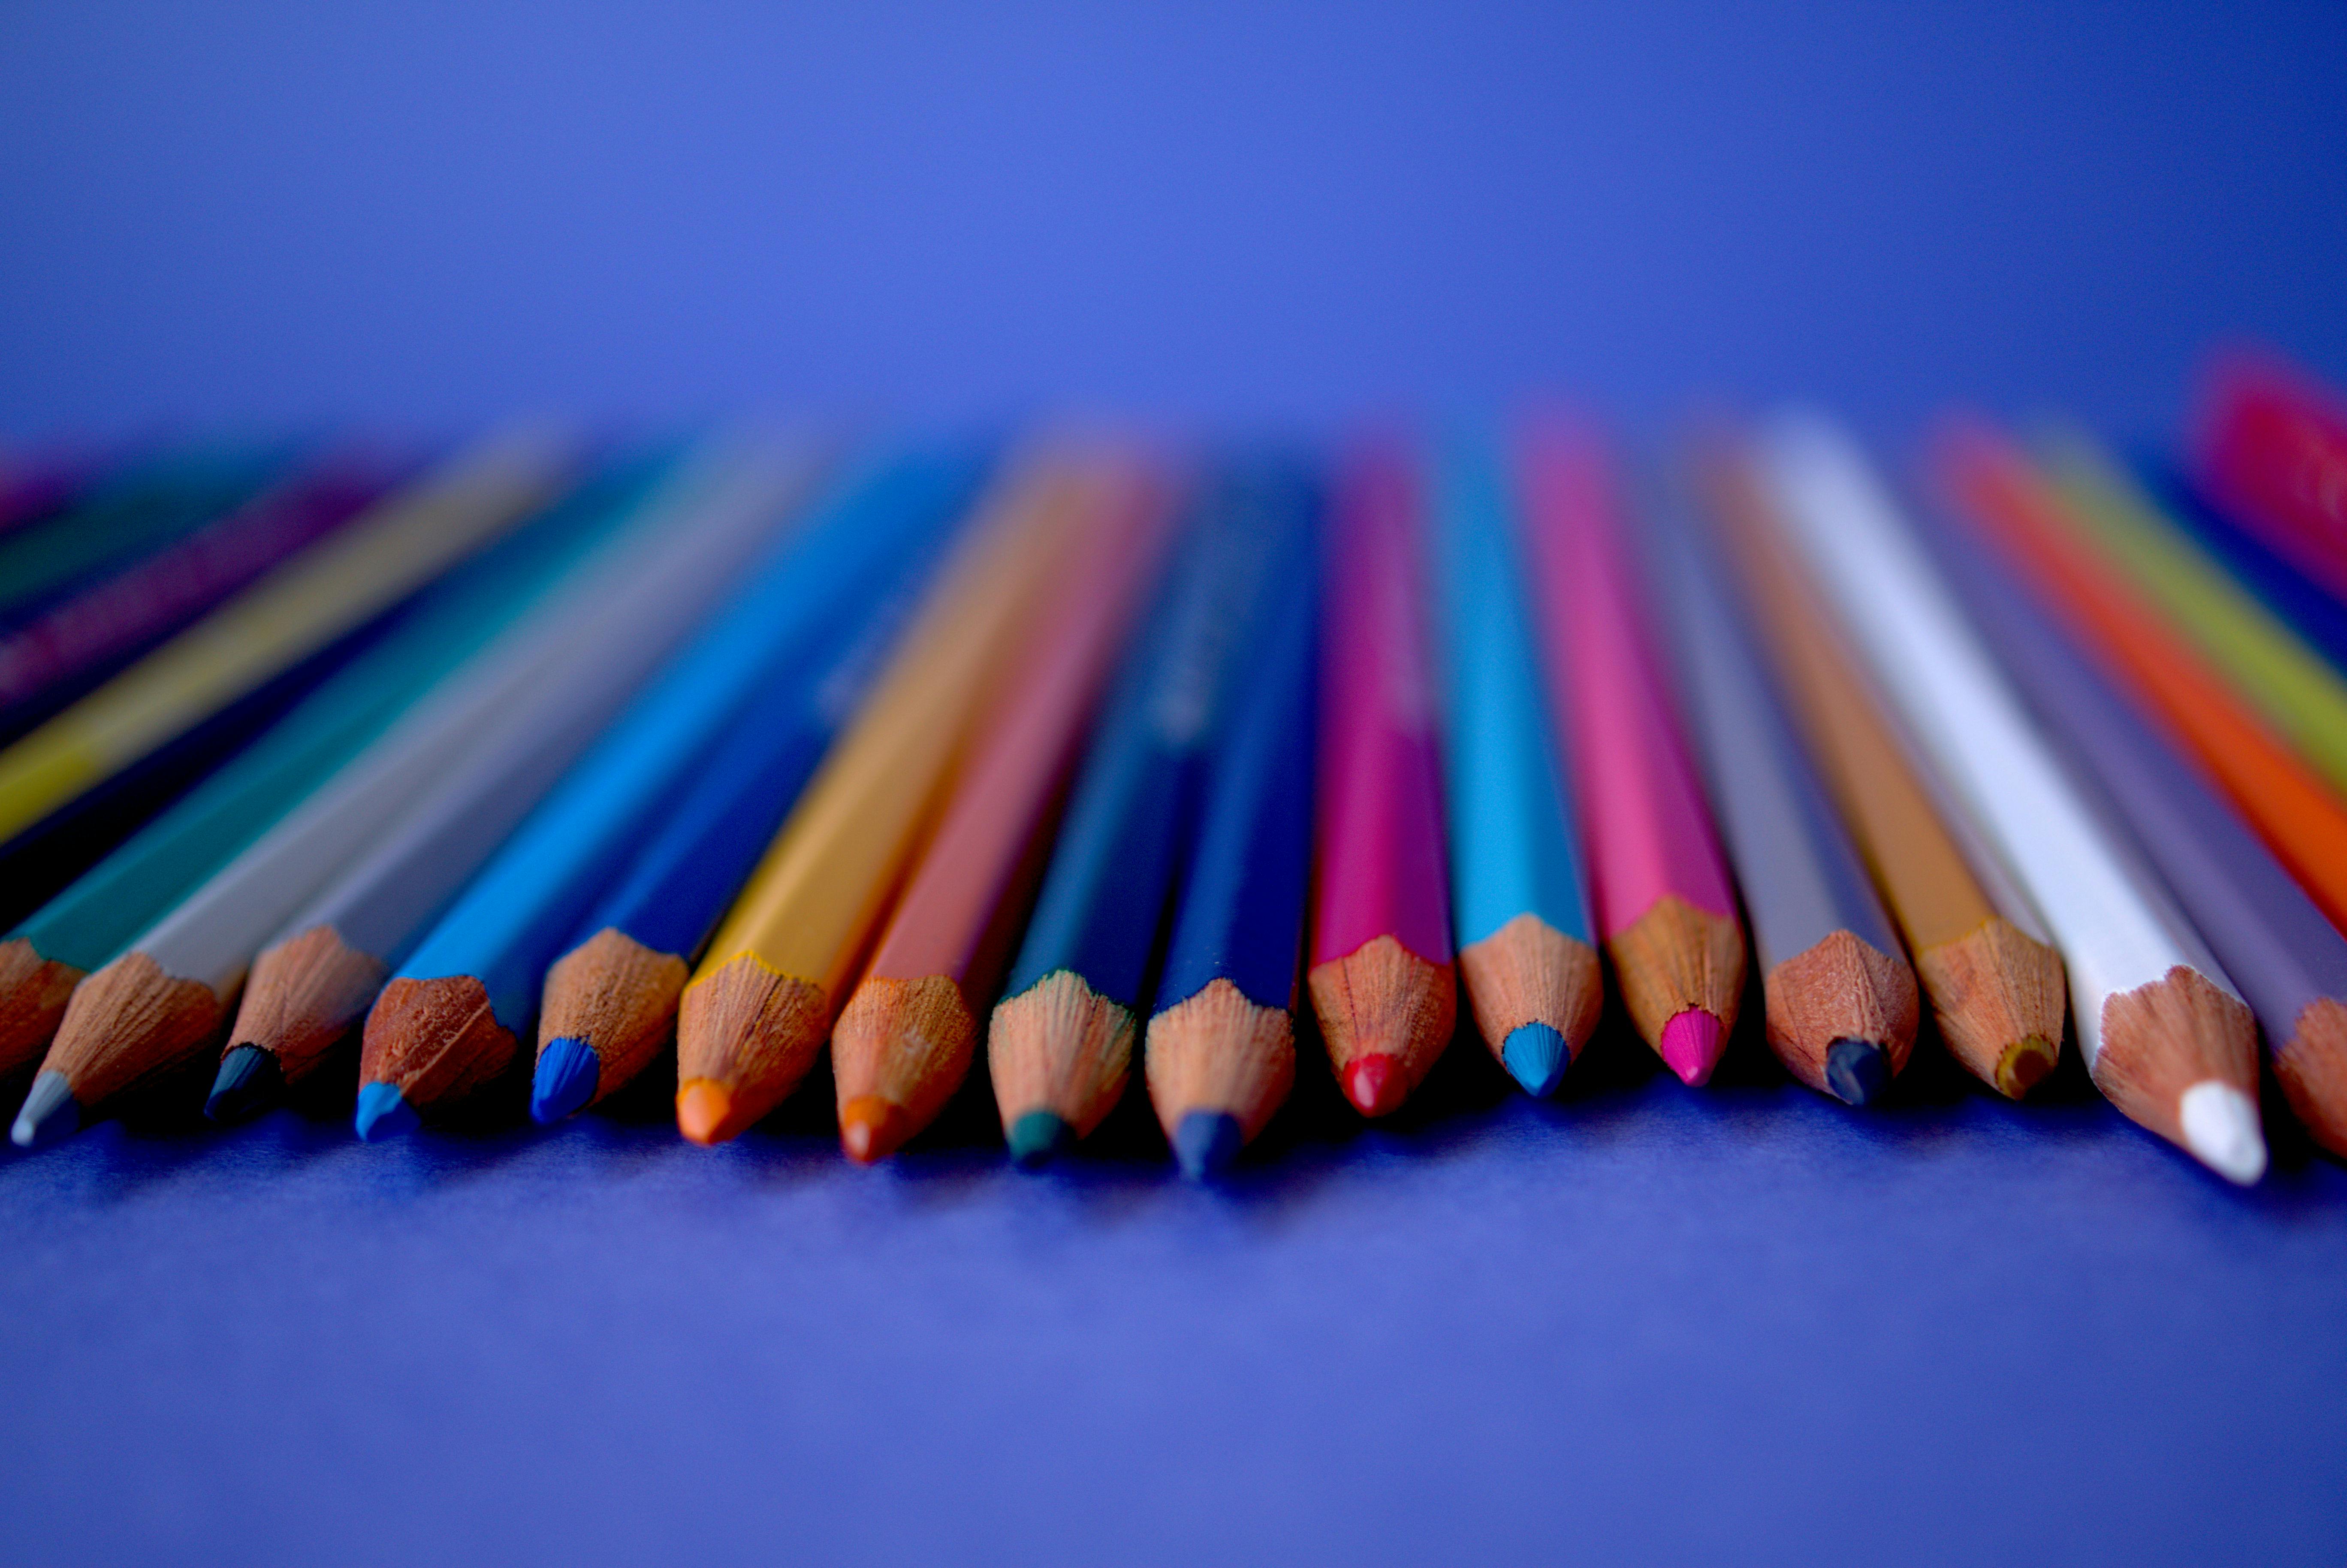
Essential Materials:
- Charcoal Pencils or Sticks: These are perfect for creating bold lines and soft shadows. Charcoal sticks are great for covering large areas, while pencils offer more precision.
- Soft Pastels: Choose a set with a variety of colors to experiment with layering and blending.
- Drawing Paper or Pastel Paper: Opt for a heavyweight paper with a slight texture to help the charcoal and pastels adhere better.
- Blending Stumps or Tortillons: These tools are essential for smoothing out edges and creating seamless transitions between tones.
- Erasers: Both kneaded and vinyl erasers are useful. Kneaded erasers are great for lifting out highlights, while vinyl erasers are better for precise corrections.
- Fixative Spray: This will help preserve your work and prevent smudging once you're finished.
- Sketchbook: A dedicated sketchbook for practicing and experimenting with different techniques and ideas.
Table: Essential Materials for Redon-Inspired Art
Material | Purpose | Notes |
|---|---|---|
| Charcoal Pencils/Sticks | Bold lines and soft shadows | Sticks for large areas, pencils for precision |
| Soft Pastels | Layering and blending colors | Choose a variety of colors |
| Drawing/Pastel Paper | Adhering charcoal and pastels | Heavyweight with slight texture |
| Blending Stumps/Tortillons | Smoothing edges and transitions | Essential for seamless blending |
| Erasers | Lifting highlights and corrections | Kneaded for highlights, vinyl for precision |
| Fixative Spray | Preserving work and preventing smudging | Use once finished |
| Sketchbook | Practicing and experimenting | Dedicated for techniques and ideas |
Optional Extras:
- Sandpaper or Pencil Sharpener: For sharpening charcoal pencils.
- Masking Tape: To secure your paper and create clean edges.
- Reference Images: Gather images that inspire you, whether they're photographs, other artworks, or even pages from your dream journal.
- Drawing Board: A sturdy drawing board can provide a stable surface for your work, making it easier to control your strokes and blend your materials.
Table: Optional Extras for Enhanced Artwork
Extra | Purpose | Notes |
|---|---|---|
| Sandpaper/Pencil Sharpener | Sharpening charcoal pencils | For precision work |
| Masking Tape | Securing paper and clean edges | Helps with stability |
| Reference Images | Inspiration and guidance | Photographs, artworks, dream journal |
| Drawing Board | Stable surface for work | Easier control and blending |
Step 2: Choose Your Subject
Redon's subjects were often fantastical, symbolic, and deeply personal. When choosing your subject, think about what resonates with you and allows for a sense of mystery and intrigue.
Your subject should inspire you and evoke a sense of curiosity. Whether it's a fantastical creature, a symbolic object, or a dream-like landscape, choose something that speaks to your imagination and allows you to explore new ideas.
Ideas for Subjects:
- Fantastical Creatures: Imagine a creature that doesn't exist in reality—perhaps a hybrid of different animals or a being from another world.
- Symbolic Objects: Choose an object that holds personal or universal significance, such as a key, a mirror, or a floating eye.
- Dream-Like Landscapes: Create a landscape that feels otherworldly, with surreal elements like floating islands, glowing trees, or shifting skies.
- Portraits with a Twist: Draw a portrait but add symbolic or surreal elements, such as a face with multiple eyes or a figure surrounded by floating objects.
- Abstract Concepts: Explore abstract concepts like time, memory, or emotion through visual symbolism.
Table: Subject Ideas for Redon-Inspired Art
Subject Type | Description | Example |
|---|---|---|
| Fantastical Creatures | Hybrid or otherworldly beings | Dragon with butterfly wings |
| Symbolic Objects | Objects with personal or universal meaning | Key, mirror, floating eye |
| Dream-Like Landscapes | Surreal and otherworldly scenes | Floating islands, glowing trees |
| Portraits with a Twist | Portraits with surreal elements | Face with multiple eyes |
| Abstract Concepts | Visual representations of abstract ideas | Time as a melting clock |
Tips for Choosing Your Subject:
- Personal Connection: Choose something that has personal meaning to you. This will make the drawing process more engaging and the final piece more authentic.
- Symbolism: Think about the symbolic potential of your subject. What could it represent? How can you use it to convey a deeper message or emotion?
- Experiment: Don't be afraid to combine different ideas or experiment with unconventional subjects. The goal is to create something unique and evocative.
Table: Tips for Choosing a Subject
Tip | Description | Benefit |
|---|---|---|
| Personal Connection | Choose a subject with personal meaning | More engaging and authentic |
| Symbolism | Consider the symbolic potential | Conveys deeper messages |
| Experiment | Combine ideas and try unconventional subjects | Unique and evocative art |
Step 3: Sketch Your Composition
With your subject in mind, it's time to sketch out your composition. This initial sketch is all about laying the foundation for your drawing, so don't worry about details just yet.
Sketching is an essential part of the creative process. It allows you to explore different ideas, experiment with compositions, and refine your vision before committing to a final piece.
Sketching is an essential part of the creative process. It allows you to explore different ideas, experiment with compositions, and refine your vision before committing to a final piece.
Tips for Sketching:
- Light Lines: Use light, loose lines to outline the basic shapes and proportions of your subject. This will make it easier to make adjustments as you go.
- Focus on Flow: Pay attention to the overall flow and balance of your composition. Think about how the elements interact with each other and how the viewer's eye will move through the drawing.
- Avoid Details: At this stage, avoid getting bogged down in details. The goal is to establish the basic structure of your drawing, not to create a finished piece.
- Use Guidelines: If you're drawing a complex subject, consider using guidelines or a grid to help you maintain proportions and perspective.
- Experiment with Composition: Don't be afraid to experiment with different compositions. Try out different arrangements of elements to see what works best for your subject.
Table: Sketching Tips for Composition
Tip | Description | Benefit |
|---|---|---|
| Light Lines | Use light, loose lines for basic shapes | Easier adjustments |
| Focus on Flow | Pay attention to overall flow and balance | Better composition |
| Avoid Details | Focus on basic structure, not details | Establishes foundation |
| Use Guidelines | Use guidelines or grids for complex subjects | Maintains proportions |
| Experiment with Composition | Try different arrangements of elements | Finds the best composition |
Step 4: Build Up Your Tones
Now that your sketch is in place, it's time to start building up the tones in your drawing. This is where the magic begins to happen, as your subject starts to take on depth and dimension.
Building up tones is a gradual process that requires patience and attention to detail. It's about creating a sense of depth and dimension, bringing your subject to life, and making it feel three-dimensional.

Tips for Building Tones:
- Start Light: Begin with light, feathery strokes to establish the base tones of your drawing. This will help you avoid over-darkening your work too soon.
- Layer Gradually: Gradually add darker layers to create depth and contrast. Think of this process as building up the shadows and highlights that will give your drawing its three-dimensional quality.
- Work from Background to Foreground: Start by establishing the tones in the background and then move to the foreground. This will help you create a sense of depth and ensure that your subject stands out.
- Use Reference: If you're working from a reference image, pay close attention to the tones and how they interact. Try to replicate the subtle shifts in light and shadow that give the image its depth.
- Experiment with Contrast: Play with contrast to create drama and focus in your drawing. High contrast can draw attention to specific areas, while low contrast can create a sense of softness and subtlety.
Table: Tips for Building Tones
Tip | Description | Benefit |
|---|---|---|
| Start Light | Begin with light, feathery strokes | Avoids over-darkening |
| Layer Gradually | Add darker layers for depth and contrast | Three-dimensional quality |
| Work from Background to Foreground | Establish background tones first | Creates depth and focus |
| Use Reference | Pay attention to tones in reference images | Replicates depth and subtlety |
| Experiment with Contrast | Play with contrast for drama and focus | Highlights specific areas |
Step 5: Blend and Soft Edges
Blending is a crucial step in achieving the dreamy, ethereal quality that Redon's work is known for. By softening edges and creating smooth transitions between tones, you can give your drawing a sense of depth and atmosphere.
Blending is not just about smoothing out edges; it's about creating a sense of harmony and cohesion in your drawing. It's about making the different elements of your composition work together to create a unified whole.

Tips for Blending:
- Use the Right Tools: Experiment with different blending tools, such as your fingers, blending stumps, or even a soft brush. Each tool will give you a slightly different effect.
- Work in Sections: Blend one section of your drawing at a time to avoid smudging areas you've already worked on. This will help you maintain control over the blending process.
- Vary Pressure: Apply varying degrees of pressure as you blend. Lighter pressure will create a softer, more subtle effect, while heavier pressure can help you achieve deeper, more dramatic transitions.
- Avoid Over-Blending: Be careful not to over-blend, as this can make your drawing look muddy or lose its definition. The goal is to soften edges, not to eliminate them entirely.
- Layered Blending: Use multiple layers of blending to create depth and complexity in your drawing. Each layer can add a new dimension to your work.
Table: Blending Techniques and Their Effects
Technique | Description | Effect |
|---|---|---|
| Use the Right Tools | Experiment with different blending tools | Varied effects |
| Work in Sections | Blend one section at a time | Maintains control |
| Vary Pressure | Apply varying degrees of pressure | Soft or dramatic transitions |
| Avoid Over-Blending | Be careful not to over-blend | Preserves definition |
| Layered Blending | Use multiple layers of blending | Depth and complexity |

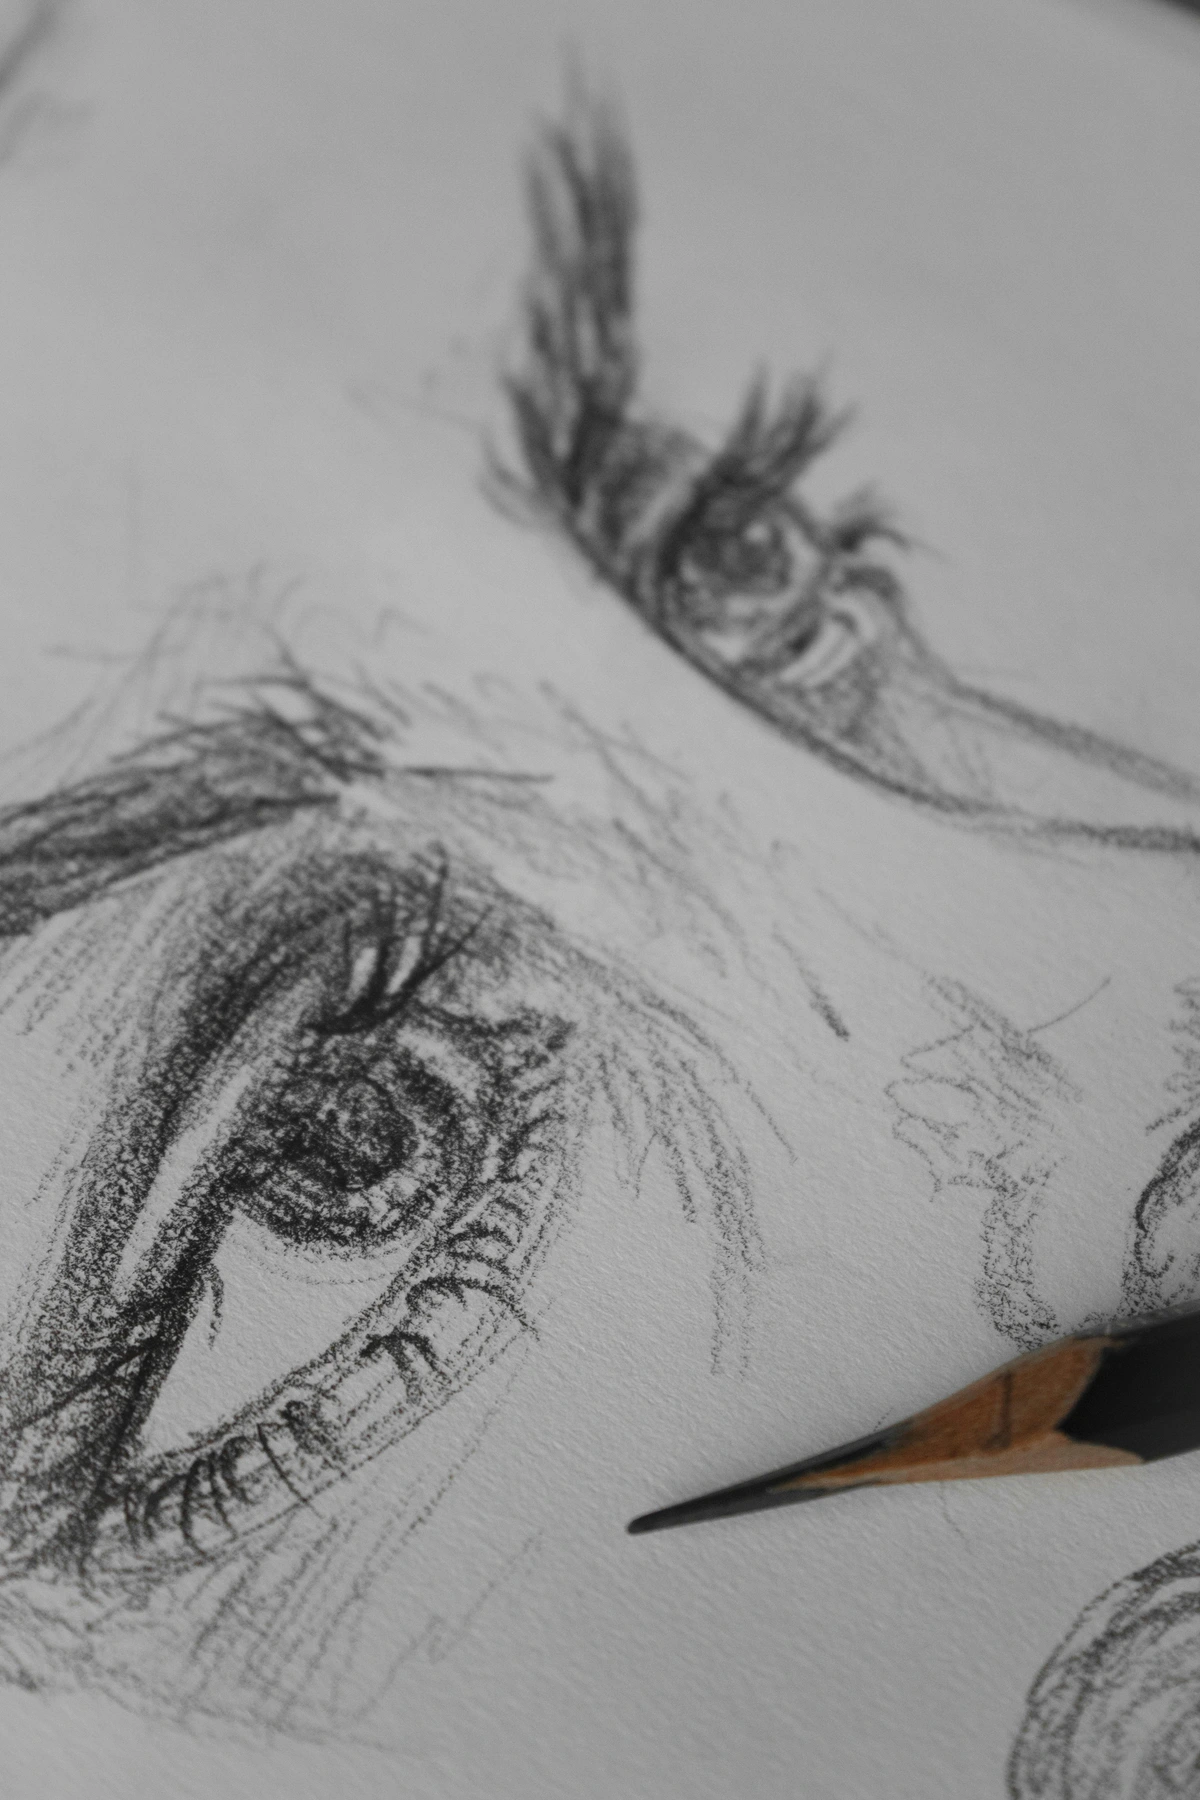
Step 6: Add Highlights and Textures
Highlights and textures are what bring your drawing to life, adding a sense of dimension and realism. By strategically lifting out highlights and creating subtle textures, you can enhance the overall atmosphere of your piece.
Highlights and textures are the final touches that can make your drawing truly shine. They add depth, dimension, and a sense of realism, making your artwork more engaging and dynamic.
Tips for Adding Highlights and Textures:
- Use an Eraser: An eraser isn't just for correcting mistakes—it's a powerful tool for creating highlights. Use a kneaded eraser to lift out areas of light, giving your drawing a ghostly, almost translucent quality.
- Experiment with Techniques: Try using the eraser to create textures, such as the rough surface of a tree bark or the soft folds of fabric. You can also use it to add fine details, like the glint of light in an eye or the sparkle of a distant star.
- Layer Textures: Build up textures gradually, layering different techniques to create a more complex and interesting effect. For example, you might start with a base layer of charcoal, then add pastel highlights, and finally use an eraser to lift out fine details.
- Consider Light Source: Think about the direction of the light in your drawing and how it affects the highlights and shadows. This will help you create a more cohesive and realistic effect.
- Use Mixed Media: Don't be afraid to mix different media to create unique textures. For example, you can combine charcoal with pastels or even watercolor to create interesting effects.
Table: Techniques for Adding Highlights and Textures
Technique | Description | Effect |
|---|---|---|
| Use an Eraser | Lift out areas of light with an eraser | Ghostly, translucent quality |
| Experiment with Techniques | Create textures and fine details | Adds realism and interest |
| Layer Textures | Build up textures gradually | Complex and interesting effects |
| Consider Light Source | Think about light direction | Cohesive and realistic effect |
| Use Mixed Media | Combine different media | Unique textures and effects |

Step 7: Final Touches
You're almost there! The final touches are what will bring your drawing together and ensure its longevity. Take your time with this step to make sure your piece is as polished and professional as possible.
The final touches are your opportunity to review your work, make any necessary adjustments, and ensure that your drawing is as polished and professional as possible. This is also the time to protect your artwork and preserve it for the future.

Tips for Final Touches:
- Fixative Spray: Use a fixative spray to set your work and prevent smudging. This is especially important for charcoal and pastel drawings, as these mediums are prone to smudging and fading over time. Hold the can about 12 inches away from your drawing and apply a light, even coat.
- Review and Adjust: Step back and take a look at your drawing as a whole. Are there any areas that need adjustment? Do the tones and textures flow smoothly? Make any final tweaks to ensure your drawing is balanced and cohesive.
- Sign Your Work: Don't forget to sign your drawing! This is your chance to put your personal stamp on the piece and mark it as your own creation.
- Protect Your Drawing: Once your fixative is dry, consider framing your drawing or storing it in a protective sleeve to keep it safe from dust, moisture, and other potential damage.
- Document Your Process: Take photos of your drawing at different stages of the process. This can help you track your progress and reflect on what worked and what didn't.
Table: Final Touches for Your Artwork
Tip | Description | Benefit |
|---|---|---|
| Fixative Spray | Use spray to set work and prevent smudging | Preserves artwork |
| Review and Adjust | Step back and review the drawing | Balanced and cohesive |
| Sign Your Work | Add your signature | Personal stamp |
| Protect Your Drawing | Frame or store in protective sleeve | Safe from damage |
| Document Your Process | Take photos at different stages | Track progress and reflect |
Common Mistakes to Avoid
Even the most experienced artists can fall into common pitfalls. By being aware of these mistakes and knowing how to avoid them, you can create a more polished and professional drawing.
Mistakes are a natural part of the creative process. They provide opportunities to learn, grow, and improve your skills. By understanding common pitfalls, you can avoid them and create artwork that is more polished and professional.
Mistakes are a natural part of the creative process. They provide opportunities to learn, grow, and improve your skills. By understanding common pitfalls, you can avoid them and create artwork that is more polished and professional.
Mistake | Solution | Benefit |
|---|---|---|
| Overworking the drawing | Step back and take breaks to avoid overworking your drawing. Sometimes less is more, and knowing when to stop is key to preserving the freshness of your work. | Preserves freshness and spontaneity |
| Using too much pressure | Use light, feathery strokes to build up your tones gradually. This will give you more control and allow for greater subtlety in your shading. | Greater control and subtlety |
| Ignoring the background | Pay attention to the background and use it to enhance the overall atmosphere of your drawing. A well-executed background can add depth and context to your subject. | Adds depth and context |
| Not experimenting enough | Don't be afraid to experiment with different techniques and materials. Redon was known for his innovative approach to art, and experimentation is key to discovering your own unique style. | Discovers unique style |
| Rushing the process | Take your time with each step of the drawing process. Rushing can lead to mistakes and a less polished final product. | More polished final product |
| Neglecting composition | Spend time planning your composition before you start drawing. A strong composition is the foundation of a successful artwork. | Strong foundation for artwork |
| Over-reliance on reference images | While reference images can be helpful, don't rely on them too heavily. Use them as a guide, but allow your own creativity and imagination to shine through. | Encourages creativity and imagination |
| Fear of Making Mistakes | Embrace mistakes as part of the creative process. They can lead to unexpected and innovative solutions in your artwork. | Leads to innovative solutions |
| Lack of Patience | Be patient with yourself and your work. Art is a journey, and it takes time to develop your skills and create something truly remarkable. | Develops skills and creates remarkable art |
| Ignoring Feedback | Seek feedback from other artists and be open to constructive criticism. It can help you grow and improve your artwork. | Helps growth and improvement |
FAQ
What inspired Odilon Redon's unique style?
Odilon Redon's unique style was inspired by a combination of literary influences, personal experiences, and his fascination with the subconscious. He was deeply influenced by the works of Edgar Allan Poe and the symbolist poets, as well as his own dreams and imagination. This blend of influences allowed him to create a body of work that is both deeply personal and universally resonant.
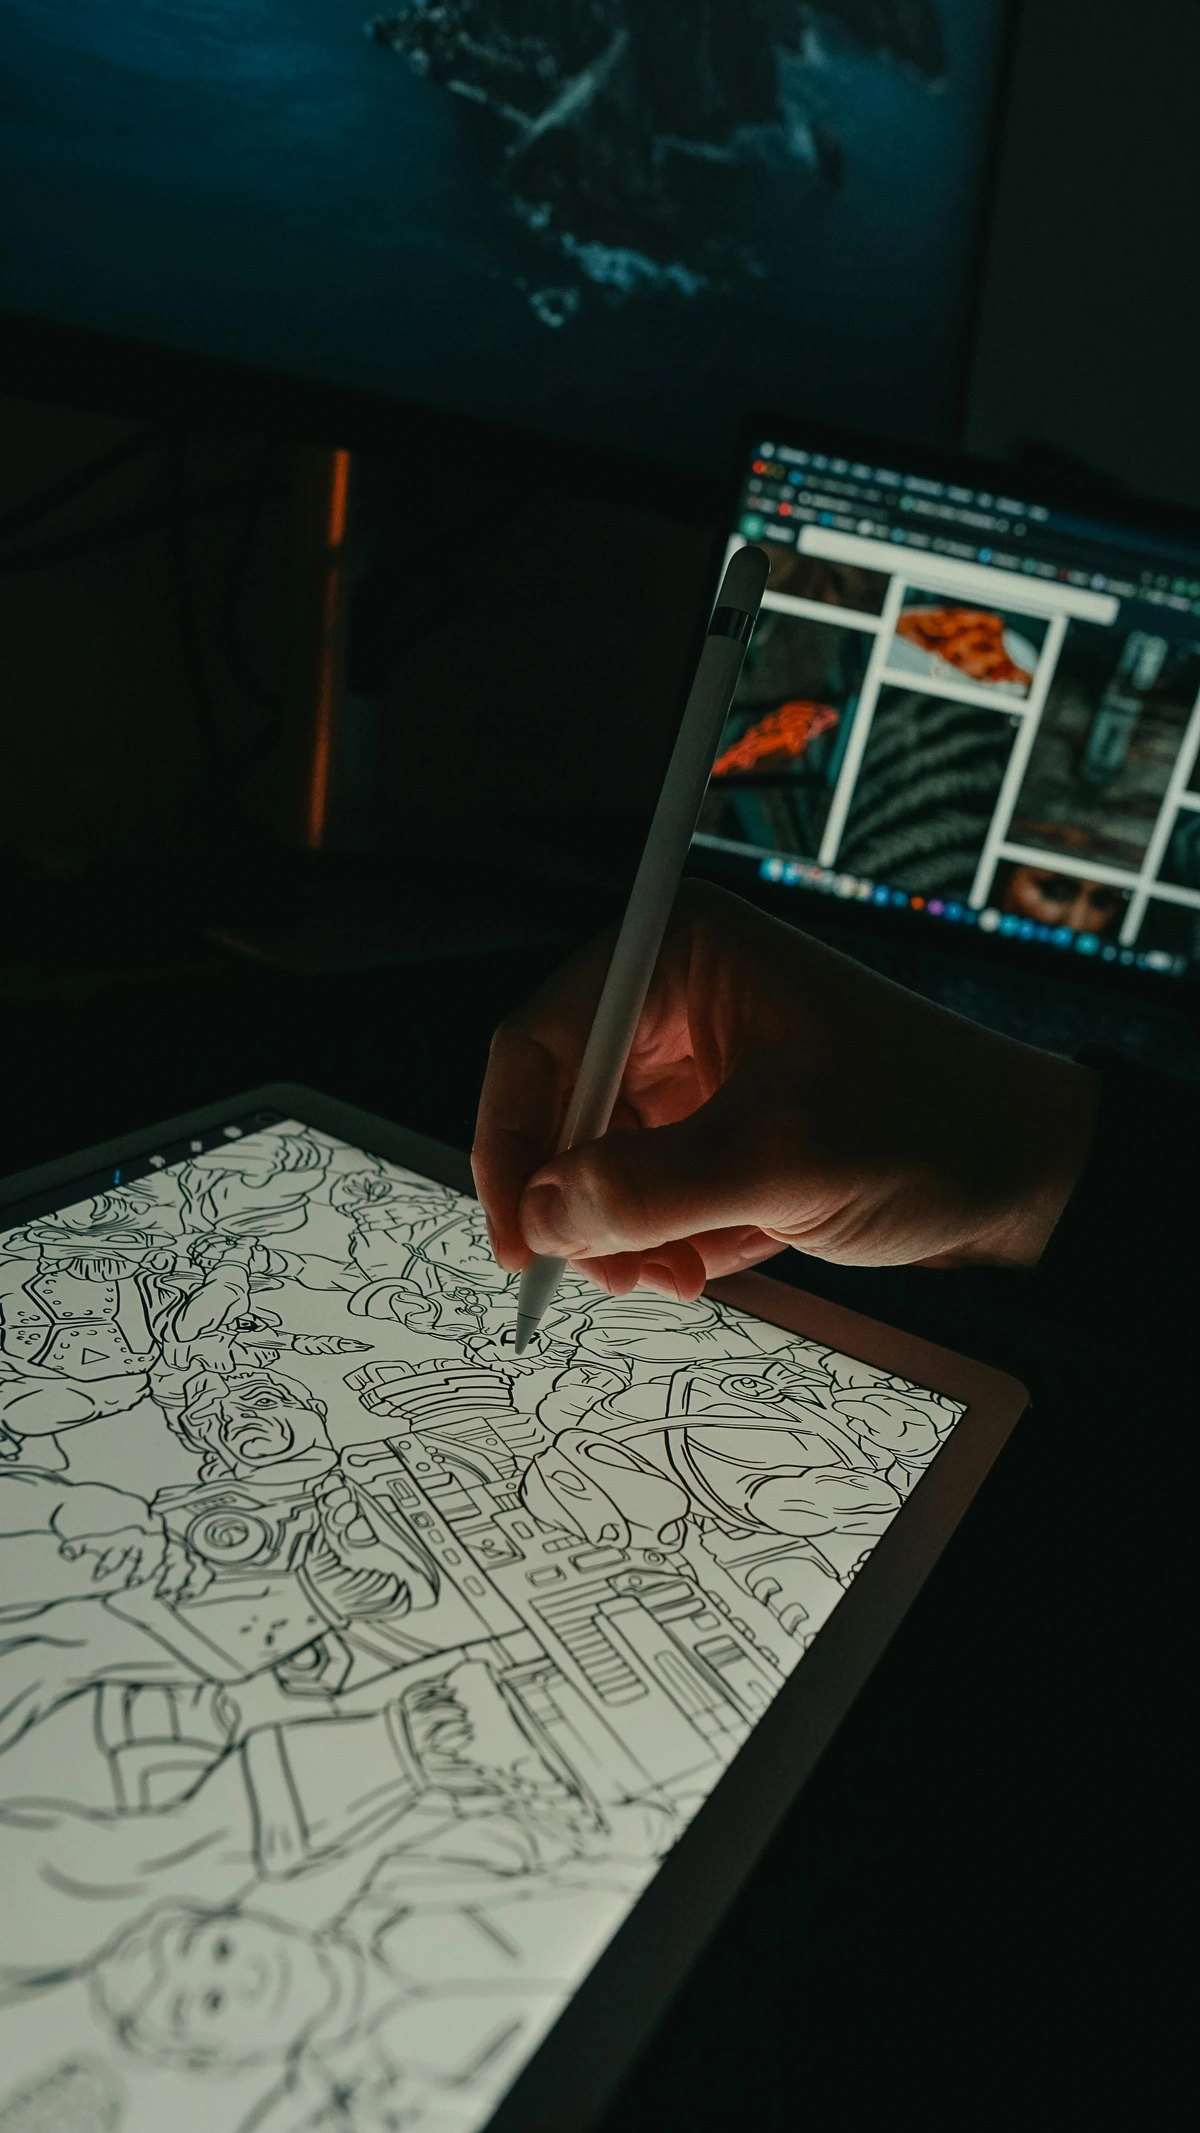
Table: Influences on Odilon Redon's Style
Influence | Description | Impact |
|---|---|---|
| Literary Influences | Works of Edgar Allan Poe and symbolist poets | Deeply personal and universally resonant |
| Personal Experiences | His own dreams and imagination | Unique and personal imagery |
| Subconscious | Fascinated by the subconscious | Ethereal and symbolic art |
How can I develop my own unique style?
Developing your own unique style takes time and experimentation. Start by exploring different techniques, materials, and subjects. Keep a sketchbook to document your progress and ideas. Over time, you'll begin to see patterns and preferences emerge, helping you define your own artistic voice.
Your unique style is a reflection of your experiences, preferences, and creative journey. Embrace the process of exploration and experimentation, and allow your artistic voice to evolve naturally.
Table: Steps to Develop Your Unique Style
Step | Description | Benefit |
|---|---|---|
| Explore Techniques | Try different techniques and materials | Discovers preferences |
| Keep a Sketchbook | Document progress and ideas | Tracks growth and inspiration |
| Identify Patterns | Notice recurring themes and techniques | Defines artistic voice |
What materials did Odilon Redon use?
Redon primarily used charcoal, lithography, and soft pastels. He was known for his innovative approach to these materials, often experimenting with different techniques to achieve his signature dream-like quality. His willingness to push the boundaries of traditional art-making is what sets his work apart.
Charcoal and pastels are versatile mediums that allow for a wide range of tones and textures. By experimenting with these materials, you can achieve a variety of effects, from bold, dramatic lines to soft, ethereal shadows.
Table: Materials Used by Odilon Redon
Material | Description | Impact |
|---|---|---|
| Charcoal | Versatile medium for tones and textures | Ethereal and mysterious quality |
| Lithography | Printing technique for detailed images | Precise and intricate art |
| Soft Pastels | Rich, saturated colors for blending | Luminous and glowing effects |
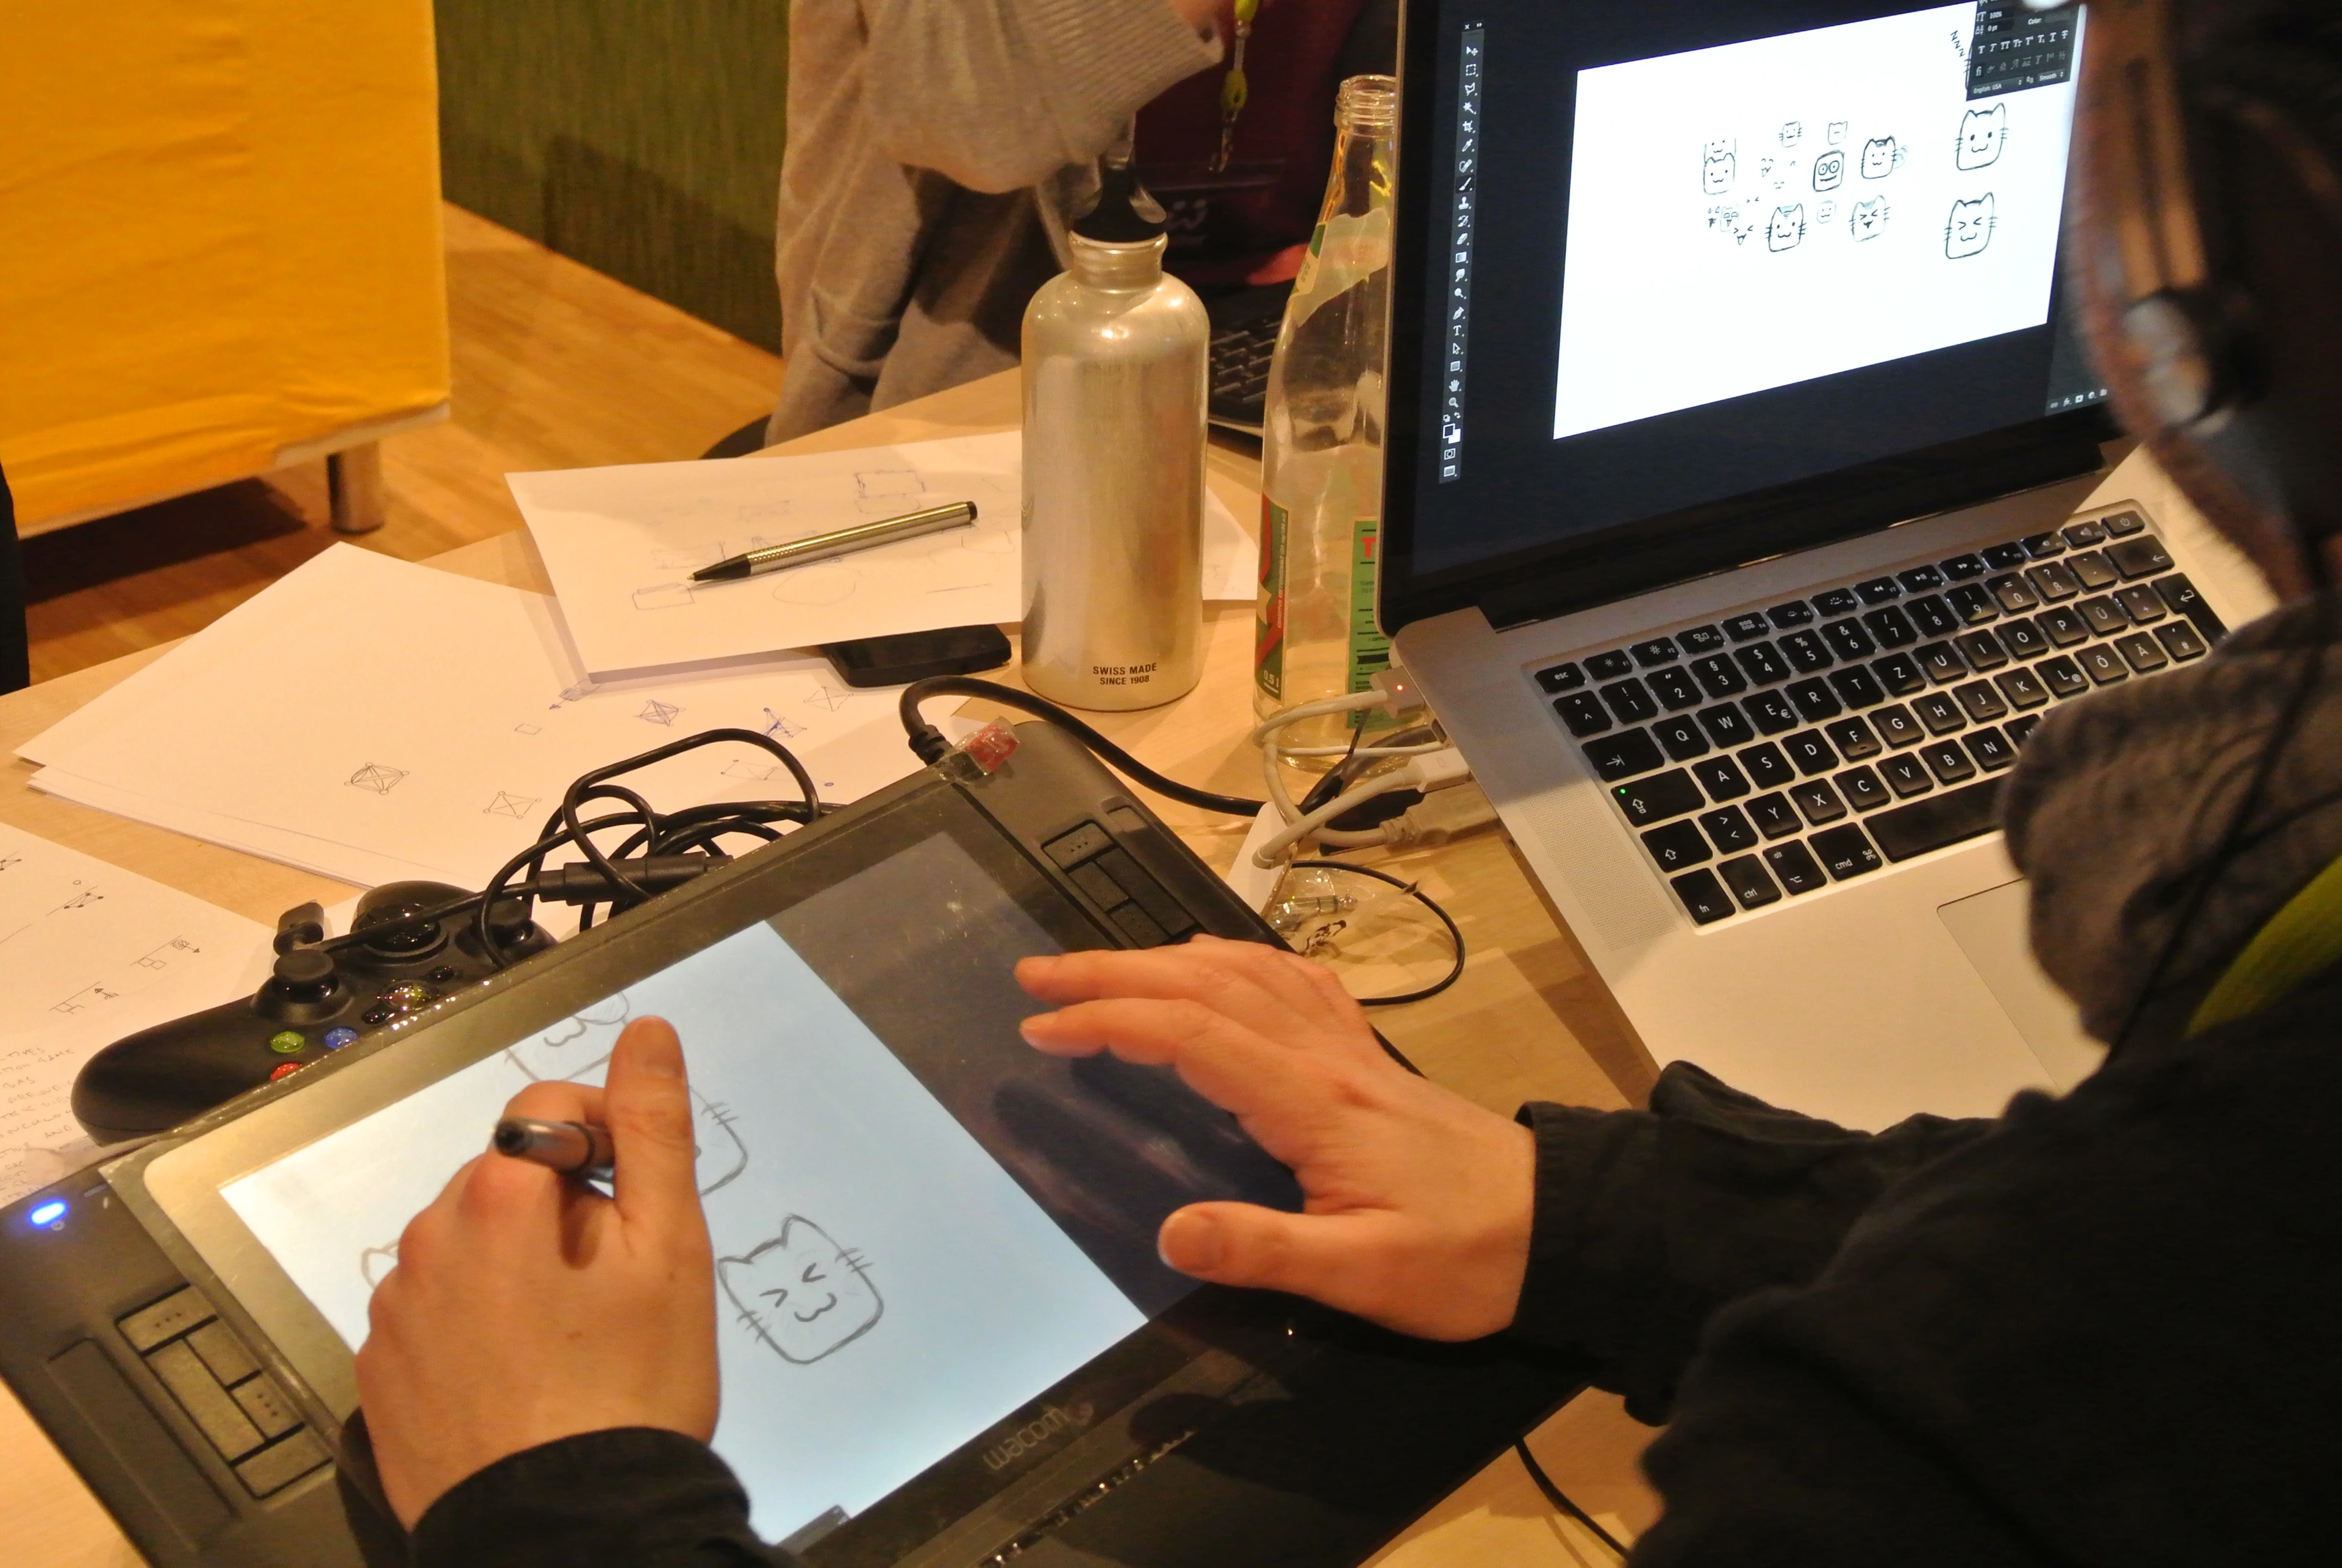
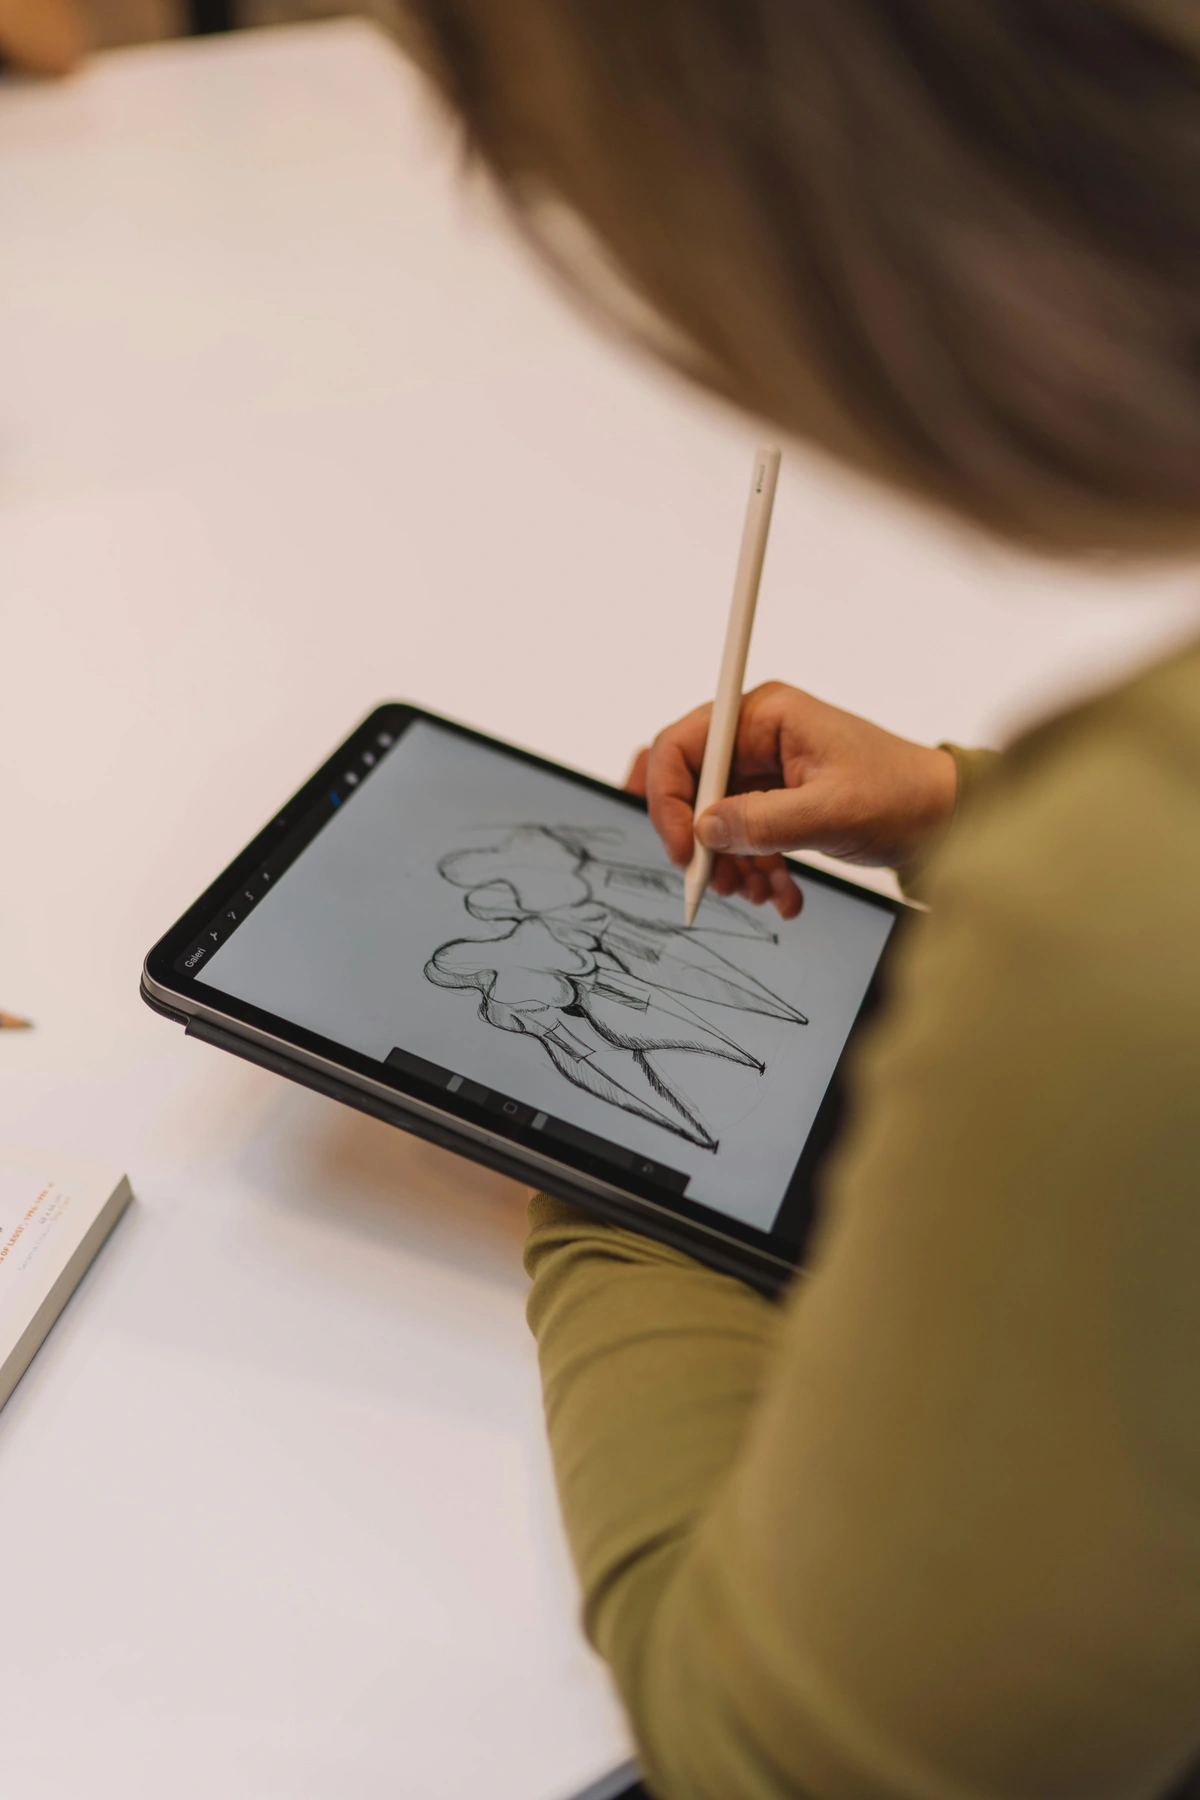
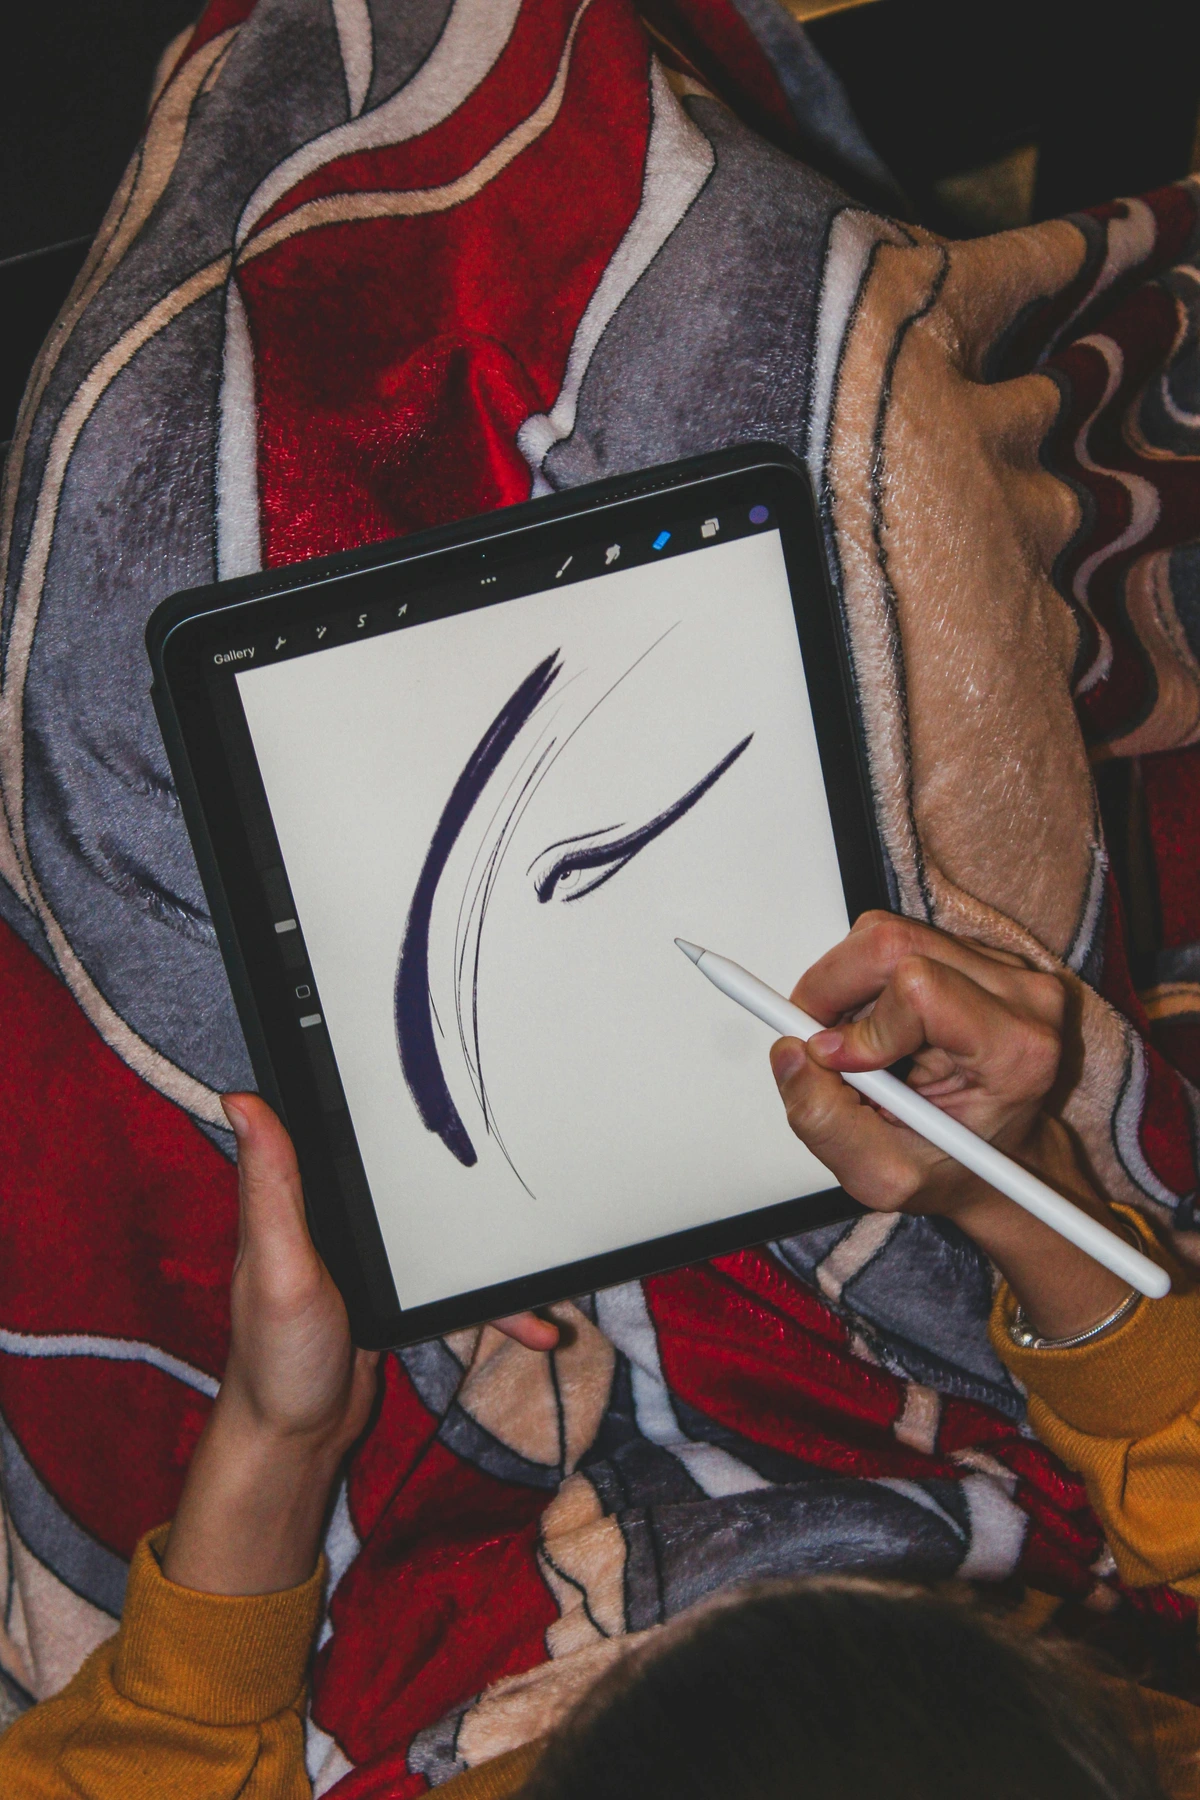
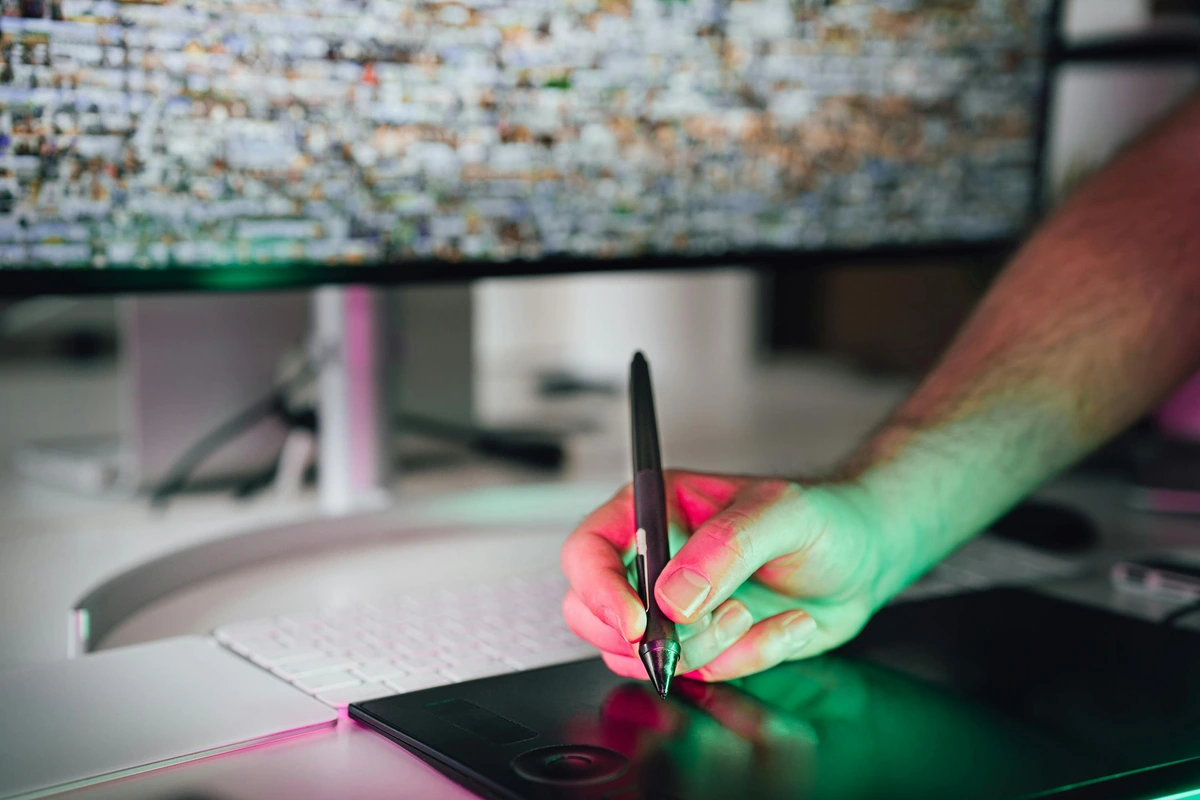
Can I use digital tools to create Redon-inspired art?
Yes, you can use digital tools to create Redon-inspired art. Many digital art programs offer brushes and textures that mimic traditional media like charcoal and pastels. Experiment with different tools and techniques to achieve the dream-like quality of Redon's work.
Digital tools can provide a unique blend of vibrancy and softness, making them ideal for creating dream-like atmospheres. Their ability to layer and blend seamlessly allows artists to achieve a sense of depth and luminosity that is hard to replicate with other mediums.
Table: Digital Tools for Redon-Inspired Art
Tool | Description | Benefit |
|---|---|---|
| Digital Brushes | Mimic traditional media like charcoal and pastels | Achieves dream-like quality |
| Textures | Add depth and realism to digital art | Enhances overall atmosphere |
| Experimentation | Try different tools and techniques | Discovers unique effects |
How can I create a dream-like atmosphere in my drawings?
To create a dream-like atmosphere, focus on soft edges, subtle transitions between tones, and incorporating symbolic elements into your work. Using charcoal and pastels can help you achieve this effect, as these mediums allow for a wide range of textures and tones. Additionally, consider the overall mood and narrative of your piece—what story are you trying to tell?
Table: Techniques for Creating a Dream-Like Atmosphere
Technique | Description | Effect |
|---|---|---|
| Soft Edges | Focus on soft, blurred edges | Ethereal and dream-like quality |
| Subtle Transitions | Gradual transitions between tones | Smooth and atmospheric |
| Symbolic Elements | Incorporate symbolic imagery | Adds depth and meaning |
| Mood and Narrative | Consider the overall mood and story | Evokes emotions and curiosity |
What are some common themes in Redon's work?
Redon's work often featured fantastical creatures, symbolic objects, and dream-like landscapes. He drew inspiration from literature, mythology, and his own dreams. His art is deeply personal and often explores themes of the subconscious, the unknown, and the mystical.
Redon's ability to blend reality with fantasy, to evoke emotion through symbolism, and to create a sense of mystery and intrigue is what makes his art so enduring. By incorporating his techniques and mindset into your own drawings, you can create art that is both mysterious and captivating.
How can I incorporate symbolism into my drawings?
Start by thinking about what different objects or creatures might represent. Keep a dream journal to record your own dreams and use them as inspiration for your art. Don't be afraid to experiment with different techniques and materials. Symbolism can be subtle or overt, so consider how you want to convey your message and what elements will best support that narrative.
Symbolism in art is not just about what is shown but also about what is left to the imagination. Redon's work often invites viewers to interpret and explore, creating a sense of curiosity and wonder.
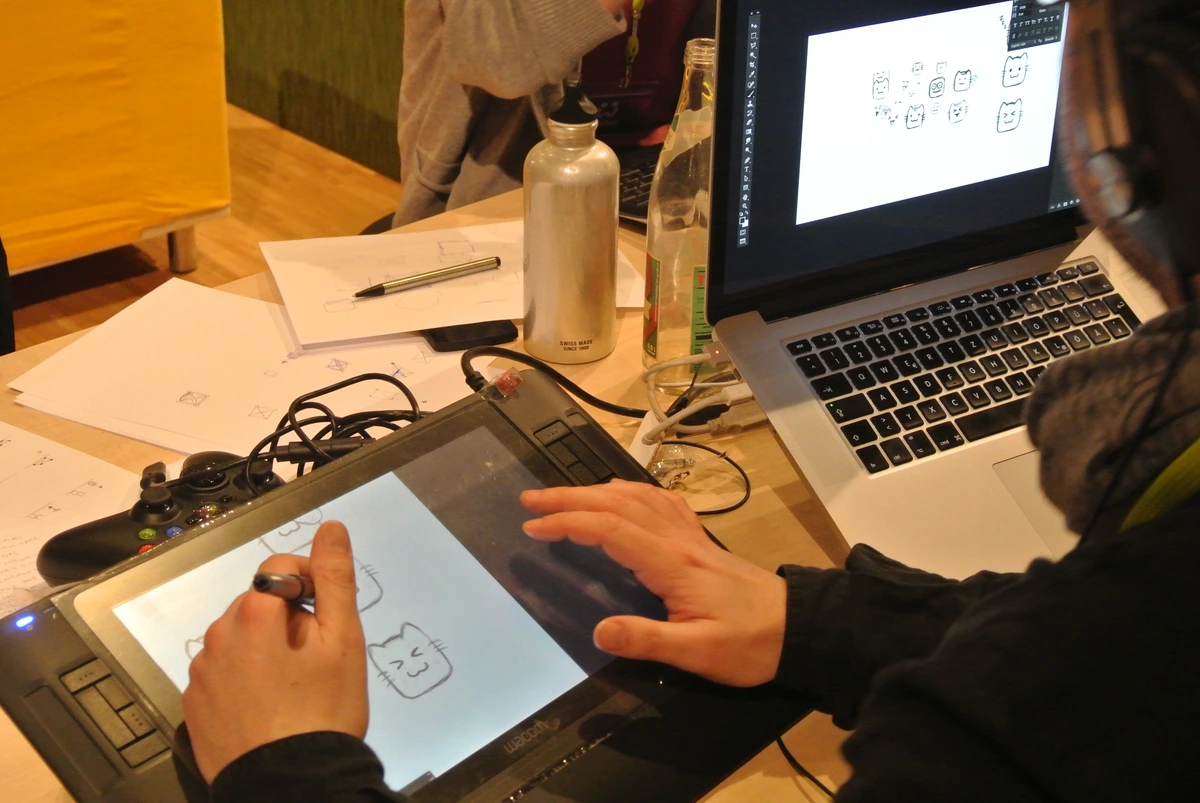
Table: Techniques for Incorporating Symbolism
Technique | Description | Benefit |
|---|---|---|
| Think About Symbols | Consider what objects or creatures represent | Adds layers of meaning |
| Dream Journal | Record dreams for inspiration | Personal and unique imagery |
| Experiment | Try different techniques and materials | Discovers unique effects |
| Convey Message | Consider how to convey your message | Supports narrative and meaning |
What is the best way to preserve my charcoal and pastel drawings?
Use a fixative spray to set your work and prevent smudging. This will help preserve the integrity of your delicate layers. Additionally, consider framing your drawings under glass or storing them in a protective sleeve to keep them safe from dust, moisture, and other potential damage.
Preserving your artwork ensures its longevity and allows you to enjoy and share your creations for years to come. Taking the time to protect your drawings is an essential part of the creative process.
Table: Preservation Techniques for Charcoal and Pastel Drawings
Technique | Description | Benefit |
|---|---|---|
| Fixative Spray | Sets work and prevents smudging | Preserves delicate layers |
| Framing Under Glass | Protects from dust and moisture | Safe from damage |
| Protective Sleeve | Stores drawings safely | Prevents wear and tear |

Can I mix charcoal and pastels in the same drawing?
Yes, you can mix charcoal and pastels in the same drawing. This combination can create a unique and dynamic effect, allowing you to blend the deep, rich tones of charcoal with the vibrant colors of pastels. Just be sure to use a fixative spray to set your work and prevent smudging.
Mixing charcoal and pastels can provide a unique blend of vibrancy and softness, making them ideal for creating dream-like atmospheres. Their ability to layer and blend seamlessly allows artists to achieve a sense of depth and luminosity that is hard to replicate with other mediums.
Table: Benefits of Mixing Charcoal and Pastels
Benefit | Description | Effect |
|---|---|---|
| Unique Effect | Combines deep tones of charcoal with vibrant pastels | Dynamic and interesting art |
| Blending | Blends tones and colors seamlessly | Adds depth and complexity |
| Fixative Spray | Sets work and prevents smudging | Preserves artwork |

How do I choose the right paper for charcoal and pastel drawings?
When choosing paper for charcoal and pastel drawings, opt for a heavyweight paper with a slight texture. This will help the pigments adhere better and allow for more interesting effects as you layer and blend. Pastel paper is specifically designed for this purpose and is a great choice for both charcoal and pastel work.
Choosing the right paper is an essential part of the creative process. It can make a significant difference in your artwork and enhance your creative journey.
Table: Choosing the Right Paper for Charcoal and Pastel Drawings
Paper Type | Description | Benefit |
|---|---|---|
| Heavyweight Paper | Paper with slight texture | Better pigment adhesion |
| Pastel Paper | Specifically designed for pastels | Great for layering and blending |
| Textured Paper | Allows for interesting effects | Enhances overall artwork |
What should I do if I make a mistake in my drawing?
Mistakes are a natural part of the creative process. If you make a mistake, don't be afraid to embrace it and see where it takes you. You can use an eraser to lift out areas of pigment or adjust your composition as needed. Sometimes, what initially seems like a mistake can lead to a new and unexpected direction for your artwork.
Embracing mistakes as part of the creative process can lead to unexpected and innovative solutions in your artwork. It's an opportunity to learn, grow, and improve your skills.
Table: Handling Mistakes in Your Drawing
Tip | Description | Benefit |
|---|---|---|
| Embrace Mistakes | See where mistakes take you | New and unexpected directions |
| Use an Eraser | Lift out areas of pigment | Adjusts composition |
| Adjust Composition | Make necessary adjustments | Improves overall artwork |
Conclusion
Odilon Redon's work is a testament to the power of imagination and the subconscious. His ability to blend reality with fantasy, to evoke emotion through symbolism, and to create a sense of mystery and intrigue is what makes his art so enduring. By incorporating his techniques and mindset into your own drawings, you can create art that is both mysterious and captivating.
Remember, the key to mastering Redon's style is to experiment, embrace the unknown, and let your dreams guide your hand. Don't be afraid to take risks, make mistakes, and explore new ideas. The journey of creating art is as important as the final product, and every drawing is an opportunity to learn and grow.
Table: Key Takeaways for Mastering Redon's Style
Takeaway | Description | Benefit |
|---|---|---|
| Experiment | Try new techniques and materials | Discovers unique effects |
| Embrace the Unknown | Explore new ideas and take risks | Encourages creativity |
| Let Dreams Guide | Use dreams and imagination as inspiration | Personal and unique art |
| Take Risks | Don't be afraid to make mistakes | Leads to innovative solutions |
| Learn and Grow | Every drawing is an opportunity to learn | Improves skills and artwork |
Additional Resources
For more inspiration and guidance, consider exploring the following resources:
- Books: Look for books on Odilon Redon's life and work, as well as guides on drawing techniques and symbolism in art.
- Online Tutorials: There are many online tutorials and courses that can help you improve your drawing skills and explore new techniques.
- Art Communities: Join art communities and forums to connect with other artists, share your work, and get feedback and support.
By continuing to learn and grow as an artist, you can further develop your unique style and create art that truly resonates with you and your audience.
If you're looking for more inspiration, be sure to check out our timeline of influential artists and their techniques. And if you're ready to start creating your own dream-like masterpieces, visit our buy page to explore a range of art supplies and tools.
Happy drawing, and may your artistic journey be as rich and imaginative as the dreams that inspire it!