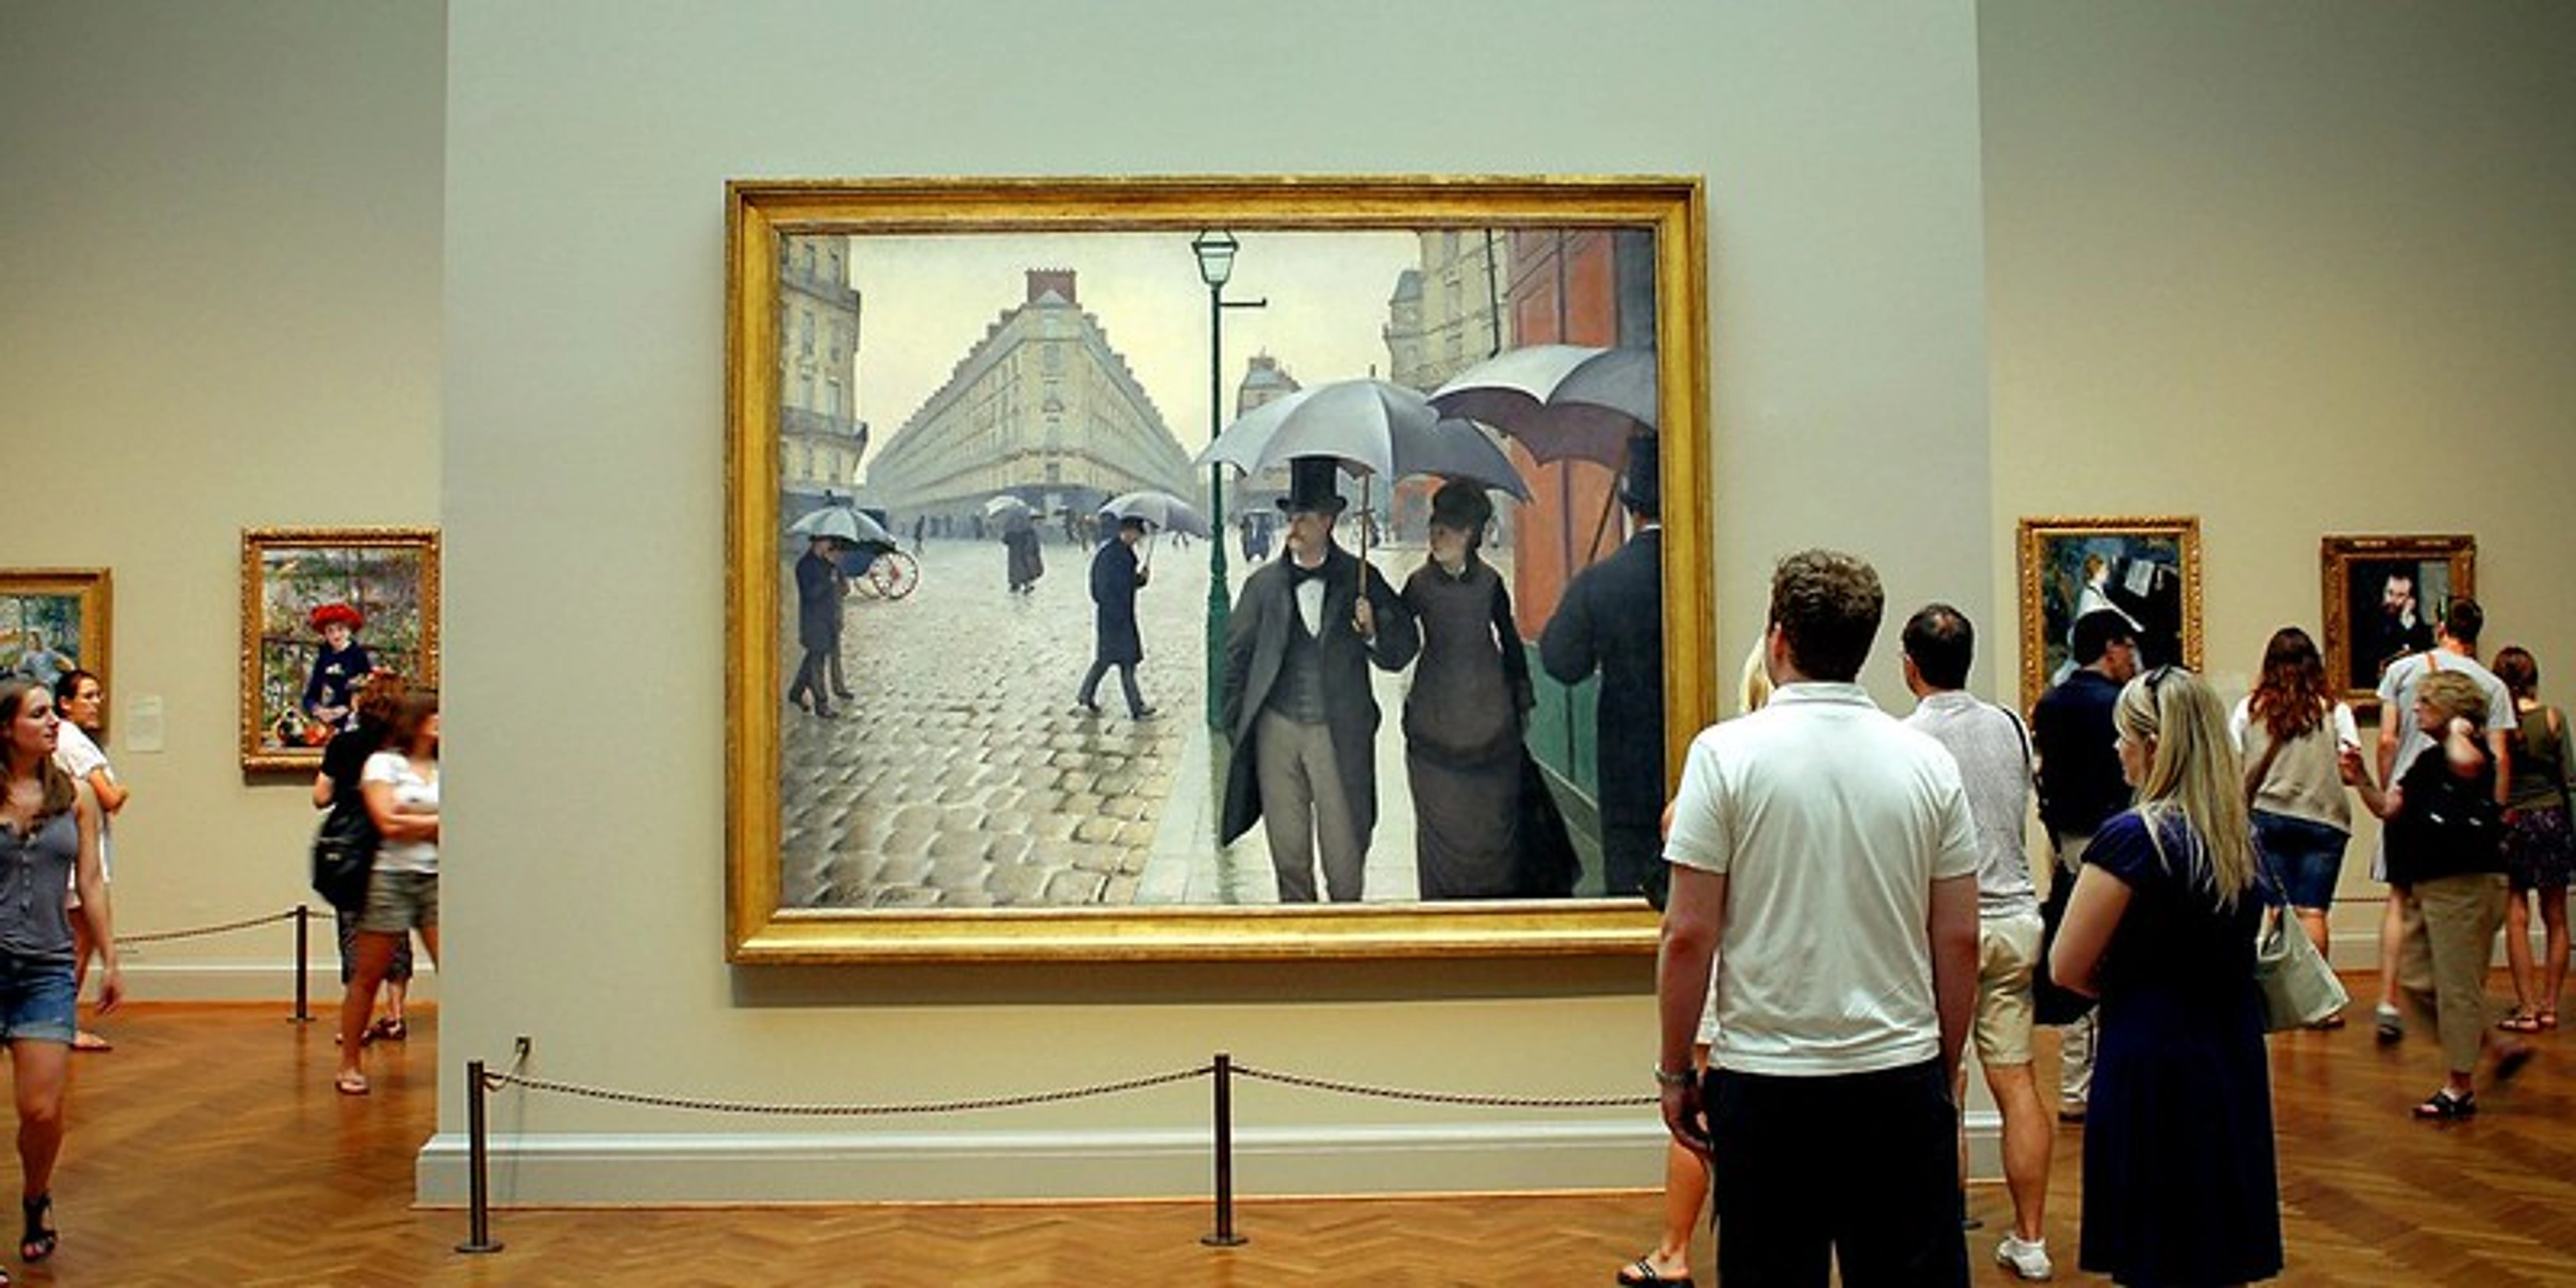
Securely Wiring Art: Zen Dageraad's Guide to Hanging Paintings for Longevity & Value
Master the Zen Dageraad Method for secure art hanging. This definitive guide covers essential tools, step-by-step process, common pitfalls, and expert tips to preserve your painting's life, value, and aesthetic display.

The Silent Guardian: My Definitive Guide to Securely Wiring a Painting for Hanging (And Why It's Crucial for Its Life and Value)
Okay, let's talk about something that might seem a bit... unglamorous, but trust me, it's absolutely vital: properly wiring your paintings for hanging. While often overlooked, this seemingly mundane detail is, in fact, the silent hero of your artistic expression. It's the difference between your masterpiece making a grand statement, hanging with a quiet confidence that speaks volumes, and taking an unexpected, gravity-assisted journey to the floor. I know, I know. You've just poured your heart and soul into a piece, the colors sing, the composition is chef's kiss, and now you're thinking about... wire? It sounds a bit like asking a gourmet chef to then design the dishwasher, right? Yet, I've been there, stomach dropping as a piece I thought was secure began to sag, its frame tilting precariously. I remember the subtle groan of the wood, the sickening thud as a small decorative element snapped off. That moment solidified a crucial lesson: the journey of a painting isn't truly complete until it's not just finished, but also securely displayed. It's about building silent integrity into every piece, a hidden strength that ensures its longevity. My "Zen Dageraad Method" isn't just a set of steps; it's a mindful approach to ensuring your art's enduring presence, much like the patience and precision I pour into each brushstroke. In this guide, I'll walk you through why this often-overlooked step is crucial, what tools you'll need, my meticulous 'Zen Dageraad Method' for perfect execution, and the common mistakes to sidestep.
Why Bother? The Enduring Life and Value of Your Artistic Vision
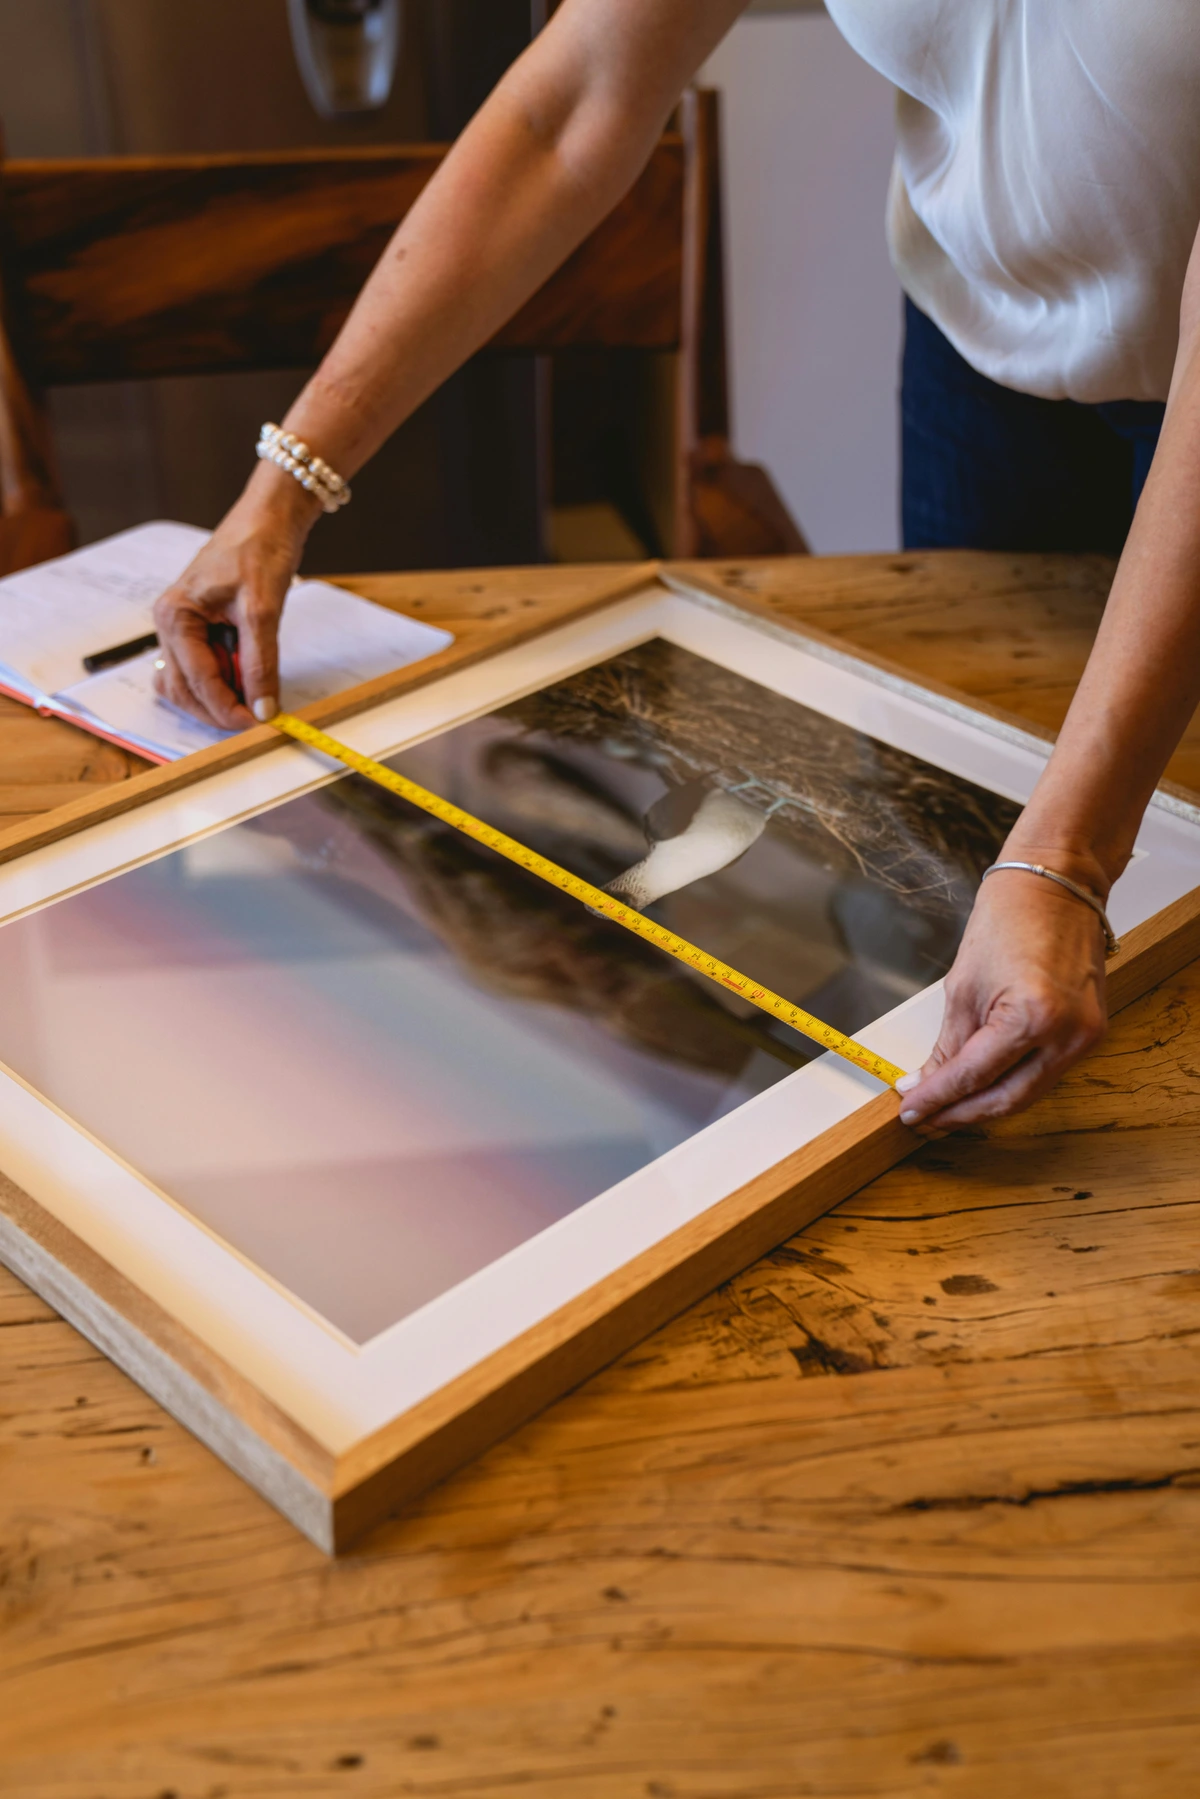
Have you ever worried about your beautiful artwork taking a tumble? As an artist, that thought haunts me! Think of it this way: your art deserves to be safe, to hang with dignity, and to be admired without the subconscious anxiety of it suddenly deciding to take a fall. Proper wiring isn't just about preventing a dramatic crash (though that's a huge part of it!). It's about long-term stability, protecting the frame, and preserving the artwork itself. A flimsy wire can lead to subtle but damaging frame warping and bowing over time due to uneven tension. This stress, in turn, can affect the canvas or panel, leading to cracks, tears, or instability. Imagine the delicate surface of a pastel painting or the layered impasto of an oil canvas slowly deforming – it's a tragedy!
Beyond the immediate presentation, good wiring is a profound act of conservation. It's the hidden architecture that safeguards your creation. A stable hang prevents unnecessary movement and stress on the artwork over time, extending its life and maintaining its value. I’ve seen countless pieces brought to framers for repair that could have been avoided with a few extra minutes of careful attention to hanging. For instance, in the early 20th century, many artworks were hung with inadequate, even corrosive, materials like plain iron wire or string. Over decades, this led to subtle staining of frames, degradation of backing boards, and even structural failures during minor gallery adjustments or temperature fluctuations. While catastrophic falls grab headlines, the slow, insidious damage from improper materials is equally devastating to an artwork's longevity.
And let's be real, you've invested time, emotion, and often quite a bit of money into your art. Whether you're the artist or the collector, protecting that investment is paramount. Think of it like insuring a classic car: you want to drive and show it off, but also ensure it's protected and ready for the long haul. Professional appraisers and insurance companies often scrutinize hanging methods, understanding that poor installation can drastically diminish an artwork's longevity and market value. Why? Because inadequate hanging often signals neglect or poor stewardship, factors that undeniably impact perceived value. A well-wired piece, on the other hand, hangs beautifully and flush against the wall, never tilting awkwardly. It just feels right, projecting a sense of calm confidence. It’s the difference between a firm, confident presentation and a precarious, anxiety-inducing one.
The placement of the wire, which we'll discuss, directly impacts the leverage and torque on the frame, making all the difference between a stable, flush hang and a precarious tilt. And it’s not just modern art at risk. History is unfortunately replete with tales of priceless art suffering damage due to inadequate hanging. From subtle stretching over decades to catastrophic falls during gallery changes, the lessons are clear: secure it properly, or risk losing it. Furthermore, consider the ethical responsibility we have as artists or collectors, especially in public or shared spaces. Ensuring the art is hung safely protects not just the piece, but also the viewers who appreciate it.
Your Art Hanger's Toolkit: Every Detail Matters
After understanding why this meticulous work is so vital, there's a certain satisfaction that comes from being prepared. This isn't brain surgery, no, but trust me, having the right gear transforms a potentially frustrating task into a smooth, almost meditative process. I've learned that a little preparation saves a lot of headaches, and when it comes to art, we're always aiming for serene confidence, aren't we?
How to Determine Your Artwork's Weight
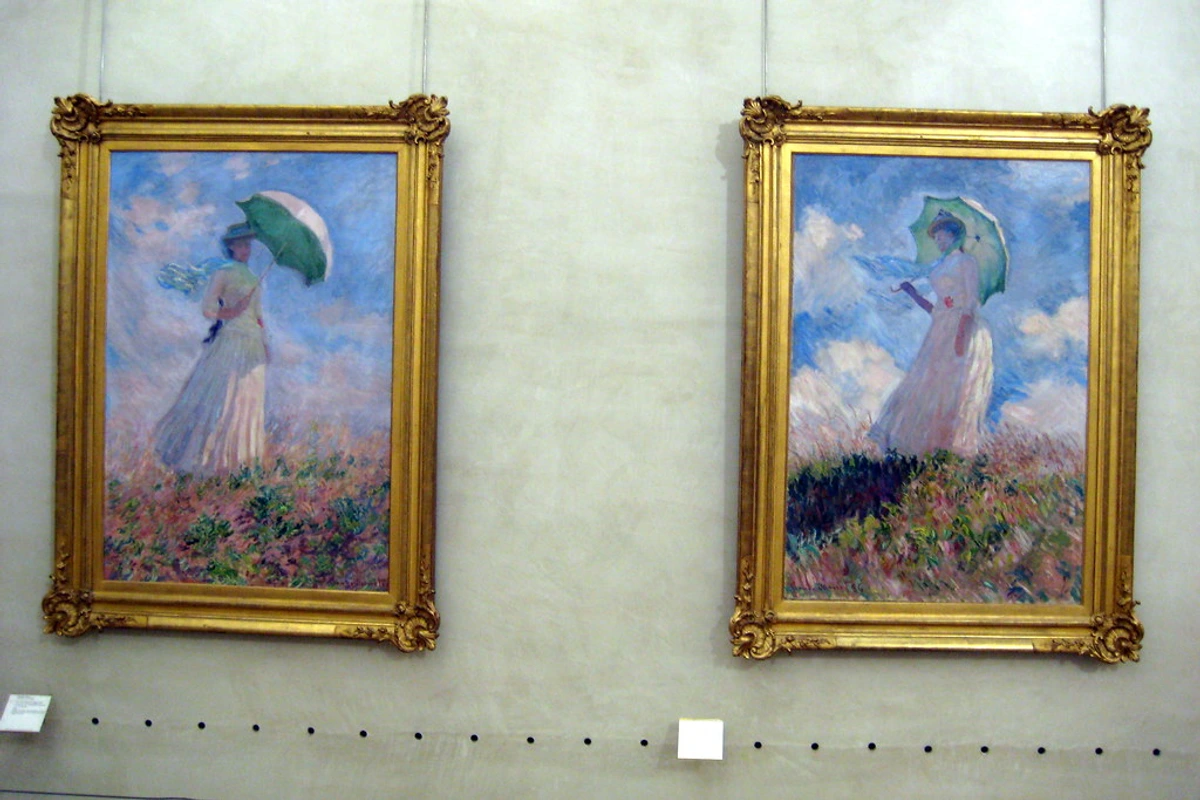
This is a step many overlook, and it's absolutely critical! Before you even think about wire, you need to know the approximate weight of your artwork. For smaller to medium pieces, a kitchen scale works perfectly. Gently place the artwork on the scale, ensuring it's stable. For larger, heavier works, a luggage scale can be surprisingly effective; carefully hook it to a sturdy part of the frame and lift. Don't guess; an inaccurate weight estimate is a recipe for disaster down the line. As a rough guide, a 16x20 inch framed painting might weigh 5-10 pounds, while a 30x40 inch piece could easily be 15-25 pounds or more, depending on the frame and medium. If you've purchased a pre-framed piece, sometimes the weight is listed on the back or in its documentation.
Here’s the arsenal I always reach for:
Tool  | Purpose & Pro Tip |
|---|---|
| Measuring Tape | Absolutely essential for finding the center and ensuring perfectly even placement. Precision here makes all the difference. |
| Pencil | For making those critical, yet easily erased, marks indicating where your hardware will go. |
| Screwdriver | To securely attach your D-rings or screw eyes. Match the size and type (Phillips head vs. flathead) to your screws for optimal grip and to avoid stripping. Pro Tip: A snug fit is key, not brute force. |
| Wire Cutters | You'll need a good, clean cut for the picture wire. Standard household scissors will crush the multiple fine strands of the wire, weakening it before it even goes up. |
| Needle-Nose Pliers | My secret weapon for twisting the wire securely, especially in tight spots or when you need that extra bit of leverage for a truly snug, braid-like wrap. |
| Protective Gloves | Optional, but I often wear them. They keep the frame clean (especially important for delicate finishes) and save your hands from small nicks or wire burrs. |
| Small Scale | (As discussed above) For very precise hanging, knowing the exact weight of your artwork is crucial. Use a kitchen scale for smaller pieces or a luggage scale for larger ones. |
The Unsung Hardware: Anchors and Lifelines
And now, the true stars of our show—the unsung heroes themselves:

- D-Rings or Screw Eyes: These are your anchors, directly attaching to the back of the frame. D-rings are generally my preferred choice for their superior strength and lower profile, which helps the painting hang closer to the wall for a cleaner look. Screw eyes work well too, especially for lighter pieces, though they can make the artwork stand slightly further from the wall. The key is to select hardware robust enough for the weight of your painting. Look for options made of galvanized steel or solid brass for their durability and corrosion resistance, especially if the artwork might be exposed to varying humidity. A good rule of thumb? Choose hardware rated for at least double the working load limit (WLL) of your artwork's weight. Don't skimp here; these are literally holding your art up! For particularly valuable or heavy pieces, going for triple the WLL is a prudent extra layer of security.Before attaching, always inspect the frame's integrity – if it's an old or delicate frame, check for any weaknesses like loose joints (corners that are not firmly joined or show signs of separation), hairline cracks, or previous repairs that might require reinforcement or a professional framer's advice before proceeding. Such signs indicate a compromised foundation. Pay attention to the screw threads; coarser threads bite better into softer woods (like pine or balsa), while finer threads offer a stronger hold in hardwoods (like oak or maple) but might require pilot holes to prevent splitting. For particularly soft or compromised wood, a drop of wood glue or epoxy in the pilot hole can significantly reinforce the screw's grip, but remember this is a permanent solution and should be done with care. Ensure you're using stainless steel screws for maximum longevity, especially in humid environments, and match the screw material to your D-rings (e.g., brass screws for brass D-rings) to prevent galvanic corrosion between dissimilar metals.
- Picture Wire: This is not just any old wire you have lying around. You need stranded, galvanized steel picture wire. Let's break that down: 'Stranded' means it's made of multiple fine strands twisted together, making it incredibly strong yet flexible, and much less prone to snapping than single-strand wire. 'Galvanized' means it's coated with a protective layer of zinc, which prevents rust and corrosion, ensuring its integrity over decades. Avoid string, fishing line, or anything too thin. These will stretch, fray, or even undergo "creep" (a slow, permanent deformation under sustained load) leading to eventual failure.Crucially, look for wire with a working load limit (WLL) — the maximum weight the wire can safely hold — rated for at least twice the weight of your artwork. If your piece weighs 15 pounds, you want wire with a WLL of 30 pounds or more. For irreplaceable pieces, I often go for three times the weight just for that extra peace of mind. Better safe than sorry, I always say. This isn't the place for guesswork; check the packaging! Seriously, I once used a wire that was just at the weight limit for a smaller piece, and over a few humid months, it developed a subtle stretch. It wasn't a dramatic crash, but the painting began to sag just enough to annoy me and, more importantly, put undue stress on the frame. Lesson learned: always go over the recommended WLL. This isn't just about preventing a fall; it's about minimizing the subtle stresses on your frame and artwork over years and mitigating long-term material "creep." And critically, ensure any hardware you use (wire, D-rings, screws, hangers) is acid-free and made of non-reactive metals. Why? Because reactive metals can tarnish, corrode, and leach chemicals that can stain or degrade your artwork, frame, or backing over time, especially in varying humidity. This seemingly small detail is vital for the conservation and long-term preservation of your piece. Old, original hardware on antique frames should always be assessed carefully; if it shows any signs of rust or degradation, replace it with modern, conservation-grade alternatives.
The Zen Dageraad Method: A Step-by-Step for Flawless Hanging
Now that we've gathered our tools and understood their nuances, let's step into the quiet focus of getting your art wall-ready. This is a method I've honed over years, learning from my own early mistakes (and a few nervous moments!), infusing the patience and precision of art creation into the act of its display. The "Zen Dageraad Method" embodies my philosophy: that the final presentation of an artwork is an extension of its creation – a mindful process building silent integrity. Trust the process, and your painting will thank you by hanging beautifully for decades.
Consider Your Frame & Canvas Type
Before we jump into the steps, a quick thought on your frame and artwork type, as these nuances can impact your approach. For most standard, solid wood frames, this guide applies directly. However, if you're working with a floater frame, a very ornate antique frame, a frame made of a softer composite material, or even an unframed canvas, you might need slight adaptations.

- Floater frames sometimes have a deeper recess for the artwork, meaning D-rings might be preferable to keep the wire more concealed and help the art sit flush. They can also have thin edges, so be extra cautious with screw length; always choose screws that won't protrude through the front or side of the frame.
- For ornate or delicate antique frames, be extra cautious when screwing in hardware. Pre-drilling small pilot holes is not just recommended, it's often essential to prevent splitting the delicate wood. For truly precious pieces, or if the frame's integrity is compromised, consulting a professional art framer for specialized clips, reinforcement, or even alternative hanging systems is always wise. Some antique frames are too fragile for traditional screws; they might require custom clips that cradle the frame without penetrating it, or even a picture rail system. Also, be mindful that older frame materials might react differently with modern hardware; ensure any new hardware is non-reactive.
- Most of the time, the principles remain the same. However, for a stretched canvas that is unframed, you'll attach the D-rings directly to the stretcher bars (the internal wooden frame). Ensure these bars are sturdy and free of warping or significant knots, which could compromise their integrity. For artwork on a rigid panel (like a wood panel or Masonite) that is also unframed, you might consider specialized panel hangers or, if using a frame, follow the general D-ring placement on the frame itself. The key is always to ensure the attachment point is robust enough to handle the artwork's weight without flexing or damaging the support. Delicate pieces like pastel paintings or those with heavy impasto require an especially stable hang to prevent subtle shifts that could damage the surface over time, making proper wire tension even more critical. Artwork with glass adds significant weight and fragility; preventing the frame from tilting forward and putting stress on the glass is paramount. Remember that different frame materials (e.g., MDF, solid wood, metal) have varying strengths and how they respond to screws and tension over time. MDF, for example, is prone to stripping if screws are overtightened.
The Meticulous Steps:
- Perform a Pre-Wiring Frame Check: Before you even think about attachment points, give your frame a thorough once-over. Are the joints secure? Do the corners feel tight, or do they wobble slightly? Is the backing board firmly in place? Any loose elements need to be addressed now. This foundational stability is crucial; trying to hang a painting on a compromised frame is like building a house on shifting sand – it won't hold up.
- Prepare Your Workspace: Find a clean, flat, and stable surface. Lay a soft cloth or blanket down to protect the front of your artwork from any scratches or dings. You certainly don't want any fresh marks before it even gets on the wall! I usually do this on a large table, ensuring there's plenty of room to comfortably access all sides of the frame without bumping or straining. It's almost like a little pre-hanging ritual, a moment of calm before the deliberate action, allowing you to focus completely.
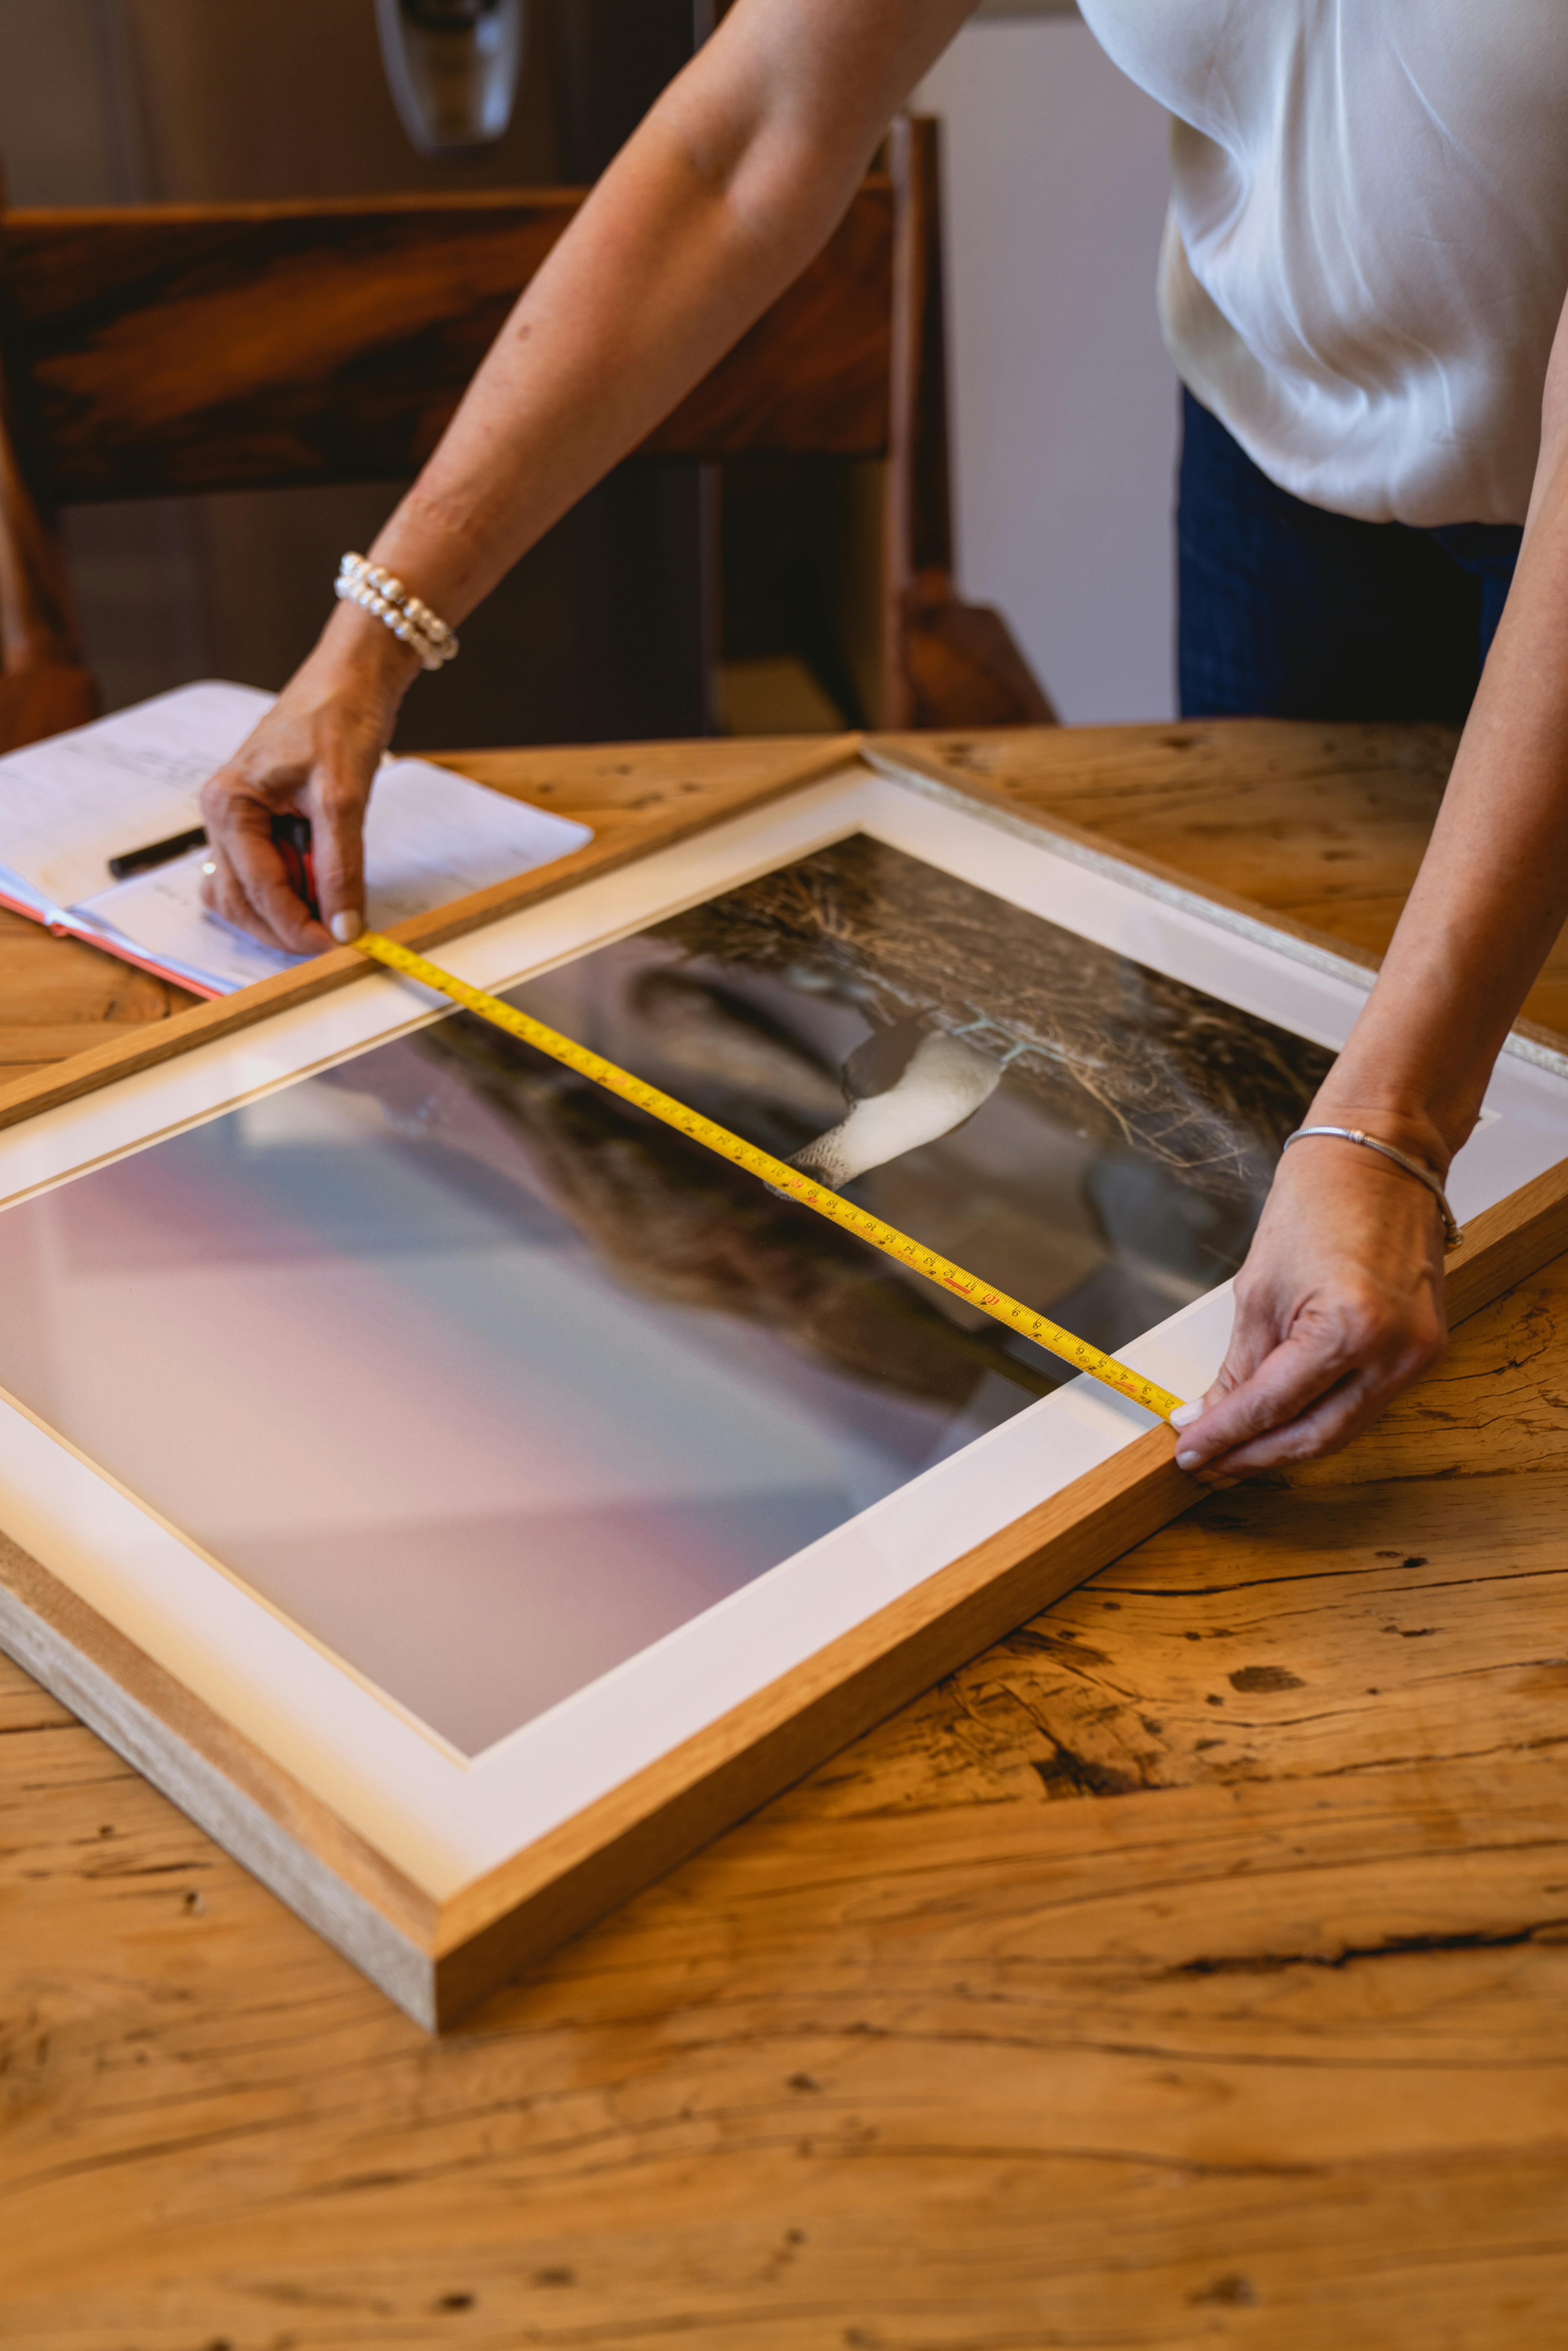
- Locate Your Attachment Points (The One-Third Rule): This is arguably the most crucial step for a perfectly balanced hang. You want your D-rings or screw eyes to be about one-third of the way down from the top of the frame. To be precise, measure from the very top edge of the frame down to the center of where your hardware will attach. Why this specific "one-third rule"? It's not arbitrary! Imagine the frame's total height divided into three equal sections; your D-rings go in the upper part of the middle section. This placement creates an ideal, shallow 'V' shape with the wire when hung, allowing the top of the frame to rest just a hair's breadth away from the wall. This shallow angle gives you superior stability, minimizes the chance of the painting tilting forward, and helps the artwork hang flush against the wall. It also often positions the hanging point behind the upper portion of the frame, making it less visible. This optimal angle is a simple principle of physics, much like how a lever works: it efficiently distributes weight and reduces the leverage (or torque) that causes tilting. Too high, and the wire forms a steep, acute angle, pulling the top of the frame away from the wall. Too low, and you lose crucial leverage, allowing the painting to swing more freely and be prone to tipping. Use your measuring tape and pencil to mark these spots precisely on both sides of the frame. Accuracy here is absolutely key.
- Attach the D-Rings/Screw Eyes: Using your screwdriver, carefully attach one D-ring or screw eye at each marked point. Before screwing, for delicate or hardwood frames, always pre-drill a pilot hole slightly smaller than the screw's diameter to prevent splitting the wood. Be careful not to drill too deep and go through the front of your frame! Make sure they are screwed in firmly and flush against the frame. Don't overtighten to the point of splitting the wood or stripping the screw hole, especially if working with softer wood or composite frames, but they need to be snug and solid. These are the anchors for your artwork, so their foundation must be unwavering. Remember my advice about pre-drilling for delicate frames and considering wood glue/epoxy for added security in softer woods.
- Measure and Cut the Wire: Now for the wire itself! Hold the roll of picture wire against one D-ring. Extend it across the back of the frame to the other D-ring. As a general guide for length, aim for the wire to comfortably reach both D-rings. Now, here's the critical part: add enough slack so that when you lift the wire in the center, the apex (highest point) of the 'V' reaches about 1-2 inches below the top of the frame. This initial slack is important for proper hanging and adjustment, ensuring that gentle arch, like a slightly saddened smile. Now, add another 6-8 inches of excess wire on each side (meaning 12-16 inches total extra length) specifically for twisting and securing. Cut the wire cleanly with your wire cutters. Seriously, always cut more than you think you need. You can always trim excess, but you can't magically add more!
- Secure the Wire (My Zen Dageraad Signature Twist!): This is where many go wrong, but it's simpler than you think to do it right. I call it the "Zen Dageraad Signature Twist" because it requires a touch of patience and focus, much like creating the art itself. It's about building silent integrity into the piece. Each twist is a mindful act of ensuring longevity, a testament to craftsmanship.
- 6a. Threading the First Side: Thread one end of the picture wire through one of the D-rings (or screw eyes). Pull about 3-4 inches of the short tail end through the D-ring, leaving it extending past the main length of the wire.
- 6b. The First Tight Twist: Now, wrap that short tail end tightly around the main length of the wire at least five to seven times. For heavier pieces, I'll often go for eight or even ten. Use your needle-nose pliers to get a really tight, neat, and compact wrap. Think of it like a little wire braid – strong and secure. Feel the tension as you twist; each rotation should contribute to a firm, unyielding connection. This meticulous wrapping is where the true strength and security of the wire attachment come from. I often give it a little tug test at this point. If it feels flimsy or loose, you haven't twisted enough; unwrap and try again.
- 6c. Repeat on the Other Side: Pull the wire across to the second D-ring. Before you secure it, lift the center of the wire to ensure the apex of the 'V' still has that correct amount of slack (1-2 inches below the top of the frame), and that it forms a consistent curve on both sides. Then, thread the other end of the wire through the second D-ring, pull through that same 3-4 inch tail, and secure it with those same five to seven (or more!) tight twists. It's vital that the tension feels absolutely even on both sides; a wonky wire almost always means a wonky painting.
- 6d. The Unseen Integrity: This step, though largely invisible once the painting is hung, embodies a larger principle of craftsmanship. The unseen details, like this securely twisted wire, are just as important as the visible ones. It's the silent integrity of the piece, waiting to be discovered by anyone who might flip it over. Much like the solid foundation of a house; you don't see it, but you'd be in serious trouble without it. I once had a small, light piece that looked fine, but because I rushed these twists, it developed a subtle sag over time, putting unnecessary stress on the frame. It wasn't a catastrophe, but it taught me that even minor imperfections in this step can compromise the long-term presentation. This careful attention ensures your art hangs perfectly for years to come, a testament to your diligent care.
Quick Reference Checklist for Flawless Hanging:
- Artwork Weight Known? (Double-checked with a scale)
- Frame Integrity Checked? (No loose joints, cracks, or wobbles)
- Hardware Chosen Correctly? (D-rings/screw eyes rated for 2x-3x artwork weight, non-reactive metals)
- Wire Chosen Correctly? (Stranded, galvanized steel, WLL 2x-3x artwork weight, acid-free)
- D-Rings at One-Third Mark? (From top edge to center of hardware)
- Pilot Holes Drilled? (For delicate/hardwood frames, not too deep)
- Screws Snug, Not Overtightened?
- Wire Slack Correct? (Apex 1-2 inches below top of frame)
- Wire Twists Secure? (5-7+ tight twists on each side with pliers)
- Tension Even? (Consistent curve, no wonky hang)
- Wall Hanger Matched? (Correct type and rating for wall material and artwork weight)
Common Pitfalls & How to Avoid Them
Look, we've all been there. Even with the best intentions, tiny mistakes can lead to big headaches – or worse, damaged art. Nobody's perfect, and believe me, I've learned from my own early, more impulsive attempts. Knowing these common missteps before you start can save you a lot of heartache and potential damage. Let's look at the subtle, yet critical, missteps that can sabotage your efforts.

1. Using the Wrong Wire: The Cardinal Sin
This is the cardinal sin of art hanging. As I've stressed, avoid string, fishing line, garden twine, or any non-specialized household wire. These materials are simply not designed to bear sustained, static weight. They will stretch, fray, weaken, and inevitably snap, leading to a catastrophic fall. Imagine the heartbreaking sound of your cherished artwork hitting the floor, perhaps due to a sudden brittle failure at a connection point, or a gradual fraying over weeks until it gives way. Always, always use stranded, galvanized steel picture wire with a working load limit (WLL) rated for at least double the weight of your artwork. Your art deserves better than a flimsy connection!
2. Placing Hardware Incorrectly: The Tilting Trap
This is often the culprit behind a painting that constantly tilts forward or away from the wall. Placing your D-rings or screw eyes too high on the frame creates a steep, acute angle with the wire. This pulls the top of the frame away from the wall, causing that annoying forward tilt, like a shy person trying to hide their face. Conversely, placing them too low reduces the leverage, allowing the painting to swing more freely and potentially tilt unevenly, creating a wobbly, insecure appearance. Stick steadfastly to that one-third of the way down from the top of the frame rule—it's the sweet spot based on proven physics that ensures a stable, flush hang.
3. Insufficient Twists: The Weak Link
Two twists? Three twists? No, no, no! That short tail end of the wire needs to be secured with at least five to seven tight wraps around the main length of the wire. For heavier pieces, I'll often go for eight or even ten. This is where the true strength and security of the wire attachment come from. Skimping here is like building a house on a shaky foundation – it simply won't last and could fail without warning. I once had a light piece that looked fine, but because I rushed these twists, it developed a subtle sag over time, putting unnecessary stress on the frame. It wasn't a catastrophe, but it taught me that even minor imperfections in this step can compromise the long-term presentation.
4. Over-tightening Screws: The Splitting Disaster
While it's crucial for D-rings or screw eyes to be snug, overtightening, especially into softer wood or particle board frames, can cause the wood to split or the screw hole to strip. This weakens the attachment point, making it unreliable. I’ve seen beautiful antique frames ruined by an overzealous screw; it's a heartbreaking sight. Stop tightening once the hardware is flush and feels secure, without forcing it. Remember, precision, not brute force, is key.
5. Uneven Tension: The Crooked Culprit
If one side of your picture wire is tighter than the other, your painting will hang crookedly, a subtle but persistent annoyance that detracts significantly from the art's impact. Always double-check the slack and ensure the tension feels perfectly even on both sides before making your final twists. The wire should form a consistent, gentle curve on both sides when held up. It's a small adjustment that makes a world of difference in the final aesthetic and stability.
6. Not Matching Wall Hangers to Wall Type: The Foundation of Failure
The best-wired painting in the world won't stay put if your wall hanger isn't up to the task. Just as you've selected wire rated for the artwork's weight, you must match your wall hanger (be it a nail, screw, or specialized picture hook) to the weight it needs to bear and to the wall material. Ignoring this is akin to using bicycle tires on a monster truck – it simply won't hold up. For example, trying to hang a heavy piece with a small nail in drywall is a guaranteed recipe for disaster. Different wall materials require specific types of fasteners for optimal safety and longevity, and even in high-traffic areas or earthquake-prone regions, the right hanger can mitigate the impact of vibration and physical disturbances. Before you hang, always check the integrity and weight rating of your chosen wall hook or anchor.
Wall Material | Recommended Fasteners (for heavier items) | Common Hangers (for lighter items) |
|---|---|---|
| Drywall | Toggle bolts, self-drilling anchors, robust picture hangers (e.g., monkey hooks, OOK hooks rated for weight). Stud finders are your friend! | Small nails, simple picture hooks with 1-2 small nails. |
| Plaster | Toggle bolts, specialized plaster anchors, Molly bolts. Be gentle, plaster can crack. | Picture rail hooks (if a rail is present), small nails with caution. |
| Brick/Stone | Masonry screws, expansion anchors, lead anchors with screws. Requires a hammer drill and masonry bits. | Specialized brick hangers (no drilling), heavy-duty adhesive hooks (for very light items). |
| Concrete | Concrete screws, wedge anchors, sleeve anchors. Heavy-duty job! Requires a hammer drill and masonry bits. | Adhesive hooks (for very light items, consult manufacturer). |
My guide on how to hang art on brick walls has more specific advice for that challenging surface. Also, consider leaving a small, almost imperceptible, gap between your artwork and the wall (especially for canvas pieces) to allow for air circulation, which helps prevent moisture buildup and protects against mold or warping over time.
7. Ignoring Frame Delicacy (Especially for Older Pieces): Irreplaceable Damage
Not all frames are created equal. Very old, ornate, or delicate frames might not tolerate standard screws for D-rings or screw eyes without risk of splitting the wood. For such pieces, consider using specialist frame clips, adhesive-backed hangers (for very light items only, with extreme caution), or consult a professional art framer who can provide tailored solutions, such as using alternative attachment methods that distribute weight more evenly or reinforce weak points. Don't take chances with irreplaceable heirlooms! And be mindful of acid-free hardware and non-reactive metals to prevent long-term staining or chemical damage to delicate frame finishes or the artwork itself, especially in fluctuating humidity. Always assess any original antique hardware; if it shows signs of rust or degradation, replace it with modern, conservation-grade alternatives to ensure longevity and safety.
Beyond the Wire: Curating Your Art's Presence
With your painting perfectly wired, secured with silent integrity, the world (or at least your wall) truly is your oyster! But the wiring, as essential as it is for the long-term conservation and stability we discussed earlier, is just one crucial step. Once it's secure, then comes the real joy: the art of placement. For me, the entire process of bringing a painting from my studio to your wall is a considered process, and proper wiring is such a crucial, final step in that odyssey. It’s about ensuring the art not only arrives safely but also lives beautifully and conserved in its new home. This art of display is, in many ways, an extension of the artistic act itself – a thoughtful curation that enhances the piece's dialogue with its environment.
Consider where your art will live. Will it be a grand statement piece above a sofa? Then you'll want to think carefully about art above the sofa: a guide to perfect placement and scale to ensure it truly commands attention and is hung at an appropriate viewing height. Or perhaps it's part of a vibrant gallery wall, telling a story with each framed memory, each piece meticulously placed. The inherent beauty of a well-wired piece is its sheer versatility – it's ready for any stage you set for it, any narrative you wish to create. For a truly professional look, you might even consider the art of display: how to light and position abstract art for maximum impact.
If you're stretching your own canvases before painting, remember that foundational stability begins even earlier; my guide on how to stretch a canvas for painting can help there, just as properly applying gesso is crucial for preparing the surface, as detailed in how to apply gesso to canvas: a beginner's guide.
For exceptionally heavy or oversized artworks, beyond standard wire hanging, you might need to explore specialized wall-mounting systems. Professional-grade solutions like French cleats or museum-grade security mounts distribute weight across a much wider area of the wall, offering unparalleled stability and protection against theft or accidental dislodgement. Always consult a professional art installer for these monumental or highly valuable pieces.
Frequently Asked Questions About Wiring Paintings
Got more questions? You're not alone! Here are some common queries I hear all the time about ensuring your art hangs safely and beautifully.

Q: Can I use string, fishing line, or common household wire instead of specialized picture wire?
A: Please, for the sake of your beautiful artwork, absolutely not! I cannot stress this enough. While it might seem convenient, string, fishing line, or any non-specialized wire are not engineered to bear the sustained, static weight of a painting. They will stretch, fray, weaken, and eventually fail, leading to your artwork crashing to the floor. Think of the sudden, devastating snap, or the slow, insidious "creep" as the material permanently deforms under load. Always, without exception, use proper stranded, galvanized steel picture wire. It's designed for this specific purpose and will provide the security your art deserves. Consider it an essential investment in your artwork's longevity and conservation.
Q: How much weight can picture wire actually hold?
A: Picture wire comes with various working load limits (WLL) clearly marked on the packaging. It is absolutely crucial to choose a wire that has a WLL rated for at least double the actual weight of your artwork. For instance, if your painting weighs 10 pounds, opt for wire with a WLL of 20 pounds or more. Overkill is genuinely good here! For exceptionally valuable or heavy pieces, I often recommend going for triple the artwork's weight. Always refer to the manufacturer's specific recommendations, and when in doubt, go up a gauge. This redundancy is your best insurance against a fall and unnecessary stress on your artwork.
Q: Where exactly should I place the D-rings or screw eyes on the back of the frame?
A: My steadfast rule of thumb, and one widely accepted by professionals, is to place them approximately one-third of the way down from the top of the frame. To be absolutely precise, measure from the top edge of the frame to the center of where your hardware will attach. This precise placement creates the ideal shallow 'V' shape with the wire when hung. This is paramount for ensuring maximum stability, preventing tilting (by minimizing torque), and allowing the artwork to hang flush and elegantly against the wall. Don't guess here; measure it out! It's a small detail with a huge impact on how your art presents itself and its long-term preservation.
Q: How many twists do I really need to make to secure the wire effectively?
A: For reliable and lasting security, you should make at least five to seven tight twists of the short wire end around the main length of the wire. For heavier pieces, I often extend this to eight or even ten twists. Using needle-nose pliers is key here to ensure each twist is snug, neat, and truly strong – like a miniature, unbreakable braid. Anything less than five twists simply isn't enough to prevent slippage and compromises the entire hanging – it's a weak link waiting to fail.
Q: My painting keeps tilting forward or looks uneven on the wall. What might I have done wrong?
A: This is a very common issue, and it's almost always a sign that your D-rings or screw eyes were placed too high on the frame. When the attachment points are too close to the top, the wire forms a steeper, more acute angle. This causes the top of the frame to pull away from the wall, making the painting tilt forward and look unbalanced, detracting significantly from its visual impact. Repositioning the hardware lower, precisely to that one-third mark from the top, should resolve the problem, allowing the painting to hang flat and true. It's a simple physics fix!
Q: How do I know if my frame is strong enough for my artwork?
A: This is a critical question! Start by performing a thorough pre-wiring frame check. Gently wiggle the corners; if there's any play or "give," the joints may be loose. Look for hairline cracks, especially near existing hardware or corners. Inspect for any signs of water damage, previous repairs, or woodworm. If the frame feels flimsy, wobbly, or shows significant damage, it likely isn't strong enough. For older or ornate frames, these signs are even more important to heed. If in doubt, always consult a professional art framer. They can assess the frame's integrity, suggest reinforcements, or recommend alternative hanging solutions to ensure your artwork's safety.
Q: Can I reuse old picture wire?
A: I strongly advise against reusing old picture wire, even if it "looks fine." Over time, wire can undergo subtle stresses, develop microscopic fractures, or even experience "creep" – a slow, permanent deformation – especially if it was previously subjected to heavy loads or temperature fluctuations. This weakens its integrity, making it far more prone to sudden failure. The cost of new, appropriate picture wire is negligible compared to the potential damage or complete loss of your artwork. Always opt for fresh, new wire for peace of mind and maximum security.

Q: What if my painting is exceptionally large, very heavy, or has a thin/delicate frame, or an irregular shape?
A: For very heavy or oversized pieces (think monumental gallery works), simply selecting a heavier-gauge wire might not be enough. In these cases, you might consider using two separate D-ring and wire setups (one on each side, connected to its own wall hook), or exploring specialized heavy-duty hanging hardware like French cleats or museum-grade hanging systems. French cleats, for example, distribute the weight across a much wider area of the wall, offering unparalleled stability and security against dislodgement. For artwork with irregular shapes or those without a traditional frame (like metal art or textile pieces), you'll need specialized hangers. For metal, often a welded hanging bracket or a strong adhesive hook (rated for the weight!) is used. For textiles, a rod pocket, Velcro strips, or even specialized clips can work, depending on the material and weight. For truly monumental or precious art, or if your frame is exceptionally thin, old, or delicate and prone to splitting, I always recommend consulting a professional art framer or art installer. They can provide tailored advice and solutions to safely hang even the most challenging works, or suggest alternative attachment methods like specialized clips or reinforcement. Don't take chances with irreplaceable heirlooms!







The Final Touch: Confidence on Your Wall
There's a quiet, deep satisfaction, isn't there, in stepping back from a perfectly hung painting? Knowing that you've not only created or acquired something beautiful but also personally ensured its safe, stable, and elegant presentation. It's a small detail, this proper wiring, but it's one that, to me, speaks volumes about true craftsmanship, care, and attention. It reflects the respect we give to the art itself and to the space it inhabits. Just as you wouldn't drive a classic car without proper maintenance, you shouldn't hang your cherished art without ensuring its structural integrity from frame to wall. This meticulous approach empowers you with the peace of mind that comes from knowing your treasured artwork is not just displayed, but truly secure and conserved, ready to be admired for decades to come, becoming a lasting part of your home's story.
So go forth, wire your art with newfound confidence, and let your walls truly sing with your carefully displayed masterpieces. Take pride in knowing you've mastered this vital, often-overlooked skill. And if you're ever looking for that next perfect piece to hang – one that has been carefully considered and prepared for its journey from my studio to your home – well, you know where to discover some truly fantastic art that I've ensured is ready for its secure debut. You can also explore my other guides to further enhance your artistic journey.