How to Make Your Own Sketchbook: A Personal Journey into Creative Crafting
Discover the joy of crafting your custom sketchbook! This guide shares my personal journey, tips on choosing materials, simple binding techniques, and how to create a unique space for your art.
How to Make Your Own Sketchbook
You know, there's just something profoundly satisfying about a blank sketchbook. It's a promise, a whispered invitation to explore, to dream, to just make. But what if I told you that the satisfaction could be even deeper, the connection even stronger, if that sketchbook was a creation of your own two hands? That's what we're diving into today: the wonderfully grounding, sometimes messy, but always rewarding process of making your very own sketchbook.For years, I bought my sketchbooks off the shelf, perfectly uniform, perfectly impersonal. And don't get me wrong, there are some fantastic ones out there. But then, almost on a whim, I decided to try making one. It felt a bit daunting at first, like trying to bake a soufflé without ever cracking an egg, but the experience utterly transformed how I view my creative tools. It became an extension of my artistic self even before the first line was drawn.
Why Go DIY? Beyond Just Saving a Few Bucks
"Why bother?" I hear you ask. "Aren't store-bought ones good enough?" And yes, they are. But making your own sketchbook is about so much more than just frugality. It's about intentionality, about truly tailoring your tools to your unique creative process.Think about it: have you ever wished a certain paper had a different cover? Or that a beautiful binding came with paper that could handle your heaviest washes? When you go DIY, you're the architect of your artistic haven. It's like building your own tiny, portable museum of your thoughts and explorations. It's also a fantastic way to understand the materials you work with better, which, surprisingly, has deepened my appreciation for art in general. You can literally feel the craftsmanship.And let's not forget the sheer joy of holding something you crafted, knowing every fold, every stitch, every carefully chosen sheet of paper. It’s a bit like the satisfaction of curating your own den-bosch-museum, but on a miniature, personal scale.A handmade sketchbook isn't just a container for your art; it's a piece of art itself.Here's a quick peek at why I think it's worth the effort:
Benefits of a Handmade Sketchbook
| Benefit | Description | My Personal Take ||---|---|---|| Customization | Choose your exact paper type, size, orientation, and cover material. | This is huge! No more compromising on paper for specific media. || Personal Connection | The act of creating the book deepens your bond with it. | It feels more 'mine' before I even put a mark in it. It's a ritual. || Sustainability | Utilize repurposed materials or consciously sourced paper. | A great way to feel good about your creative footprint. || Cost-Effective | Often cheaper than high-end, store-bought sketchbooks. | Saves money, especially if you're experimenting with different papers. || Skill Building | Learn basic bookbinding techniques, a rewarding craft. | It's a whole new avenue for creativity and problem-solving! |
Gathering Your Creative Arsenal: Tools & Materials
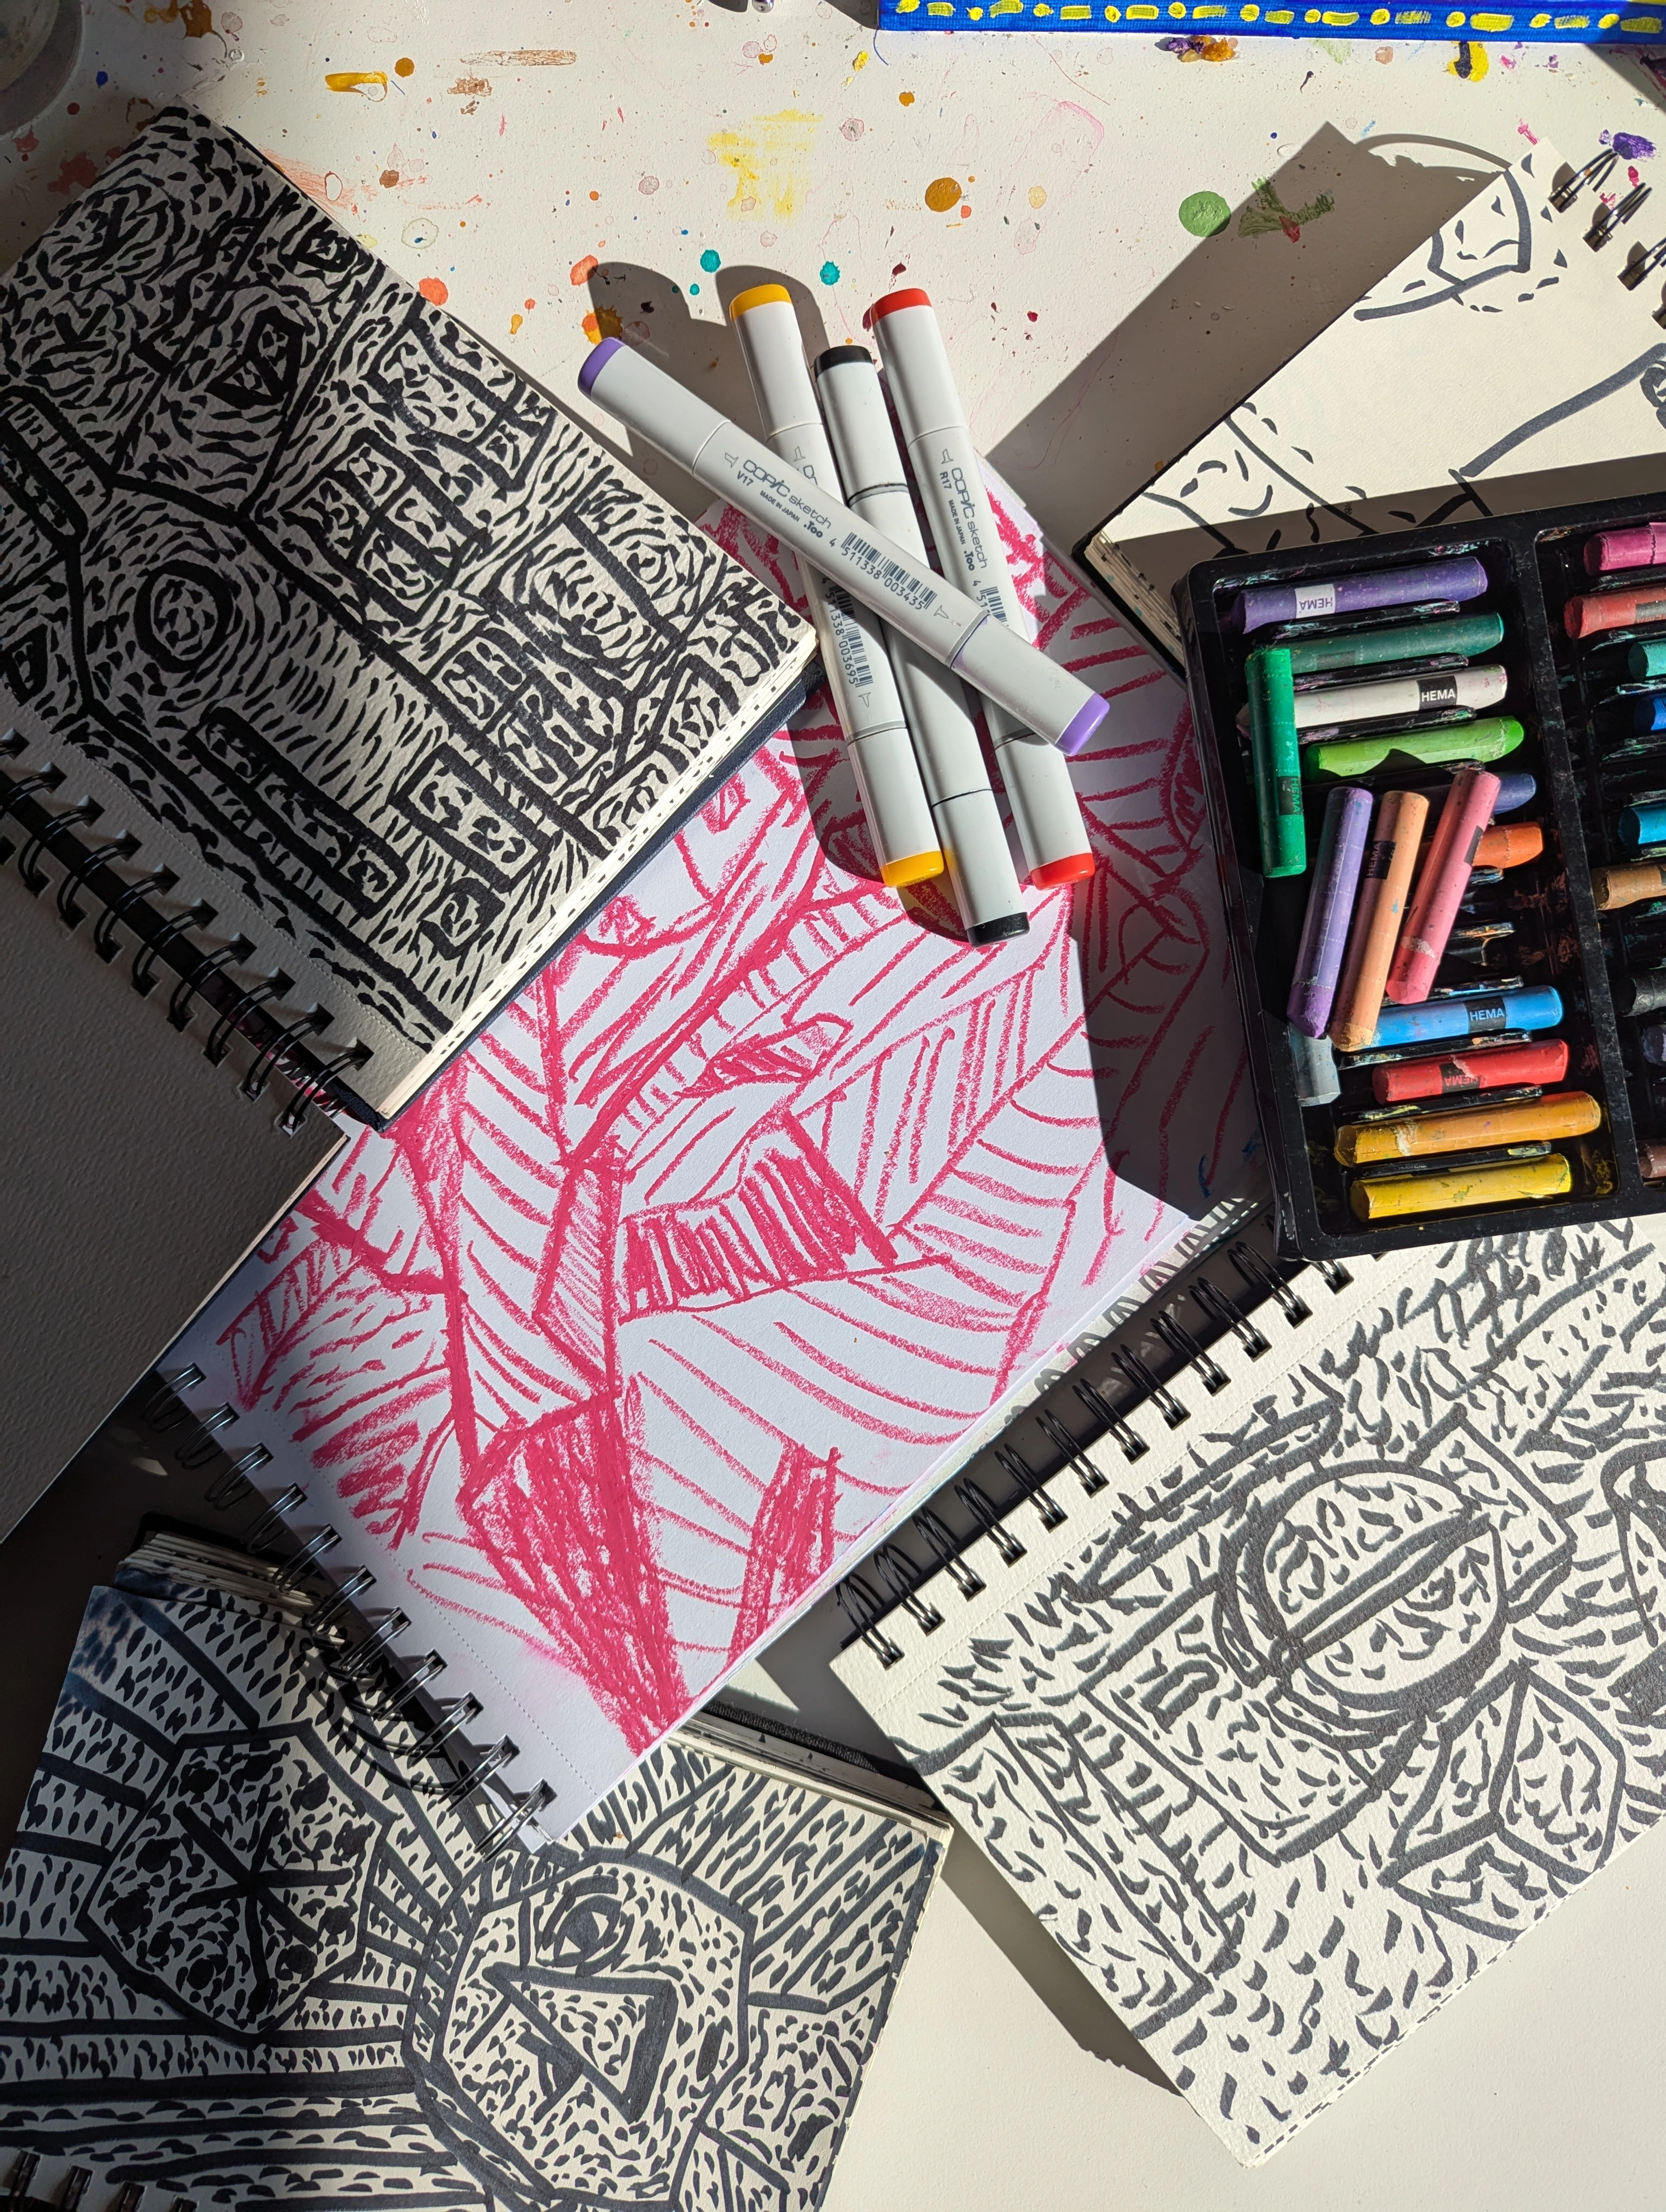
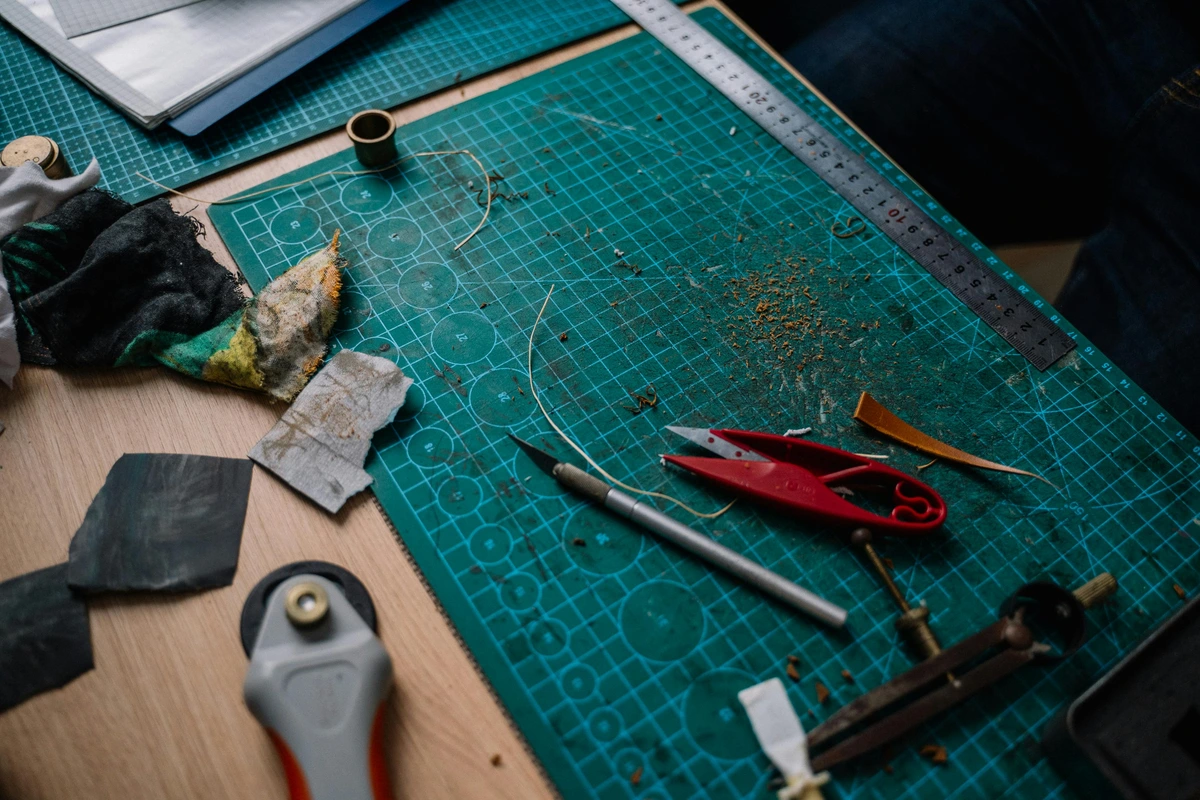
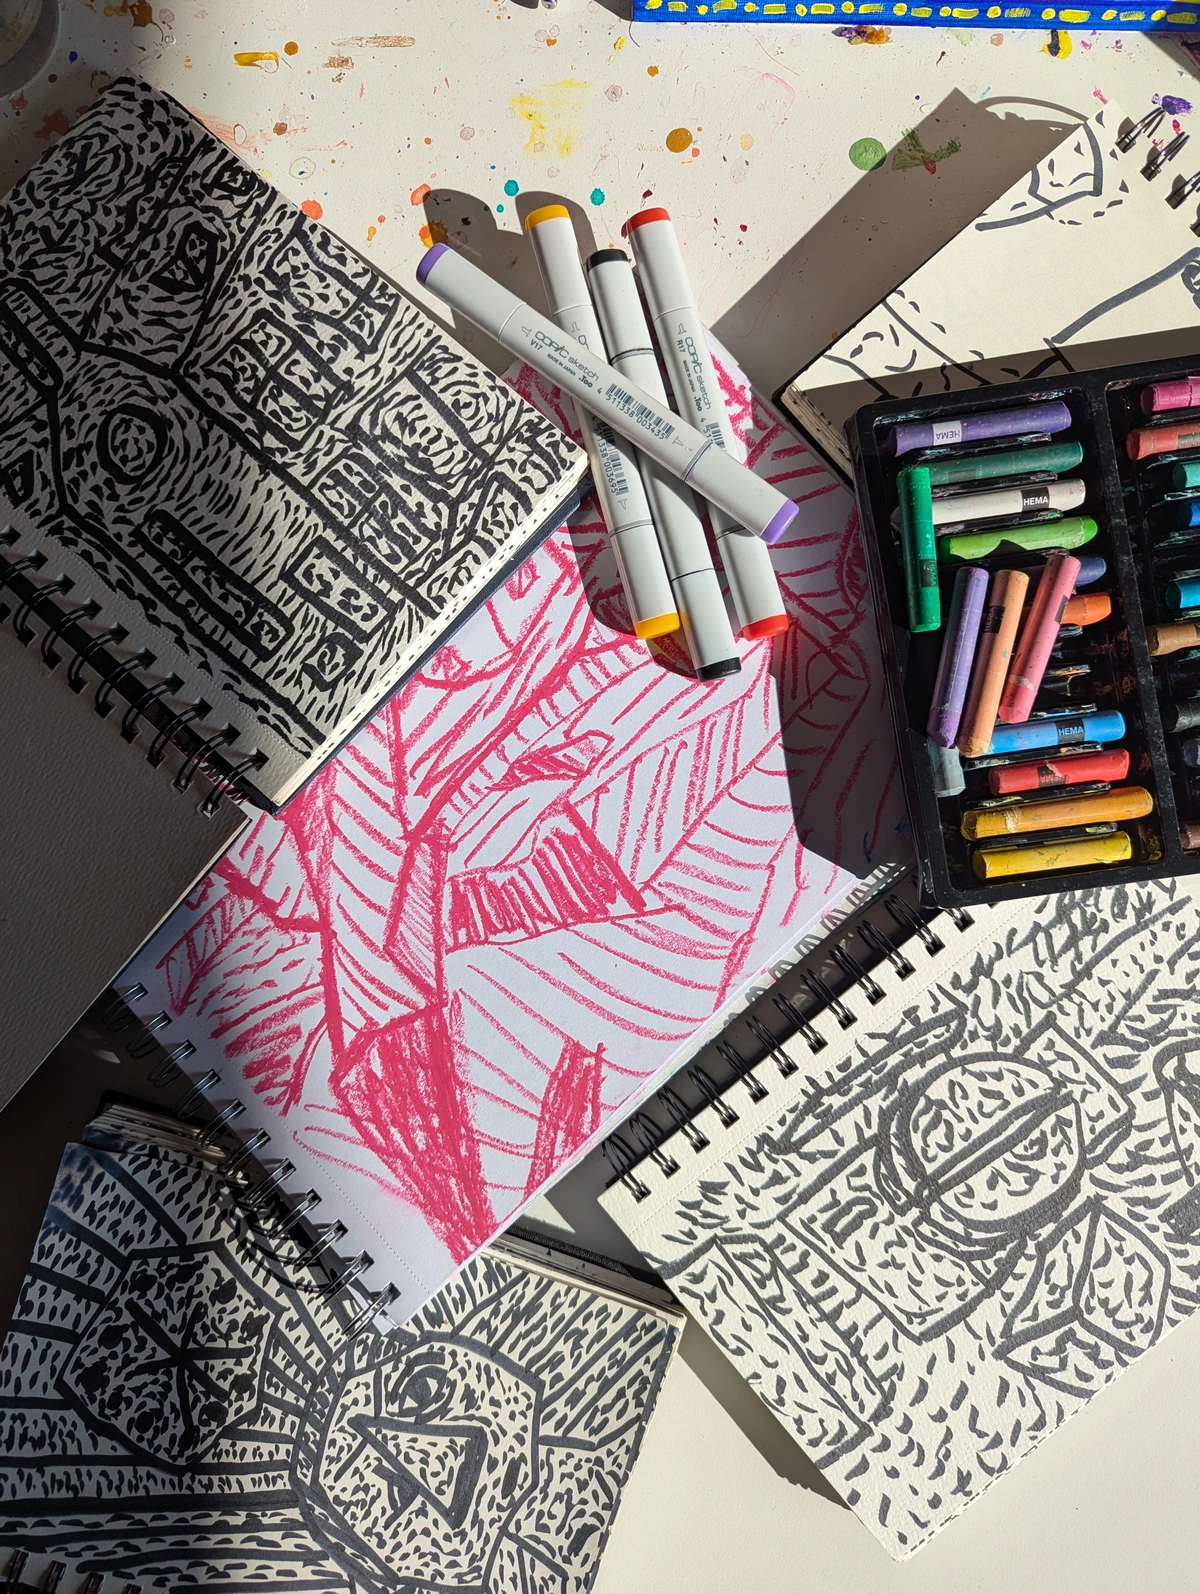
Before we get our hands sticky (and trust me, they might get a little sticky), let's talk about what you'll need. Don't be intimidated; you probably have a lot of these items already, or can find them easily. I remember my first attempt involved raiding my mom's sewing kit and an old cardboard box – proof that you don't need fancy equipment to start!
Essential Tools & Materials
| Category | Item | Description | Where I Usually Get Mine ||---|---|---|---|| Paper | Inner Pages | Your choice of art paper (watercolor, mixed media, drawing, etc.) | Local art supply store or online, check essential-watercolor-supplies-for-beginners for ideas. || | Cover Stock | Thicker cardstock, book board, or even old album covers. | Craft store, repurposing old packaging. || Cutting | Ruler | Metal preferred for safety and straight cuts. | Any stationery store. || | Craft Knife/X-Acto | For precise cutting of paper and board. | Art supply or hardware store. || | Cutting Mat | Protects your work surface. | Art supply store, essential for desk longevity! || Adhesion | PVA Glue (Acid-Free) | Bookbinding glue for strong, flexible bonds. | Art supply stores or online. || | Glue Brush/Spreader | For even application. | Cheap craft brushes work fine. || Binding | Awl | To pierce holes for stitching. | Bookbinding supply, or a thick needle/pushpin. || | Waxed Thread | Strong thread for sewing signatures. | Craft store (embroidery floss can work too). || | Large Needle | Strong enough to go through paper layers. | Sewing or craft store. || | Bone Folder | For crisp folds and creasing. | Bookbinding supply, or the back of a spoon! || Optional | Paper Clips/Binder Clips | To hold pages while gluing/sewing. | Office supply store. || | Decorative Papers/Fabric | For covering your book board. | Craft store, old scarves, wallpaper samples. ||
The Heart of It All: Choosing Your Paper
This is where the magic really begins. Forget the standard, thin sketchbook paper if you want to! You can customize your paper based on your preferred mediums. I usually go for a mix – some watercolor paper, some drawing paper, maybe even a few sheets of toned paper for variety. It’s all about creating a space where your ideas can truly flourish.

Paper Types & Best Uses
| Paper Type | Weight (GSM) | Best For | Considerations ||---|---|---|---|| Drawing Paper | 80-120 | Pencil, charcoal, pen, ink | Smooth to medium tooth, good for detail. Not great for wet media. || Mixed Media Paper | 180-250 | Pencil, ink, marker, light watercolor/gouache | Versatile, a good all-rounder. Can buckle with heavy washes. || Watercolor Paper | 200-300+ | Watercolor, gouache, acrylic washes | Excellent absorbency, minimal buckling. Rough or cold press textures. See also best-watercolor-paper-for-artists-review. || Kraft Paper | 60-120 | Pencil, charcoal, white pastel/gel pen | Unique brown tone, great for highlights. Usually thinner. || Toned Paper | 100-200 | Pencil, charcoal, pastel, white media | Grey or tan paper, excellent for mid-tones. Often smooth. ||
If you're into basic-brushstrokes-for-acrylic-painting, you'll want heavier paper, perhaps even a Bristol board. The key is to think about what you actually draw or paint, and what kind of support those mediums need.
Crafting Your Cover: More Than Just a Pretty Face
The cover is your sketchbook's personality. It's the first thing you see, and it can be as simple or as elaborate as you like. For a sturdy, long-lasting sketchbook, I highly recommend using book board (a thick, stiff cardboard) or repurposing heavy cardboard from packaging. You can then cover this with decorative paper, fabric, or even paint it yourself! I've even seen artists use leather or old denim. The world is your oyster!

When designing, consider the overall what-is-design-in-art principles. Will it be minimalist? Bold? Textured? This is your chance to really express yourself before you even open the book.
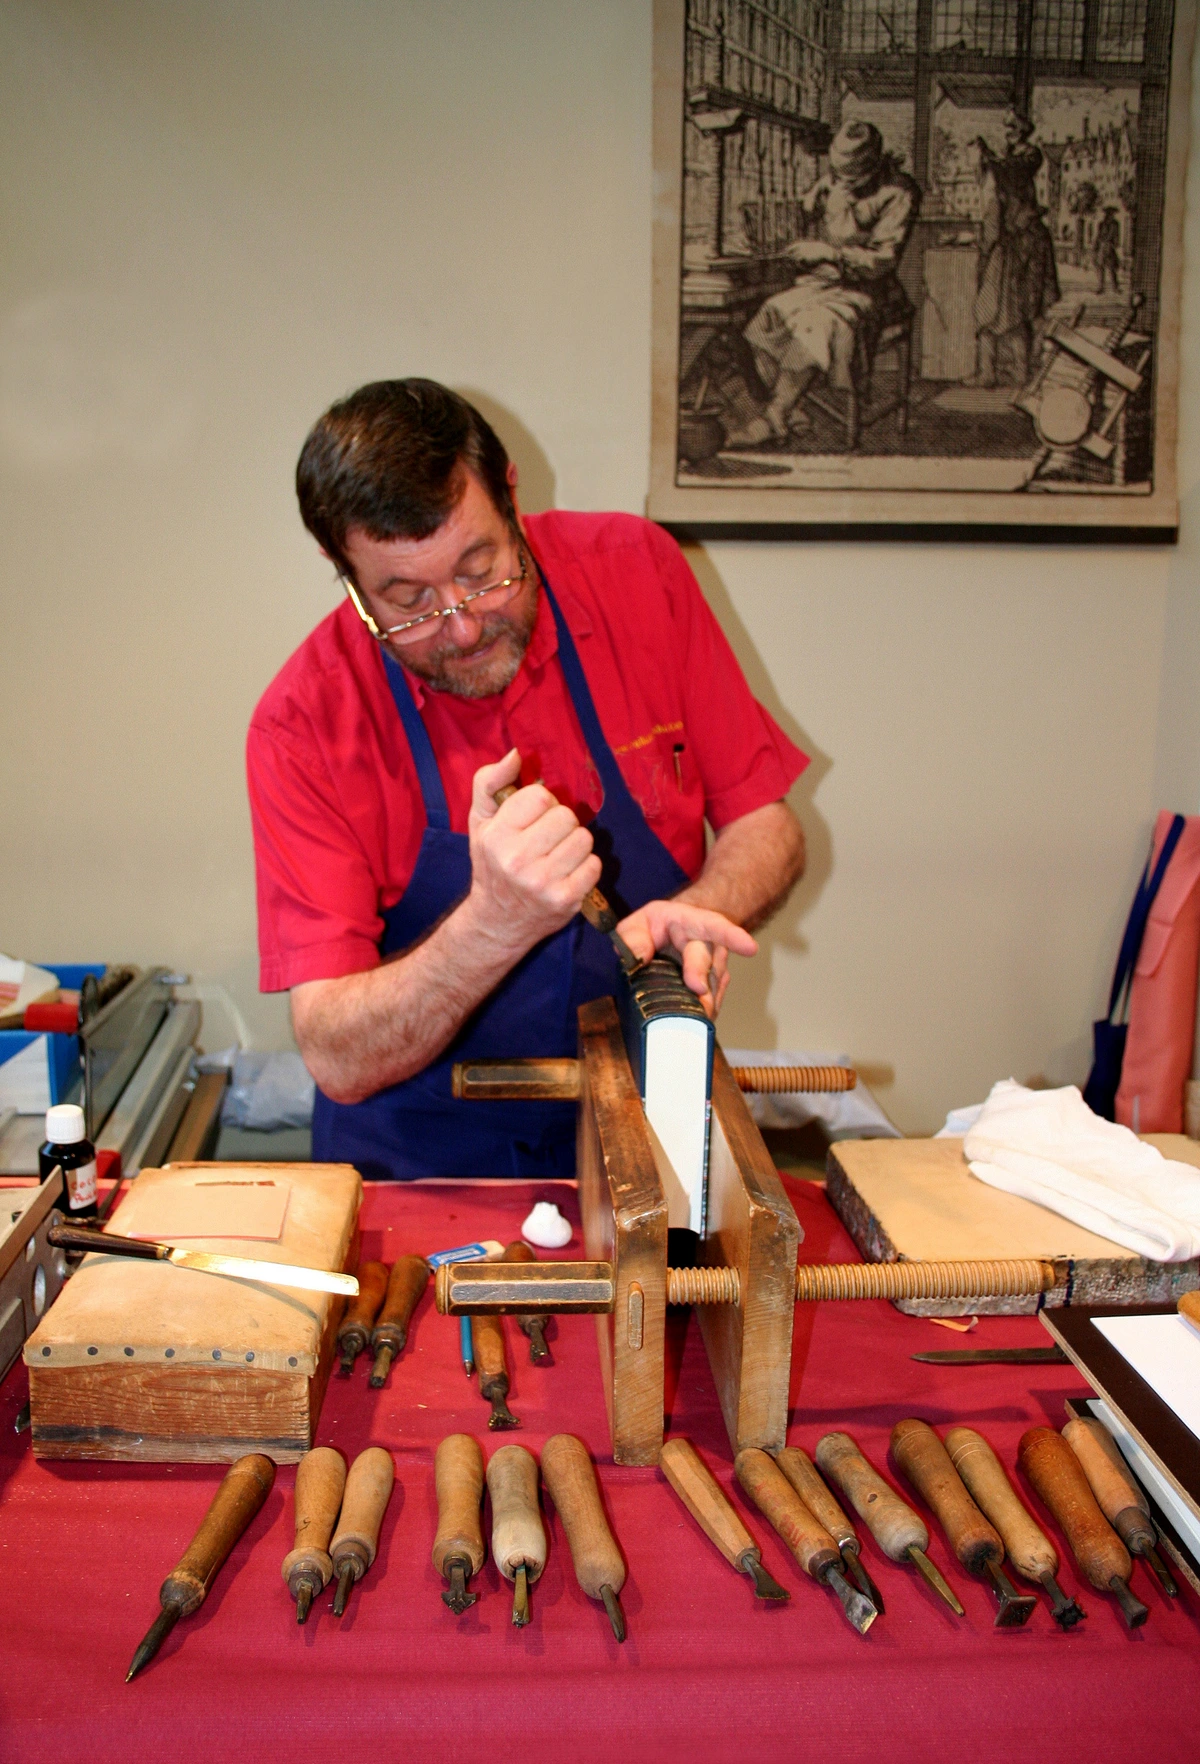
Bringing it All Together: Simple Binding Techniques
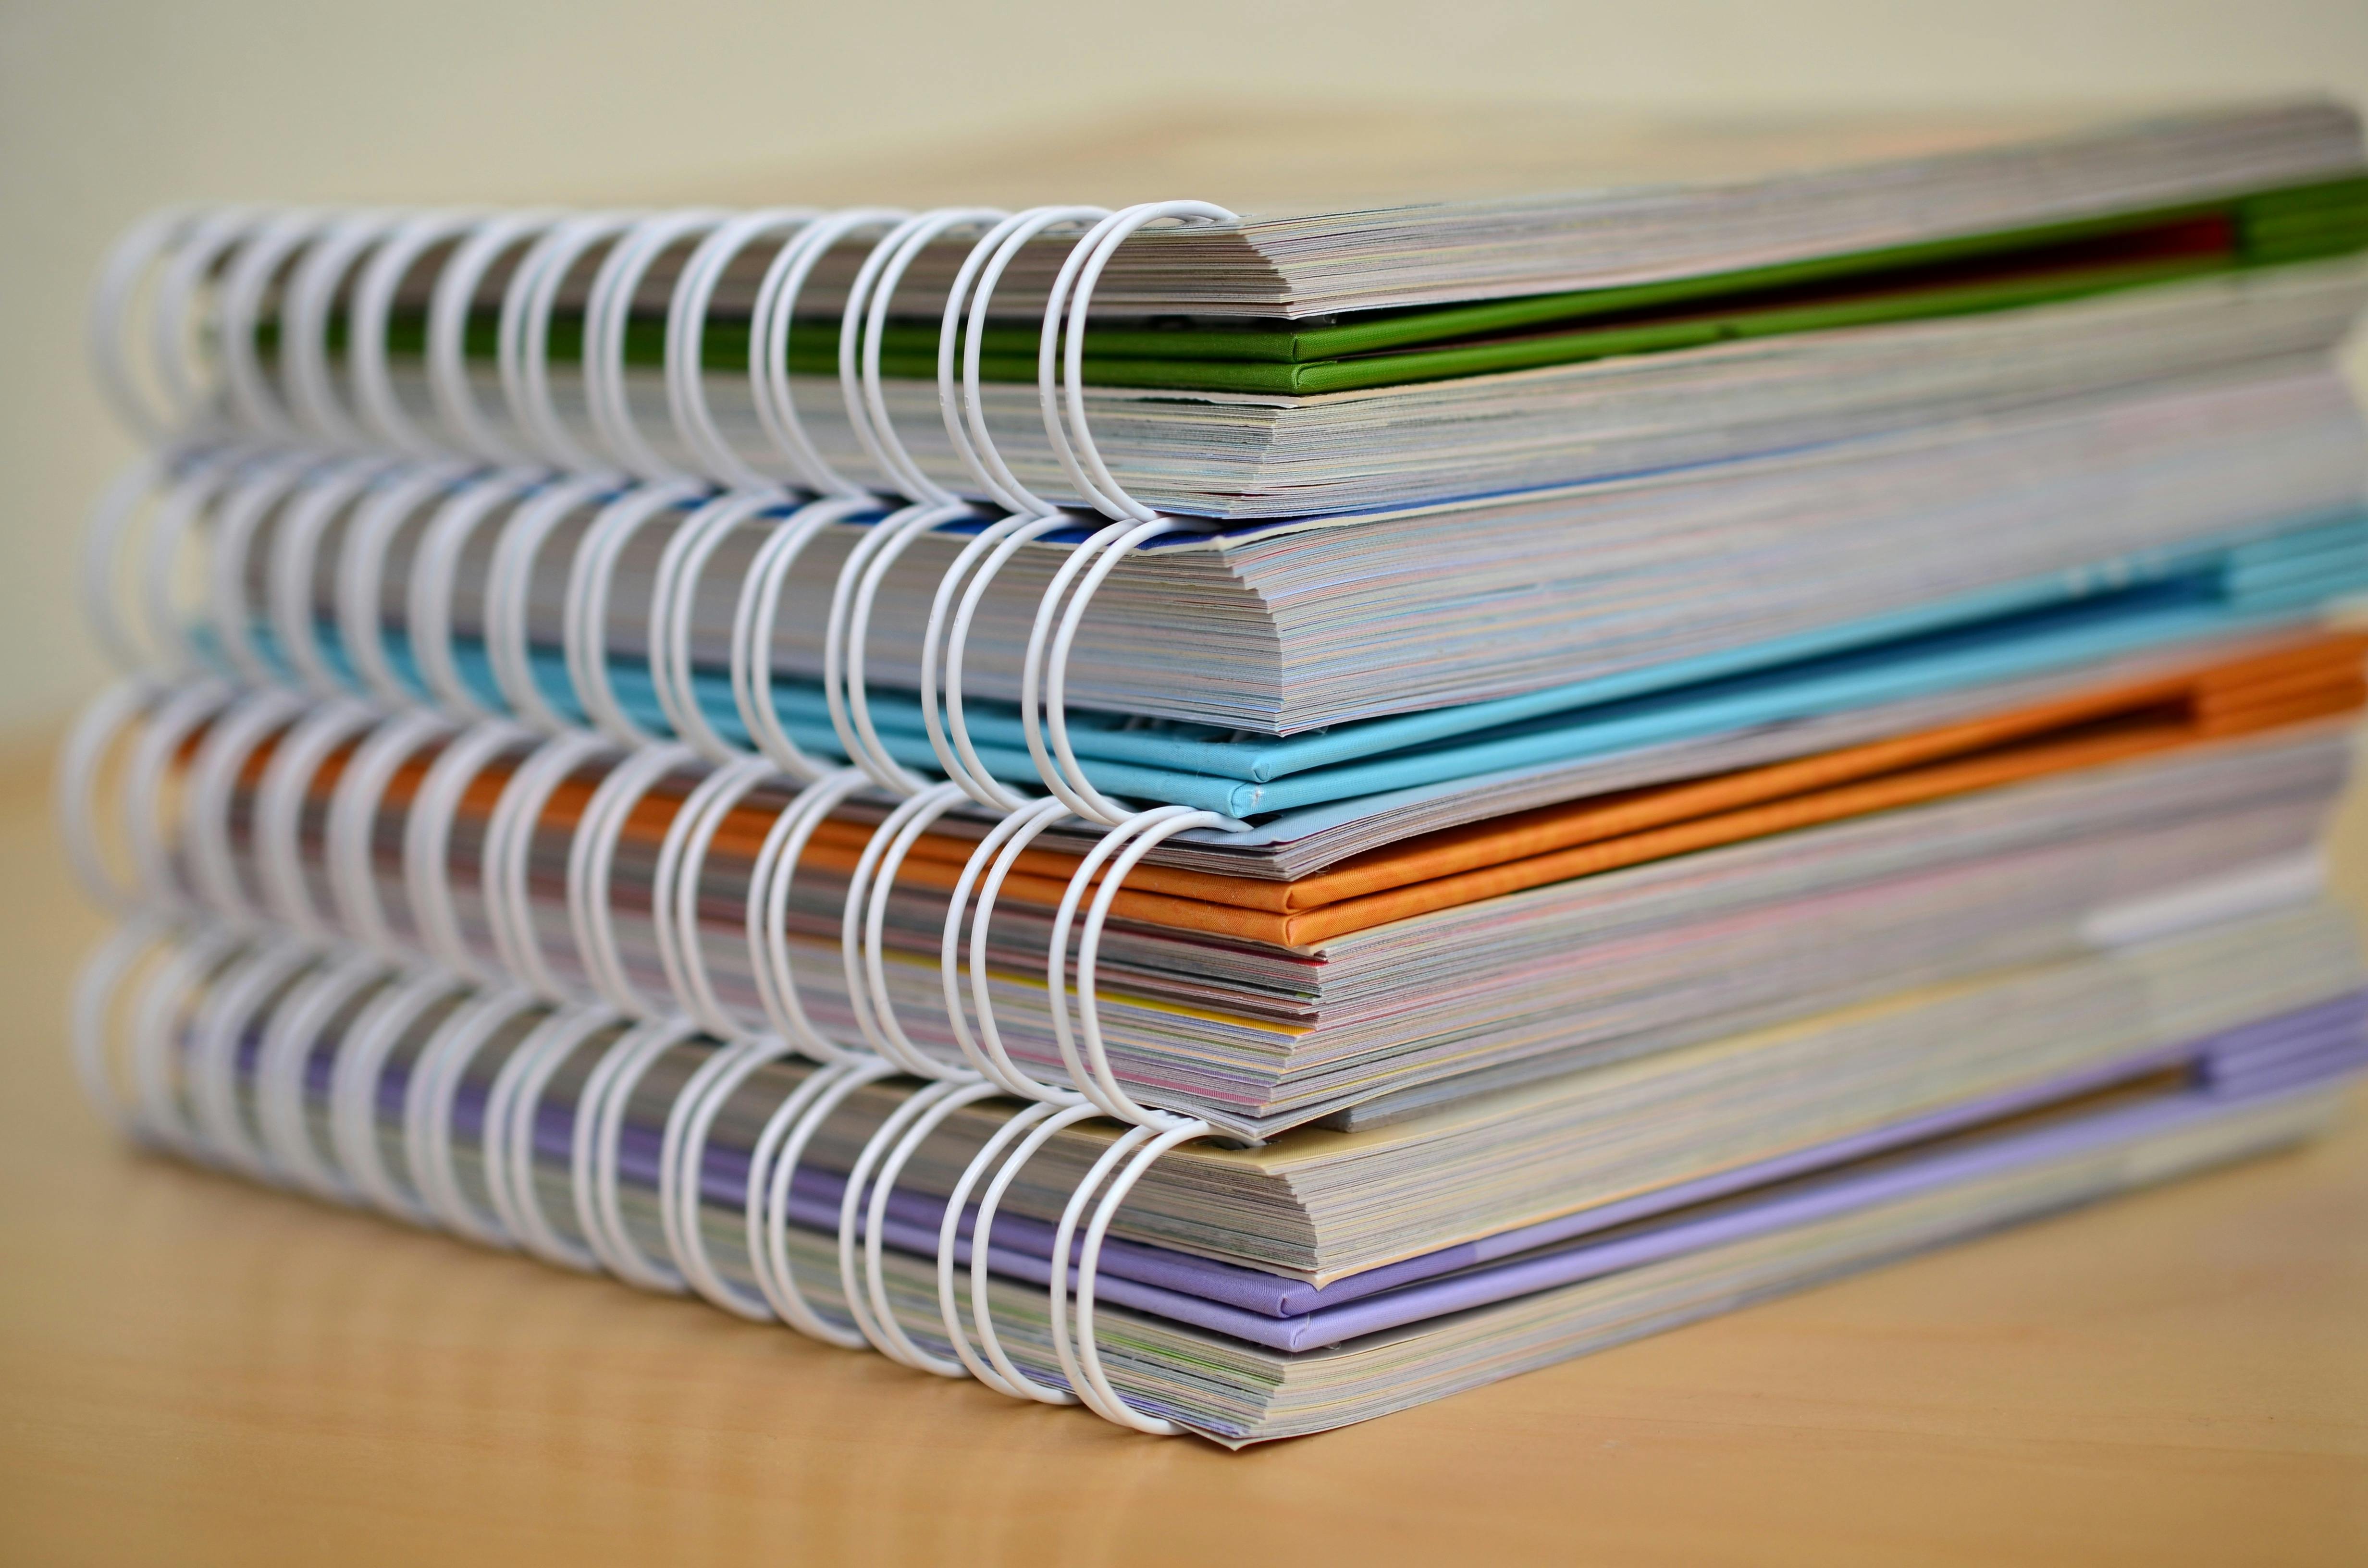
Now for the main event: binding! There are many bookbinding techniques, from simple pamphlet stitches to more complex Coptic or Japanese bindings. For a first-timer, I usually recommend the Pamphlet Stitch or a simple Japanese Stab Binding. They're relatively easy to master and yield beautiful, functional results.
Today, let's walk through a simplified Pamphlet Stitch, perfect for a small-to-medium sketchbook.
Simplified Pamphlet Stitch Steps:
- Prepare Your Pages: Fold all your chosen inner pages in half perfectly. You can do this by scoring the paper first with a bone folder and ruler for a crisp fold. Stack them neatly inside each other to form 'signatures'. For a small sketchbook, 2-3 signatures of 3-5 folded sheets each work well. If you have thicker paper, fewer sheets per signature.2. Prepare Your Cover: Cut your chosen cover material slightly larger than your folded inner pages (e.g., about 1/4 inch overhang on three sides). Fold it in half perfectly, matching the fold of your inner pages.3. Nest & Align: Place your stacked signatures inside the folded cover, aligning the spines perfectly. Use paper clips to hold everything in place.4. Mark Your Holes: On the spine of the outer cover, mark three points: one exactly in the center, and one about 1 inch (2.5 cm) from the top and bottom edges respectively. Ensure these marks are on the fold.5. Pierce the Holes: Using your awl (or thick needle), carefully pierce through all layers (cover and pages) at each of the three marked points. Be mindful of your fingers and use a cutting mat underneath.6. Stitch It Up! This is the fun part. Cut a length of waxed thread about 3 times the height of your sketchbook. Thread your needle.a. Start by going through the center hole from the inside of the sketchbook to the outside, leaving a tail of thread hanging inside (about 3-4 inches/7-10 cm).b. Go through the top hole from the outside to the inside.c. Go through the bottom hole from the inside to the outside.d. Now, come back through the center hole from the outside to the inside. You should now have two tails of thread on the inside of your sketchbook, one on either side of the long thread that crosses the spine.e. Tie a square knot tightly with the two tails, ensuring the thread is snug but not so tight that it rips the paper. Trim excess thread.7. Admire Your Work: Open your beautiful, handmade sketchbook! The stitching should be visible and secure.
Personal Touches & Embracing Imperfection
This is where your sketchbook truly becomes yours. You can decorate the cover, add an elastic band closure, or even include a small pocket inside for ephemera. I love adding a little personal dedication or quote on the first page, almost like setting an intention for the art to come.And here's a secret: don't strive for perfection. Your first handmade sketchbook might have slightly uneven cuts or a wonky stitch. Embrace it! Those imperfections are part of its story, a testament to your effort and creativity. In my abstract art, I often talk about the-power-of-imperfection-embracing-accidents-and-evolution-in-my-abstract-art, and it applies just as much to crafting. The beauty is in the making, not necessarily the flawless execution. It's a journey, a timeline of your artistic growth, one book at a time.
FAQ: Your Burning Sketchbook Questions
Q1: What's the best paper for a beginner's handmade sketchbook?
A1: For versatility, I'd highly recommend a mixed media paper around 180-250 GSM. It handles a wide range of dry media, and even light washes of watercolor or acrylic, without too much buckling. If you know you'll primarily use pencils, a good quality drawing paper (100-120 GSM) is also excellent.
Q2: Can I use different types of paper within the same sketchbook?
A2: Absolutely! This is one of the biggest advantages of making your own. You can create different 'sections' or 'signatures' with various paper types. Just remember to group similar papers together for easier binding, and ensure they are all the same size after folding. This mixed approach can really inspire my-journey-with-mixed-media:-blending-materials-for-abstract-expression.
Q3: How do I make my sketchbook cover really durable?
A3: The key is using book board or thick, dense cardboard. For covering, use a sturdy material like book cloth, heavy decorative paper, or even fabric (like canvas or denim) that you can adhere securely with PVA glue. Applying a clear sealant or varnish after decoration can also add an extra layer of protection.
Q4: My holes aren't perfectly aligned, will my sketchbook fall apart?
A4: Not at all! A slight misalignment is common, especially for your first few attempts. As long as your stitches are snug and your knot is secure, your sketchbook will hold together just fine. See it as character! Over time, your precision will improve, but for now, just enjoy the process.
Q5: What if I don't have an awl for piercing holes?
A5: No problem! A thick sewing needle, a pushpin, or even the tip of a small, sharp craft knife can work. Just be extra careful to keep your fingers clear and pierce through a cutting mat or several layers of cardboard underneath to protect your surface.
Conclusion
There's a quiet magic in making something with your hands, especially a vessel for creativity like a sketchbook. It's an intimate act, a declaration of your artistic intent. From choosing the texture of the paper to knotting the final stitch, every step imbues the book with a little piece of you.The next time you sit down to draw, pen in hand, looking at those blank pages, you'll know that you didn't just buy a tool – you crafted a companion for your creative journey. And that, my friends, is a truly wonderful feeling. So go on, give it a try. Your future masterpieces, and your creative soul, will thank you for it. If you're looking for more art inspiration, or even a finished piece of art to add to your space, remember to check out my collection here. Happy creating!


