Diving into Watercolor: My Essential Beginner's Kit & First Steps to Creative Freedom
Overwhelmed by watercolor? I share my essential beginner's kit – paper, paints, brushes, tools – and fundamental techniques to help you embrace fluid creativity with confidence, from first wash to abstract art.
Diving into Watercolor: My Essential Beginner's Kit & First Steps to Creative Freedom
Starting a new artistic journey, especially with something as seemingly ethereal as watercolor, can feel a bit like standing at the edge of a beautiful, vast ocean, armed with just a tiny teacup. Overwhelming, right? I've been there. My first attempts often resembled a muddy puddle more than a vibrant landscape, and for a moment, I considered retreating to the safety of a coloring book. But for me, watercolor was a quiet rebellion, a gentle push against the rigid lines I sometimes felt in other mediums. Its fluidity, its unpredictability, spoke to a part of my soul that craved that very freedom, that beautiful, controlled chaos that eventually defined much of my artistic expression, which you can explore further in my abstract work.
But here's a secret: you don't need everything to start. My own path into the vibrant, sometimes unpredictable world of watercolor began with just a handful of carefully chosen items. This isn't about collecting every gadget; it's about finding the companions that will truly support your first playful splashes and serious explorations. Come, let me share what I've learned, what I still use, and why less really can be more, because truly, the magic isn't in the tools, but in the courage to begin. This guide will candidly walk you through my essential beginner's kit and fundamental techniques, ensuring you embark on your watercolor journey with confidence and clarity, ready to create your own expressive pieces.

The Foundation: Paper (It's More Than Just Paper, Trust Me)
Before we even touch paint, there’s a canvas for our dreams, or rather, a paper for our washes. And trust me, this isn't just any paper. If there’s one piece of advice I can shout from the rooftops, it’s this: invest in good paper. Seriously. I once tried painting on some standard sketchpad paper, thinking, "It's just water and pigment, how different can it be?" Oh, the horror! The paper buckled almost instantly, the colors sank flat and lifeless, and the whole experience was akin to trying to sculpt with liquid butter. Utterly frustrating, it felt like the paper was actively fighting against my creative impulses, rather than embracing them.
Watercolor paper is special. It’s thicker, designed to withstand water without warping excessively, and treated to absorb pigment in a way that allows for beautiful washes and layering. For beginners, don’t jump straight to the most expensive stuff, but please, please avoid printer paper or thin sketchpad sheets. Look for:
- Weight: At least 140 lb (300 gsm). This is the sweet spot for durability. Lighter paper, like 90 lb, is notorious for dramatic buckling and might only suit very dry techniques or quick sketches. Heavier paper, like 300 lb, offers incredible resilience for multiple washes but comes with a higher price tag. The substantial weight of 140lb paper actively resists water's effects, minimizing the frustrating cockling and wrinkling that lighter papers suffer from when wet.
- Material: Cotton rag paper is the gold standard, offering incredible absorbency and workability. Cotton rag paper, on the other hand, isn't just about immediate absorbency; its long fibers provide exceptional strength, allowing for multiple washes and lifting without tearing, and ensuring your artwork endures through time without yellowing, earning its reputation as archival quality. However, it can be pricey. A good quality wood pulp or cellulose blend is perfectly fine for starting out. Look for 'acid-free' to ensure your artwork lasts and doesn't yellow over time.
- Texture: Cold press paper is generally recommended for beginners. It has a slight texture (or 'tooth') that grabs pigment nicely and isn’t as intimidating as rough paper, nor as unforgiving as hot press (which is very smooth). Cold press allows for a good balance of control and happy accidents, whereas hot press can feel slippery, causing paint to spread unpredictably for new artists, and rough paper's deep texture can be challenging to work with for smooth washes, often better suited for dry brush techniques or heavy texture. The 'tooth' of cold press paper isn't just for texture; it subtly grabs and holds pigment, allowing for more even washes, easier layering, and surprisingly, also facilitates lifting and blending by providing a surface for the pigment to interact with rather than just sitting on top.
My personal go-to for practice is usually a cold-press, 140lb paper block. The block format means the edges are glued, minimizing warping – a small convenience that saves a lot of annoyance when you’re just finding your footing. It allows me to just dive in without the fuss of taping, letting me focus on the joy of the brush on paper. This practice paper is where many of my abstract experiments begin, before I translate them to larger canvases – a journey you can explore further in my abstract canvas collection.
Remember, good paper isn't just a surface; it's a collaborator in your creative process. Don't let a bad experience with cheap paper sour your journey!
Characteristic | Beginner Recommendation | Why? |
|---|---|---|
| Weight | 140 lb (300 gsm) | Resists buckling and warping with water. |
| Material | Wood pulp/cellulose (acid-free) | Good quality and affordable, prevents yellowing. |
| Texture | Cold Press | Slight 'tooth' for good pigment grip and control. |
The Colors of My World: Watercolor Paints
Now, with our foundation laid, it's time to talk about the very essence of watercolor: the colors themselves! This is where it gets exciting! And potentially overwhelming. Pans or tubes? Student or artist grade? A rainbow or a minimalist palette? My early self bought a huge set of cheap pans because, well, more colors equals more fun, right? Wrong. Most of those colors sat untouched, and the ones I used were chalky, dull, and had a nasty habit of drying into a muddy mess – my attempt at a vibrant sunset once turned into a depressing brown blob, leading to a moment of genuine artistic despair. Lesson learned, often the hard way, through frustrating, lifeless results where my reds turned orange, my blues turned grey, and the vibrant hues I imagined never quite materialized. It felt like the paint itself was mocking my aspirations.
For beginners, I genuinely recommend starting with a small set of student-grade tube paints. Here’s why:
- Tubes offer more concentrated pigment than pans, giving you more vibrant colors and making it easier to mix larger quantities for washes. You can squeeze out a little onto a palette and reactivate it later, making them surprisingly economical in the long run because dried paint can be re-wetted, reducing waste.
- Student grade is a fantastic balance of quality and cost. They still have good pigment, but use less expensive binders than artist-grade paints. While artist-grade paints boast a higher pigment load, offering superior vibrancy and lightfastness (resistance to fading over time), student grades will still give you much better results than with craft-store watercolors without the hefty price tag of professional sets. When you're picking paints, keep an eye out for lightfastness ratings, often indicated by stars or an ASTM (American Society for Testing and Materials) rating like 'I' (Excellent) or 'II' (Very Good) on the tube. This tells you how well the paint will resist fading when exposed to light over time – a crucial detail if you want your early creations to last beyond a fleeting moment on the fridge.
- Limited Palette: Seriously, you only need about 6-12 colors to start. A good primary set (red, yellow, blue) plus a few secondaries (green, orange, violet) and perhaps an earth tone (like Burnt Sienna) and a neutral (Payne's Gray or a good black). Learning to mix your own colors is a fundamental skill, and it's incredibly rewarding. It's how I uncover some of my vibrant hues. As you learn to mix, consider the color temperature of your paints – warm reds and cool blues will behave differently and create diverse effects when blended. This foundational understanding can drastically improve your color mixing skills. For more on this, check out our guide to color theory.
Most watercolors are naturally transparent, allowing for beautiful layering and luminosity. This transparency is a hallmark of the medium, enabling you to build depth through multiple washes, especially in abstract forms. While opaque watercolors (like gouache) exist, starting with transparent ones is often easier for beginners as they truly embody the unique quality of the medium. As for advanced additions, there are watercolor mediums like gum arabic (to increase luminosity and slow drying time) or ox gall (to improve flow), but these are definitely beyond the scope of a beginner's kit.
Embrace the magic of color mixing; it's like conducting a tiny, vibrant orchestra on your palette!

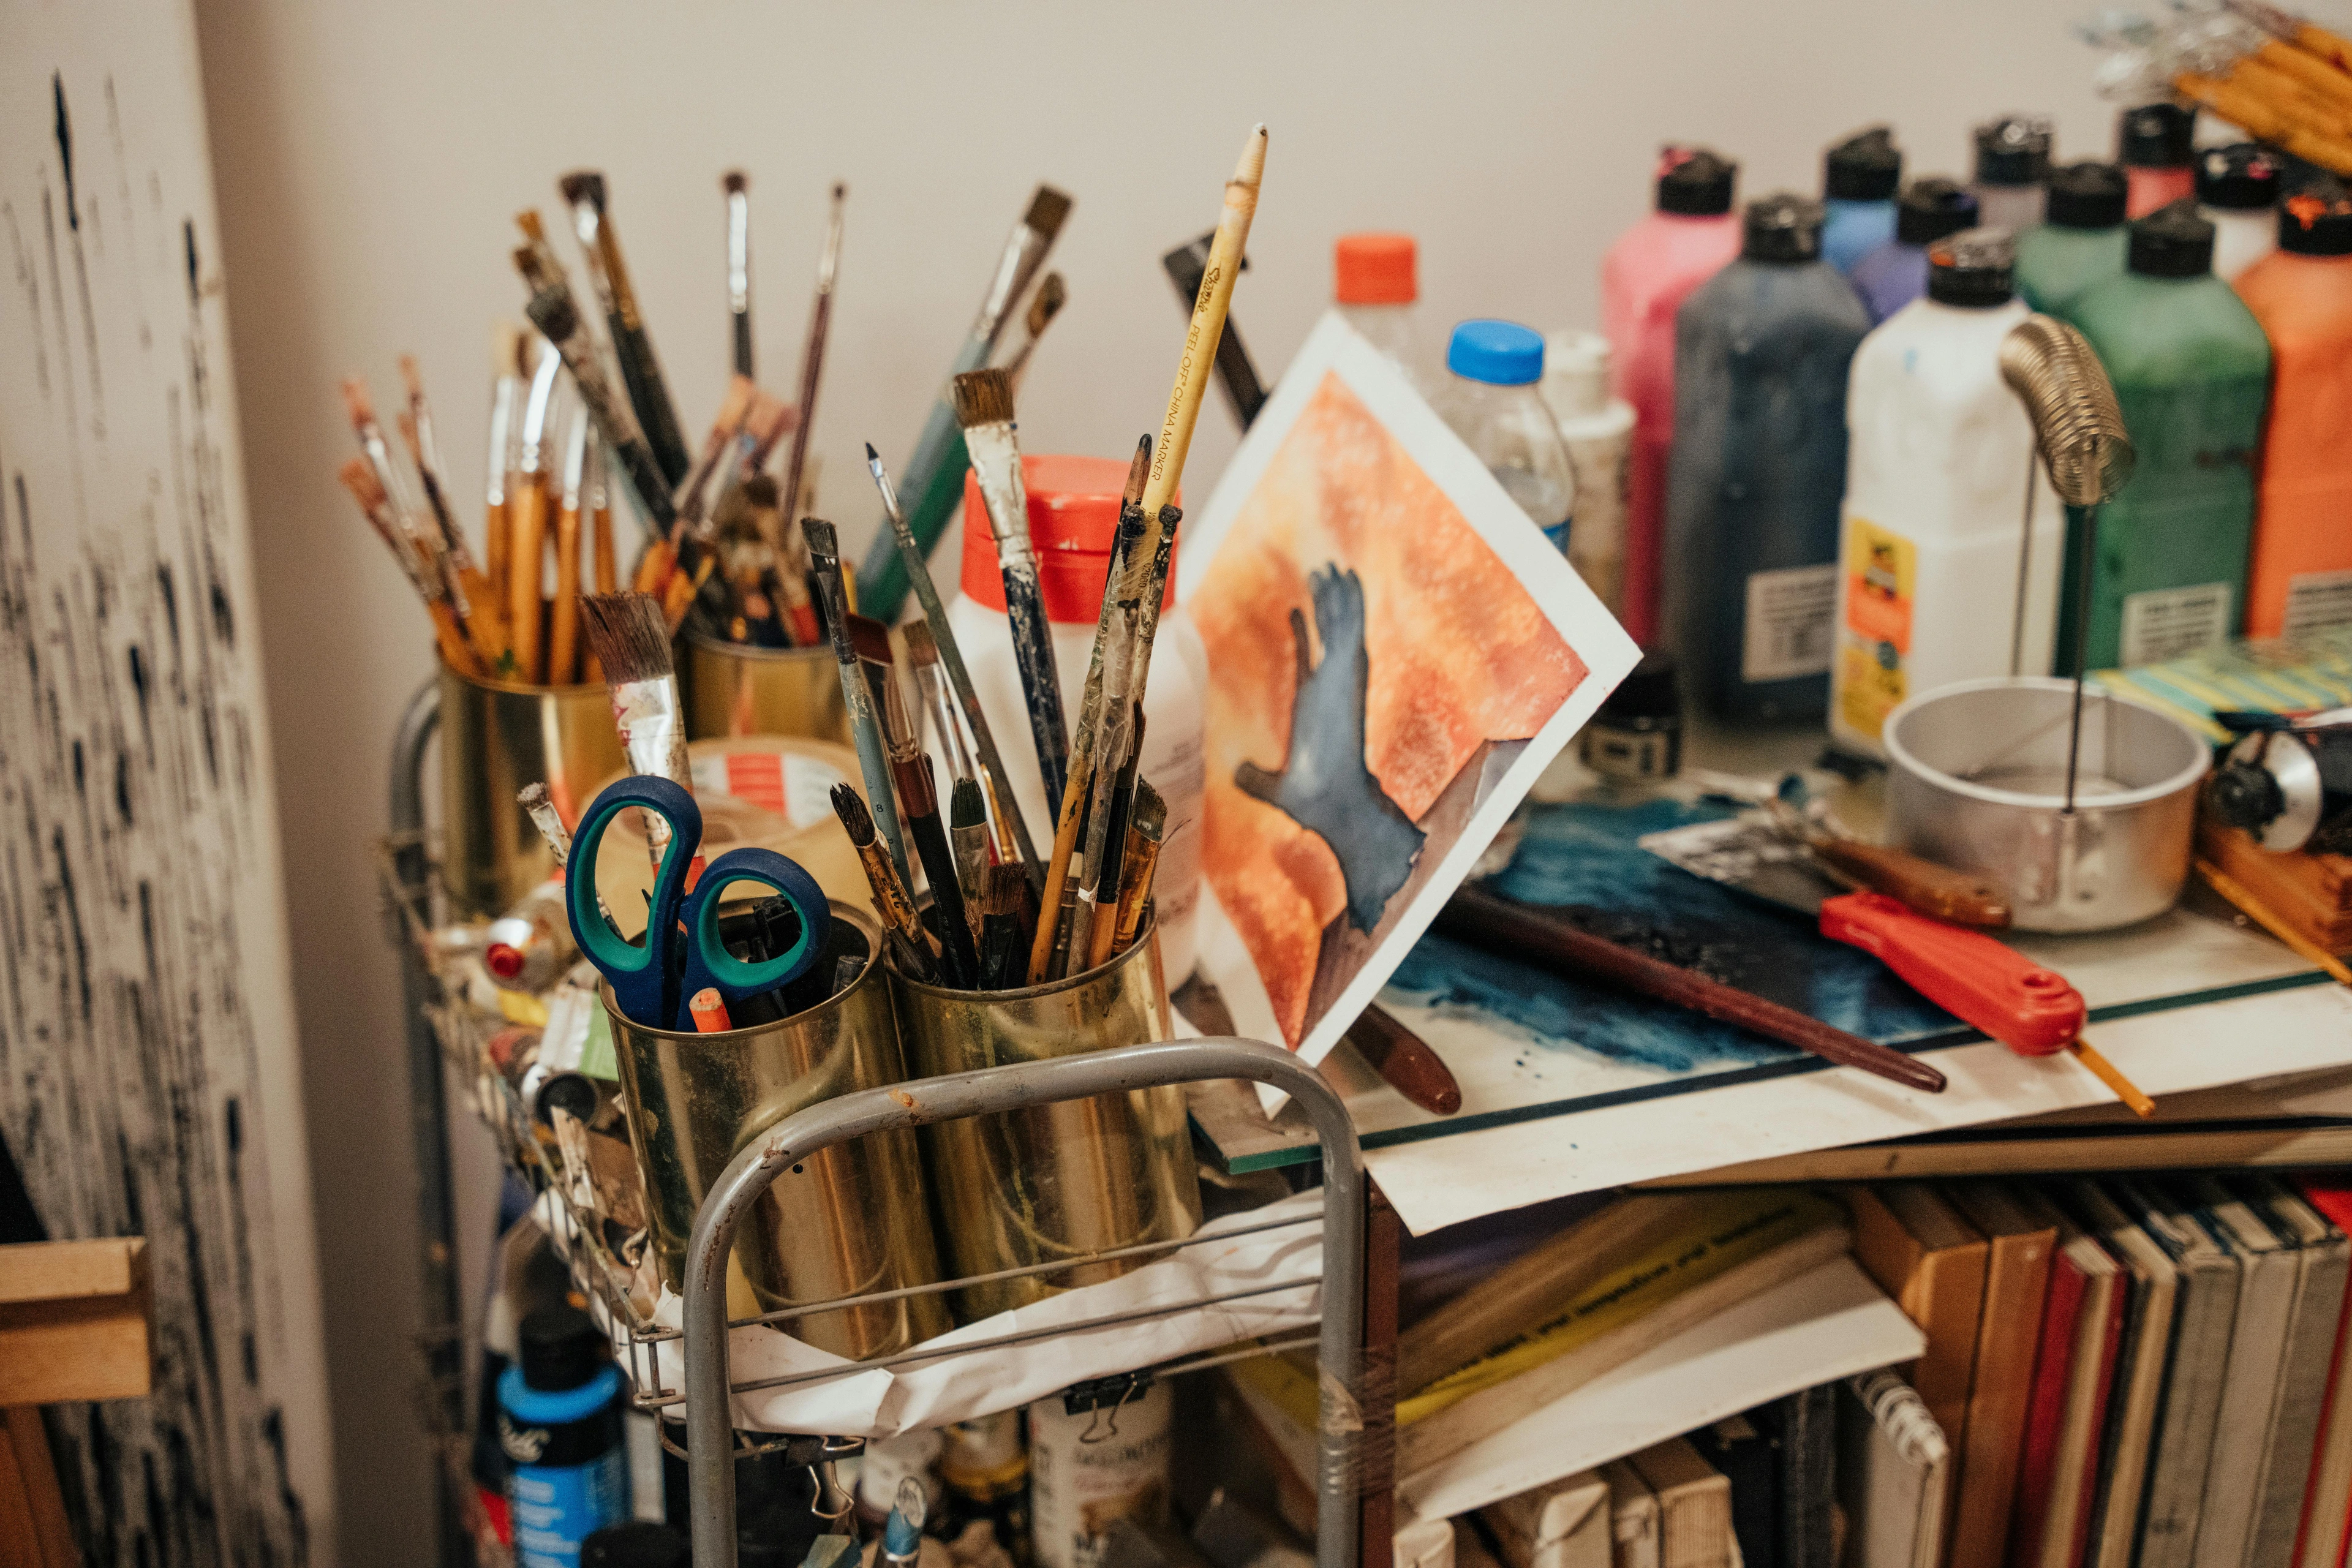
My Trusty Companions: Brushes for Every Stroke (Almost)
Brushes are your direct connection to the paper, your extended hand, and while there's an endless variety, a beginner needs just a few key players. You don't need a huge arsenal to create beautiful work; focus on versatility. There's something almost magical about the feel of a new brush in hand, the anticipation of the first stroke, the quiet potential it holds. It's a small moment of hope and excitement before the pigment even touches the paper.
- A Medium Round Brush (Size 8 or 10): This is your absolute workhorse. A good round brush comes to a fine point, allowing for both delicate lines and broader washes simply by varying pressure. Its belly holds a generous amount of water and pigment, making it incredibly versatile for almost anything you want to achieve, from painting details to filling larger areas. This is probably the one you'll use 80% of the time.
- A Flat Wash Brush (around 1/2 inch or 1 inch): Perfect for laying down even washes of color over large areas. Essential for landscapes or abstract backgrounds when you need a smooth, consistent application. Also great for creating crisp edges or strong, linear elements.
- A Small Round Brush (Size 2 or 4): For details, fine lines, and tiny accents. When I’m adding those delicate touches to an abstract piece, like intricate patterns or subtle shifts in tone, this is my go-to. It gives you precision and control for those moments when every little mark counts.
Material: Synthetic brushes are excellent for beginners. They hold a good amount of water and retain their shape well. While natural hair brushes might offer superior water retention and a unique 'spring' (that satisfying snap-back to its original pointed shape after you lift it from the paper), synthetics are much more affordable and forgiving, making them a definite bonus when you’re still getting the hang of things. Plus, they're often more ethical and easier to clean and maintain.
And speaking of cleaning, please, please take care of your brushes! A little love goes a long way in prolonging their life. You can find more tips on cleaning and caring for your paint brushes here.
Remember, your brushes are an extension of your creative will. Treat them well, and they will serve you faithfully.
Brush Type | Size Recommendation | Primary Use |
|---|---|---|
| Medium Round | 8 or 10 | Versatile for lines, details, and washes. |
| Flat Wash | 1/2 or 1 inch | Large, even washes and crisp edges. |
| Small Round | 2 or 4 | Fine details and intricate work. |
The Unsung Heroes: Other Essential Tools
Beyond the core tools of paint and brush, what other unsung heroes make the watercolor process much more enjoyable and effective? These might not be glamorous, but they are crucial for a smooth watercolor experience. Think of them as the silent, diligent stage crew supporting your main act.
- Palette: You'll need somewhere to mix your glorious colors! A simple ceramic plate (an old dinner plate works wonders!), a plastic folding palette with wells, or even a tile will do. Anything non-porous and white is ideal. Why white and non-porous, you ask? A white surface ensures you see your true color mixes without any color distortion from the palette itself, and a non-porous surface prevents paint from soaking in, making cleaning a breeze and allowing dried paints to be easily re-wetted for future use.
- Water Containers (Two!): Trust me on this one. One for rinsing your brush (to get most of the pigment off) and one for clean water (to dilute paints or wet your paper). This keeps your colors much cleaner, preventing muddy mixes. I learned this the hard way after one too many "beautiful" green washes turned into a murky swamp. Now, I usually grab two old jam jars, giving them a new, artistic purpose.
- Masking Tape / Artist's Tape & a Board: Taping your paper to a rigid surface (like a drawing board or a piece of foam core) before you start painting will significantly reduce warping as the paper dries. Once dry, carefully remove the tape for crisp, flat edges, which always adds a professional touch to your first masterpieces.
- Paper Towels or a Sponge: Essential for blotting excess water from your brush, lifting pigment, or correcting small mistakes. A natural sponge can also create interesting textures, adding another layer of experimentation to your toolkit.
- Pencil (HB or 2B) & Kneaded Eraser: For light preliminary sketches. A kneaded eraser lifts graphite without damaging the paper surface, unlike a rubber eraser which can abrade it, potentially ruining your paper before paint even touches it.
These seemingly simple tools truly elevate the experience, allowing you to focus on the art itself, not the annoyances.

My First Playful Splashes: Basic Techniques to Try
So, you've got your tools – now what? Now that you have your essential kit assembled, let's explore some fundamental techniques that will unlock the magic of watercolor. The real fun begins: experimentation! Watercolor can seem daunting with its fluid nature, but a few basic techniques will open up a world of possibilities and help you understand the medium's unique properties. Think of these as your first vocabulary words in a new, beautiful language.
- Wet-on-Wet: My personal favorite for creating soft, dreamy, and unpredictable effects. Apply clean water to your paper first, then drop in pigment while the paper is still glistening wet. The colors will spread and blend on their own, creating beautiful, organic transitions that feel almost alive. This technique is often the starting point for my more abstract creations.
- Wet-on-Dry: The more controlled approach. Apply paint directly to dry paper. This results in sharper edges and more defined shapes, giving you greater precision. It’s perfect for adding layers or details after a wet-on-wet wash has dried.
- Glazing: This is a natural extension of wet-on-dry. It involves applying thin, transparent layers of color over a completely dry underlying layer. Each new glaze subtly alters the hue and depth of the previous one, allowing you to build rich, luminous colors without creating mud. It's key to watercolor's unique luminosity.
- Lifting: Don't like a section? Don't fret! While the paint is still wet (or even re-wetting a dried area), gently lift pigment with a clean, damp brush, sponge, or paper towel. This technique is fantastic for creating highlights, clouds, or correcting small errors. It's a reminder that watercolor is forgiving, if you know how to ask for its grace.
- Dry Brush: For texture and broken lines. Use a brush with very little water and a good amount of pigment, dragging it lightly across dry, textured paper (like cold press). The brush will skip over the paper's 'tooth,' leaving a broken, textured mark that can simulate anything from grass to rough stone or add delicate textural accents.
For a deeper dive into these and many more techniques, including advanced layering and textural effects, explore our comprehensive guide to basic watercolor techniques for beginners.
Common Beginner Mistakes (and How to Avoid Them)
It's natural to stumble when learning something new. Here are a few common pitfalls I (and many others) encountered early on, and how to navigate them:
- Overworking the Paper: Constantly scrubbing at a wet area can damage the paper's surface, making it fuzzy and unable to accept more paint gracefully. Try to make decisive strokes and then let the paint settle. Patience is key!
- Too Much Water, Too Soon: While watercolor loves water, an excess can lead to uncontrollable bleeding and weak colors. Start with less water and gradually add more until you achieve the desired consistency. Remember those two water jars!
- Not Letting Layers Dry: Applying a new wash over a still-damp layer can reactivate the previous pigment, leading to muddy colors or unintended blending. Let each layer dry completely before adding the next, especially when glazing.
- Not Understanding Pigment Transparency: Attempting to cover a dark color with a lighter one, or repeatedly layering without allowing transparency to work, can quickly lead to muddy, opaque results. Embrace transparency to build depth, rather than trying to hide previous layers.
- Misjudging Drying Shifts: Watercolor often dries lighter and sometimes shifts in hue as the water evaporates. What looks vibrant and perfect when wet can appear subtly different when completely dry. This isn't a mistake, but a characteristic of the medium to anticipate. Learn to paint a little bolder than you think you need, especially for darker values. My early attempts at rich, deep shadows often dried into timid, pale whispers – a humbling reminder of watercolor's delicate dance with evaporation.
- Fear of Experimentation: Don't be afraid to try new things! Watercolor is full of surprises. Embrace the 'happy accidents' – some of my most cherished abstract pieces started as unexpected spills or blends.
My Personal Mantra: Don't Overthink It, Just Start – And Keep Playing
I know, I know. I just gave you a whole list of things. But my real advice is this: don't let the pursuit of the perfect brush or the most expensive paint paralyze you. The true magic of watercolor, and indeed any creative pursuit, lies not in the tools themselves, but in the courage to pick them up and simply begin. Embrace the imperfections, learn from every muddy mix, and celebrate every unexpected bloom of color.
My journey with watercolor has taught me that the most vibrant lessons are learned through doing, through failing, and through the sheer joy of discovery. This medium, with its celebrated transparency and fluidity, holds a rich history, from its early use in scientific illustration to its evolution into a revered fine art form, influencing countless artists across eras. It's a legacy of light and movement, a tradition you now join. So gather your few essential companions, find a quiet corner, and allow yourself the freedom to play. The world of watercolor is waiting for your unique touch, your quiet rebellion, your personal story to unfold on paper. And remember, if you ever want to dive deeper into the vast ocean of watercolor techniques and its rich history – perhaps even discover how its transparency influenced artists through the ages – there's a definitive guide waiting for you, a beautiful ocean to explore, far beyond a single teacup.


