
What Is Paper Tooth? The Hidden Texture Shaping Your Art
Discover how paper tooth influences your artwork. Learn about its impact on media absorption, artistic results, and creative possibilities from a curator's perspective.
What Is Paper Tooth? The Hidden Texture Shaping Your Art
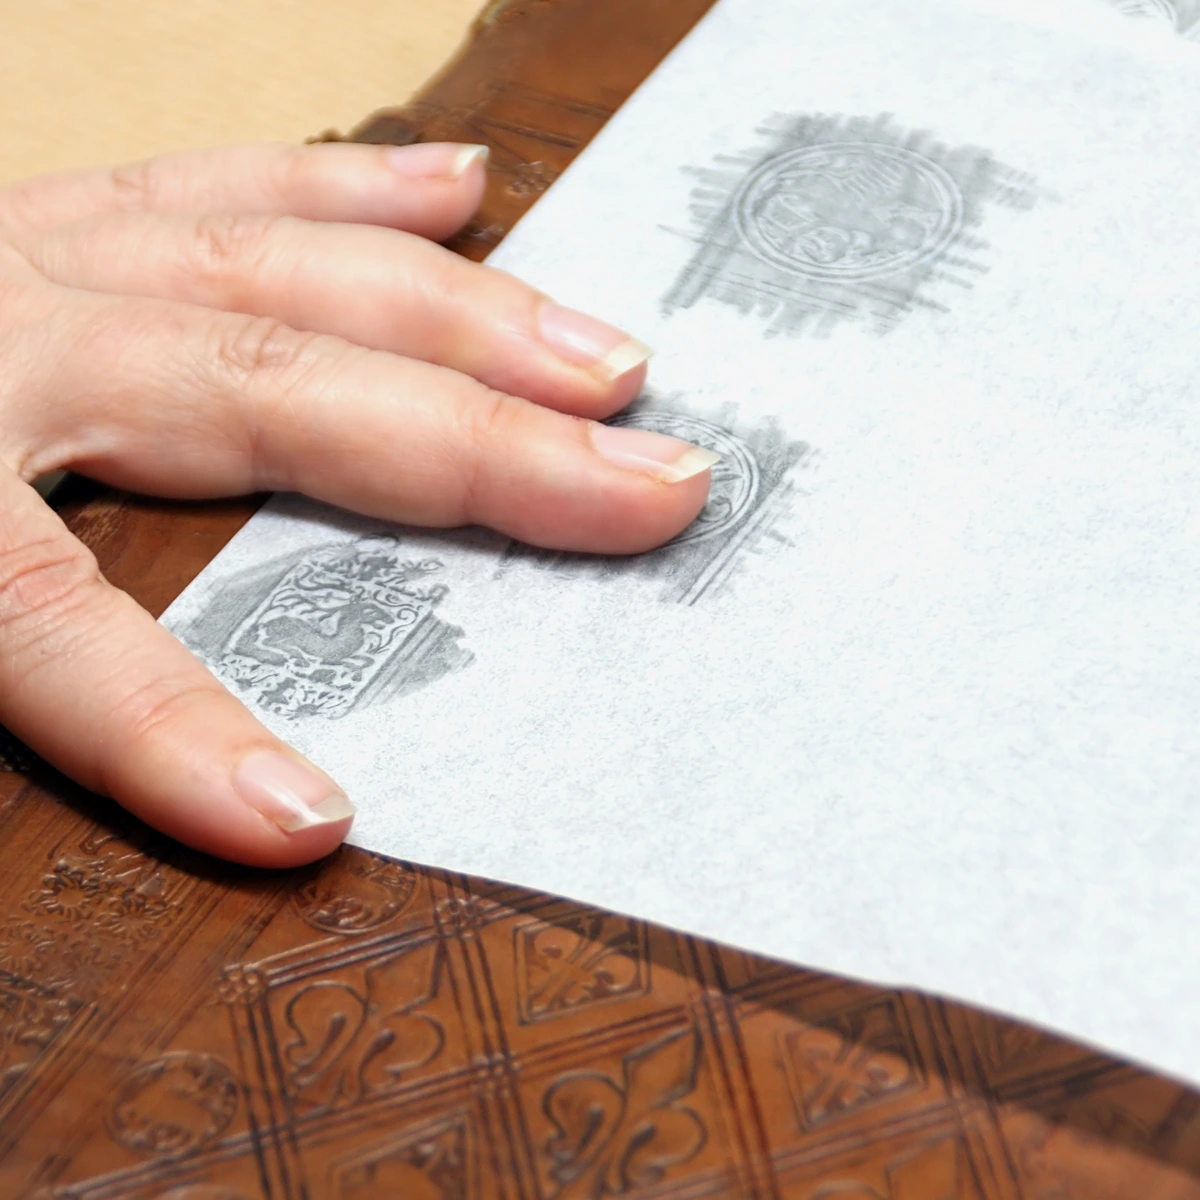
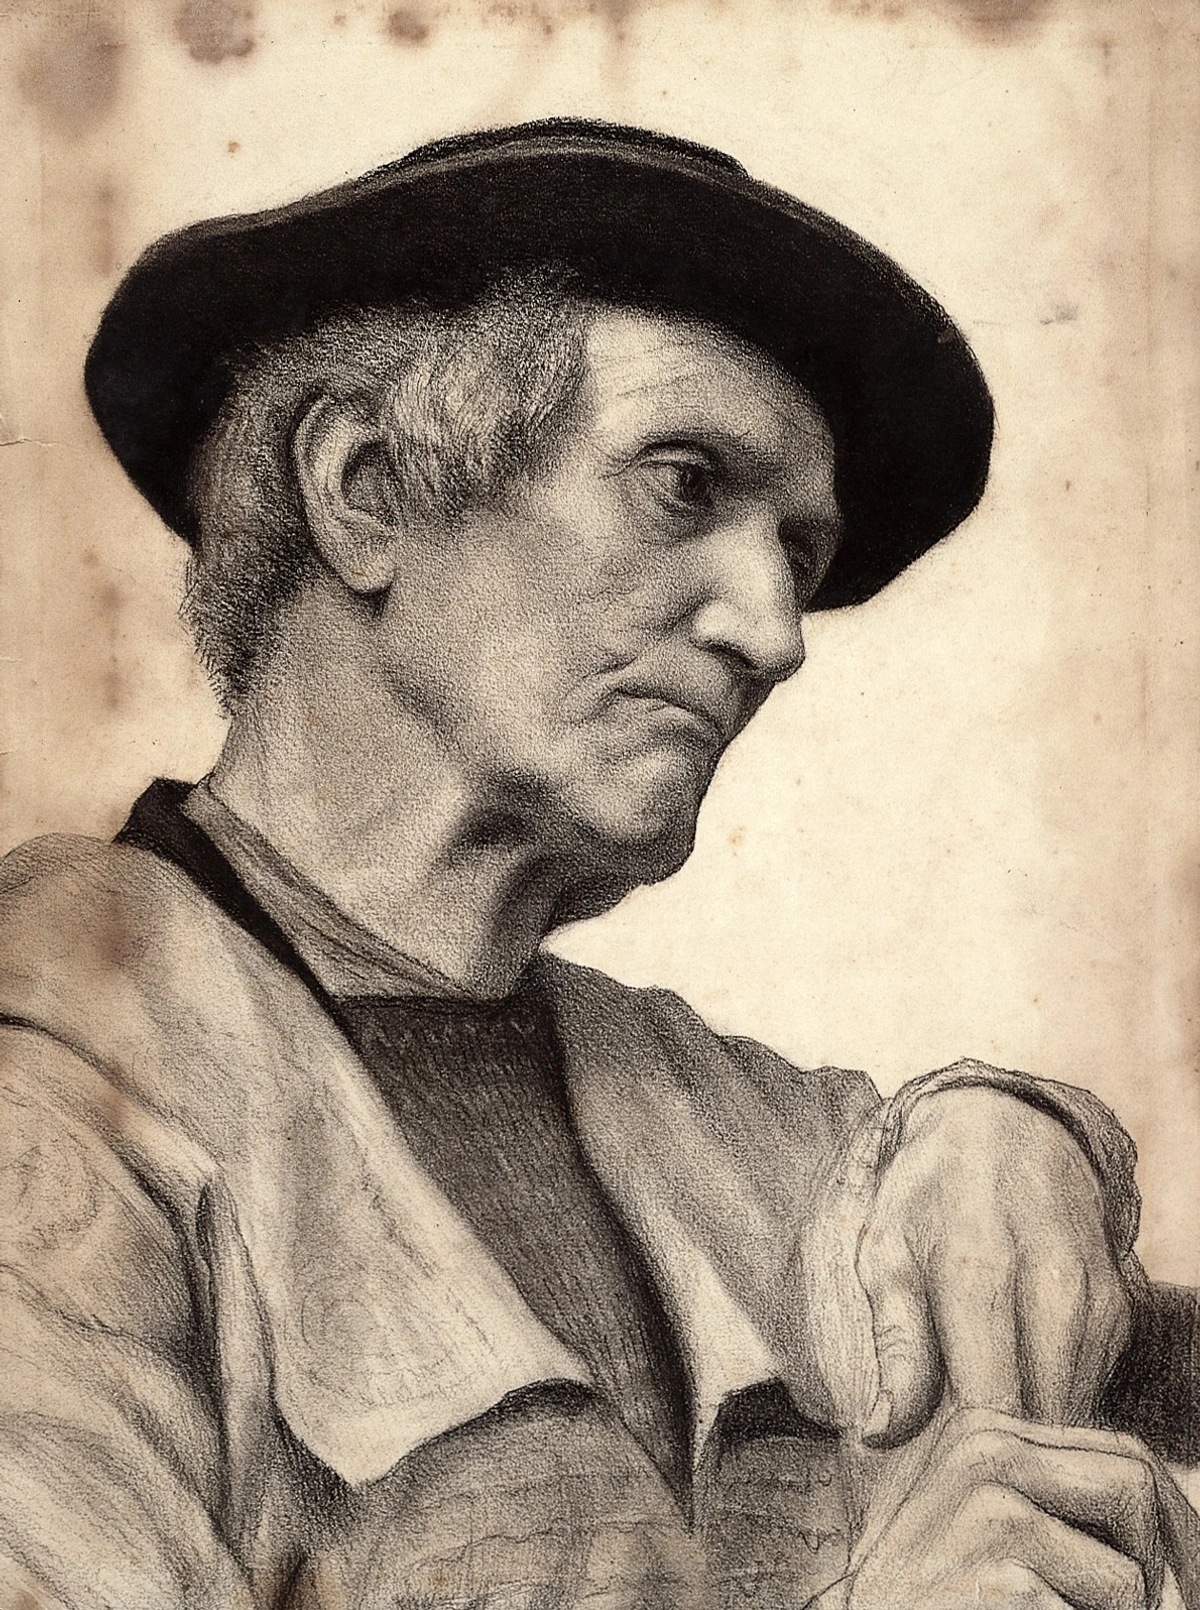
I remember the first time I ran my fingers over a sheet of cold-pressed watercolor paper. It felt like a tiny landscape—peaks and valleys under my fingertips. That texture? That’s paper tooth, and it’s the unsung hero of your artwork. Whether you’re a seasoned artist or just dabbling in sketches, understanding paper tooth can transform how you create. Let’s dive into this tactile world and uncover why it matters more than you think.
Paper tooth is not just a tactile experience; it’s a fundamental aspect of how your chosen medium interacts with the surface. It’s the difference between a piece that feels flat and one that leaps off the page. And while it might seem like a small detail, it’s the foundation of your artwork.
Paper tooth is more than just a tactile experience; it’s a fundamental aspect of how your chosen medium interacts with the surface. It’s the difference between a piece that feels flat and one that leaps off the page. And while it might seem like a small detail, it’s the foundation of your artwork.

What Exactly Is Paper Tooth?
Paper tooth refers to the surface texture of paper—those microscopic ridges, valleys, and bumps that you can feel when you touch it. Think of it like the grain of wood or the weave of fabric. It’s not just about how the paper feels; it’s about how it interacts with your chosen medium, whether that’s graphite, ink, paint, or pastels.
The texture of paper is often overlooked, but it plays a crucial role in the final outcome of your artwork. It influences how pigments are absorbed, how lines are formed, and even how layers of media interact with each other.
Why Does It Matter?
Imagine you’re painting a sunset. You grab a smooth, hot-pressed watercolor paper and a rough, cold-pressed sheet. The same pigments, the same brush, but the results? Wildly different. The smooth paper lets your brush glide, creating sharp, clean lines. The rough paper grabs the pigment, holding it in its tiny crevices, giving your artwork a softer, more organic feel.
That’s the magic of paper tooth—it’s the difference between a crisp, controlled line and a dreamy, textured wash. It’s not just about aesthetics; it’s about control, expression, and the very essence of your artistic vision.
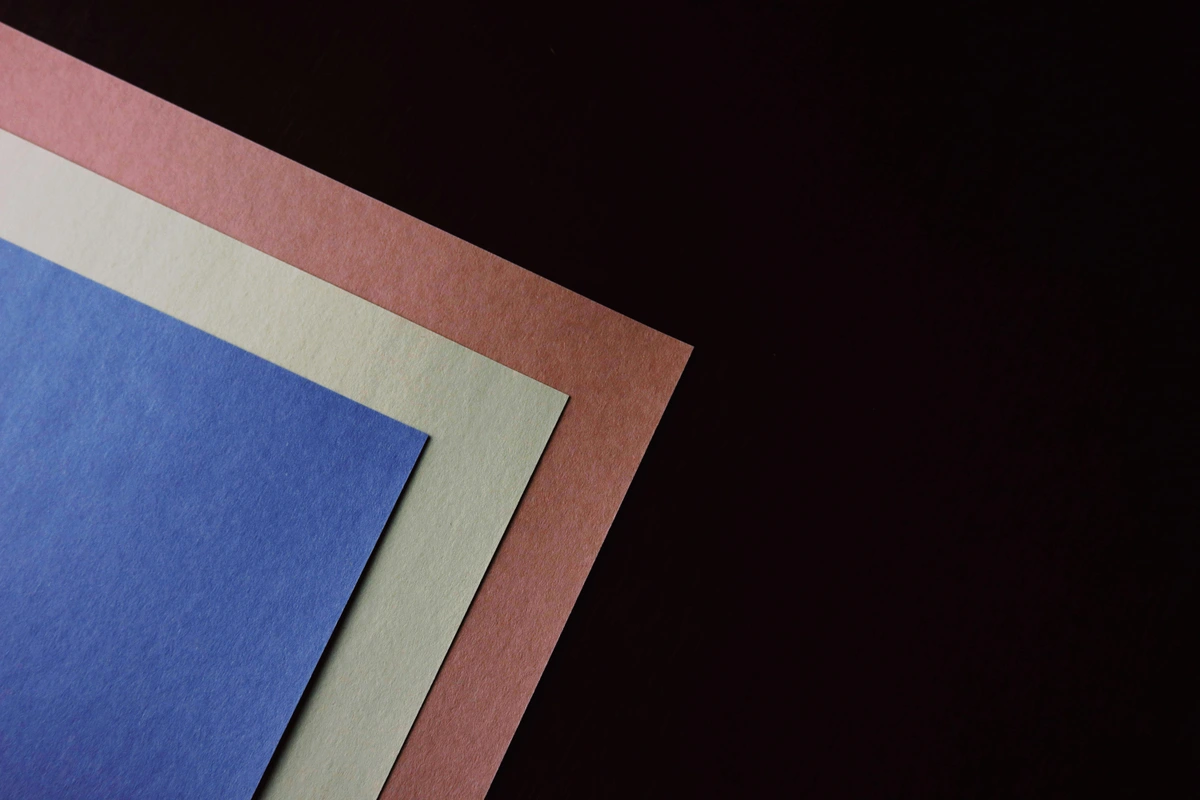
Types of Paper Tooth
Not all paper tooth is created equal. Here’s a breakdown of the most common types you’ll encounter:
Type of Paper Tooth | Description | Best For |
|---|---|---|
| Hot-Pressed | Smooth, almost glossy surface with minimal texture. | Detailed work, ink, pen and ink, technical drawings. |
| Cold-Pressed | Slightly textured, with a balance of smoothness and tooth. | Watercolor, acrylic, mixed media. |
| Rough | Highly textured, with deep valleys and pronounced ridges. | Expressive watercolor, pastels, charcoal. |
| Plate | Ultra-smooth, almost like a polished surface. | Printmaking, detailed illustrations. |
Each type of paper tooth offers unique advantages and challenges. Understanding these differences can help you choose the right paper for your project and achieve the desired artistic effect.
How to Choose the Right Tooth for Your Project
I’ll admit, I’ve made my fair share of mistakes here. Once, I tried using a rough watercolor paper for a detailed ink drawing. Let’s just say the results were… messy. The ink bled into the valleys, and my crisp lines turned into blurry smudges.
Here’s what I’ve learned:
- For expressive, textured work: Rough or cold-pressed paper is your friend. The tooth grabs pigment and creates depth.
- For mixed media: Cold-pressed is versatile. It handles layers of paint, ink, and even collage elements without falling apart.
Choosing the right paper tooth is about understanding the medium you’re working with and the effect you want to achieve. Experimentation is key—don’t be afraid to try different types of paper to see what works best for your style.
How Paper Tooth Affects Different Media
Graphite and Pencil
Ever notice how your pencil sketches look different on different papers? On smooth paper, your lines are sharp and precise. On rough paper, the graphite catches in the valleys, creating a softer, more diffuse line. If you’re going for hyper-realistic drawings, smooth paper is your best bet. For sketchy, expressive work, rough paper adds character.
Ink
Ink behaves differently depending on the tooth. On smooth paper, ink stays put, creating crisp lines. On rough paper, it can bleed into the valleys, creating a feathered effect. This can be great for atmospheric pieces but frustrating if you’re aiming for precision.
Watercolor
Watercolor and paper tooth have a love-hate relationship. Smooth paper lets water and pigment flow freely, creating even washes. Rough paper absorbs pigment unevenly, leading to granulation—those beautiful, textured effects that watercolor artists love. If you’re new to watercolor, cold-pressed is a safe bet. It’s forgiving and versatile.
Pastels and Charcoal
Pastels and charcoal thrive on tooth. The rougher the paper, the more pigment it can hold. This is why pastel artists often use sanded papers—they have an aggressive tooth that grabs and holds layers of pigment. If you’ve ever tried pastels on smooth paper, you know the struggle. The pigment just slides off.
Acrylics and Mixed Media
Acrylics and mixed media projects also benefit from the right paper tooth. Cold-pressed paper is often the best choice for these mediums, as it can handle multiple layers and different types of media without warping or falling apart. The texture provides a good grip for the paint, allowing for more dynamic and layered effects.
Creative Possibilities with Paper Tooth
Paper tooth isn’t just a technical detail—it’s a creative tool. Here’s how you can use it to your advantage:
Layering and Texture
The tooth of your paper determines how many layers you can add. Rough paper can handle more layers because the pigment has somewhere to go—into those tiny valleys. Smooth paper, on the other hand, can get muddy quickly if you overwork it.
Experimental Techniques
Ever tried lifting color from watercolor paper? The tooth plays a huge role. On rough paper, you can lift pigment more easily because it’s sitting in the valleys. On smooth paper, lifting is trickier because the pigment is closer to the surface.

Mixed Media
If you love mixing media—like combining watercolor with ink or pastels—paper tooth is your secret weapon. Cold-pressed paper can handle layers of different media without warping or falling apart. It’s like the Swiss Army knife of paper textures.
Collage and Mixed Media
For artists who enjoy collage or mixed media, the right paper tooth can make all the difference. Cold-pressed paper provides enough texture to hold layers of paper, fabric, and other materials, while still allowing for smooth transitions between different elements. This versatility makes it a favorite among mixed media artists.

Common Mistakes and How to Avoid Them
Mistake 1: Ignoring the Tooth
I’ve been guilty of this. I’d grab whatever paper was on hand, only to realize halfway through that it wasn’t the right fit. Now, I always check the tooth before starting a project. Save yourself the frustration—match your paper to your medium.
Mistake 2: Overworking Smooth Paper
Smooth paper is great for details, but it’s not forgiving. If you scrub too hard with an eraser or layer too much pigment, you’ll end up with a muddy mess. Use a light touch and build up slowly.

Mistake 3: Not Testing First
Always, always test your paper before committing to a full piece. Do a small swatch test with your chosen medium. See how the pigment behaves. Does it bleed? Does it grab? Adjust your technique accordingly.

Mistake 4: Assuming All Papers Are the Same
Not all papers are created equal, even within the same category. Different brands and types of paper can have varying degrees of tooth, weight, and absorbency. Always take the time to familiarize yourself with the specific paper you’re using to avoid unexpected results.
FAQ
What is the best paper tooth for beginners?
If you’re just starting out, cold-pressed paper is your best friend. It’s versatile and forgiving, making it great for a variety of media, from watercolor to ink.
Can I use rough paper for detailed work?
You can, but it’s tricky. The texture can interfere with fine details, causing lines to appear broken or fuzzy. If you’re set on using rough paper for details, try using a lighter touch or a finer tool.
How does paper tooth affect drying time?
Rough paper tends to absorb moisture faster, which can speed up drying time. Smooth paper, on the other hand, lets moisture sit on the surface longer, slowing down drying. Keep this in mind if you’re working with water-based media.

Is there a way to alter the tooth of my paper?
Yes! You can sandpaper to roughen up smooth paper or use gesso to create a custom texture. Just be careful—altering the tooth can affect how your paper handles media.

What’s the difference between paper tooth and paper weight?
Paper tooth refers to the surface texture, while paper weight refers to the thickness and sturdiness of the paper. Both are important, but they affect your artwork in different ways. Weight determines how much moisture the paper can handle, while tooth affects how the medium interacts with the surface.
Can I use the same paper for different mediums?
While some papers are versatile, it’s generally best to choose a paper that’s specifically suited to the medium you’re using. For example, watercolor paper is designed to handle the moisture and pigment of watercolors, while drawing paper is optimized for dry media like graphite and charcoal.
How do I know if a paper has the right tooth for my project?
The best way to determine if a paper has the right tooth for your project is to test it. Do a small swatch test with your chosen medium and see how it behaves. This will give you a good idea of how the paper will perform in your final piece.
Conclusion
Paper tooth might seem like a small detail, but it’s the foundation of your artwork. It’s the difference between a piece that feels flat and one that leaps off the page. Next time you’re in the art supply store, take a moment to feel the paper. Run your fingers over the surface. Think about what you want to create and choose your tooth accordingly.
And remember, there’s no right or wrong—just what works for you and your artistic vision. Now, go forth and create something amazing. And if you're looking for more inspiration, check out our timeline or explore some contemporary art at the Den Bosch Museum.

Final Thoughts
Understanding paper tooth is about more than just choosing the right paper—it’s about embracing the creative possibilities that come with it. Whether you’re a seasoned artist or just starting out, experimenting with different textures and mediums can open up new avenues for expression and creativity. So don’t be afraid to explore, make mistakes, and discover what works best for you.
Additional Resources
For further reading and exploration, consider the following resources:
- The Definitive Guide to Understanding Texture in Art: A comprehensive guide to texture in art.
- Best Art Papers: Tooth Techniques: Learn more about the best papers for different artistic techniques.
- Watercolor Paper: Hot Press vs. Cold Press: A detailed comparison of hot-pressed and cold-pressed watercolor papers.
These resources will provide you with additional insights and techniques to further enhance your understanding and mastery of paper tooth in art.