How to Prepare a Canvas for Acrylic Painting: A Comprehensive Guide
Master the art of canvas preparation for acrylics with this comprehensive guide. Learn about essential materials and step-by-step techniques to achieve a flawless painting surface.
How to Prepare a Canvas for Acrylic Painting: A Comprehensive Guide
So, you've got your paints, your brushes, maybe even a new idea brewing in your head. You're ready to dive into the vibrant world of acrylics! But before that first stroke hits the canvas, let's talk about something that might feel a little... unsexy: canvas preparation. I know, I know. It sounds like homework, a chore that whispers, "Skip me, no one will notice!" My younger, more impatient self certainly thought so. But trust me, taking a few extra steps now can be the difference between a painting that sings and one that just… meh. Think of it as laying the perfect groundwork for your masterpiece – whether you're a seasoned pro or just dipping your toes into the artistic waters. This guide is all about getting that ideal foundation, ensuring your colors pop, your paint sticks, and your art lasts, creating a legacy that truly endures. Because really, who wants their hard work to flake off in five years, or worse, have their vibrant hues absorbed into oblivion? Not me, and certainly not you. So, let’s get this party started, shall we? Your future masterpiece will thank you. I used to dread this part, seeing it as a bureaucratic hurdle before the real fun began. But as I've grown as an artist, I've realized that the preparation is part of the art, a quiet, foundational act of love for your future creation.

https://www.flickr.com/photos/fabola/41351098495/, https://creativecommons.org/licenses/by-sa/2.0/
The Importance of Canvas Preparation
Many artists, especially those new to acrylics, might wonder if preparing a canvas is truly necessary, particularly when working with pre-primed canvases. The answer, almost universally, is yes. Even pre-primed canvases benefit from additional preparation.
Why Prepare Your Canvas?
Honestly, I used to think I could skip a few steps here and there. Who had time for extra gesso layers? My younger, more impatient self certainly didn't. But I learned pretty quickly that cutting corners in canvas prep is like building a house on sand. Not ideal, right? So, here’s why I’ve become a firm believer:
- Enhanced Adhesion: Ever have paint just… not stick? Or worse, flake off later? It’s soul-crushing. Proper prep, usually with gesso, gives your canvas the perfect 'tooth' – a subtle texture that grips the paint. Think of it as a microscopic velcro for your acrylics. Without it, your beautiful colors might just decide to pack up and leave.
- Prevents Absorption: Imagine pouring your expensive, vibrant acrylic paint onto a thirsty sponge. That’s essentially what raw canvas is without proper sealing. It’ll drink up your pigments and binders, leaving you with dull, lifeless colors and an empty tube of paint. A good primer acts as a barrier, keeping your paint where it belongs: on the surface, shining brightly.
- Creates a Smooth, Consistent Surface: I love a canvas with personality, but sometimes, that natural weave can be a bit too much. Especially if you’re trying for fine details or smooth color transitions. Gesso is like a magic filler, evening out the canvas's texture. This gives you a lovely, predictable surface where your brushstrokes glide, and your delicate details don't get lost in the bumps and valleys. It's about giving yourself the best possible stage for your artistic expression.
- Improves Paint Vibrancy: By preventing excessive absorption, the true vibrancy and saturation of acrylic colors are maintained on the surface, allowing the artist's palette to shine as intended.
- Archival Quality: Proper priming acts as a barrier, protecting the canvas fabric from the acidic components found in some paints and environmental factors. Furthermore, for oils, proper sizing prevents linseed oil from directly touching and deteriorating the canvas fibers, significantly extending the life of the artwork.
- Protects the Canvas: Beyond external factors, gesso acts as a shield, preventing the paint itself from degrading the canvas over time. Acrylics are generally benign, but for archival purposes, a barrier is always a good idea. For oils, this barrier is absolutely critical to prevent the linseed oil from rotting the canvas fabric itself. This is especially vital for ensuring the longevity and integrity of the artistic creation, preserving your hard work for future enjoyment.
- Time and Cost Efficiency: This one might sound counterintuitive, but hear me out. While applying extra layers takes time initially, it actually saves you time (and paint!) in the long run. A well-prepared surface means less paint absorbed, fewer coats needed to achieve desired opacity, and a smoother application process. Plus, a painting that lasts means you don't have to redo it – saving you both effort and materials down the line.
- Boosts Artistic Confidence: Let's be honest, staring at a perfectly prepped, pristine canvas just feels good. It's an invitation, a promise of possibility. Knowing you've laid the best possible foundation frees you up to take creative risks, experiment, and truly enjoy the painting process without nagging worries about adhesion or absorption. It's like starting a race with the best running shoes – you just feel ready to win.
Understanding Your Canvas: Raw vs. Pre-Primed
Before diving into the preparation steps, it's crucial to understand the type of canvas being used. A detailed exploration of canvas choices can be found in how to choose the right canvas for acrylic vs oil.
Raw Canvas
Raw canvas, for me, is where the real fun (and sometimes frustration) begins. It’s essentially untreated fabric – think cotton duck or linen, often sold by the roll or already stretched. Choosing raw canvas means you want total control, from the texture to the final finish. It can also be more cost-effective if you're buying in bulk. But here’s the kicker: it’s naked, and it needs a lot of love before it’s ready for paint.
Let’s break down the types:
- Cotton Duck: This is your sturdy, go-to, affordable option. It’s widely available and handles a lot of abuse, making it great for beginners or larger works. Named for its weaving pattern, similar to the fabric used for sails, it offers a reliable, absorbent surface. You'll find it in various weights, often measured in ounces per square yard (e.g., 7 oz, 10 oz, 12 oz). Heavier weights generally mean a more robust, durable canvas, which can be fantastic for heavily textured or larger pieces, providing greater stability against stretching.
- Linen: Ah, linen. The connoisseur's choice. It’s strong, boasts a beautiful fine weave, and is renowned for its exceptional archival quality and superior strength. Yes, it’s pricier, often a significant investment, but if you’re creating something truly special, something you want to last for generations, it’s undeniably worth it. Its naturally straight and uniform fibers create a consistent weave, which many artists adore for its minimal texture and resistance to expansion or contraction due to humidity. This consistency means fewer surprises and a smoother ride for your brush.
- Polyester: A modern, synthetic alternative that offers excellent stability against humidity and temperature fluctuations. It’s less prone to stretching or shrinking, providing a consistent surface. Often a great choice for contemporary artists looking for durability without the traditional fiber issues.
- Jute: A rougher, more textural option, often chosen for its rustic feel. It’s less common but offers a distinct character.
- Synthetics: Modern options that are durable and resistant to environmental changes. They offer a consistent surface and can be a good alternative for those looking for something different.
No matter the type, raw canvas requires full preparation: sizing first, then multiple layers of gesso. If you're stretching your own, you'll want a good set of canvas pliers to get that satisfying drum-tight tension, and a sturdy staple gun to secure it firmly to the stretcher bars. Sizing is that crucial first protective layer – for oils, traditionally rabbit skin glue (RSG) was used, forming a strong, non-flexible barrier. However, many artists now avoid RSG for ethical reasons, its tendency to re-absorb moisture, and its brittleness over time, opting instead for modern acrylic polymer mediums. For acrylics, I usually just grab a good quality acrylic medium, often a fluid or matte medium, diluted slightly. It seals those hungry fibers, stopping gesso from soaking in too much and, crucially, creating a lovely, consistent barrier between your paint and the canvas itself. This step is particularly vital for oil painting, as it prevents the linseed oil from directly contacting and eventually deteriorating the canvas fibers, ensuring the longevity of your masterpiece.
Pre-Primed Canvas
Now, most canvases you pick up at your local art store will proudly declare they're "pre-primed." This sounds like a dream, right? Like you can just rip open the plastic and dive in. And while it's true they've had a factory layer or two of primer applied, my experience (and pretty much every professional artist's advice) tells me that's rarely enough. Think of it as a base coat; it gets the job done, but you wouldn't stop there with a good manicure, would you? So, let’s talk about why even these seemingly ready-to-go canvases deserve a little more love.
Many factory-primed canvases, while convenient, often come with a very thin, sometimes inconsistent, layer of gesso. This means they might still be too absorbent, lacking the ideal 'tooth' for paint adhesion, or possess a texture that isn't quite right for your artistic vision. Adding 1-2 additional thin layers of artist-grade gesso provides a more uniform, superior surface, enhancing adhesion, vibrancy, and longevity – essentially, giving your painting its best fighting chance.
Pre-primed canvases come in various forms, each suited for different needs:
- Stretched Canvases: The most common, ready to hang once painted.
- Canvas Boards (or Panels): More rigid and less expensive, great for studies, plein air painting, or when you need a firm surface. These often consist of primed canvas glued to a rigid support like cardboard, MDF (Medium Density Fiberboard), or even wood. They're fantastic when you want a completely unyielding surface, perhaps for highly detailed work or when transporting wet paintings.
- Canvas Pads: Sheets of primed canvas, bound together like a sketchbook, excellent for practice, quick studies, or or artists who prefer to work small and cut their pieces later.
- Primed Canvas Rolls: For those who buy in bulk or work on very large, custom-sized pieces, you can purchase rolls of pre-primed canvas. This offers the convenience of factory priming but allows you to cut and stretch your own canvases to exact specifications. ---
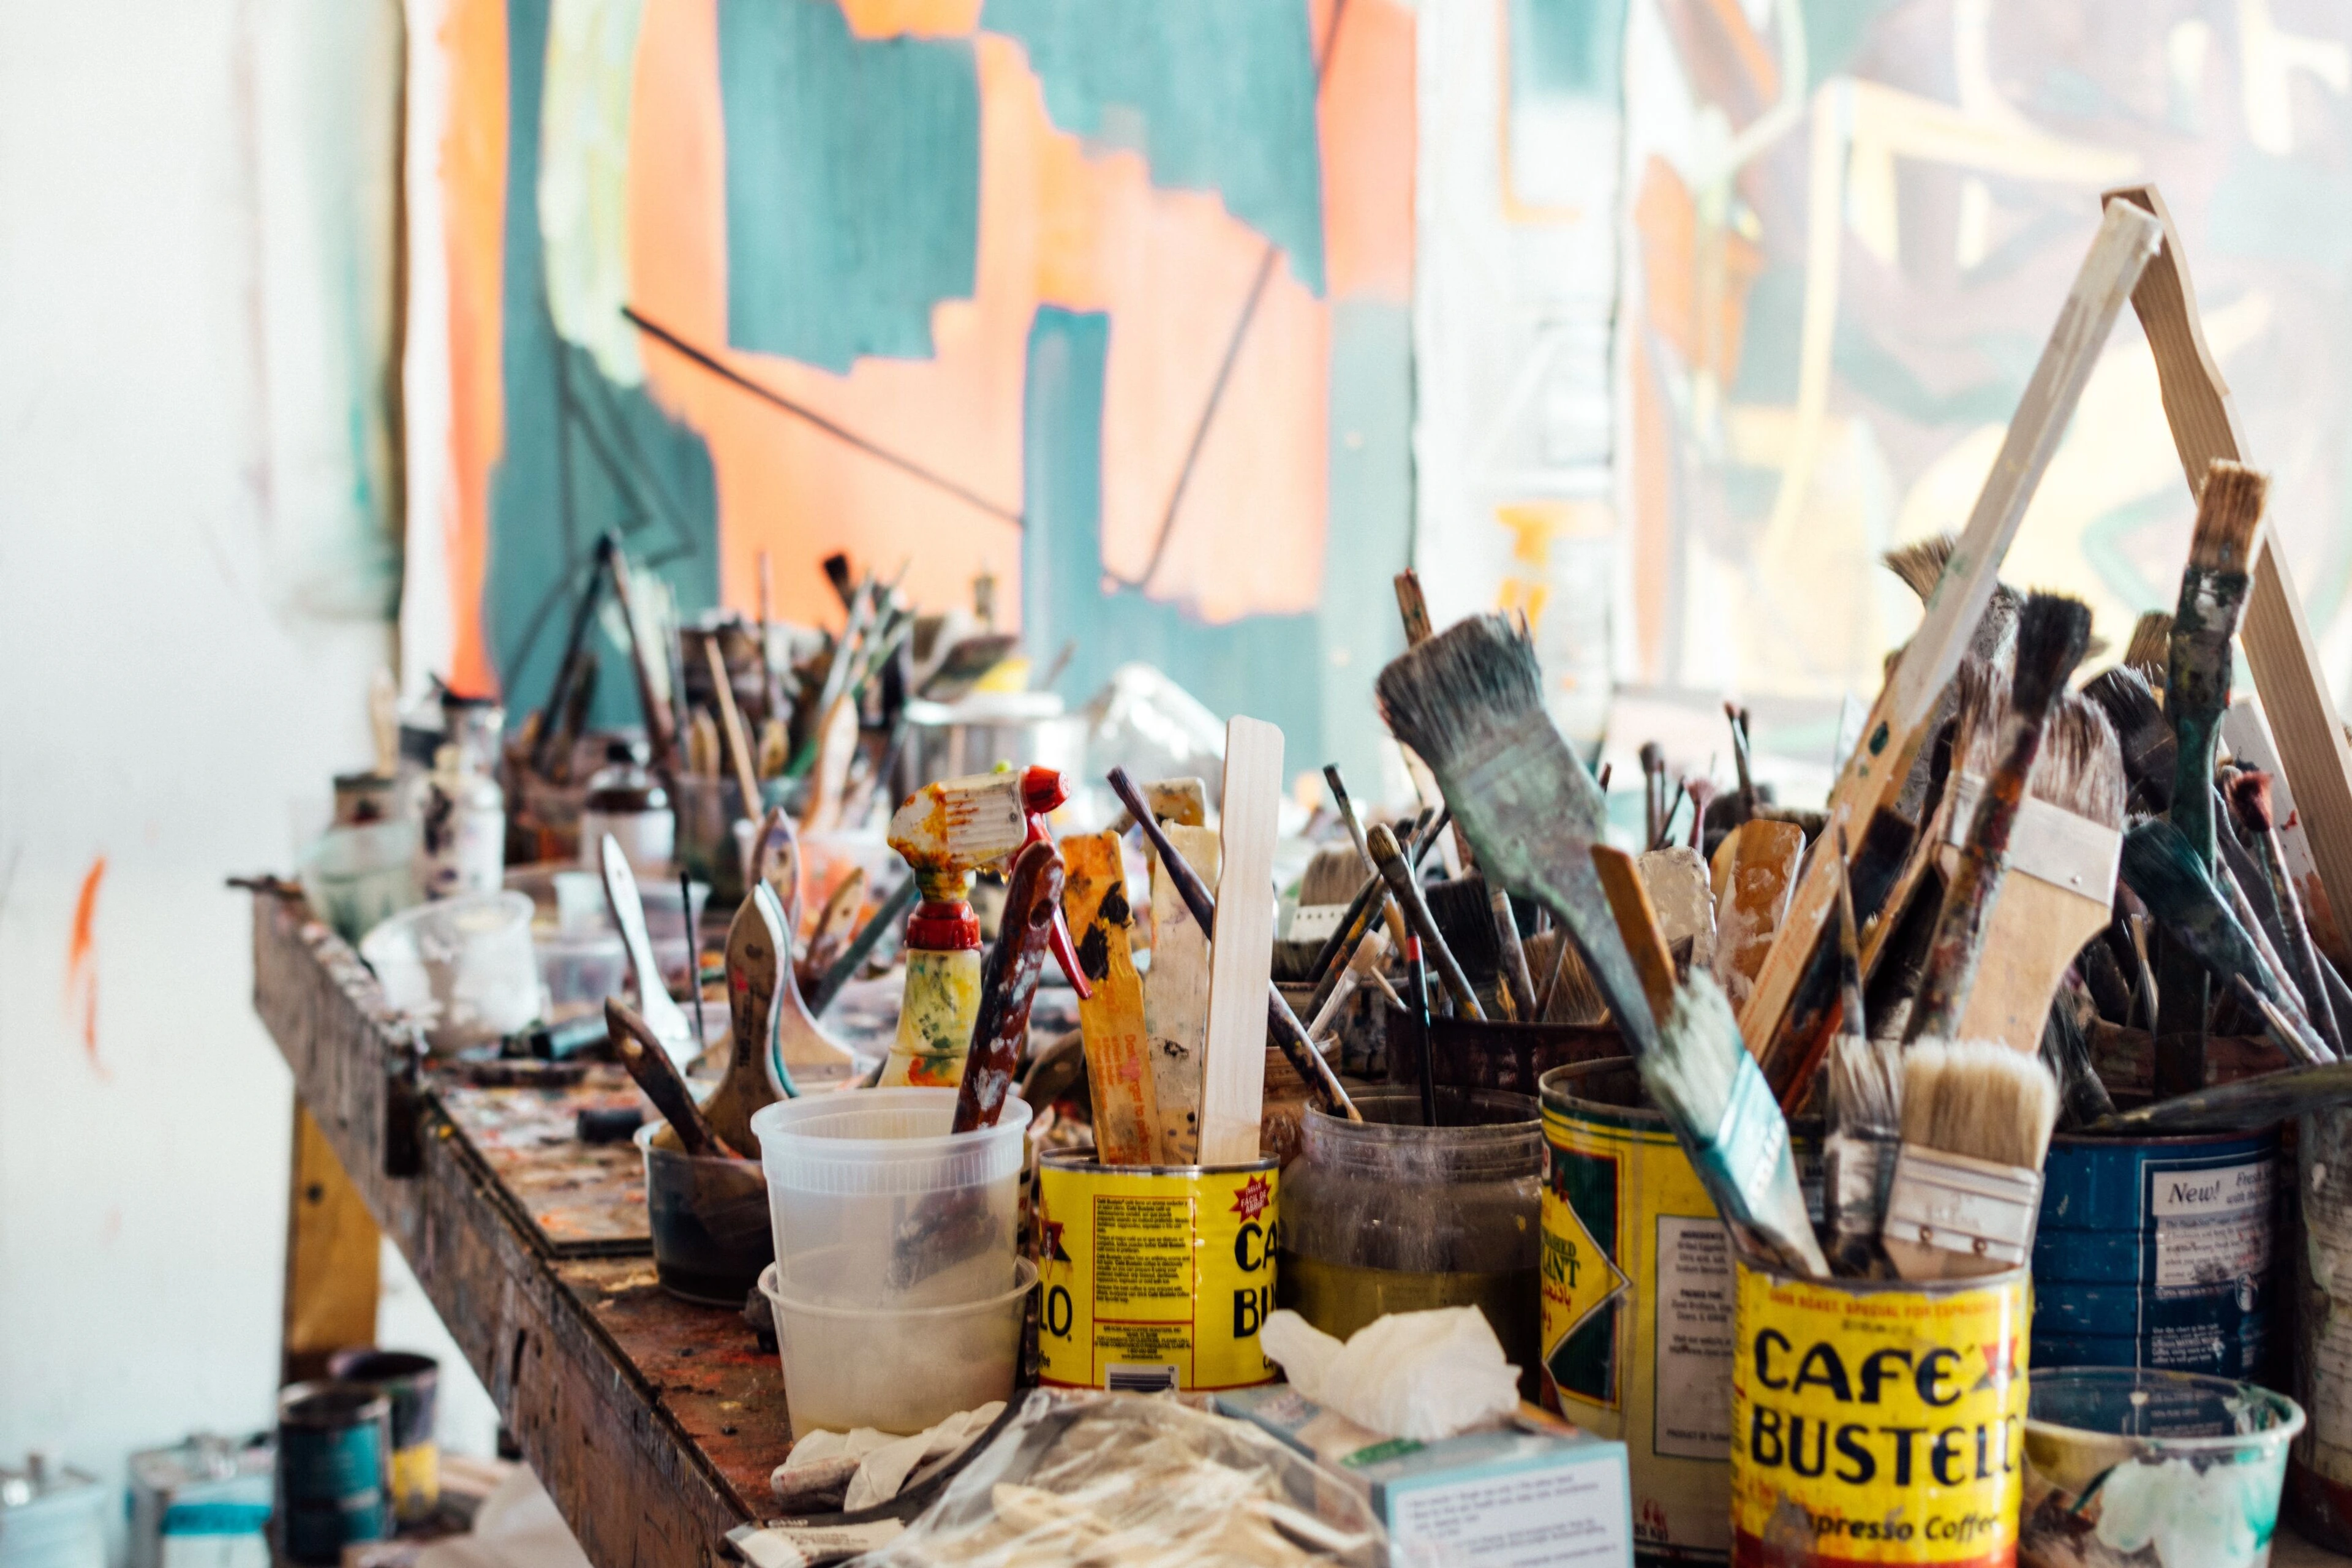
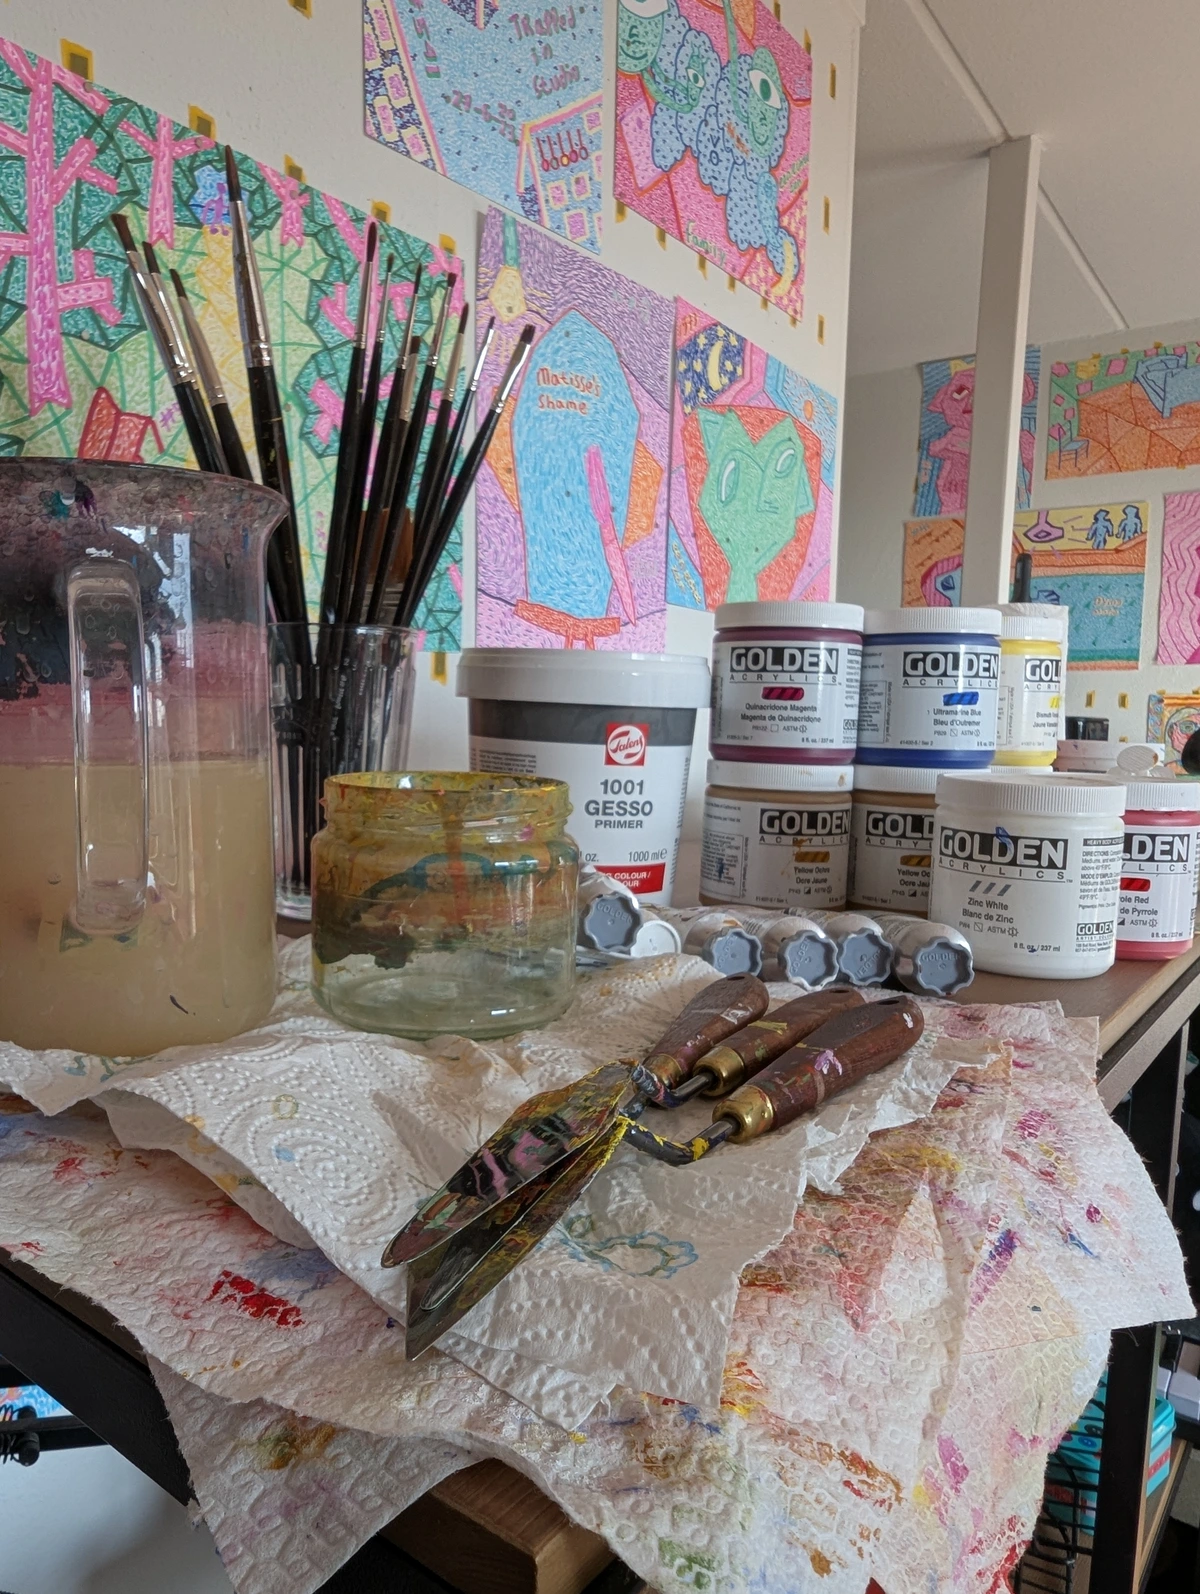
Essential Materials for Canvas Preparation
Successful canvas preparation relies on having the appropriate tools and materials readily available. Gathering the right items makes the process smooth and efficient.

https://www.pexels.com/photo/creative-art-studio-with-brushes-and-paints-29589096/, https://creativecommons.org/public-domain/
- Drop Cloths/Protective Sheeting: Trust me on this one – gesso splatters. Protect your workspace (and your sanity) with old sheets, plastic sheeting, or newspapers. A little foresight saves a lot of scrubbing.
- Mixing Containers: For diluting gesso with water or mixing in other mediums, non-porous containers are ideal.
- Gesso: An acrylic gesso is the most common choice for acrylic painting, providing a slightly absorbent, toothy surface. While classic white gesso is the standard, giving you a bright, neutral start, artists may also opt for clear gesso to let the natural canvas texture peek through, or black gesso for a dramatic, moody underpainting that makes vibrant colors sing. Don't forget specialty gessos, like those with fine pumice for added texture, or even absorbent grounds designed for watercolor-like effects on canvas. More about its function can be found in what is gesso in painting.
- Brushes/Rollers: A wide, flat synthetic brush (2-4 inches wide, like those discussed in best acrylic paint brushes for artists) is your best friend for applying gesso smoothly and evenly. For larger canvases, a foam roller can significantly speed up the process, achieving incredibly consistent, thin coats – a godsend for big projects. You might also consider a stiff, inexpensive chip brush for the first layer, or a hake brush for a super-smooth finish in later layers. Remember, gesso is abrasive, so dedicated gesso brushes are a wise investment if you want your finer painting brushes to last. Pro tip: Keep a bucket of water nearby while you're gessoing, and immediately rinse your brushes after each layer. Gesso dries quickly, and once it hardens in the bristles, it's a real battle to get out!
- Sanding Paper/Sponge: Fine-grit sandpaper (220-400 grit) or a sanding sponge is essential for achieving a smooth finish between gesso layers. Silicon carbide sandpaper (wet/dry) is particularly effective as it resists clogging. A sanding block can help maintain an even pressure.
- Dust Mask (Optional but Recommended): To protect against inhaling gesso dust during sanding.
- Clean Cloth: For wiping dust after sanding.
- Gloves (Optional but Recommended): Gesso isn't harmful, but it's messy! Wearing disposable gloves will save your hands from a chalky, white aftermath and make cleanup much quicker.
- Roller Tray (If using a roller): If you opt for a foam roller for large canvases, a standard paint roller tray will make loading the roller with gesso much more efficient and less messy than trying to dip it directly into the container.
- Water: For thinning gesso slightly and cleaning brushes.
- Good Lighting: This sounds obvious, but you’d be surprised how many imperfections hide in poor light. Natural light is ideal, but a strong, even artificial light source will help you spot brushstrokes and bumps you might otherwise miss.
- Palette Knife (Optional): Can be used to apply a very thin, smooth layer of gesso, though a brush is more common for beginners, especially when aiming for an even base.
Step-by-Step Guide to Preparing a Canvas
This section outlines the methodical process for preparing both raw and pre-primed canvases. It is imperative to always work in a well-ventilated area to ensure proper drying and for the artist's well-being. Additionally, maintaining a clean and dust-free environment is critical to prevent imperfections on the gessoed surface.
Step 1: Inspect and Clean
Before any application, a thorough examination of the canvas is crucial. Inspect the surface for dust, lint, loose fibers, errant staples, or any manufacturing imperfections. Environmental factors such as humidity and temperature can also affect canvas tautness, so consider your workspace conditions; a stable environment is always preferred. Even a small speck, a rogue cat hair, or a tiny fiber can create an unwanted bump or blemish in your pristine gessoed surface later. Use a dry, clean, lint-free cloth, a soft brush, or even a tack cloth (a slightly sticky cloth designed to pick up fine dust) to gently wipe down the entire surface, ensuring it is utterly free of debris. For stubborn dust, a quick pass with a vacuum cleaner nozzle can be surprisingly effective. For raw canvases, verify that the fabric is taut on its stretcher bars; re-tensioning with canvas pliers may be necessary if there is any slack – you want a drum-tight surface to start with.
Step 2: (For Raw Canvas) Apply Sizing
If working with raw canvas, the application of sizing is a critical preparatory step – truly, don't skip this one! Sizing creates a protective barrier between the canvas fibers and the subsequent gesso layers. For acrylics, a thin coat of artist-grade acrylic medium (such as a gloss, matte, or fluid medium) diluted slightly with water (e.g., 10-20% water) is perfect. I sometimes think of it as giving the canvas a light "pre-drink" so it's not so thirsty for the gesso. This layer effectively seals the canvas, preventing the gesso from soaking too deeply into the fabric and ensuring a more consistent, less absorbent surface. For oil painters, this barrier is absolutely non-negotiable, protecting the canvas from the acidic oils that can cause it to rot over time. Apply it thinly and evenly with a wide brush, avoiding any puddles or thick spots. Allow the sizing to dry completely – typically 2-4 hours, or according to the manufacturer's instructions – ensuring the surface is no longer cool or damp to the touch. Patience here is a virtue!
Step 3: Applying the First Layer of Gesso
- Dilute Gesso (Recommended): I've learned this the hard way: trying to glob on thick gesso saves no time and creates more problems. For the initial layer, particularly on raw canvas, diluting the gesso with a small amount of water (approximately 10-20% of the gesso's volume) is highly recommended. This dilution allows the gesso to penetrate the canvas fibers more effectively, establishing a strong bond and reducing brushstroke visibility. For pre-primed canvases, slight dilution can also improve flow and make for a silkier application.
- Apply Evenly with Technique: Using a wide, flat brush or a foam roller, apply a thin, even layer of gesso across the entire canvas surface. Begin by working in one direction (e.g., horizontal strokes) to ensure comprehensive coverage of the weave. Immediately after, or simultaneously, cross-hatch the strokes in the perpendicular direction (vertical strokes) to work the gesso into the canvas. Finally, use light, sweeping strokes in a single direction to smooth out any ridges. Ensure the gesso extends slightly over the edges of the canvas, wrapping around the sides for a finished look.
- Allow to Dry Completely: This is a crucial step. Let the first layer dry thoroughly – I can’t stress this enough! Depending on environmental humidity, ventilation, and gesso thickness, this can range from 30 minutes to several hours. Optimal drying occurs in a room with stable temperature and moderate humidity. The surface should not only no longer feel cool or damp to the touch, but also appear uniformly matte, indicating complete dryness. Rushing this step is a common culprit for cracking later on. One more quick tip for application: work swiftly but methodically. Gesso can start to "skin over" surprisingly fast, especially in dry environments, making it harder to achieve those smooth, even strokes.
Step 4: Sanding for Smoothness (Highly Recommended)
Once the first layer of gesso is thoroughly dry, sanding is a pivotal step for achieving a refined surface. Utilize fine-grit sandpaper (220-400 grit) or a sanding sponge. For a very smooth finish, wet/dry silicon carbide sandpaper, used with a damp sponge, can minimize dust and create a finer finish. Lightly sand the entire surface using gentle, even pressure. I find working under a strong, raking light (light shining across the surface) is incredibly helpful to spot any high spots or brushstrokes you might miss otherwise. Resist the urge to use a power sander unless you're incredibly experienced with delicate surfaces – hand sanding gives you much more control and prevents accidentally tearing or over-sanding the canvas. Employ either small circular motions or work with the weave of the canvas to remove any brushstrokes, bumps, or protruding canvas texture. The objective is to create a uniformly smooth, yet still slightly "toothy," surface. I often run the back of my hand lightly over the surface; it’s amazing how much your fingertips can miss that your knuckles will feel. After sanding, it is essential to wipe away all sanding dust with a clean, dry, lint-free cloth – any remaining dust will get trapped in the next gesso layer! For personal safety, especially in less ventilated areas, wearing a dust mask is advisable during this step.
Step 5: Applying Subsequent Gesso Layers
Continue the gesso application and sanding process, repeating Steps 3 and 4. Typically, 2-3 additional layers are sufficient for pre-primed canvases, while raw canvases might require 3-4 layers after sizing, depending on the desired absorbency and smoothness. With each subsequent layer, it is crucial to alternate your application direction (e.g., if the previous layer was horizontal, apply the next with vertical strokes). This technique ensures comprehensive coverage of the canvas weave, builds an even surface, and effectively minimizes visible brushstrokes. For later layers, artists may choose to dilute the gesso less, or not at all, to build up opacity and achieve a smoother, less absorbent finish. If you want a bit more "tooth" for your paint to grab onto, you can simply reduce the amount of sanding between the final couple of layers. Always allow each layer to dry completely before sanding and applying the next.
After carefully applying multiple layers of gesso, the canvas is transformed into a pristine, receptive surface, eager for the artist's touch. This isn't just about technical preparation; it's about creating a personal connection with your surface. The refined texture and consistent absorbency provide an ideal foundation for vibrant colors and precise brushwork, almost inviting you to begin.

https://freerangestock.com/photos/177284/artists-workspace-filled-with-paint-brushes-and-supplies.html, https://creativecommons.org/public-domain/cc0/

https://images.pexels.com/photos/7859311/pexels-photo-7859311.jpeg, https://creativecommons.org/public-domain/
Troubleshooting Common Gesso Issues
Even with careful preparation, artists may encounter minor challenges during the gessoing process. Understanding these common issues and their solutions can help maintain the quality of the prepared canvas.
Pinholes or Craters
- Cause: Small, unsealed areas in the canvas weave, often due to insufficient gesso penetration, or air bubbles that have popped and left a divot.
- Solution: For isolated pinholes, a small dab of undiluted gesso can be applied with the tip of a palette knife or a fine brush and smoothed. For widespread issues, an additional thin layer of slightly diluted gesso, applied with firm pressure, can help fill these gaps. Ensure adequate drying time between layers.
Bubbles or Air Pockets
- Cause: Applying gesso too quickly, overworking the gesso with the brush, or shaking the gesso container excessively.
- Solution: Apply gesso with deliberate, even strokes, and avoid overworking the surface, which can whip air into the gesso. I learned this the hard way trying to rush a large canvas – patience truly is a virtue here! If bubbles do appear, gently smooth them out with light brushstrokes before the gesso begins to skin over. And a simple tip: avoid vigorous shaking of the gesso container; stir gently with a palette knife or stir stick to combine, rather than aerate.
Streaks or Uneven Application
- Cause: Insufficiently thinned gesso, uneven brush pressure, or allowing gesso to dry too quickly.
- Solution: Ensure gesso is slightly thinned, especially for initial layers, to improve its flow. Apply gesso in consistent, overlapping strokes, maintaining even pressure across the entire surface and always alternating directions with each subsequent layer to build an even surface. Work quickly but methodically to prevent gesso from drying too rapidly and creating drag. And remember, sanding diligently between layers is your secret weapon to smooth out minor inconsistencies and create a truly flawless finish.
Cracking or Flaking
- Cause: Applying gesso too thickly in one layer, applying subsequent layers before the previous one is fully dry, or using gesso that is too old or improperly stored.
- Solution: Apply gesso in thin, multiple layers – patience is key here, I promise! Always allow each layer to dry completely before applying the next; a cool, damp touch means it's not ready. This is critical for the gesso layers to bond properly. Also, pay attention to your drying environment: extreme temperatures or humidity can exacerbate cracking. Aim for a stable, moderate room. And finally, ensure your gesso isn't past its prime; store it in a cool, dry place and always ensure the lid is tightly sealed to prevent it from drying out or degrading.
Gesso Drying Too Fast
- Cause: Low humidity, high room temperature, or excessive airflow (e.g., direct fan).
- Solution: If your gesso is drying too quickly, making it hard to apply smoothly, try working in a slightly cooler room or reducing direct airflow. You can also add a touch more water (within the recommended 10-20%) to your gesso to extend its "open time" – the period it remains workable before drying. Working in smaller sections can also help ensure you can smooth it out before it sets.
Excessive Absorbency
- Cause: Insufficient layers of gesso, particularly on raw canvas, or overly thinned gesso in all layers.
- Solution: Apply additional thin layers of gesso, ensuring meticulous drying between each application. For later layers, you can choose to use gesso that is less diluted, or even undiluted, to build up a denser, less absorbent surface, gradually reducing the canvas's thirst. If you're working on raw canvas, ensure your initial sizing layer was robust enough.
Advanced Considerations and Tips
Beyond Basic White Gesso
While white acrylic gesso is the most prevalent choice, artists have a spectrum of gesso options that can dramatically alter the starting point and aesthetic of their artwork.
Clear Gesso
- Purpose: Clear gesso allows the natural color and texture of the canvas (or any substrate) to show through, while still providing the necessary tooth and barrier for paint adhesion. This is ideal for artists who want to incorporate the natural look of linen or a pre-stained surface into their composition, or for those working with mixed media or collage where the underlying elements need to remain visible.
- Application: Apply in thin, even layers as with white gesso, allowing each to dry thoroughly.
Tinting Gesso
- Purpose: Why stick to just white, clear, or black when you can have any color you want? Tinting your gesso with a small amount of acrylic paint (just a few drops, a little goes a long way!) allows you to create a custom-colored ground. This is fantastic for establishing a dominant mood, creating a complementary or contrasting base for your palette, or even blocking in initial values before you start painting. A light blue ground for a cool landscape or a warm yellow for a sunny portrait can make a huge difference in your approach and final outcome.
- Application: Mix a very small amount of your chosen acrylic paint directly into your white (or clear) gesso in your mixing container. Stir thoroughly to ensure an even color. Apply as you would regular gesso, in thin, even layers. Remember, the color will dry slightly darker than it appears when wet.
Black and Colored Gesso
- Purpose: Black gesso provides a dramatic, dark ground that can make colors appear incredibly vibrant and luminous when applied over it, almost glowing against the dark base. Colored gessos (e.g., cool grays, warm sepia, or even custom tints mixed with a little acrylic paint) offer a unique starting point, profoundly influencing the overall mood, value perception, and even the "temperature" of the painting from the outset. Working on a toned ground can also help eliminate the initial shock of a stark white canvas, making it easier to judge your colors accurately.
- Application: These are applied similarly to white gesso, with attention to even coverage.
Textured Gesso
- Purpose: Some gessos are formulated with fine pumice or other aggregates to create an immediate textured surface, eliminating the need for extensive layering or additional texture mediums. These are fantastic for artists who want a rugged, expressive surface for impasto, abstract work, or even to mimic the texture of specific materials. Artists can also get creative and mix fine sand, marble dust, sawdust, or other acrylic-compatible additives into standard gesso to create custom textures, offering endless possibilities for tactile expression.
- Application: These gessos may be applied with a brush, roller, or palette knife, depending on the desired effect.
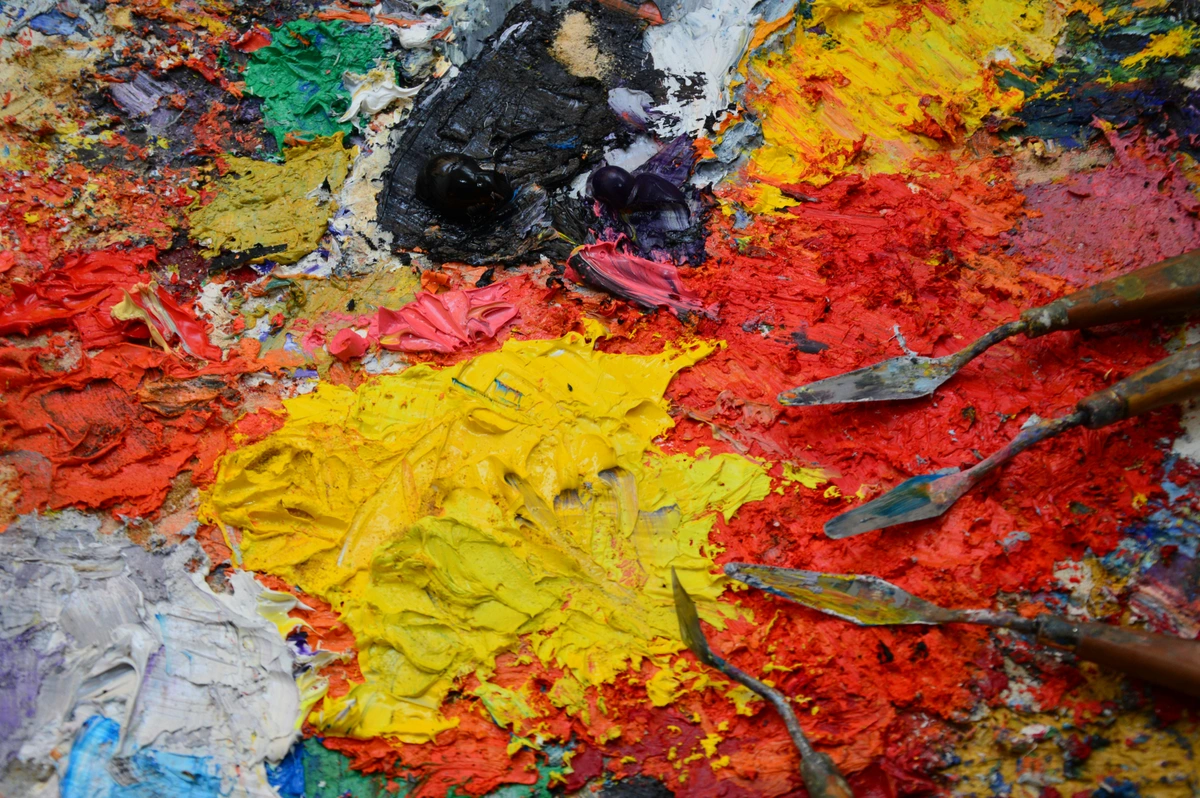
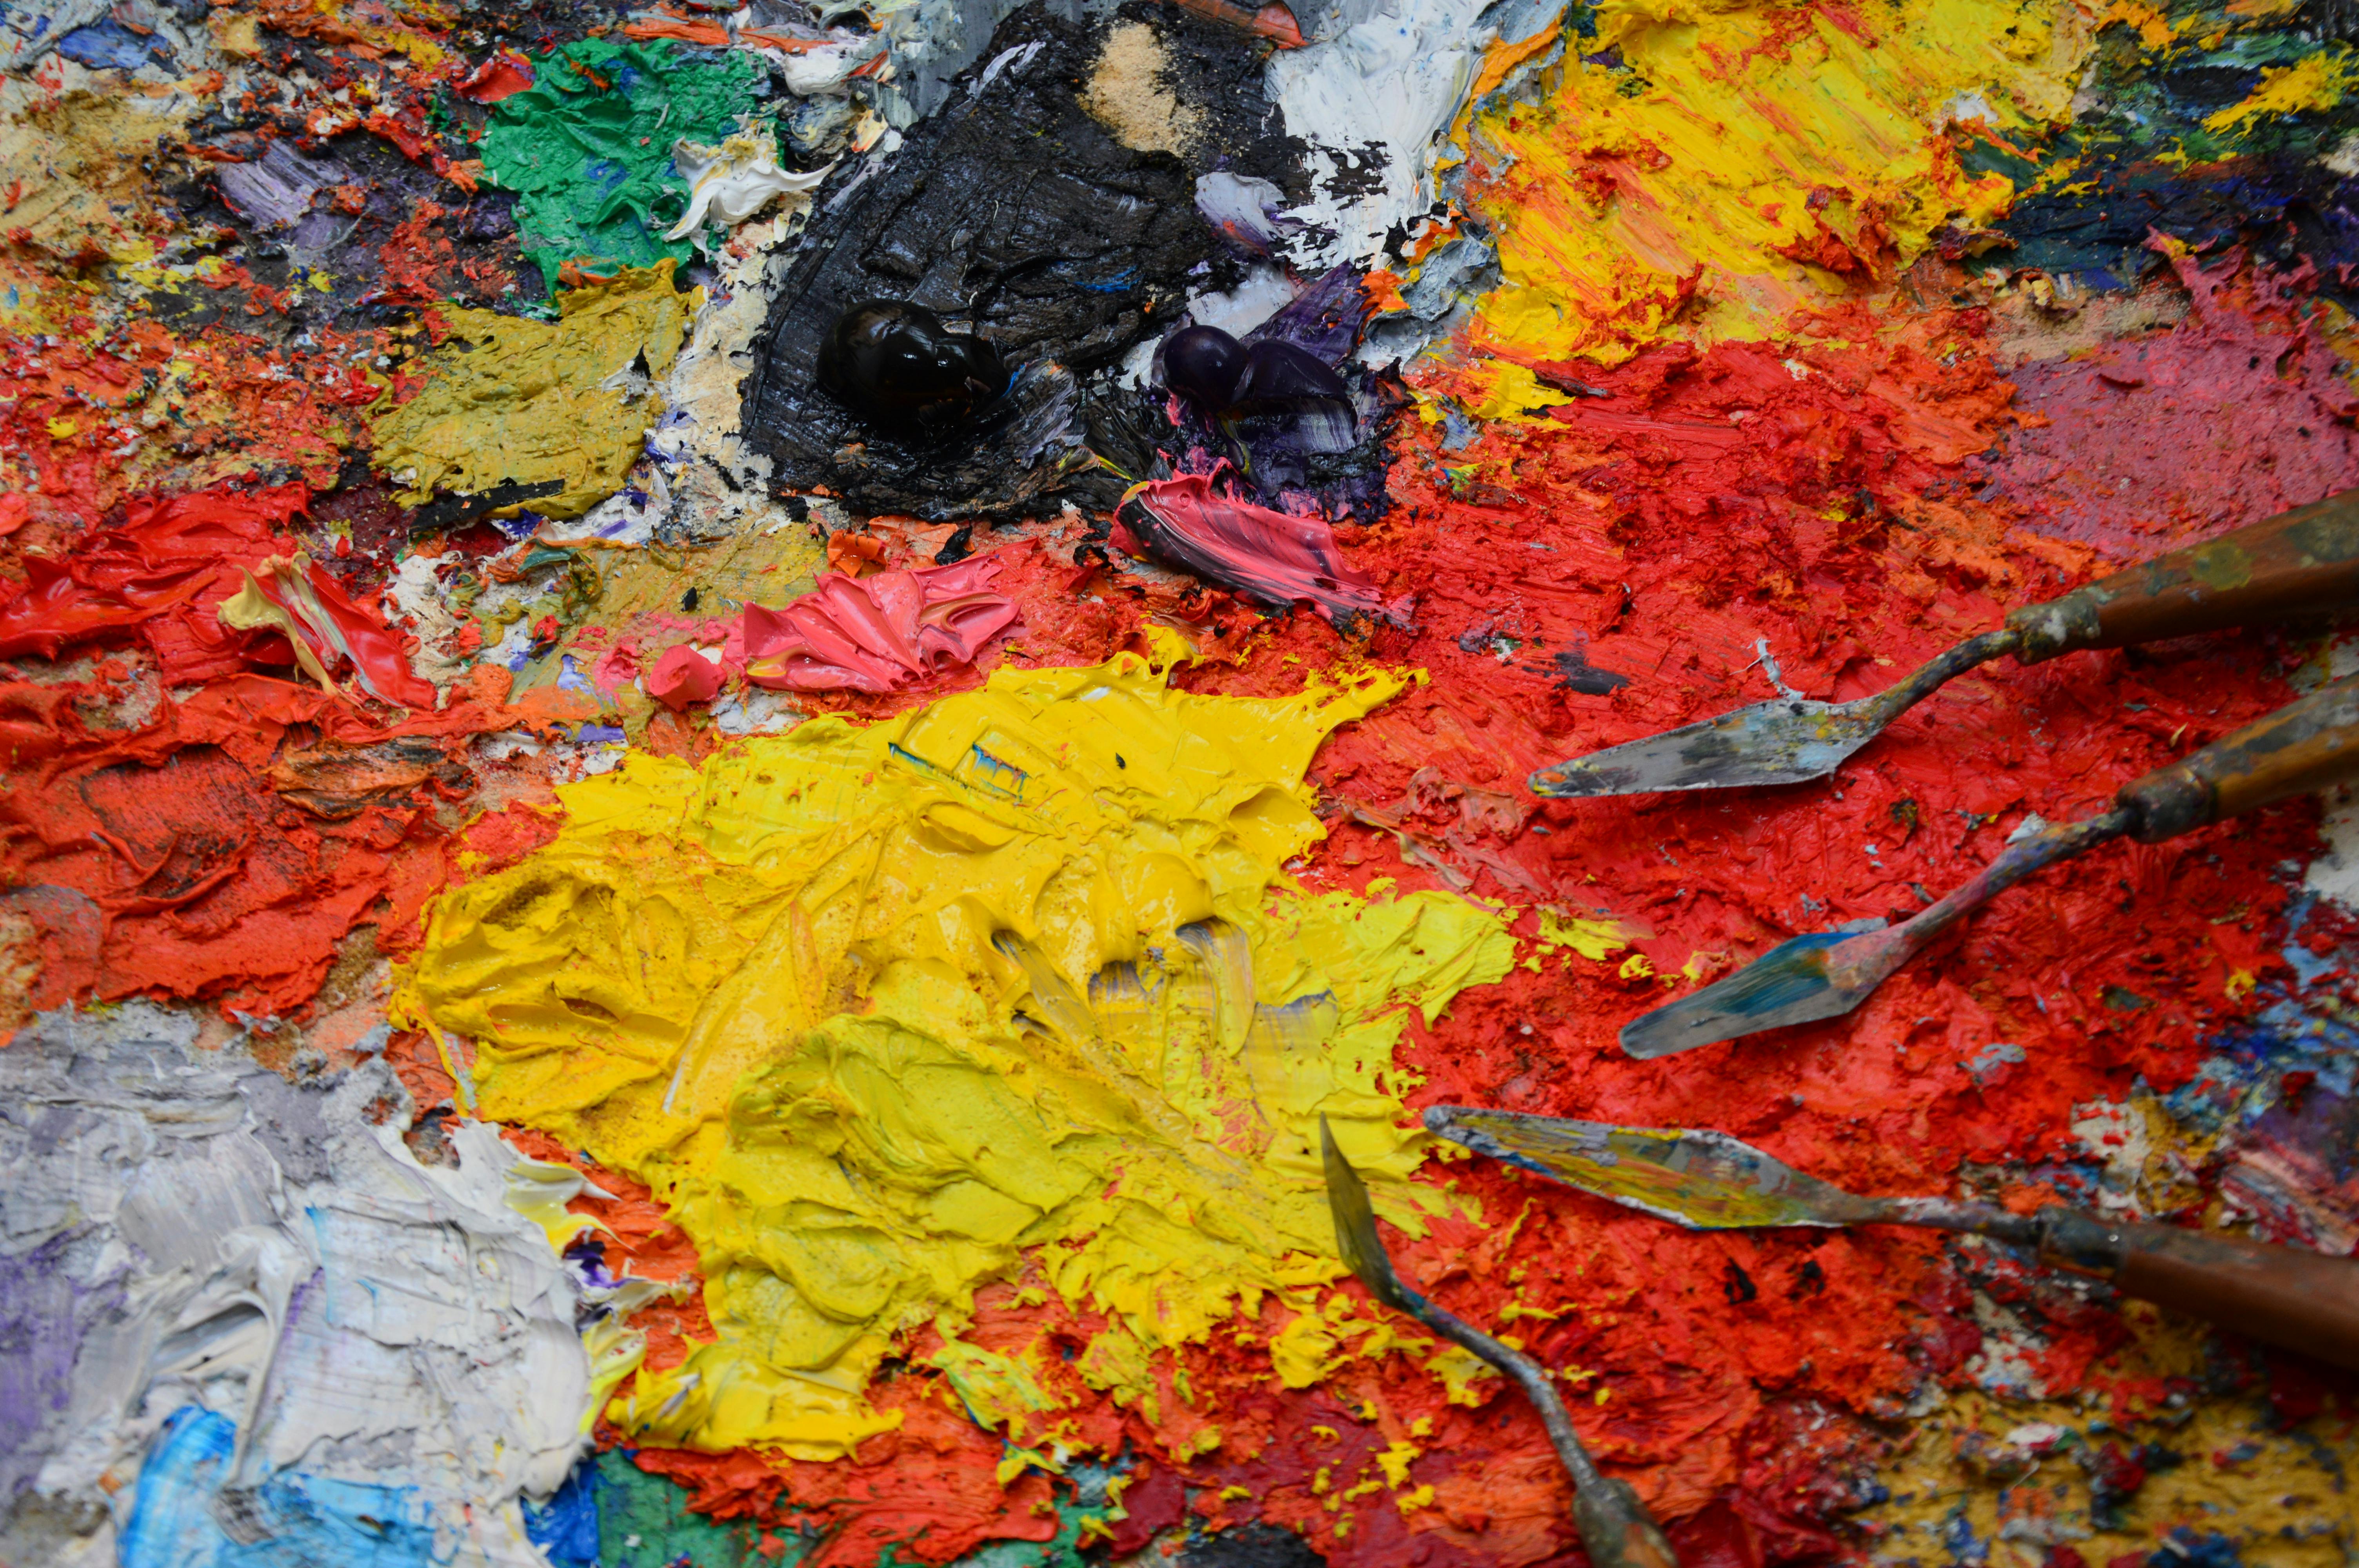
https://images.pexels.com/photos/15841465/pexels-photo-15841465/free-photo-of-texture-of-palette-in-paint.jpeg, https://creativecommons.org/public-domain/
Achieving Different Textures
The preparation of a canvas offers opportunities to manipulate the surface texture, aligning it with the artist's expressive intent.
- Smooth Surface: To achieve a pristine, glass-like smoothness, artists should apply numerous thin layers of gesso, meticulously sanding between each coat with fine-grit sandpaper. This meticulous process is ideal for detailed photorealistic work, delicate glazing techniques (which acrylics can achieve effectively with best acrylic mediums for abstract artists), or precise brushwork where even the slightest canvas texture would be distracting. A perfectly smooth surface allows acrylics to be thinned and blended seamlessly, mimicking the effects of oils or watercolors without interference from the weave.
- Textured Surface: For artists seeking a more expressive or tactile surface, various approaches can be employed. This includes reducing the amount of sanding between gesso layers, which allows the natural weave of the canvas to remain more prominent. Alternatively, texture mediums, such as modeling paste or gel mediums, can be mixed directly into gesso or applied separately to create pronounced impasto effects suitable for expressive basic brushstrokes for acrylic painting or abstract work. Palette knives, spatulas, combs, and even unconventional tools can be used to sculpt the gesso and mediums into desired textures, from subtle undulations to dramatic impasto ridges, adding another dimension of expression to your work before the paint even touches the surface.
Toned Ground
Once the final gesso layer is thoroughly dry and cured, artists often consider applying a toned ground. This involves a thin, even wash of a neutral color – commonly burnt sienna, raw umber, or various shades of gray – applied over the white gesso. The primary purpose of a toned ground is to eliminate the stark white of the gesso, which can be quite intimidating and make judging colors and values challenging during the initial stages of painting. A neutral base – like a warm burnt sienna or a cool gray – allows colors to be perceived more accurately and can establish the overall mood and temperature of the piece from the outset. For example, a warm ground can infuse your painting with a sense of warmth and vitality, while a cool ground can evoke calm or mystery. I love how a warm red-brown toned ground can make subsequent blues just sing, or a cool grey can bring out the subtleties in a delicate skin tone. Furthermore, a toned ground can serve as an excellent foundation for an initial underpainting or block-in, contributing to a cohesive color harmony throughout the artwork and making the blank canvas less daunting.
Working with Different Mediums
While this guide focuses primarily on acrylic gesso, it is important for artists to recognize that different painting mediums necessitate specific priming approaches to ensure archival quality and optimal performance.
- Oil Paints: Traditional oil paints require a primer that is compatible with oil. This can be an oil-based primer (often lead white or titanium white in an oil vehicle) or a universal acrylic gesso specifically formulated to provide a suitable surface for both oil and acrylic paints. The key is to prevent the linseed oil from directly contacting the canvas fibers, which can cause degradation over time. Modern universal acrylic gessos often contain a higher percentage of titanium dioxide and a denser binder to create a less absorbent surface suitable for oils, while still being flexible. Historically, lead white was favored for its fast drying and superior adhesion, but ethical and health concerns have led to its replacement with titanium white.
- Watercolors/Gouache: While less common, canvases can indeed be prepared for water-based mediums like watercolor or gouache using specialized absorbent grounds, sometimes called "watercolor ground" or "aquapasto." Brands like Golden and Daniel Smith offer these grounds, which typically have a granular, absorbent texture designed to mimic the properties of watercolor paper. These unique grounds maintain the delicate, paper-like absorbency and texture that these mediums require, allowing for transparent washes and subtle layering effects, differing significantly from the non-absorbent surface created by standard acrylic gesso. It opens up a whole new world of possibilities for watercolor artists who prefer working on canvas.
- Pastels/Charcoal: For dry mediums like pastels, charcoal, graphite, or even colored pencils, artists might opt for textured grounds (often containing fine pumice or marble dust) that provide a coarse, sandpaper-like surface to grip the pigment. These grounds come in various "grits," similar to sandpaper, allowing artists to choose the level of tooth they desire. A finer grit is great for detailed pastel work, while a coarser grit can hold more pigment for expressive, layered charcoal drawings. This texture is essential for building up multiple layers of dry media without smudging or loss of intensity, allowing for rich, vibrant applications.
A broader understanding of various art materials and their corresponding preparation needs can be found in exploring art mediums guide.
Storing Prepared Canvases
Once a canvas has been meticulously prepared, proper storage is essential to maintain its integrity until it is ready for painting. Store canvases vertically, if possible, allowing air circulation and preventing any pressure points on the gessoed surface. Protect them from dust, dirt, and moisture by covering them with a breathable material like a clean sheet or plastic wrap (ensure air can still circulate to prevent moisture buildup, especially in humid environments). Humidity and extreme temperature fluctuations are the enemy of longevity, potentially causing warping or cracking over time, so a stable environment is key. Avoid stacking canvases face-to-face, as this can cause them to stick, transfer residue, or even damage the gessoed surface. Consider using spacers or storing them in archival boxes if you have many.
Frequently Asked Questions (FAQ)
Q: Can I use a hair dryer to speed up drying?
A: While it might be tempting to rush the process, I generally advise against using a hair dryer on hot settings. Rapid, uneven drying can lead to cracking or warping of the gesso layers and potentially the canvas itself. If you need to speed things up, use a hair dryer on a cool or low-heat setting, keeping it at a distance and moving it constantly to ensure even drying. Good air circulation is usually the safest and most effective method.
Q: Can I skip sanding between gesso layers?
A: While sanding is optional, it is highly recommended for achieving a smooth, professional-grade surface. Skipping sanding can result in a canvas with visible brushstrokes, bumps, or an uneven texture that can interfere with painting, especially for detailed work.
Q: What's the difference between gesso and primer?
A: In the art world, the terms "gesso" and "primer" are often used interchangeably, but there's a subtle distinction. "Primer" is the general term for any preparatory coating applied to a surface before painting. "Gesso," specifically artist's gesso (usually acrylic polymer gesso for acrylics), is a type of primer formulated with chalk, pigment, and an acrylic binder to create a flexible, absorbent, and toothy surface ideal for artistic mediums. So, all gesso is primer, but not all primer is gesso (e.g., house paint primer is not gesso).
Q: Do I always need to gesso a pre-primed canvas?
A: It is highly recommended. Factory-primed canvases often have very thin gesso layers. Adding 1-2 more layers (with sanding) creates a superior, more durable surface for painting.
Q: What if my gesso is too thick?
A: If gesso is too thick, it can be difficult to apply smoothly, leading to visible brushstrokes, uneven texture, and potential cracking upon drying. It is best to dilute thick gesso with a small amount of water (up to 20%) to improve its flow and workability.
Q: How many layers of gesso are ideal?
A: For acrylics, 2-4 layers are generally sufficient. Pre-primed canvases usually need 1-2 additional layers, while raw canvases might require 3-4 layers after sizing. The ideal number also depends on the desired smoothness and absorbency.
Q: How do I clean my gesso brushes?
A: Clean gesso brushes immediately after use with warm water and soap. Gesso, especially acrylic gesso, can quickly dry and harden in brush bristles, making it difficult to remove. Thorough cleaning preserves the life of your brushes.
Q: How should I store my open container of gesso?
A: To prevent your gesso from drying out or going bad, always ensure the lid is tightly sealed after each use. Store it in a cool, dry place, away from direct sunlight or extreme temperatures. If it thickens over time, you can usually add a small amount of water (following manufacturer's guidelines) to restore its consistency, but if it develops a strong odor or becomes lumpy, it might be time for a fresh container.
Q: Can I use house paint as gesso?
A: No, it is not recommended. House paints are not formulated for artistic longevity and may contain additives that can compromise the archival quality of your artwork. Always use artist-grade gesso.
Q: Can I use gesso on surfaces other than canvas?
A: Absolutely! Gesso is incredibly versatile. It works wonderfully on wood panels, cardboard, paper, plaster, and even some metals and plastics (though you might want a specialized primer for very non-porous surfaces). The goal is always to create a stable, slightly absorbent, toothy surface for your paint. Just make sure the surface is clean, dry, and free of any oils or loose debris before you start.
Q: How long does gesso need to dry?
A: Each layer of gesso should be touch-dry before applying the next, typically 30 minutes to a few hours depending on thickness and humidity. For optimal results, allow the final layer to cure for 24 hours before beginning to paint.
Conclusion
The meticulous preparation of a canvas stands as a vital and often meditative step within the artistic process, laying an indispensable groundwork for a successful and lasting painting. I used to see it as a chore, a necessary evil before the "real" art began. But I’ve come to realize that this quiet, methodical approach of gesso application and surface refinement is where a painting truly begins to breathe. By investing this time, we ensure our acrylic paintings benefit from the best possible foundation, granting them vibrancy, longevity, and the freedom for unhindered expression. It's not just about technical quality; it's about deepening our understanding and command over our materials, fostering a sense of artistic control that empowers us. A perfectly prepared surface is, after all, an invitation – a blank page eagerly awaiting your story.
So, go forth, prepare your canvases with care, and let your creative spirit soar! For those ready to explore the possibilities on their perfectly prepared surfaces, an array of original abstract works and prints are available at the Zenmuseum shop. Discover more about the artist's journey and techniques at the Zenmuseum timeline or visit the Den Bosch museum for exhibitions. Remember, every master once started with a blank, prepared canvas, and every stroke thereafter built upon that solid beginning. Your art deserves nothing less.


