The Ultimate Guide to Sketching Pencils: Grades, Brands, Techniques & Beyond
Unlock your artistic potential with this ultimate guide to sketching pencils. Explore graphite grades (H, B, F), discover top brands like Faber-Castell and Staedtler, master essential techniques, understand paper pairing, and gain personal insights for every artist. This comprehensive resource covers everything from historical context to advanced tips, ensuring you find your perfect drawing companion.
The Ultimate Guide to Sketching Pencils: Grades, Brands, Techniques & Beyond
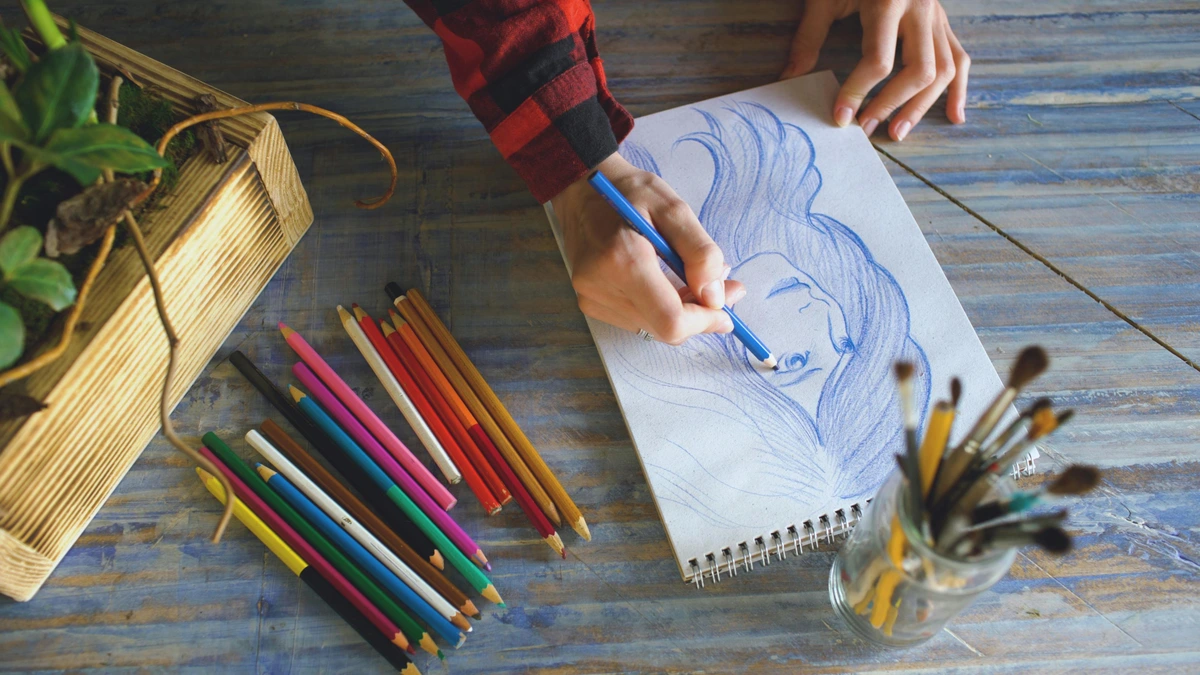
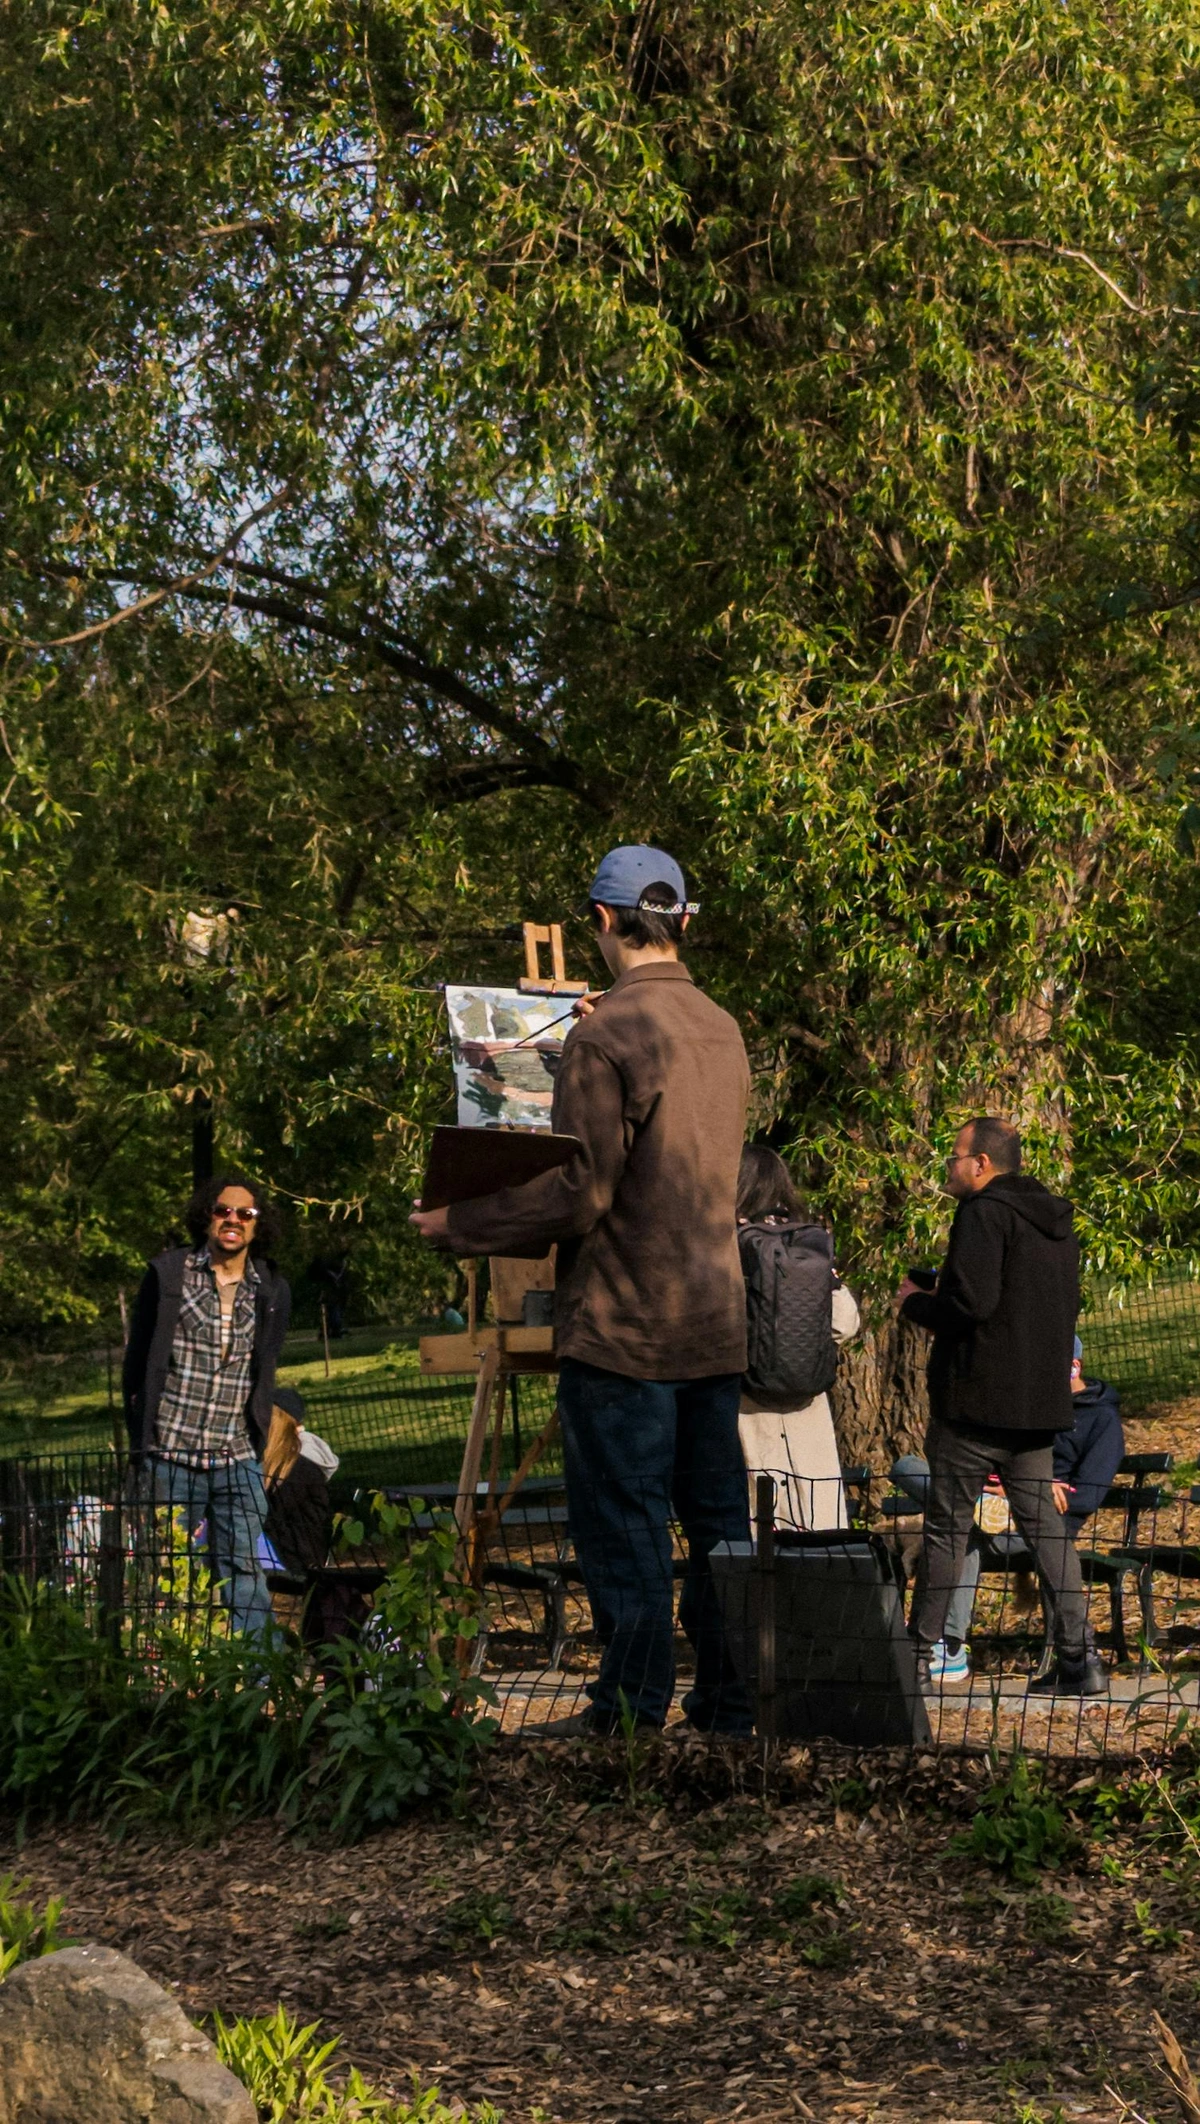
I'm going to be honest with you: for all the vibrant paints and fancy mediums I use in my abstract work – you know, the ones that shimmer with iridescent pigments or build up into thick, tactile impasto layers – my heart often returns to the humble sketching pencil. When faced with creative block, or the overwhelming choices of a fully stocked studio, I find solace and clarity in that simple wooden stick. It's where every single idea starts, isn't it? That initial spark, the tentative lines that try to capture a fleeting feeling or a nascent form before color even dares to enter the equation. It's raw, it's immediate, and for me, it's incredibly personal. Sketching isn't just a preparatory step; it's a profound act of meditation, a quiet conversation between my hand and the paper. And choosing the right pencil? Well, that's like choosing the right words for a whispered secret, or the perfect note for a melody only you can hear. It's about finding that direct extension of your creative intention. So, what's the first tool that comes to mind when you think of bringing an idea to life on paper? In this guide, we'll journey through the fascinating history of the sketching pencil, unravel the mysteries of graphite grades, introduce you to trusted brands, and arm you with essential techniques, all while discovering how these simple tools can elevate your artistic expression.
The Unsung Heroes: Why Pencils Matter More Than You Think
But before we dive into the nitty-gritty of graphite grades and specific brands, let's just take a moment to truly appreciate the sheer magic contained within that humble wooden casing. It's probably the first art tool most of us ever picked up, right? From childhood scribbles that filled countless notebooks to the serious academic drawings of masters like Leonardo da Vinci, the preparatory sketches of Impressionists like Degas capturing ballet dancers, or the geometric explorations foundational to Cubism, pencils are the silent, unassuming workhorses of the art world. They teach us about line, form, light, and shadow. They force us to see, truly see, the world around us – not just look.
And what's inside that unassuming wooden casing? Despite the common term "pencil lead," what's actually in your sketching pencil is a sophisticated mixture of graphite and clay, not the toxic metal lead. This distinction is crucial and has been understood since the 16th century when pure graphite deposits were first discovered in Borrowdale, England. This wasn't just any mineral; it was a uniquely smooth, dark substance initially called "wad" or "black lead," which locals primarily used for marking sheep. It wasn't long, however, before artists and engravers recognized its potential for creating rich, precise marks. Later, Nicolas-Jacques Conté, a French chemist, revolutionized pencil manufacturing in the late 18th century. He discovered that by mixing powdered graphite with clay and firing it, he could precisely control the hardness and darkness of the "lead." This innovation allowed for the consistent grading system we benefit from today, a fascinating blend of science and art, don't you think? It also led to the development of the comfortable hexagonal casing, preventing pencils from rolling off tables – a small but mighty ergonomic improvement. I often wonder what those early artists would think of the range we have today.
And the portability! I mean, try throwing an easel, a dozen tubes of oil paint, and a turpentine jar into your bag for a sudden burst of inspiration at the local cafe. Not happening, believe me. But a sketchbook and a couple of pencils? Absolutely. They are the foundation. Whether you dream of hyperrealistic portraits, intricate architectural blueprints, or bold abstract compositions, understanding how to control a pencil is fundamental. It's like learning the alphabet before writing a novel. Or, in my case, a crucial step before diving into a complex mixed media piece. If you're curious about how these foundational skills translate to other mediums, I've shared some thoughts on my journey with mixed media: blending materials for abstract expression.

Decoding the Language of Lead: H, B, F, and the Global Scale
Alright, let's talk about the alphabet of pencils: the H and B scale. If you've ever stared at a pencil rack wondering what on earth '2H' or '4B' means, you're absolutely not alone. It's actually quite simple once you get the hang of it, and understanding this system will unlock a whole new world of expressive possibilities in your sketching. Think of it as your tonal palette, from the brightest highlights to the deepest shadows. The magic lies in the ratio of graphite to clay: more clay means harder lead (H), and more graphite means softer, darker lead (B). Essentially, clay acts as a binder, holding the graphite particles together. The more clay there is, the stronger and more resistant the core is to breaking and depositing heavy pigment, resulting in a lighter mark. Conversely, with less clay and more graphite, the core is softer, allowing more graphite particles to be released onto the paper, yielding a darker, smoother line.
It's worth noting that while the H and B system is widely used, there are subtle variations. The 'European' system (used by many brands like Faber-Castell and Staedtler) often has a slightly broader range of grades (sometimes extending to 9H or 9B and beyond) than the 'American' system (sometimes seen in schools or with less specialized brands). This broader range is often a result of historical development and the diverse demands of artists and draftsmen across different regions, but the core principles of H for hard and B for black remain consistent globally. Don't get too hung up on minuscule differences; focus on understanding the range and how different grades feel.
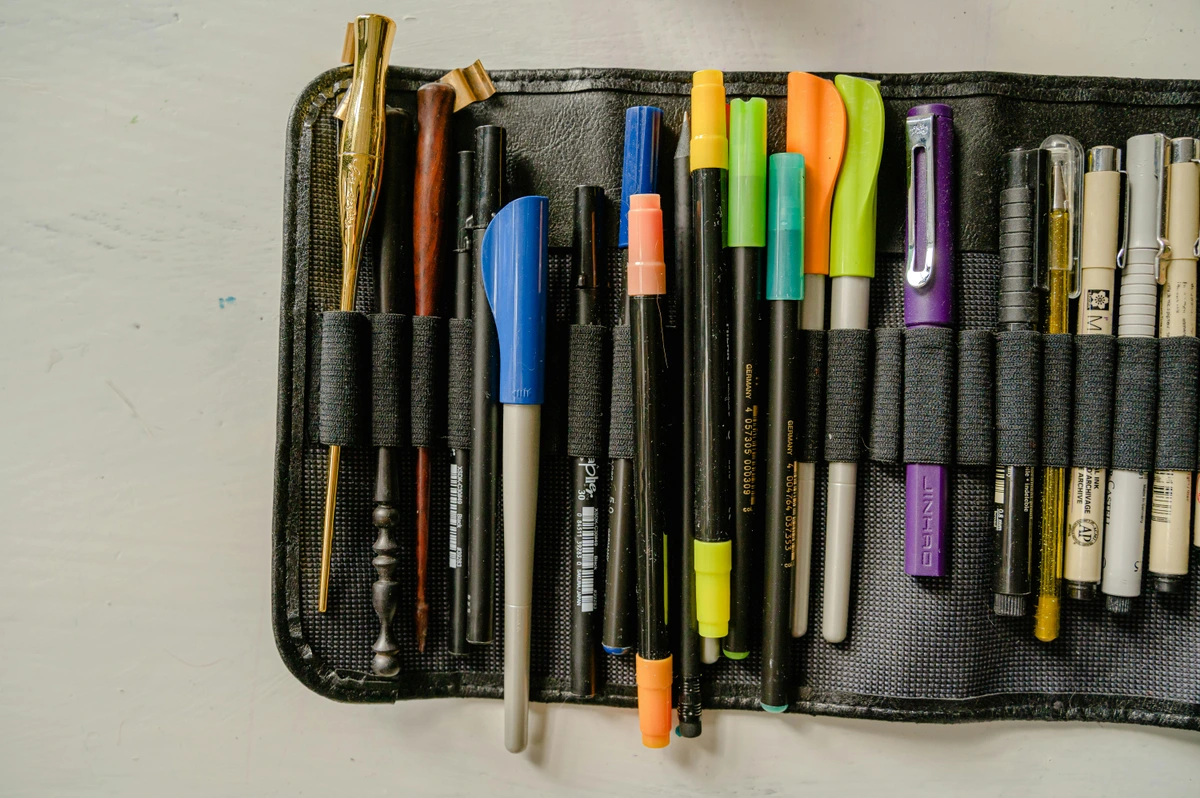
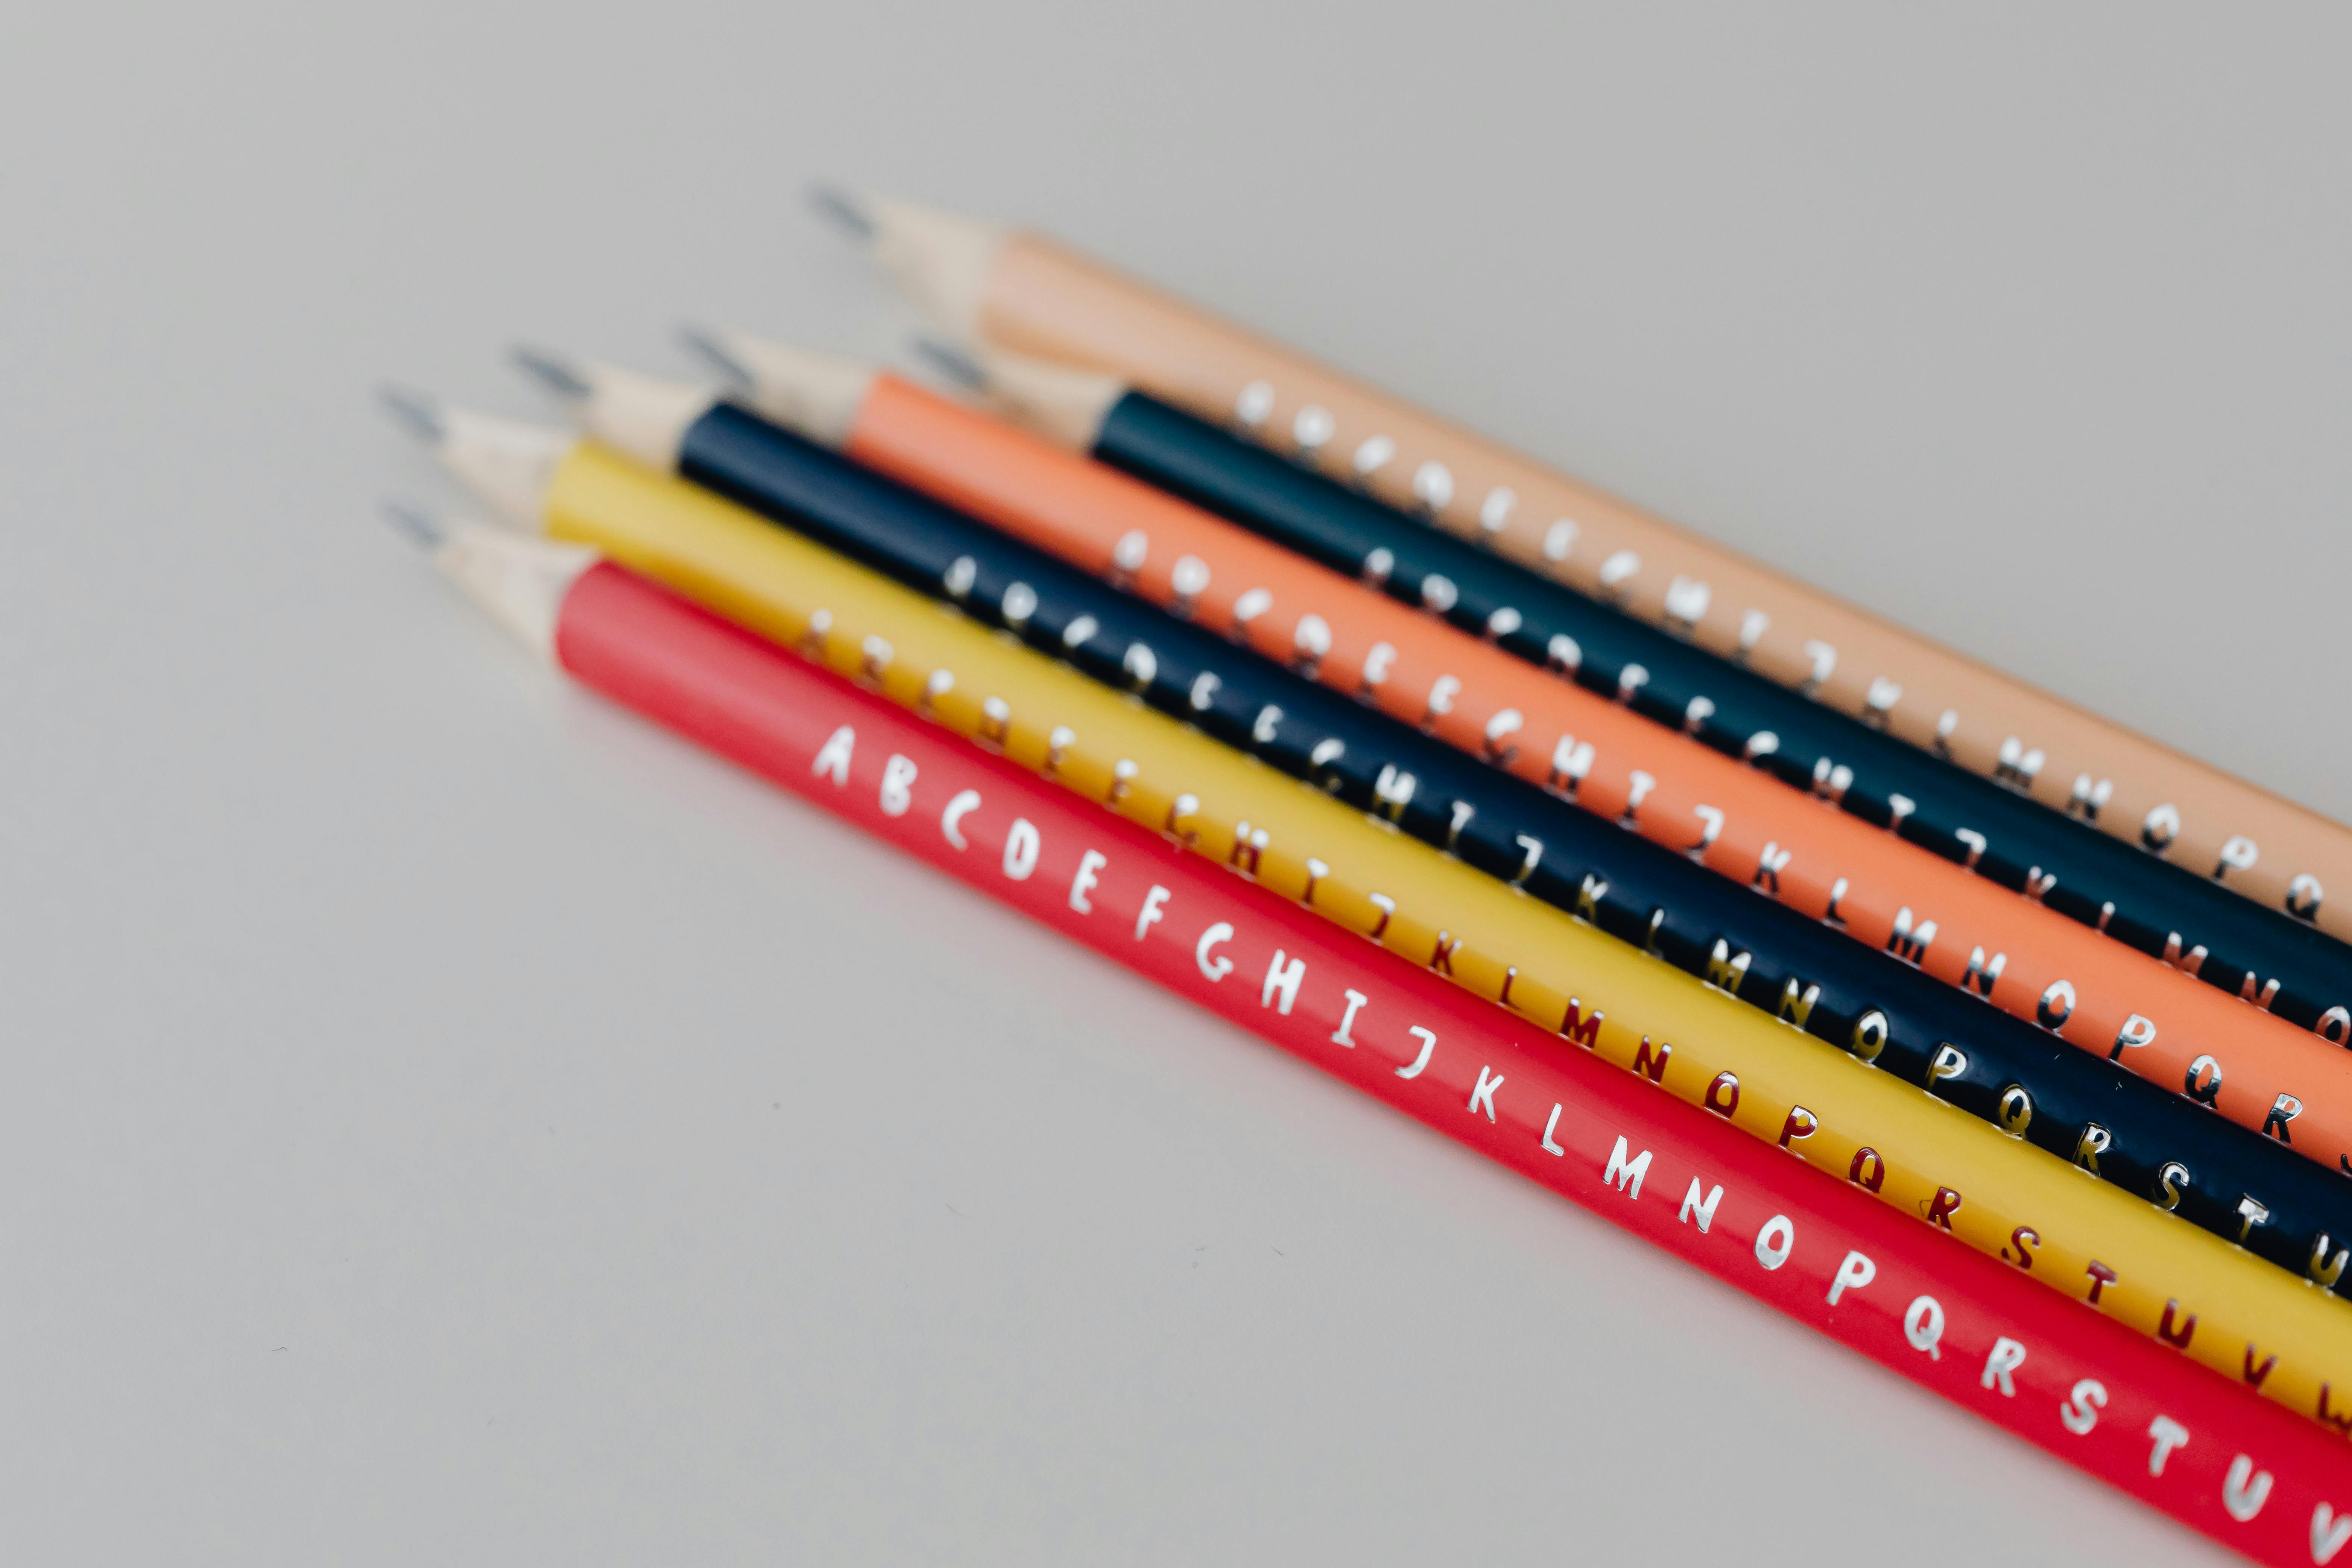
Let's also quickly look at the anatomy of a sketching pencil: the wood casing (often cedar for its smooth sharpening and pleasant scent), the graphite core (the 'lead' itself), and sometimes a ferrule (the metal band that attaches an eraser, though many artist's pencils omit this in favor of a clean end).
- H for Hard: Pencils on the 'H' side of the spectrum have harder graphite. This means they produce lighter, crisper, almost crystalline lines and hold a sharp point for longer. They're fantastic for detailed work, technical drawings, light initial sketches (often called 'under-drawing,' which means laying down the foundational lines of your artwork and establishing compositional structure and a basic tonal map before adding details or shading), and for artists who naturally prefer a lighter touch. The higher the 'H' number (e.g., 4H, 6H), the harder the lead and the lighter the mark. They're also less prone to smudging, which is a big plus for precision work. For instance, I'll reach for a 2H to lightly map out the proportions of a complex still life, allowing me to adjust and refine shapes without leaving deep indentations on the paper. A 9H pencil, for example, will leave an almost ethereal, silvery line, barely visible on smooth paper, feeling resistant and precise, sometimes even producing a faint 'scratch' as it moves across the tooth of the paper.
- B for Black (or Bold): These pencils have softer graphite, making them ideal for darker, richer marks and broader strokes. They blend beautifully, allowing for smooth gradations, and are perfect for shading, creating deep shadows, and achieving those luscious, velvety blacks. The higher the 'B' number (e.g., 4B, 6B, 8B), the softer the lead and the darker the mark. Be warned, though, they're more prone to smudging! When I'm trying to capture the dramatic, smoky shadows of drapery, a 6B applied with varied pressure can create stunning depth and texture. Conversely, a 9B will feel creamy and yielding, depositing a rich, almost inky black, often with a slight sheen if burnished, and a noticeable, buttery texture on toothy paper, gliding with a satisfying whisper rather than a scratch.
- F for Fine Point: This one is a bit of an outlier, typically falling between H and HB. Its main characteristic is its ability to maintain a sharp point remarkably well, hence 'fine point.' It's a great choice for crisp, consistent lines, especially useful for delicate contours that need to hold their integrity.
- HB for Hard-Black: This is your everyday pencil, the reliable middle ground. It's versatile, not too hard and not too soft, making it a stellar general-purpose pencil for everything from writing to quick sketches. If you had to pick just one, this would be it. I often start my figure studies with an HB, allowing for both precise outlines and initial tonal indications without too much commitment.
Think of it like a sound system: H pencils are your high-frequency details – sharp, clear, and precise. B pencils are your booming bass notes – rich, deep, and resonant. Together, they create a full, dynamic range for your artwork. Beyond the visual, the feel and sound of the lead on paper is crucial. Harder pencils offer crisp resistance, almost a 'scratch' or a faint 'shhhk,' allowing for precise control. Softer pencils, by contrast, glide with buttery smoothness, inviting broader, more expressive movements, often with a quiet, satisfying 'whisper' as the graphite releases onto the paper. This tactile feedback is part of the joy of sketching, a conversation between tool, paper, and hand.

The Spectrum in a Nutshell: Choosing Your Tonal Range
Here’s a quick overview of how the common grades break down and what they're generally used for. This isn't a strict rulebook, mind you, but a guide to help you start your exploration. Remember, the choice of paper texture plays a huge role in how these grades perform. Harder pencils excel on smoother surfaces where their fine points won't tear, while softer pencils need a paper with some "tooth" (a slight roughness) to grab onto and deposit their rich pigment. So, how do you ensure you're choosing the right paper to complement your soft graphite dreams?
Graphite Grade | Key Characteristics | Typical Applications | Optimal Paper Textures |
|---|---|---|---|
| 9H - 5H | Extremely hard, very light, very fine, almost silvery | Technical drawing, light outlines, detailed initial work, rigid precision | Smooth, plate-finish, vellum, hot-press paper |
| 4H - 2H | Hard, light, sharp point, resistant to smudge, crisp lines | Light sketching, fine details, architectural drafting, under-drawing | Smooth to medium-smooth, Bristol board |
| H | Moderately hard, light, crisp, clean lines | General sketching, light shading, line work, illustration base | Medium-smooth, drawing paper, cartridge paper |
| F | Firm, holds point well, good for consistent, precise lines | Fine line work, crisp details, consistent drafting, delicate contours | Medium-smooth to slight tooth, good for precision |
| HB | Medium hardness, balanced tone, versatile, general purpose | Everyday writing, general sketching, outlines, figure studies | Versatile, most drawing papers, sketchbook paper |
| B - 2B | Soft, medium dark, good for blending, smooth marks | General sketching, tonal studies, smooth shading, initial washes | Medium to medium-rough, charcoal paper, heavier drawing paper |
| 3B - 6B | Very soft, dark, rich blacks, blends easily, velvety | Deep shading, expressive drawing, dramatic contrasts, portraiture | Medium-rough to rough, toothy papers, charcoal paper |
| 7B - 9B | Extremely soft, darkest blacks, smudgy, buttery smooth | Boldest lines, deepest shadows, charcoal-like effects, abstract work | Rougher, toothy papers that grab pigment, newsprint |
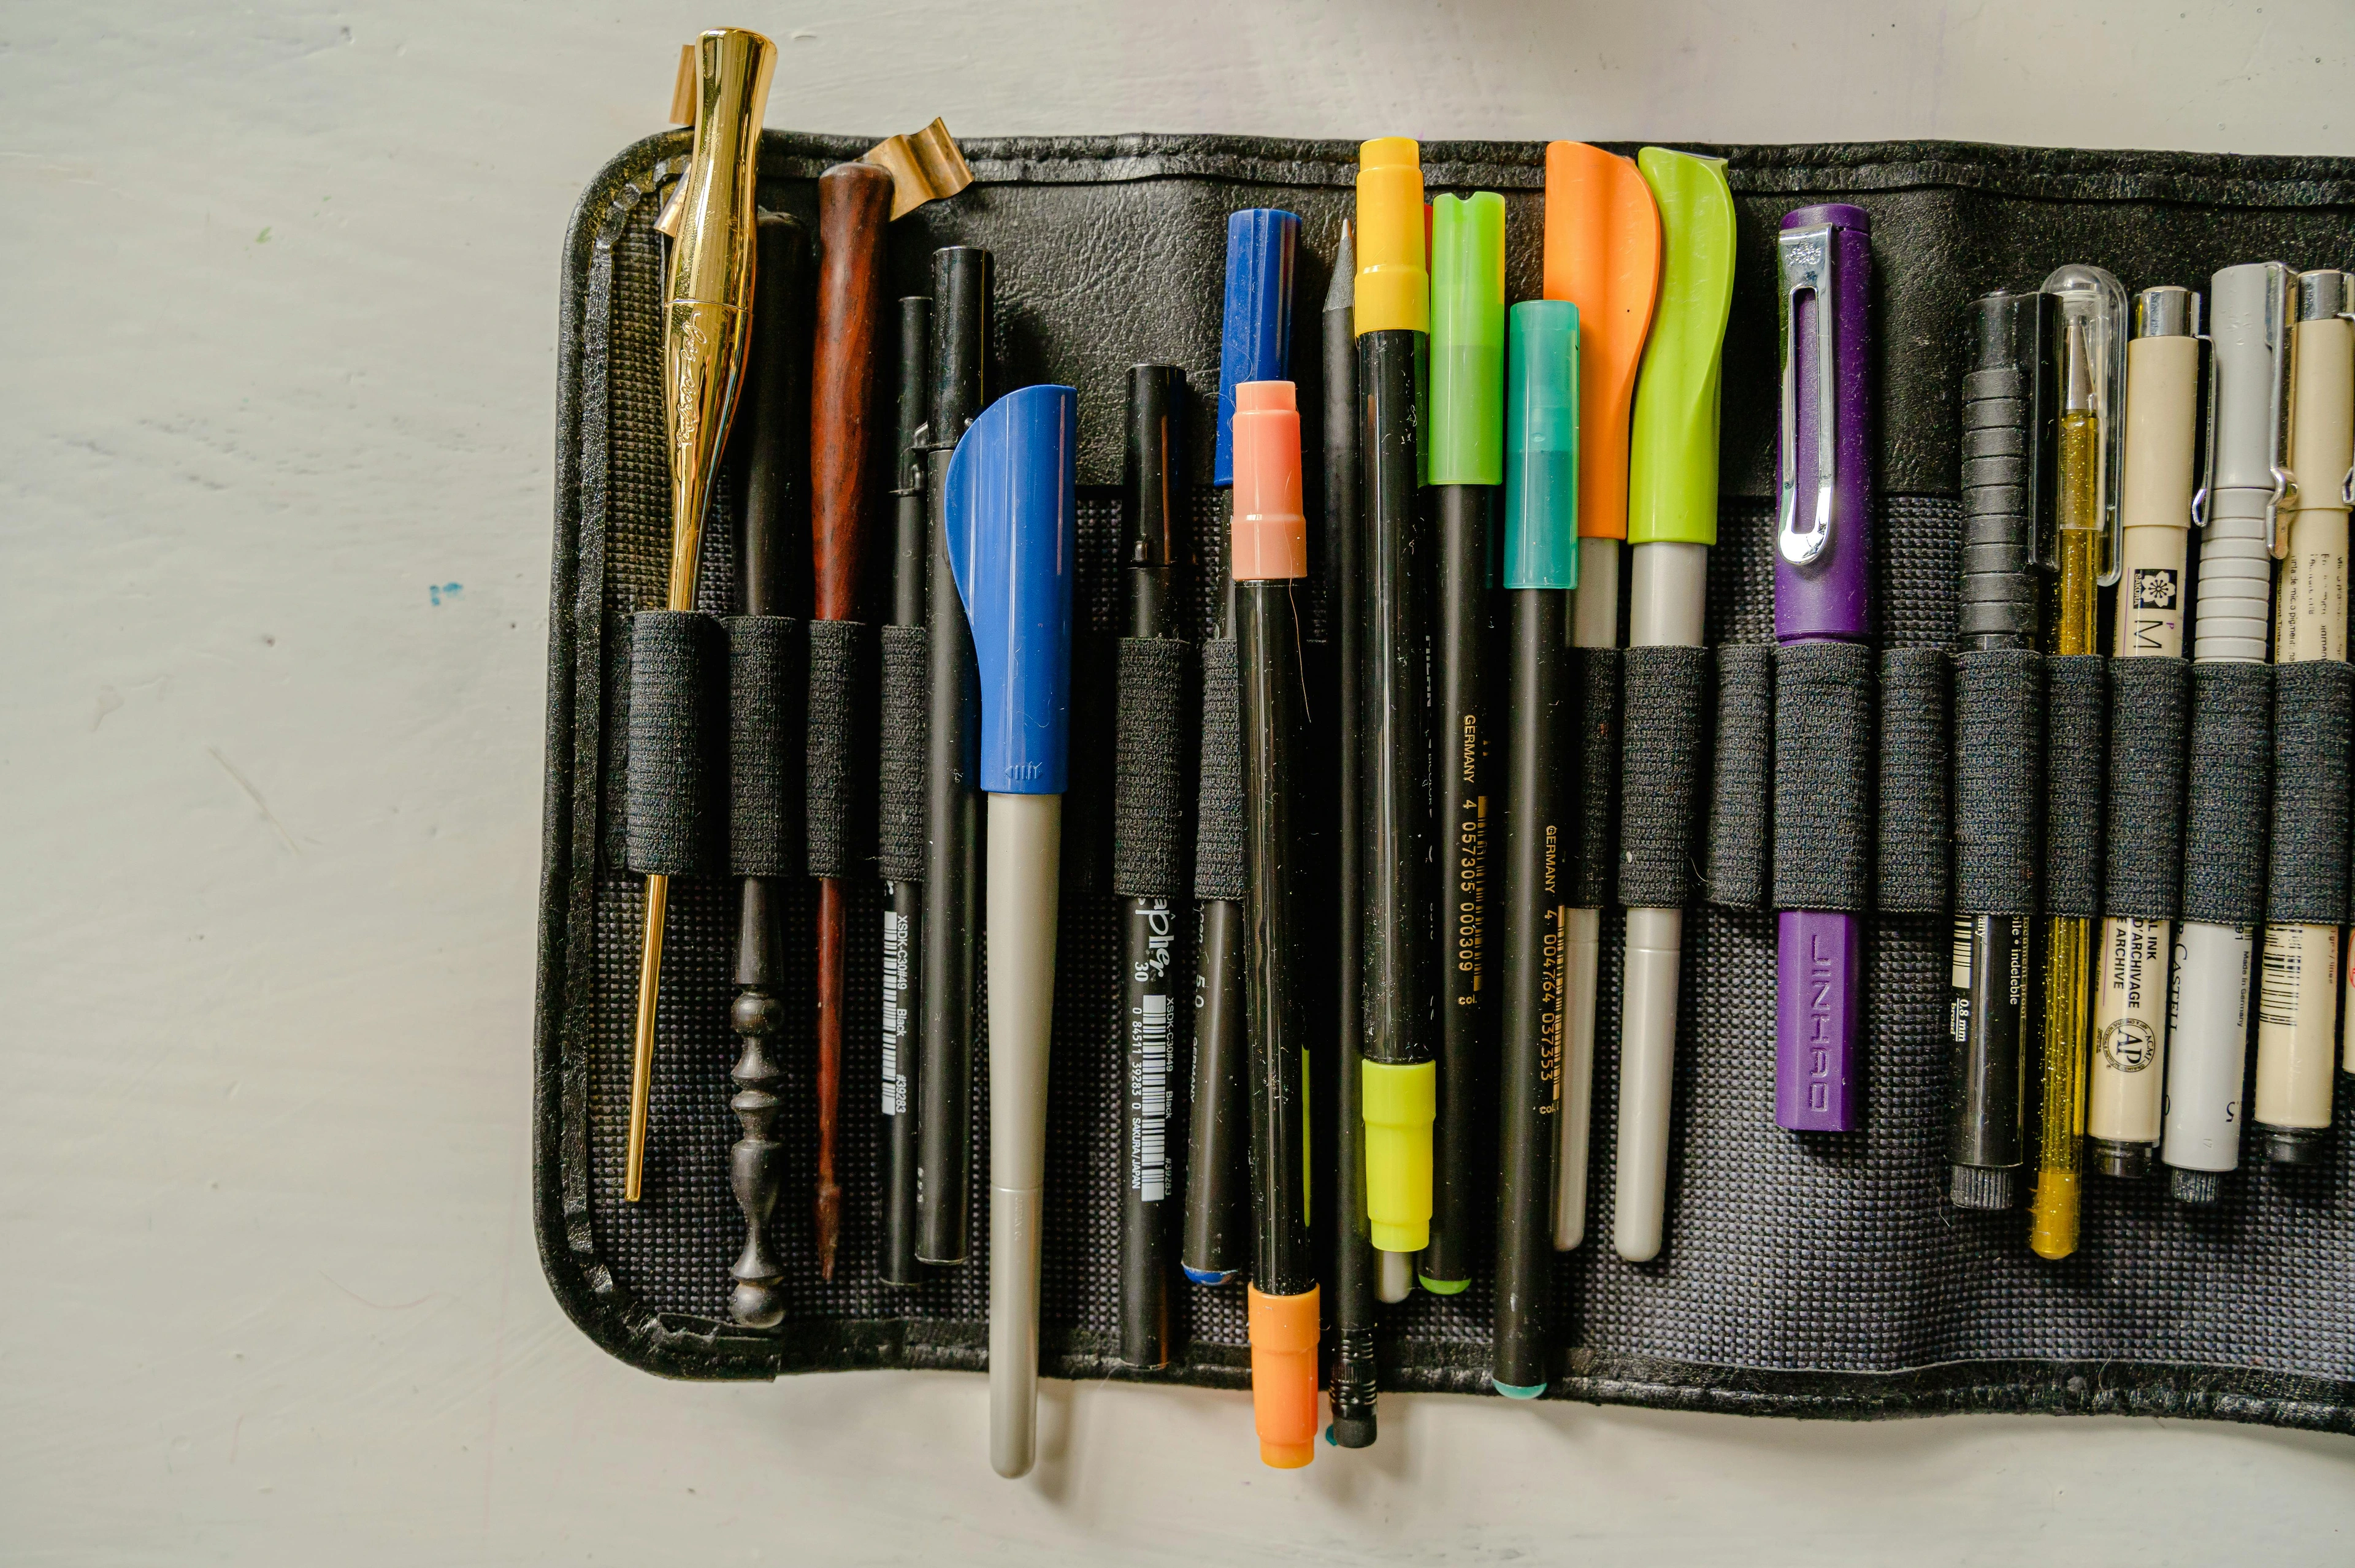
My Trusted Companions: Brands I Rely On
Over the years, I've tried my fair share of sketching pencils. And while personal preference plays a huge role – seriously, what feels good in your hand, how the graphite glides, and how it responds to pressure is paramount – there are a few brands that consistently deliver on quality and performance. These are the ones I keep coming back to, the reliable friends in my artistic journey. Of course, this is by no means an exhaustive list; there are many other excellent brands that offer fantastic quality, but these are my personal staples.
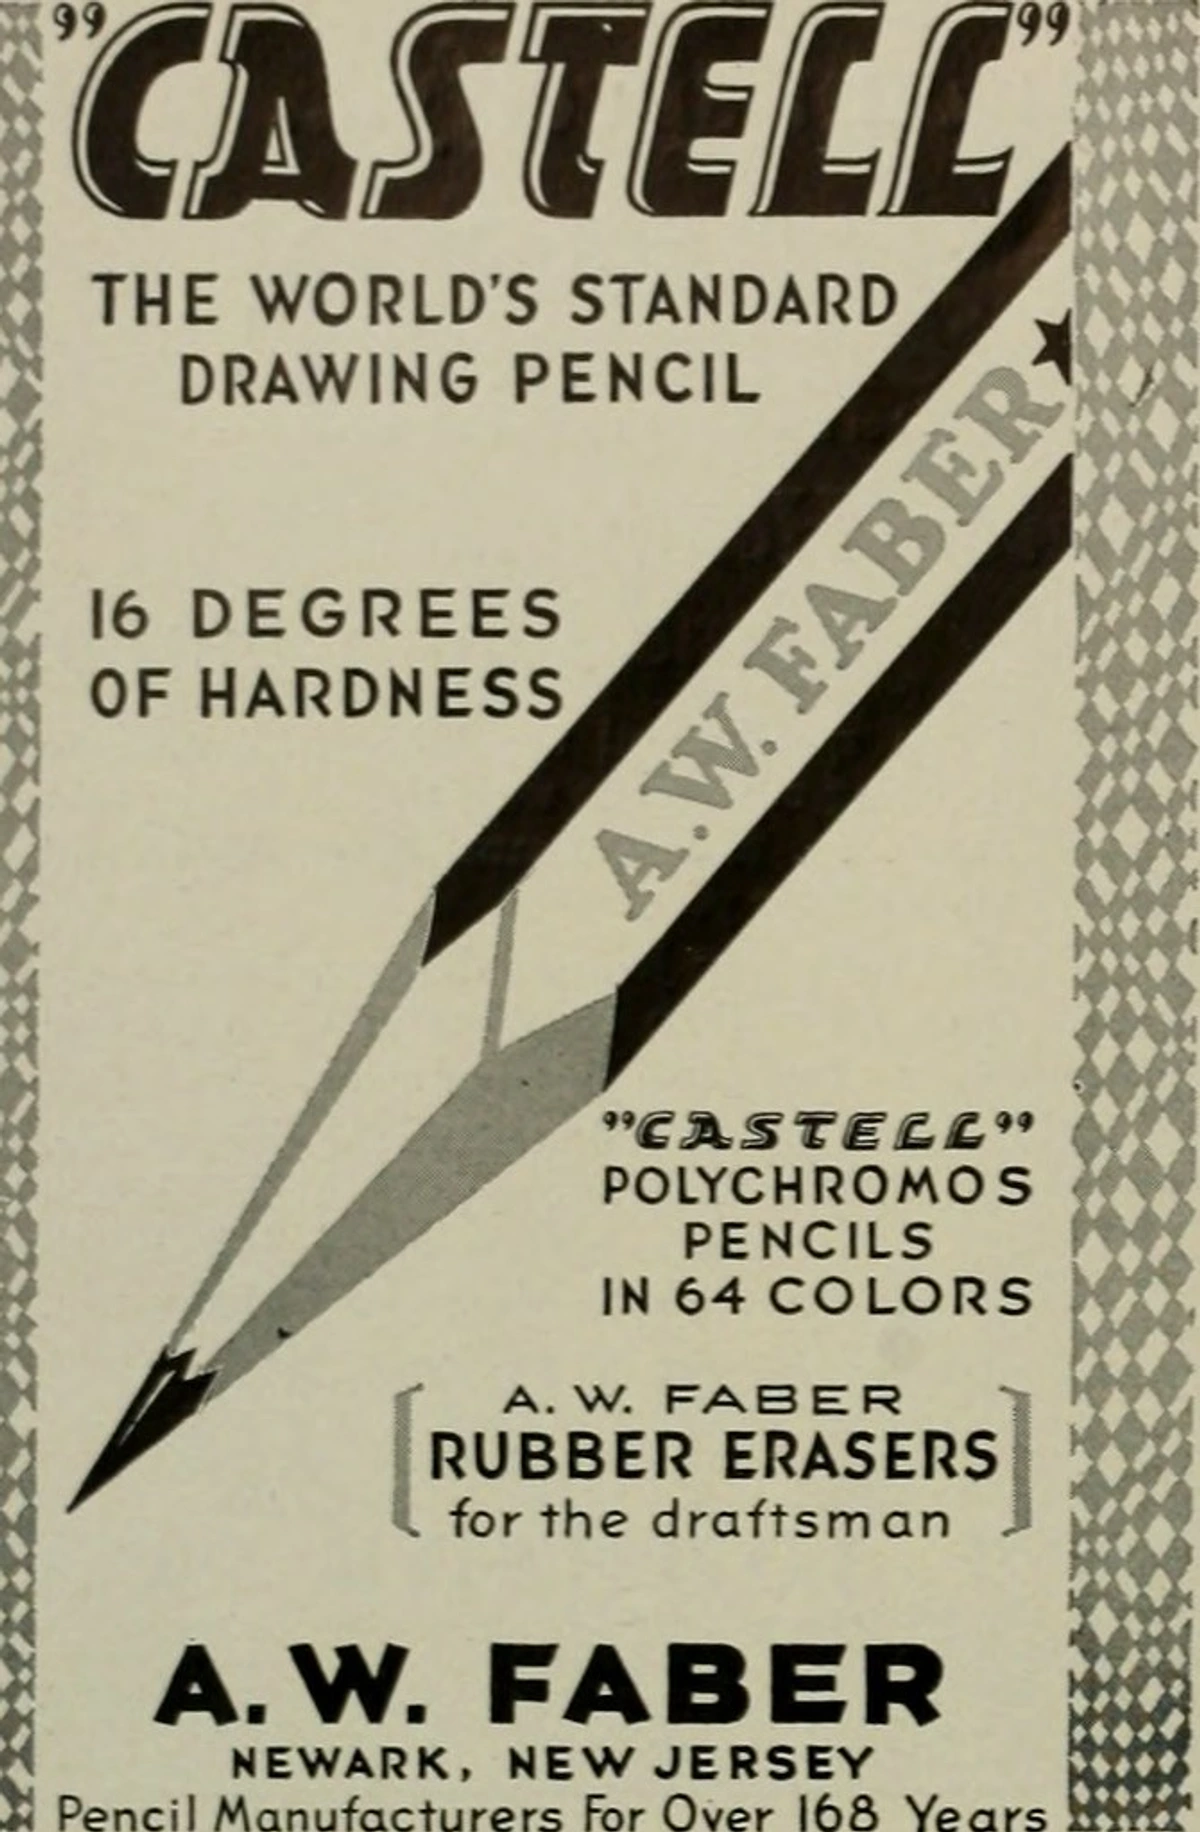
Faber-Castell
I mean, who hasn't heard of Faber-Castell? They've been around forever, and for good reason. Their pencils, especially the Castell 9000 series, are legendary. The graphite feels incredibly consistent and smooth, almost like drawing with silk, and it breaks far less often than some other brands – which, let's be honest, saves a lot of frustration (and money on wasted pencils!). They offer a fantastic range across the H and B spectrum, ensuring you have every tonal option available. Plus, their distinctive dark green wooden casing feels substantial and comfortable to hold, a classic professional touch I adore. I once mapped out a complex architectural facade with a 2H Castell 9000, and its unwavering sharpness and consistency were absolutely indispensable, allowing for countless adjustments without smearing or indenting the paper. You might find this level of precision equally valuable for your own detailed technical drawings or delicate botanical illustrations. The smooth cedar wood also sharpens beautifully, minimizing waste.
Staedtler Mars Lumograph
These are another top contender in my book. Staedtler's Lumograph pencils are renowned for their incredibly deep, dark blacks, especially in the higher B grades. If you're someone who loves to push those tonal values and create really dramatic contrasts, achieving almost velvety shadows that absorb light, you absolutely need to try these. They're incredibly smooth on paper, laying down graphite with a satisfying, consistent flow, which makes blending a dream. The hexagonal barrel is comfortable for extended drawing sessions, and they just look professional, don't they? When I'm creating dramatic, atmospheric abstract pieces, an 8B Mars Lumograph is my secret weapon for those incredibly deep, matte blacks that seem to absorb light. I layer it gently to build immense depth, avoiding any unwanted shine. Their wood casing is robust and sharpens reliably, a testament to German engineering – you'll find them a joy for any project requiring rich, dark tones.
Tombow Mono Drawing Pencils
Tombow might be more famous for their brush pens, but their Mono drawing pencils are seriously underrated. They offer a fantastic range of grades, and I find their graphite to be particularly clean-erasing, which is a massive plus when you're making a lot of adjustments or refining intricate details. This quality comes from a unique formulation that minimizes graphite particles embedding into the paper fibers, making them a godsend for iterative work. They're comfortable to hold and provide excellent control for both razor-sharp lines and broad, expressive strokes. For my initial gesture drawings of figures, where I need to be able to completely erase and reposition lines, a Tombow Mono HB is a lifesaver. The way it erases so cleanly allows for a freedom in early stages that other brands don't always offer. It's truly liberating to know you can make mistakes and correct them without a trace. The wood is also quite durable and sharpens to a fine point without splintering.

General's Kimberly Drawing Pencils
If you're looking for something with a slightly different character, General's Kimberly pencils are a fantastic choice. While they also excel in pure graphite, General Pencil Company is legendary for its charcoal and carbon pencils. Their graphite pencils have a subtly grittier, yet still remarkably smooth, feel that some artists absolutely adore for its unique texture and how it interacts with paper. When I say "grittier," I mean it provides a more pronounced tactile feedback, almost as if the paper is grabbing the graphite more, allowing for a distinctive mark that can add real character to a drawing. For urban sketching, where I want a bit of a raw, immediate quality, a 4B Kimberly delivers. Its slightly grittier texture interacts wonderfully with rougher paper, providing a distinct character to the lines and tones that feels authentic and unpolished. You'll find they offer a unique voice to your lines. Their commitment to quality ensures a smooth sharpening experience, too.
Other Notable Brands
Beyond these staples, I've also had great experiences with Derwent Graphic Pencils, known for their wide range and smooth application, particularly good for expressive work and developed from a rich history of pencil making in the UK Lake District; and Mitsubishi Hi-Uni Pencils, often praised by fine artists for their exceptional consistency and deep, rich blacks across the B spectrum, embodying Japanese precision and quality. Each offers a subtly different character worth exploring, truly expanding your tonal vocabulary.
Building Your Arsenal: Choosing the Right Pencil for Your Art
So, with all these options and nuances, how do you pick your best sketching pencils? Honestly, it's a deeply personal journey of discovery. With so many options, choosing your perfect pencil arsenal can feel daunting. Let's break down the key factors to consider, and that I'd recommend you keep in mind as you begin to build your own personal arsenal:

- Comfort in Hand & Ergonomics: This is more important than you might think. Does the pencil feel good? Is the barrel comfortable for long sketching sessions? Some prefer round, some hexagonal. Think about your grip: a tight tripod grip for precision favors hexagonal barrels, while a looser overhand grip for expressive marks might feel more natural with round pencils. The way you hold your pencil and the physical ergonomics of the pencil itself make a huge difference to your endurance and enjoyment. A well-balanced pencil will feel like an extension of your hand, minimizing fatigue over hours of drawing.
- Lead Consistency & Smoothness: Does the graphite lay down smoothly and evenly? Are there any gritty bits that scratch the paper or interrupt your flow? This consistency directly affects the quality of your lines and shading. A truly smooth pencil should glide with minimal effort.
- Breakage Resistance: Nothing is more frustrating than a lead that constantly snaps inside the wood, especially after sharpening. Good quality pencils tend to have stronger, better-bonded leads that withstand pressure. That heart-stopping moment when you sharpen and half the lead crumbles away – a rite of passage no artist truly enjoys!
- Sharpenability: Does it sharpen cleanly without splintering the wood or breaking the lead? This often points to good wood quality (like cedar) and lead strength.
- Erasability & Eraser Choice: How well does it erase without leaving smudges or ghosting? H grades generally erase cleaner than B grades, but overall quality matters here. Tombow, as mentioned, is great for this. Also, consider your eraser choice: kneaded erasers are fantastic for gently lifting graphite without damaging paper, ideal for softening B marks. Vinyl erasers are good for clean, precise removal, perfect for sharp H grade lines. Stick erasers (like Tombow Mono Zero) are excellent for very fine detail removal, and traditional rubber erasers are best for tougher marks but can sometimes abrade the paper, so use them with caution, especially with softer leads that can embed deeply.
- Your Subject Matter & Artistic Field: What are you primarily drawing? For delicate botanical illustrations or precise architectural details, a 4H or 6H is ideal on smooth paper. If you're capturing the raw energy of a dancer or the expressive form of a landscape, a 4B or 6B on toothier paper will serve you better, allowing for broad strokes and rich shading. Think about whether you're working on illustration vs fine art: whats the difference or something more specific. What kind of visual story are you trying to tell?
- Paper Pairing: Remember that your pencil choice interacts heavily with your paper. This is a symbiotic relationship! Harder (H) pencils excel on smoother, finer-grained papers like Bristol board, hot-press paper, or vellum, as their fine points can create crisp lines without tearing or abrading the surface. These papers offer little to no "tooth" (a slight roughness), allowing the H pencils to glide and create very light, precise marks. Softer (B) pencils thrive on papers with more "tooth" or texture, such as cartridge paper, charcoal paper, cold-press paper, or even newsprint. The texture helps to grab the softer graphite, allowing for richer, darker marks and easier blending without excessive pressure leading to a waxy, shiny finish. This waxy sheen, known as burnishing, happens when graphite particles completely fill the paper's 'tooth' (its microscopic valleys and peaks) and are then smoothed flat by pressure, creating a polished, almost reflective surface. While sometimes used intentionally for a glossy finish, it generally limits further layering as the surface can no longer accept additional graphite. Choosing paper with enough tooth, especially for softer pencils, is crucial to prevent unwanted burnishing and allows the paper to 'grab' the graphite, building up rich, matte tones. Experimentation is key to finding your favorite combinations. Your paper is just as important as your pencil.
- The Myth of the 'Best' Pencil: It's easy to get caught up in the idea of a single "best" pencil, but the reality is far more personal and fluid. There's no one-size-fits-all answer. The perfect pencil for you depends entirely on your personal style, the effect you want to achieve, and the paper you're using. Don't fall into the trap of thinking you need the most expensive or a complete set of every grade. Your "best" pencil is the one you reach for most often and that helps you make your best marks.
I always recommend starting with a small, varied set – say, a 2H, an HB, a 2B, and a 4B. Experiment widely. See what you naturally gravitate towards, and which grades feel like an extension of your creative intention. And remember, the sharpness of your pencil point also changes the mark! A razor-sharp point is for delicate lines and tiny details, while a slightly blunted point (achieved by rotating the pencil as you draw or by intentionally dulling it slightly) creates broader, softer, more expressive strokes even with the same grade.

Beyond Graphite: Expanding Your Creative Horizons
While this article focuses primarily on the glorious world of graphite, it's worth a quick mention that the universe of sketching tools doesn't end there. Sometimes, I want something even deeper, even more textural, or a different color palette entirely. That's when I might reach for:
- Charcoal Pencils: Often used by masters like Käthe Kollwitz for raw emotional intensity, charcoal pencils deliver incredibly rich, velvety blacks and are amazing for expressive, bold sketches. They blend wonderfully, allowing for dramatic contrasts, but can be quite messy. They're fantastic for capturing gesture and emotion. You can learn more about understanding and using charcoal for drawing.
- Carbon Pencils: A fascinating hybrid of graphite and charcoal, offering much of the darkness of charcoal with slightly less smudge. They tend to be a very deep, matte black and maintain a sharper point than charcoal, making them a fantastic middle ground for artists who want intensity without all the dust.
- Conté à Paris Pencils/Crayons: Reminiscent of the warm tones found in Rubens's figure studies, these classic tools come in earthy tones (sanguine, bistre, sepia, white, black) and are excellent for figure drawing, portraiture, and creating warm, classic sketches. They have a unique, slightly waxy feel and are brilliant for building tone. The sanguine, in particular, evokes the reddish-brown chalks used by Renaissance masters for dynamic life drawings.
- Sanguine and Sepia Chalk Sticks: Related to Conté, these are pure pigment sticks (often without a wood casing) that offer beautiful reddish-brown (sanguine) and dark brown (sepia) tones. They evoke old master drawings and are wonderful for life drawing.
- Watercolor Pencils: These versatile tools can be used dry like regular colored pencils for precise linework, and then activated with a wet brush to create washes and soft color blends. They're excellent for adding a touch of color to sketches or for on-the-go painting.
- Grease Pencils (Chinagraphs): Not typically for fine art sketching, but indispensable for marking on slick, non-porous surfaces like glass, plastic, metal, or glossy photos. They offer a waxy, opaque mark that can be surprisingly expressive in mixed media contexts.
For my abstract work, I often layer the deep, matte black of a carbon pencil with the expressive lines of a 6B graphite, creating a textural dialogue that builds depth and intrigue. Or I might use a sanguine Conté to bring a warm, earthy counterpoint to a cooler abstract composition. Exploring these can really open up new possibilities for your artwork, pushing the boundaries of what you thought sketching could be. Which one sparks your curiosity the most? Maybe pick one to try on your next creative adventure!

The Digital Sketchbook: Pencils in a New Age
Even in our increasingly digital world, the spirit of the sketching pencil persists. Many artists now integrate digital sketching tools – like a stylus and a drawing tablet – into their workflow. While the tactile feedback is undeniably different (that glorious friction of graphite on paper is hard to perfectly replicate, and the element of 'happy accidents' from traditional media is often diminished), the principles of line, form, light, and shadow remain the same. A digital pencil can mimic various grades, offering endless flexibility, and can be an invaluable tool for concept art, storyboarding, or planning complex compositions before committing to physical media. It’s a wonderful complement, not a replacement, for the traditional pencil.

Nurturing Your Tools: Care, Sharpening, and Longevity
Believe it or not, how you treat your pencils affects their performance and longevity. A well-sharpened pencil is a happy pencil, and a happy pencil makes for a happy artist!
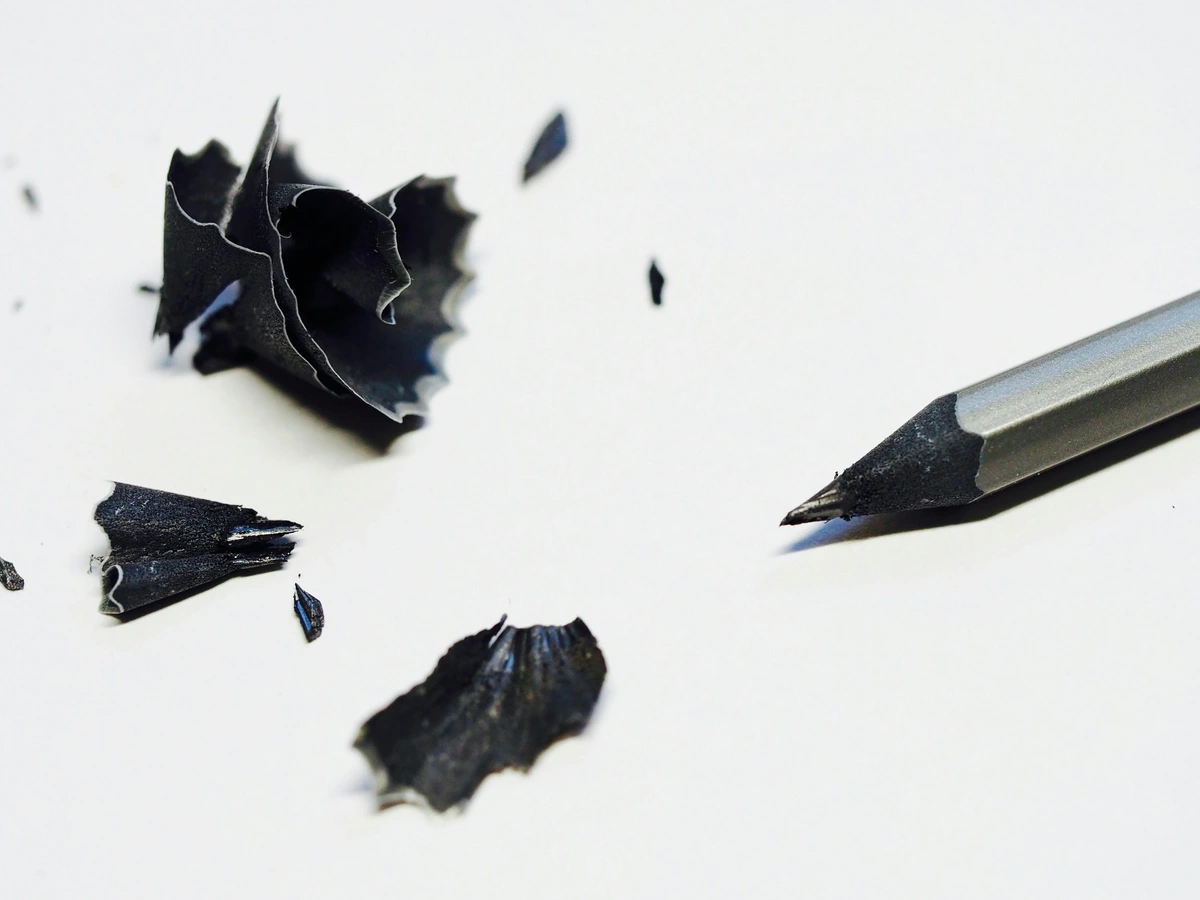
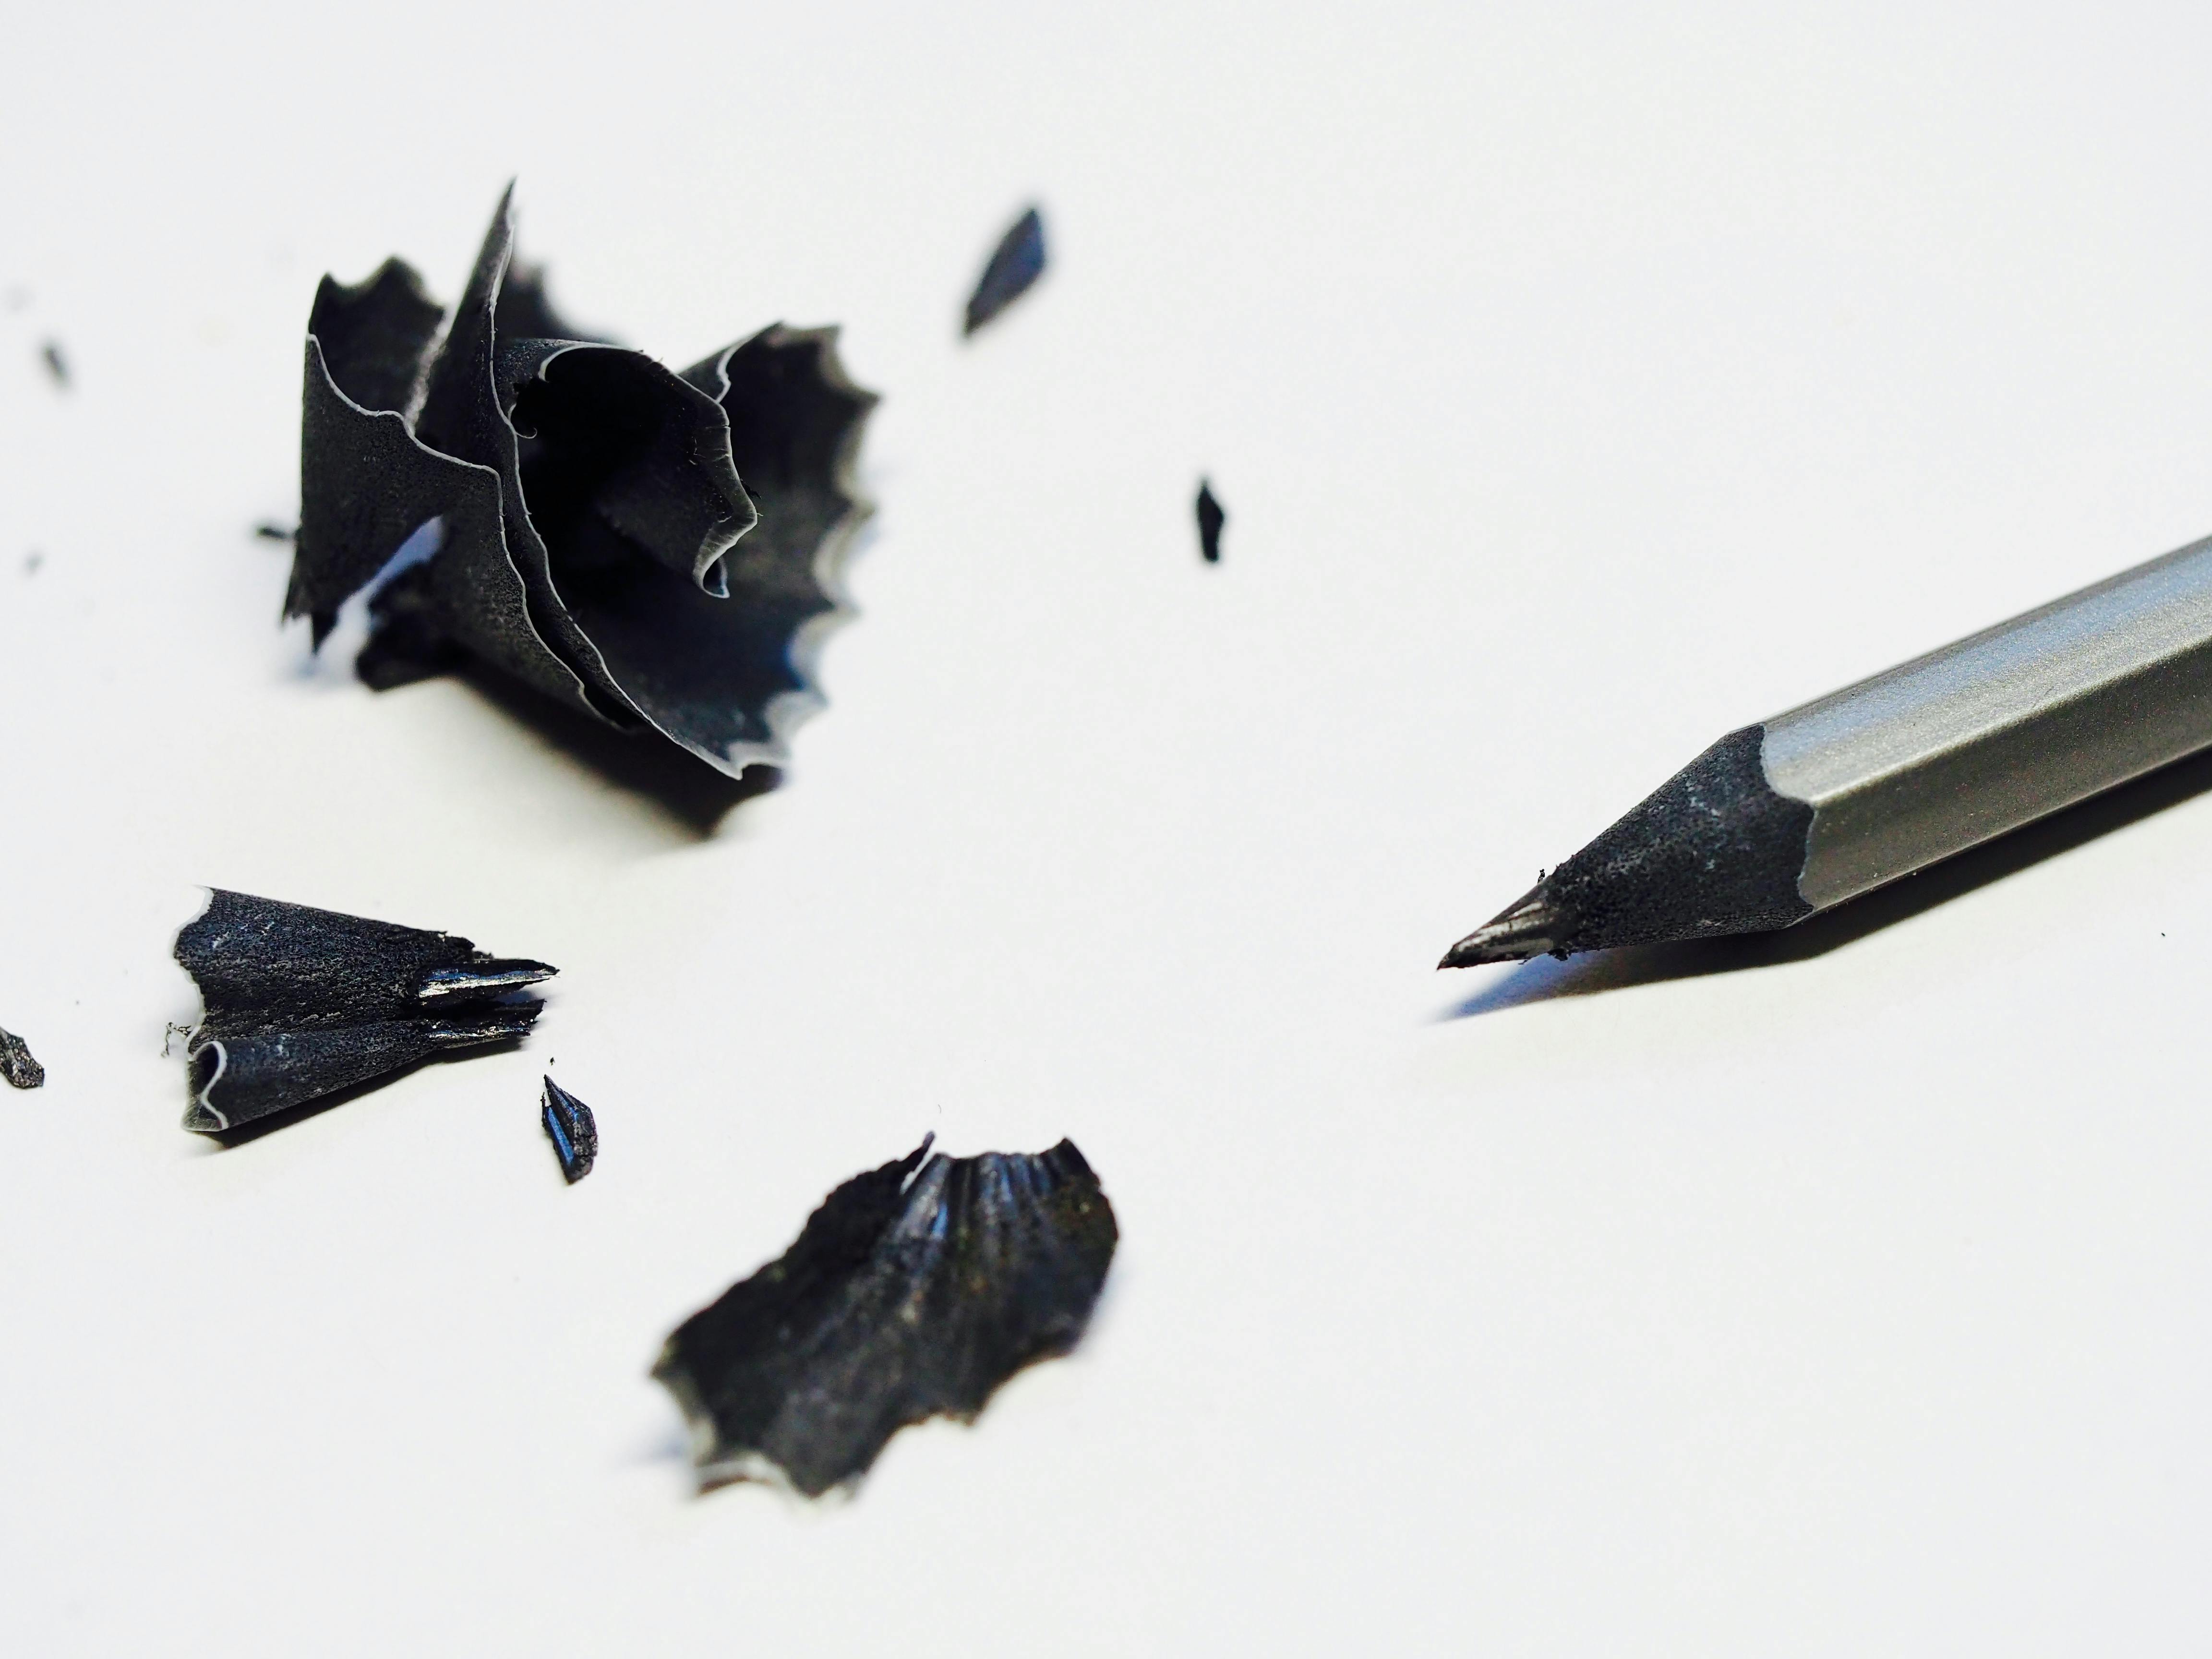
- Sharpening Wisdom: I personally swear by a good old-fashioned manual sharpener (like a metal block sharpener or a rotary sharpener for a longer point) or, if you're careful and skilled, a craft knife for my graphite pencils. The best manual sharpeners will have a precise blade angle and a sharp, clean cutting edge to prevent splintering the wood or breaking the lead. Electric sharpeners can sometimes chew through them too quickly, especially the softer B grades, which are more delicate and prone to internal breakage. For softer leads (like 6B-9B), a craft knife offers superior control. Carefully hold the pencil firmly, away from your body, and gently pare away the wood in small, shallow strokes, rotating the pencil. Aim to expose a long, tapered graphite point, ideal for varied marks and reducing internal breakage. Always cut away from yourself and use a fresh, sharp blade for safety, preferably on a cutting mat. (I've definitely snapped a favorite 8B by being too aggressive with a sharpener, only to find the lead broken all the way down. Annoying!).
- Protecting Your Tips & Longevity: Keep your tips sharp and your leads protected. A dedicated pencil roll, a small, sturdy box, or even pencil caps can prevent accidental breakage in your bag or studio. Dropped pencils often suffer internal lead breakage – that invisible fracture that leads to frustrating crumbling every time you sharpen them. Handle them with care! Also, store your pencils away from extreme temperature fluctuations and humidity, which can warp the wood or degrade the graphite core. Store them horizontally in a drawer, a purpose-built pencil case, or a roll to prevent tips from breaking.
- Smudge Control: For softer B grades, smudging is a constant battle. I'm often found with graphite smudged on my cheek – a badge of honor, perhaps? A piece of tracing paper placed under your hand as you draw, or a fixative spray once your drawing is complete, can help protect your work. Always keep a kneaded eraser nearby for delicate lifts rather than harsh rubbing. Think of smudging not as a flaw, but as an opportunity to be mindful of your process.
Mastering the Mark: Sketching Techniques & Practice
Having the right tools is only half the battle; knowing how to wield them is the other. Sketching is fundamentally about keen observation, controlled mark-making, and consistent practice. Don't be afraid to experiment with different techniques; that's where the magic truly happens! Dive into our definitive guide to drawing techniques for a broader overview.
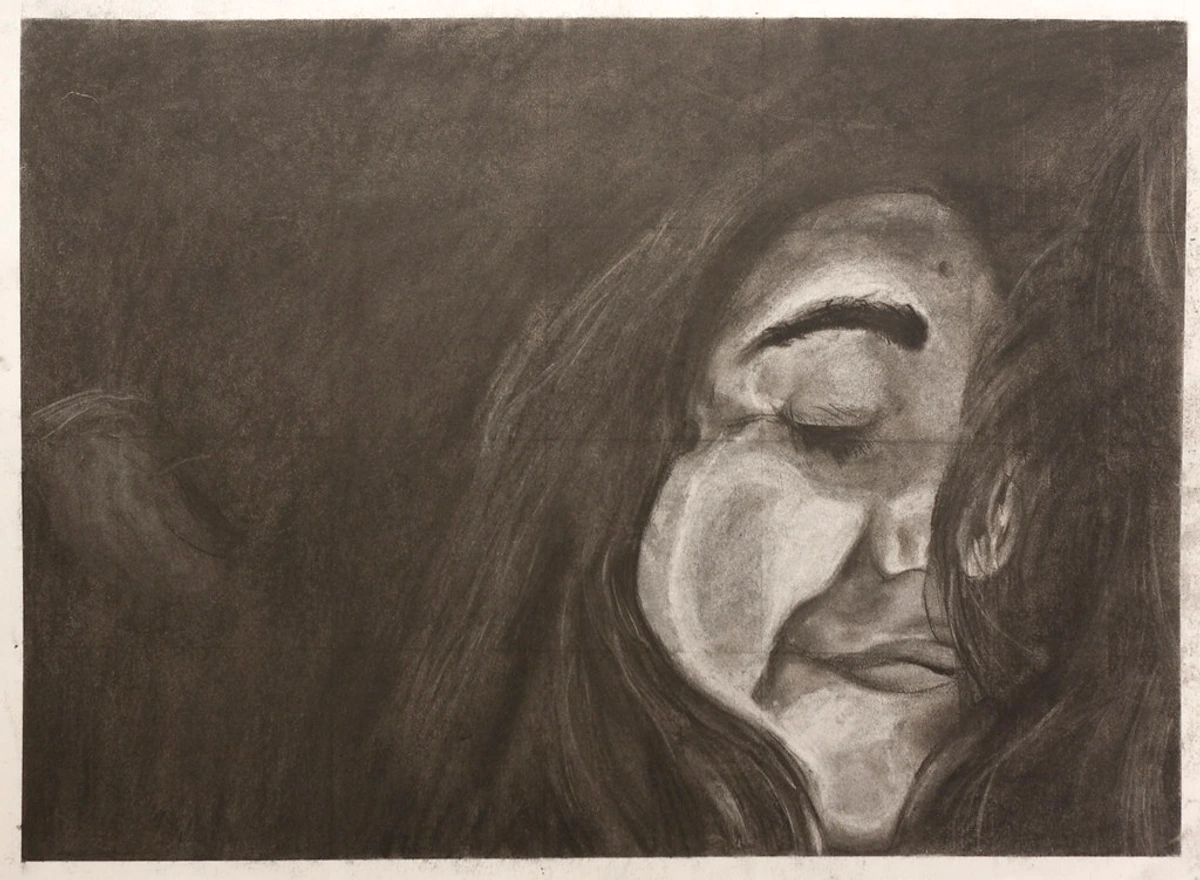
- Light Touch, Layered Approach: Start with the lightest possible touch, building up layers of graphite. This allows for easy corrections and gradual tonal shifts, giving your drawing depth and subtlety. Avoid pressing hard too early – it's much harder to lighten a dark mark than to darken a light one. For instance, when sketching a portrait, I might use a 2H for the initial loose gesture, an HB for defining features and basic shadows, and then build up the deepest tones of the hair or eyes with a 4B or 6B through careful layering.
- Layering for Smoothness & Depth: Apply multiple light layers rather than pressing hard with a single pencil. This creates smoother gradations, deeper values, and prevents damaging the paper's surface or creating an undesirable waxy shine (burnishing), especially with softer B grades. Think of it like painting with transparent washes, slowly building intensity and richness.
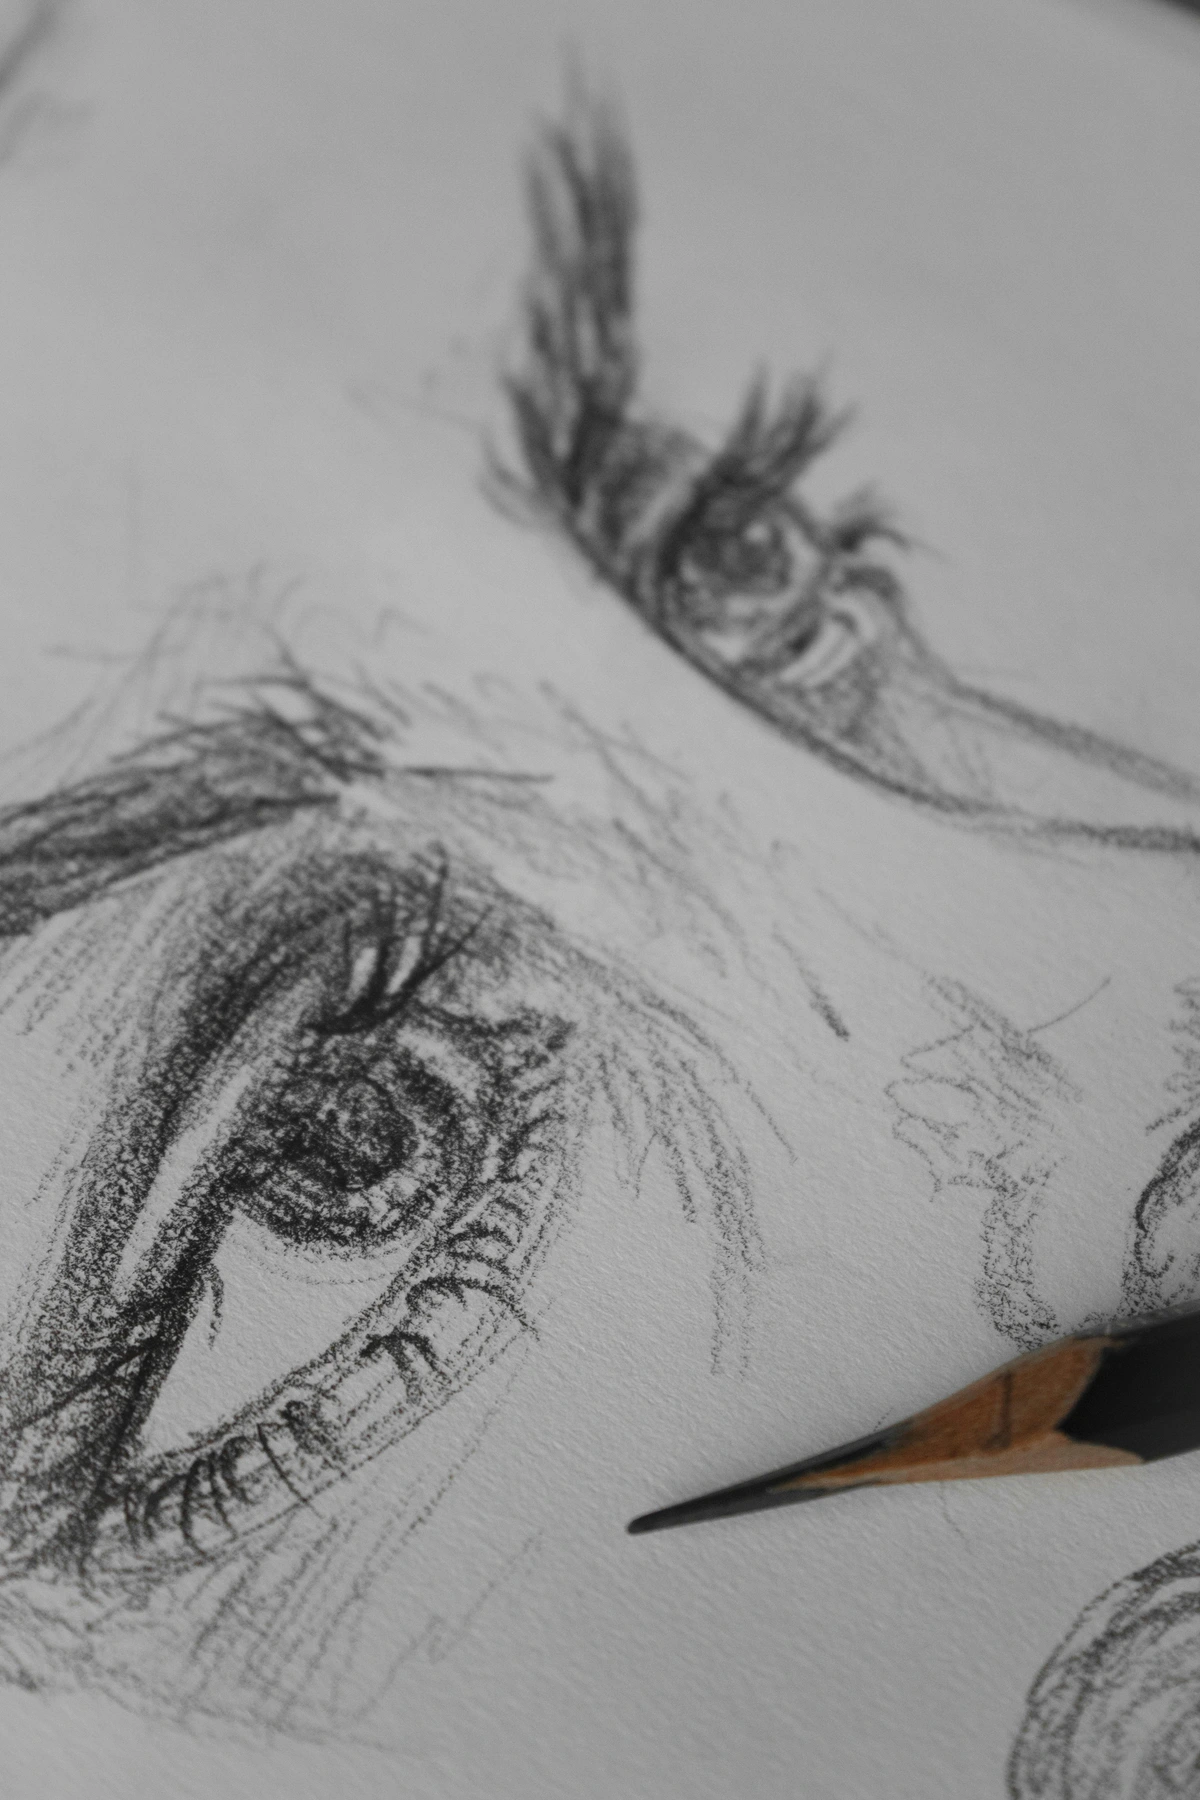
- Cross-Hatching/Hatching: Use parallel lines (hatching) or intersecting parallel lines (cross-hatching) to create tone and texture. To illustrate, imagine drawing a sphere: parallel lines (hatching) in one direction begin to suggest its curvature, while overlapping lines at different angles (cross-hatching) build up the deeper shadows and create the illusion of three-dimensional form. Vary the density and direction of your lines to build complex values and suggest form. It's a classic technique and incredibly versatile for conveying form and shadow. For understanding depth and space in drawing, you might want to revisit the definitive guide to perspective in art.
- Varying Pressure & The Artist's Hand: Learn to control the pressure you apply to create a remarkable range of tones from a single pencil. This takes practice but is incredibly rewarding, allowing for nuanced expression with fewer tools. Your unique grip, the angle at which you hold the pencil, and the speed of your strokes all inherently influence the mark, making your drawing truly your own. Experiment with how a light touch with a 4B differs from a heavy touch with an HB. Even in abstract art, these techniques are paramount. A series of expressive, layered 6B cross-hatching can create a focal point of intense darkness and texture, while lighter, gestural HB lines can suggest movement or energy within a composition. It's about letting the tools communicate emotion and form, even without a literal subject.
- Defining Negative Space: Often overlooked, the space around your subject (negative space) can be just as important as the subject itself. Use your pencils to define the shapes and tones of this negative space, which can help you accurately gauge proportions, angles, and compositional balance within your drawing. It's a powerful way to 'see' your subject by focusing on what it isn't.
- The Limited Palette Challenge: Try creating a full tonal study using only two pencils, say an HB and a 4B. Use the HB for your lighter tones and details, and the 4B for your mid-tones and darkest darks. This forces you to really master pressure control and layering, and you'll be amazed at the range you can achieve. It's a fantastic exercise for developing sensitivity in your hand.
Most importantly, draw often. Sketch everything – the coffee cup on your desk, the view out your window, people on the bus, the way light falls on a crumpled piece of cloth. The more you draw, the more intuitive your connection with your pencils will become. It's a direct path to refining your artistic voice, which is something I talk about a lot, especially at the Den Bosch museum where I showcase my work.
Frequently Asked Questions About Sketching Pencils
Q: What are the best sketching pencils for beginners?
A: For beginners, I always recommend starting with a small set that includes a range of common grades like 2H, HB, 2B, and 4B. This gives you a taste of different hardness and softness levels without being overwhelming. Brands like Faber-Castell and Staedtler offer excellent quality starter sets that are durable and reliable. For more specific recommendations, check out our guide on the best drawing pencils for beginners.
Q: How many pencil grades do I actually need?
A: You certainly don't need all 20+ grades! Many artists find a core set of 4-6 pencils sufficient. A good core selection might be 2H, HB, 2B, 4B, 6B, and 8B. This gives you a solid range from light to very dark. Sometimes, I only carry an HB and a 6B, and I'm amazed at the range I can get with just those two! It truly depends on your subject matter and desired style. Remember the "limited palette challenge" mentioned earlier – you can achieve a surprising amount with very few tools!
Q: What's the difference between drawing pencils and sketching pencils?
A: Honestly, the terms are often used interchangeably. However, 'sketching pencils' might imply a broader range of graphite grades suitable for quick studies, tonal exploration, and preparatory work, while 'drawing pencils' can sometimes refer to a more comprehensive set used for finished, detailed artworks. Ultimately, the same pencils can be used for both! It's more about intention than the tool itself. If you're focusing on highly refined, detailed work, you might simply call them 'drawing pencils' to reflect the outcome.
Q: What is the difference between drawing pencils and artist pencils?
A: The terms 'drawing pencils' and 'artist pencils' are largely interchangeable, both referring to the range of graphite grades designed for artistic purposes. However, 'artist pencils' might imply a broader scope, encompassing specialized graphite formulations, woodless pencils, or even pencils designed for specific artistic styles, often with a higher standard of material quality and consistency. Ultimately, if it's designed for creating art, it's an artist's pencil! Many of the basic principles are covered in guides like essential drawing supplies for beginners.
Q: Can I use mechanical pencils for sketching?
A: Absolutely! Many artists love mechanical pencils, especially for fine details and consistent line width, as you don't need to sharpen them. Just be aware that they typically offer a more limited range of lead hardness (often HB, B, 2B) and can feel less organic than a traditional wood-cased pencil. I sometimes use one for very precise initial outlines or when I'm working on something like what is hyperrealism in art where precision is key. For broad, expressive strokes, however, a traditional wood-cased pencil still reigns supreme due to the ability to vary the lead exposure and angle.

Q: Are eco-friendly sketching pencils available?
A: Yes, absolutely! Many brands are now offering sustainable options. Look for pencils made from sustainably sourced wood (often FSC-certified), those with recycled content, or even pencils that are designed to be entirely biodegradable. It's a fantastic step to take for conscious artists. You can find more insights on this topic in articles like best eco-friendly art supplies for conscious artists.
Q: How do I choose the right paper for sketching with different pencil grades?
A: This is a crucial question, as paper choice dramatically impacts your results! Generally, harder (H) pencils perform best on smoother, finer-grained papers like Bristol board or hot-press paper, as their fine points can create crisp lines without tearing the surface. These papers offer little to no "tooth" (a slight roughness that grabs pigment), allowing the H pencils to glide and create very light, precise marks. For example, for detailed work with a 4H, opt for a hot-press watercolor paper or Bristol board where the fine point won't snag. Softer (B) pencils thrive on papers with more "tooth" or texture, such as cartridge paper, charcoal paper, cold-press paper, or even newsprint. The texture of these papers helps to grab the softer graphite, allowing it to deposit more pigment for richer, darker marks and easier blending. Without enough tooth, soft pencils can quickly lead to burnishing (a waxy, shiny surface) if pressed too hard. For the rich, dark tones of a 6B, a paper with a pronounced tooth, like a cold-press watercolor paper or a heavy drawing paper, will allow the graphite to build up beautifully without burnishing. Experimentation is key to finding your perfect pairing! Your paper is just as important as your pencil.

Q: What are sketching pencils made of?
A: Sketching pencils are primarily made of graphite (a crystalline form of carbon) and clay, encased in a wood barrel (often cedar). The ratio of graphite to clay determines the hardness of the pencil: more clay means a harder, lighter mark (H grades), while more graphite means a softer, darker mark (B grades).
Q: Is pencil 'lead' actually lead?
A: No, absolutely not! This is a very common misconception that dates back to historical times when actual lead was used in early writing instruments. The "lead" in modern pencils is actually a non-toxic mixture of graphite and clay. Modern graphite pencils have been safe for use for centuries!

Q: How do I prevent my pencil lead from breaking when sharpening?
A: Internal lead breakage, often caused by dropping pencils, is a common frustration. To minimize this, handle pencils with care, store them in a protected case or roll (not loose in a bag), and use high-quality sharpeners with sharp blades. For softer leads, a craft knife (as discussed earlier in Nurturing Your Tools) allows you to expose the lead gently, preventing stress on the core. It's truly a game-changer for preserving those delicate soft leads.
Q: Can I use sketching pencils for writing?
A: Absolutely! While designed for art, sketching pencils can certainly be used for writing. An HB or B pencil is perfect for general writing, offering a comfortable balance of darkness and erasability. Harder H grades can be good for very faint notes or outlining, while softer B grades might be too smudgy for everyday writing but great for adding emphasis or a personal, expressive touch to a letter.
Q: How can I create textured effects with sketching pencils?
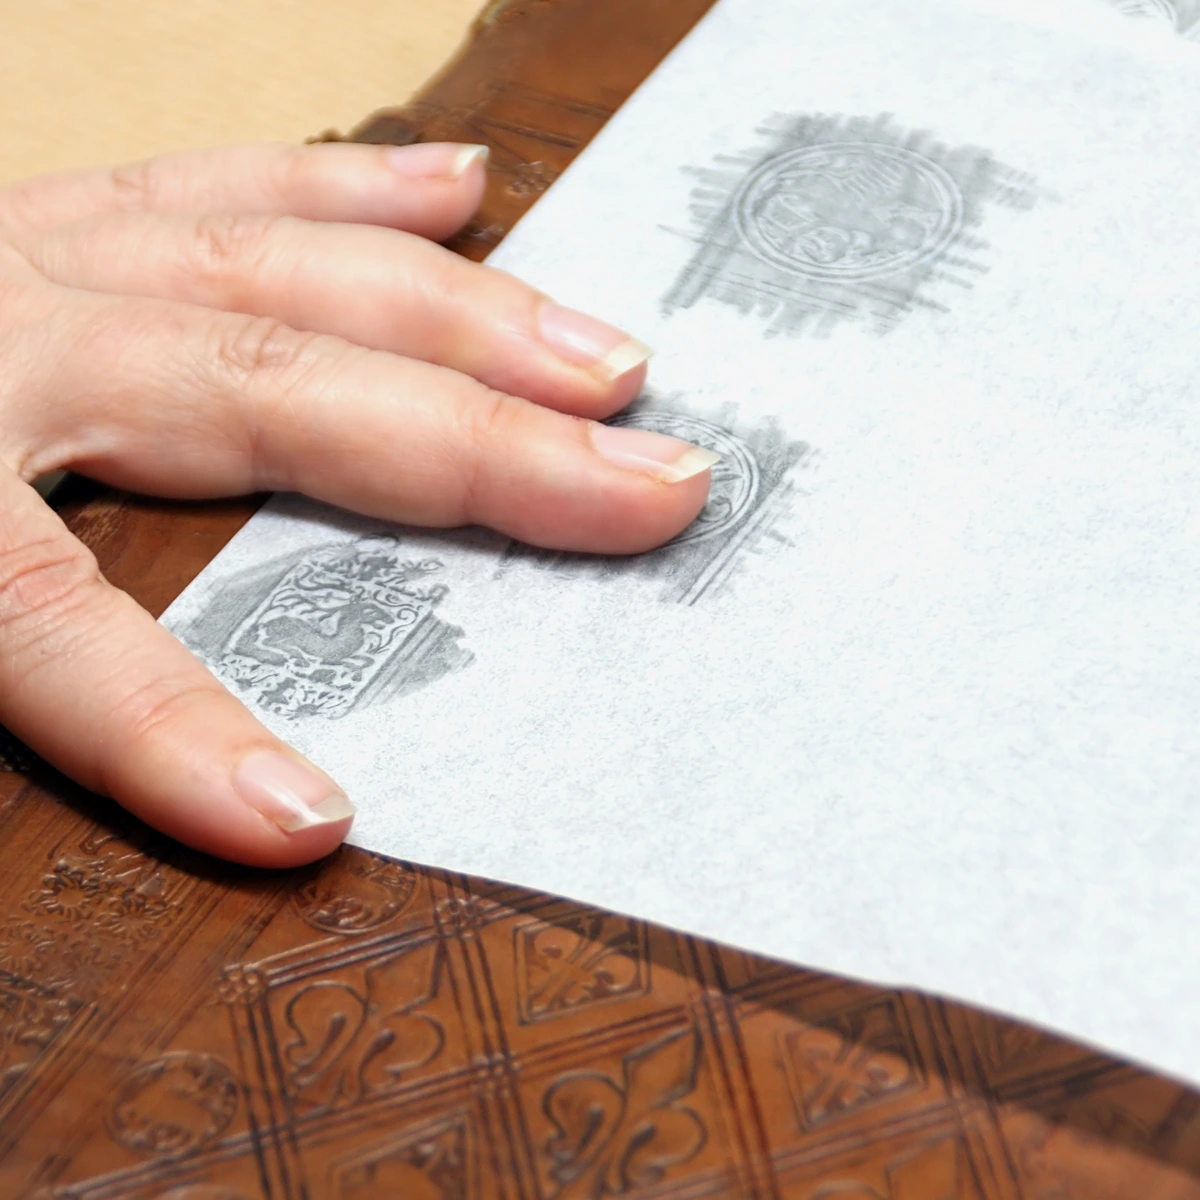
A: Creating texture with pencils is all about varying your mark-making! Try stippling (using small dots), scumbling (small, circular, overlapping scribbles), or cross-hatching with varied pressure and direction. You can also experiment with frottage by placing paper over textured surfaces (like wood grain or fabric) and rubbing a soft pencil over it to transfer the texture. Furthermore, different paper textures (smooth vs. rough) will inherently create different textual qualities in your graphite marks. It's about playing and exploring how the graphite interacts with the surface.

Q: Are there different types of wood used for pencil casings, and does it matter?
A: Yes, there are! While cedar (especially Californian incense-cedar) is by far the most common and preferred wood for artist-grade pencils due to its straight grain, ease of sharpening without splintering, and pleasant scent, you might also find basswood, jelutong, or other softwoods. The type of wood does matter for the sharpening experience and overall durability of the pencil. Quality wood prevents annoying splintering and ensures the lead is held securely, minimizing internal breakage – a small detail that makes a big difference in the long run.
Q: What are woodless pencils, and what are their pros and cons?
A: Woodless pencils are essentially just the solid graphite core, typically coated in a thin lacquer to keep your hands clean, without the wood casing. Their main pros include using the entire length of the graphite, allowing for broad strokes using the side of the pencil, and a heavier feel some artists enjoy. They can also last longer due to having no wood to sharpen away. The cons are that they can be more fragile (prone to breaking if dropped), can make your hands dirtier if not lacquered well, and might feel less comfortable for very fine, controlled work compared to a traditional cased pencil. They're fantastic for expressive work and covering large areas quickly.
Q: How do artists confirm the grade of an unmarked pencil?
A: This is a great question, especially if you have a collection of pencils that have lost their markings! The simplest way to roughly gauge the grade of an unmarked pencil is through feel and mark-making. Draw a series of lines on a scrap piece of paper, applying varying pressure. Harder (H) pencils will feel more resistant, possibly scratchy, and leave lighter, crisper lines. Softer (B) pencils will feel smoother, almost buttery, and leave darker, richer marks. You can also compare them directly to known grades. Some artists even use a small pencil hardness tester (a specialized tool, though less common for everyday artists) which applies consistent pressure to a pencil and measures the indentation it leaves, providing a more scientific assessment. But for most of us, it's about developing a keen eye and a sensitive hand.
Q: How can I digitize my pencil sketches?
A: It's easier than you might think! The simplest way is to use a scanner to get a high-resolution image of your drawing. If you don't have a scanner, a good quality photo taken with natural, even lighting can also work. Once digitized, you can import your sketch into image editing software (like Photoshop or Procreate) to clean up lines, adjust tones, or even add digital color. It's a fantastic bridge between traditional and digital art, allowing you to refine and share your work in new ways.
A Final Word on the Art of the Pencil
The world of sketching pencils is vast, wonderfully personal, and constantly evolving. Don't let anyone tell you there's a 'right' way or a 'best' pencil. The best pencil is the one that feels right in your hand, the one that helps you translate the image in your mind to the paper with the most honesty, joy, and flow. It's a tool, yes, but it's also a direct extension of your creative spirit, a conduit for your deepest artistic intentions. So, I urge you to embrace the simple power of the pencil. Grab a few different grades, experiment with diverse papers, and don't be afraid to make a beautiful mess. Your perfect pencil awaits, ready to translate the whispers of your imagination into tangible lines. See where your lines take you, just as my own journey continues to inspire the art I sell over at the shop. And if you discover a particular pencil or technique that truly transforms your process, don't keep it a secret – share your insights with the wider artistic community!


