The Beginner's Guide to Drawing Pencils: Graphite, Charcoal & Color
Unlock your creativity with this ultimate guide to drawing pencils for beginners. Master graphite, charcoal, and colored pencils, learn essential techniques, and choose your perfect tools to confidently make art.
Your Essential Guide to Drawing Pencils: Graphite, Charcoal, & Color – Your First Artistic Steps, Demystified
Okay, so picture this: you're standing in an art supply store, right? Or maybe staring blankly at an an online catalog, and your head is doing a full 360-spin. Graphite? Charcoal? Wax-based? Oil-based? H, B, HB... what does any of it mean? I've been there, trust me. When I first started messing around with drawing, I just grabbed whatever looked cool, usually the cheapest thing, and then genuinely wondered why my sketches felt... flat, lifeless even. It’s a bit like trying to drive a car without knowing how to shift gears – frustrating and ultimately limiting. This whole art thing is a journey, and the tools, well, they're half the adventure. My own artistic journey, which you can explore in more detail on my timeline, truly began with understanding how the right tools felt in my hands and how they could unlock something deep inside me. Each pencil has its own personality, its own way of speaking to the paper, and finding your voice means learning to listen to them all. The goal here? To cut through the noise, demystify the humble drawing pencil, and equip you with the knowledge to confidently choose your first trusty companions. We're going to dive deep into graphite, the drama of charcoal, and the vibrant world of colored pencils – the three main pillars of any beginner's drawing kit – to help you find the tools that whisper encouragement rather than shout frustration.
Graphite: The Unsung Everyday Hero and the Paper's Whispers
Ever wonder why some pencils feel so different from others? Most of us probably grew up with a basic HB pencil, that sturdy, reliable friend who's always there. And just to clear up a common misconception right off the bat: those 'pencil leads' you're using? They're actually a mix of finely ground graphite and clay, not the toxic metal lead. Phew, safety first, right? Historically, graphite has been a staple for artists for centuries. Its journey from a mere mineral to an indispensable art tool is quite fascinating. Before its artistic glory, chunks of pure graphite were used by shepherds to mark sheep in England's Borrowdale mines, discovered in the 16th century. Soon after, its potential for writing and then drawing quickly became apparent. Initially, artists like Leonardo da Vinci (though he predated widespread pencil use, his silverpoint often inspired similar linear thinking) and later, Renaissance masters, embraced its versatility for sketching preliminary designs. Think of Jean-Auguste-Dominique Ingres's meticulously rendered portraits, or the delicate preparatory studies by Georges Seurat – graphite was often their silent, precise partner, a real testament to its staying power. The evolution from raw graphite sticks to the encased wooden pencil we know today, largely thanks to Nicolas-Jacques Conté's process in the late 18th century, didn't just solidify its place; it democratized drawing, making it accessible to a much wider audience. But once you dive into the world of graphite, you quickly realize there's a whole family waiting to be explored.
The Hardness Scale: Decoding H, HB, and B
Understanding the hardness scale is key, and honestly, it's simpler than it sounds. I remember staring at those little letters and numbers for ages, wondering if they were some secret artist code. Turns out, it's just about how much clay is mixed with the graphite, making the lead either harder or softer:
- H Pencils (Hard): Think light, crisp, and precise lines. These are fantastic for initial sketches, intricate details, or when you need accuracy and don't want deep indentations on your paper. They don't smudge easily, which is a blessing when you're laying down foundational marks. I often use a 2H or 4H for my underdrawings, almost like whispering an idea onto the paper before committing to bolder strokes. The higher the 'H' number, the harder the lead, and the lighter the mark. Imagine using a very fine-tipped technical pen – that's the precision of an H pencil. A hard H pencil might trace the faint, almost invisible outline of a distant mountain.
- HB Pencil (Medium): Ah, the HB. It's the sturdy middle child, the unsung hero, often overlooked for its flashier siblings, but truly the backbone of any pencil case. It's that comforting, reliable friend, a good balance of hardness and darkness, making it incredibly versatile for both sketching and light shading. If you only had one pencil, this would be it. I have a soft spot for the HB; it's always ready for anything you throw at it, without a fuss.
- B Pencils (Soft): These are your soft, dark, soulful types – my personal favorites for expressive work! They smudge beautifully, making them great for rich shadows, smooth gradients, and bold, confident lines. The higher the 'B' number (e.g., 2B, 4B, 6B, 8B), the softer and darker the lead. It’s like the difference between a whisper and a roar, allowing you to achieve deeper tones and a greater range of values for emotional impact. Think of a soft brush pen, capable of broad, sweeping, dark strokes – that's the expressive power of a B pencil. A soft 6B could render the velvety shadow under a ripe apple.
These variations in hardness allow you to achieve a wide value range – from the lightest whisper to a deep, velvety mid-tone – which is fundamental to creating depth and form in your drawings. This allows you to consciously explore line weight – how varying pressure and pencil hardness create different thicknesses and intensities of lines and marks, fundamentally shaping the visual impact of your drawing. It's like learning to conduct an orchestra, where each pencil plays a different instrument. For a beginner, honestly, don't overthink it. A small set, perhaps a 2H, HB, 2B, and 4B, will get you started on a fantastic adventure. This range is often considered the best drawing pencils for beginners because it offers versatility without overwhelming you. You'll quickly figure out which ones you gravitate towards. You might also stumble upon "F" (Fine Point) pencils, which are slightly harder than HB, or even "EE" (Extra Soft) pencils for intensely dark marks. While interesting, these are fascinating rabbit holes you can explore later, once you've truly mastered the H and B spectrum – which is your golden ticket for now. Which of these graphite qualities sparks your curiosity the most for your next sketch? Many brands also offer eco-friendly graphite pencils made from sustainably harvested wood, a great choice to consider for your kit.
Charcoal: For When You Want to Make a Bold Statement
If graphite is your quiet, thoughtful conversation, charcoal is a passionate, roaring monologue – a beautifully messy adventure. Ready to get a little wild? When I first picked up charcoal, I was frankly intimidated. It's so messy, so dramatic! I remember one particularly enthusiastic smudge session where I ended up with charcoal dust on my nose, my cheek, and somehow, even on the ceiling. My studio looked like a soot storm had just passed through, and I'm pretty sure I was wearing more charcoal than I used on the paper. But then I realized that's exactly its magic – it invites you to let go. Dating back to prehistoric cave paintings, charcoal is one of the oldest drawing mediums, revered for its ability to create incredible depth, rich blacks, and a beautiful range of textures. If you want to dive even deeper, there's a fantastic guide on understanding and using charcoal for drawing.
While there are various forms like charcoal powder or charcoal pencils with different binders, for beginners, I recommend sticking to these two main types, primarily in stick or pencil form. The key difference lies in their composition: vine charcoal is essentially pure carbon, while compressed charcoal contains binders, which changes how they behave:
- Vine Charcoal (or Willow Charcoal): This is super soft, very light, and incredibly easy to erase. Often made from burnt willow sticks, it's essentially pure carbon with very little binder, making it incredibly fragile and dusty. It's perfect for warm-up sketches, capturing gestures quickly, or blocking in large, subtle areas. Think of it as your gentle giant, allowing you to lay down broad strokes without much commitment. Its easy erasability is precisely why artists often use it for preliminary underdrawings, knowing they can adjust freely. Charcoal powder, a finer version of vine charcoal, can be applied with brushes for large, soft washes, but it's often more advanced.
- Compressed Charcoal: This comes in sticks or pencil form and is much darker, denser, and harder to erase. It's made from charcoal particles mixed with a binding agent (often clay or wax) and compressed. The binders in compressed charcoal can vary – sometimes it's clay, other times a gum arabic or wax. This specific mix influences how smooth or gritty the charcoal feels and how well it adheres to the paper, giving each brand its own subtle character. This gives it a much higher pigment load and allows for deep, intense blacks, strong lines, and really impactful shadows. Start with a medium hardness, like a 2B or 4B, in pencil form for more control, especially when you're first getting a feel for it. Compressed charcoal is excellent for creating bold value contrasts, crucial for making subjects pop off the page, and for developing strong forms with light and shadow.
While vine charcoal is wonderful for sketching due to its easy erasability, remember that compressed charcoal, once applied, is much more permanent. For any finished works you want to last, a good fixative spray is your absolute best friend. It creates a protective layer, sealing the fragile charcoal particles onto the paper. This prevents smudges and ensures the pigment stays put, which is crucial for archival quality, ensuring your bold statements stand the test of time and don't gradually fade or rub off years down the line. (I swear I spent more time worrying about smudges than actually drawing when I first started, but fixative truly is a game-changer!)
The trick with charcoal is to embrace the mess. Get a kneaded eraser – it's your absolute best friend for charcoal, allowing you to lift pigment gently without damaging the paper, almost like magic dough. To use it, simply press the putty-like eraser onto the charcoal mark and lift; it picks up the pigment instead of rubbing it into the paper. You can also shape it into a point for fine highlights or flatten it for broader areas. Learn to smudge with your fingers or a blending stump. It's incredibly freeing once you let go of the need for absolute precision and just express. Allow the dust and darkness to work for you; don't fight it. What kind of bold statement will you make with charcoal today? Look for charcoal brands that use sustainably sourced wood for their pencils or offer vine charcoal from responsibly managed forests.
Colored Pencils: A World of Hue at Your Fingertips
And once you've wrangled with the beautiful, dramatic mess of charcoal, and perhaps finally cleaned the dust off your nose (I speak from experience, trust me), it's time for a joyful splash of controlled chaos. Imagine stepping from a black-and-white movie into glorious technicolor! That's how colored pencils feel. Moving into color can feel like a big leap, but colored pencils are an amazing, accessible way to start. They offer control similar to graphite but with the added joy of hue. When I think about how artists master color to evoke emotion, colored pencils are a fantastic starting point to experiment with your own palette and delve into the basics of color mixing right on your paper through layering and blending.
Wax-Based vs. Oil-Based: The Binder Battle
There are two primary types of colored pencils, defined by their binder (the stuff that holds the pigment together): wax-based and oil-based. Understanding the 'binder' is key to how they perform and how they interact with your chosen drawing surface – especially the paper's tooth.
Feature | Wax-Based Colored Pencils | Oil-Based Colored Pencils |
|---|---|---|
| Feel/Texture | Softer, creamier, smoother application | Harder lead, holds a sharper point, firmer application |
| Blending | Blend reasonably well, good for smooth gradients | Blend beautifully and seamlessly, often with solvents (because the solvent gently dissolves the oil binder) |
| Layering | Excellent for layering, but can lead to 'wax bloom' (haze) over many layers | Layers wonderfully without wax bloom, great for fine detail |
| Vibrancy | Often very vibrant with good pigment | Can be very vibrant, especially with multiple layers |
| Cost | Generally more affordable, student-grade options available | Often a bit pricier, professional-grade options common |
| Beginner Pick | Great starting point for general coloring and soft blending | Good for detailed work and artists who prefer a firmer touch |
For a beginner, honestly, a student-grade set of 24-36 wax-based colors is more than enough to explore. They offer a fantastic balance of affordability and performance, making them the perfect entry point. Brands like Prismacolor (though a bit pricier, excellent quality) or Faber-Castell Polychromos (oil-based, but often grouped here for beginners due to their quality and versatility) are beloved by many. The real fun with colored pencils is layering. Don't press hard immediately! Build up your colors gradually, light layer by light layer, to create depth and smooth transitions. For wax-based, imagine a light, circular motion called scumbling to build up soft color, or a delicate back-and-forth feathering for subtle blends. Oil-based pencils, with their firmer point, excel at sharp, precise lines and intricate cross-hatching. For instance, to make a leaf truly glow, I might start with a light yellow-green, then layer a deeper emerald, and finally, add a whisper of blue or even a tiny hint of red in the deepest shadows to give it that complex, living vibrance. You'll be surprised at the vibrancy you can achieve. And speaking of building up colors, you'll soon discover the joy of burnishing. This is where you apply heavy pressure with a light-colored pencil (often white or a very pale color) over existing layers. It smooths out the pigment, fills in the paper's tooth, and creates a beautifully blended, almost polished finish. Just be mindful that once you burnish, adding many more layers can become challenging. As you build your layers, you're not just mixing colors; you're also playing with color temperature – deciding if a shade feels warm and inviting, or cool and distant. That subtle shift can dramatically alter the mood of your piece, and it's a fantastic stepping stone to understanding more complex palettes.

A common phenomenon with wax-based pencils, especially with many layers, is wax bloom. I remember the first time I saw that cloudy film appear on a finished piece – my heart sank, thinking I'd ruined it! But fear not, this curious cloudiness, which often appears when the wax binder migrates to the surface (especially with heavy pressure or temperature shifts), isn't a disaster. You can gently dab or wipe it away with a soft, lint-free cloth. To mitigate it proactively, try using lighter pressure and more layers, or consider using a colorless blender pencil to achieve saturation without excessive wax build-up. A fixative spray can also help seal the layers and prevent bloom.
While student-grade pencils are fantastic for learning, consider artist-grade pencils for selling or displaying your work. These offer higher pigment concentration and superior lightfastness – that's art-speak for their resistance to fading over time. You want your vibrant masterpiece to stay vibrant, right? While wax and oil are the stars, you might also encounter polymer-based pencils, which often combine qualities of both, offering a smooth laydown and excellent layering without the wax bloom. And then there are watercolor pencils – a fascinating hybrid that act like regular colored pencils until you add water, transforming your drawing into a watercolor painting. These, along with pastel pencils or perhaps metallic or iridescent pencils, are exciting avenues for future exploration once you've mastered the basics. What vibrant new world will you create with your colored pencils today? When selecting colored pencils, look for brands committed to non-toxic pigments and sustainable practices.
Your Toolkit's Supporting Cast: Essential Companions & Expanding Your Horizon
This isn't just about the marks you make, but the surface you make them on, and the tools you use to refine those marks. Your pencils are the stars, but they need a good supporting cast to truly shine. For drawing, your most crucial companion, besides your pencils, will be your paper – and beyond.
The Crucial Role of Drawing Surfaces
Don't underestimate the impact of your chosen surface. The paper's tooth – that wonderful texture – plays a huge role in how your pencils behave. Think of it like a tiny landscape: smoother papers (like polished silk) have a flatter terrain, fantastic for fine details and harder H pencils, allowing for crisp, precise lines and subtle gradients. Generally, paper is measured in grams per square meter (GSM), and a higher GSM usually means a more durable surface. Papers with more tooth (a bumpier terrain, like linen fabric) have microscopic valleys that grab and hold softer pigments beautifully, enabling richer blacks and easier blending. This tooth is especially vital for charcoal, soft B-grade graphite, and colored pencils, preventing the pigment from simply sliding off. For intricate graphite detail, a smooth Bristol board or hot-press paper (often 250-300 GSM) is excellent. For charcoal and pastels, a textured Canson Mi-Teintes paper or cold-press watercolor paper, with its inviting tooth (160-300 GSM), will hold pigment beautifully. A very rough tooth, while excellent for pastels and expressive charcoal, might prove challenging for delicate graphite lines, as the pencil skips over the peaks, creating an uneven mark. Even toned paper can be a revelation, offering a middle ground that allows you to work with both shadows and highlights, bringing an extra dimension to your work from the outset. But don't stop at paper! Different pencils react fascinatingly to other surfaces. Try sketching with graphite on a gessoed wood panel for a unique texture, or charcoal on textured canvas board for dramatic effects. Experimentation here is, as always, your best teacher. Remember, understanding how your tools interact with the surface is a fundamental step in mastering value and form, helping you transform flat marks into three-dimensional illusions.
Other Indispensable Tools
Beyond the paper itself, a few more items deserve a spot in your toolkit. A plastic eraser (like a Staedtler Mars Plastic) is perfect for clean, crisp graphite corrections, allowing you to remove stubborn marks without damaging your paper. For charcoal's gentle lifting and lightening, a kneaded eraser is your absolute best friend – it's like magic dough for pigment, allowing you to lift and lighten areas without harsh rubbing, and you can mold it to fit any detail. And seriously, don't underestimate a reliable sharpener – dull pencils are a direct route to frustration and imprecise marks. A good quality manual sharpener (metal ones are often best) or a small electric one will save your pencils (and your sanity!). Beyond just sharpening, don't forget to occasionally clean your erasers (especially kneaded ones by stretching and folding them) and store your pencils properly, away from extreme temperatures and direct sunlight, to prolong their life and maintain their quality. For larger pieces, or simply for comfortable posture, a drawing board or even a simple easel can provide invaluable stability and a consistent surface to work on. And speaking of comfort, don't forget ergonomics. A comfortable grip or a good drawing posture can make all the difference, especially during those long, immersive sessions where the hours just melt away. Think of these as the fundamental allies that will allow your pencils to perform their best.

A Glimpse at Other Creative Mediums
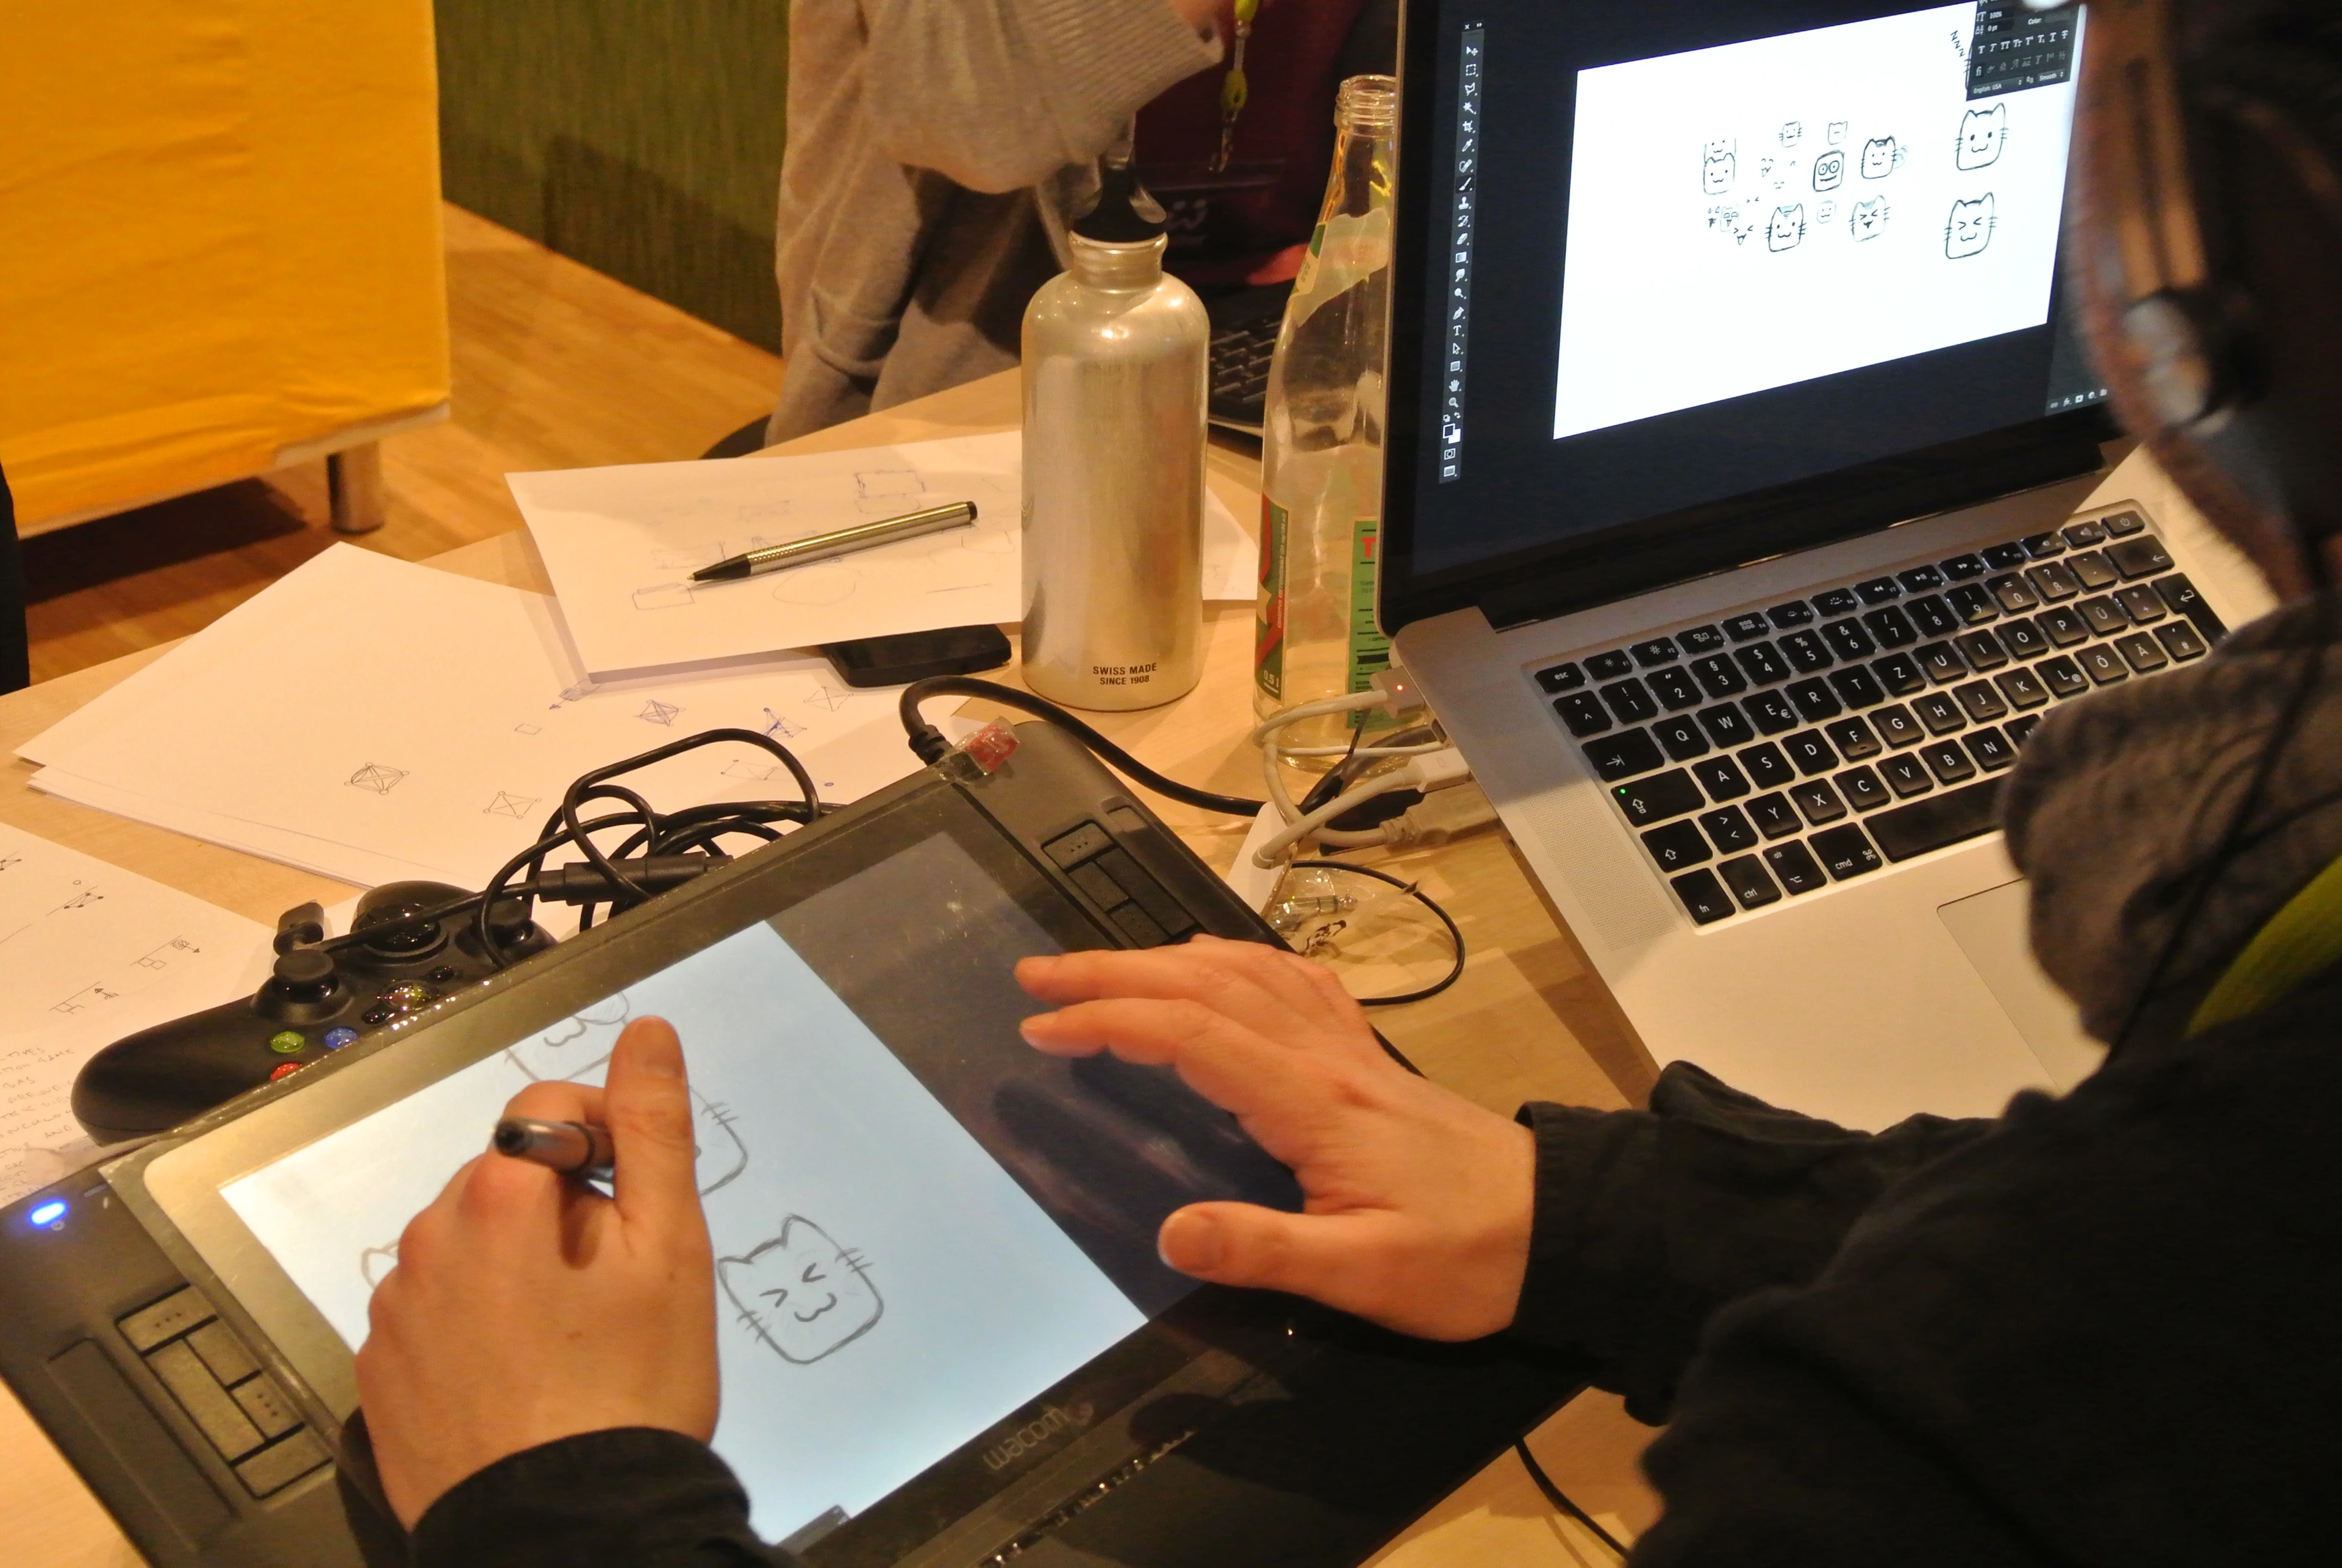
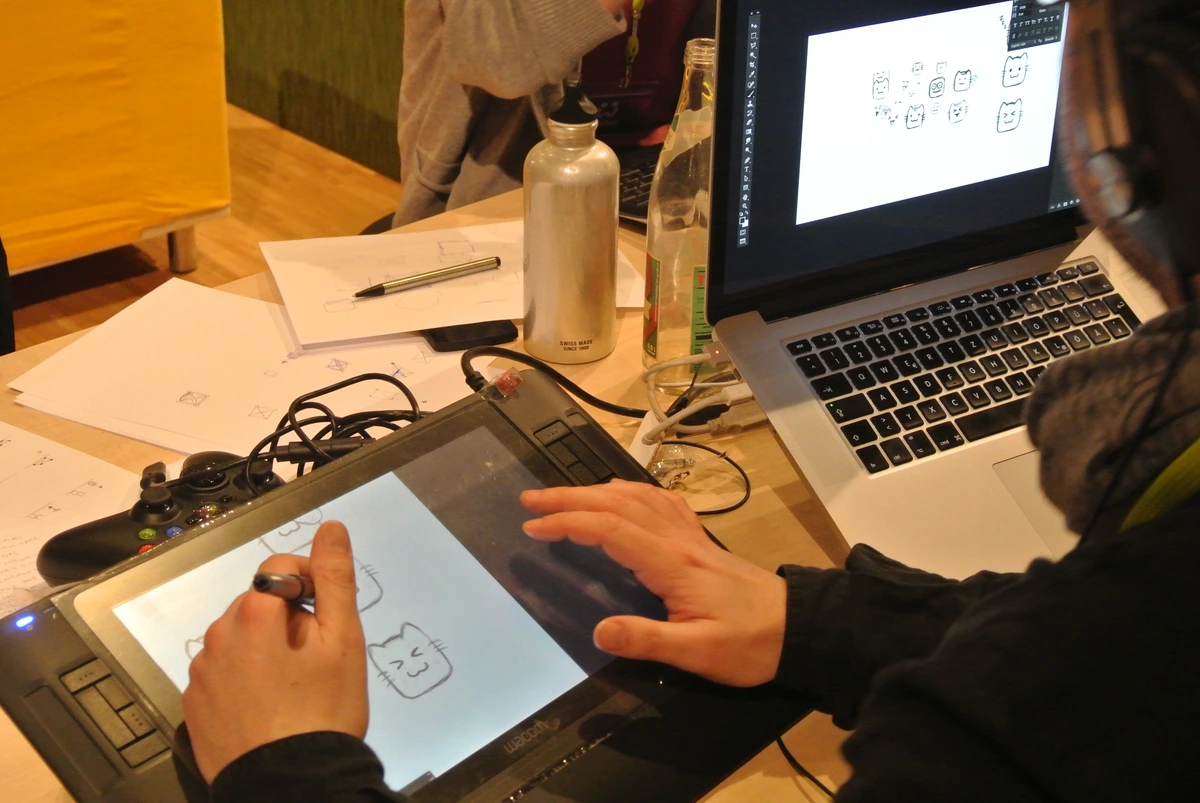
As you grow in your pencil journey, you might find yourself eyeing other tempting mediums. Pastel pencils, for instance, offer the vibrant, blendable qualities of soft pastels but with the precision of a pencil, while watercolor pencils act like regular colored pencils until you add water, transforming your drawing into a watercolor painting. Soft pastels and oil pastels offer vibrant, painterly effects with a dry medium – think of them as highly pigmented, buttery sticks of pure color. Ink pens, from fine liners to expressive brush pens, introduce crisp lines and deep blacks for bold statements. And for those intrigued by the digital frontier, tools like a graphics tablet and stylus open up an entirely new realm of possibilities, mimicking traditional tools with endless flexibility. Curious to dive in? A guide on top drawing tablets for digital artists could be your next step.
Your Artistic Adventure Starts Now
So, there you have it: a comprehensive tour through the wonderful world of drawing pencils for beginners. Remember, art isn't about perfection, it's about expression and the joy of creation. Don't be afraid to experiment, make mistakes, and discover what truly resonates with your artistic voice. The most important tool you have is your imagination, and these pencils are just the humble instruments to bring your inner visions to life.
What’s next? Perhaps explore creating a small still life, practicing gesture drawings with charcoal, or simply sketching objects around your home. Try rendering the same object with graphite, then charcoal, then colored pencils to truly feel their differences. Pay attention to how the different pencil types and paper surfaces interact. The path to becoming an artist is paved with practice, curiosity, and a willingness to simply begin. So, go on, grab a few pencils – maybe that essential 2H, HB, 2B, and a kneaded eraser if you haven't already – and start creating! You might just discover your own signature style hiding in a smudge of charcoal or a perfectly blended hue. Who knows, maybe one day your work will be hanging in a gallery, or inspire you to explore the pieces in my art shop! Just keep drawing.


