
Essential Drawing Supplies: Your Confident Beginner's Guide to Art Tools
Overwhelmed by art supplies? This personal guide reveals the essential drawing tools (pencils, erasers, paper) you *truly* need to confidently start sketching. Learn what to pick up, why, and embrace the glorious mess.
Essential Drawing Supplies for Beginners: Your Confident Guide
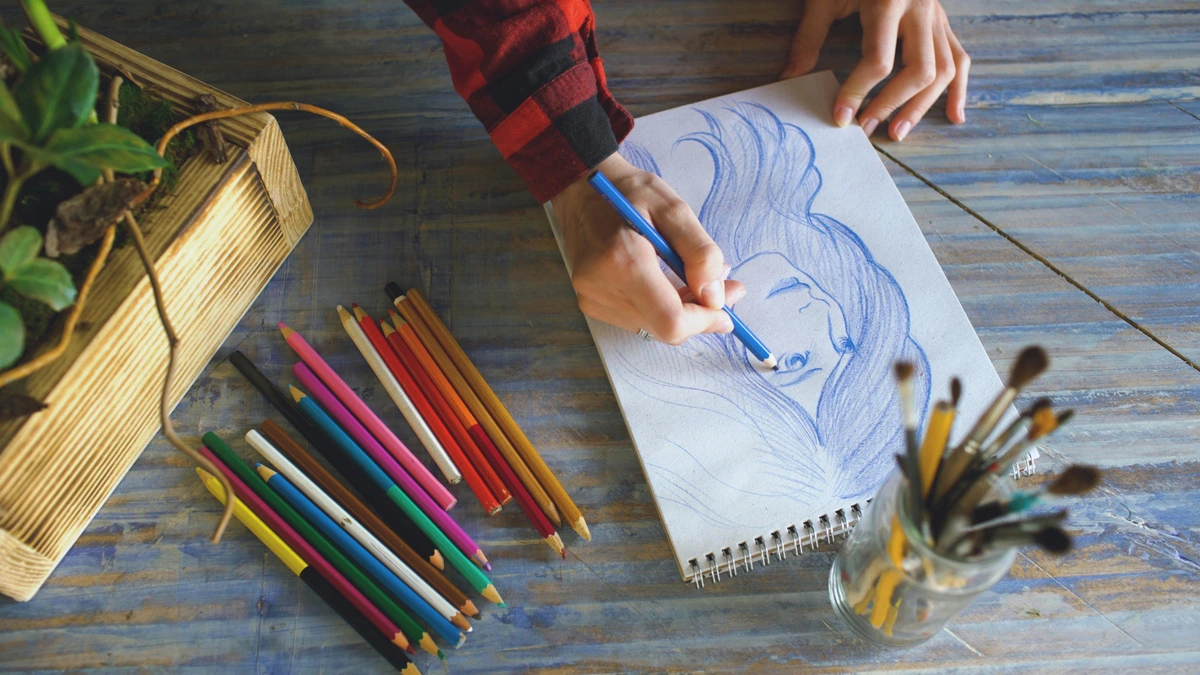
Challenges, growth, and the occasional glorious mess. That pretty much sums up my artistic journey, especially when I think back to those early days of drawing. I remember standing in the art supply store, completely overwhelmed, staring at shelves packed with hundreds of pencils, papers, and tools I didn't even know existed. I recall picking up something called a 'blending tortillon' and thinking it was either a fancy Q-tip or a mini-rolling pin for dollhouses – oh, the beautiful simplicity of those early assumptions! It felt less like starting a hobby and more like trying to decipher an ancient code. I even managed to ruin a perfectly good sketch with a stubborn, smeary eraser, leaving a ghost of my mistake on the paper that haunted me for days.
The good news? You don't need to be an archaeologist. In fact, if there's one thing my journey has taught me, it's that starting simple is not just okay, it's the smartest move. But here's the secret I wish someone had told me then: you really don't need much to start. Seriously. Forget the fancy kits for now. What you need is a willingness to make marks and a few simple, forgiving tools. Think of this as our little coffee shop chat about getting your hands dirty (literally, with graphite!). This article is our straightforward chat, a curated guide to the absolute essentials—cutting through the noise so you can get right to the fun part: making marks and seeing what you can create. We're stripping away the unnecessary, focusing only on the pencils, erasers, and paper you truly need to confidently begin making your mark. And hey, if you're looking for a wider lens on that journey, our guide on how to start drawing as a beginner offers an even broader perspective.
The Absolute Bare Essentials: Your First Steps into Drawing
When I first started, my biggest mistake was thinking I needed everything. Turns out, the magic isn't in the quantity of your supplies, but in understanding the few you have. So, let's dive into the core trio.
Pencils: Not All Graphite is Created Equal (But Don't Sweat It)
If you're anything like I was, you might think a pencil is just a pencil. My younger self thought a pencil is just a pencil; how delightfully naive! But don't worry, the rabbit hole of graphite grades (from super hard 9H to super soft 9B) can wait. H pencils, by the way, are harder, lighter, and great for technical drawing or incredibly delicate detail work – things you might explore much later. For now, just remember: 'H' stands for hard, leaving lighter lines, while 'B' stands for black, indicating a softer lead that makes darker marks and smudges more easily.
For your first steps, grab just a few. My go-to trio for beginners would be:
Experiment with these three. Feel how they glide differently. Notice the range of tones you can achieve. This selection gives you a solid foundation: the 2H is your whisper on the page for light construction lines and planning (and it's easily erasable!), the HB is your versatile everyday workhorse for general sketching and mid-tones, and the 2B/4B lets you dive into richer shadows and expressive marks, covering the essential range of values you'll need. The real mastery comes from controlling pressure with these few grades, not from collecting every single one. Here, you'll discover how pressure and grade work together, a fundamental aspect of learning basic drawing techniques like shading and lines. The 2H, for instance, is like a whisper on the page, perfect for those tentative first lines that might need to disappear later. The HB is your steady companion for building form and definition in your sketches, your reliable mid-ground. And the 2B (or 4B for even more punch!)? That's where the magic truly began for me; it taught me how to create real depth, making a line sing with rich, velvety darkness that brings a drawing to life. What specific tones will you try to capture first with this trio?
To give you a better idea of why this specific trio shines for beginners, let me put it this way: ultra-hard pencils like a 6H can feel like scratching glass, leaving faint lines that are tough to build on, while super-soft pencils like an 8B can lay down so much pigment so quickly that they're almost impossible to control without making a huge mess. This middle-of-the-road selection of 2H, HB, and 2B (or 4B) gives you just enough variation to explore value without feeling overwhelmed or fighting your tools.
Pencil Grade | Hardness | Typical Use | Line Quality & Value | My Take |
|---|---|---|---|---|
| 2H | Hard | Initial construction lines, light details, fine textures | Light, crisp, easily erasable; ideal for barely-there marks | Indispensable for planning without committing; almost disappears under later layers. The 2H quickly became my secret weapon. It allowed me to lay down those initial construction lines, the almost invisible skeleton of my drawing, without the fear of them showing through later or leaving stubborn indentations if I needed to adjust. |
| HB | Medium | General sketching, mid-tones, outlines | Balanced, versatile, good for everyday use and foundational lines | Your reliable workhorse; the 'just right' friend in your pencil case. The HB is like that reliable friend who's good at everything; it's where I learned to find my comfortable pressure, suitable for almost anything I threw at it. |
| 2B (or 4B) | Soft | Deeper shadows, rich mid-tones, expressive marks | Dark, smooth, smudges easily; perfect for adding depth and emphasis | For when you need your lines to sing; brings your drawings to life with rich darkness. And the 2B (or 4B for even more punch!)? That's where the magic truly began. It was my first taste of creating real depth, of making a line sing with rich, velvety darkness. It taught me how much feeling a drawing could hold. |
With your chosen pencils in hand, let's talk about their best friends: your erasers.
Erasers: Your Best Friends (Especially When You're Learning)
Oh, the humble eraser. I'm telling you, this isn't just for fixing mistakes; it's a drawing tool in itself. I can't count the times I scrubbed away furiously with a hard eraser, only to damage the paper and leave a stubborn grey smudge – a ghost of my artistic intentions. I distinctly recall one particularly frustrating evening trying to draw a portrait. I'd accidentally pressed too hard on a highlight, and my old gummy eraser just smeared the graphite, turning a subtle facial curve into a muddy disaster. Live and learn, right? Now, I know better. If only I'd known then about these little lifesavers...
- Kneaded Eraser: This squishy, pliable wonder is a game-changer. You can mold it into any shape – a tiny point for detail, a flat surface for larger areas. It works by absorbing graphite, so you dab it to lift pigment without scrubbing or smudging, keeping your paper surface intact. It's fantastic for subtle adjustments, softening lines, or even creating crisp highlights by lifting color from an already shaded area – imagine dabbing it onto a softly shaded sphere to reveal a brilliant catchlight. Truly a magician's tool. I distinctly remember the relief when I first learned to gently lift a too-dark line instead of battling a smear; it felt like unlocking a cheat code.
- Plastic (or Vinyl) Eraser: For those moments when you really need to erase a line cleanly and completely. Just be gentle; too much pressure can damage the paper's surface. This kind of damage can rough up the paper's 'tooth' – those tiny fibers that give paper its texture and allow it to grip graphite – making it harder for new graphite layers to adhere smoothly, sometimes even creating a stubborn shine. My plastic eraser, used carefully, was the only thing that could make a particularly stubborn pencil line vanish without a trace. It’s for when you need a completely clean slate, not just a whisper of a correction.
These two erasers cover almost every "oops" moment you'll encounter, and more importantly, they open up new ways to draw with your eraser, not just correct. Which eraser do you think you'll reach for first?
Paper: Your Playground, Not a Precious Relic
With your essential tools for making and correcting marks, the next crucial element is the surface you'll be working on: your paper. This is where many beginners get hung up, myself included. We feel like we need archival, museum-quality paper from day one. Please don't! You're learning, experimenting, making a glorious mess – that's the whole point. So, what kind of paper should you look for?
Start with something affordable and forgiving. My absolute top recommendation is a simple, spiral-bound sketchbook. It gives you a dedicated space to practice without the pressure of 'ruining' a single sheet. Think of it as your private laboratory for ideas.
Look for paper that's at least 80-100 gsm (grams per square meter). To put that in perspective, 80 gsm is similar to good quality printer paper or basic notebook paper, while 100 gsm feels a bit more substantial, like a quality flyer or a lightweight card. This range is sturdy enough to handle graphite without tearing easily and can withstand a fair bit of erasing. If you go much thinner, say down to 60 gsm, you'll quickly find your pencil pressure creating indentations, or worse, tearing right through the page, leaving you with frustration instead of art. On the flip side, much heavier paper (say, 200+ gsm) can sometimes feel overly precious for initial sketches, and is often reserved for mediums like watercolor, pastels, or charcoal that require more robust absorption or a distinct surface texture to hold the pigment. For graphite, however, it’s mostly about affordability and comfort – and that sweet spot of not too flimsy, not too thick.
You'll encounter smooth and slightly textured papers. This texture is often called 'tooth' – it's the tiny peaks and valleys on the paper's surface that 'grip' the graphite. Think of it like a micro-mountain range for your pencil, or the weave of a canvas that subtly resists the brush. For graphite, I find a smooth to fine-grain texture (sometimes called 'vellum' or 'drawing paper') to be ideal. It allows pencils to glide easily, captures detail beautifully, and lets you create those buttery smooth tonal transitions that are so satisfying. Highly textured paper can be fun later, as it creates interesting effects by leaving little flecks of white paper showing through your marks, giving a sparkling, almost pointillist effect. But for beginners, it can be a bit challenging to get consistent lines and shading, sometimes feeling like you're fighting the paper rather than working with it. The smoother surface simply offers less resistance, making it easier to control your pencil and develop a steady hand. The abundance of paper means each sheet feels less precious, granting you the freedom to simply draw. So, what kind of paper will become your new favorite playground?
Paper Characteristic | Recommendation for Beginners | Why it Matters |
|---|---|---|
| Type | Spiral-bound sketchbook or large pad of drawing paper | Provides a dedicated, low-pressure space for practice; encourages continuous drawing. |
| Weight (GSM) | 80-100 gsm | Sturdy enough to prevent tearing with graphite and tolerate erasing; good balance of quality and affordability. Thinner paper tears, thicker is often overkill. |
| Texture ('Tooth') | Smooth to fine-grain | Allows for easy gliding of pencils, excellent for detail and smooth tonal transitions. Easier to control for beginners. |
With your reliable core trio now in hand, you have everything you need to start. But as you find your rhythm and maybe even develop a slight graphite addiction (it happens!), a few other small tools can make a big difference, subtly enhancing your drawing experience.
Your First 'Treat Yourself' Upgrades (Eventually!)
Remember though, these are extras, not necessities to start – consider them your first 'treat yourself' upgrades.
A Reliable Sharpener
You can't draw well with a dull pencil, it's just a fact. A good, manual pencil sharpener (the kind with a metal blade, not those flimsy plastic ones that eat your pencils whole) or even a craft knife and sandpaper block will give you a consistently sharp point. The sharper your pencil, the more control you have over your lines and details. It's like trying to drive a car with flat tires – technically possible, but why would you? A good sharpener is an investment in frustration-free drawing.
Blending Tools (Optional)
For smoother shading transitions, you might eventually explore blending stumps or tortillons (tightly rolled paper sticks). I distinctly remember my first blending stump felt like cheating, making those gradients look so much smoother than my finger ever could – though admittedly, my initial attempts mostly just pushed graphite around awkwardly before I got the hang of it. These tightly rolled paper sticks work by gently absorbing and distributing graphite, which is why they're made of paper – it gives you precise control without the oils of your skin. They help spread graphite evenly, crucial for achieving smooth tonal transitions and understanding 'value' – how light and dark areas define form. This mastery of value is especially important when you're working on those basic drawing techniques like shading and lines we talked about earlier. And a quick note on using your fingers: while tempting, the natural oils from your skin can transfer to the paper. These oils can repel new layers of graphite, create shiny spots that are hard to correct, and over time, can even degrade the paper itself. So, dedicated blending tools are definitely a step up! But honestly, a cotton swab can do a decent job too in a pinch – I've definitely resorted to a Q-tip more times than I care to admit!
Your Next Adventure? Charcoal Pencils
If you're really enjoying the dark, rich tones you can achieve with softer graphite, you might eventually peek into the world of charcoal pencils. Unlike graphite, which is carbon mixed with clay and leaves a slightly metallic sheen, charcoal pencils are made from burnt organic materials and typically have a much deeper, matte black pigment. They offer an even more profound darkness and a truly beautiful, velvety texture that feels incredibly rich on the page. Be warned though, they are notoriously smudgy – don't wear your favorite white shirt if you're experimenting with charcoal, trust me, I've learned that the hard way! I once spent an entire afternoon trying to draw a fluffy cloud and ended up looking like I'd wrestled a soot monster. Using charcoal often requires a bit of a different approach than graphite, favoring broad, expressive strokes and focusing more on blocking in large areas of shadow. You'll find yourself relying less on pressure variation and more on the inherent darkness of the material itself. You can delve deeper into their secrets with our guide to understanding and using charcoal for drawing.
And hey, if pure black and white isn't always your jam, don't forget the vibrant world of colored pencils or soft pastels. They offer different textures and a burst of color that can be incredibly liberating once you've built your foundational drawing skills. Think of them as the next chapter, adding depth and new challenges to your visual vocabulary.
A Drawing Board or Easel (for Comfort & Scale)
This might seem a bit advanced, but if you find yourself spending more time drawing, a simple drawing board or even a tabletop easel can make a world of difference. It helps maintain better posture (saving your back!), provides a consistent, firm surface, and allows you to step back and view your work from a slight distance, which is surprisingly helpful for spotting issues, especially as you might tackle larger pieces. Embracing good ergonomics from the start, even if it's just finding a comfortable chair and table height, can prevent discomfort down the line and make your artistic journey much more enjoyable and sustainable in the long run.
What to Draw First? Just Start!
Alright, you've got your tools, you're ready to make marks. Now, the blank page often looms large, staring back, daring you. It's like standing at the edge of a vast, empty canvas with a tiny brush – where do you even begin? My advice? Don't overthink it. Just start making marks. Here are a few low-pressure ideas to get your hand moving:
- Simple Shapes: Practice drawing cubes, spheres, and cylinders from different angles. It's boring, I hear you, but it's the alphabet of drawing, building your visual vocabulary. As you draw them, start actively observing how light hits them and creates shadows – imagine a single light source (like a window or a lamp) from the top-left and render the shadow accordingly. Use your 2H pencil for light construction lines and initial planning, then bring in your HB to build form, and finally, your 2B/4B to deepen those shadows and add definition. Understanding form, light, and how it creates depth and perspective is a a fundamental superpower in drawing, even with the simplest objects. It's the visual alphabet that lets you truly sculpt with graphite.
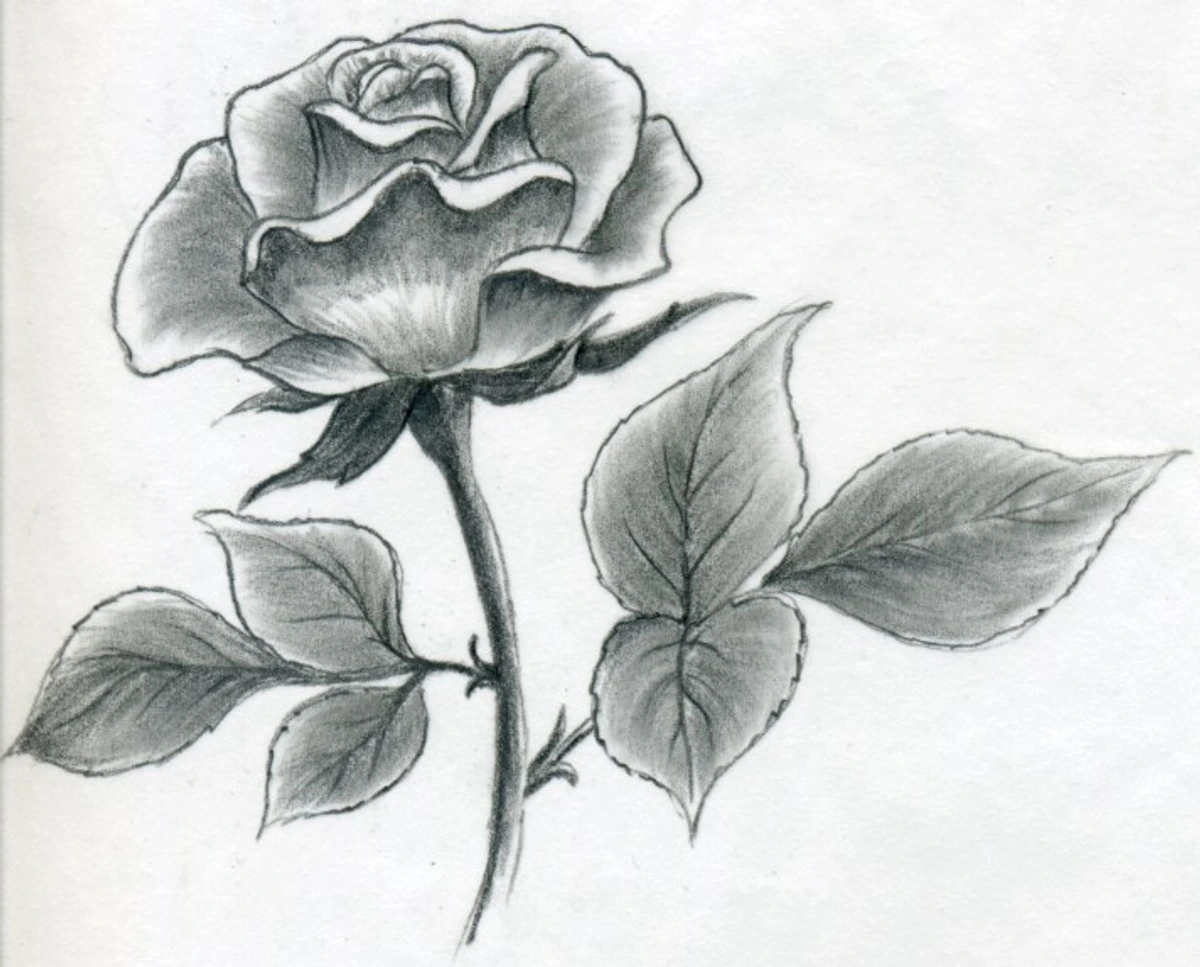
- Everyday Objects: Look around you. A coffee mug, a houseplant, your keys – yes, those are great starting points. But also consider a simple geometric vase, a crumpled piece of paper, or even a single, unadorned apple. Set up a simple still life with objects you see every day. The familiarity reduces the pressure and allows you to focus on observation and translating what you see onto paper with your new tools.
- Gesture Drawing (Quick Sketches): Try sketching for very short periods – 30 seconds, 1 minute. Draw people walking by, pets, a fleeting expression. The goal isn't perfection, but capturing the essence quickly – maybe it's the strong curve of a back, the tilt of a head, or the dynamic sweep of a dynamic arm. It's like a mental warm-up for your artistic muscles, getting you comfortable with observation and quick mark-making. Don't be afraid to make mistakes; that's what your kneaded eraser is for!
- Reference Photos: Don't have a still life setup? The internet is a treasure trove. Look up photos of animals, landscapes, or interesting objects. Pro tip: choose photos with clear, distinct lighting and obvious shadows. These are gold for helping beginners understand form and value. Just remember to use them as a guide for observational practice, not a strict copy or trace. Tracing, while seemingly easy, bypasses the crucial skill development of training your eye to interpret form, light, and proportion, and your hand to translate that interpretation onto the paper. It teaches your hand to follow a line, not your mind to truly see and create. And always aim for royalty-free or public domain images to respect copyright and the original artist's work. Using a photo someone else took without permission, even for practice, can be a thorny path, so it's always better to be safe and use resources like Unsplash or Pexels for free stock photos.
- Drawing from Imagination: And once you're comfortable with observation, dare to draw from your imagination or memory. Start small: a silly monster, a remembered dream, a doodle of how your coffee mug feels rather than how it looks. It's a powerful way to tap into your unique visual language.
What simple object is calling out to be sketched right now? The goal isn't to create a masterpiece on day one, or even day 100. It's about developing your eye, your hand-eye coordination, and most importantly, building a consistent practice. For more comprehensive guidance, dive into our definitive guide to drawing techniques. Those early, messy sketches were the stepping stones to where I am today, creating art I'm proud to share, even offering some for sale in my studio gallery. So, embrace the glorious mess and just keep drawing.
Conclusion: The Real Essential? Your Enthusiasm.
Ultimately, while having the right (or rather, the just enough) tools helps, the true essential drawing supply for any beginner isn't found in an art store. It's your enthusiasm, your willingness to experiment, and your commitment to showing up to the page, even when it feels like a glorious mess. Don't wait for the perfect moment or the perfect set of tools. Start now, with what you have. Embrace the journey, the struggles, and the small victories. Every artist, from the greats like Leonardo, whose meticulous anatomical studies provided an unparalleled understanding of form and structure—much like your basic shape exercises will—to Van Gogh, whose quick, expressive sketches honed his ability to capture raw emotion and movement, showing the power of daily practice, started right where you are.
I remember a particularly frustrating afternoon early in my career, trying to capture the subtle glow of a sunset. I had all the right pencils and paper, but it was only my persistent enthusiasm, despite the challenges, that eventually led to a breakthrough. It reminds me of my own artistic timeline, full of these small, persistent steps. So, trust your process, enjoy the glorious mess, and just keep making marks.