Mastering Drawing Pencils: Grades, Brands, Techniques & Beyond
Unleash your artistic vision with this ultimate guide to drawing pencils. Explore H/B grades, top brands like Faber-Castell, essential care, unique techniques, and digital art integration. Find the best graphite pencils for every artist.
Mastering the Mark: Your Ultimate Guide to Drawing Pencils for Artists
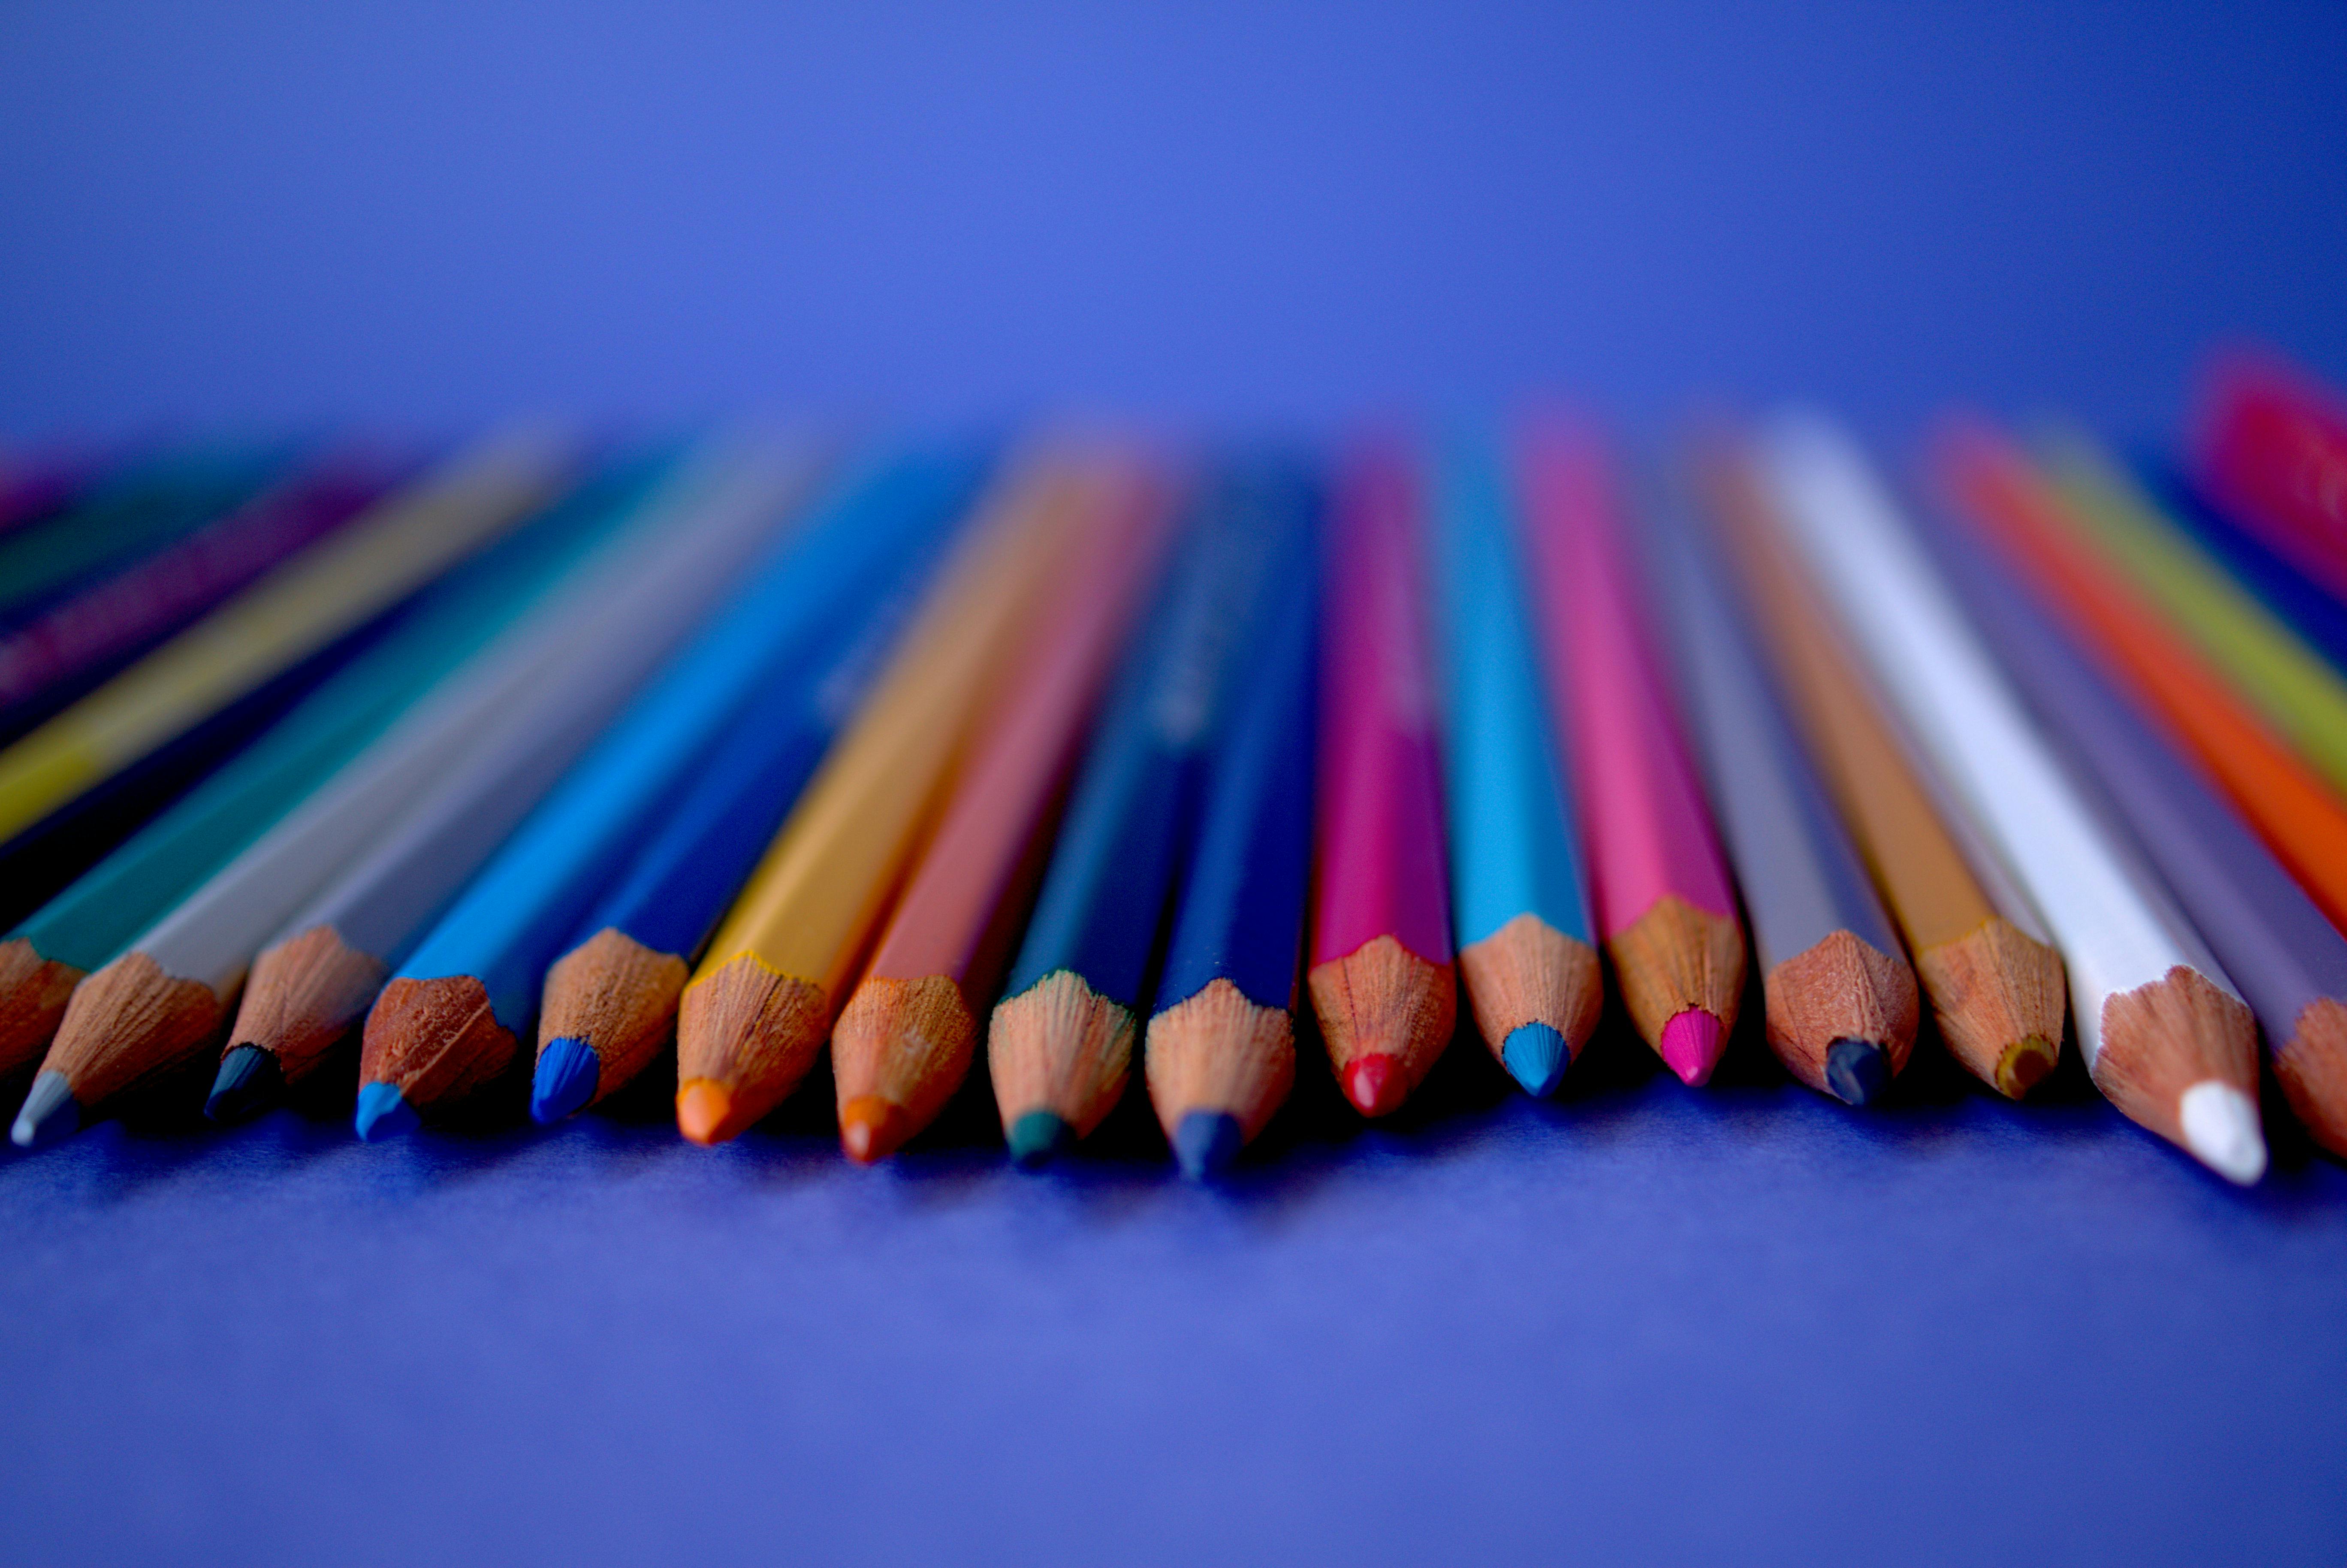
Remember that moment? Standing in an art supply store, utterly overwhelmed by a wall of pencils. They all looked deceptively similar – wood, graphite, a little stamp with a number and a letter. Yet, the price range swung wildly, and the descriptions promised everything from 'velvety smooth lines' to 'unmatched precision.' It felt like I was trying to crack a secret code, and I definitely didn't have the password. You've been there, right? Thinking, "It's just a pencil, how complicated can it really be?" And maybe, just maybe, you’ve left the store with an entire pack of cheap, gritty pencils that broke every time you sharpened them, thinking it was your fault. (Spoiler: It probably wasn't – I've lost count of the masterpieces I've accidentally turned into modern art by an errant sleeve or a crumbling lead!).
Well, it turns out, it's both simpler and far more wonderfully complex than you'd imagine. The right drawing pencil doesn't just make a mark; it feels like a natural extension of your hand, a direct, unfiltered line from your brain to the paper. The wrong one? It feels like you’re trying to draw with a clumsy stick, fighting it every step of the way. After years of relentless trial, error, and a mountainous pile of smudged pages, I’ve found my steadfast favorites and, more importantly, learned what truly matters. So, let’s pull back the curtain on this entire pencil business and demystify the art of the perfect line. By the end of this journey, you'll not only understand the tools but also how to wield them to truly express your unique artistic voice, transforming your sketches into confident, deliberate statements. We'll journey from the ancient origins of graphite to the intricate grading system, delve into practical buying advice, explore related media, and troubleshoot common frustrations, ensuring you're fully equipped to choose the best drawing pencils for beginners and beyond, making this your definitive guide to drawing pencils.

The Whispering History: How Pencils Became Our Artistic Allies
Before we dive into the fascinating 'secret language' of drawing pencil grades, let's take a quick detour through time. After all, to truly understand a tool, you must understand its origins. And the humble drawing pencil has a surprisingly rich and illuminating history, shaped by necessity and innovation.
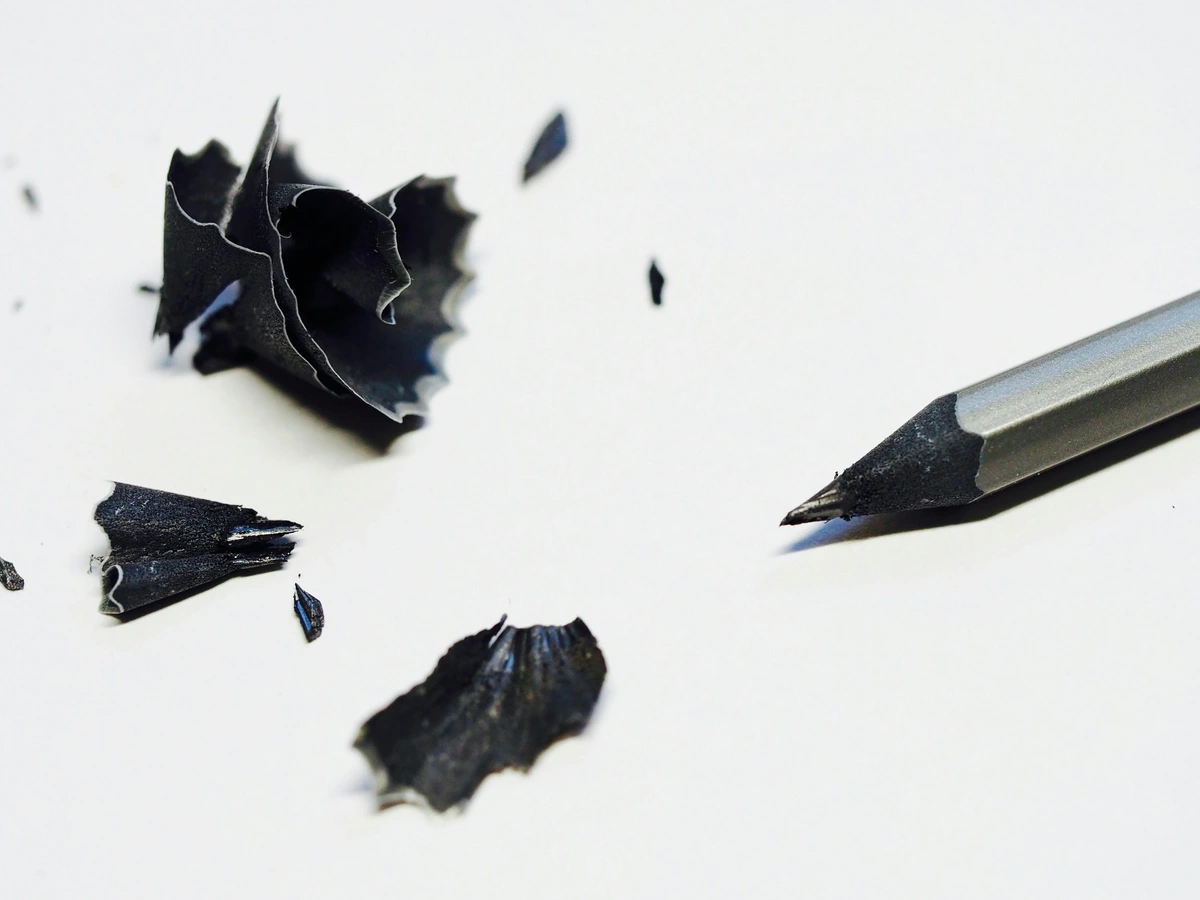
Historically, our ancestors stumbled upon natural graphite deposits and realized these dark, shiny rocks could leave a mark. Early "pencils" were often just chunks of raw graphite, wrapped in string or sheepskin to keep hands clean. Can you imagine trying to achieve a consistent line or intricate detail with that? The struggle was definitely real! Beyond just leaving a mark, early graphite found uses in rudimentary surveying, marking metal for crafting, and even as a primitive form of ink. The concept of paper tooth – its surface texture that literally 'grabs' the graphite particles – has been a constant companion in this journey, dictating how a mark is laid down. Imagine trying to draw on polished glass versus drawing on fine canvas – the experience and the resulting mark are completely different!
The grading system we use today largely took shape in the 19th century, spurred by the need for more consistent and precise tools. This era, marked by the Industrial Revolution, saw burgeoning fields like technical drawing, military mapping, illustration, and cartography demanding unwavering precision in engineering and manufacturing. Think of the intricate blueprints for new steam engines or the precise topographic maps needed for military campaigns – these all required drawing tools of unprecedented accuracy and consistency. This accelerated the standardization of drawing pencil production.
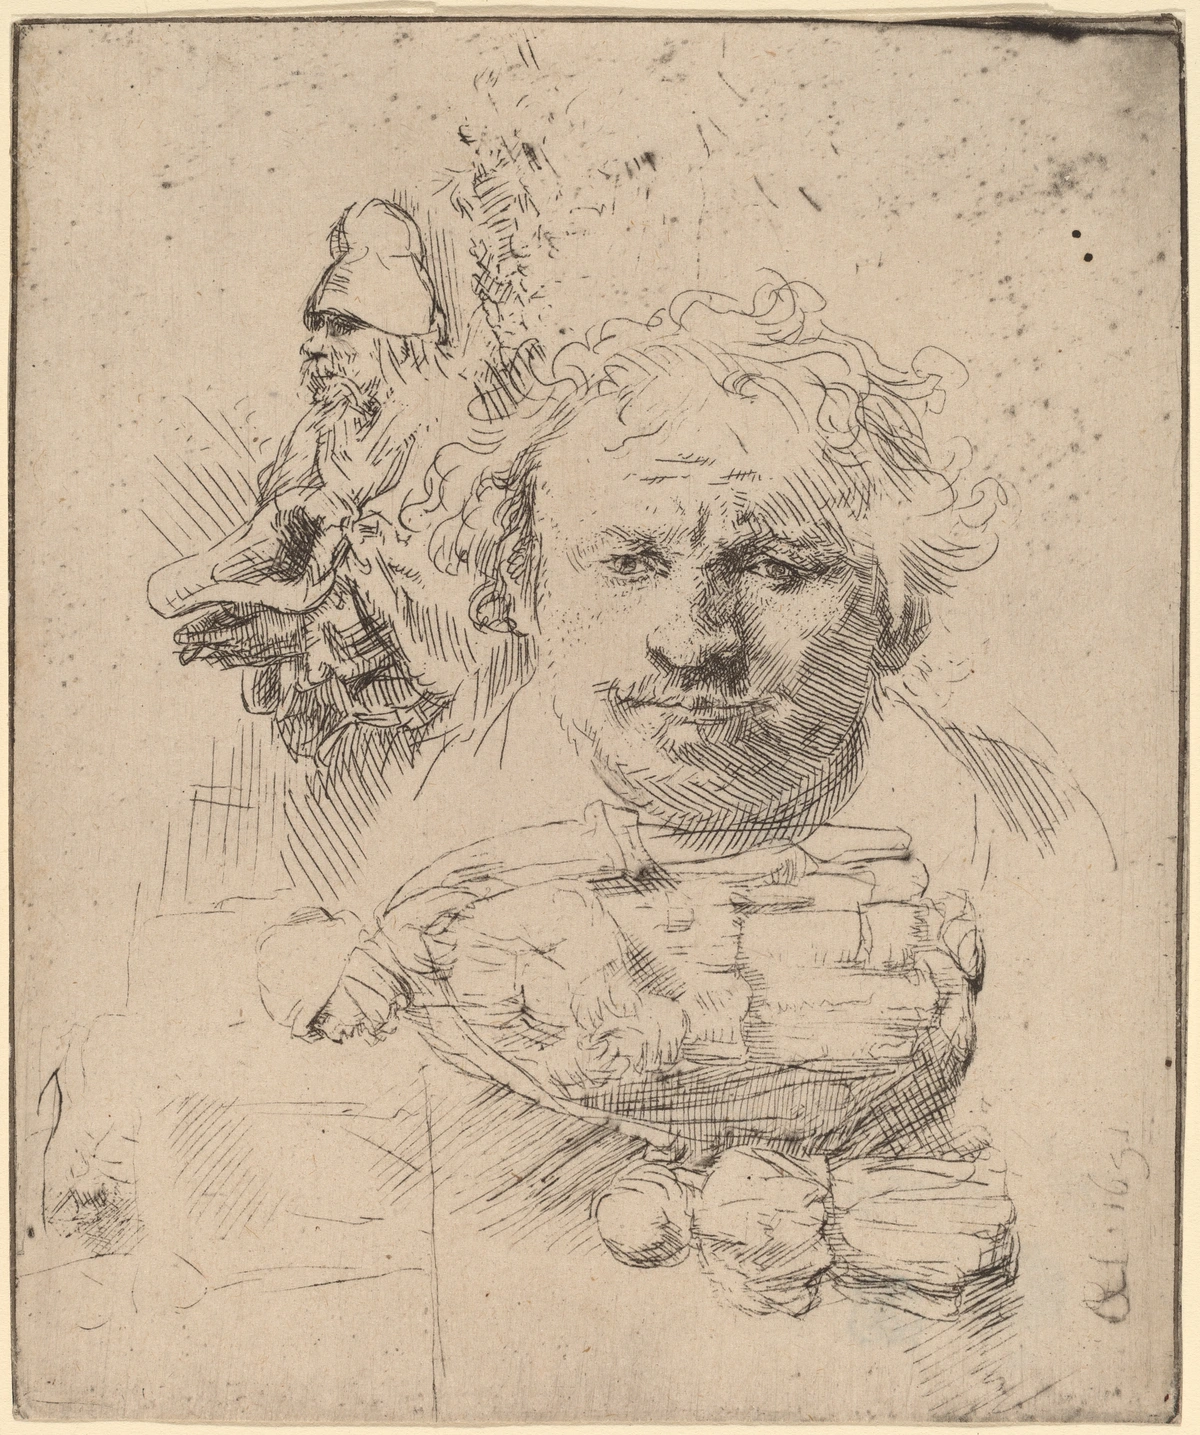
Pioneers like Nicolas-Jacques Conté, a French chemist, played a crucial role. During the French Revolutionary Wars, when Britain blockaded many imports (including access to graphite from Spanish mines, which was the main source at the time), Conté ingeniously developed a method to mix pulverized graphite with clay, then fire it in a kiln. By varying the ratio of graphite to clay, he could create leads of different hardnesses. More clay and higher baking temperatures meant a harder, lighter core; more graphite and lower temperatures yielded a softer, darker one. This innovation, patented in 1795, was a true game-changer, standardizing graphite production and paving the way for the H and B grading system that still guides artists worldwide today. Its success rapidly spread beyond France, influencing pencil manufacturing across Europe, and eventually leading to global brands like Faber-Castell and Staedtler establishing their own standardized ranges. It was a beautiful blend of art, science, and necessity, democratizing access to quality drawing tools. And just to be absolutely clear, despite the historical term 'pencil lead,' these cores are made of graphite and clay, completely lead-free – so no worries about toxicity whatsoever!

The Secret Language of Drawing Pencils: Decoding H and B Grades
Now that you know a little about how pencils came to be, let’s unravel the single most important piece of information stamped on its side: that little letter and number. This isn't just a random code; it's the key to understanding the hardness of the graphite core. Think of it as a spectrum, and once you grasp it, your drawing world will fundamentally change.
The Science of Hardness and Tone
Each pencil's grade is determined by the precise ratio of graphite to clay and the temperature at which it's baked. More clay and higher temperatures result in a harder lead, while more graphite and lower temperatures yield a softer, darker lead. This hardness is scientifically tested through a process of resistance – imagine pressing your fingernail into a piece of soft clay versus a block of hard wood. The clay indents easily (like a soft pencil), while the wood resists (like a hard pencil). This test essentially measures how much pressure the lead can withstand before breaking or indenting a surface under controlled conditions. It’s this precise measurement that dictates the subtle science behind every nuanced mark you make. This intricate balance also dictates the feel of the pencil on paper: harder leads can feel a bit grittier or even slightly 'scratchy' – sometimes like drawing with very fine-grit sandpaper – due to the higher clay content and the graphite particles being more dispersed and abrasive. Softer leads, by contrast, are often described as buttery or velvety smooth, gliding effortlessly due to their higher graphite content and finer particle dispersion, often delivering a rich pigment density due to the concentration of graphite particles. This density is crucial for achieving deep value (the lightness or darkness of a color or tone) and rich tones (the overall quality of lightness or darkness in an image).
The Crucial Role of Paper Tooth
The paper you choose plays a huge role here too. A paper with a pronounced tooth (its surface texture, which 'грабы' the graphite) will interact differently with various pencil grades. Rougher papers can catch more graphite from softer pencils, allowing for richer darks and more complex blending, but might feel uneven or 'skippy' with harder H grades. For instance, an 8B on a textured cold-press watercolor paper can lay down a luscious, deep tone, but a 2H might feel almost invisible or 'scratchy' due to the paper's resistance. Conversely, on a smooth Bristol board or hot-press watercolor paper, the fine, crisp lines of H pencils (like a 4H) will be beautifully revealed, but building deep tones with soft B grades might be harder, sometimes appearing shiny rather than absorbing, as there's less tooth for the graphite to adhere to. It's truly a dance between your pencil and your paper.
Paper Type | Surface Texture (Tooth) | Best for H Grades | Best for B Grades |
|---|---|---|---|
| Smooth Bristol Board | Very Low | Crisp lines, technical drawings, fine details. | Light, shiny marks; difficult to build deep darks. |
| Hot-Press Watercolor | Low | Fine lines, delicate washes, precise studies. | Smooth, subtle blending; can appear shiny with heavy pressure. |
| Medium Grain Drawing | Medium | Versatile for outlines, mid-tones, balanced work. | Good for shading, blending, building moderate darks. |
| Cold-Press Watercolor | High | Can feel scratchy, broken lines; for subtle texture. | Rich darks, excellent blending, absorbing tones. |
| Charcoal/Pastel Paper | Very High | Very light, broken lines; can feel abrasive. | Deepest, matte darks; excellent for layering and texture. |
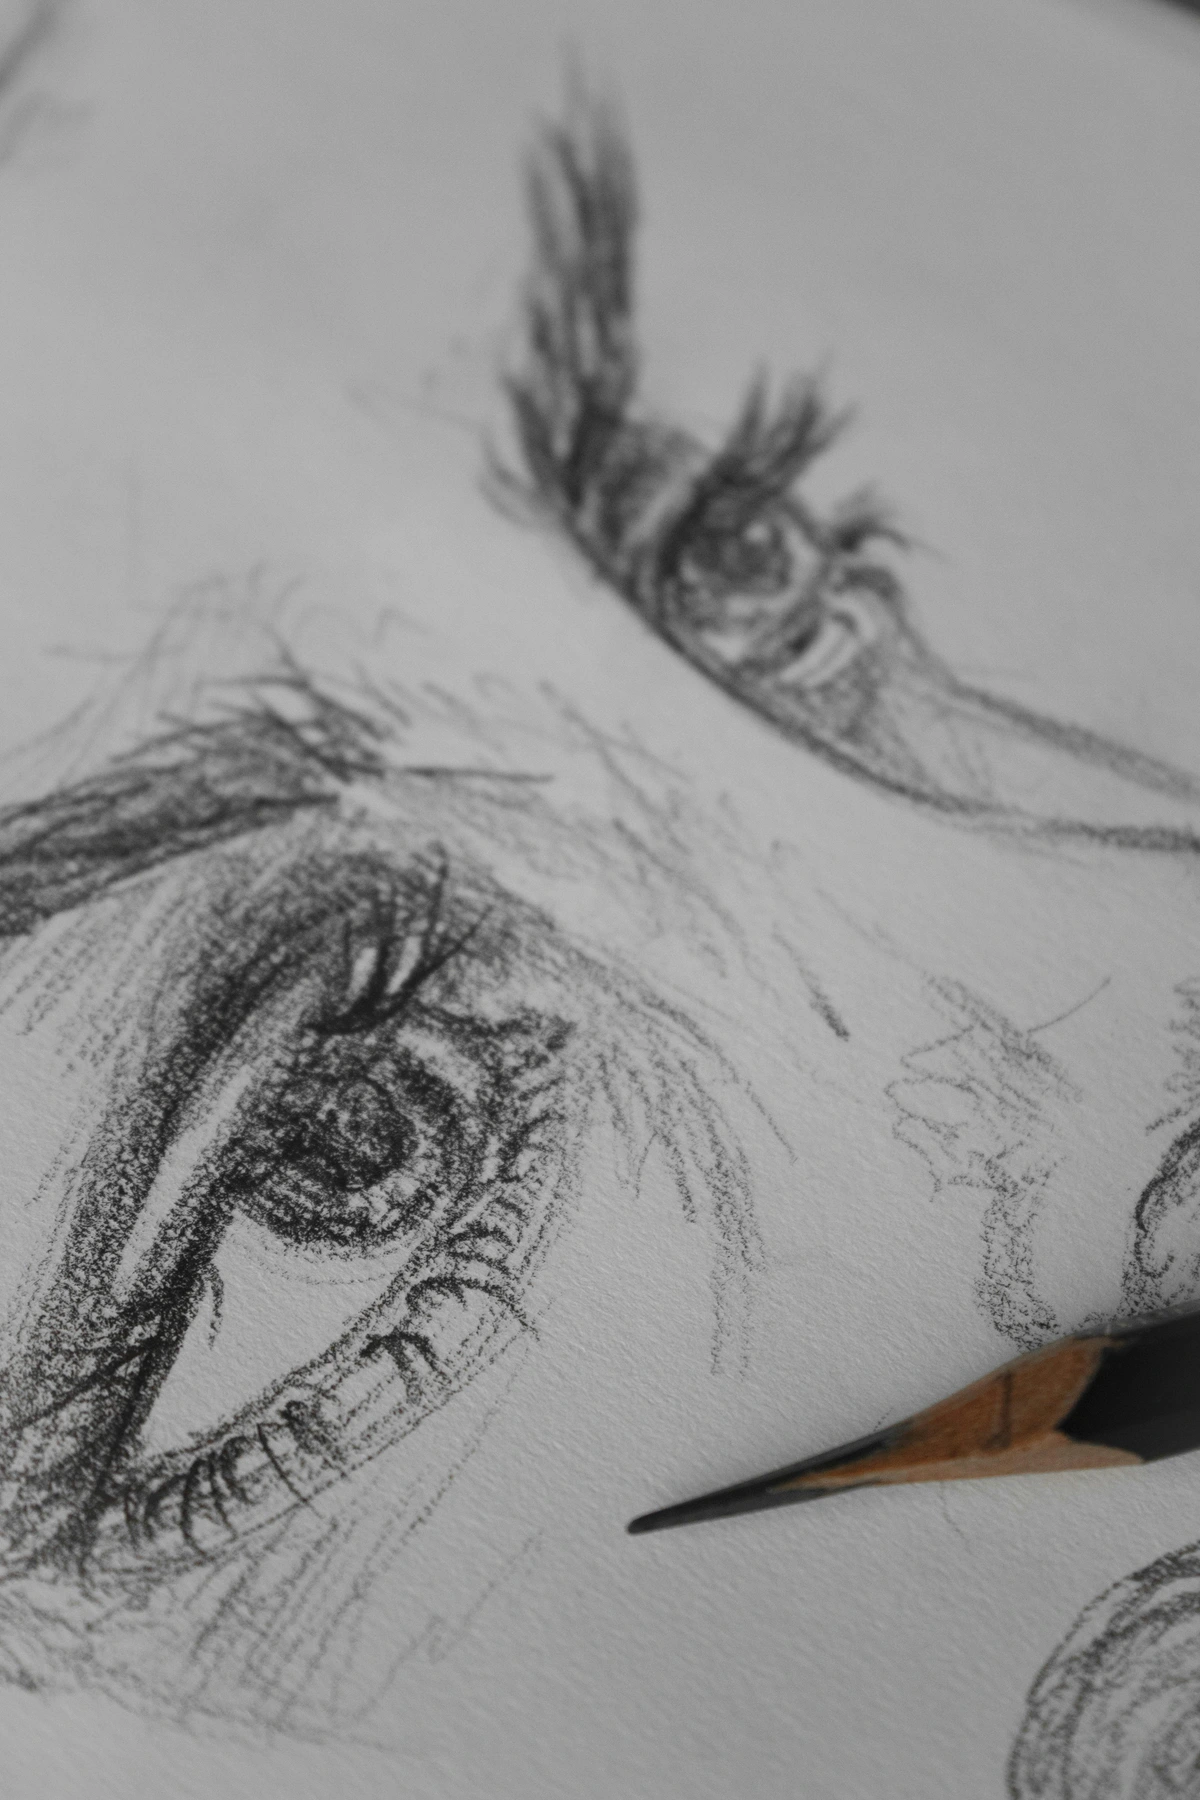
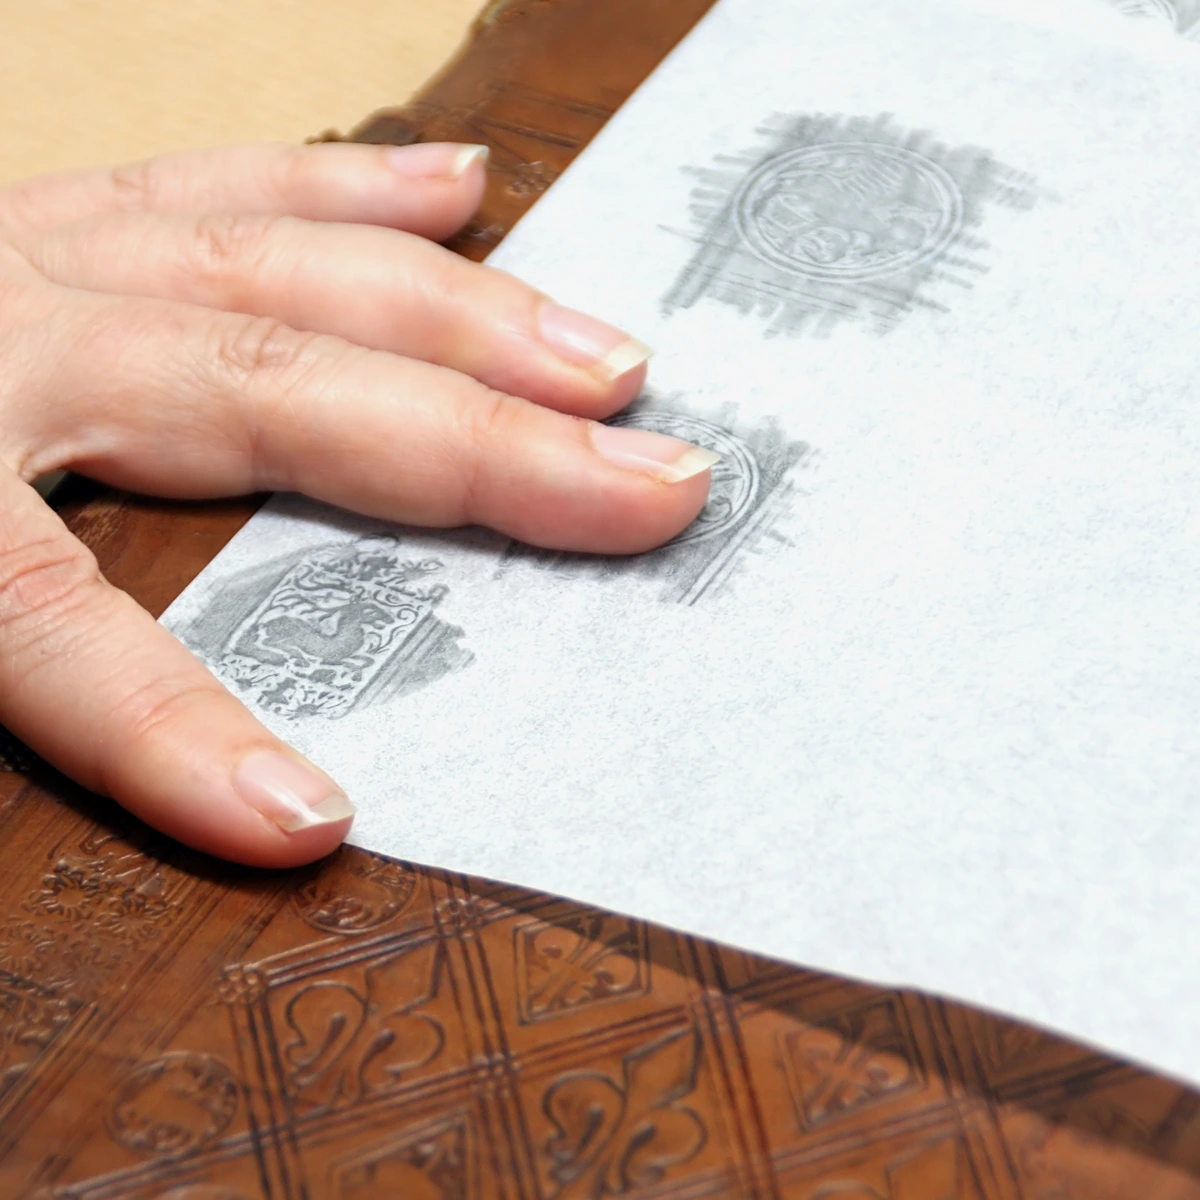
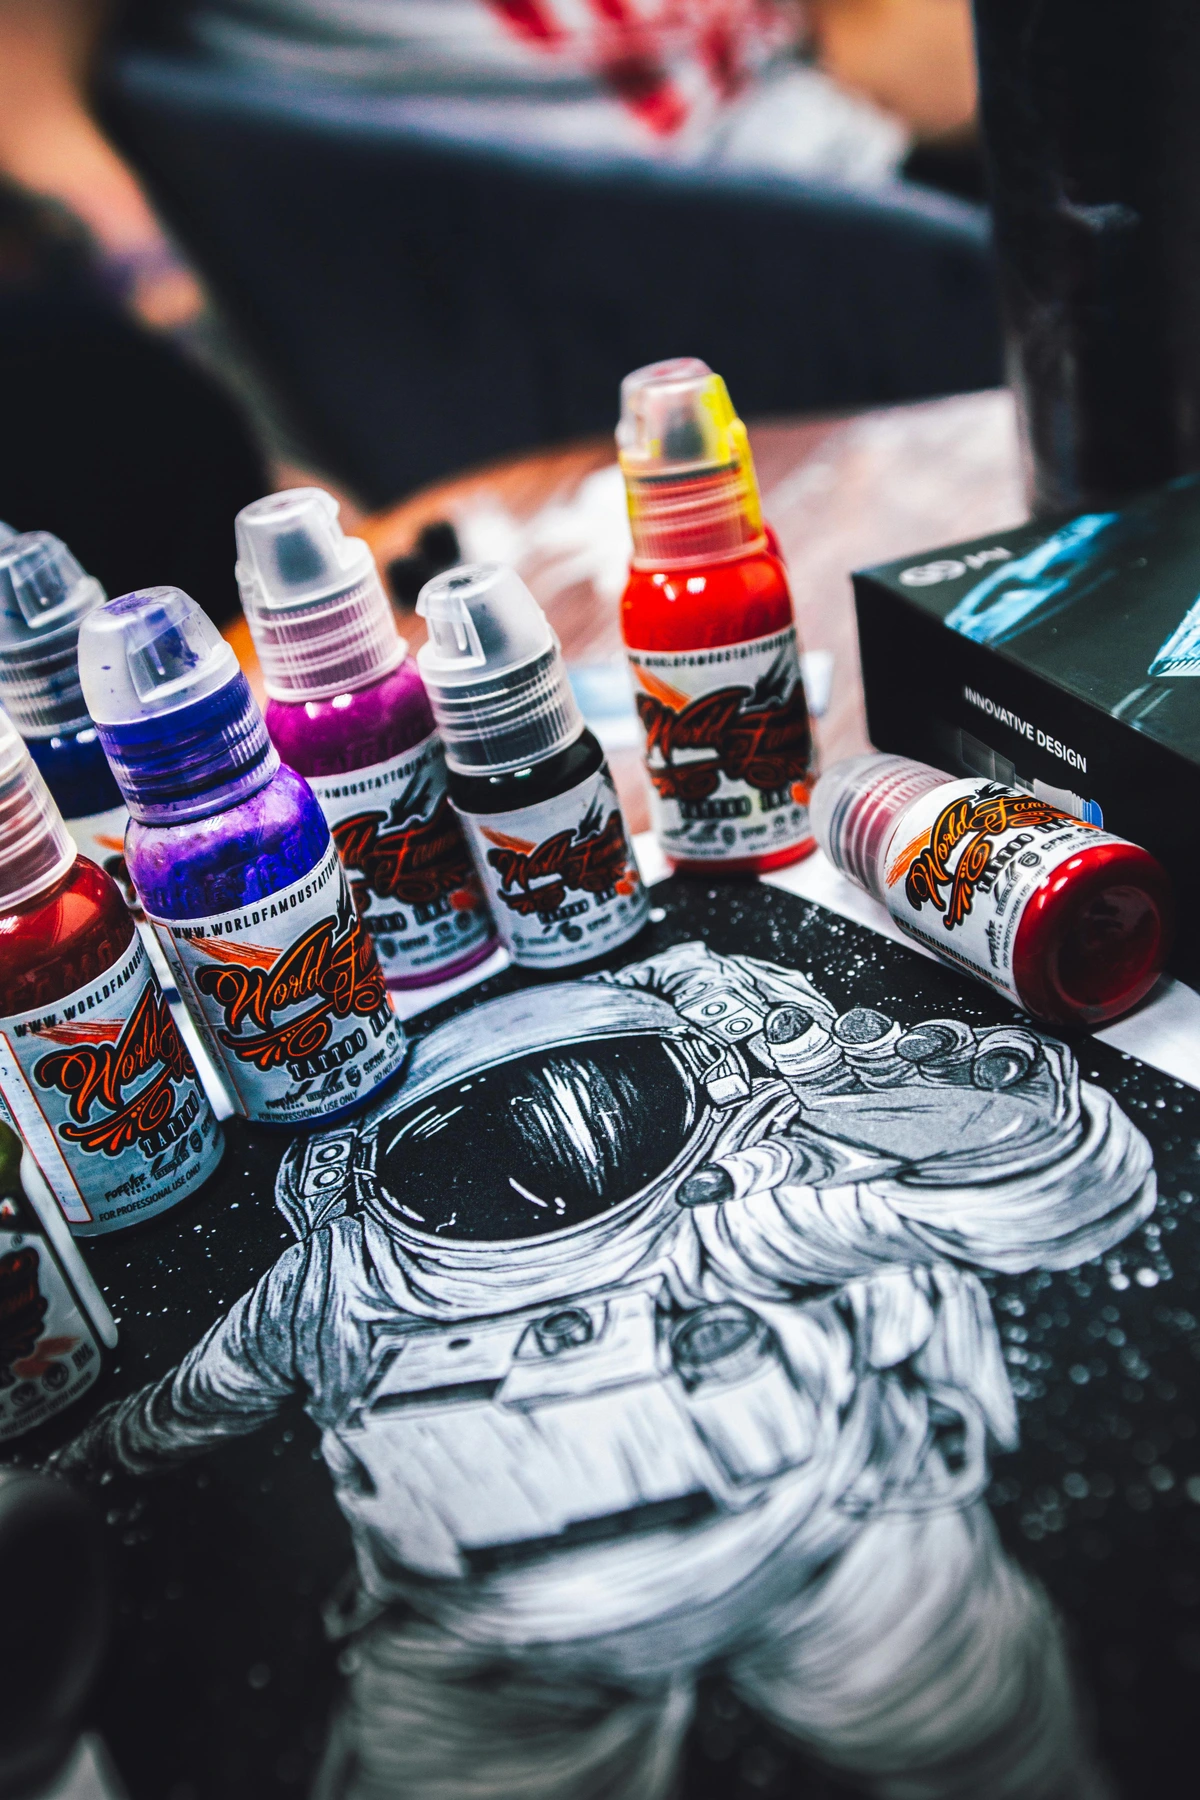
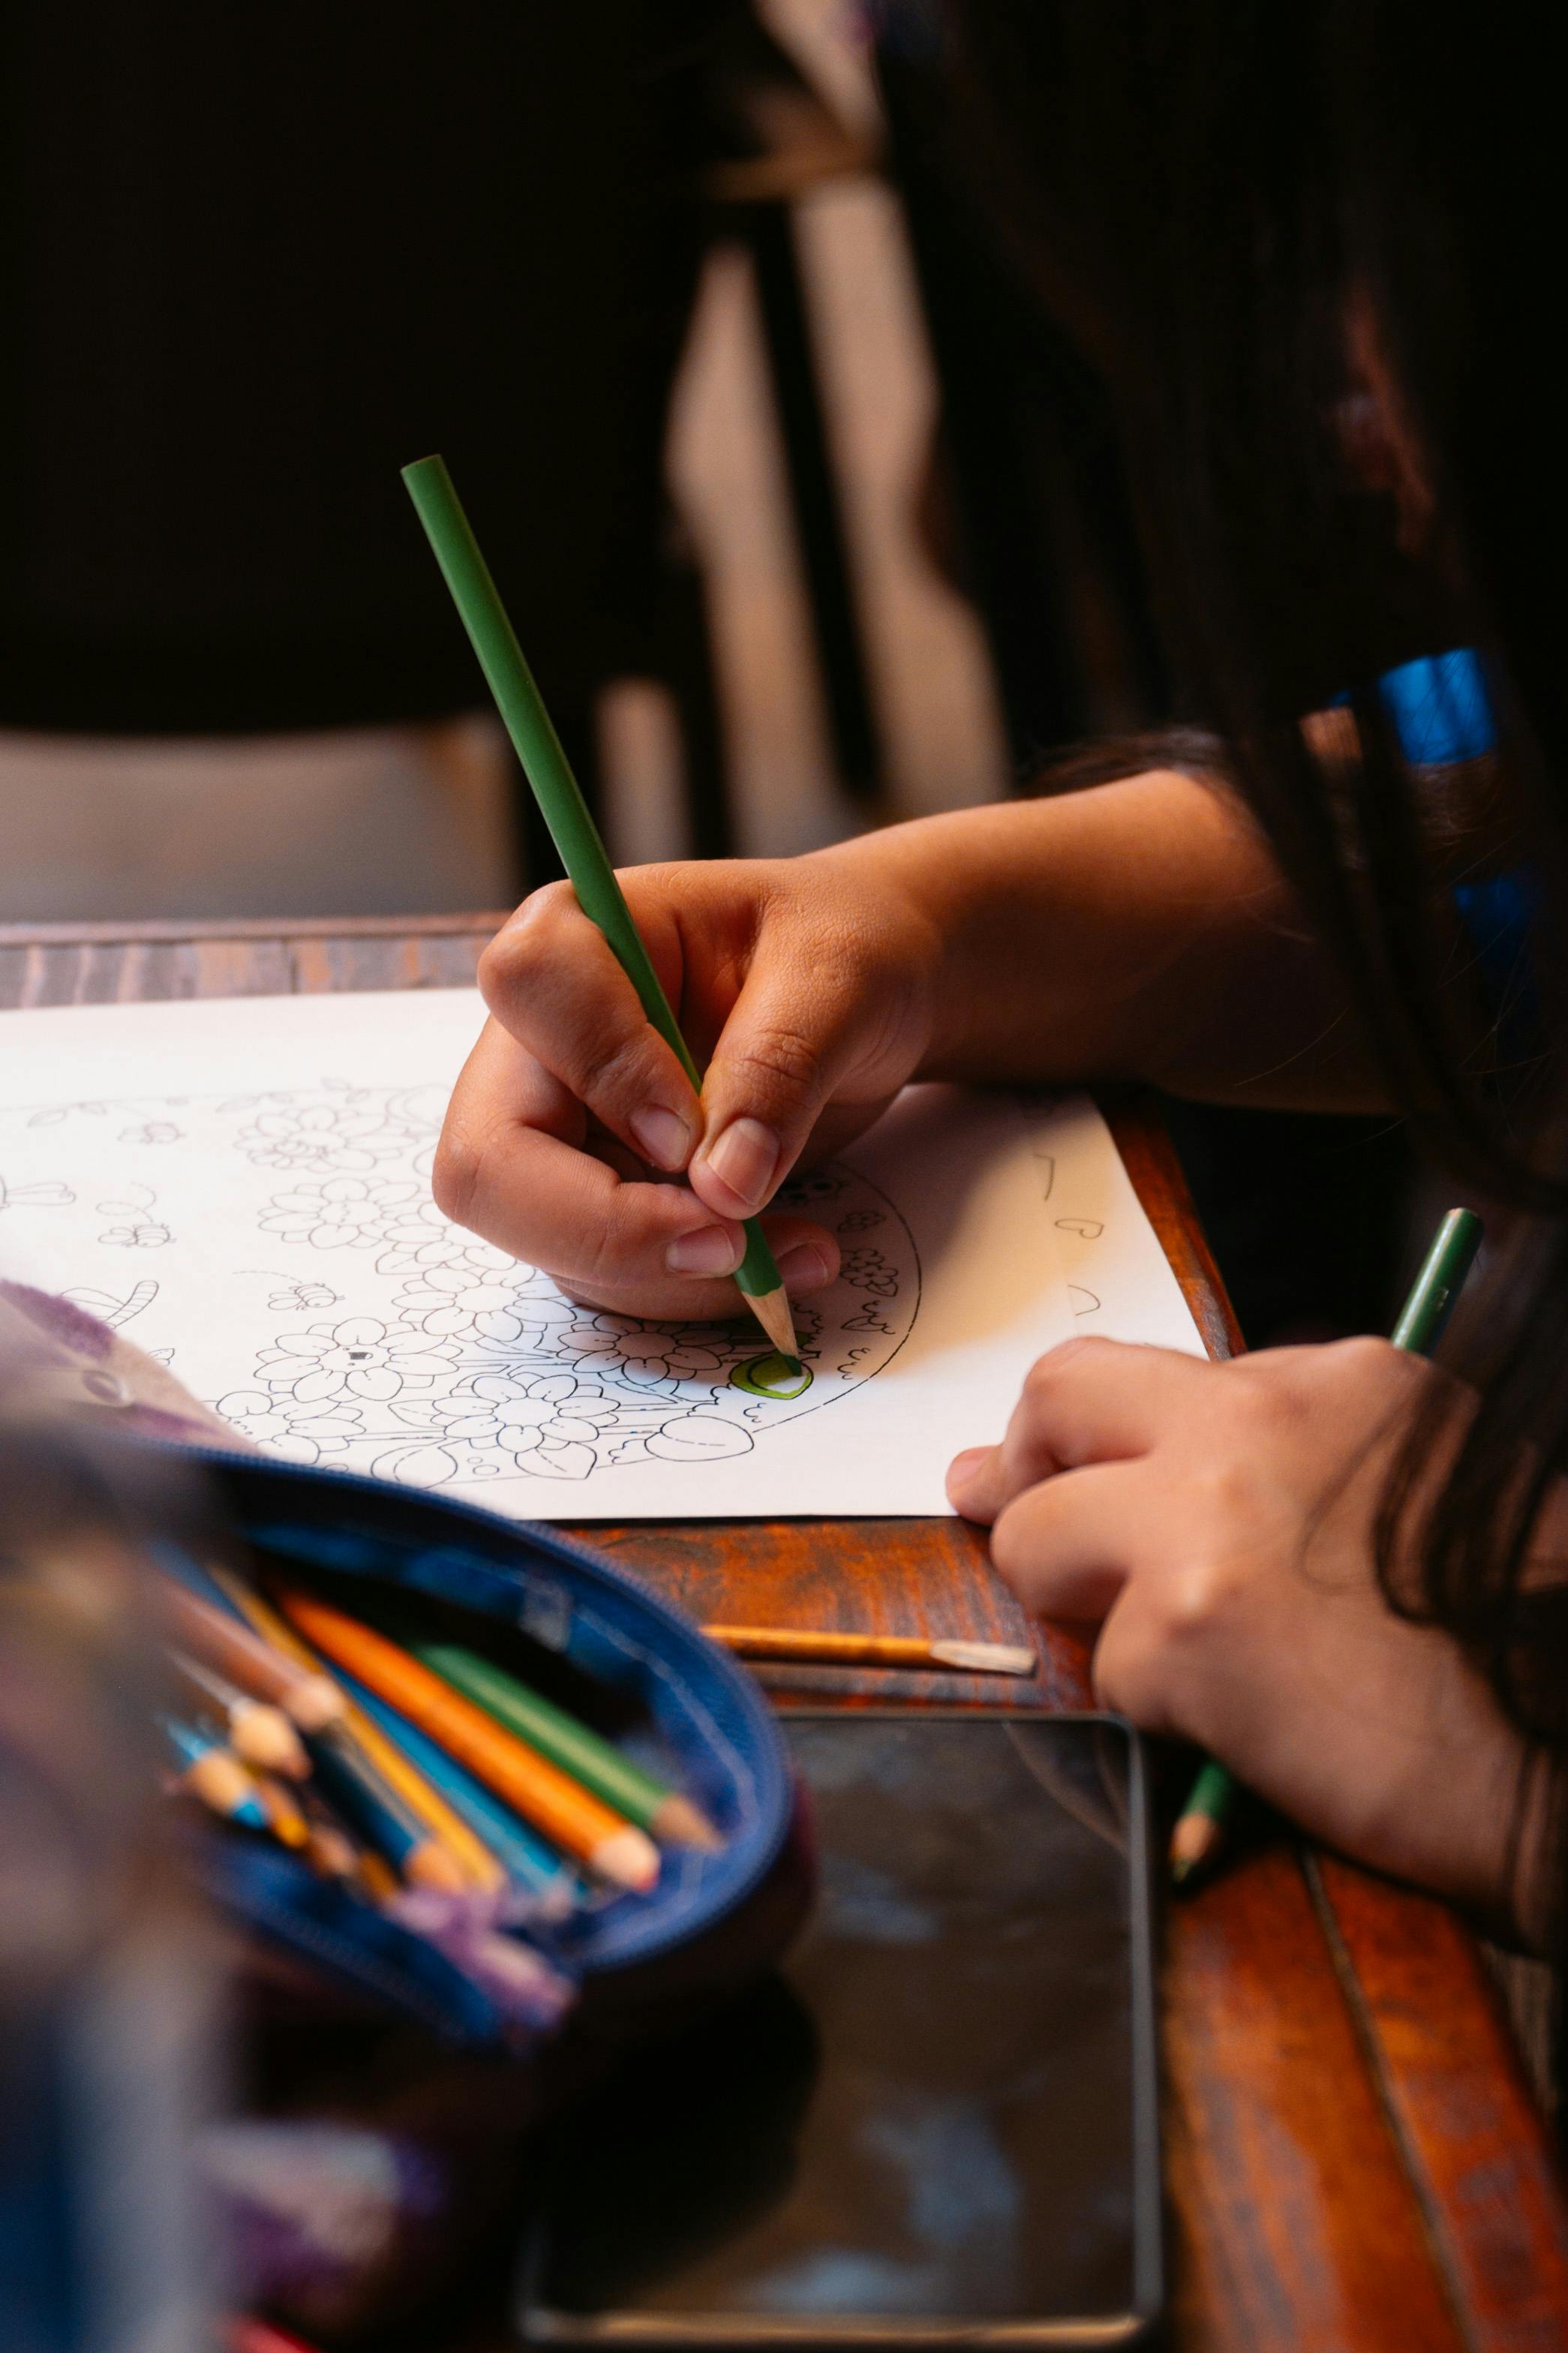
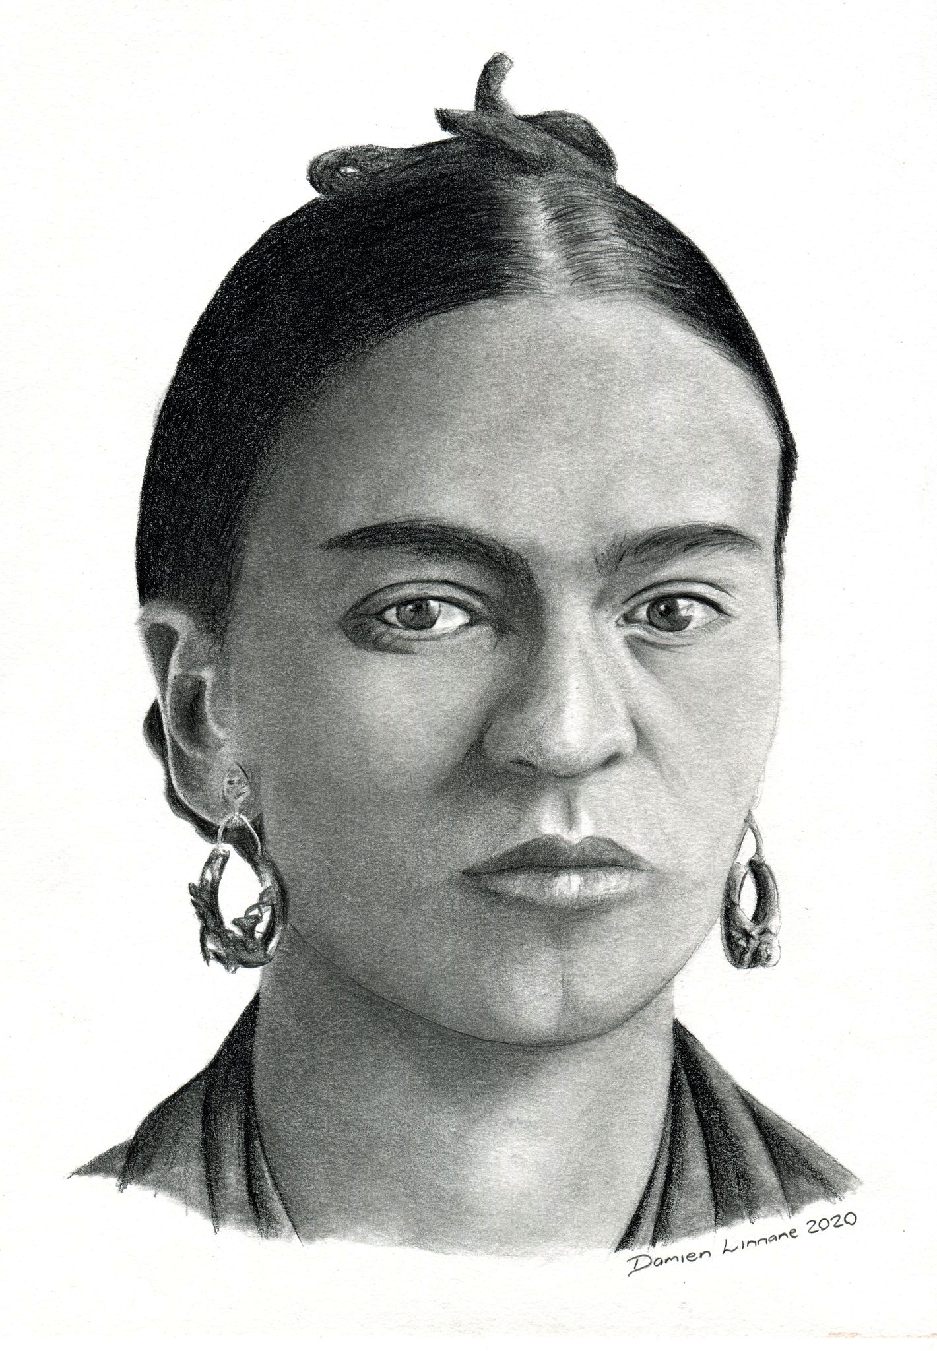
Speaking of texture, you might wonder how pencils are used in techniques like frottage (like the image above). This surrealist technique involves placing paper over a textured object and rubbing a pencil across it to transfer the texture. Softer B grade pencils are generally ideal for this, as their higher graphite content transfers more easily and creates a richer impression of the texture underneath. Other techniques like cross-hatching (intersecting lines to create tone) are often best achieved with H grades for crisp, controlled layers, while sfumato (soft, gradual blending to create misty effects) truly shines with the smooth laydown of B grades.

credit, licence
So, what do those letters truly mean for your art? Let's break down the essential drawing pencil grades.
H Grades: The Architects of Precision and Light
H stands for 'Hardness.' These pencils contain more clay mixed with the graphite, often undergoing higher baking temperatures. This makes the lead much harder, allowing it to hold a very fine point and deposit less graphite onto the paper. The result? A lighter, crisper, and more controlled line. They're also much harder to smudge, which is a blessing for clean work, especially if you're prone to dragging your hand (and let's be honest, who isn't?).
Think of them as your precision instruments, ideal for:
- Initial Sketches & Underdrawings: Creating ghostly, almost ethereal guides that won't overwhelm your final drawing. Perfect for planning complex compositions or laying out the precise perspective grid for a cityscape. Think of the delicate underdrawings of master draftsman like Edgar Degas, where subtle H grades might have laid the foundation for dynamic movement.
- Intricate Details & Fine Lines: Excellent for the delicate veins in a leaf, the subtle architecture of an eye, or rendering the intricate gears of a clockwork mechanism. They can also capture the subtle glow of moonlight on water or the delicate fuzz on a peach.
- Technical Illustrations: Architectural plans, scientific diagrams, or any work demanding unwavering precision, where faint, erasable lines are crucial.
- Light Tonal Layers: Building up subtle gradients without intense saturation, ideal for capturing diffused light or atmospheric effects like mist.
The higher the number (e.g., 9H), the harder the lead and the lighter, more delicate the line it produces. Be aware that some harder H grades, due to their increased clay content, can feel a little 'whispery' or even slightly 'scratchy' – a subtle tactile resistance on the paper that can take some getting used to. For instance, a 3H will offer a slightly darker, less scratchy line than a 5H, making it useful for subtle transitions where extreme lightness isn't needed.
B Grades: The Maestros of Depth and Expression
B stands for 'Blackness.' These pencils have more pure graphite and less clay, typically baked at lower temperatures. This makes the lead softer and, crucially, gives it a higher pigment density, allowing it to deposit a richer, darker, and more substantial mark. They are incredibly easy to smudge and blend, making them perfect for expressive work, shading, adding depth, and creating dramatic tonal effects. These are your tools for emotional impact, for capturing mood and atmosphere, for painting with darkness.
Use B grades for:
- Deep Shadows & Rich Darks: Achieving velvety, absorbing blacks that pull the viewer into your piece. Indispensable for capturing the dense fur of a black cat, the intense, dramatic shadows in a noir-inspired scene, or the velvety texture of a raven's feather.
- Expressive Marks & Gestural Drawings: Capturing raw energy and movement with bold, uninhibited lines, perfect for dynamic figure studies. Many artists, like John Singer Sargent in his rapid figure sketches, masterfully used soft pencils to capture life and motion.
- Building Form & Volume: Laying down luscious layers of value to give objects three-dimensionality, ideal for rendering the contours of a human form or the deep, atmospheric shadows in a forest clearing. This is key for mastering shading techniques in drawing.
- Effortless Blending & Smudging: Creating soft transitions and atmospheric effects with ease, giving your work a painterly quality.
The higher the number (e.g., 9B), the softer the lead and the darker, more intense the mark it will make. While utterly luscious, soft leads are also more prone to internal breakage if dropped due to their higher graphite content and thus, lower structural integrity – a heartbreaking moment when a new pencil crumbles from within! A 3B, for example, offers a beautifully rich mid-tone, while a 6B plunges into deep, absorbing shadows, perfect for adding dramatic contrast. These soft drawing pencils are your secret weapon for achieving profound depth and impactful statements.
The Middle Ground: HB and F Grades Explained
Think of these as the versatile backbone of your pencil collection, bridging the gap between precision and expression:
- HB is the ubiquitous standard pencil, often referred to as a #2 pencil in some regions. It offers a balanced middle ground perfect for everyday writing and general sketching. It's the workhorse that bridges the gap between precision and expressiveness, sitting right in the center of the pencil hardness scale. It's often the first pencil we ever use, and for good reason – it's remarkably versatile, offering a good balance of darkness, erasability, and strength. You can even use an HB for expressive sketching by varying your pressure, making it darker with more force, or lighter with a lighter touch.
- F stands for 'Fine Point' and is slightly harder than an HB, making it excellent for maintaining a sharp point for detailed work without being as light as a true H pencil. I think of it as HB's slightly more refined cousin, often favored for quick, clean line work where an HB might be too soft, or for artists who prefer a very crisp line without the pale quality of harder H grades. An F pencil can also be an excellent choice for light underdrawings if you plan to go over your sketch with ink, as it's less prone to smudging than an HB, providing a clean foundation.
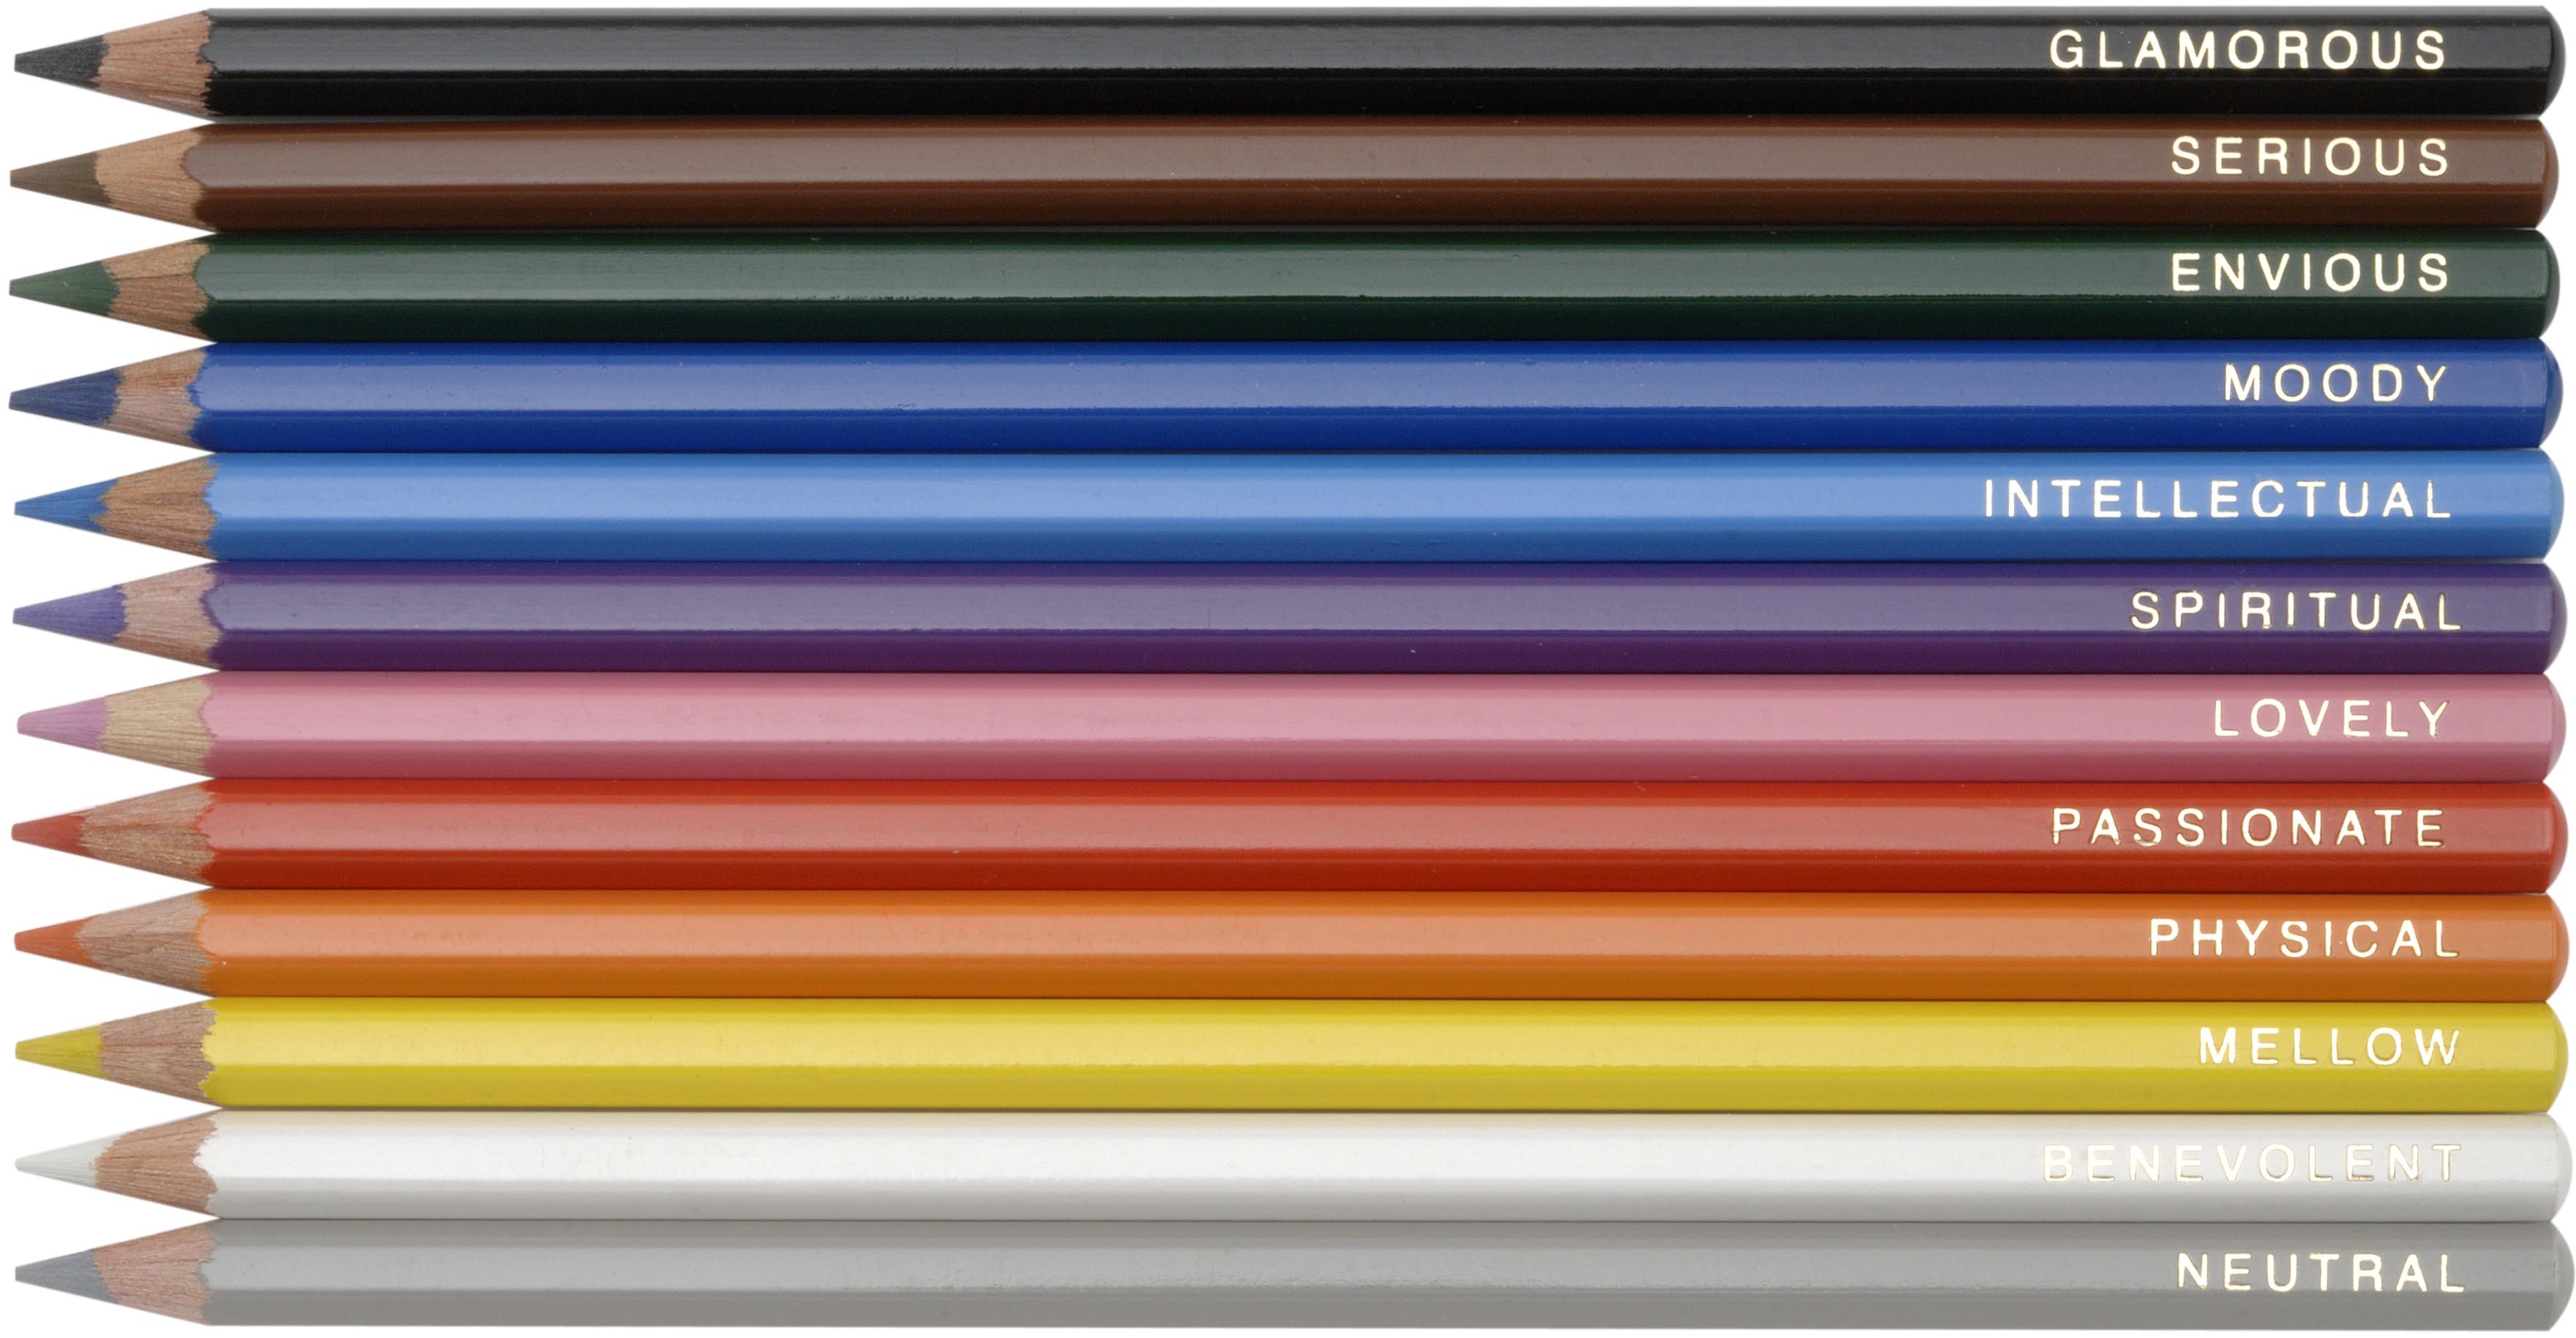
Here's a quick cheat sheet to help you choose your weapon of choice, thinking about the artistic intention behind each graphite pencil grade:
Grade Range | Hardness | Line Darkness | Artistic Intention & Effect | Best For | Artistic Mood/Effect |
|---|---|---|---|---|---|
| 9H - 4H | Very Hard | Very Light | Analytical clarity, delicate outlines, subtle suggestions, evoking mist or distance. | Underdrawings, technical plans, light outlines, fine cross-hatching, preliminary guides, creating ephemeral textures, precise detail in scientific illustration, architectural blueprints, initial compositions, faint studies where minimal graphite transfer is desired. | Ethereal, Precise, Restrained, Suggestive, Distant |
| 3H - H | Hard | Light | Clean definition, controlled precision, subtle layering, building structure. | Detailed line work, subtle tonal layers, initial clean outlines, precise architectural details, structural elements, faint textures, crisp edges in perspective drawings, foundational studies, precise rendering of form. | Clean, Structured, Subtle, Controlled, Crisp |
| HB, F | Medium | Medium | Balanced versatility, foundational structure, adaptable for varied pressure. | General sketching, writing, foundational layers, rendering light tones, building initial forms, everyday drawing, quick studies, light portraits, initial composition layouts, underdrawing for ink work, versatile daily use. | Versatile, Balanced, Reliable, Everyday, Adaptable |
| B - 3B | Soft | Dark | Expressive depth, building form and volume, rich mid-tones, creating dynamic energy. | Shading, adding form and volume, building initial layers of value, dynamic gestures, creating mood and atmosphere, subtle textures in organic forms, underpainting for heavier darks, capturing expressions, laying down base tones for portraits. | Expressive, Volumetric, Atmospheric, Dynamic, Rich |
| 4B - 9B | Very Soft | Very Dark | Dramatic impact, intense emotion, velvety blacks, capturing raw intensity. | Deep shadows, bold expressive marks, intense contrast, effortless blending, capturing raw emotion, rich, absorbing textures, heavy linework, creating dramatic light effects, filling large dark areas quickly, expressive portraits, impactful abstract work. | Dramatic, Intense, Velvety, Powerful, Absorbing |
My advice? Don't just settle for one. A thoughtfully curated starting set, perhaps including a 2H, an HB, a 2B, and a 6B, will give you an astonishing range of expressive power right from the start. Trust me, it’s a small investment that pays huge artistic dividends. For those just starting their journey, my guide to the best drawing pencils for beginners offers more tailored advice. You can also explore a specific look at best sketching pencils for artists or for achieving best drawing pencils for realistic art.
Choosing Your Champion: What Actually Matters When Buying Drawing Pencils?
Now that we've decoded the grades, let's talk about what genuinely separates a good drawing pencil from a frustrating one. These are the details I've learned to obsess over after years of drawing, and they will save you a lot of headaches (and quite a few broken leads, trust me). I’ve been there, thinking, “It’s just wood and lead, right?” Oh, how wrong I was! This section will cover how to choose drawing pencils that truly elevate your art.

Core Quality & Centering: The Unseen Foundation
This is, without a doubt, the most critical factor for any graphite pencil. Is the graphite core consistently high-quality and perfectly centered within the wood casing? A poorly made pencil will have a core that breaks every single time you try to sharpen it, no matter how gentle you are. Imagine a tiny off-center bubble in the lead – every time you try to get a sharp point, you hit that weak spot, and snap. I've literally thrown pencils across the room in frustration when the lead keeps snapping inside, rendering a brand-new pencil useless – a frustration so profound it once led me to question my career choices! This maddening experience is precisely where sticking to reputable artist-grade brands truly pays off. Artist-grade pencils, unlike student-grade, use purer graphite and higher quality clay, resulting in smoother laydown and better consistency. When you're sharpening, listen for a consistent, smooth cut, and observe the lead – if it keeps breaking or appears off-center, you've found a lemon. You want a smooth, homogenous graphite mix that lays down an even line, free of gritty impurities that feel like tiny rocks scraping across your paper. High-quality graphite and clay also contribute to better pigment density (for richer darks) and often greater lightfastness, crucial for archival drawings that resist fading over time from light exposure. This ensures your hard work lasts!
The Unsung Hero: Why Pencil Wood Matters
Good pencils typically use high-quality woods like Californian Cedar. Why does it matter? Beyond just sharpening easily, such woods are dense and stable. This prevents splintering, ensures a smooth, even point, and provides superior protection for the fragile graphite core. Cheaper woods can splinter, chip, and generally turn your sharpening routine into a frustrating battle against jagged edges and broken points. It’s like trying to cut butter with a dull spoon – needlessly difficult and deeply irritating! The quality of the wood also helps protect the fragile graphite core from impacts, minimizing those dreaded internal breaks that plague cheaper brands.
Artist-Grade vs. Student-Grade Pencils: What's the Real Difference?
This is a distinction that truly matters for your artistic journey. Student-grade pencils (often found in large, inexpensive sets) typically use lower-quality graphite and clay, leading to:
- Inconsistent Leads: You might find hard, scratchy bits in a supposed soft B pencil, or a grainy texture that fights against smooth shading.
- Poor Centering: The graphite core isn't perfectly aligned within the wood, making consistent sharpening almost impossible and leading to frequent internal breaks.
- Lower Pigment Density: Darker grades won't achieve the same rich blackness, often appearing chalky or light even with heavy pressure.
- Inferior Wood: Cheaper wood splinters easily, making sharpening frustrating and failing to protect the fragile core.
Artist-grade pencils (like those from Faber-Castell, Staedtler, Tombow) are the opposite. They are manufactured with:
- Purer Graphite & Finer Clay: This results in incredibly smooth laydown, consistent hardness, and superior blending capabilities.
- Precise Core Centering: Minimizes breakage during sharpening and provides a reliable, long-lasting tool.
- High Pigment Density: Allows for true, rich darks and a wider, more nuanced tonal range.
- High-Quality Wood: Sharpens cleanly, protects the core, and feels substantial in your hand.
While the upfront cost is higher, the value in terms of consistent performance, fewer frustrations, and superior artistic results makes artist-grade pencils a worthwhile investment, even for beginners. You'll spend more time creating and less time fighting your tools.
Testing Pencils for Quality: A Quick How-To
When you're faced with a new pencil, how do you know if it's a champion or a dud? Here’s a quick mental checklist (or physical if you’re in a store and they allow testing!):
- The Sharpening Test: Does it sharpen smoothly, with even wood shavings and a clean, consistent point? If the wood splinters or the lead keeps breaking, that's a red flag for poor core centering or cheap wood.
- The Pressure Test (Hardness): On a scrap piece of paper, apply light, medium, and heavy pressure. Does an H grade remain light and crisp? Does a B grade lay down increasingly darker tones without feeling gritty or excessively shiny (unless it's a very soft B on smooth paper)? Consistency across pressure levels indicates a well-made lead.
- The Smudge Test: Rub your finger gently over a dark mark. Some smudging is inevitable with graphite, but excessive smearing, especially from an H grade, might indicate too much binder or inconsistent graphite purity.
- The Feel Test: How does it feel in your hand? Is it balanced? Does it feel substantial? Does it glide smoothly across the paper or does it scratch and skip? This tactile feedback is incredibly important for long drawing sessions.
Beyond the Core: The Anatomy of Your Pencil
While the core and casing are paramount, a few other components complete our artistic companion. The ferrule, that small metal band, typically holds an eraser in place – though for serious drawing, I almost always recommend a separate, high-quality eraser like a kneaded eraser for superior control and subtlety, lifting graphite without damaging the paper's tooth. The outer lacquer or paint isn't just for aesthetics; it helps protect the wood, and in some cases, can indicate the pencil's grade through color coding (e.g., Faber-Castell's green). The overall finish can also affect the grip – a matte finish might offer more purchase than a glossy one. It all adds up to the overall quality and feel.
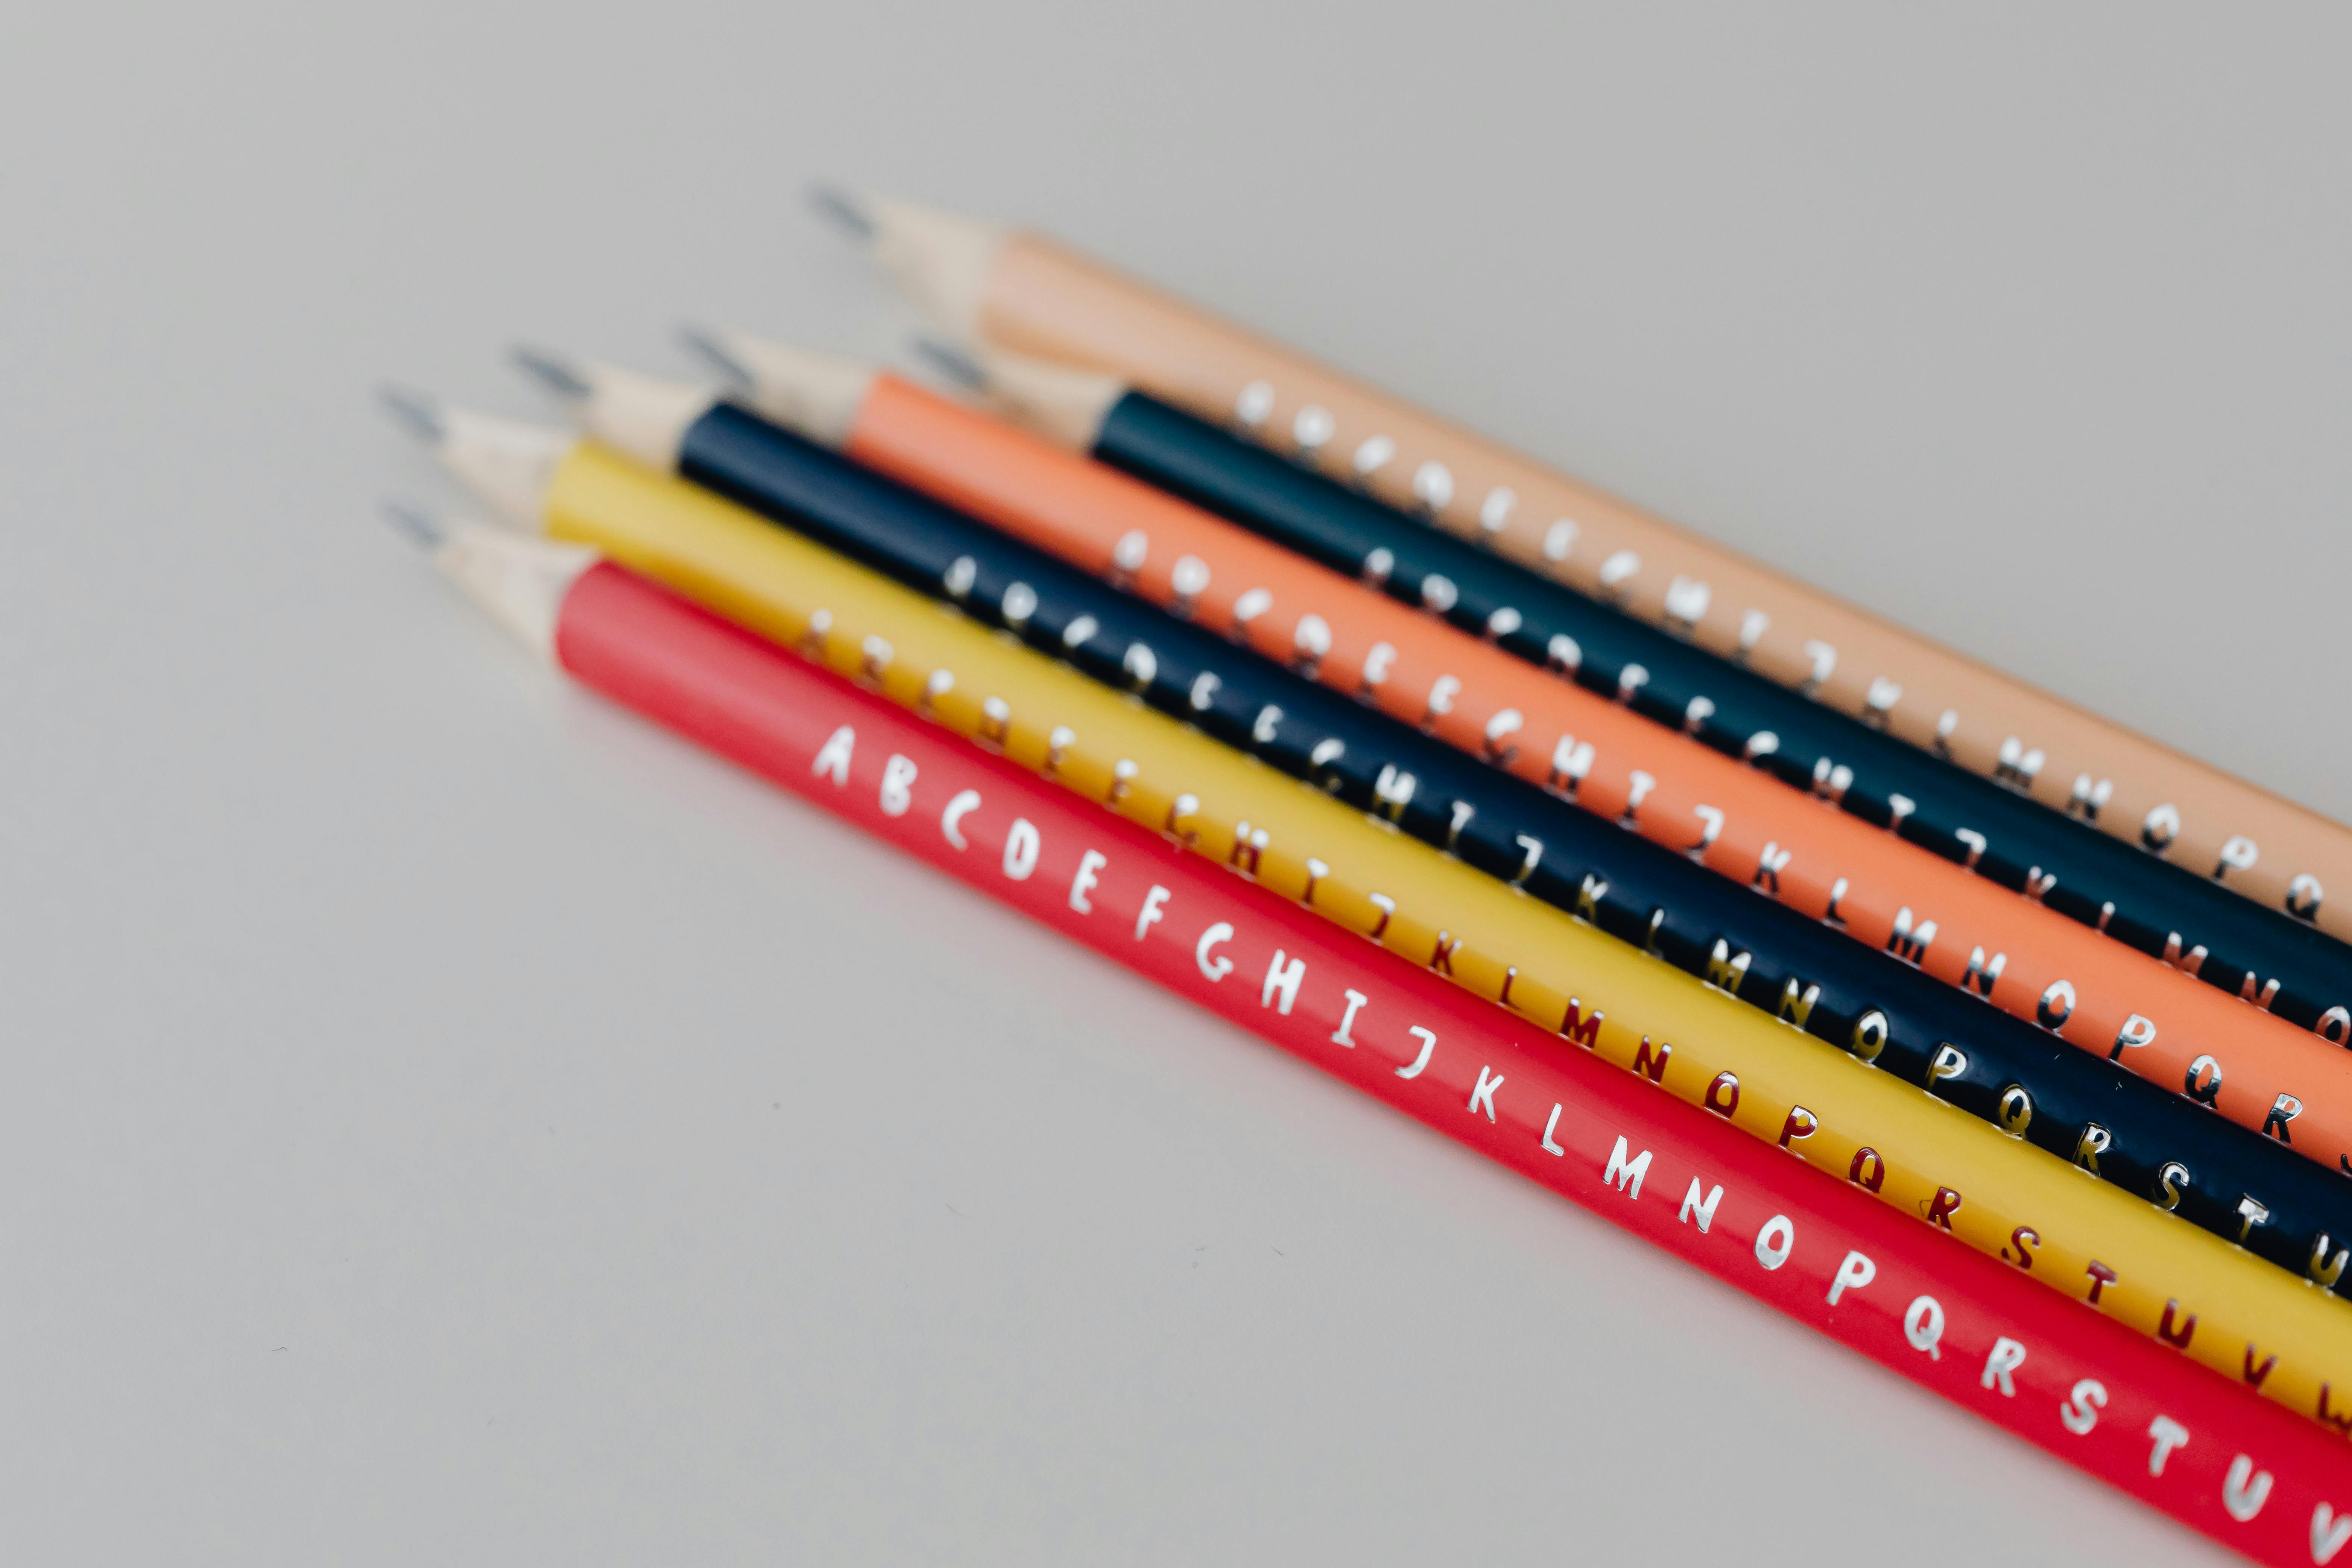
Pencil Shapes & Ergonomics: Your Partner in Crime
This might seem minor, but after hours of drawing, the shape and balance of your pencil barrel become profoundly important. Different shapes cater to different grips and preferences, impacting your comfort and endurance. Some artists prefer a heavier pencil for more deliberate strokes, while others prefer a lighter feel for delicate, quick movements. Experimentation is key here!
- Hexagonal Barrels: These are classic for a reason. Their flat edges offer a secure grip and, crucially, won't roll off your desk onto the floor (a surprisingly common and annoying occurrence, leading to internal lead breaks!). Many find them comfortable for precise control.
- Round Barrels: Many artists find these comfortable for rotating the pencil to achieve varied line widths without adjusting their grip. They can feel very natural in the hand, almost like a brush.
- Triangular Grips: Less common but highly ergonomic, these are designed for enhanced comfort and stability, particularly good for those with hand fatigue issues or for beginners developing a consistent grip. They encourage a relaxed hold.
Experiment to find what feels most comfortable and natural for your hand. What works for one artist might feel completely wrong for another, so don't be afraid to explore! If it feels awkward after just a few minutes, it’s not your champion.

Consistency Across Grades: Predictability is King
For a professional artist, or even a serious amateur, a 2B from one brand should feel and perform like a 2B from that same brand every single time. Consistency is king because it allows you to predict how your tools will behave, which is essential for developing your unique style and technique. This predictability helps you develop muscle memory, speeds up your workflow, and ultimately, frees your mind to focus solely on the creative act rather than fighting your tools. You don't want surprises when you're in the flow of creation; you want reliability, a steadfast friend you can always count on. While brands strive for perfect consistency, subtle variations can sometimes occur between manufacturers, and even batches. This is where personal preference and brand loyalty often emerge – you find a brand whose 6B feels like a 6B to you.
Price vs. Value: An Investment, Not an Expense
Don't fall into the trap of just buying the cheapest option when looking for the best graphite pencils. A single, high-quality pencil will almost always outlast and outperform an entire pack of inferior ones. It’s an investment in your artistic process and, ultimately, in the quality of your work. The higher price often reflects superior raw materials (like purer graphite, better clay, higher-grade wood) and more precise manufacturing processes. This attention to detail means fewer frustrating internal breaks and less wasted material due to consistent quality control. As I always say, buy fewer, but better. It's not about the cost of the pencil, but the value it adds to your creative journey. This is particularly true for essential drawing supplies for beginners – a good start makes all the difference.
My Go-To Brands: A Personal Breakdown of Reliable Favorites
After countless sketches, numerous art supply store raids, and more than a few desk-clearing moments of pencil-induced frustration, a select few brands have earned their permanent spot in my creative arsenal. These aren't just tools; they're trusted allies. Brand loyalty can feel like a trap, I know. But with pencils, consistency and reliability are paramount. You want to know that the 2B you buy today will perform exactly like the 2B you used last year. Here are a few brands that have never, ever let me down, becoming trusted collaborators in my artistic journey when it comes to choosing the best graphite pencils for artists.
Faber-Castell 9000
These iconic green pencils have been my steadfast companions for years and are ubiquitous in art studios worldwide, and for exceptionally good reason. They are incredibly reliable, impressively break-resistant, and their grading is consistently spot-on. Their break-resistance is a result of meticulous core centering, optimal graphite/clay ratios for each grade, and the use of high-quality, stable wood casings – a true blessing when you’re in the flow and pressing down! Faber-Castell is known for rigorous quality control in their manufacturing, ensuring each pencil meets high standards for core centering and graphite purity. I've found their H grades to be a tiny bit 'whispery' or subtly tactile on some papers – a common trait for harder leads due to higher clay content – but their B grades? Smooth as buttery velvet, delivering deep, rich tones with ease. They simply feel like a serious, professional tool in your hand, inspiring confidence with every stroke. They're a solid workhorse for all-around drawing, essential for anyone from beginners to professionals.

Staedtler Mars Lumograph
Identifiable by their distinctive blue lacquer, Lumograph pencils are revered for their remarkably smooth laydown (how smoothly the graphite transfers to paper) and a slight waxy feel. This subtle waxiness isn't just a quirk; it's a secret weapon that helps to bind the graphite particles more tightly, significantly reducing smudging, especially noticeable in the softer B grades. Staedtler's reputation for precision engineering extends to their pencil production, resulting in highly consistent cores and excellent pigment density. When I'm working on more finished, polished drawings that demand a refined touch, rather than just quick, gestural sketches, these are often my first choice. They deliver precision with elegance and are fantastic for best drawing pencils for realistic art.
Tombow Mono 100
For me, these are a bit of a luxury item, a real treat for special pieces. The elegant black finish and high-density graphite make them feel special from the moment you pick one up. They are unbelievably smooth, gliding across the paper, and they produce some of the darkest, most intense blacks I've ever achieved with a graphite pencil. Tombow's advanced blending of fine graphite powder with binders results in an exceptionally smooth and dense core. While they come with a slightly higher price tag, for a final, impactful piece where rich darks and buttery smoothness are essential, they are absolutely worth every penny. Think of them as the velvet cloak of the pencil world, offering an almost unparalleled experience. These are truly some of the best graphite pencils for achieving deep, absorbing tones.
Here's how I see these champions stacking up at a glance, a quick comparison of drawing pencil brands:
Brand | Key Feature | Feel | Best For | Price Point |
|---|---|---|---|---|
| Faber-Castell 9000 | Break-Resistance, Reliability, Consistent Grades | Consistent, slightly firm | All-around professional work, detailed sketching, robust daily use, foundational drawing. | Mid-Range |
| Staedtler Mars Lumograph | Smudge-Resistance, Exceptionally Smooth Laydown | Smooth, slightly waxy | Finished drawings, technical illustration, precise line work, polished art, achieving subtle gradients. | Mid-Range |
| Tombow Mono 100 | Unparalleled Darkness & Buttery Smoothness | Luxurious, intensely smooth | Expressive drawing, achieving rich, deep darks, high-impact final pieces, nuanced blending, fine art illustration. | Higher-End |
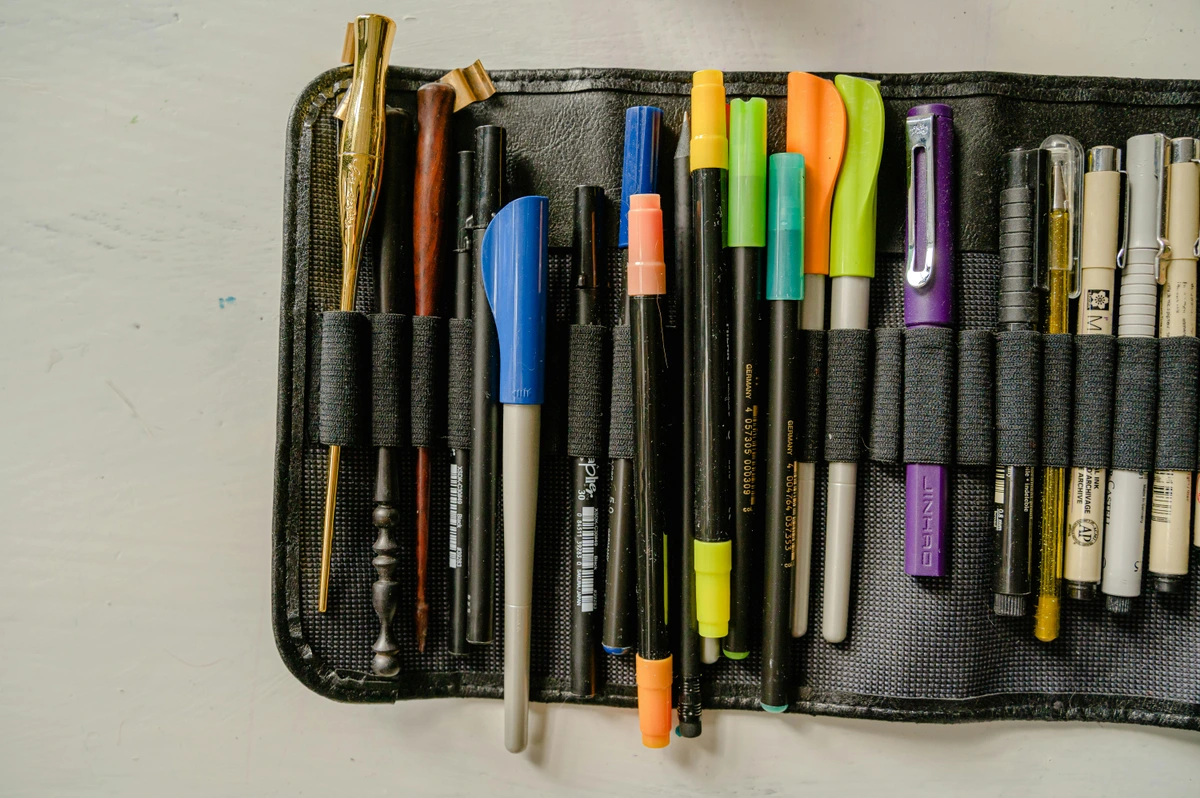
Of course, this is merely a starting point based on my personal favorites. There are many other fantastic brands out there, like Derwent (known for their graphite series), Mitsubishi Hi-Uni (another high-end option for rich darks), and Koh-I-Noor. The real fun is in trying them out yourself! It’s a journey of discovery, finding the tools that sing to your hand. Your perfect set of drawing pencils awaits.
Beyond Graphite: Exploring Other Drawing Media
While graphite is often the undeniable star of the show for many, it's incredibly valuable to know about its cousins in the drawing world. Each offers a unique texture, darkness, and expressive capability that can truly transform your artwork, bringing a different 'voice' to your creative process. It's like having a whole orchestra of instruments at your fingertips, and expanding your knowledge of art supplies.
Charcoal Pencils: The Powerhouse of Matte Black
When you need that truly intense, matte black that graphite simply can't achieve – the kind that absorbs light and pulls you in – charcoal is your answer. Charcoal pencils encapsulate compressed charcoal within a wood casing, making them far easier to handle and control than traditional charcoal sticks (and significantly less messy, though they're still not clean – embrace the dust!). They're fantastic for expressive, large-scale work, creating deep shadows, and adding dramatic contrast. The matte finish absorbs light, giving a different kind of depth that graphite's subtle sheen can't replicate. The binder used in charcoal pencils is typically gum arabic or a similar natural gum, which makes them less prone to shine than graphite but also contributes to their intense matte finish. While charcoal is known for its blendability and soft, painterly feel, it's also less erasable than graphite, often requiring specific erasers like rubber or kneaded varieties to lift marks effectively, and can be more stubborn to remove completely from paper, especially with heavier applications. If you're interested in really getting to grips with this powerful medium, I’ve explored it further in understanding and using charcoal for drawing and detailed essential charcoal drawing supplies for beginners.
Carbon Pencils: The Velvety Hybrid Hero
Think of carbon pencils as a brilliant hybrid, striving for the best of both worlds. They aim to blend the smooth, consistent laydown of graphite with the deep, rich blackness of charcoal, acting as a superb bridge between the two. They are typically less dusty than pure charcoal but significantly darker than even the softest graphite, and they offer a truly matte, velvety finish that avoids the slight sheen sometimes seen with heavy graphite applications. Their binders often combine a mix of charcoal and a waxy medium, giving them that unique feel. Their blending capabilities are excellent, often smoother than charcoal, and they are generally more erasable than charcoal but less so than graphite. A superb choice when you want intense darks without the high shine, providing a rich, absorbing texture that artists often adore. It's like the quiet achiever in the drawing box, delivering impact without fuss. Carbon pencils excel at dramatic portraits or scenes requiring deep, non-reflective shadows.
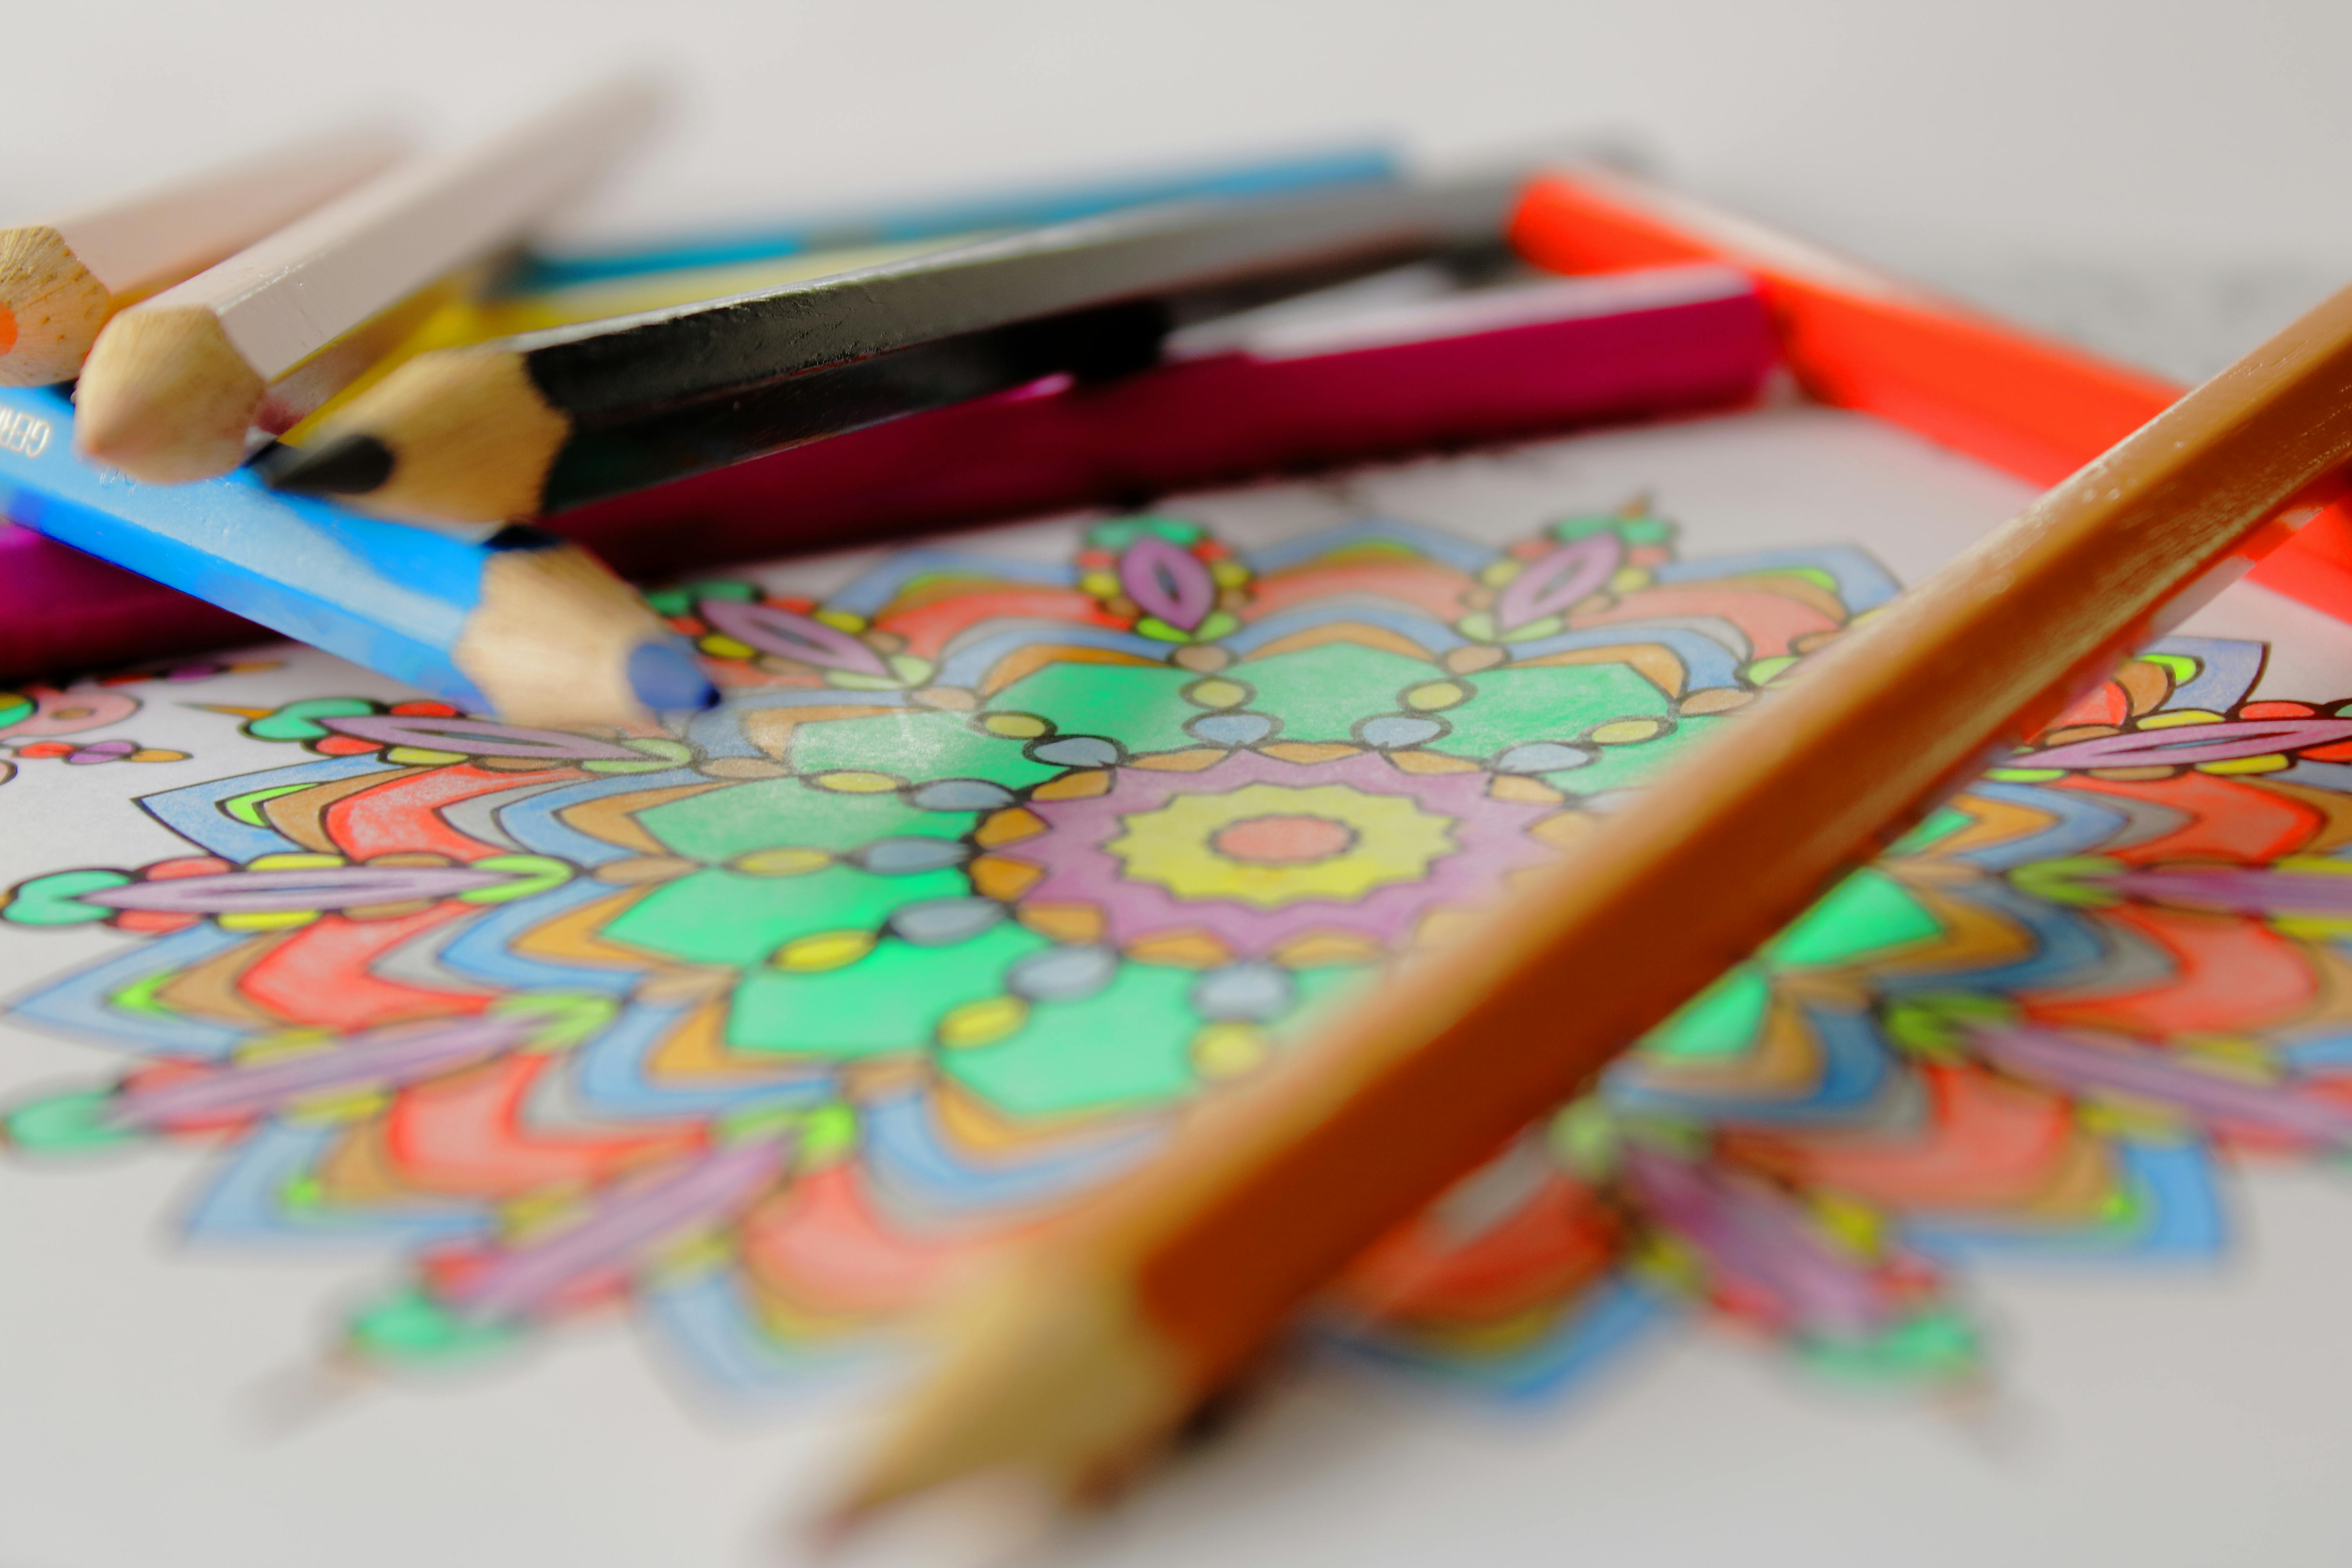
Pastels (Soft, Hard, and Pencil): Pure Pigment Power
Pastels offer pure, vibrant pigment in a stick form. Soft pastels are incredibly blendable and allow for rich, painterly effects, perfect for covering large areas with luminous color. The binder for pastels, often gum tragacanth, holds the pigment together with minimal interference, resulting in intense color. They are the least erasable and most prone to smudging due to their high pigment concentration, and removing them cleanly can be quite challenging, often requiring careful lifting rather than rubbing. Hard pastels are firmer, making them better for detail, sharp lines, and underpainting, and offer slightly more control with less dust. Pastel pencils, as the name suggests, combine the control of a pencil with the expressive qualities of pastels, encapsulating pigment with a binder in a wood casing. They are fantastic for adding color, texture, and a luminous quality to your work, especially for vibrant landscapes or impressionistic portraits. While colored pencils offer precision, pastels excel at soft, diffused color and textural effects. Want to learn more about harnessing this vibrant medium? Check out my guide on essential pastel supplies for beginners.
Conte Crayons and Lithographic Pencils: Niche Players with Impact
Beyond the more common media, you might stumble upon Conte crayons (often referred to as 'Conté à Paris'). These are square sticks of compressed pigment, usually in earthy tones (sanguine, bistre, sepia, black, and white). They offer rich, vibrant color, a unique waxy feel, and are fantastic for expressive figure drawing, quick sketches, and adding warm, naturalistic tones. They blend beautifully but are less erasable than graphite. Then there are lithographic pencils, often called 'grease pencils.' These oil-based pencils are designed for drawing on stone or metal plates for lithography, but artists sometimes use them for their intense, water-resistant dark marks on paper, creating almost crayon-like textures and a deep, waxy black that graphite can't quite achieve.

Colored Pencils: Precision in a Spectrum of Hues
While this article focuses primarily on monochrome drawing, it would be incomplete not to mention colored pencils. These consist of pigment, a binder (usually wax or oil-based), and a wax or oil base, all encased in wood. They allow for incredible detail, layering, and blending, offering a vast palette of colors. They're a staple for illustrators and artists who want to build up vibrant color with precision and control, bringing a different kind of life to their drawings. Wax-based pencils generally allow for more layers and have a softer laydown, but can be prone to 'wax bloom' (a cloudy film) with heavy application. Oil-based pencils often blend more smoothly and resist wax bloom, offering a more consistent finish. Colored pencils offer good erasability, especially wax-based ones, though oil-based can be more stubborn, and very dark applications are hard to remove cleanly. For an in-depth look, take a peek at how to use Prismacolor Premier colored pencils, a popular choice among artists. Erasable colored pencils exist, though I often find their erasability comes at the cost of pigment intensity, a trade-off worth considering.
Watercolor Pencils: When Water Transforms Your Line
Another versatile member of the pencil family is the watercolor pencil. These drawing pencils are unique because they behave like regular colored pencils when used dry, allowing for precise lines and dry blending. However, their true magic is unlocked when water is applied. The pigment, held by a water-soluble binder, dissolves and spreads, transforming your drawing into a watercolor painting. This offers incredible flexibility for artists who want to combine the precision of drawing with the fluid effects of paint, making them ideal for mixed media, plein air sketching, or adding a painterly wash to line art.


A Glimpse Beyond: Expanding Your Pencil Horizons
Beyond these common players, the world of pencils is vast and wondrous. You'll find metallic pencils for shimmering accents, grease pencils or chinagraphs for drawing on smooth, non-porous surfaces like glass or metal, and even graphite sticks for covering large areas with broad, expressive strokes. My point? Don't be afraid to experiment! The perfect tool for that specific effect you're chasing might be just around the corner. Every drawing pencil has its unique potential, and knowing how it compares in terms of erasability, blendability, and sheen (the reflective quality of the graphite) will guide your choices.
Medium | Key Characteristics | Primary Binder | Erasability | Blendability | Sheen (Typical) | Best For |
|---|---|---|---|---|---|---|
| Graphite Pencils | Wide tonal range, controllable lines, subtle sheen. | Clay & Water | High (H grades), Medium (B grades) | Medium | Low (H) to High (B) | Detailed technical drawings, realistic portraits, subtle shading, foundational sketches. |
| Charcoal Pencils | Intense matte black, deep darks, expressive. | Gum Arabic | Low | High | None | Dramatic portraits, expressive figure studies, large-scale work, absorbing shadows, bold statements. |
| Carbon Pencils | Velvety matte black, smooth laydown, rich darks. | Charcoal & Waxy Medium | Medium | High | Low | Achieving deep blacks without sheen, detailed expressive work, bridging graphite and charcoal. |
| Pastels | Pure vibrant pigment, painterly effects. | Gum Tragacanth | Very Low | Very High | None | Luminous color studies, impressionistic landscapes, soft portraits, expressive texture. |
| Conte Crayons | Earthy, rich, waxy feel; excellent for gesture. | Wax & Pigment | Low | Medium to High | Low | Expressive figure drawing, warm underpainting, quick sketches. |
| Lithographic Pencils | Intense, water-resistant, waxy darks. | Oil-based | Very Low | Low | Low | Specific textures, very deep blacks, mixed media. |
| Colored Pencils | Precision color, layering, blending. | Wax or Oil | Medium (Wax), Low (Oil) | Medium to High | Low to Medium | Intricate illustrations, detailed coloring, vibrant portraits, building up rich color with control. |
| Watercolor Pencils | Dry application with water-activated paint effect. | Water-soluble binder | Medium | High (wet) | Low | Mixed media, watercolor effects, precise color lines, travel sketching. |
Navigating the Nuances: Solving Your Pencil Puzzles & Troubleshooting Common Drawing Frustrations
Even with the best drawing tools, we artists inevitably run into snags. It’s part of the creative process, right? But some frustrations are simply solvable. While exploring new media is exciting, sometimes even familiar tools present challenges. Let's tackle some common pencil problems and how I approach them, from internal breakage to smudging. Ever felt that soul-crushing moment when you sharpen a brand-new pencil, only for the lead to snap clean off? Yeah, we've all been there!
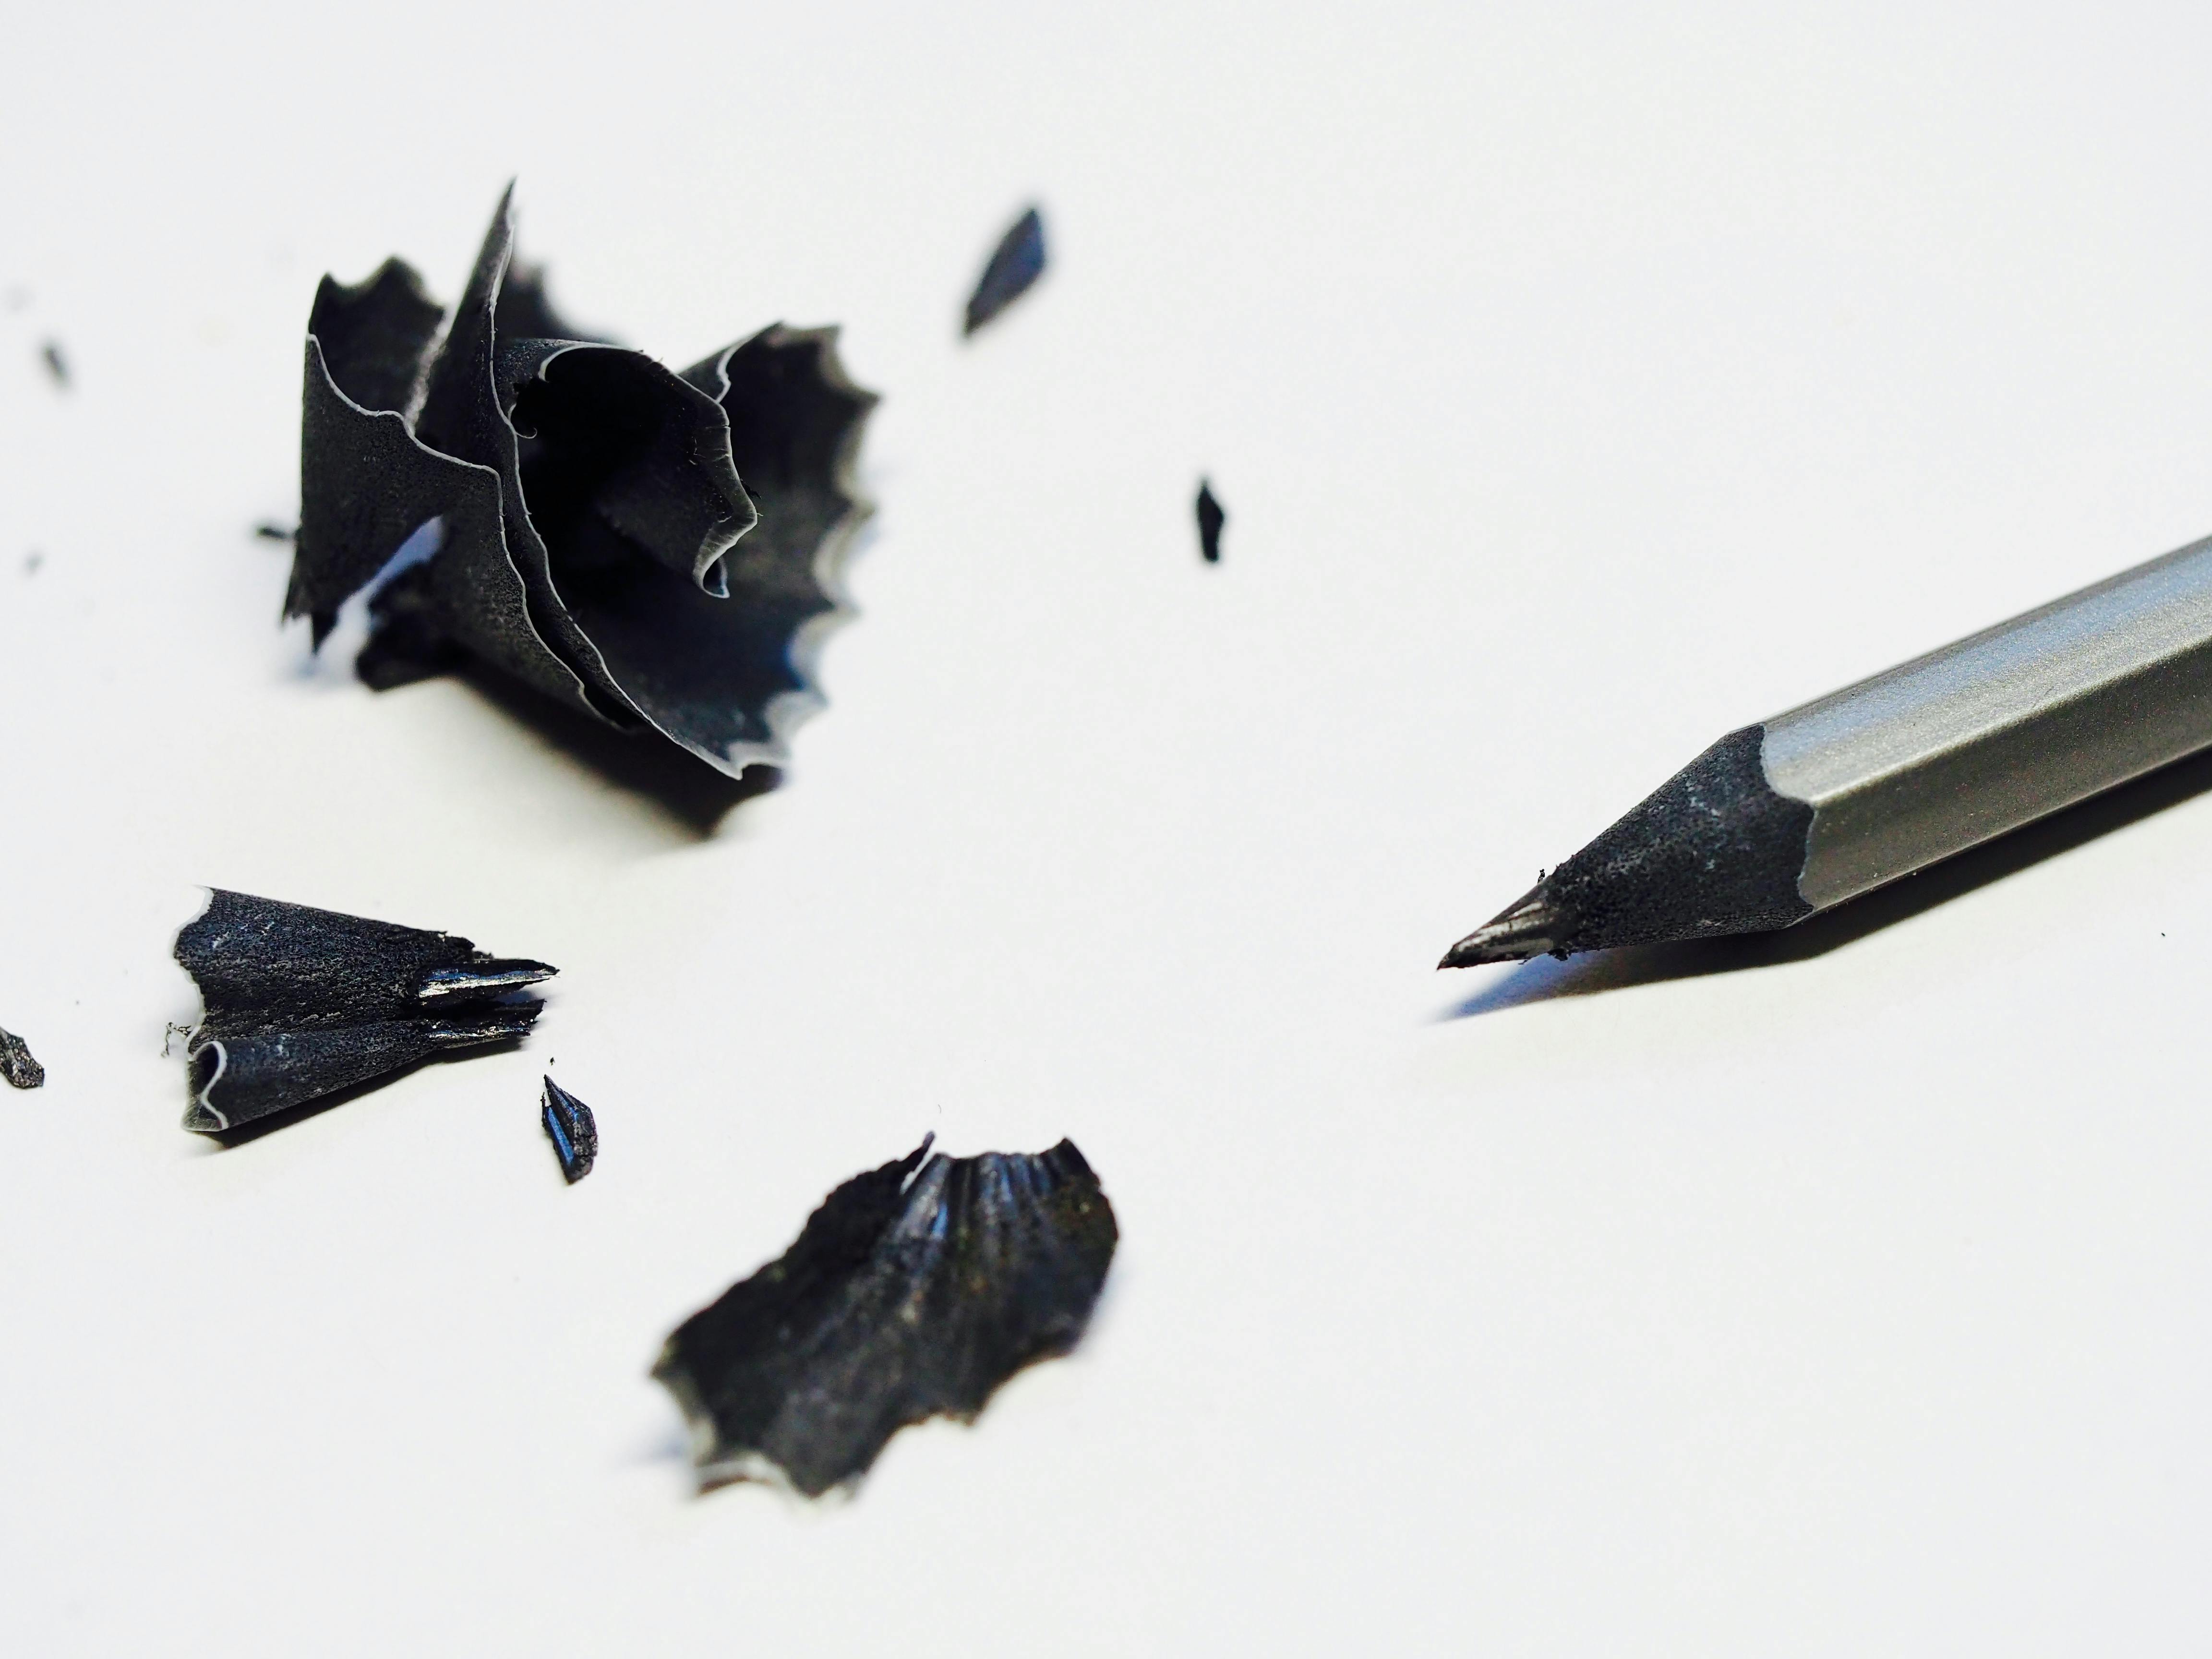
The Dreaded Internal Breakage: Why Does My Lead Keep Snapping?
Ah, the classic! You sharpen, and snap. Sharpen again, snap. It's maddening. Often, this is due to poor core centering or cheap manufacturing, as we discussed. But even good pencils can suffer. Solution: Store your pencils properly! Dropping a pencil, even from a small height, can cause the lead to fracture inside the wood casing. A dedicated case or roll can save you countless snapped leads and much frustration. Also, check your sharpener – a dull or low-quality sharpener can put undue stress on the lead. When using very soft B grades, keep in mind that their higher graphite content makes them inherently more brittle and thus, more prone to breaking if mishandled. If it keeps snapping, it might be a lemon of a pencil or a sign your sharpener needs replacing – it's rarely your fault!
Sharpening Woes: Jagged Wood and Uneven Points
If your pencils consistently emerge from the sharpener with splintered wood or an off-center point, the sharpener itself might be the culprit. Solution: Invest in a good quality metal sharpener, or better yet, learn to use a craft knife or scalpel. A sharp blade allows for far more control, letting you expose more lead for broad strokes and achieve a perfect, long point for details. When choosing a sharpener, consider the options:
- Manual Handheld Sharpeners: These are portable and affordable. Look for metal ones with sharp, replaceable blades for a cleaner cut. A good double-hole sharpener (one for standard, one for larger barrels) is a studio staple. They offer immediate feedback on how the pencil is cutting.
- Rotary/Crank Sharpeners: These desk-mounted sharpeners offer excellent, consistent long points, often with adjustable settings for different lead tips. They're great for delicate soft leads as they apply more even pressure, minimizing breakage.
- Electric Sharpeners: Fast and convenient, but can sometimes over-sharpen or eat through pencils quickly. Best for everyday writing pencils rather than fine art tools, unless you invest in a high-quality model designed for artists with adjustable auto-stop features.
Always sharpen away from yourself, slowly and carefully! This is an essential skill for getting the most out of your drawing pencils, especially when aiming for that long, elegant point that allows for extreme versatility.

Unexpected Smudging: My Drawing is a Gray Mess!
Ever worked for an hour on a delicate shading, only to swipe your hand across it and see your hard work vanish into a gray smear? Yeah, we've all been there. Smudging is inevitable with graphite, but it can be minimized. Solution: Beyond the techniques discussed in the 'Caring' section, consider a subtle change in how you approach your drawing. Work with lighter pressure sensitivity in early layers, building up intensity gradually. Don't try to achieve maximum darkness in one go. And don't underestimate the power of a well-placed barrier sheet – a simple piece of clean paper under your hand can be a lifesaver. This is especially true when working with softer, darker graphite pencils that deposit more graphite particles. I've honestly lost count of the times I've accidentally turned a careful portrait into abstract modern art by an errant sleeve or palm!

Caring for Your Creative Companions: Extending the Life of Your Drawing Pencils
Your pencils are more than just tools; they're collaborators in your artistic journey. Treating them well ensures they perform at their best and last longer. Think of it as nurturing a creative relationship – a little care goes a long way, and your graphite pencils will thank you with reliable, beautiful marks. This section focuses purely on preventative maintenance.
The Art of Sharpening: Precision and Versatility
Forget those flimsy, dull plastic sharpeners that chew up your expensive leads. For detailed work, a good-quality metal sharpener will serve you well, producing a consistent, sharp point. However, many professional artists, myself included, often prefer a craft knife or scalpel. Why? It allows you to expose more of the graphite core, giving you the versatility to use the side of the lead for broad, expressive strokes and the very tip for fine, intricate lines, all without having to constantly re-sharpen. Just be cautious and always sharpen away from your body! To achieve a long, elegant point with a knife, gently shave away the wood while rotating the pencil, then carefully refine the graphite tip. This technique gives you unparalleled control and makes your drawing pencils incredibly versatile. Remember, the goal isn't just a sharp point, but a point that serves your artistic intent.
Maintaining Your Sharpener
Just as your pencils need care, so do your sharpeners! A dull blade is the number one enemy of a clean point and the leading cause of frustrating internal lead breaks. Periodically check your sharpener's blade and replace it when it starts to feel less efficient. Also, clean out any graphite and wood dust build-up from the receptacle. A clogged sharpener can lead to uneven points and unnecessary stress on your precious pencils.
Proper Storage: Protecting Your Investment
Pencils, especially the softer B grades, are surprisingly fragile. Dropping them can break the lead inside the wood casing, leading to endless frustration during sharpening as pieces of lead keep falling out. Store your pencils in a dedicated case, roll, or container. Laying them flat in a drawer or standing them upright in a cup are both fine, as long as they're not rattling around, getting crushed, or being dropped. A little protection goes a long way in preventing those heartbreaking internal fractures. Also be aware of "pocketing" – where very soft leads can leave residue on adjacent items if not properly separated. Humidity can also cause wood to warp, so store them in a stable environment.

Keeping Your Work Clean: Smudge Prevention Strategies
Ah, smudging – the bane of many graphite artists! It's an inevitable part of working with dry media, but you can certainly minimize it. Here are a few tricks I've picked up over the years, beyond what we covered in troubleshooting for mastering shading techniques in drawing:
- Mind Your Hand Position: If you're right-handed, try to work from left to right across your page. If you're left-handed, work from right to left. This keeps your hand from dragging across freshly laid graphite, a common culprit for smudges. It sounds simple, but it's a game-changer!
- Elevate Your Drawing Surface: If possible, tilt your drawing board slightly. This can reduce the amount of contact your hand has with the paper, particularly useful when rendering delicate details.
- Use a Barrier Sheet: Place a spare sheet of clean paper (or even a piece of tracing paper) under your drawing hand. This acts as a physical barrier, preventing direct contact with your drawing and those pesky skin oils.
- Consider a Fixative: Once a drawing is complete, a light spray with a workable fixative will lock the graphite particles in place, significantly reducing smudging. A workable fixative allows you to still draw over it if you decide to add more details later, unlike a final fixative that creates a permanent barrier. My article on what is fixative spray for drawing delves into this further.
- Keep Your Hands Clean: Oils from your skin can transfer to the paper and create smudges, acting like a magnet for graphite. Wash your hands before drawing, or at least wipe them down frequently. I keep a dedicated studio towel nearby for this very purpose.
- Dust Management: Especially with softer graphite pencils, graphite dust can accumulate. Use a clean, soft brush (like a makeup brush, a dedicated drafting brush, or a soft fan brush) to gently sweep away dust from your drawing, lifting it rather than dragging it across the surface. This is particularly crucial when you're aiming for clean, crisp lines.
- Drawing Gloves: For those who really struggle with smudging, or when working on very detailed or large pieces, consider an artist's drawing glove. These typically cover the little finger and ring finger, allowing your hand to glide smoothly over the paper without transferring oils or smudging graphite.
- Eraser Choices: Not all erasers are created equal! A kneaded eraser is fantastic for lifting graphite gently without smudging or damaging the paper's tooth, perfect for cleaning up light areas or creating highlights. Vinyl erasers (like Staedtler Mars Plastic) are great for clean, precise erasing of darker lines, while traditional rubber erasers are good all-rounders but can sometimes leave crumbs or damage delicate paper. Choose the right eraser for the job, and blot rather than rub for best results. Remember that very dark applications of B grades can be difficult to erase cleanly, often leaving a slight ghosting, and certain papers with a deep tooth can hold graphite more stubbornly.
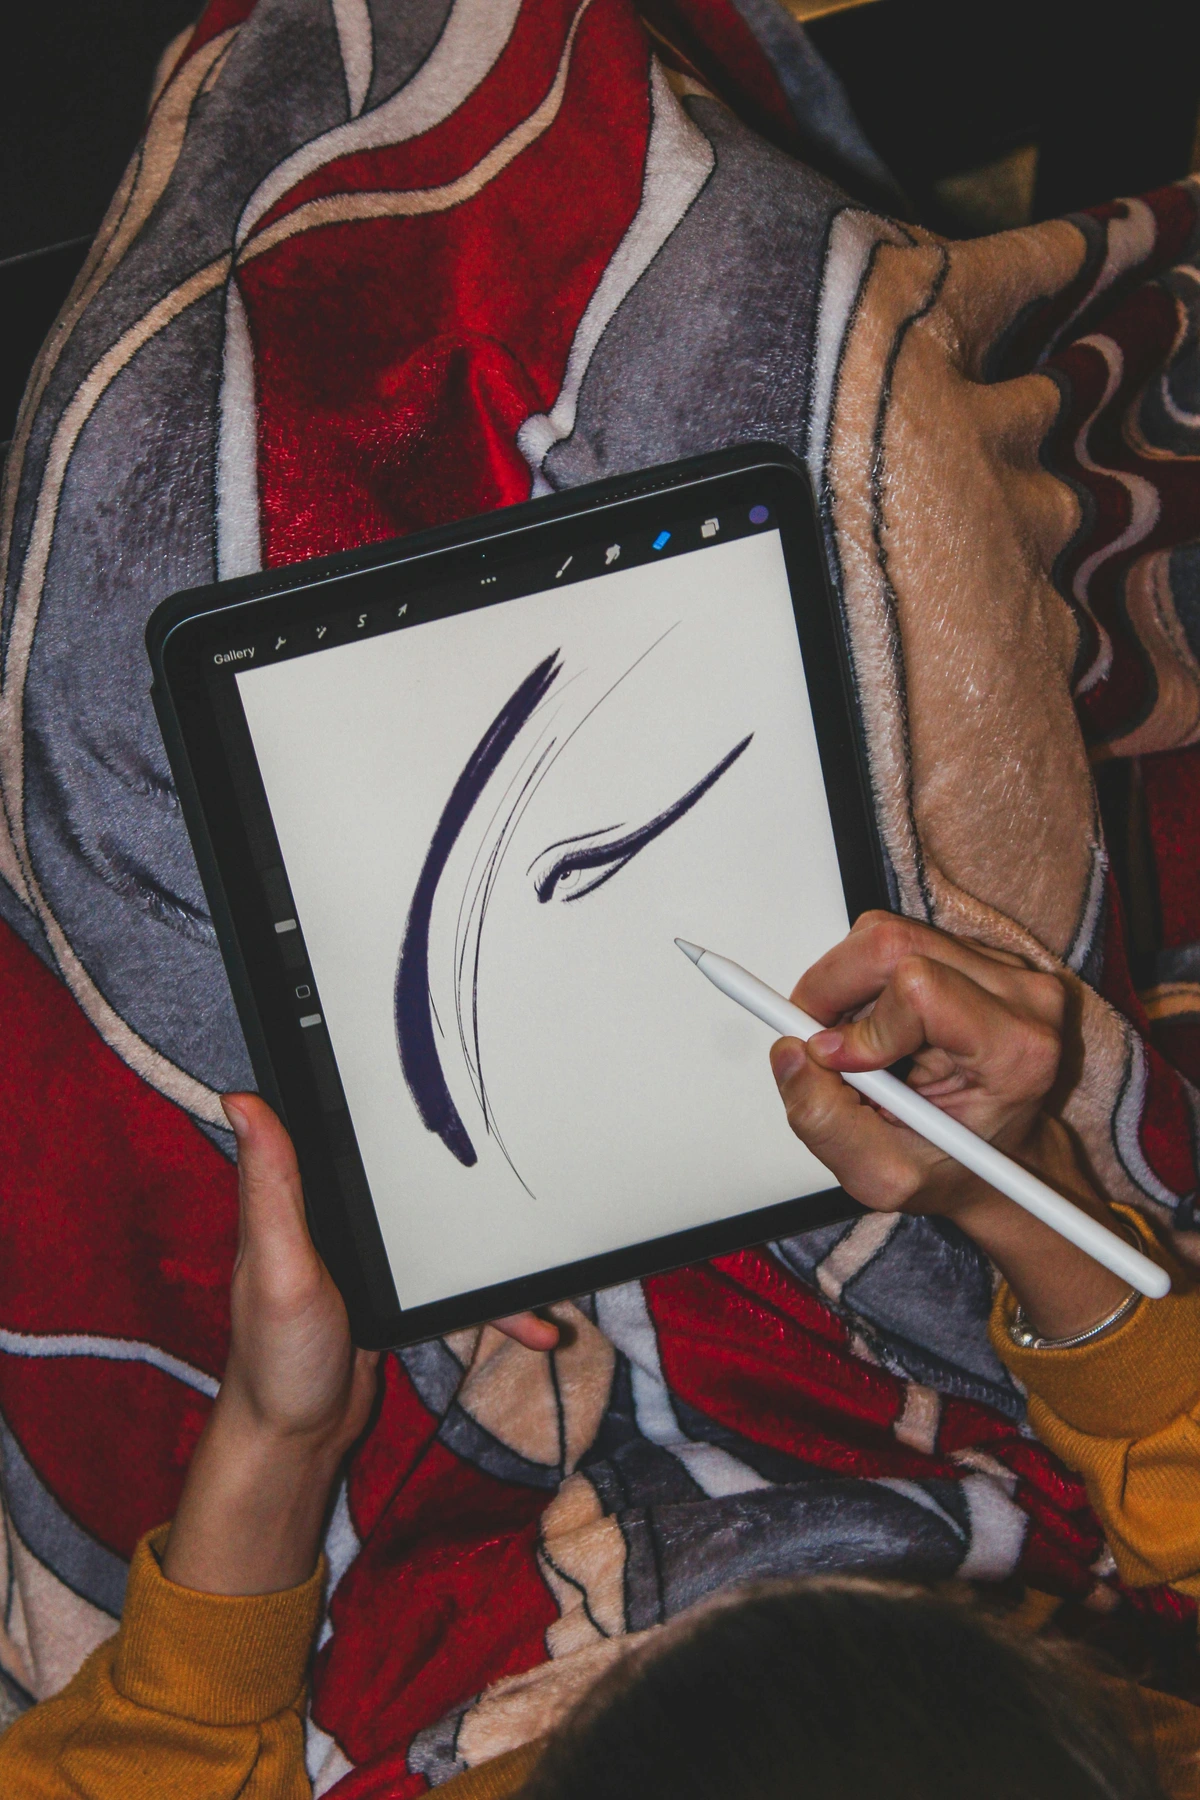
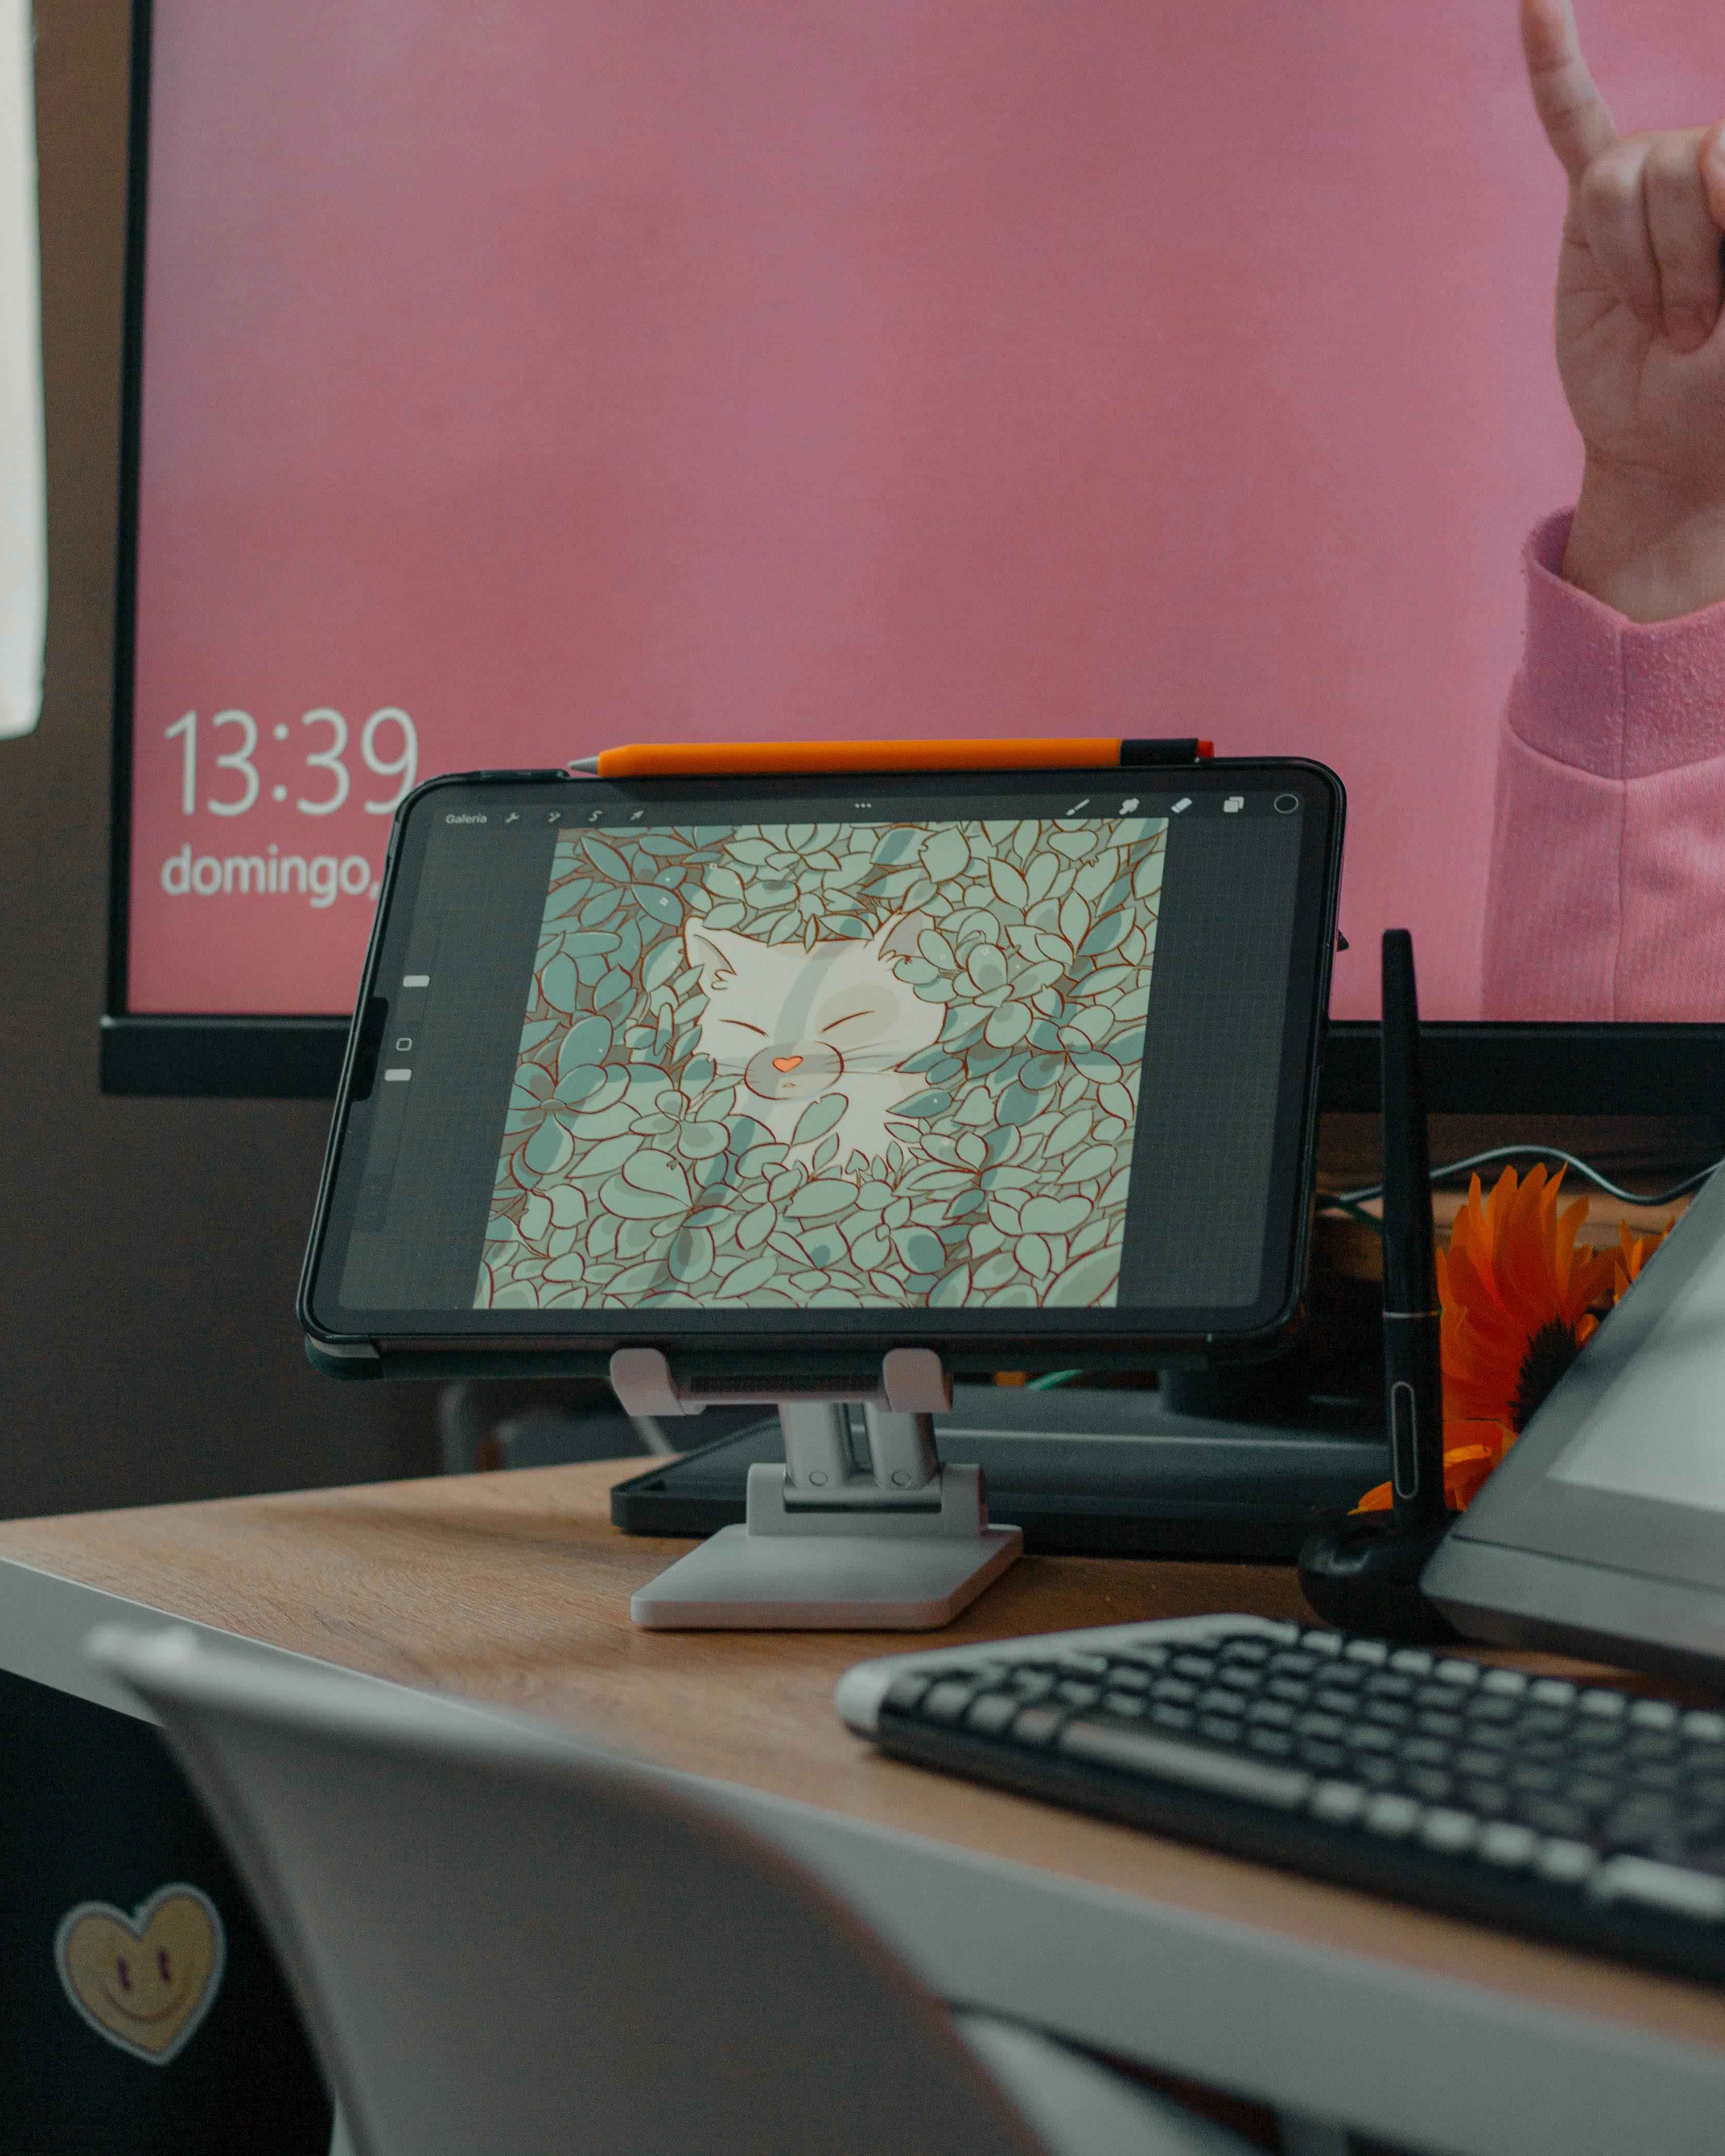
Drawing Pencils in the Digital Age: A Nuanced Perspective
In an increasingly digital art world, it's easy to wonder if traditional drawing pencils still hold their ground. My answer? Absolutely, and unequivocally, yes. It's not a competition; it's a rich ecosystem of tools, each with its unique superpowers.
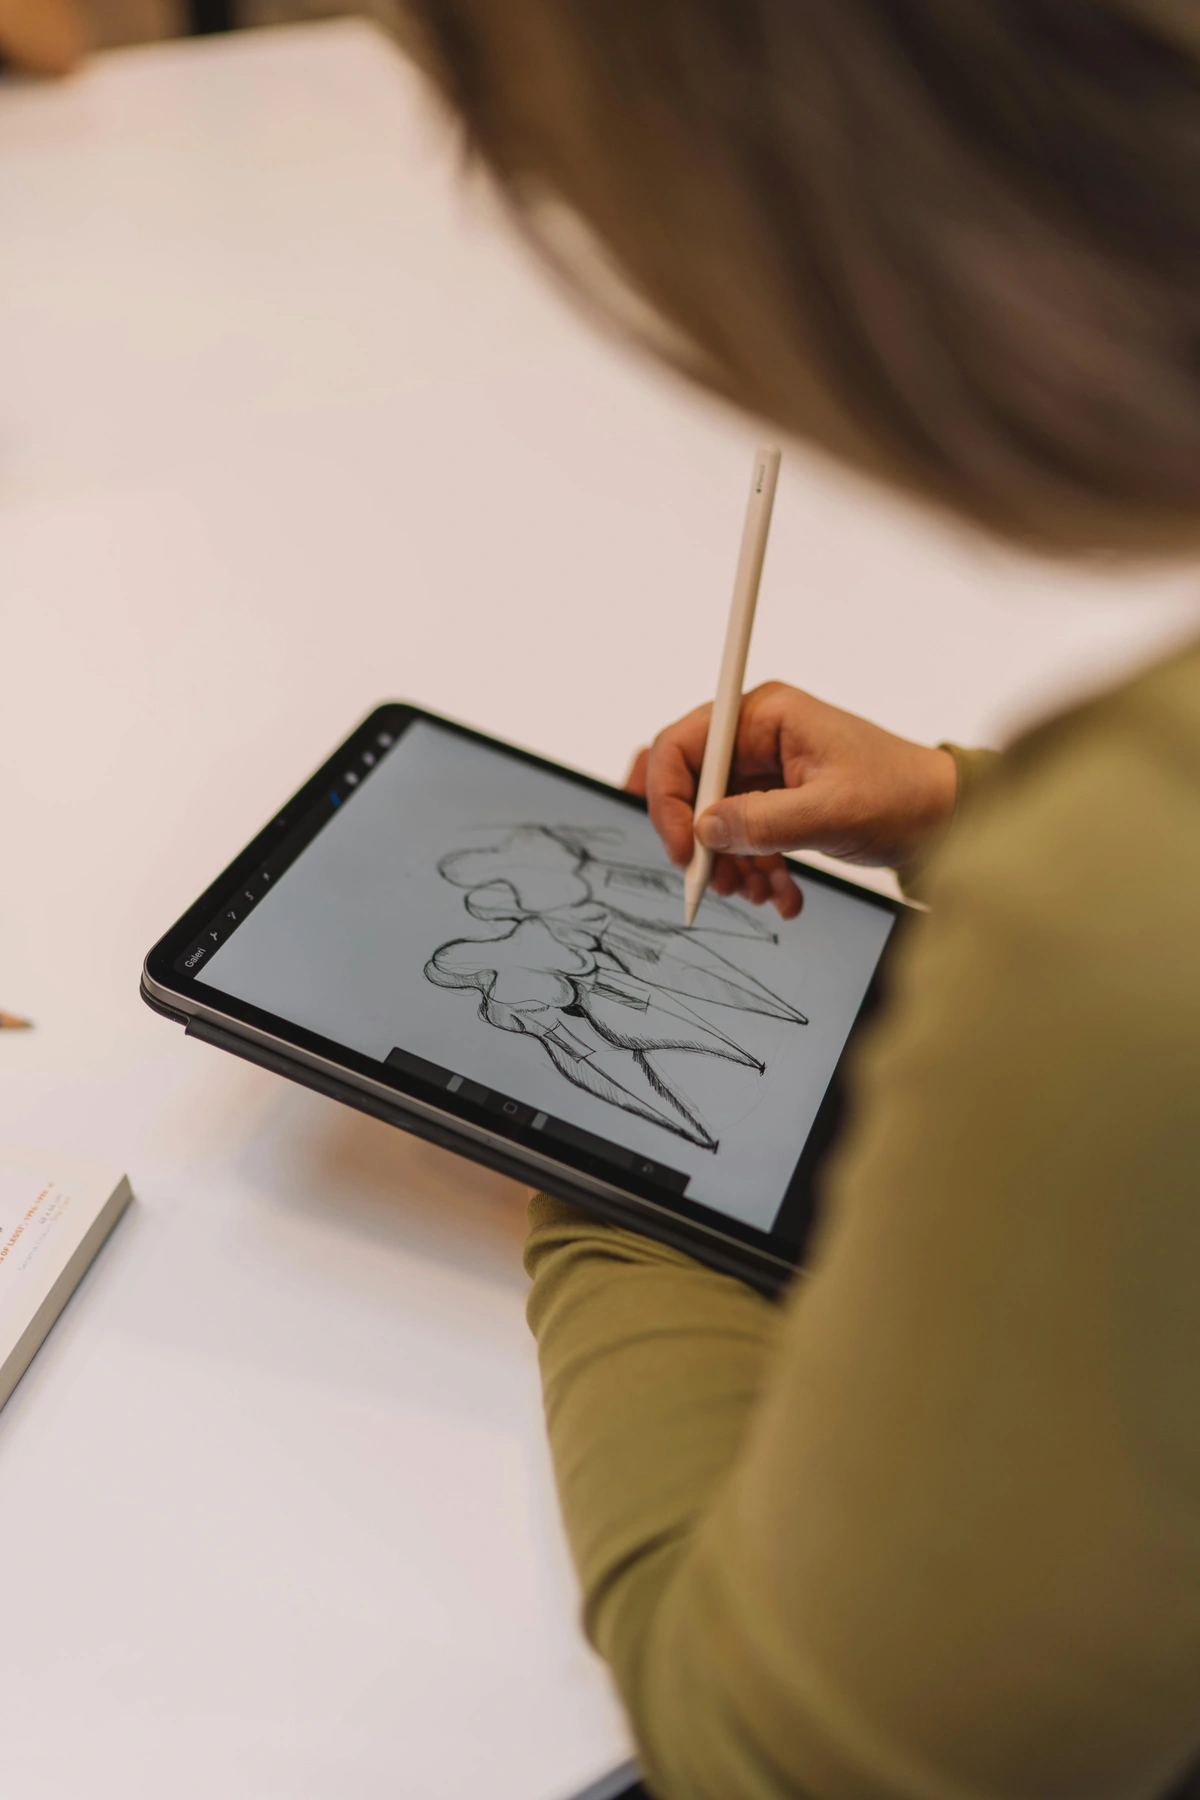
Digital drawing tablets and software like Procreate (I've written about top drawing tablets for digital artists and best budget drawing tablet for beginners) offer unparalleled flexibility, instant undo capabilities, and access to an infinite array of brushes and colors. They are fantastic tools for certain types of work, especially for concept art, animation, or commercial illustration where speed and iteration are key. They can even emulate the textures of traditional graphite pencils remarkably well, allowing digital artists to create studies that feel surprisingly 'hand-drawn.' They're undeniably powerful, offering a boundless canvas.
However, the tactile experience of a graphite pencil on paper is irreplaceable. The subtle friction, the unique grain of the paper's tooth, the immediate physical connection and tactile feedback loop to your mark-making – these elements foster a different kind of connection to your art. There's a raw, immediate quality to traditional drawing that digital tools, for all their advancements and realistic brush emulations, cannot fully replicate. The sheer physical act of making a mark, feeling the graphite yield to pressure, and seeing the tangible result on paper creates a unique sensory engagement. It's not a matter of one being "better" than the other; they are simply different tools for different artistic intentions and experiences. Both have their place in the modern artist's toolkit, complementing each other beautifully. Ultimately, the tactile connection offered by graphite remains a unique and invaluable part of an artist's journey, enriching rather than competing with digital tools. They are two different languages, both capable of profound expression.

The Environmental Footprint: Making Conscious Choices
In our increasingly eco-conscious world, it’s fair to consider the environmental impact of our art supplies. While traditional pencils use wood, it's worth noting that many reputable brands are increasingly committed to sustainability. Look for pencils made from sustainably sourced wood, often indicated by FSC certification (Forest Stewardship Council). This ensures the wood comes from responsibly managed forests. Some manufacturers also offer pencils made from recycled materials or use non-toxic lacquers and coatings, which is better for both the environment and your studio. Furthermore, refillable mechanical pencils with graphite leads can significantly reduce wood waste, offering another eco-conscious choice. It’s a small step, but every conscious choice contributes. And, as mentioned earlier, while traditional pencils have their footprint, digital tools also contribute to e-waste (electronic waste) and energy consumption through their manufacturing, use, and disposal. It's about finding a balance that works for you and your values, making informed decisions that align with your artistic process and environmental concerns.
Key Takeaways: Your Pencil Power-Up
Before we dive into your burning questions, here's the essence of what truly matters in the world of drawing pencils:
- H for Light, B for Dark: H grades are for hard, light, precise lines and detail. B grades are for soft, dark, expressive marks and shading. Remember this spectrum, and you've unlocked the core secret.
- Quality Over Quantity: A few good artist-grade pencils will always outperform a drawer full of cheap ones. Invest in tools with consistent core quality, good wood, and reliable performance.
- Pair Your Pencil with the Right Paper: The tooth or texture of your paper profoundly impacts how your pencils behave. Experiment to find the perfect pairing for your desired effect.
- Care Extends Life: Proper sharpening, storage, and smudge prevention techniques will keep your beloved tools (and your artwork) in top condition.
- Explore Beyond Graphite: Charcoal, carbon, pastels, and colored pencils each offer unique expressive qualities. Don't be afraid to broaden your artistic horizons, including specific media like Conte crayons.
- Digital Tools are Complements, Not Competitors: Embrace both traditional and digital media, understanding their unique strengths and how they can enrich your creative process.
- Consider Your Footprint: Make conscious choices regarding sustainably sourced and environmentally friendly art supplies.
- Your Voice Matters Most: Ultimately, the 'best' pencil is the one that feels like an extension of your hand, helping you translate your vision to paper. Embrace experimentation!
FAQ - Your Pencil Questions, Answered (And Then Some)
To wrap things up and address some of the most common questions I hear, here's a quick rundown of frequently asked pencil puzzles – straight from my studio to your screen!
What's the best single drawing pencil if I can only buy one?
If I were, god forbid, stranded on a desert island with only one pencil (and somehow, paper!), I'd probably pick a 2B. It's soft enough to achieve some lovely darks and is fantastic for shading and building value, yet you can still get a reasonably fine point on it for details. In my experience, it's the most versatile workhorse, adaptable to a surprising range of tasks. For example, if you're sketching quick figures, a 2B is fantastic for capturing energy. While an HB is also a great all-rounder, the 2B offers a bit more expressive range. If you're just starting, a 2B is an excellent "best pencil for sketching" starting point. Even better, consider investing in a small starter set of three or four pencils, perhaps an HB, 2B, and 4B, or even adding a 2H for lighter work. A good, budget-friendly set like the Faber-Castell Goldfaber set provides excellent value and a great introduction to different grades.

Does the paper I use really matter, and how does it affect my pencils?
Absolutely, and perhaps even more than you'd think! A soft 8B pencil will behave completely differently on a smooth Bristol board compared to a toothy, textured paper. The paper's tooth – its surface texture – is what literally grabs the graphite particles. More tooth (like rough watercolor paper or charcoal paper such as Canson Mi-Teintes) means the paper can hold more layers of graphite, allowing for richer, deeper tones and more complex blending. It gives that satisfying drag and texture. For harder H grades, a paper with more tooth might feel almost 'scratchy' or leave very faint, broken lines, as there's too much texture for the delicate graphite to bridge smoothly. Less tooth (like Bristol board or hot-press watercolor paper) offers a smoother, more delicate line, ideal for fine details and precise linework. Here, soft B grades might struggle to achieve deep, matte blacks, sometimes appearing shiny as the graphite can't 'grip' the surface, while H grades will deliver crisp, uninterrupted lines. Imagine trying to draw on polished glass versus drawing on fine canvas – the experience and the resulting mark are completely different! Experimenting with different types of paper is just as crucial and transformative as experimenting with pencils themselves. You can learn more about finding the right surface in my guide on the best paper for charcoal drawing, as the principles apply across dry media. Finding the right paper is key to mastering your drawing pencil grades.

How do I choose the right drawing pencil for portraits versus landscapes?
This is a fantastic question that comes down to artistic intention and the specific qualities of graphite pencils. For portraits, especially realistic ones, you'll often want a range that leans towards finer control and subtle values. Think of H grades (2H, H) for initial light outlines and delicate features like hair or subtle skin texture. These are also great for pencil grades for ink drawing if you need a faint underdrawing. Then, move to HB and B grades (2B, 4B) for building form, shading, and adding depth to eyes and lips, crucial for how to draw a realistic eye for beginners or how to draw a realistic face. You might use a 6B sparingly for the darkest accents, like pupils or deep shadows, to avoid overwhelming delicate skin tones, especially under soft studio lighting. For landscapes, you often embrace broader strokes and deeper contrasts. You'll still start with H grades for foundational elements like distant horizons or light cloud formations. But you'll quickly move to a wider range of B grades (2B, 4B, 6B, even 8B) for expressive skies, textured trees, deep shadows in foreground elements, and the rich, absorbing darks of foliage. Consider how natural light influences your choice: a bright, sunny day might call for a broader range of mid-tones and harder pencils for crisp shadows, while an overcast sky might lean more towards softer pencils for diffused light and subtle shifts in value. The goal is to match the drawing pencil's inherent qualities to the mood and detail required by your subject. This also relates to broader definitive guide to drawing techniques.
What’s the difference between drawing pencils and regular writing pencils? Are drawing pencils toxic?
While you can technically write with a drawing pencil, and draw with a writing pencil, they are optimized for different tasks. Writing pencils (typically HB or #2) are designed for durability and consistent, legible marks over long periods. They need to stand up to daily abuse in a classroom or office. Drawing pencils, on the other hand, are crafted with a wider, more refined range of graphite/clay ratios. While an HB pencil is the universal standard for both, drawing pencils significantly expand on the B (Blackness) and H (Hardness) spectrums, offering artists a much broader range of hardness, darkness, and blendability. They prioritize artistic expression and subtle tonal variations over everyday legibility, allowing for far deeper darks and more nuanced shading. So while an HB is your everyday companion, the wider H and B range are your specialized artistic toolkit for unlocking truly expressive potential. And as a crucial reminder: modern pencil cores are made from graphite and clay, not lead. They are completely non-toxic, so you don't need to worry about "lead poisoning" from your art supplies.
Are expensive drawing pencils really worth it for a beginner? What's the difference between artist-grade and student-grade?
This is a common question, and my answer is a resounding yes, within reason. You don't need a full set of the most expensive pencils, but investing in a few good-quality artist-grade pencils (a small set of 2H, HB, 2B, 6B, for instance) will make a huge difference. As detailed in the "Artist-Grade vs. Student-Grade Pencils" section, artist-grade pencils are made with purer graphite, finer clay, better wood, and undergo stricter quality control, resulting in consistent, smooth, and break-resistant leads. Student-grade pencils, while more affordable, often have inconsistent lead quality, poor centering (leading to those frustrating internal breaks), and scratchy marks. Good pencils provide a consistent experience, encouraging you to focus on your technique rather than fighting your tools. They offer better blendability, smoother laydown, and more reliable results, which is invaluable for a beginner building confidence and skill. Think of it as learning to drive in a car with responsive steering versus one that pulls to the left – the latter just makes everything harder and more frustrating, often leading to giving up altogether! So, for a beginner, knowing how to choose drawing pencils of quality is paramount.
How do I stop my drawings from smudging and how do I get dark blacks with pencils?
Beyond the techniques I mentioned earlier (working directionally, using a barrier sheet, fixative, and clean hands), here are a few more tips for smudge control and achieving those deep blacks:
- Elevate Your Drawing Surface: If possible, tilt your drawing board slightly. This can reduce the amount of contact your hand has with the paper.
- Work in Layers for Darks: The secret to truly intense, deep blacks (without a shiny or chalky finish) is layering softer B grades. Instead of pressing hard with a single pencil, build up your darks gradually. Start with a 4B, then layer a 6B over it, and finally an 8B or 9B with light to moderate pressure. This fills the paper's tooth evenly, creating a rich, absorbing black. Avoid digging into the paper, which can create an undesirable shine or damage the tooth.
- Kneaded Eraser: Don't be afraid of a good kneaded eraser – it can lift graphite gently without smudging, perfect for cleaning up light areas or highlighting. Blot, don't rub! For more precise erasing of hard lines, a vinyl eraser is your friend.
- Blending Tools: To achieve smooth transitions and deep, even tones without excessive smudging from your fingers, use dedicated blending tools like tortillons (tightly rolled paper sticks) or blending stumps (similar but denser). These help push graphite into the paper's tooth evenly.

What about the environmental impact of drawing pencils?
It's a valid question in today's world, and one I think about often. Many reputable brands are increasingly conscious of their environmental footprint. As discussed in the "The Environmental Footprint" section, look for pencils made from sustainably sourced wood (often indicated by FSC certification) or recycled materials. Some brands also offer refillable mechanical pencils with graphite leads, further reducing wood waste. Furthermore, consider brands that use non-toxic lacquers or coatings, which is better for both the environment and your studio. It’s a small step, but every conscious choice contributes, and it’s something I think about when stocking my own studio. We can all make a difference, even with our humble art supplies. And as mentioned earlier, while traditional pencils have their footprint, digital tools also contribute to e-waste and energy consumption. It's about finding a balance that works for you and your values.
The Final Point: Your Drawing Pencil, Your Voice
Forget the search for the single 'perfect' pencil; the true magic lies in understanding how each grade becomes a unique voice in your artistic conversation. There is no single 'best' drawing pencil, just as there is no single 'best' brush or 'best' color. There is only the best drawing pencil for you, for the specific mark you want to make right now, for the emotion you wish to convey. Remember that moment, standing overwhelmed in the art store? By now, I hope you feel empowered, equipped with the knowledge to make informed choices and truly unlock your creative potential. The true joy isn't in finding the answer, but in the journey of discovery itself – a journey you're already on, simply by reading this ultimate guide to drawing pencils.
So, I urge you: grab a couple of different grades – say, an HB and a 4B – find a scrap piece of paper, and just draw. Or even better, try drawing the same object with a 2H and a 6B to truly feel and understand the difference in their mark-making. Feel the subtle friction, understand the dialogue between pencil and paper. Notice which one whispers a delicate suggestion and which one shouts with dramatic intensity. The pencil isn't just a tool; it's your confidante, your first, most intimate collaborator. It's waiting to help you translate the swirling images in your mind into tangible beauty. Perhaps it's the precise lines for a detailed architectural study, or the rich, velvety blacks that bring an abstract concept to life. Go forth, explore, and let your unique artistic voice emerge, whether it's in stark monochrome or a riot of abstract color, perhaps even something you'd one day offer for sale at the Den Bosch museum, or something that marks a key point on your timeline. Your tools are waiting, and so is your art.