The Art Installation Process: An Artist's Comprehensive Guide for Buyers
Just acquired art? This artist's comprehensive guide covers the art installation process from planning, choosing hardware, and handling the piece to lighting, environmental care, and living with your art, ensuring it thrives in your space.
The Art Installation Process: What Buyers Should Expect (From an Artist's Perspective)
Okay, you've done it. You've fallen in love with a piece of art, maybe even taken the plunge and decided to buy art. Congratulations! That's a huge step, and honestly, it's the one that makes my artist heart sing. But then comes the next question, the one that sometimes makes people pause: "How do I actually get this beautiful thing from the gallery or studio onto my wall, or into its designated spot?" It's a valid question, one I think about constantly from the moment a piece leaves my hands. It's the final act, the moment the art truly begins its new life with you.
It's the art installation process, and for a buyer, it can feel a bit daunting. For me, as the creator, seeing my work finally installed in its new home is the ultimate culmination of the entire journey. It's like watching your kid go off to college – a mix of pride, a little anxiety (will they be okay? will they thrive?), and the hope that they'll flourish in their new environment. So, let's talk about what you, the buyer, should expect, and maybe share a few thoughts from my side along the way. It's less about just hanging something and more about placing a piece of energy, a story, into your space. It's about finding that perfect spot where the art doesn't just hang, but lives.
It Starts Before the Hammer: Planning & Preparation
Installation isn't just about hammering a nail (or, let's be honest, using much more sophisticated hardware these days!). It's about finding the perfect spot where the art can truly sing. This is where your vision for your space comes into play. I've written before about how to decorate your home and how to decorate a wall, and choosing the right art is a big part of that, but placing it correctly is just as crucial. It's the difference between a piece feeling like an afterthought and feeling like it was always meant to be there. It's a dialogue between the art, the space, and you.
The Space Itself: Light, Walls, and Traffic
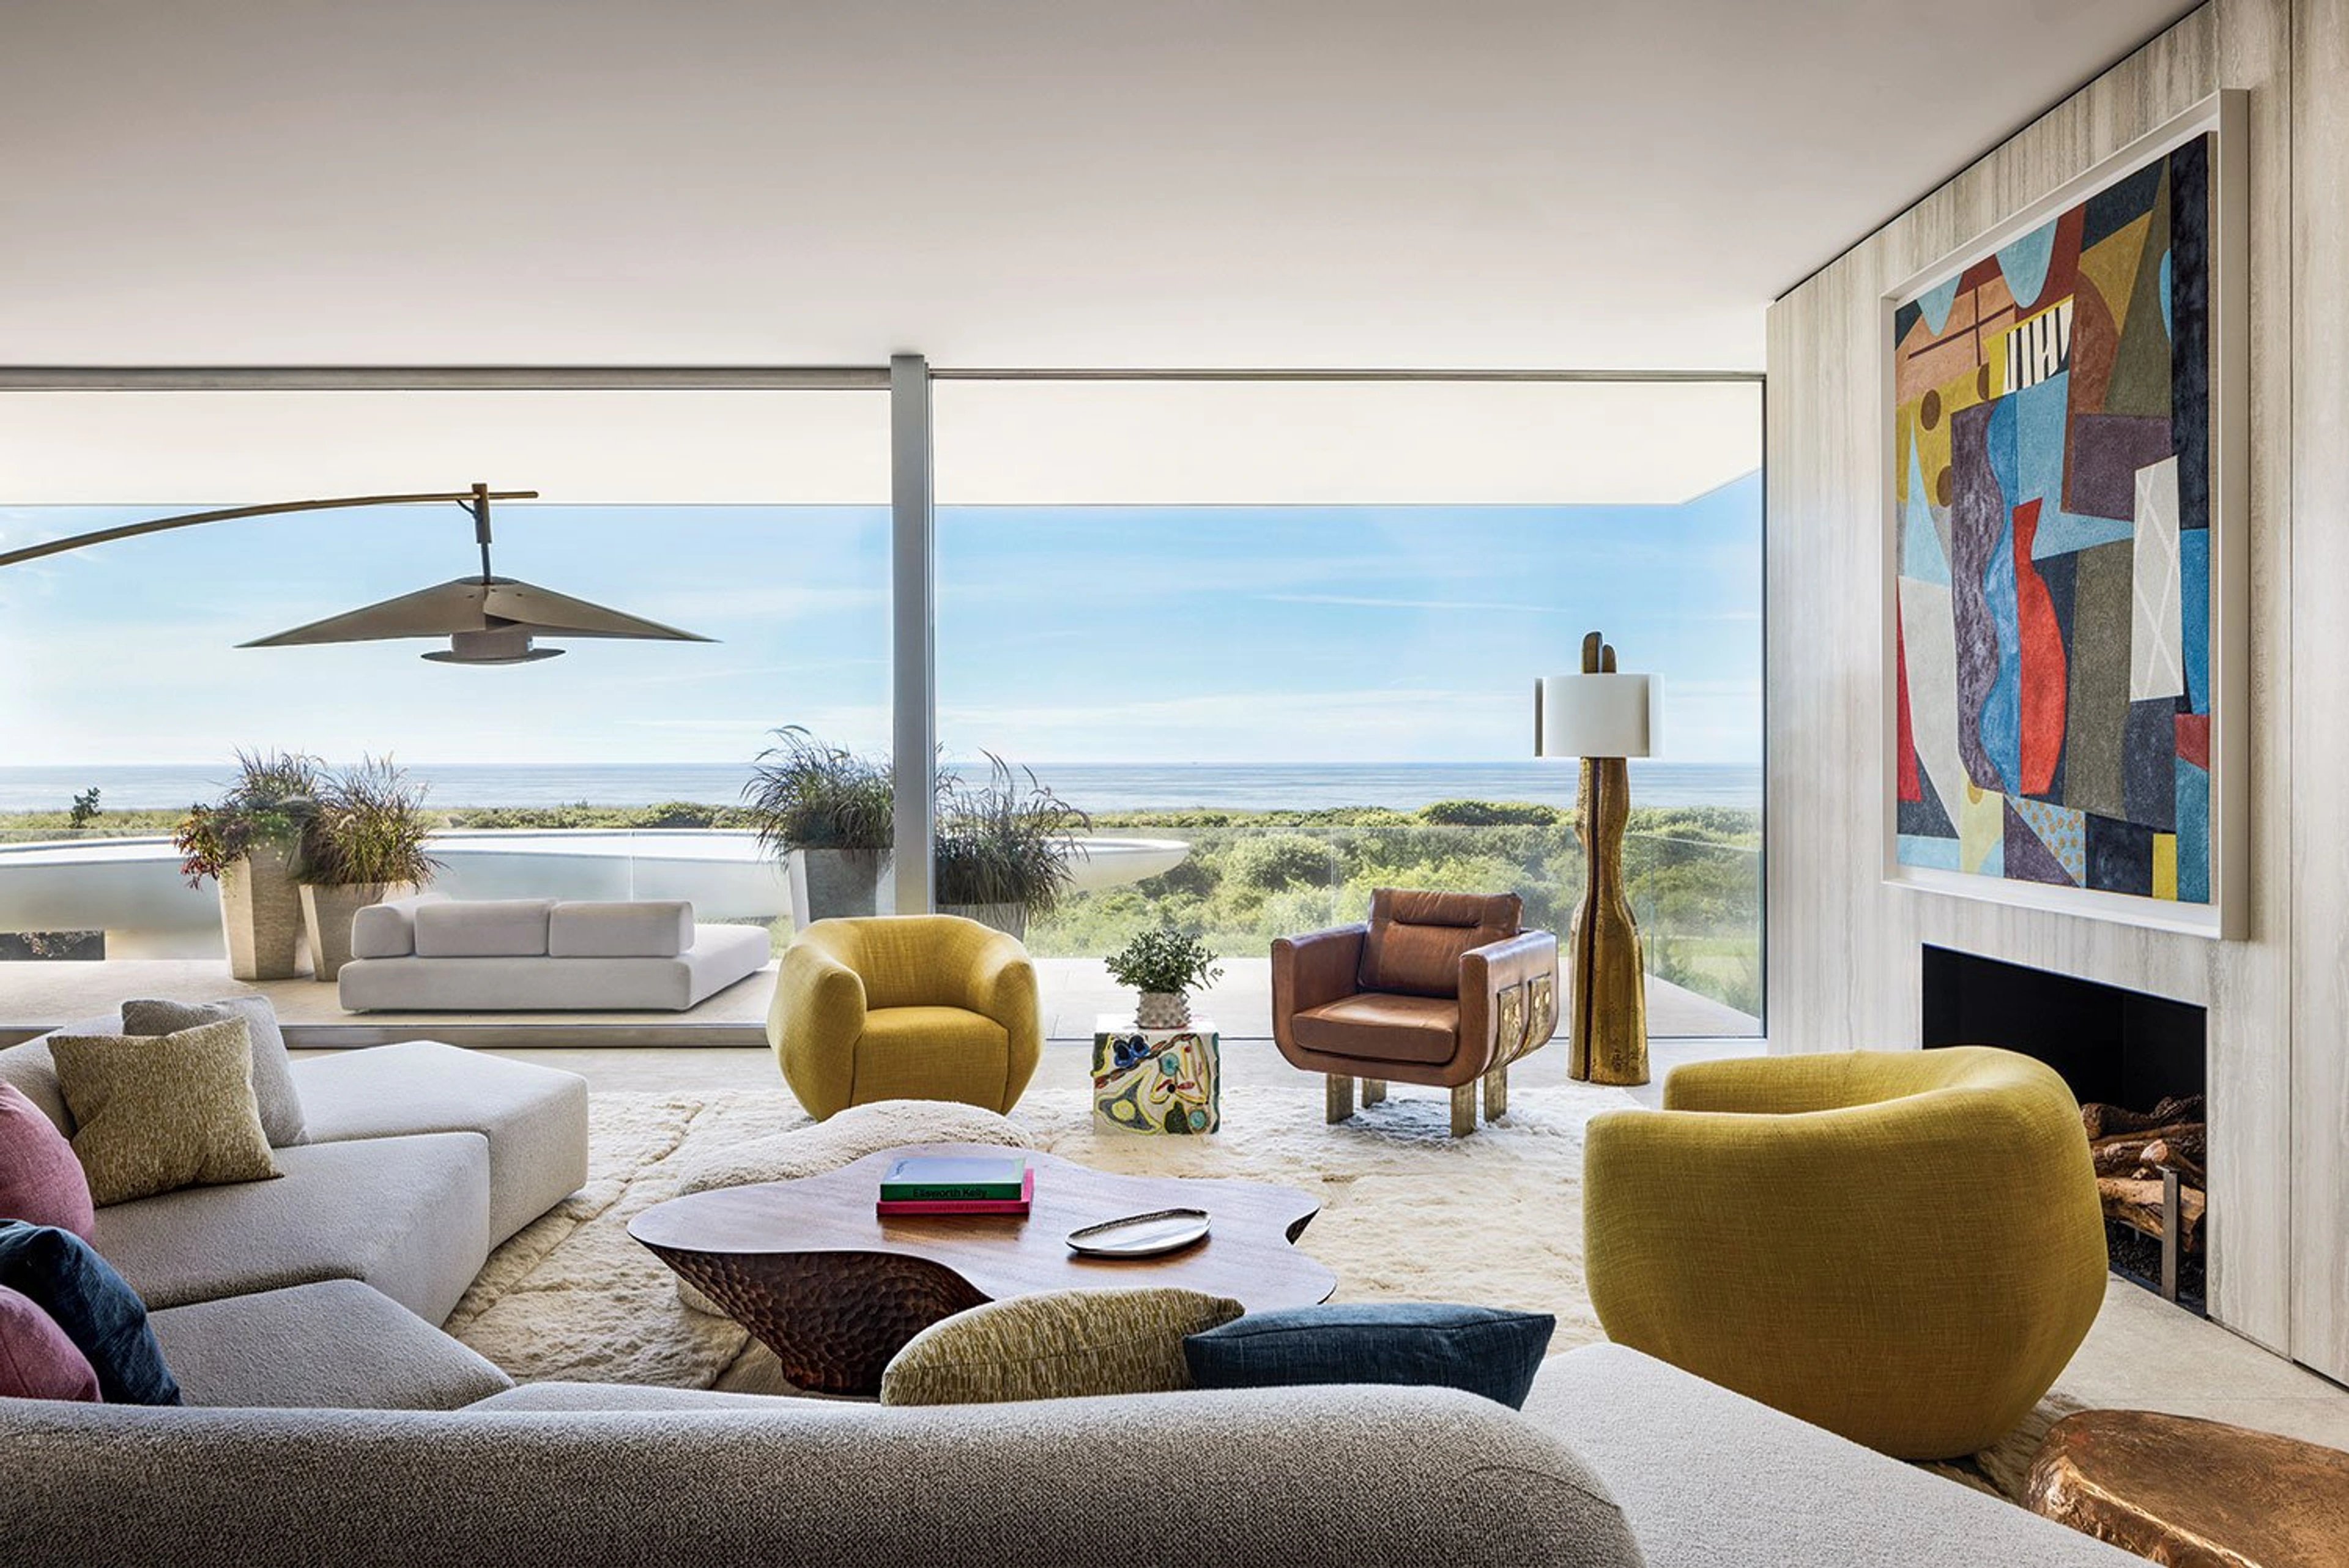
Think carefully about where the piece will live. Is it a busy hallway, a quiet bedroom, or a prominent spot in your living room? The location affects everything from the type of hardware needed to how much protection the art might need. A piece in a high-traffic area might need extra security or a protective frame to prevent accidental bumps. Consider the flow of the room – will people brush past it? Will it be safe?
Light is a huge factor. Direct sunlight is the enemy of most art, especially paintings and prints. It can cause fading and damage over time. I always recommend finding a spot away from direct sun or considering UV-protective glass if framing. I've seen beautiful pieces lose their vibrancy because this wasn't considered, and it's heartbreaking. You can read more about protecting your art from sunlight and general art care. It's like putting a delicate plant in the wrong window – it just won't thrive.
The wall material matters too. Drywall, plaster, brick, concrete – they all require different fasteners. Drywall is essentially paper over gypsum board, often hollow between studs. Plaster can be brittle, especially in older homes. Brick and concrete are solid but require specialized drilling. A small print might be fine with a simple hook, but a large, heavy painting or sculpture needs something much more substantial. Don't guess! A piece falling off the wall is every artist's (and collector's) nightmare. I've heard horror stories, and they make my palms sweat. It's worth taking the time to understand your wall.
Before you even think about drilling, it's wise to check for potential hazards hidden within the wall, especially if you're using longer screws or anchors. Things like electrical wires or water pipes are definitely things you want to avoid hitting. A simple stud finder can sometimes help detect wiring, but for older homes or complex layouts, being extra cautious is key. For extremely large or heavy pieces, especially sculptures or installations with significant weight, you might even need a structural assessment of the wall or the building itself. This isn't a standard DIY step, but for monumental works, it's absolutely critical to ensure the structure can bear the load safely over time.
The Artwork's Specific Needs: Size, Weight, Medium, and Structure
Consider the specific piece. Is it a painting, a print, a sculpture, a textile, or something else entirely? Each medium has its own considerations. A large canvas needs proper support across its frame. A sculpture might need a specific pedestal or mounting system – sometimes even bolted to the floor or wall for stability, especially if it's tall or in a busy area. Framing adds weight and requires appropriate hanging wire or D-rings.
For textiles, like tapestries or quilts, you might need specialized hanging systems that distribute weight evenly across the top edge or even support the entire back to prevent sagging or distortion over time. Heavy textiles can be surprisingly weighty! For multi-component pieces, like a sculpture with several parts or a video installation with screens and projectors, the installation plan becomes much more complex, often requiring professional expertise to ensure everything is secure, aligned, and functional. Delicate materials, whether it's a fragile ceramic element in a sculpture or a mixed-media piece with protruding parts, require handling with extreme care and often need custom-designed mounts that support the piece without putting stress on vulnerable areas. I remember working on a piece with delicate glass elements; we had to design a mount that cradled each glass part individually within the main structure. It felt like building a tiny, secure nest.
Also, think about the scale of the art in relation to the wall and the room. A tiny piece on a vast, empty wall can feel lost, while a massive piece on a small wall can feel overwhelming or cramped. It's about finding visual balance. Sometimes, laying the piece on the floor in front of the wall, or even cutting out a paper template of its size and taping it up, can help you visualize the impact.
I once had a collector who bought a large, somewhat delicate mixed-media piece. We spent ages discussing the best way to hang it so the different elements were supported correctly and wouldn't shift over time. It's these details that ensure the art lasts and looks its best. It's about respecting the piece's physical form as much as its artistic one. And if it's a multi-panel piece (like a diptych or triptych), the spacing between panels is critical for the overall composition. Measure, measure, measure!
As an artist, I'm thinking about these things long before the piece leaves my studio. I consider the weight, balance, and potential mounting points while I'm creating. For larger or more complex works, I'll often provide detailed installation instructions or even recommend specific hardware. It's part of ensuring the art's journey to its new home is successful and safe.

Tools & Materials: The Right Hardware Matters!
Gather your tools: tape measure, level, pencil (make sure it's easily erasable!), stud finder (crucial for finding solid support!), drill, various screws, anchors, and hanging hardware. Having the right tools makes the job infinitely easier and safer. I'm terrible at DIY myself, which is why I have immense respect for professional installers! I once tried to hang a large mirror and ended up with a hole the size of my fist in the wall. Lesson learned: know your limits, or at least own a good patching kit. Oh, and painter's tape or masking tape can be a lifesaver – put a strip on the wall where you plan to drill; it helps prevent plaster or drywall from cracking or chipping, especially on older or delicate surfaces. And please, wear safety glasses when drilling, especially into masonry or old plaster – you never know what might fly out!
Let's talk hardware specifics, because this is where things get technical, and honestly, it's the difference between art staying put and... well, not. For paintings, you'll often encounter D-rings (metal rings attached to the frame) used with picture wire. The wire forms a triangle, hanging on a single hook or two hooks for stability. For heavier pieces, picture hooks designed for specific weights are essential, often requiring wall anchors.
For larger or heavier works, or for a more secure, flush mount, a French cleat system is fantastic. This involves two interlocking pieces, one attached to the wall and one to the art. They distribute weight evenly and make leveling easy. It's like a super-strong hug for your art, simple yet incredibly effective.
When you can't hit a stud (those solid wooden beams behind drywall), you'll need wall anchors. Simple plastic anchors work for lighter items, but for anything substantial, you'll need something more robust like toggle bolts or molly bolts. Think of toggle bolts like little wings that open up behind the drywall to grip it firmly, or molly bolts creating a sturdy metal sleeve that expands. Using the wrong anchor is like building a house on sand – it won't end well. Always check the weight rating on the packaging! Seriously, this is not the place to cut corners.
Dealing with walls that aren't standard drywall? Old plaster can be brittle; you might need specific plaster anchors or drill slowly to avoid cracking. Brick and concrete require masonry drill bits and specific anchors (like lead anchors or sleeve anchors). These are definitely areas where a professional installer earns their fee – they have the specialized tools and know-how to tackle these challenges without turning your wall into Swiss cheese. Or, if you're determined to DIY, watch a lot of tutorials and maybe practice on a less visible spot first.
Crucially, make sure you use the correct size drill bit for your chosen wall anchors. Too small, and the anchor won't fit; too large, and it won't grip properly. The anchor packaging usually specifies the required drill bit size. It's a small detail, but a vital one for a secure installation.
Installation Day: Bringing the Art to Life
So, you've planned, you've prepped, you've got your tools (or your installer booked!). What happens now? It's the moment of truth, the grand unveiling in its new home. The physical act of bringing the art onto the wall.
Handling the Art: Be Gentle!
This might seem obvious, but always handle the art with clean hands, or ideally, wear cotton gloves. Avoid touching the surface of paintings or prints, and be mindful of the edges of canvases or framed works, as oils and dirt can easily transfer. Lift from the sides of the frame or the sturdy parts of a sculpture. Treat it like the precious object it is – because it is! It's not just canvas and paint or carved wood; it's time, effort, emotion, and a piece of someone's story. Handle it with the respect it deserves. I cringe internally every time I see someone grab a canvas by the front edge. Please, be kind to the art!
Before you even lift the piece, take a moment to inspect the back. Check the hanging wire, D-rings, or other hardware attached to the artwork itself. Are they securely fastened? Do they look robust enough for the weight of the piece? Sometimes, even well-made art might need a quick check or reinforcement on the hanging points before it goes on the wall.
Professional vs. DIY: When to Call in Help
For valuable, large, or complex pieces, I always recommend hiring a professional art installer. They have the expertise, the right tools, and insurance. It's an investment in protecting your art and your home. They know the nuances of different hardware, wall types, and how to handle delicate pieces. For smaller, less valuable pieces, DIY is certainly an option, but be honest about your skill level and the weight of the piece. Don't risk damaging your new treasure! Installing a large sculpture or a multi-panel piece is a different beast than hanging a small framed print. Think about the value of the art versus the cost of a potential mistake. Sometimes peace of mind is worth the fee. And if you're using an installer, consider taking photos of the art's condition before they start, just for your records.
When choosing a professional installer, ask for references, check their insurance, and discuss their experience with the specific type of art you have. A good installer will be happy to walk you through their process and explain how they plan to secure the piece.
The Process: Measuring, Marking, Hanging, Leveling
Whether it's you or a pro, the steps are generally the same, requiring patience and precision:
- Measure and Mark: Determine the ideal height and horizontal placement. A common guideline is to hang the center of the artwork at eye level (around 57-60 inches or 145-152 cm from the floor). However, this is just a starting point! Consider the context of the room – if it's above a sofa or console, the height needs to relate to that furniture, leaving enough space so it doesn't feel cramped. Also, think about whether the art will be viewed primarily standing or sitting. Use a pencil (lightly!) and a level to mark the wall precisely where the hanging hardware will go. Measure twice, drill once! And remember that painter's tape trick!
- Install Hardware: Secure the appropriate anchors or screws into the wall, ideally into studs if possible (this is where that stud finder is your best friend!). Attach the corresponding hardware (D-rings, wire, cleat, etc.) securely to the back of the artwork. Double-check that the hardware on the art is robust enough for the piece's weight.
- Hang the Art: Carefully lift the piece and hang it onto the wall hardware. This is often a two-person job, especially for larger or heavier pieces. Communicate clearly if you have a helper! Don't rush this step! Take a deep breath.
- Level and Adjust: Use a level to ensure the art is perfectly straight. Make any minor adjustments needed. Sometimes, even after careful measuring, you might need to tweak the position slightly once it's on the wall. Step back, look, adjust. Repeat until it feels right.
It sounds simple, but each step requires precision. I remember helping a friend hang a gallery wall once (how to display art at home). We spent hours measuring and remeasuring, only to realize one piece was slightly off-center after we'd already put holes in the wall. We laughed, patched, and tried again. It's part of the process! And sometimes, those little imperfections add character... or maybe that's just what I tell myself. The important thing is the art is safely and beautifully displayed.
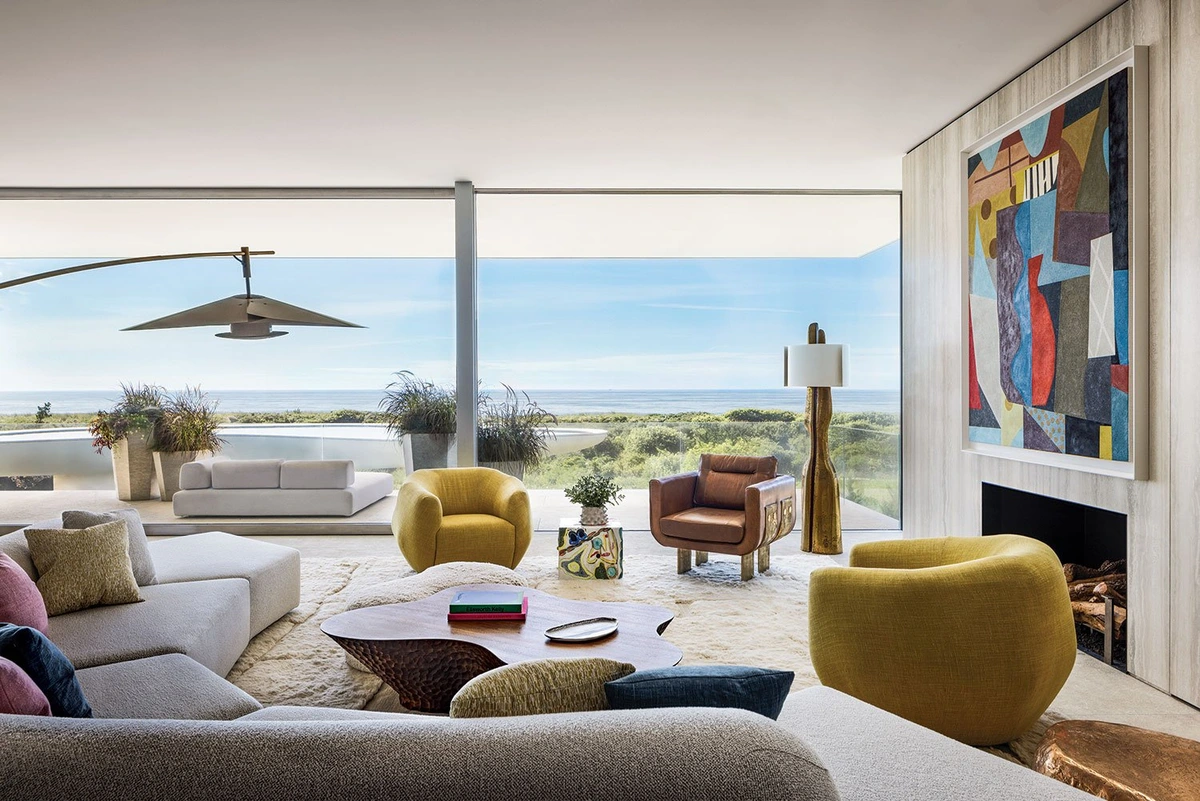
The First Look: Seeing it in Place
There's a unique feeling that comes with seeing a piece of art installed in its new home for the very first time. For the buyer, it's the culmination of their decision, the moment the space is transformed. For me, even if I'm not there, seeing photos or hearing descriptions of that moment is incredibly rewarding. It's when the art stops being just an object and truly becomes part of the environment, interacting with the light, the furniture, the energy of the room. Take a moment to just be with the art in its new spot. How does it feel? Does it change the mood of the room? This is where the magic happens.
Lighting: It Changes Everything!
Once the art is on the wall, consider the lighting. Good lighting can dramatically enhance a piece, highlighting textures and colors. Poor lighting can make it look dull or create distracting shadows. Think about the different types of lighting: ambient (general room light), task (for reading, etc.), and accent (specifically highlighting the art). Track lighting, picture lights, or even carefully positioned lamps can make a huge difference. When choosing lights, consider the color temperature (measured in Kelvin, affecting whether light is warm/yellow or cool/blue) and the Color Rendering Index (CRI), which indicates how accurately colors appear under the light. A high CRI (90+) is best for showing art's true colors. It's like giving the art its own spotlight on the stage of your home. The right light can make a piece sing; the wrong light can make it whisper. As an artist, I spend so much time thinking about how light interacts with my work, and seeing it properly lit in a home is just... chef's kiss.
Be mindful of spotlights that emit excessive heat, especially for delicate mediums like oil paintings or photographs, as heat can cause damage over time. LED lights are often a good choice as they produce less heat and offer excellent color rendering. Also, consider potential glare from windows or other light sources in the room. Sometimes the perfect spot for the art visually is also the perfect spot for a blinding reflection at certain times of day. A professional installer or designer can help you anticipate and mitigate this with placement or anti-glare framing options.
Beyond the Wall: Installing Diverse Art Forms
While hanging art on walls is common, installation goes beyond that. Sculptures, for instance, might require pedestals, plinths, or even floor-based mounting systems. The base is crucial for stability and presentation. For larger or outdoor sculptures, professional installation is almost always necessary, involving considerations like weight distribution, anchoring to the ground (especially for wind resistance outdoors), and sometimes even using cranes or specialized lifting equipment. Protecting outdoor sculptures from weather is another layer of complexity.
Ceiling-hung pieces, like mobiles or suspended sculptures, require careful calculation of weight and load-bearing capacity of the ceiling structure. This is definitely not a DIY job unless you are absolutely certain of the structural integrity and have the right specialized hardware. The last thing anyone wants is a beautiful piece crashing down.
What about other forms? Video installations require careful placement of screens, projectors, and sound equipment, often needing professional AV expertise alongside art installation knowledge. Textile art that isn't hung flat might need custom mounts to maintain its shape. Assemblage or mixed-media pieces with delicate or protruding elements need mounting systems that support each component securely. Even photography might require specific anti-glare glass or placement to avoid reflections. Each unique piece presents its own puzzle, which is part of the fun (and challenge!) of installation. And then there are site-specific installations or temporary exhibitions, which often involve unique, sometimes unconventional, materials and methods tailored precisely to a particular location or timeframe. These require intense planning, often involving engineers and specialized fabricators, and the de-installation process is just as complex as the setup.
Living with Your Art: Ongoing Care and Enjoyment
The art is up! But the process isn't quite finished. Now comes the best part: living with it. This is where the piece truly integrates into your life and space. It's not just an object anymore; it's a presence.
Environmental Considerations: Temperature, Humidity, and Location
Beyond just light, the environment of the room is critical for the long-term preservation of your art. Extreme fluctuations in temperature and humidity can cause materials to expand, contract, warp, or crack. Avoid hanging valuable pieces directly above radiators, air conditioning vents, or in rooms with significant moisture fluctuations like bathrooms (unless the art is specifically made for that environment). Art for a kitchen also needs careful consideration due to heat, grease, and humidity. Stable environments are best. If you live in an area with high humidity, consider a dehumidifier or framing with conservation-grade materials that create a microclimate for the artwork. Conversely, overly dry environments can also be harmful, potentially causing cracking in wood or paint; a humidifier might be necessary.
Stepping Back: Viewing from Different Angles
Take a moment to step back and view the art from different points in the room. How does it look from the sofa? From the doorway? Does the light hit it correctly throughout the day? Sometimes you might need to make small adjustments to the angle or even the placement after living with it for a bit. It's okay to tweak! I've moved pieces in my own home multiple times until they felt just right. It's a dialogue between you, the art, and the space. Don't be afraid to listen to that conversation.
Documenting Your Installation & Insurance
Once you're happy, consider taking photos of the installed piece, noting the location, the hardware used, and perhaps even measurements. This can be useful for your own records, especially if you have a collection. It's also important for art insurance. Proper installation and documentation can be relevant if you ever need to make a claim due to damage or theft. Think of it as a safety net for your investment and your passion. A quick photo and note can save a lot of headaches down the line. And as mentioned earlier, documenting the condition before installation is also a smart move. When it comes to insurance, for less valuable pieces, adding a rider to your existing homeowner's or renter's insurance might suffice. For more significant pieces or collections, consider specialized art insurance, which often provides broader coverage and expertise. Documentation, including photos, receipts, and details about the installation method, is crucial regardless of the type of insurance.
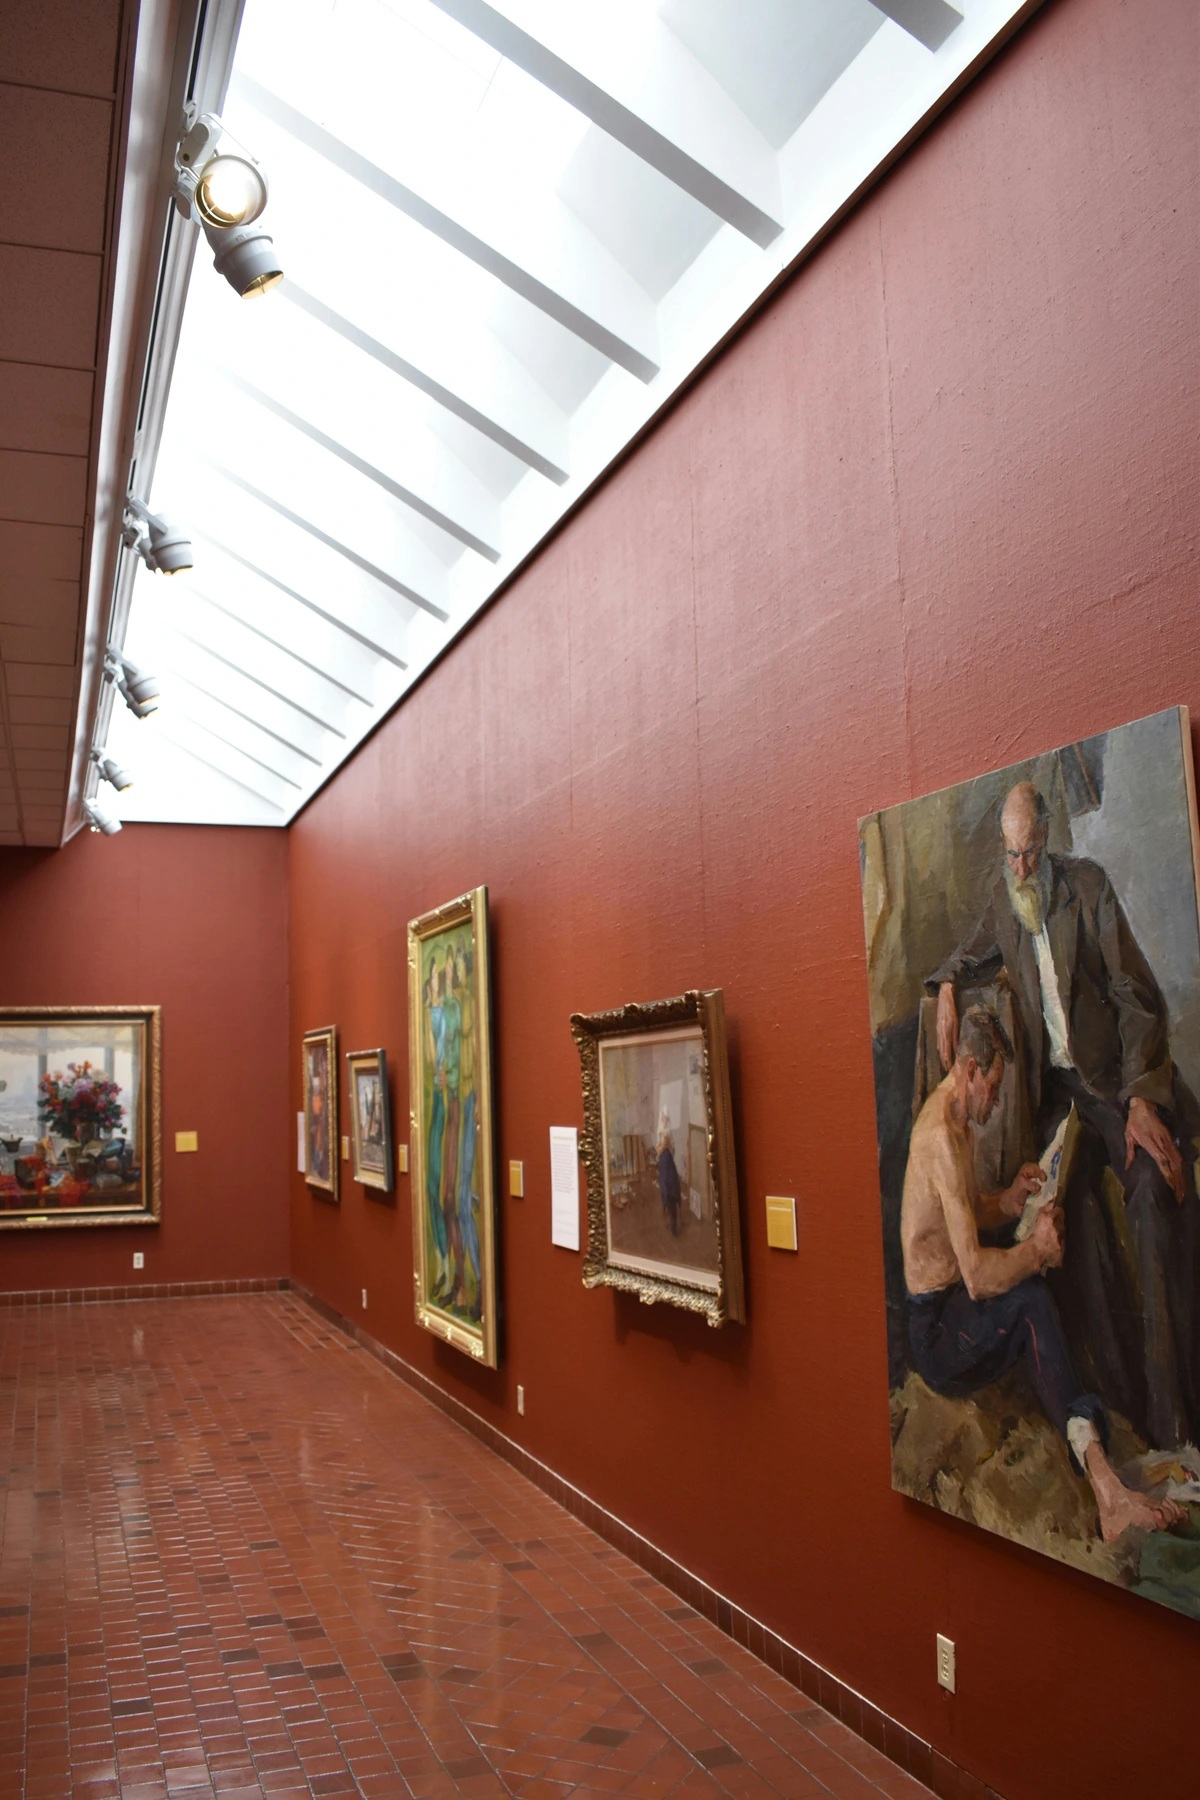
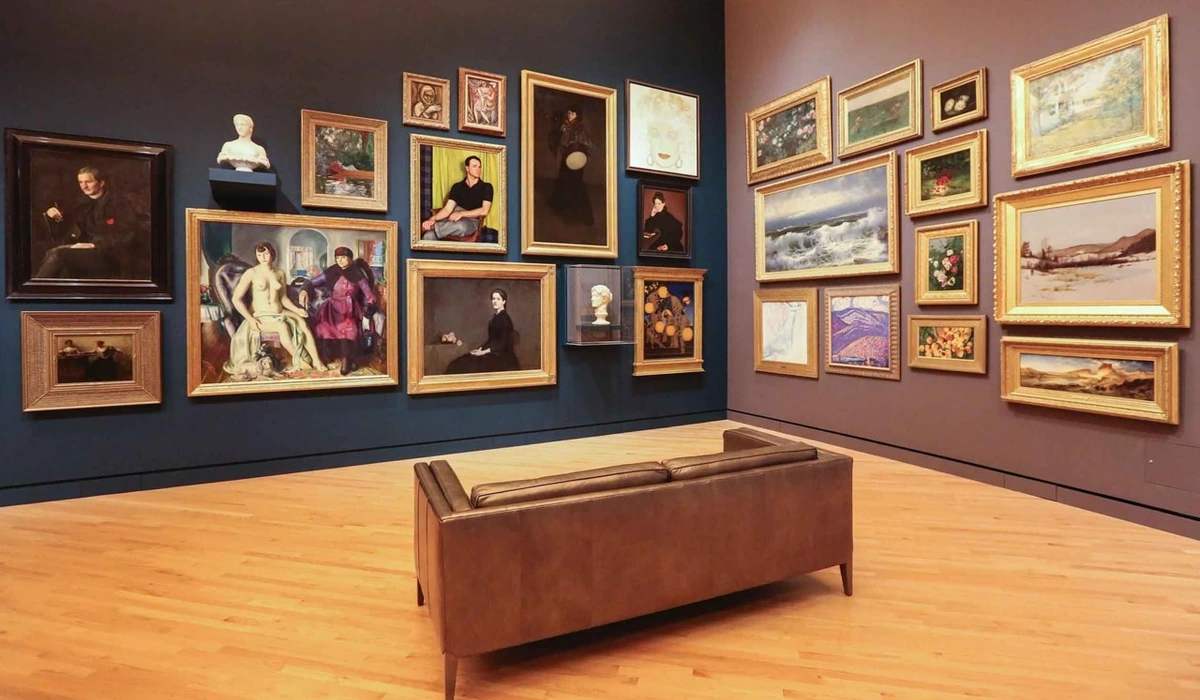
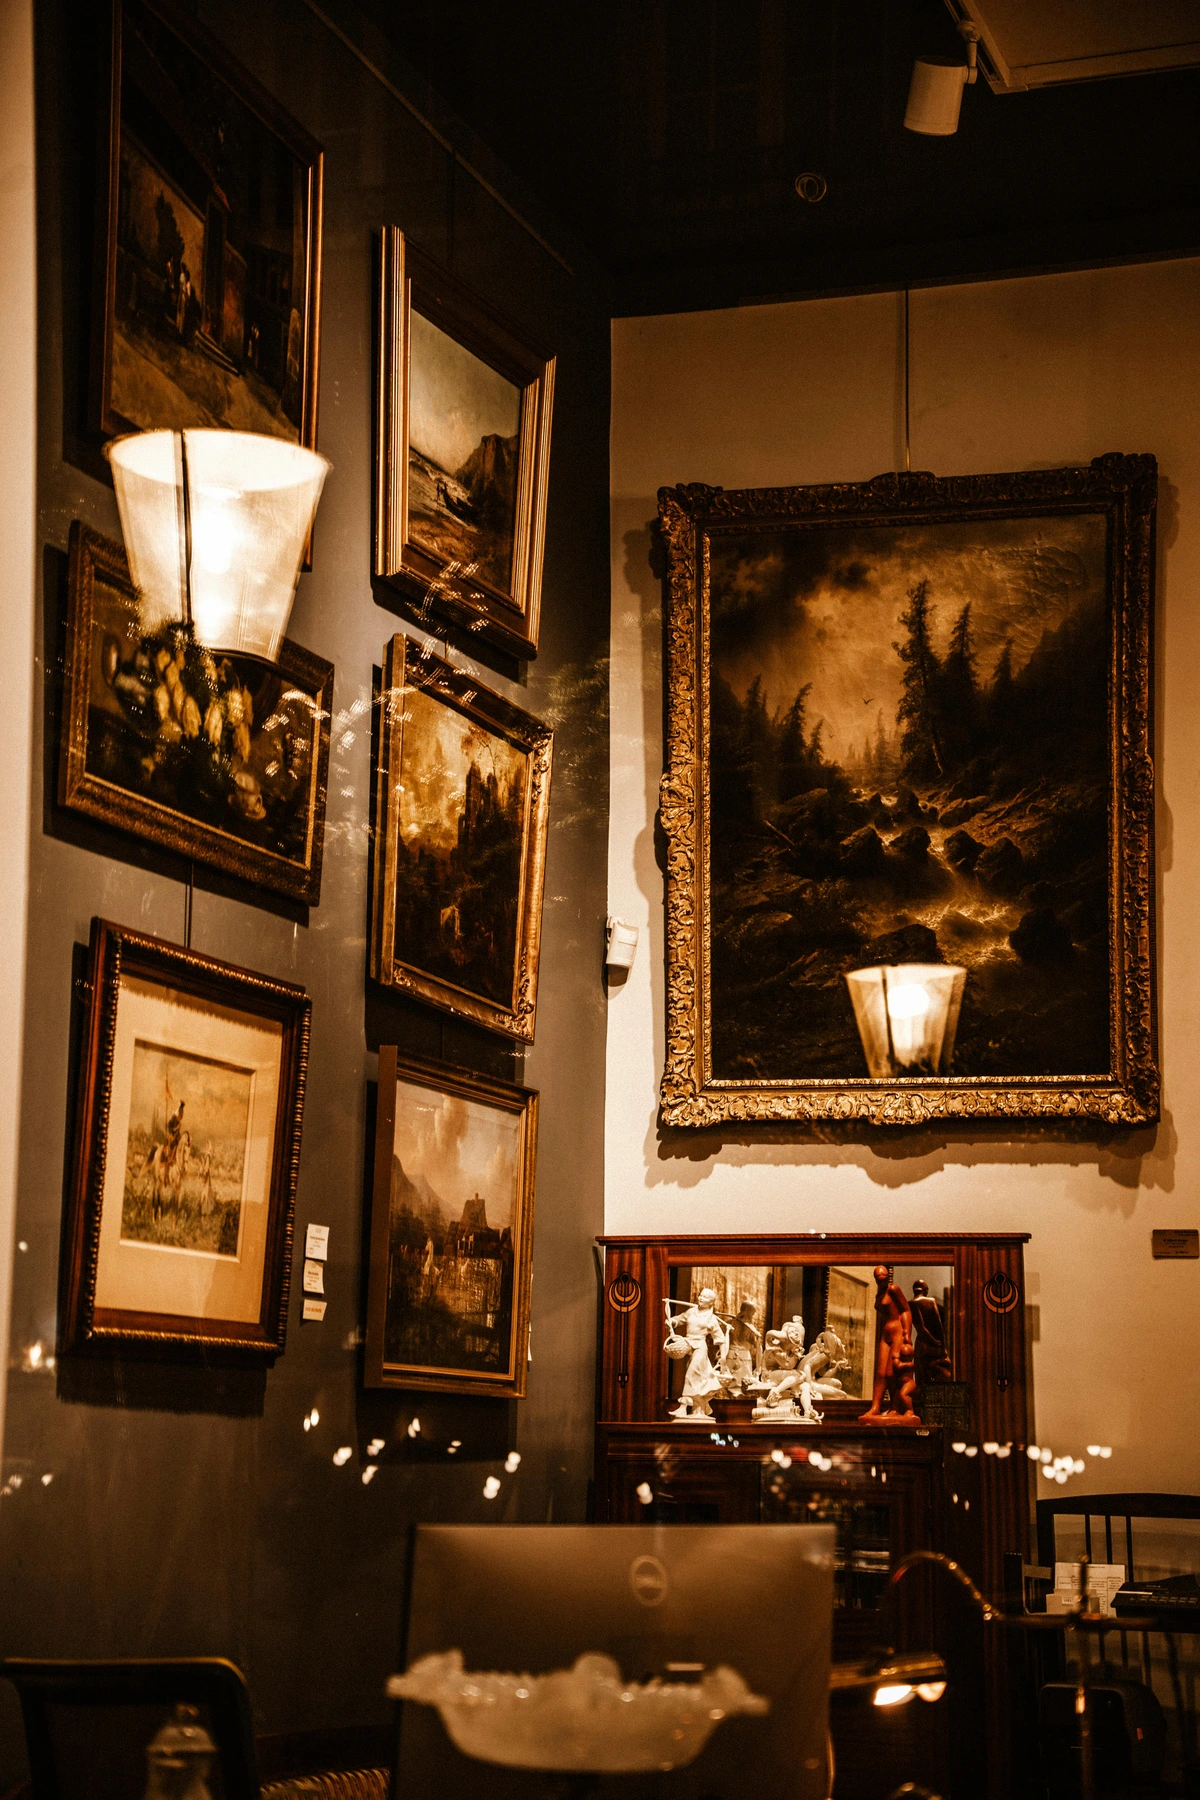
Art in Different Rooms
While living rooms and bedrooms are common, don't forget other spaces! Art in a dining room can spark conversation. In an entryway, it sets the tone for your home. In a home office, it can provide inspiration or a moment of calm. Each space has unique considerations for viewing distance, traffic, and environmental factors. Don't limit yourself; art can transform any corner.
Consider challenging spaces too, like stairwells (requires careful planning for viewing angle and safety, often needing specialized equipment or techniques for installation) or rooms with very high ceilings (might need scaffolding or lifts). Even small nooks or hallways can become focal points with the right piece and installation. I've seen incredible pieces placed in unexpected spots – a small, vibrant abstract in a quiet reading corner, or a dynamic sculpture at the turn of a staircase – that completely redefine the space.
Considering Future Changes & De-installation
What if you move? Or redecorate? Think about how the installation method might impact de-installation. A French cleat is easy to unhook, but some anchors require patching the wall. If you anticipate moving valuable pieces, discuss de-installation with your professional installer or research the proper techniques beforehand to ensure the art is removed safely. Removing a large, heavy piece or one with complex mounting requires just as much care and planning as putting it up. Don't just yank it off the wall! Planning for the future can save you stress (and wall repairs) later.
Working with Interior Designers or Art Consultants
Many collectors work with interior designers or art consultants who can assist with placement and installation. If you're using one, communicate openly about the art's specific needs and your vision for the space. A good designer will understand how to integrate the art seamlessly and ensure it's properly installed. As an artist, I appreciate when designers understand the technical requirements of my work; it makes the whole process smoother for everyone involved. It's a collaborative process where their eye for design meets the art's specific needs.
How it Changes the Space
This is the real magic. The art is now part of your daily life. It changes the energy of the room, sparks conversation, and brings you joy. It's not just decoration; it's a piece of someone's soul, a moment captured, a story told, now living in your story. I love hearing from collectors how a piece has transformed their space or how they notice new details in it over time. I remember one collector who placed a vibrant abstract piece in a previously unused corner of their dining room, and they told me it completely revitalized the space, drawing people in and becoming a focal point. That's the power of art, properly placed. It's a silent, beautiful conversation that unfolds over time.
Common Questions I Get (FAQ)
Here are a few things people often ask me about installation:
- How high should I hang my art? As mentioned, eye level (center of the piece around 57-60 inches or 145-152 cm) is a good starting point, but consider the context of the room and furniture. If hanging above a sofa or console, leave enough space so it doesn't feel cramped. Also, think about viewing height – standing vs. sitting. You can also hang art lower for a more intimate feel, or higher to draw the eye up and emphasize vertical space. Ultimately, trust your eye and what feels balanced in the space.
- Can I hang art over a fireplace? Yes, but be mindful of heat and soot, which can damage the art. Ensure there's adequate clearance and consider the material of the artwork. Decorating a fireplace with art can look stunning, but requires care. Maybe choose a print with UV/heat protection or a medium less susceptible to damage.
- What about humidity and temperature? Extreme fluctuations can damage art. Avoid hanging valuable pieces in bathrooms or directly above radiators. Stable environments are best. If humidity is a concern, consider framing with conservation materials or choosing mediums like metal or certain types of prints that are less sensitive. Art for a kitchen also needs careful consideration due to heat and grease.
- What if I change my mind about the location? That's okay! Art is meant to be enjoyed. If a piece doesn't feel right in one spot, try another. Just be prepared for a few extra holes in the wall (or call a professional!). It's part of the journey of finding the perfect home for the piece.
- How do I hang art without nails? There are options like adhesive strips or picture hanging systems that use hooks and wires attached to a rail. These can be great for renters or if you want to avoid wall damage (hanging art without nails). Just check the weight limits, and be aware that some adhesive strips can still damage paint upon removal. Always test in an inconspicuous spot.
- How do I hang art on uneven walls or in corners? Uneven walls might require shims behind the frame to make it hang straight. Corners can be tricky; sometimes a simple hook works, but for heavier pieces or precise alignment, a professional might use specialized corner mounts or cleats. It often requires a bit of creative problem-solving.
- What about hanging multiple pieces (a gallery wall)? Planning is key! Lay the pieces out on the floor first to determine the arrangement and spacing. Measure the total area the grouping will cover. Use paper templates cut to the size of each frame to mark the wall before drilling – this is a game-changer! Start hanging from the center piece or a key anchor point. It takes patience, but the result can be incredibly rewarding.
- How do I clean my art? This depends heavily on the medium! For framed prints or paintings under glass, a gentle dusting with a soft, dry cloth is usually fine. For oil or acrylic paintings without glass, never use water or cleaning products unless specifically advised by a conservator. Dust gently with a very soft brush. Sculptures vary greatly by material (bronze, wood, ceramic); research specific care for your piece or consult a professional conservator. When in doubt, gentle dusting is the safest bet. You can find more detailed information in guides on cleaning different types of art and general art care.
My Final Thoughts
For me, the installation process is the final act of creation. It's when the piece truly comes alive in its new environment. It's no longer just an object in my studio; it's a part of your world. It's a connection between my vision and your space, a silent conversation that happens every time you look at it. It's the moment the art stops being 'mine' and starts being 'yours'. It's a beautiful, sometimes nerve-wracking, transition.
Don't let the practicalities of hanging art intimidate you. With a little planning, the right tools, and maybe some help, you can ensure your new acquisition looks its absolute best and brings you joy for years to come. It's the final, beautiful step in the journey of bringing art home.
If you're curious about my own journey as an artist, you can explore my timeline, or if you're ready to find a piece to bring into your own space, you can browse my art for sale. And if you're ever in the Netherlands, perhaps you'll visit my museum in 's-Hertogenbosch and see how my work lives in that space.


