How to Display Art at Home: Sculpture, Photography, Paintings & More
Transform your home with art! Get comprehensive, personal tips on displaying sculpture, photography, paintings, textiles, works on paper & digital art. Learn about lighting, hanging, framing & more.
How to Display Different Types of Art in Your Home: Beyond the Canvas
Art has this incredible, almost alchemical power, doesn't it? It can take a plain wall, a quiet corner, or an empty pedestal and infuse it with personality, emotion, and a story. It's not just about filling space; it's about transforming it, making a house feel undeniably like yours. But bringing art into your home is just the first, exciting step. The real magic, the part that makes the art truly sing in its new environment, lies in how you choose to display it. Whether you're working with the familiar weight of a sculpture, the captured moment of photography, the bold presence of large canvases, or exploring other mediums, thoughtful art arrangement is the key to unlocking its full potential. This guide is here to walk you through it, offering practical tips woven with a few personal thoughts from my own journey of living with art.
Before you even think about where to put something, take a moment with the piece. Does it resonate? Does it spark something inside you? If you're still figuring out what kind of art speaks your language, our guide on how to define your personal art style and taste might be a good starting point.
General Principles of Art Display: The Foundation
Some truths hold firm, no matter the medium. These are the foundational principles that will guide your display choices:
- Location, Location, Location: This isn't just for real estate! Think about the room's purpose and energy. A vibrant, dynamic piece can electrify a living room or creative space, while something calmer might be perfect for a bedroom retreat. Consider the flow of traffic – you don't want a delicate sculpture perched precariously where it might get bumped (I learned that the hard way with a rather enthusiastic dog and a ceramic piece... thankfully, it was resilient!). Need room-specific ideas? See our guides on decorating your home, living room, bedroom, office, and even the bathroom (with caveats, of course!).
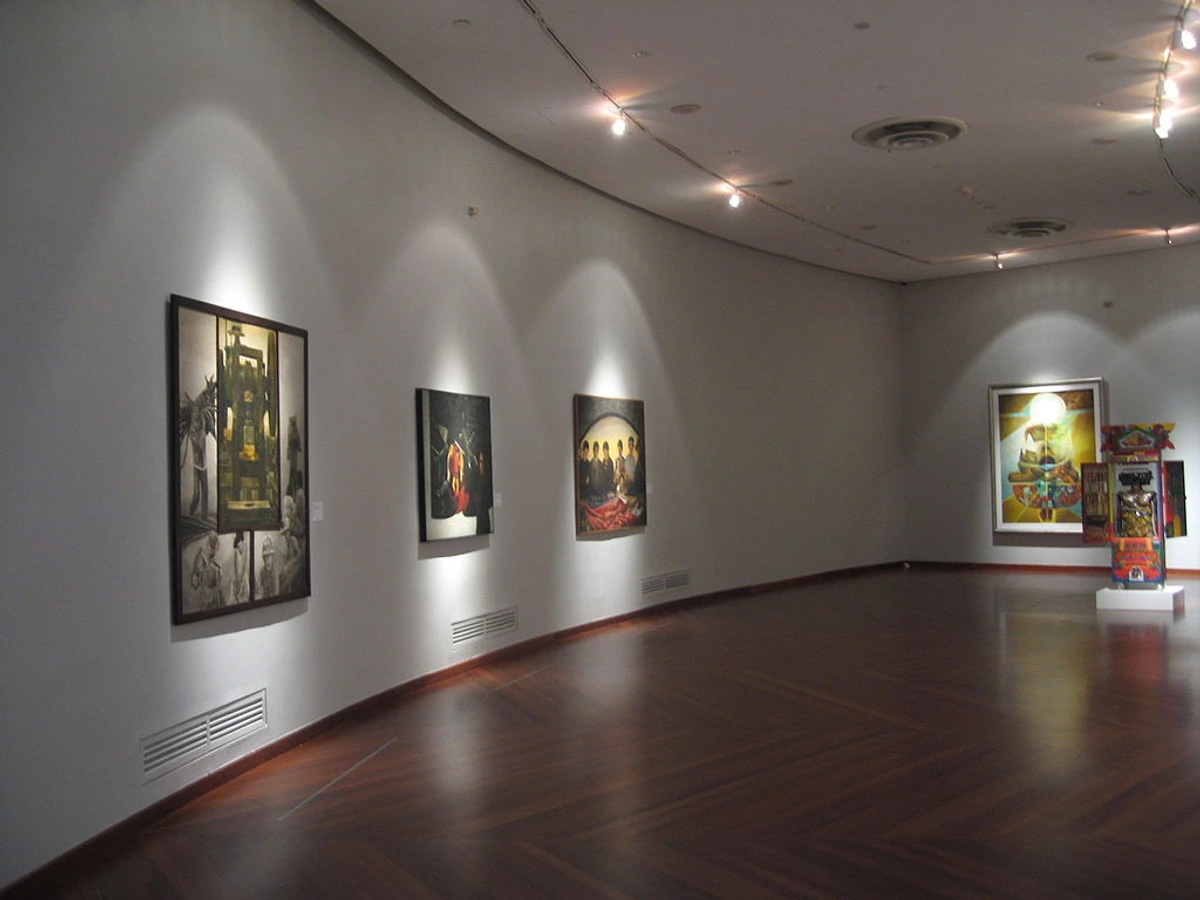
- The Profound Impact of Lighting: Lighting isn't just functional; it's emotional. Proper lighting doesn't just make art 'pop'; it can reveal textures, deepen colors, and set the entire mood of a piece and the space around it. Natural light is wonderful, but direct sunlight is art's enemy – it causes fading and irreversible damage over time (learn more about art care). For artificial light, you have options: adjustable spotlights or track lighting are fantastic for directing light precisely onto a piece. Picture lights mounted directly above a frame offer focused illumination. When choosing artificial lights, look beyond just brightness. Color Temperature (measured in Kelvin) affects the warmth or coolness of the light (lower Kelvin like 2700K is warm, yellowish; higher like 5000K is cool, bluish). Color Rendering Index (CRI) tells you how accurately the light source reveals the true colors of the art (aim for 90+ CRI). I've found that warmer light (lower Kelvin) can make my more abstract, colorful pieces feel cozy and inviting, while cooler light (higher Kelvin) can make them feel sharper, almost clinical. Experiment until the light feels right, not just looks bright. It's like finding the perfect tone of voice for a story.
- Scale and Proportion: Finding the Right Fit: Hanging a postage stamp on a cathedral wall? Or trying to squeeze a billboard into a closet? Scale matters! A tiny artwork can feel lost and insignificant on a massive wall, while an oversized piece can completely overwhelm a small room, making it feel cramped and unbalanced. Think of it like choosing the right size rug for a room – it needs to relate to the furniture and the space itself. A common guideline is for art hung above furniture, like a sofa or console, to be roughly two-thirds the width of the furniture. But honestly, sometimes you just have to eyeball it. I once hung a piece that felt just right in my studio, only to get it home and realize it looked like a postage stamp above my sofa. Back to the drawing board (or rather, the floor plan) I went!
- Hanging Height: The Eye-Level Rule (and When to Break It): The standard gallery rule is to hang art so its center is at eye level, typically around 57-60 inches (145-152 cm) from the floor. This is a great starting point, designed for viewing while standing. However, your home isn't a gallery – it's your space. If you'll primarily be viewing the art while seated (say, above a dining table or sofa), you might want to hang it slightly lower. Consider ceiling height too; in rooms with very high ceilings, you might hang slightly higher to better relate the art to the vertical space, but still keep the main visual interest near eye level. I once hung a piece way lower than standard in my hallway because I wanted it to feel like a little discovery as you walked past, something you had to lean into slightly to appreciate. Rules are helpful, but your intuition is your best guide.
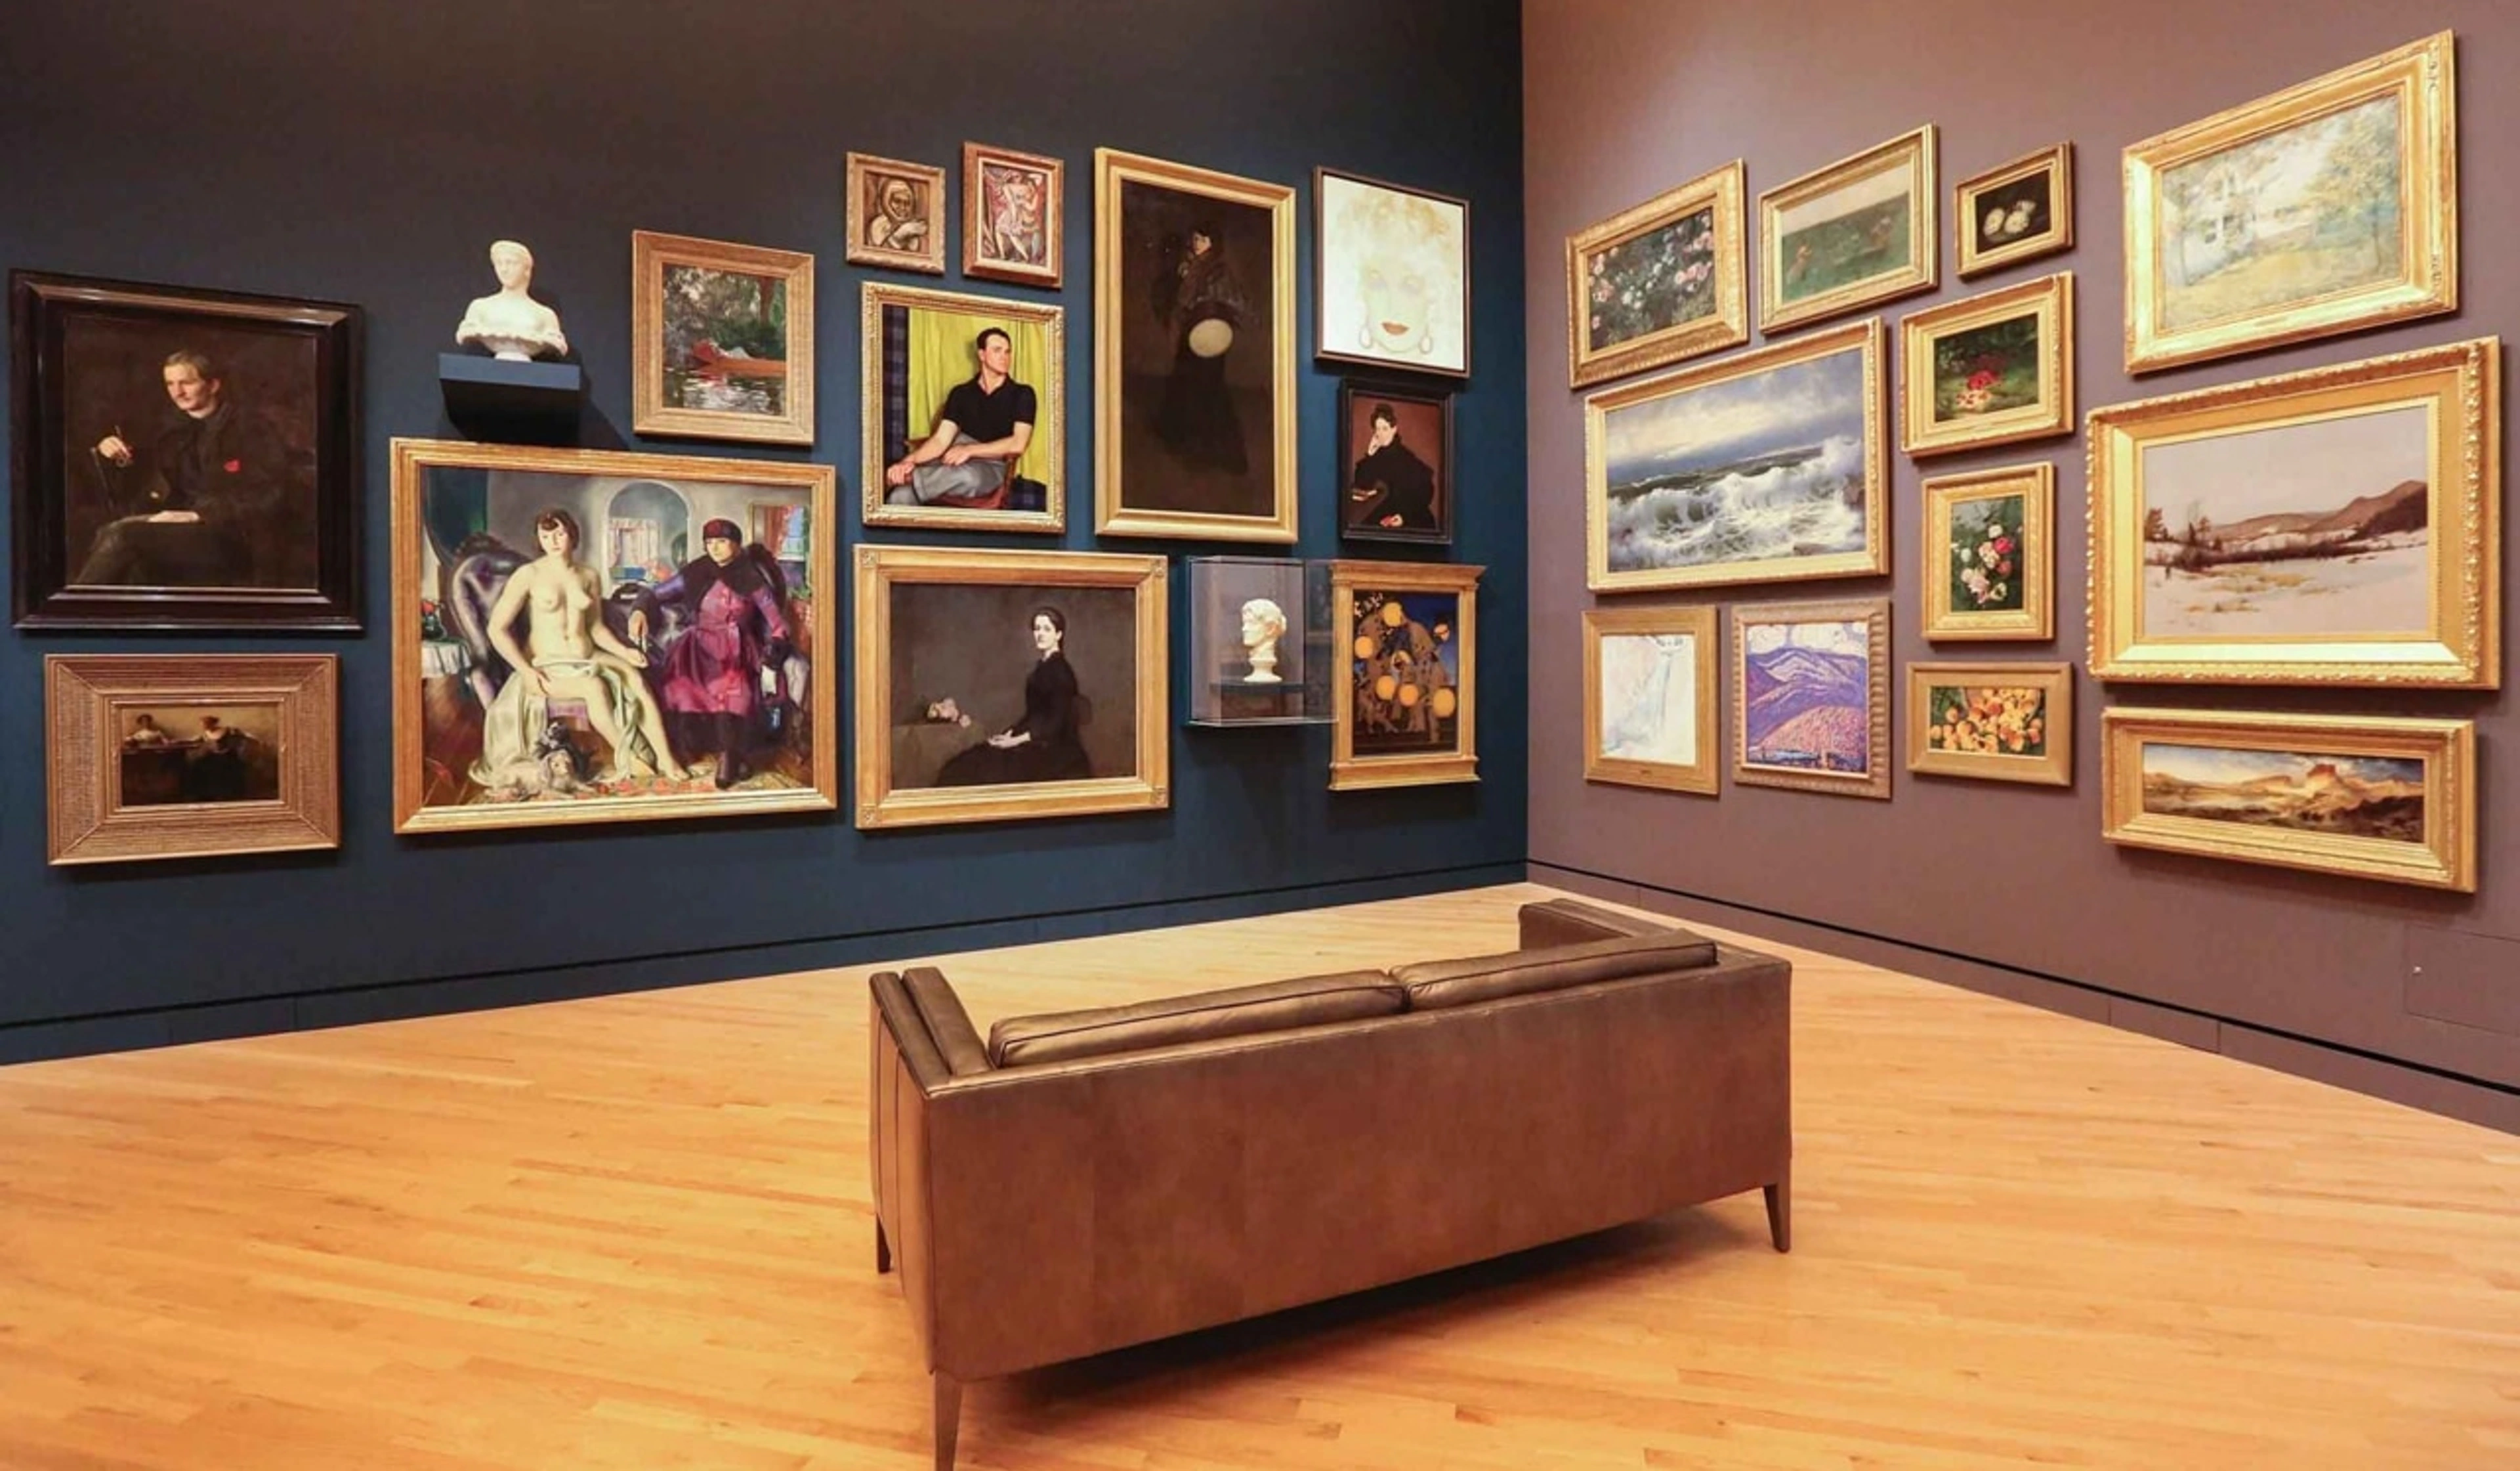
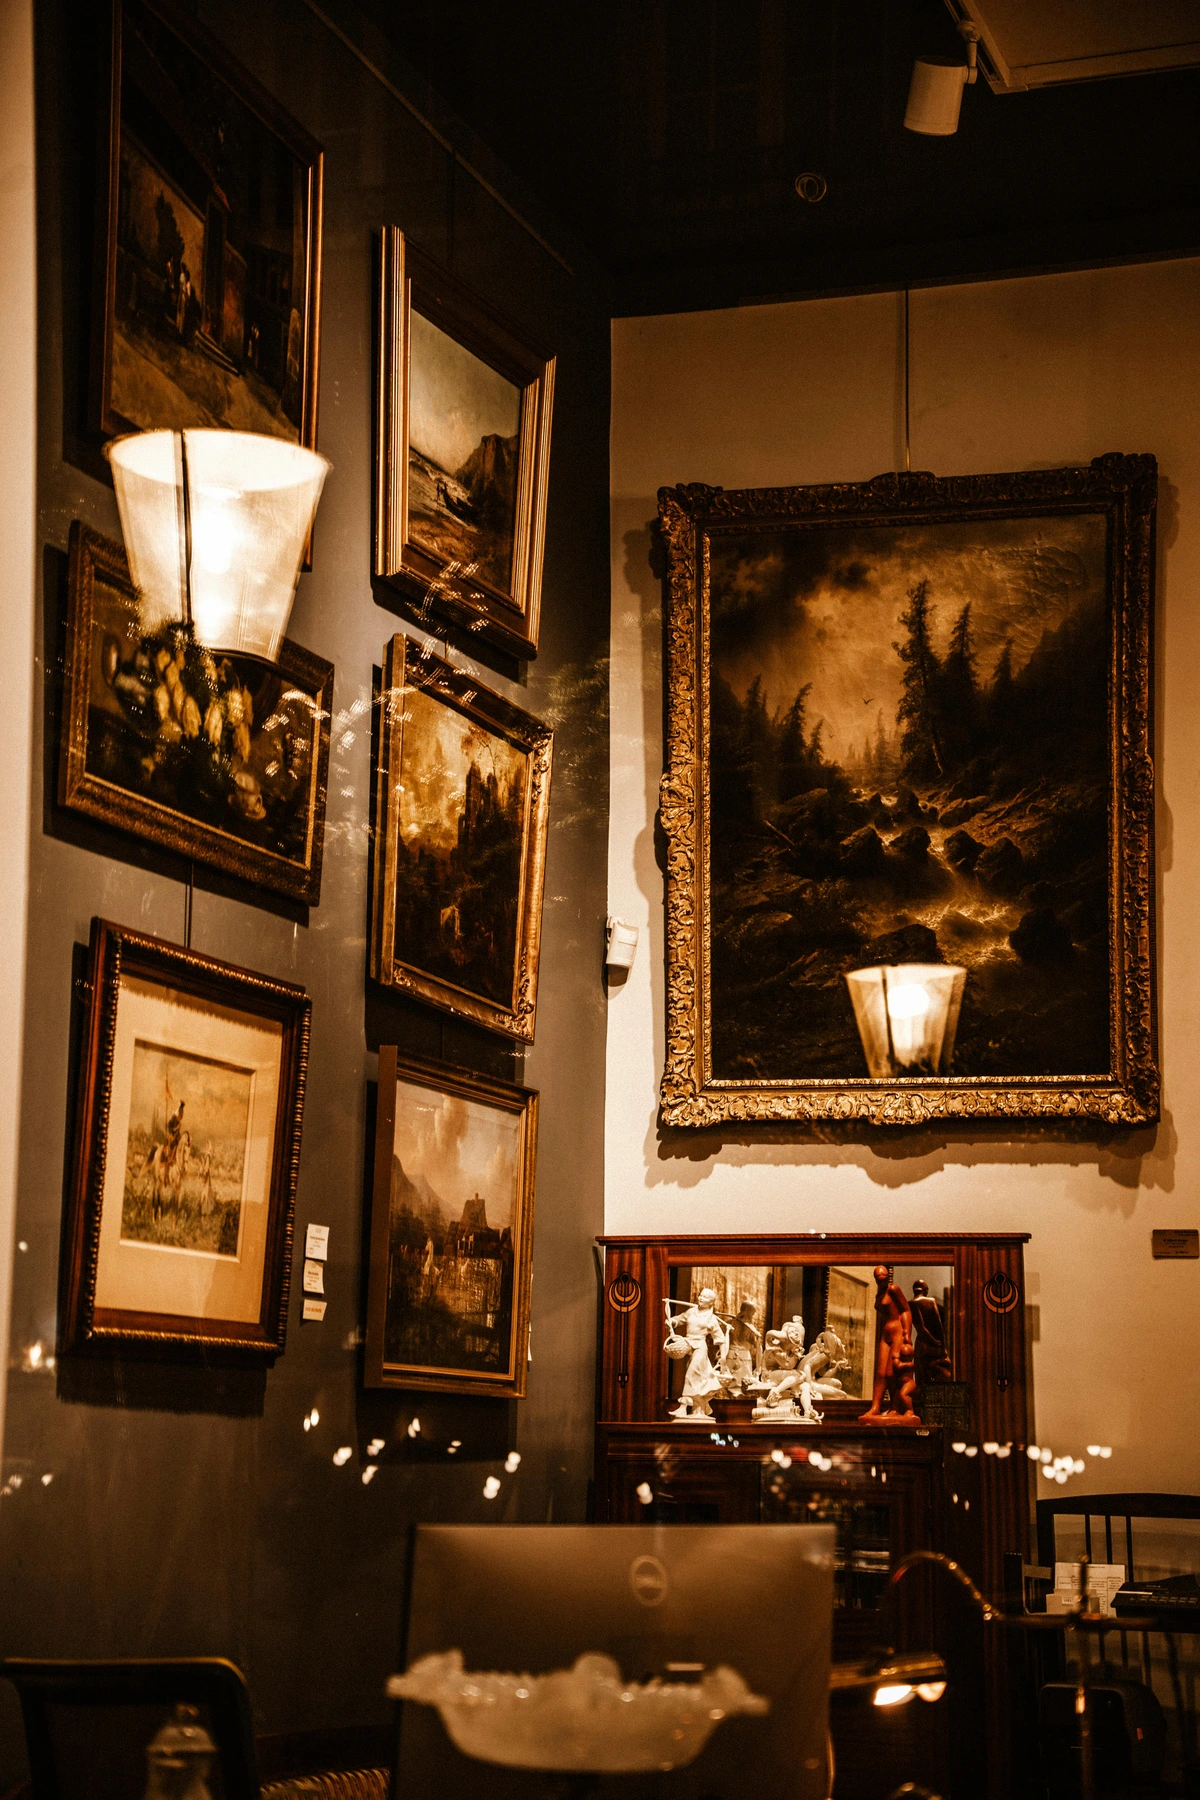
- Grouping Strategies: Building a Conversation: A single piece can make a powerful statement, but grouping artworks can create a dynamic visual story. Planning a gallery wall? Don't just start drilling! Lay everything out on the floor first. Trace the frames onto craft paper, cut them out, and tape them to the wall. Move them around until you're happy. It feels a bit like playing Tetris, but it saves you from a wall full of unwanted holes and patching later (ask me how I know!). Maintain consistent spacing between frames for a cohesive look, or vary spacing intentionally in a salon-style hang for a more eclectic feel. Balance sizes, colors, and orientations. Find inspiration here: art inspirations.
Considering Flow and Negative Space: The Art of the Pause
Beyond the basics, think about how art guides the eye through your space. Does a series of smaller pieces lead you down a hallway, creating a visual rhythm? Does a large canvas act as a full stop, anchoring a seating area and drawing you in? Negative space – the empty wall around the art – is just as crucial as the art itself. It's the silence between notes in music, the pause in a conversation that adds emphasis. Don't feel the need to fill every single gap. Sometimes, letting a single piece breathe, giving it ample negative space, makes it far more powerful and allows the viewer to truly focus. I find that resisting the urge to overcrowd walls takes practice, especially when you love collecting, but the results are usually worth the restraint. A well-placed void can be surprisingly elegant and impactful.
Hanging Hardware: The Unsung Heroes
Let's talk about the stuff that actually keeps your precious art on the wall. Choosing the right hardware is crucial for safety and stability, especially for heavier pieces. Beyond simple nails (only for very light items in drywall, please!), here are some common options:
- D-Rings and Picture Wire: Standard for many framed pieces. Attach D-rings to the back of the frame (ensure they are rated for the weight) and thread picture wire between them. The wire hangs on a hook in the wall. Make sure the wire is taut enough that the hook isn't visible above the frame.
- Sawtooth Hangers: Small, toothed metal pieces hammered directly into the top center of the frame back. Best for small, lightweight items.
- French Cleats: A two-part system where one piece attaches to the wall and the other to the artwork. They interlock, providing a very secure, flush mount. Excellent for heavier pieces or when you want the art to sit flat against the wall.
- Picture Rail Systems: A traditional method using a rail installed near the ceiling. Art hangs from hooks and wires suspended from the rail. Great for flexibility (easy to rearrange!) and ideal for rentals as it minimizes wall damage below the rail.
- Security Hardware: For valuable pieces or in public/high-traffic areas, consider security hooks that lock the artwork to the wall hardware, preventing easy removal.
- Drywall Anchors: If you can't hit a stud (always try to hit a stud for heavy items!), you'll need anchors. Know their weight ratings! Simple plastic anchors are for very light loads. Molly bolts (metal, expand behind the wall) and toggle bolts (require a larger hole, use a spring-loaded toggle bar) offer much higher weight capacities. Always check the packaging for the specific anchor's rating and use multiple anchors for heavier pieces. I once tried to hang a medium-sized mirror with inadequate anchors, and the slow, terrifying scrape as it started to pull away from the wall was a lesson I won't forget. Always over-spec your hardware!
Displaying Specific Art Types
Now, let's get into the nuances of different mediums. Each type of art has its own characteristics and display considerations.
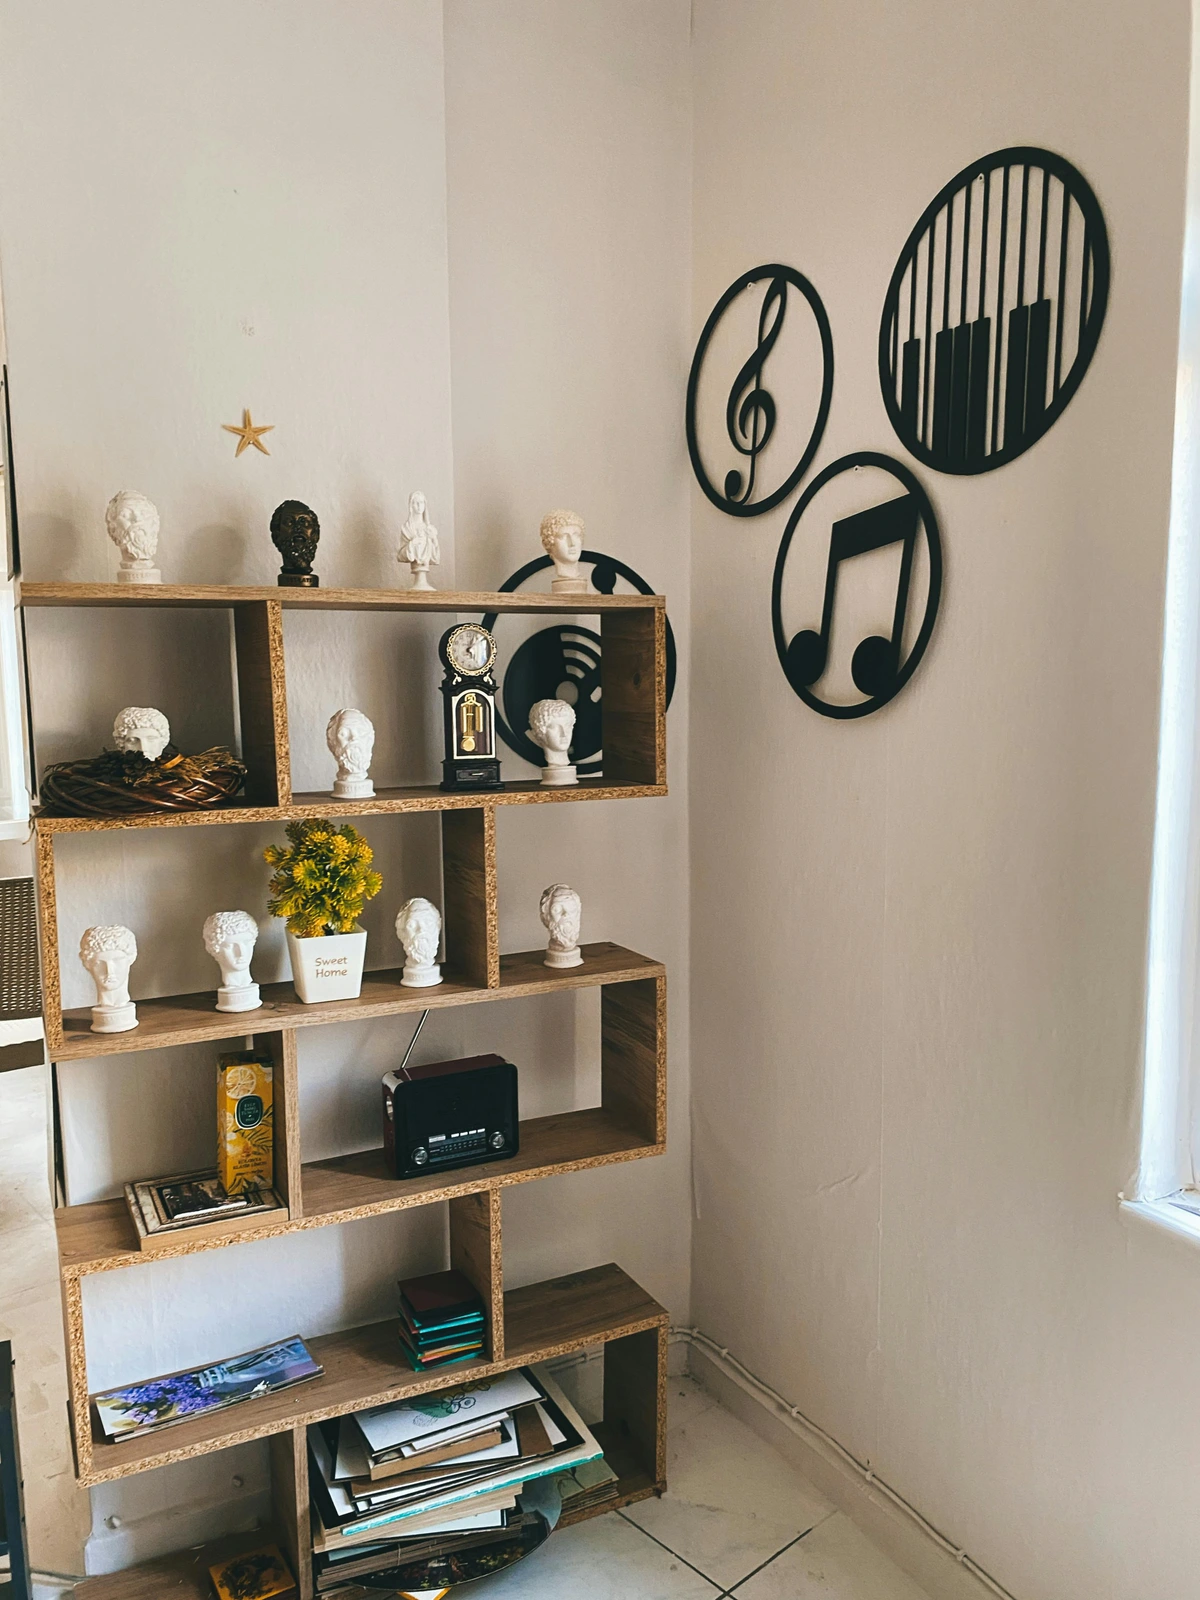
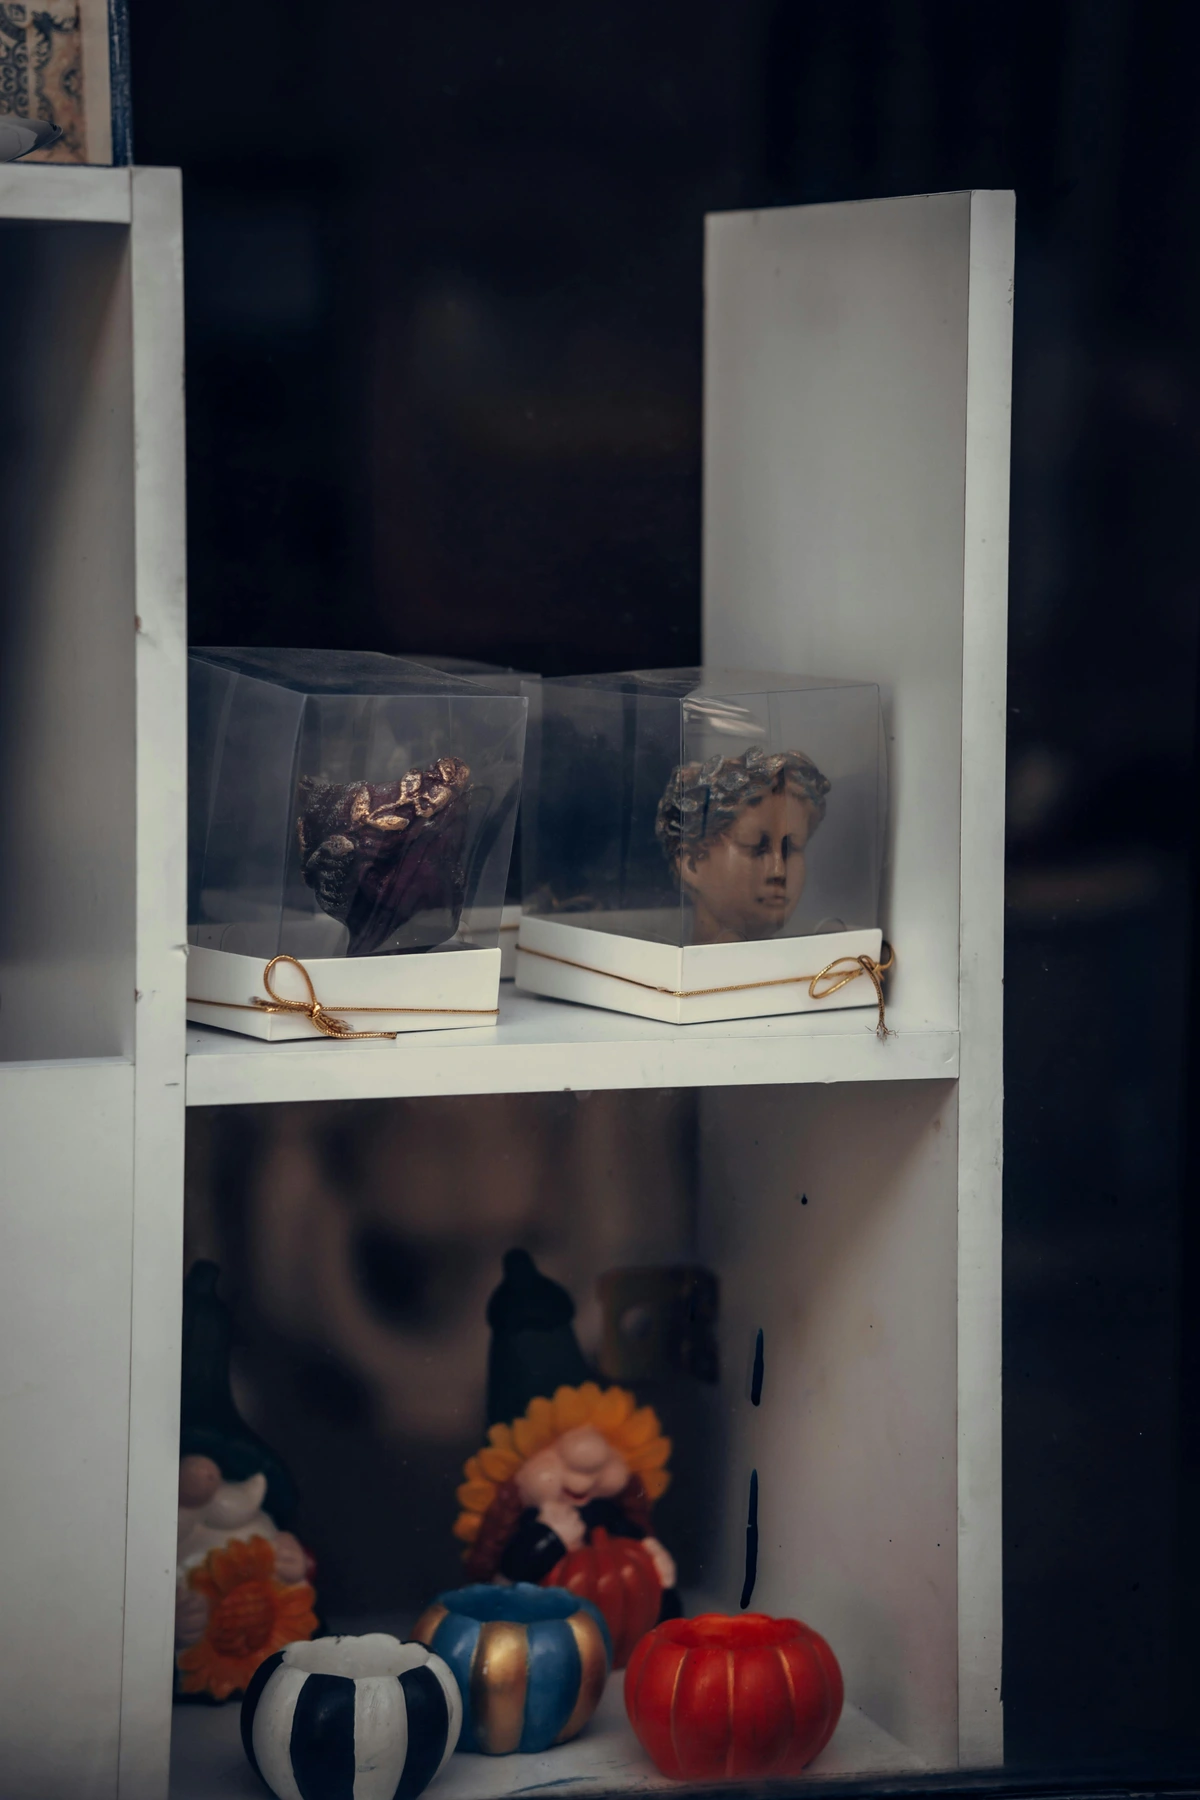
Displaying Sculpture
Sculpture adds a unique three-dimensional element to your home, occupying space in a way paintings cannot. It invites interaction and changes depending on your perspective.
- Embrace 3D: Think about how the piece looks from multiple angles. Place it where viewers can appreciate its form, texture, and volume, possibly allowing space to walk around it if the piece and room allow. This interaction is what makes sculpture so special, right? It exists in our space, not just on it.
- Placement Options:
- Pedestals: Elevate smaller or medium sculptures, giving them presence and defining their space. A good pedestal feels like a stage, instantly telling you "this is important." Choose a pedestal size and style that complements the sculpture, not competes with it.
- Niches: Built-in niches offer a framed, integrated look, almost like a little shrine to the artwork. Ensure the niche size is appropriate and the lighting is considered.
- Shelves/Mantels: Suitable for smaller, stable items. Ensure the shelf is securely mounted and can bear the weight. Be mindful of visual clutter here – let the sculpture stand out.
- Floor Placement: Ideal for large, heavy, or robust sculptures that command attention. Make sure it doesn't become a tripping hazard, though! As mentioned, my dog taught me this lesson with a floor piece near a doorway. Placement needs to consider daily life.
- Wall-Mounted: Some sculptures are designed to hang like paintings, blurring the lines between 2D and 3D. Treat these similarly to paintings regarding hanging hardware and height.
- Lighting Sculpture: Use directional lighting like spotlights from one or more angles to create dramatic shadows and highlight texture and form. Experiment with light direction – lighting from below can create a totally different, sometimes eerie, mood compared to lighting from above. Think about how the light interacts with the contours.
- Safety First: Ensure sculptures are stable, especially tall or heavy ones. Use museum wax (a reversible adhesive) or secure mounts if needed, particularly in earthquake-prone areas or homes with children/pets. A falling sculpture is a disaster for the art, the floor, and potentially people.
Here's a quick summary of sculpture display tips:
Sculpture Display Tip | Description |
|---|---|
| Viewability | Ensure piece can be seen and appreciated from multiple angles. |
| Elevation | Use pedestals or shelves for focus and height, choosing complementary styles. |
| Integration | Consider niches or sturdy shelves, ensuring secure mounting. |
| Lighting | Use directional light to enhance form, texture, and create shadows. |
| Stability | Secure piece against tipping using museum wax or appropriate mounts. |
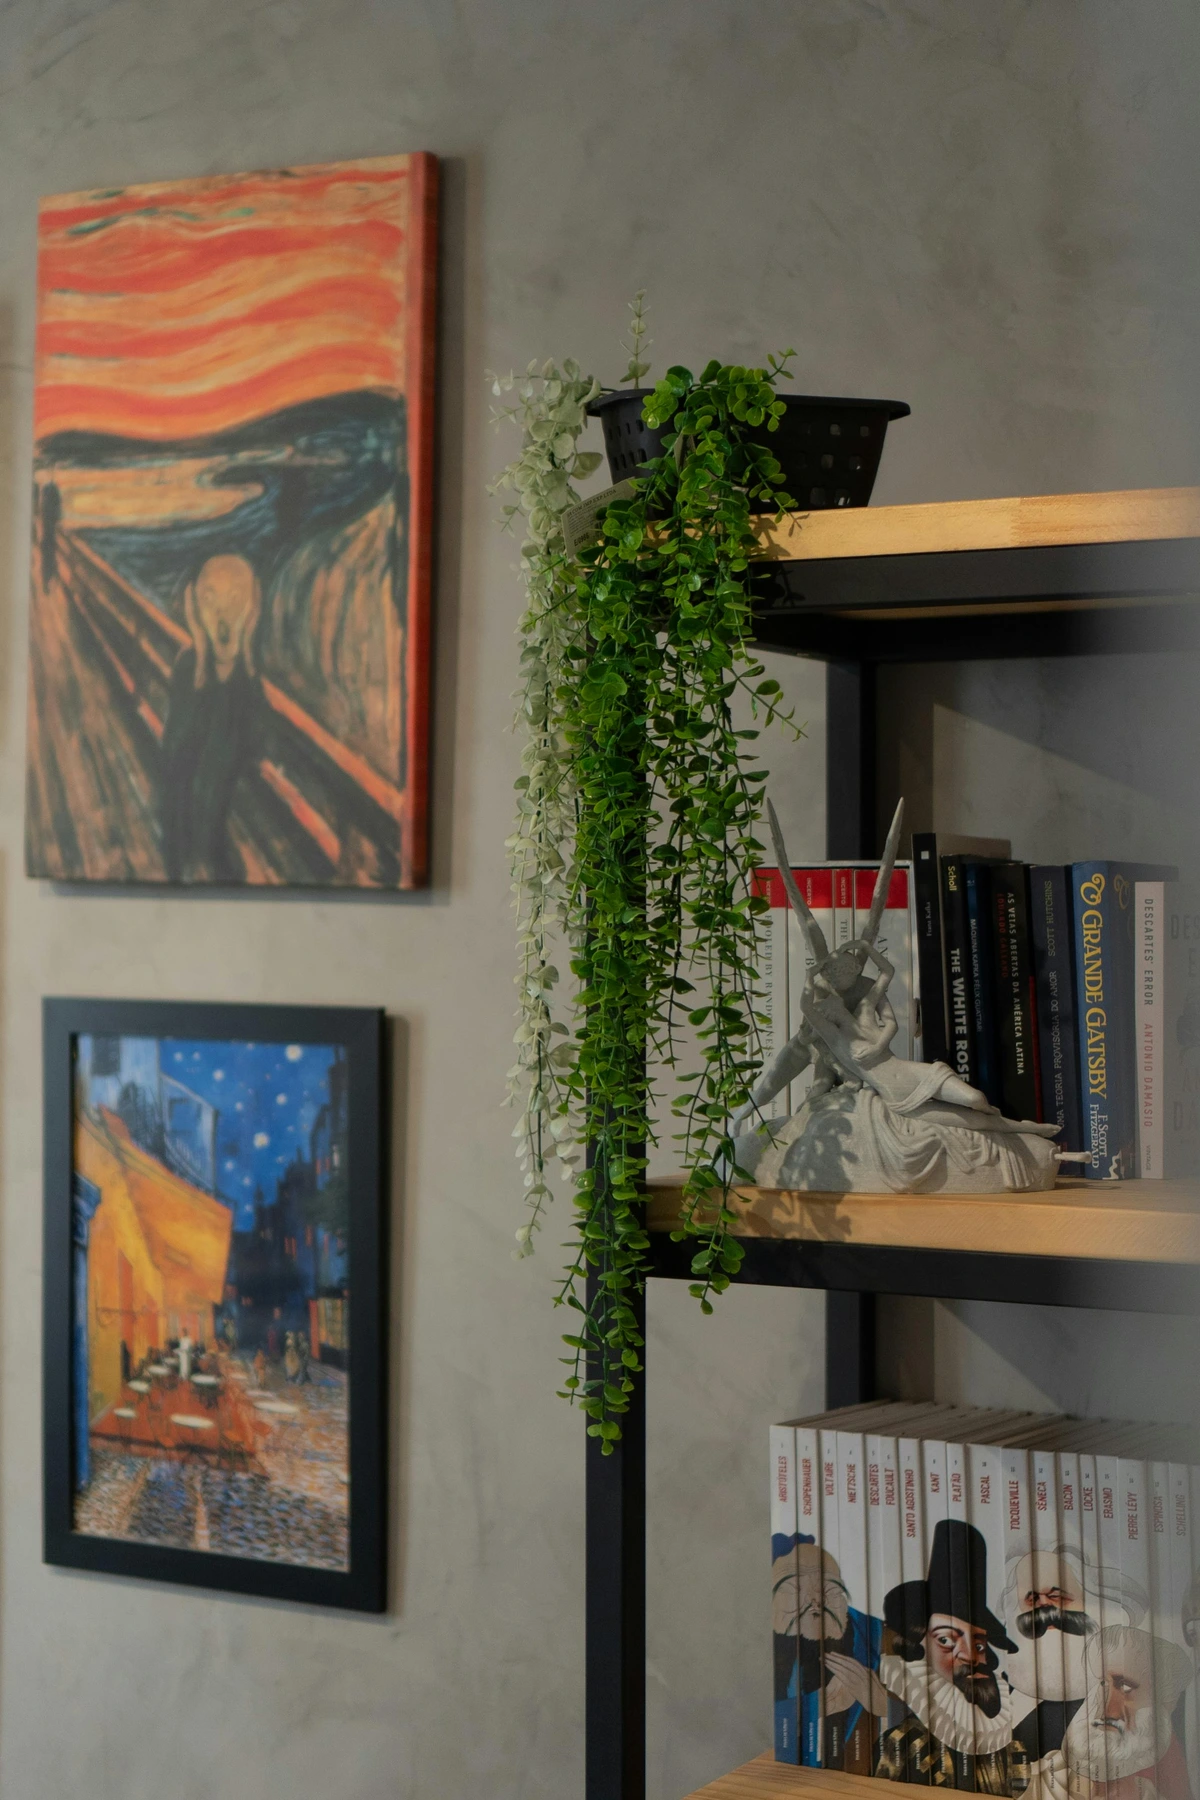
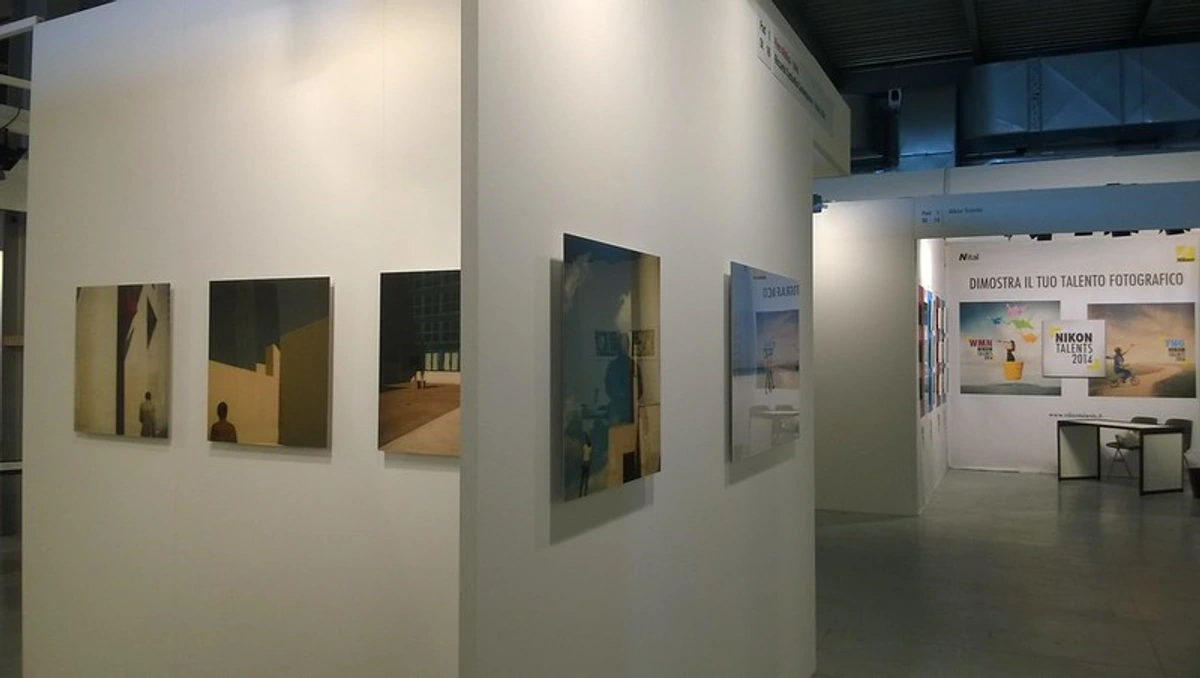
Displaying Photography & Works on Paper
Photography, prints, drawings, and watercolors fall into a category requiring special consideration, primarily regarding preservation. These mediums are often more sensitive to light and environmental conditions.

- Framing is Paramount: The right frame doesn't just enhance the photo or print; it protects it. Consider matting (a border made of acid-free board) to create visual space between the image and the frame. Crucially, matting also prevents the artwork from touching the glass, which is vital for preventing moisture buildup, mold, or the image sticking to the glass over time – especially for works on paper. The mat isn't just functional; it's a pause, a breath, letting the photograph or print speak without shouting. For detailed guidance, see The Ultimate Guide to Framing Your Artwork.
- Glass/Acrylic Choice: UV Protection is Non-Negotiable: Always, always, always opt for UV-protective glass or acrylic. This is the single most important step to prevent fading and degradation caused by light exposure. Seriously, don't skip this step. Faded photos or prints make me unreasonably sad – like memories losing their color. Acrylic (Plexiglass) is lighter and less prone to breaking than glass, making it a good choice for larger pieces or in homes with kids/pets, though it can scratch more easily.
- Light Sensitivity: Reiterate avoiding direct sunlight. Indirect natural light or LED lighting (which emits low UV and heat) is preferable. Avoid placing sensitive works directly opposite windows.
- Environmental Considerations: Works on paper are susceptible to humidity and temperature fluctuations. Avoid hanging them in bathrooms or kitchens unless they are reproductions specifically framed for such environments (see FAQ). Ensure the framing is properly sealed.
- Arrangement Ideas:
- Grids: Perfect for series or same-sized prints/photos, creating a modern, ordered look. Satisfyingly neat, like a perfectly organized bookshelf.
- Salon Style: An eclectic mix of sizes, frames, and orientations for a more traditional or bohemian feel. A bit more chaotic, but full of personality and great for showcasing a diverse collection.
- Large Format: A single, large photographic print or drawing can be a powerful focal point. Sometimes one image says it all.
Here's a summary for photography and works on paper:
Photography/Works on Paper Tip | Description |
|---|---|
| Framing & Matting | Choose complementary frames; use acid-free matting to protect and space art. |
| Protection | MUST USE UV-protective glass/acrylic to prevent fading. |
| Lighting | Avoid direct sun; use indirect natural or low-UV artificial light (LED). |
| Environment | Protect from humidity/temperature swings; ensure sealed framing. |
| Arrangement | Grids for order, salon-style for eclectic charm, large format as focal point. |
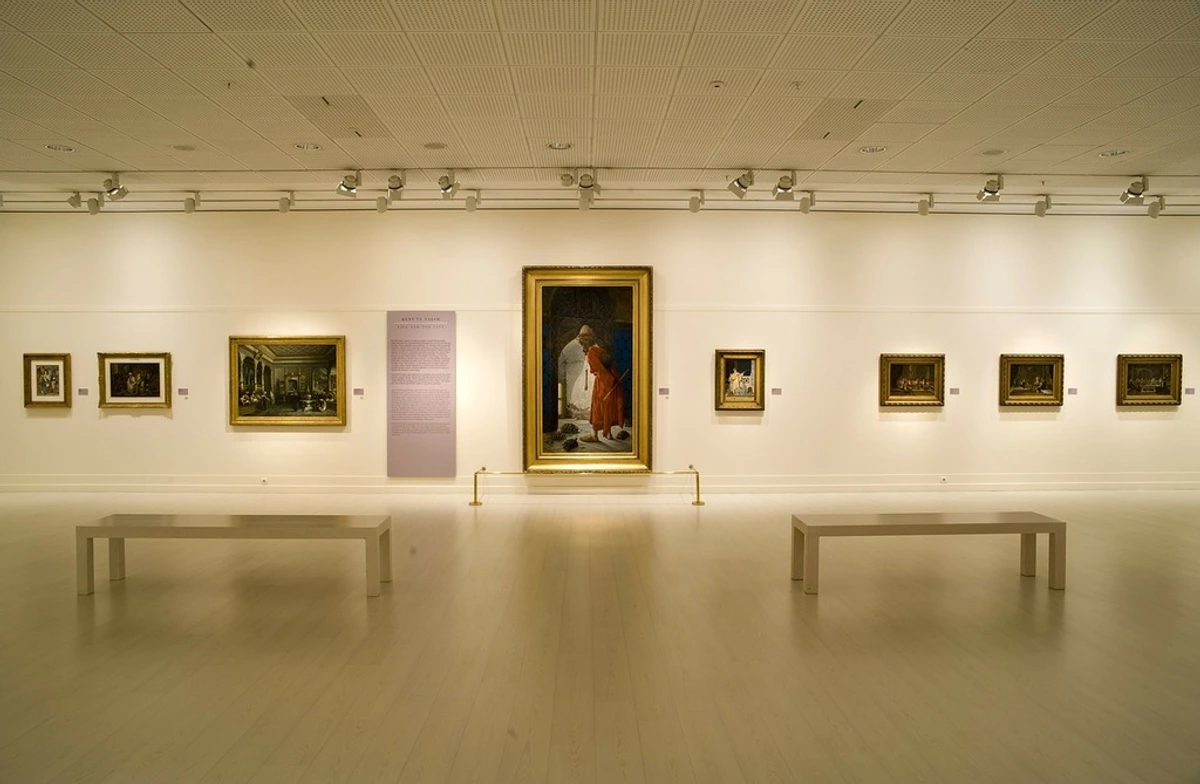
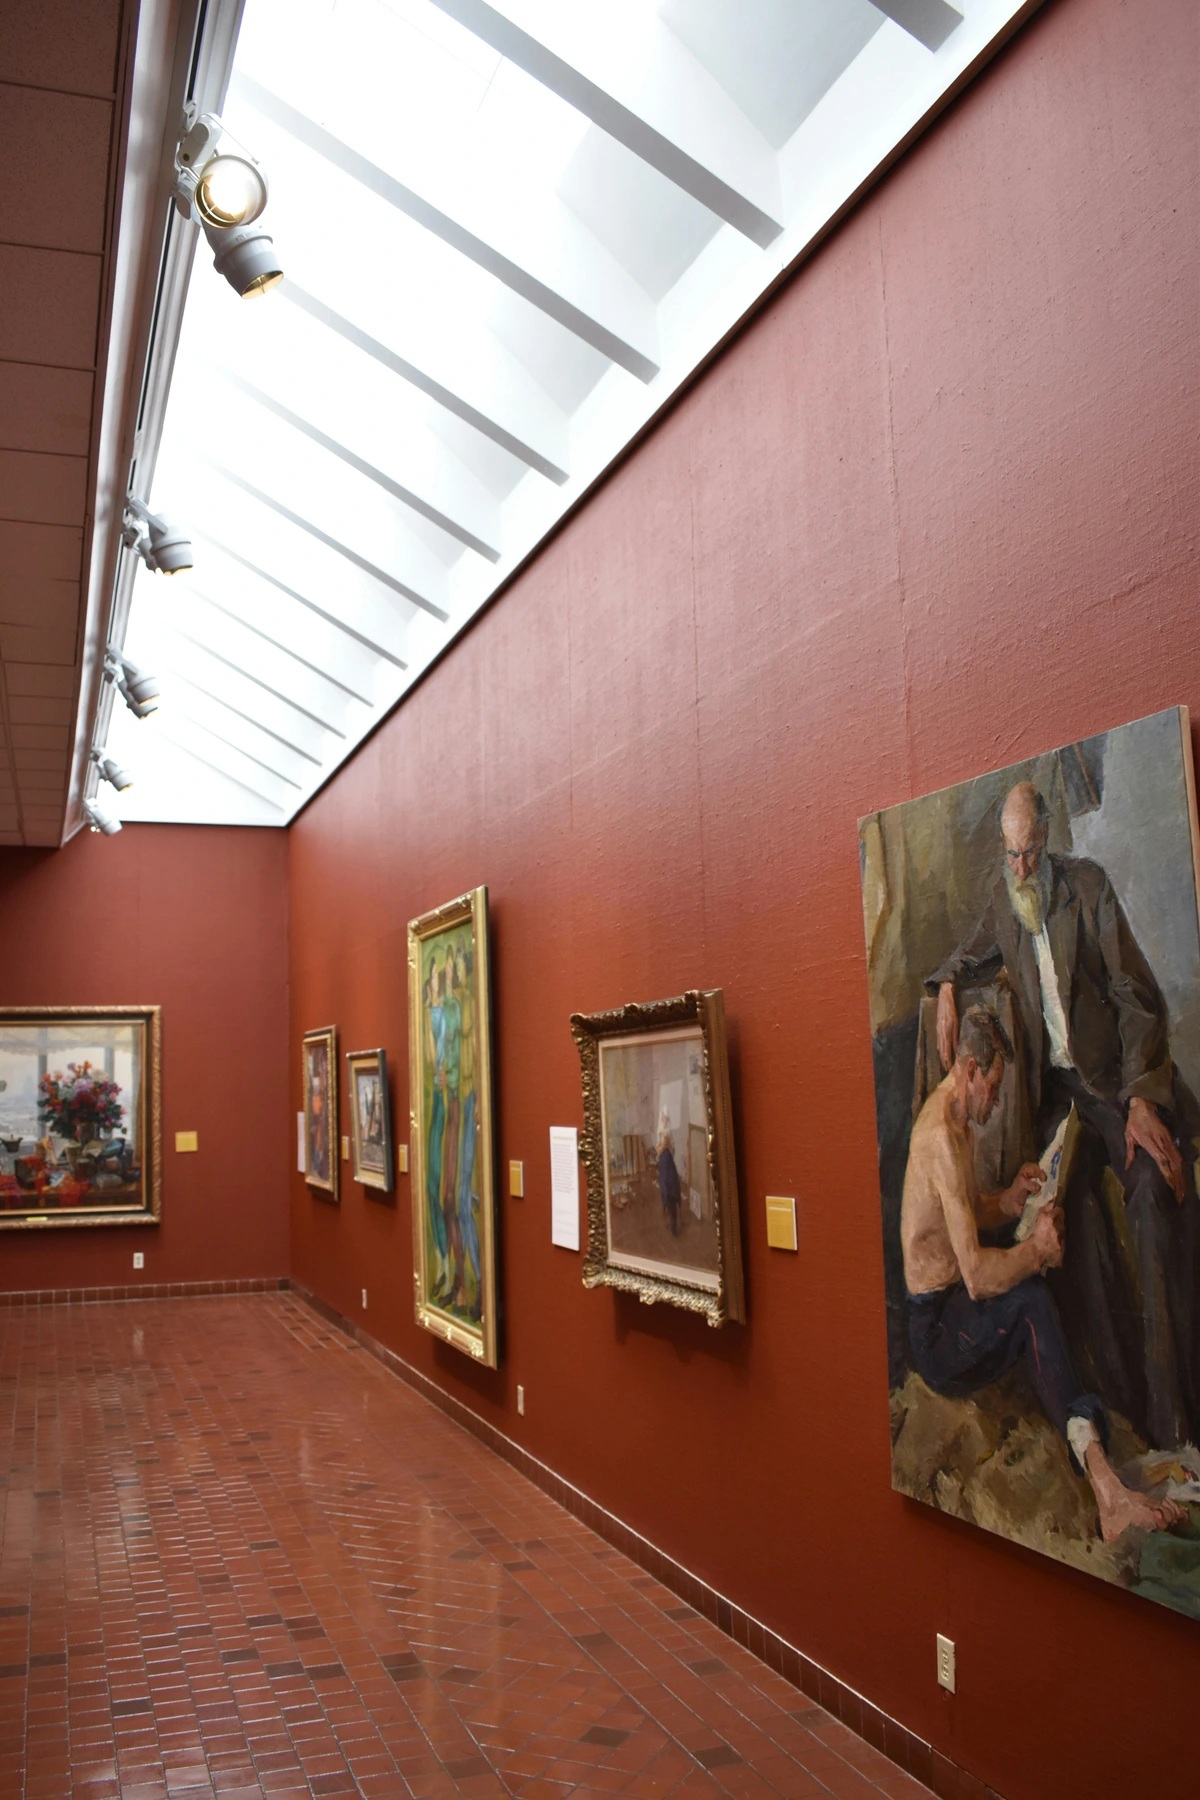
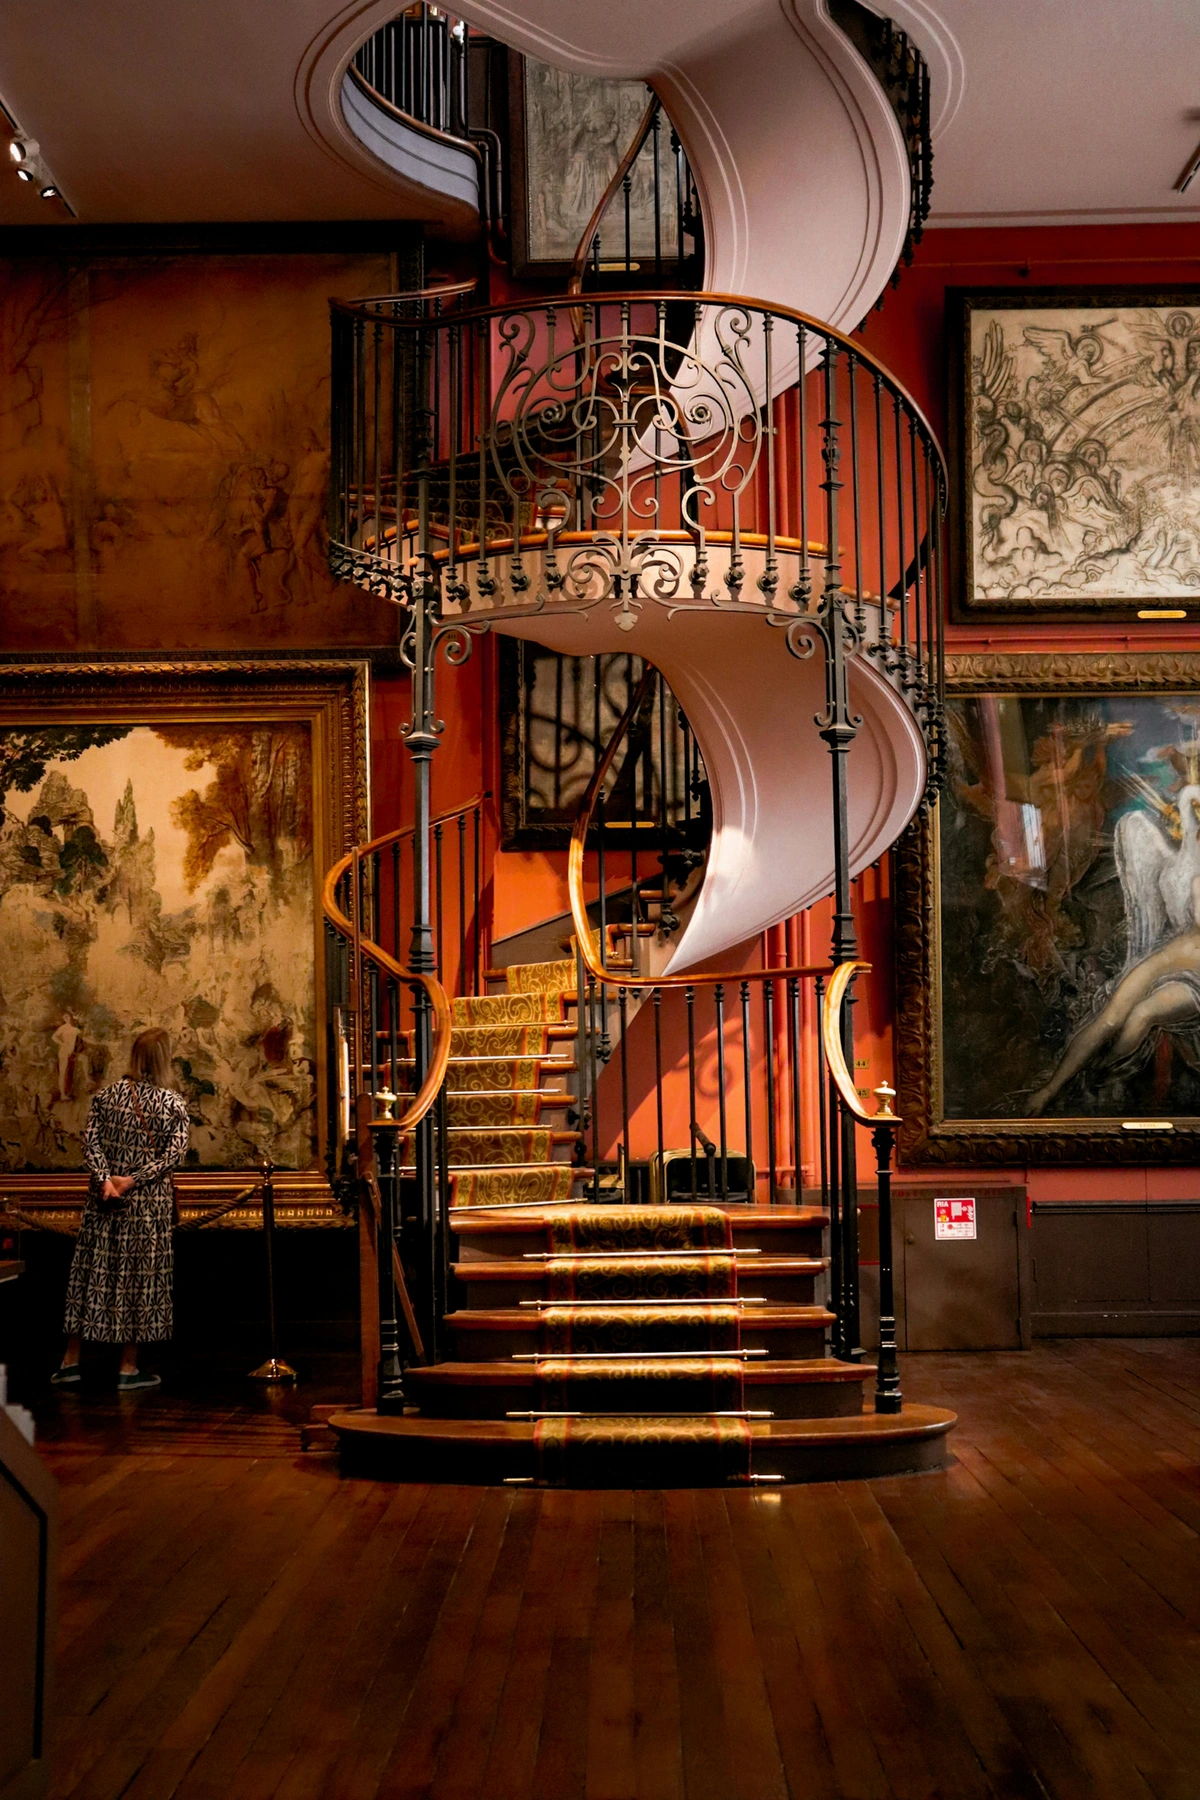
Displaying Large Canvases & Paintings
Large canvases and paintings make a bold statement and often become the focal point of a room. They command attention and can dramatically influence the space's atmosphere.

- Make a Statement: Let a large piece command attention. Don't clutter the surrounding wall space unnecessarily. It's the star of the show; give it room to shine. This is where negative space is your best friend.
- Wall Space: Ensure the wall is large enough to give the canvas "breathing room." Consider the viewing distance needed to appreciate the entire piece comfortably. You need to be able to step back and take it all in, allowing the composition and colors to work their magic.
- Secure Hanging: Safety is Paramount: Large canvases can be heavy. Use appropriate, heavy-duty hardware like robust D-rings, strong picture wire, or French cleats. Always anchor into wall studs whenever possible for maximum security. If studs aren't available, use appropriate heavy-duty drywall anchors rated significantly higher than the artwork's weight (e.g., toggle bolts or heavy-duty self-drilling anchors). This is non-negotiable. Trust me, the sound of a large canvas hitting the floor is not something you want to experience – it's a heart-stopping moment of potential destruction. When in doubt, consult a professional art hanger.
- Lighting: Even illumination is key for paintings. A picture light mounted above the frame or track lighting adjusted correctly can effectively illuminate the entire surface, bringing out the colors and textures. Avoid harsh glare or uneven spots that create distracting hot spots or shadows.
- Impact: Large-scale contemporary art, especially colorful or abstract pieces, can inject incredible energy and personality into a space. If you're looking for vibrant modern works, explore the collection at Zen Museum Store. A big, bold piece can completely define the mood of a room – it’s like instant atmosphere, a conversation starter, a window into another world.
Here's a summary for large canvases and paintings:
Large Canvas/Painting Tip | Description |
|---|---|
| Focal Point | Allow the piece to dominate the wall visually; give it ample negative space. |
| Spacing | Provide adequate 'breathing room' and consider comfortable viewing distance. |
| Hanging | Use heavy-duty hardware; anchor into studs or use high-rated drywall anchors. |
| Lighting | Ensure even illumination across the surface using picture or track lights. |
| Impact | Consider bold contemporary pieces for high energy and atmosphere. |
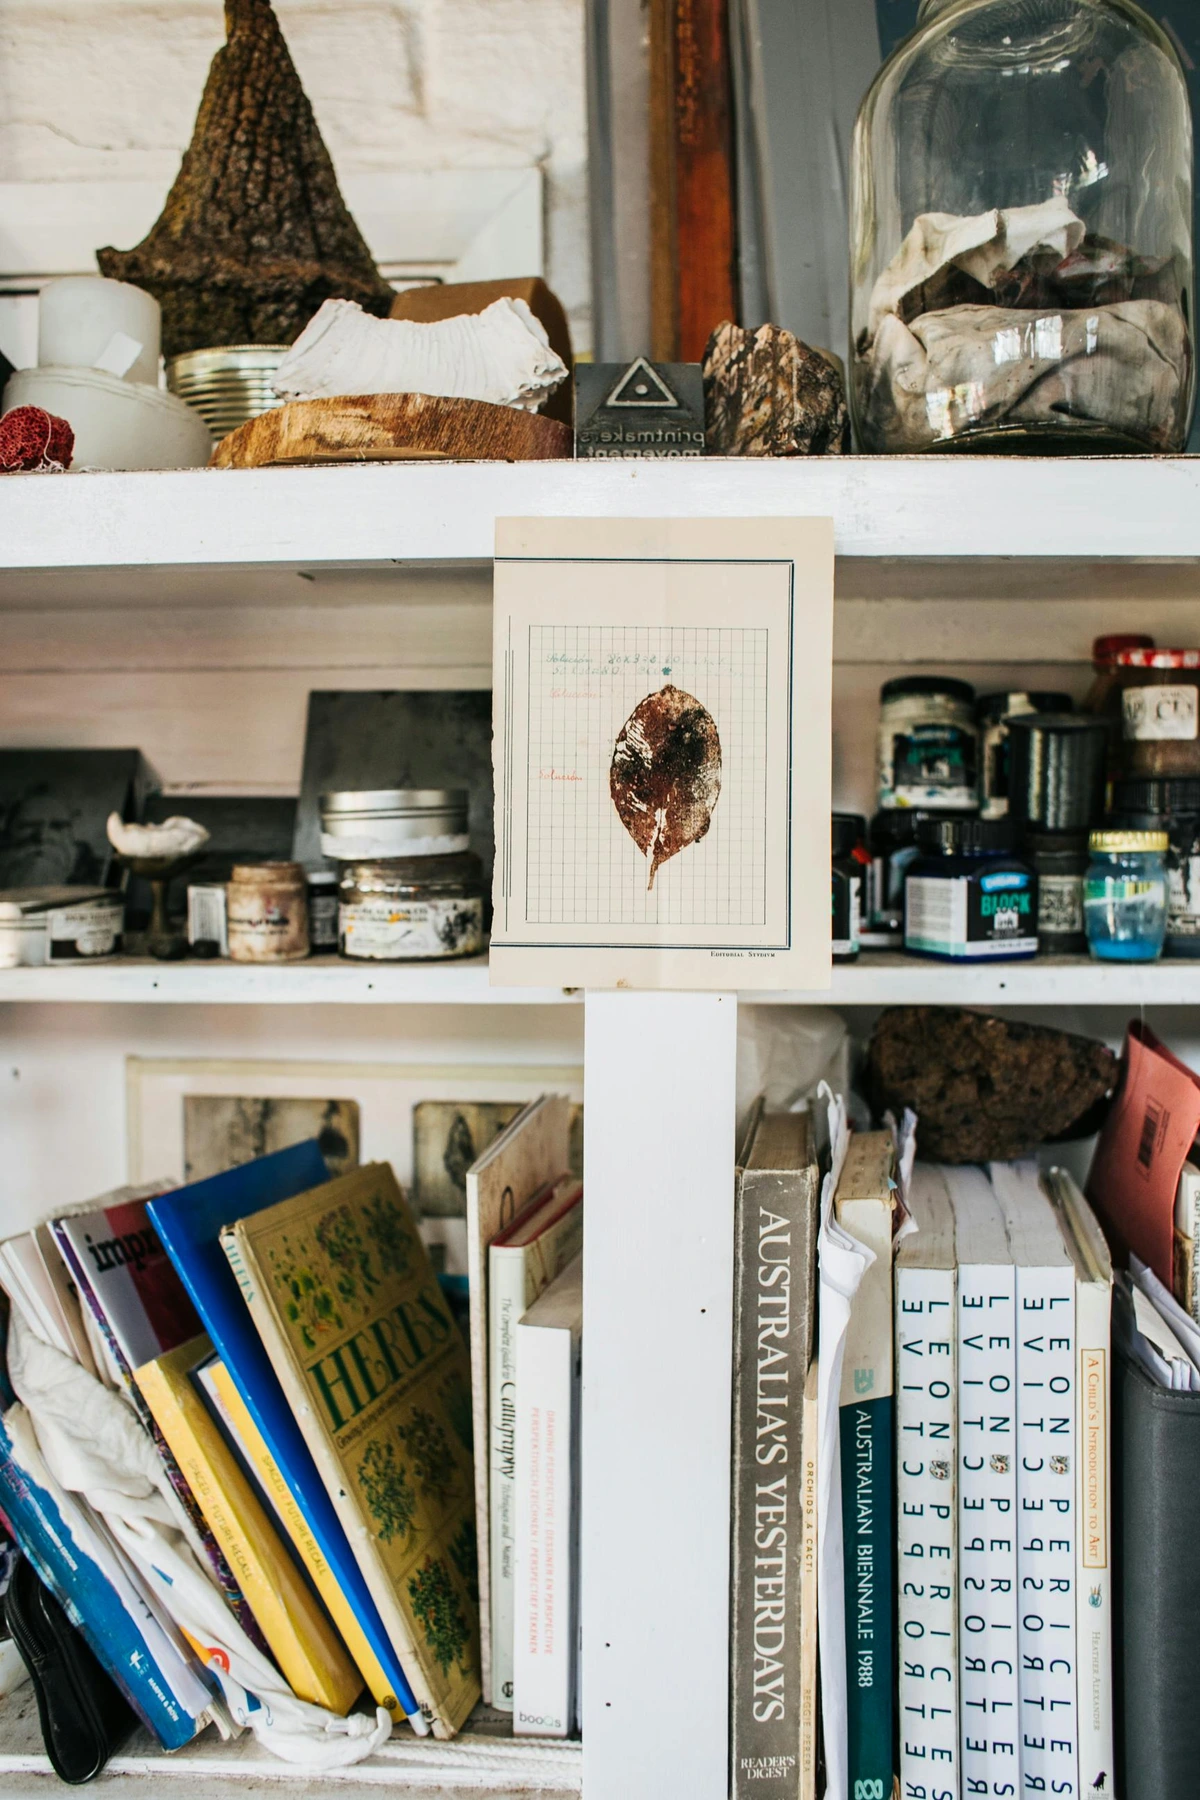
Displaying Textiles & Mixed Media
Beyond the traditional, textiles like tapestries and quilts, and dynamic mixed media pieces, bring unique textures and forms into your display.
- Textiles: Fabric art requires methods that support its weight evenly to prevent sagging or damage over time. Common methods include:
- Sleeves: A fabric sleeve sewn horizontally across the back of the textile, through which a rod is inserted and then mounted to the wall brackets. This distributes the weight along the top edge.
- Velcro: One strip of Velcro is sewn to the top back of the textile, and the other is stapled or glued to a wooden lath mounted on the wall. This is less visible but requires careful application.
- Rods/Clips: For lighter or more contemporary pieces, decorative rods with clips can be used, but ensure the clips don't damage the fabric.
- Care: Keep textiles out of direct sunlight and away from heat sources. Consider professional cleaning if needed.
- Mixed Media: These pieces can combine painting, collage, sculpture, and found objects. Their display needs depend heavily on their construction:
- Weight: Mixed media can be surprisingly heavy due to added materials. Use appropriate heavy-duty hanging hardware.
- Fragility: Some elements might be delicate or protrude. Place mixed media where it won't be easily bumped. Consider display cases or pedestals for very fragile 3D mixed media.
- Lighting: Experiment with lighting to see how it interacts with the different textures and materials. Spotlights can create interesting shadows and highlights.
Displaying Digital Art
Digital art, displayed on screens, offers incredible flexibility and a modern aesthetic. It's no longer just a screensaver; it's a legitimate display medium.
- Dedicated Digital Frames: These are designed specifically for art, often featuring matte screens to reduce glare and bezels that mimic traditional frames. They can cycle through multiple pieces.
- Using Tablets or TVs: Tablets are great for displaying smaller digital pieces on shelves or stands. Larger TVs can work for bigger statements, but be mindful of the typical glossy screen finish and the 'TV' look. Some newer TVs have an 'art mode' that helps them blend in when not in use.
- Placement: Treat digital displays like traditional art regarding height and scale relative to the space. Eye level is still a good starting point.
- Managing Cables: The biggest challenge is often hiding power cords. Plan for this with in-wall cable management kits or by placing the screen near furniture that can conceal the wires.
- Flexibility: The beauty of digital art is the ability to change the displayed piece easily, allowing you to refresh your space or match the mood.
Displaying Art in Challenging Spaces
Not every wall is a perfect rectangle. What about those awkward corners, sloped ceilings, or impossibly high walls?
- Sloped Ceilings: Instead of fighting the angle, work with it. Hang pieces along the slope, perhaps creating a dynamic line or grouping that follows the ceiling's pitch. Smaller pieces often work better here than large ones.
- Awkward Corners: A corner can be a great spot for a sculpture on a pedestal or a tall, narrow piece that draws the eye vertically. You can also wrap a gallery wall around a corner, creating a continuous flow.
- Very High Walls: Don't feel pressured to fill the entire height. Focus your main display area at standard eye level or slightly above, relating it to the furniture below. For the upper space, consider a very large, single statement piece that can be appreciated from a distance, or use lighting to draw the eye up. Picture rail systems can be particularly useful on high walls.
Connecting Art Style to Display Choices
The style of the art itself can offer clues about how best to display it. While personal preference reigns supreme, considering the art's inherent characteristics can enhance its impact.
- Minimalist Art: Often benefits from significant negative space. A minimalist piece on a large, uncluttered wall allows its subtle forms or colors to truly breathe and command attention without distraction.
- Abstract Art: Can be incredibly versatile. Bold, colorful abstracts often work well as focal points. Textured abstracts might benefit from directional lighting to highlight their surface. Abstract pieces can also be great anchors for eclectic gallery walls. As an artist who creates abstract, colorful pieces, I often find they thrive with good lighting and enough space to let the colors sing, but they can also surprisingly anchor a busy gallery wall with their energy.
- Figurative or Portraiture: Often draws the viewer in for closer inspection. Ensure hanging height is comfortable for viewing details. Consider lighting that illuminates faces or key details without harsh glare.
- Landscape or Seascape: Can create a sense of depth or a window to another place. Consider placement where you might naturally look out (e.g., opposite a seating area). Lighting can enhance the mood, mimicking natural light if appropriate.
Displaying Art in Rentals & Temporary Spaces
Living in a rental or just not ready to commit to drilling dozens of holes? You still have plenty of options to display your art beautifully.

- Command Strips & Hooks: These adhesive solutions are fantastic for lightweight framed pieces. Read the weight limits carefully and follow the instructions precisely for removal to avoid paint damage. I've used these successfully for years for smaller prints and photos, but I'm always a little nervous!
- Temporary Picture Rails: Some systems can be installed with minimal damage (e.g., using strong adhesive or very small nails in the top molding) and allow you to hang multiple pieces from wires.
- Leaning Art: As mentioned before, leaning larger canvases against a wall (on the floor or a sturdy console/mantel) offers a relaxed, studio-like vibe and requires no holes. Ensure they are stable and out of high-traffic paths.
- Using Furniture: Display smaller framed pieces or sculptures on bookshelves, side tables, dressers, or mantels. Stack framed prints casually against the wall on a surface. Integrate art into vignettes with plants, books, and decorative objects.
- Art Easels: A painting on an easel can look intentional and sophisticated, and you can easily move it around.
For more ideas on damage-free hanging, check out our guide on how to hang art without nails.
Safety, Security, and Documentation
Beyond just looking good, ensuring your art is displayed safely is crucial, both for the art and for the people in your home.
- Secure Heavy Pieces: We've already stressed this, but it bears repeating. A heavy piece falling is a serious hazard. Use the right hardware, find studs, or use high-rated anchors. Imagine a large, heavy framed mirror above a sofa – if that falls, the consequences could be severe. Take the time to do it right or hire a professional.
- Placement: Avoid hanging heavy or delicate pieces over beds or in narrow, high-traffic hallways where they could be easily knocked.
- Insurance: For valuable pieces, consider adding them to your homeowner's or renter's insurance policy or getting a separate fine art policy. This usually requires documentation.
- Documentation: Keep records of your art collection, including purchase information, artist details, dimensions, and photographs. This is invaluable for insurance purposes, estate planning, or if you ever need to authenticate or sell a piece.
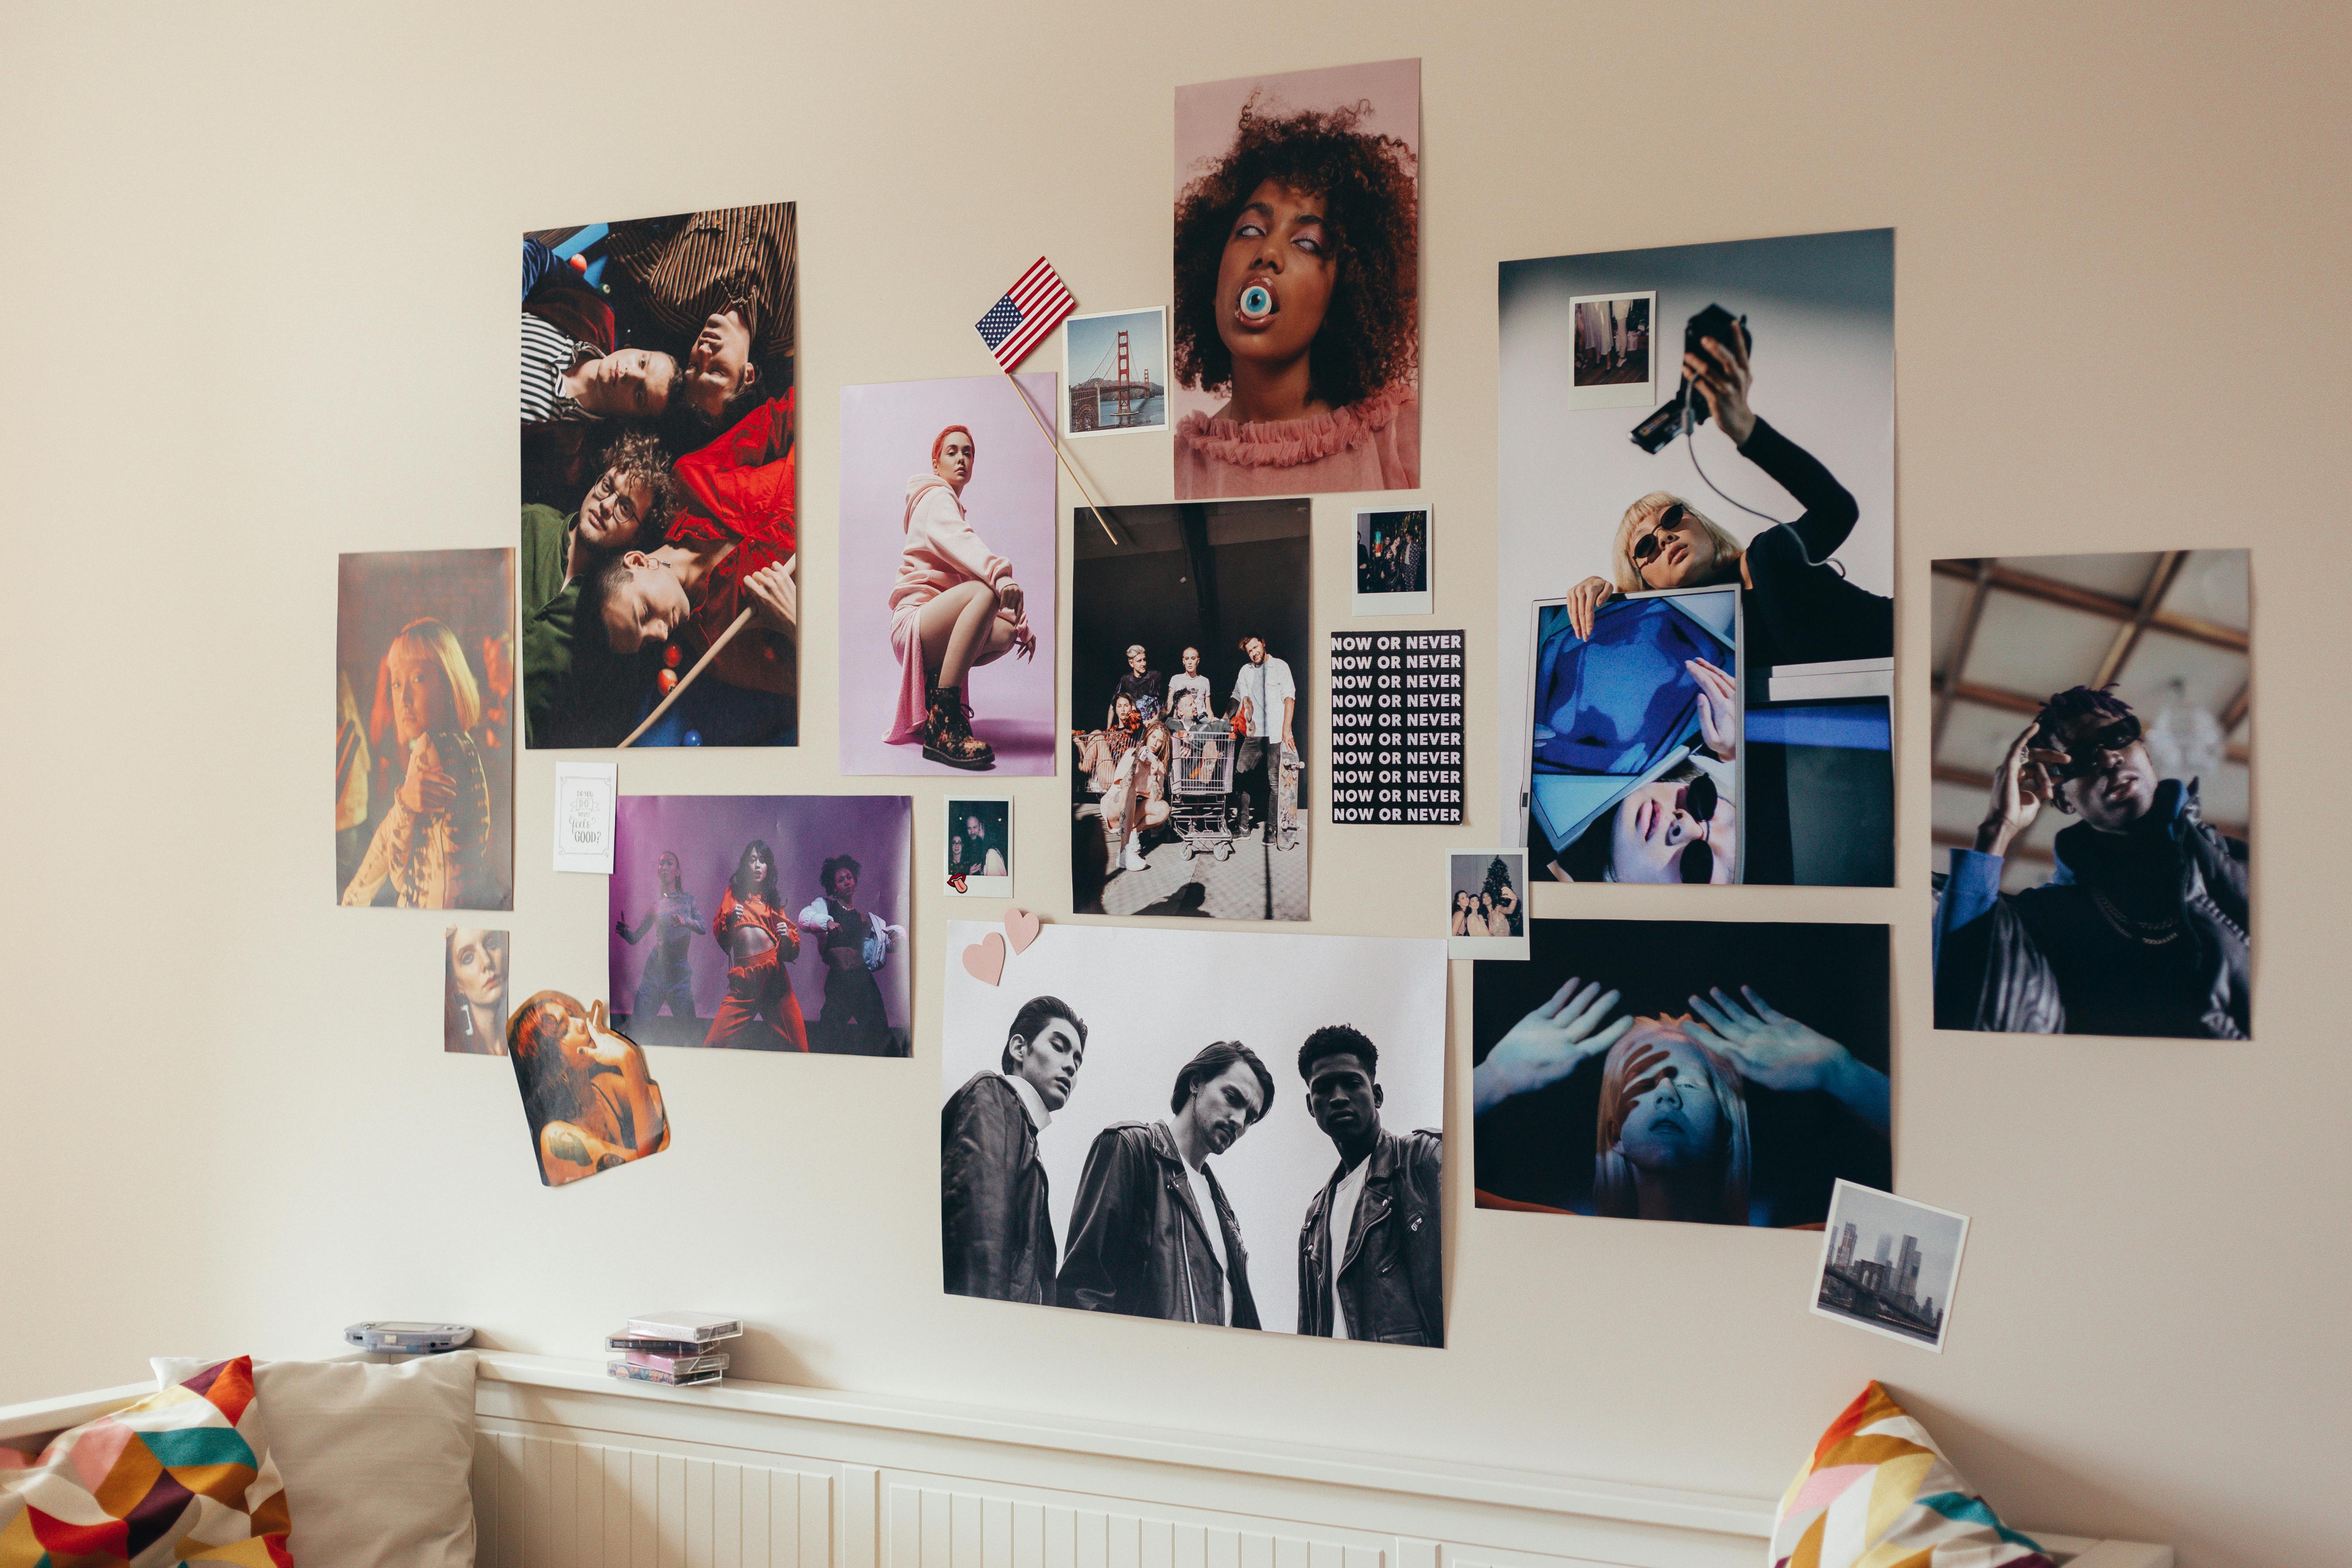
Crafting the Perfect Gallery Wall
Ah, the gallery wall. It looks effortless when done well, but let's be real, it can feel like solving a complex puzzle while blindfolded sometimes. It's a fantastic way to showcase smaller pieces, mix media, and tell a visual story. Explore more wall decoration ideas in our guide on how to decorate a wall.
- Planning is Your Friend: Seriously, don't just start hammering nails. Lay everything out on the floor first. Trace the frames onto craft paper, cut them out, and tape them to the wall. Move them around until you're happy. It feels a bit like playing Tetris, but it saves you from a wall full of unwanted holes. Why make extra work for yourself?
- Choose Your Style:
- Grid: Symmetrical, structured, often using identical frames and consistent spacing. Very clean and modern. Great for photographic series or prints.
- Salon: Asymmetrical, eclectic mix of sizes, shapes, frames, and orientations. More organic and 'collected over time' feel. This is where you can really mix it up and let your personality shine.
- Linear: Art arranged along a central horizontal or vertical line. Can be structured or slightly varied. Good for hallways or above long furniture.
- Clustered: Grouped tightly around a central piece or focal point. Creates density and visual weight.
- Finding Cohesion: Even in an eclectic mix, you need something to tie it together. This could be:
- A consistent color palette across the artworks or frames.
- A unifying theme (landscapes, portraits, black and white).
- Similar frame styles or colors (e.g., all black frames, or all wood tones).
- Spacing: Even if sizes vary, keeping the distance between pieces relatively consistent (especially in grids) helps create order. In salon style, aim for visual balance rather than strict measurement.
- The Anchor Piece: Often, a gallery wall benefits from a larger 'anchor' piece around which smaller works are arranged. This provides a starting point and visual weight.
- Don't Be Afraid to Mix: Combine paintings, prints, photos, maybe even small mirrors or wall-mounted objects. This adds texture and dimension and makes the wall feel more dynamic and interesting.
Mixing Media & Creating Harmony
Don't be afraid to mix sculptures, photography, paintings, textiles, and other mediums in the same room or even on the same gallery wall. This is where your space truly becomes a reflection of a diverse collection and personality. Create harmony by:
- Finding a common thread: theme, color palette, or frame style.
- Balancing visual weight: distribute different sizes and mediums evenly. Don't put all the heavy hitters on one side; spread the visual interest around.
- Varying textures and dimensions for added interest. A smooth photograph next to a textured painting, with a sleek sculpture nearby? That’s interesting!
Think of it like composing a piece of music – you need different instruments and dynamics to create something rich and engaging. I personally love placing a small, curious sculpture on a shelf within a gallery wall; it breaks the plane and adds an unexpected element. Sometimes, the most unlikely pairings create the best conversations. Maybe try mixing some vibrant contemporary prints with older, more traditional pieces – the contrast can be really dynamic and tell a richer story about your taste.
Beyond the Wall: Unconventional Displays
Who says art has to live on a main wall at eye level? Sometimes the most delightful art moments are the unexpected ones, the little surprises that catch your eye.

- Stairwells: Often overlooked, the angled walls of a staircase are perfect for a cascading gallery wall or a series of prints that follow the ascent. It turns a functional space into a visual journey.
- Hallways: Narrow hallways can feel like mini-galleries. Consider a linear hang or smaller pieces that invite closer inspection. It makes walking down the hall an experience.
- Above Doorways/Windows: A small piece tucked above a door or window can be a charming surprise, drawing the eye up.
- Leaning Art: Not everything needs a nail! Leaning larger canvases against a wall (on the floor or a sturdy console/mantel) offers a relaxed, studio-like vibe. Perfect if you, like me, are sometimes too lazy or indecisive to commit to hanging! Just ensure it's stable and out of the way.
- Bookshelves: Integrate smaller framed pieces or tiny sculptures amongst your books. Art shouldn't be isolated; let it mingle with your everyday life and interests.
- Easels: Displaying a painting on an easel gives it a sense of importance and allows for easy repositioning. It feels like the piece is still 'in progress' or freshly acquired.
- Unexpected Rooms: Don't forget kitchens, bathrooms (with proper precautions, see FAQ), or even laundry rooms. Why shouldn't functional spaces have a little beauty and inspiration? A splash of color in an unexpected place can brighten your day.
The key is surprise and delight. Placing art where it's not typically expected makes people stop and notice, adding layers of interest to your home.
Finding Art & Inspiration
Finding art you love is a journey, a process of discovery and connection. Explore local galleries, visit art fairs, browse online art platforms, and discover artists directly. Check out guides on how to buy art and where to buy art.
Museums offer endless inspiration, not just in the art they hold, but in how they present it. Explore world-renowned institutions (best museums) or discover regional gems. For modern and contemporary art inspiration, consider visiting places like the Zen Museum in Den Bosch, Netherlands. Pay attention not just to the art, but how it's displayed – the wall colors, the lighting, the spacing. Curators are masters of display, and you can borrow their techniques for your own home.

Conclusion
Displaying art in your home is a deeply personal and rewarding process. It's an art in itself, a way of curating your own environment and telling your story through the pieces you choose and how you present them. By considering location, the transformative power of lighting, the balance of scale, the practicalities of hanging, and the specific needs of different mediums like sculptures, photography, paintings, textiles, works on paper, and even digital art, you can create a home environment that is not just decorated, but truly alive with the art you love. Experiment, trust your instincts, and don't be afraid to move things around occasionally – your home evolves, your taste refines, and so can your art displays. It's not permanent! Think of it as an ongoing conversation with your space and your collection, a continuous act of making your house feel more like you.
Ready to add some vibrant energy to your walls and start your own display journey? Discover unique contemporary paintings and prints at the Zen Museum Store.
Frequently Asked Questions (FAQ)
Q1: How high should I hang my art? A: The general rule is to hang artwork so its center is at eye level, about 57-60 inches (145-152 cm) from the floor. Adjust based on ceiling height and surrounding furniture, or personal preference for effect, especially if you'll primarily view it while seated.
Q2: Can I hang art in a bathroom or kitchen? A: Yes, but with caution. Avoid placing valuable or sensitive pieces (like unprotected photographs or works on paper) in high-humidity areas. Choose well-sealed frames (metal or synthetic are often better than wood) and consider less valuable prints or canvases. Ensure good ventilation. Acrylic glazing is often better than glass here as it doesn't fog up as easily.
Q3: How far apart should I space grouped artworks? A: For a cohesive look, especially in grids, aim for consistent spacing, typically 2-4 inches (5-10 cm) between frames. In a salon-style hang, spacing can vary but maintain a sense of visual balance – trust your eye more than a ruler here.
Q4: How do I plan a gallery wall layout without making lots of holes? A: Lay the frames out on the floor first. Then, trace each frame onto paper (kraft paper or old wrapping paper works well), cut out the shapes, and use painter's tape to arrange the paper templates on the wall. Live with it for a day or two, adjust as needed, and then mark your nail points directly through the paper before removing it.
Q5: Can I mix different frame styles and colors in a gallery wall? A: Absolutely! This creates a more eclectic, collected look (salon style). To keep it from looking messy, try to maintain one or two unifying elements, like a common color in the artworks, a similar overall theme, or maintaining relatively consistent spacing between the varied frames.
Q6: What's the best way to display textiles like tapestries? A: The most common and recommended method is to sew a fabric sleeve horizontally across the back and insert a rod through it, mounting the rod to the wall. This distributes the weight evenly. Velcro can also be used but requires careful application to the textile and wall lath.
Q7: How important is UV protection for framed art? A: Extremely important, especially for photographs, prints, watercolors, and works on paper. UV rays cause fading and irreversible damage over time. Always opt for UV-protective glass or acrylic when framing these types of pieces to preserve their color and integrity.